Leaderboard
 Subscriber


Popular Content
Showing content with the highest reputation on 11/17/2019 in all areas
-
 4 pointsThanks Zup for sharing that picture library I built back then, pretty much forgot I had done that. I seem to remember a wish to build an app that uses the parts fiche database in a spread sheet so you can click on a part and get a real life picture of it, starting with the hardware pictures in that file. Somewhere I realized how a big a job that was and you know.... I have a couple of other files I guess I should share. Like my wish to build a reference document that shows all the variations between parts over the years. How many times have "we" had to explain "again' that 77-78 doors aren't like 74-76 doors aren't like 70-73 doors. Again, large effort, but I've been blessed over time to have examples on hand of all the varieties of fuel rails, and consoles, vinyl, and gauges, etc etc. that would make this possible, just not the co-ordinated effort of taking and organizing the pictures and then building the website or populating a massive "one of these things is not like the other" or similar CZCC Topic. Anybody got a smart tech savvy young'en they can lend me for a year?4 points
 -
 3 pointsGranny car parts manual is what you want, gives the part number, item description and number used. The part number has all the info on the fasteners, you just need the code to decipher them. This will help, http://datsun1200.com/modules/mediawiki/index.php?title=NES_Part_Numbers#1-_Bolts Applies to the 1200 but pretty much the same for all Nissan vehicles. Worls for the 240Z, I used it to sort out all the fasteners for my cars. Here's an example: Example: 240Z machine screw for the crankcase mesh filter cover, number 25 in the diagram http://www.carpartsmanual.com/datsun/Z-1969-1978/engine-280z/cylinder-block 08310-61214 08=standardize hardware prefix 31=Machine screw, Pan head 06=6mm diameter (M6) 12=12mm length 1= Zinc cadmium coated 4= filler to complete ten digits3 points
 -
 3 pointsCourtesy of an unfinished project I still intend to do when I enlisted the incredible help of Jim Karst @zKars Jim compiled this 18 page .pdf of photos with description of the number required, size, thread pitch and length for many of the fasteners as removed from a 12/70 240Z (if I remember correctly). 2 large boxes with altogether about 60 lbs. of parts. s30_Hardware_pictures.pdf Some techie may be able to open the .pdf and display them in a sticky post for easier access on this site. alas I am too challenged to do it myself.3 points
 -
 2 points@z3beemer Hi Paul, FYI - the links may be dead, but the information is still here, but you'll have an easier time finding it using this work-around The 'old' site prior to the software update in 2015?16? is located at http://legacy.classiczcars.com/forums/content.php Here is an example of a broken link https://www.classiczcars.com/forums/electrical-s30/34192-280zx-distributor-advance-curve-reference.html Now, with some 'doctoring' using notepad, you can 'splice the two links together' like this >> http://legacy.classiczcars.com/forums/electrical-s30/34192-280zx-distributor-advance-curve-reference.html Here is showing what is deleted (shown in bold red) on each link and delete any remaining spaces.: http://legacy.classiczcars.com/forums/content.php https://www.classiczcars.com/forums/electrical-s30/34192-280zx-distributor-advance-curve-reference.html I am unsure of the work-around for pictures. Once you find the old thread, you can search by title/date/author to find it here if the old site doesn't show the updates to the thread, if any. hope this helps you and others in finding older information. Wayne2 points
 -
2 pointsOk, so here is an interesting little spreadsheet. Somehow I managed to harvest all the S30 part numbers from a certain on-line resource... Now you can do a little sorting and searching a bit more easily. CPM_Fiche_S30.xls2 points
-
 2 pointsHere are a couple of partial 'master' lists that I found online somewhere several years ago (sorry, no names kept so I can't credit the authors). Warning: This is an executable file, so be sure to scan it with your anti-virus software before opening. It should be clean, but you never know. If you feel really ambitious, you could transport Jim K's notes and pictorial info into the 'Owner 1' list and create a true 'Master List'. S30 Fasteners - Master Lists.xlsx2 points
 -
 1 pointWhile futzing with my car I decided to check the operation of the carbon canister. The only real function is the vacuum controlled valve the activate the purge cycle (pull vapor from the can to the engine intake vacuum). What I found was the valve would not close in the absence of vacuum at the signal line (ported vacuum small hose). I test it using a hand pump and vigorously pumping. Now maybe in the presence of a constant vacuum source it would "catch", the design of the valve would tend to do this. I could make it catch by simply applying some pressure to the top of the valve, but that was not enough for me. I removed the valve cap, and found a good diaphragm, but it had a shiny spot where is sealed the port inside. Again I don't know just how aggressive the vacuum need to be, so I decided to see if I could find something a bit more positive in action. Trip to the local JY turns up a mid 90's I think, Nissan pathfinder. It had the same size canister and the 3 needed ports, for 5$ cant go wrong. When I got home I found it to work very well, any vacuum is instantly sealed by the valve, until just a light vacuum from the control line is applied. It was about a simple a swap as you could get. Just wanted to share. Oh for fun I did manage to get my OE valve working, I smeared a very thin film of non hardening sealer on the button of the diaphragm that is supposed to seal. Let it set up overnite. Now it works better, several aggressive pumps from the mini vac and it will seal up, and the control line will break the vacuum, but I still think the JY pull works more posistively, both on the seal and the release, so will stick with that on.1 point
 -
1 point@Jeff Berk @Kurbycar32 @SteveJ Since y'all have 260's, and I have a 1977 280 ( which there is an available color diagram ) anyone want to swap cars and titles so i have a NEED to make a color diagram for a 260z? Just a thought. I laugh at my thoughts. Coincidentally, I have a few free days coming up myself. Wayne1 point
-
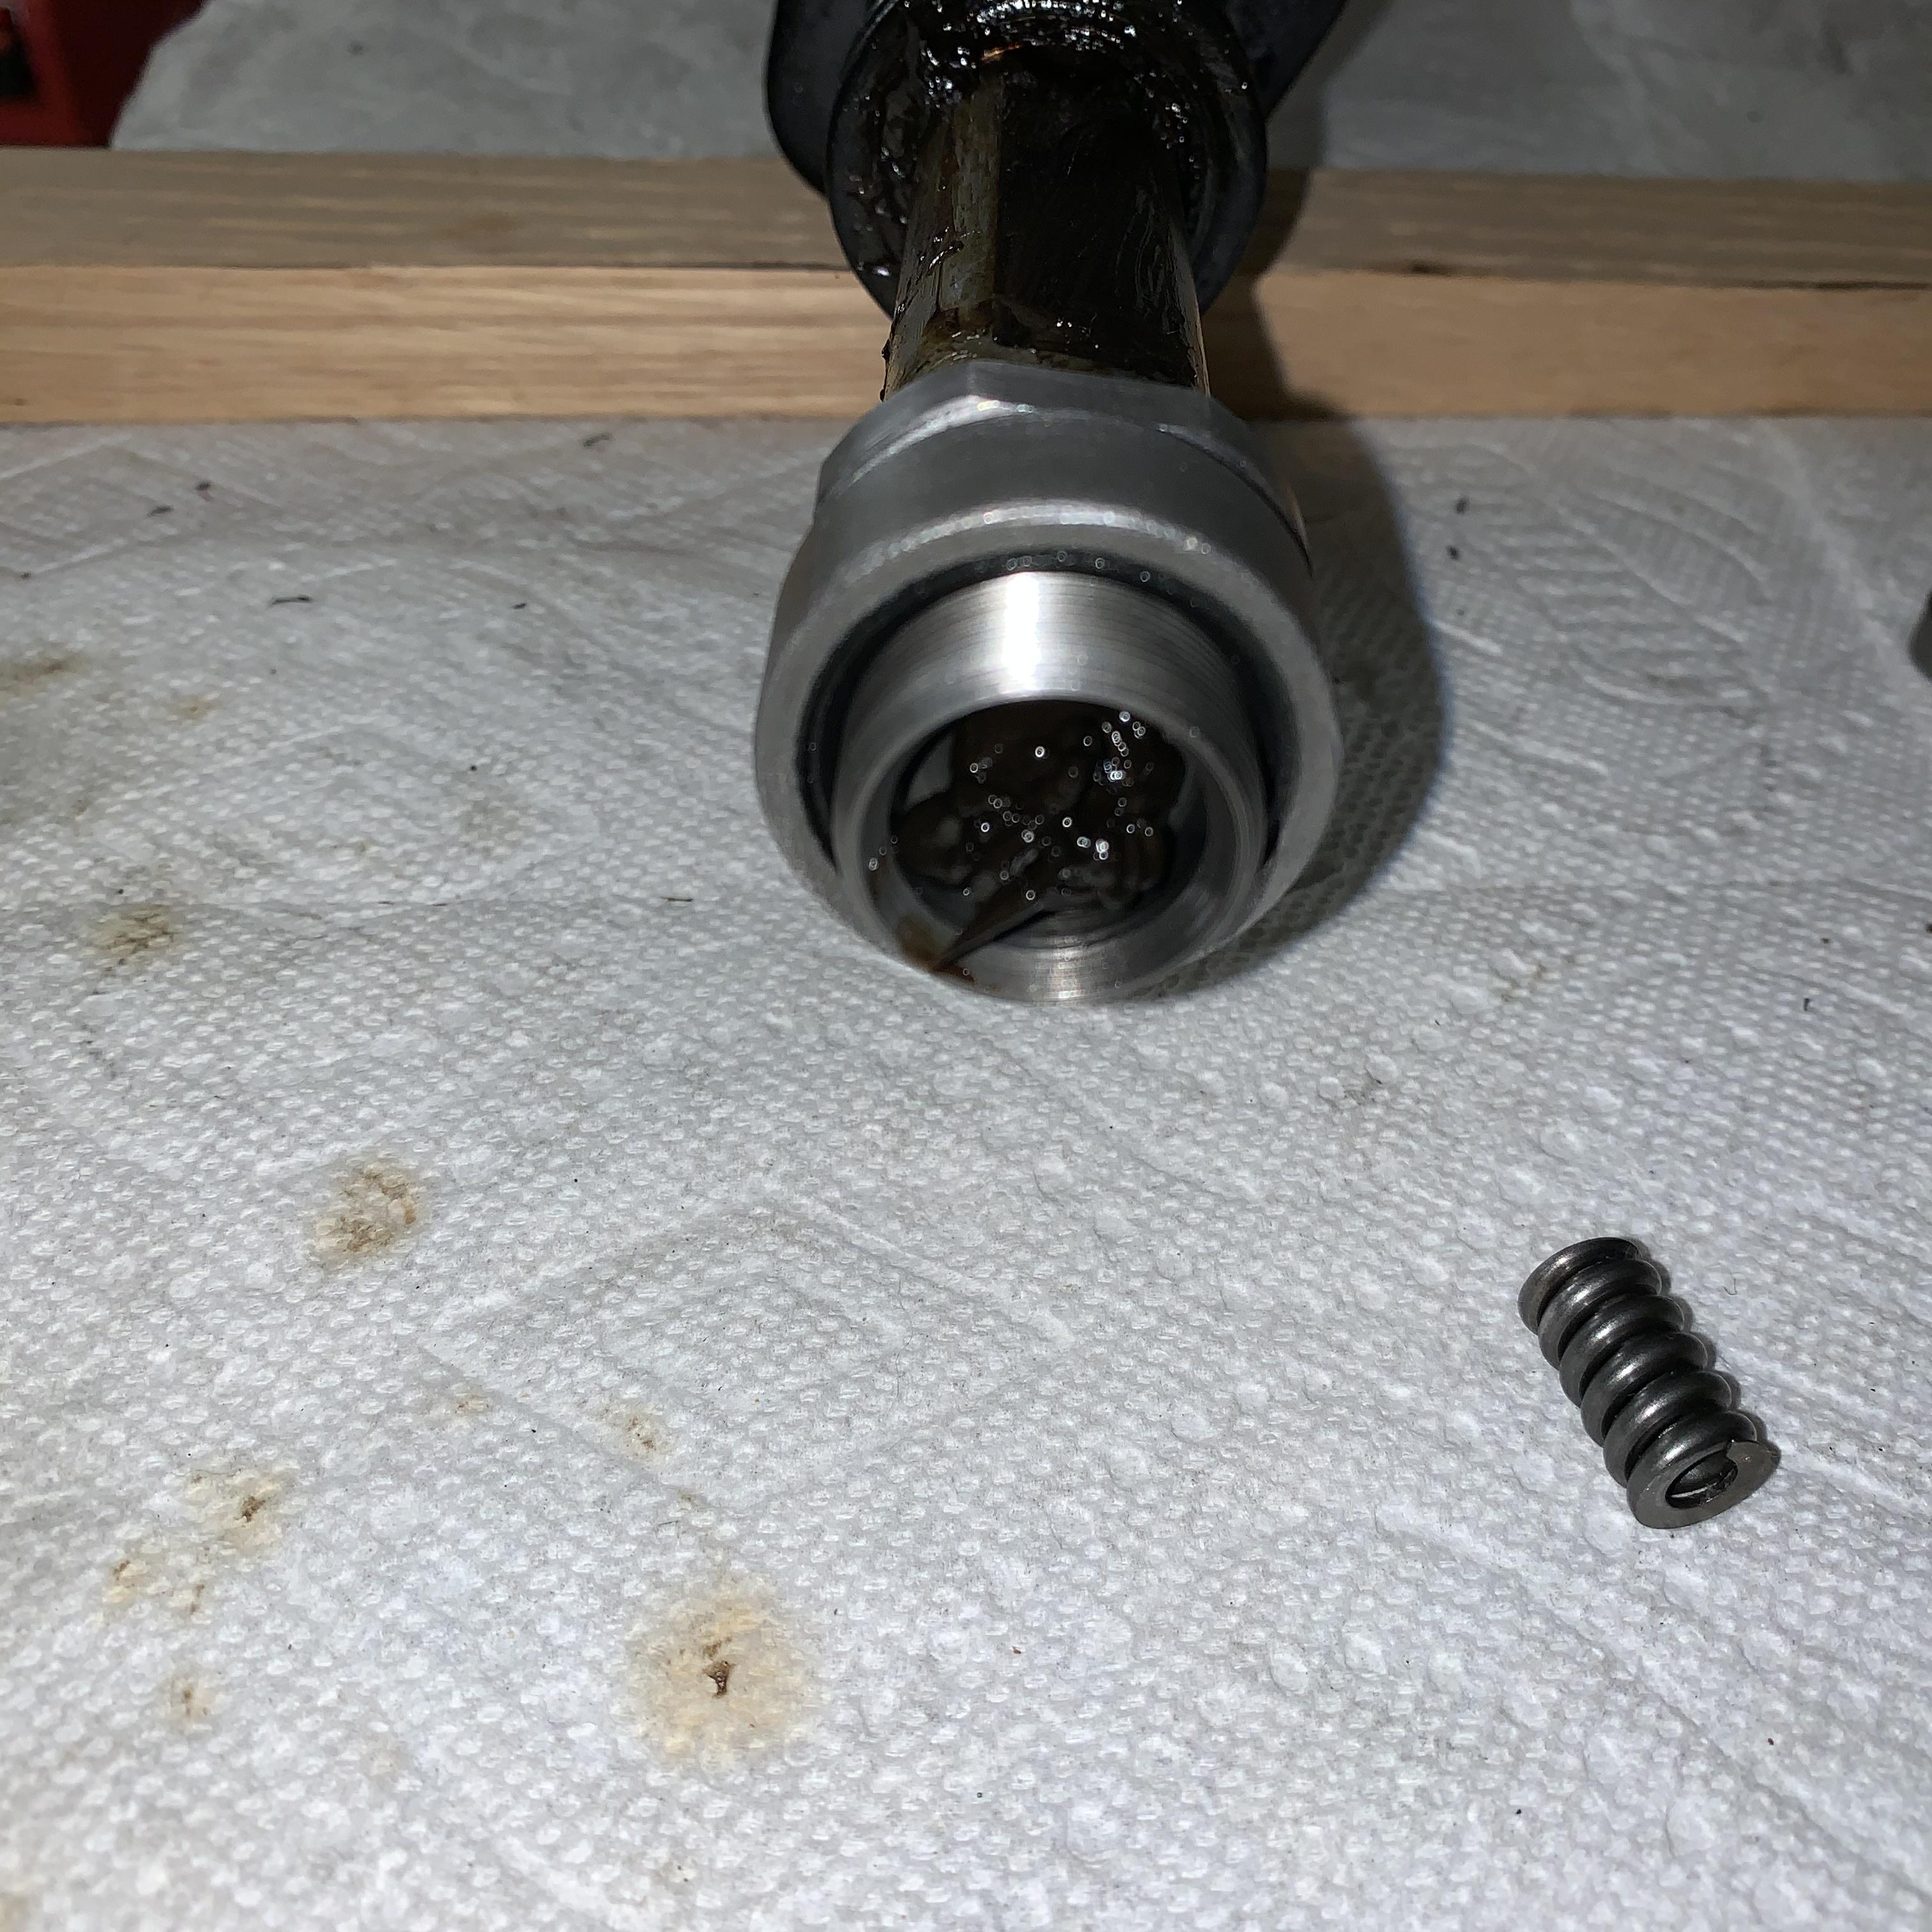
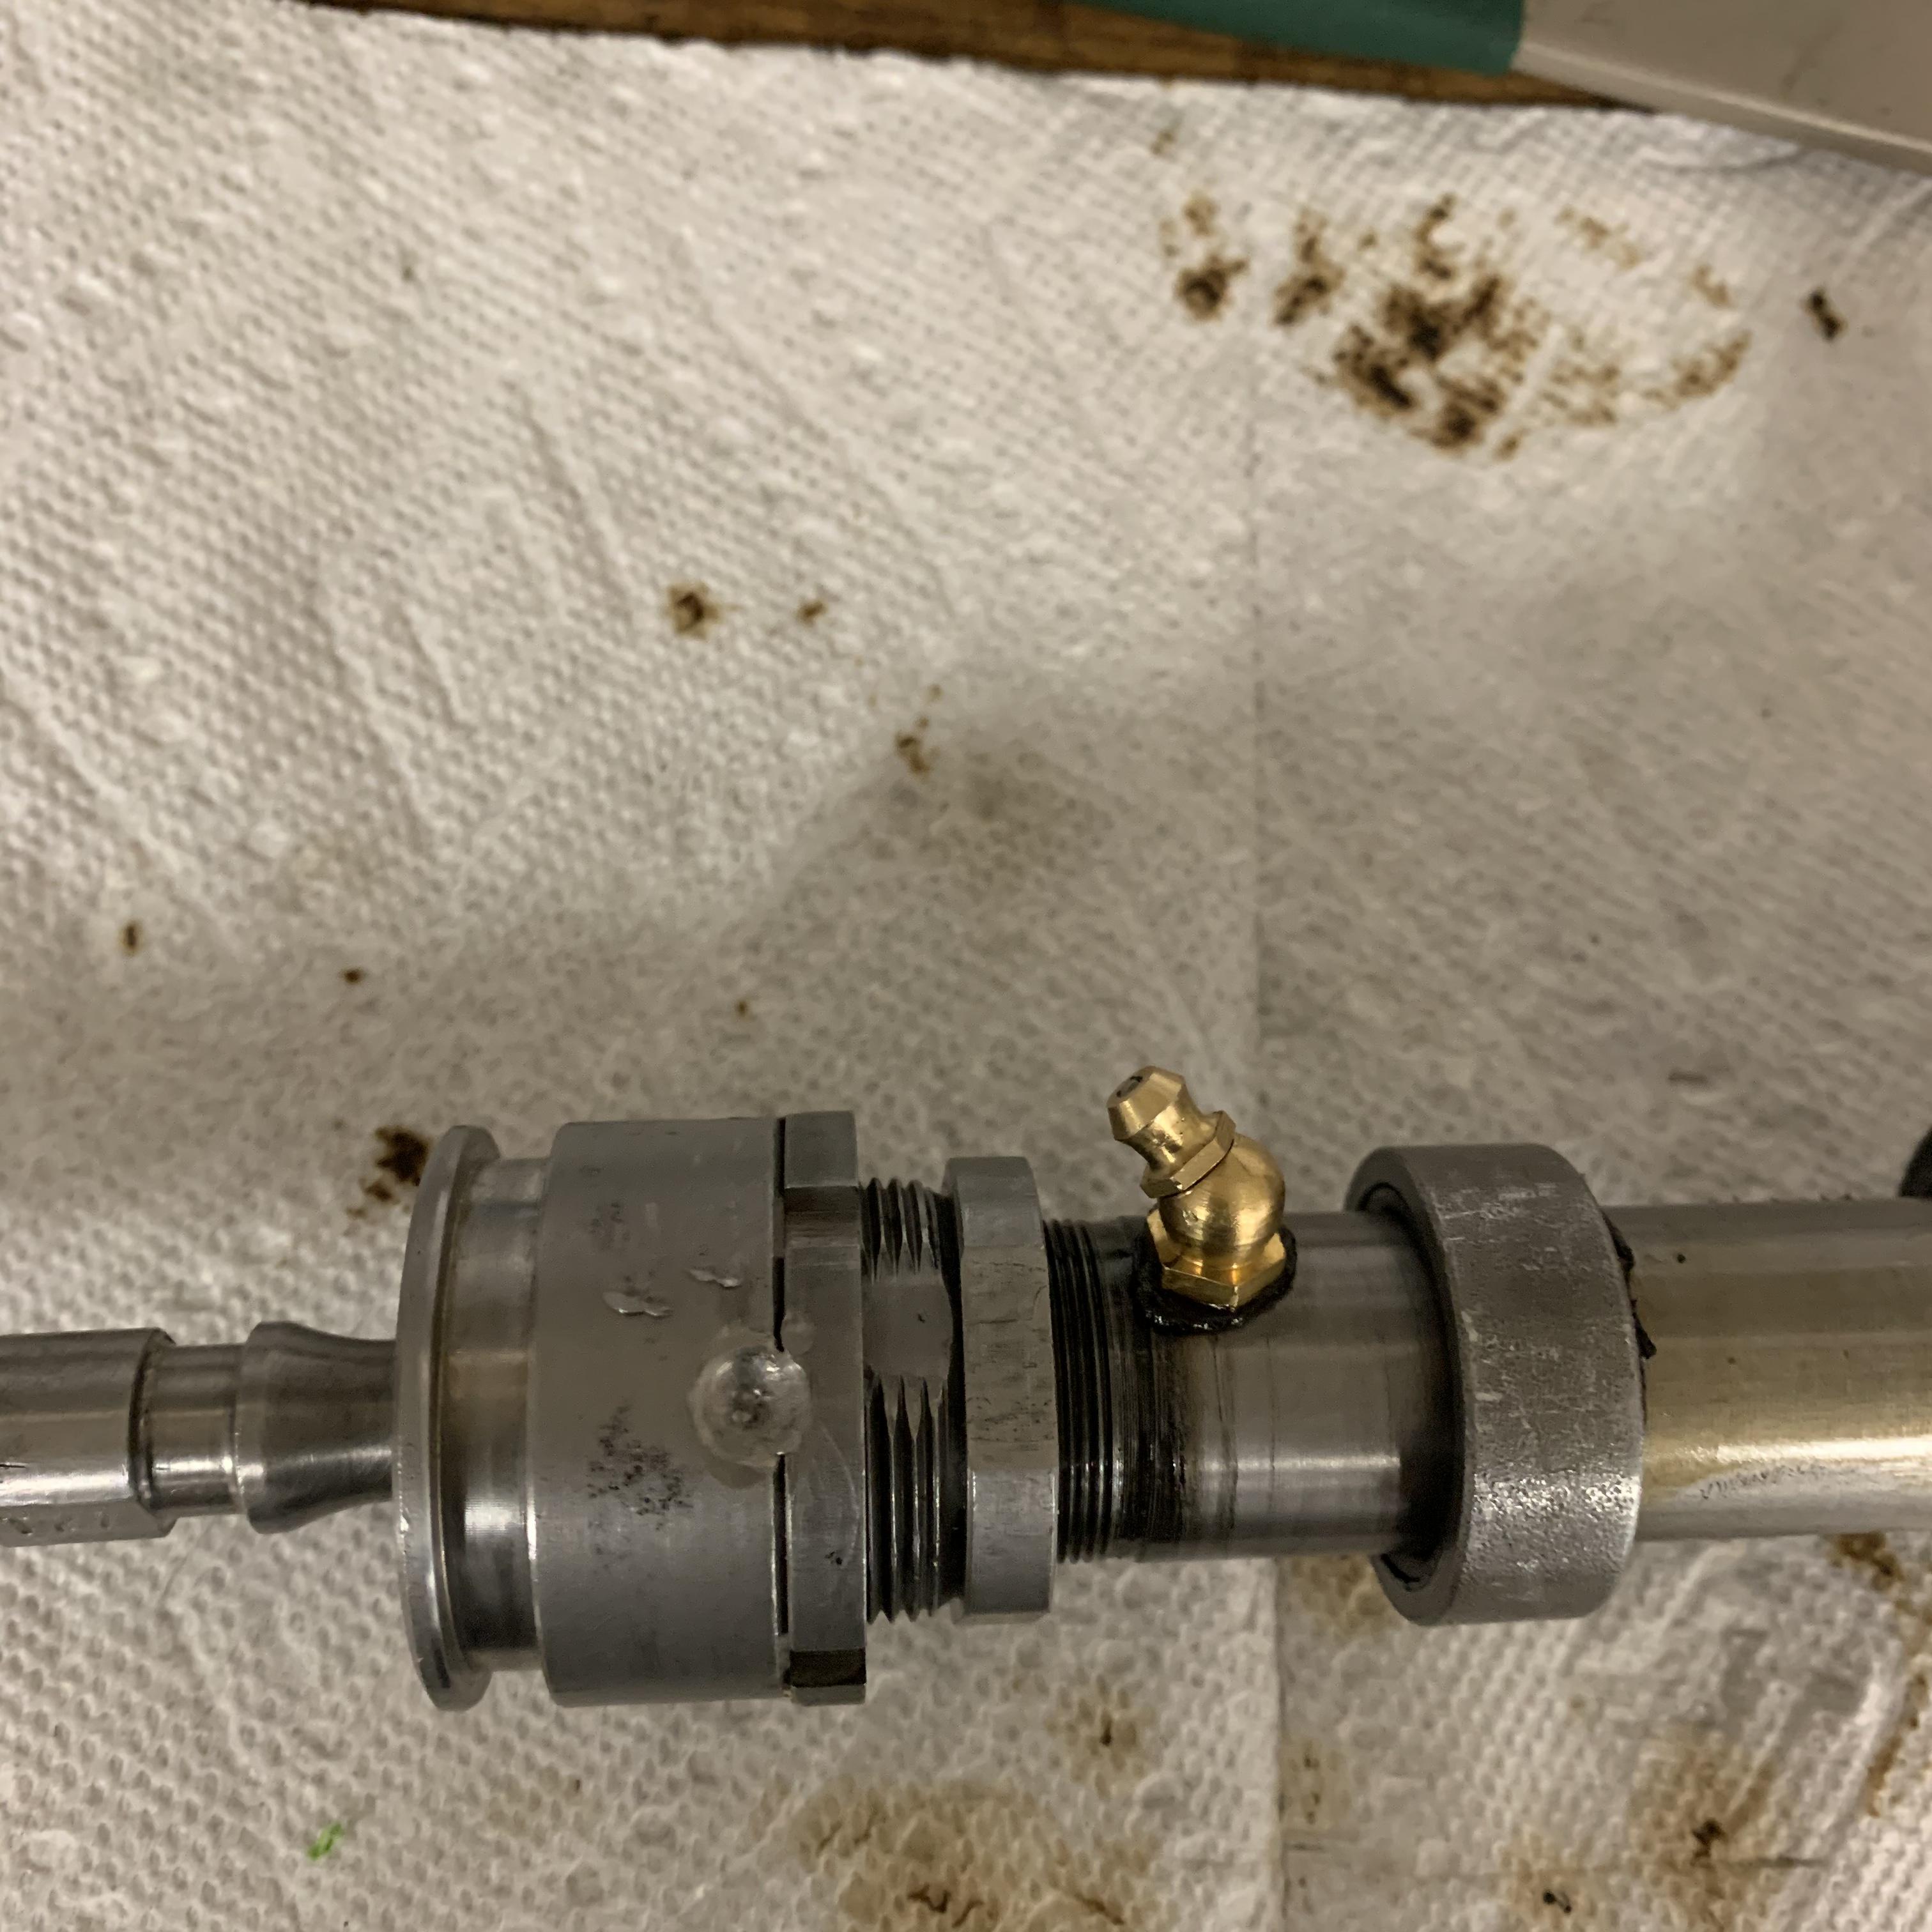
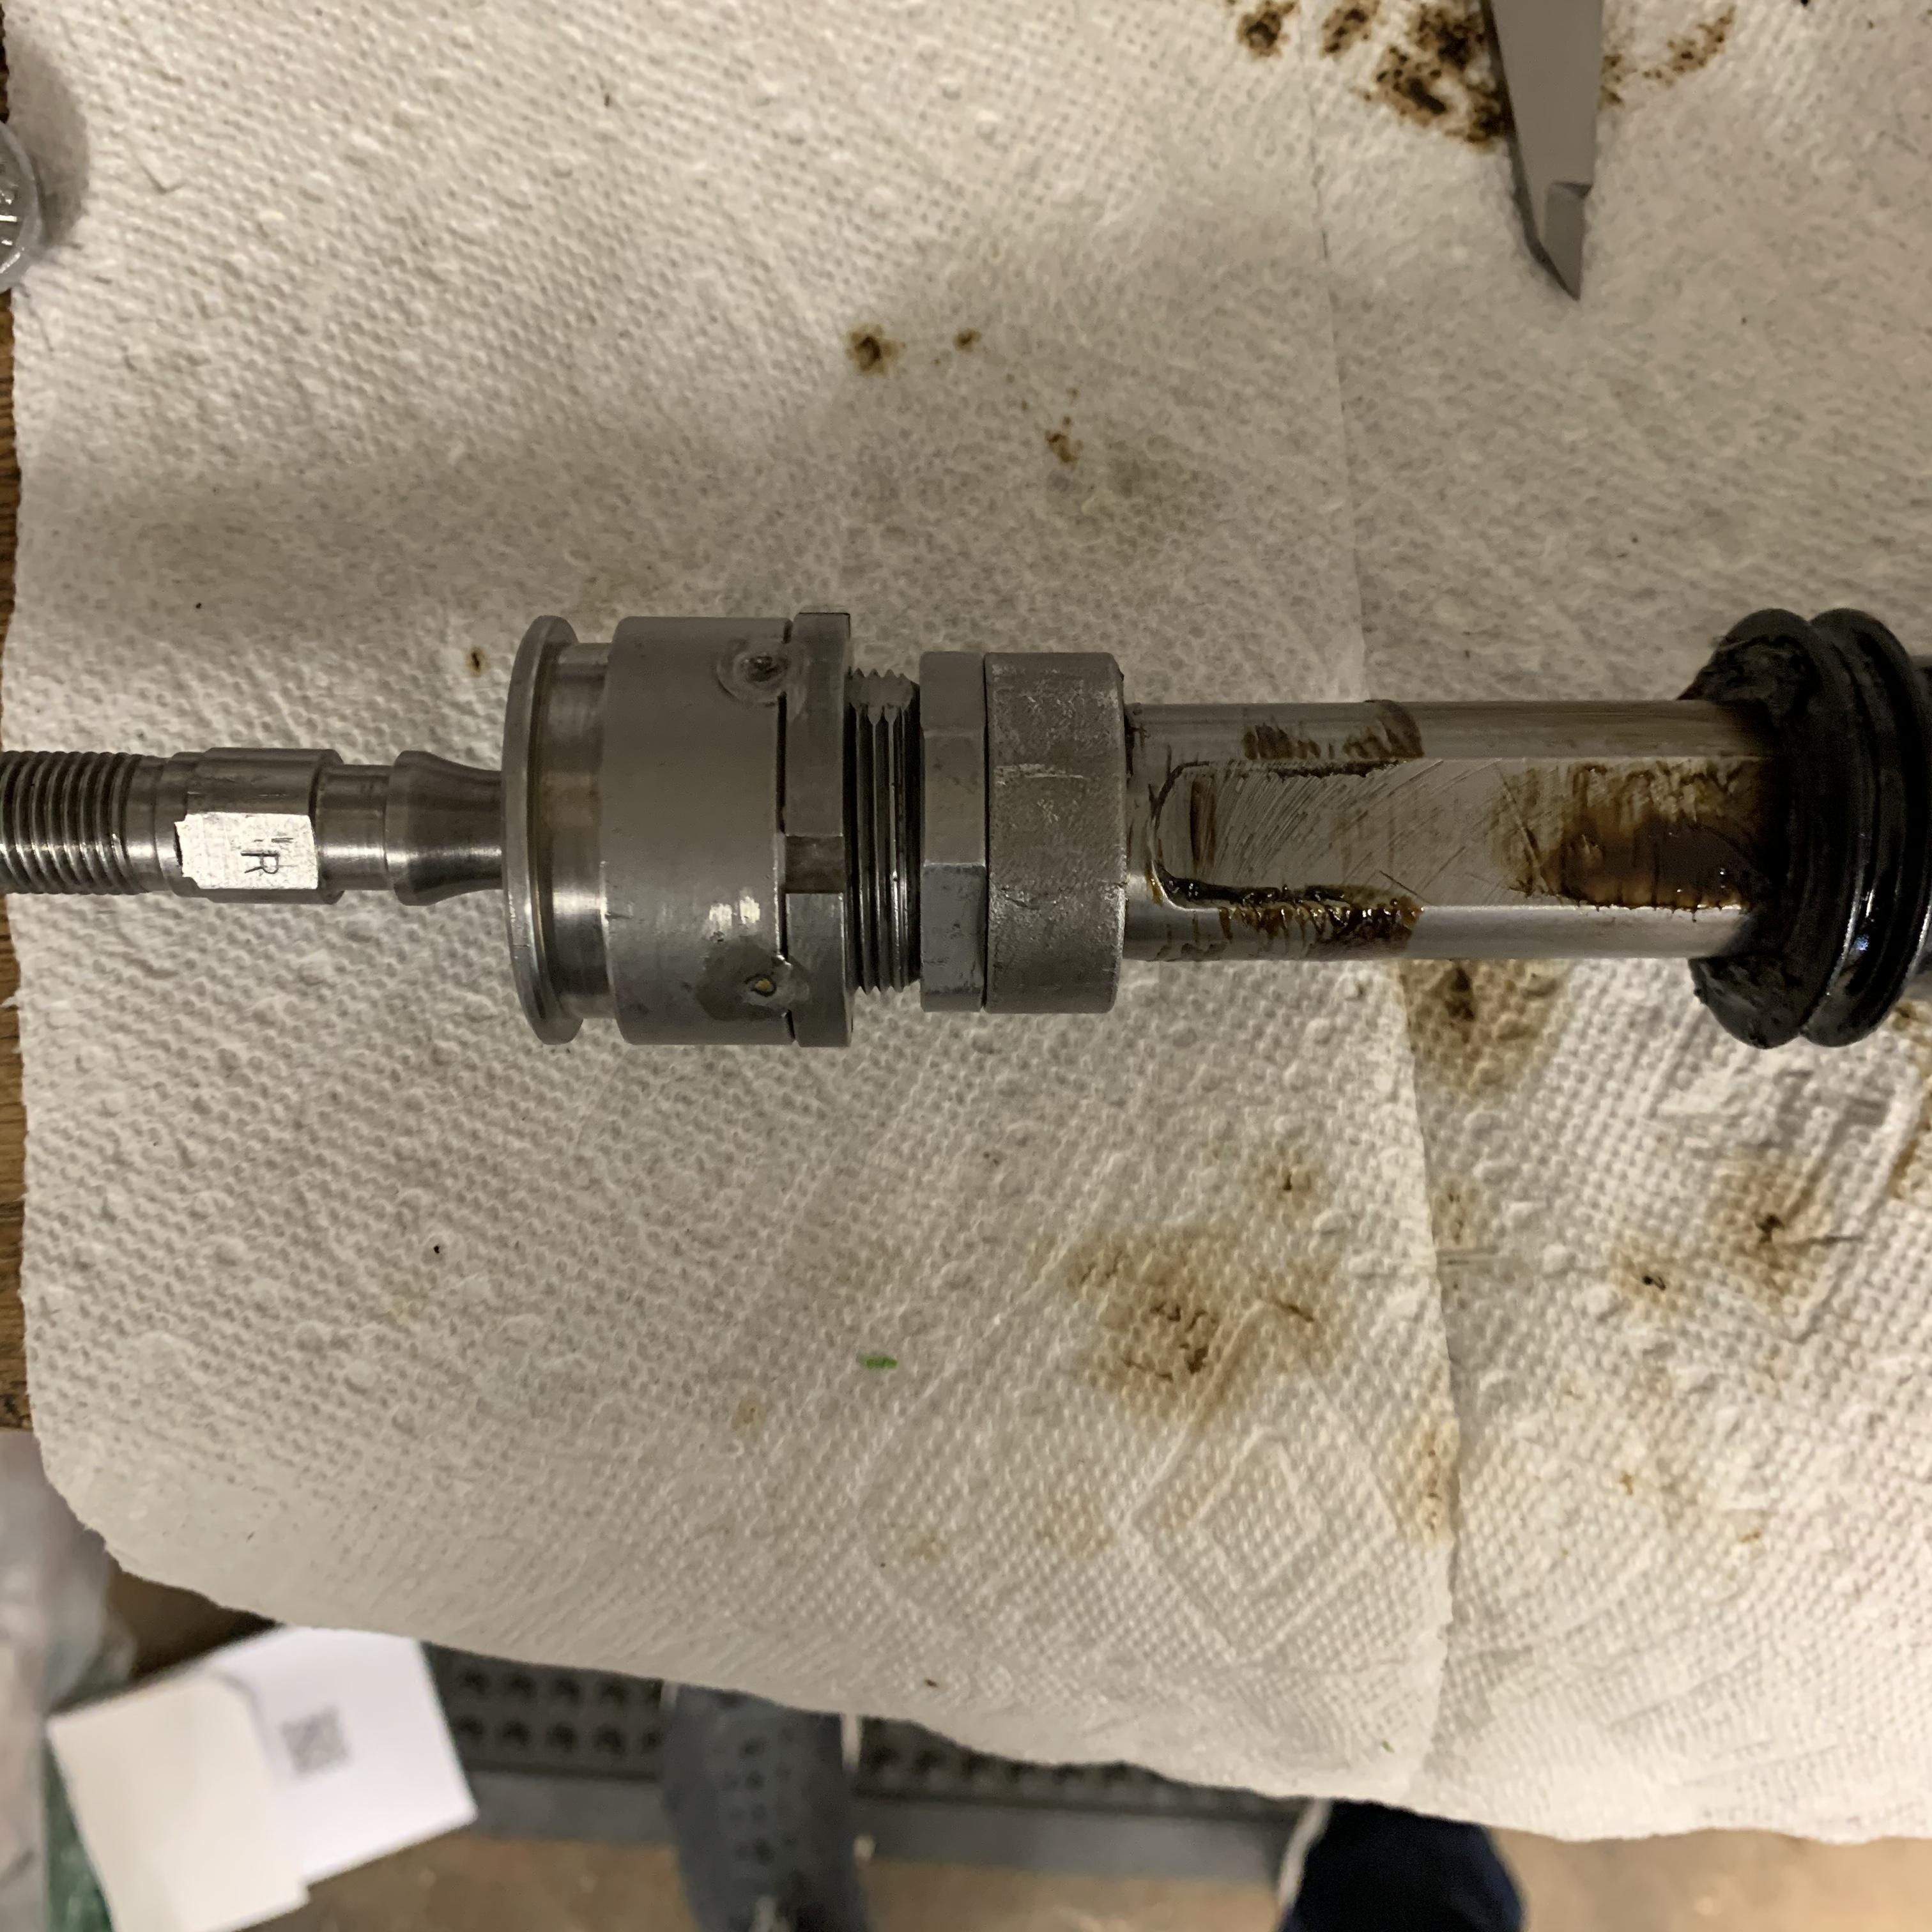
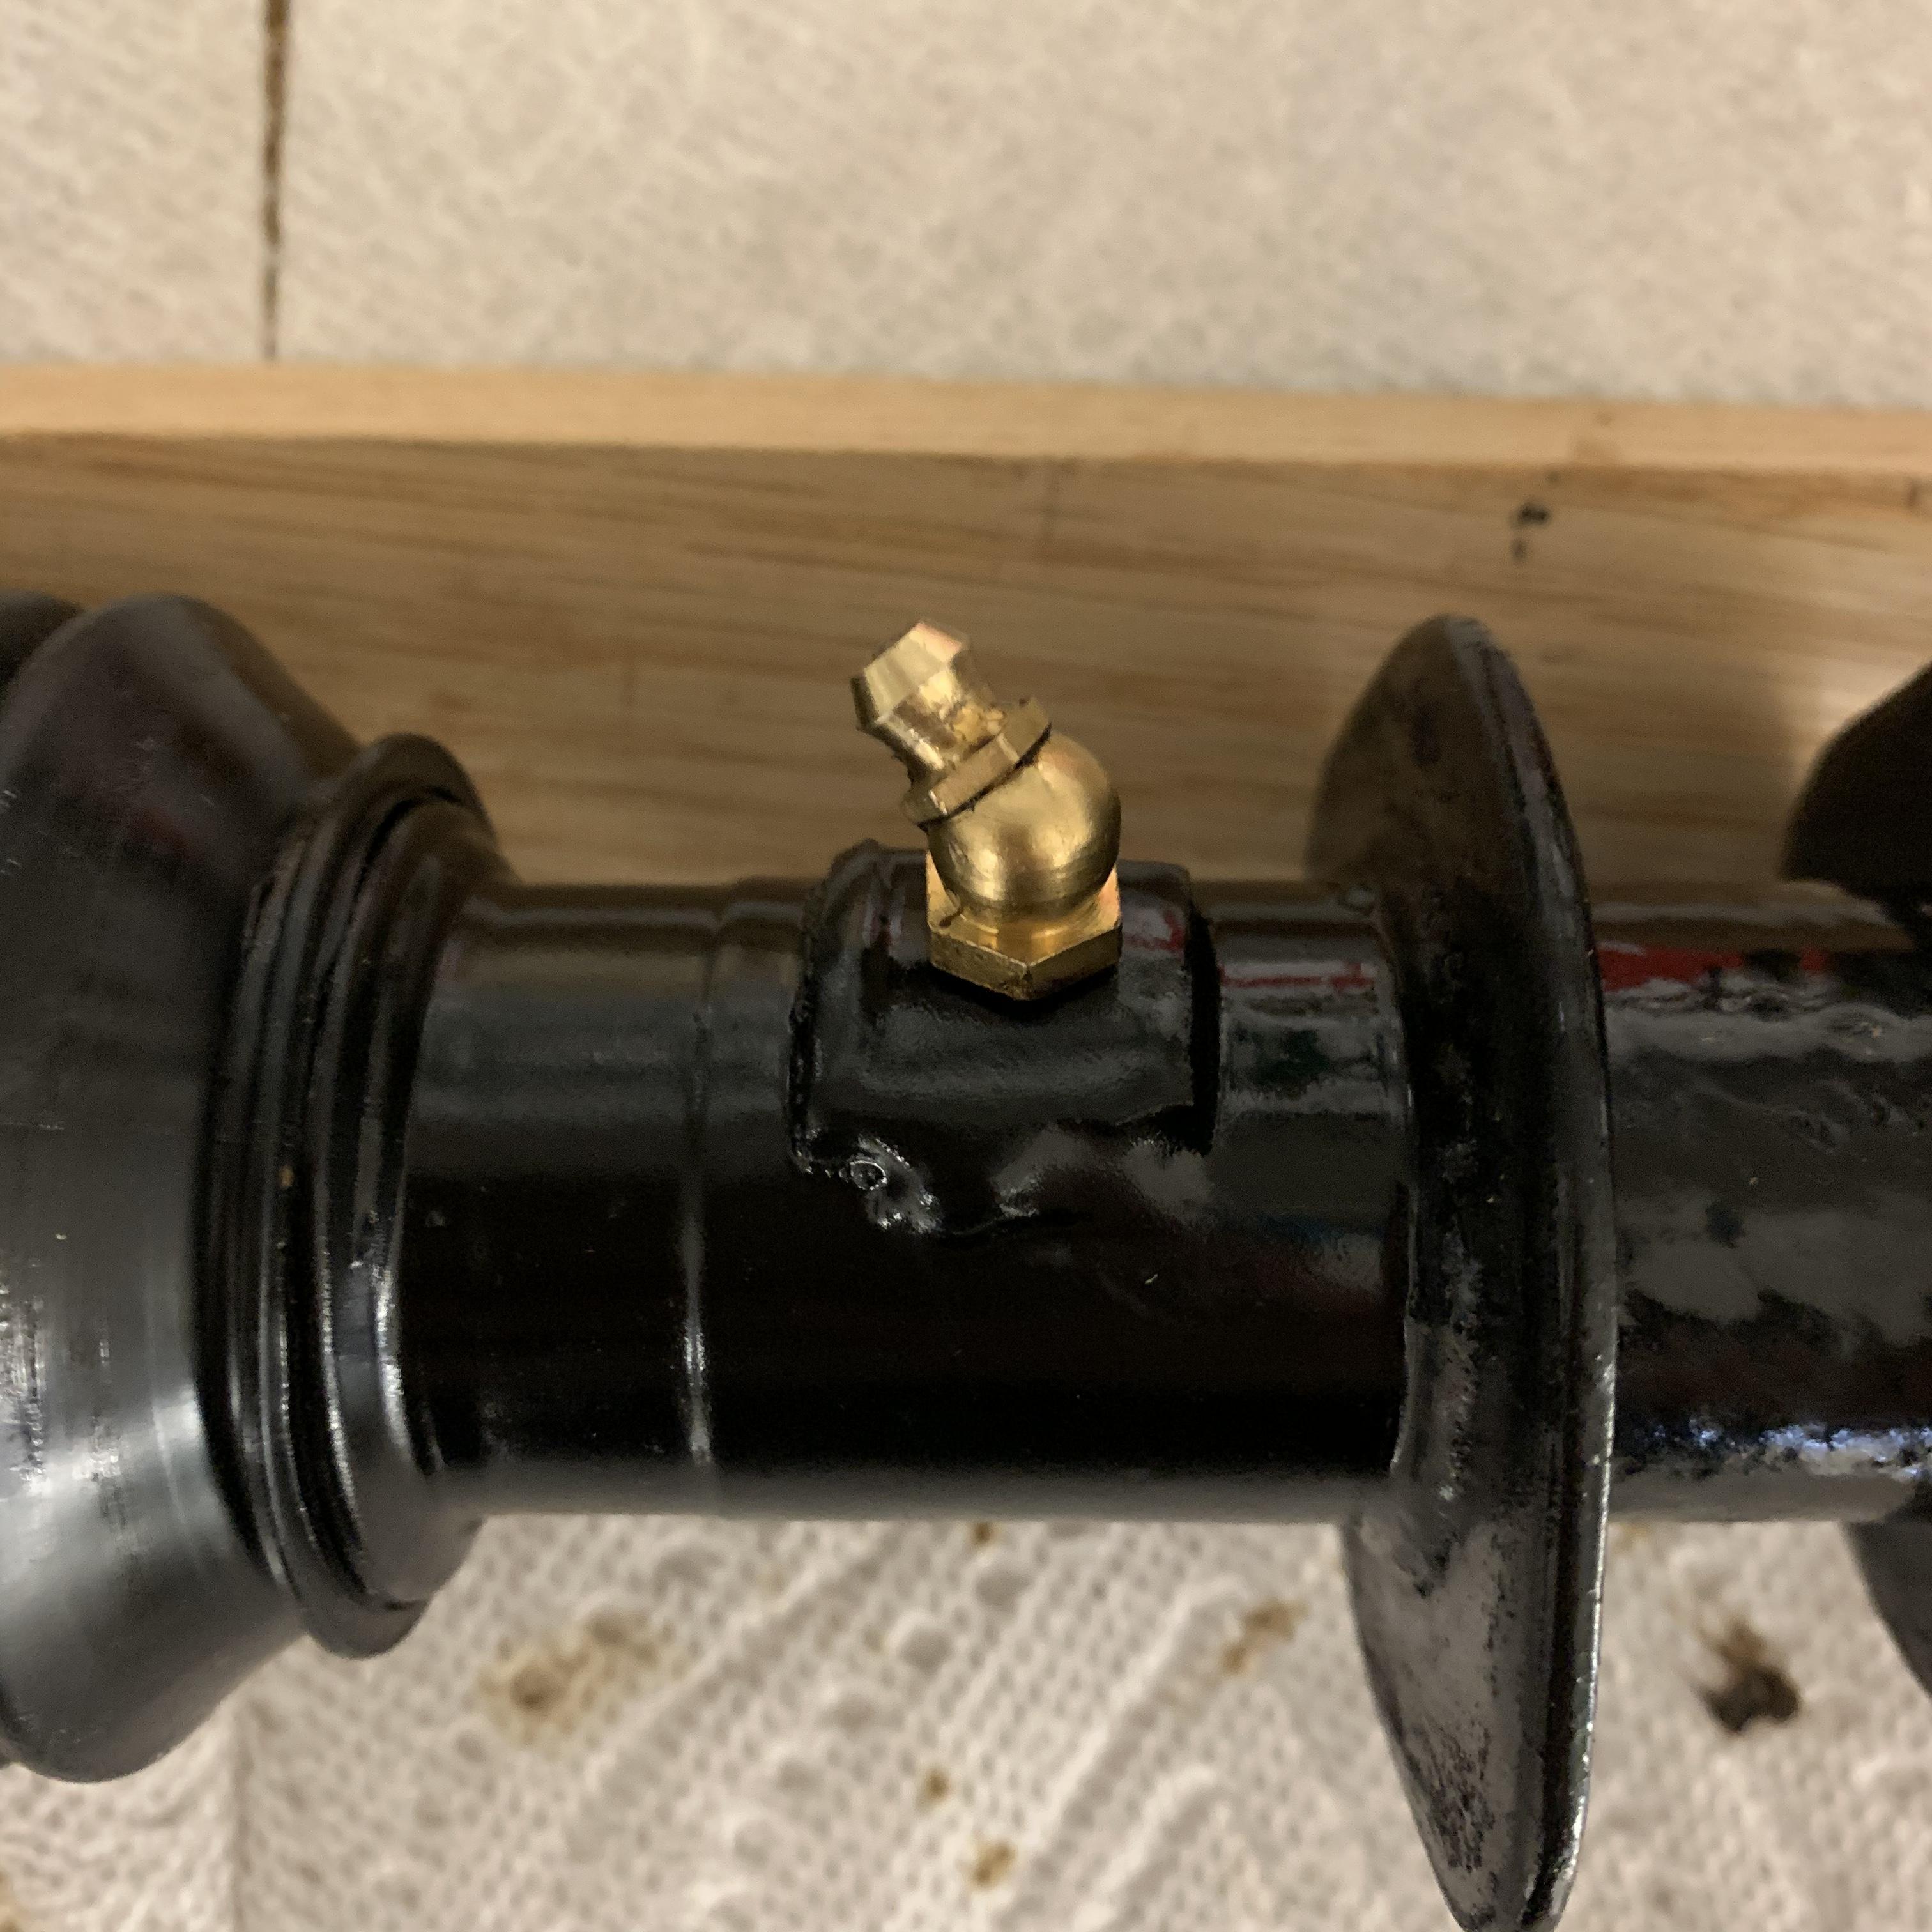
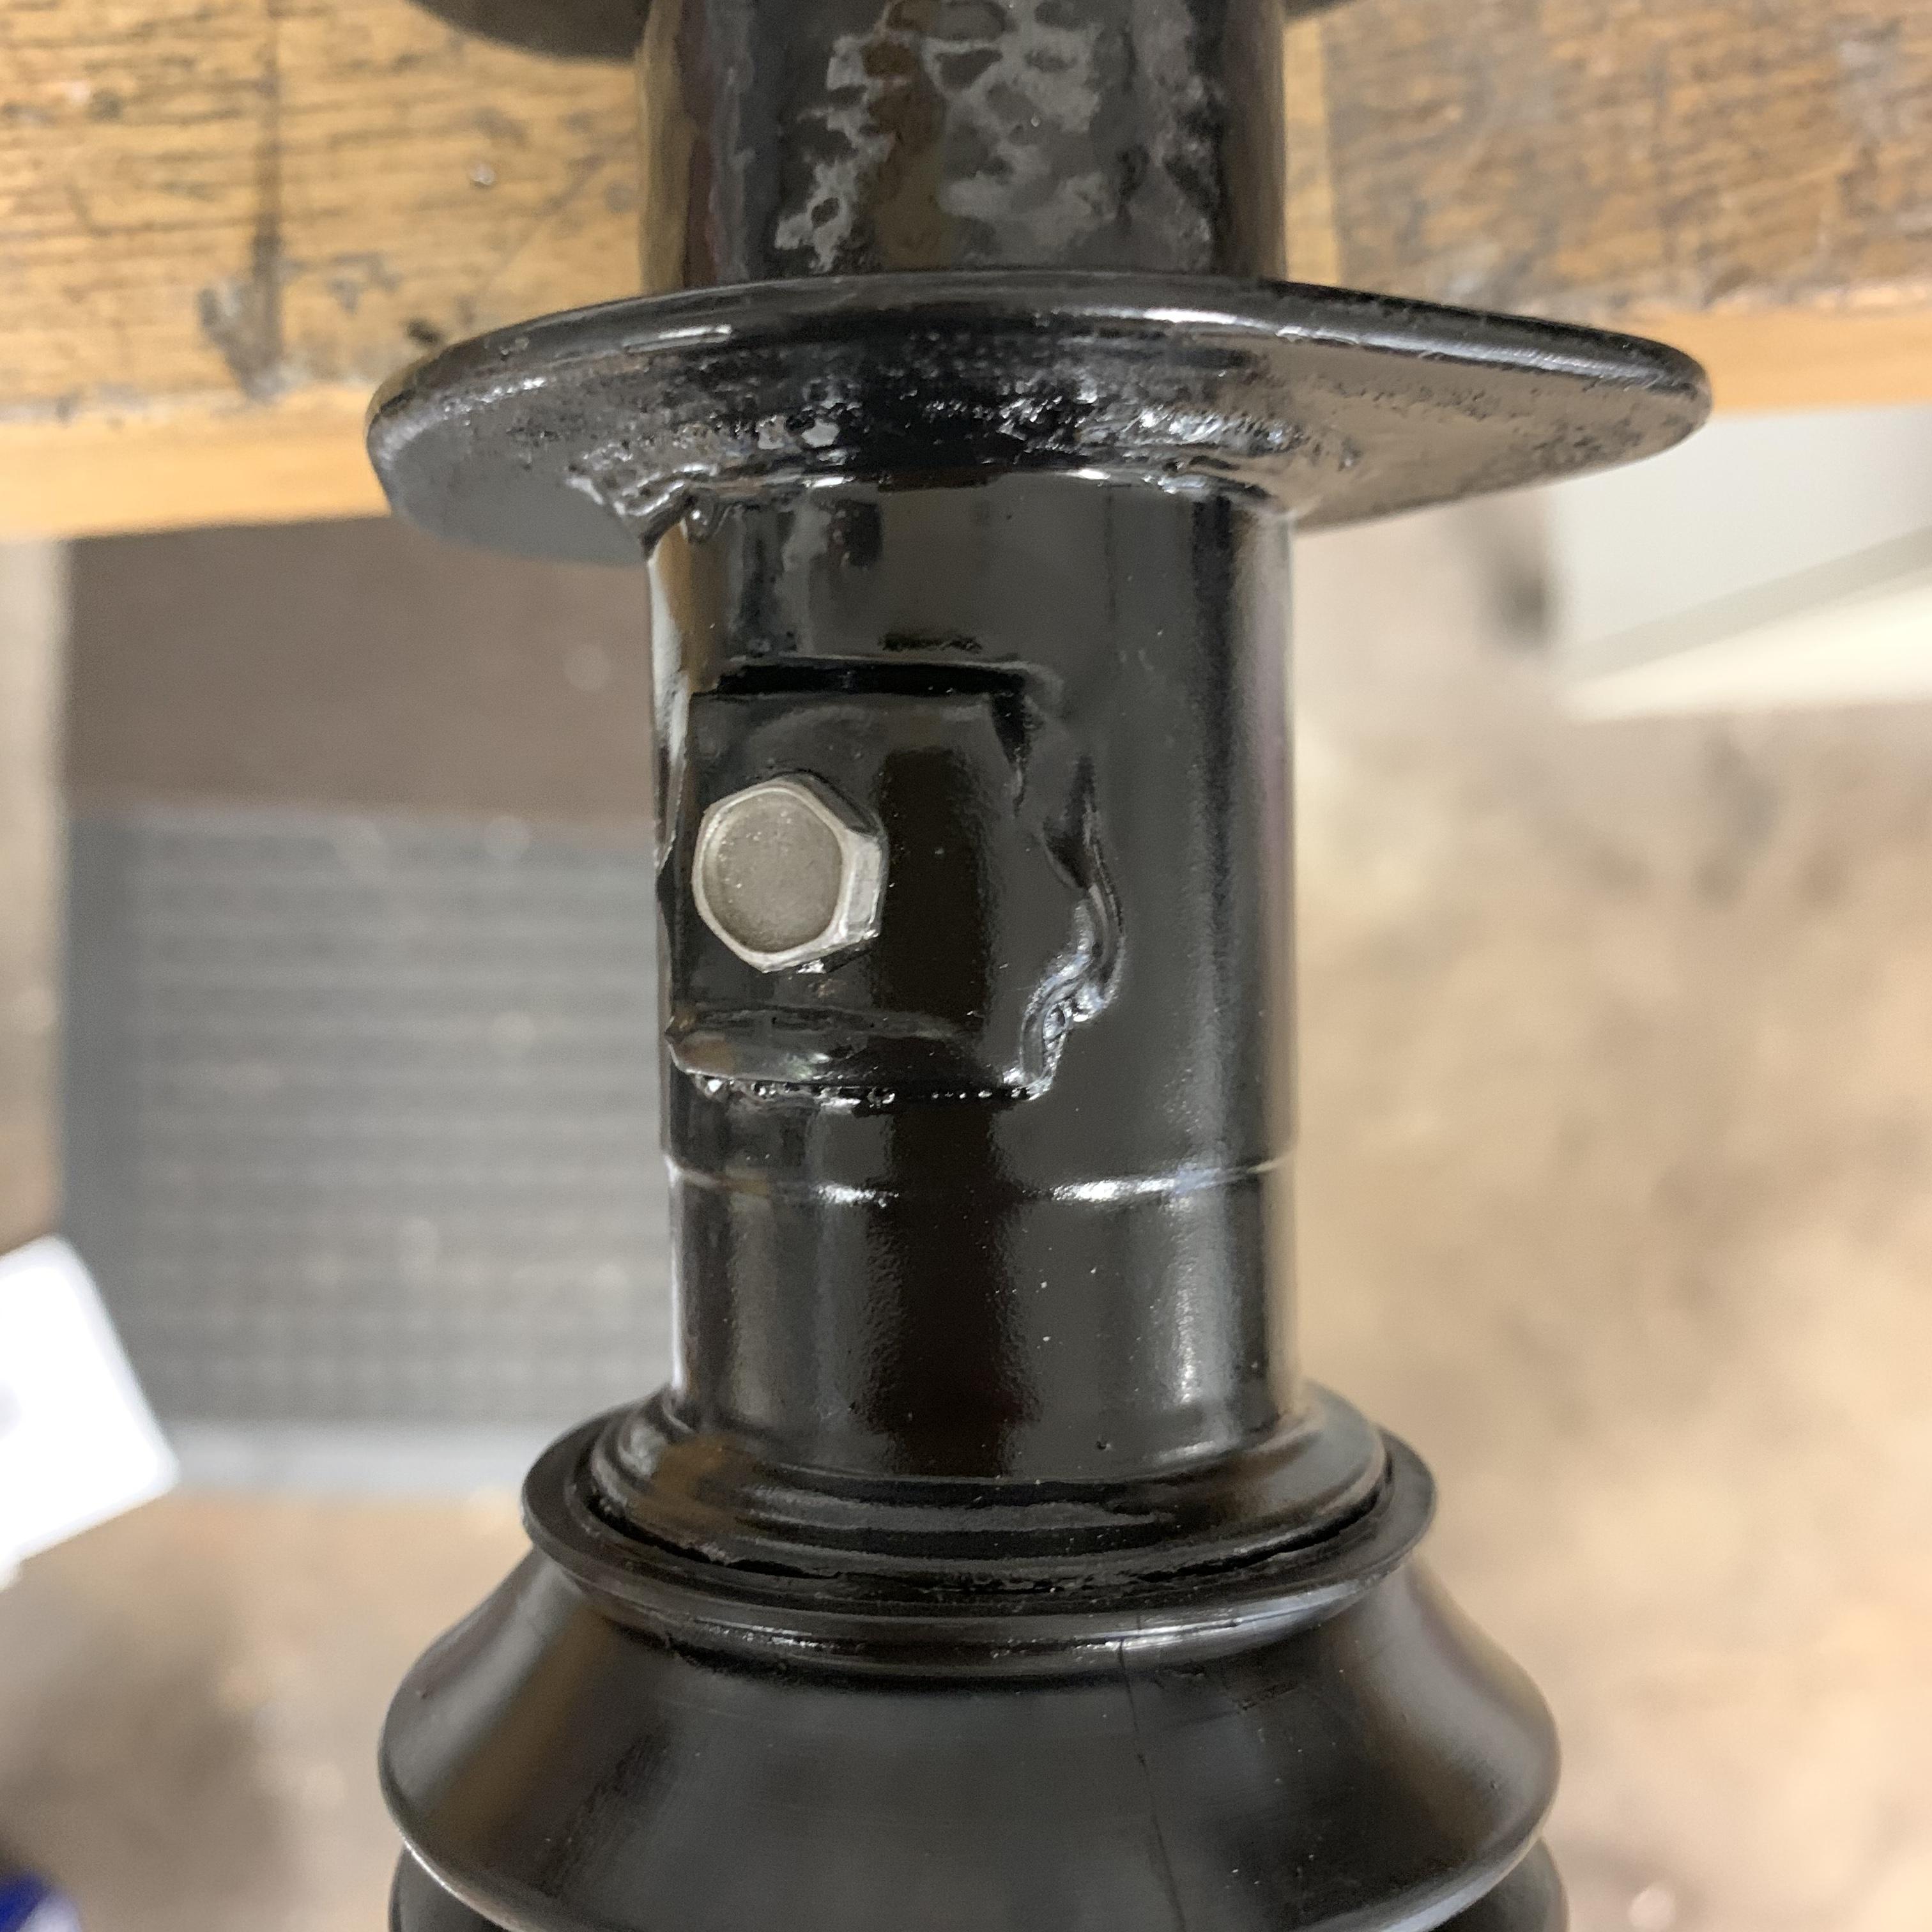
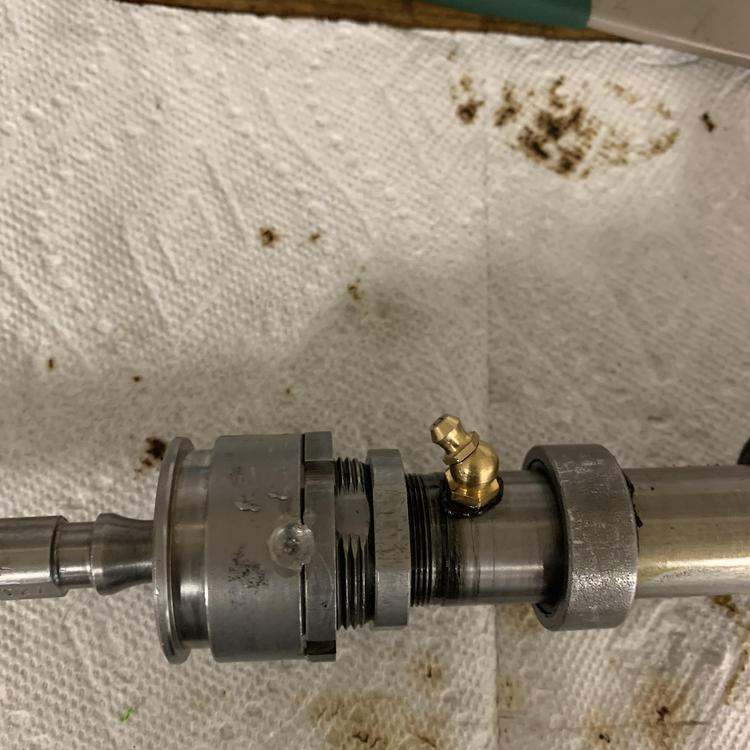
 1 pointDone. Everything specs out to the FSM. Just need to attach and lubricate the outer tie rod ends. ...


 1 point
 -
 1 point
 -
 Thanks, that does point me to an area where I removed the rotted egr and plated it off. The metal vacuum line going into the back of the intake was seized. I was able to back the fitting out but not able to remove the tubing. Ended up cutting the tubing and capping it. There’s a good chance that didn’t seat properly when I ran the fitting back in. As tight as it is I assumed it was sealed. Tomorrow I’ll spray some starting fluid back there and test it. Zed suggested looking at the pcv system. Replaced the hose at the block to the pcv. The aftermarket replacement was not a true fit. Had to really stretch it to fit. I’m amazed yours ran with that giant hole. Thanks for the pic.1 point
 -
1 pointOnce you know the code all the part numbers can be deciphered. Every company has their own methods of identifying and tracking parts.1 point
-
1 pointVery cool. And all this time I thought they were just random numbers generated by some sort chronological ordering system. I wonder if this means that all of the parts numbers can be deciphered in a similar way.1 point
-
 1 pointI'm using Inkscape, an open source drawing program similar to Adobe Illustrator. The wires are grouped in layers by system (e.g. lighting, ignition) but I haven't figured out yet how to keep the layers separate when I export them to acrobat. wire drawing pg1.pdf I have tomorrow night and a couple days next weekend with nothing to do and I hope to have it 75% completed by then unless it's already been done by someone. The wires are colored according to the diagram's designation and I use a dashed colored line to designate the secondary wire color so LY would be a blue line with a yellow dash as an example.1 point
 -
 1 pointI've not seen one for the 260. What tool would you be using to create the diagram? There's a great one for the 77 done in AutoCAD. Would it save you work to start from that and modify it for the 260, or would it be just as easy to start from scratch?1 point
 -
 Installed the carbon canister today. Two of the four mounting bolts were stripped out completely, so will need to figure that out one day. @Dave WM, I'll try to test the vacuum tomorrow. Everything was running fine after install and hooking everything up, so I'm taking that as a good sign. I found a good timing light on craigslist and picked up last week. Finally got around to using it today. It has RPM as well, so was able to adjust that too. Timing was at 0 initially. I adjusted to 10 degrees, which bumped the rpms up. With a few adjustments I'm at 10 degrees and rpms are around 800 (ish). Sounds better than it did before. Tomorrow, I'm going to swap the spark plugs out for the new and take it out to drive a bit (though my temp tag just expired... will need to be a bit careful of where I go...). See how the plugs look after an initial drive. I pulled one of the ones in now, which don't have much driving on them and they're very black.1 point
 -
Actually the whole point of my study was to determine where "on the engine load curve" does the peak vacuum (and hence, ignition timing) occur? The reason behind the project was I was adapting the throttle body from a Sentra onto my Z and I wanted to make sure I wasn't changing the ignition timing much by moving the vacuum advance characteristics. So I drove around a bunch with a vacuum gauge teed into the ported vacuum source with the gauge on the interior so I could see it while I drove. I was trying to measure something "portable" between different throttle bodies so I could compare them. In other words... A measurement "standard". My "standard" went like this: "While driving flat and level, what speed would the vehicle be going if the pedal position was held constant at the point where the ported vacuum was at it's peak?" Even though the absolute number does not matter, it gives me an objective way to compare port locations on different throttle bodies. So, directly to your question... The vacuum peak is not right off idle. It's significantly deeper in the pedal than that. In fact, I found that in my car, I would be cruising flat and level on the highway in 5th gear at 65 mph when the ported vacuum was maxed out.1 point
-
1 point
-
 yeaaaah.... international shipping two directions plus custom leather.... Plus the original shipping cost to get the parts here (door cards from USA)... That's gonna put this out of reach unless you already had the patterns there from your car (same year as mine). If I was closer this would make more sense.1 point
 -
 Wow! Don't tempt me!! I would love to have you take up space here for a while! I will start browsing though. Maybe I should just buy you a plane ticket for a month or so and you can come here and push Lily along...1 point
 -
 Ideally it would be very near where you live so you could look it over and so I could come for a visit. Honestly I have enough projects going to keep me occupied until next winter but there is a car size void in my storage area that will fill up with junk if I don't get another Z in there. Basically I'm looking for 70-78 Z without too much rust but that needs a complete resto, how about you send Lily up to me and I'll have her back to you before spring driving season.1 point
 -
Would you like me to help you spend your money? What are you looking for and how far away can it be?1 point
-
 Btw. Wayne rightfully deserves all the credit for that wiring diagram. I'm just babysitting.1 point
 -
1 point
-
 #2 was the "good thing". #1 A very good thing. #3 is a fantastic thing. Your "glass" got filled this week. Congrats.1 point
 -
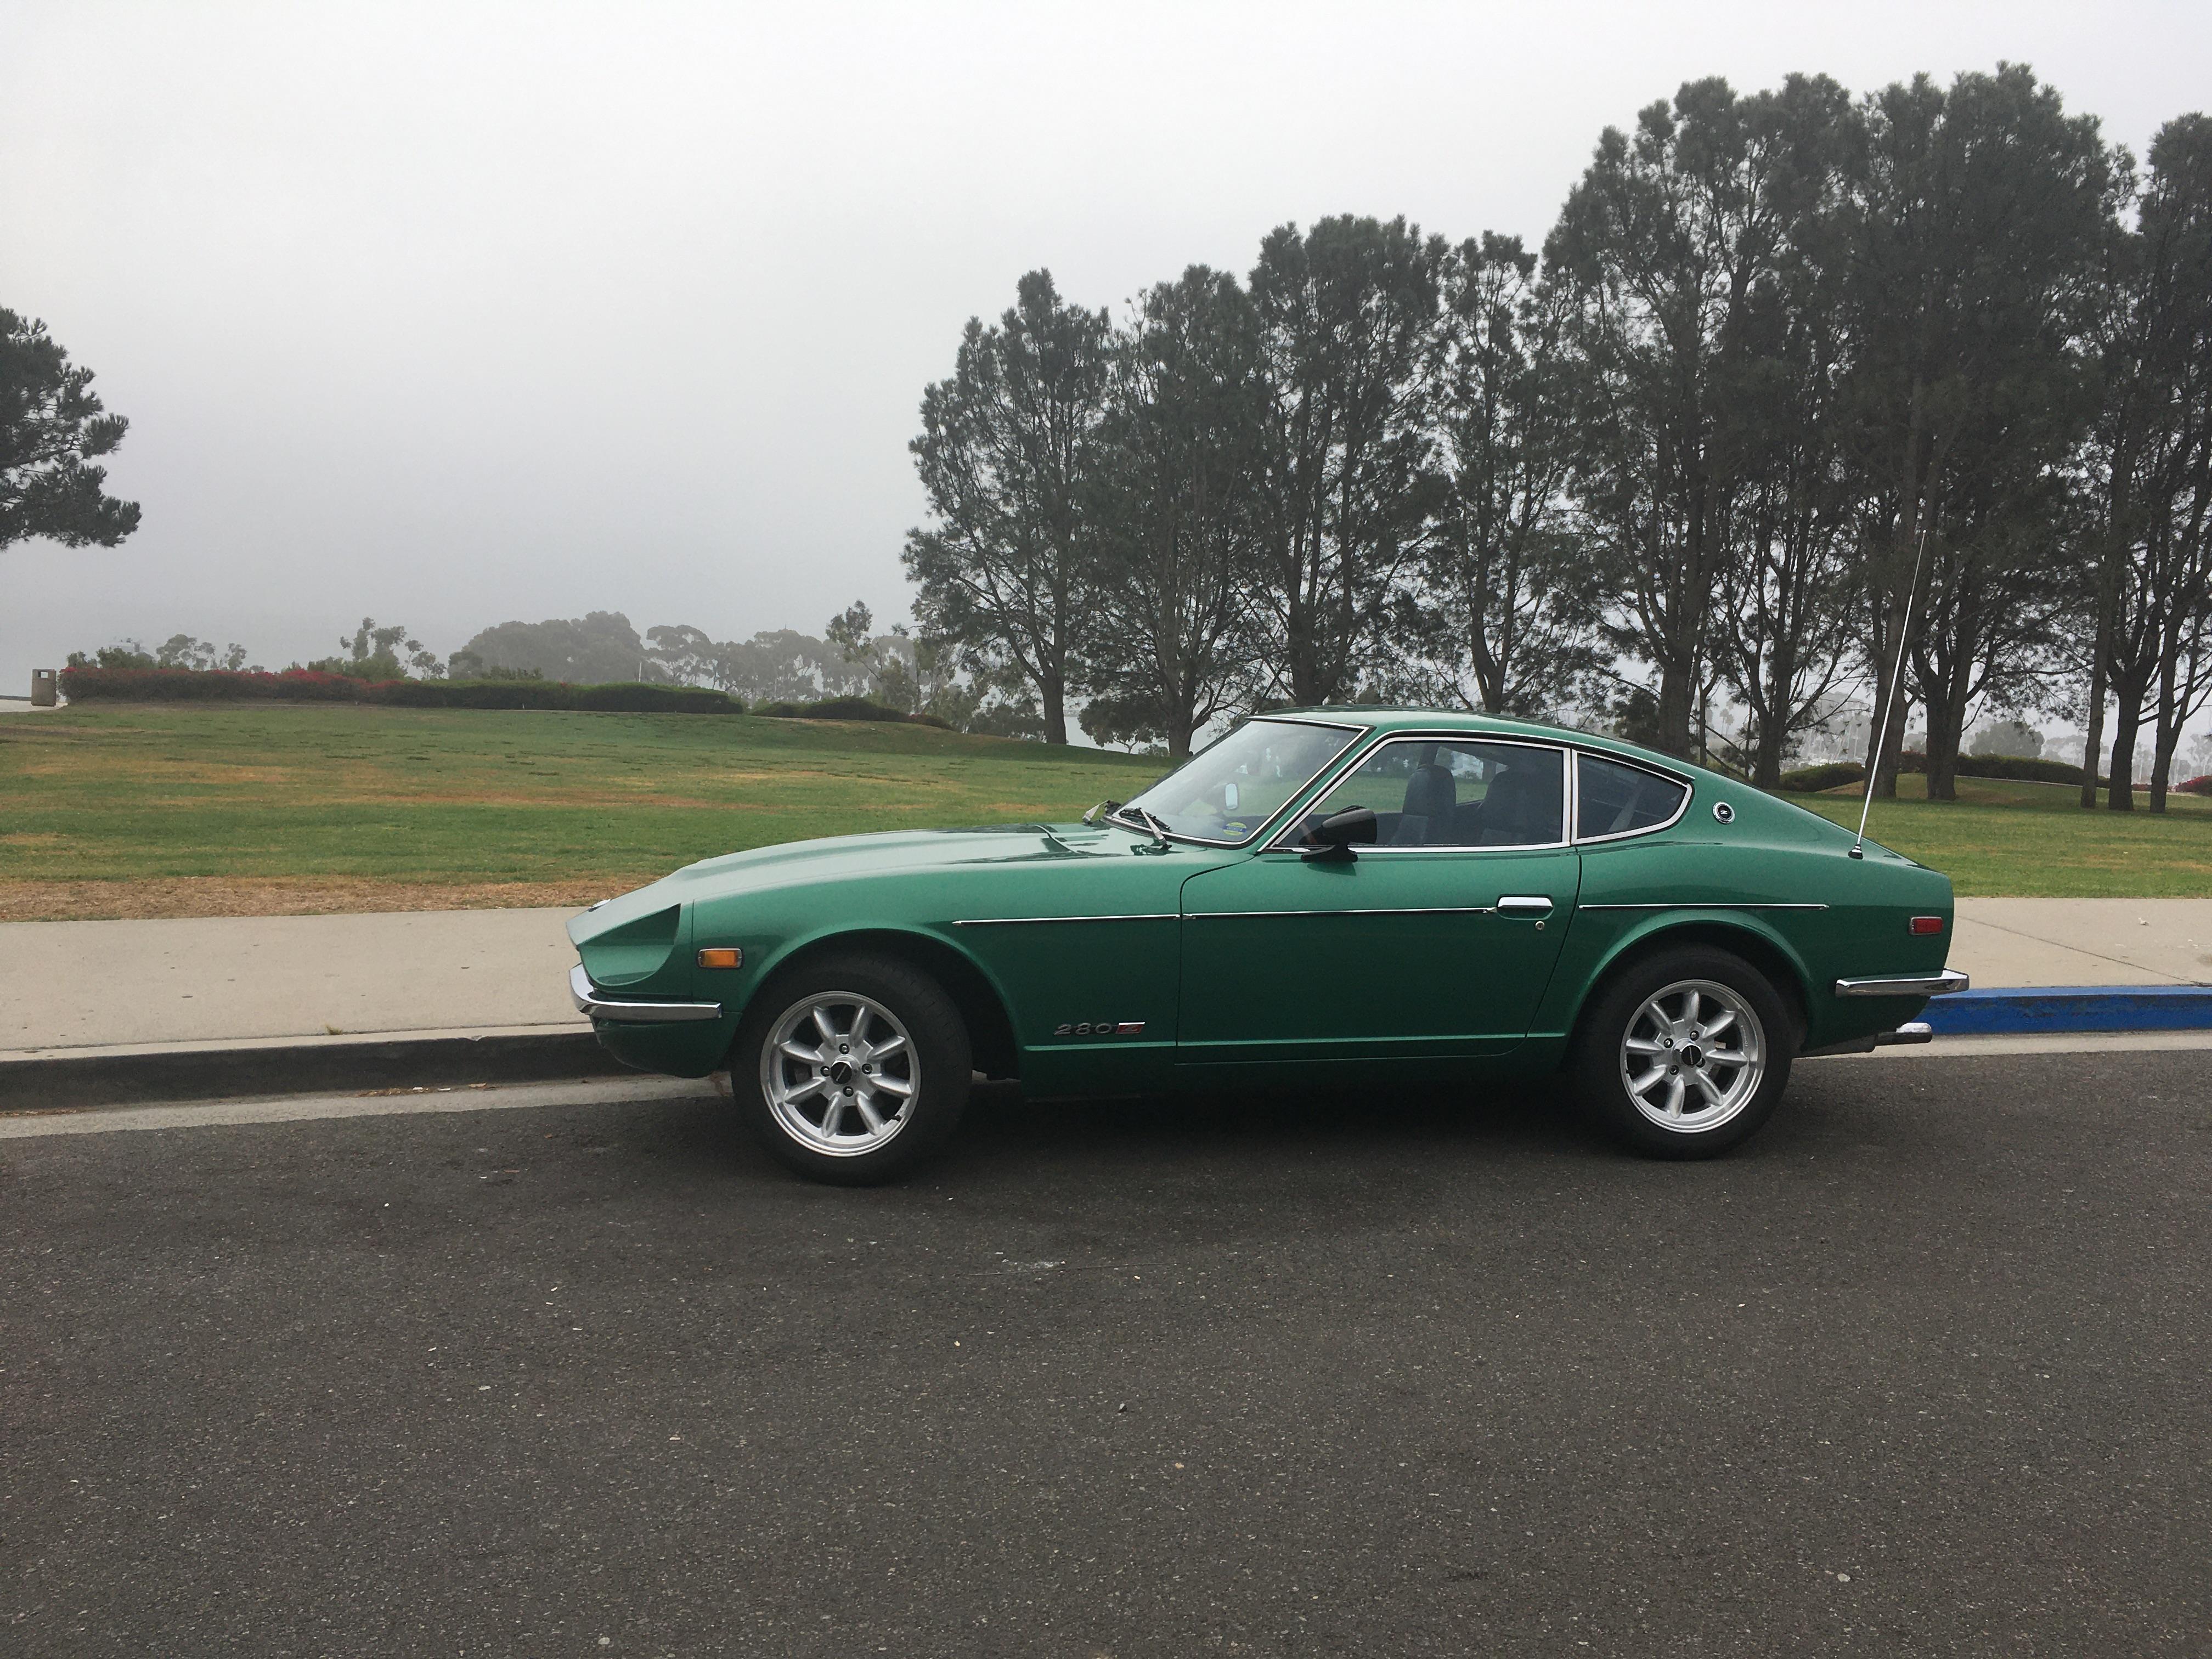
 So three good things happened this week. I found a color wiring diagram for my car here. It includes connectors and pinouts, and is much more legible than the photocopied FSM I've been using. One with this detail only seems to exist for a '77. Lucky me. Got a buddy in the office upstairs to print it out on a large color format printer for me, for free. Like I always say, if it's for free, it's for me. Hopefully this will motivate me to press on with the electrical issues resolution. A car very similar to mine in age, mileage and condition just sold on BaT (Bring a Trailer dot com) for $8400. It even has the same wheels, aftermarket sunroof and side moldings. The only difference is an aftermarket '70s era turbo conversion. I'm taking this as good news that I didn't do too badly buying mine for $7800. Yeah, I know. One car isn't a trend. And BaT auctions tend to bring top dollar. And that car runs, though with electrical issues of its own. Still, I'm trying to be optimistic here. Latest blood test pegs my cancer probability at only 33%. That's much better than the 100% I was led to believe before. Biopsy scheduled for mid June. It feels good to have a plan. The glass is half full, right? Excepting rossiz's definition, of course. I might just add that to my sig.1 point