Leaderboard
-

conedodger
Free Member5Points11,316Posts -

Jeff G 78
Free Member4Points3,007Posts -


Dave WM
Free Member4Points3,591Posts -


Zup
Free Member3Points1,163Posts
Popular Content
Showing content with the highest reputation on 11/21/2019 in Posts
-
 3 pointsHey everyone, I have finally decided to join this forum. I'm currently restoring my 72 240z and will create a thread soon detailing my build. I bought my 240z late June in 2017 in South Carolina and started an extensive restoration. Like most people, I thought it was a much easier task and had no idea the amount of work and time needed. Having said that, I absolutely do not regret that decision and can't wait to finish it. I believe this forum will help me answer all my questions and concerns. I would like to give a big thank you to grannyknot as he has been a crucial figure helping me through out this build and I'm fortunate to live close to him ?3 points
 -
3 pointsFinished booking rooms for the Arkansas Jims. Funny---before you couldn't get 2 double beds---now you can't get King size. Some things aren't quite right but maybe it will get sorted. Kagy (the wifey) and the 2 white furry varmints are hanging-on for the duration unless they get 11th hour cold feet.3 points
-
 View Advert I put my Rebello 260Z on Bring A Trailer Since I've been a member here for the duration of my Datsun(s) ownership I'd like to share the sale of my last Z with you all: https://bringatrailer.com/listing/1974-datsun-260z-35/ Advertiser Kurbycar32 Date 11/21/2019 Price Category Cars for Sale Year 1974 Model Datsun Vehicle Identification Number (VIN)2 points
 -
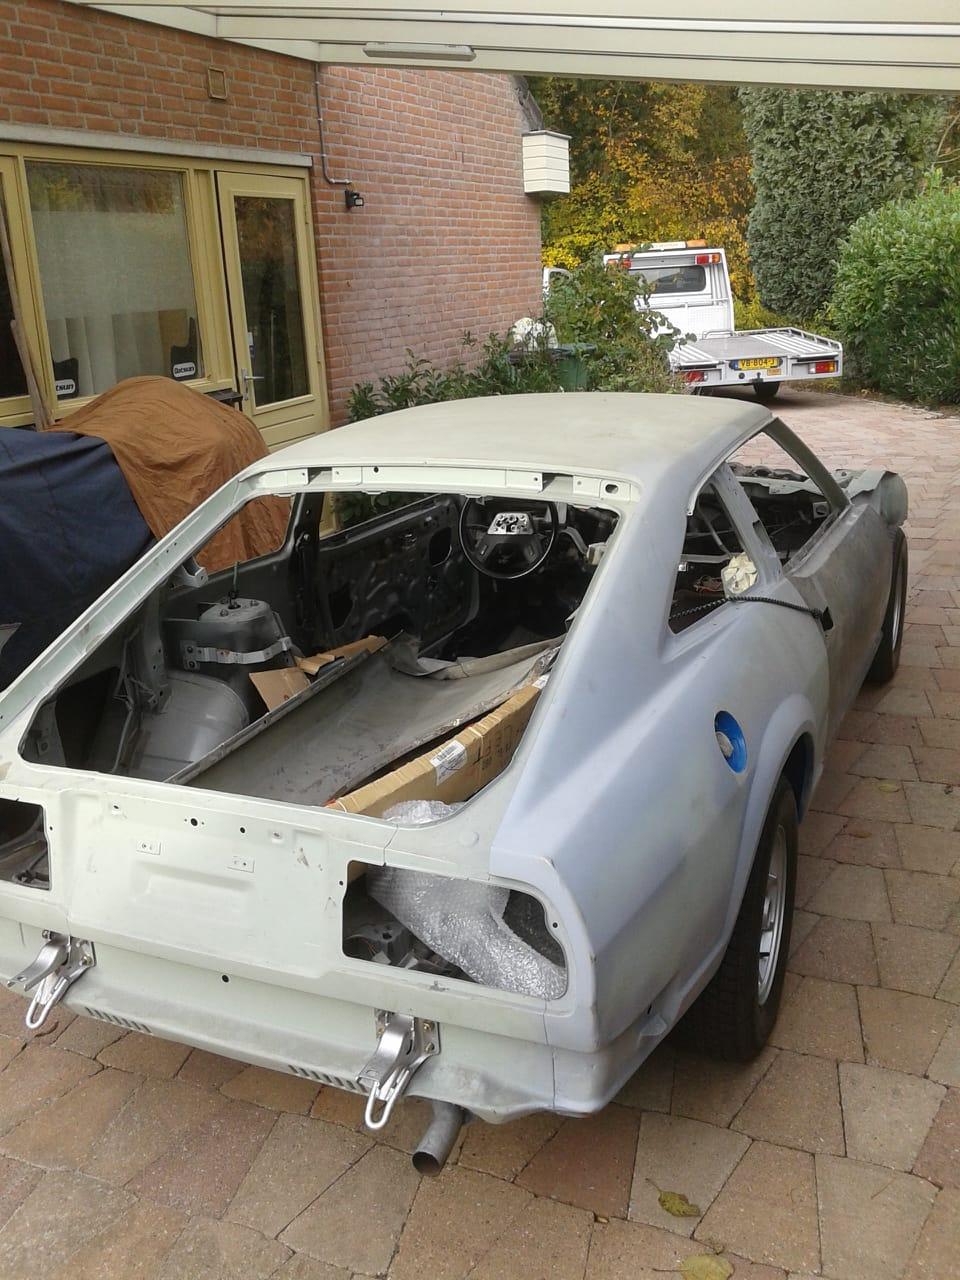
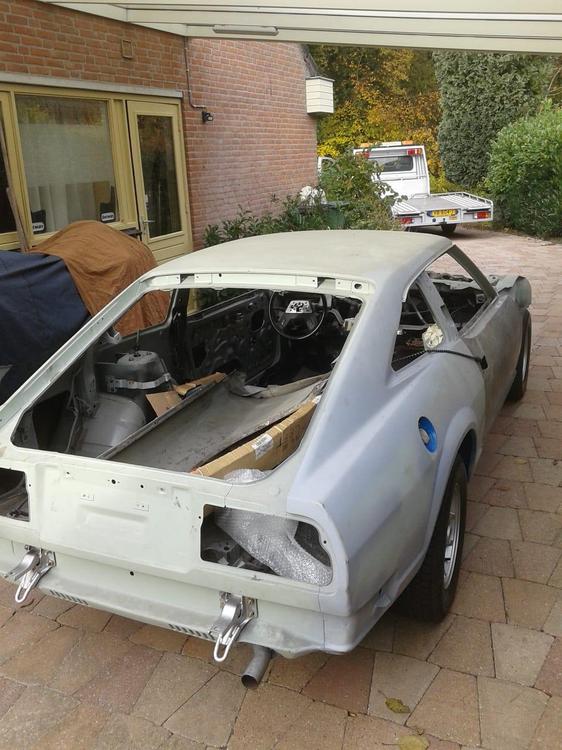
 Last saterday the car went to the painter.. He says it's going to stay there for about 3-4 month.. A sheet metalworker is going to finish the last bits.. some small dents and make everything good for sealer and primer. I can do some sanding in his shop,and putting al the part together to check if it all stil fits together before painting.
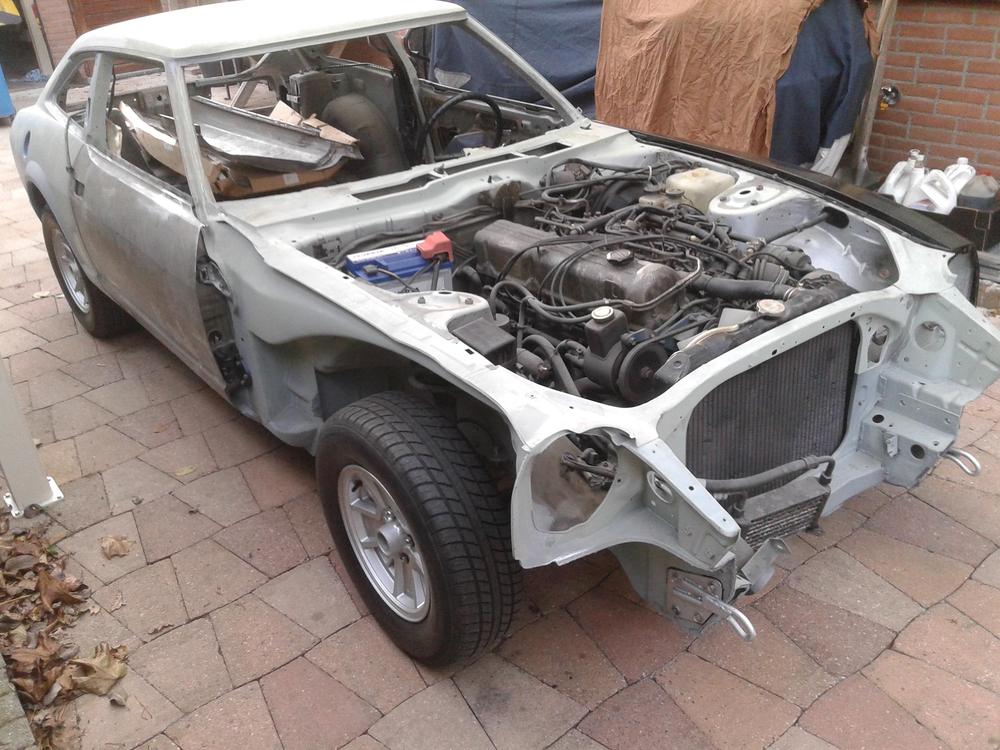
 2 points
 -
2 pointsI don’t pretend to look anything like Christian Bale, but there is a photo of me getting ready to go on track that many have thought to be similar to his portrayal of Ken Miles ?

 2 points
 -
2 pointsWe finally saw the movie today in a private Ford Performance showing. I had heard good reviews from friends and I'll admit I was in a theater full of Ford employees so I was a bit biased, but the movie was beyond what I expected. It will appeal to pretty much anybody who sees it and the story holds up even if you are not a gearhead. I was surprised to see that it wasn't so much Ford V Ferrari, but rather a story about Shelby V Ford middle management. All I can say is some things never change...2 points
-
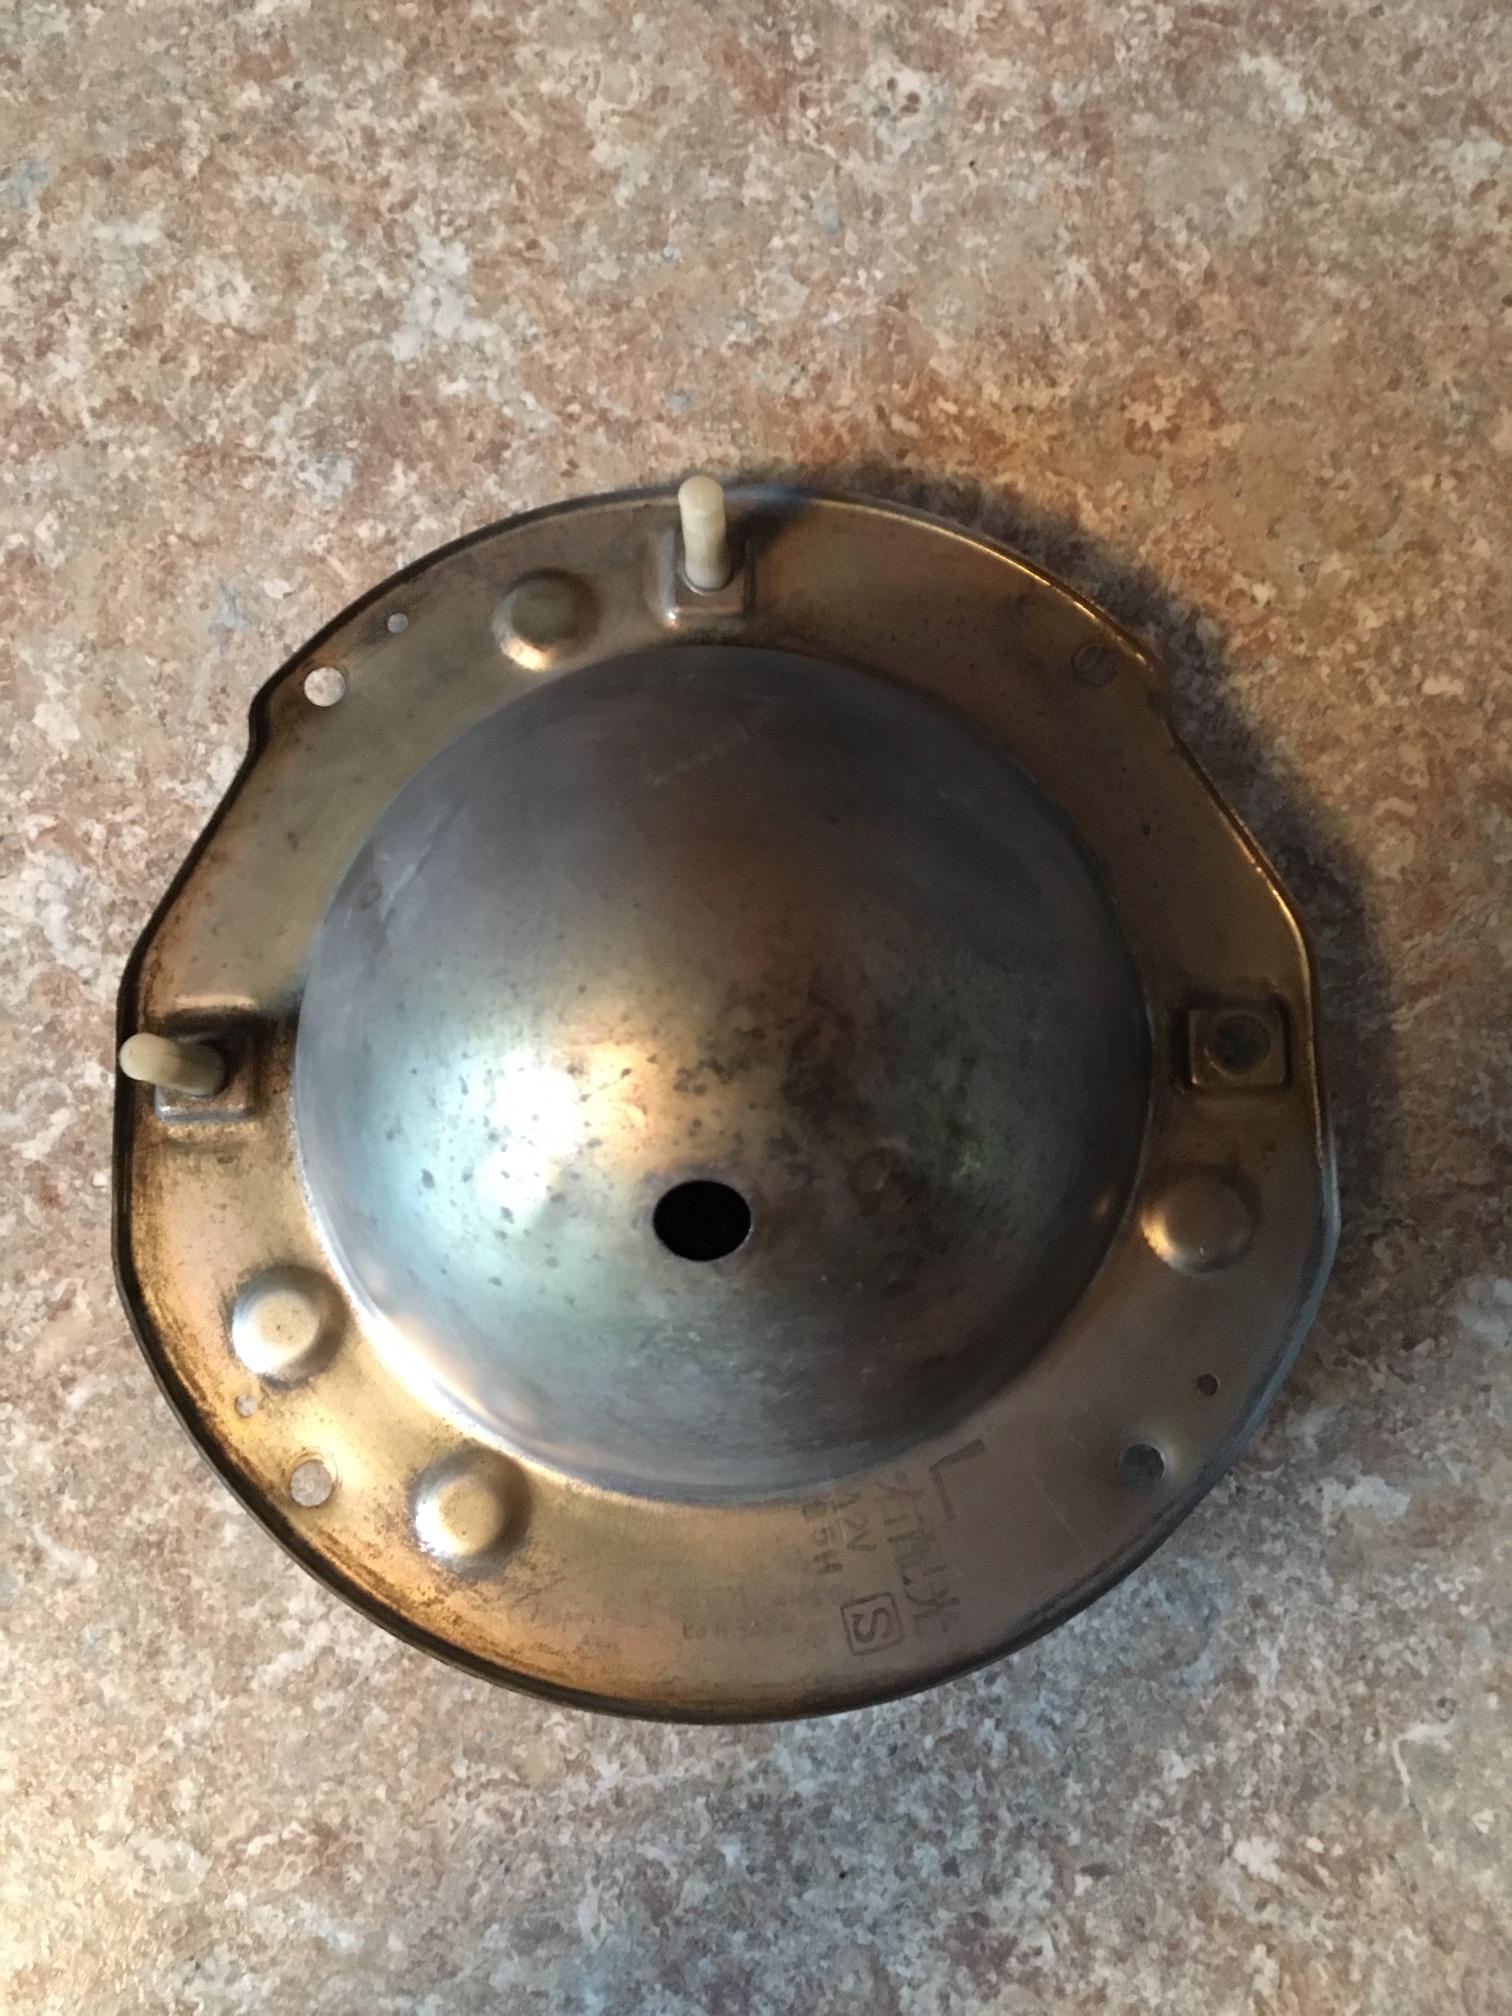
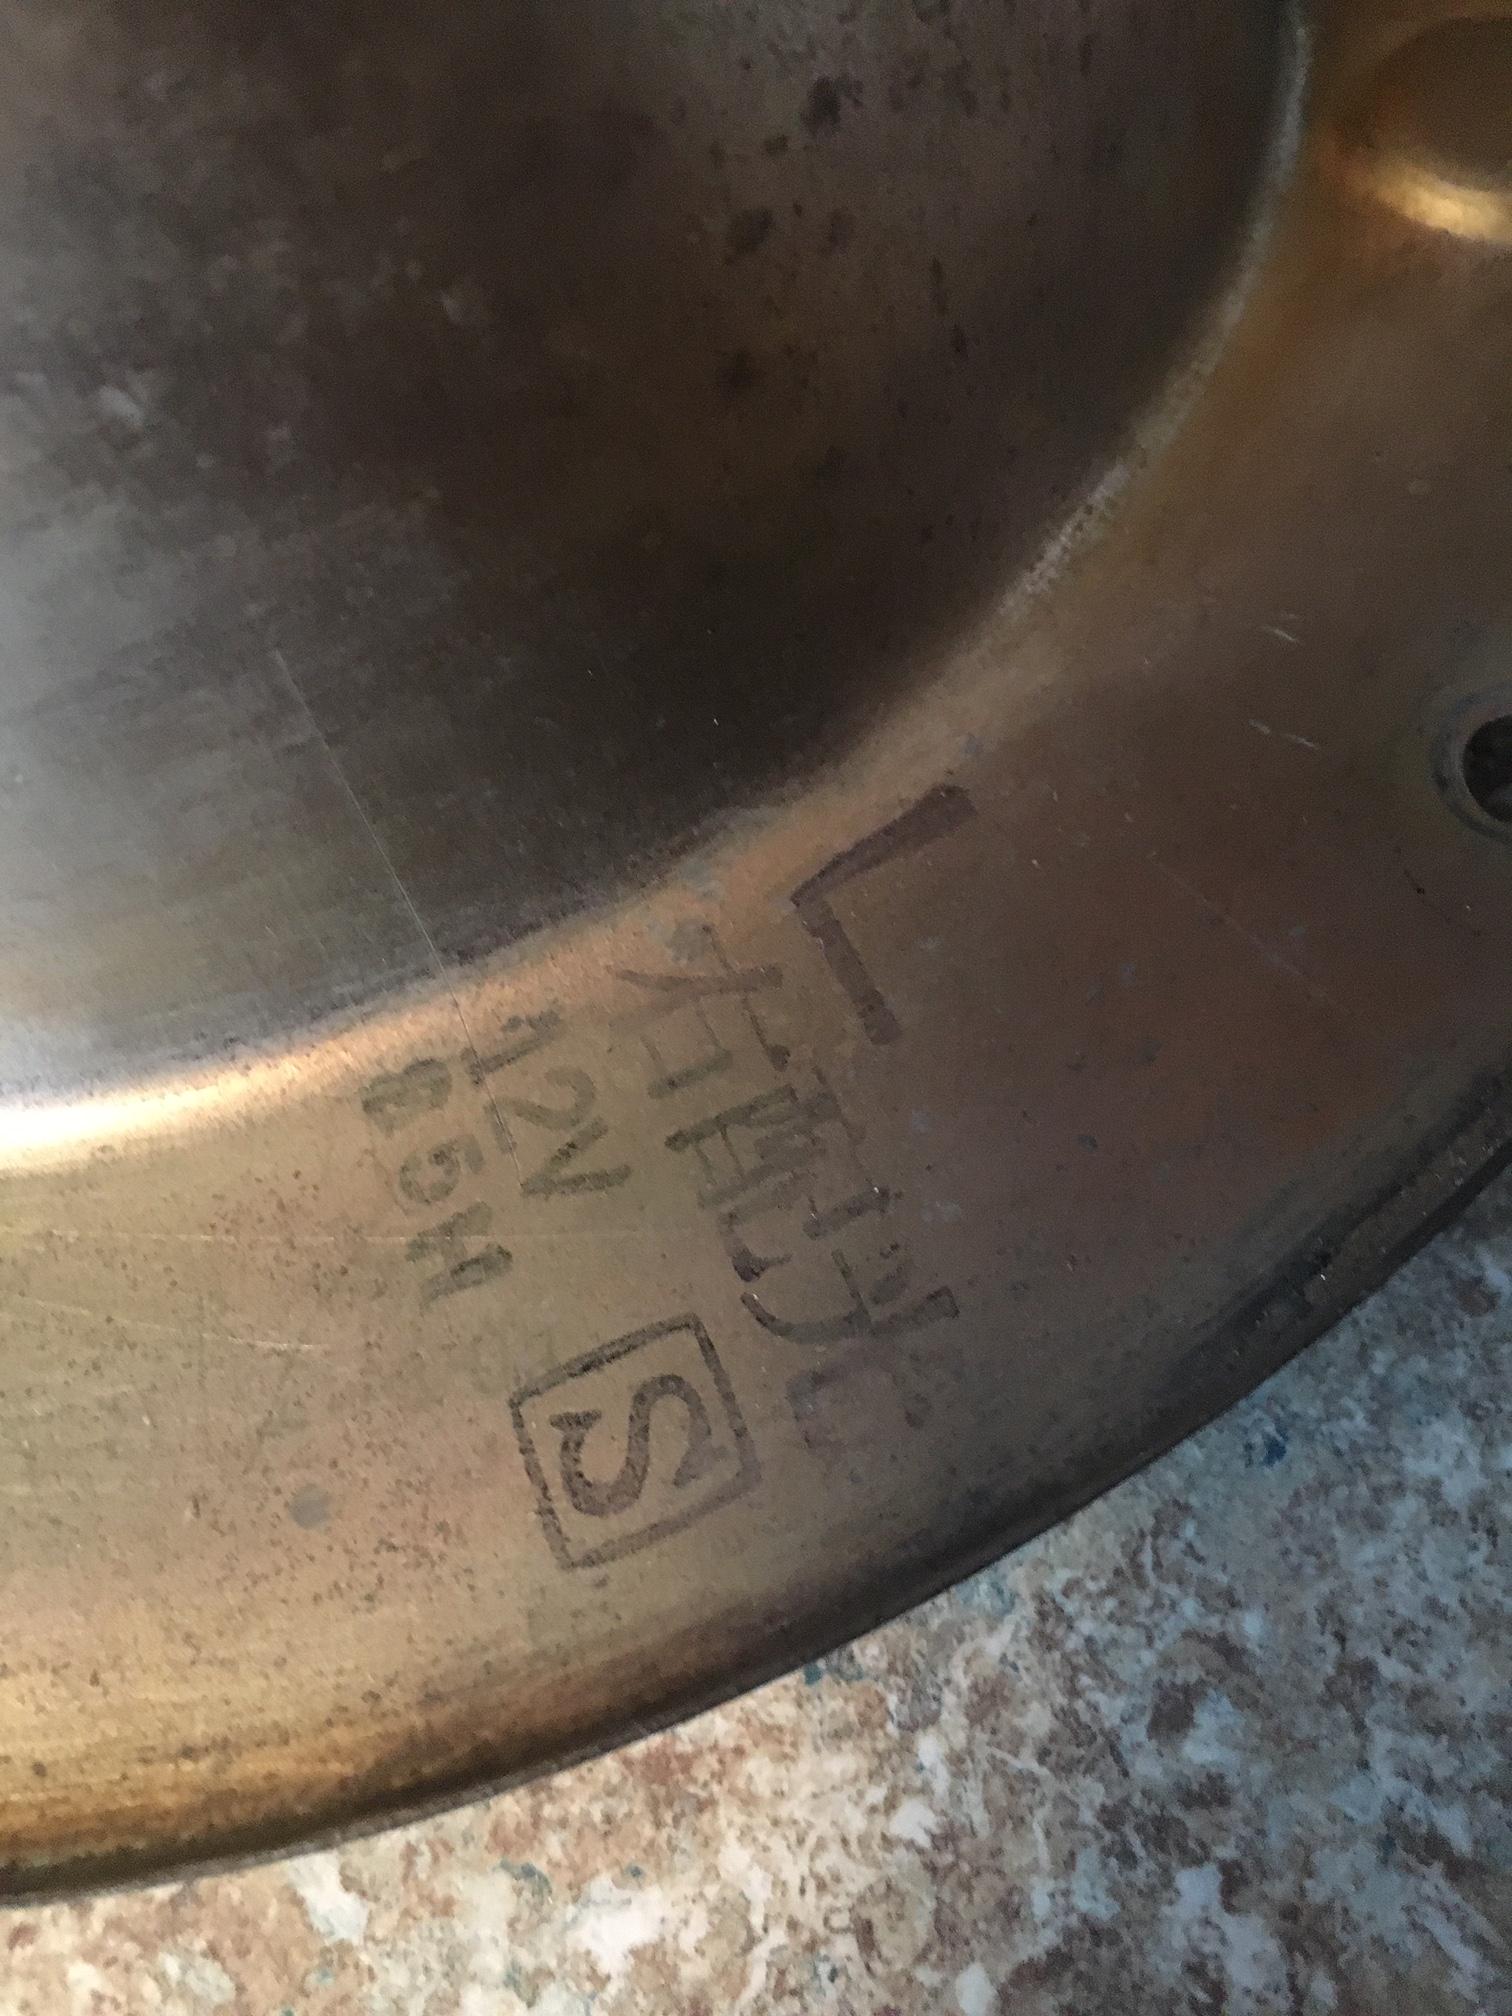
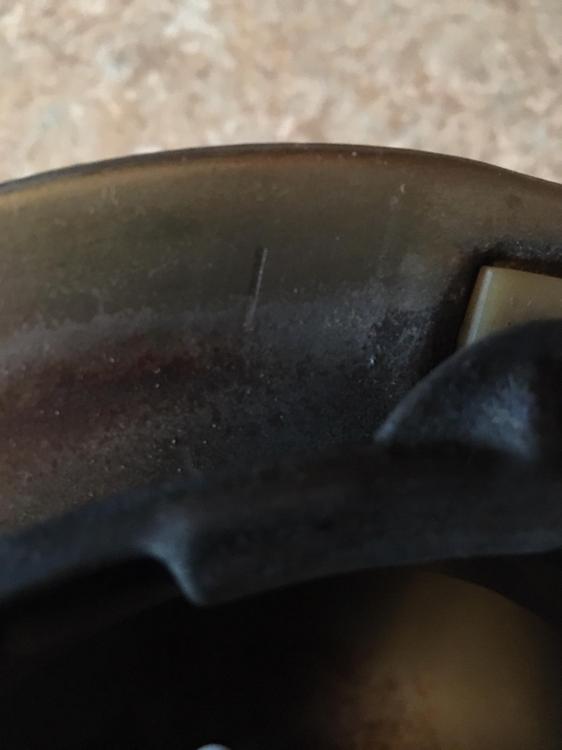
 Mine have a stamp near the top R or L and this set has an ink stamp which would probably not be there after powder coating. With the two indents in the outer circle the one adjuster is at 12 o'clock. From this rear view the left will have the other adjuster on the left at 9 o'clock, the right will be at 3 o'clock. The one in the pic is the left. (drivers side) I hope that helps

 1 point
 -
 Sounds great, I have not tried disabling/injector test. Looking forward to bringing this Z back to the road.1 point
 -
I am going to try and meet up with Yarb soon to see if I can help figure out rich running. so I don't forget, one of the test I want to run is a power test, disable on cylinder at a time (disconnect the injector plug) and listen to the engine for a change in RPM. Yarb let me know if you have already done this. If not def a good start to see if all the holes are working as they should. The plan is to do a compression check/base time set/overall look over and check some basic readings. I will have my car so we have something to compare to as well. I will also bring my spare ECU just in case that is an issue. I have a spare AFM as well, its a earlier model so not sure if that will be an issue.1 point
-
if you watch the guy "villageland" on YT, he shows how he does it. Really wails on it with a small sledge, kinda scary to watch without sound. I cant recall how hard it was to remove mine, but I do recall finding that darn oil trough, I keep going back to it since it was so easy to break if you don't lift the adapter plate off straight up. You can buy replacements but they seem softer and maybe weaker that the orig. You don't want to lose oil supply back to the tail shaft bushing.1 point
-
sorry did not see the pic, do what ZH said pound on it right at the junction of the adapter plate to front case. Use a hard plastic hammer and wail on it. get ready for it to suddenly separate, and break the oil trough. IIRC I set mine on some 2x4 to keep the input shaft clear and it standing upright, then hold on to the output shaft, bang up on the adapter plate, just catching the edge.1 point
-
The idle bypass only has a very minor effect on the fuel mix, and only on the idle mix. How are you determining the running rich? If it is indeed rich you will want to 1st verify the ECU temp sensor is tracking the temp curve, see the FSM for resistance measurements to temp reading. Use a thermometer in the neck of the rad to confirm your temps. Take the readings AT THE ECU 36 pin connector. 13 and chassis ground IIRC. resistance in the connectors both at the sensor and the bullet connectors on the sub harness must be clean and free of corrosion. A high resistance will result in a rich mix. If that check you need to confirm fuel pressure, should be about 36-38 psi with the engine off pump on. With normal manifold vacuum (about 17-20 in hg) you should see around 29-31 psi (engine running idling after warmed up). The fuel pressure should track with vacuum, so as you open the throttle quickly the fuel pressure should momentary rise, the drop back when throttle is released. higher vacuum less pressure is the key. Depending on the outcome of those there are more things to look at, but those will be the problem most of the time, assuming no one as monkeyed with the AFM spring settings. As to the orig question about the bypass, I had some luck with setting it by using a vacuum gauge on the intake manifold, letting the engine warm up an settle down, making sure everything else was right (timing/fuel pressure/temp sensor) I found that I could tweek that adjustment to max out the vacuum (best eff of the engine at idle indicated by best vacuum I could pull) I then leaned it some (CCW) until I could see the vacuum start to drop off. This setting seemed to get me right to the oil cap off test. the oil cap off test will be when it idles well but as soon as you remove the oil cap it will start to miss and quickly die. This is due to unmetered air causing a over lean condition. If you remove the cap and nothing happens you are a bit rich at idle but will look the best on the vacuum gauge. if you remove the oil cap and it speeds up you are too rich to the point where the engine is no longer at optimal mix even for best vacuum. Again I use the vacuum reading as a way to determine if the engine is operating at peak efficiency.1 point
-
 1 point
 -
 Looks like they did on the rear cover. Can you get anything between the cover and the plate to cut the seal (slim putty knife)? Have you tried standing it up with the input shaft on a board (tail straight up) and tapping the front cover downward.1 point
 -
Can't remember for sure but I think that I found an edge on the adapter plate and used an aluminum rod to break it free from the front case. As you're finding there's not much to bang on otherwise. Somebody might have used a strong sealant on yours.1 point
-
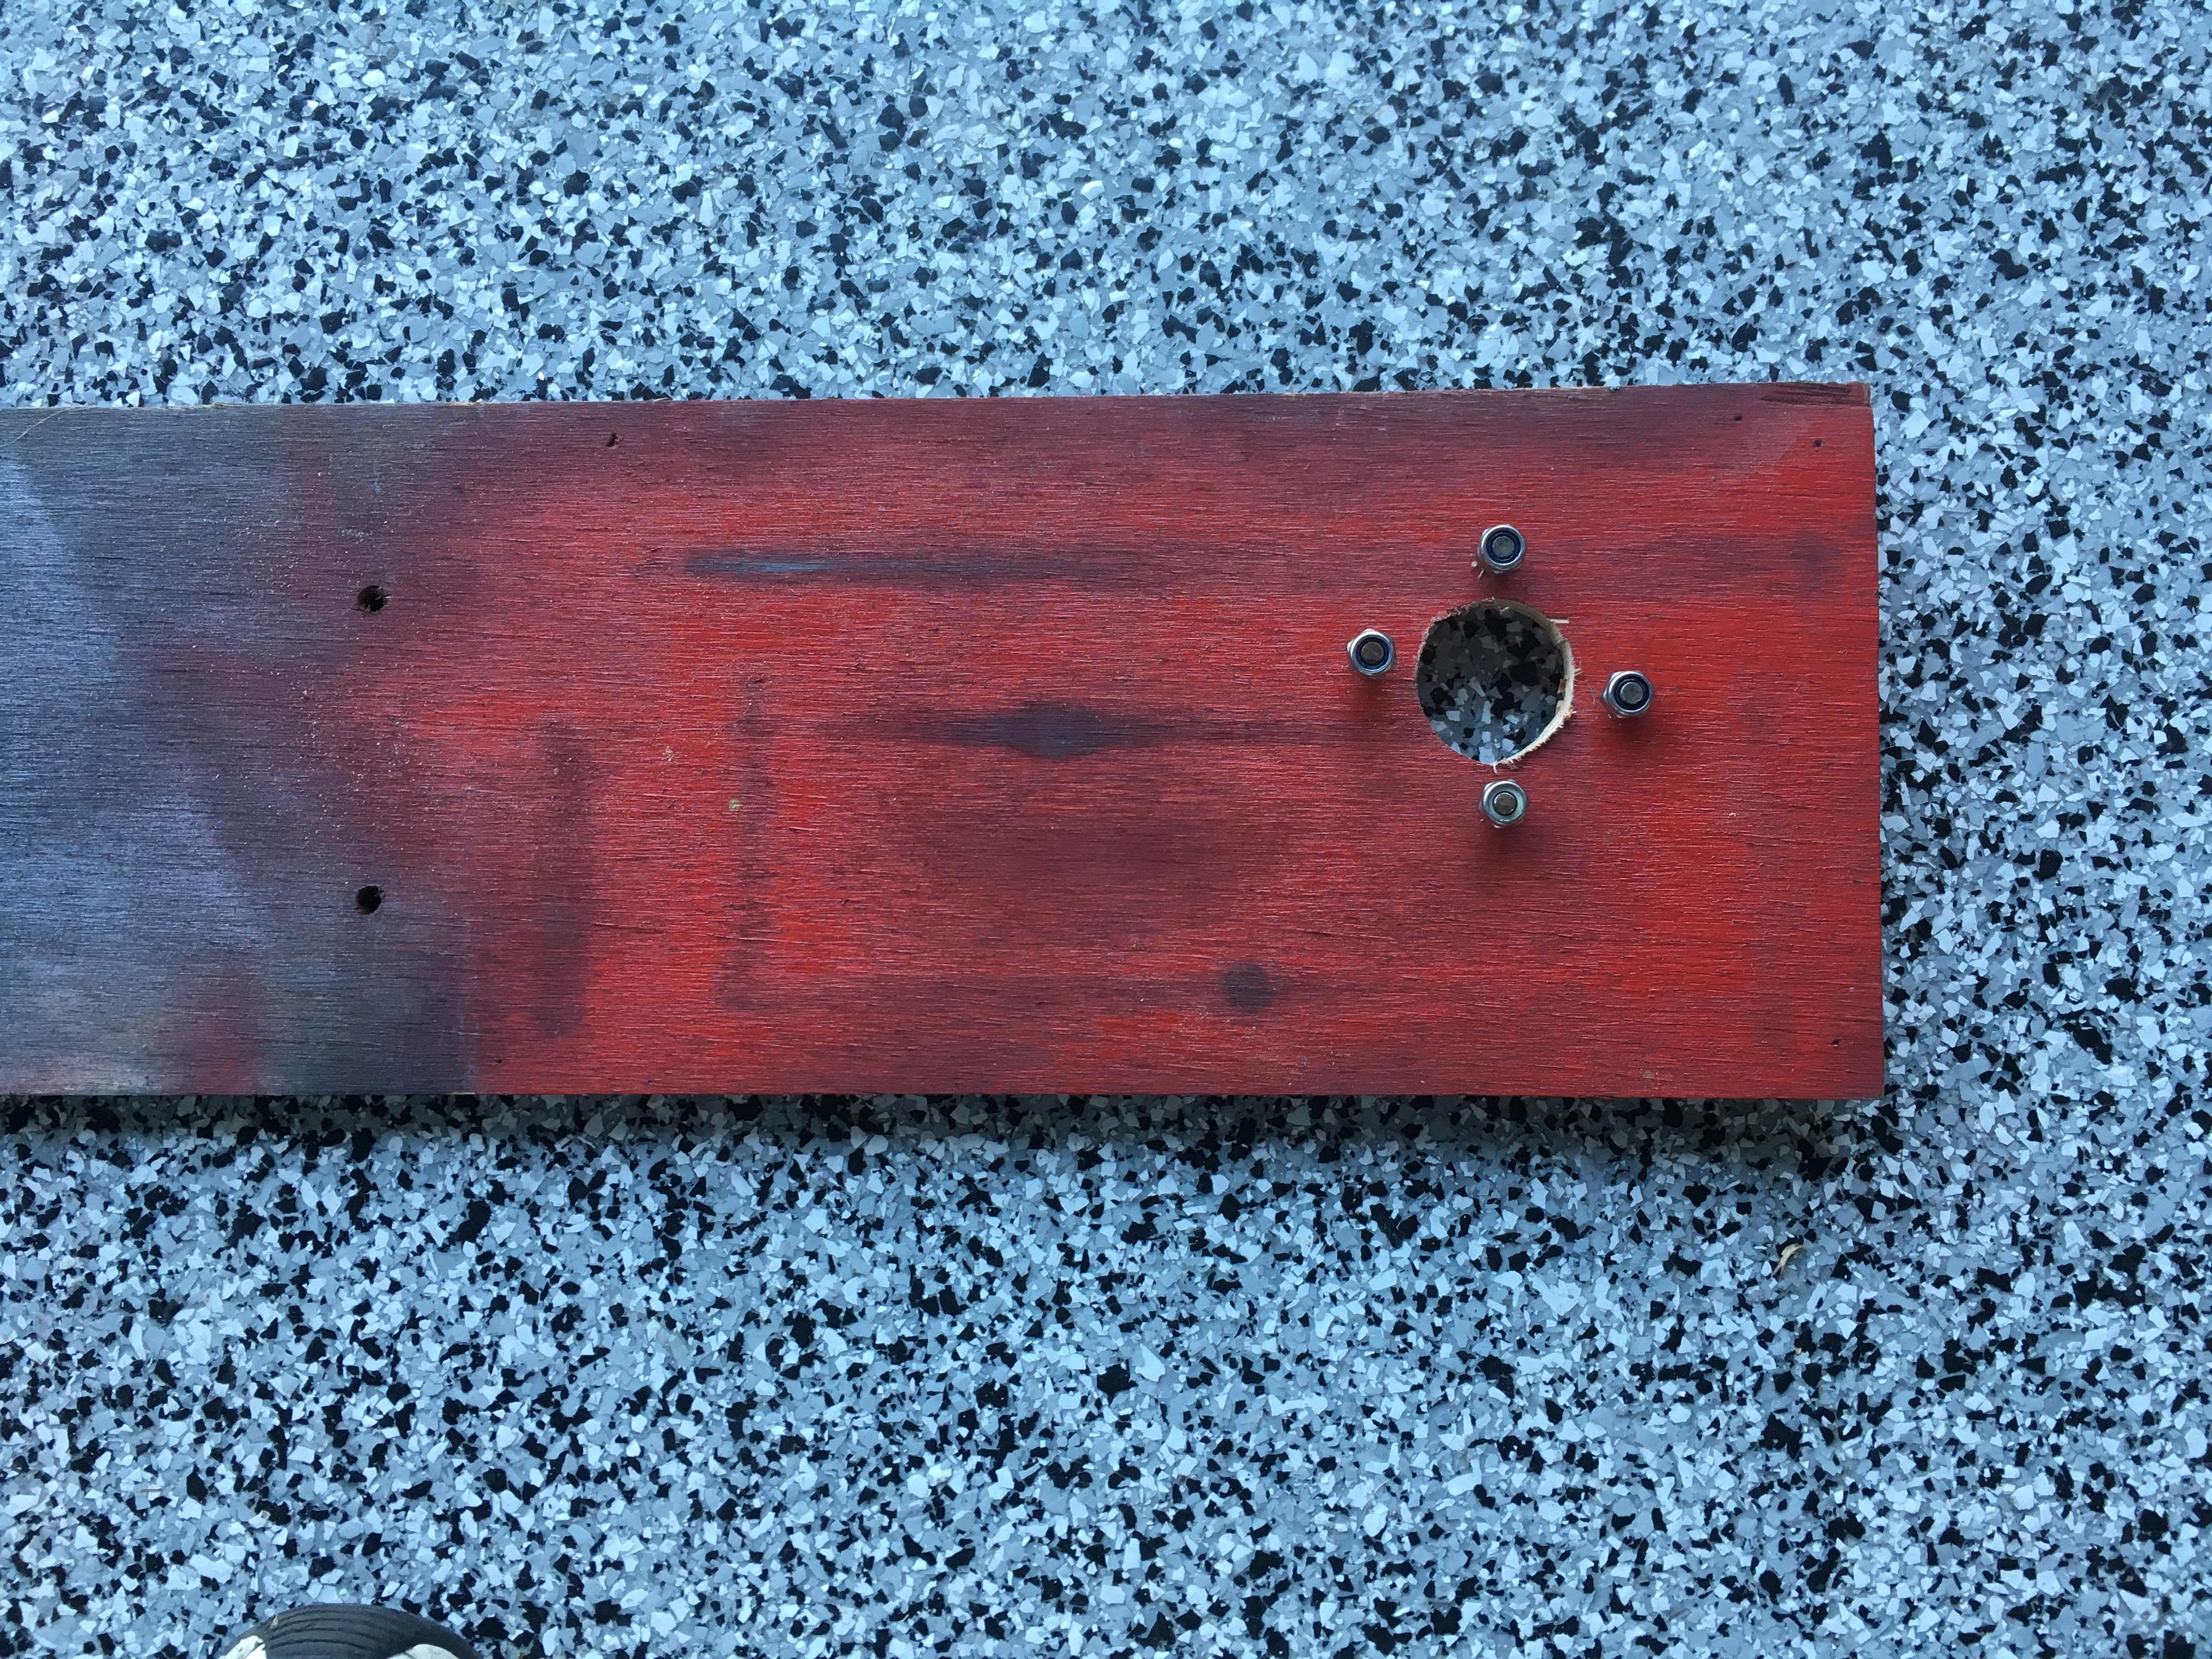
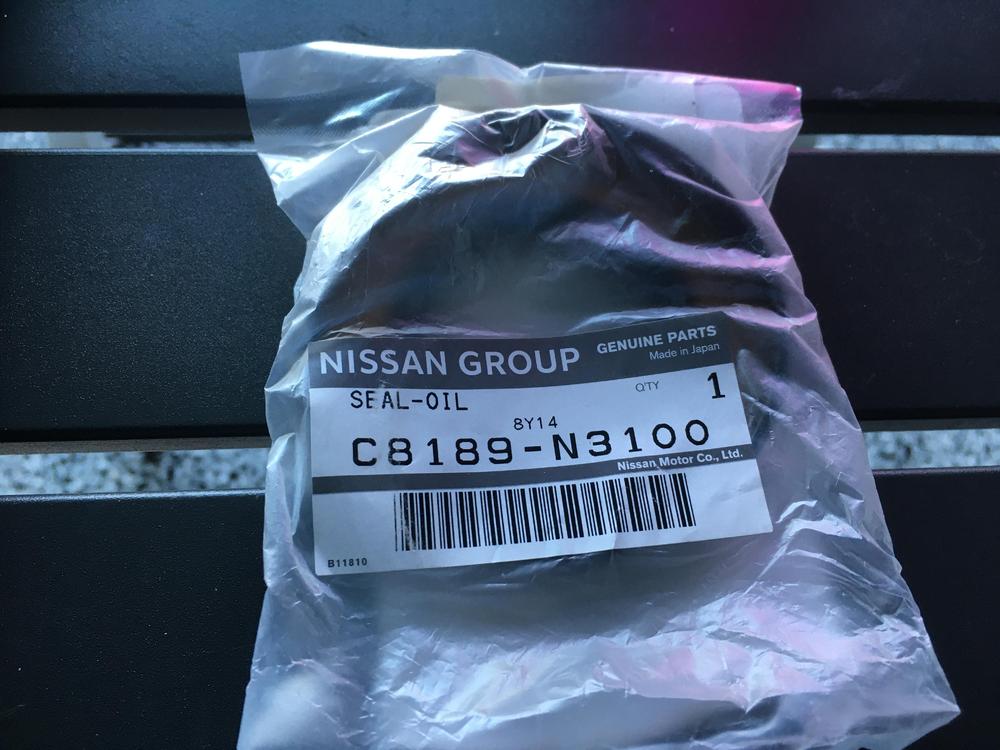
 SoCalJim Tool #280Zdiff - 5’ long piece of scrap plywood with appropriate holes cut into it, along with M8x30mm bolts and lock nuts. ? I bought all the seals from Motorsport Auto. The front seal is shown below. I don’t have the side seal p/n handy.
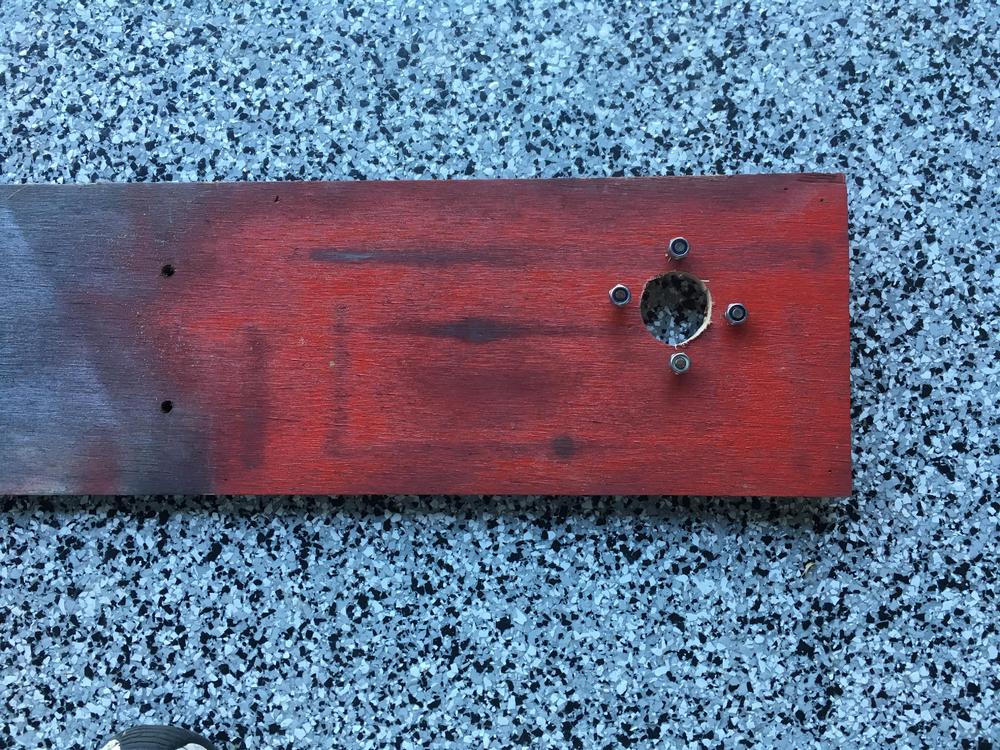
 1 point