Leaderboard
-


Dave WM
Free Member7Points3,591Posts -

Heen
Free Member6Points12Posts -

gnosez
Free Member4Points1,633Posts -

Captain Obvious
Free Member3Points9,849Posts
Popular Content
Showing content with the highest reputation on 01/24/2020 in all areas
-
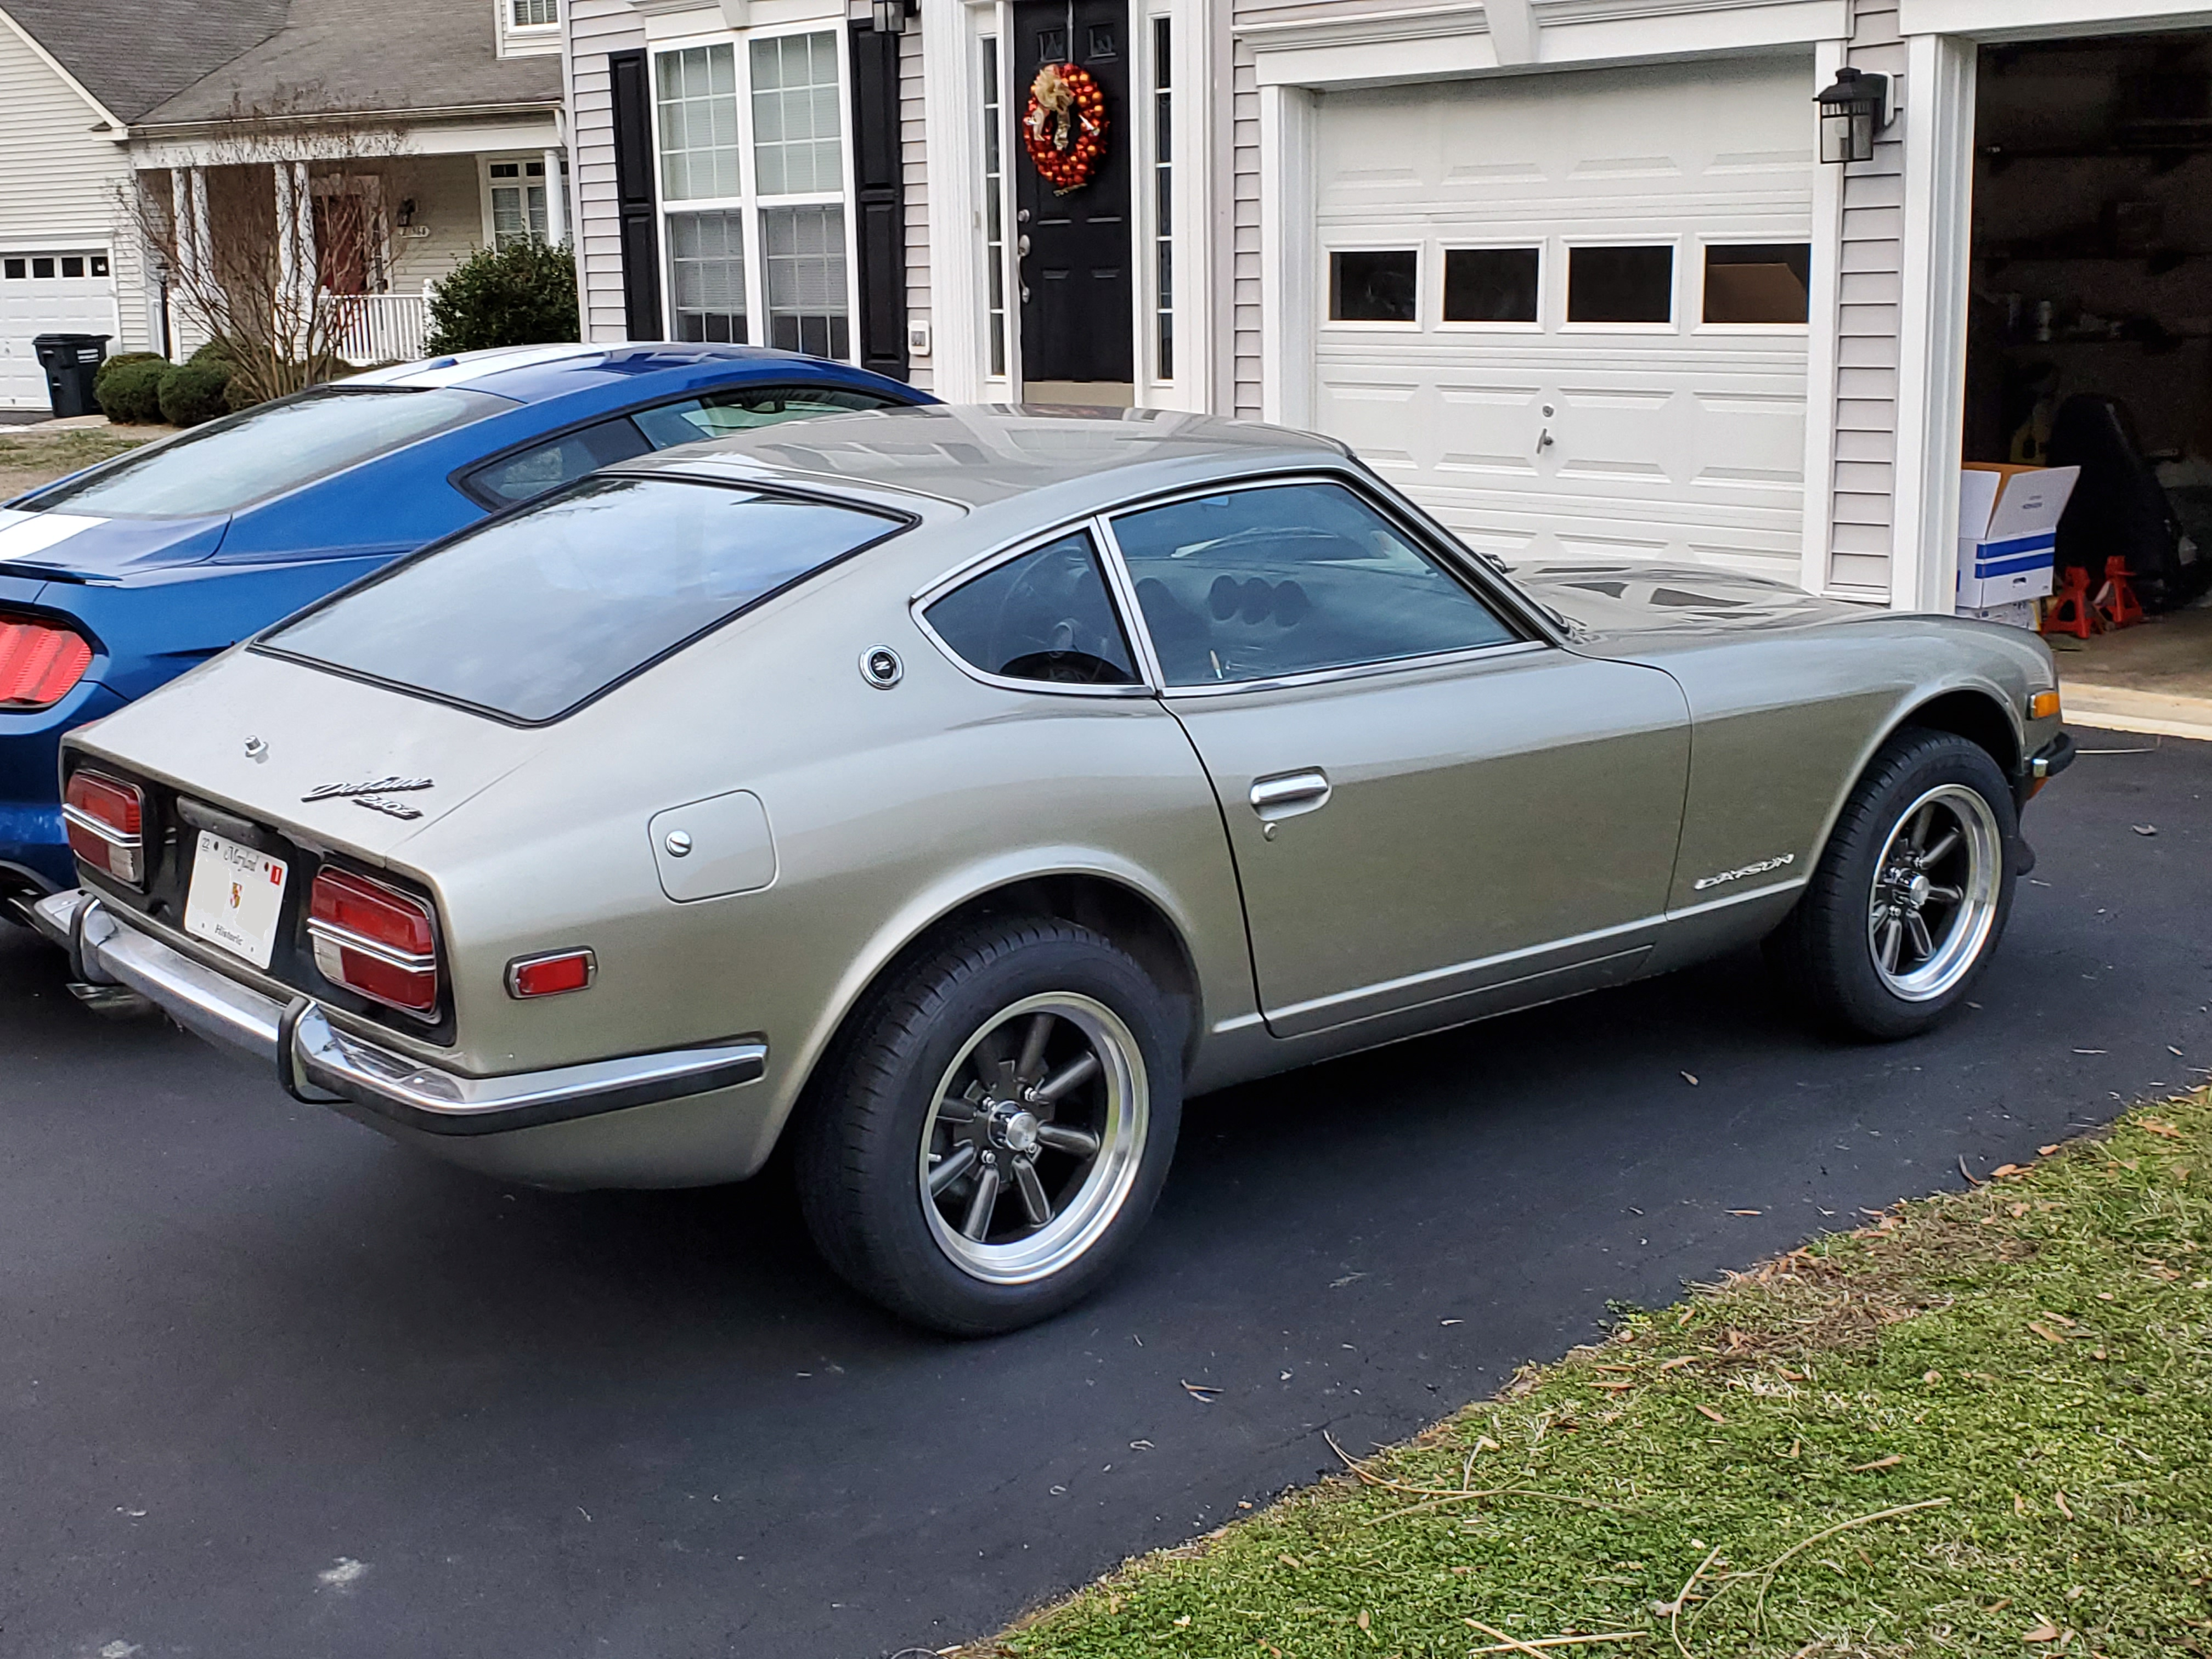
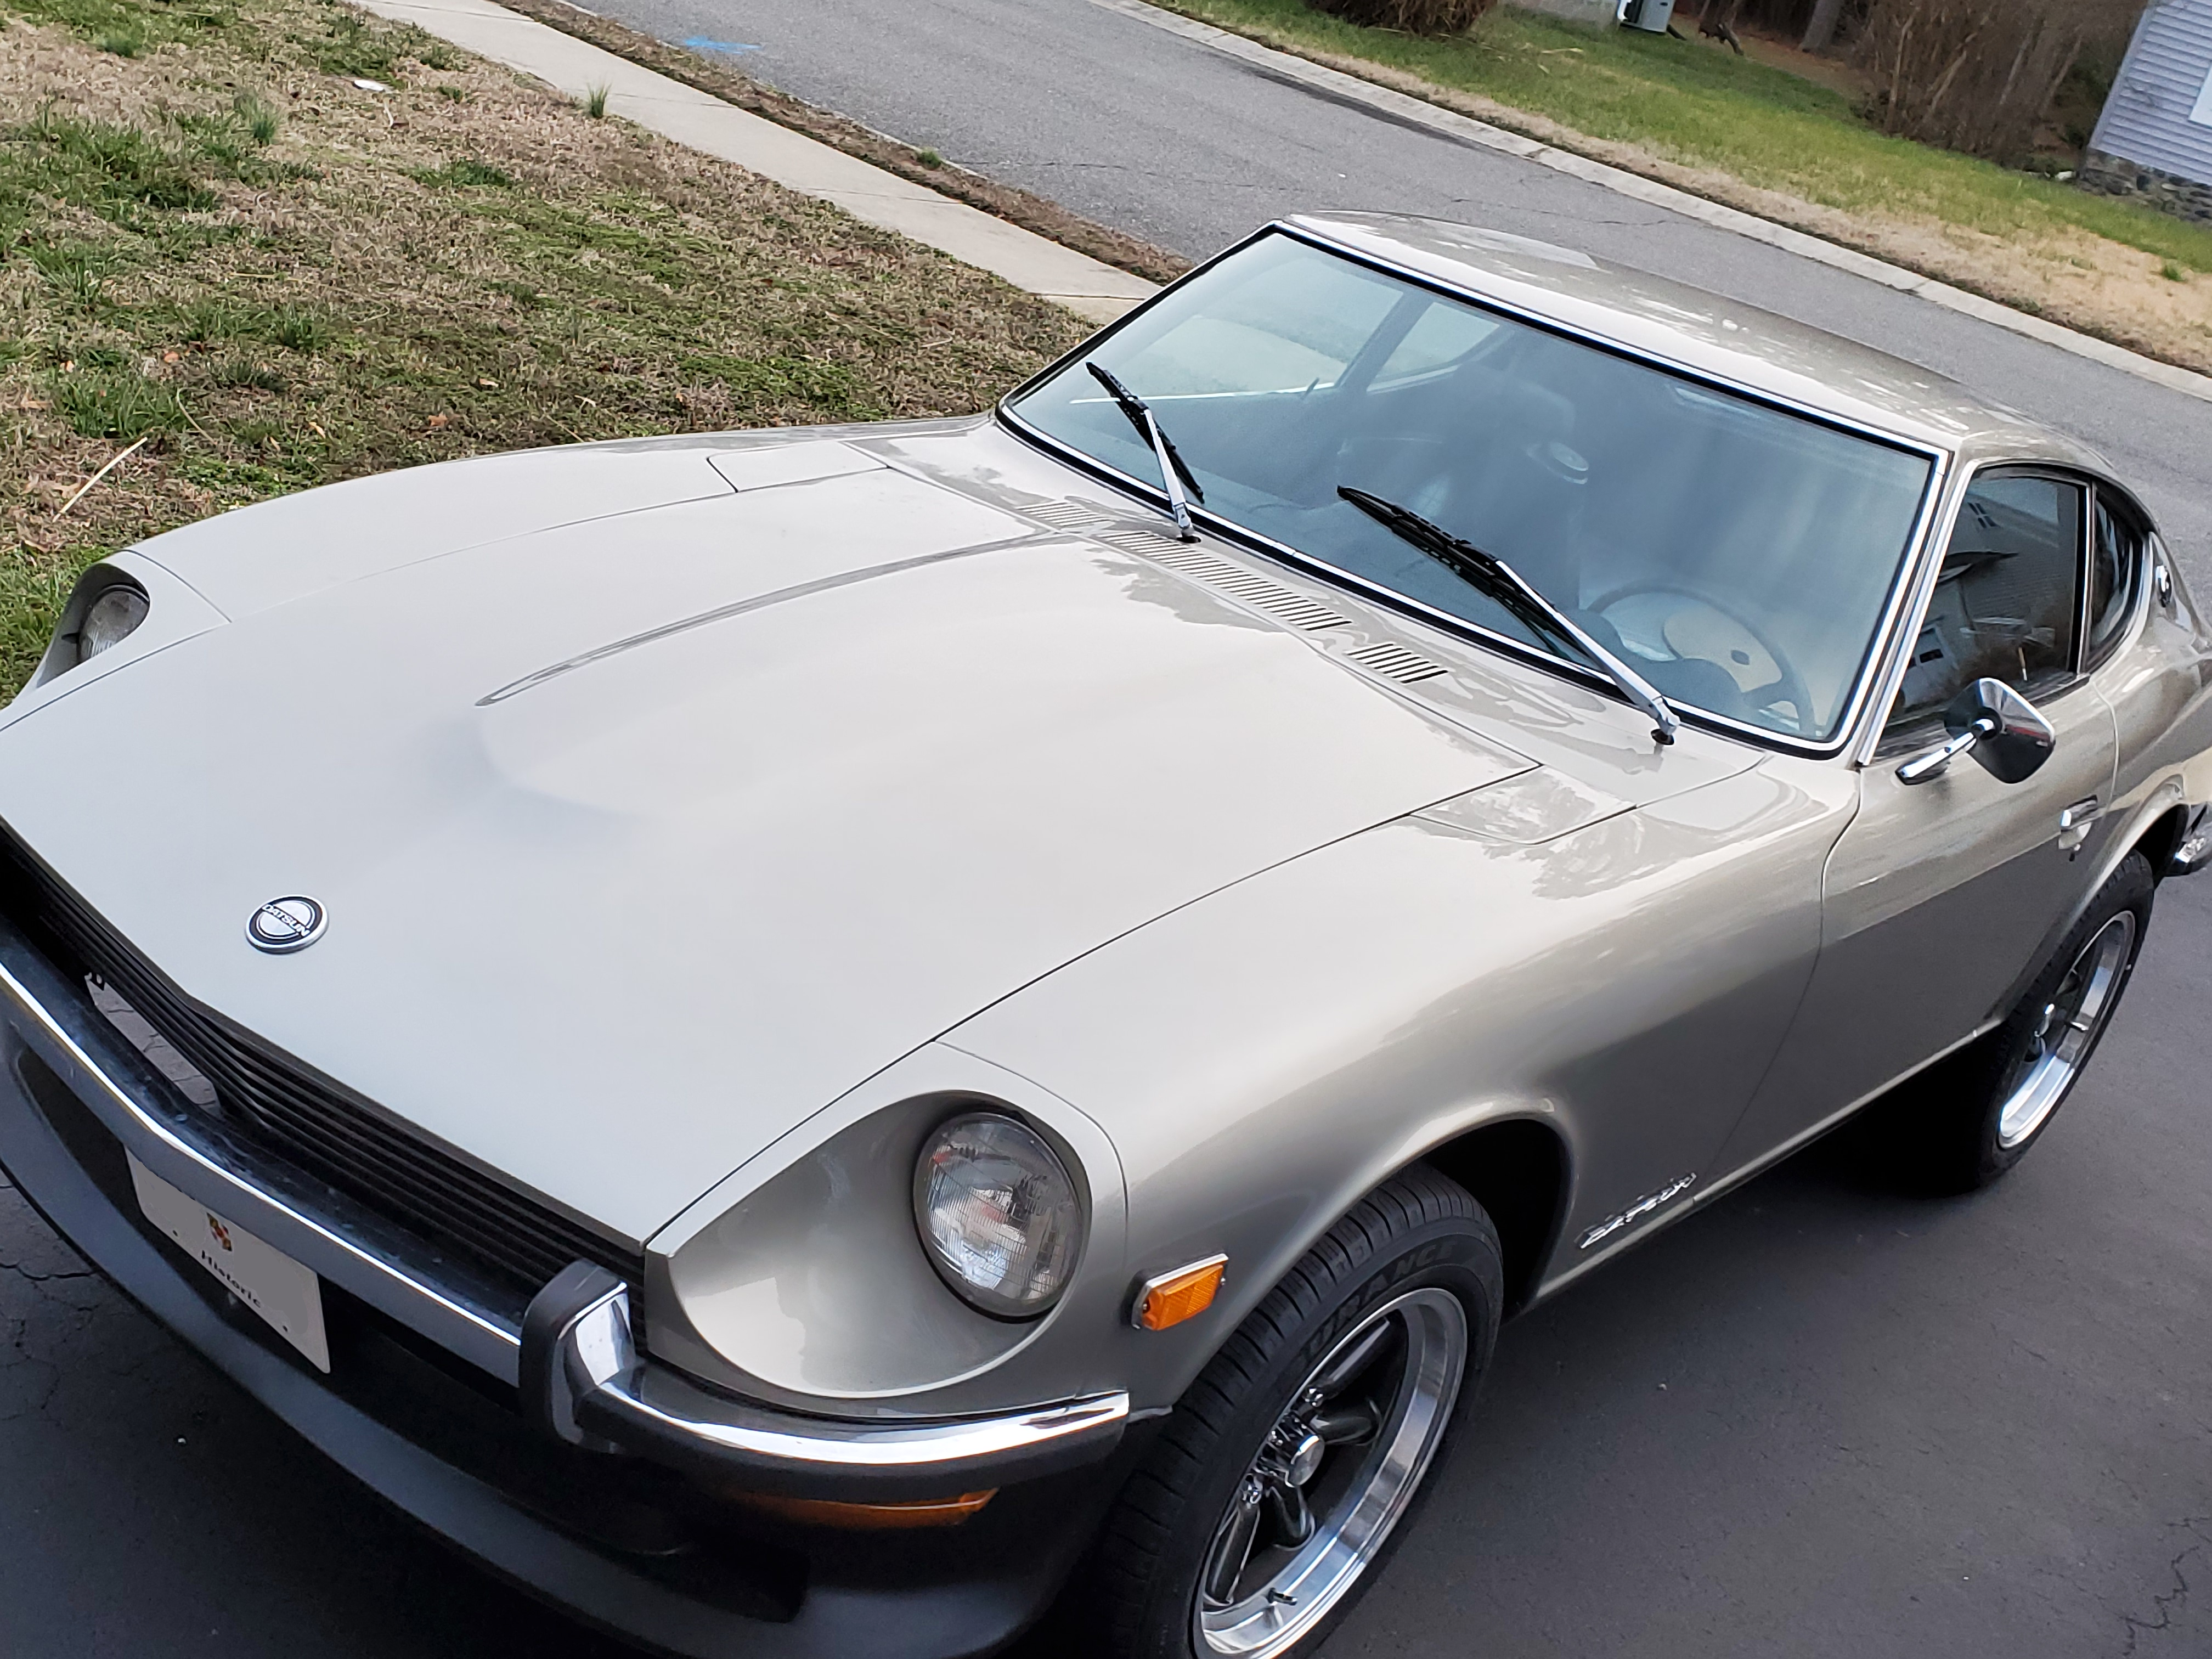
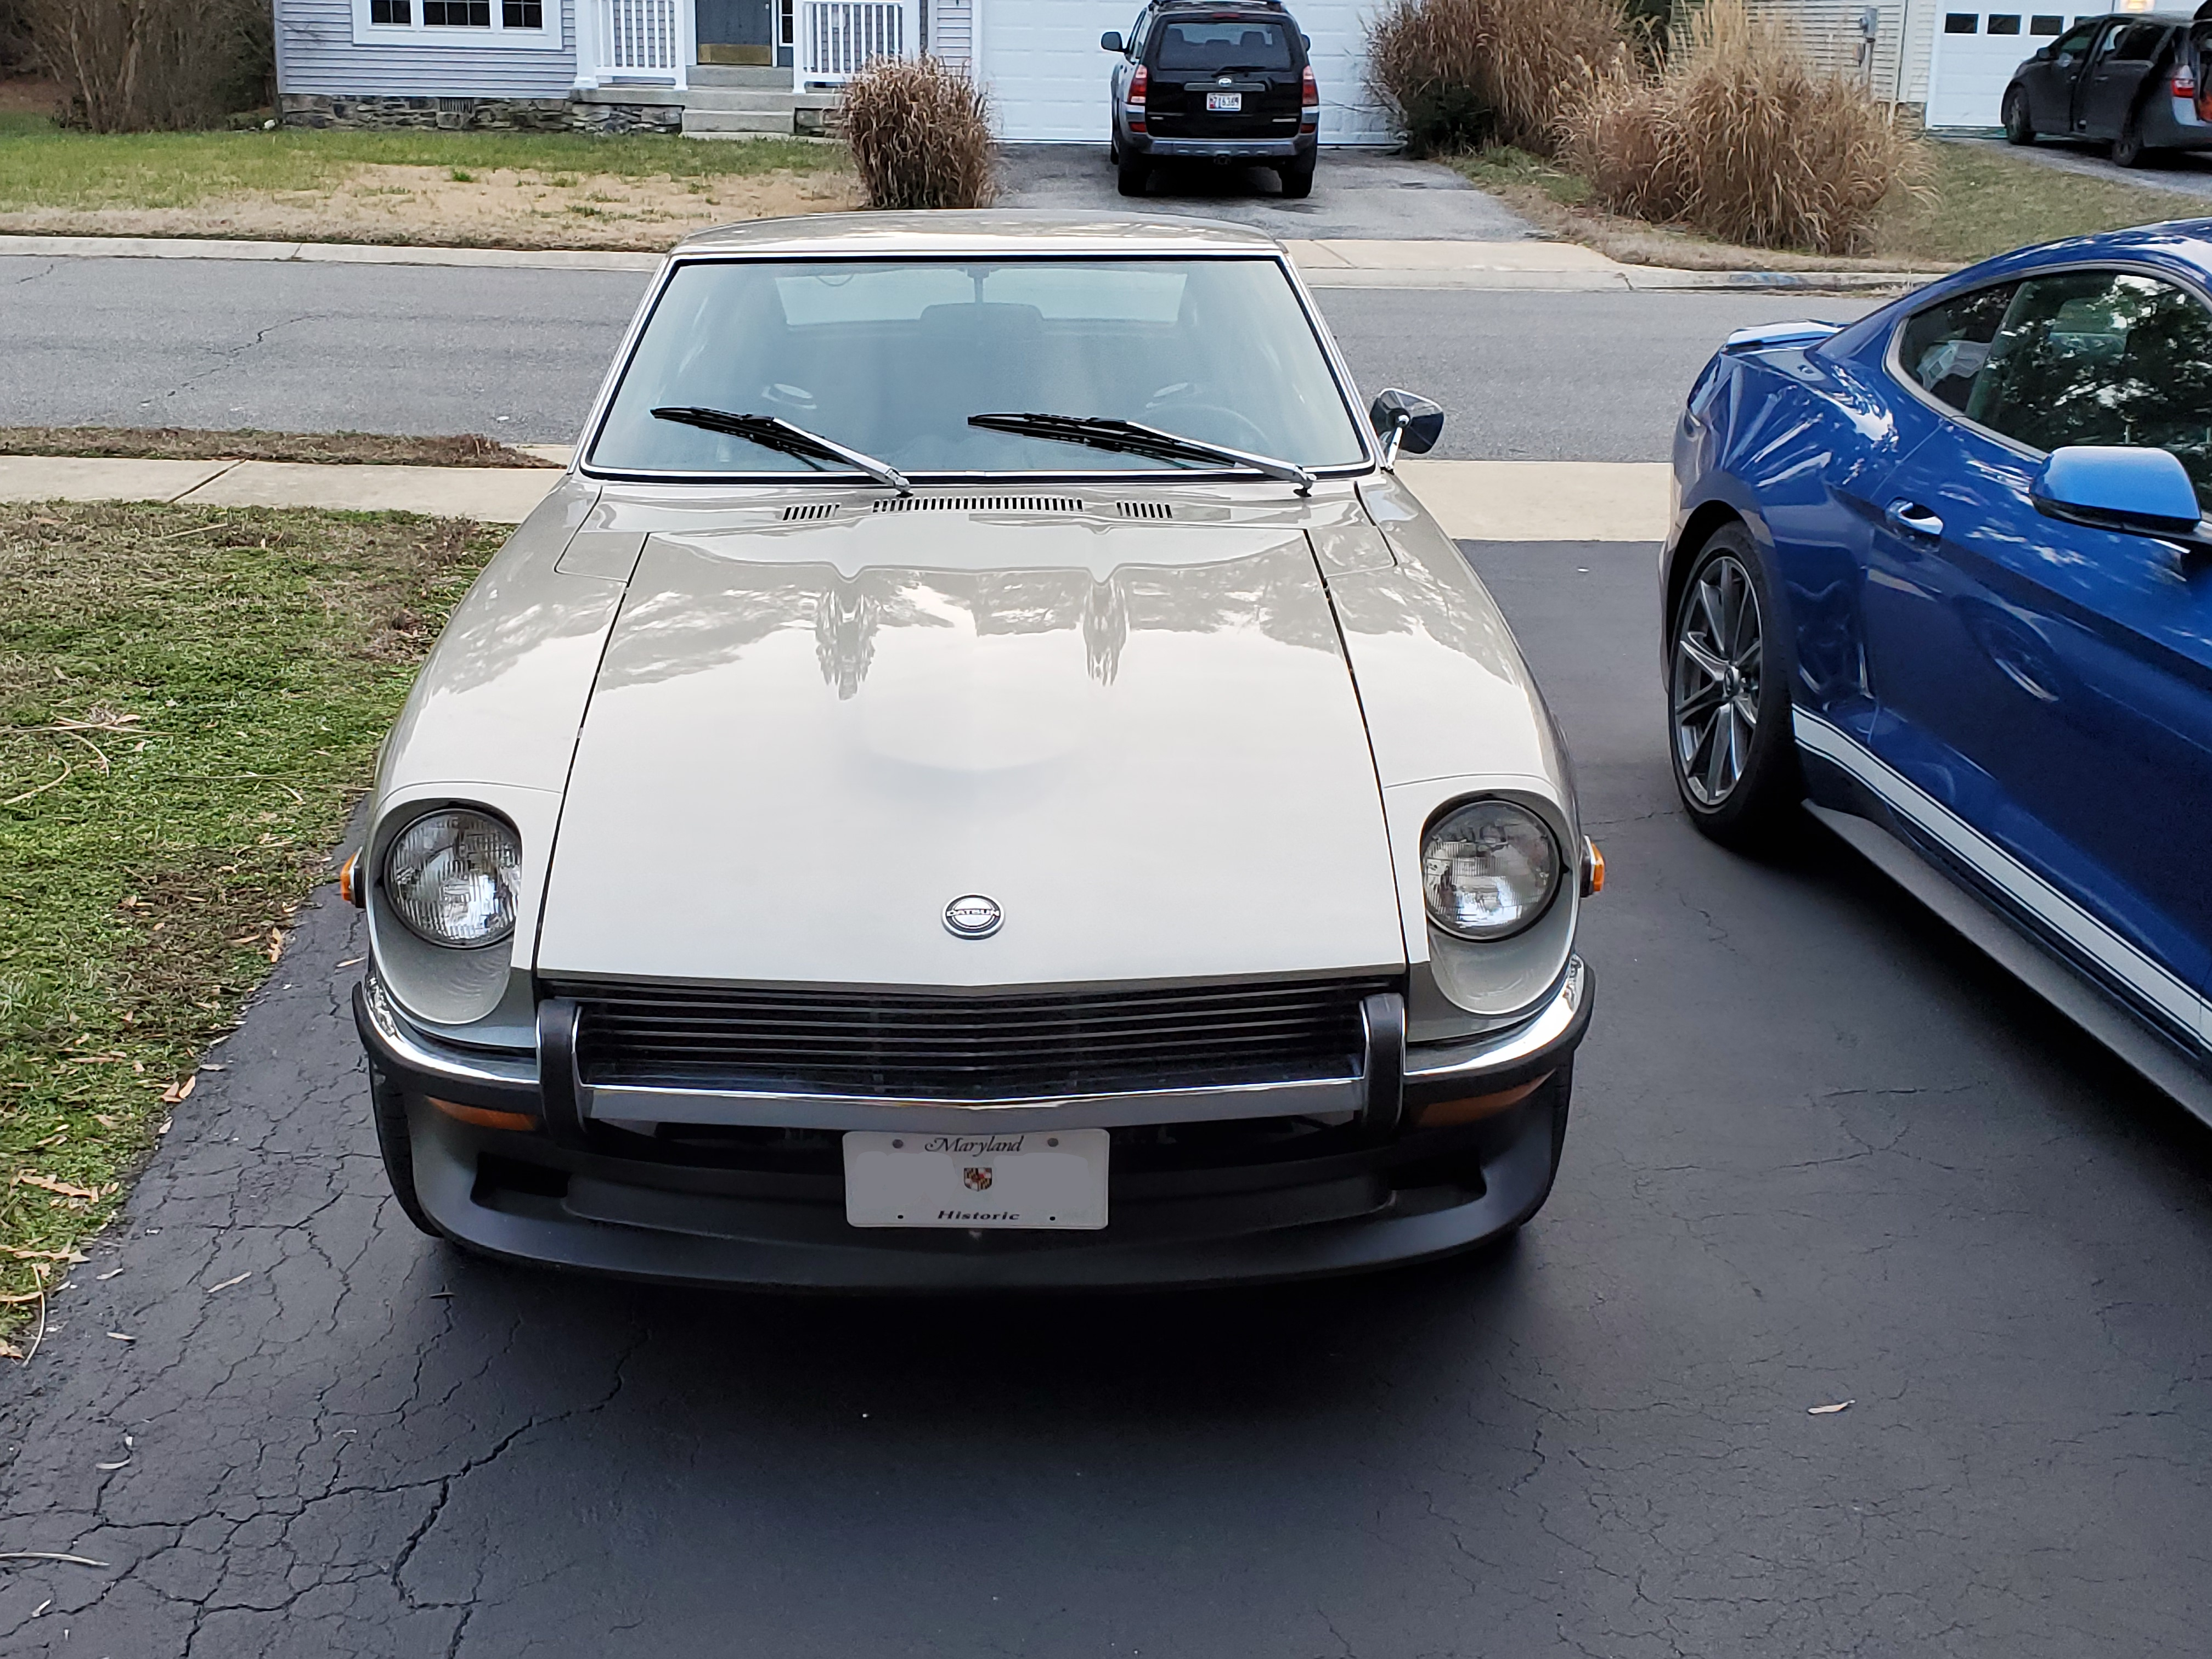
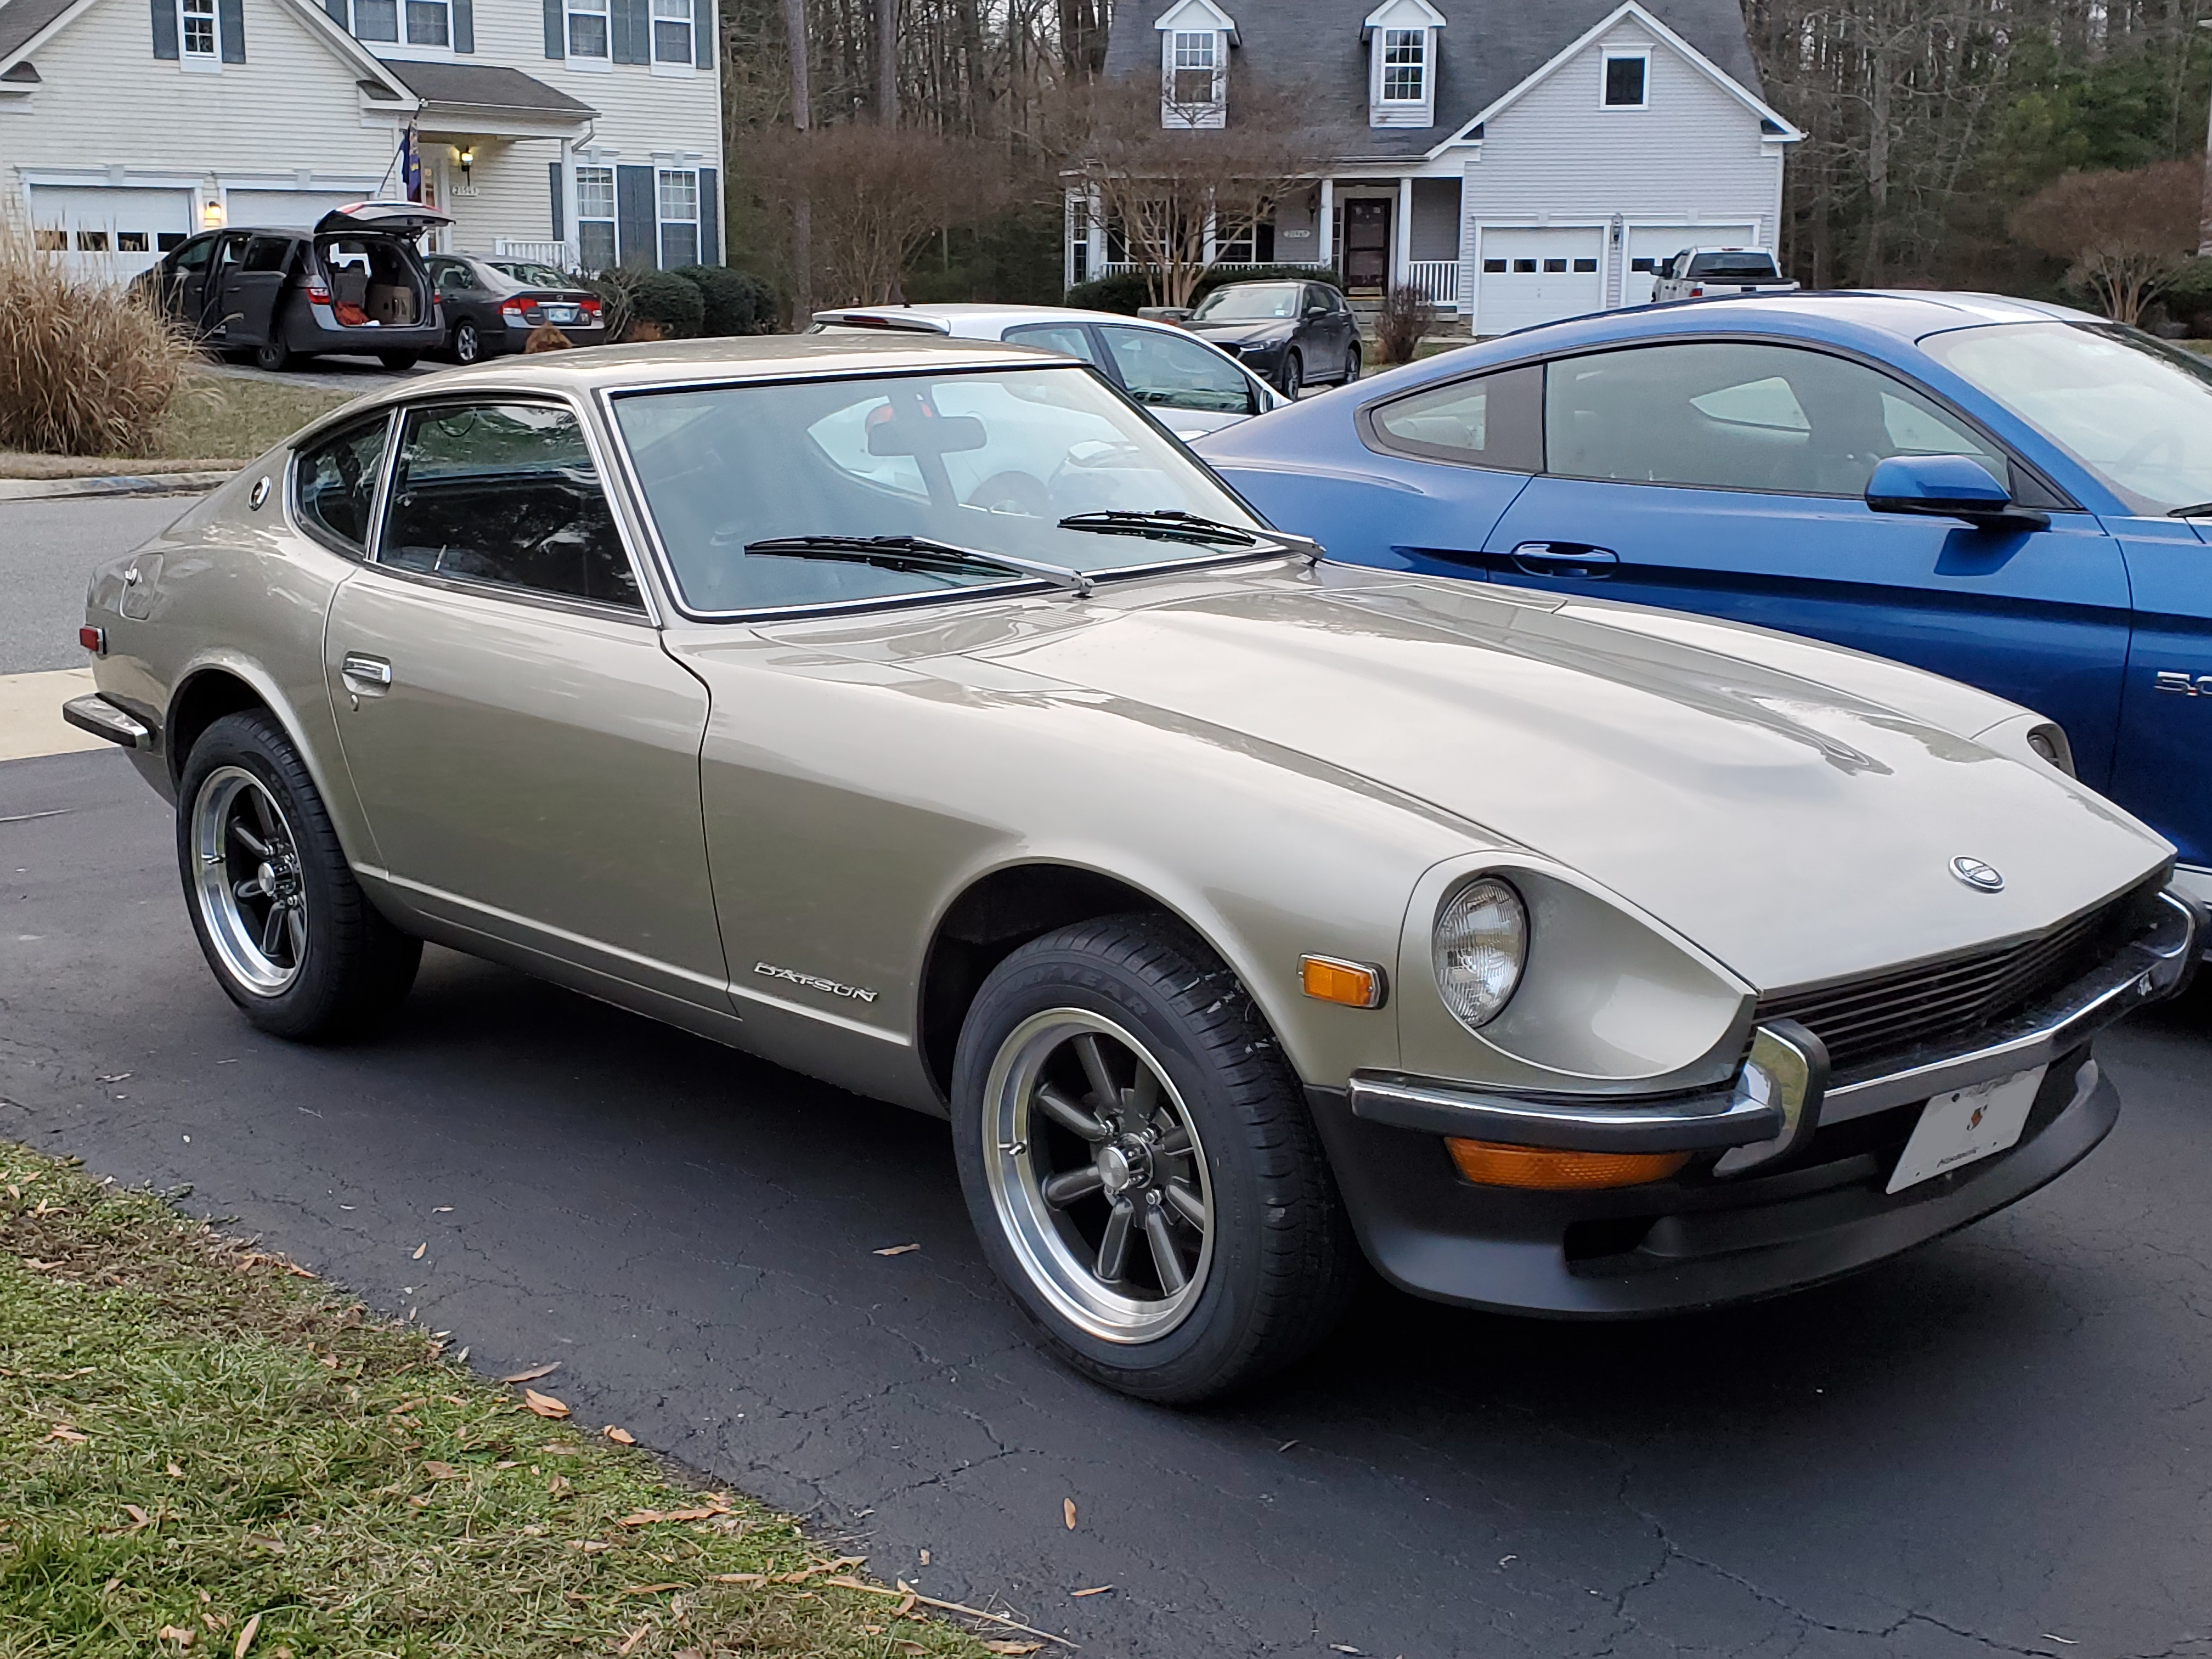
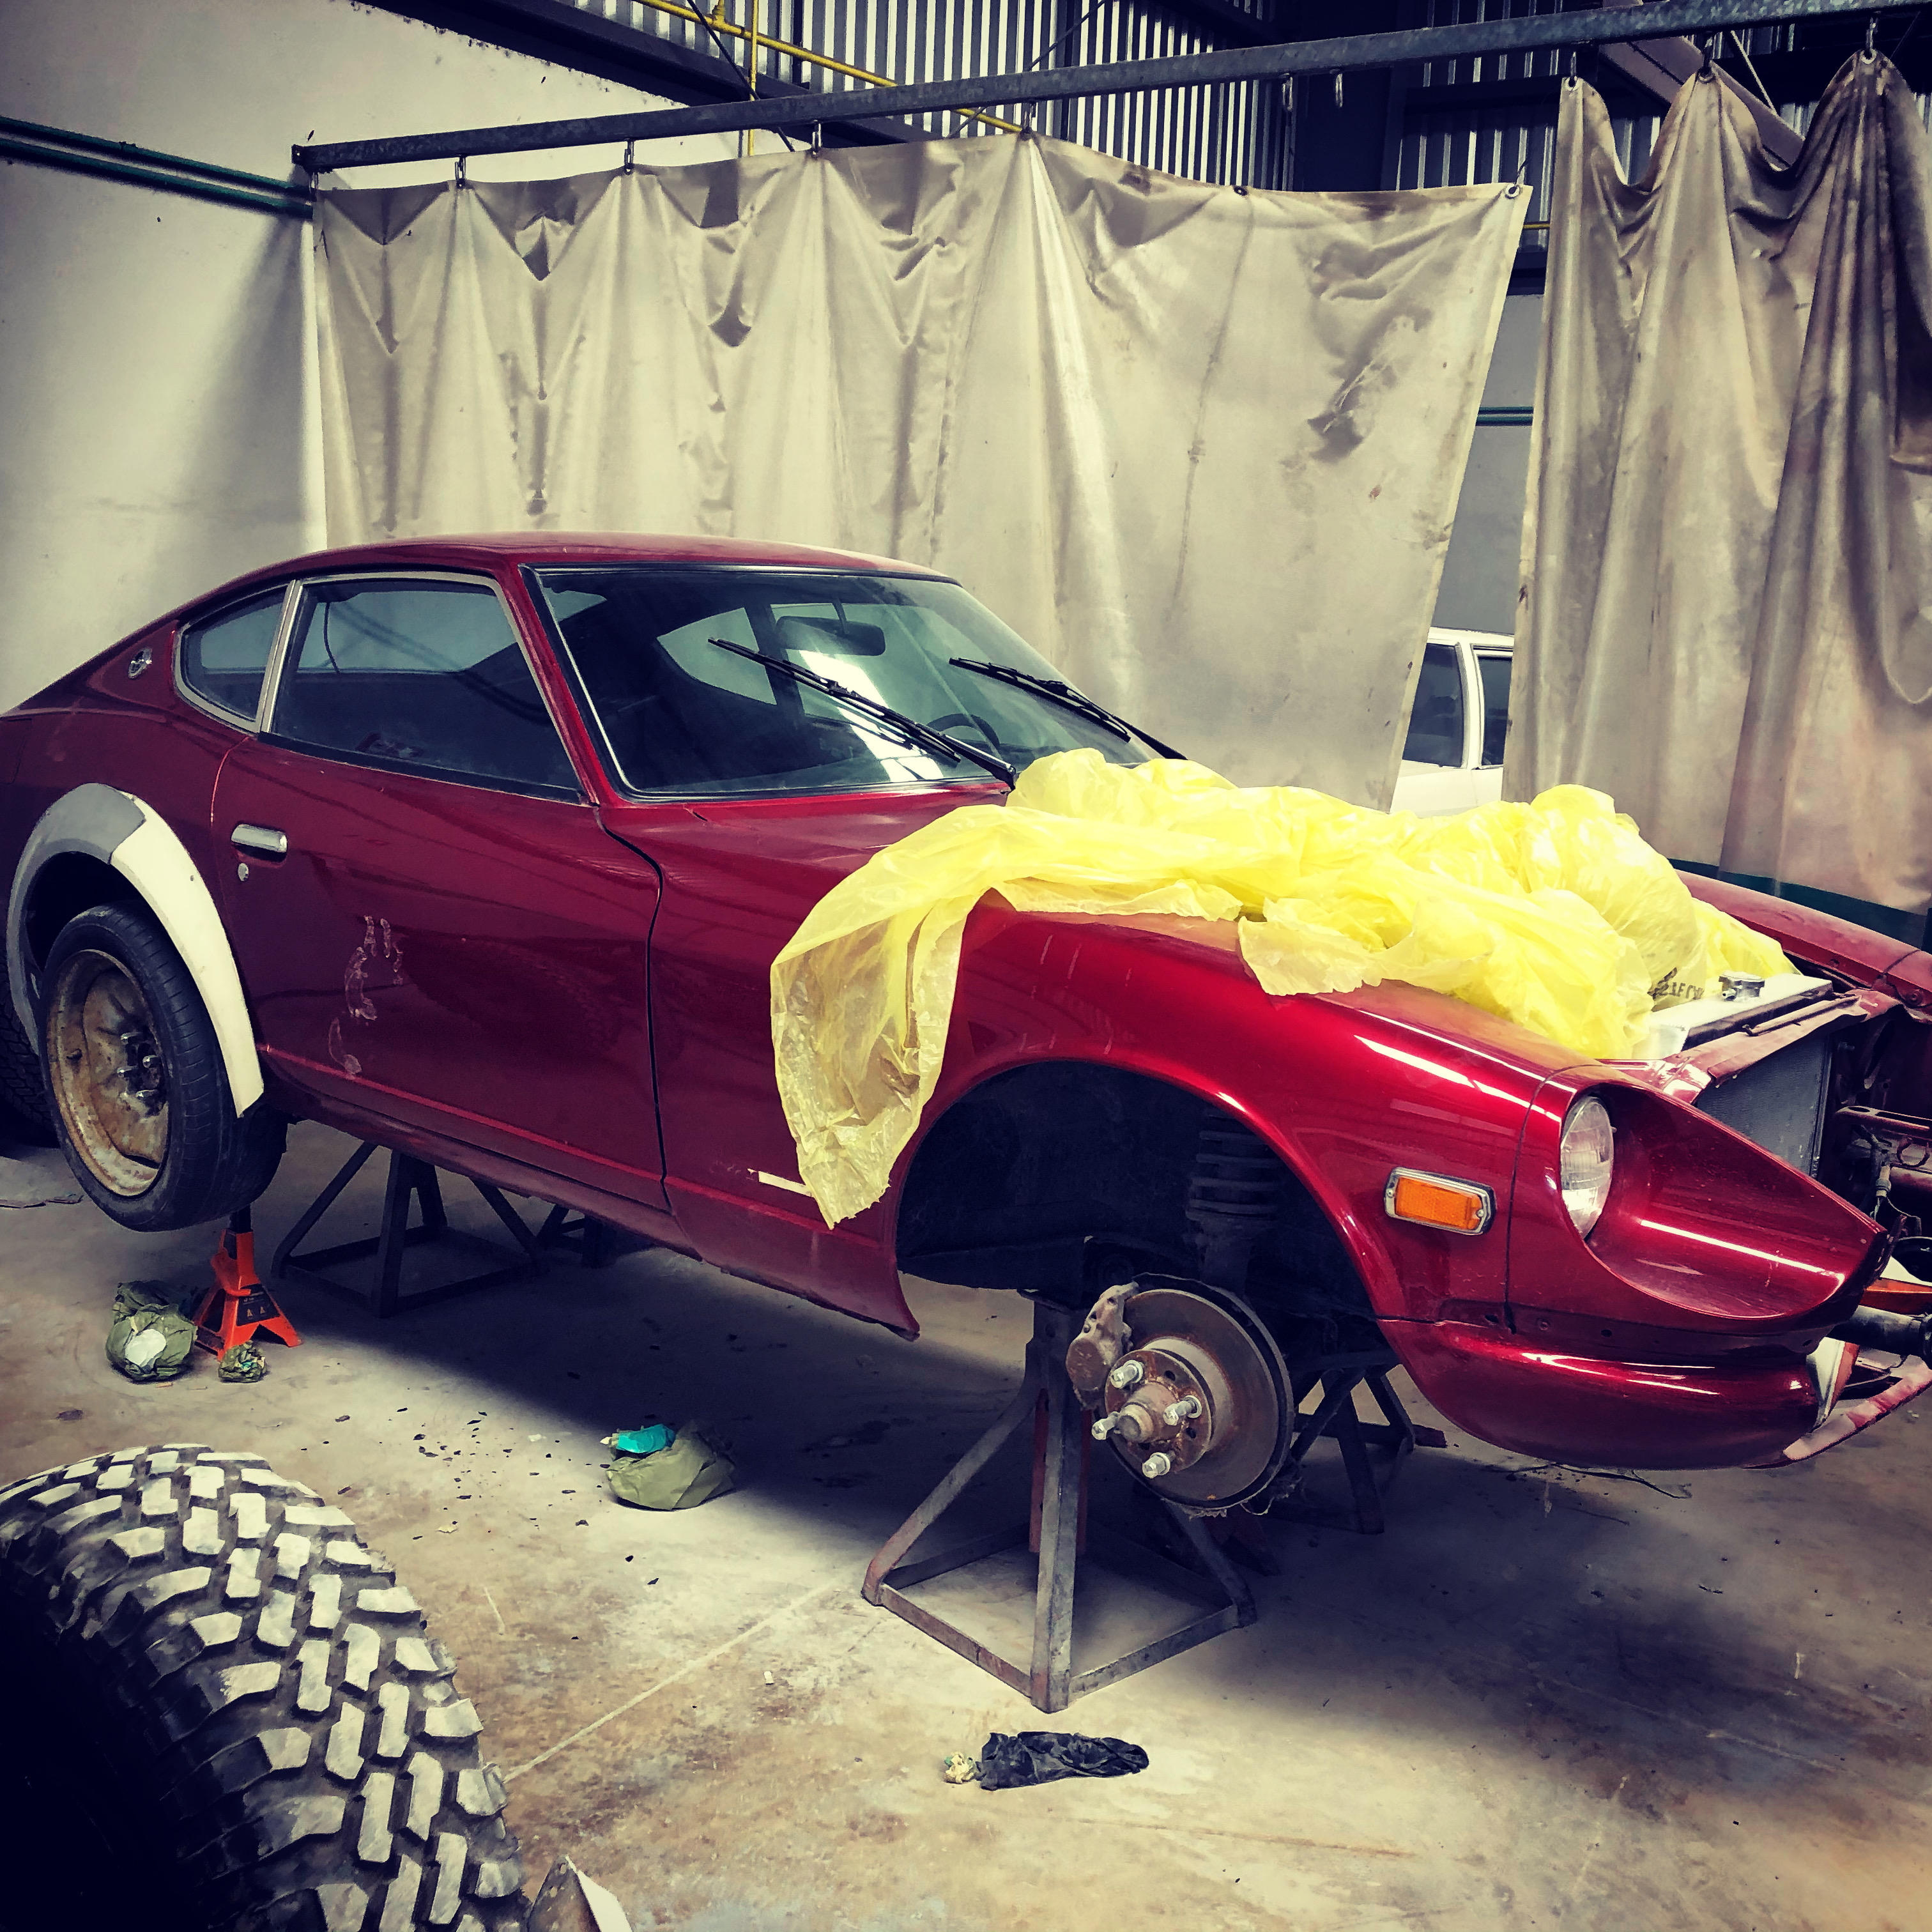
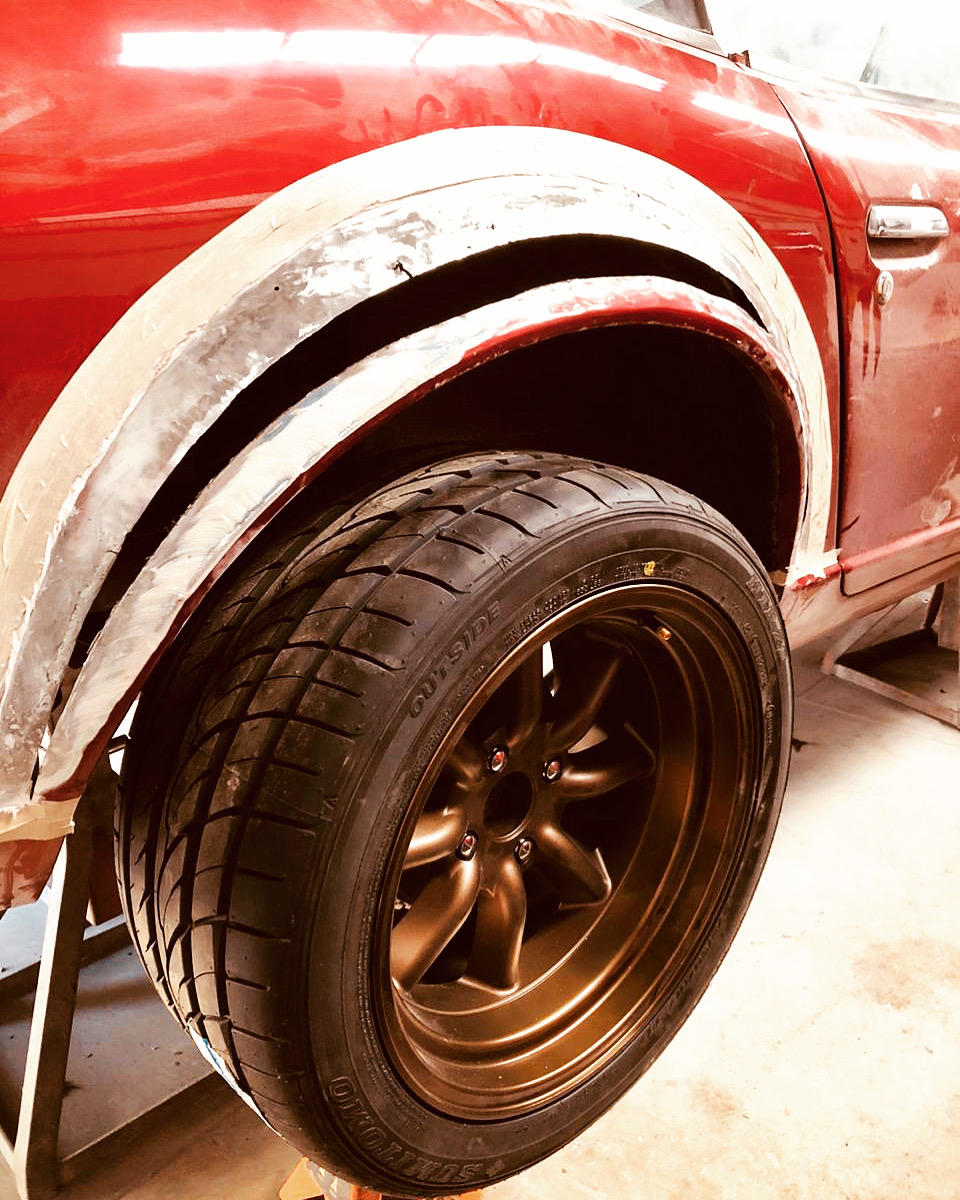
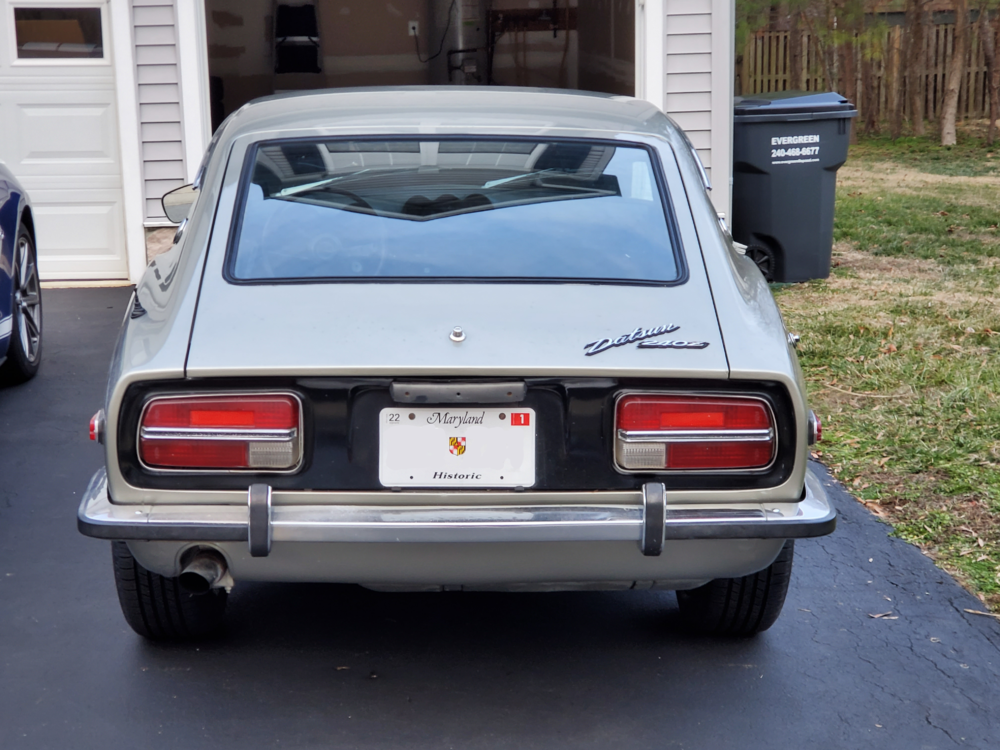
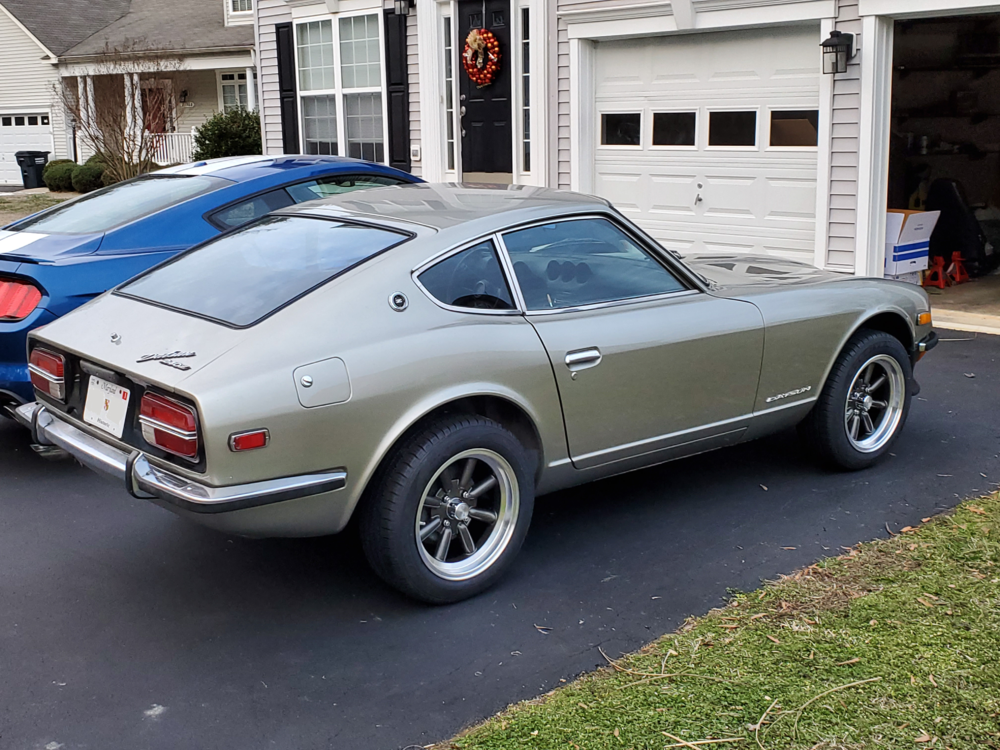
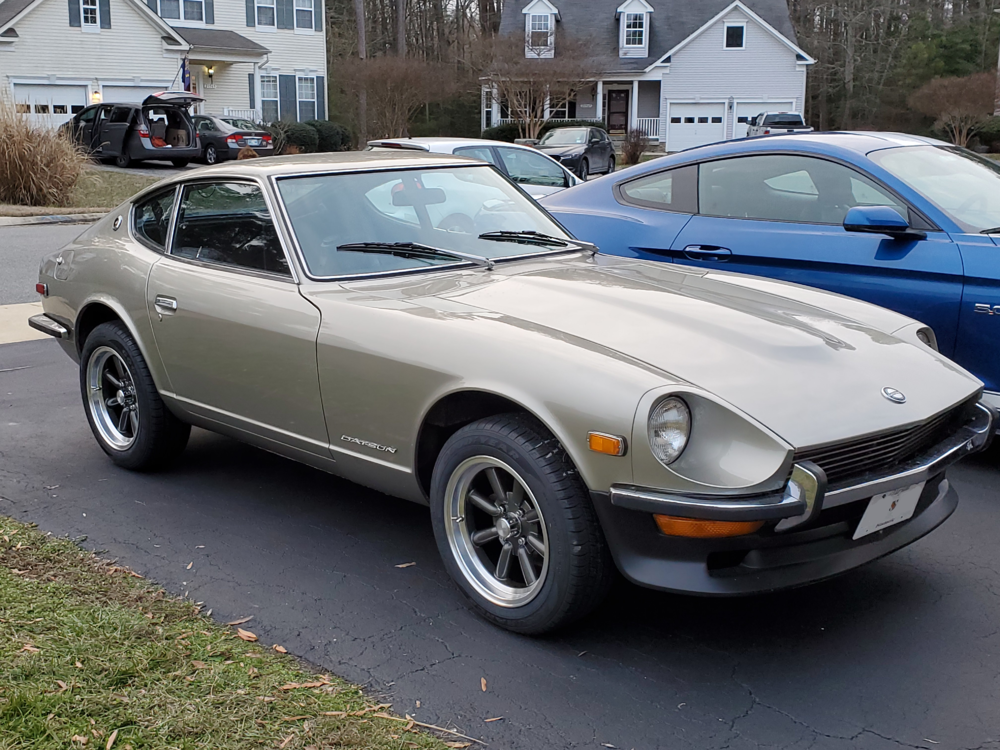
3 pointsAlright here she is on a new pair of shoes! It was actually a somewhat nice day out so I took advantage of the opportunity and jacked it up and got the new wheels on. 16 inch graphite Konig Rewinds on 205/55 Goodyears.


 3 points
 -
3 pointsNow what to do with the old dash (I have two now, my decent one that came out and a JY pull that was going to be used as a experiment on fixing). For now the decent on is installed on the JY frame and will be stowed in doors. the JY dash will go in the attic for "seasoning"... Maybe one day there will be a use for these, I think this is how hoarding begins...3 points
-
3 pointsDone, I am attaching the last video, see parts 1-8 if you are interested in some of the details3 points
-
 2 pointsHey, during the last couple of years restoring my 240Zs I made many mistakes and learnt a lot. I am going to add all these little things to this topic. Especially topics which are unclear to many of us (or sometimes there is wrong info around). There is no specific order. Please feel free to add your notes! I will add some keywords for all the guys who find this topic via Google.. 280ZX dizzy: The stock late 1971 240z tach WILL work although it is current sensing S12/S13 gearbox: A series I drive shaft is around 35mm shorter than a series II driveshaft. You will be able to install the early one with the SR/KA gearbox, however the gearbox tail shaft seal will fail eventually. This is due to the seal running at the very end of the shaft (close to the U-joint) where it already starts to get thicker (radius). A series I shaft has to be shortend by aprox 10 mm. Series II by 50 mm (not talking about series I cars). The transmission mount has to move 20mm towards the rear. Depening on the type of your mount, you can get away with modifying your existing one. 3.1L stroker build: The cheap Maxspeedingrods worked fine for me (5000 Mls so far). They were right within specifications (I did measure them before install). You have to remove some material on the driver side of the block where the main oil gallery is, otherwise the rods will hit the crankcase. U-Joint install: It is not difficult at all, all you need is a hammer, some sockets and a bench vise. Just replace them so you don't have to work on them later in the car. EDIT: Don't replace if not necessary - my MOOG joints failed quickly after install. Powdercoating suspension parts: Do not powder coat flanges (stub axles, wheel hub, diff input). The bolts will keep going loose no matter how tight they are. This is due to the paint layer settling Stagg shocks / dampers in general: Make sure that there is no lateral play of the damper in the strut tube. In other words, the top gland nut must press down the damper. You can add a washer below the damper inside the tube. BTW the Stagg shocks/Vogtland springs combo works great for spirited driving. Rear end clunk/noise: I've been reading all the topics on the web. In my case, the only issue I've never come across before was my issue: I had to tighten the big forward facing bolts which go inside the rear transverse link. Unstable braking / steering pulling to one side: RH side nut at the rear of the T/C rod bushing was not tightened enough Sandblasting fuel tank: Be aware that if you decide to blast the inside of the fuel tank, there will be a lot of blasting media inside afterwards. No matter what you do. I still get quite a lot of blasting media inside my fuel filters (I think I replaced them 4-5 times already). I would not do it again but use some chemical rust remover for the inside of the tank. Rear lights not working / weird rear light issues / turn signal issues: There are two ground points at the rear end, make sure both are fully connected. One below the licence plate light, one behind the rear valence (hard to reach, behind the fuel tank). If one of these is gone, you get all sort of issues. Fuel gauge inaccurate / always low : Make sure that both the wiring harness connectors inside the trunk (behind trunk trim panel) as well as the connectors to the fuel level sensor are in good condition. A high resistance will lead to low readings Motor mounts: Get quality ones. My cheap ones (rockauto) failed quickly (passenger side torn apart) Motor main cap side seals: Get Nissan OEM ones (cheap and still available). They have a steel strip molded in as opposed to a seperate piece of metal (like Felpro). The Felpro leaked after 2000 miles. Use a non hardening sealing compound (just cover them completely before inserting). Oil pan removing without lifting the engine: It is not difficult at all. All you need is Cyl 1 at TDC. There is little room but it works. Brake pads: If you want a better performing braking system, get better front pads first. Pagid, Ferodo, Project µ, Porterfield. Just to name a few. I opted for Pagid pads and it completely transformed my brake. Just by the pad change I went from an OK brake to a great performing brake (in fact I did lock the wheels a few times as I was used to my old brake pads (MSA Track pads)). ZG flares: If you are going to run 15" wheels, you dont have to cut a lot at the front fenders. Only about 1-1,5 cm at the top. If you cut more the flares will sit too hight. 225/50 R15 -13 wheels fit perfectly for the ZG type flares. Don't get the universal fit flares but some high quality ZG replicas. They follow the body lines and need no felting or body filler to fit. Heater valve: Just get a new one. It will fail/leak eventually even it it looks like it works. It is no effort to replace while the heater box is out of the car. Brake lines: They are easy to made if you buy Cunifer brake lines. Even with a cheap ebay tool, great results can be achieved.2 points
 -
 2 pointsYes, the block is painted. DE1651 Cast Coat Iron from Duplicolor. I didn’t really like the look of the Datsun turquoise blue, I thought it clashed with the red engine compartment. Blasphemy to some of the Datsun hardliners but it’s a 77, not a series 1 collector car. I really like the look of this block color. I have a red powder coated valve cover and I think the colors go well together. Sent from my iPhone using Tapatalk2 points
 -
 2 pointsTo clean the tank without blasting, I built a tank rotisserie, and used that to spin the tank while cleaning it out. I used muriatic acid, diluted 50/50 with warm water, twice, followed by a neutralizing wash with baking soda and water, followed by numerous rinses with water until it ran out clean. There are a number of other threads describing the process. For media, I counted out 150 machine nuts (it's what I had on hand), and dumped them in the tank before cleaning. Afterward, I shook the tank around and made sure that 150 nuts came out. ?2 points
 -
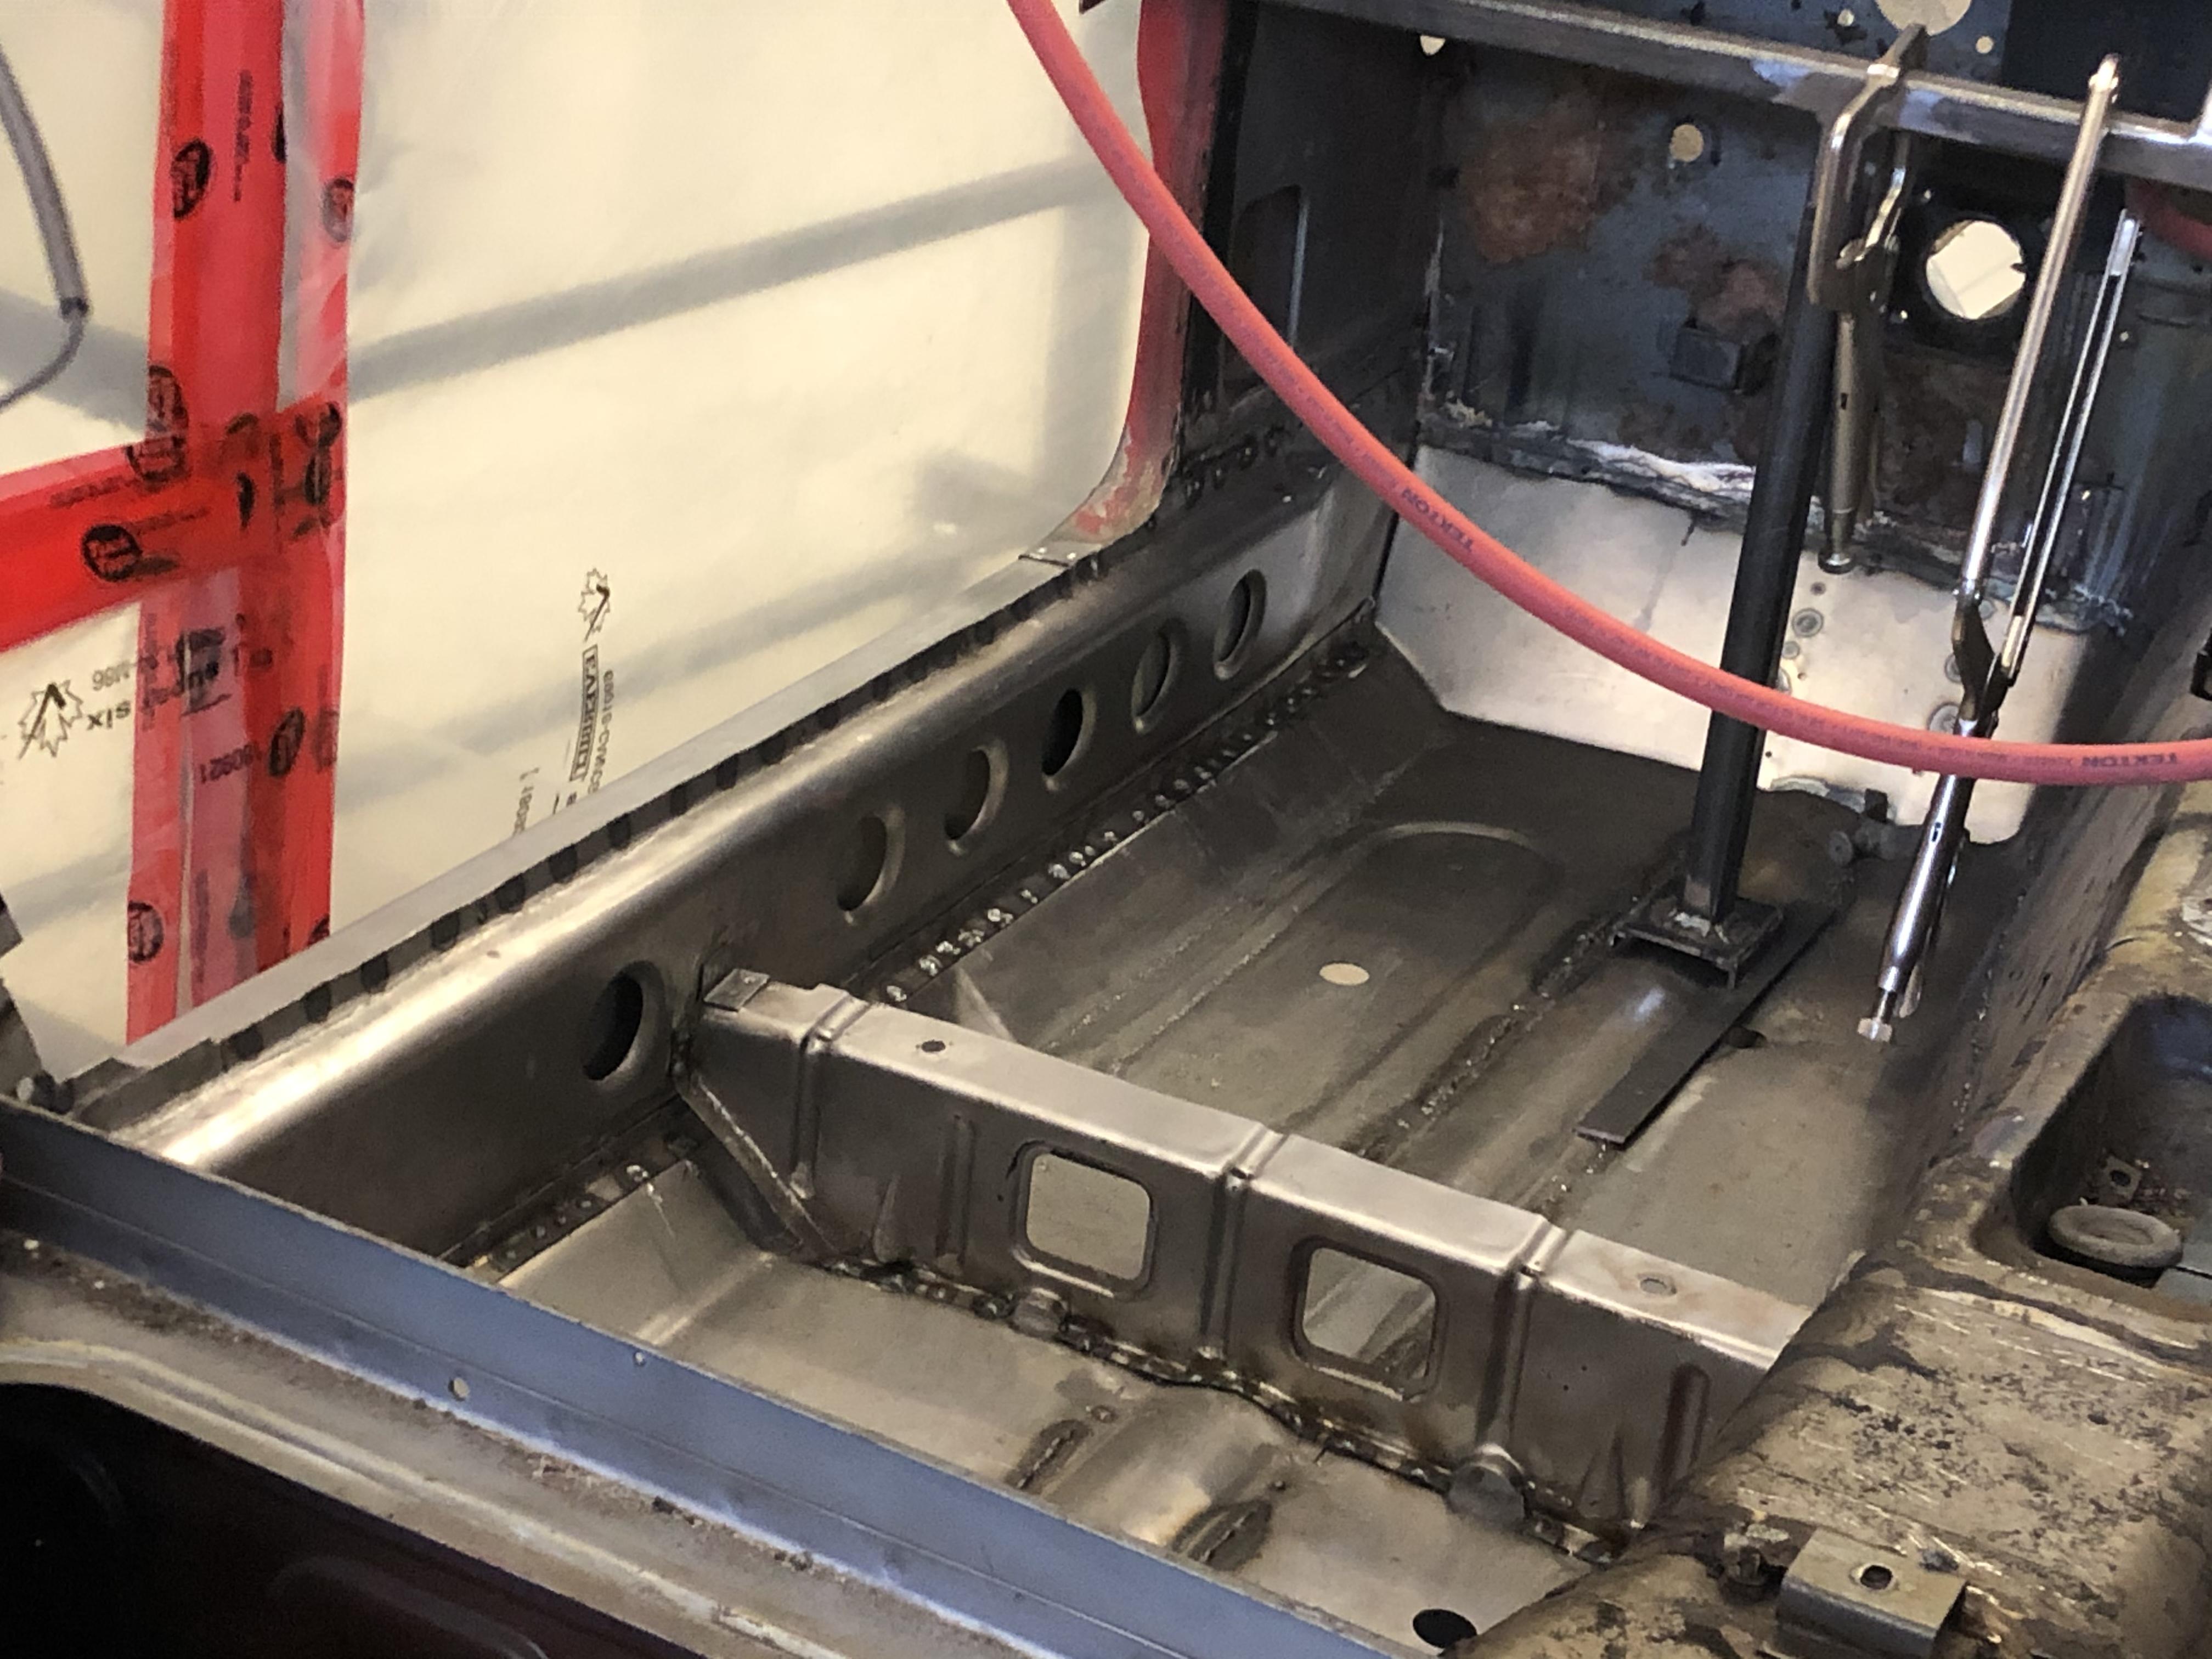
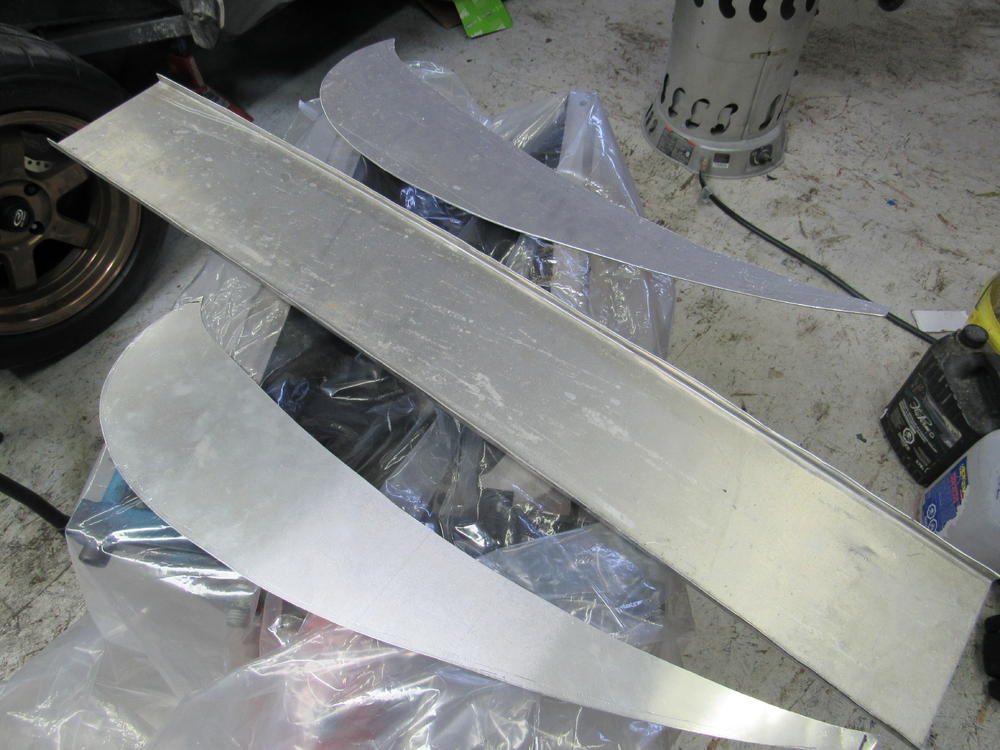
2 pointsThe shop is closed today and I'm off making templates for 280Z seat brackets so I will post a picture of an honest to God OEM, never installed 280ZX frame rail next week.2 points
-
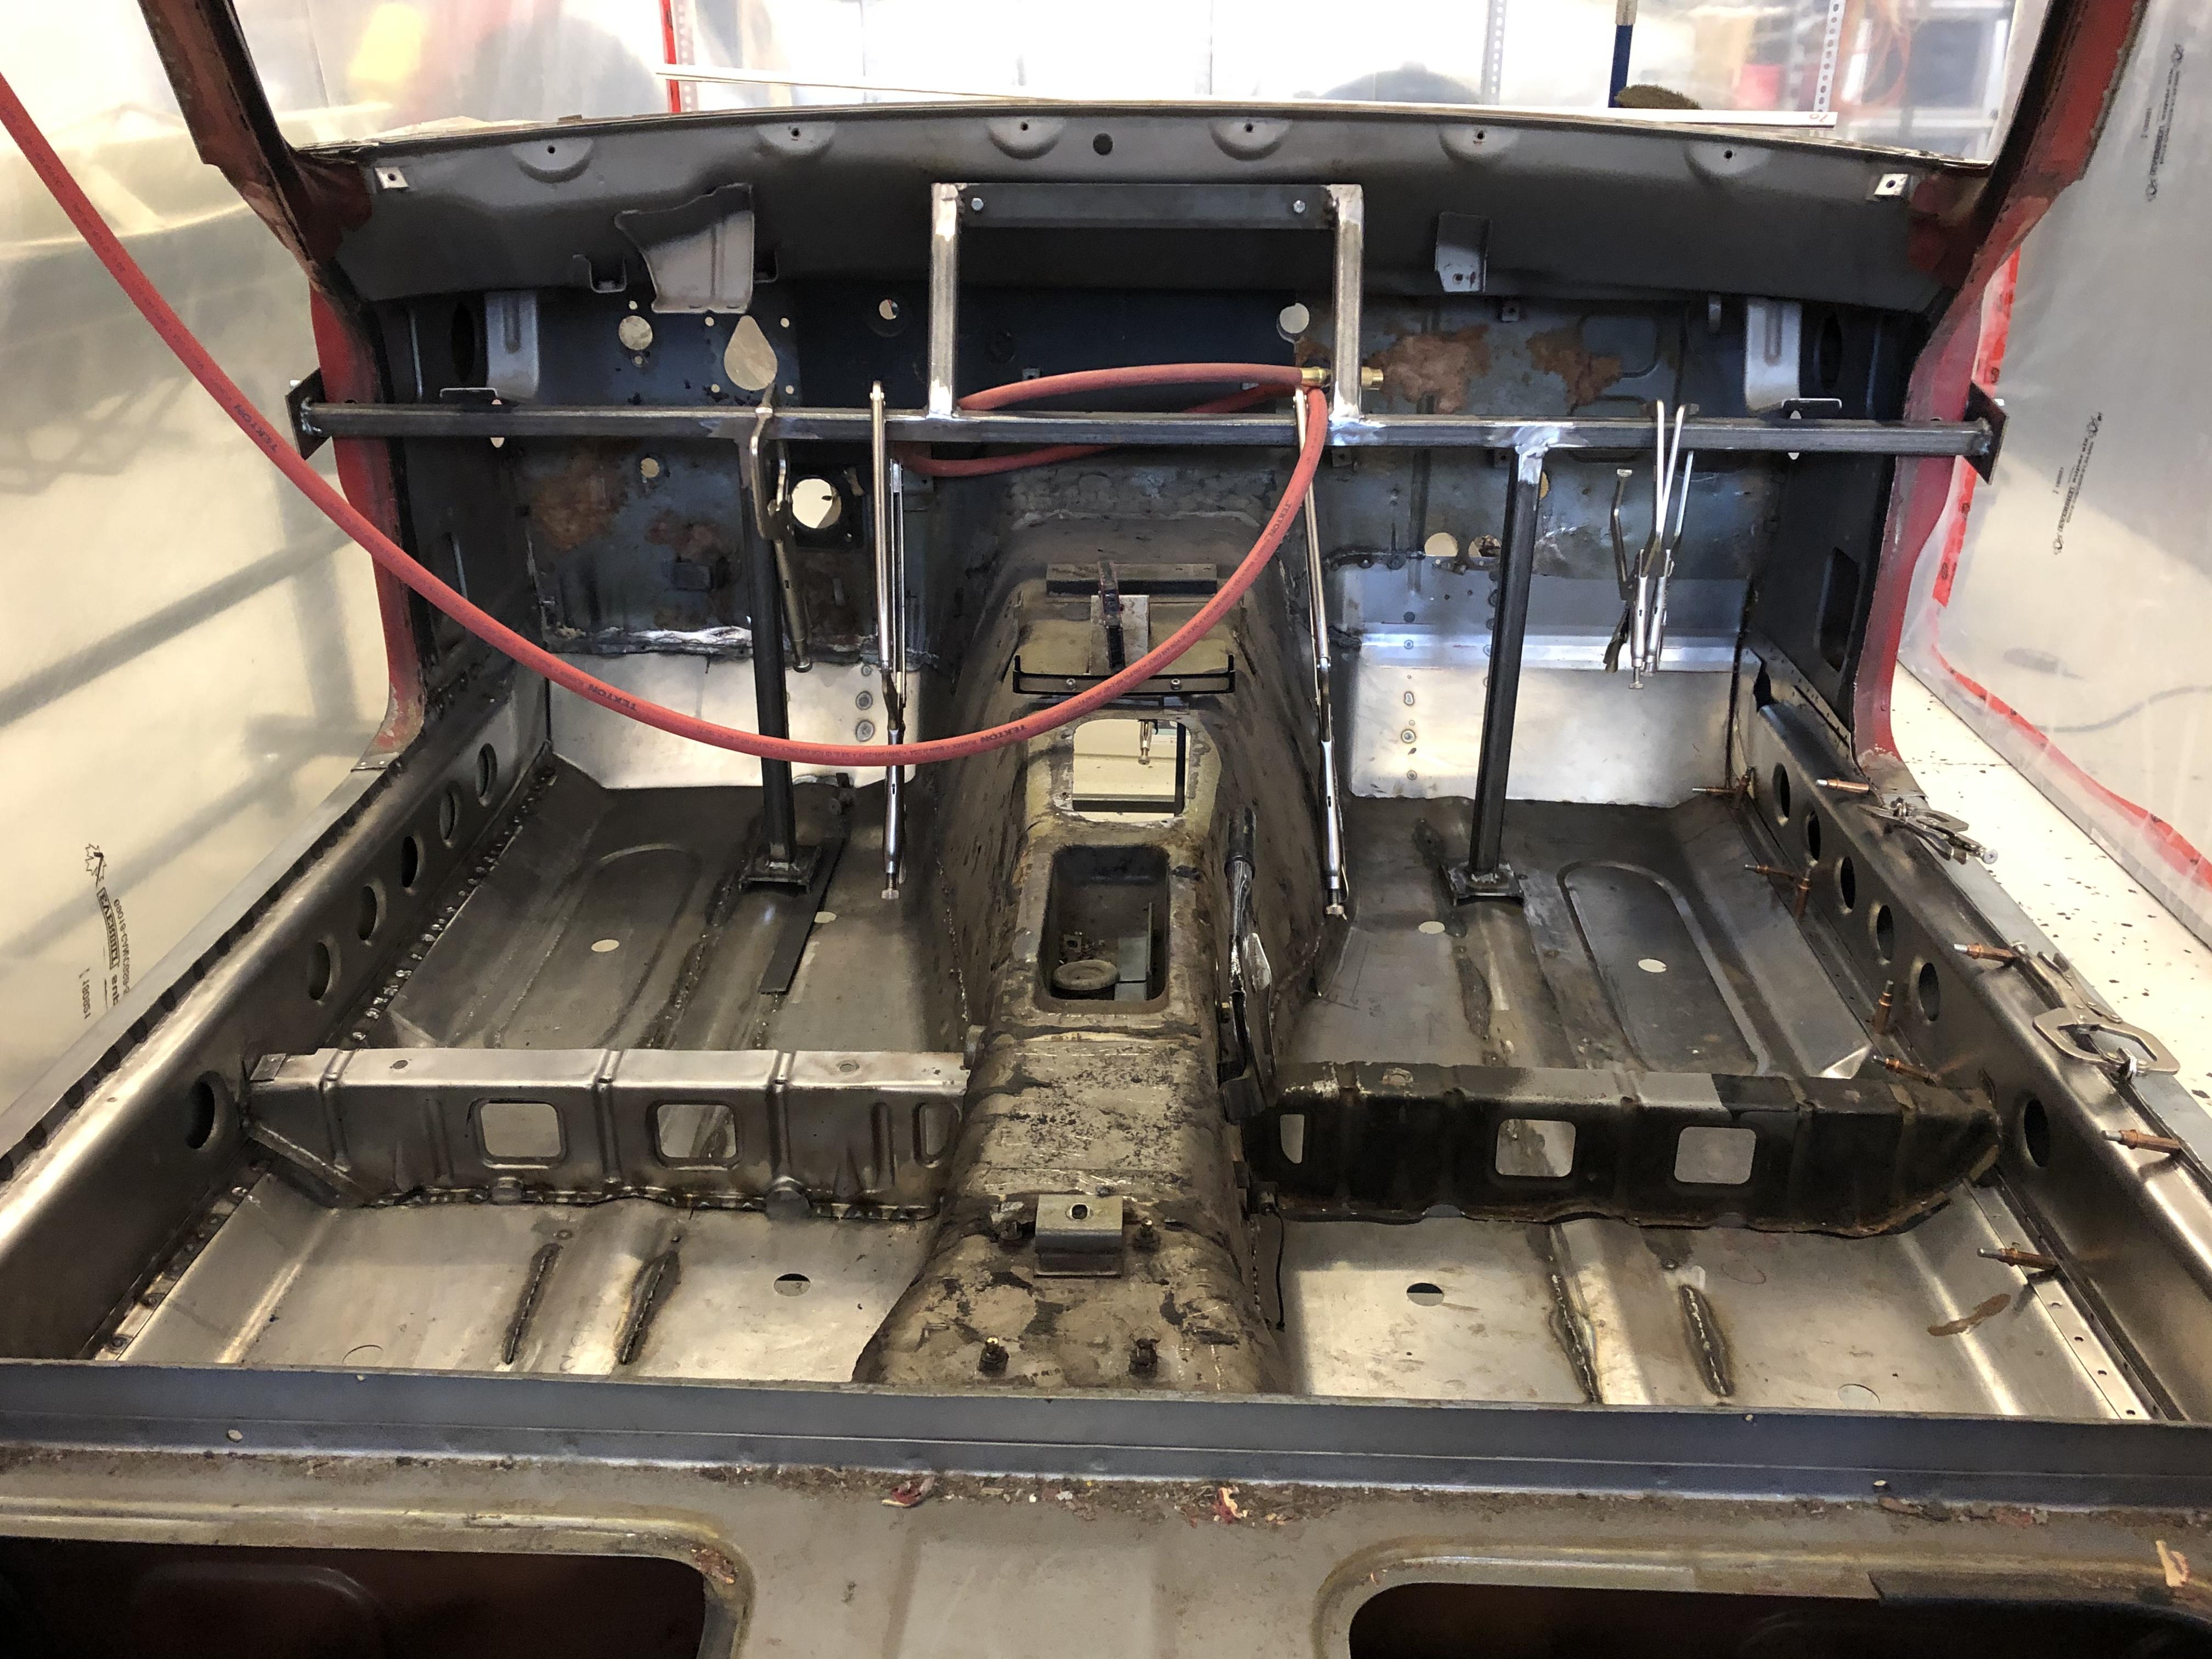
 2 pointsMost us have experienced that already and I more than once. The day you decide to repair rust is when it really get ugly. Enjoy that car and the process.2 points
 -
 2 points
 -
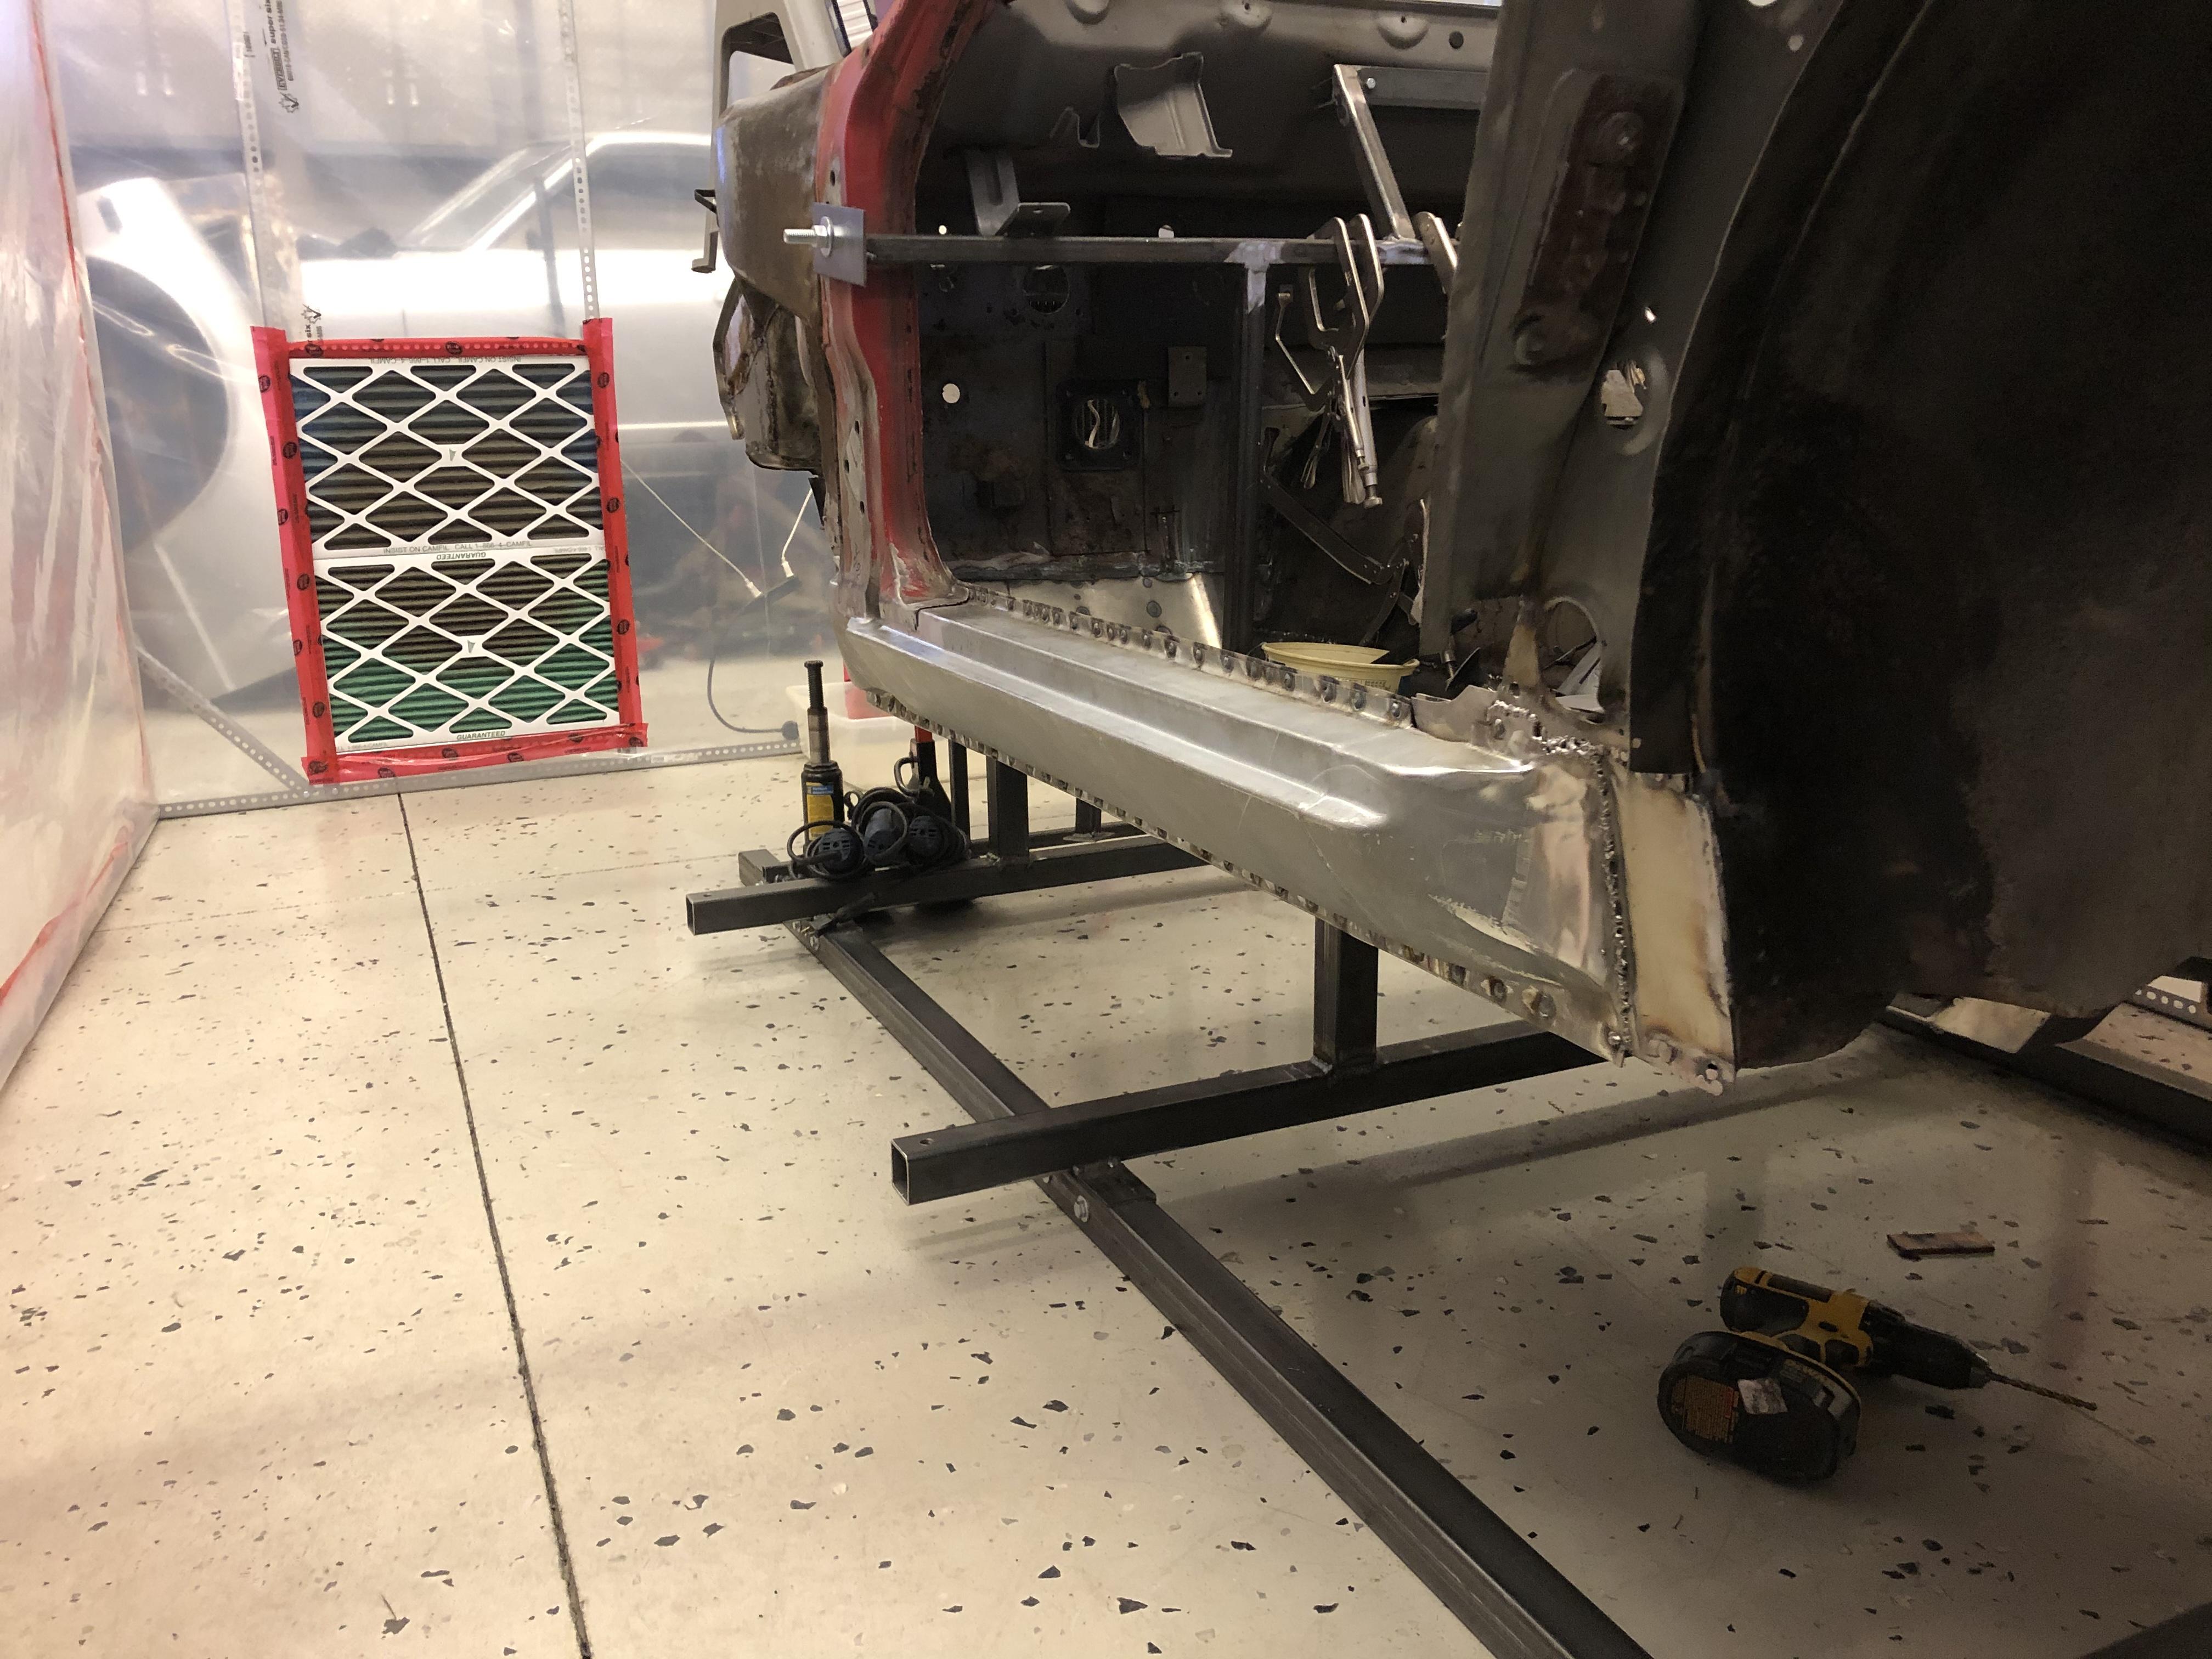
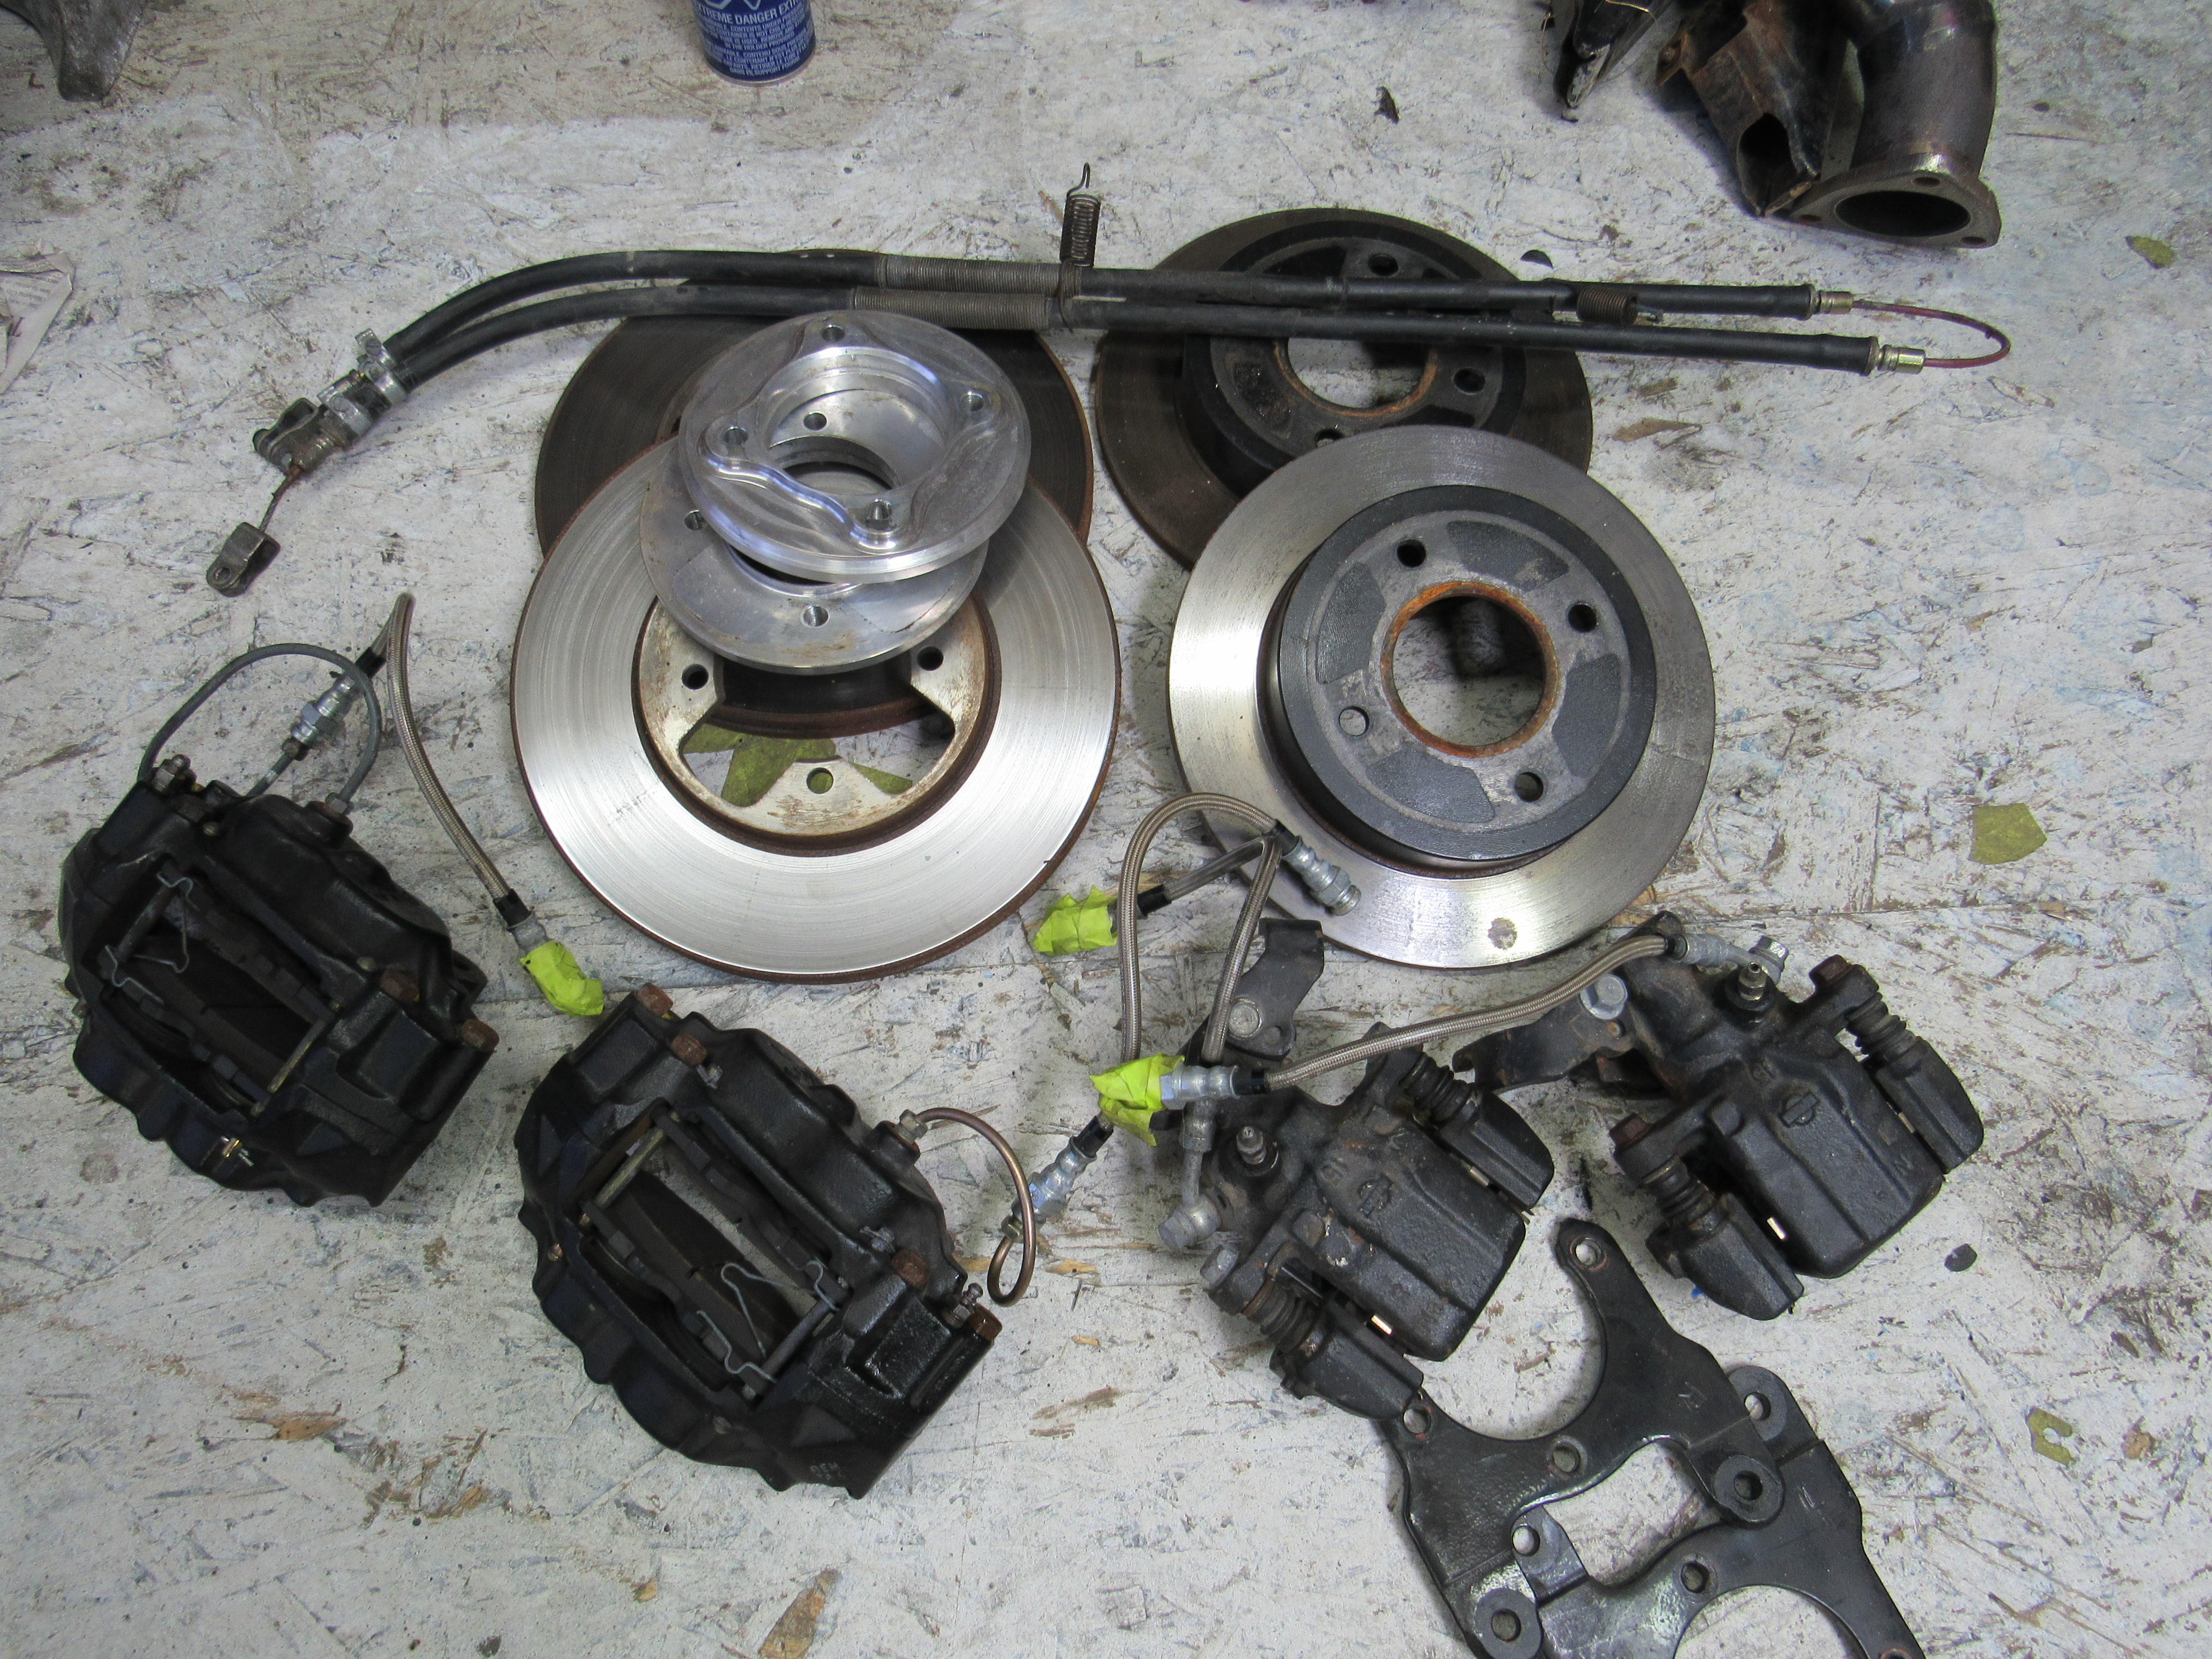
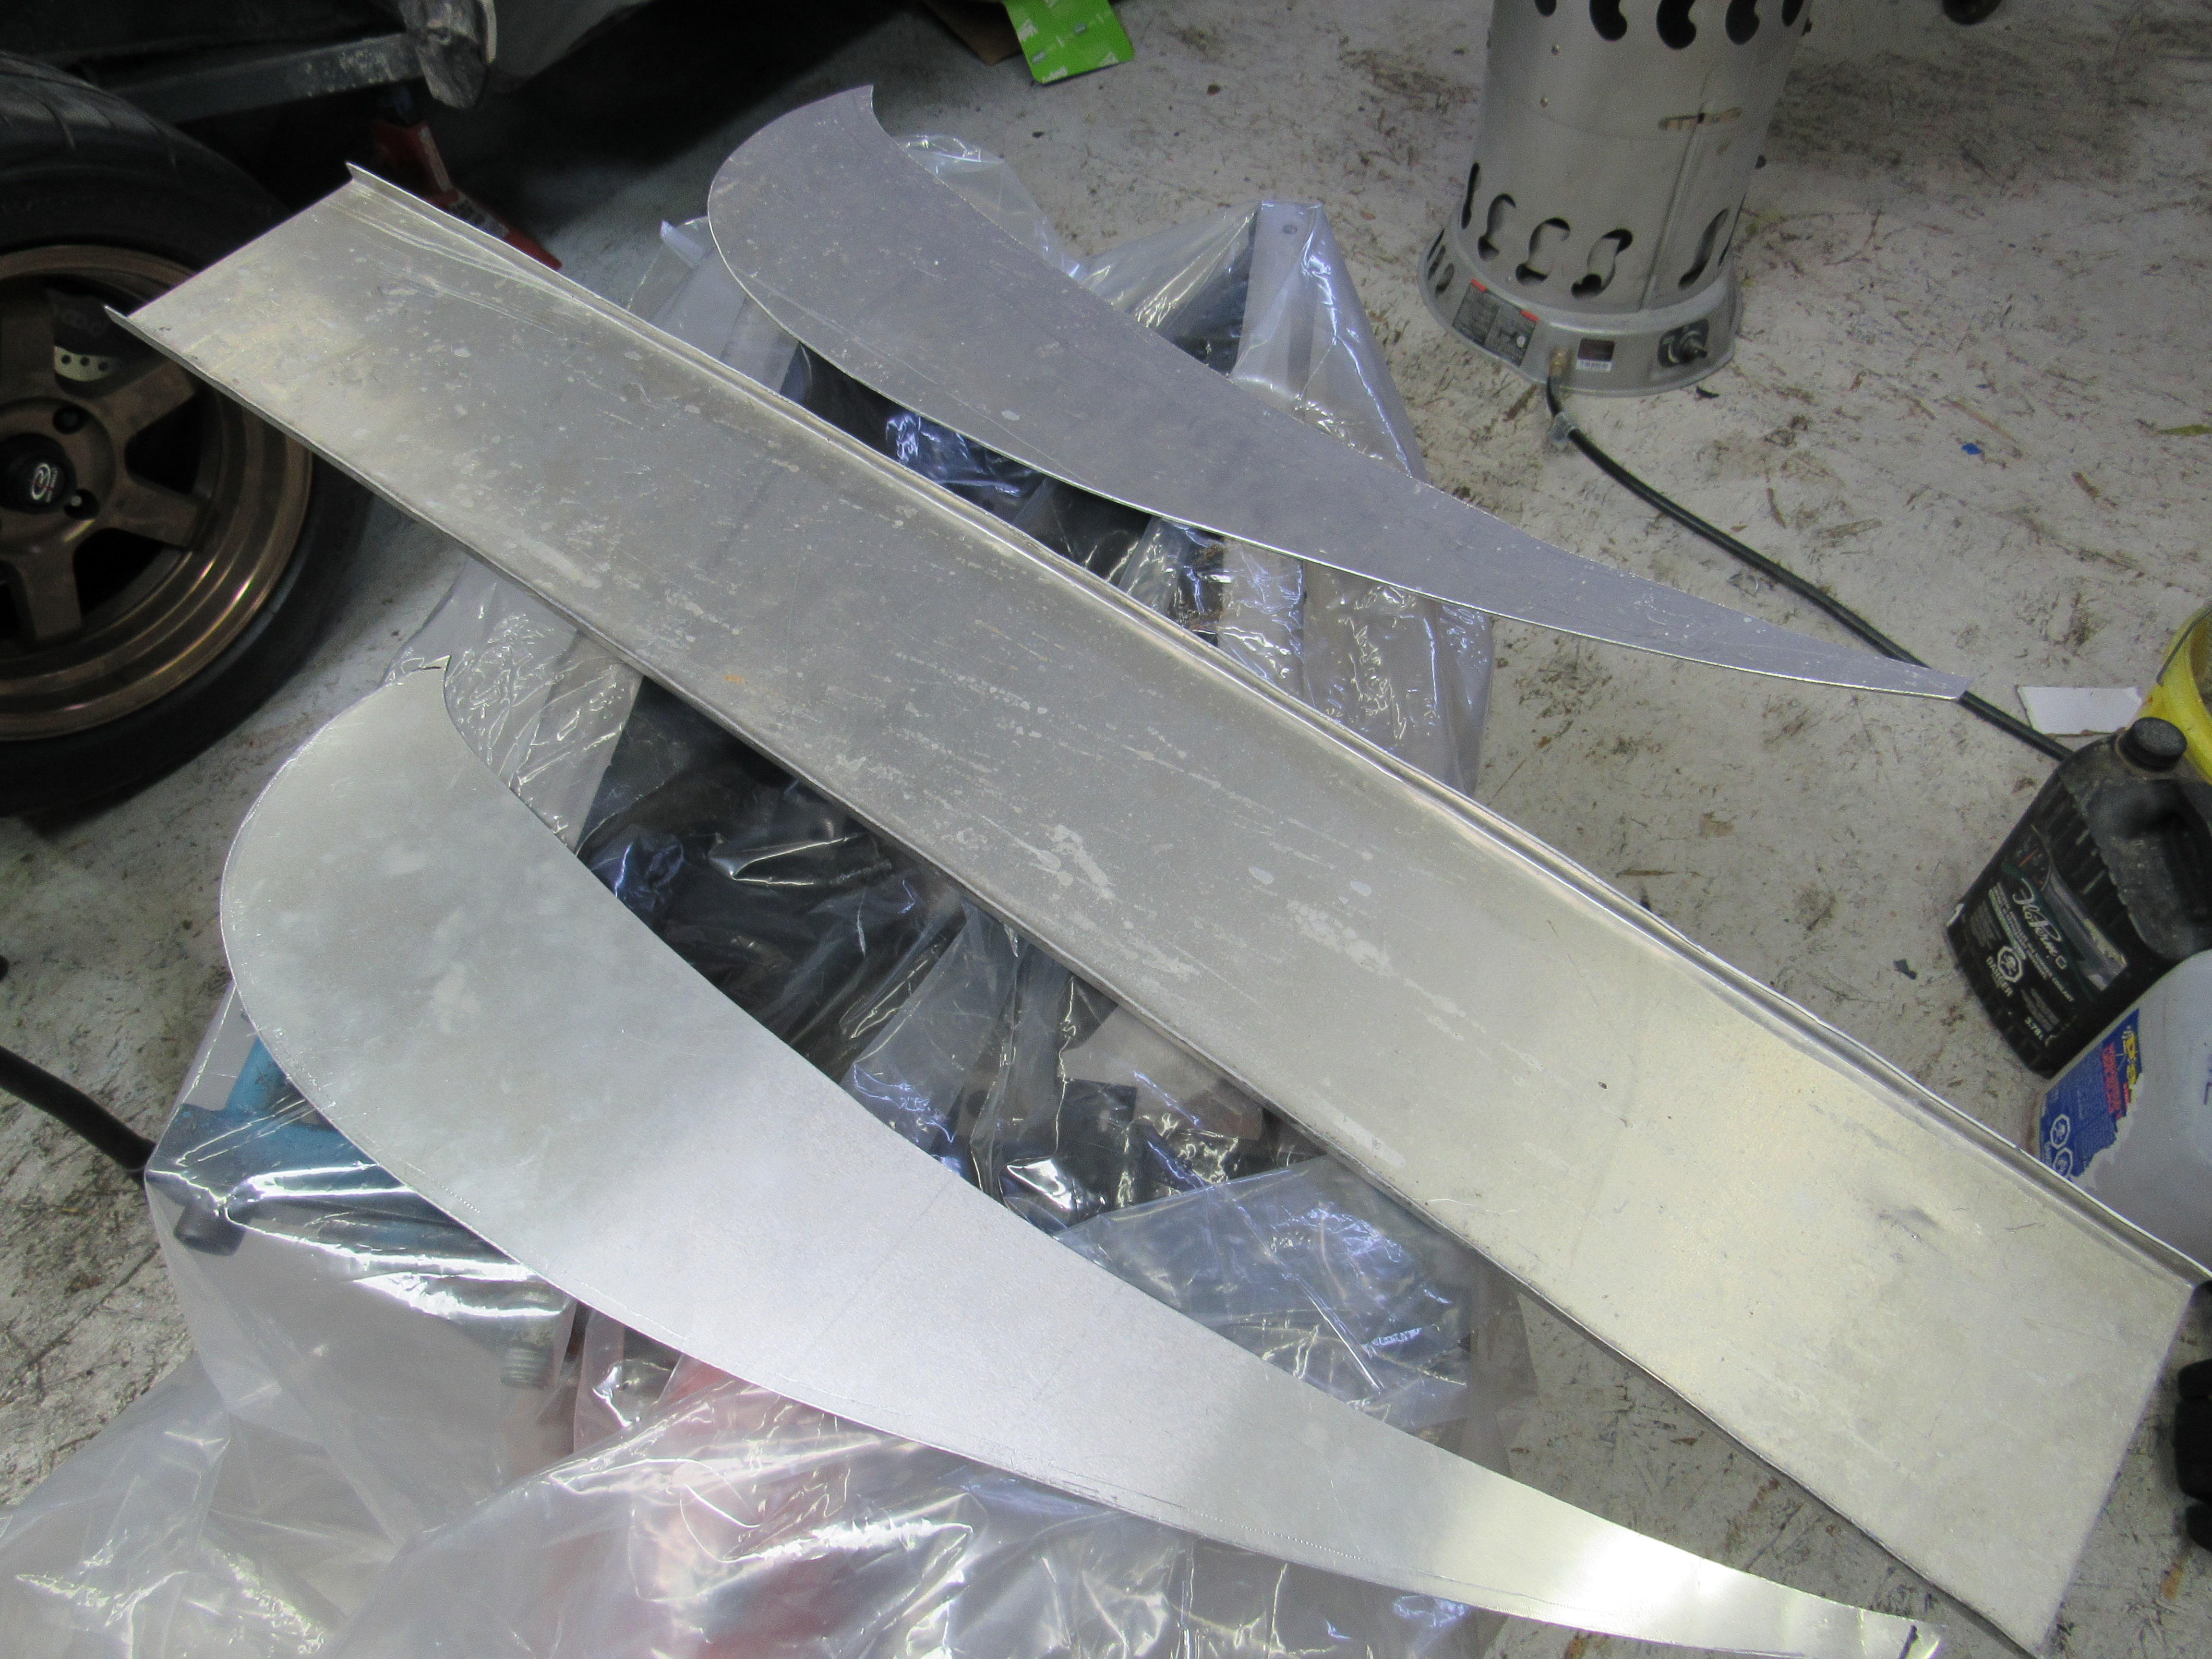
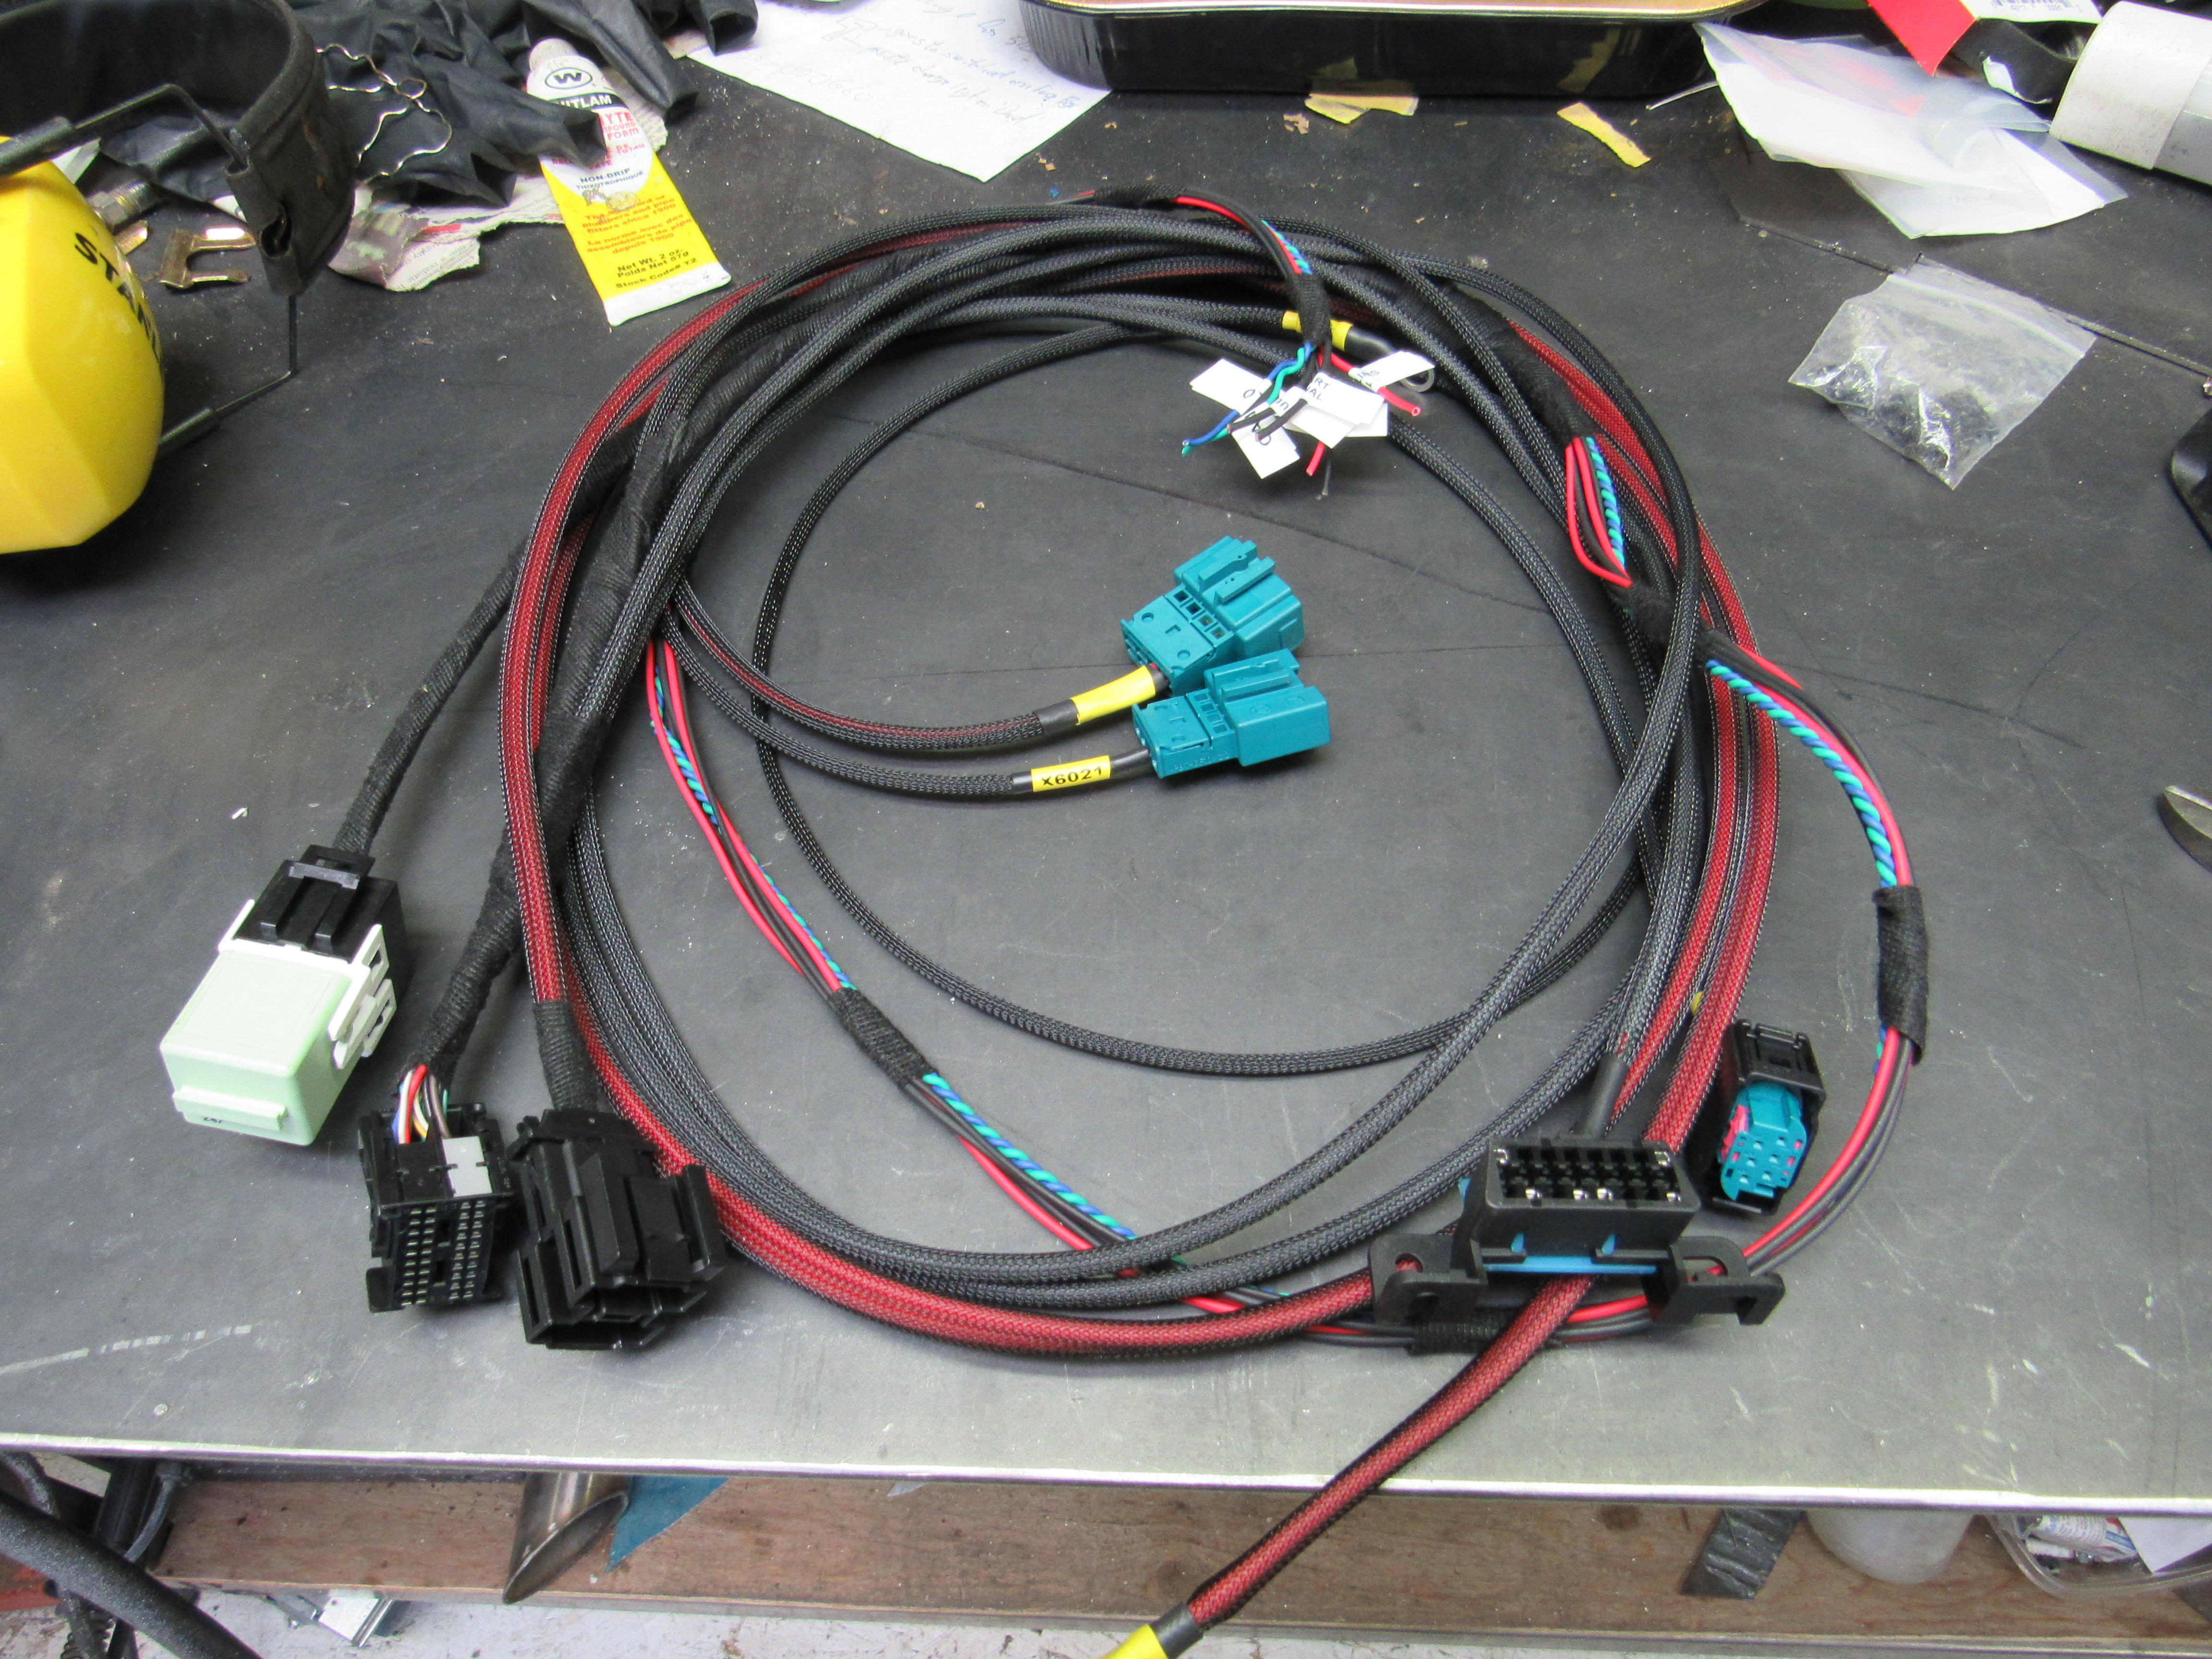
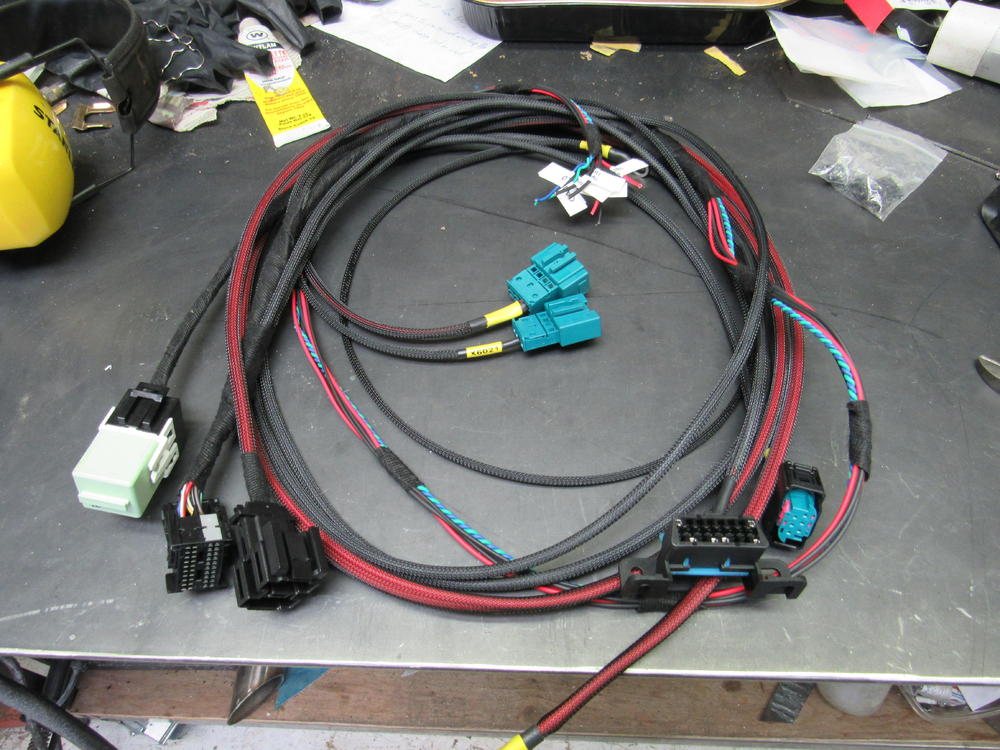
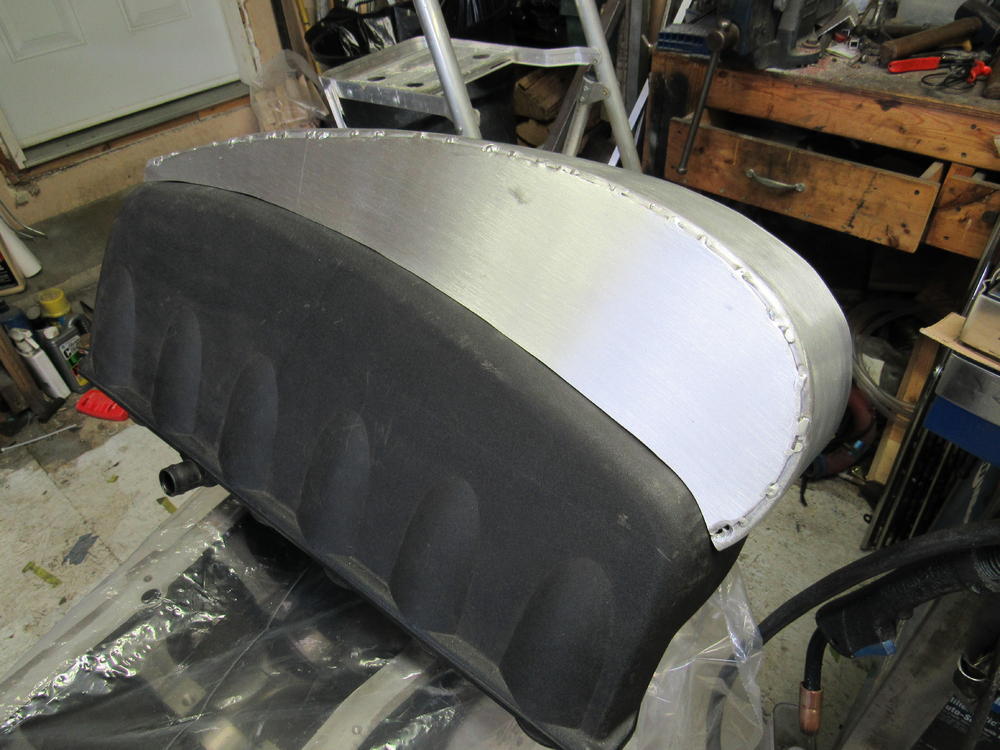
 The old Toyota and Maxima brake set I replaced was 92 lbs total so the new Wilwoods are 5lbs more, I will be finished installing the new brakes tomorrow so will go into the kit a bit more then. The stock elbow on the airbox exits right into the shock tower so I had to come up with a way to feed the air in, I'm not sure this going to work yet but I'll carry on with it until I get the engine running. Right on the end of the tear drop will be the aluminum tube that will head out in front of the radiator but it's still changing daily at this point. And just got the ECU back from Kassel Performance, they deleted the extra programing that I don't need for the engine swap, flashed a new tune onto it and made up this plug n play harness for me. I'm sure I could have struggled through it and made one up myself but I learned my lesson on the last engine and so I will just pay someone else to do that stuff for me now.

 2 points
 -
1 pointHey everybody, I'm new to the forums and owning a Z car. I just bought my first one (and hopefully last, but we'll see where that ends up), a 71 series 2 car. At least I think July 71 is a series 2. Anyhoo, I hope to learn a lot from some Z veterans and hope to help anyone with the experiences I have with my car. It's rust free (ha), or as rust free as I'd like it to be. Got it from California and sent to my home state in the rust belt. We got our first snow acouple days ago so my new Z I've driven twice now will have to sleep for most of the season in the garage. In the mean time I'm doing some basic fixups and cosmetic changes. I've taken out all the carpet and padding to clean and replace some bits so far. I think I'll need to replace the padding with new stuff. Thanks for the read and I hope I can help where I can! I'll post pictures as soon as I'm able to. Will1 point
-
 1 point
 -
 1 pointHello! I’m Alberto from Spain, I’m at Mexico now ending a 280z restoration, it’s a original Californian 280z with a l28e year 1976 and we’re adding custom fender flares, front air dam, fender mirrors, duck tail and more stuff... I also will need some help from this community soon, thanks!
 1 point
 -
 I'd be nervous too with a -15 offset and 9in width on the front. Zero offset is what to shoot for or close to that.1 point
 -
1 pointThe dash caps don't work over the Vintage Dash? What's the problem there? I don't have much problem reaching up under the dash to screw in the speedo cable. As crowded as it is under there, it just seems to work. Maybe it's my long spindly orangutan arms.1 point
-
1 pointThat was me Dave...... The only time you can't do it is with a dash cap installed which prevents the instruments from coming out towards you. with the vintage dash, this is not a problem.1 point
-
1 pointGlad you liked it. It would be helpful for sure to have a couple helpers with lifting it and getting into position. someone posted on my youtube that getting the speedo hooked up is easier if you leave the tach out until the dash is in place. I presume installing the tach after the dash is in is not a problem. I did not do it that way but would be something to look into.1 point
-
1 point
-
1 point
-
Sheesh! Let me try... The ZX is similar construction underneath to the first gen Z. So you know those frame rails on the Z that run from the engine compartment to under the seats? The ones that rust out and get all pushed up and mangled by jack stands? Well the ZX has pretty much the same thing. Who knew it would be so hard to help the Z community.1 point
-
So I take it from all of your posts that none of you actually own a 280ZX. As to a product you could buy at Home Despot perhaps you should go to our website. We've been making frame rails for over 15 years for 240/260/280Zs along with 240 seat brackets, jack plates and sway bar plates. Besides the ZX rails we have seven more parts in various stages of development including rails for Tacoma standard cabs. Until we have final fitment issues completed and have obtained our Design Patents there will be no pictures available. We have already had three parts copied by another Z parts vendor and we don't intend on that happening again. We tried to make a serious offer of free ZX frame rails (a heck of lot more complex than the straight forward 240-280 rails) in exchange for help getting the fitment right. Perhaps we should have made the offer on another Z related website.1 point
-
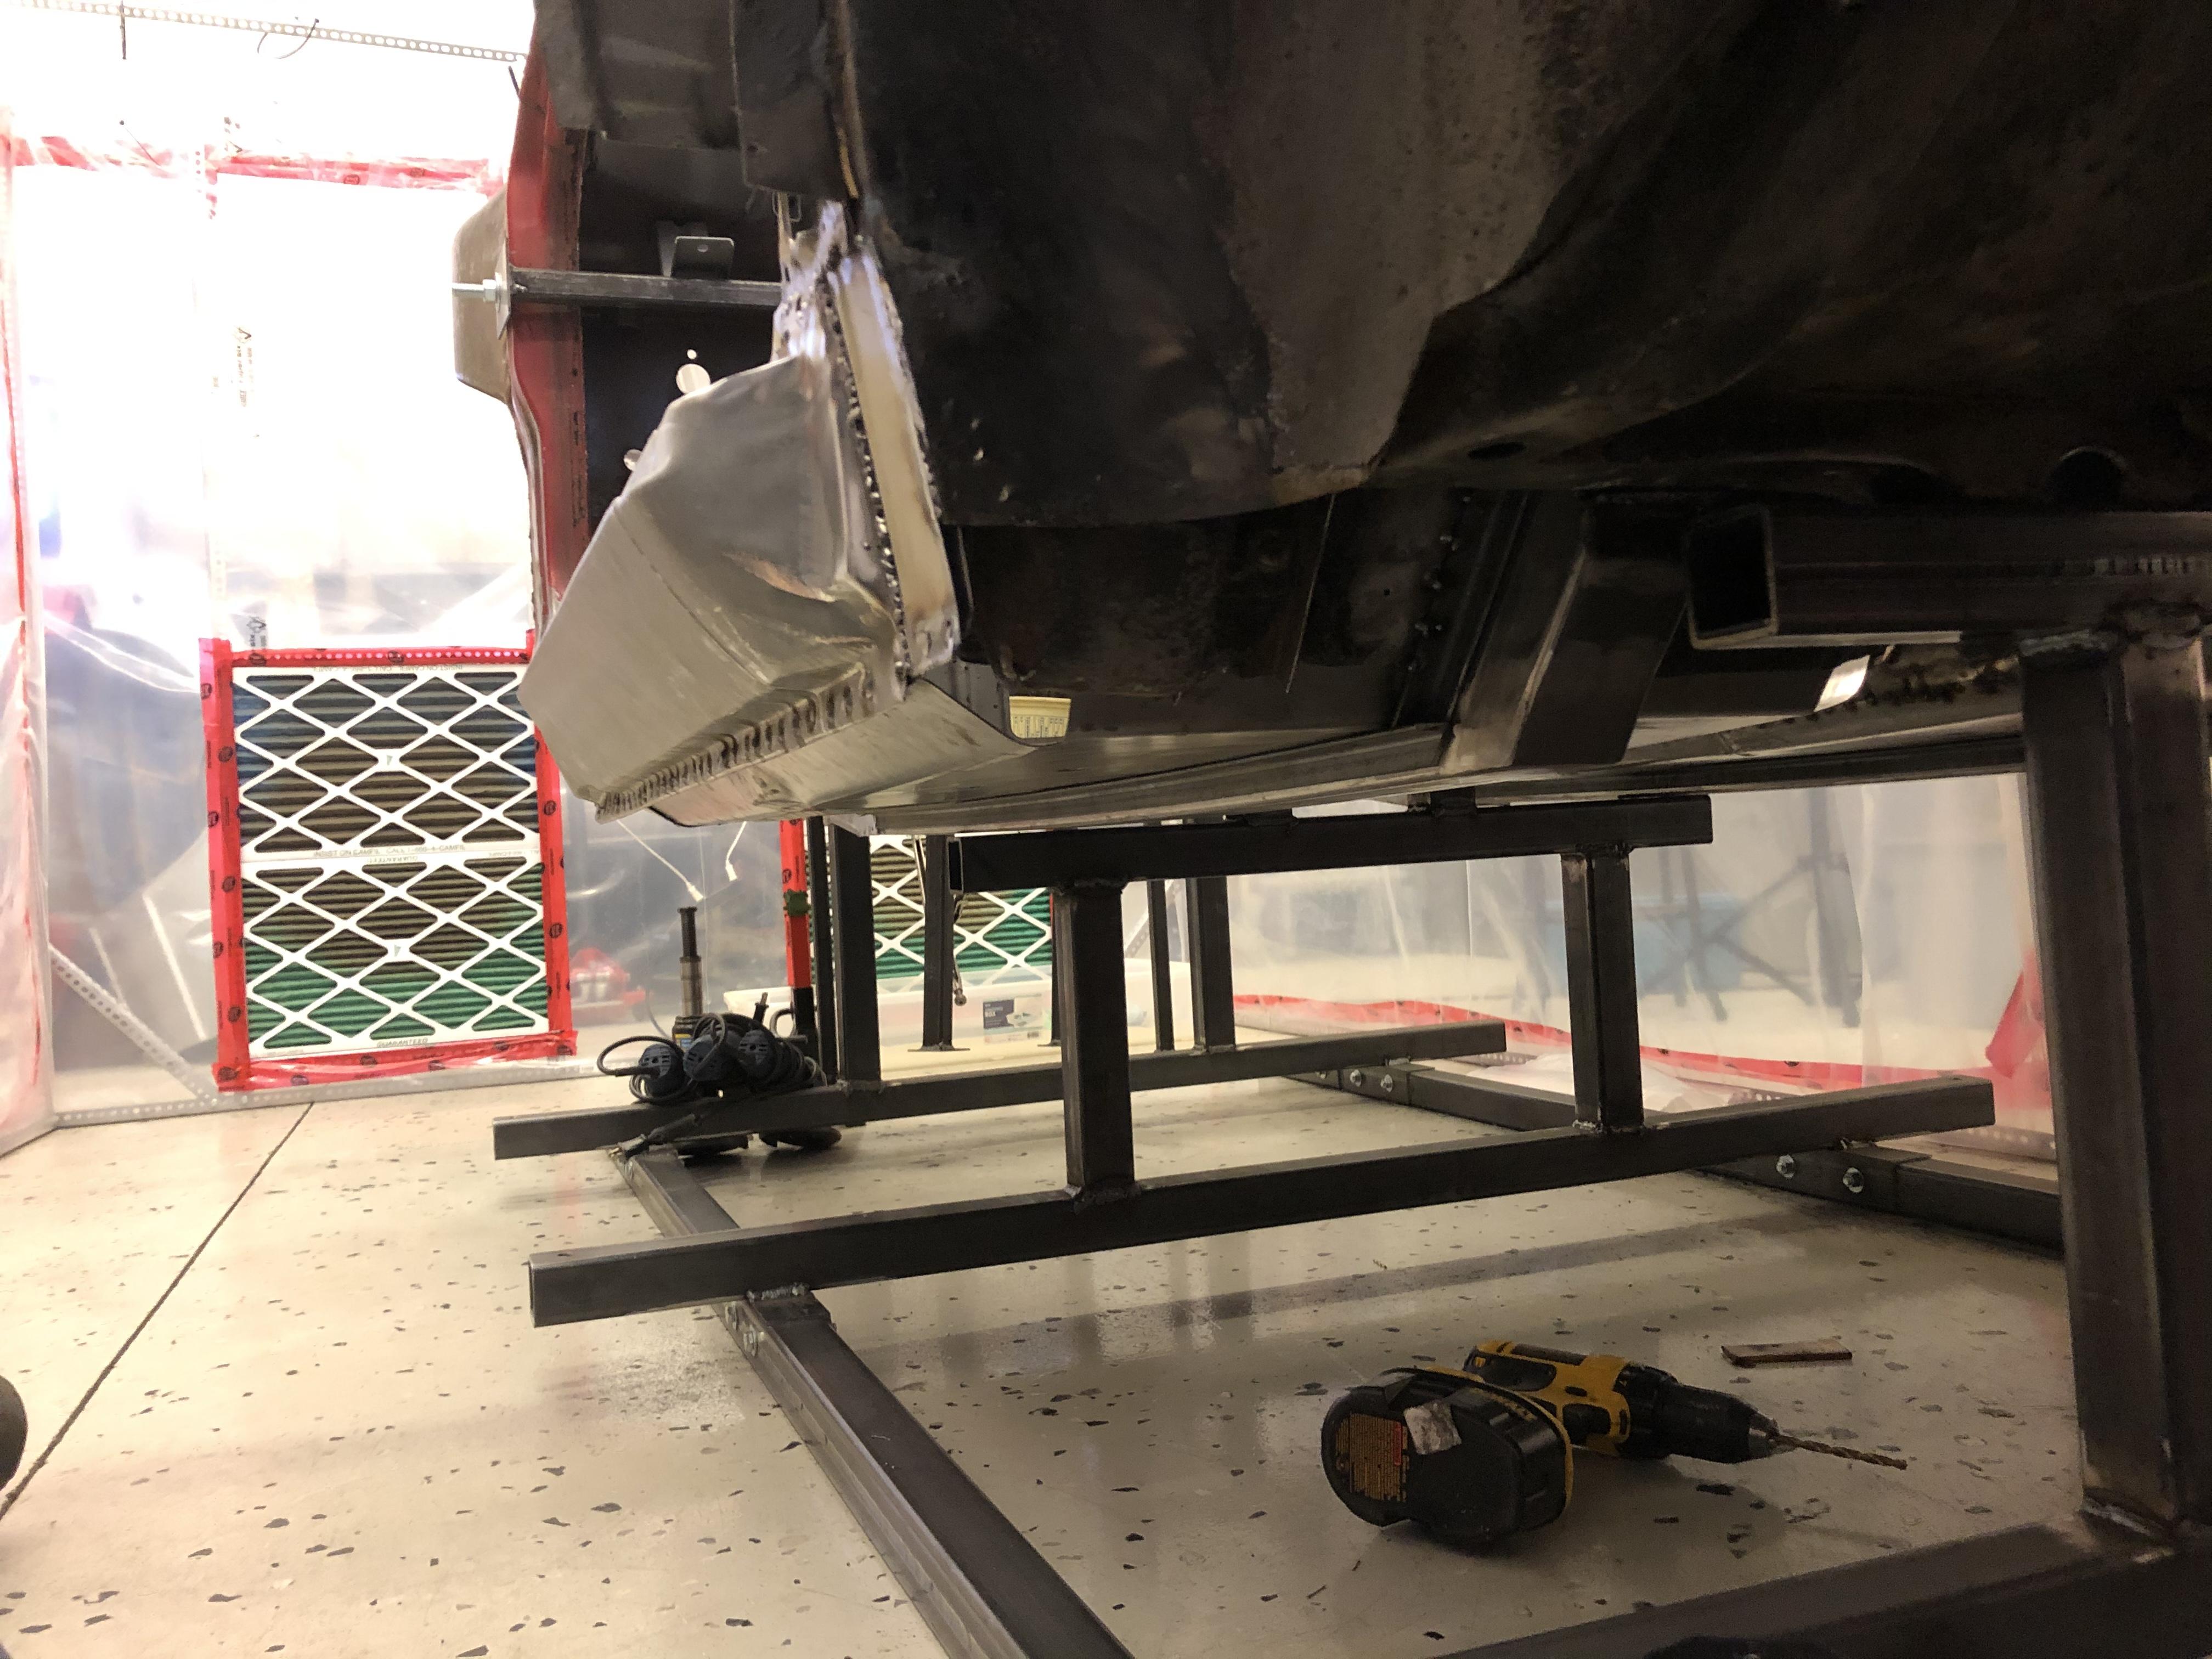
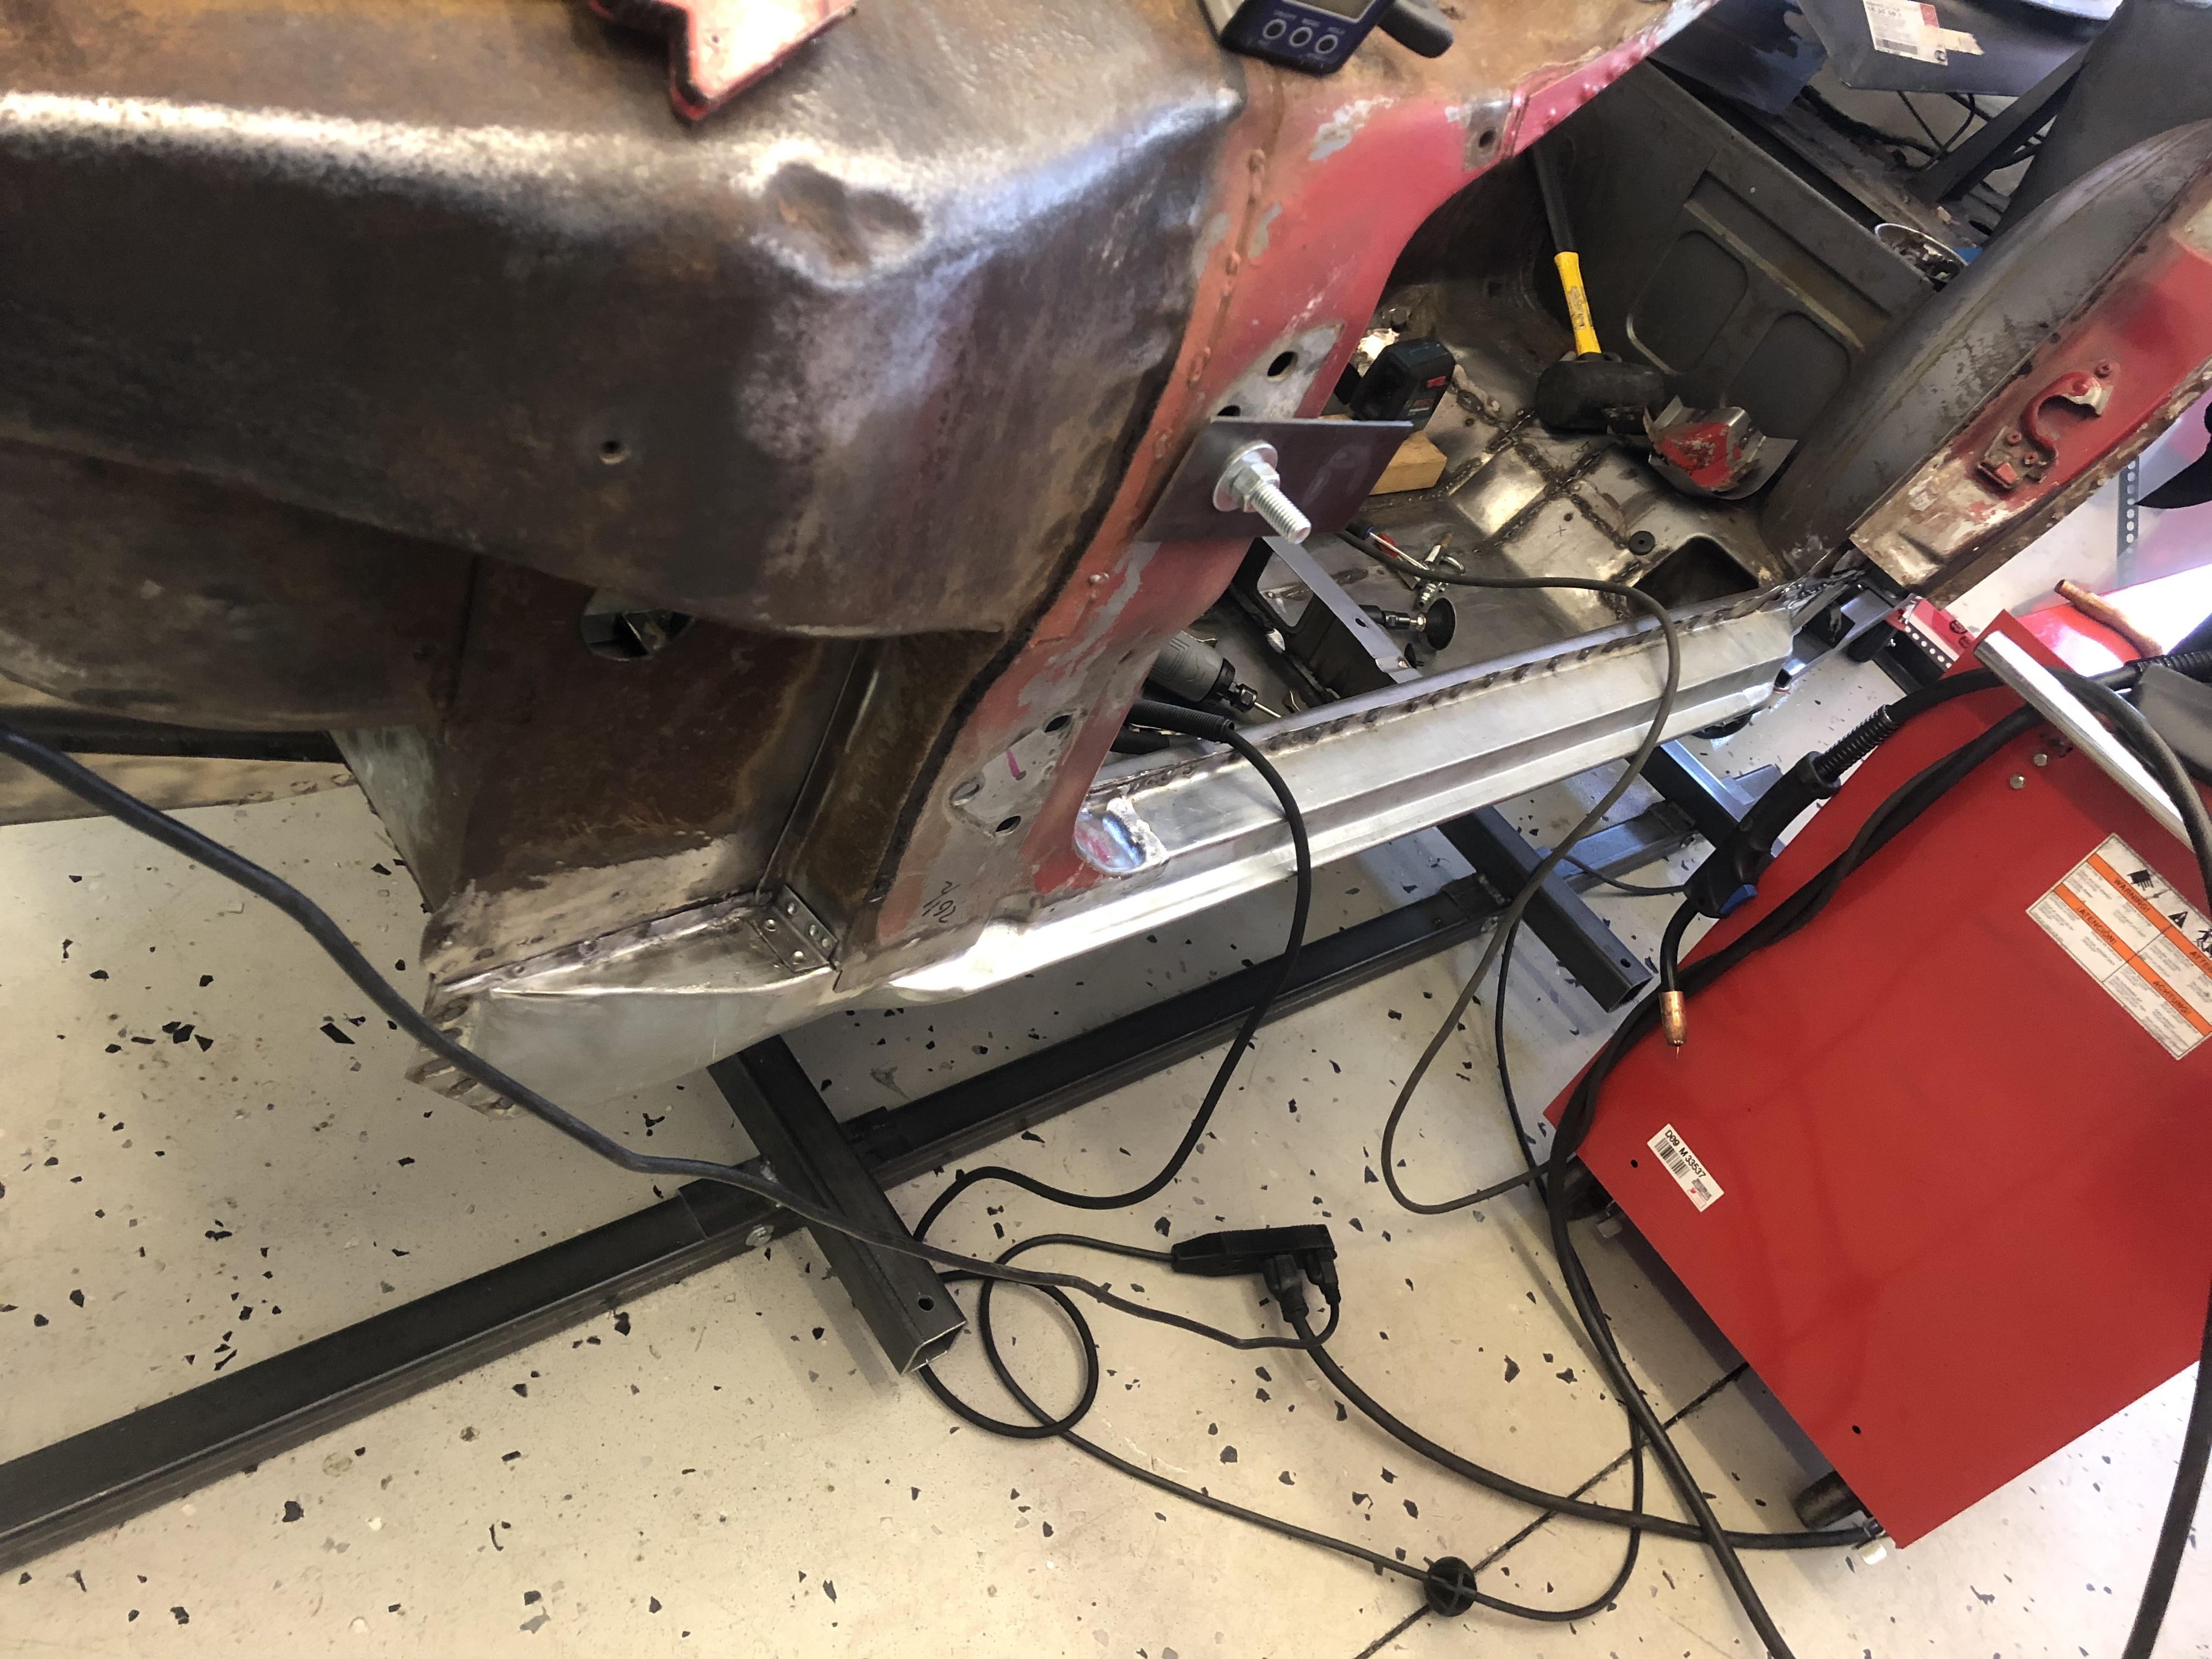
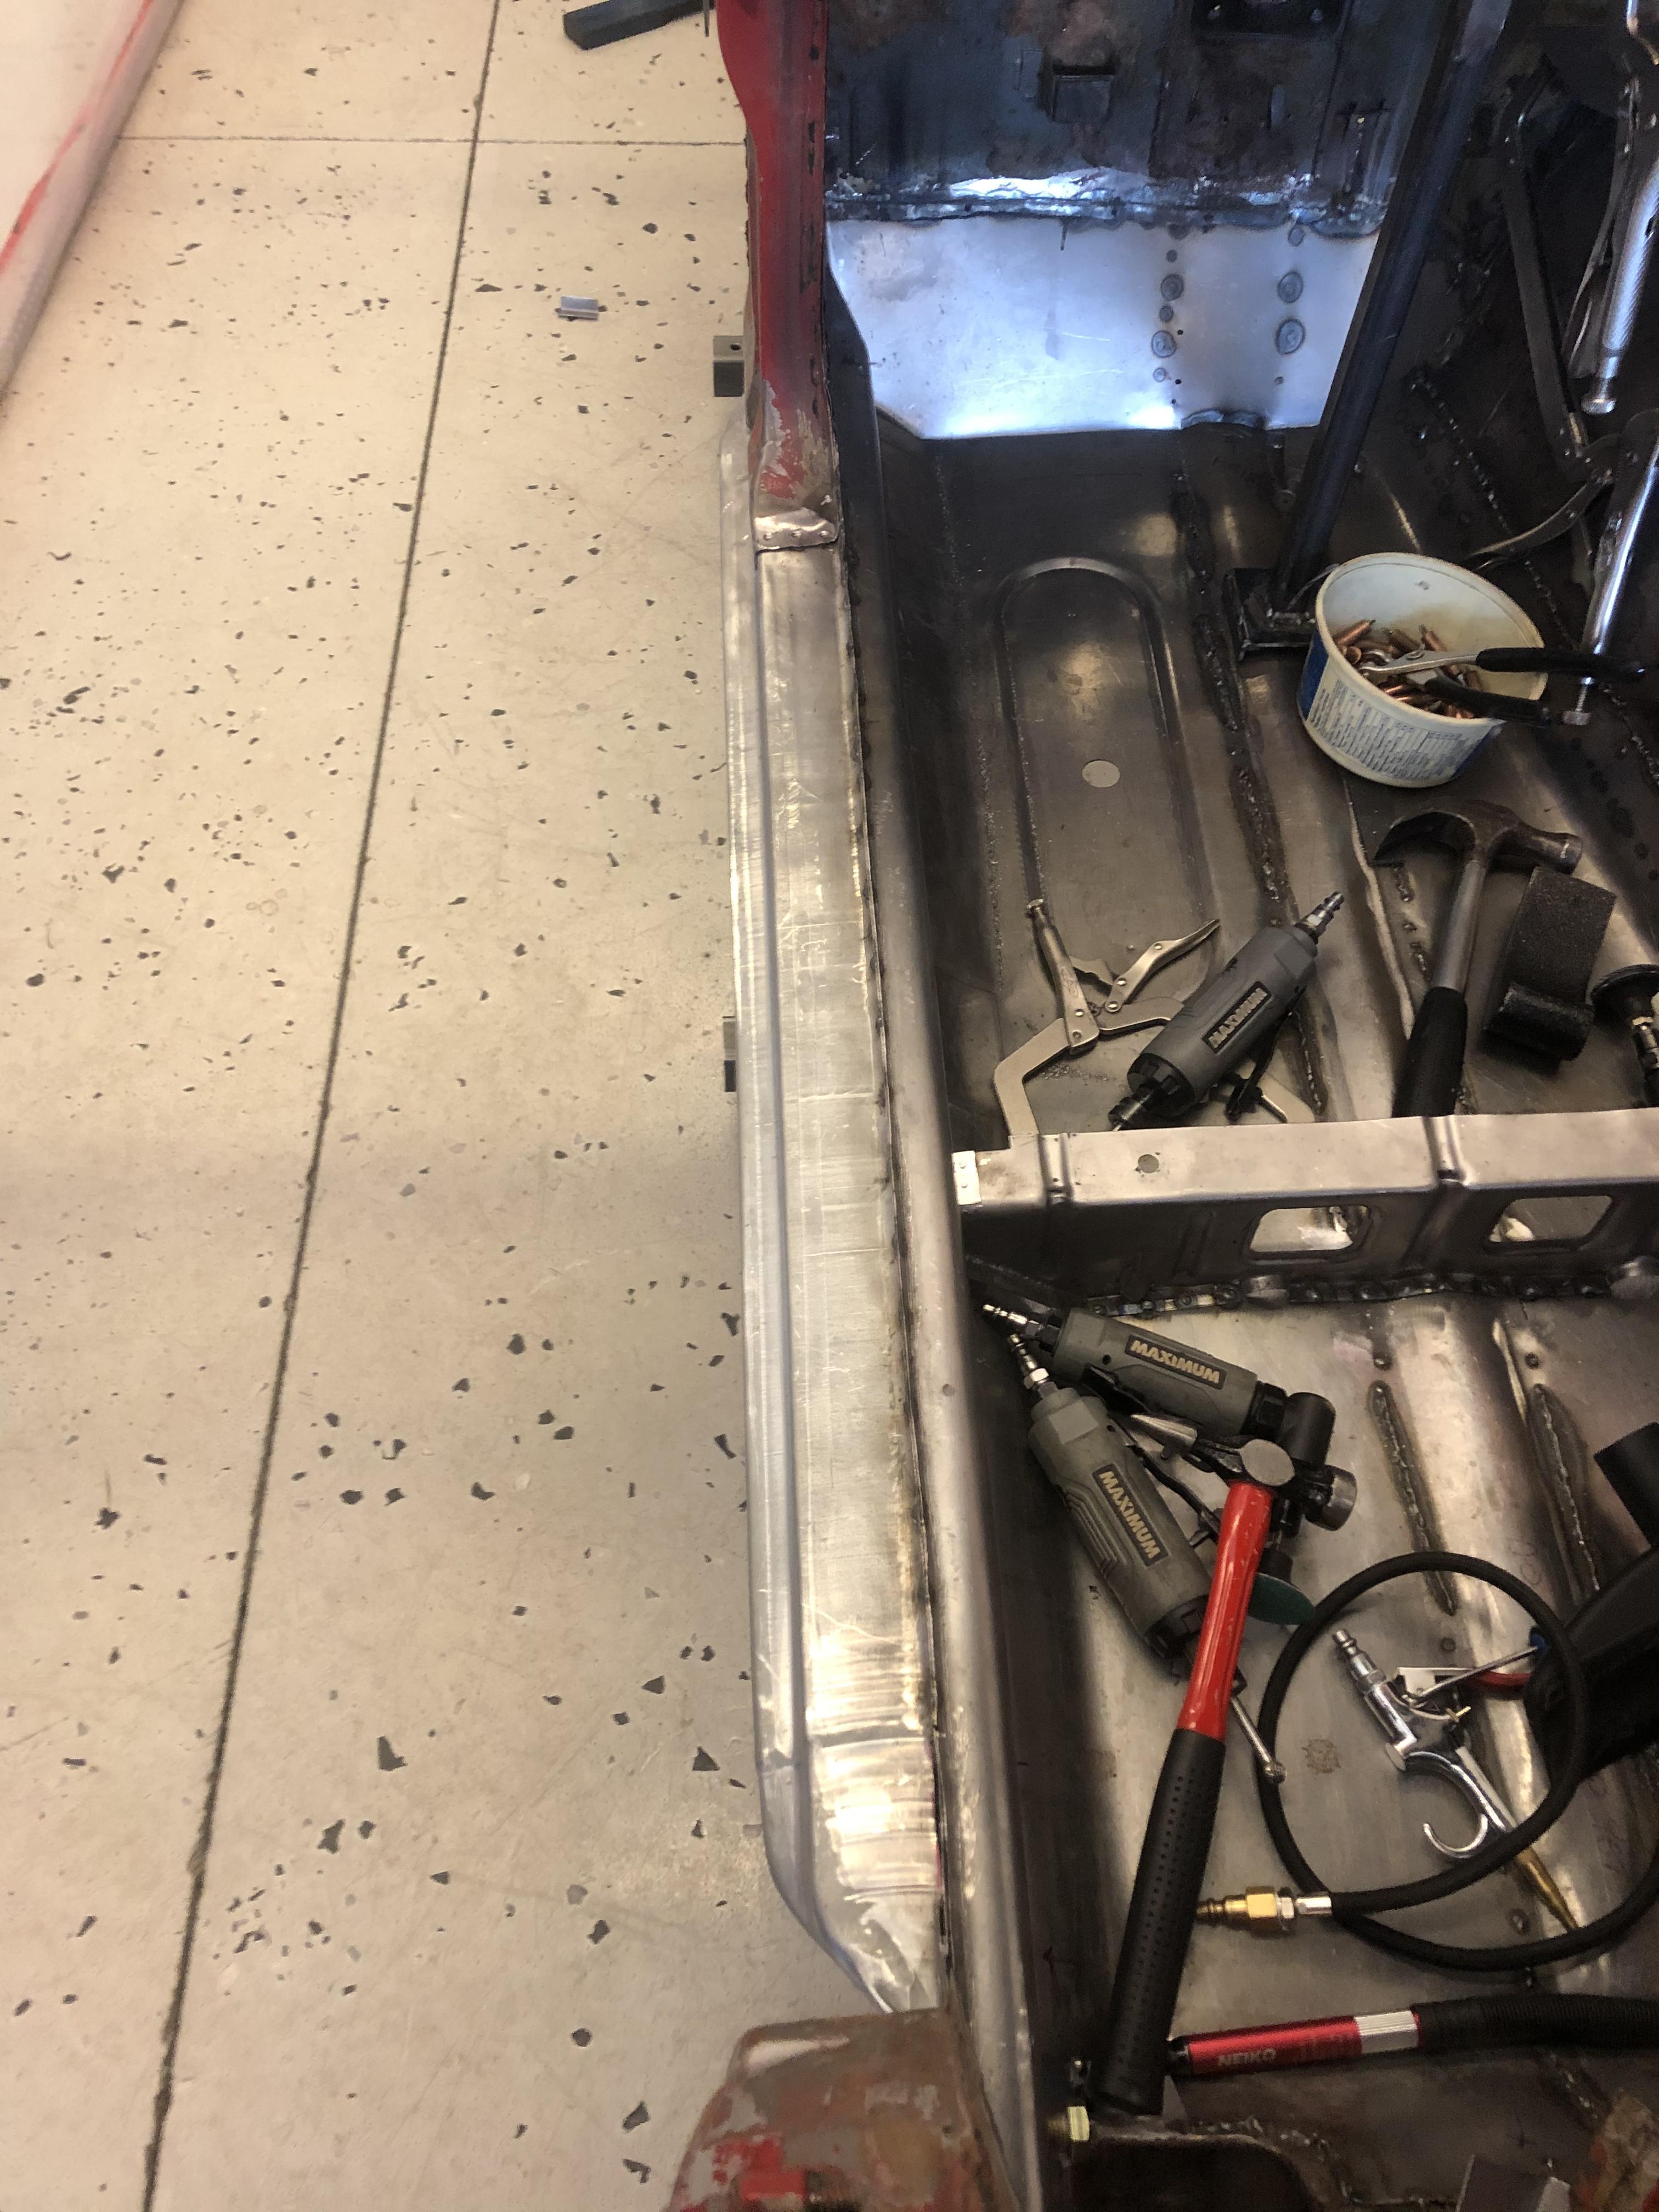
1 pointAnd fitting the PS rocker is going a lot faster after doing the DS .... Hopefully I can prime the PS rocker tomorrow and weld it in this weekend ?


 1 point
 -
1 point@Patcon Haha no they're fine, I love those rims. Its the slippery slope that leads to blowing tons of money on the car.1 point
-
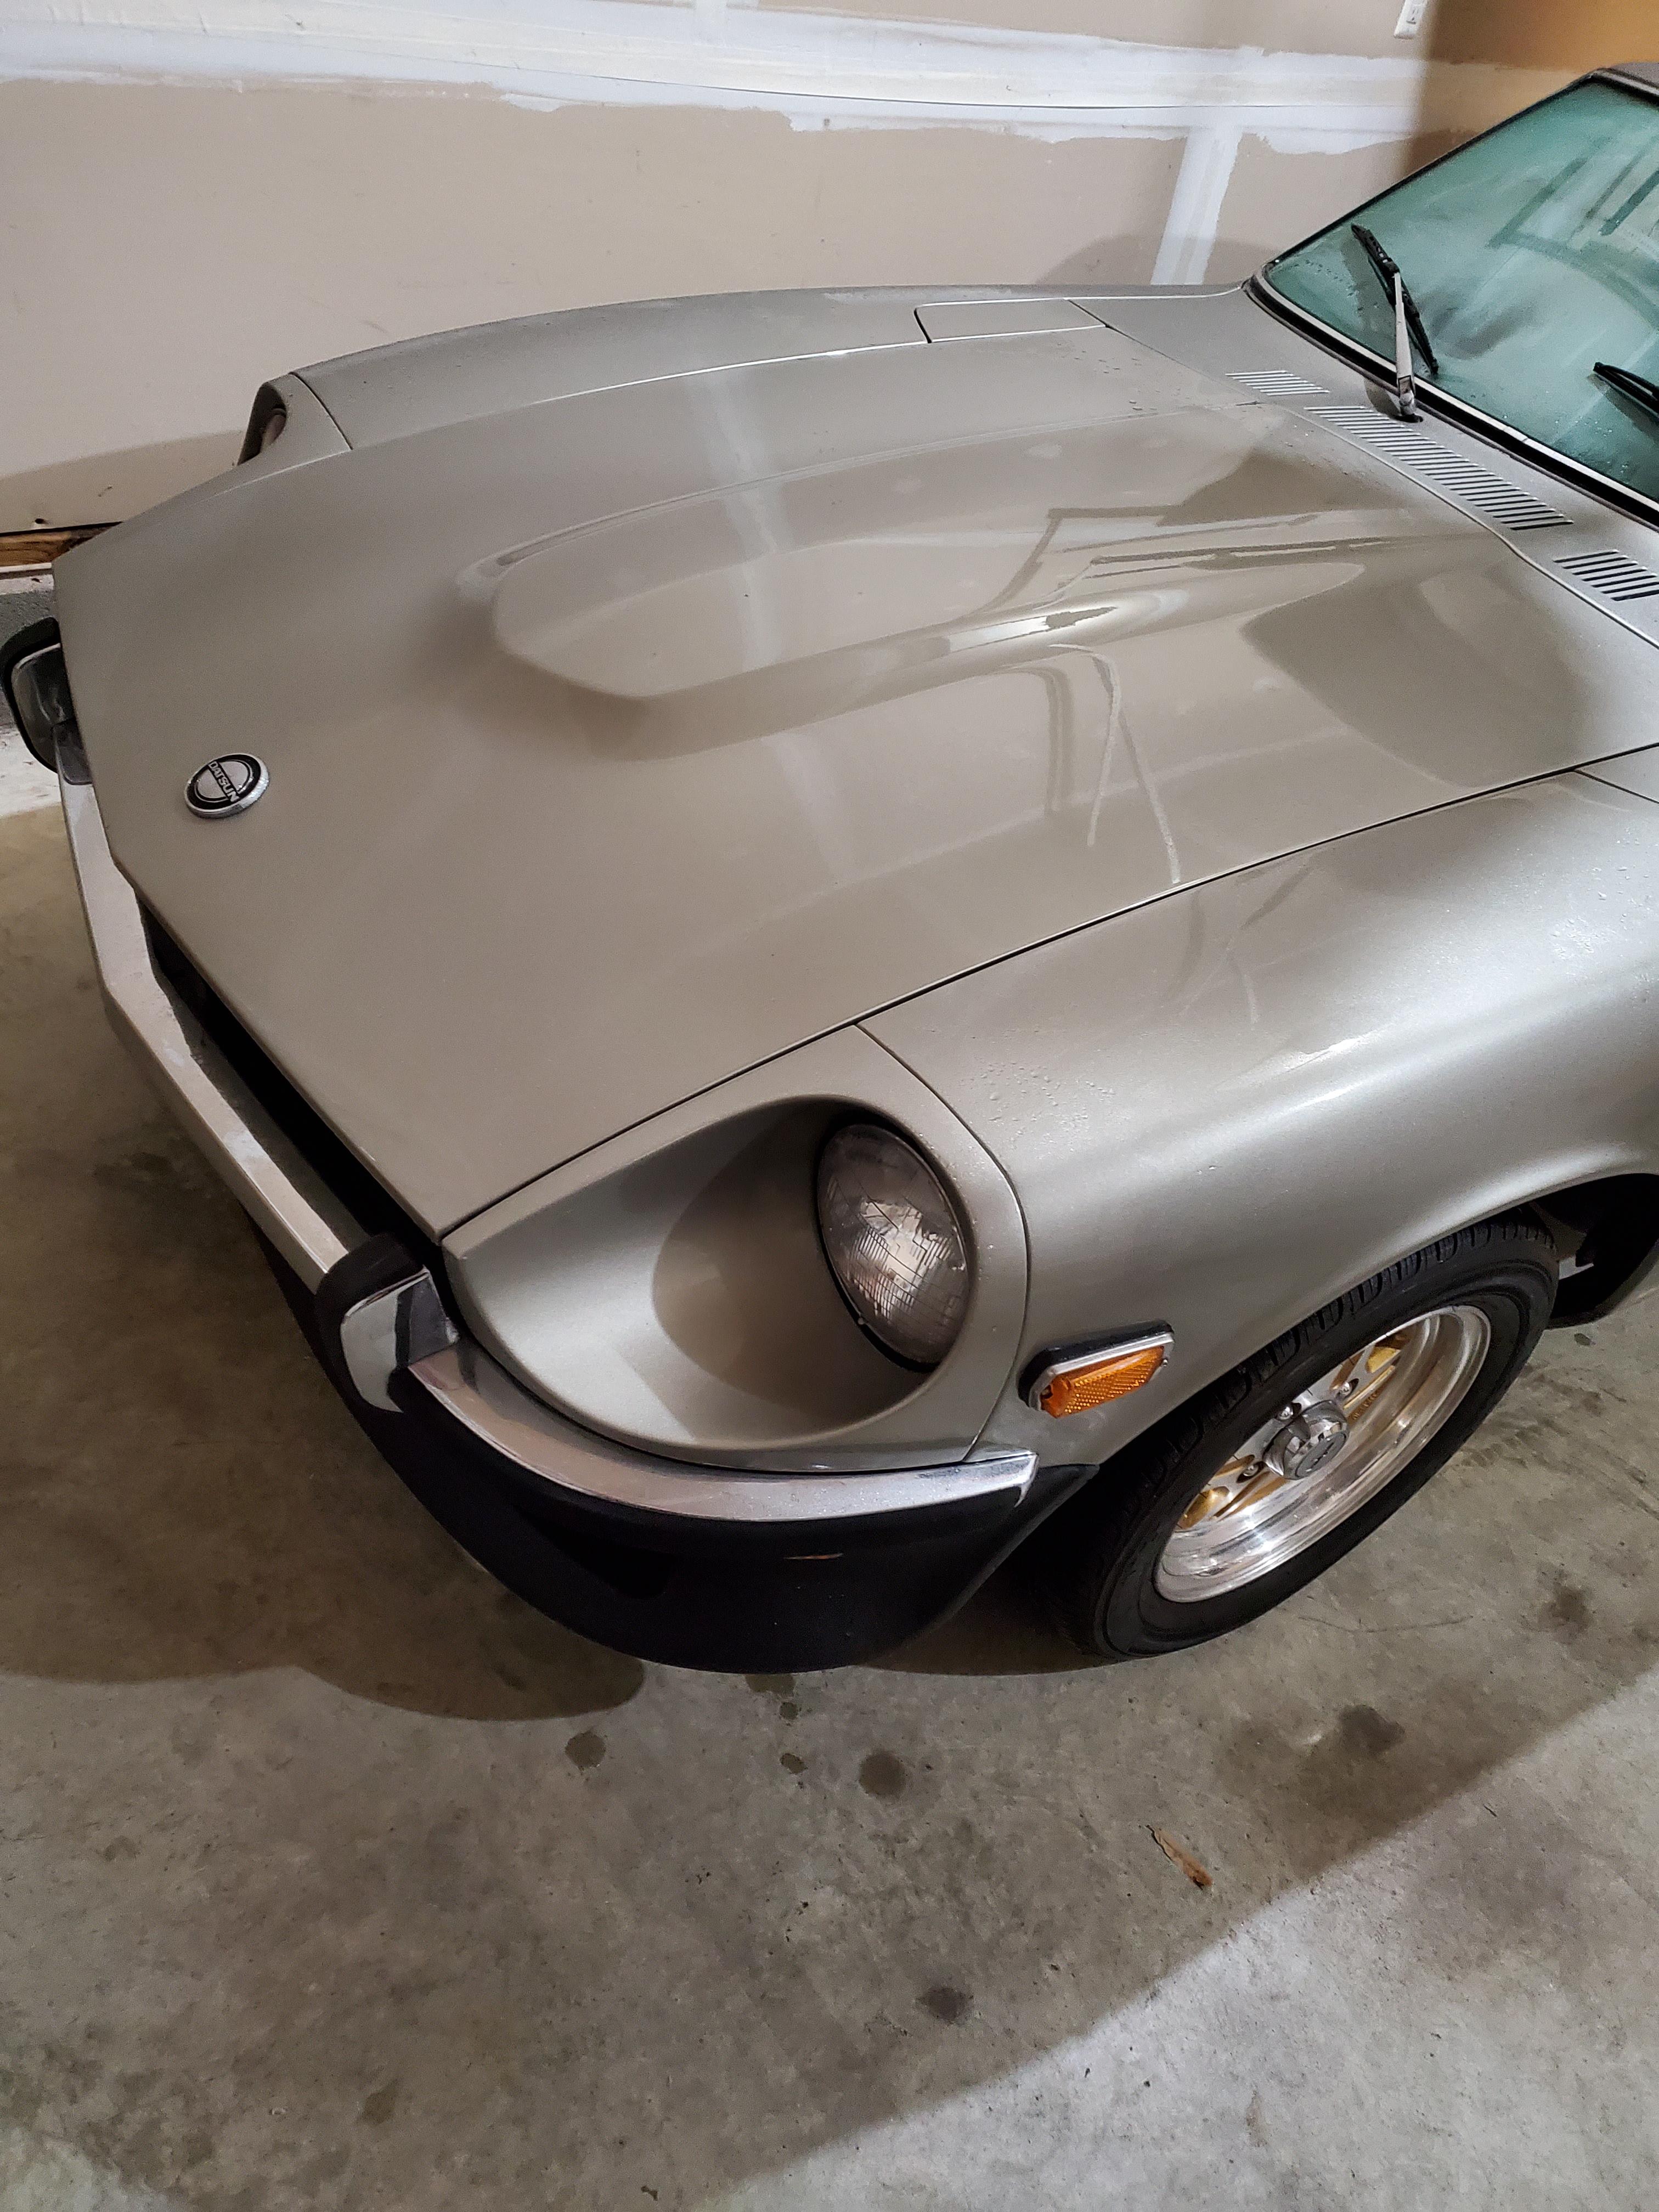
1 pointHey again! Thanks for the welcomes. As promised here are two awful pictures of the car. I need to take some good ones once I get the seats and carpets put in it again... and maybe for it to be above freezing outside.

 1 point
 -
 1 pointFWIW, For the 1973 blue car on the 'We're Bringing Back the Flat Tops' thread I used the blank sticker and went to a Hobby store (Trains and RC cars) and found a transfer stencil that is pretty dog gone close to the original font. I was very happy with the results. No points deducted at ZCON, no one noticed.1 point
 -
Riiiiiiight. What's a cubit? * Truly sorry for the non-topical response to the thread, but some things are just mandatory.1 point
-
 1 point
 -
Well, not quite the reply I was expecting as the interweb seems to provide an instant reply to the question of thickness for those who either remember this stuff or have a chart pinned to the garage wall. That said 13 = 0.072inches or 1.83mm Many of the body parts in our Zs are made from varying thickness and many are very thin. A bit unsettling when you doing 138mph up the hill at Watkins Glen and you remember your car's body overall thickness is no more than 1.5mm. I have fiberglass parts thicker than that. 16 gauge = 0.052/1.29 18 gauge = 0.040/1.02 20 gauge = 0.032/0.811 point