Leaderboard
-

inline6
 Subscriber
 3Points1,237Posts
 -
mikec(nz)
Free Member2Points59Posts -

conedodger
Free Member2Points11,316Posts -


Zed Head
Free Member2Points18,789Posts
Popular Content
Showing content with the highest reputation on 02/03/2020 in all areas
-
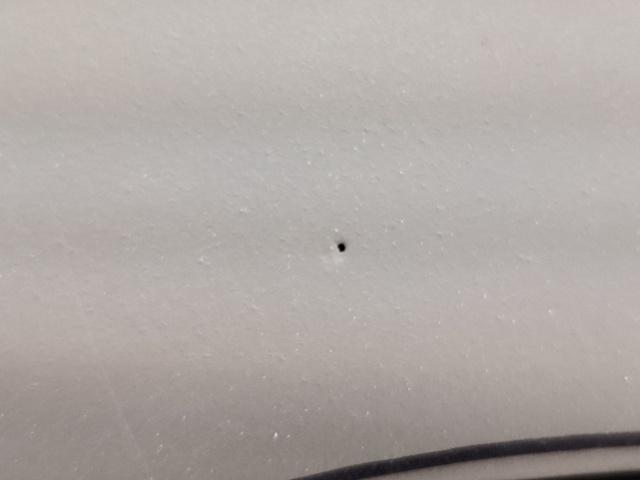
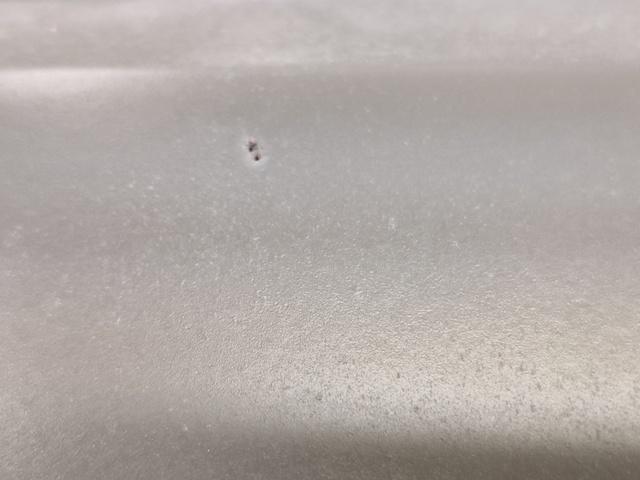
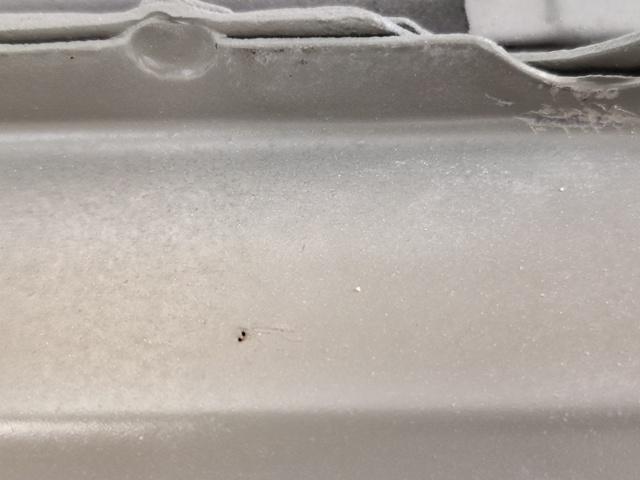
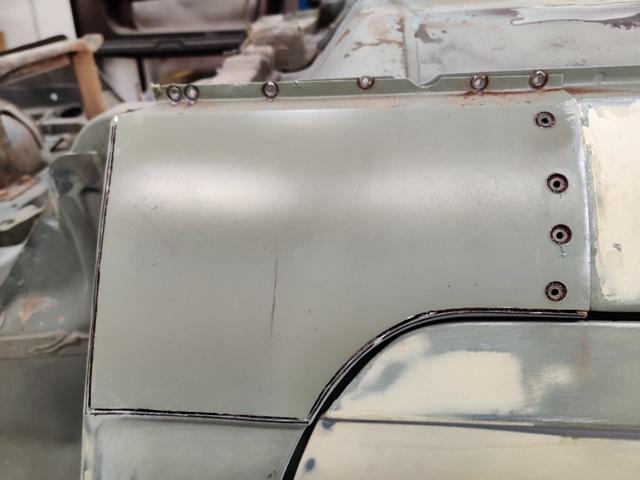
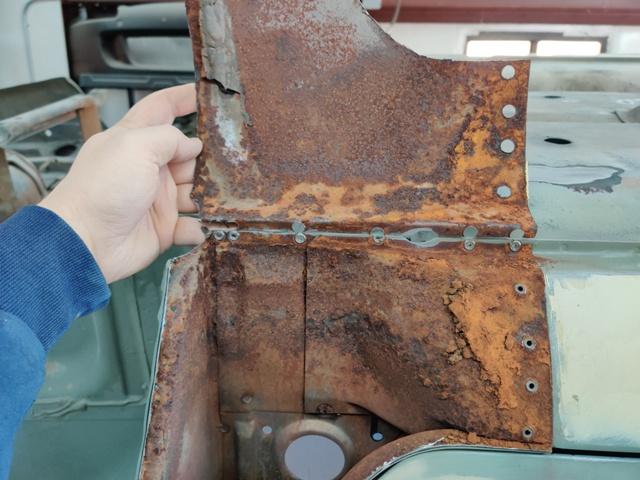
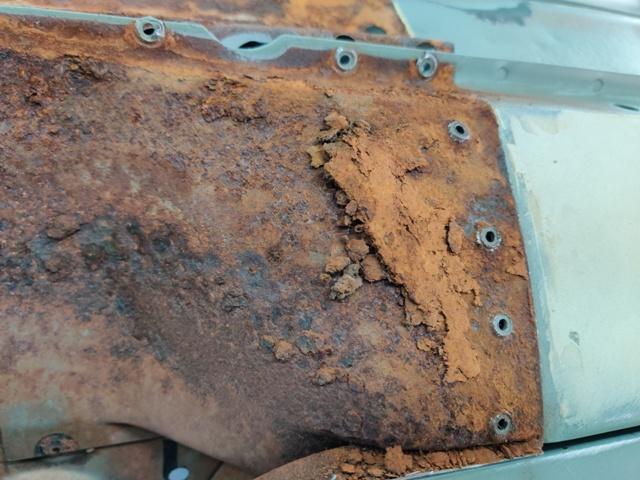
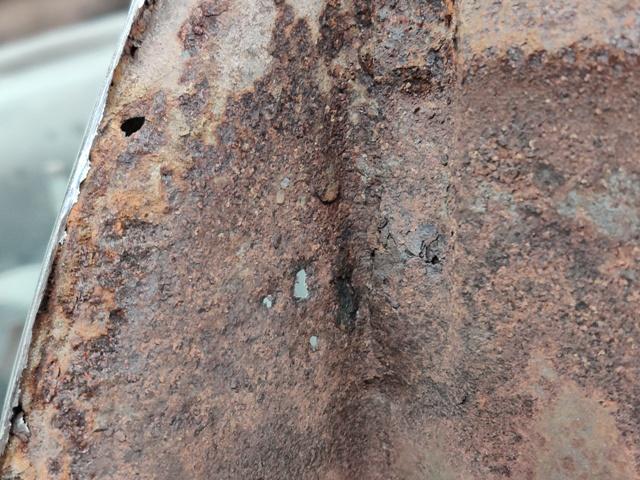
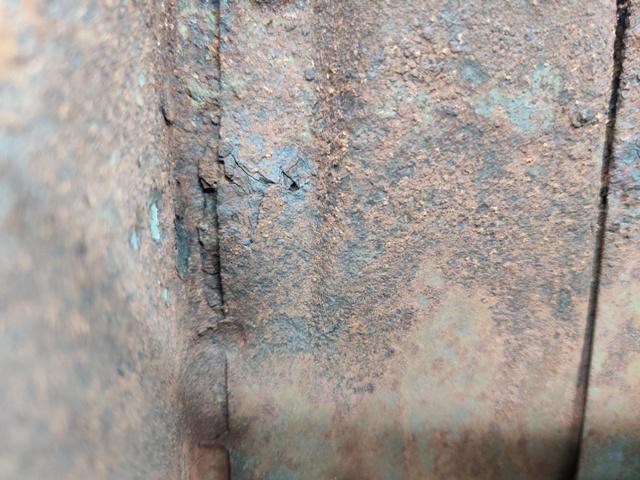
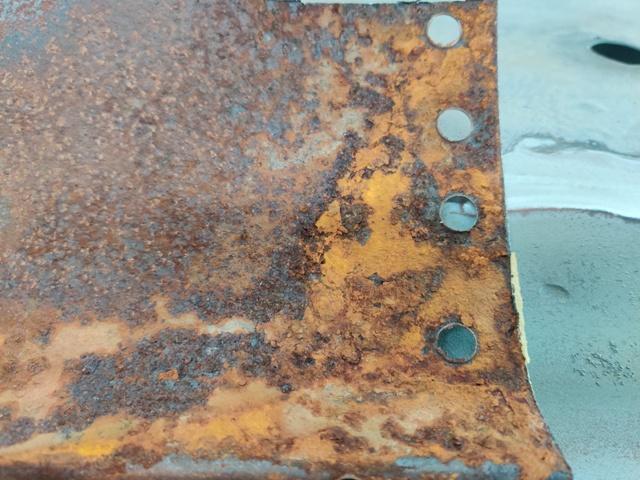
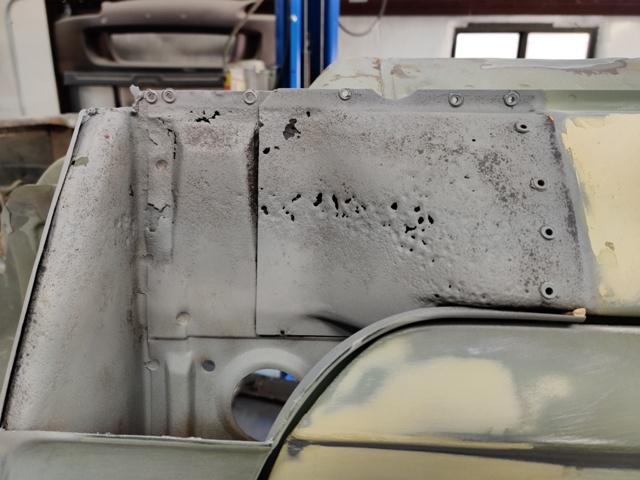
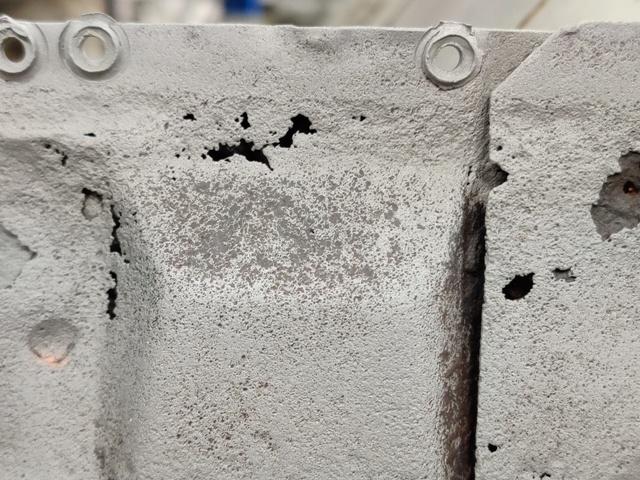
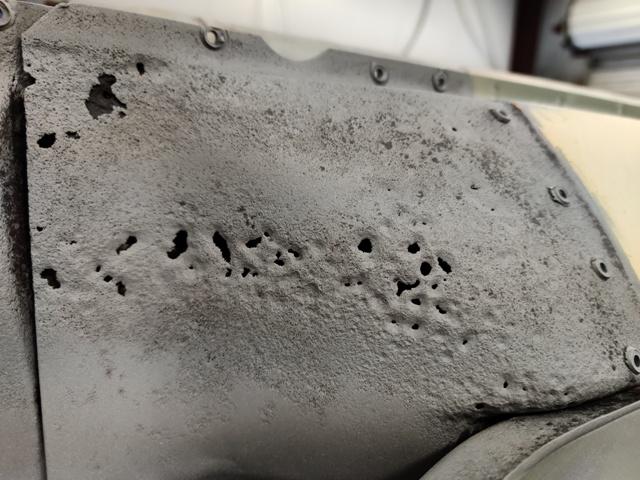
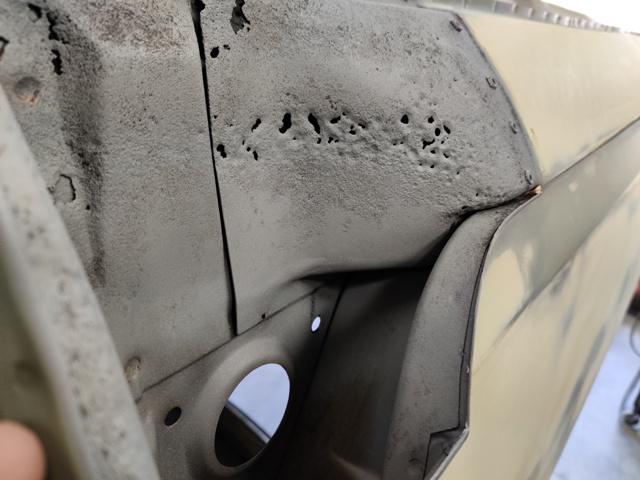
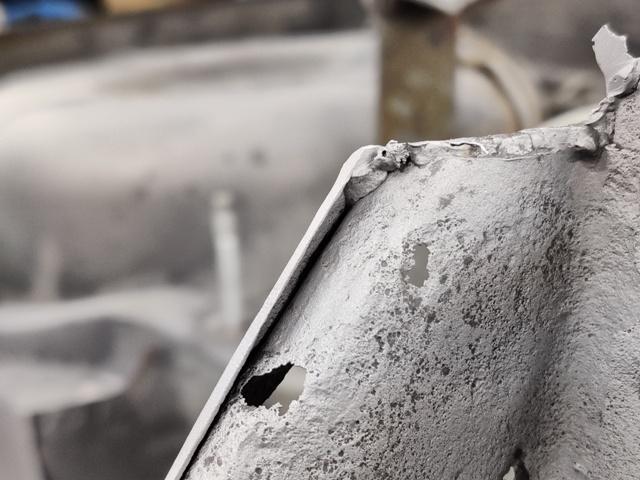
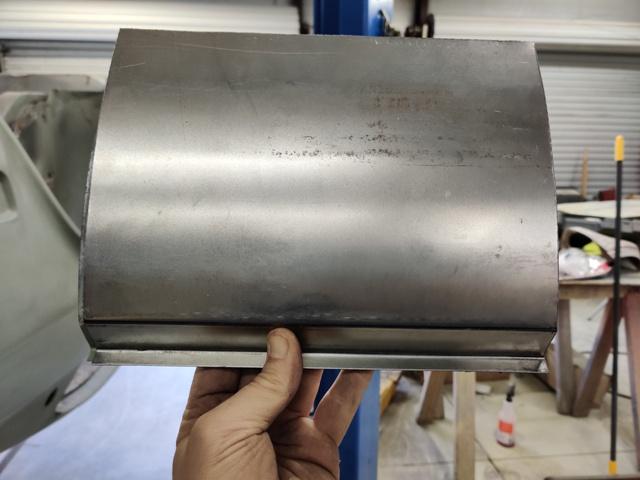
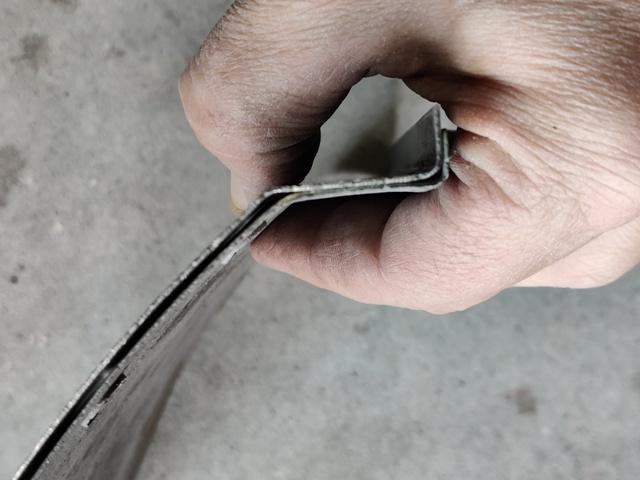
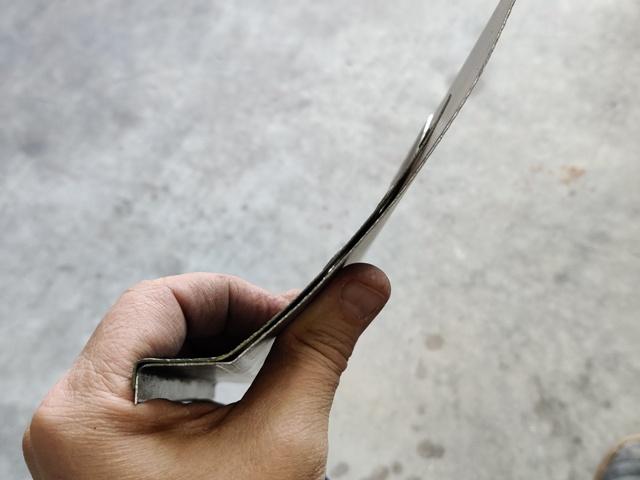
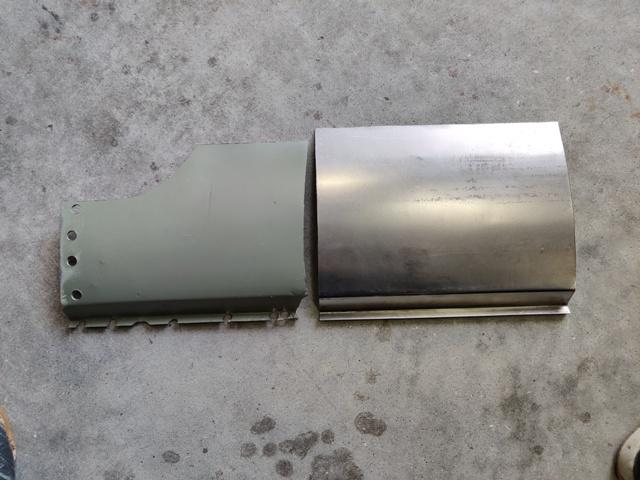
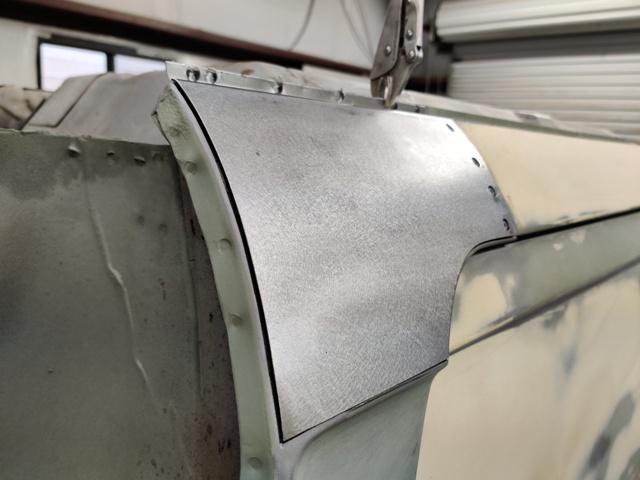
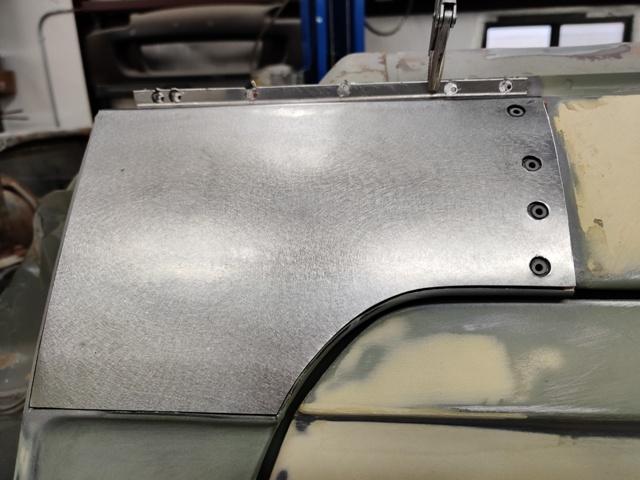
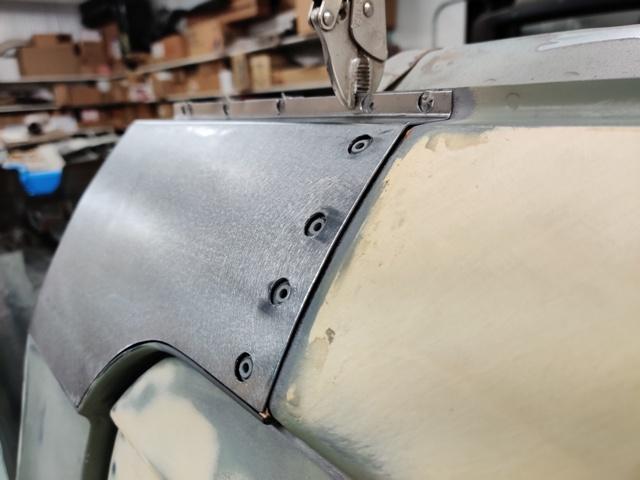
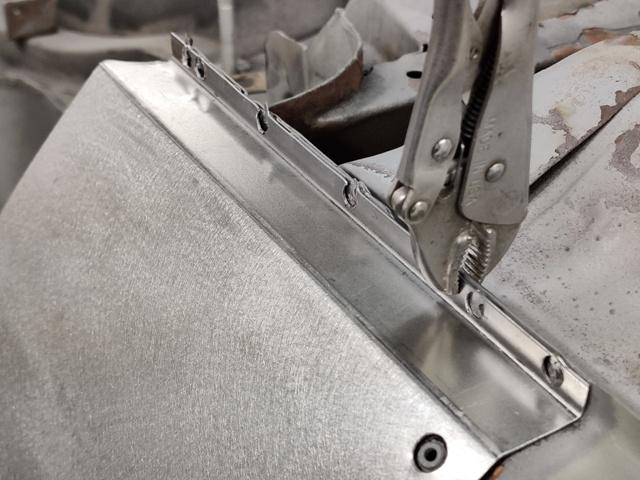
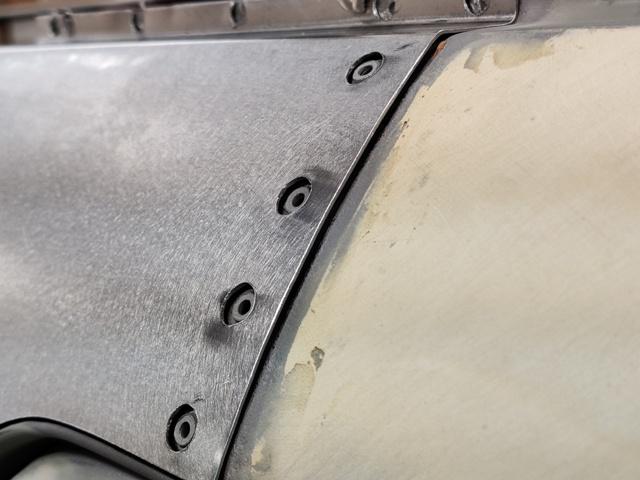
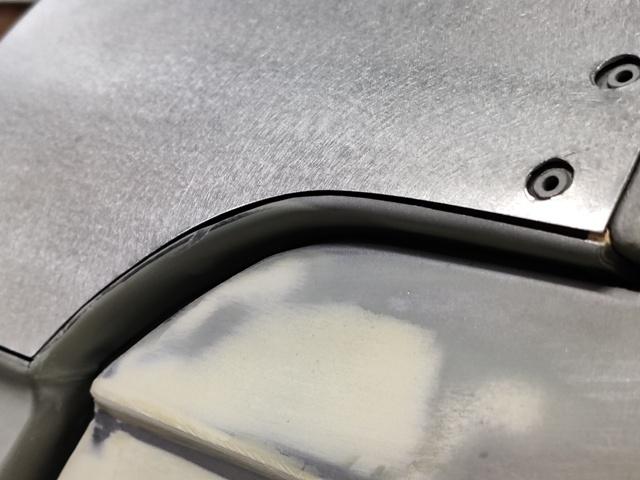
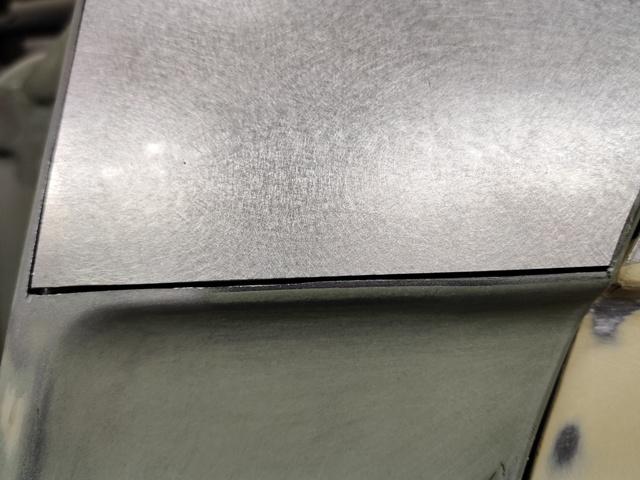
Thanks! I will work on the dog leg areas first and then see where I land with door gaps. I don't think it would be much work to stitch some metal on the few inches of the bottom, front edge of the door, but it will likely cause at least a little distortion. May leave it alone. I didn't want to take off the lower corner of the driver quarter panel - I just kept looking at it and trying to convince myself it wasn't worth the extra effort. I examined it closely and contemplated... Car is upside down in these pics. In the first pic, I am looking at distortion in the area where the quarter panel spot welds to the rocker. These outward points or "dents" are areas where the metal is super thin and being pushed outward by the expansion caused by corrosion. Seeing these little pin holes all the way through the metal, I know that the corrosion on the other side is substantial enough to be breaking through. Especially, on the bottom flat area, any surface repair here would be short lived if water gets in again. Because I want to cut and modify the dog leg curve to improve the fit with the bottom corner of the door, I went ahead marked out where to cut and started cutting and drilling out spot welds. Opening up the panel revealed quite the mess: Unlike the passenger side, the corrosion on this side damaged some of the other, inner panels. Once again, I employed the sandblaster to remove the rust. For this side, the panels are more damaged, lots of holes in the back of the rocker panel and a few holes in the inner wheel well panel: Using the old panel as a guide, I cut a new panel from a flat sheet, and used some 1" X 1" square tubes and my vise to make the 90 degree bend for the weld flange. Then I marked off a line locating the ~ 45 degree bend and used a piece of aluminum channel (it has a really sharp corner) to replicate the factory bend radius. Some hand bending of the rest of the panel (clamping the panel in between a 2 X 4 and my bench surface) to make several slight bends... to replicate the shallow curve...) Getting the distance correct between the 90 degree and 45 degree bends is the hard part. I am happy with this: Once in the correct shape, I used the old one again as a template to locate holes to match the spot weld cut outs. Then I used a 4 1/2" grinder with a flap wheel to sand the edges of the panel to fit the opening on the car. Even with just one vise grip holding it on, the fit is very close. I am very happy with how this turned out. However, I can't close it up yet, as I have more sheet metal work to do to fix the inner panels.


 3 points
 -
You're saying he can't spell either? https://www.classiczcars.com/profile/13357-urgelis/2 points
-
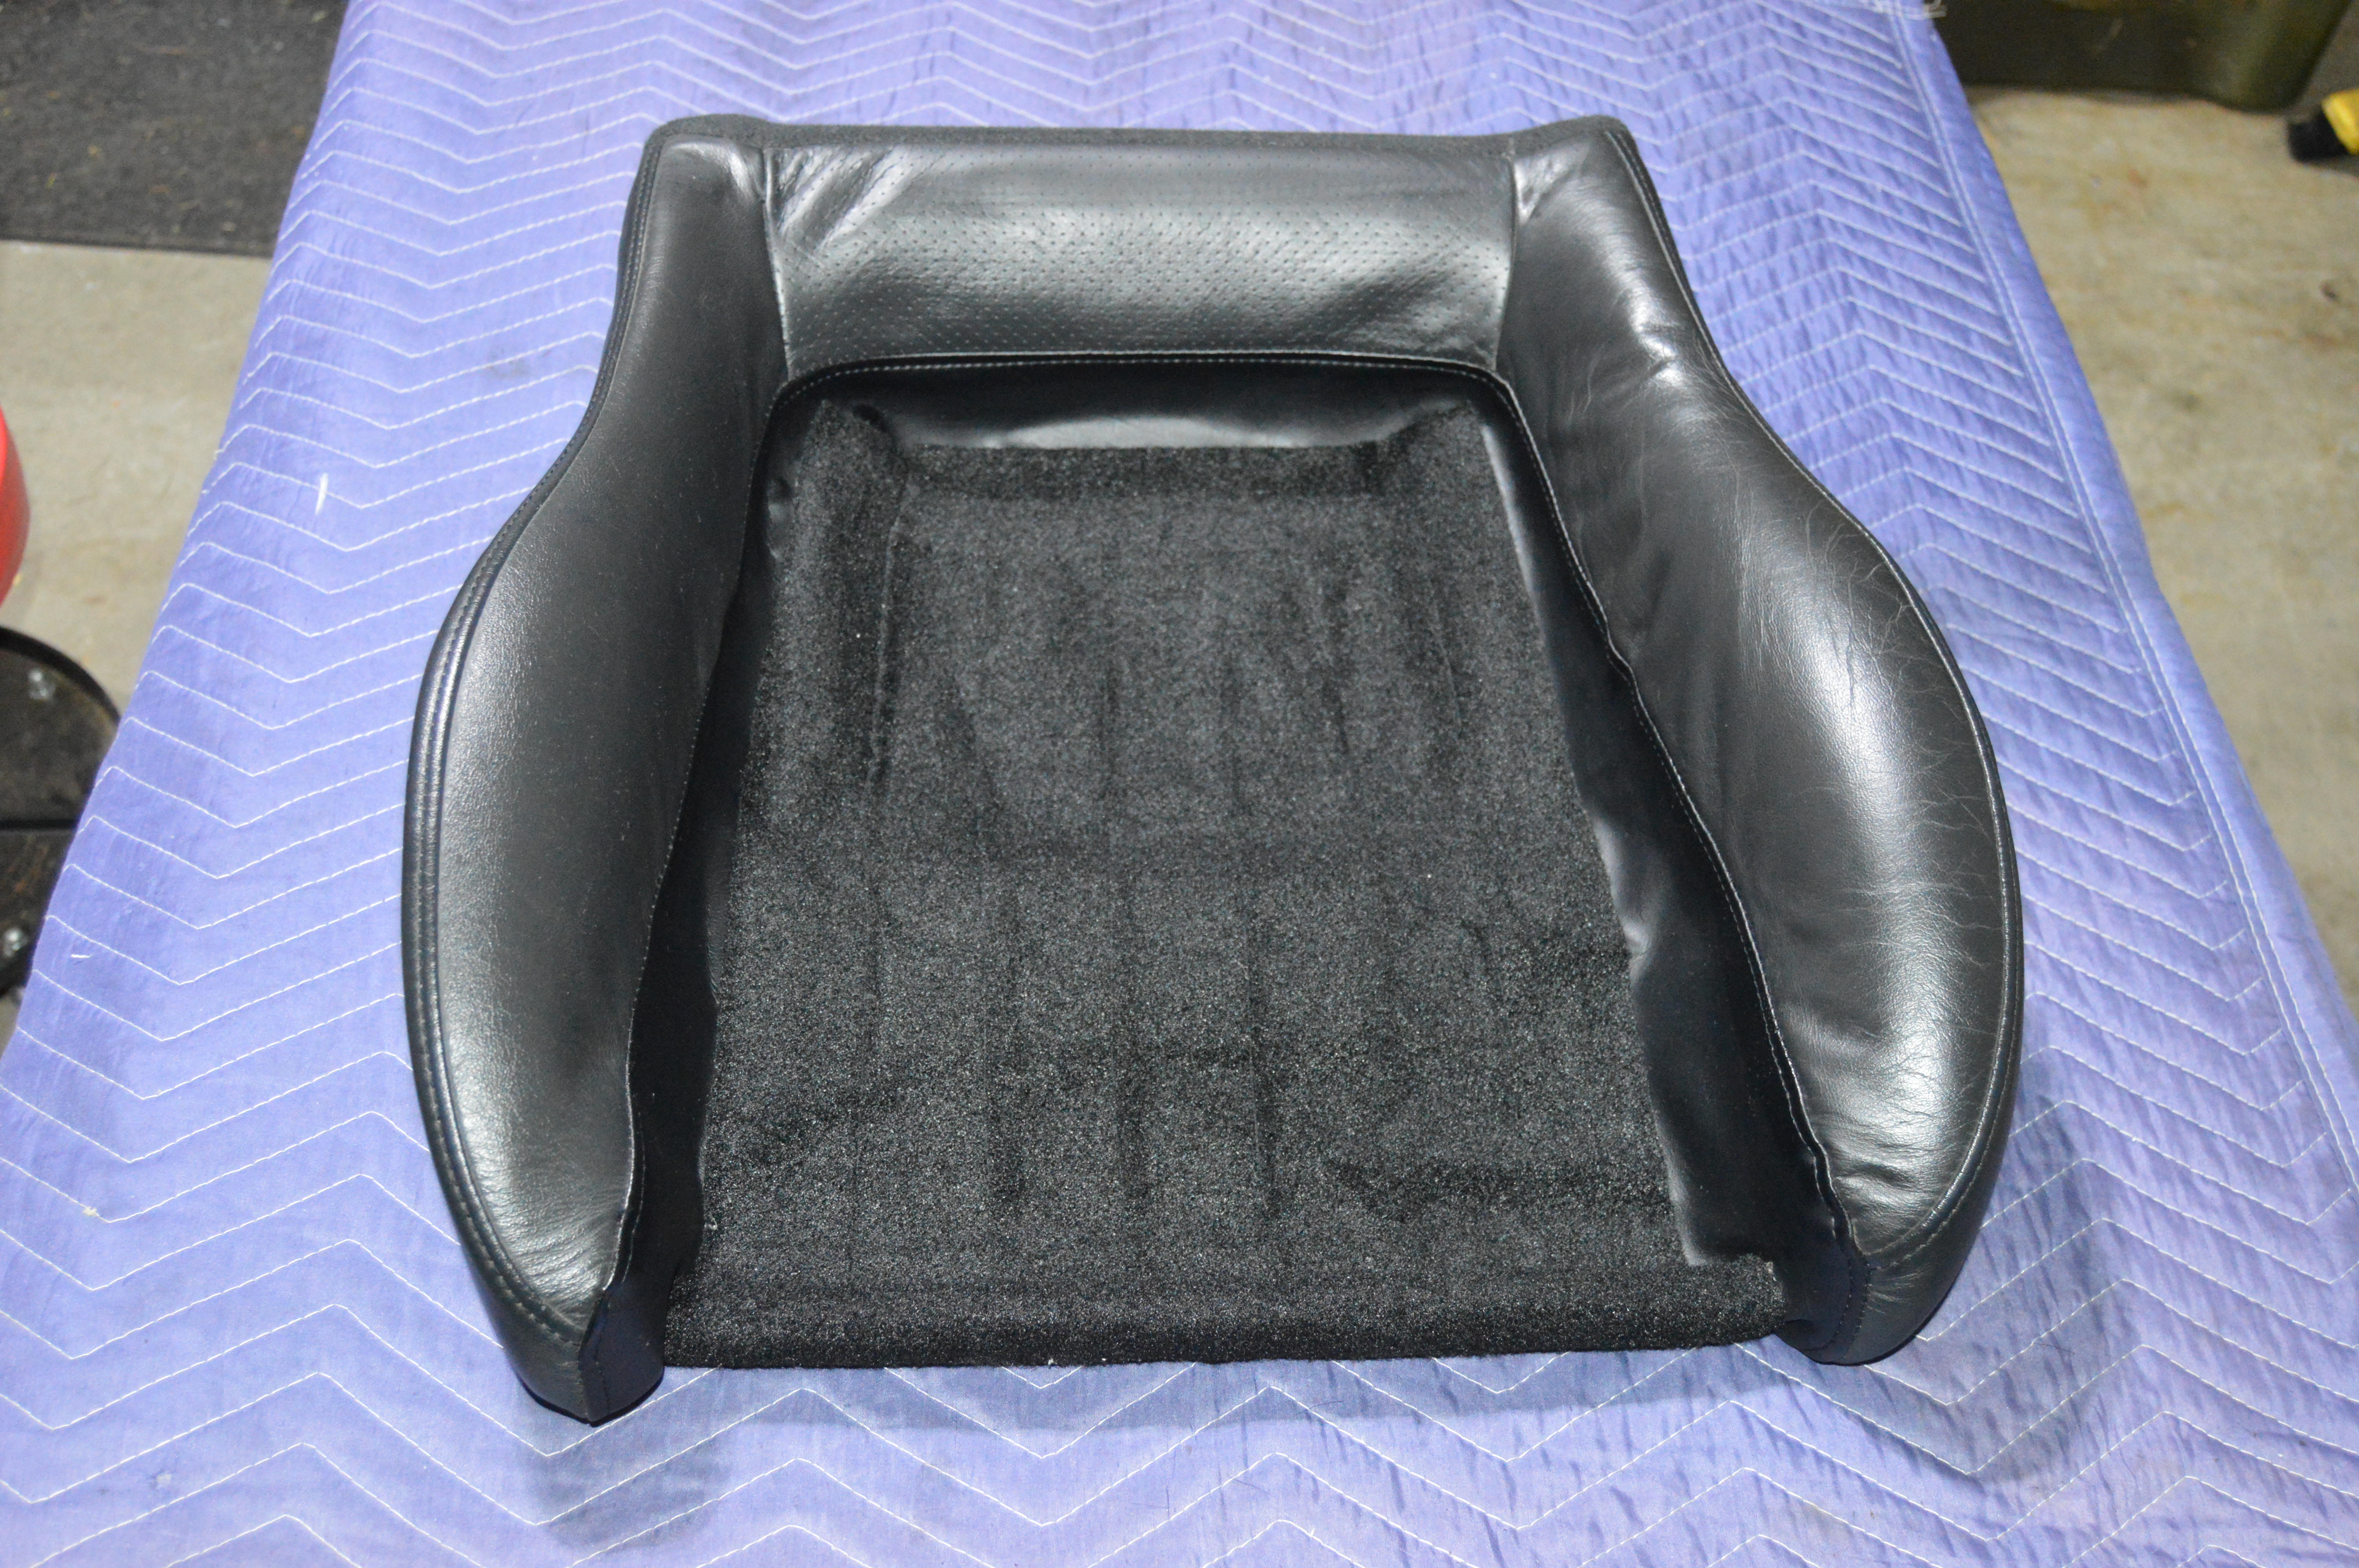
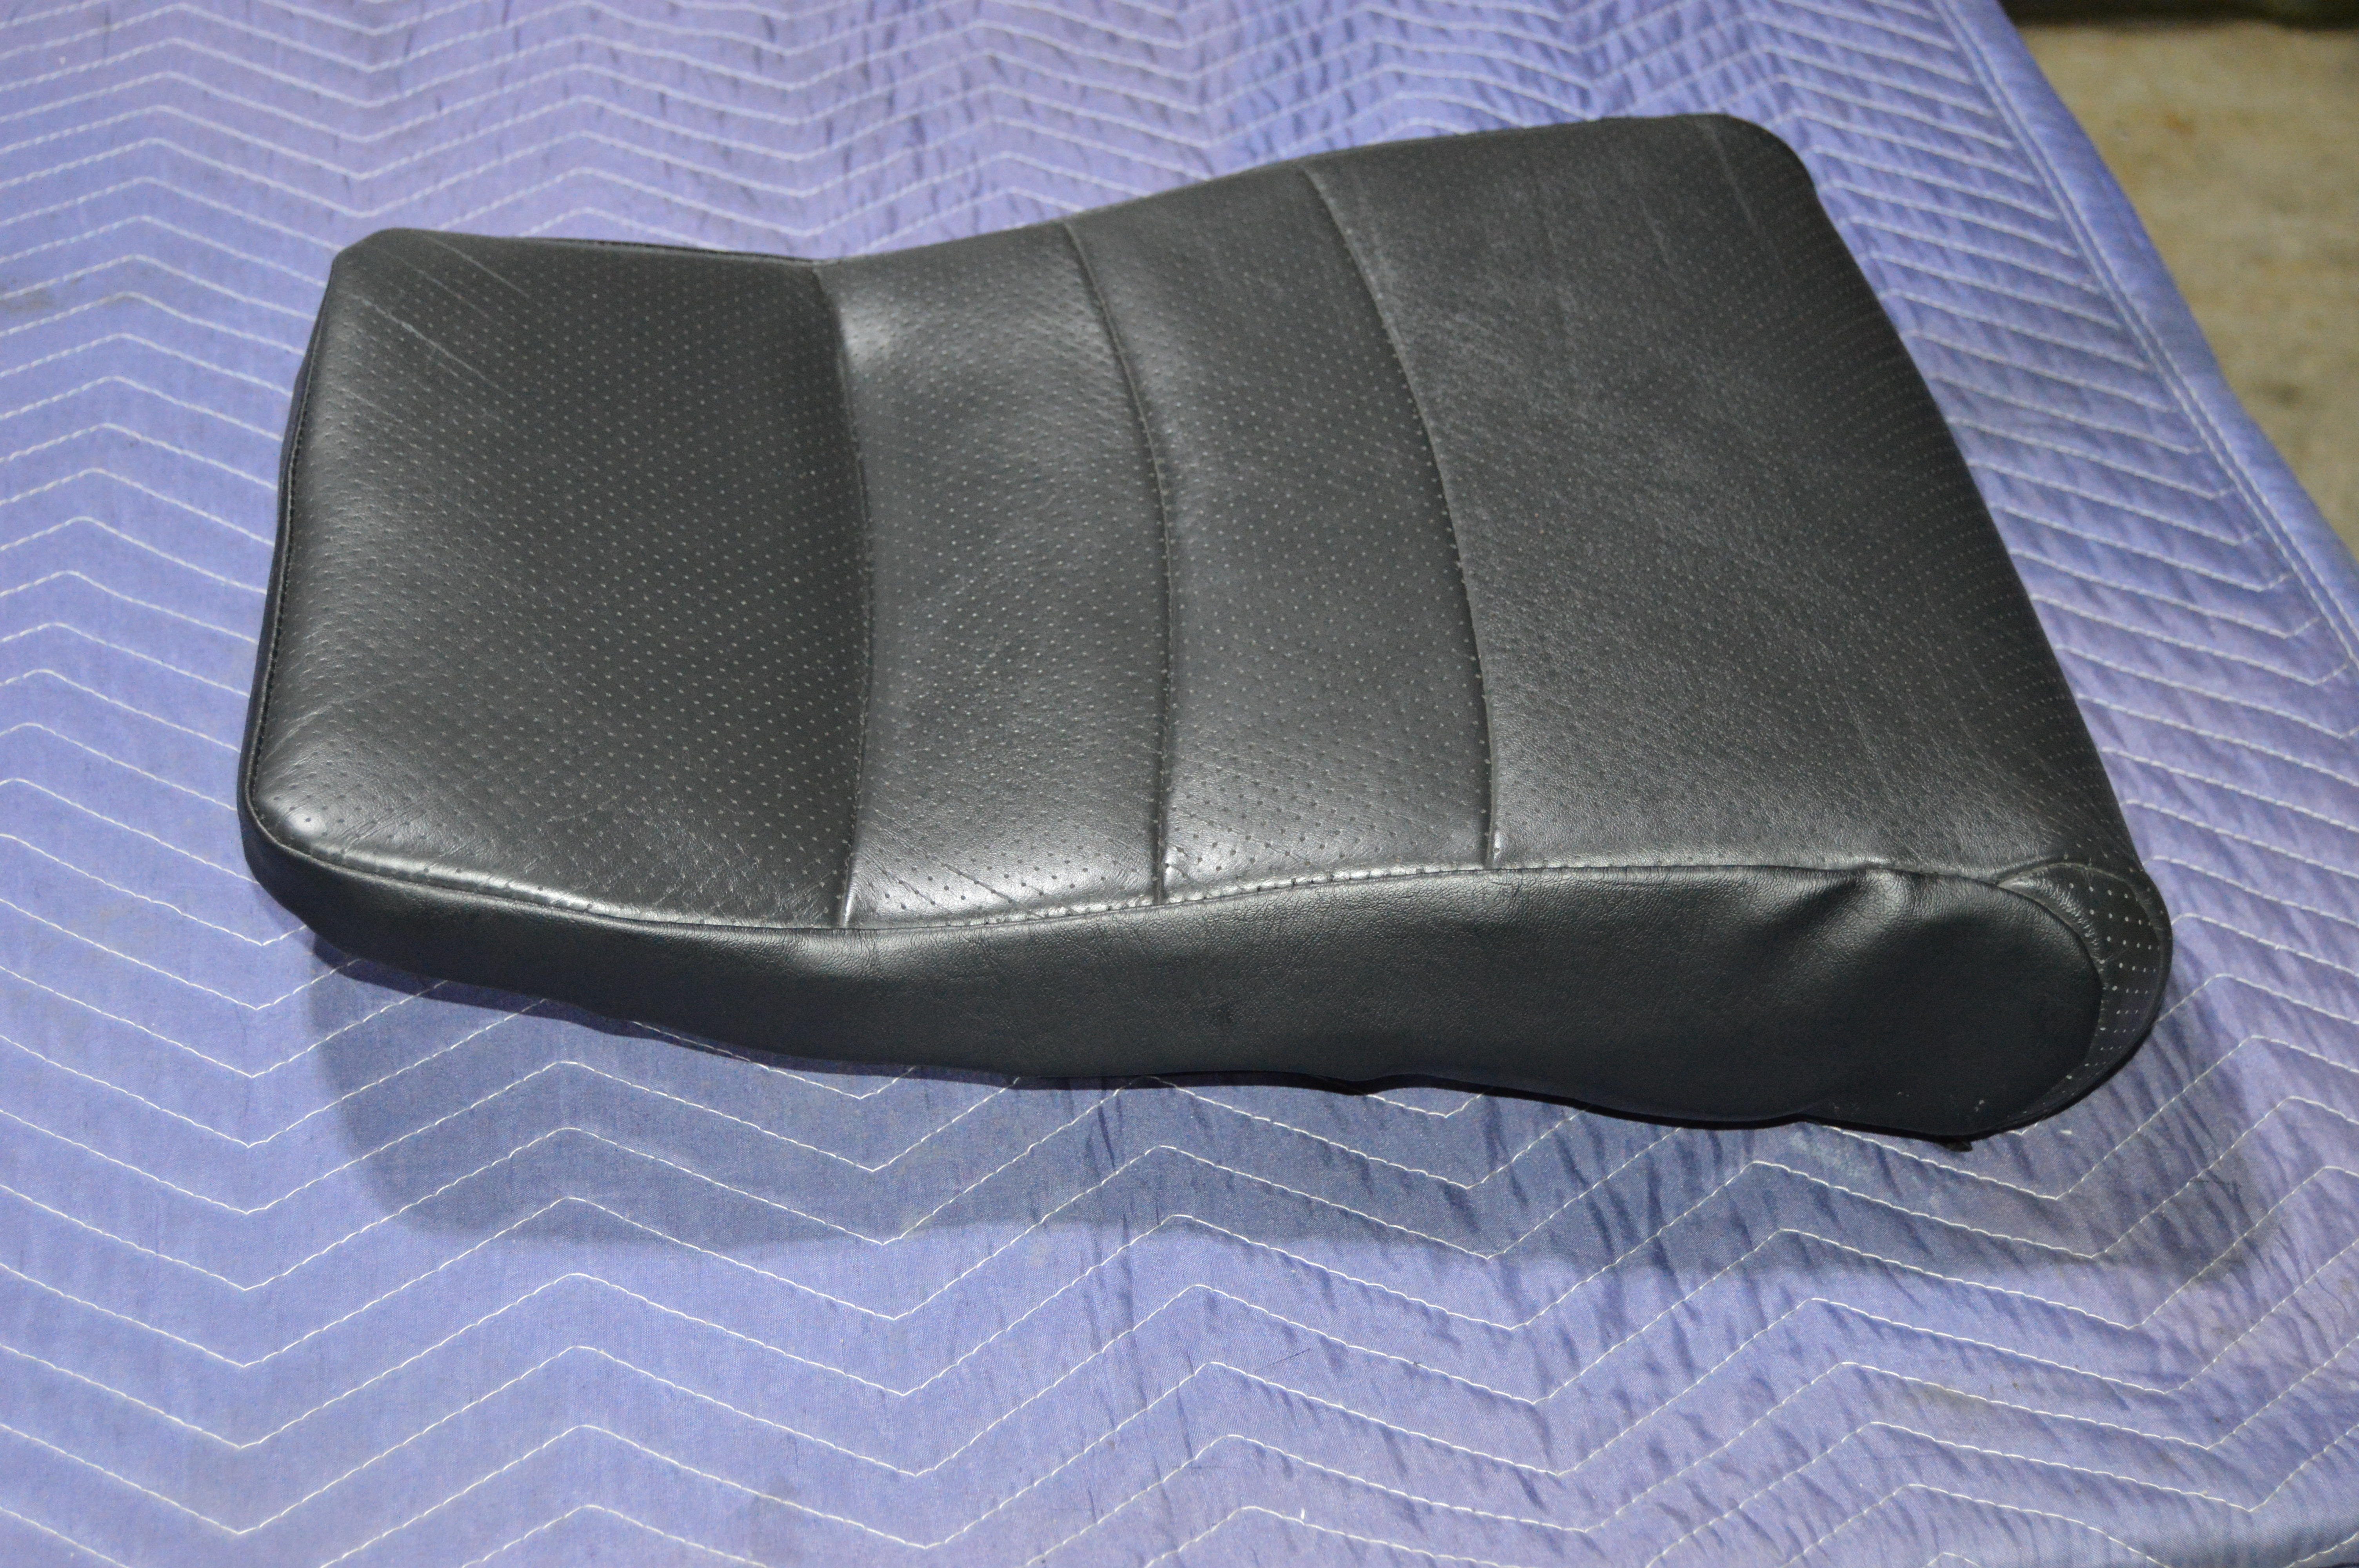
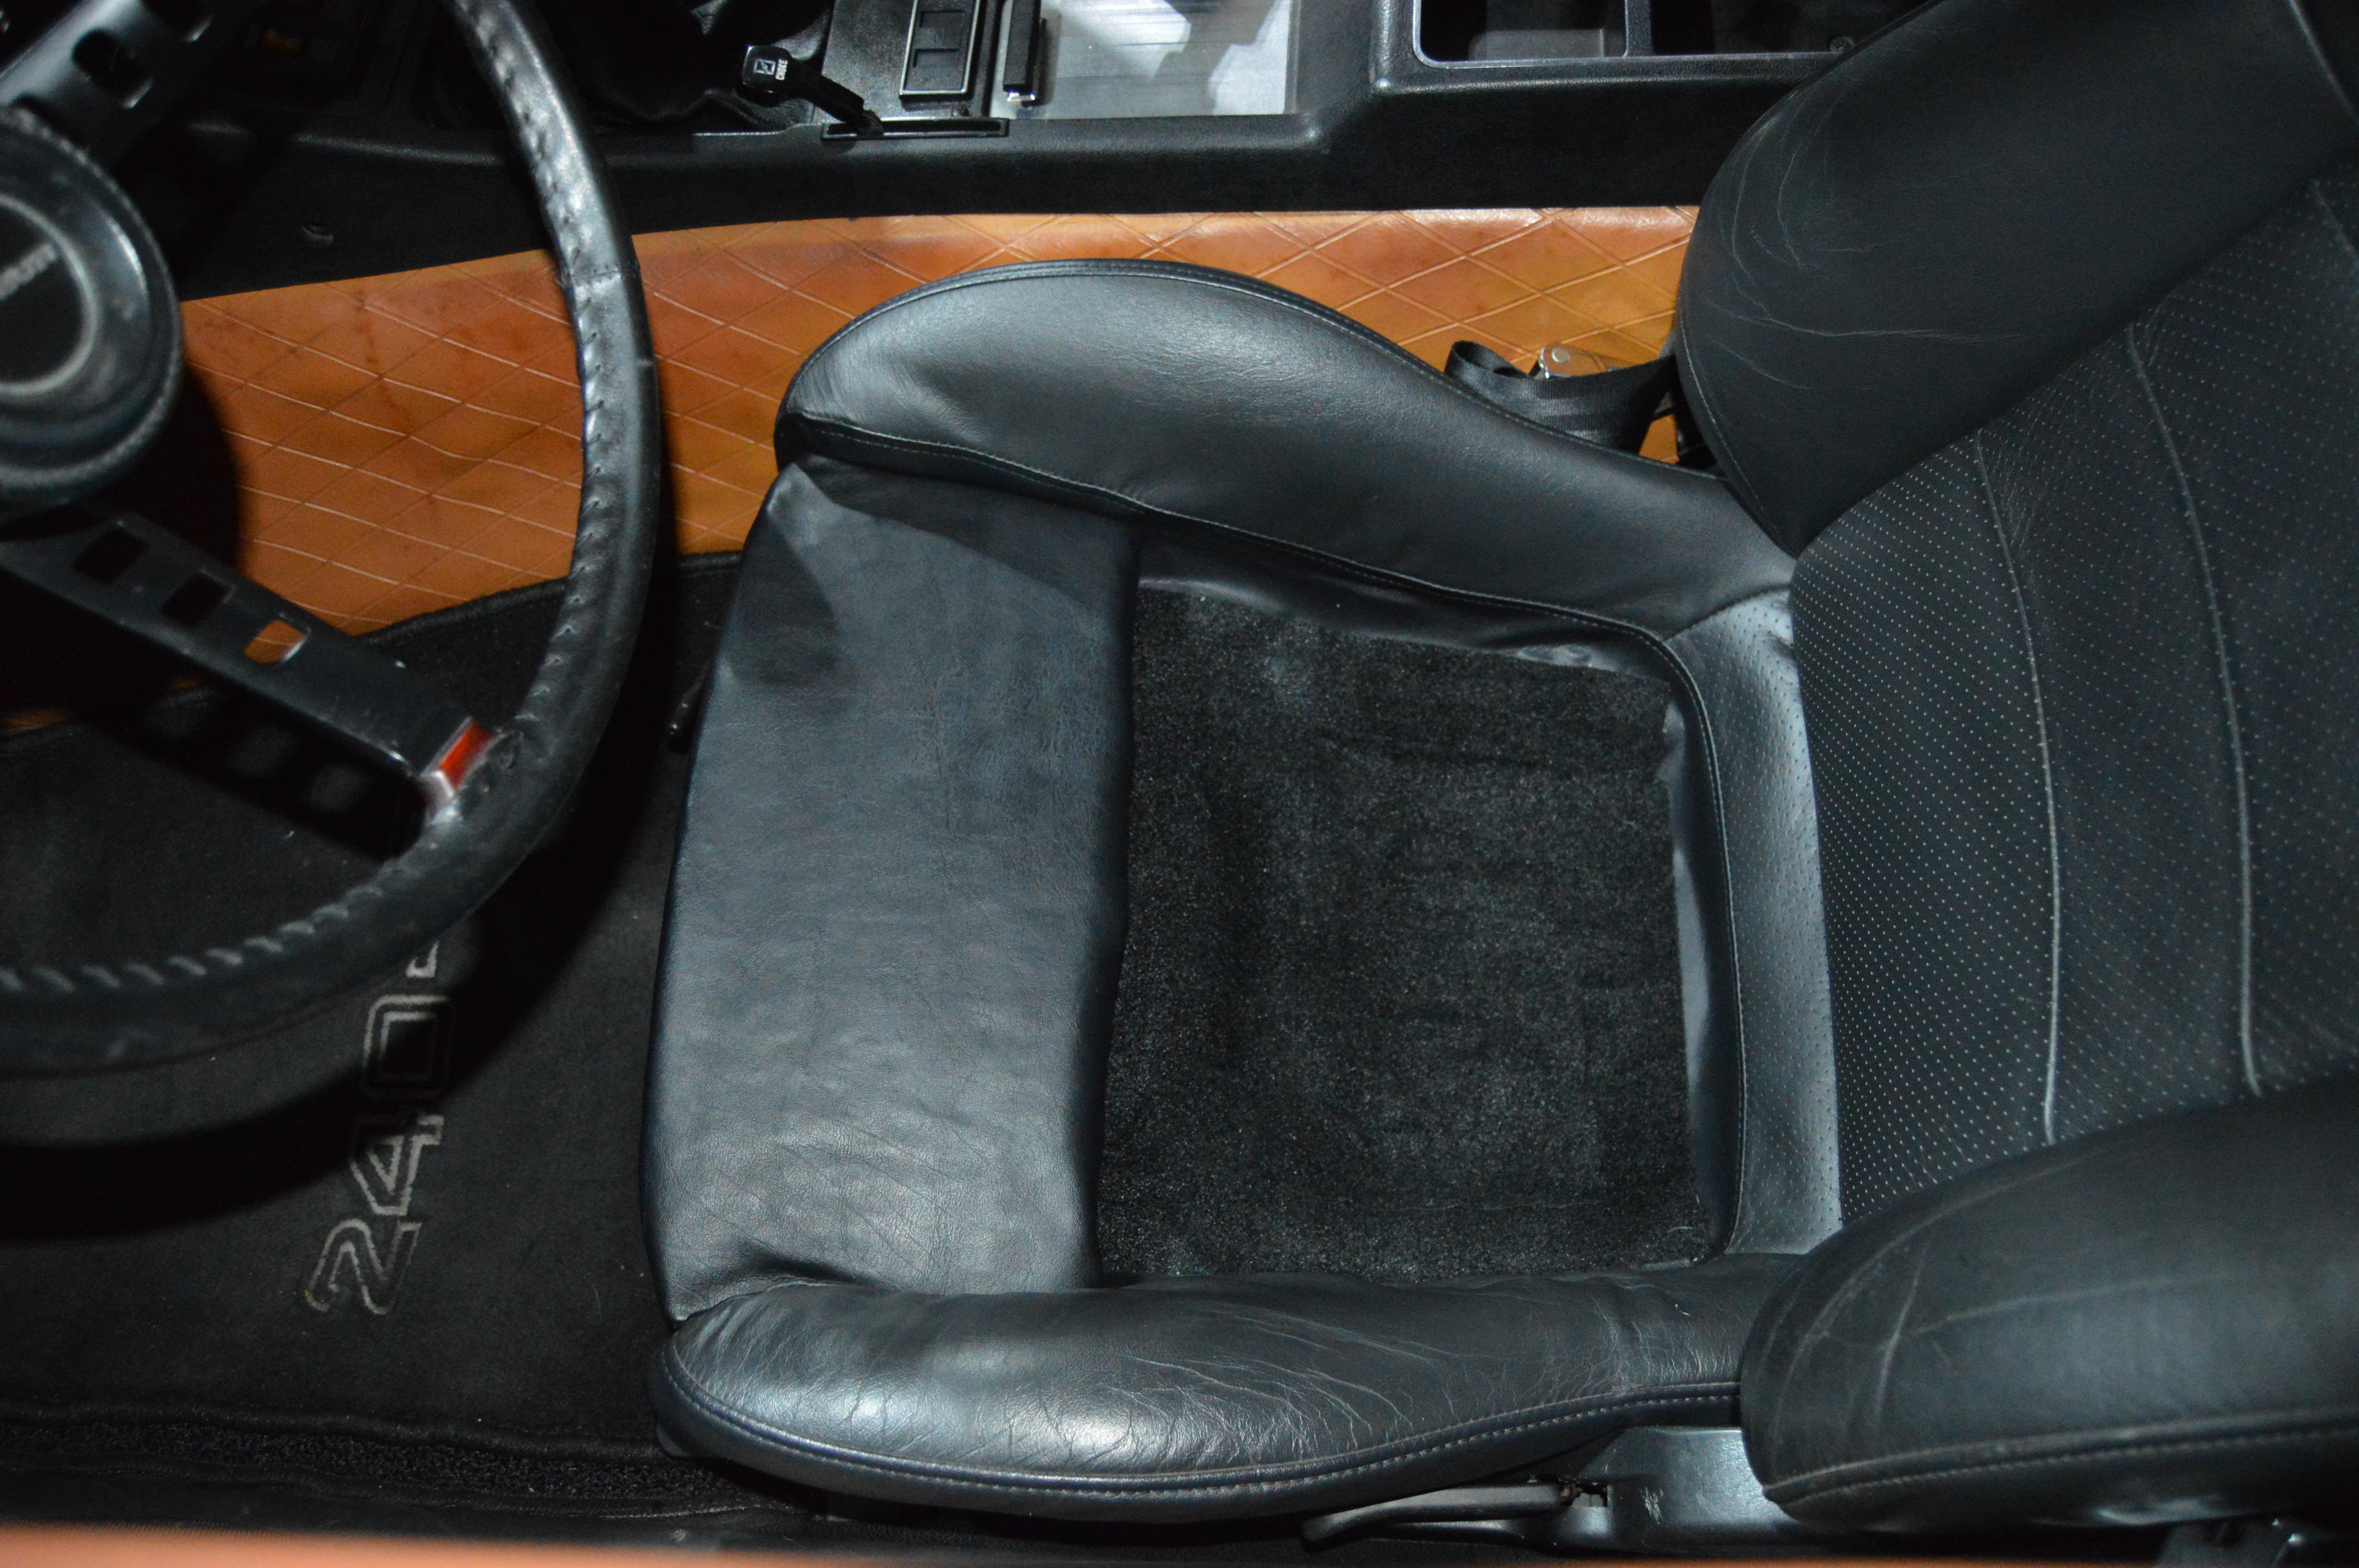
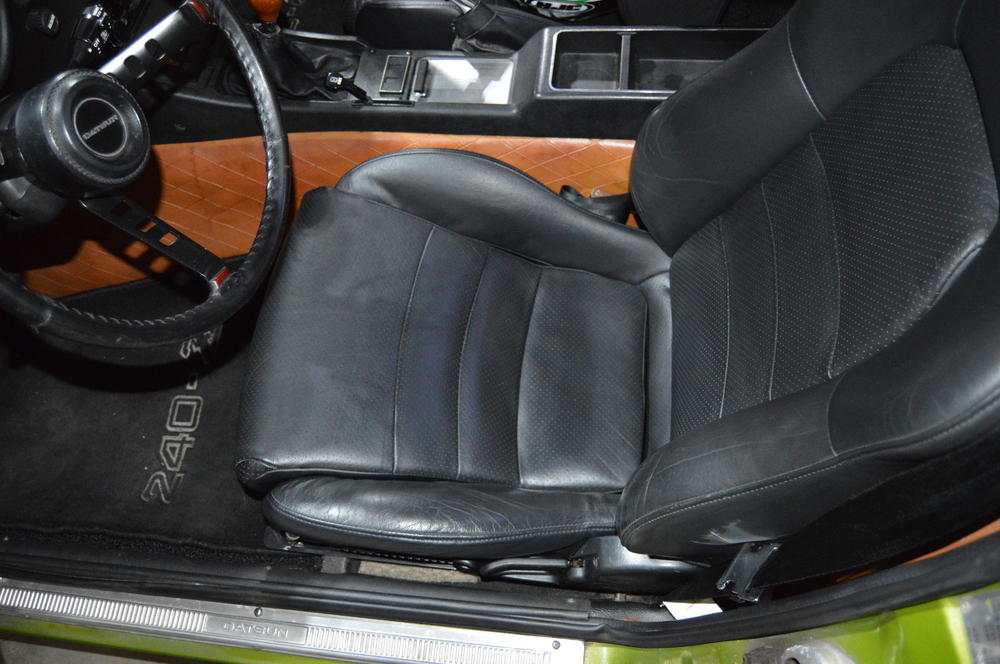
 2 pointsHere's another update: This past year, I started competing in autoX and it is my new obsession. After a number of events, I found that I had to scoot my seat forward and recline the seat way back to be able to comfortably fit with my helmet on. As a reminder, I'm 6'1" tall with a very long torso, my seated height is ~38" (i.e. measurement from butt to top of head when seated). So I looked at a couple of options to get me more head room so I can sit in a good driving position with my helmet on: I investigated lowering seat rails for the S2000 seats; I considered modifying my Z's seat mounts; but what I finally did was to take my lower seat to a local upholstery shop and had them reconstruct the lower seat cushion to make the centre section removable. Here is the modified lower seat with the cushion removed: Here is the normal removable seat cushion: Here is the seat with removable cushion installed in the car: They also built me a replacement cushion that was thinner but still not thin enough. I ended up removing cushion material until I was just left with a pad under my thighs. Here is the seat in the autoX config: Not only can I now sit in a good driving position with helmet clearance, but I am also seriously "in" the seat. For me, this is an ideal solution. I can drive around for hours with the stock cushion in place. When I arrive at the autoX track, I swap the seat cushion and I'm good to go. With the ability to swap the lower seat cushion, I am now completely happy with the S2000 seats in my 240z, on the street or the track!

 2 points
 -
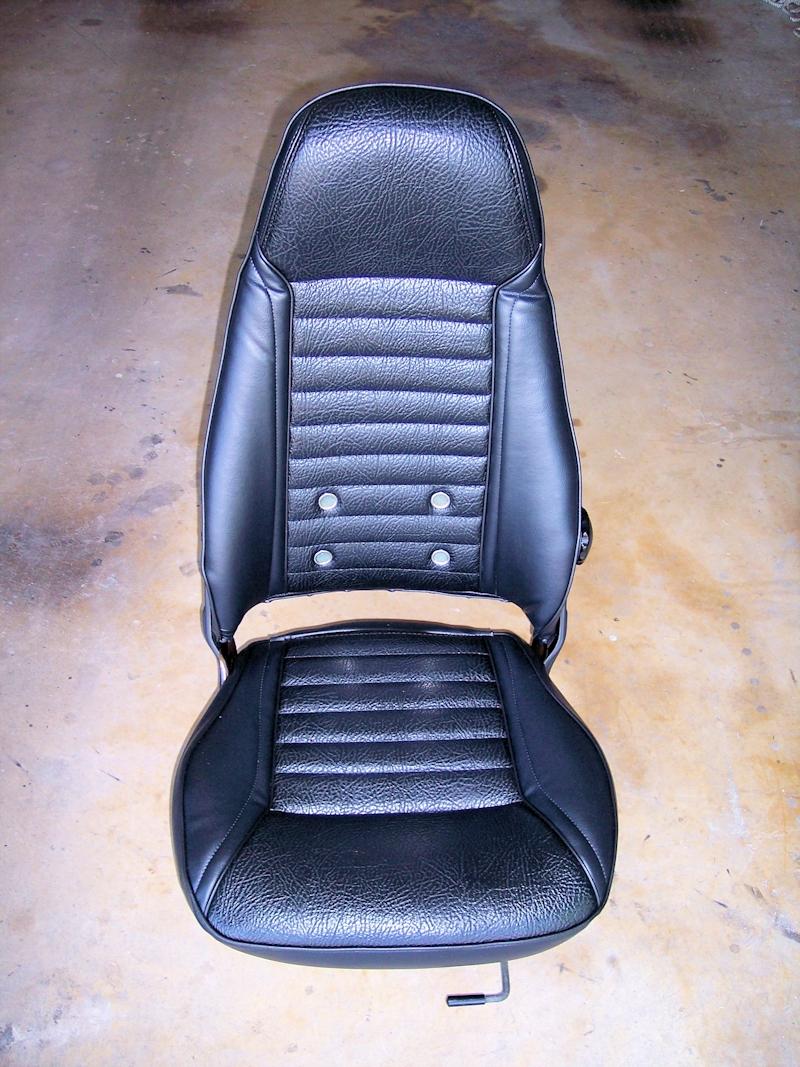
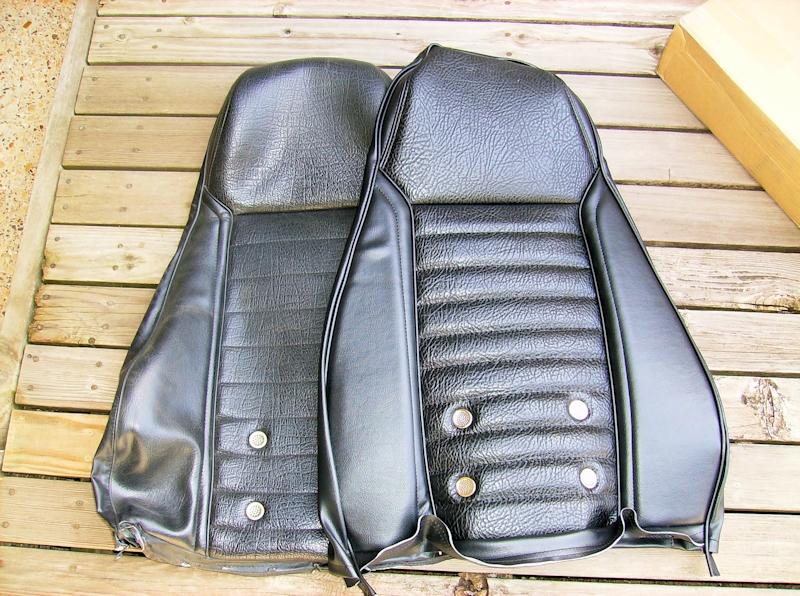
 1 pointThese are the replacement seat covers I purchased and installed about 10 years ago - pictured with the original covers for comparison. They came from Seatz, a company in CA, probably the most "original-like" covers available at that time. He does not sell retail. The last I heard he was selling thru MSA - a call to them would be in order to confirm. I used a hog-ring kit to install and similar to @240260280, added some sections of 1/2" thick upholstery foam to beef up various areas of the seats.
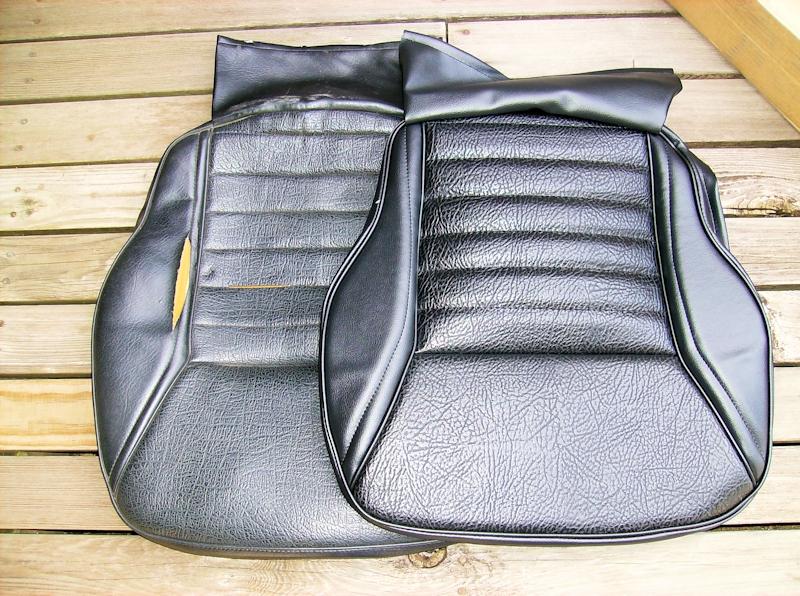
 1 point
 -
 1 point
 -
 I picked up a nice double flaring kit at the Charlotte Auto Fair a while back at one of the tool vendors. Not a name brand kit but looks pretty good, has all the pieces the expensive name brand kits have. Seemed to work good on the few lines I did on another project but have not used it enough to get real familiar with. Thanks for the helpful tip, John-Lugoff, SC.1 point
 -
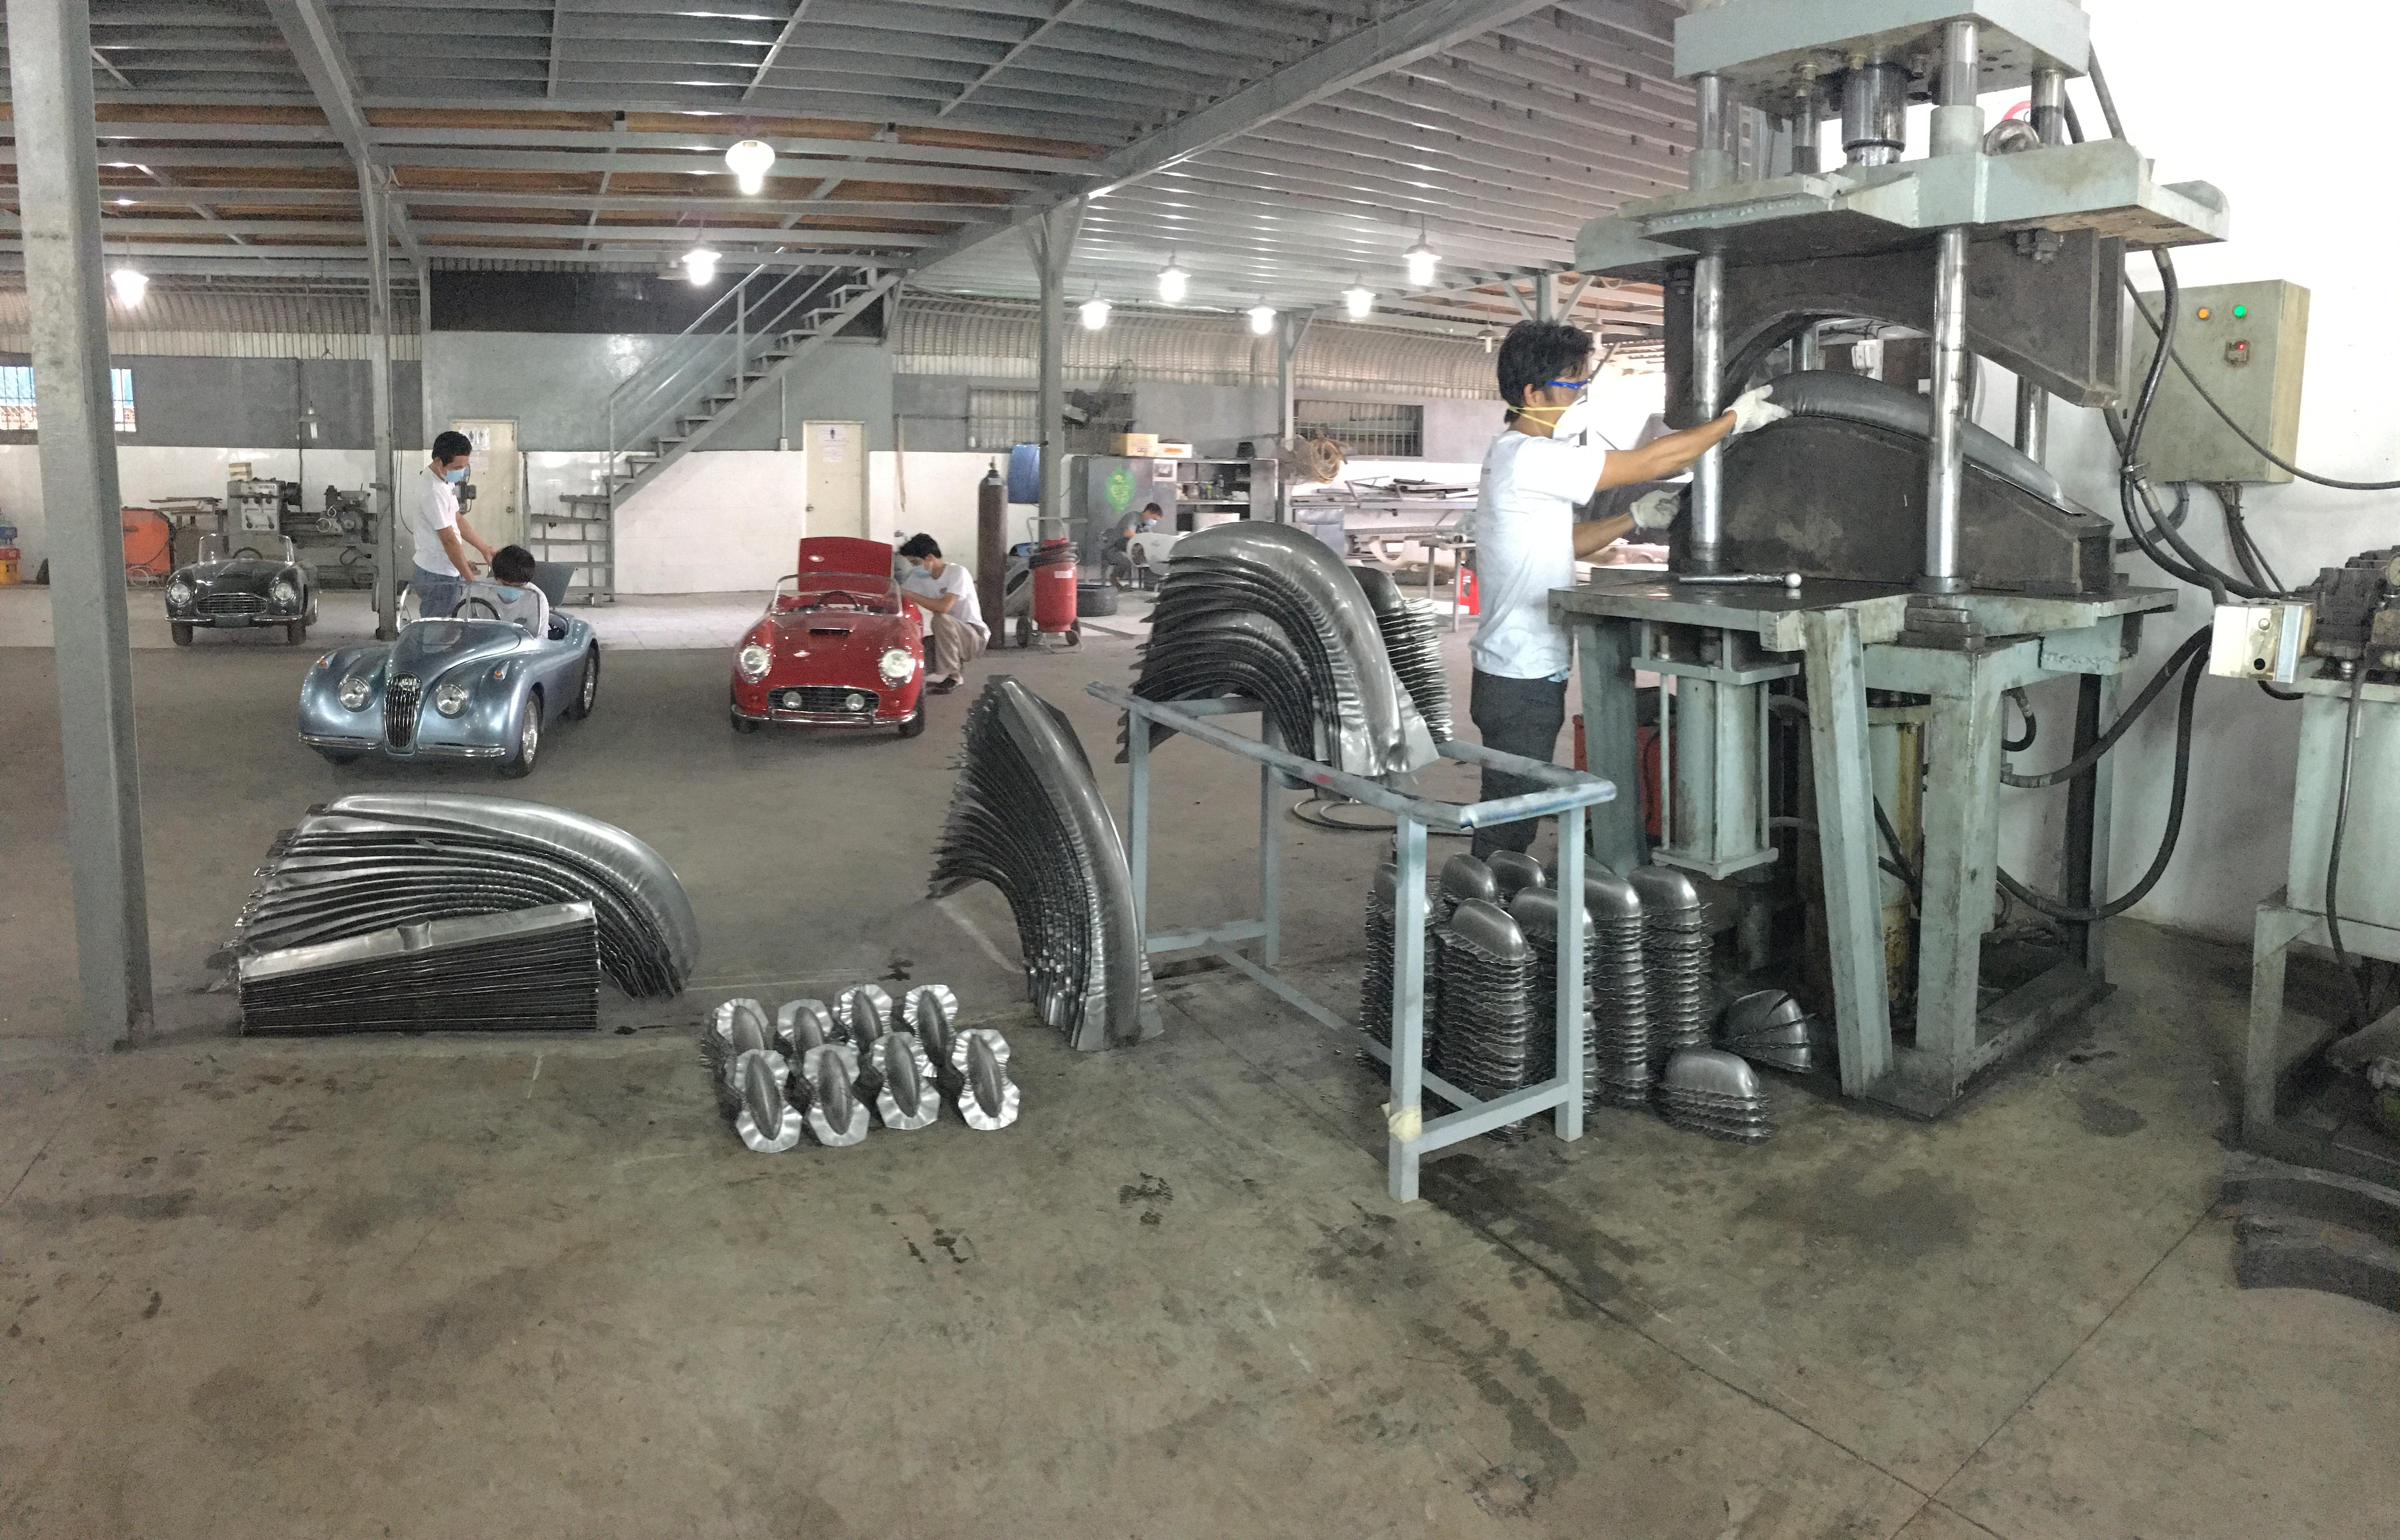
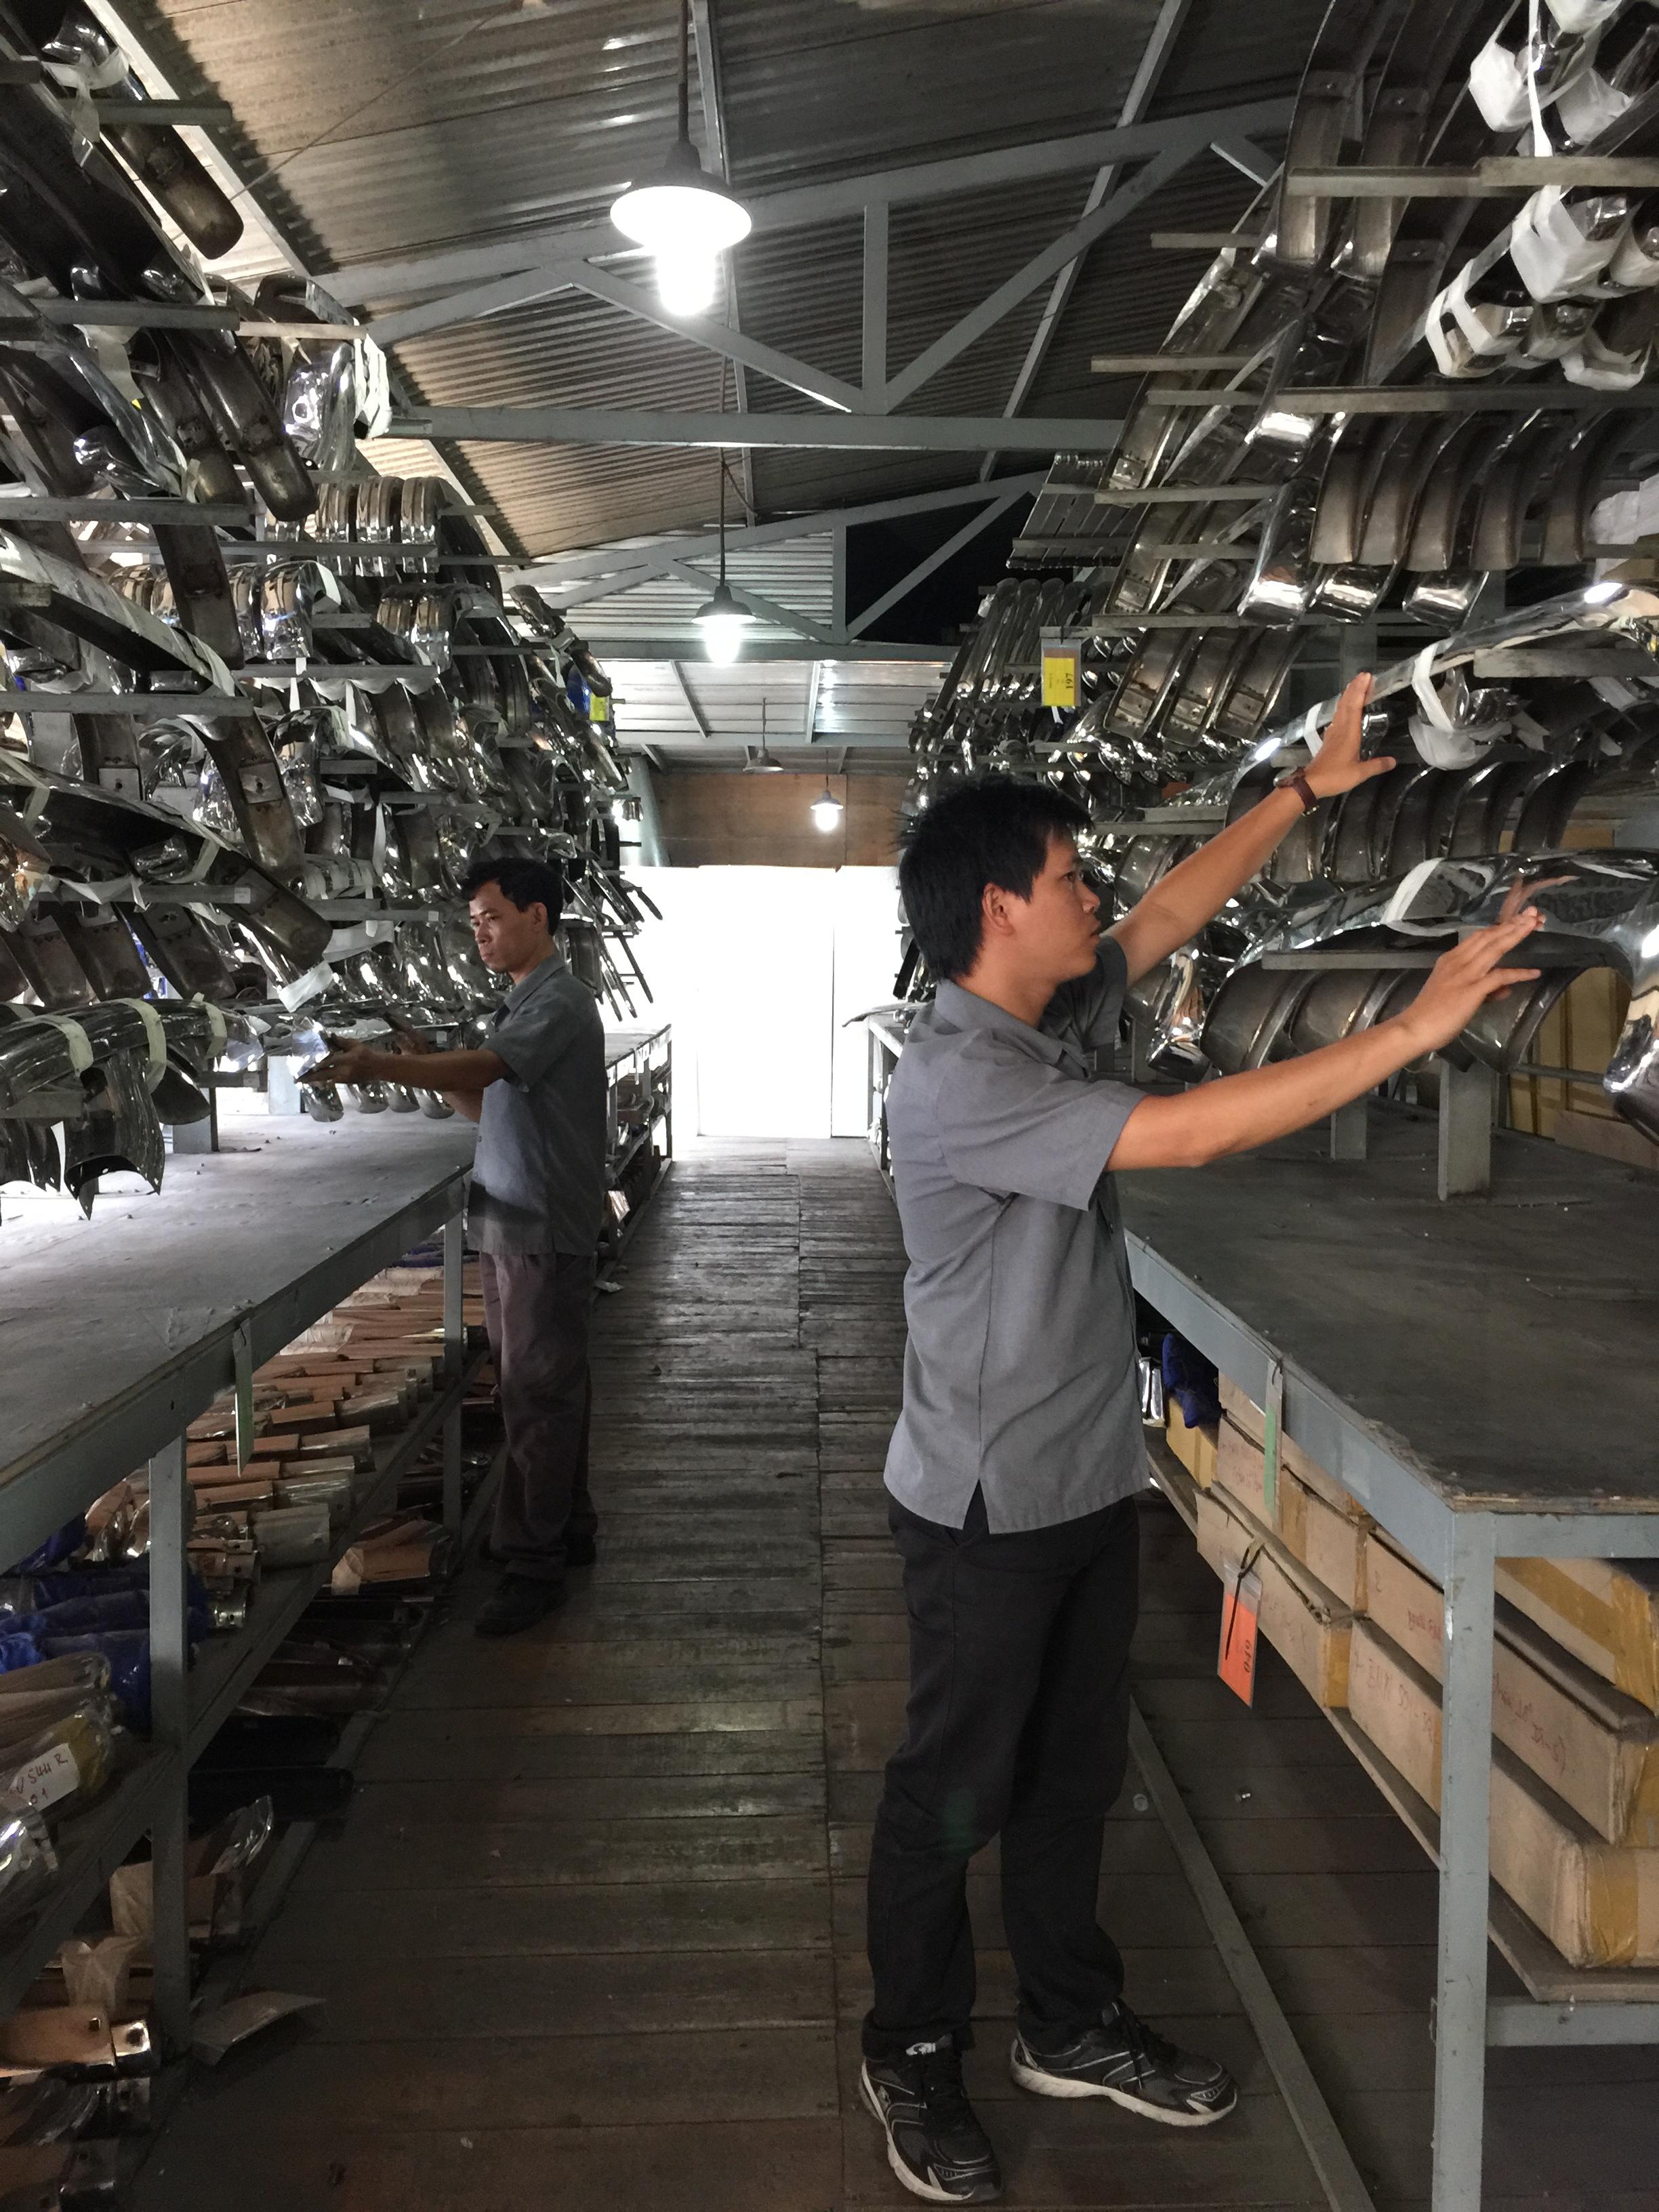
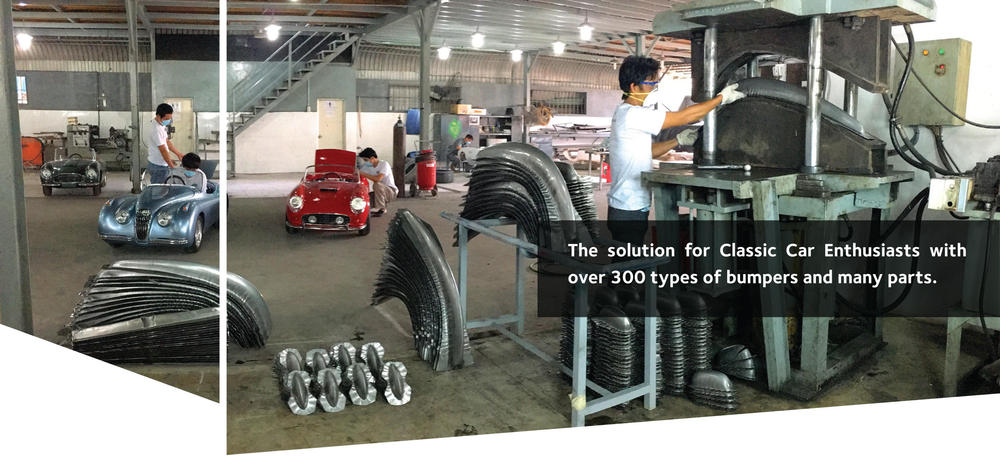
 1 pointHi Everyone, A quick hello and sale announcement for 240/260z stainess-steel bumpers. We have lowered the price to USD750 / £585 / €690 including air-freight to your door. Harrington is the world's largest producer of SS bumpers and have been in business since 2003. We currently make over 300 different sets of bumper from a 30,000 sq/ft modern factory in Saigon. We employ 70 skilled workers to deliver the highest quality bumpers. We do not operate from a shed or field and use the highest quality press and jigs. We are a registered Ltd company that complies with Vietnamese employment law. We take customer service very seriously and our sales team consists of a British(myself),German and Vietnamese national. We supply to most of the heritage departments our coverage spans from Ford to Ferrari. We also manufacture exquisite half-scale junior cars Instagram @harringtonjuniorcars Please feel free to make contact directly info@groupharrington.com and I can be contacted +447977 486 282(between UK and Vietnam) if you would like more information. Skype / FaceTime tours of our factory are always welcome as are customers in person, if visiting Saigon.
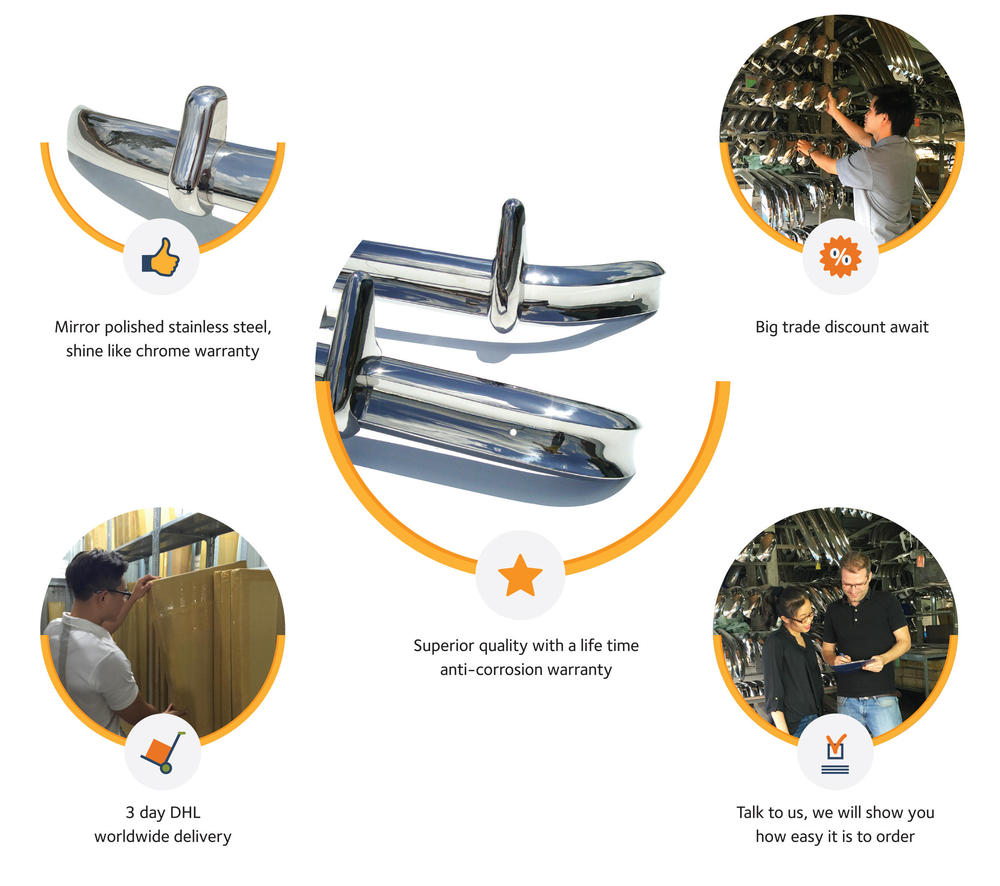


 1 point
 -
 Thanks again guys. Used my wife's hair dryer to soften the boots and got them on no problem: Yes, there is a large hose clamp that secures the filler neck to the tank pipe. One of the most annoying parts of reinstalling the tank is getting both straps AND the filler neck to line up...
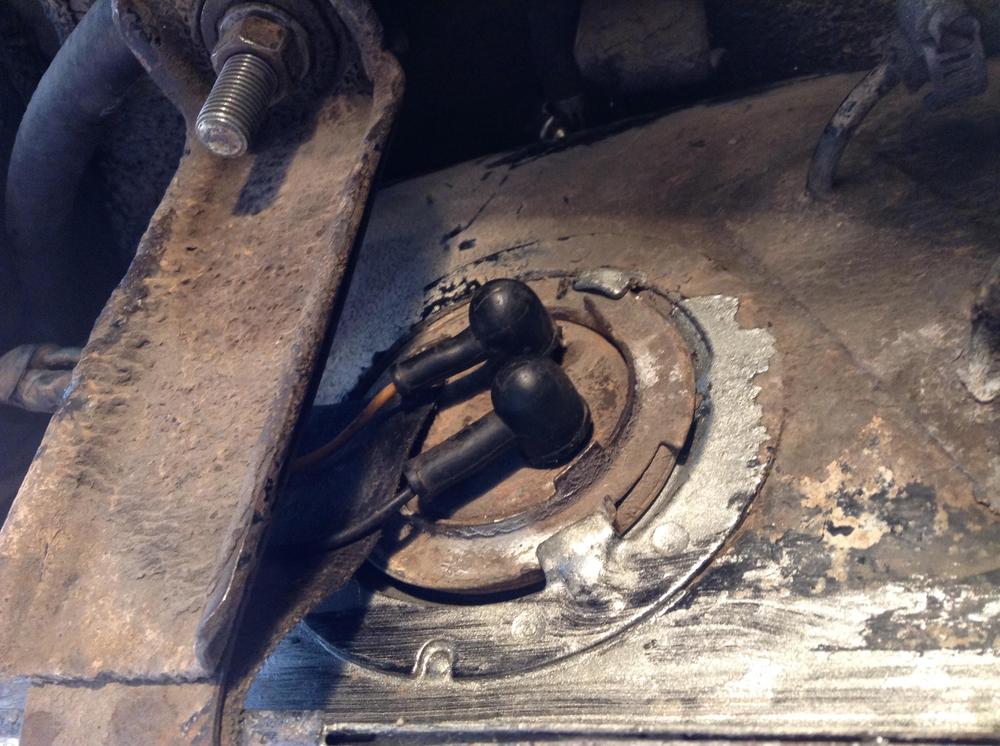 1 point
 -
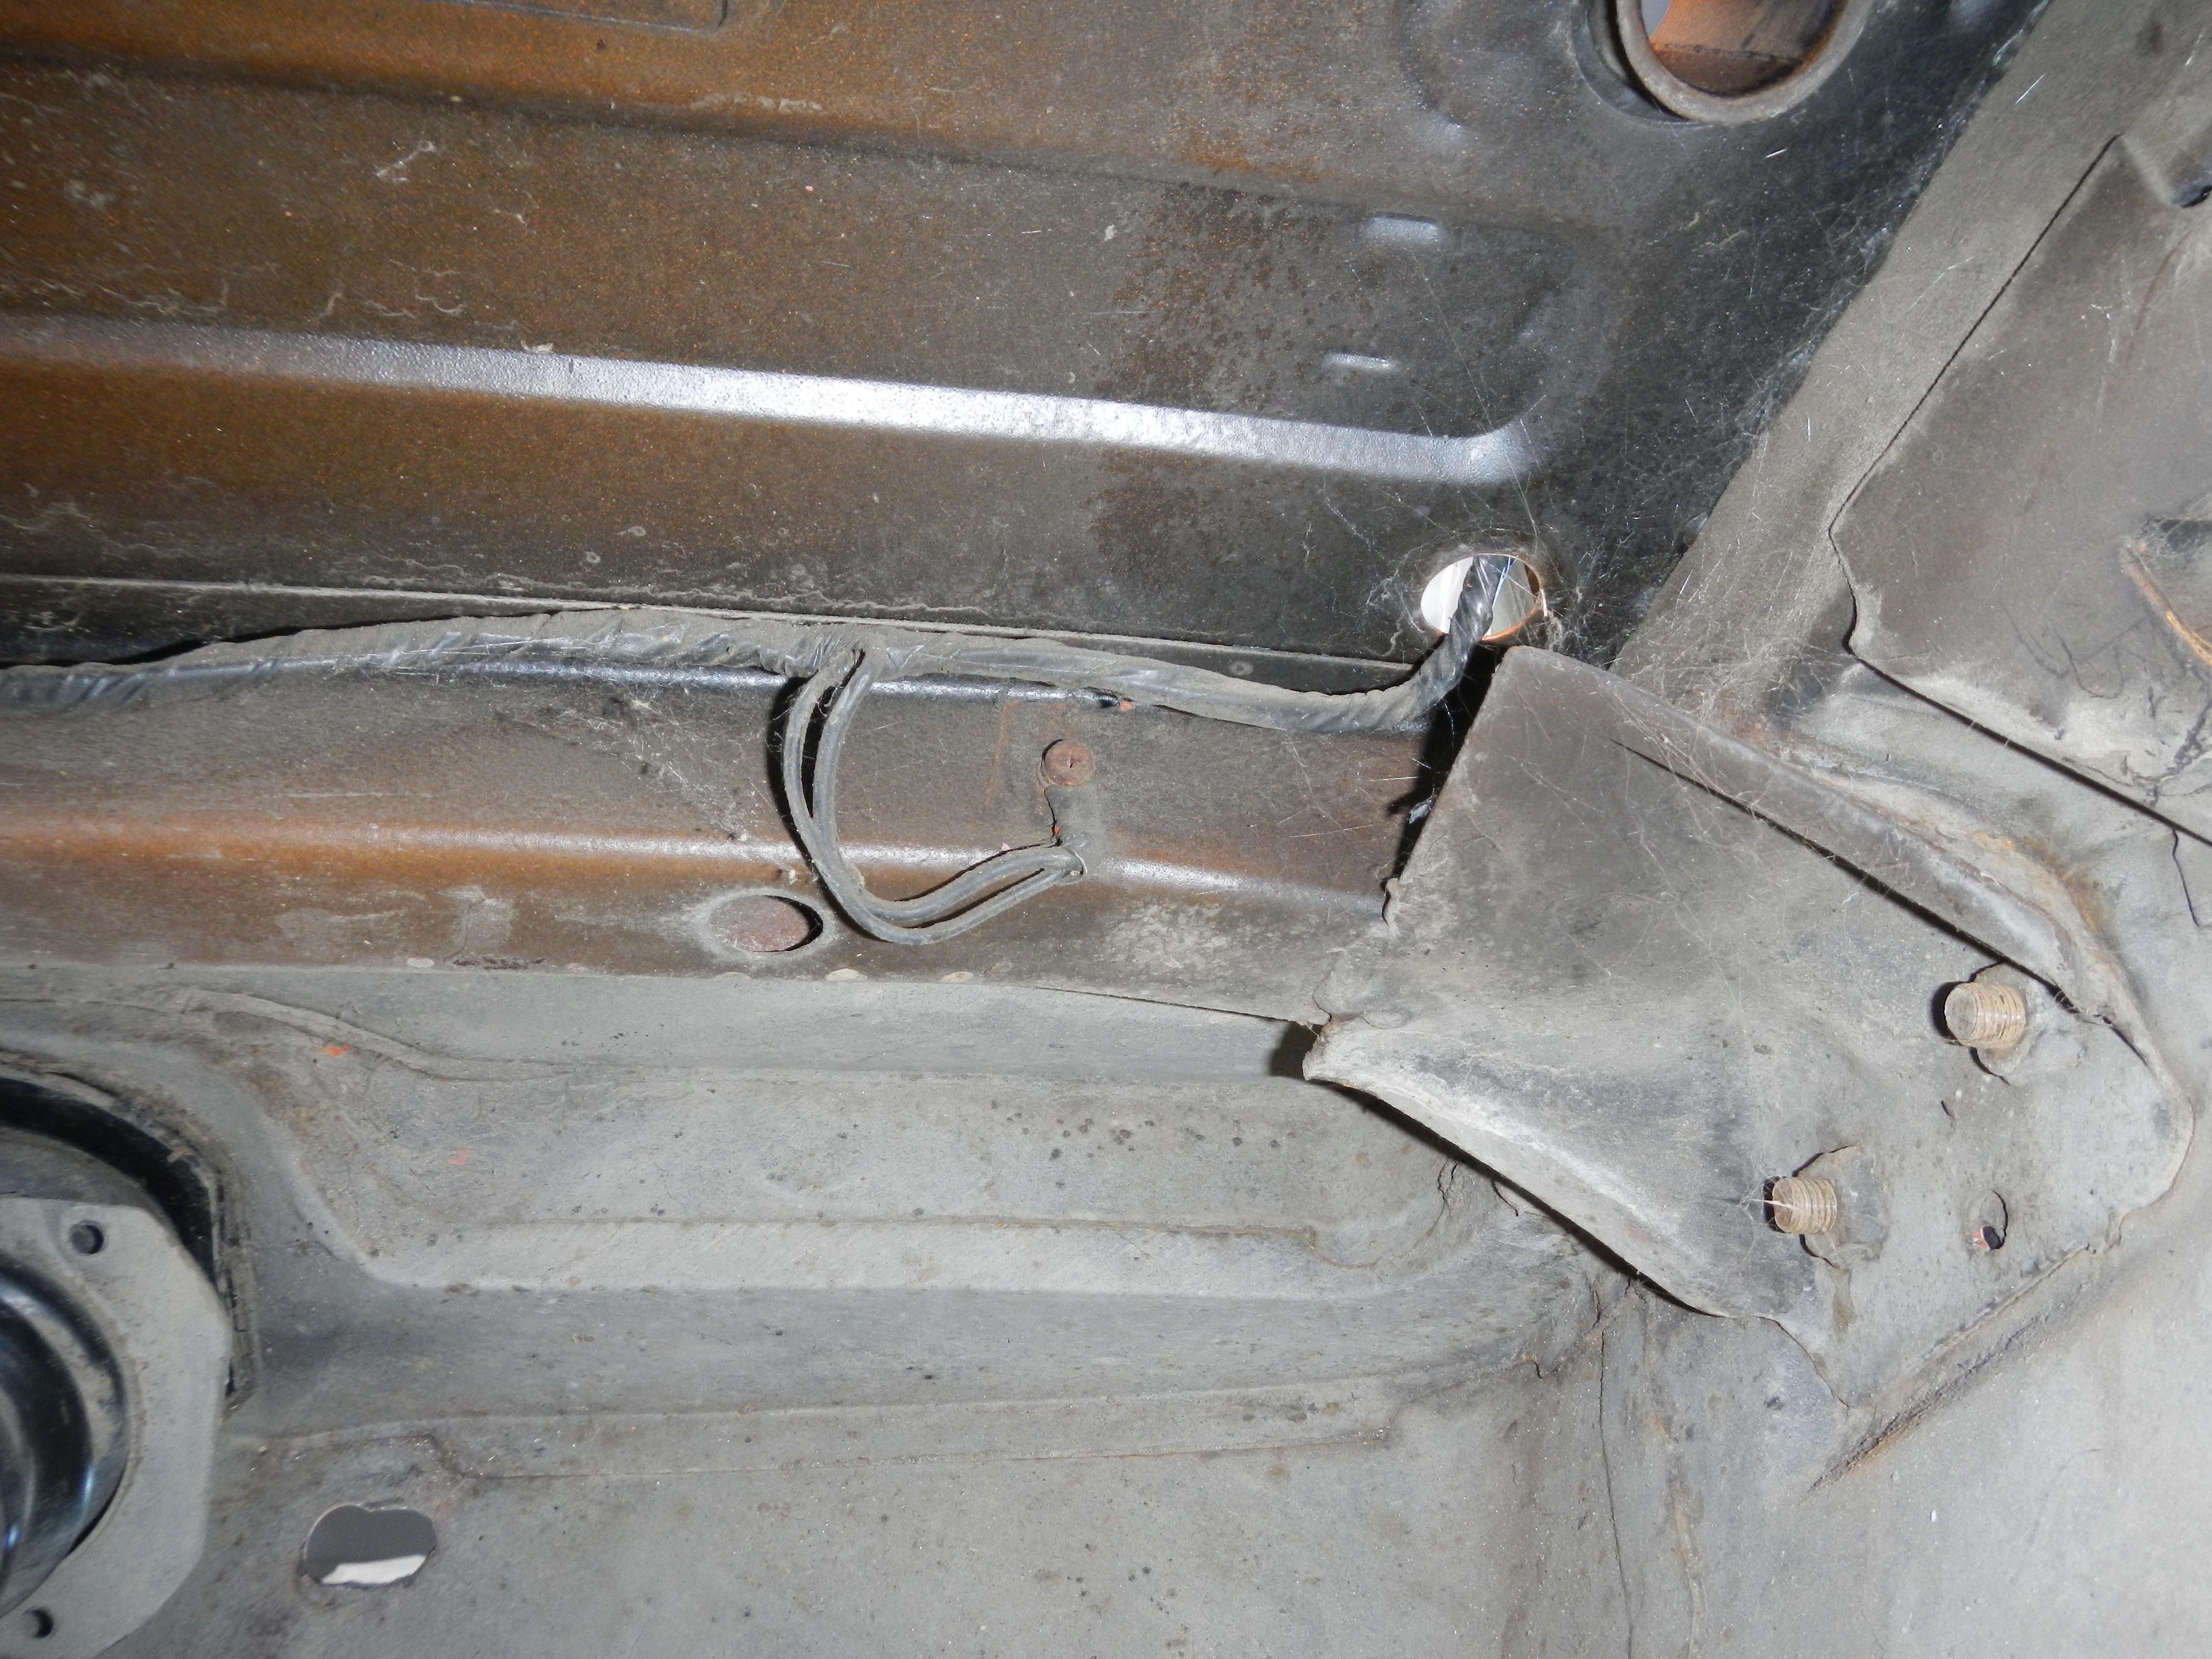
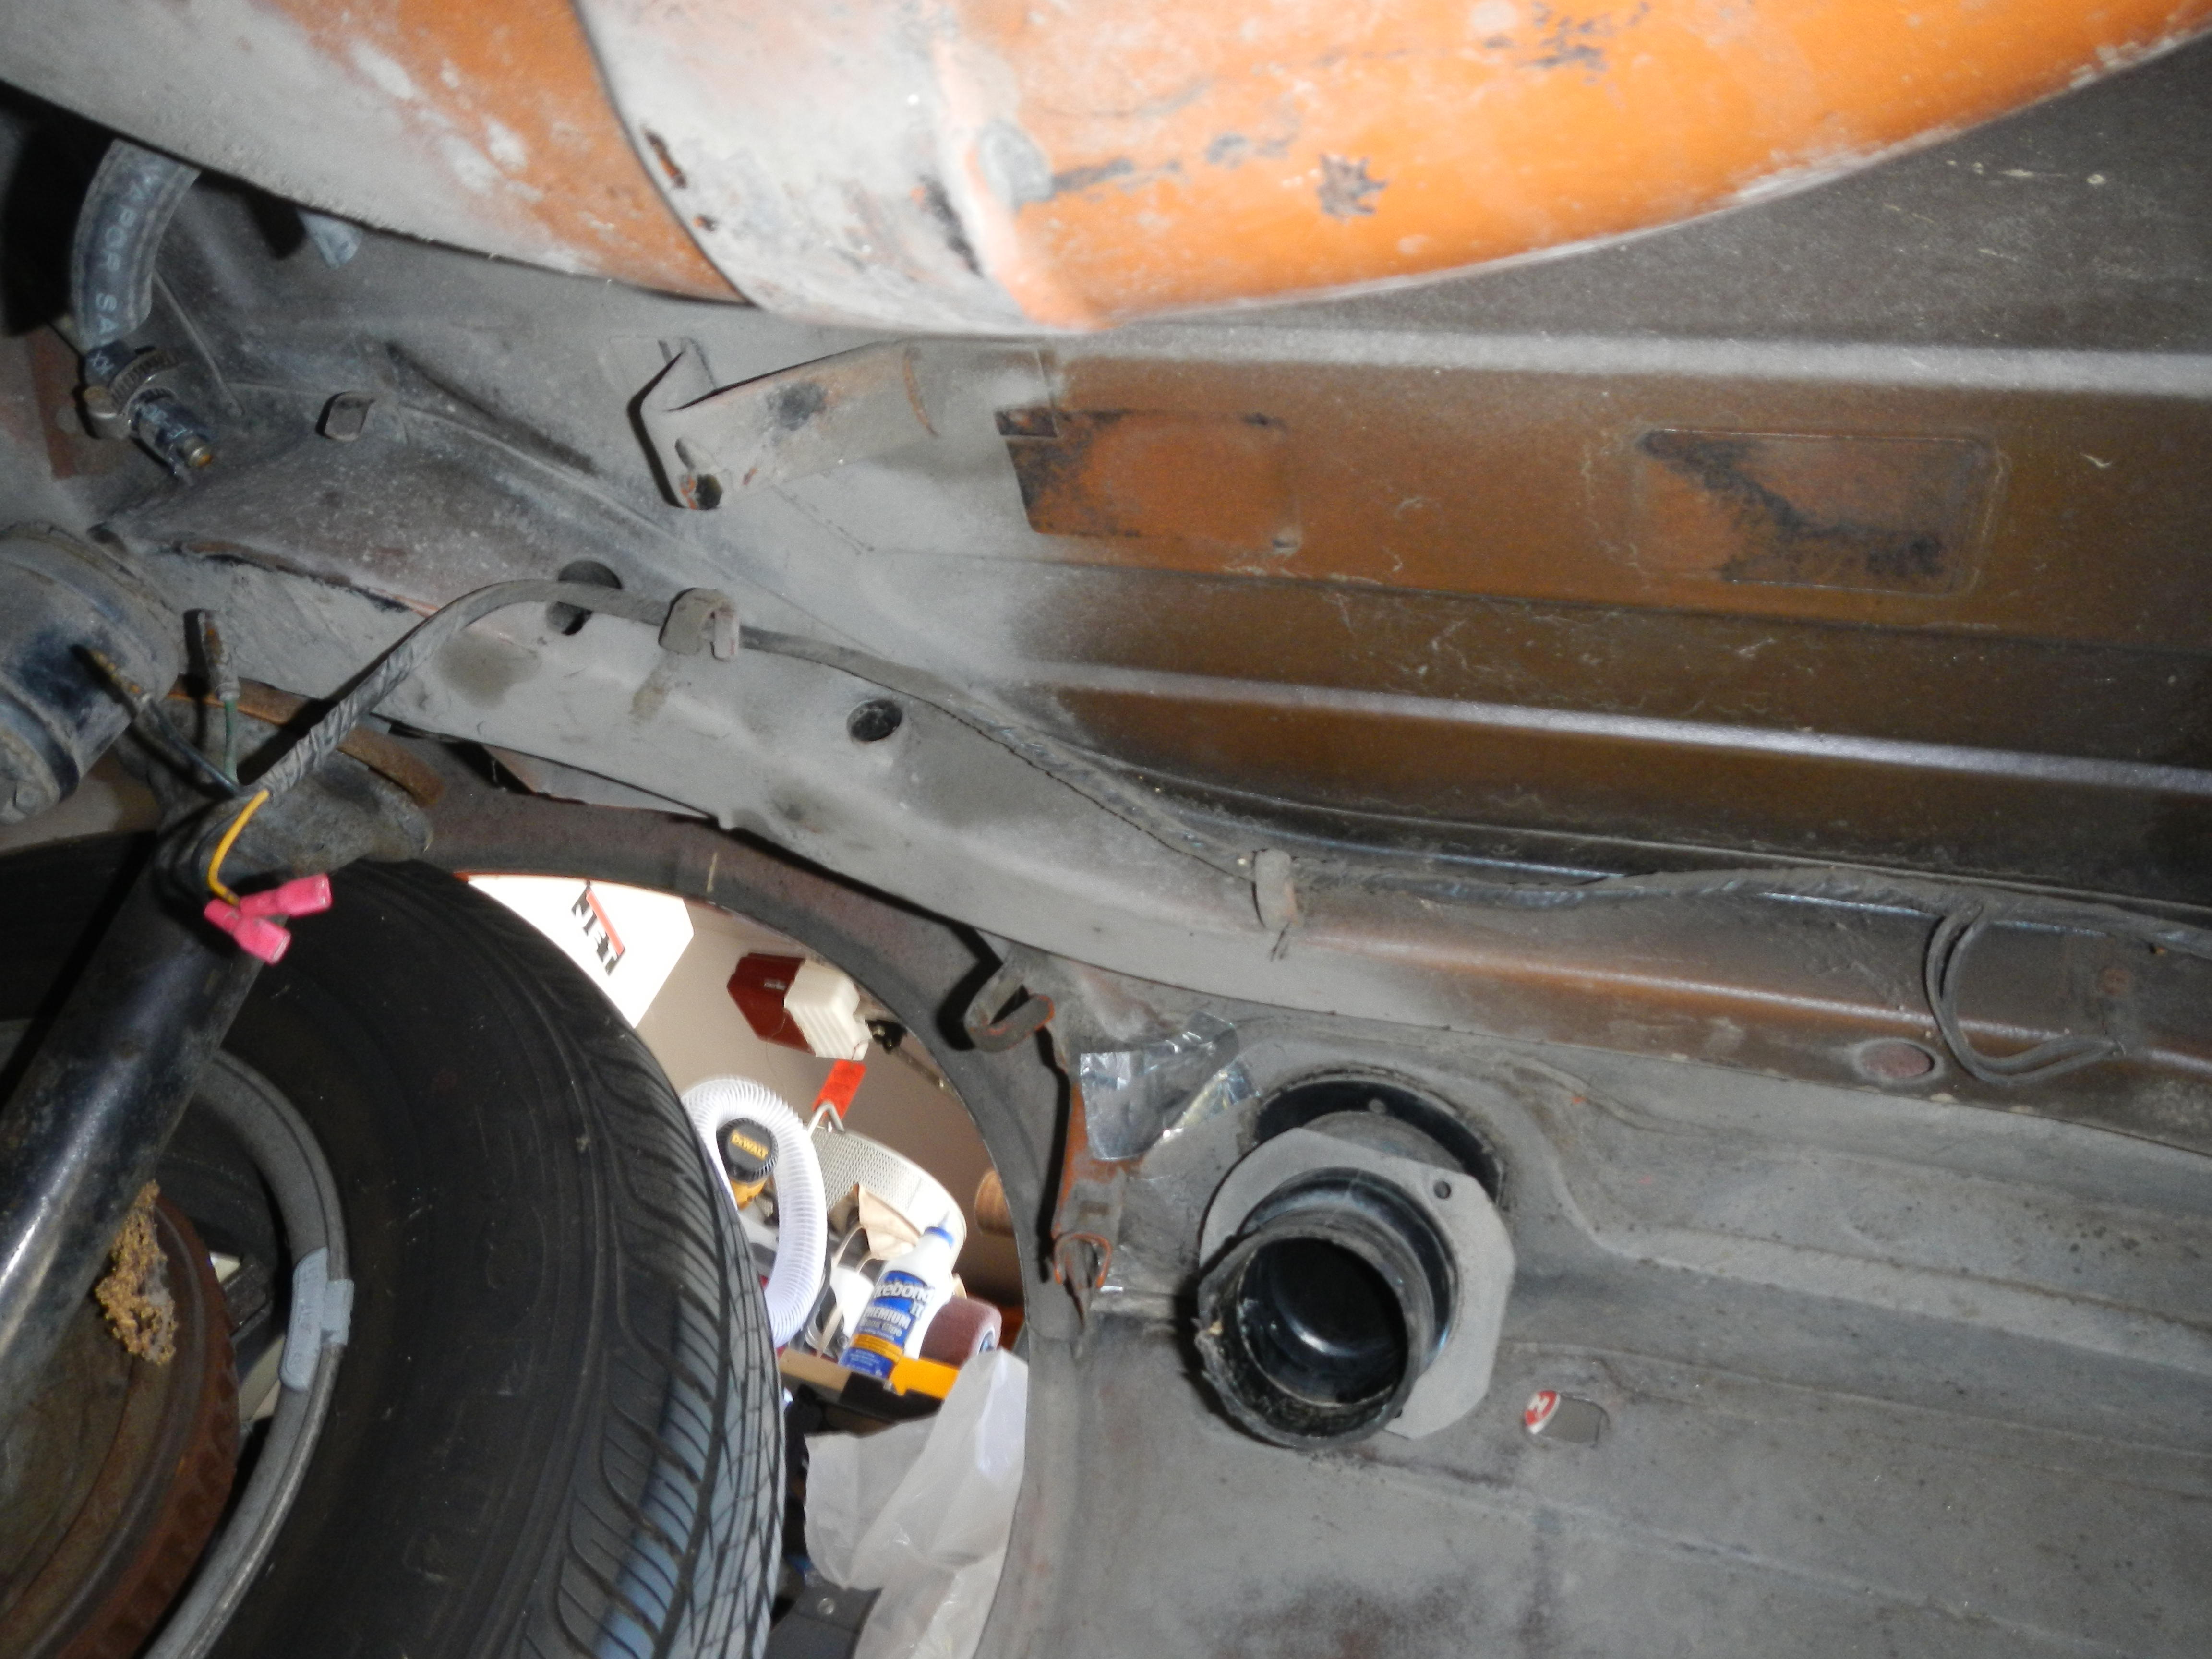
 Just for future reference these two pictures show the routing of the fuel sender wiring on my 12/70 240Z. The ground connects to the frame rail, this needs to be connected before the tank goes in as you can not get to it with the tank in place.
 1 point
 -
 I looked up the parts fiche again and it shows the clips for the 79 but does not list a part number. For the 82 it has the same picture and does list a number (72727-W1000) and qty of 7 for 81->. It does not show clips for the bottom. Both years show the same rubber strip (72825-P7900 upper - 72826-P7100 lower) They look in the pics like they had something on them, perhaps the metal clips you are referring to. These clips were tucked into the upper stainless when I pulled it off. It look odd to me as I don't see how they held onto the car. I'll see if I can get the bottom off and see what's under there. These are available if you need them.1 point
 -
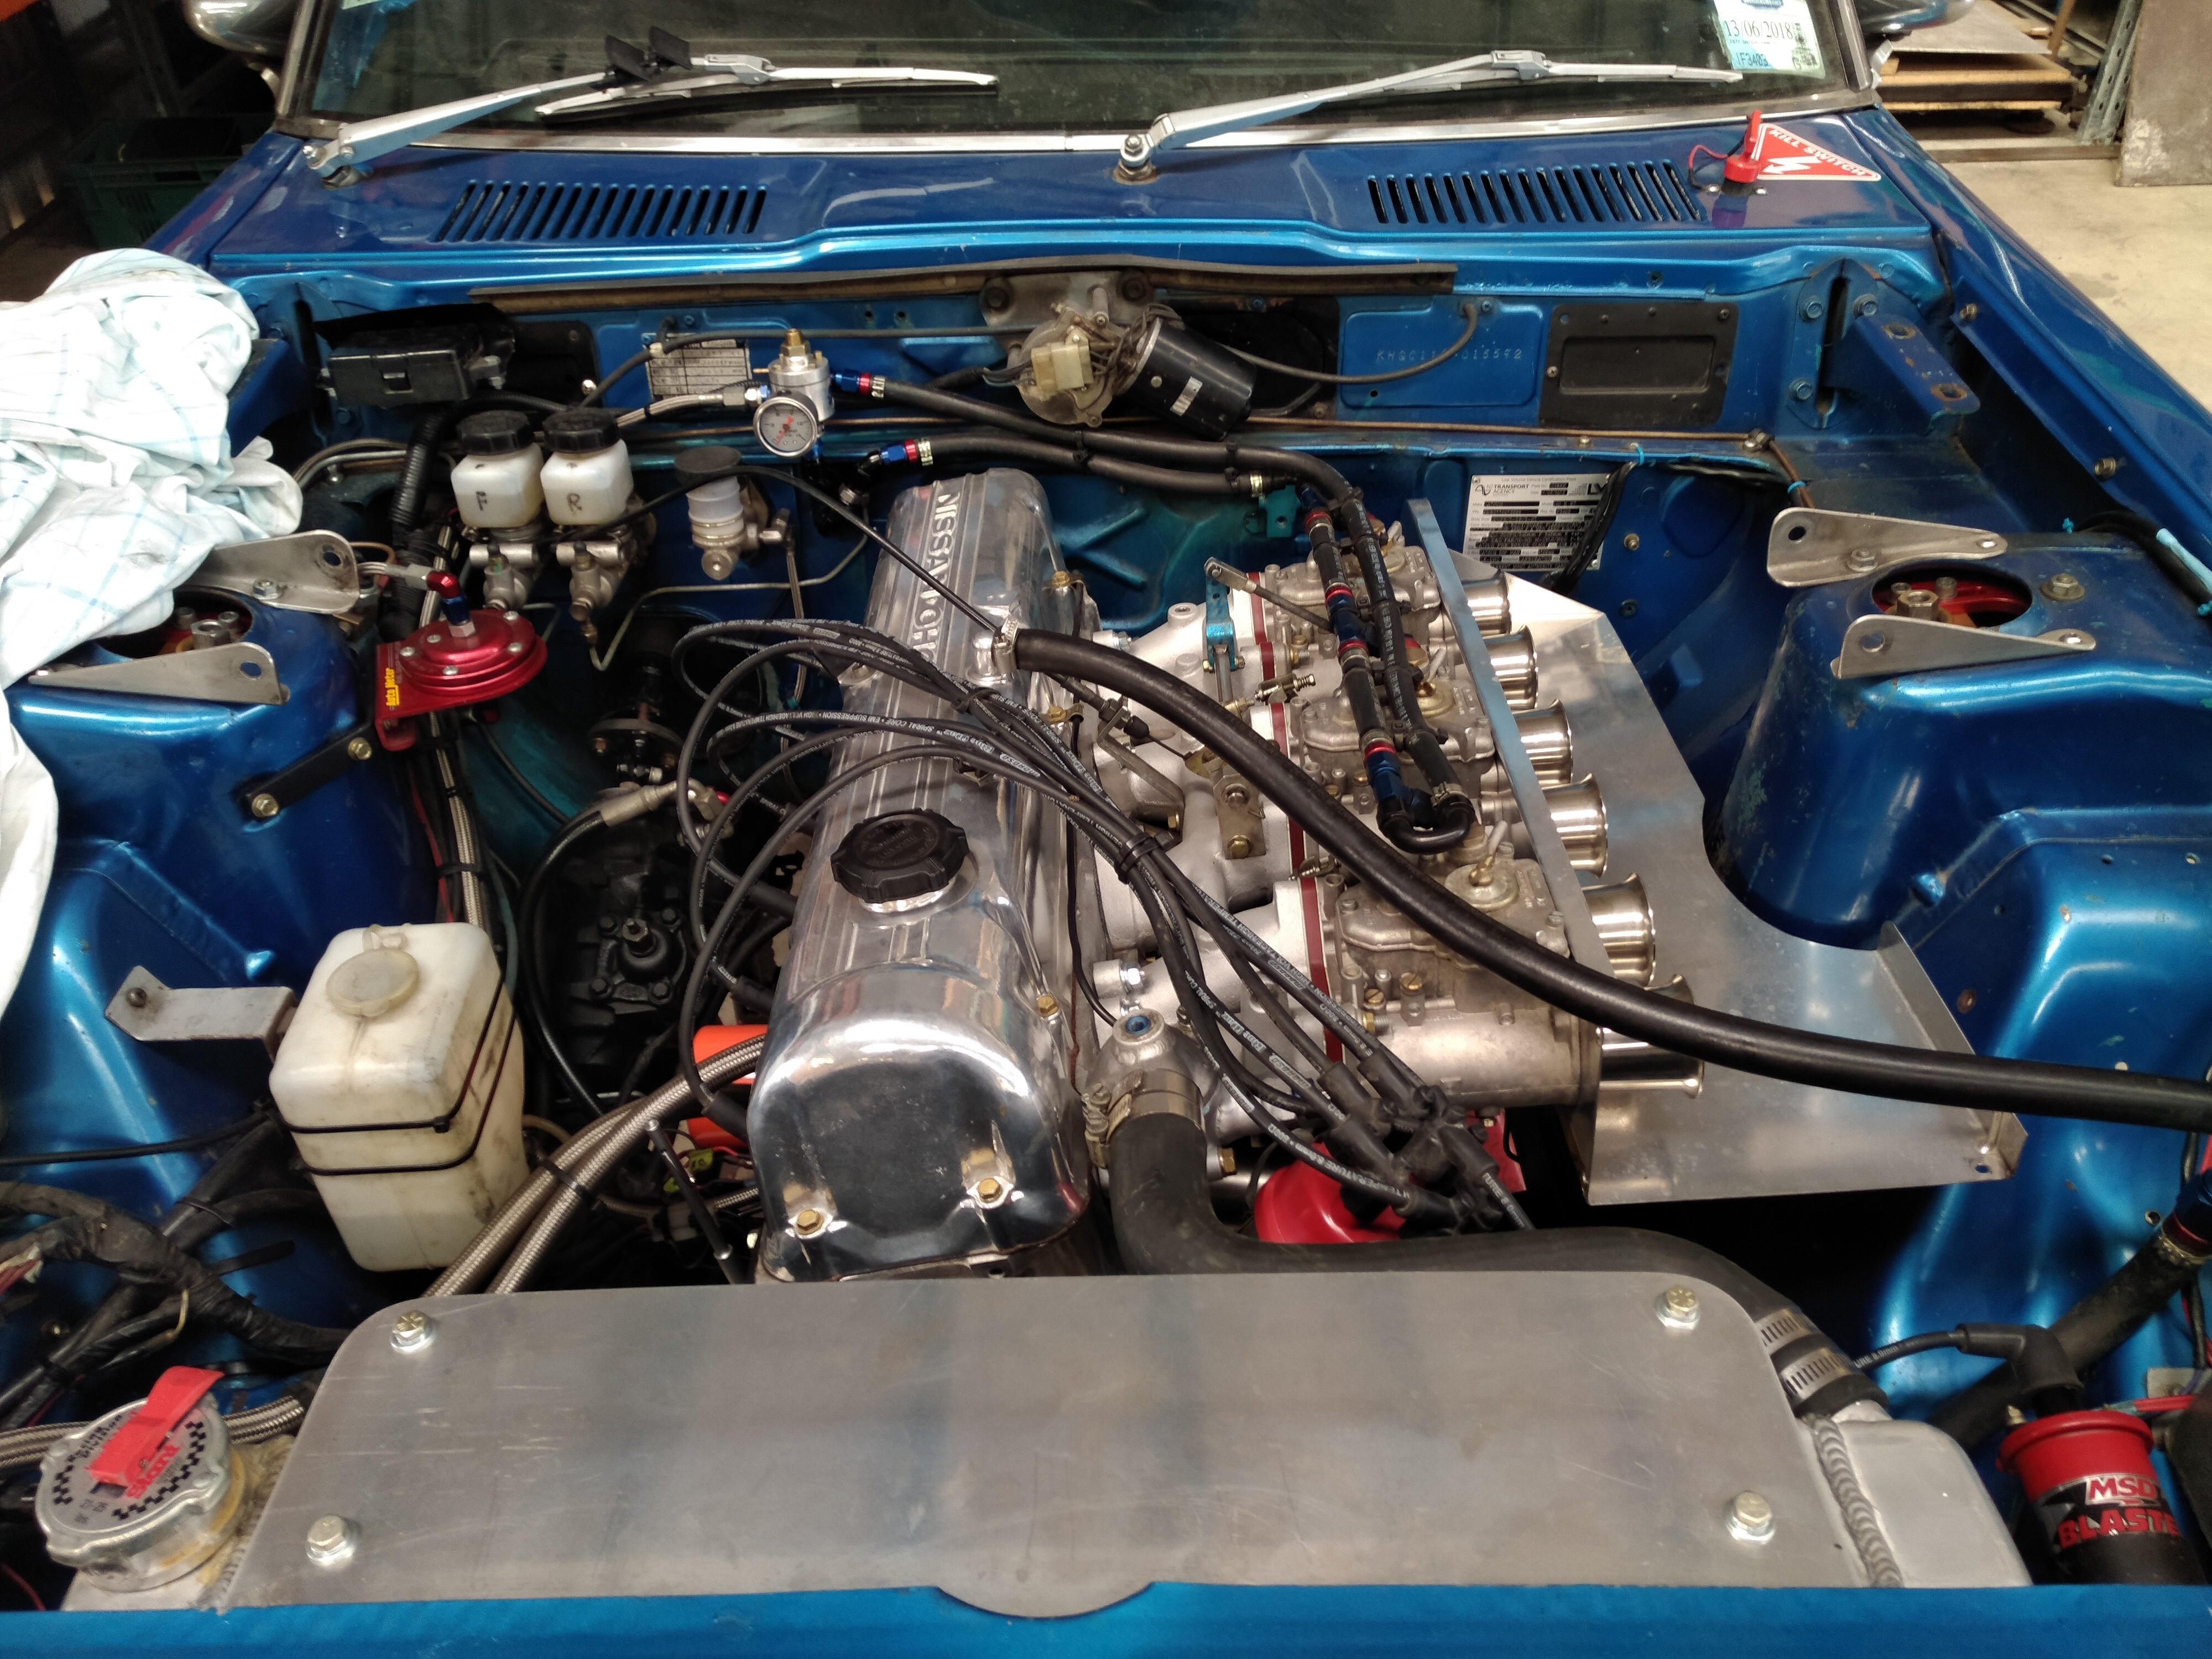
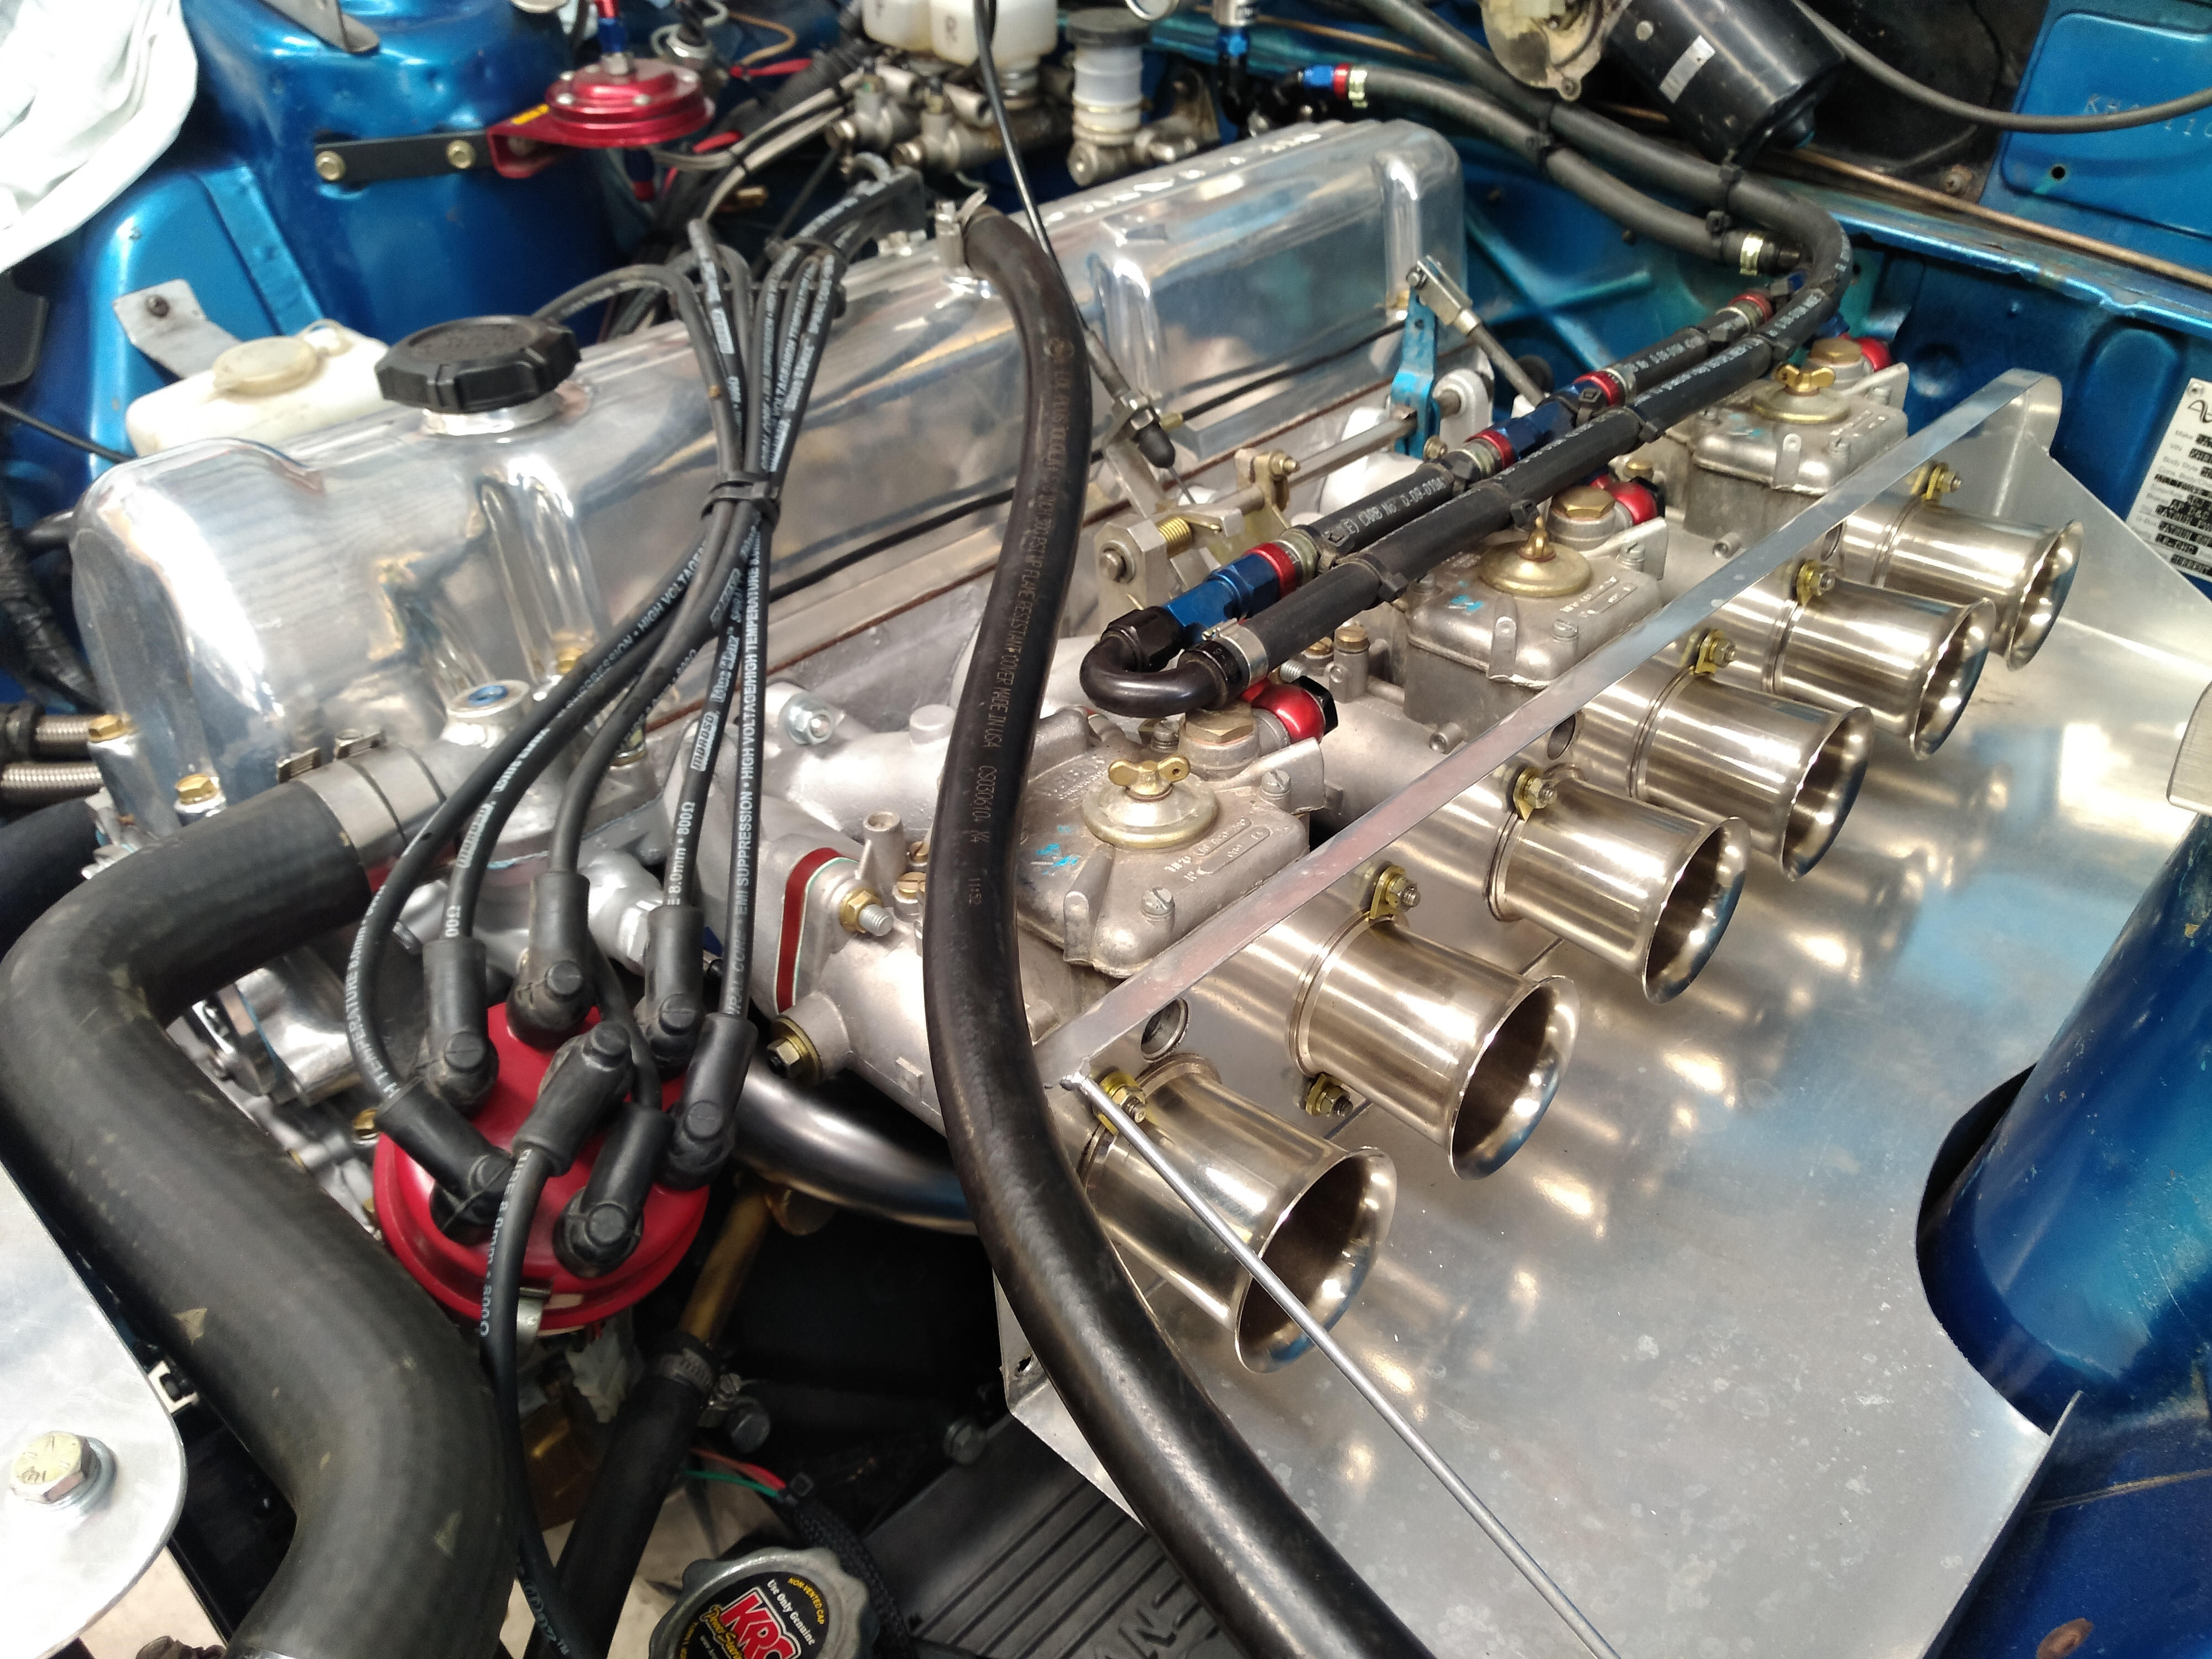
1 pointWell good news, the engine started today with no real dramas (just a faulty electric fan relay). Running a bit lean and my engine builder was a bit concerned with the whine from the twin idler set up. But according to Dr Google thats normal and all seems happy. Off to the dyno in a few weeks and will report back then.. In the meantime heres a couple of videos Video engine starting today https://youtu.be/8HT150MspWo Few good revs https://youtu.be/EpZ9BPRo5xk Cheers Mike1 point
-
 The wire has to be inducted from the hole which is inside of the tail light trim panel . The one which the black big harness coming from is for the drain . Hope this helps Kats
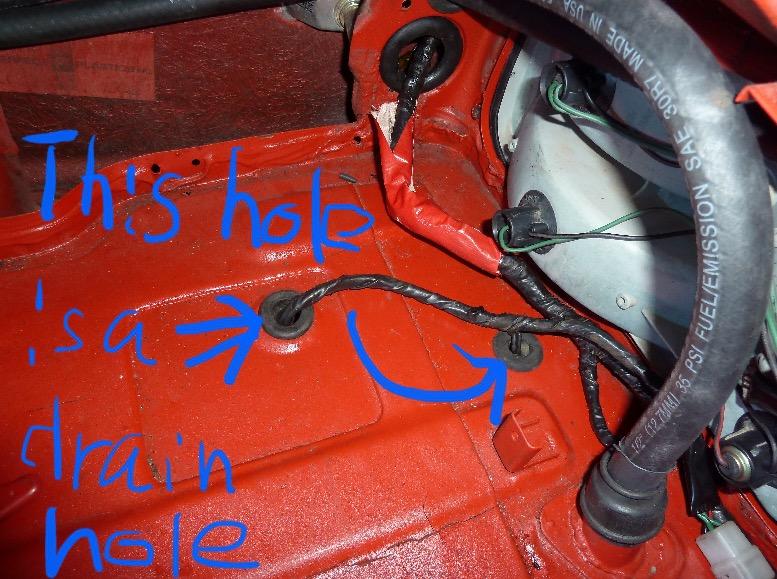 1 point
 -
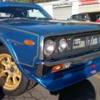
 The 240z metal work is looking really good NIls, congrats1 point
 -
1 point