Leaderboard
 Subscriber


Popular Content
Showing content with the highest reputation on 05/07/2020 in all areas
-
 Job done! The Bosch injectors from Motor Man are in. I was waiting on stainless steel holder plates from Z Car Depot which arrived today and with the help of my son we put everything back together in about 90 minutes. Changed the fuel filter as well. Started right up but took about 4 or 5 minutes to run really smoothly. No leaks! Sent from my SM-N950U using Tapatalk2 points
 -
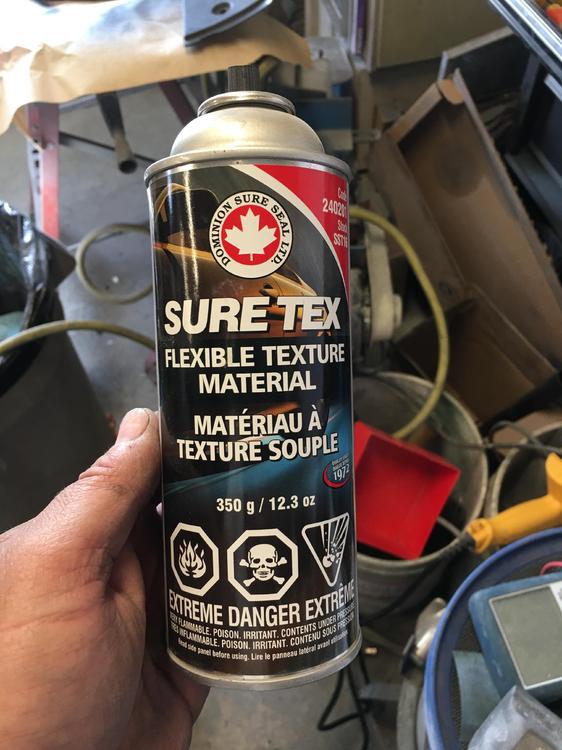
 2 pointsI really respect the effort that goes into parts restorations like this. Lots of effort. Lots of ingenuity. It's a completely different ethos than the 'buy new' community. Great result and you educated me about a new wonder-chemical: Dominion's 'SureTex Flexible Texture Material'. p.s. I'll bet our American members don't get the 'Dominion' part2 points
 -
 2 pointsI'm guessing that for about the price of the FAST system you could go with rebuilt SU's from Ztherapy which would work with the big cam for sure.2 points
 -
 2 points
 -
 1 point
 -
 They look perfect except #4 as you said. Have you tested the electrical spark to the plugs? You could have a misfire on #4 from one of the components of the ignition system. Distributor cap, rotor button or a faulty spark plug wire. Now it seems like you have a petronix system??? With the car running at idle pull the #4 spark plug wire off the spark plug and listen for any change in motor sound. When you pull off each wire cap it will make a small difference in the sound of the motor. If #4 doesn't make a distinct difference in the motor sound running it would be an electrical problem. If not that I would think it could be an internal fuel leak causing the darker plug color. A bad intake valve not seating completely thus letting more fuel into the combustion chamber. That's about all my limited mechanical thoughts are. Maybe a MUCH smarter man, @Mark Maras could offer more information? You are doing excellent diagnosis! Keep up the good work and do not get frustrated.1 point
 -
 1 pointI've done the POR15 gas tank kit a couple times now, just follow the instructions to a T. Clean as you can it then a hair dryer running through the tank for an hour until you are sure the inside of the tank is dry. I had so much left over that I took a brush and gave the outside of the tank a good coat too.1 point
 -
 1 pointIf the mixture is correct there's no problem with cold starts. I suspect those with cold start and or cold running problems may have the float levels set too low or the chokes aren't set up properly.1 point
 -
 1 pointMy 260Z race car carbs are amazing. Granted, I don't drive it around much in the cold weather, but it fires up immediately with the choke lever pulled and within 30 seconds at most, I can back down the chokes. If I need to move it right away, it still runs well with the chokes on. I'd say other than the manual chokes giving it away, it runs better overall than my EFI car and you'd never know it's carbed. My SU's were on a 240 I bought out of a field in 1984 and they sat in my garage until 2009 when I took them apart to clean them and install new gaskets and get everything working smoothly so I could put them on the race car. They have never been "rebuilt" other than new gaskets, hoses and cleaning.1 point
 -
 1 pointSo gents - I have a small unhealthy SU and needle work obsession and spreadsheets that do all kinds for me. Here is a plot of the “annulus” area (jet opening) with the needles discussed and the SMs that come with the ZT carbs. I’m currently running KD but soon to test MC. But my engine is very modified. Hope this chart helps with your deliberations!1 point
 -
 The question of the definition of "friction modified" has come up before. The label doesn't say "modifier" it says modified. So, not the same as friction modifier for a clutch type limited slip differential, which is modifying the slippage between clutch discs, not synchro rings. Besides that "modified" just means different. It doesn't really say which way or how the modification is happening. But, besides all that, and what "friction modified" actually means it just boils down to the fact that people have tried it and compared it to the "normal" transmission oils and it works a lot better in removing the poor synchro perfromance. Redline MT90, Synchromesh, and Synchromesh Friction-modified all work very well. Also, Swepco 201 blended with ATF works very well also. Better than Valvoline 80W-90 manual transmission fluid. I don't think that anyone really knows exactly why one works better than another. It's magic.1 point
 -
He said that they gave him a discounted price to cover the damage. From what I saw, the damage was not that bad, but like him, I wouldn't want any damage to my wheels. He has his car down to a bare shell and is doing a BMW M5 engine swap. He is doing every inch of the car right and it's going to be a stunning car when finished. The wheels look fantastic BTW.1 point
-
 1 point
 -
 This was back in 2014 when they just hit the market, so not sure if quality is still the same, but I was pleased with the set of Ataras I bought
 1 point
 -
 1 pointAgreed @Namerow! But I have to admit that my first thought was "what the hell is Flexible Texture Material? Cheese Whiz?"1 point
 -
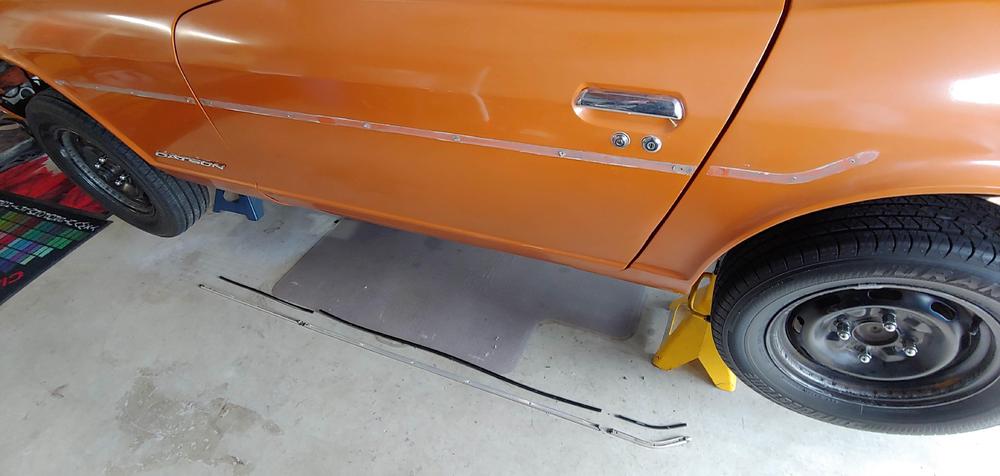
 Yes, if there are screw/rivets you would see them on the inside, a bit difficult on the door but definitely with the panels out in the hatch area. Remember that those panels are very fragile if you go that route. Usually with the screw/rivet type there are bullet shaped caps ends of the side moldings that I didn't see In your pictures and the fasteners are usually quite close to the ends. You said there was adhesive at the ends and you pulled it away for about 6cm, it's a pretty safe bet that yours don't have screws or rivets. If this is the only reason you would be removing the inside panels I would not think it's necessary. If you zoom in real close on the picture of my moldings you will see the end caps.1 point
 -
 1 pointSays the man who fabricates all the really cool parts! I just installed the custom inspection light lens on my restored Engine bay light. Thanks for that Chas!1 point
 -
I think you have the adhesive type, not rivet on. If it's rivet on the black part can be pried out exposing screws or rivets that hold the silver channel part to the body. I had the screw on type. It looks like this...
 1 point
 -
1 pointLooks great! I don't know if I should tell you this now but ... (...I have stacks of those panels....mad stacks yo ....) because "garage sale"1 point
-
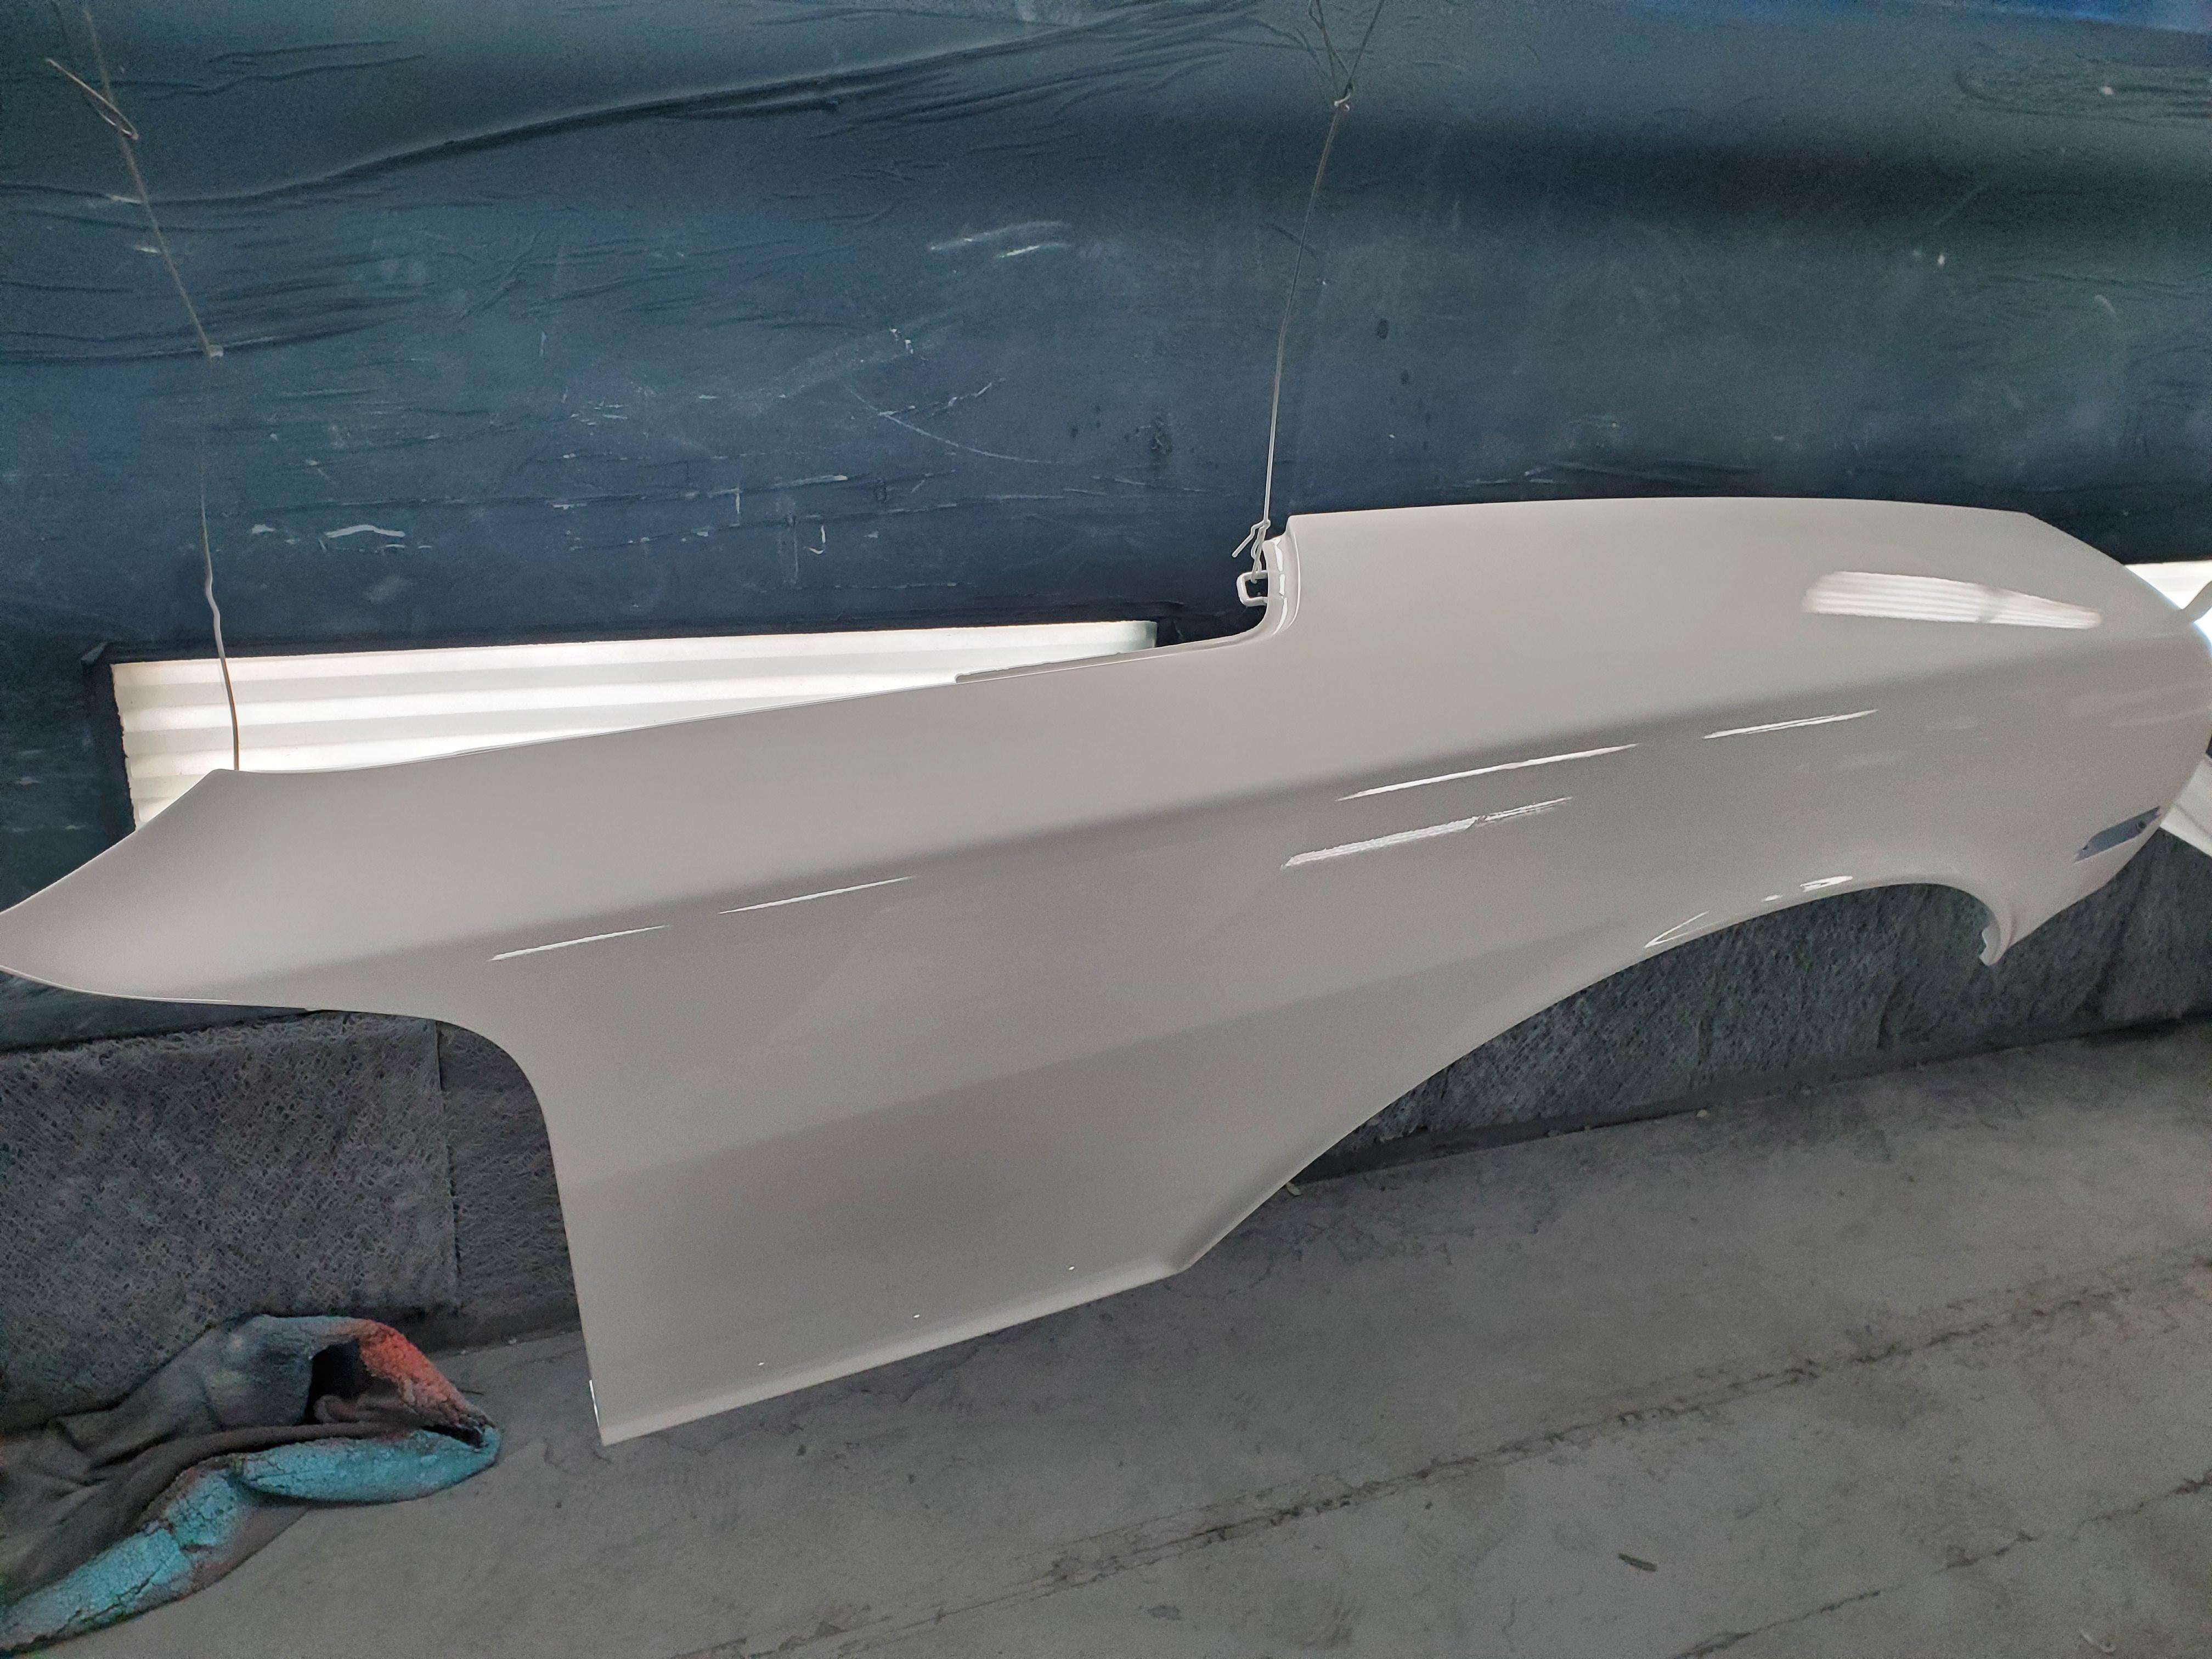
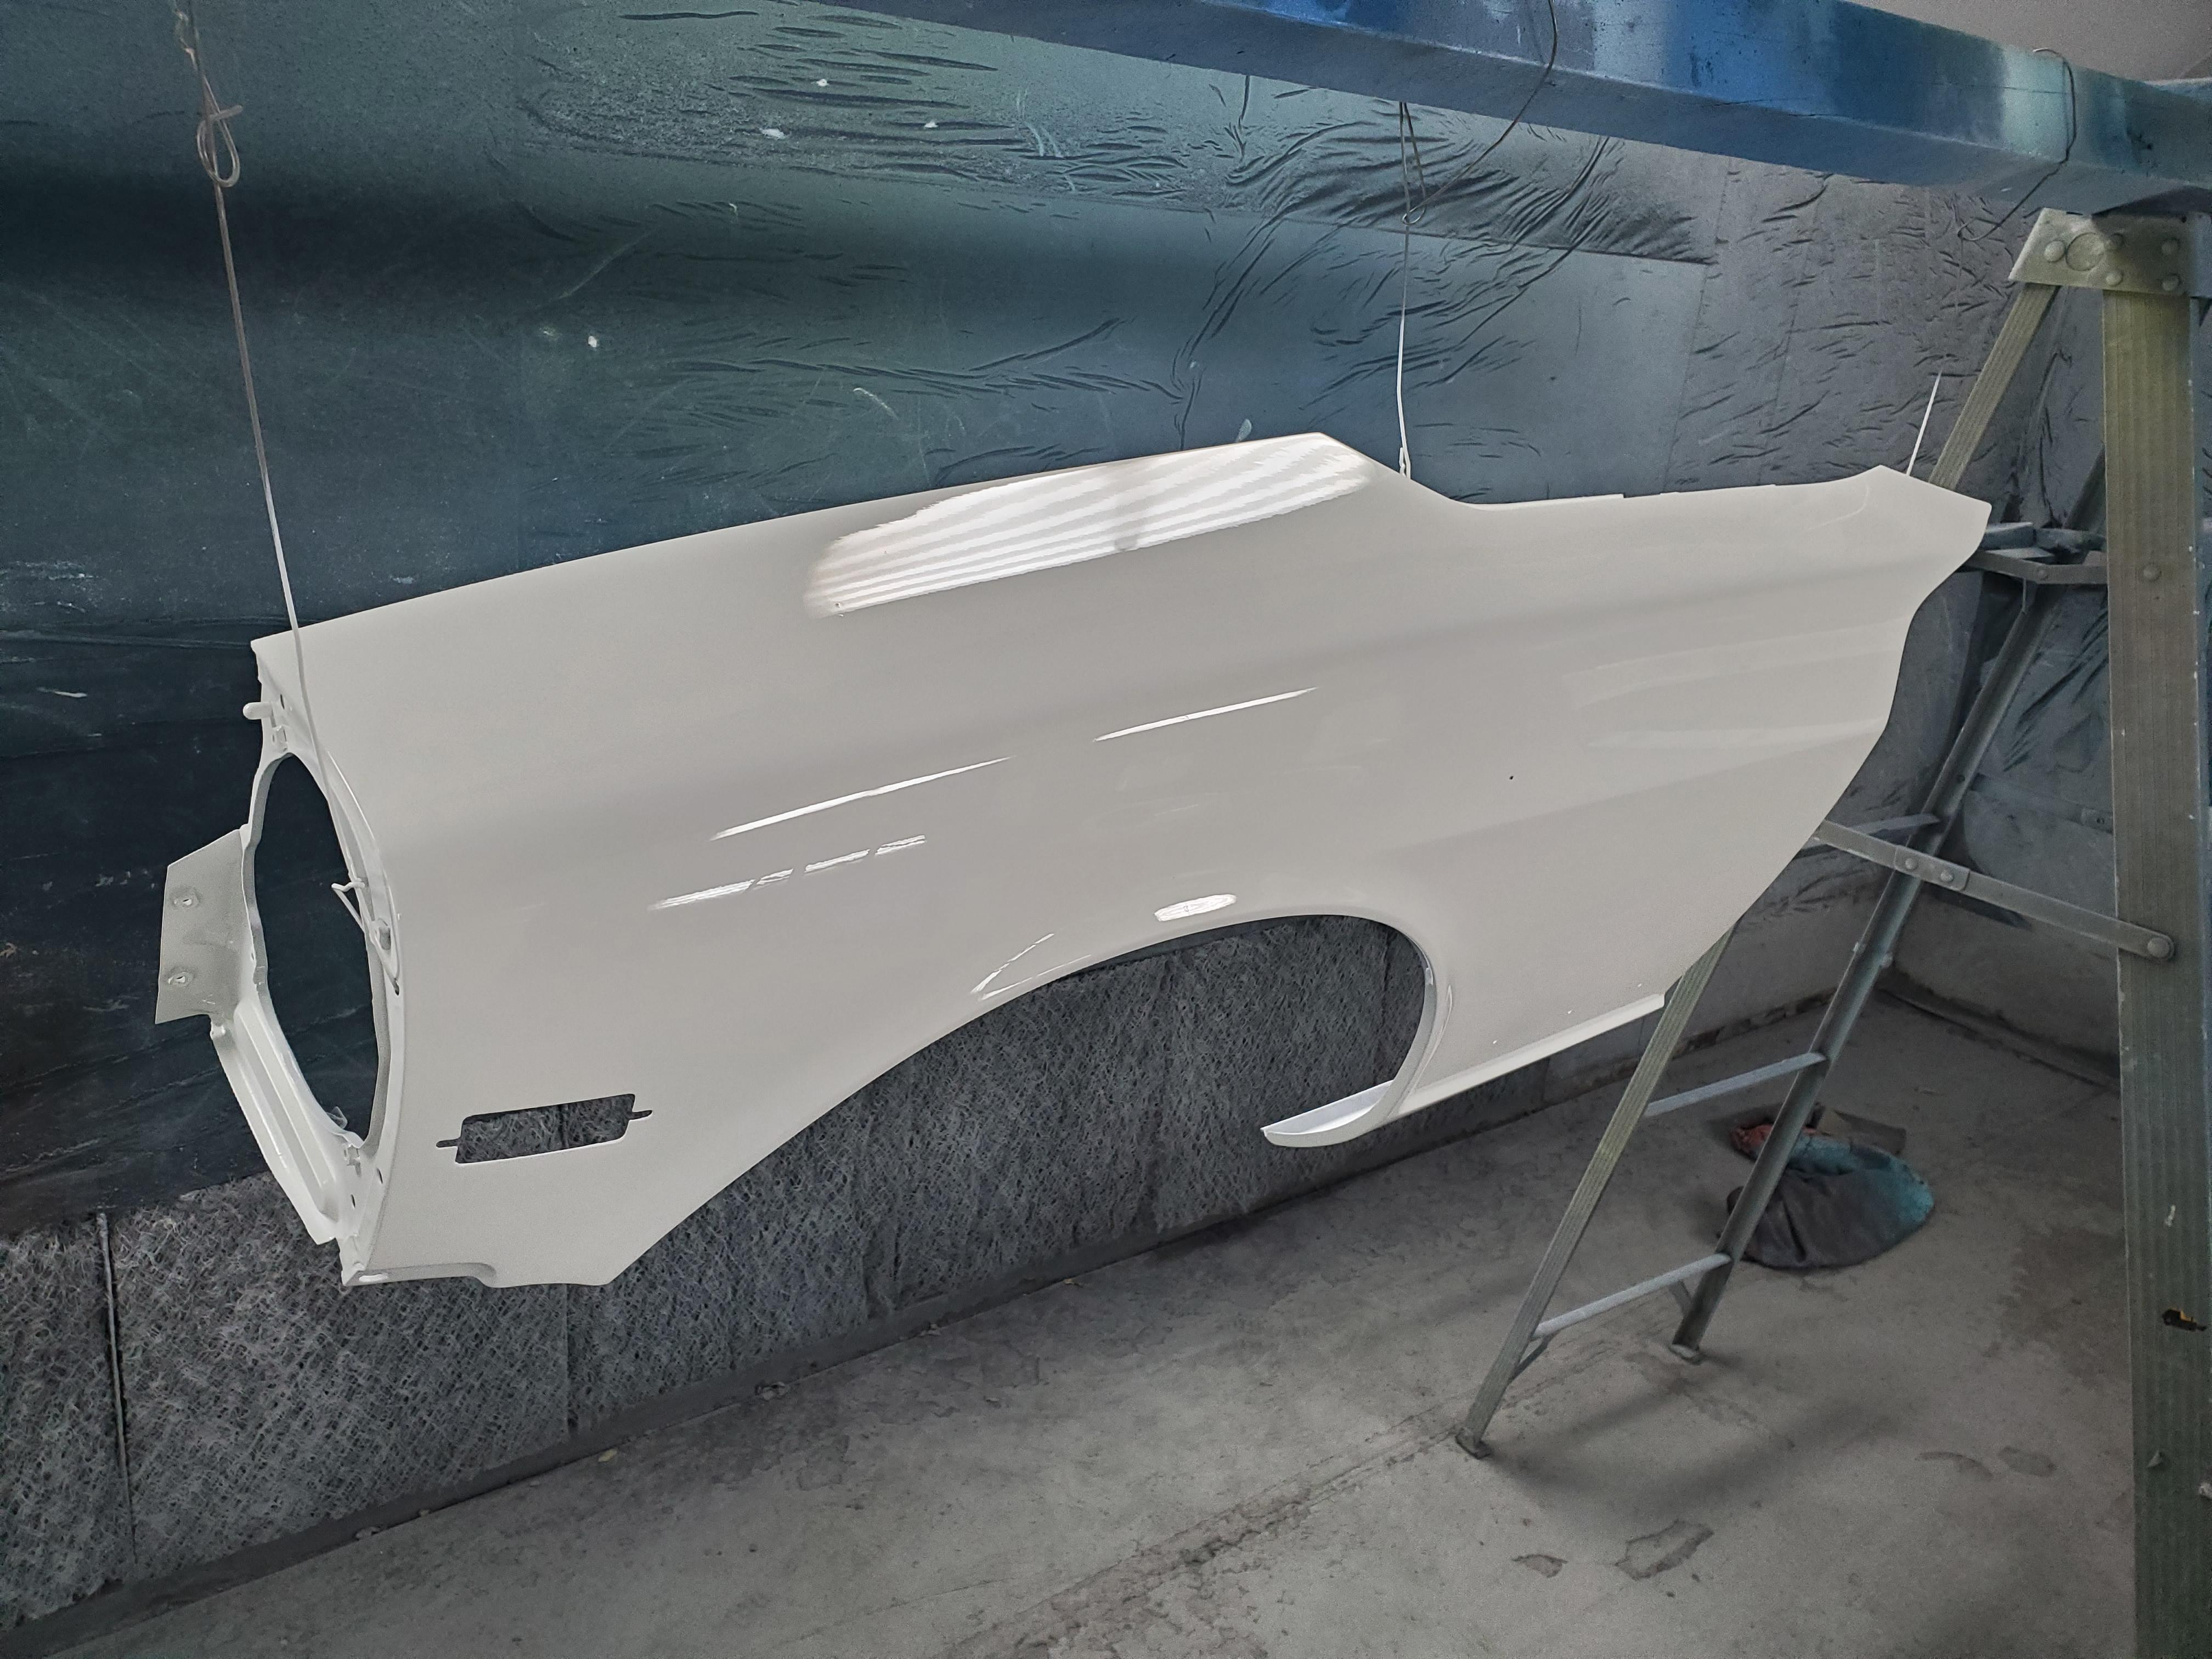
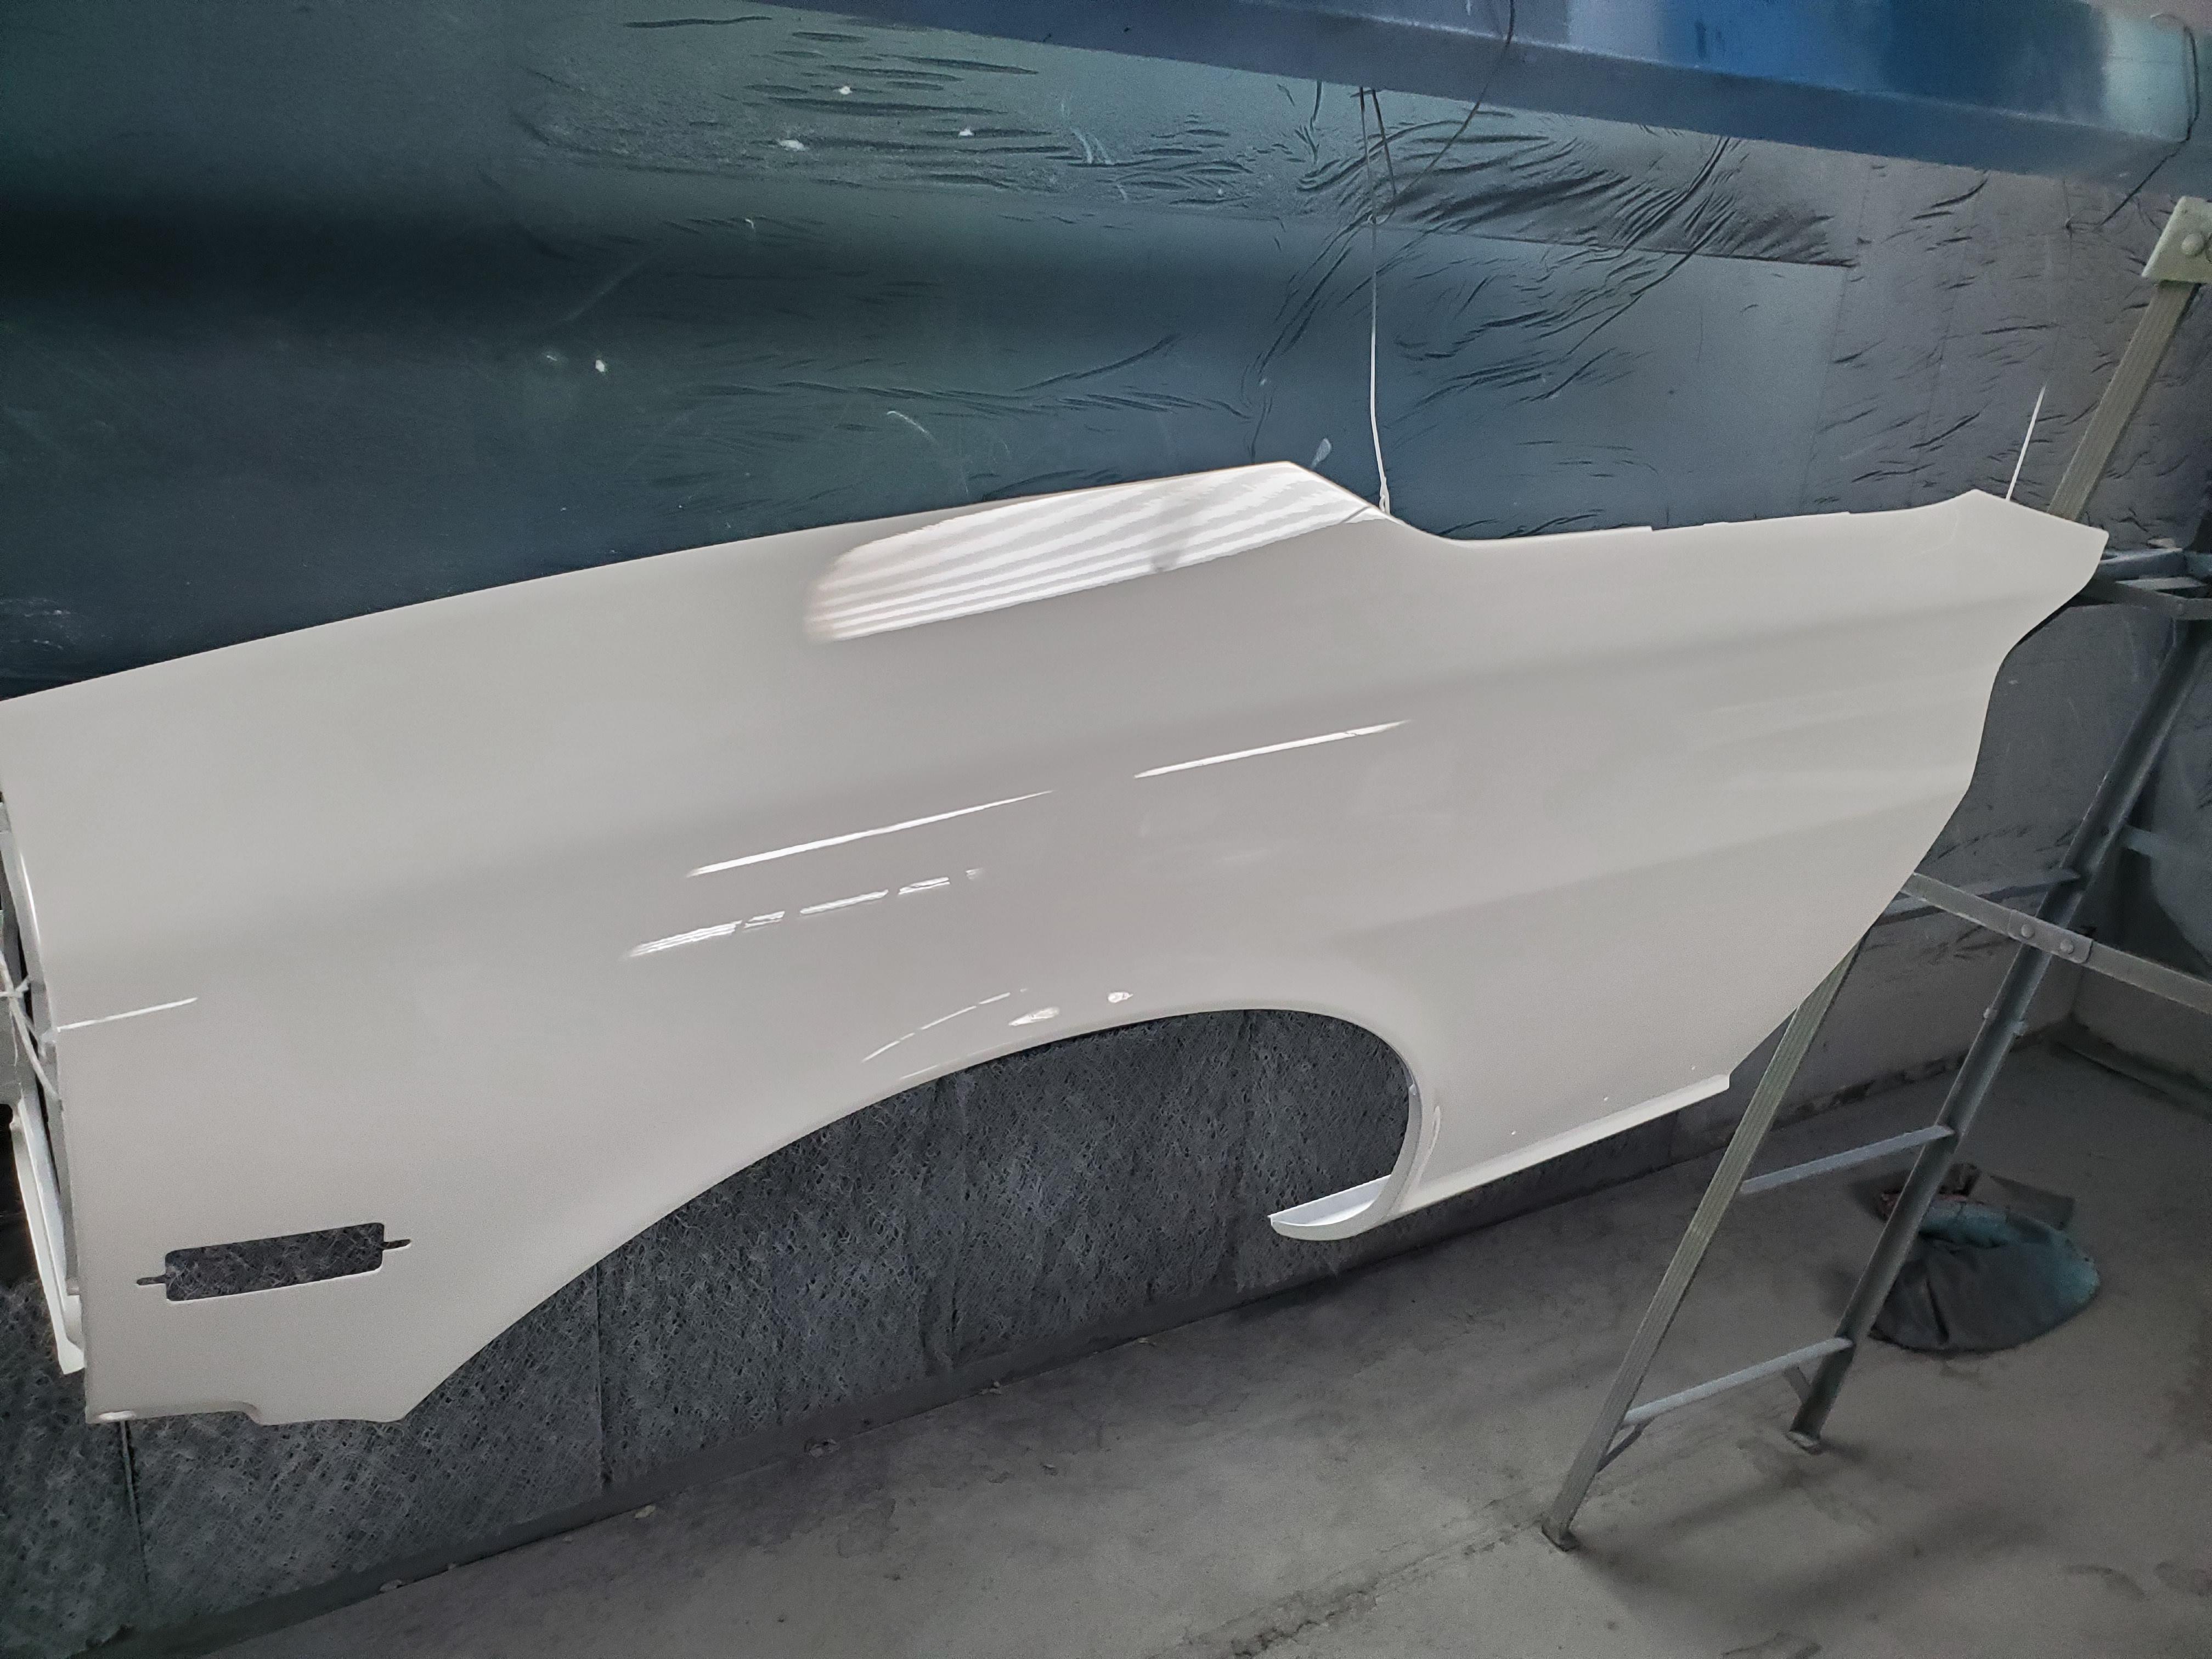
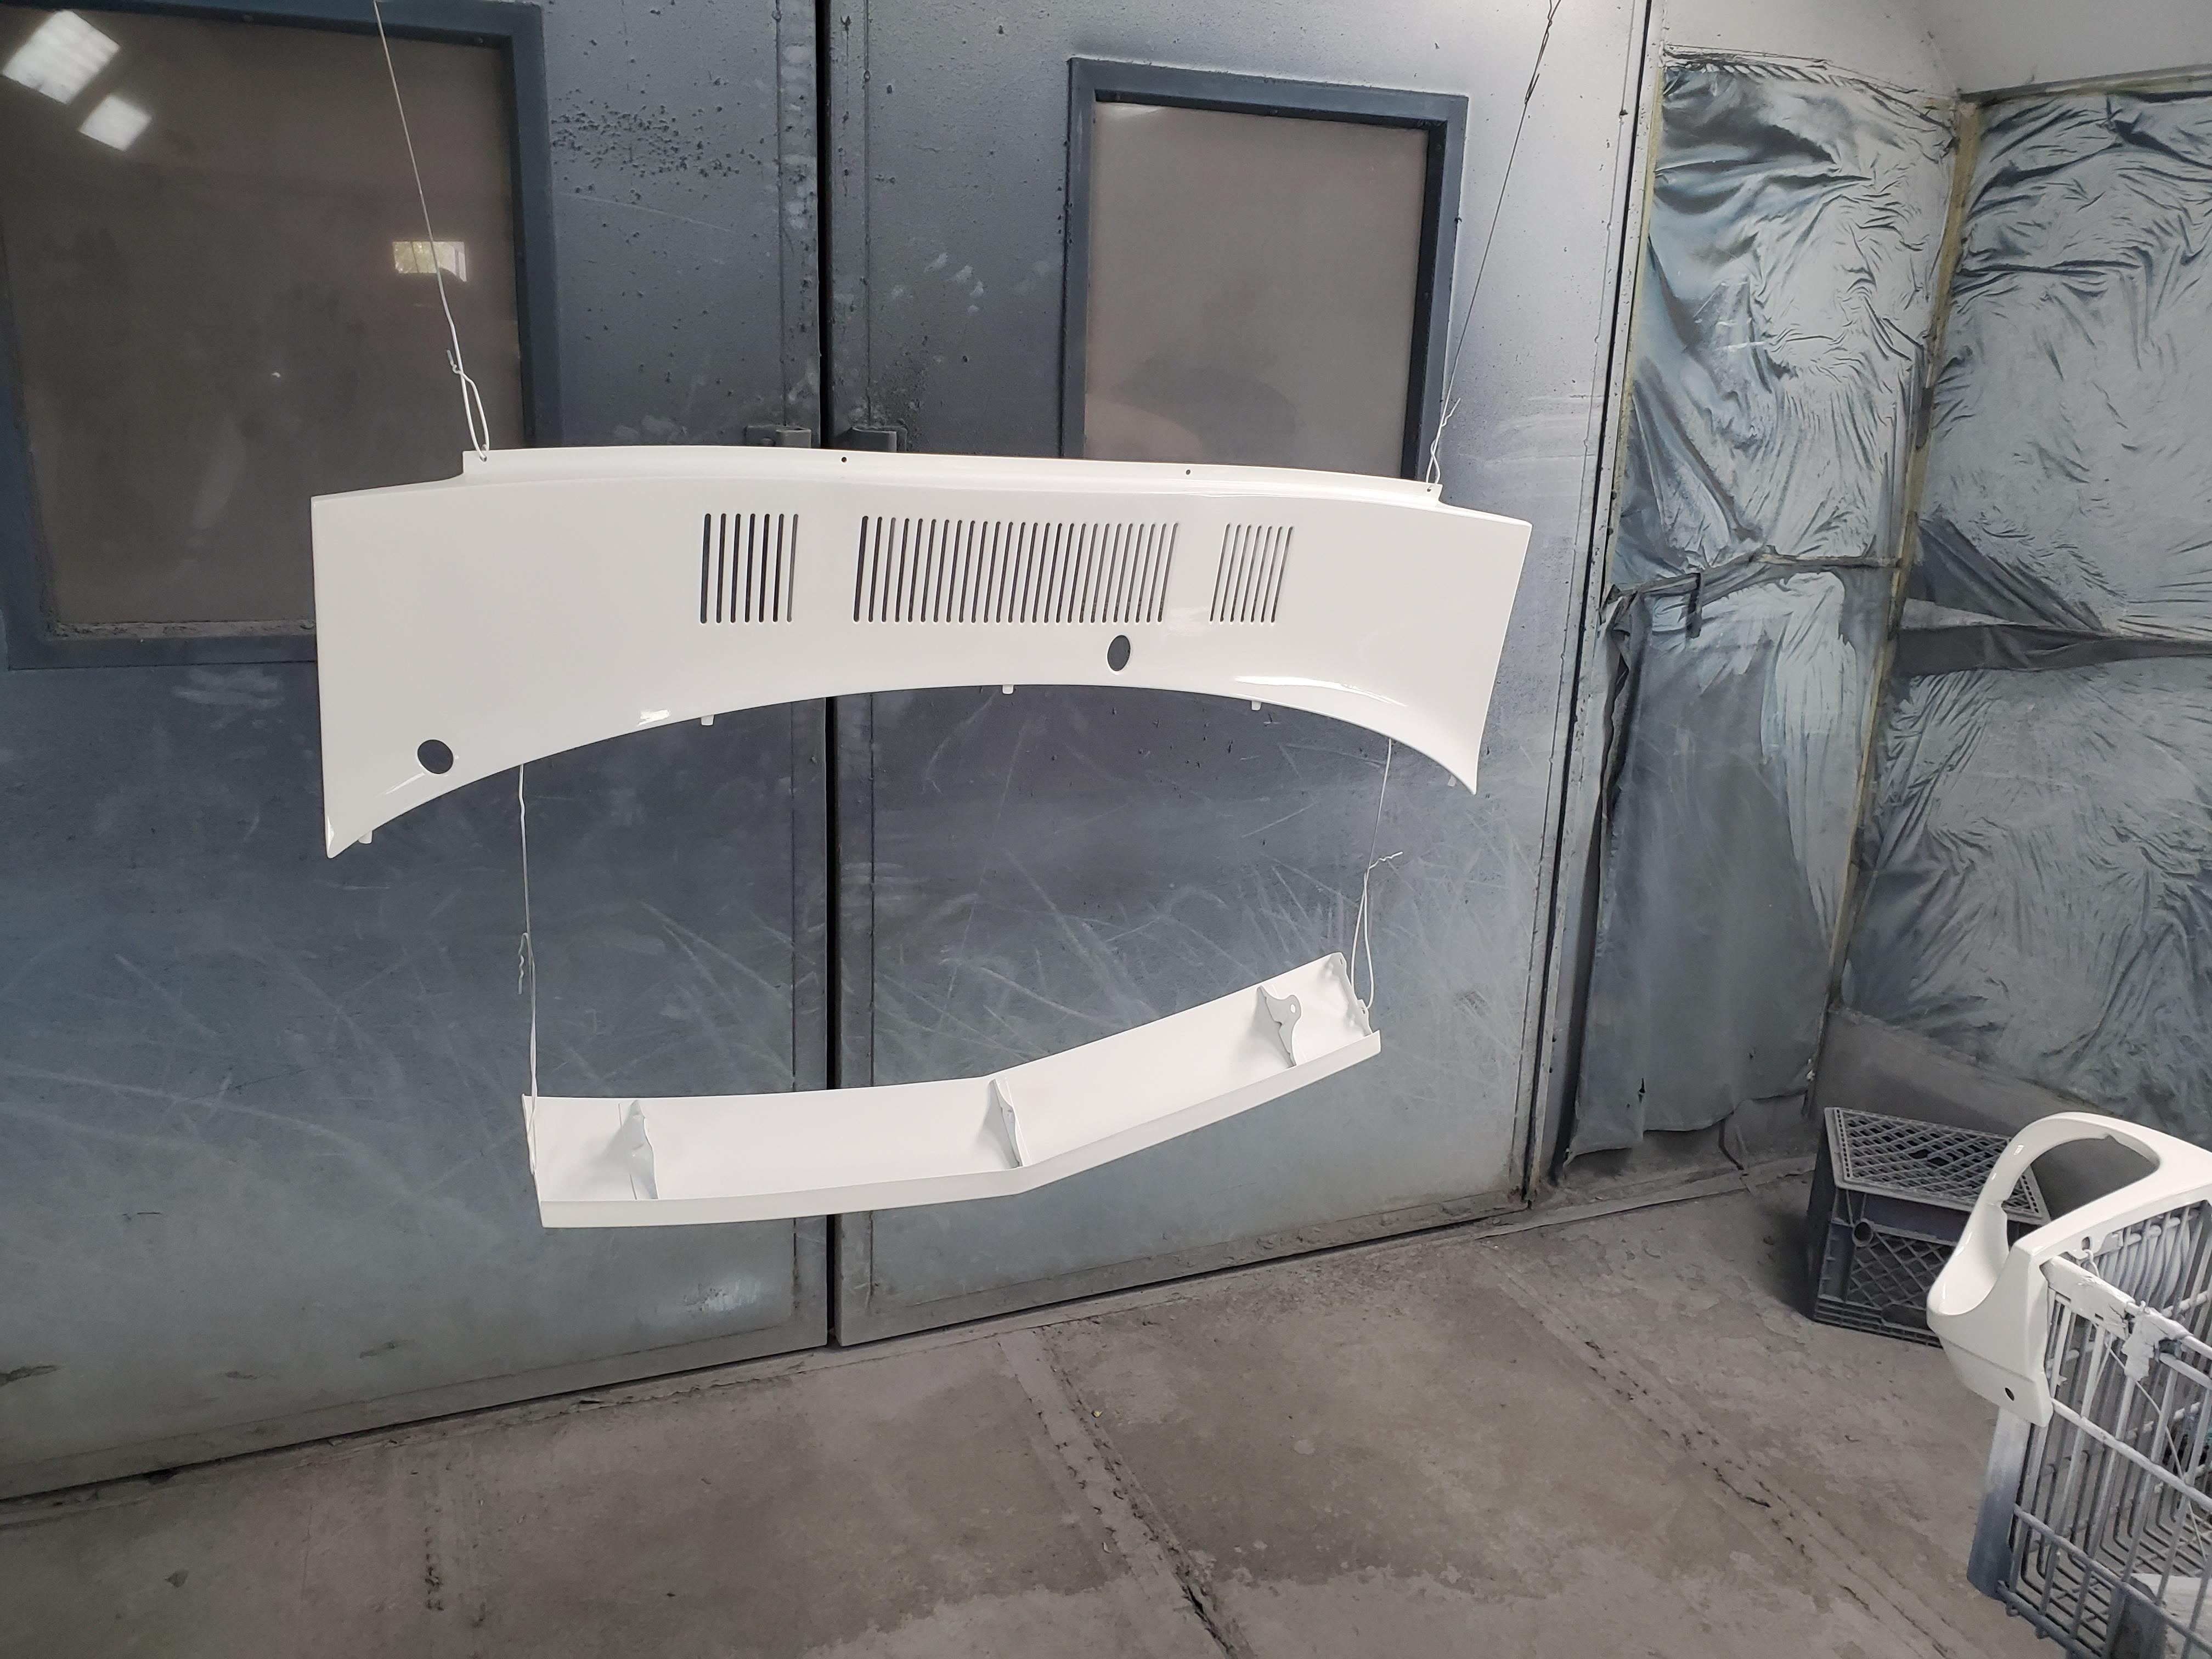
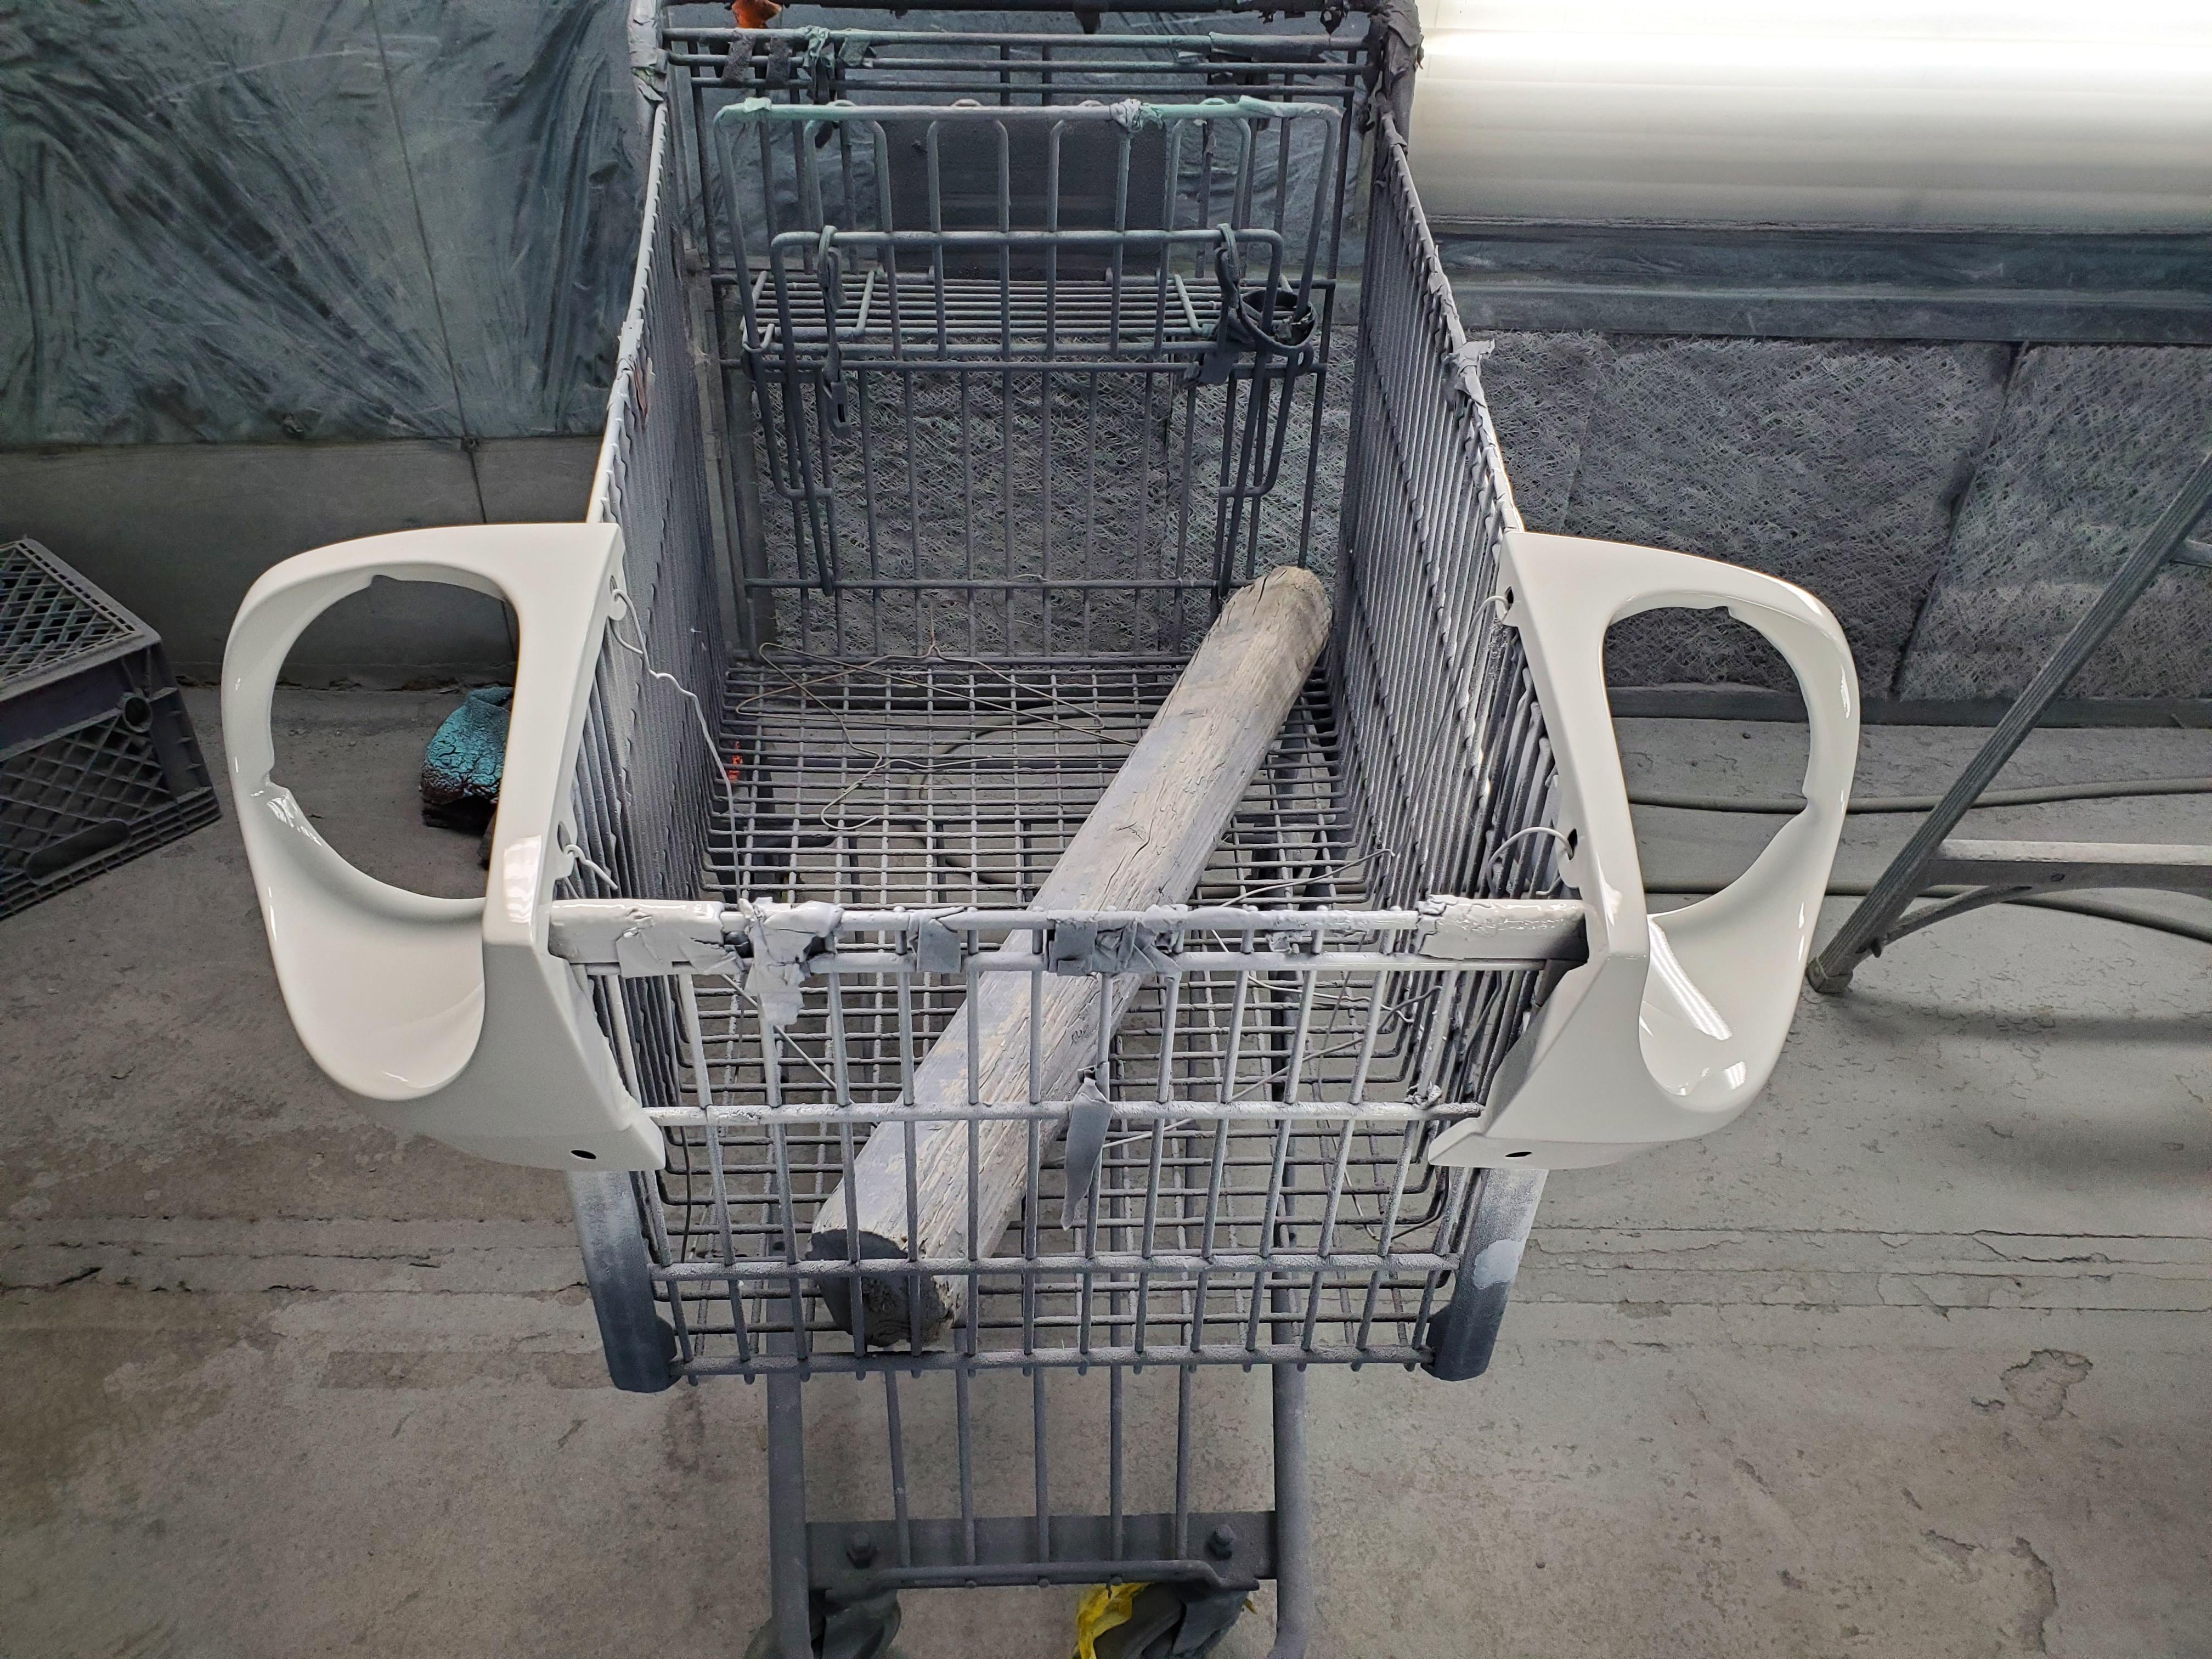
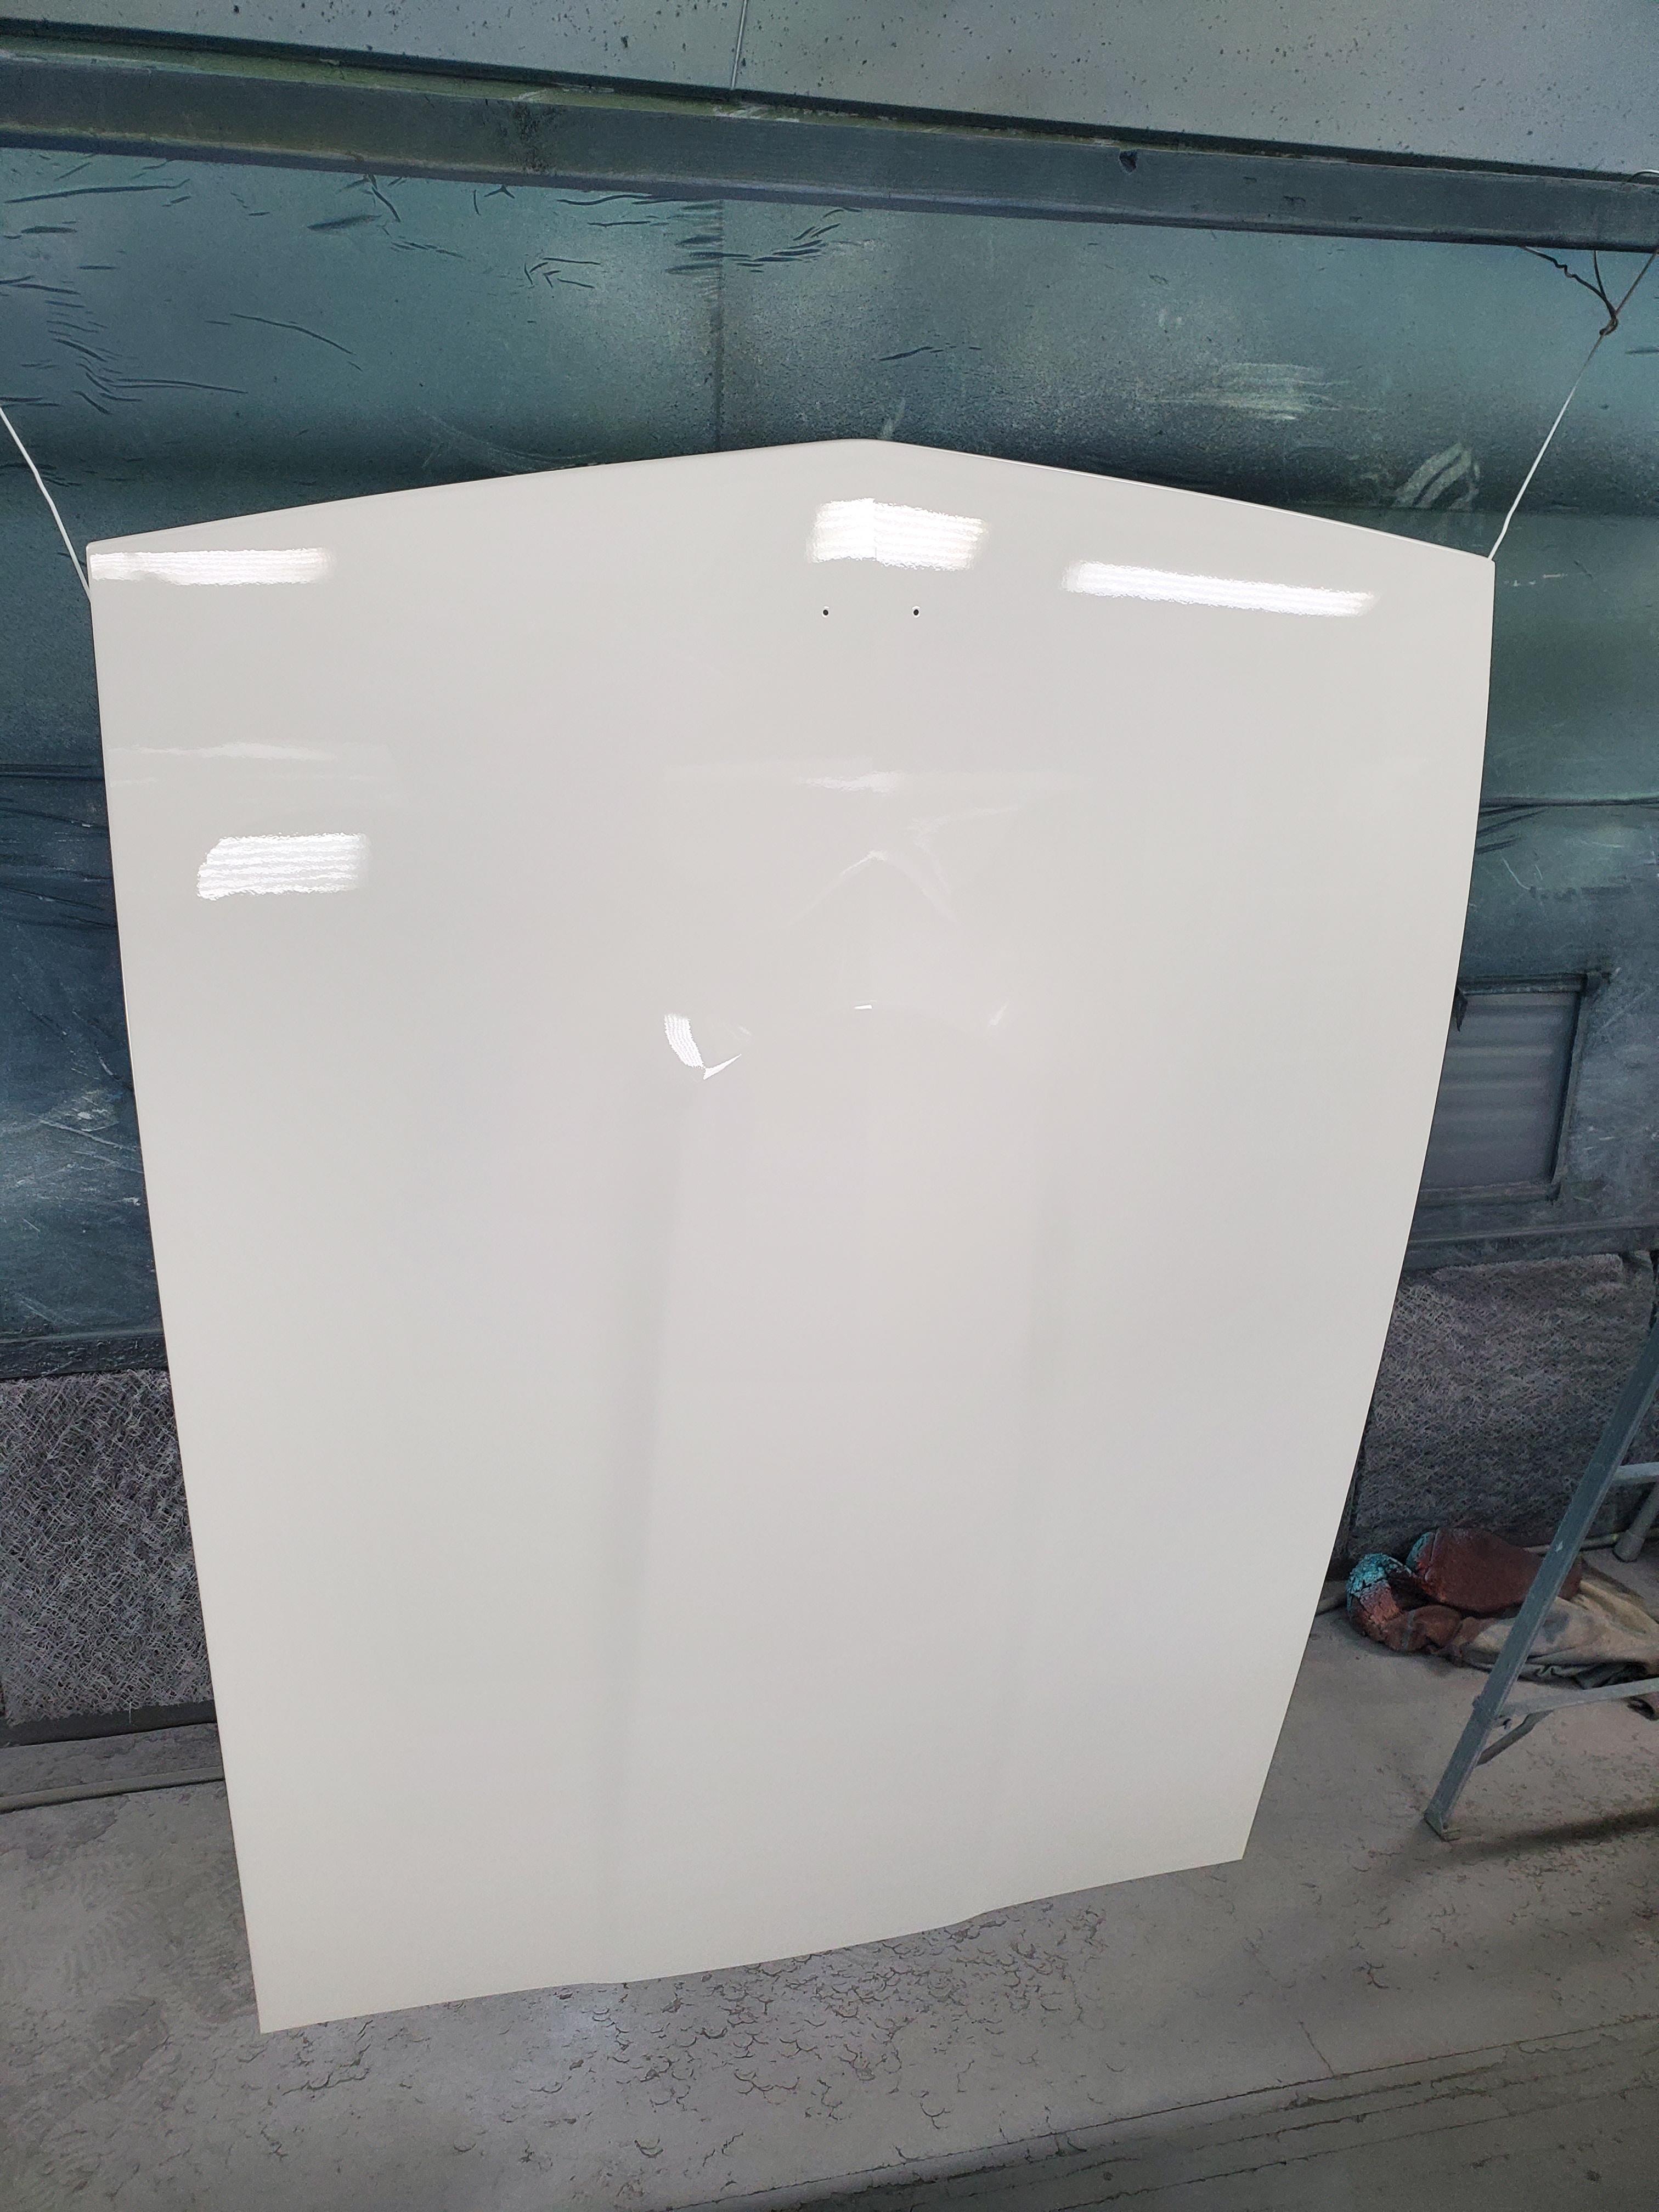
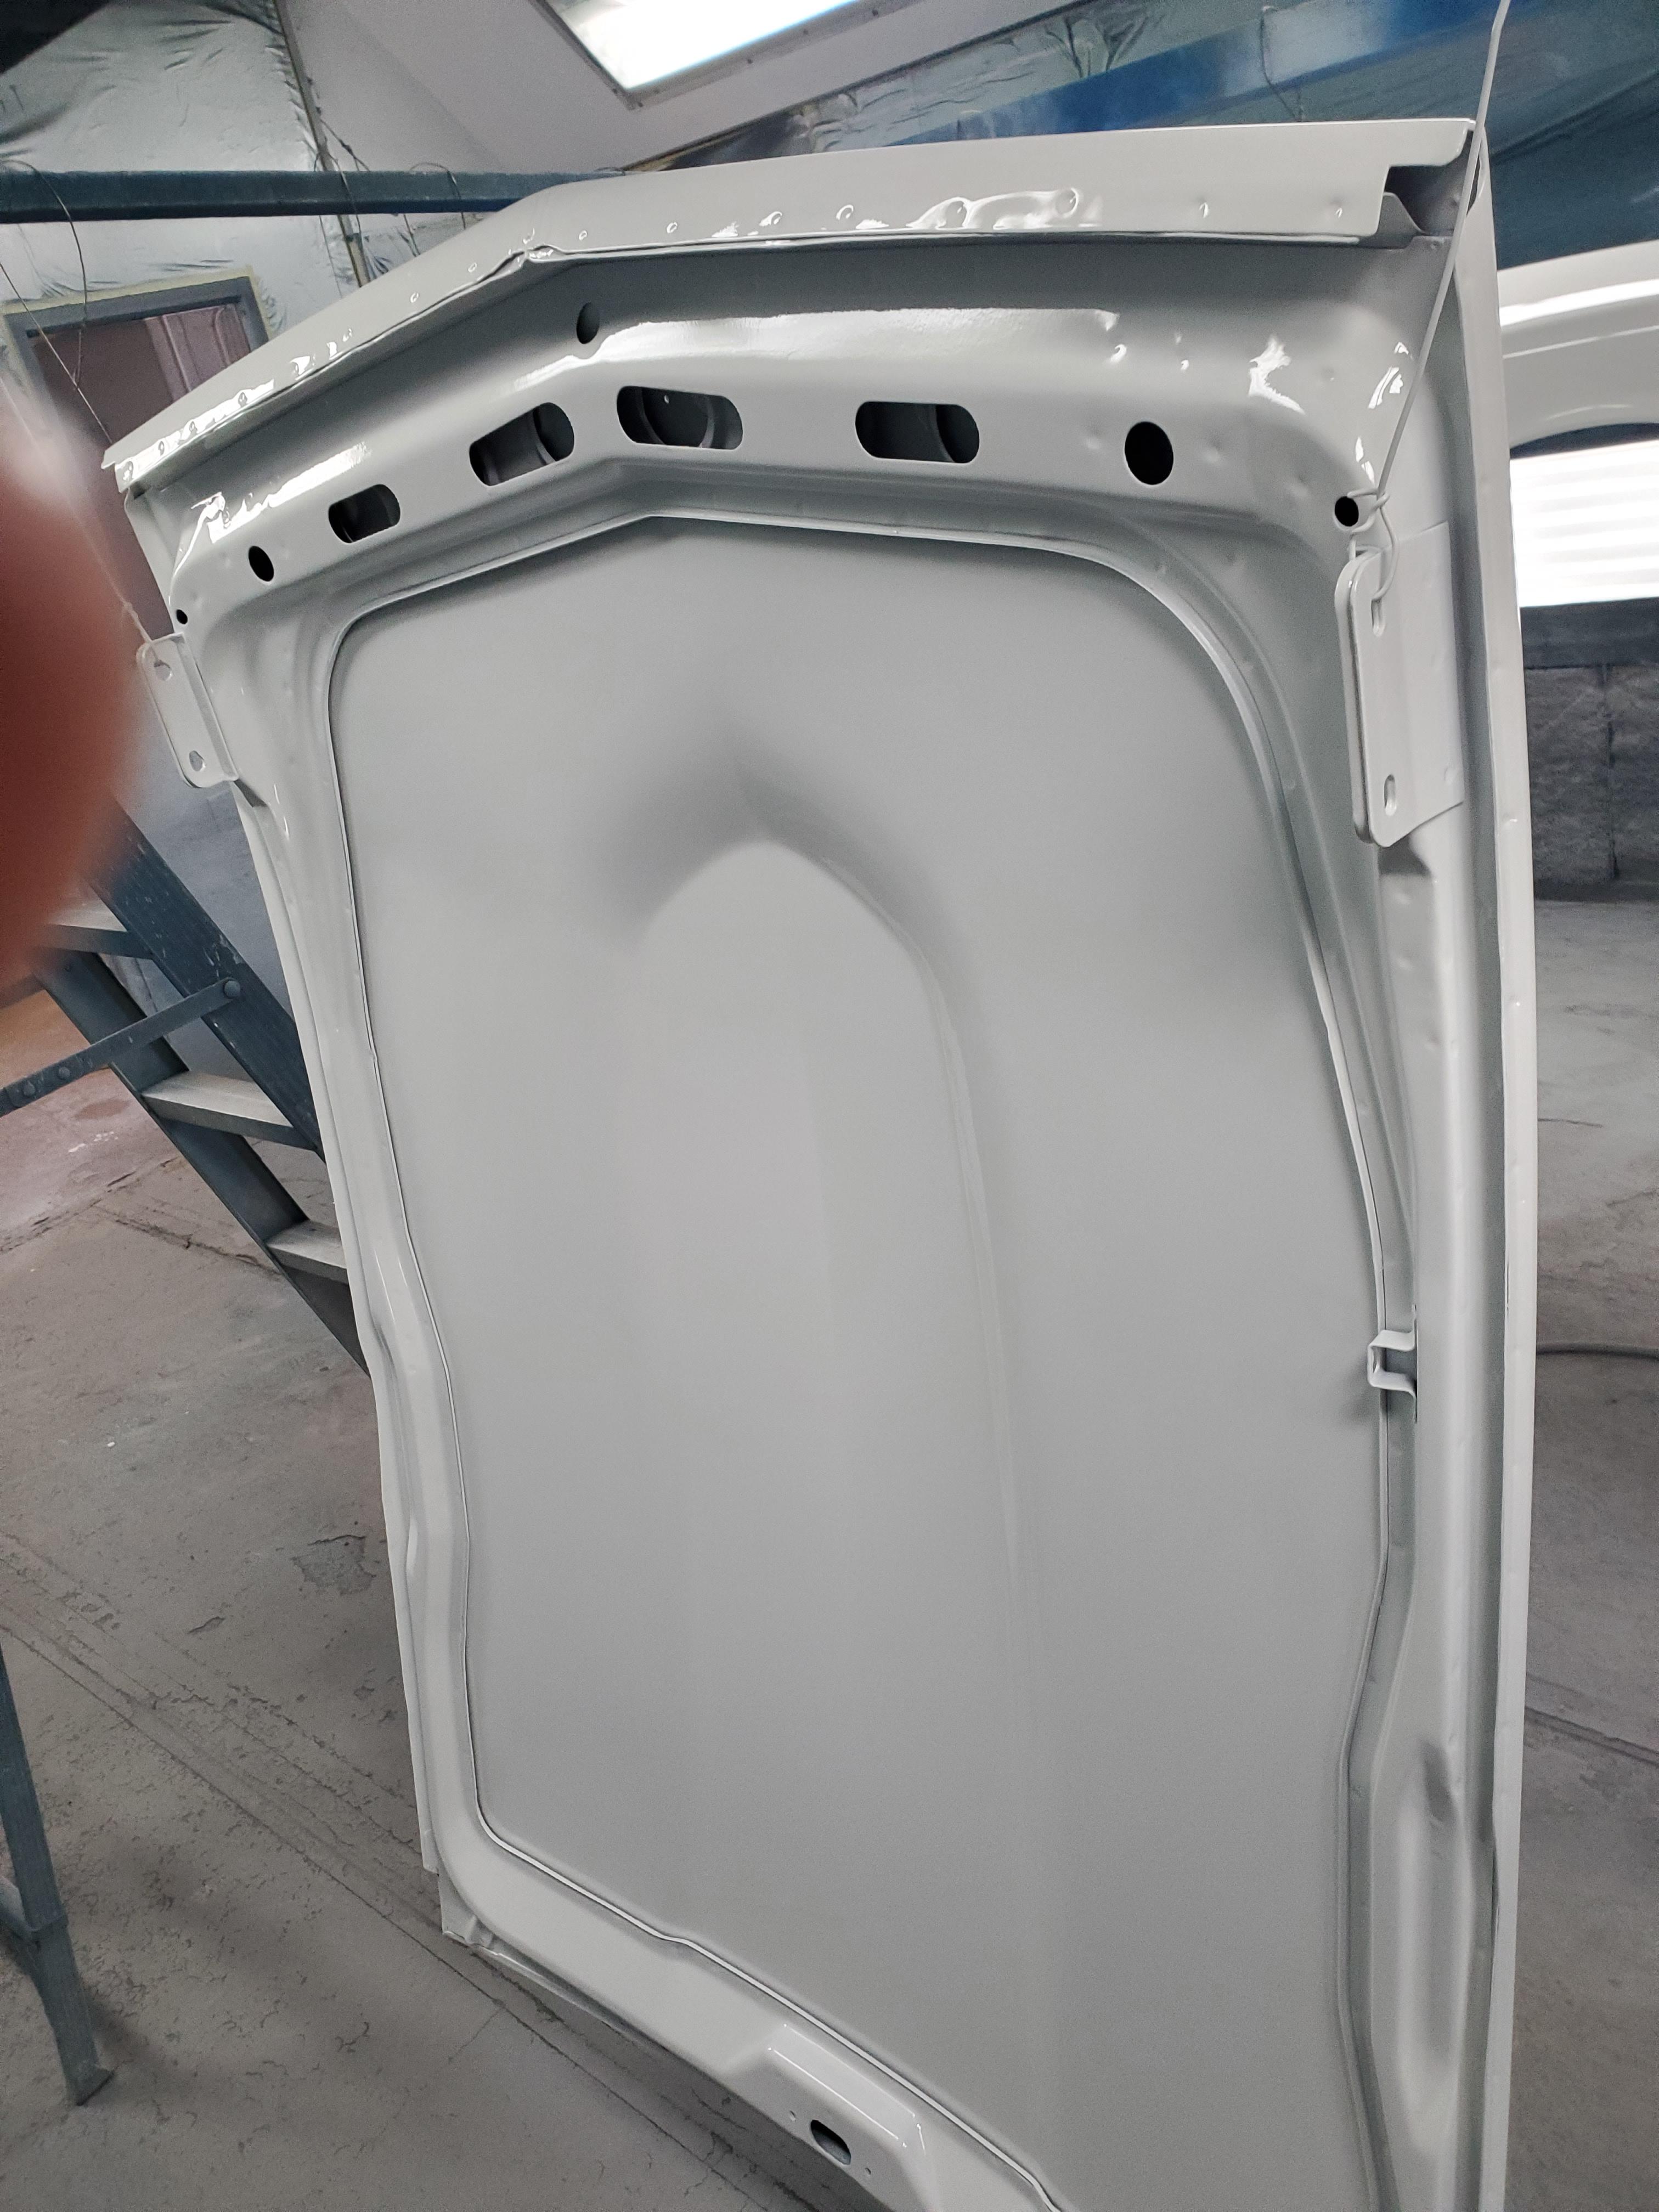
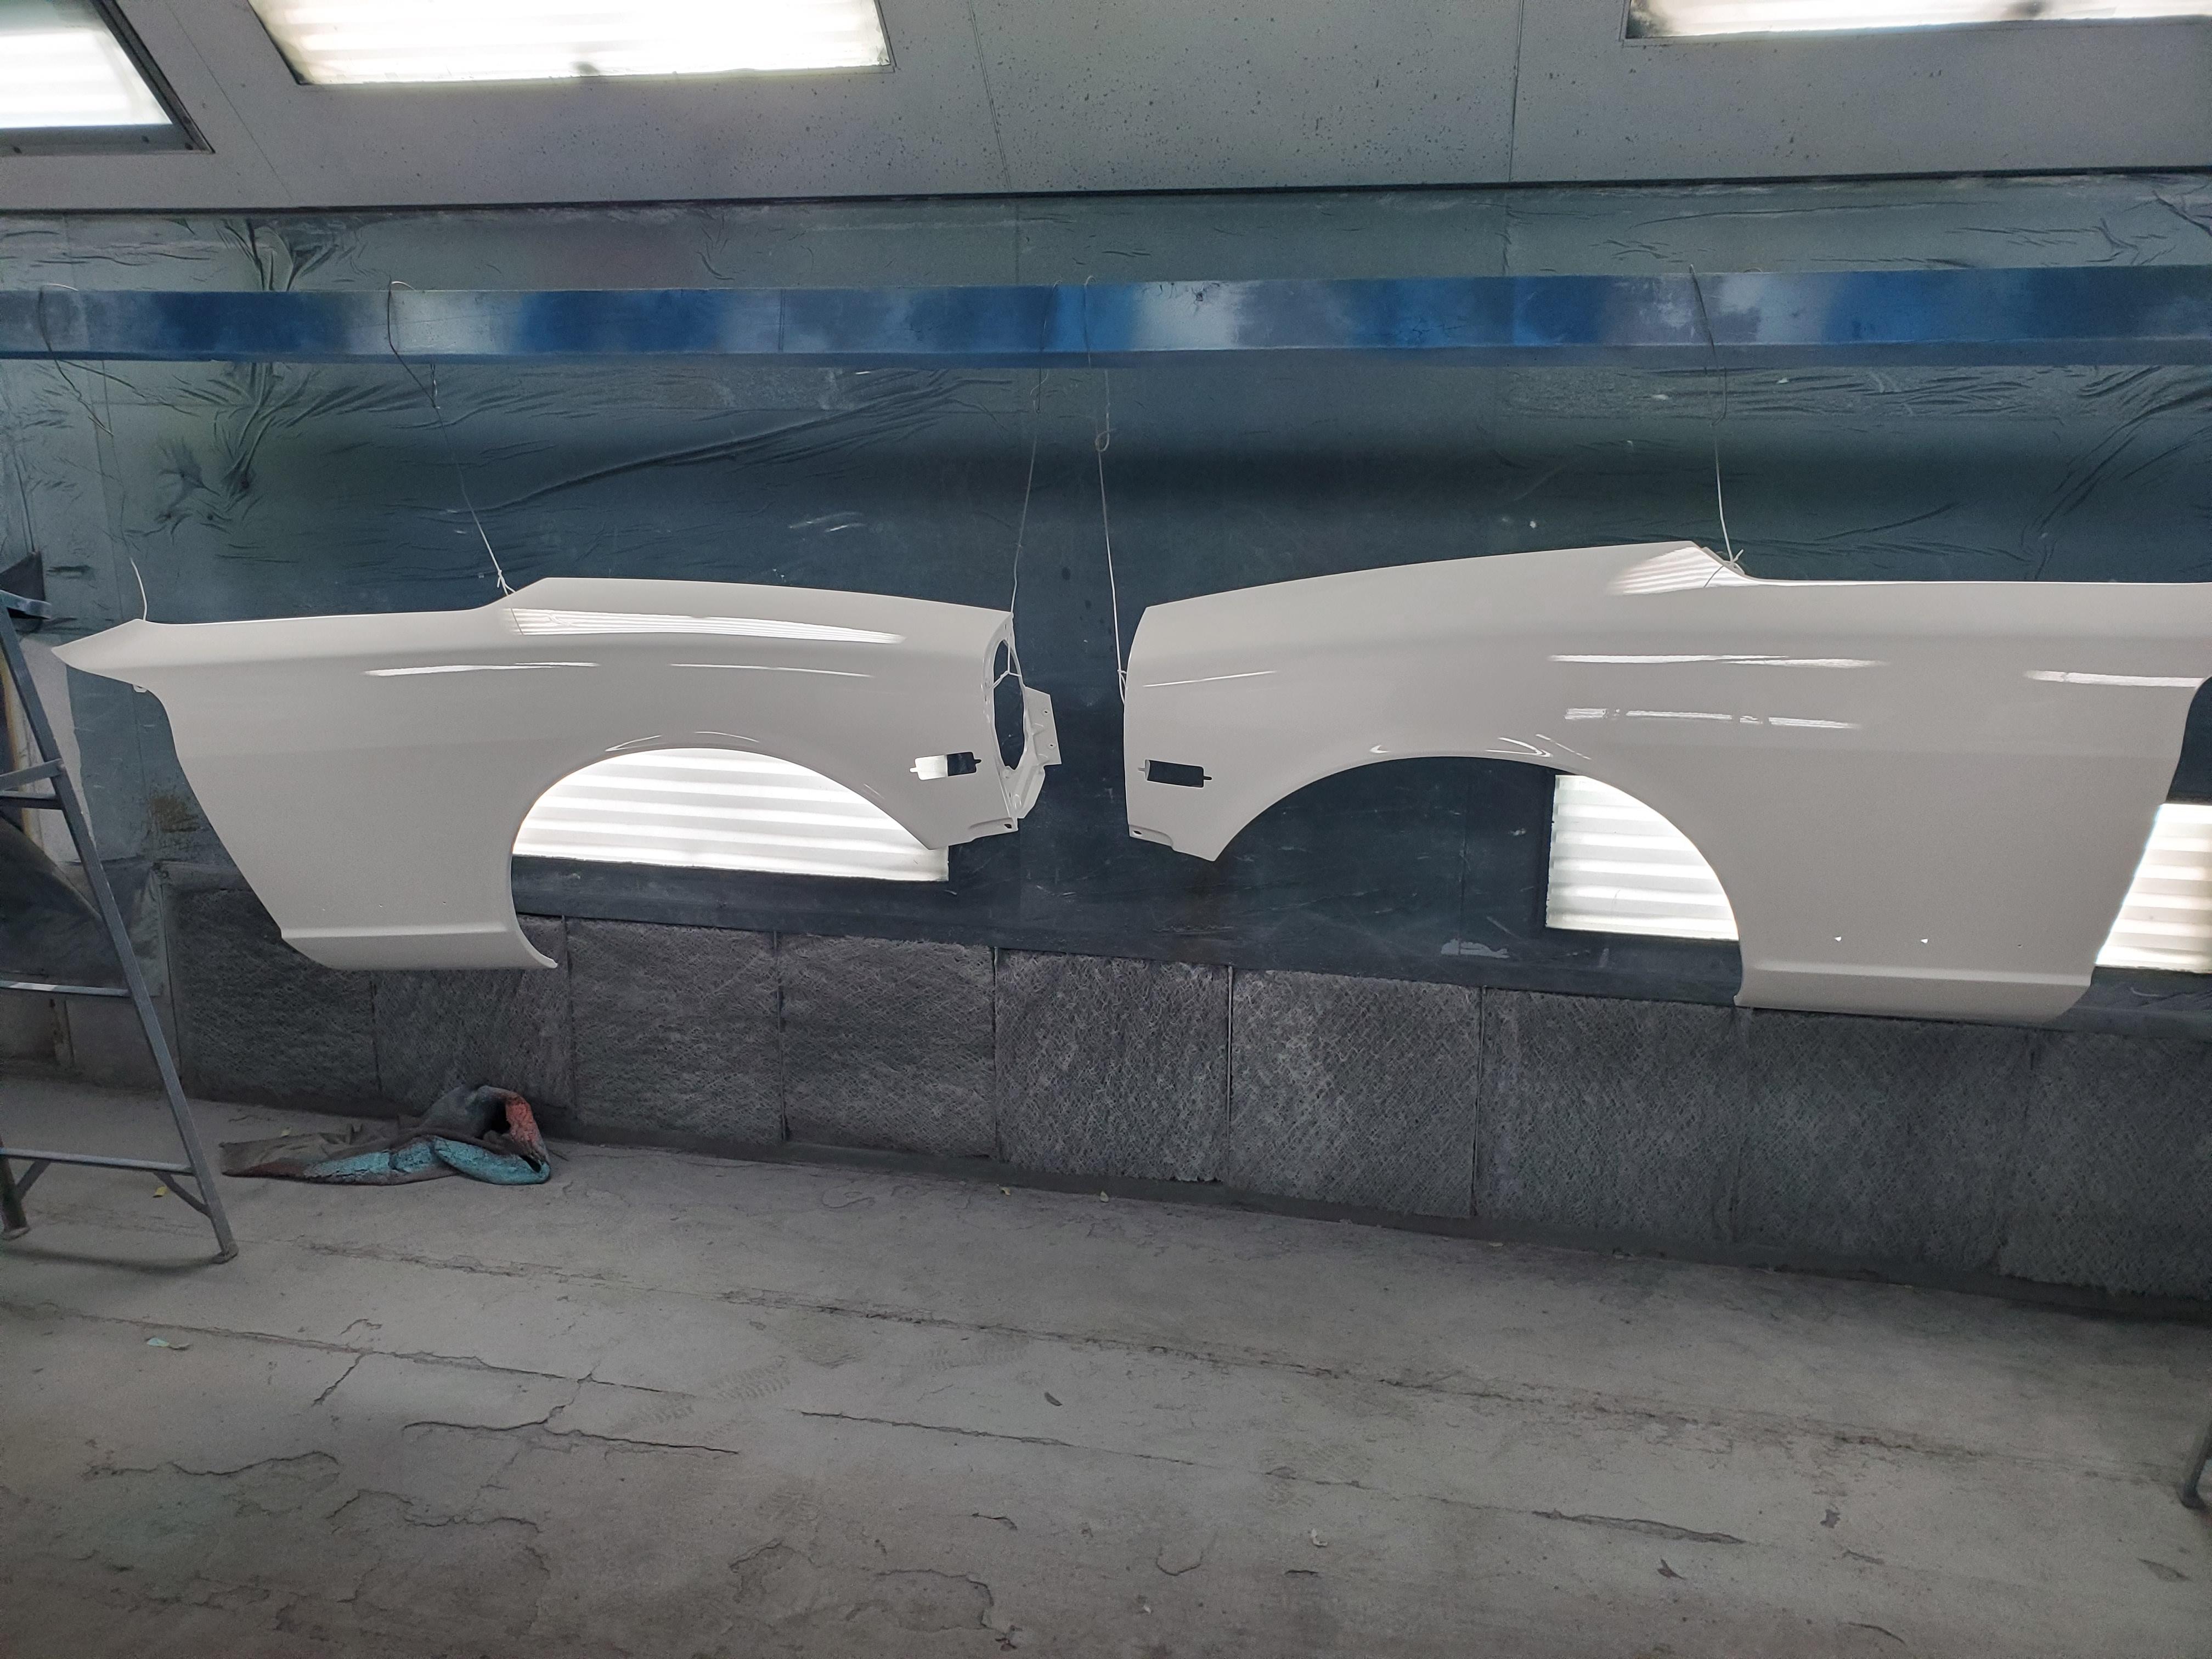
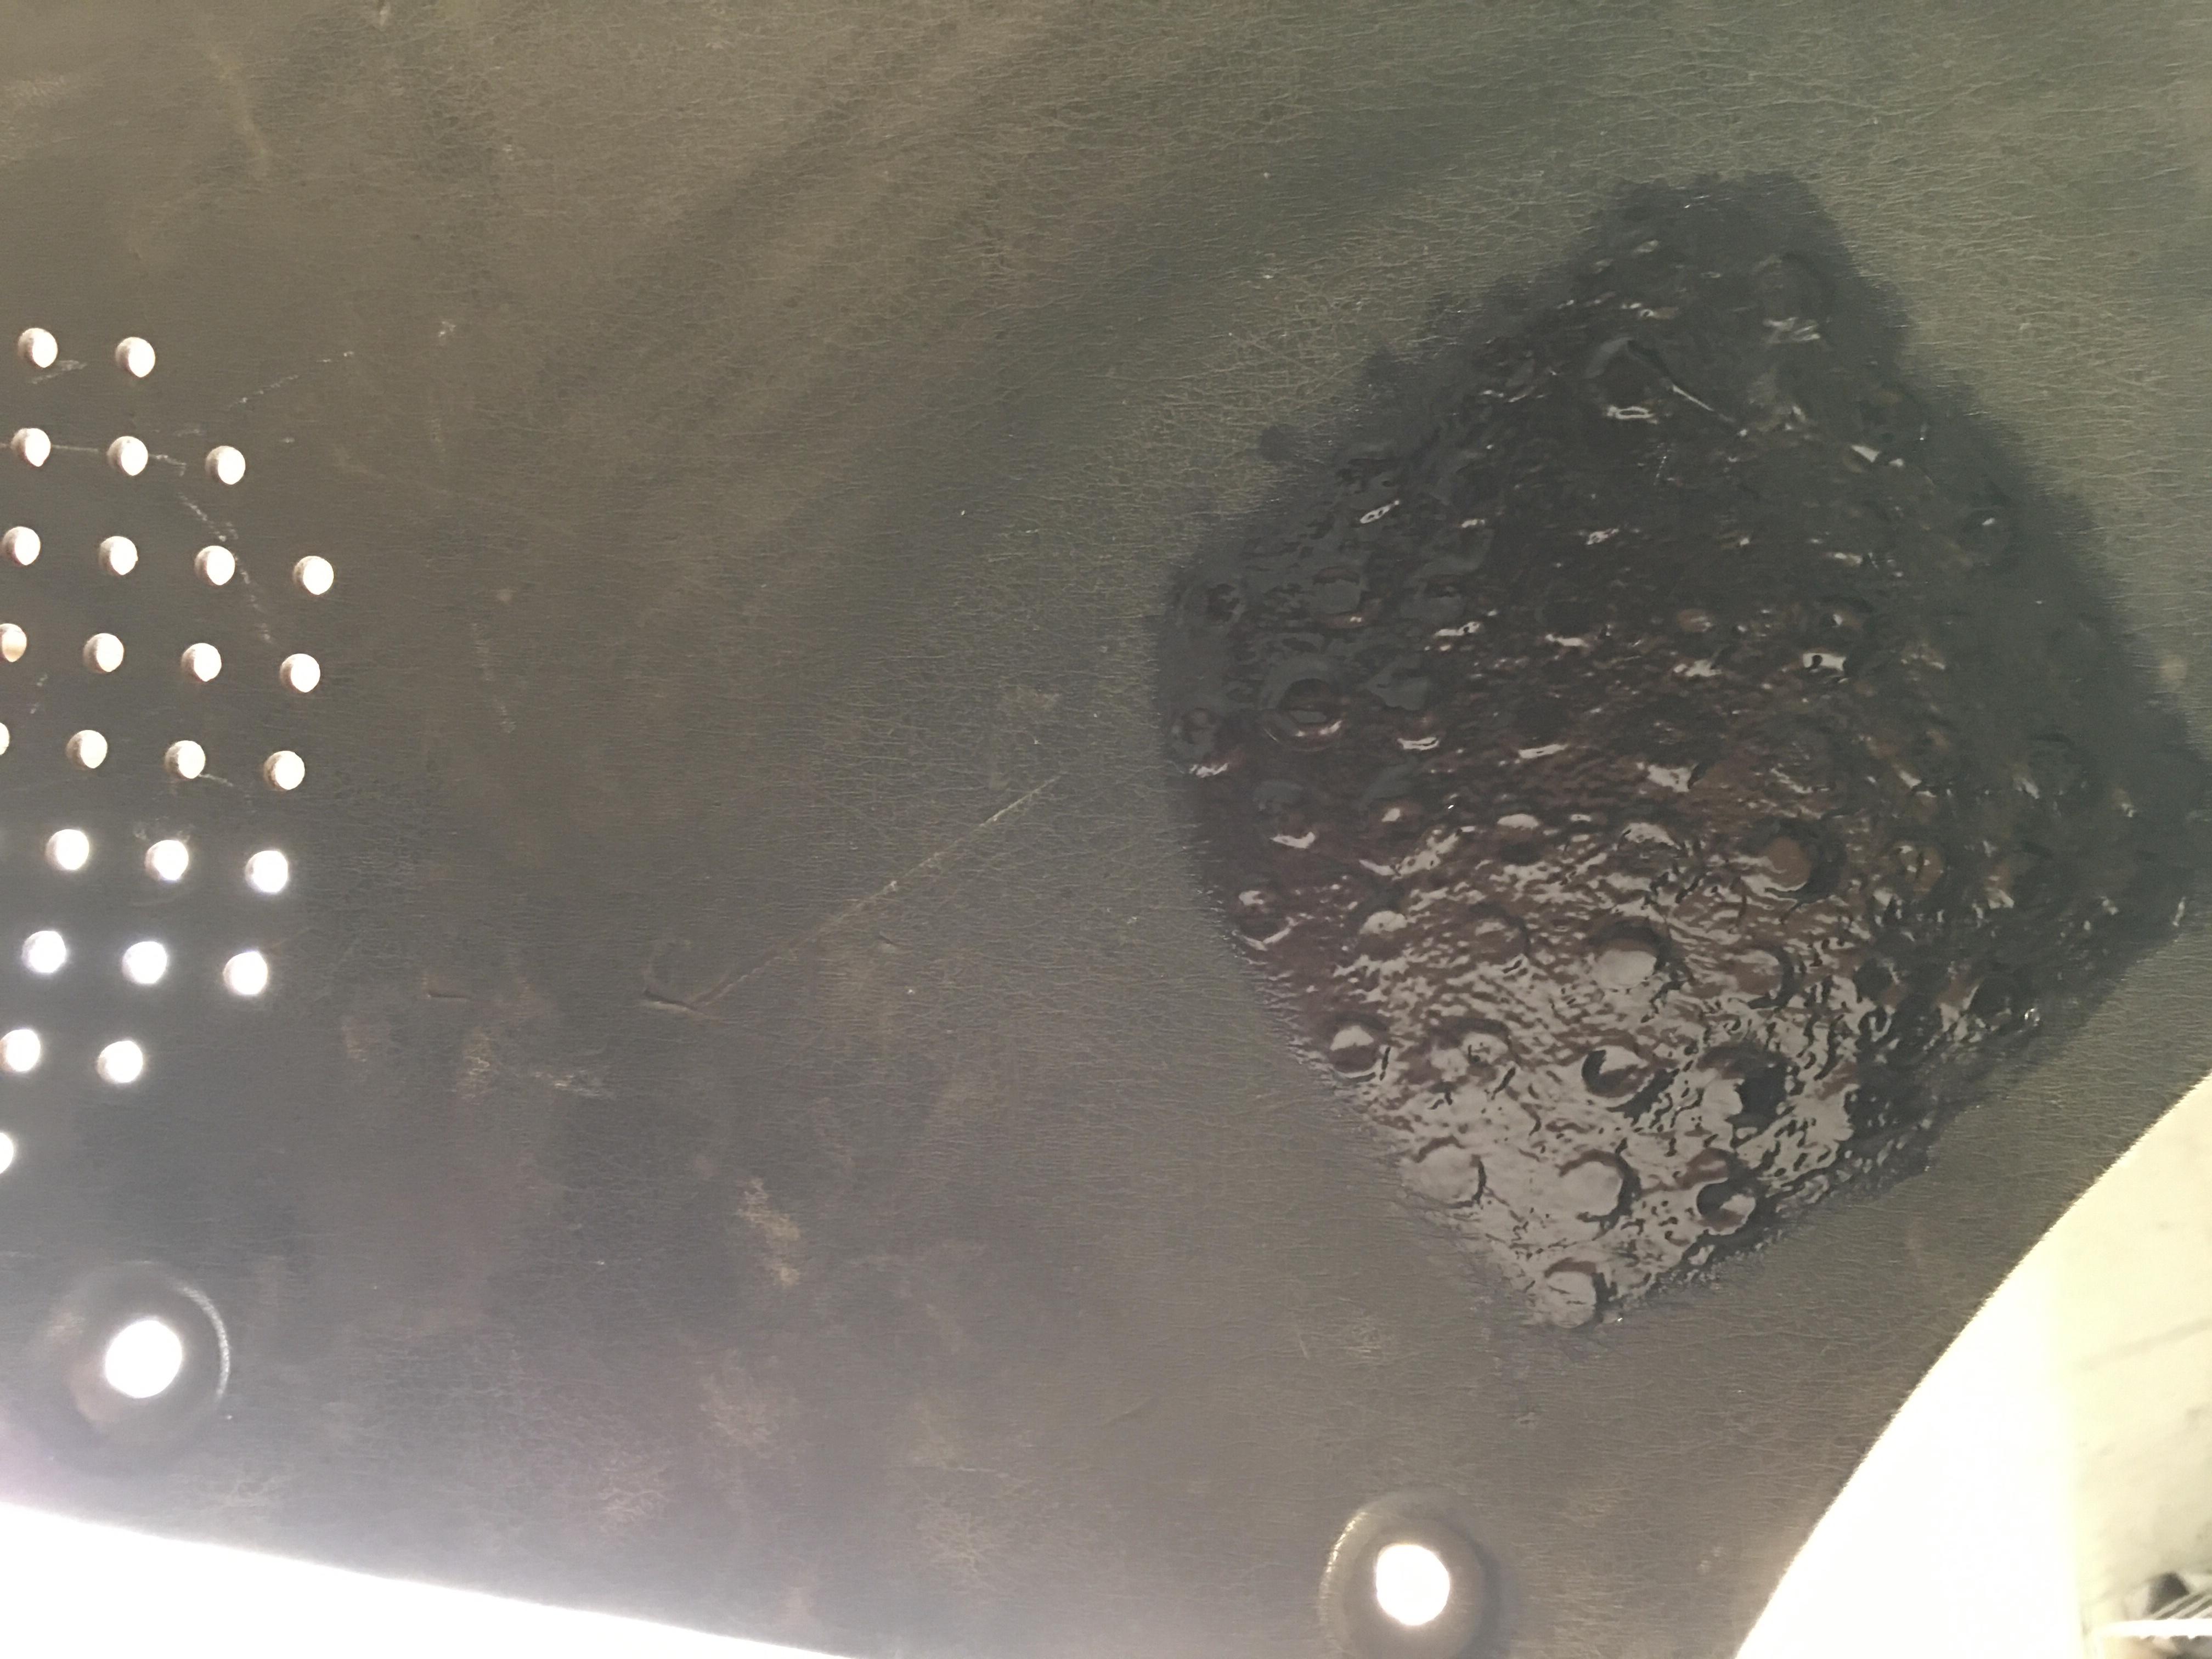
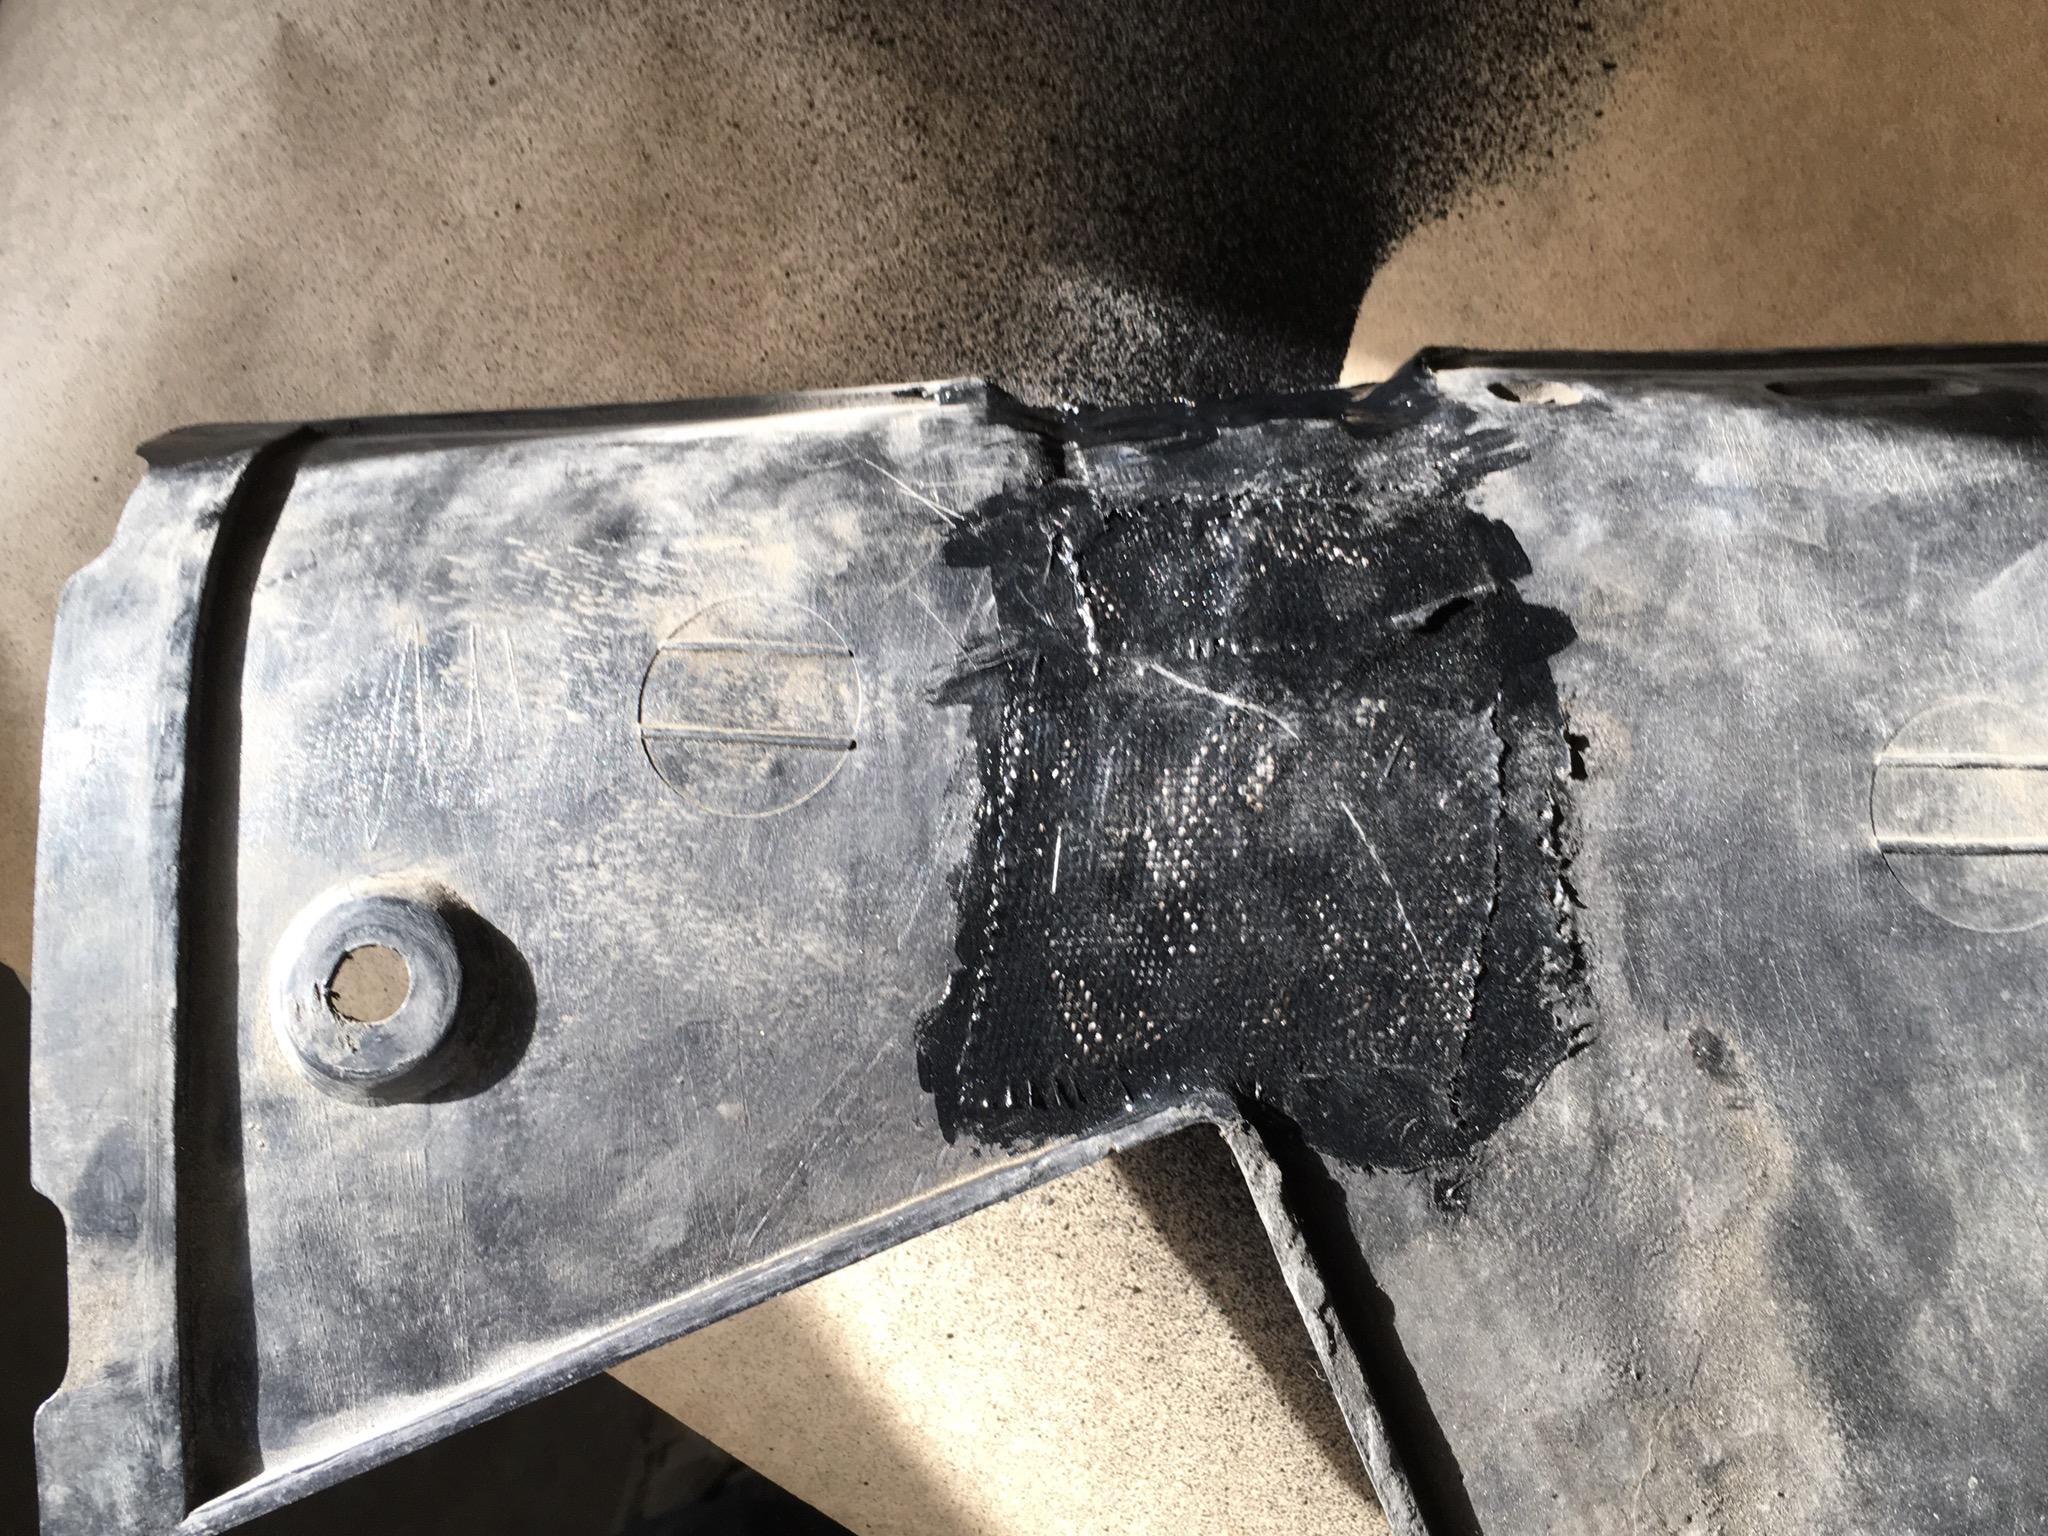
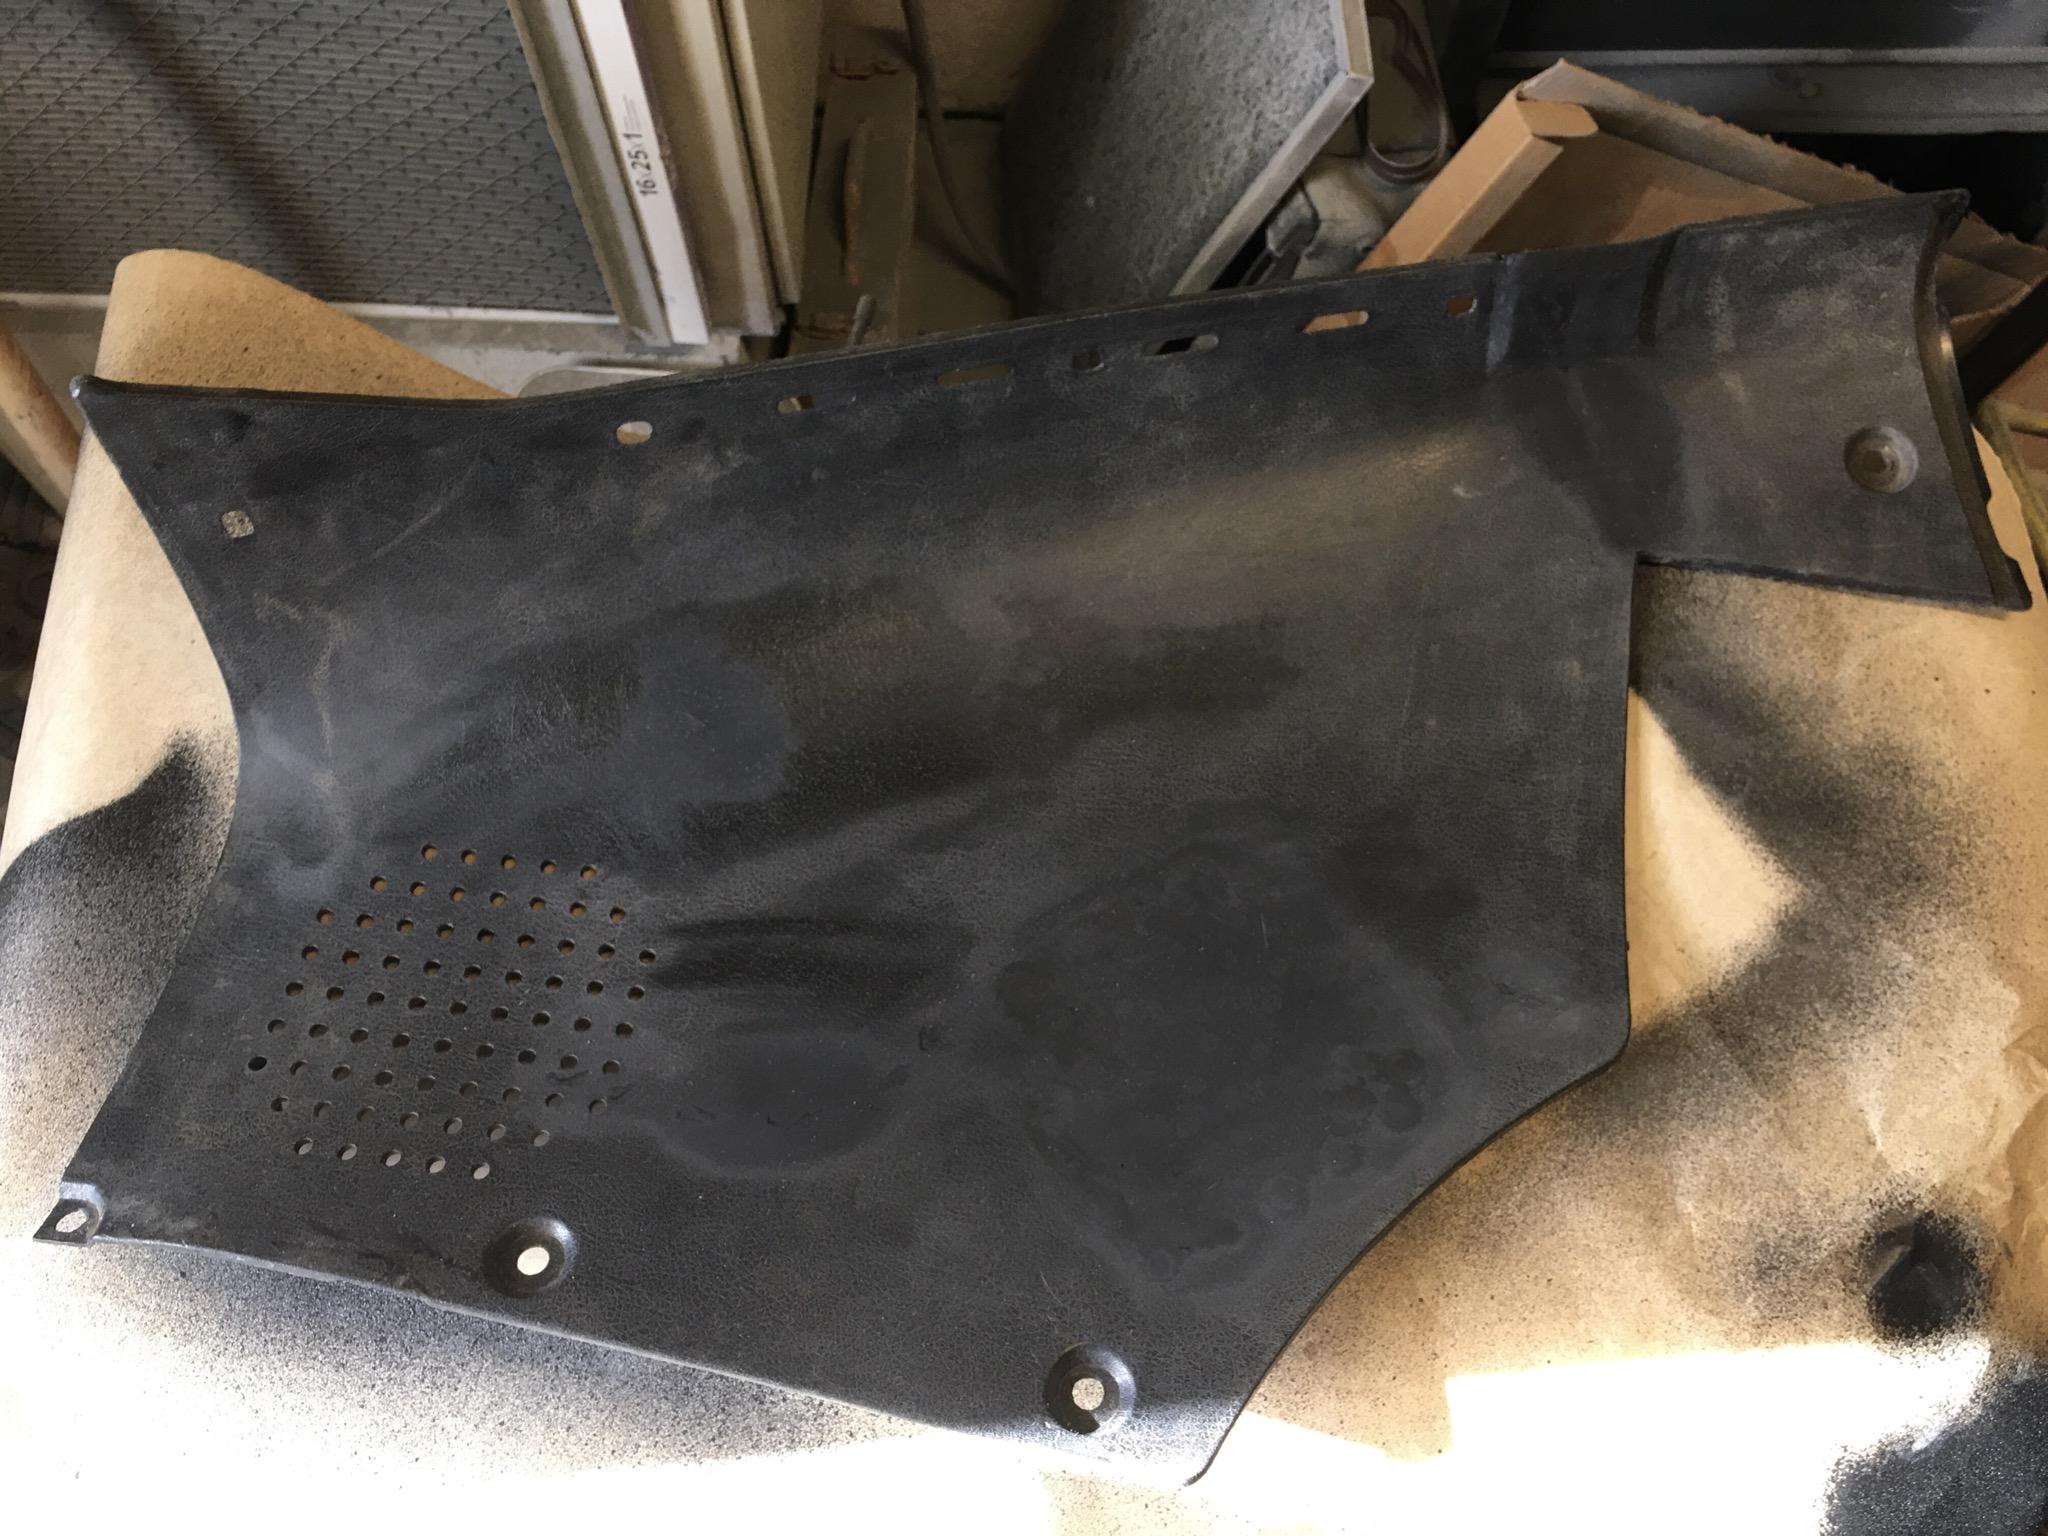
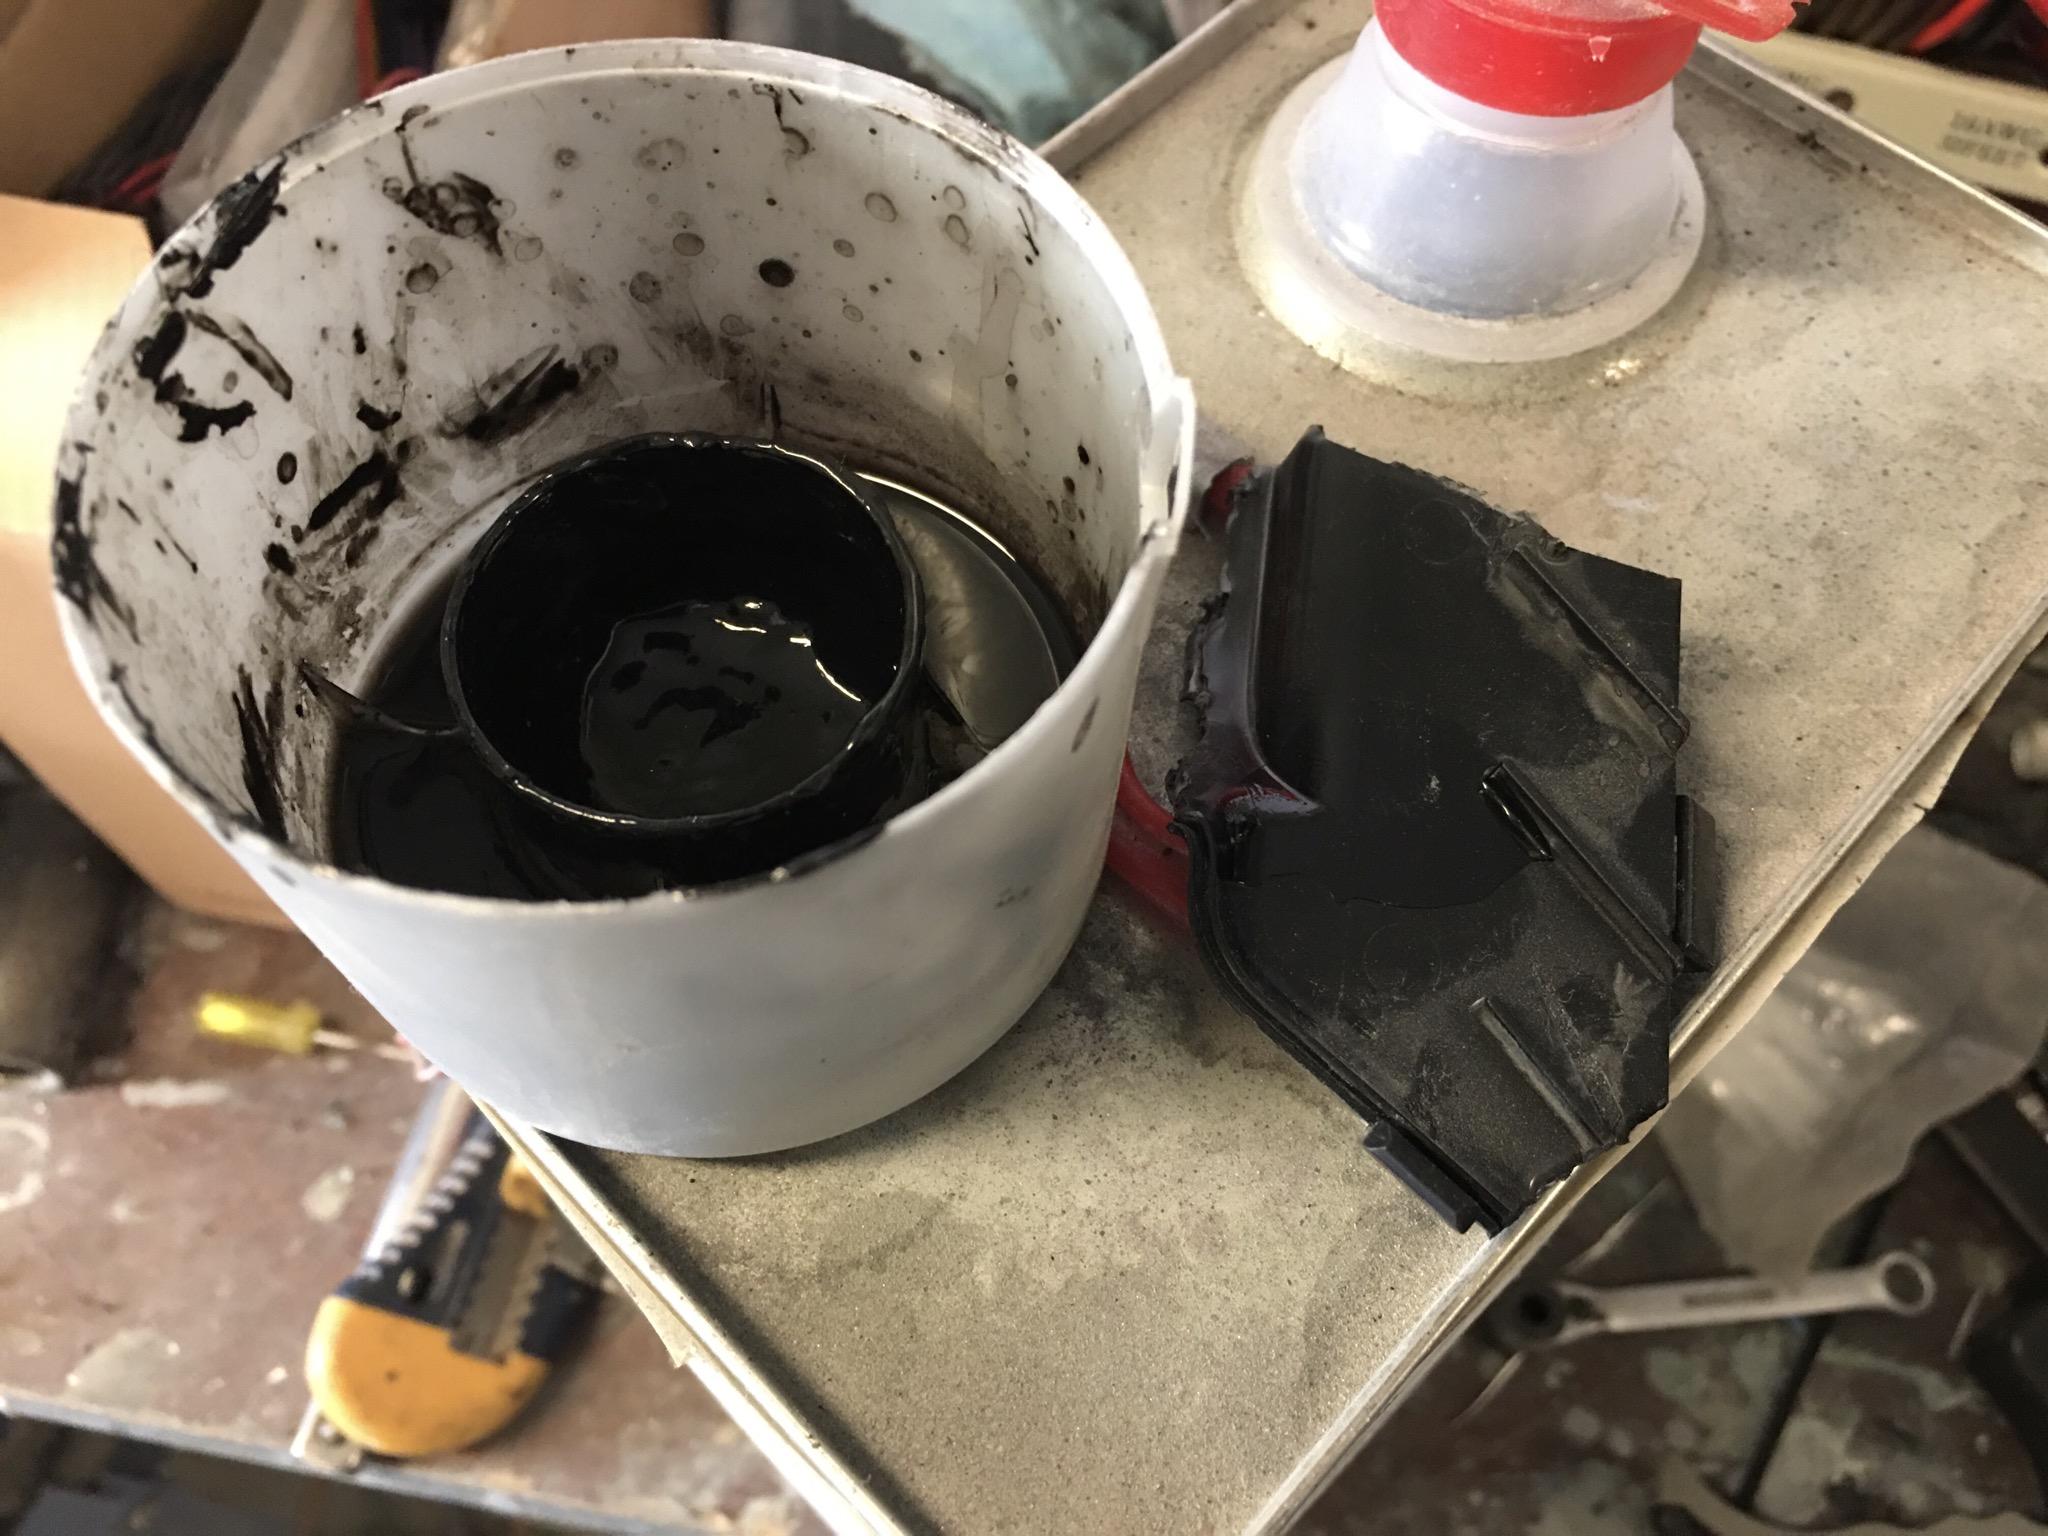
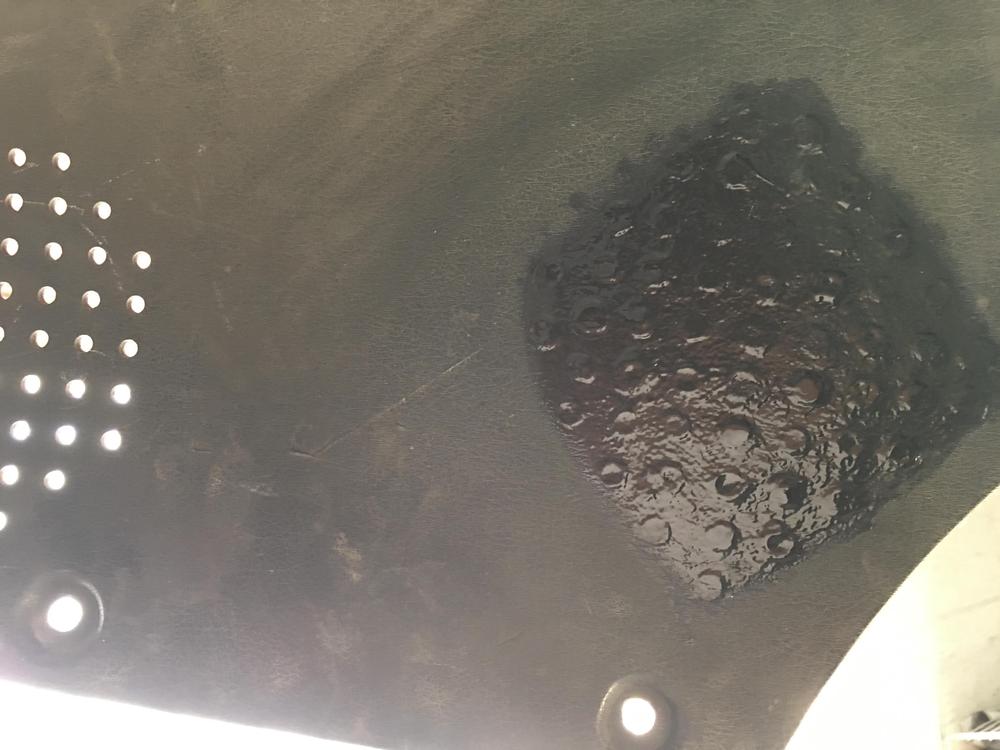
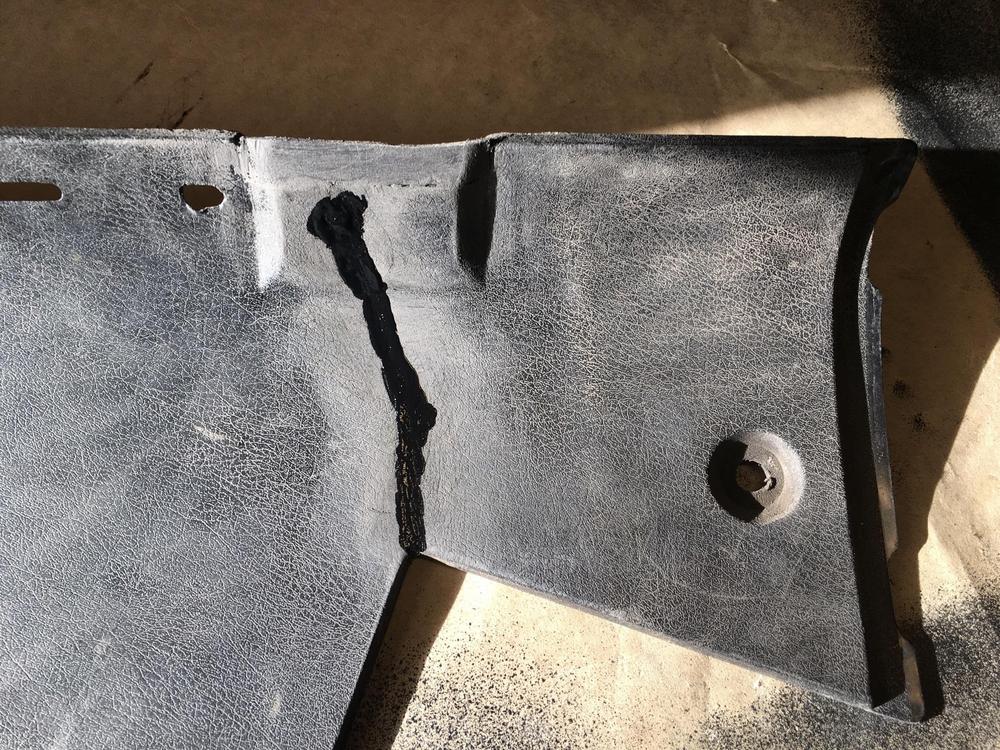
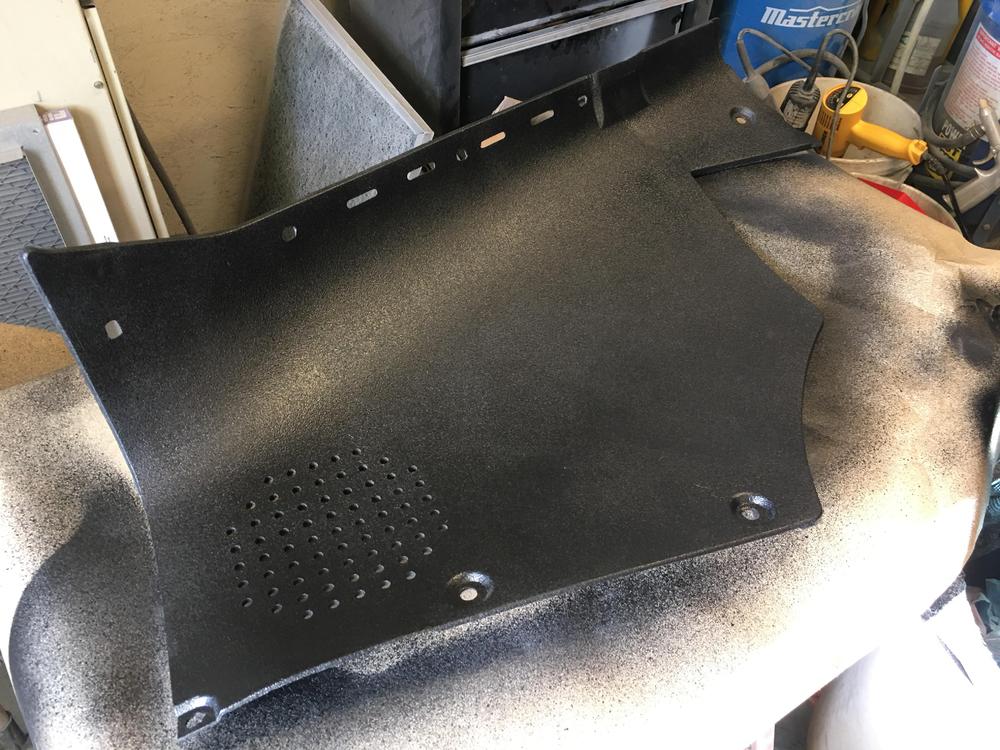
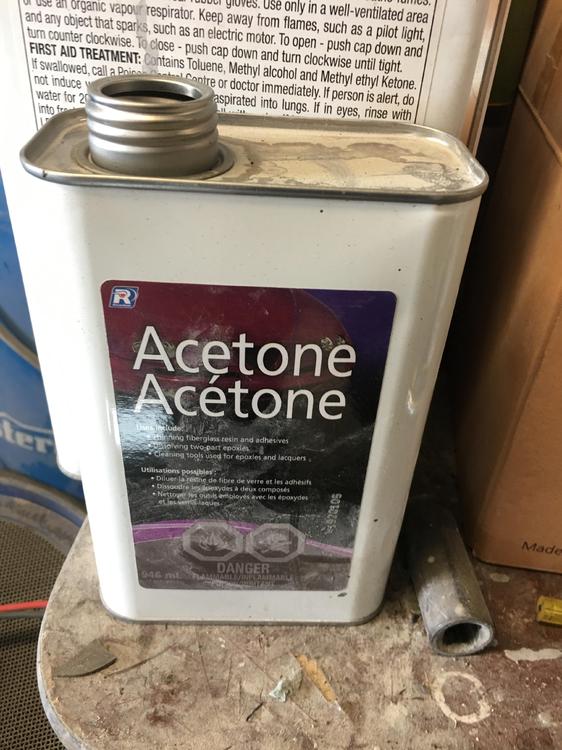
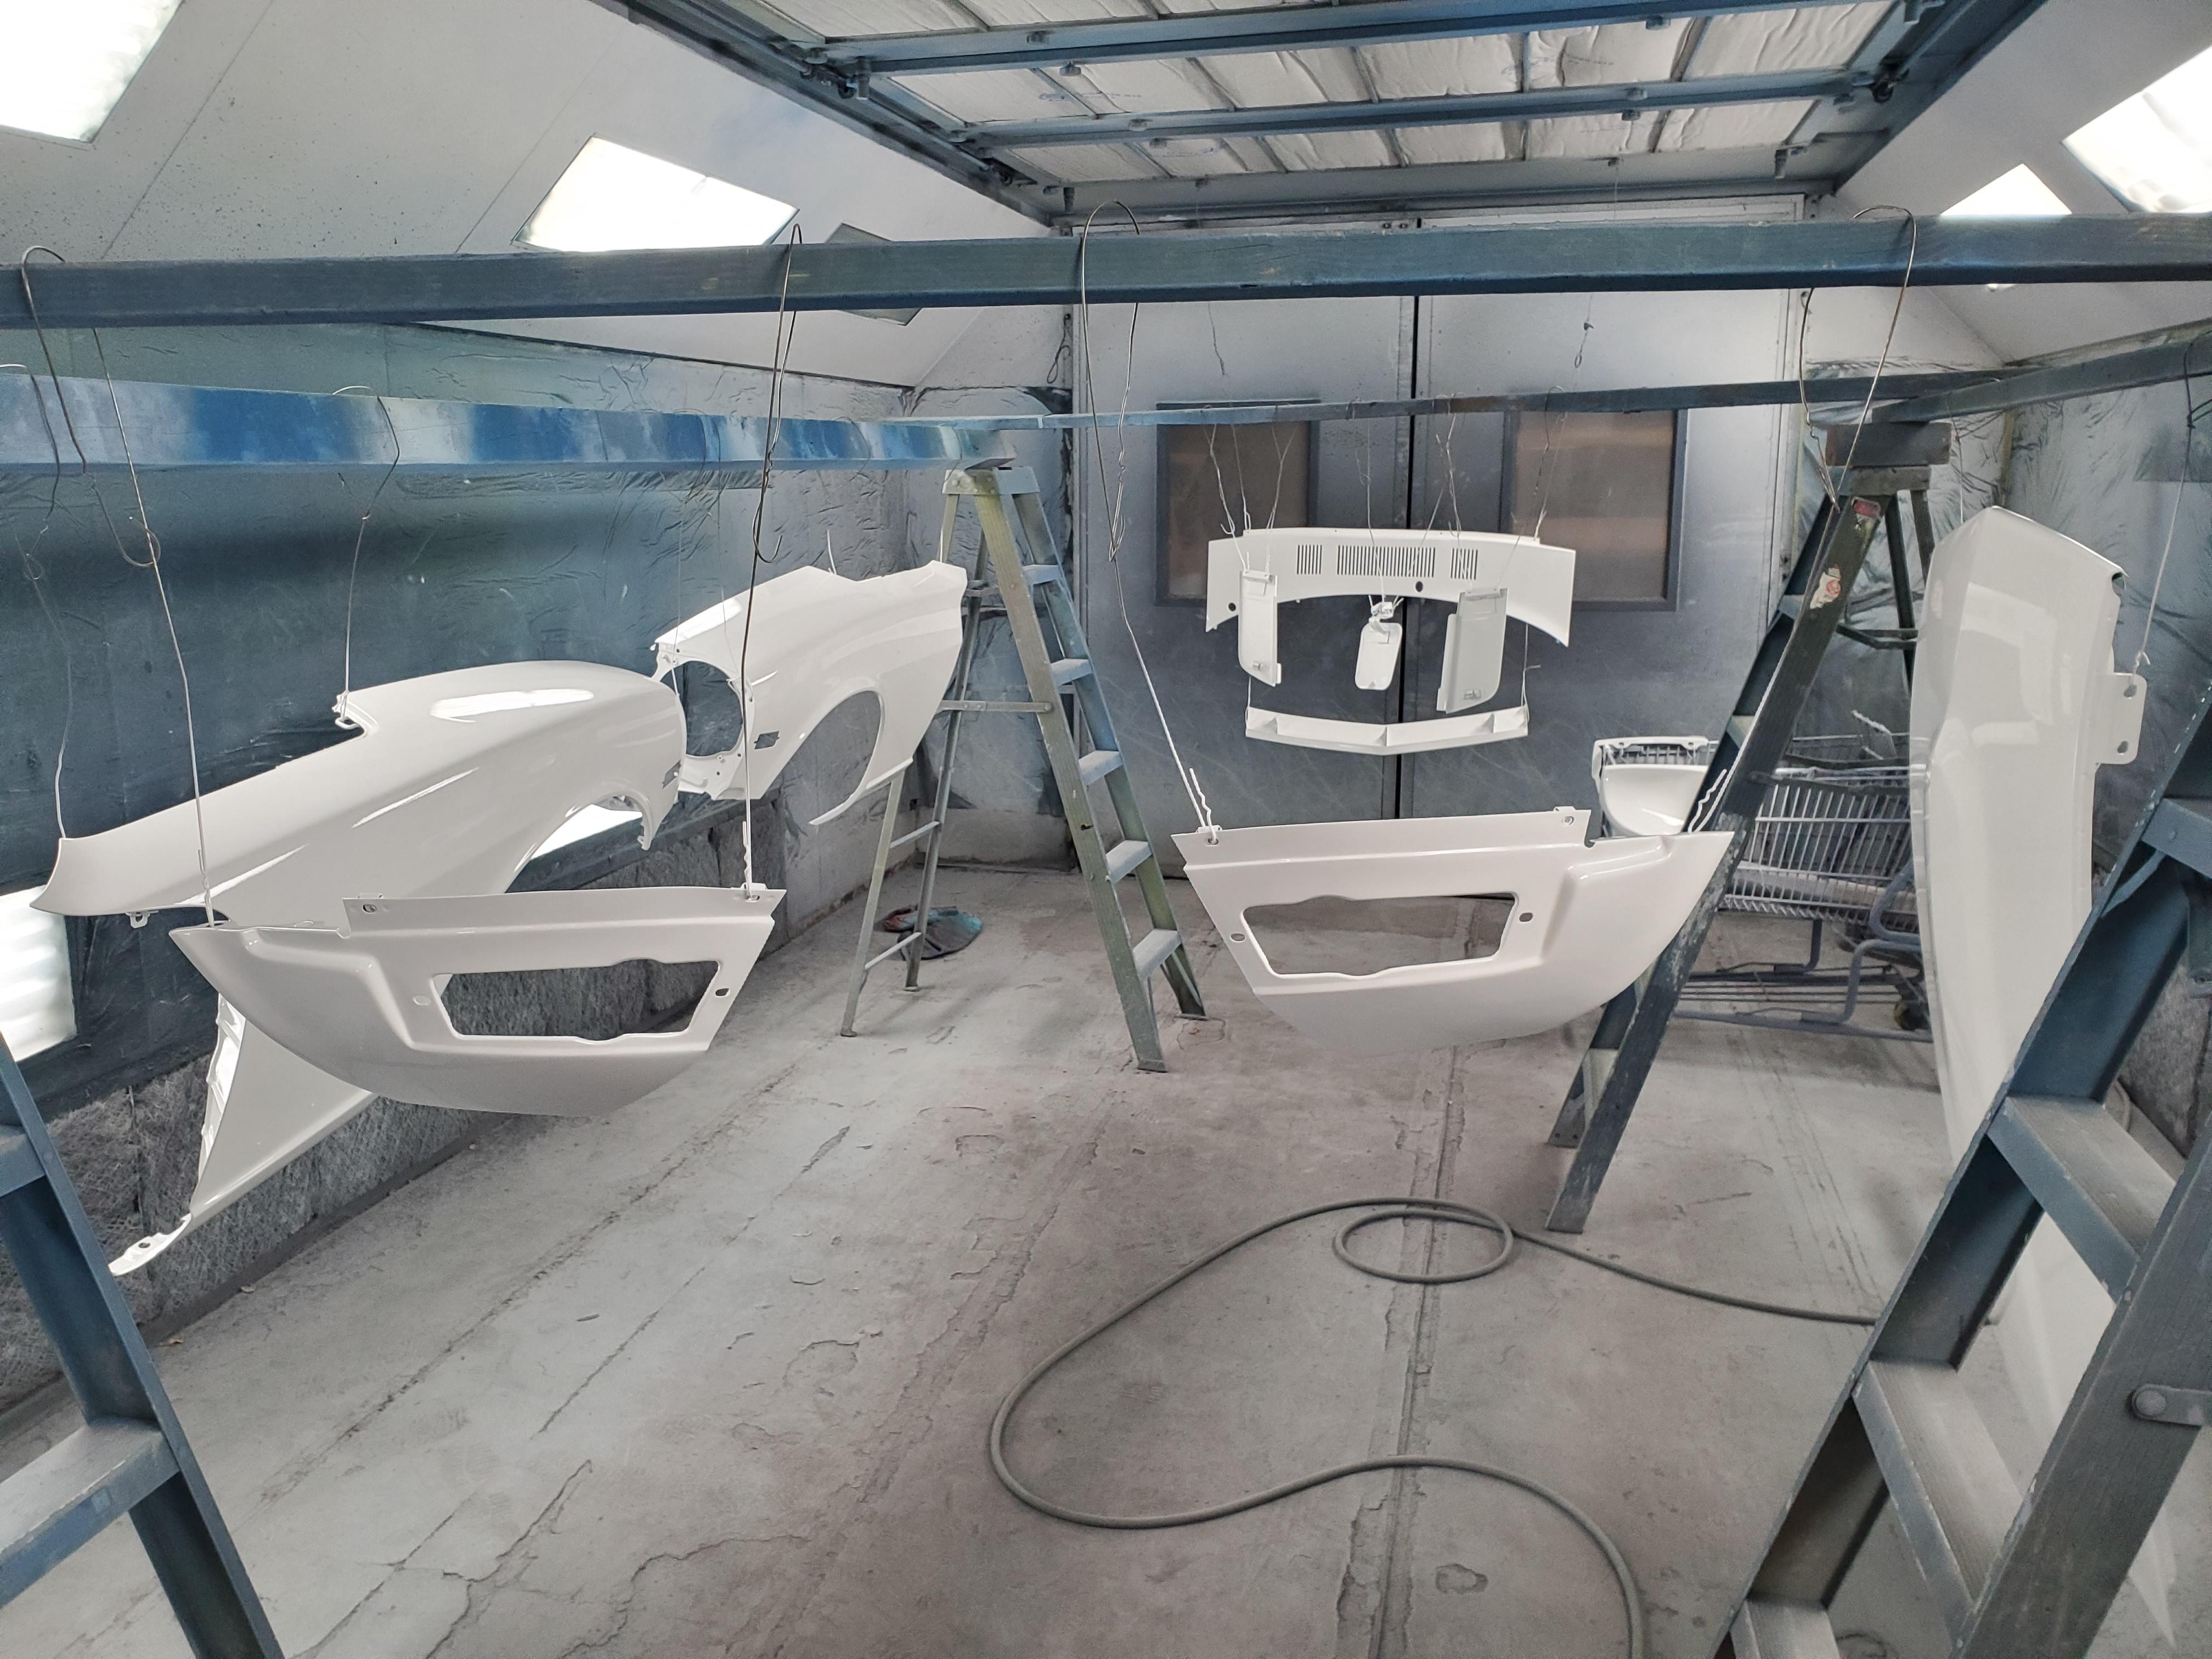
1 pointSome more custom work as I near the end... My rear ABS panels were looking rough. Both had the top sections broken off. One had speaker holes drilled through in front of the power antenna. I couldn’t find reasonable priced replacements so I did the next typical me thing. I repaired them. Using acetone and cut up bits of ABS from donor plastic, I dissolved the scrap into a paint lid and used it as an adhesive/bondo to repair the panels. I also used fibreglas mat as a reinforcer for the long seams. After repairs were made, I sanded the joints and sprayed a texture spray over the repaired panels. The results are good. I lost the original texture but that is minor compared to the condition they were in. What do you think? Chemicals and paint... This pic shows the holes after filling and backing with fibreglas. I didn’t get a pic of the panel before the repair. And after sanding it all down for texture ... And after texture...


 1 point
 -
1 pointYour cam is "bigger" than Jeff G 78's cam. The odds are against you. Jeff G knows his engines. Here's your cam specs. Racing Cam Stage III Intake 36-74 Exhaust 74-36 Valve Lift 0.490 Valve Lash Cold 0.010/.012 Advertised Duration 290 0.050 Duration 242 Here's Jeff G 78"s post. "I tried it - twice. The first time was circa 1997 with a L28 at 9.83:1 CR and a street cam. The engine was fresh and the car ran like crap. It had low power, wouldn't idle and was simply a disaster. Since the engine was new and the EFI a bit untested, I removed the cam and related components and returned the engine to a stock cam. It ran great and I was able to enjoy the car. The performance cam sat on a shelf for a decade or so. My Z was running great and was well-sorted, so I figured that I would try again. I installed the same cam and related parts back into the engine and got the same result. I tried to tune it, but it didn't make enough vacuum to keep the L-Jet happy. I once again pulled the cam springs and rockers and went back to stock. I then installed that cam into my SU carbed L28 racecar and it runs like a dream. It was everything I had hoped for in my street car. Both engines are very similar other than the fuel systems. You can try it, but many have the same results as me. L-Jet simply doesn't like low vacuum. For reference, my cam is a Web Racing Grind 91 with .450 lift and 260 duration"1 point
-
1 pointI don't know what it would take to mail you some screws but I have a set that has the little screws in it. I am sure I have 4 extra...1 point
-
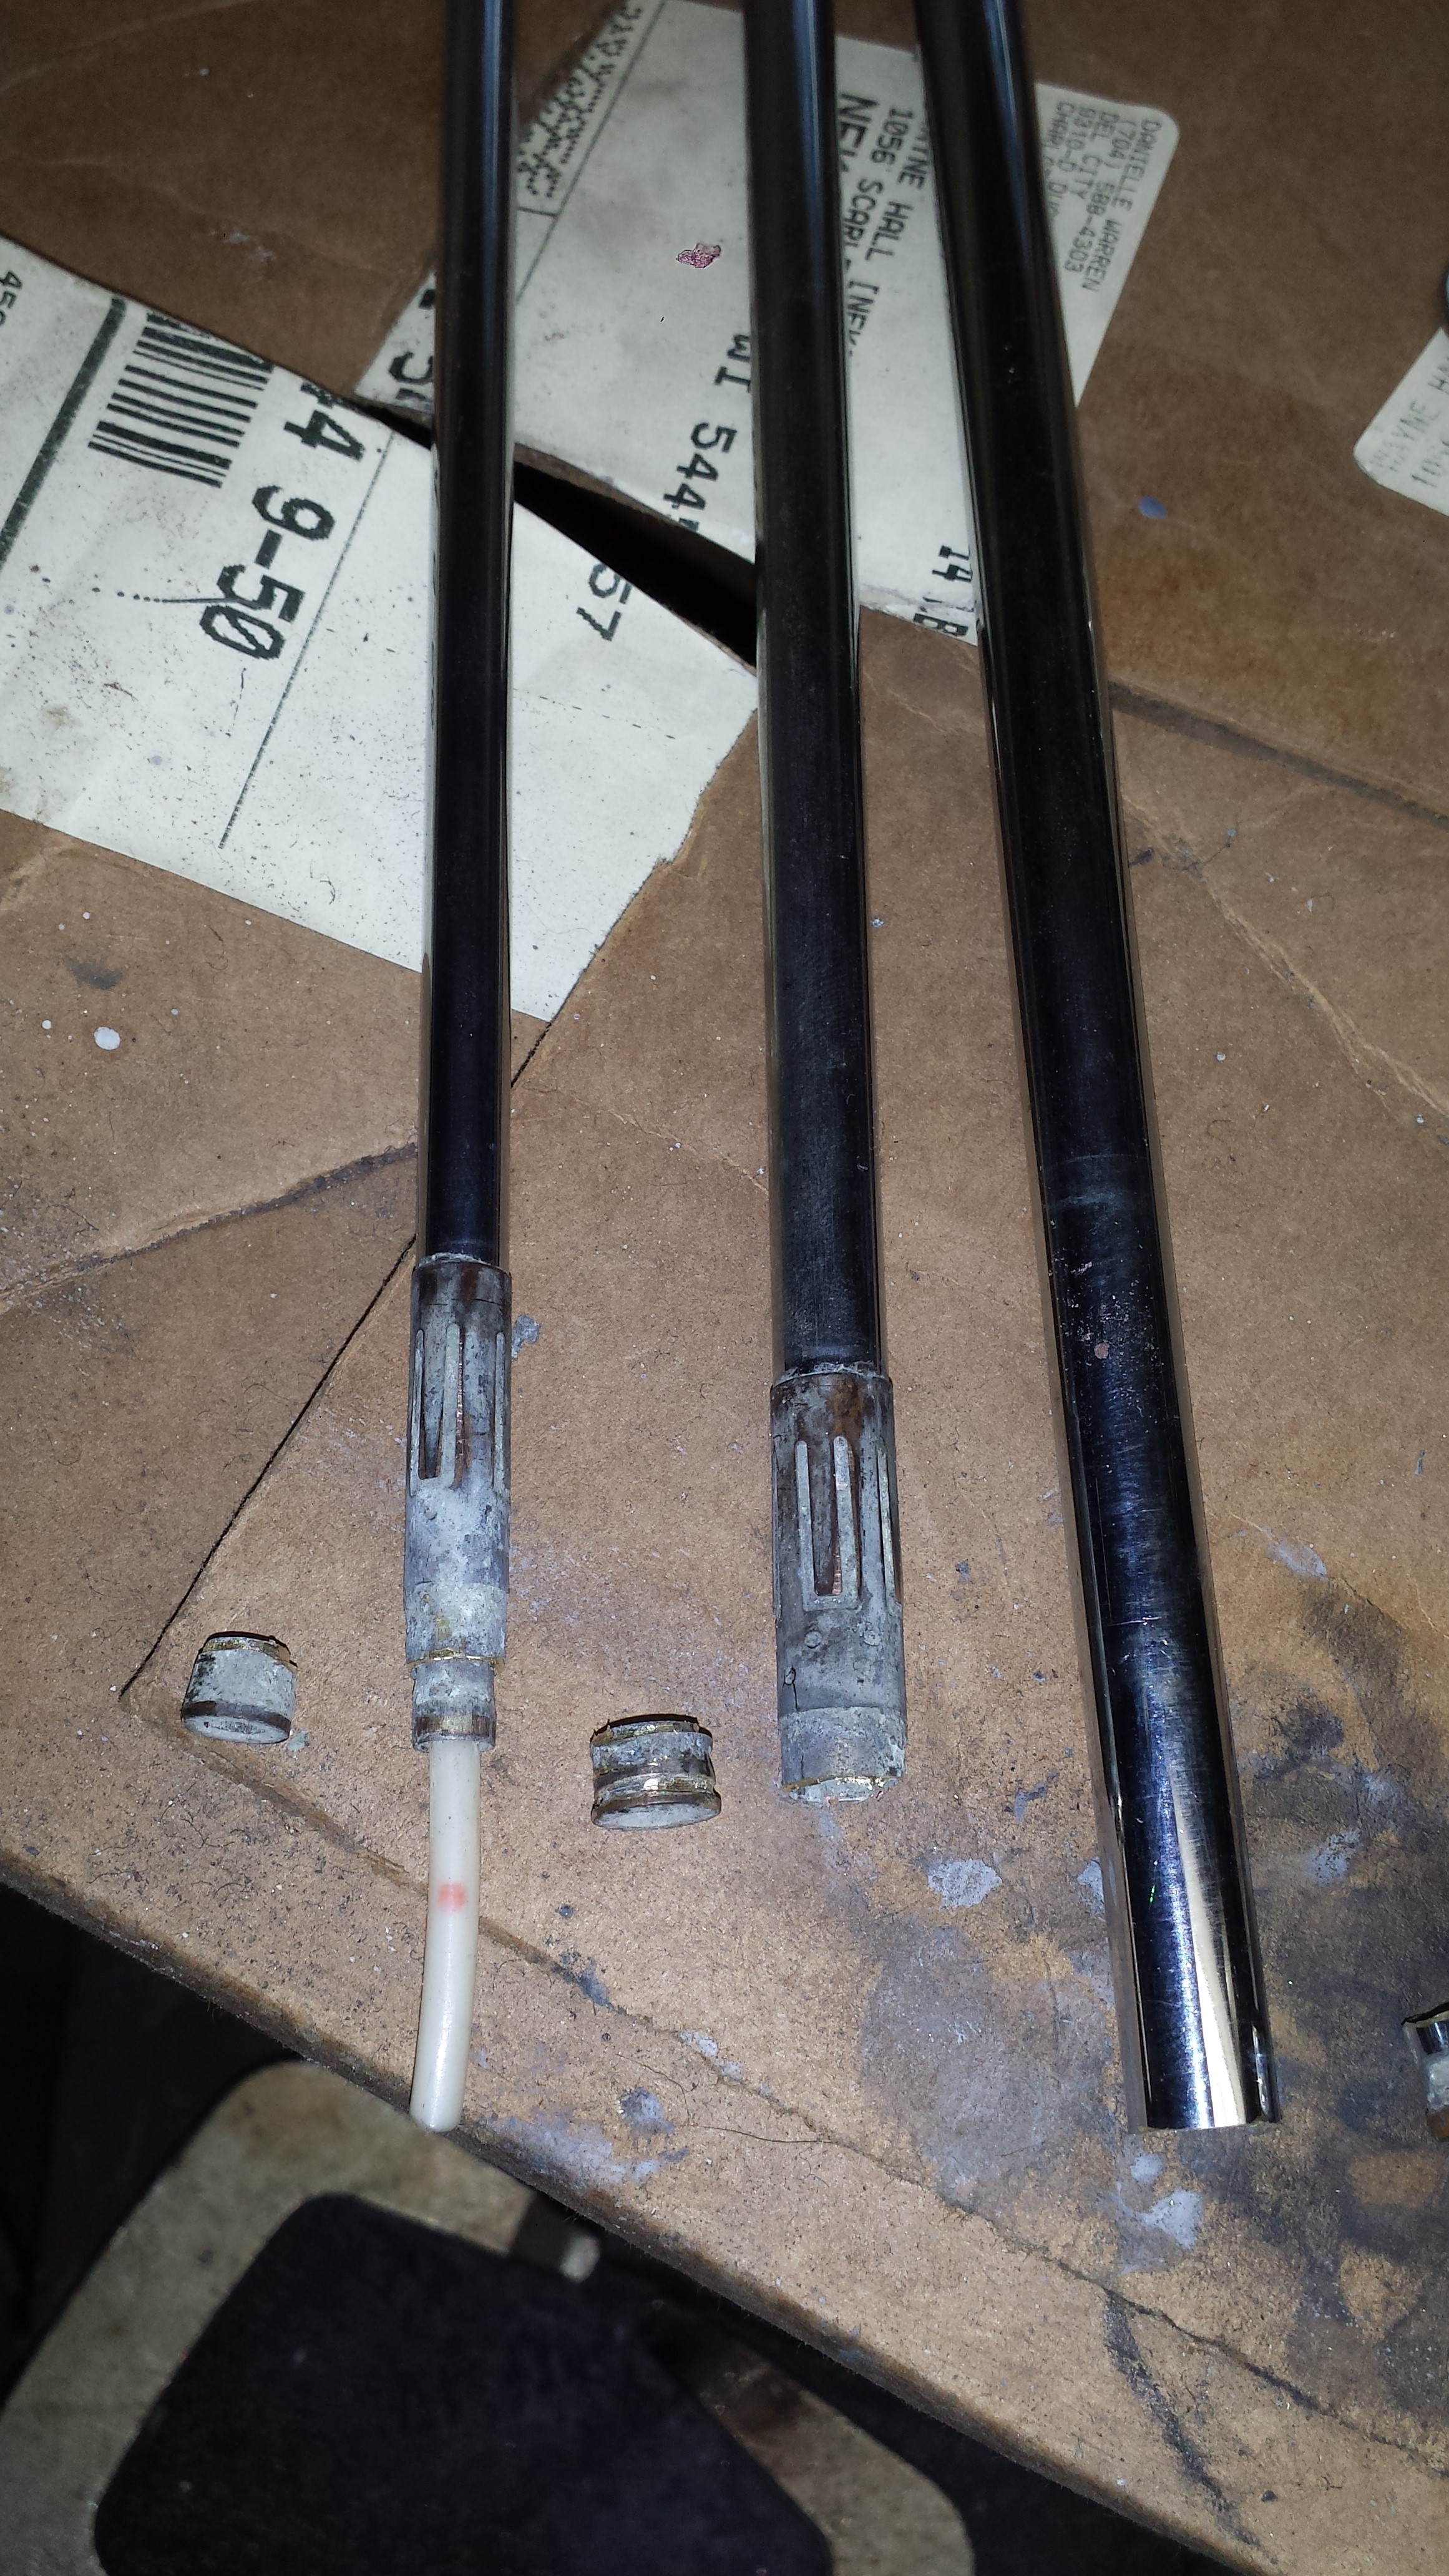
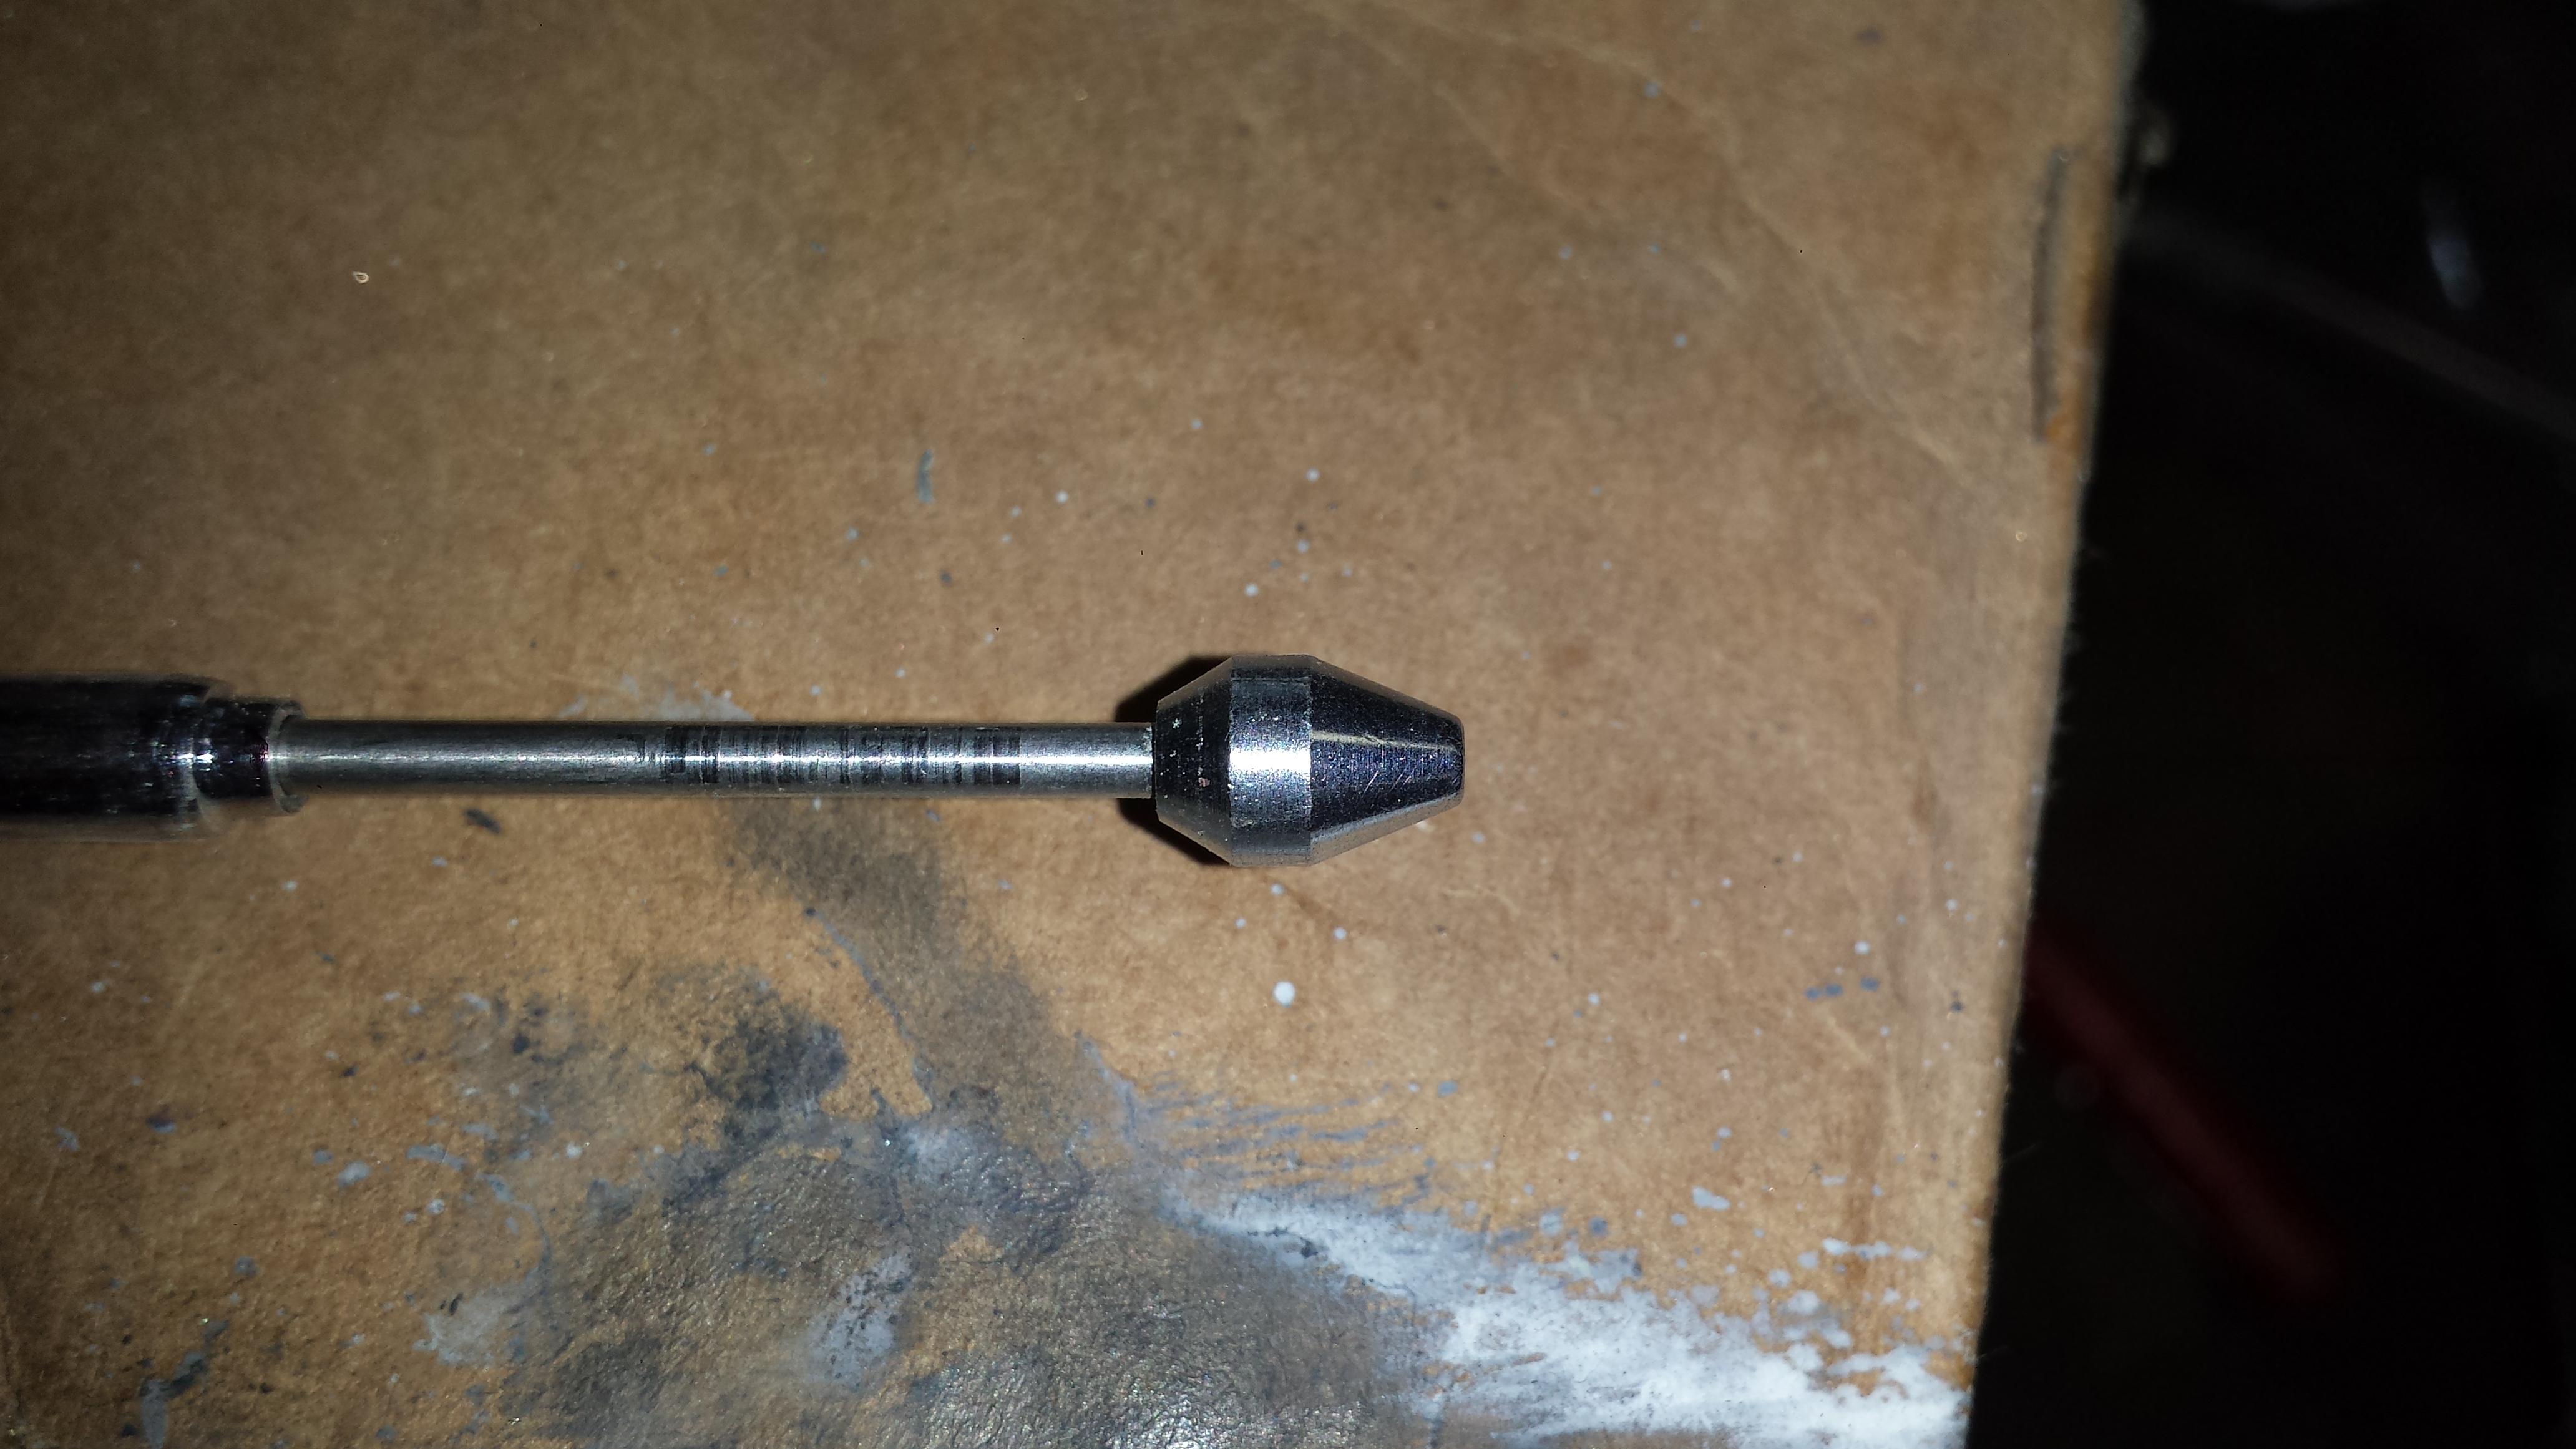
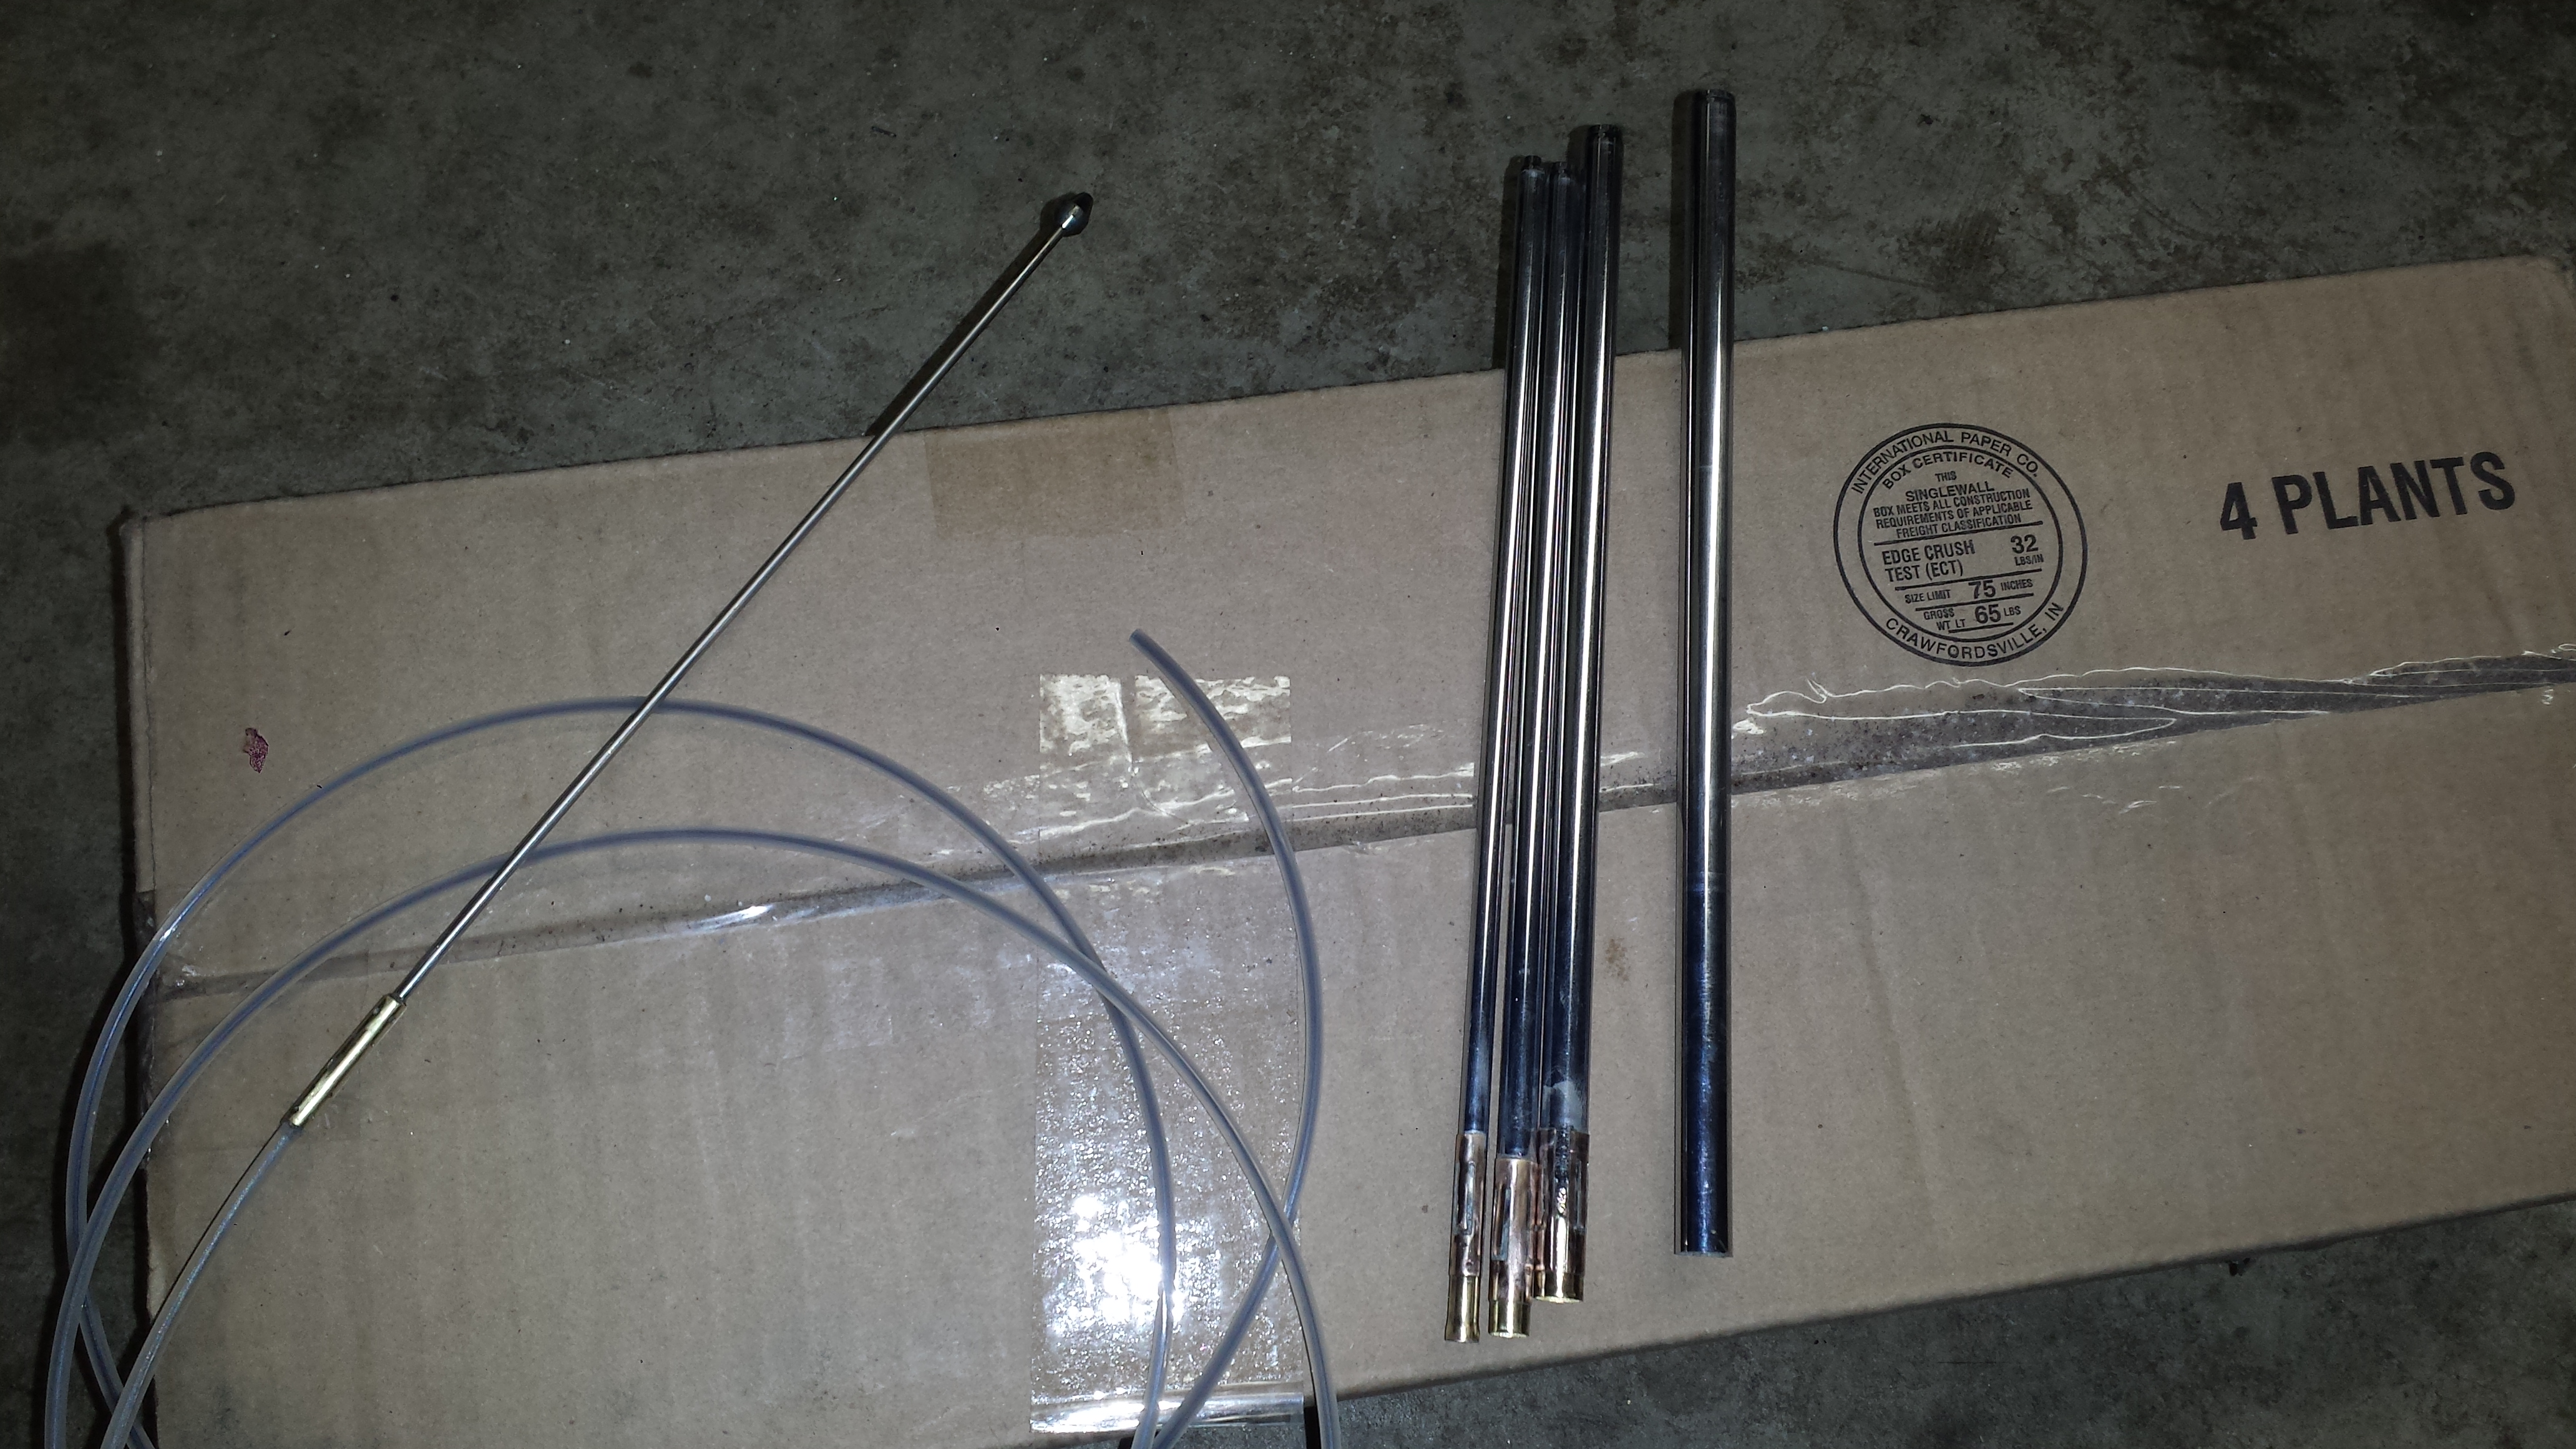
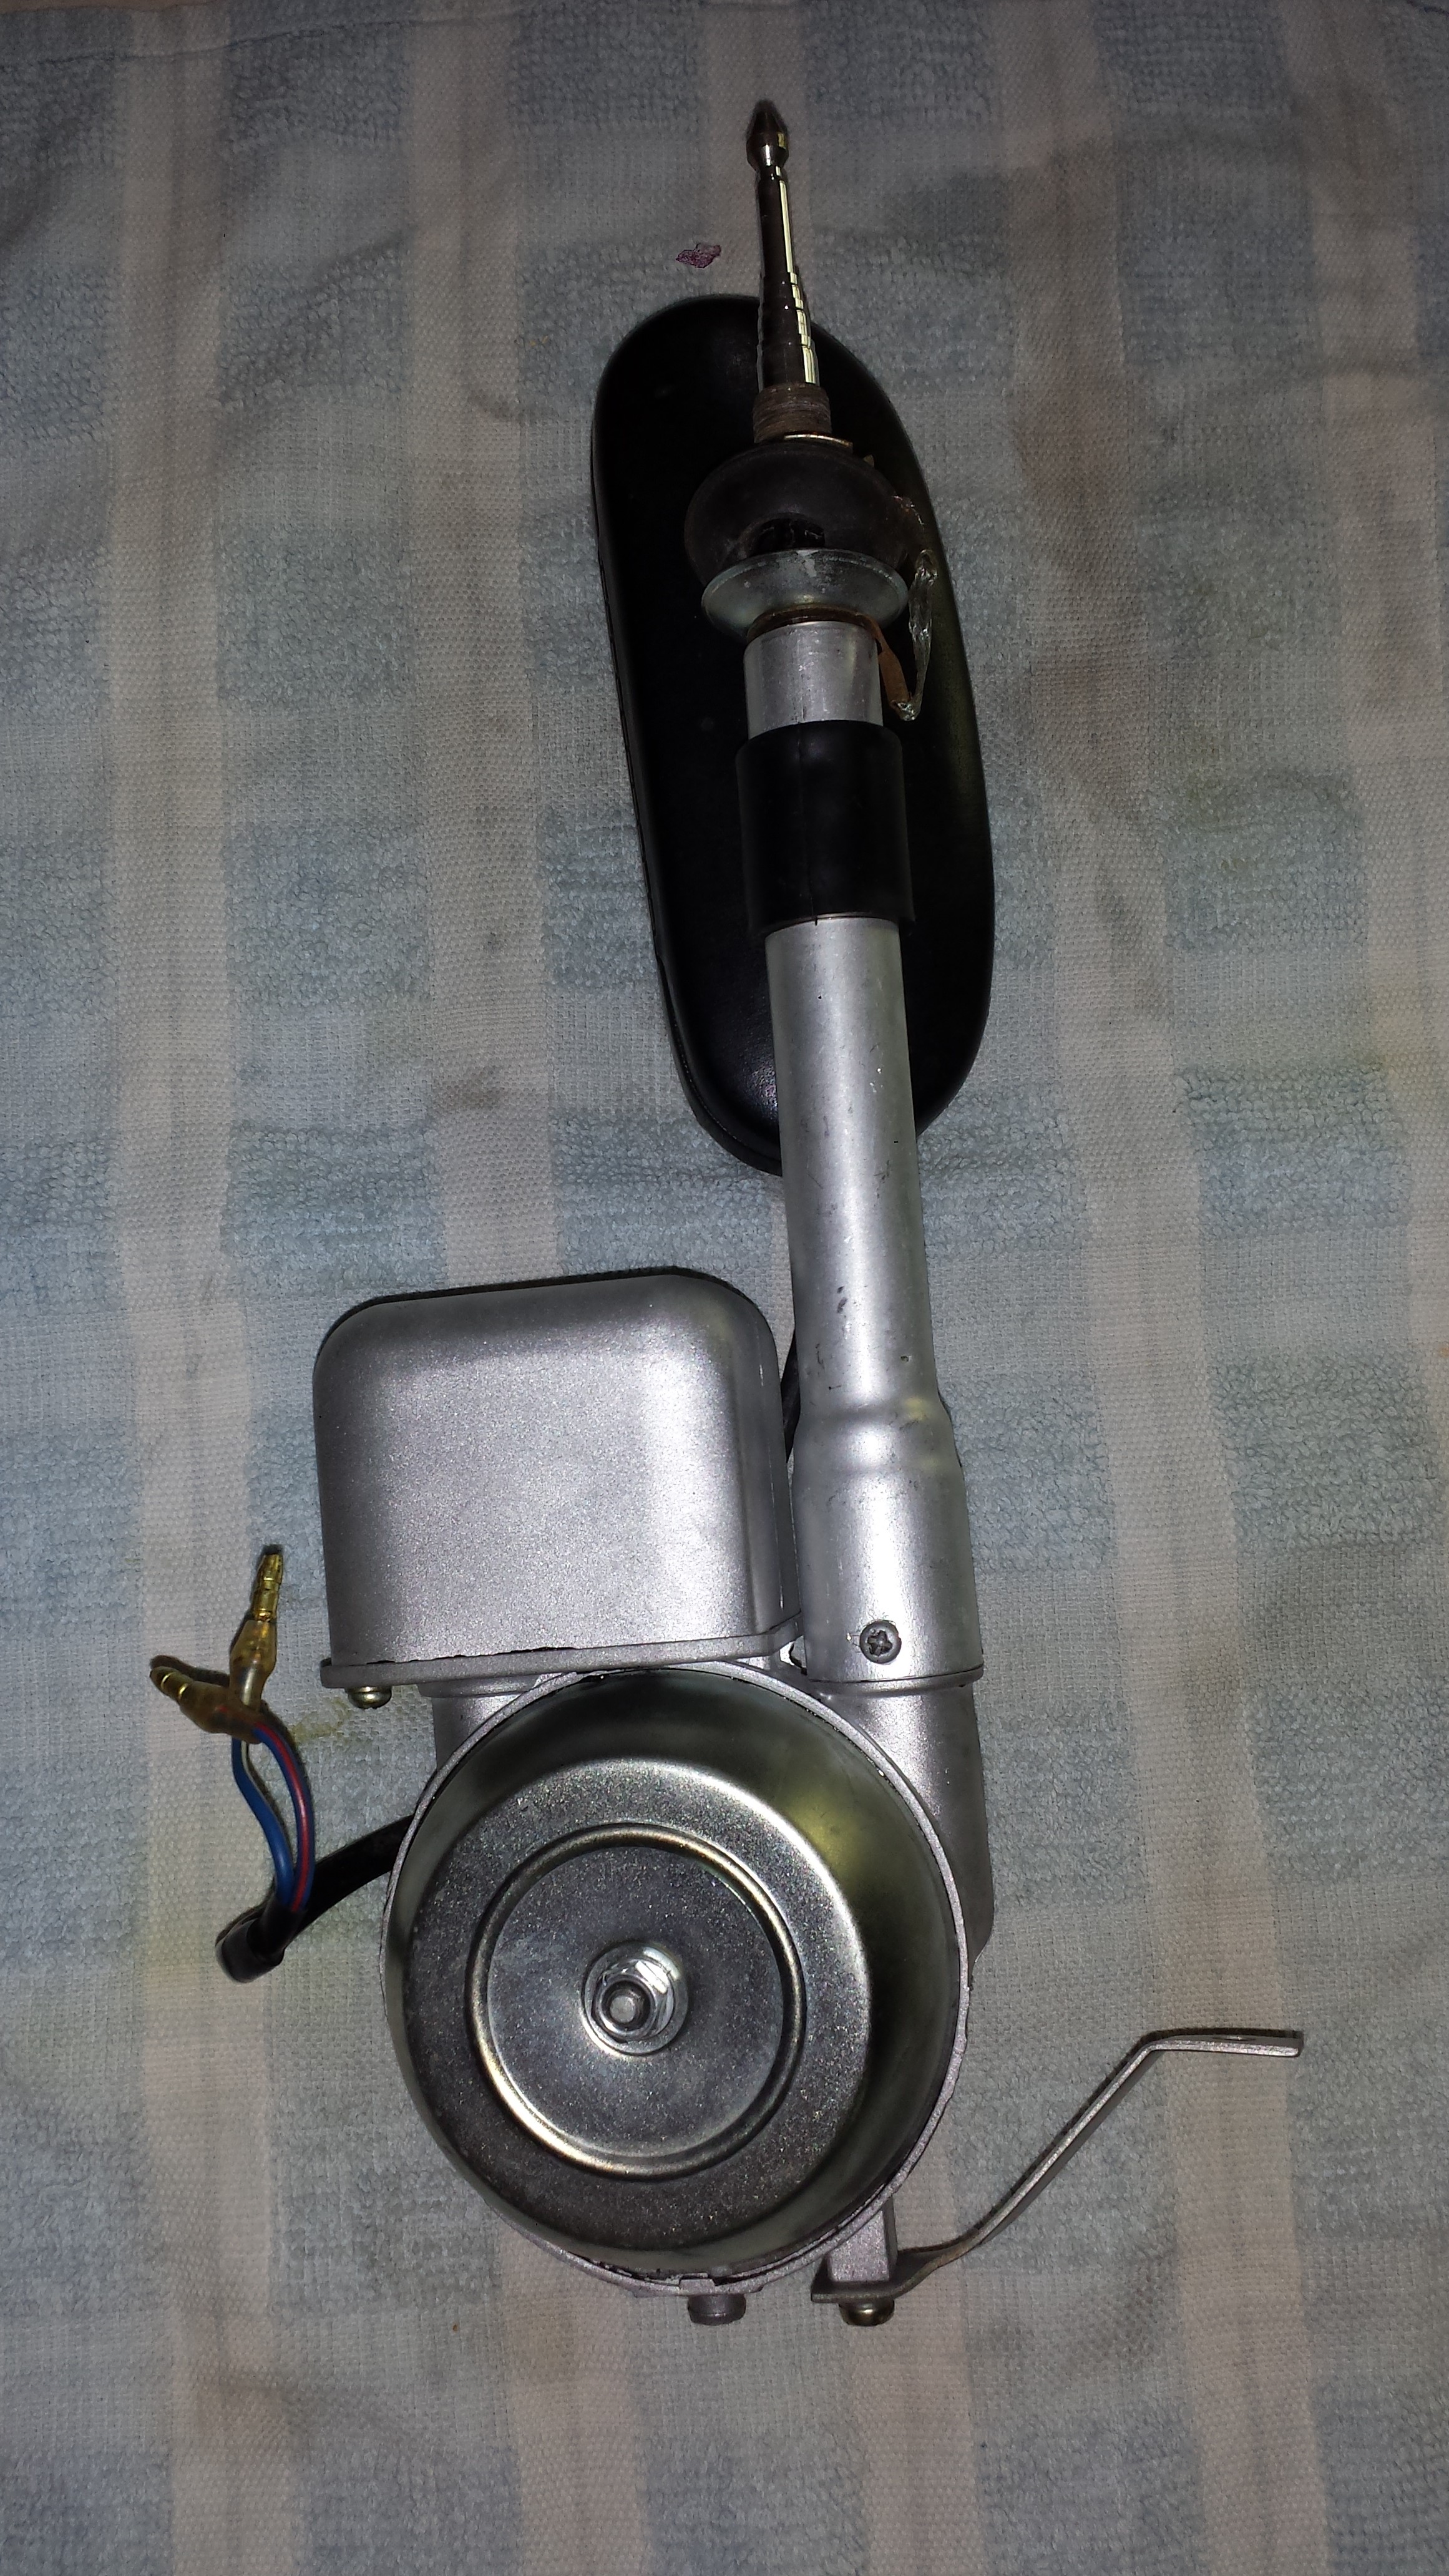
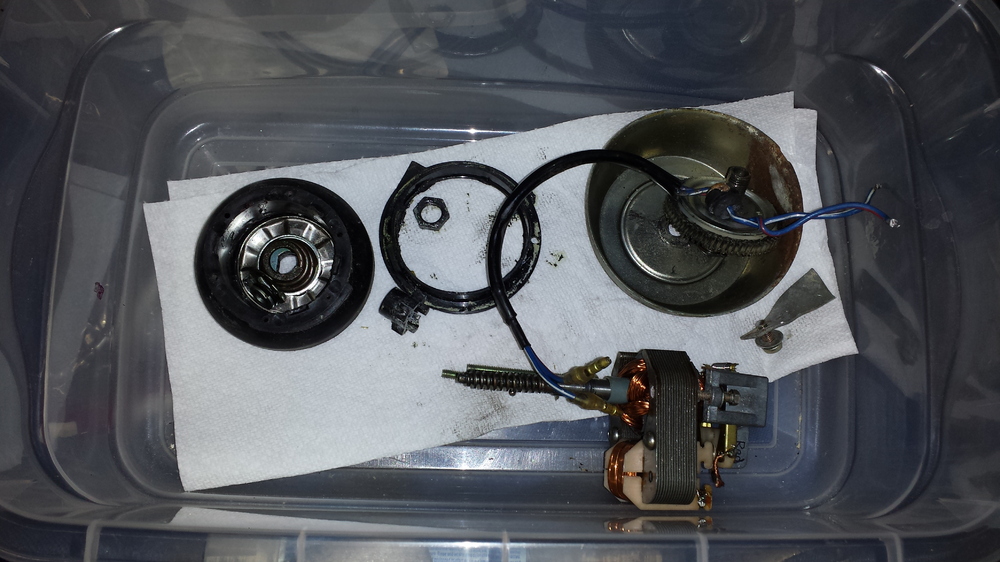
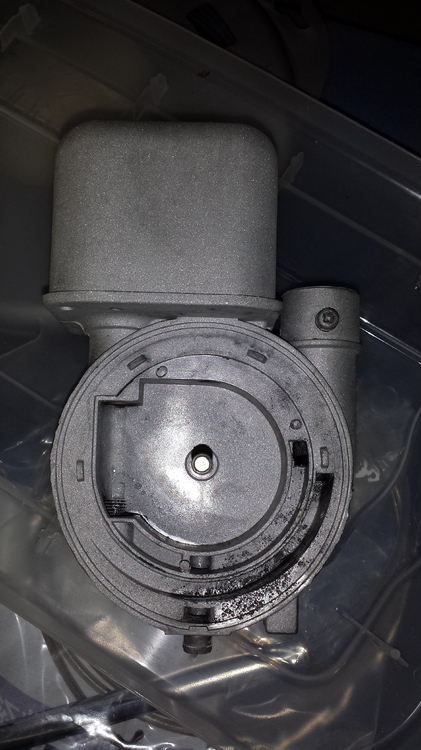
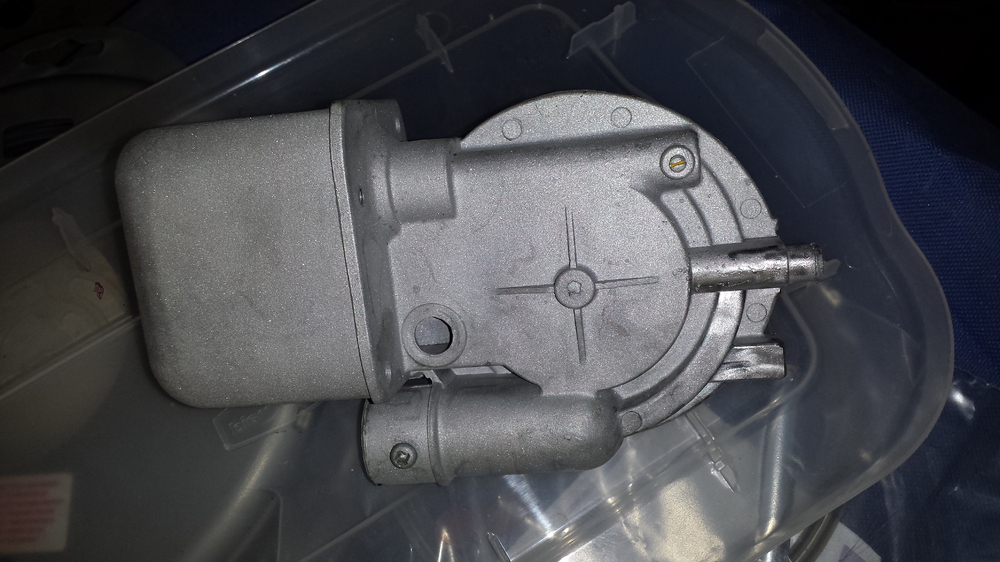
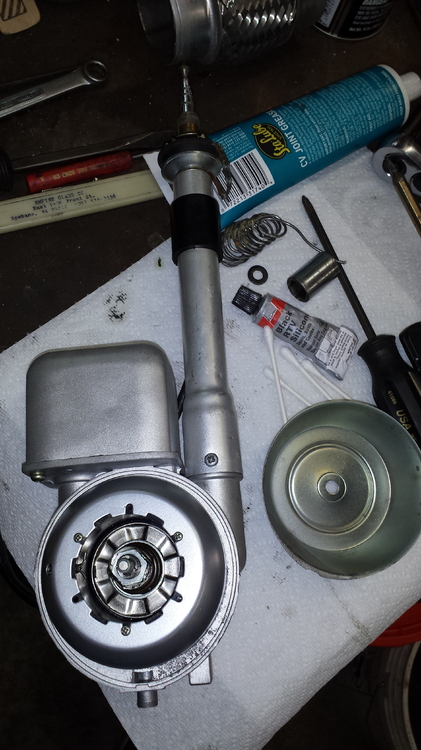
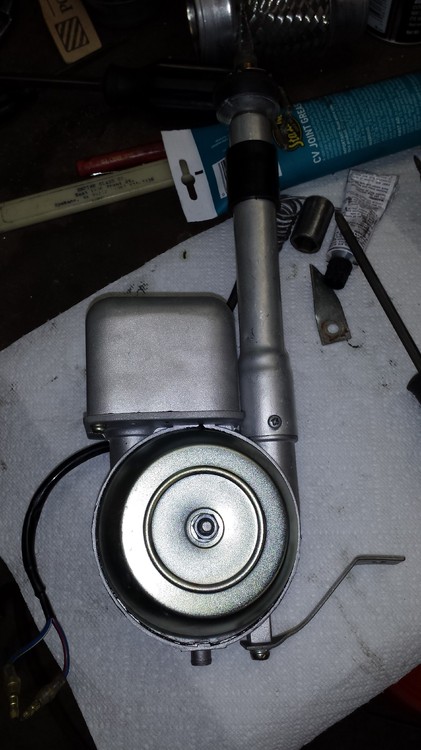
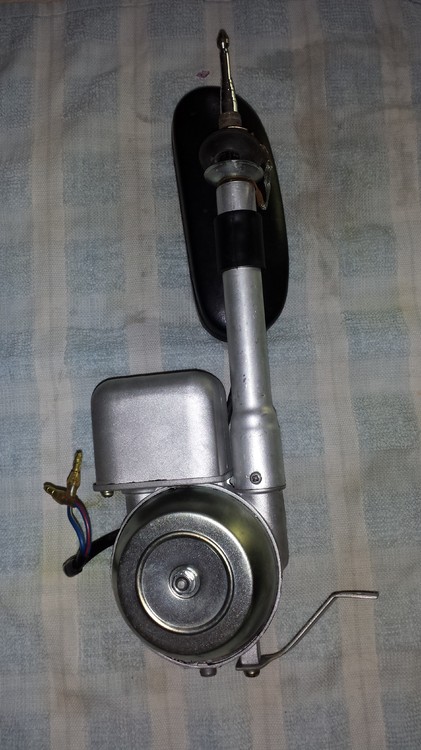
 I took this project on last year. I don't recall what brand of string I used (Gator?) but was able to find it 0.130 diameter. I ended up replacing the complete length of the string which required dismantling the entire antenna mast. Yes, the tip screws off. Some people actually glued them back in the day to keep the tip from being stolen, use heat sparingly though. Each section has a brass insert crimped to keep the mast from disassembling itself when retracted. I used a dremel cut-off wheel and cut just above each crimp (keep the brass insert for later use). When fully disassembled you will have a small pin that holds the line in the final antenna section. Remove the pin, if the line does not pull out then just drill out (be sure to be centered). Once you have it out measure what length cut it. The end of your line you plan to insert use 80 grit paper and scuff. I used gorilla glue (thin coat), insert into the antenna section and let cure, once cured then drill hole for pin and force pin through. You're ready for reassembly. As you reassemble each antenna section insert the brass insert and crimp. You antenna is ready for reassembly. My housing was corroded so I stuck it in the blasting cabinet, cleaned it up, lubed what needed (gears) lubed and reassembled. Looks and works like new.
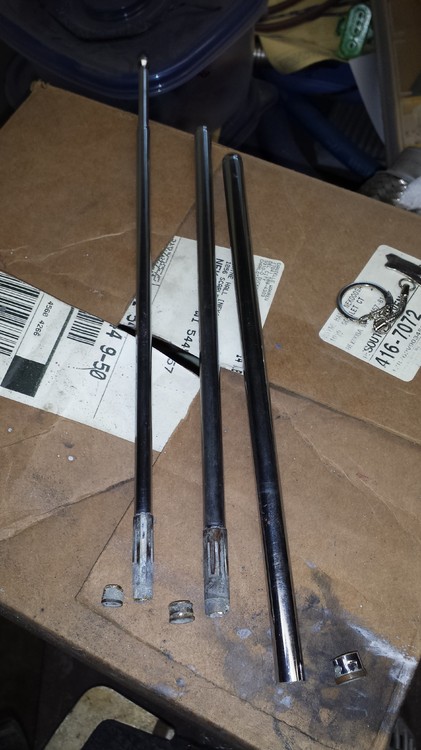


 1 point
 -
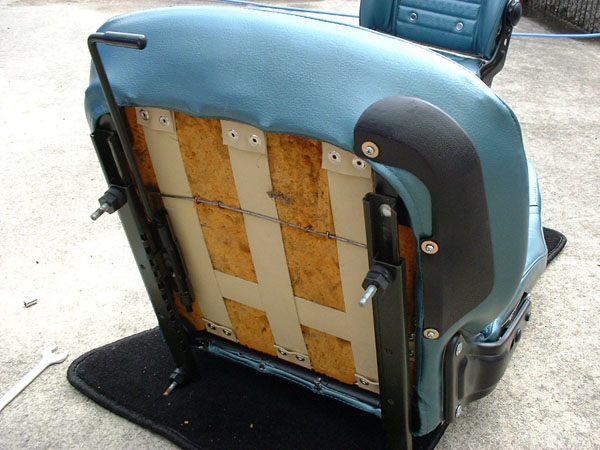
 The breakdown above includes the prices of everything I had to buy that I did not already have. It comes out to $582 so if you split that it comes to $291 and that is of course my time being worth $0. If I was paying myself $10/hr and have 8 hours in it, that brings the total ito $371 for the single seat.1 point
 -
 1 point
.jpg.1a265f290ed5dd69f515186066bf4114.jpg)