


Leaderboard
-


wheee!
Free Member7Points4,607Posts -


Diseazd
Free Member6Points3,335Posts -


Zed Head
Free Member2Points18,794Posts -

lonetreesteve
Free Member2Points1,700Posts
Popular Content
Showing content with the highest reputation on 05/15/2020 in all areas
-
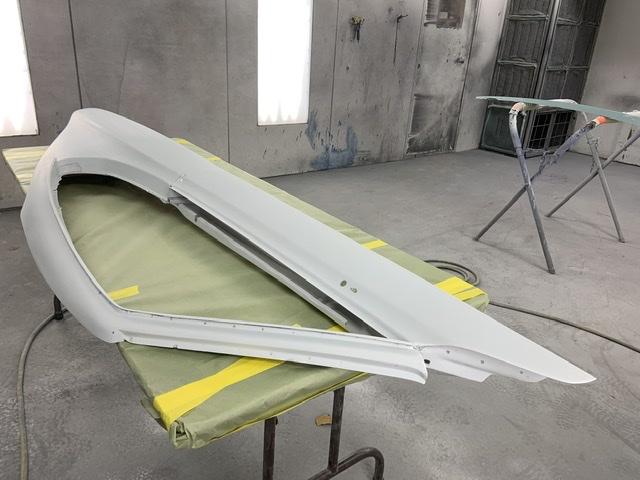
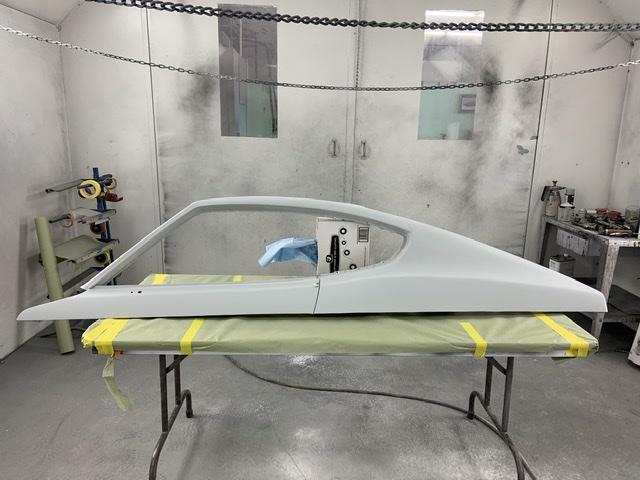
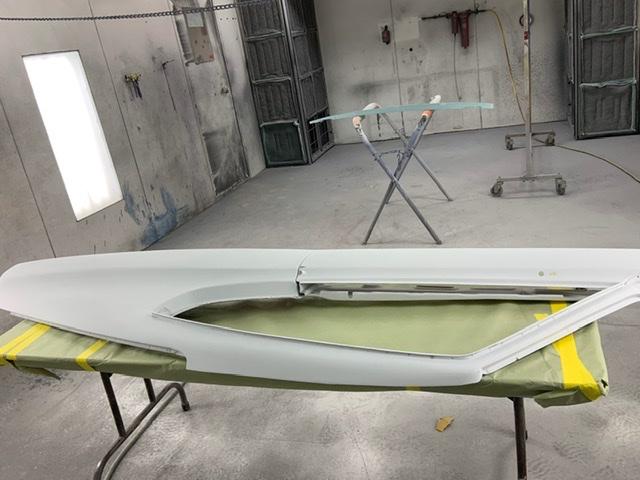
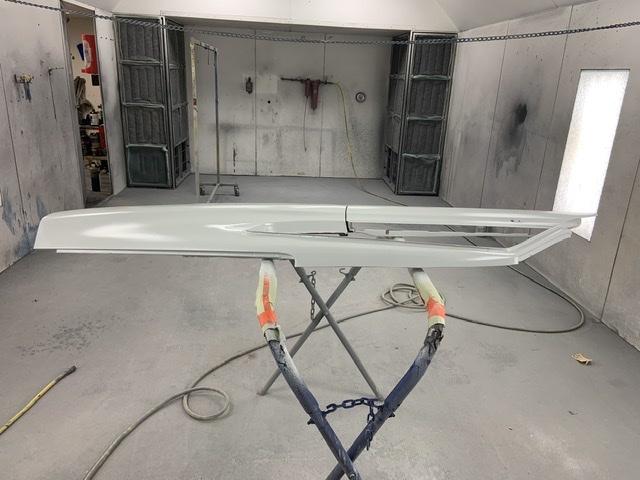
3 pointsMy painter just sent these after block sanding....Safari Gold tomorrow.....I hope.
 3 points
 -
3 points
-
3 pointsFinally......Our painter is committed to finish my sculpture this weekend. I’ll take him the trim tomorrow and he should be finished Saturday....fingers crossed!
 3 points
 -
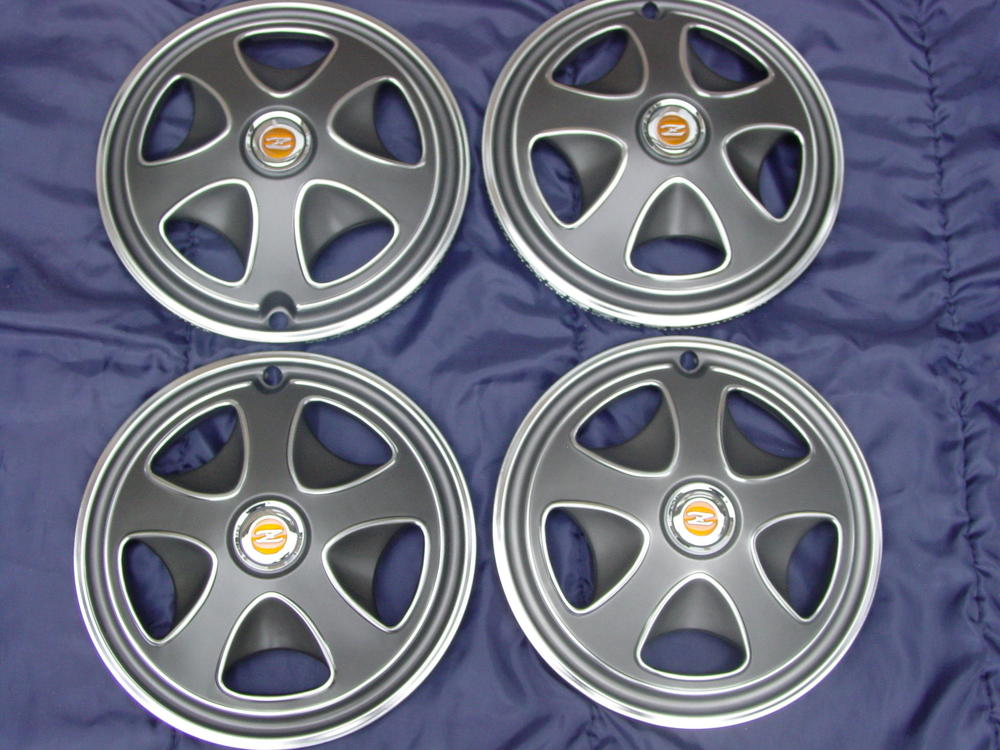
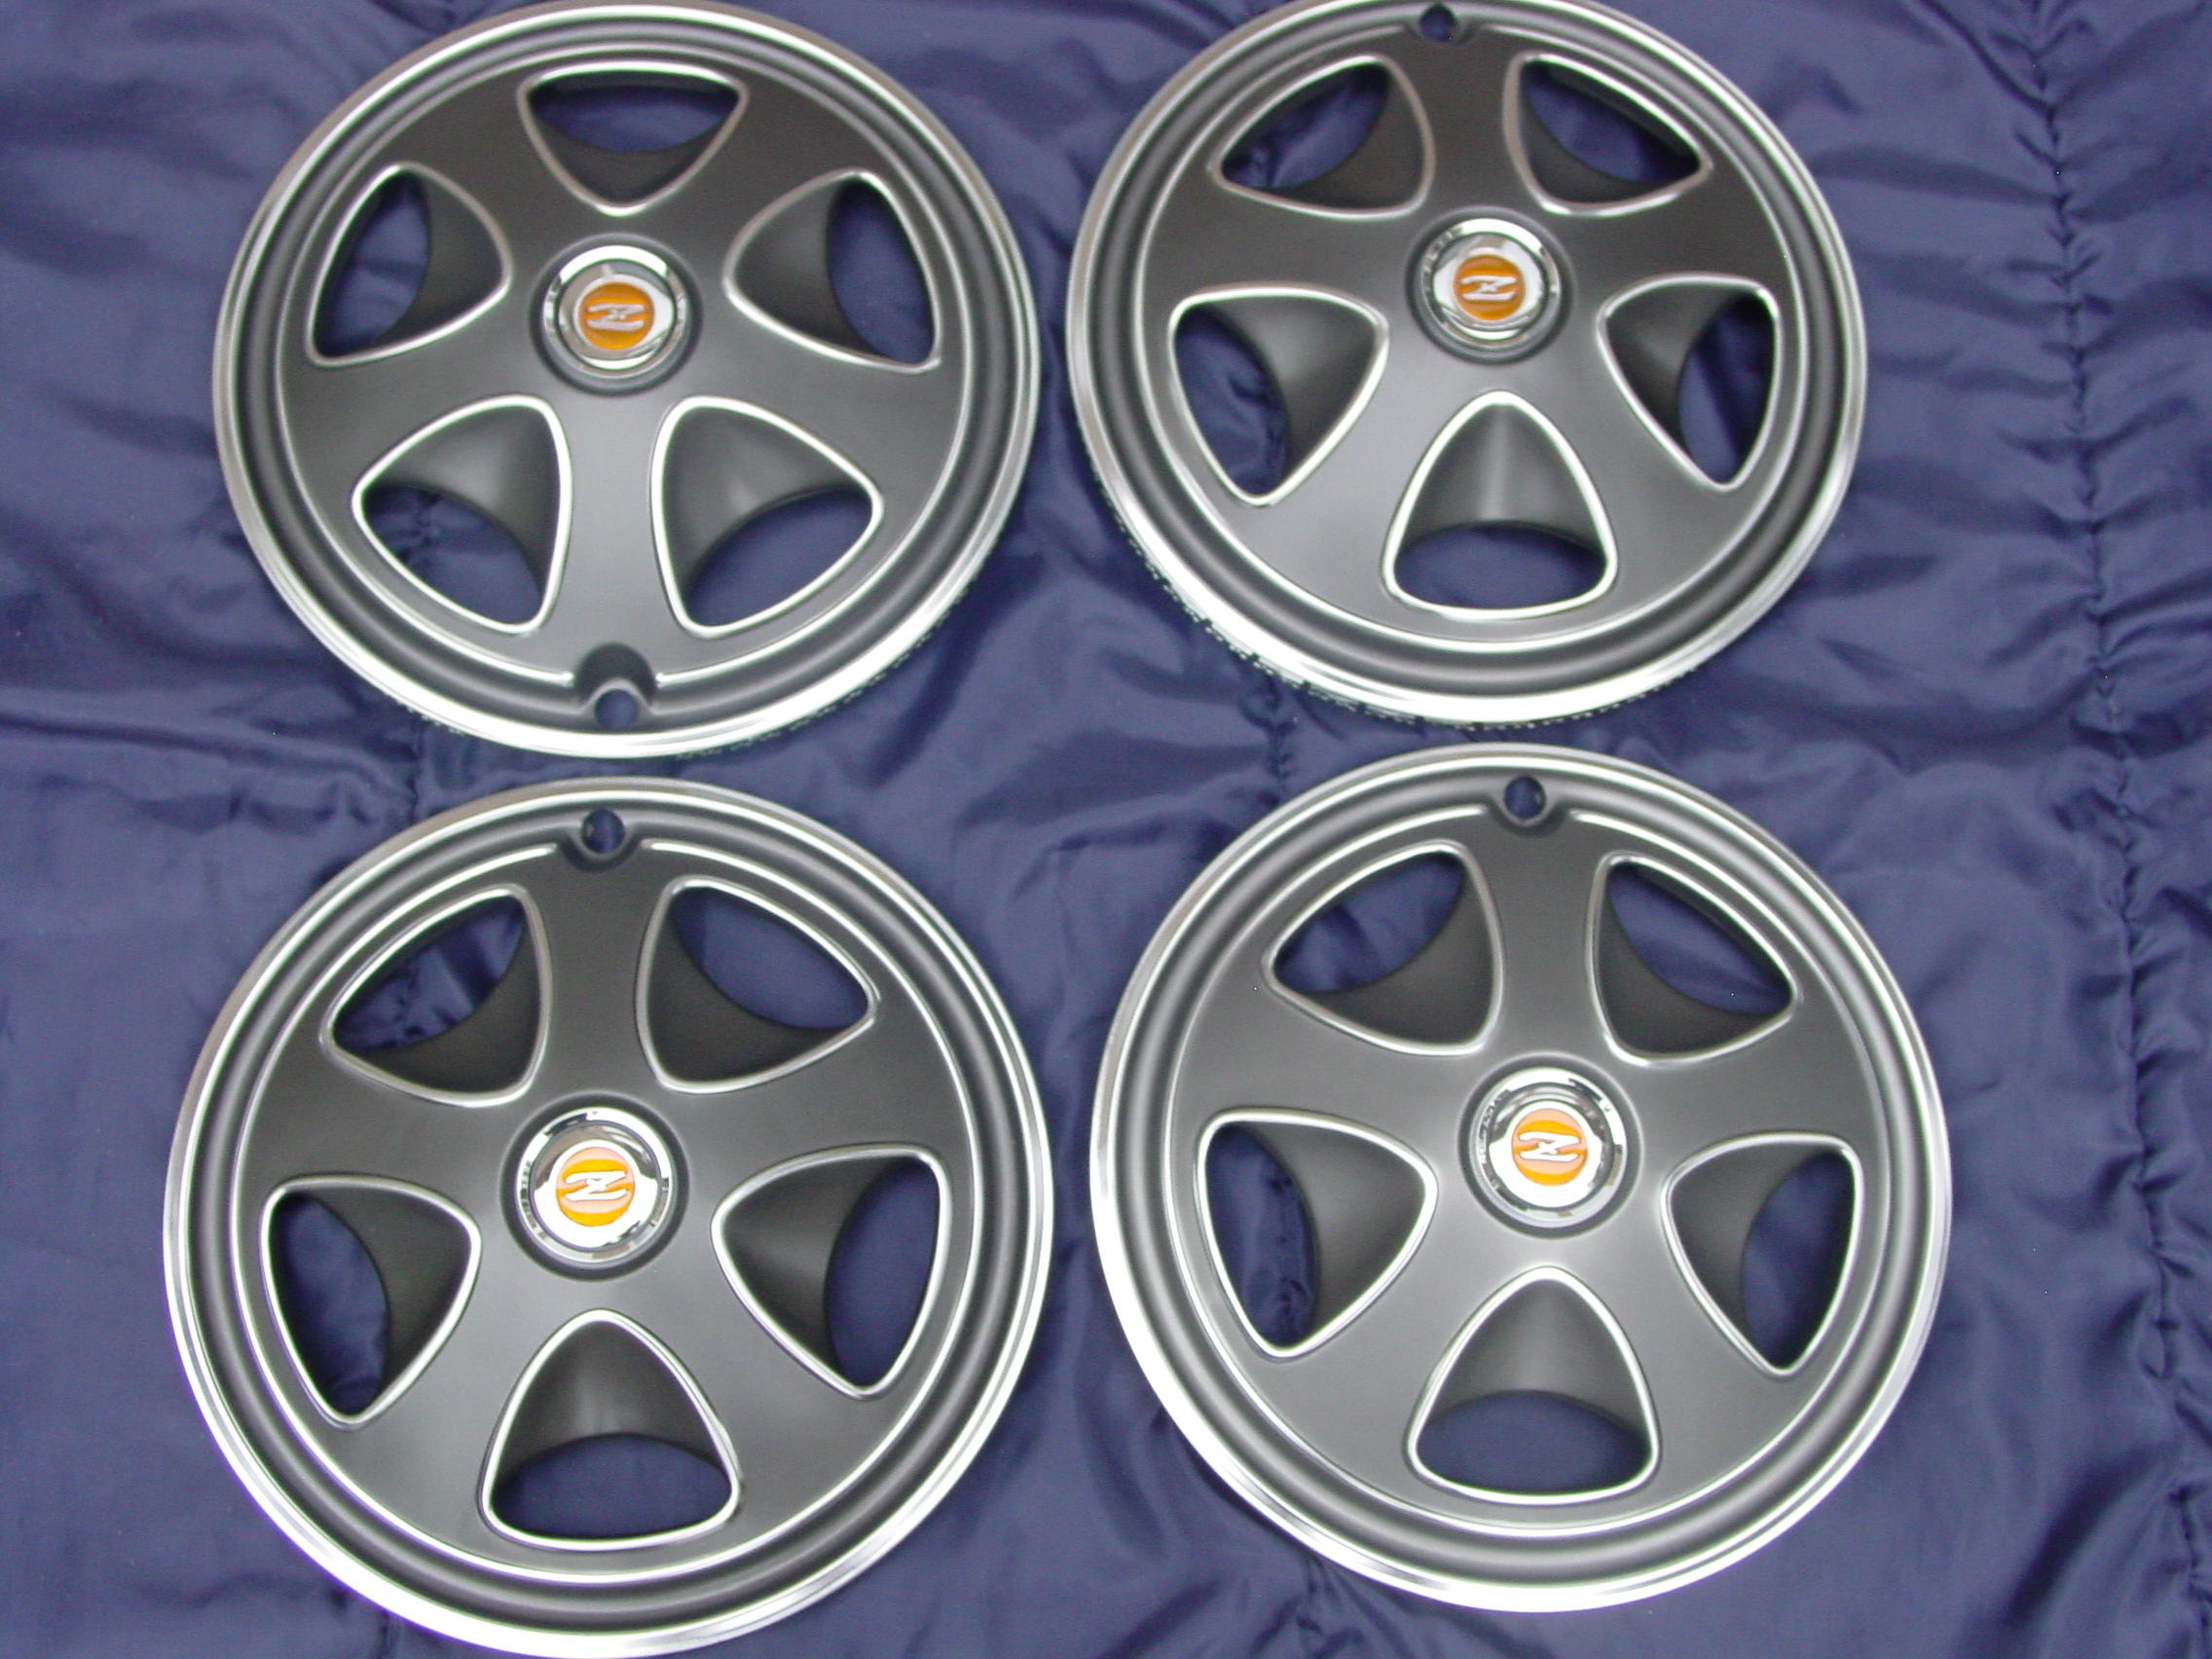
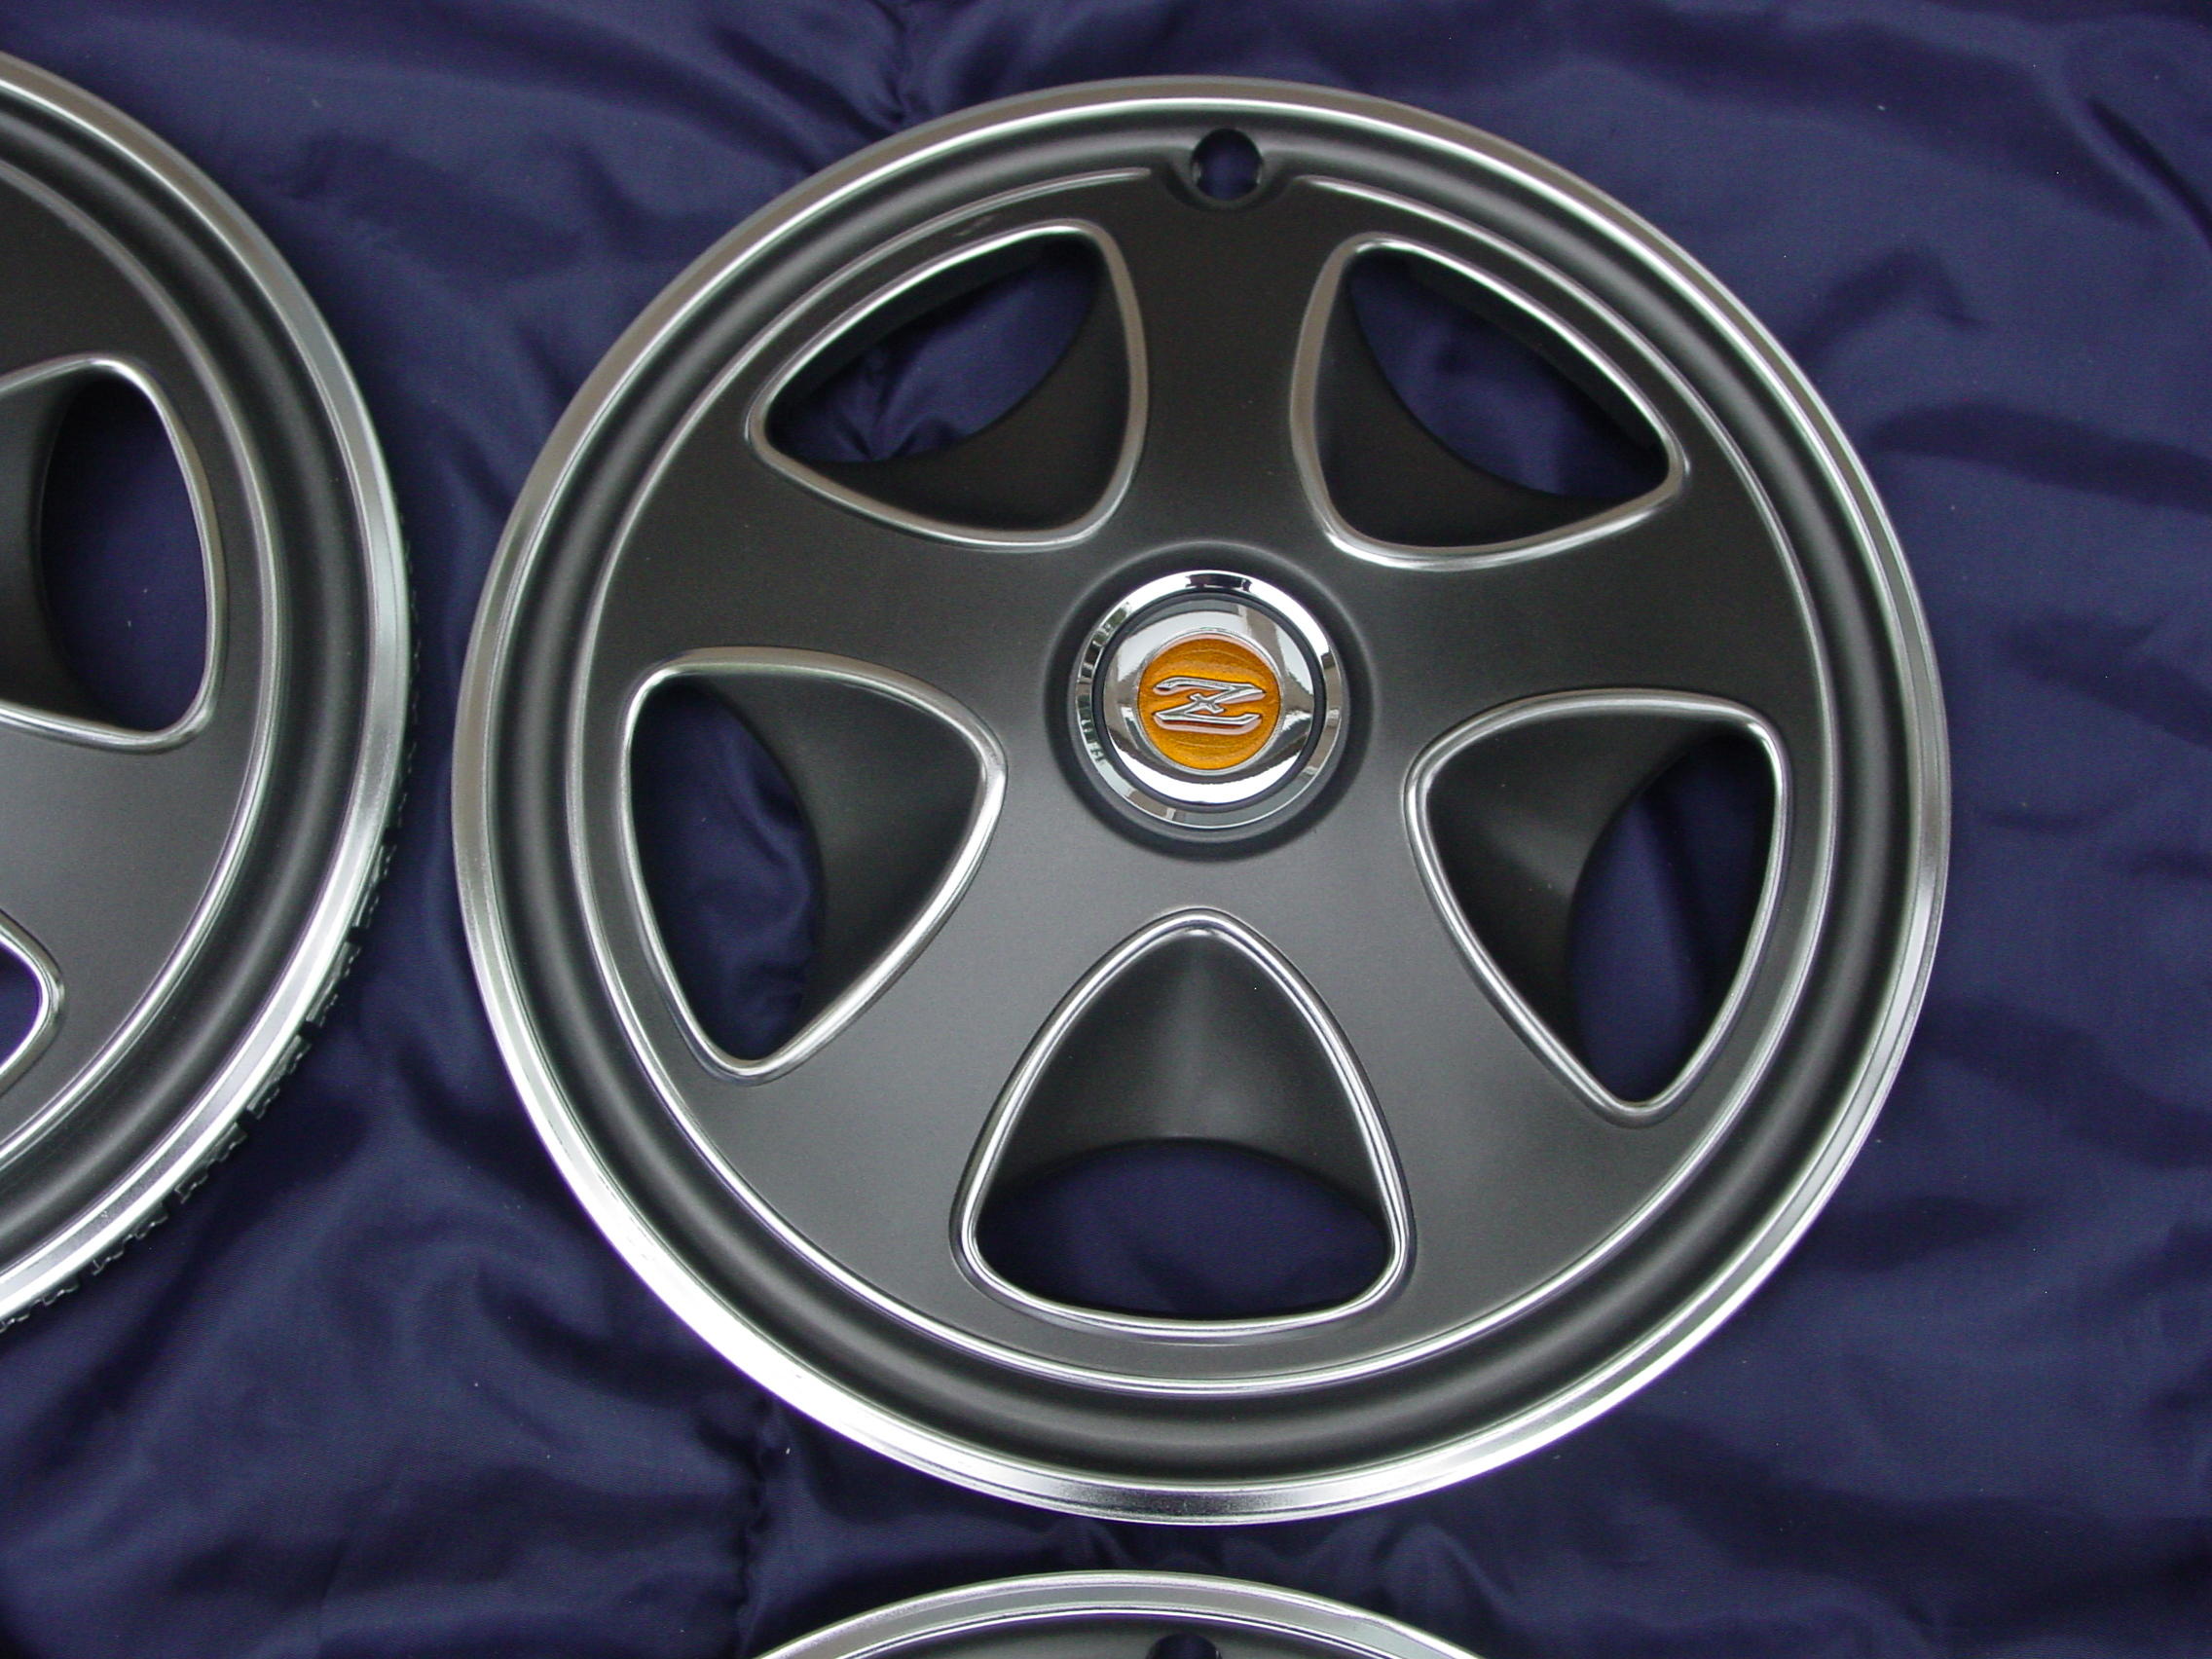
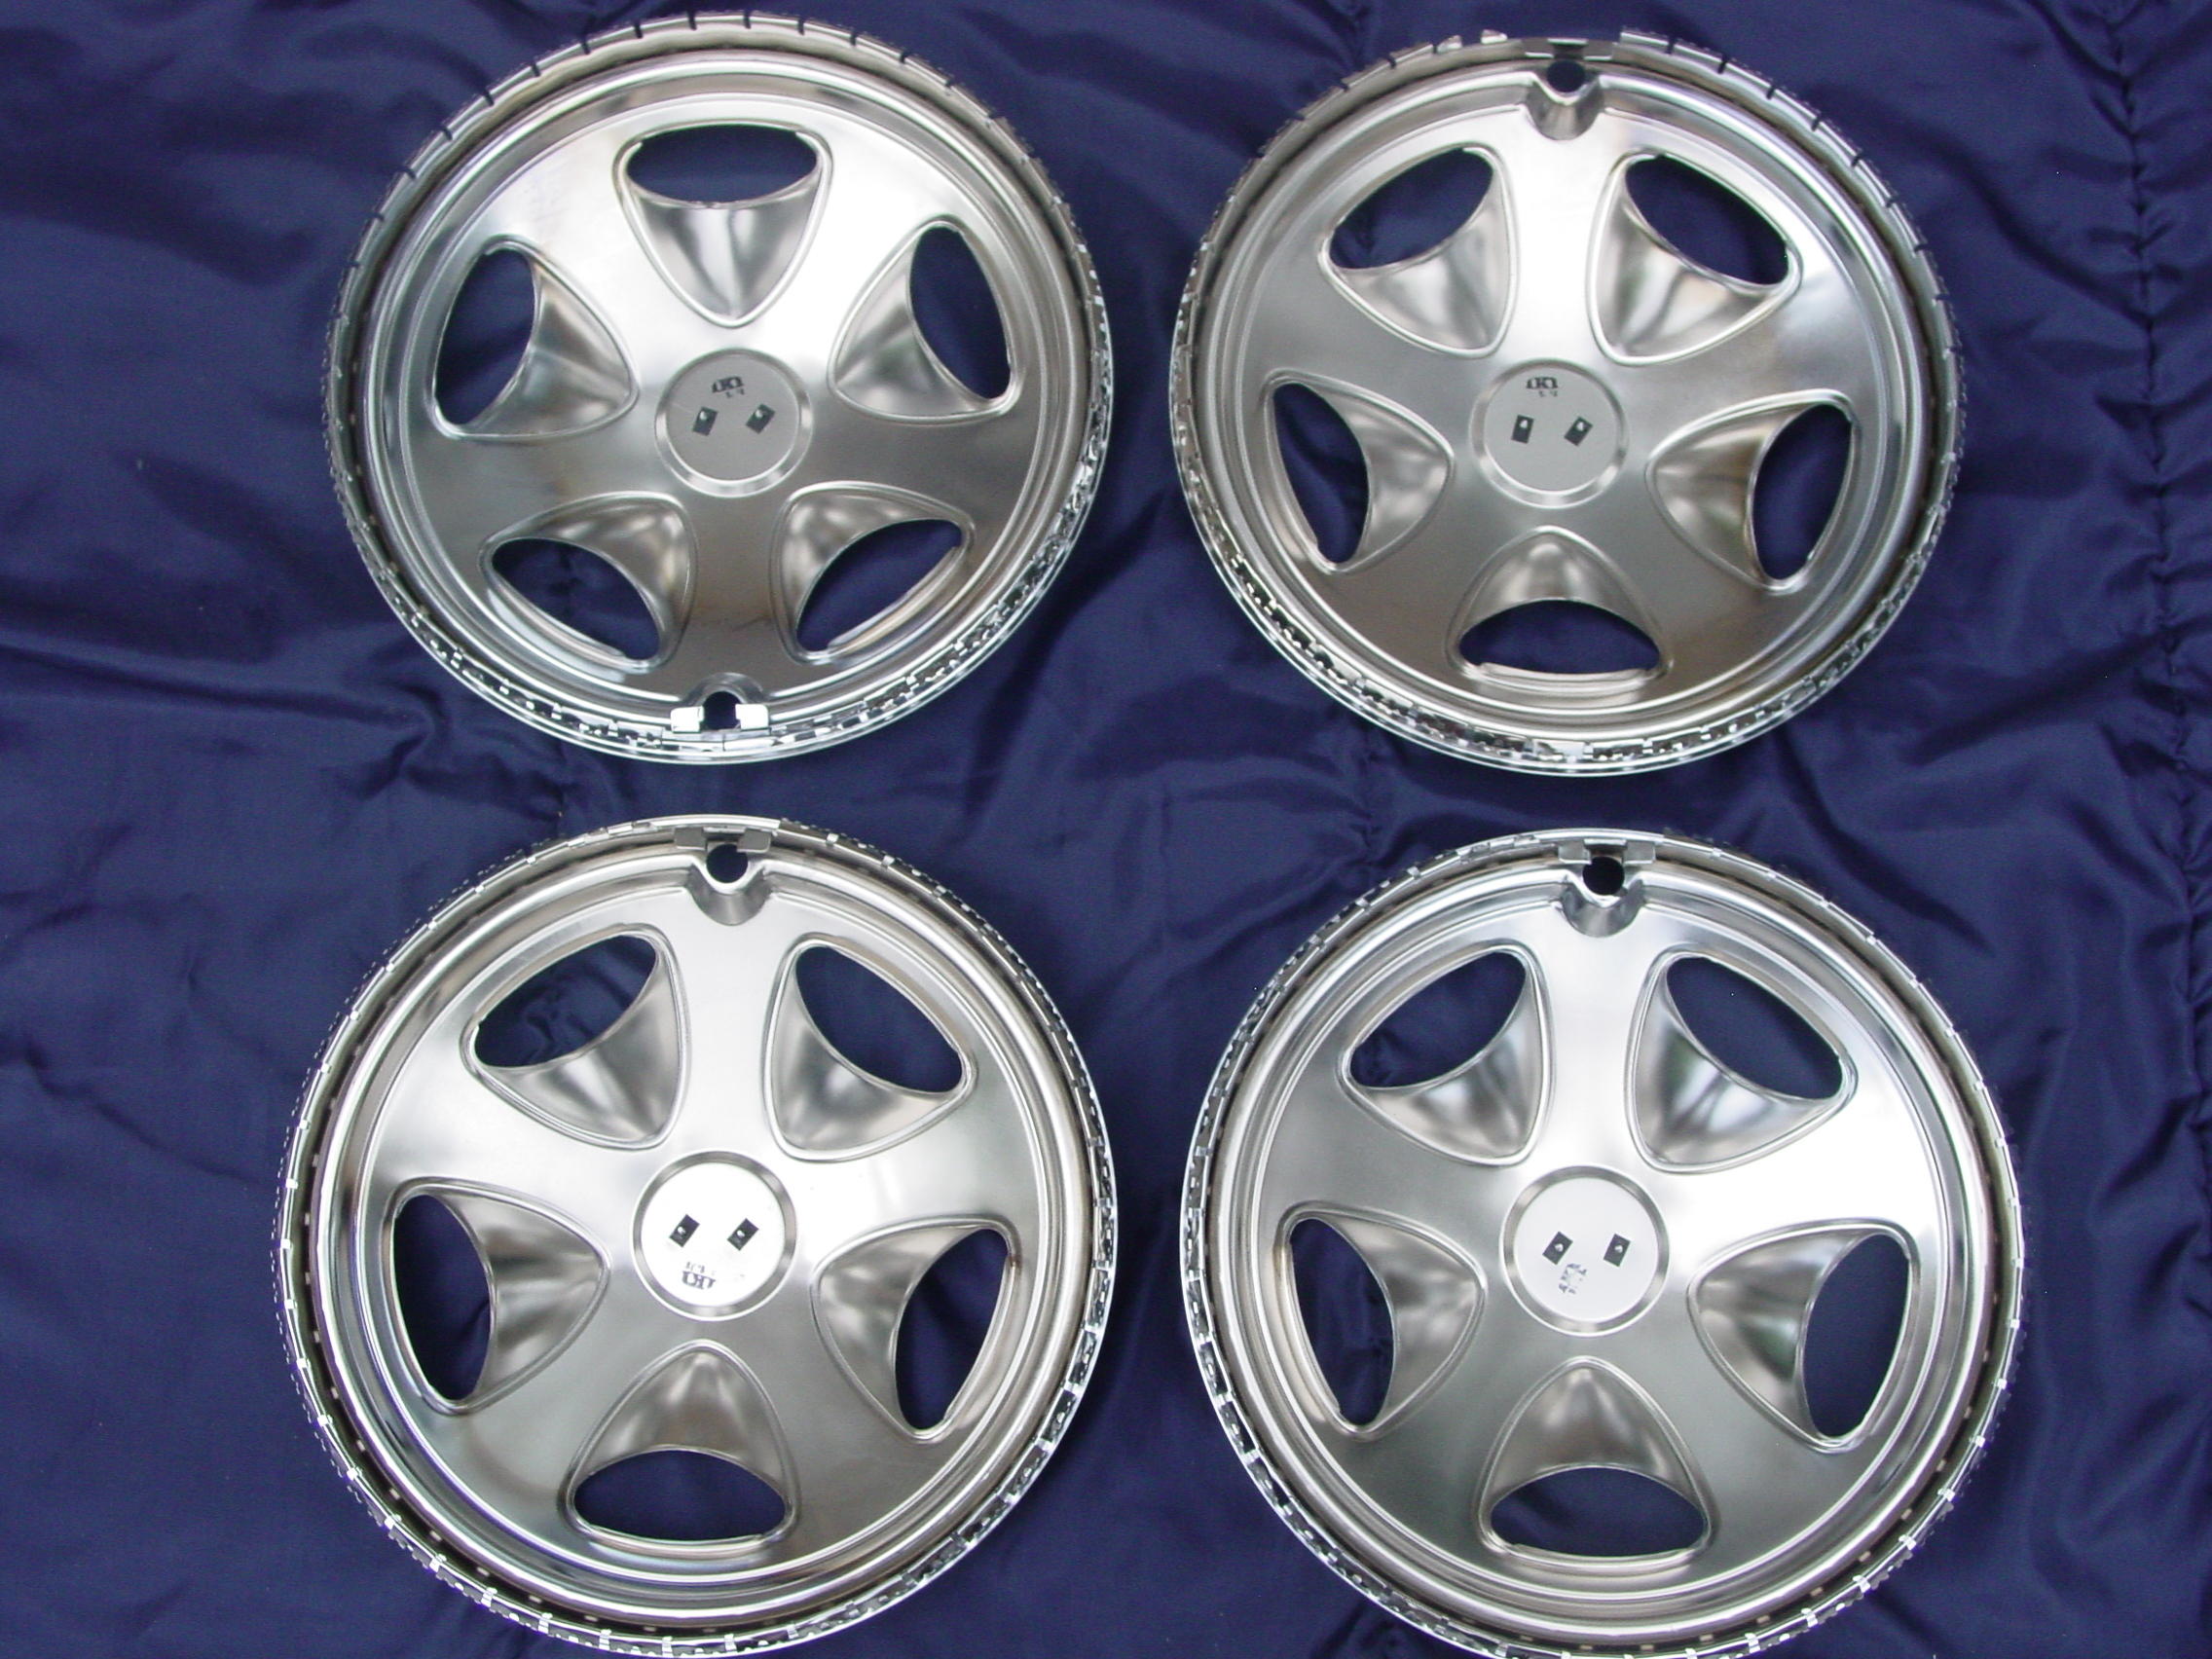
2 pointsMy set of Z hubcaps arrived earlier today and they are better than I ever expected, being NOS and have their original packing materials!


 2 points
 -
 1 pointTry reaching out to @zclocks on the forum. He would be the expert in that.1 point
 -
1 point
-
 1 pointThe damper is a "transitional" device to temporarily slow the rise of the piston when there is a rapid increase in the air speed through the venturi. This has the effect of richening up the mixture for a short period of time. The damper does nothing to affect the piston position during steady state conditions. If you're already running lean on transition, then running without a damper will only make that worse. @RS02 , You've got so much stuff going on that I find it hard to get a "baseline" from which to operate. I don't know anything about "Rebello modified" carbs, but my (non-expert) suspicion is if they bored out the throat and changed the venturi area, it will have the effect of leaning out the mixture at the same airflow. So unless you're pulling in more air to make use of the new larger venturi area, then things are not going to work out well. A thinner needle may help mitigate that situation, but I wonder if those carbs were more intended for flat out WOT (track) performance more than street driving. I agree with the sentiment above that it would be a good idea to drop back to a set of "normal" SU's and see what happens. Just so many variables...1 point
 -
 1 point
 -
1 pointMy comment was just from the basics of Venturi and Bernoulli. Where did your pasted picture come from? Actually, there's a balance between air velocity and pressure and needle position (effective orifice size). That's where things get messy. As I understand things the oil controls the rate of piston movement, the speed, but not the steady state. In other words a thick oil and a thin oil should put the piston in the same place at steady RPM. I'm no carb expert but a set of stock carbs might be a good starting point just to see how the combination of engine parts work. Then go to the "upgraded" carbs. You don't really know what has been done to the ones you have.1 point
-
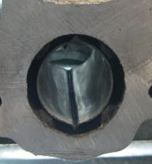
1 pointRound port should work fine on a P79 head. The P79 and the N47 both have exhaust liners that are smaller than the hole in the head casting. It's the liner opening that needs to match and it's round. The liners are designed to get really hot and burn off carbon and, maybe, excess fuel and oil. Keeps the exhaust system, and the exhaust cleaner. The first picture in this link shows the port. You can see the liner in it. http://xenonzcar.com/s130/Heads.html
 1 point
 -
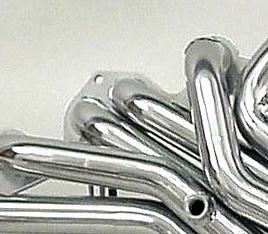
 1 pointThanks, I sent the guy a message and he said they’re round port. Some photo investigation (shape of center flange) they appear to be pacesetter ceramic coated headers. Pacesetter doesn’t sell SS only black or ceramic coated. you can see the flange is exactly the same. Different on the MSA, It comes with the Y pipe too. For a $100 I don’t think I can beat it. New ones are over $400. If they suck Ill sell them.
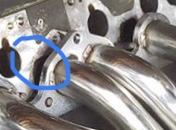
 1 point
 -
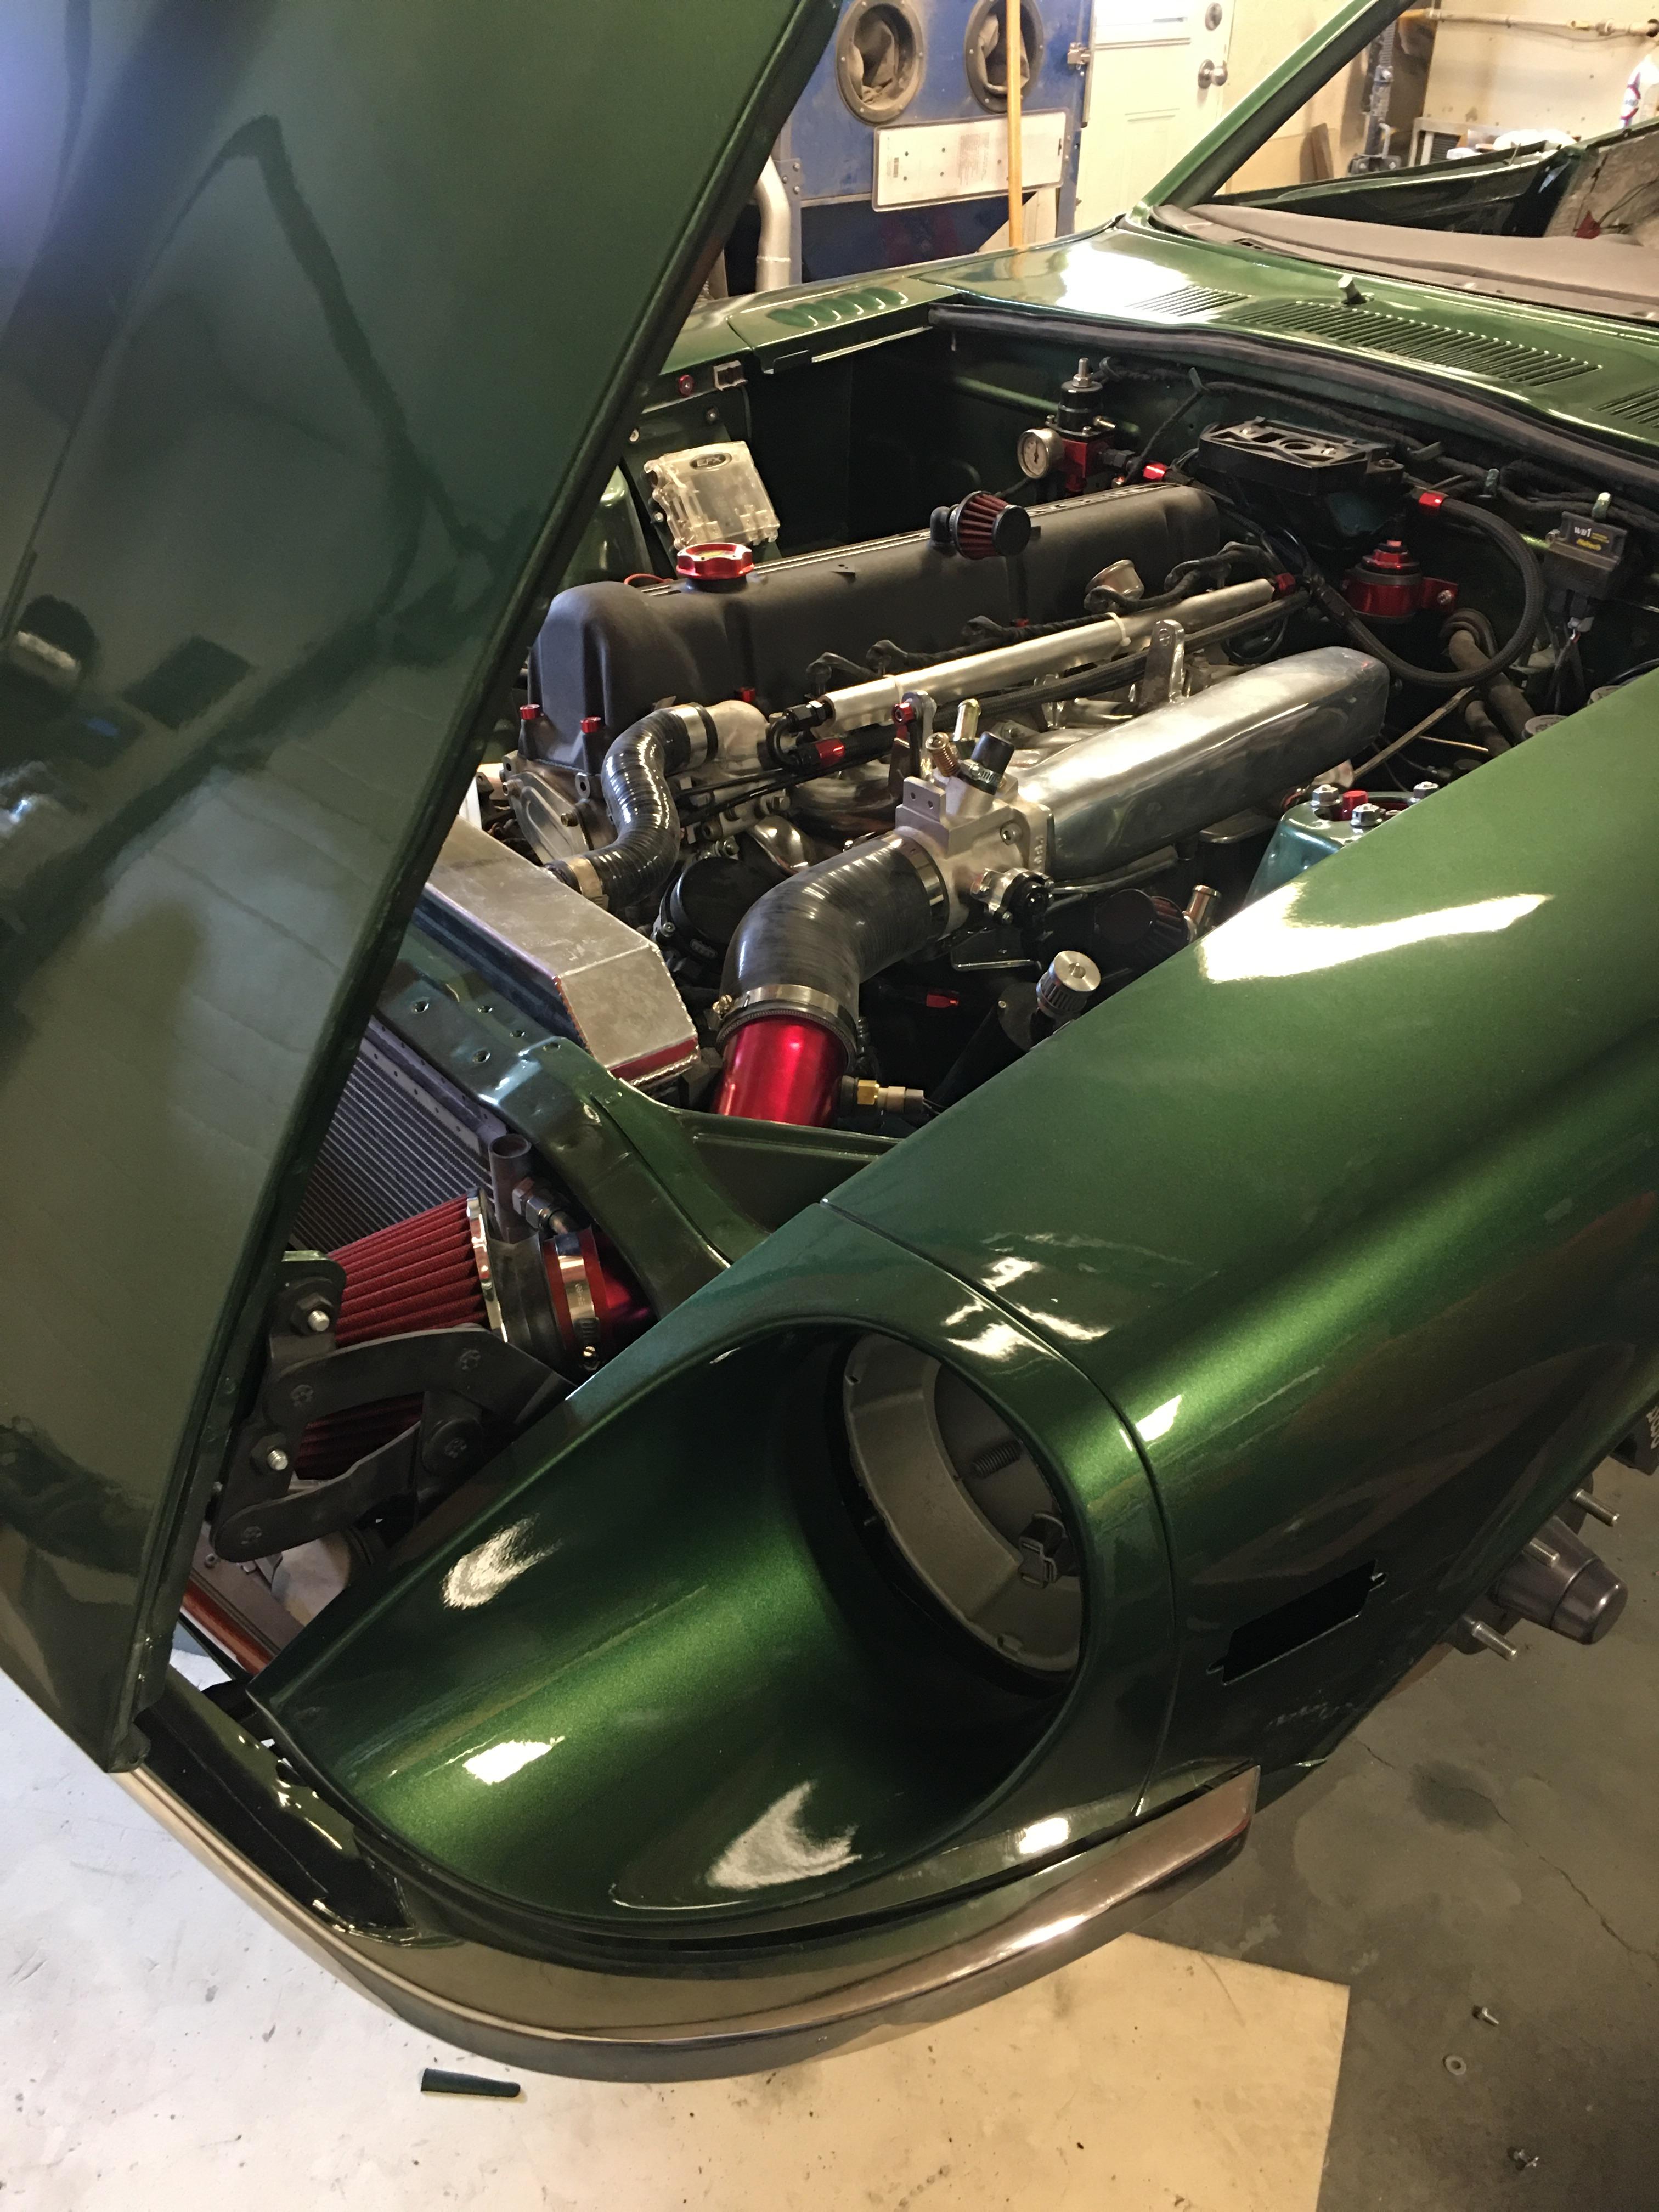
1 pointAlso, if anyone is wondering what all those white wires are for in the fusible links.... Four of them go to the starter motor positive for a straight feed from the battery cable. I replaced all of that with a new fuse block. I need to wrap the wires and replace the cover etc, but it’s a nice mod. Voltage display for the first 30 seconds of ignition/accessory. LEDs to show fuse integrity.


 1 point
 -
1 pointHey @zKars, your old bumper is still pretty shiny! Thanks to @EuroDat for the awesome bracket kit. Perfect fit and I am very pleased.

 1 point
 -
 1 point
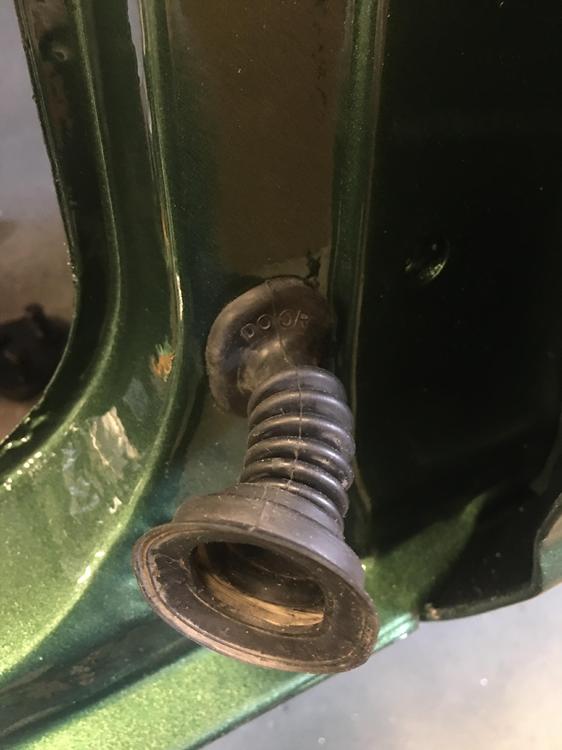
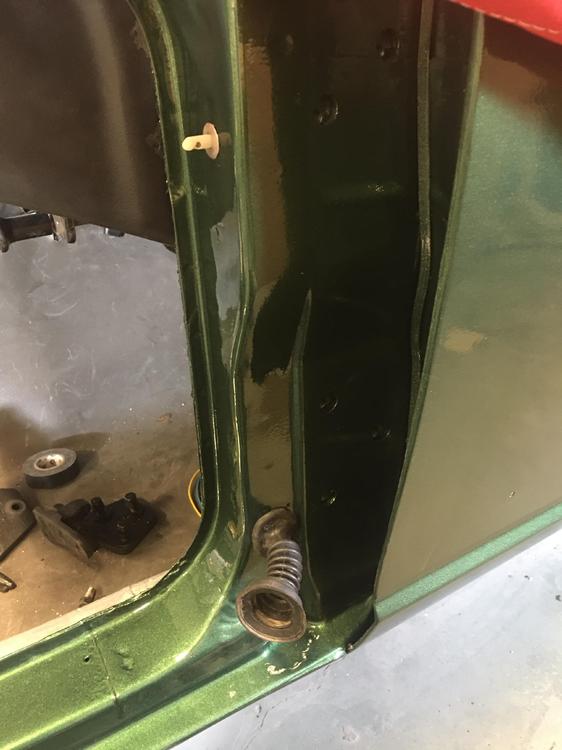
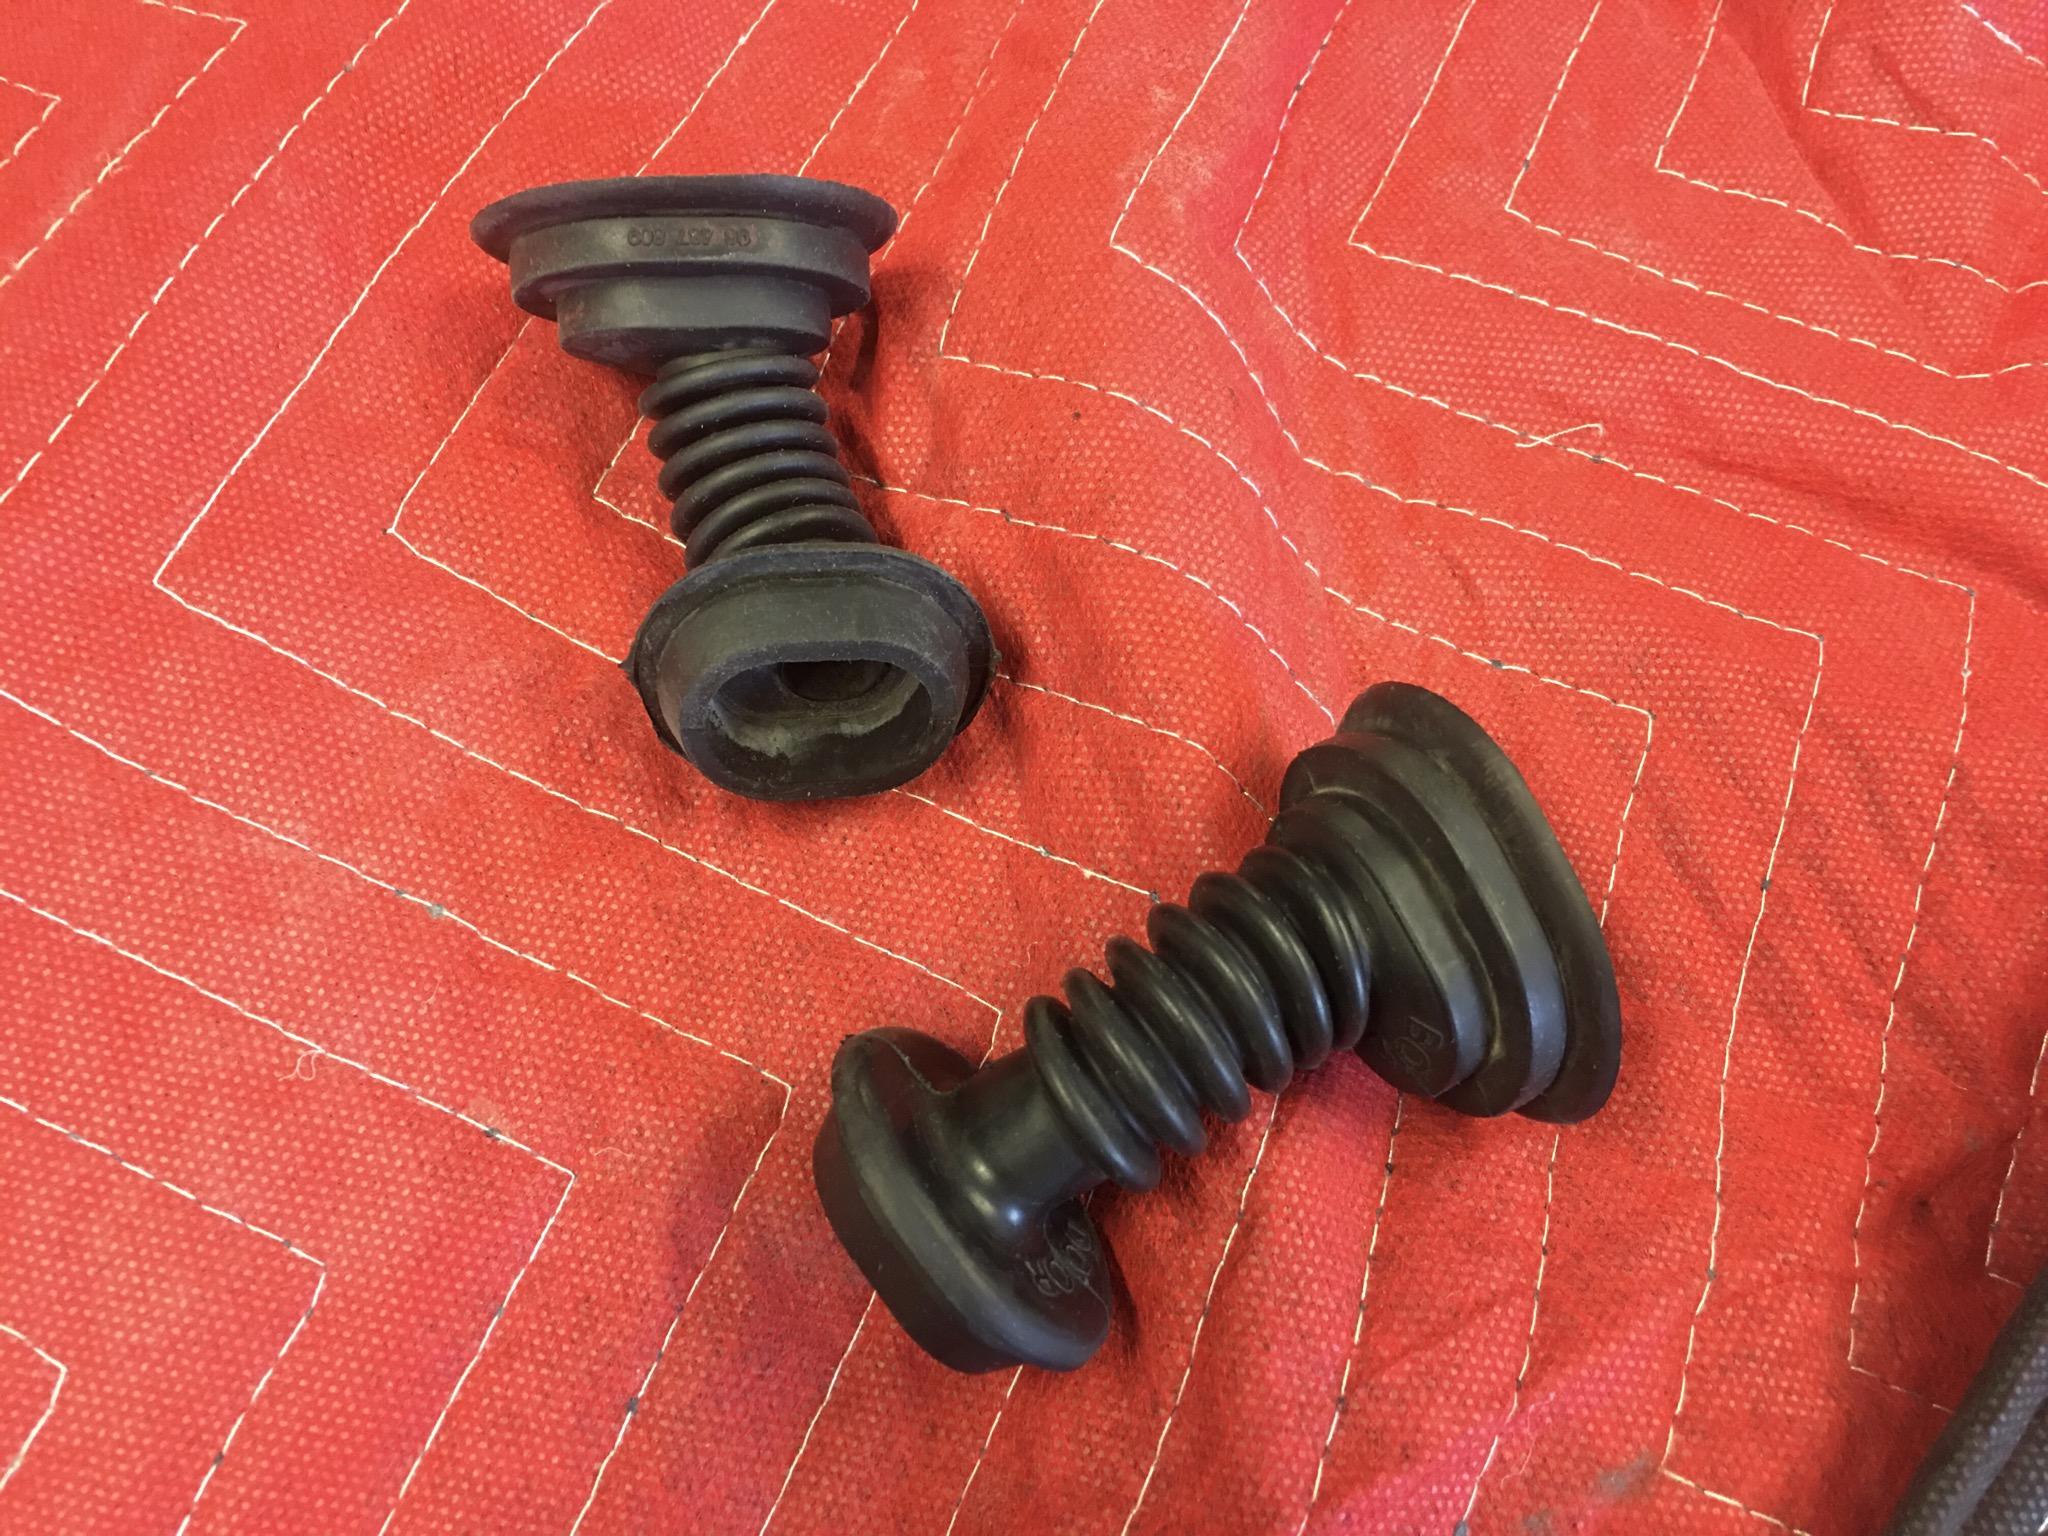
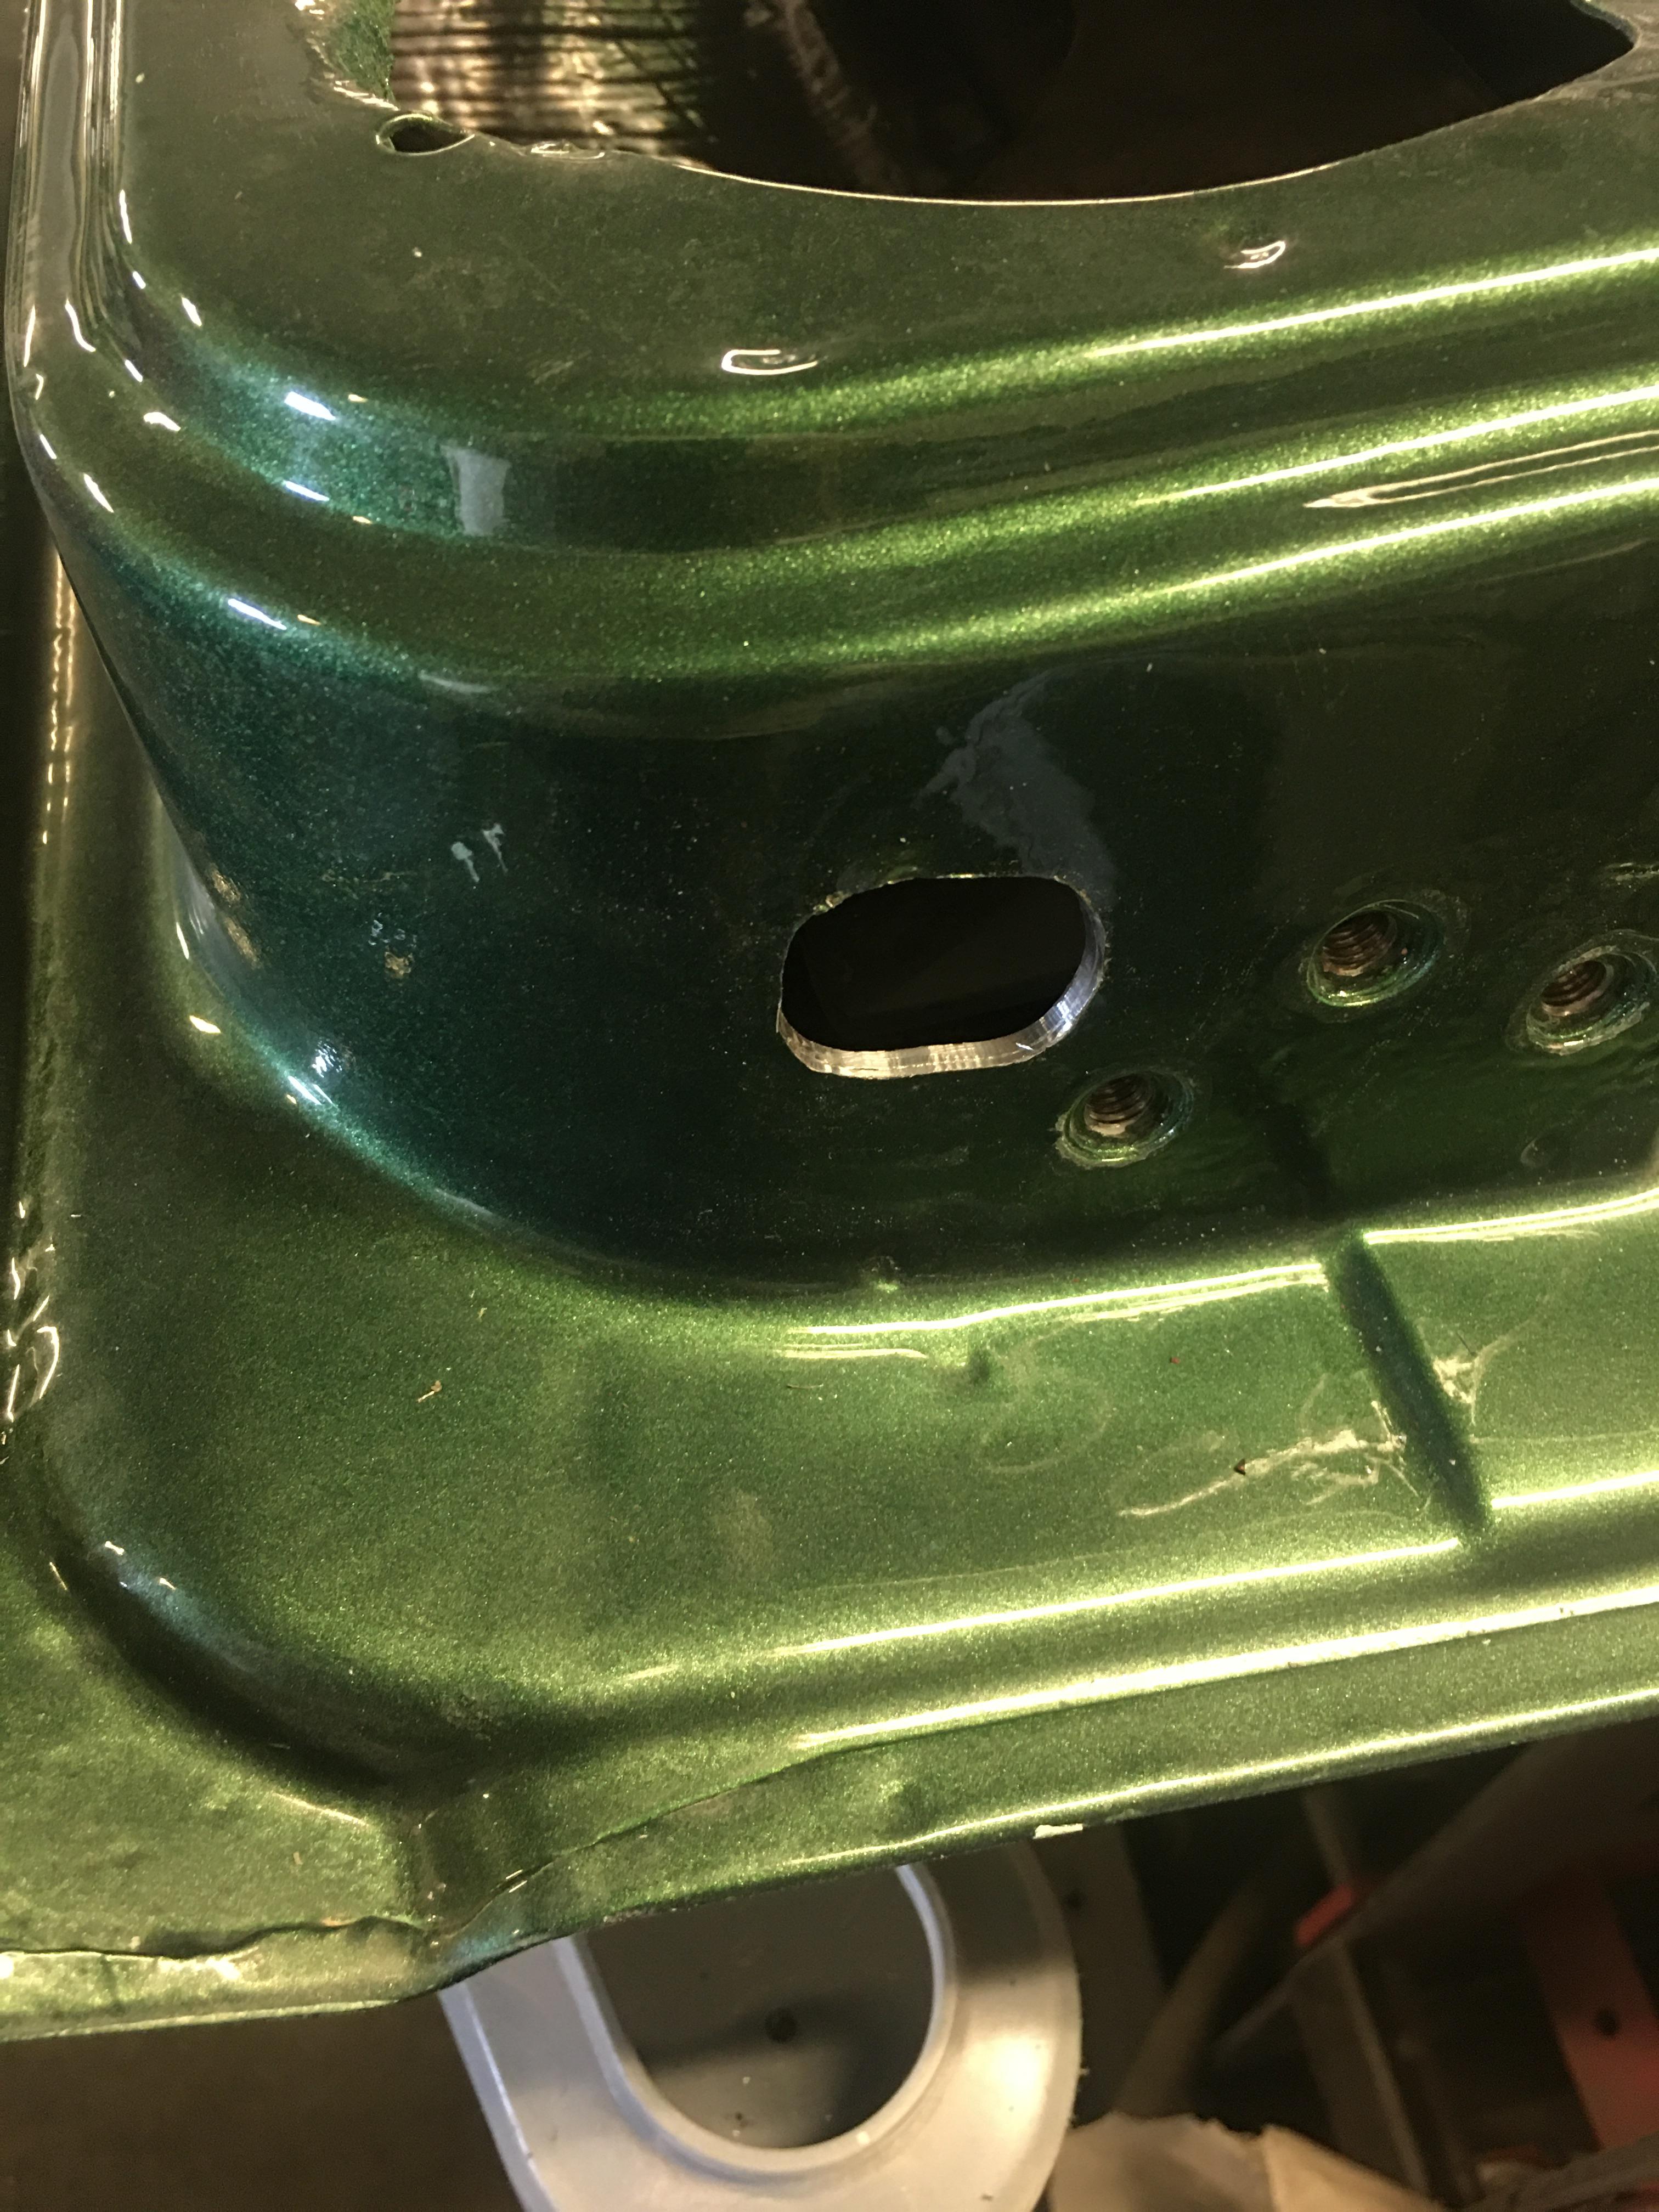
A quick trip to the JY and I have my door grommet solution. I believe it was an older Cavalier that gave up the rear door boots. I traced the opening size onto tape on the paint and then ground out the grommet size from that. A little permatex in behind and we are good to go!
1 point
1 pointA quick trip to the JY and I have my door grommet solution. I believe it was an older Cavalier that gave up the rear door boots. I traced the opening size onto tape on the paint and then ground out the grommet size from that. A little permatex in behind and we are good to go!


 1 point
 1 point


Important Information
By using this site, you agree to our Privacy Policy and Guidelines. We have placed cookies on your device to help make this website better. You can adjust your cookie settings, otherwise we'll assume you're okay to continue.