Leaderboard
-


red67
Free Member4Points35Posts -

grannyknot
Free Member3Points5,158Posts -


Dave WM
Free Member2Points3,591Posts -

inline6
 Subscriber
 2Points1,222Posts
Popular Content
Showing content with the highest reputation on 08/10/2020 in all areas
-
4 points
-
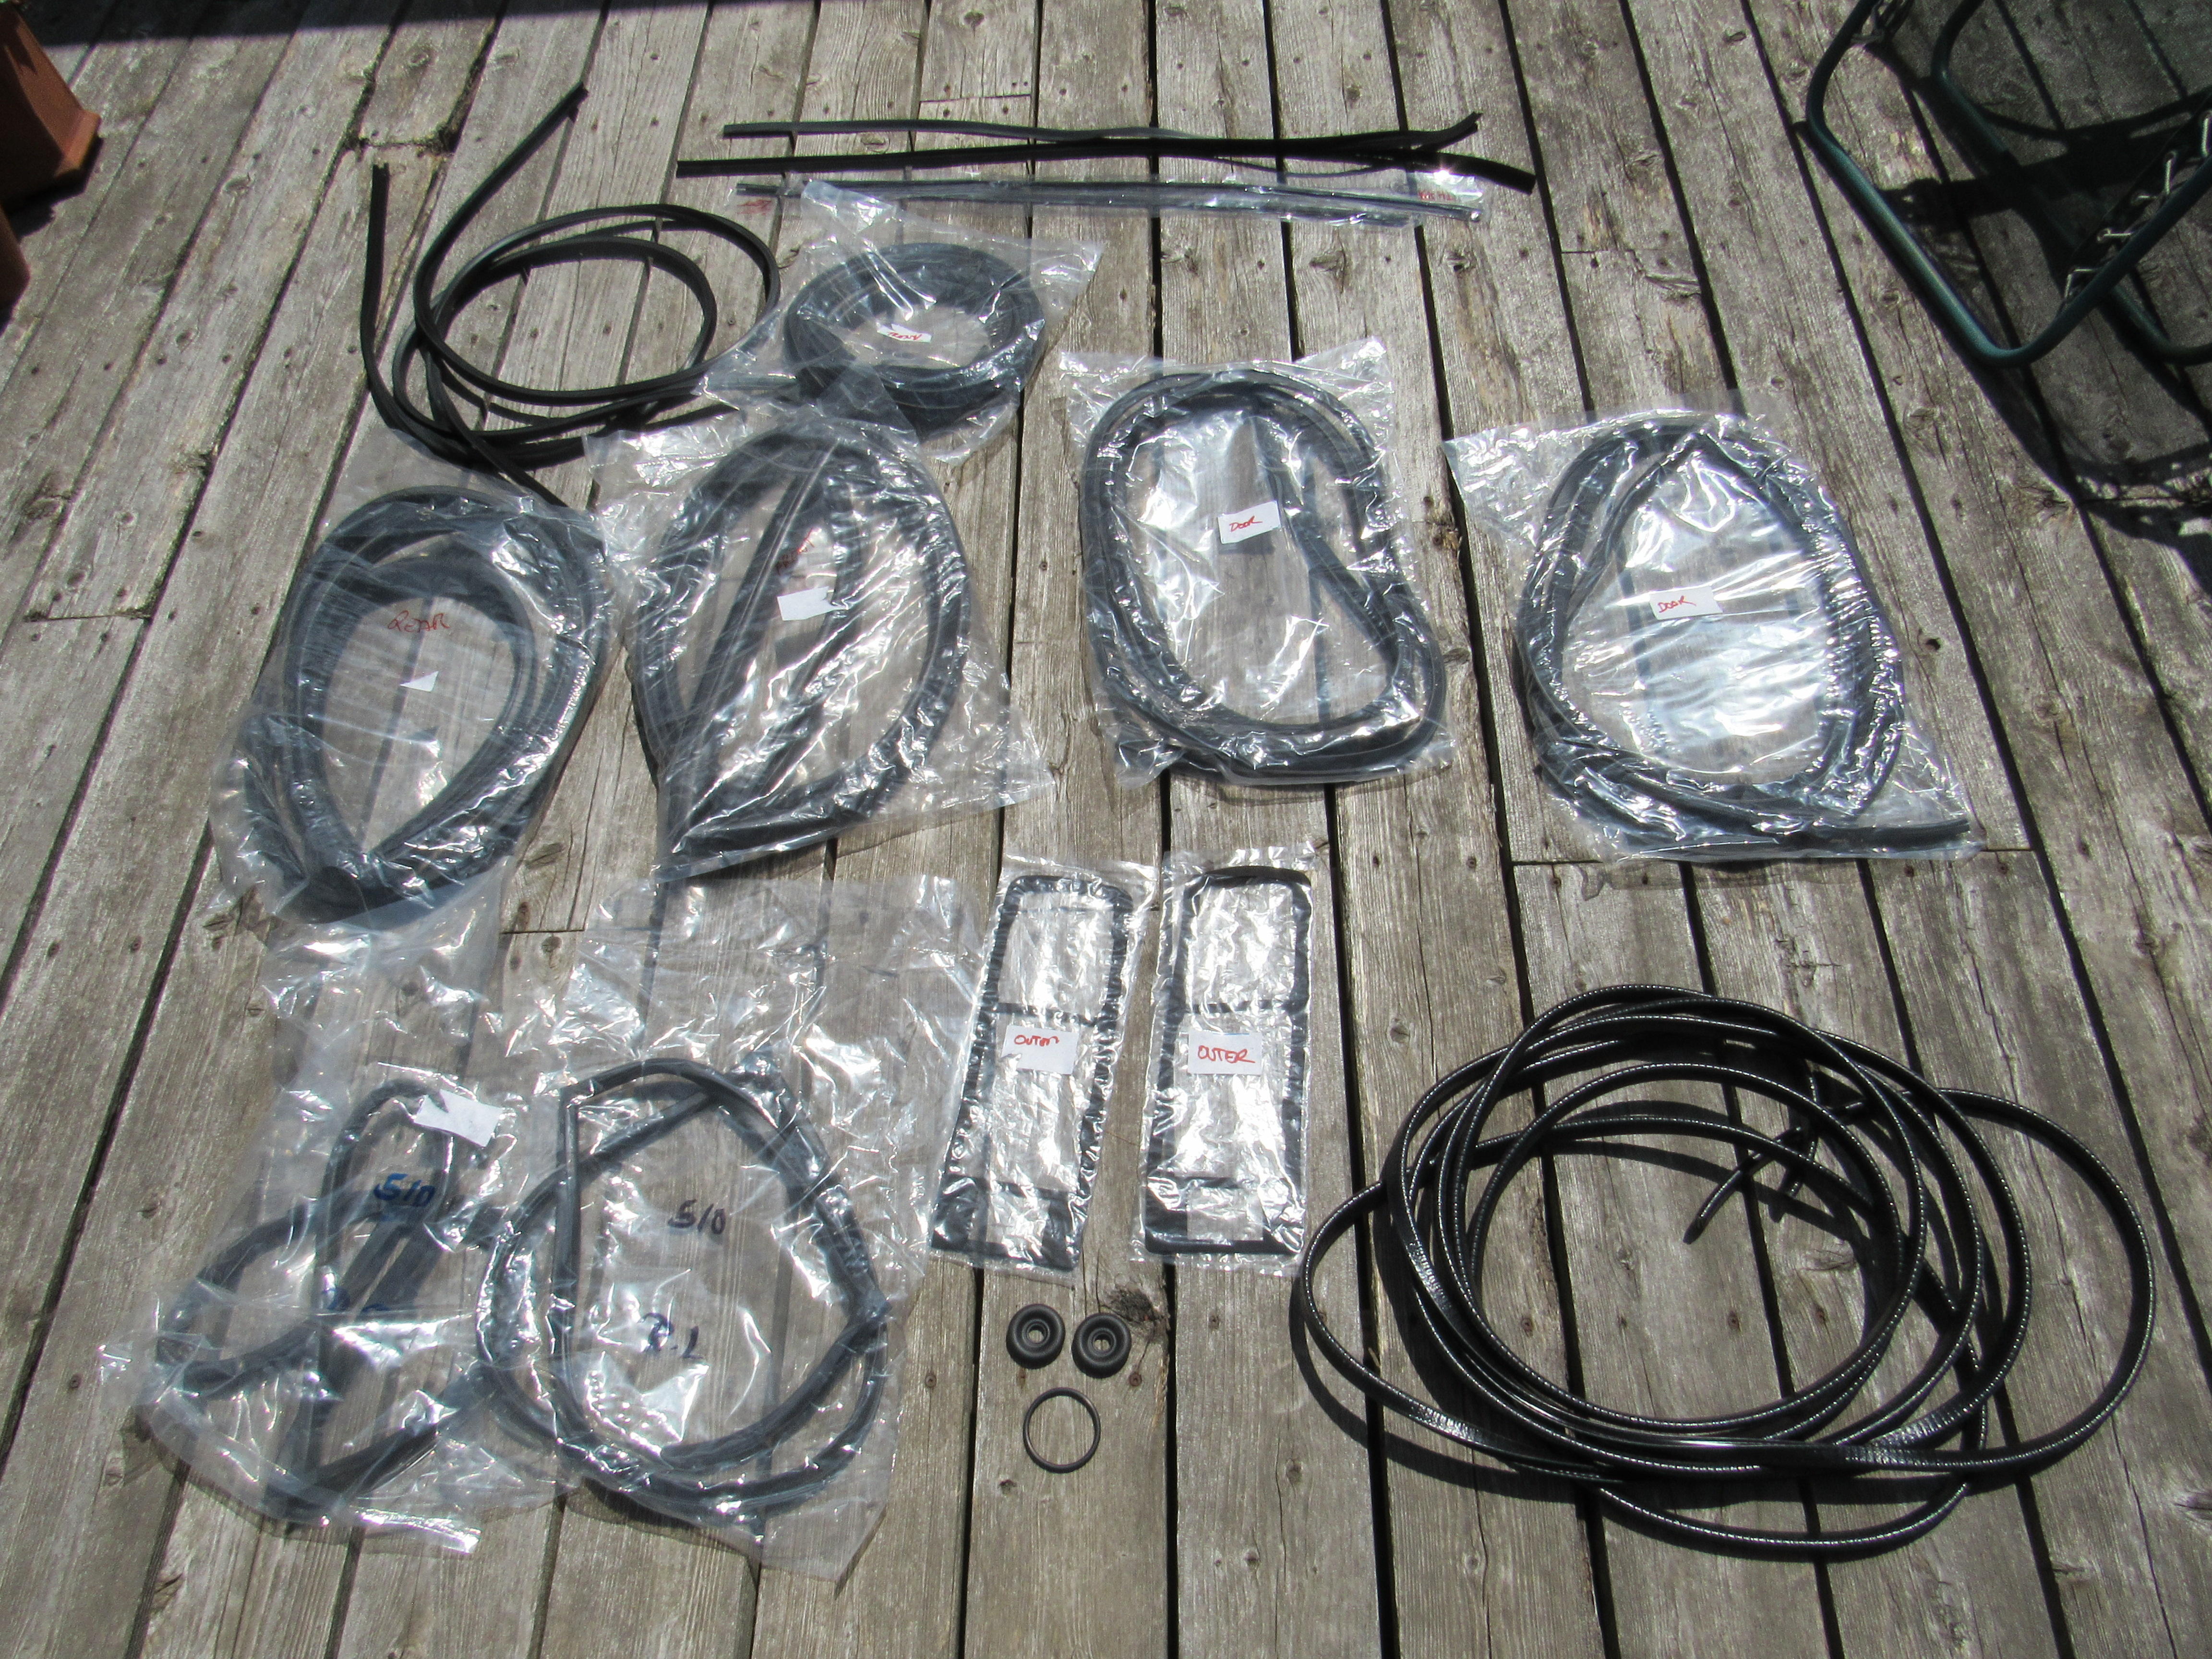
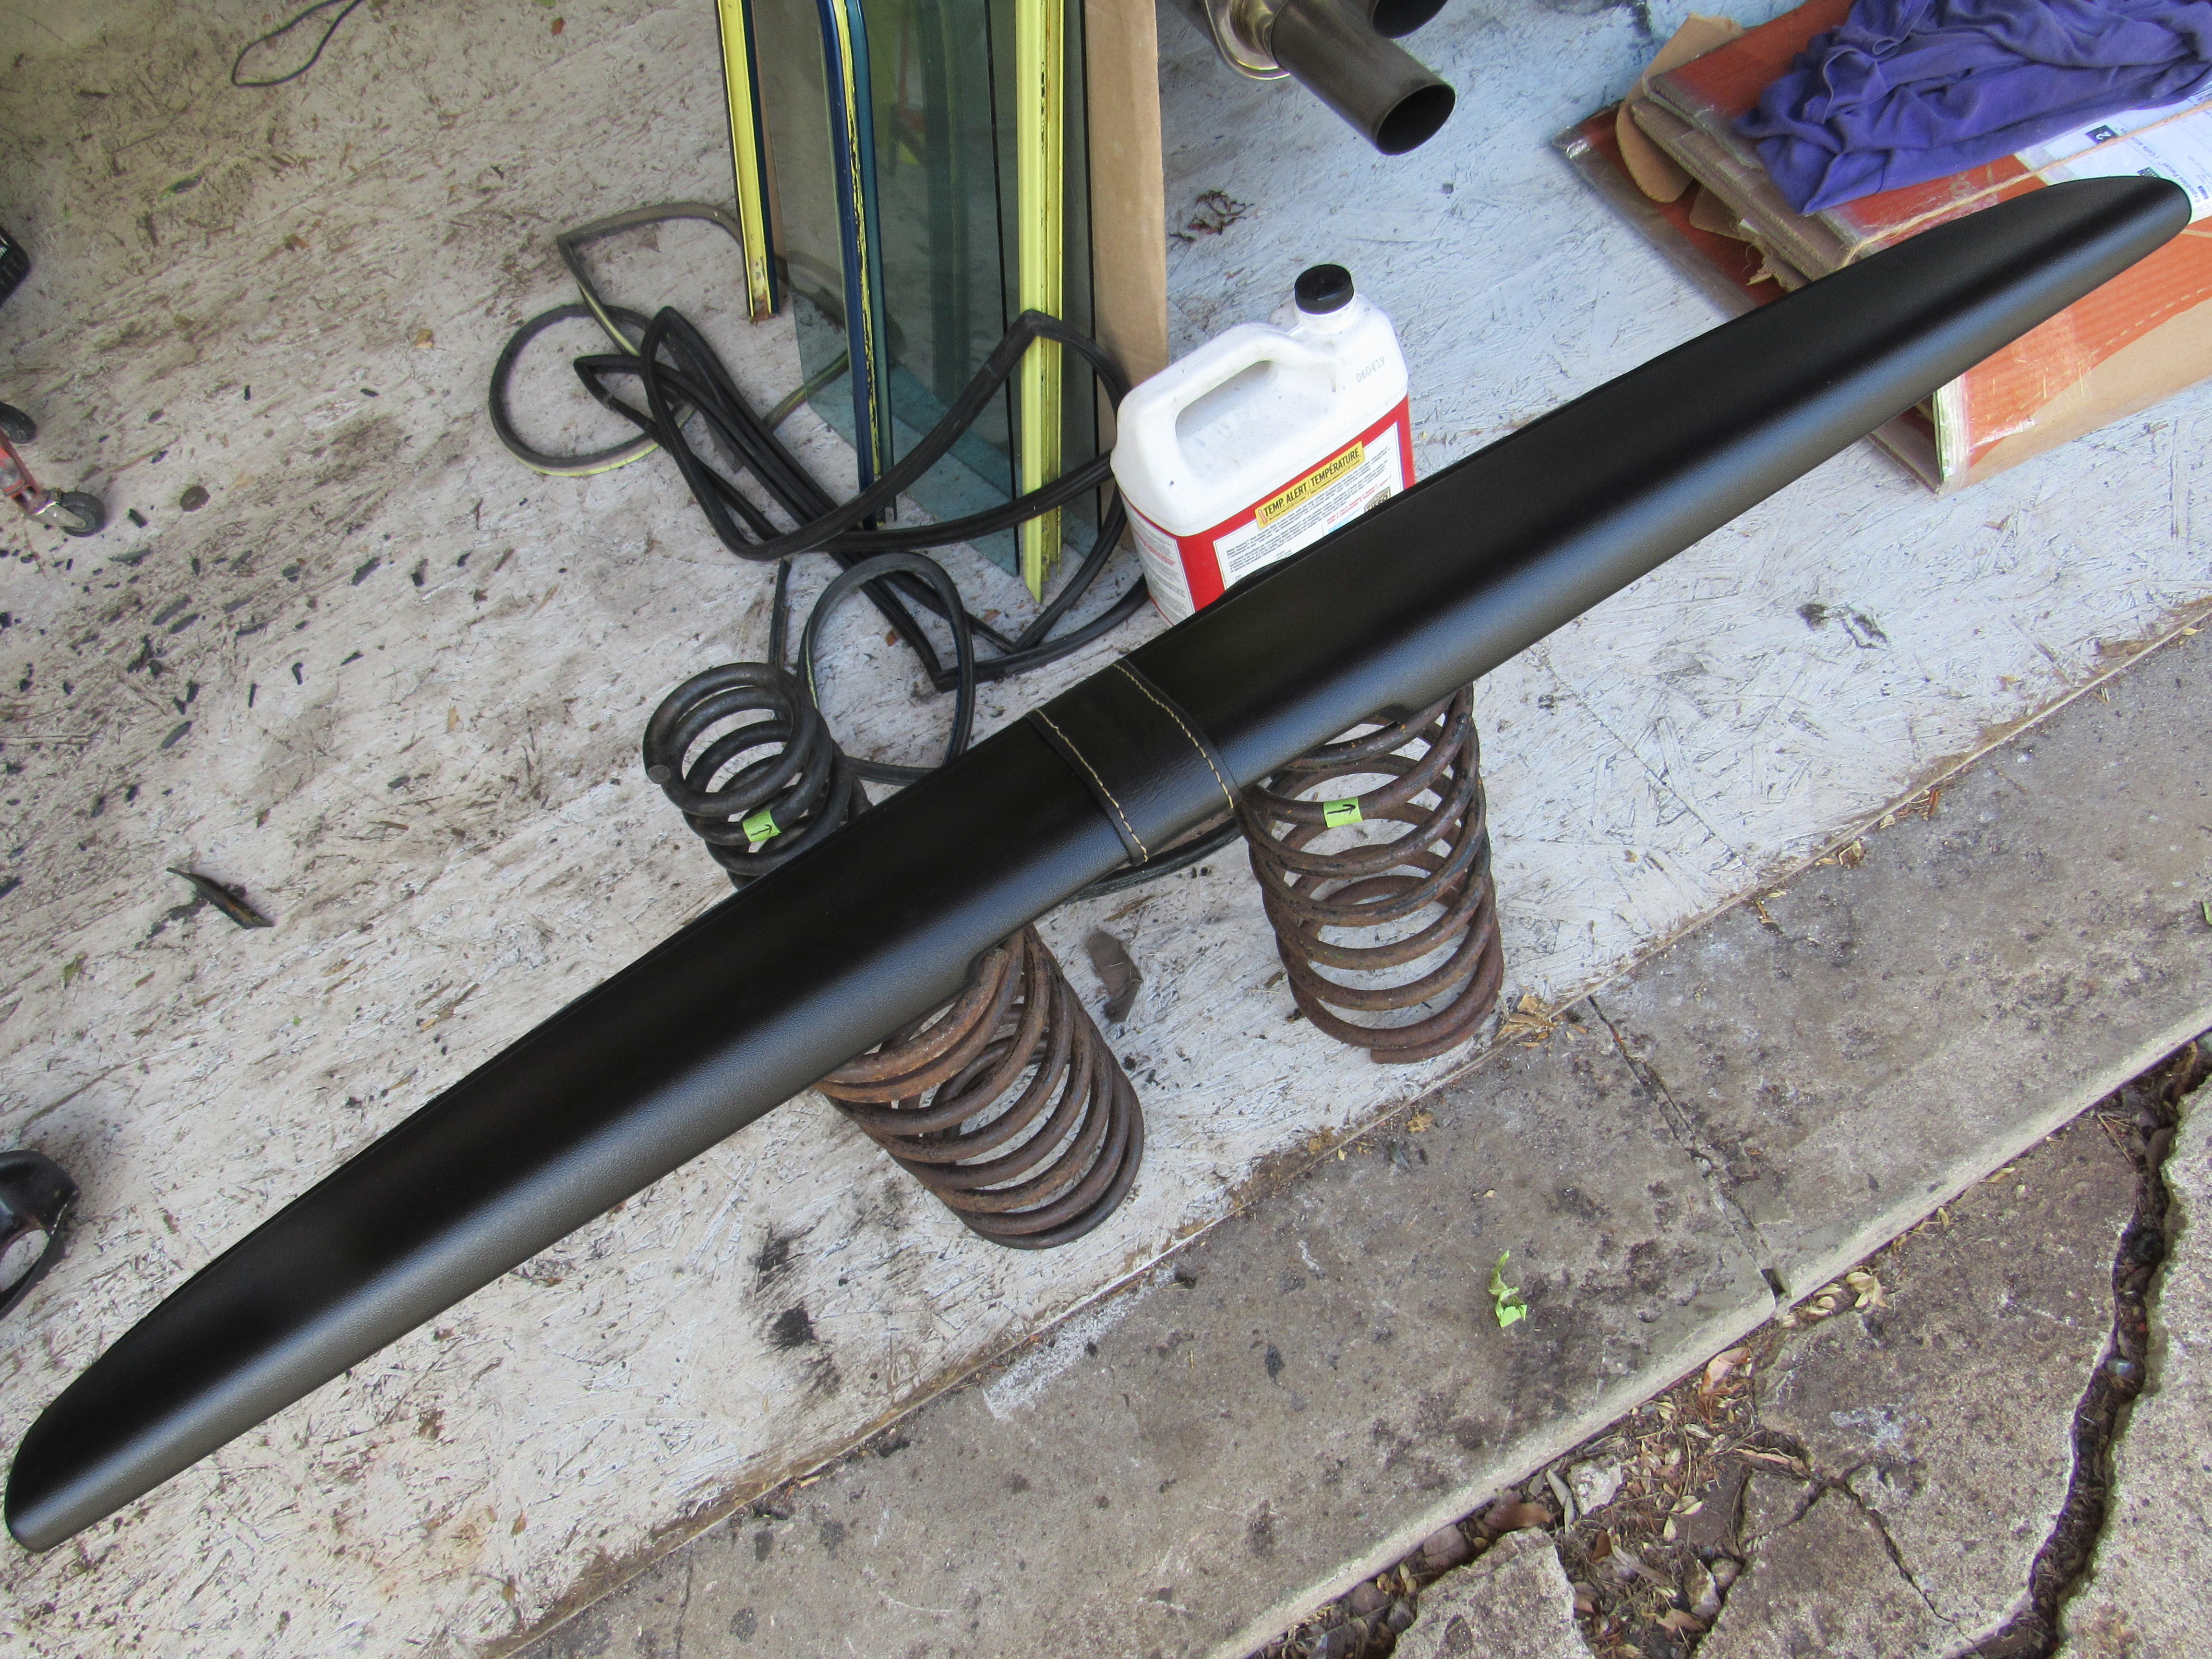
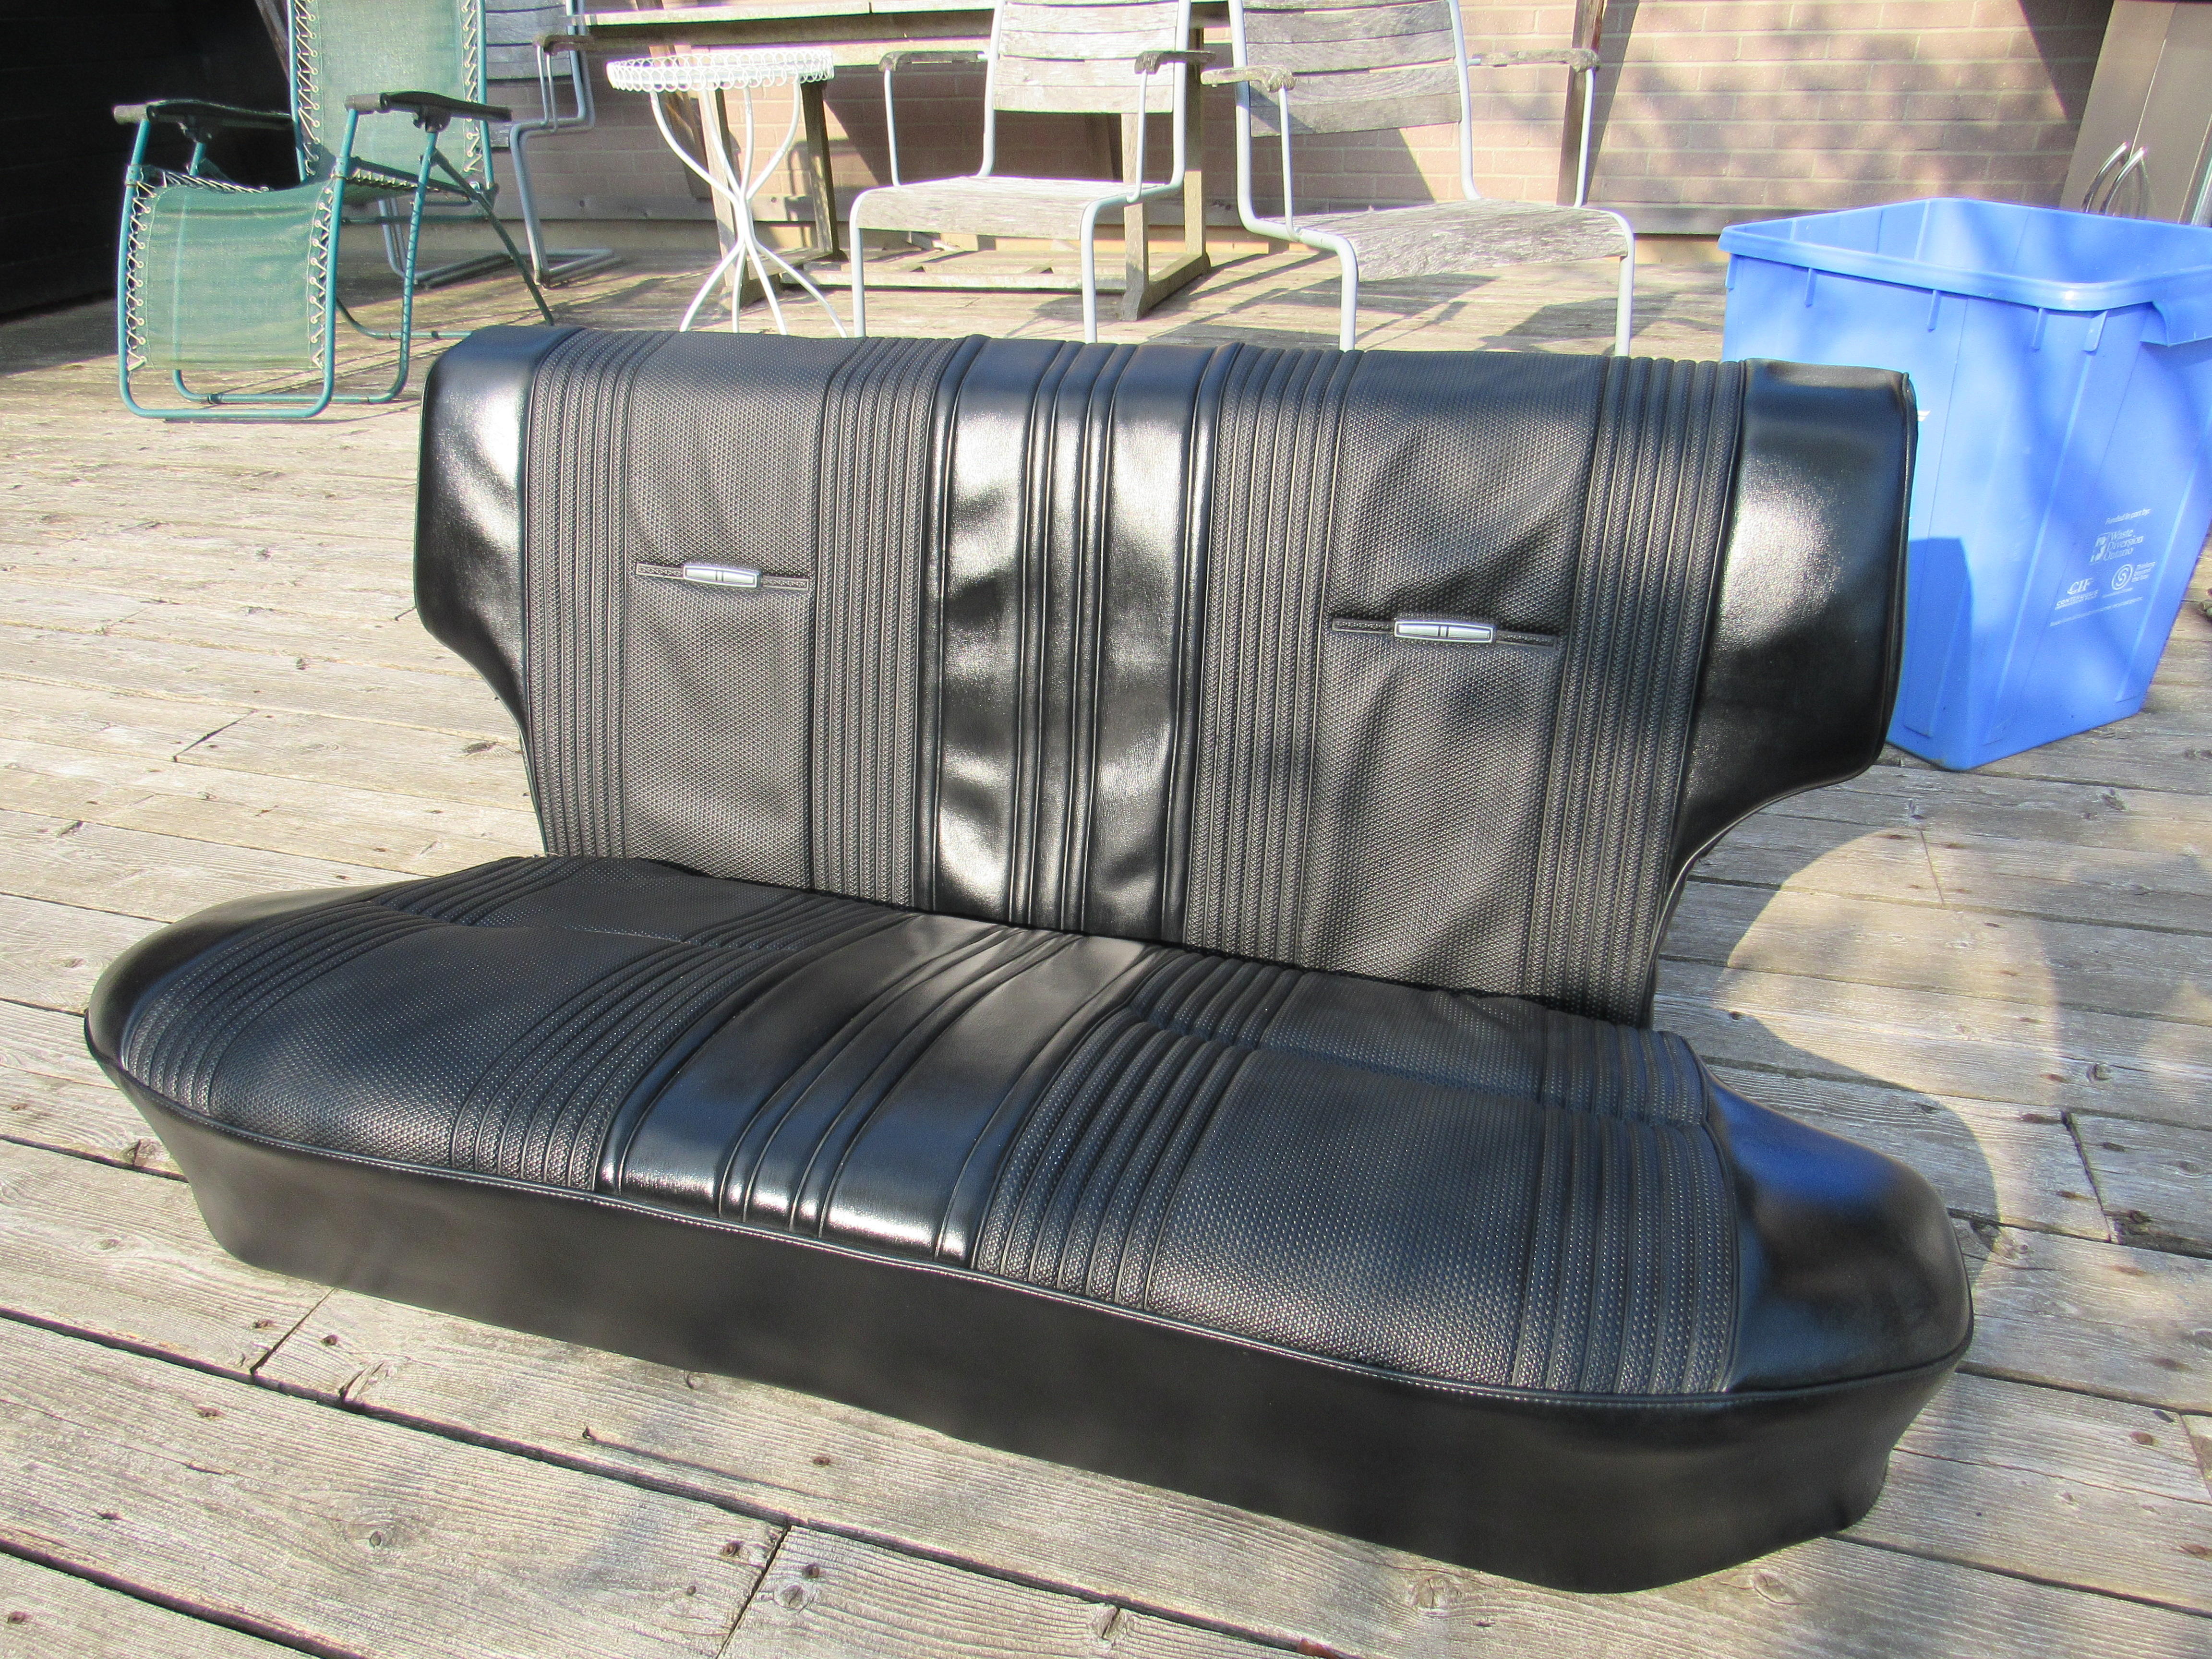
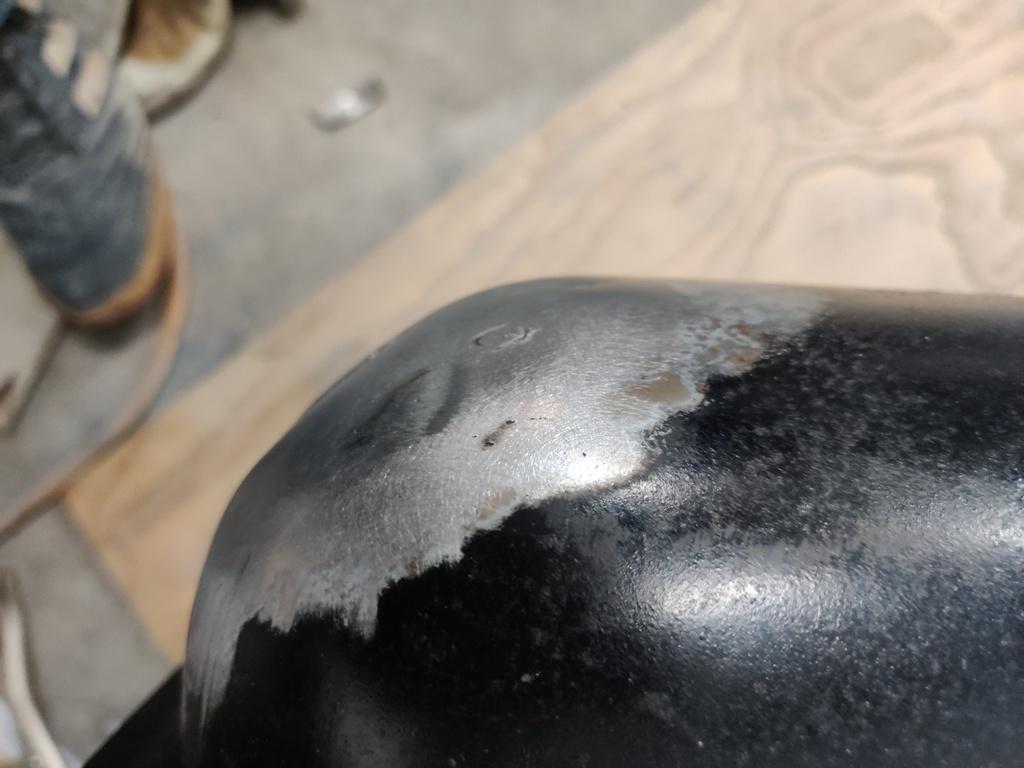
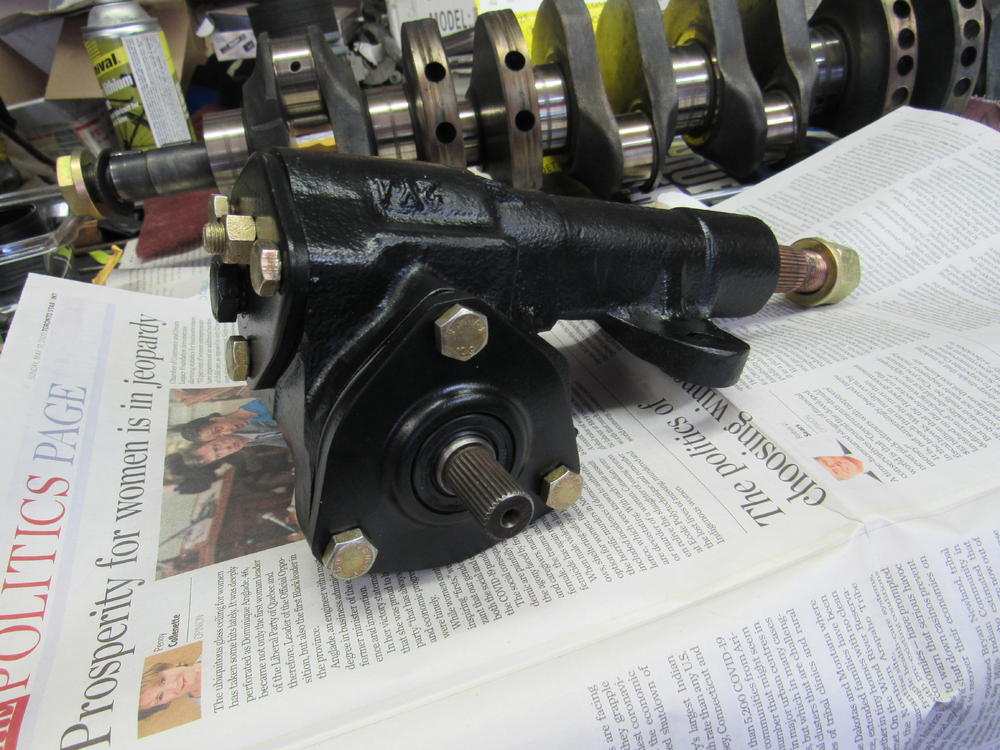
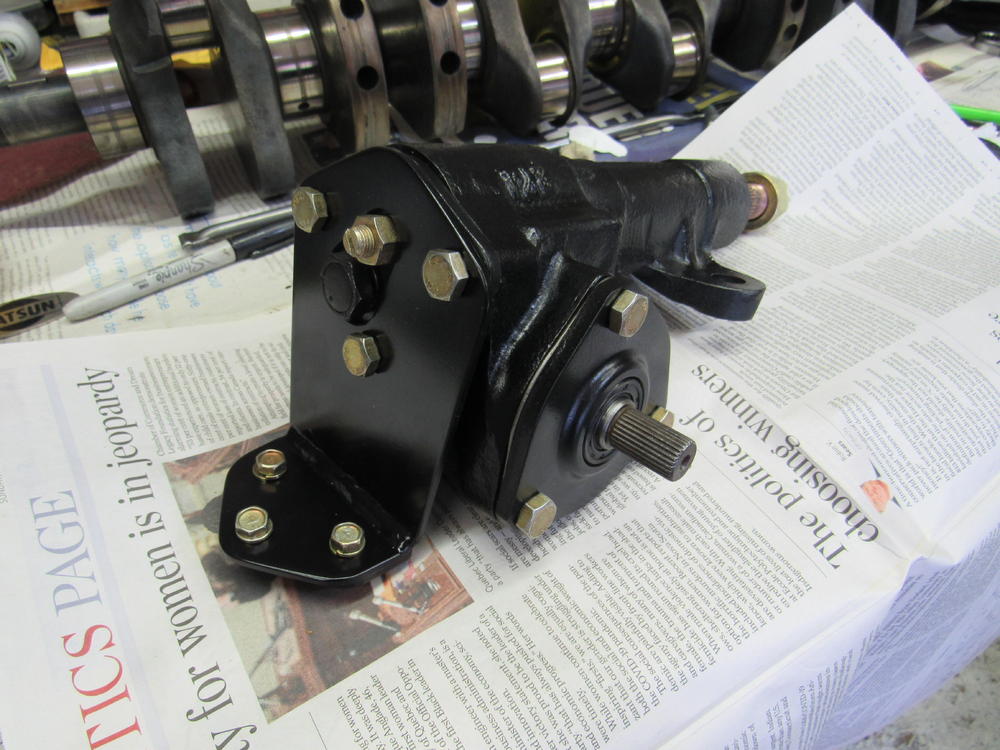
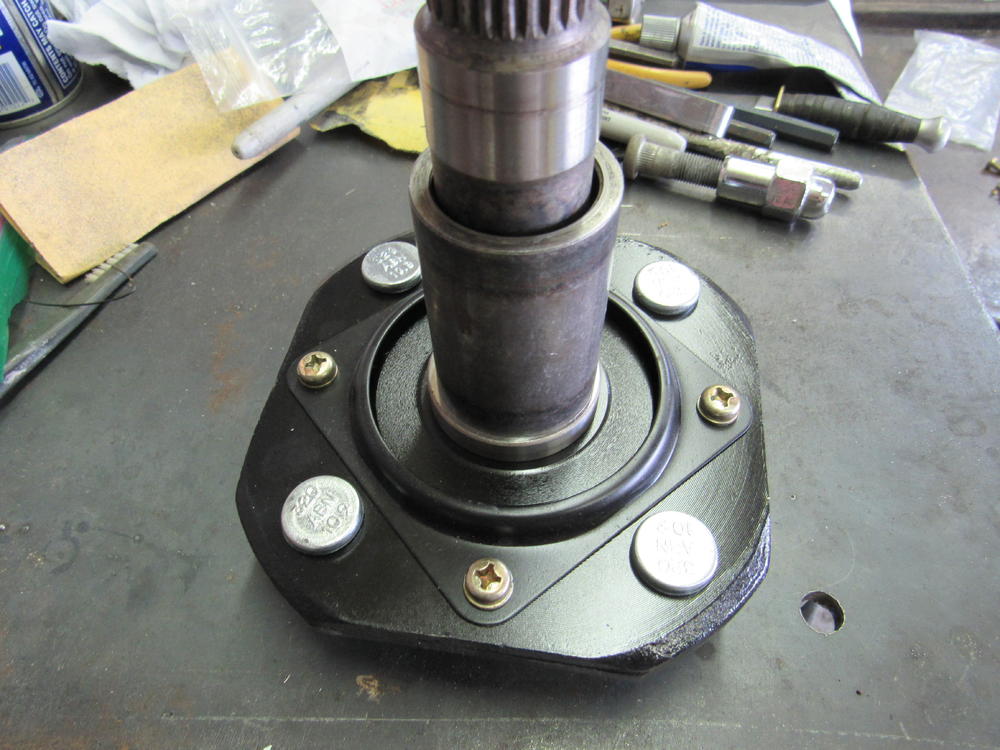
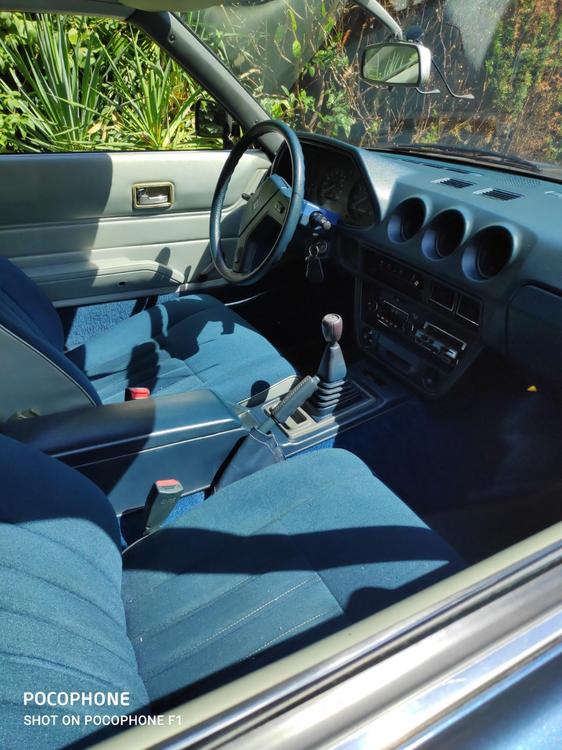
2 pointsJust some of the 510 parts I've finished off since my last post, I cut the spring perches off the front struts and will lower them with split collars to help lower the front of the car. Just like the 240z 510's dashes love to crack so made the repair as stylish as possible but we all know what it is hiding. Very happy to find that the whole range of weather strips have been reproduced and are available.


 2 points
 -
Just finished testing. Results are in. works the same with one or two lights (in series). That is it stays off in gas (warmed to about 118f) but will come on within seconds of removal of the sensor from the gasoline. I had to cut the on time short for the single bulb as I did not want to overload the filament. Based on my test I can definitively say that it works with either one or two GE47 bulbs. Are they the same as the stock unit, no, but I feel the cover a broad enough range that its safe to say the circuit should work with a low amp 12v bulb. the GE47 is approx. 1 watt at 6v from what I can find. The only other test I can think of is to try the setup in the car (I will set it up on the floor board and directly connect to the factory light). I will set that up later today and report back I have a video coming on the test I just reported on. below is a few hours later. What I am not clear on is I tested it for well over 1 hr with 2 bulbs and then well over 1hr with a single bulb. The overall current was pretty much the same, I suppose due to the ratio of the bulb resistance to the thermistor resistance. The only diff was if I had allowed it to go on much longer on the single 6v bulb I suspect it would have burned out. Another observation, when testing with water vs gasoline, the thermistor can dumped MUCH faster with gas vs water. I suspect a surface tension issue. Las thing, I forgot the thermistor was in warm gas when I checked the resistance, about 1k I took it out sprayed out the warm gas cooled with the solvent it was over 2k, I suspect when it settles down to room temp (aprox 78f inside the house AC) it will return to the 1.7kish resistance.1 point
-
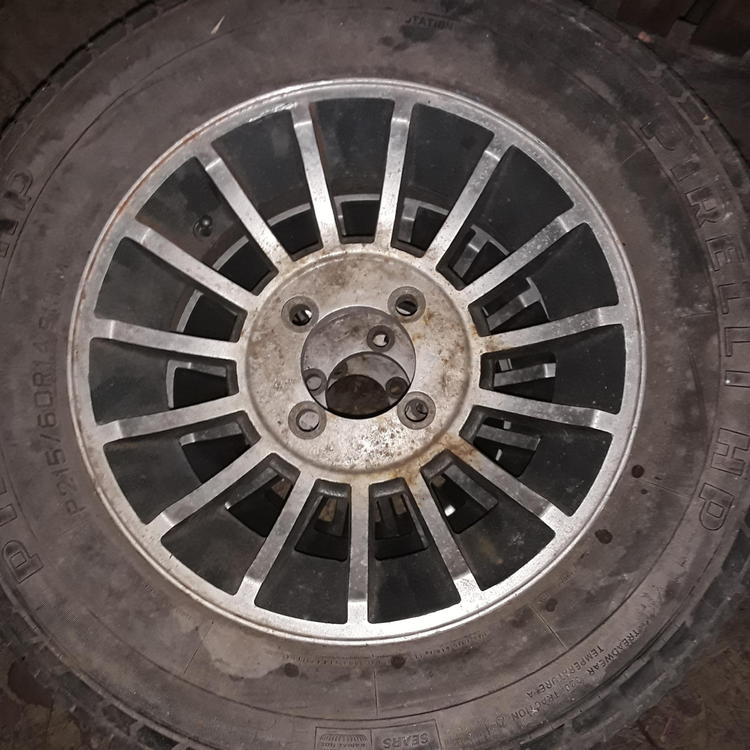
 1 pointNice freehand work at 13 but I think he's hinting that a different wheel/tire combo would be more appealing to him! ?1 point
 -
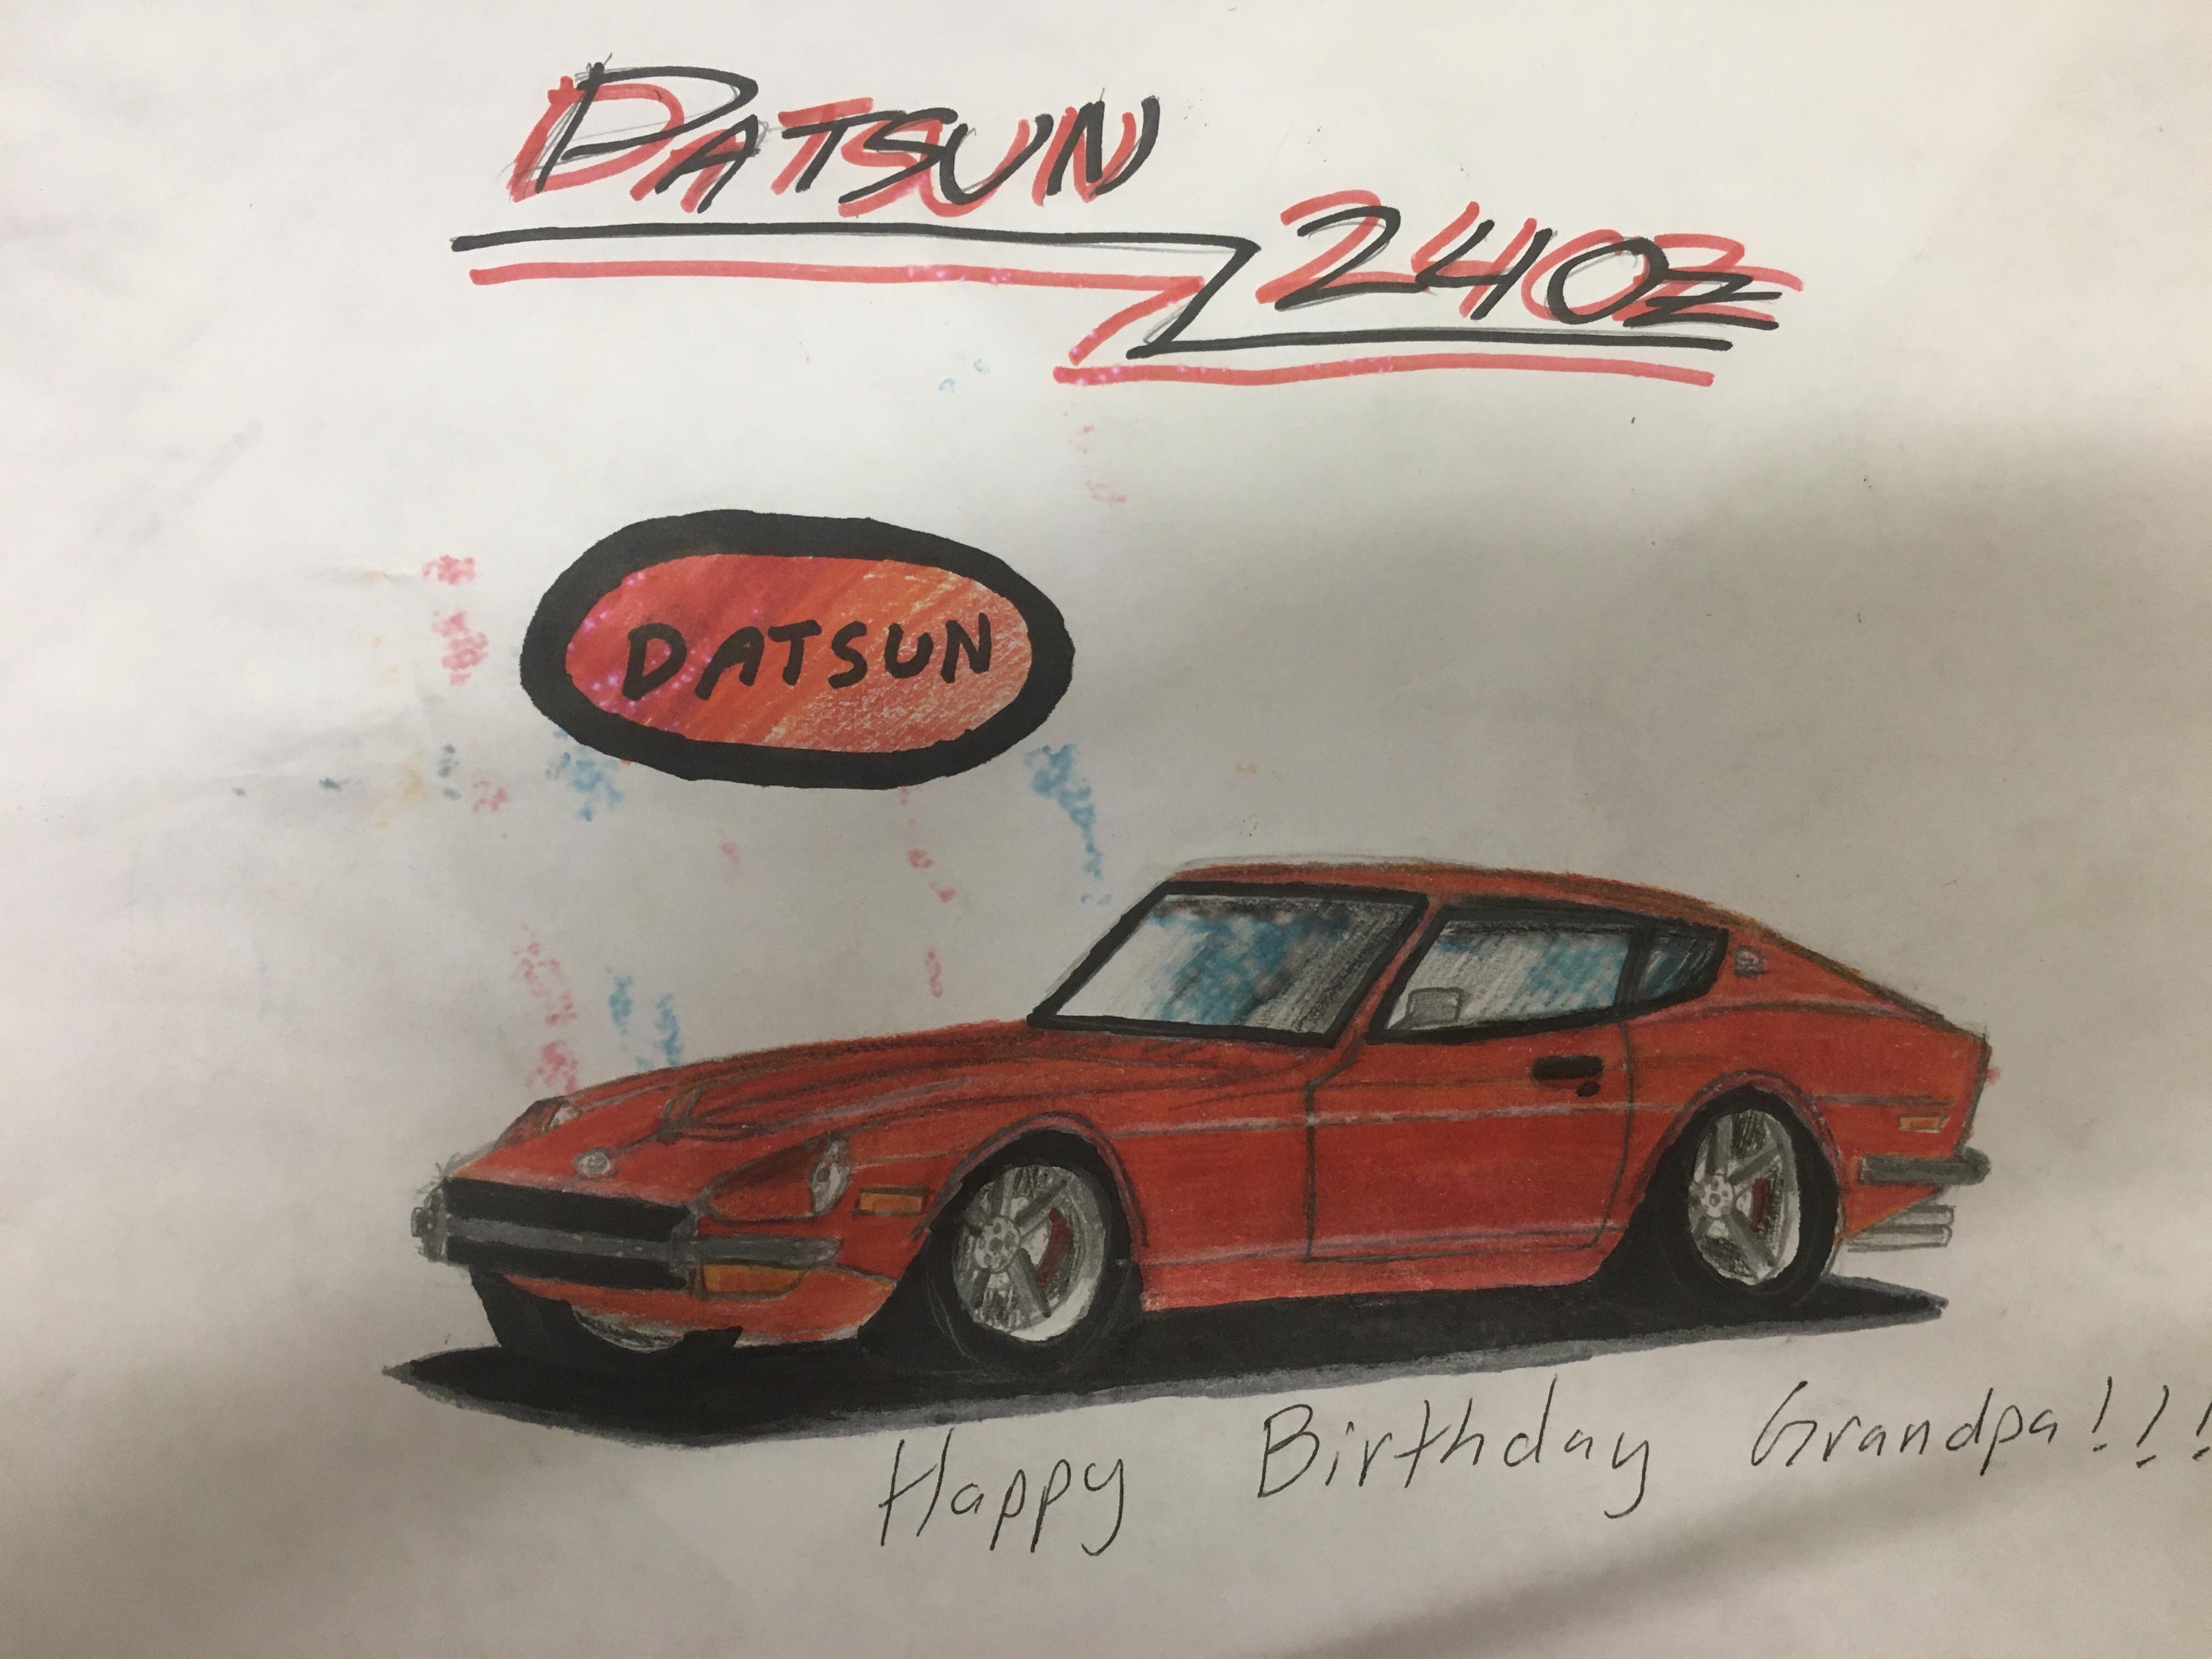
 1 pointThe Boston Globe got that a little wrong, didn't they? "And you won't find them on the streets of Japan..."? "Only two of the new Datsun 240Zs...are to be found in the United States at the time". Wrong!!!1 point
 -
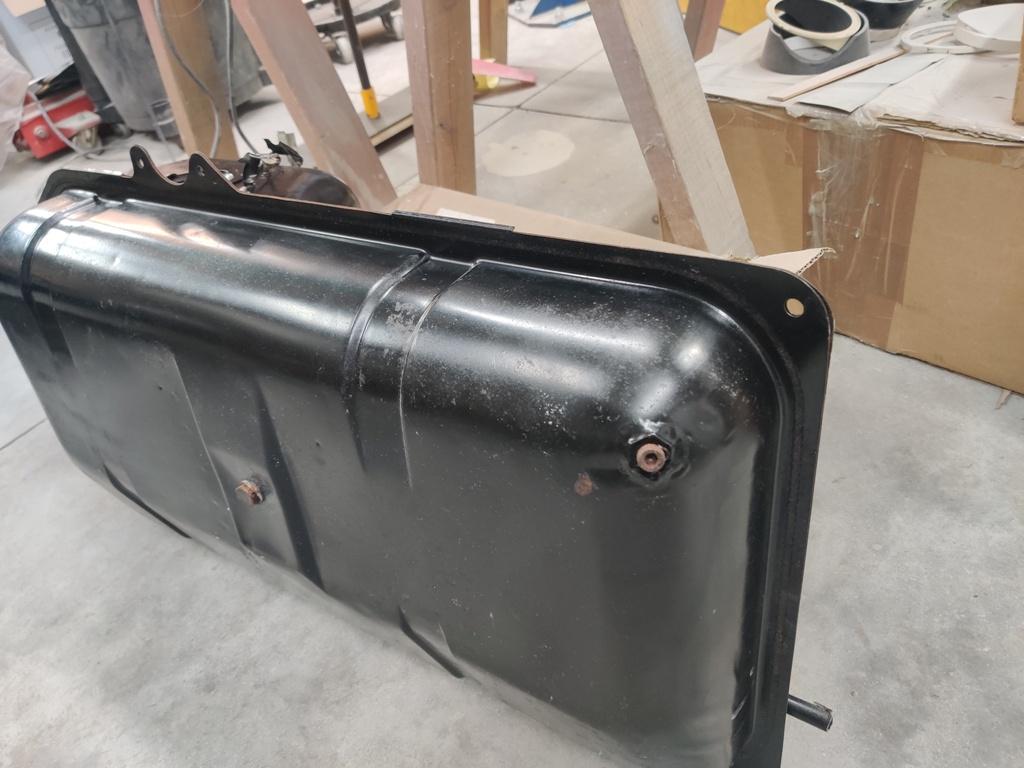
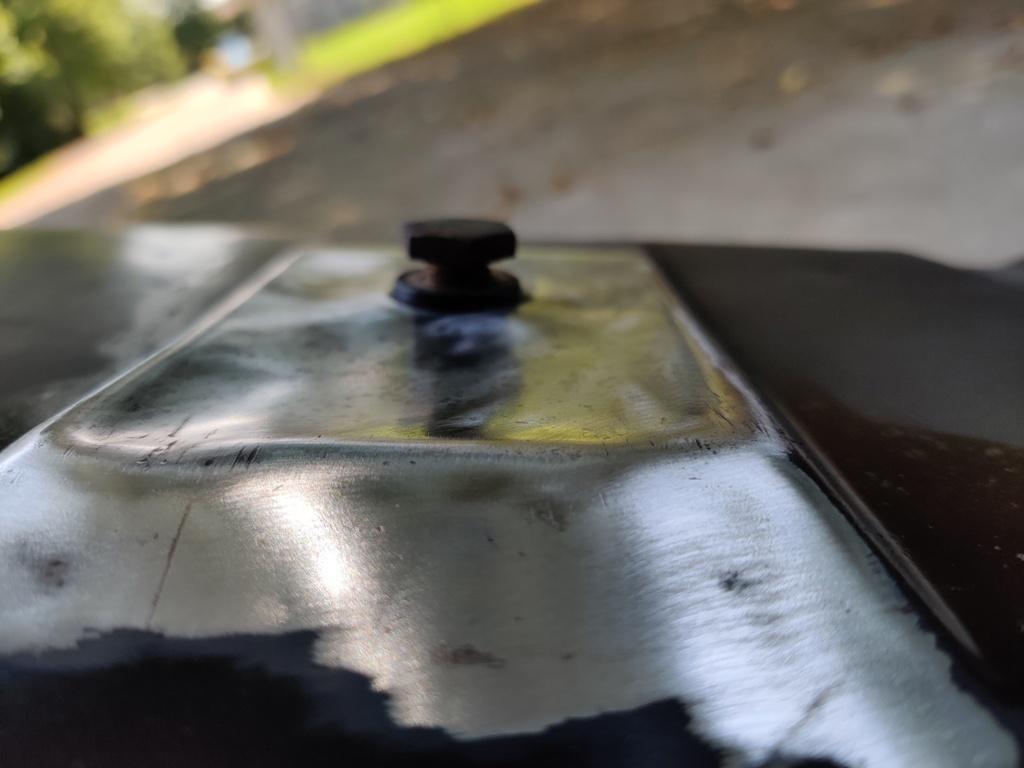
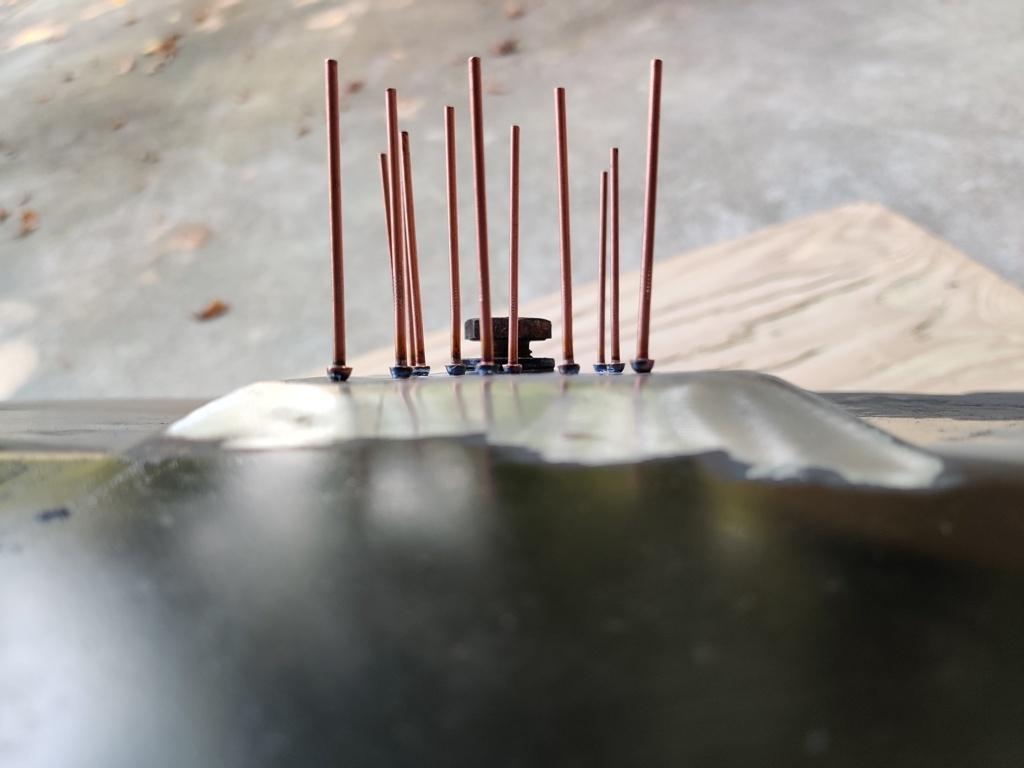
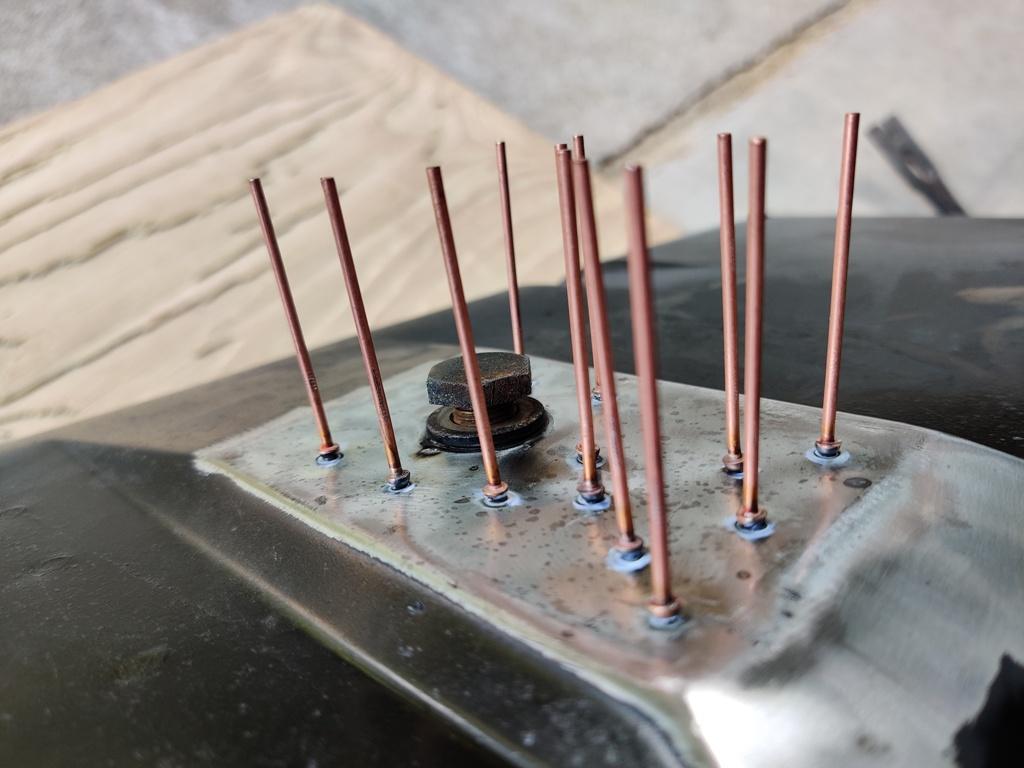
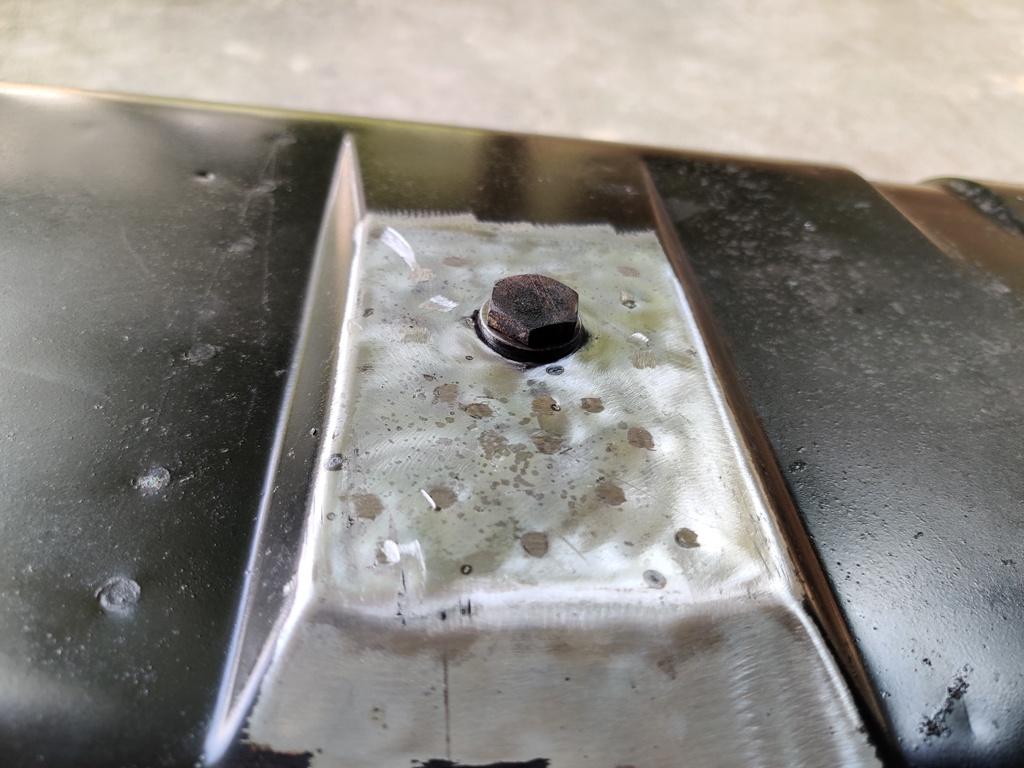
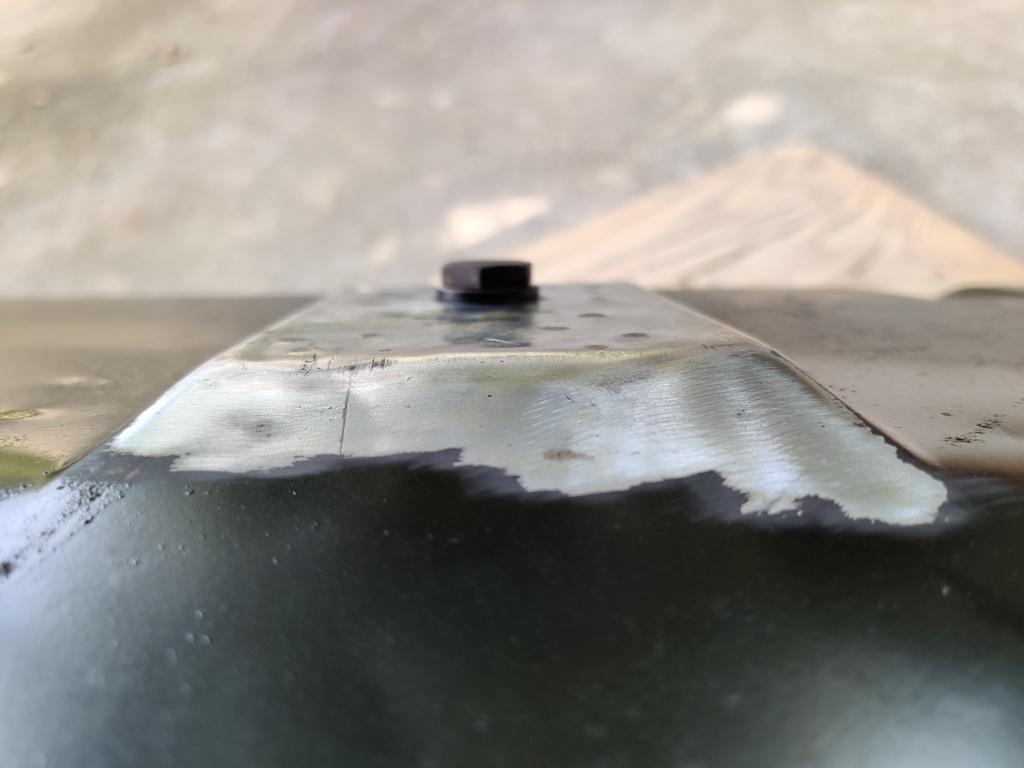
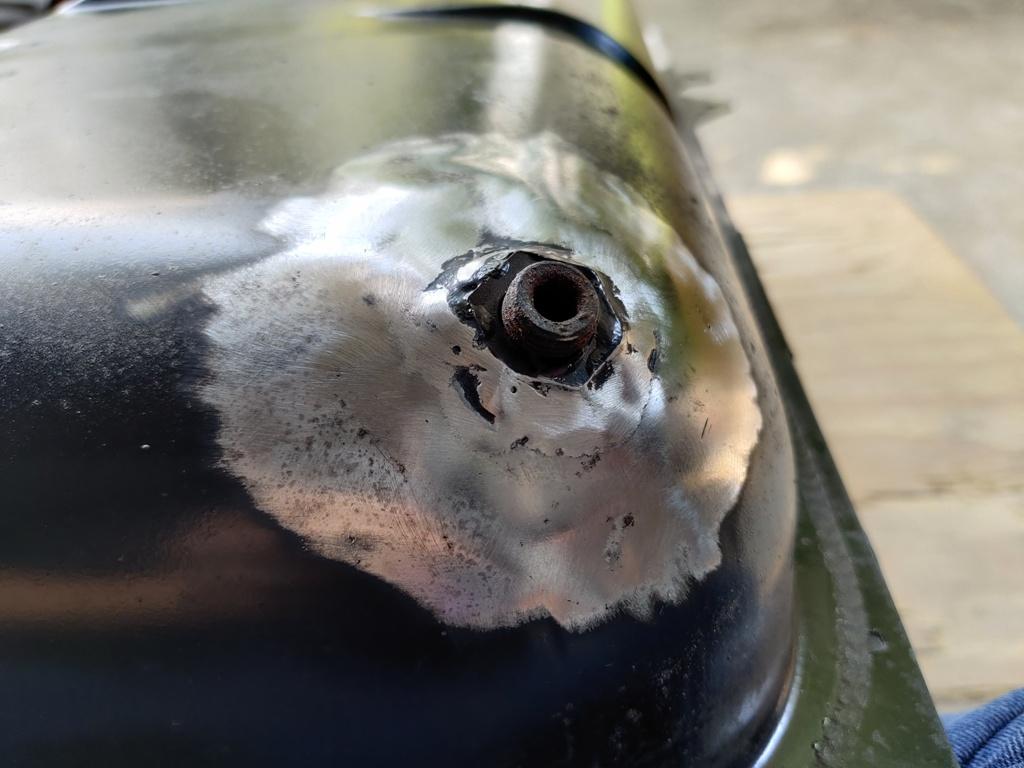
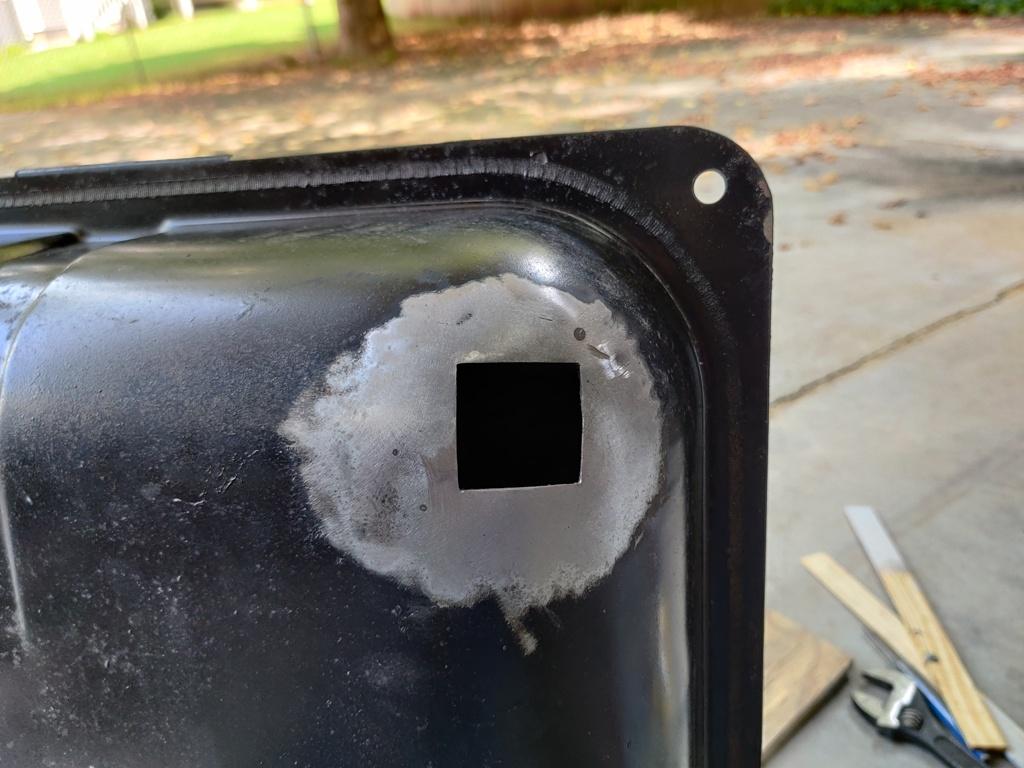
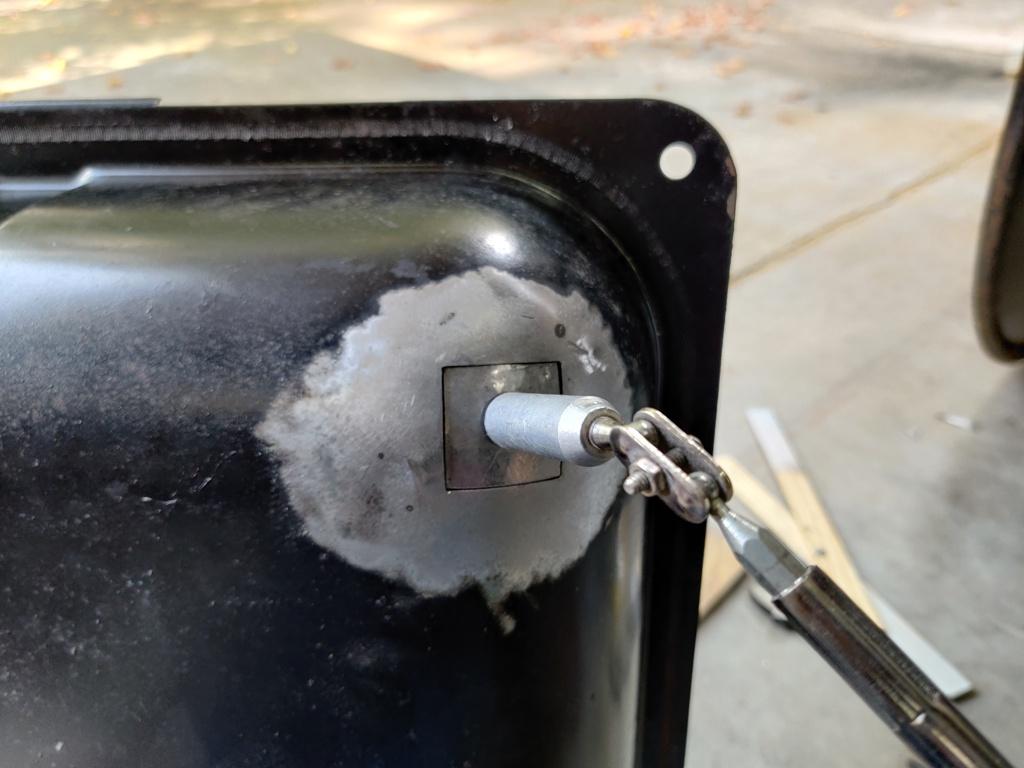
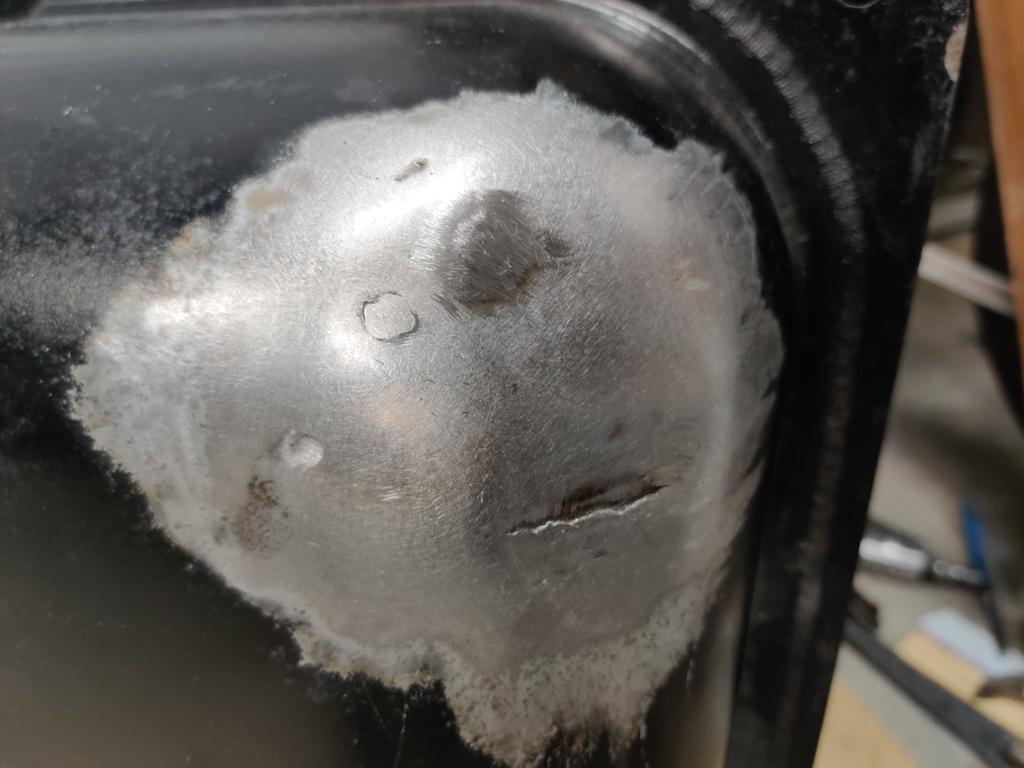
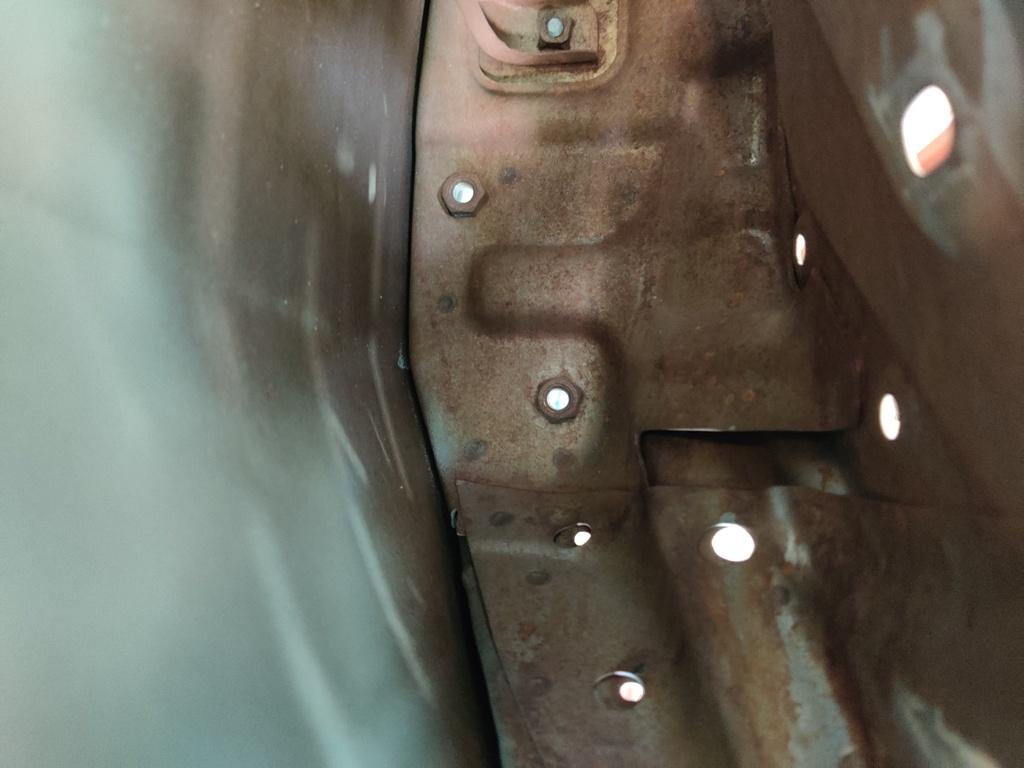
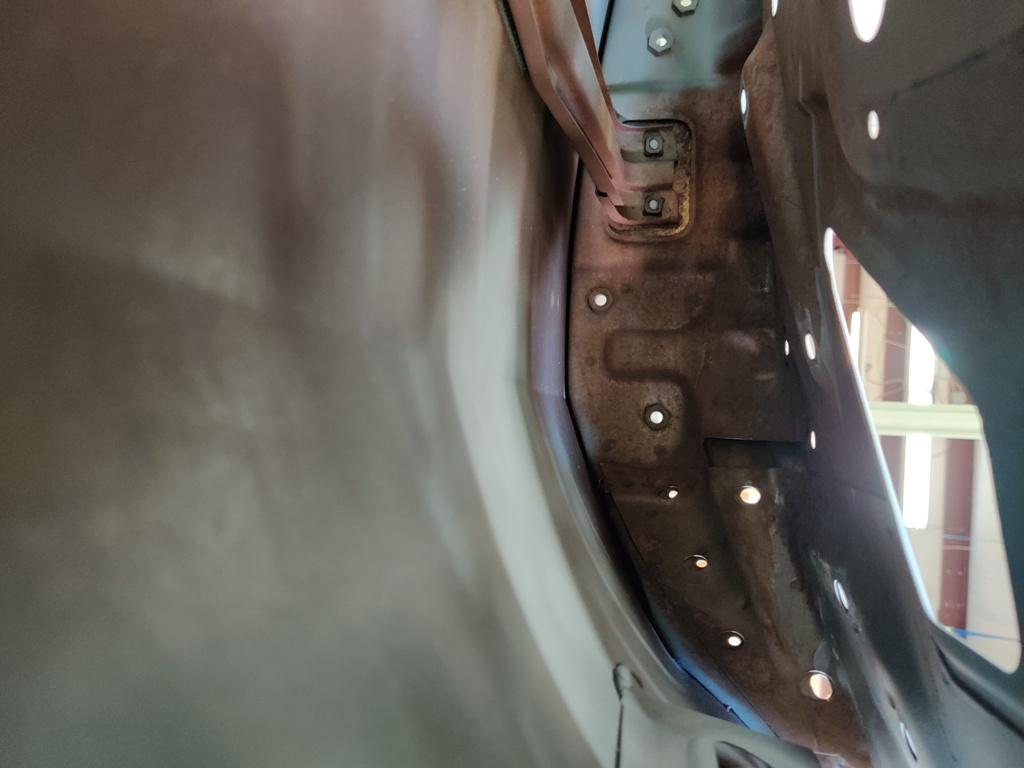
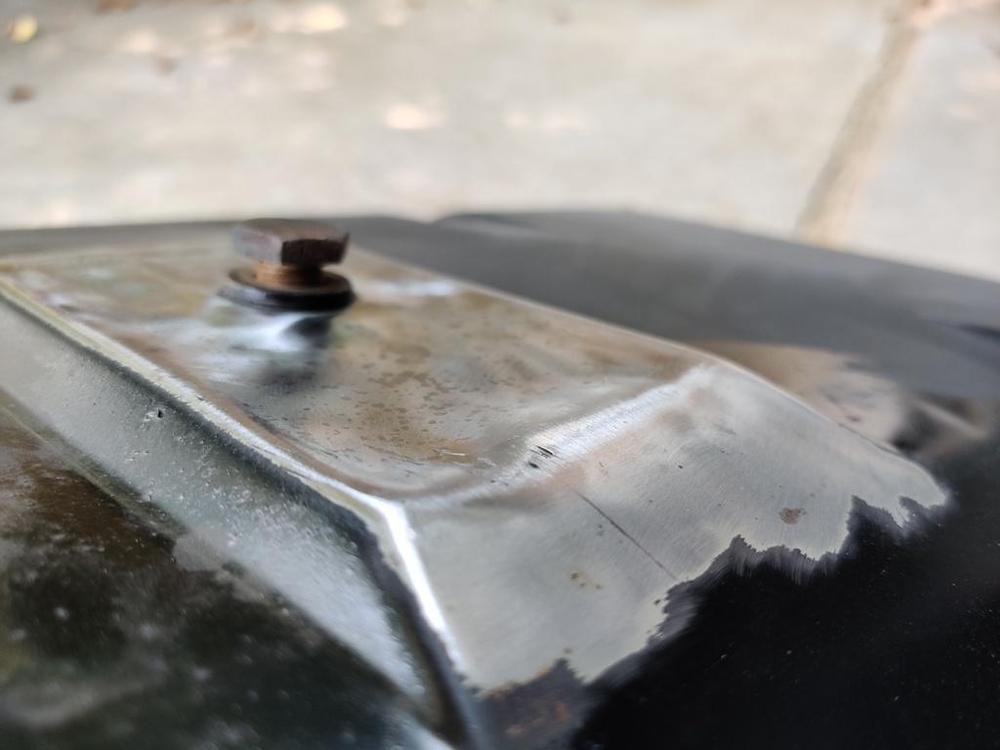
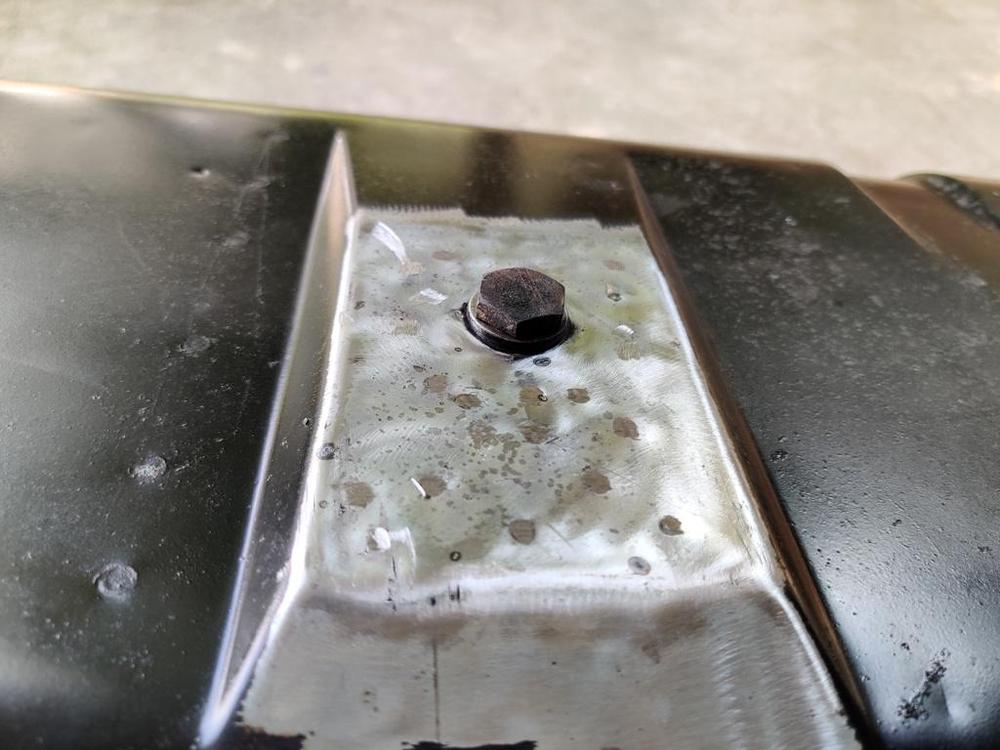
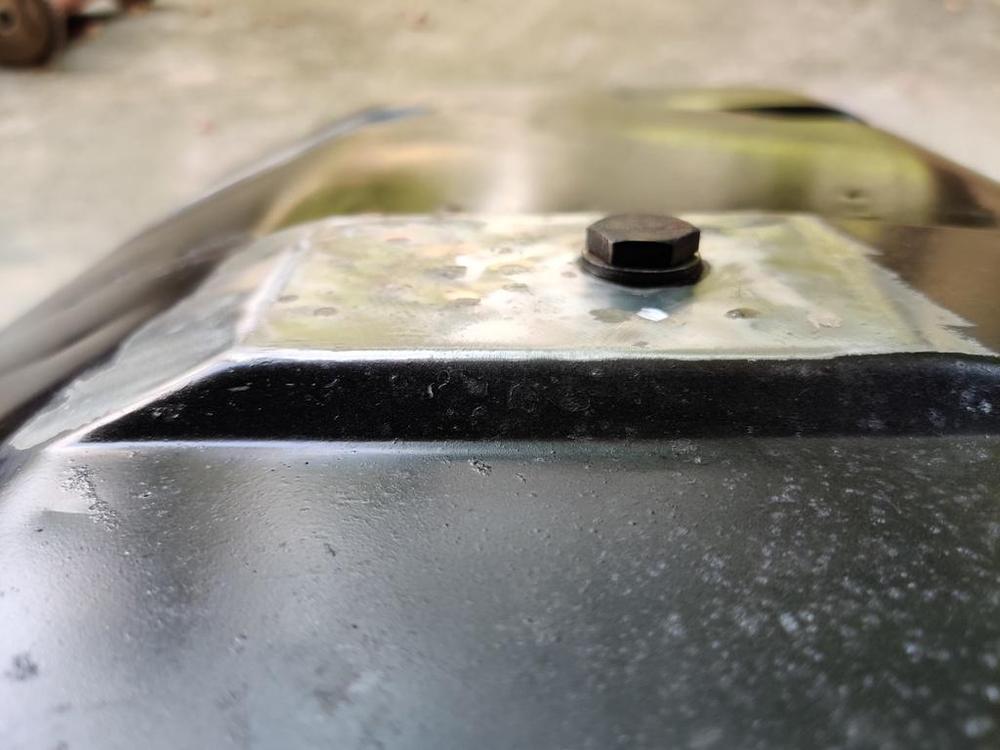
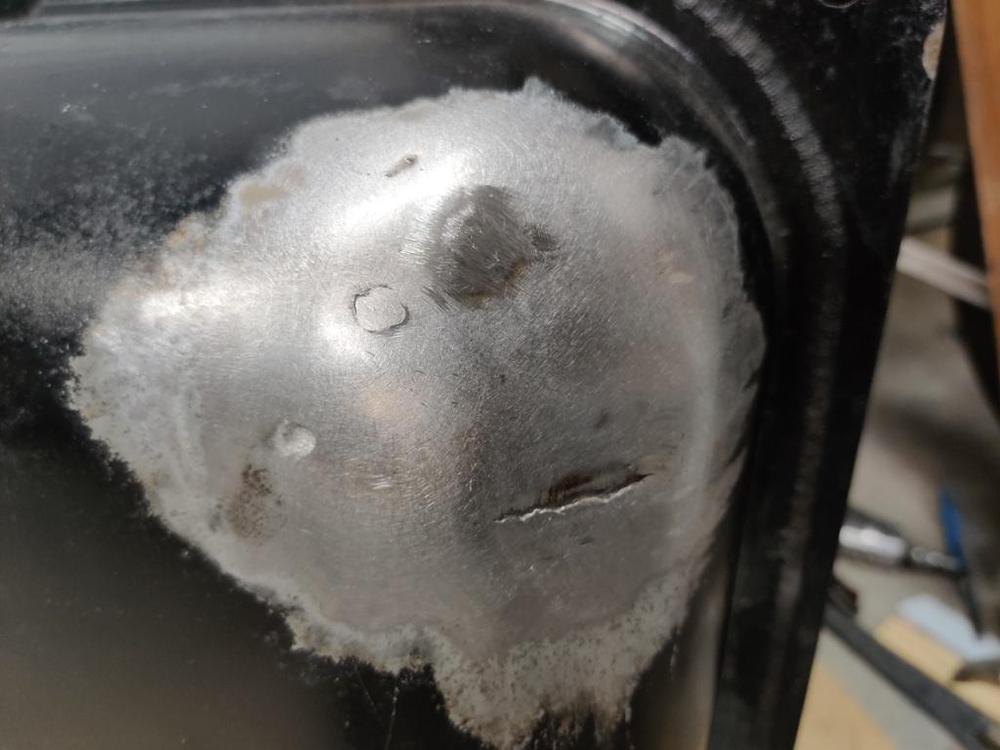
I found myself with the inspiration to work on the gas tank today. I thought it would be pretty easy to be honest. But, when replacing the brazed on secondary drain plug, I ended up having problems welding one side of my patch panel. The metal was too thin and I kept getting contaminants causing pin holes. After chasing that problem for hours, I ended up cutting another section out and making another patch panel. Both patch panels had compound curves... so they took a while too. After something like 8 hours of work on it, I pretty much got past trying for perfection and made a slight mistake with the alignment of the second patch panel. Anyway, I sealed up the openings in the tank and rubbed soapy water on the repair area while I put compressed air in the tank and after sealing one tiny pin hole, it is finally sealed. Starting point - extra drain plug brazed in place an dented bottom where original drain plug is. Paint removed with high speed angle grinder and red 3M paint removal disc. Interestingly, there is a bright silver coating on the outside surface of the tank that I ground through in places. Must be galvanized from the factory. After using a crow bar tip under the edge of the drain plug to pull it up some (with leverage against wood strip set in place against the tank), I used the stud welder to put pin in low areas. I pulled them with the slide hammer puller carefully. Several rounds of welding pins in place, pulling, and cutting them off were required: Original shape for the most part restored. Next, I progressed to the extra drain plug: I cut it out and made a replacement (compound curve). Unfortunately, many more hours and another patch were required. One edge of the second patch panel is not well aligned with the original tank metal. That is the "line" in the third pic here... because the patch panel is recessed a bit more on that edge. Another angle: It's not perfect, but I am confident that it doesn't have any pin holes. I was able to seal all of the openings in the tank and repeated give it hits of compressed air while rubbing soapy water on the repair area. I did find one pin hole that had to be taken care of, but can find no more. I will test it again before stripping the paint on the outside of the tank and prepping for primer and paint. Wouldn't it be awful if I got it all beautiful and in the car and then found a pin hole??? Yeah - that is what I keep thinking. Going to make sure it is air tight before I go to the next step.


 1 point
 -
 Ah, sorry, was not very clear on that. I put in the old cracked dash with about 6 screws and connected most of the harness connectors. No heater panel or center stuff. Gauges work, ammeter, oil, water , gas and tach. Just enough to run it. Hopefully new dash is available soon.1 point
 -
 1 point
 -
 Today I rebuilt 3 Kyson Denki pumps using the Delphi/GMB internals. I used the original housing and swapped out all the rubber diaphragms. The check valves were removed, cleaned, and reinstalled. My o'rings were is great shape but I did install some Permatex fuel resistant gasket dressing to make sure there was a good seal. Next, I tested each pump manually by pumping fuel. Installed one and she runs great. I did notice while disassembling the Delphi/GMB pumps that the screws were a little loose which could be the reason some of them fail. I had another Delphi/GMB pump with a bad check valve. As mentioned, the Ampco and Atsugi have different internals and the top diaphragm holes do not line up.1 point
 -
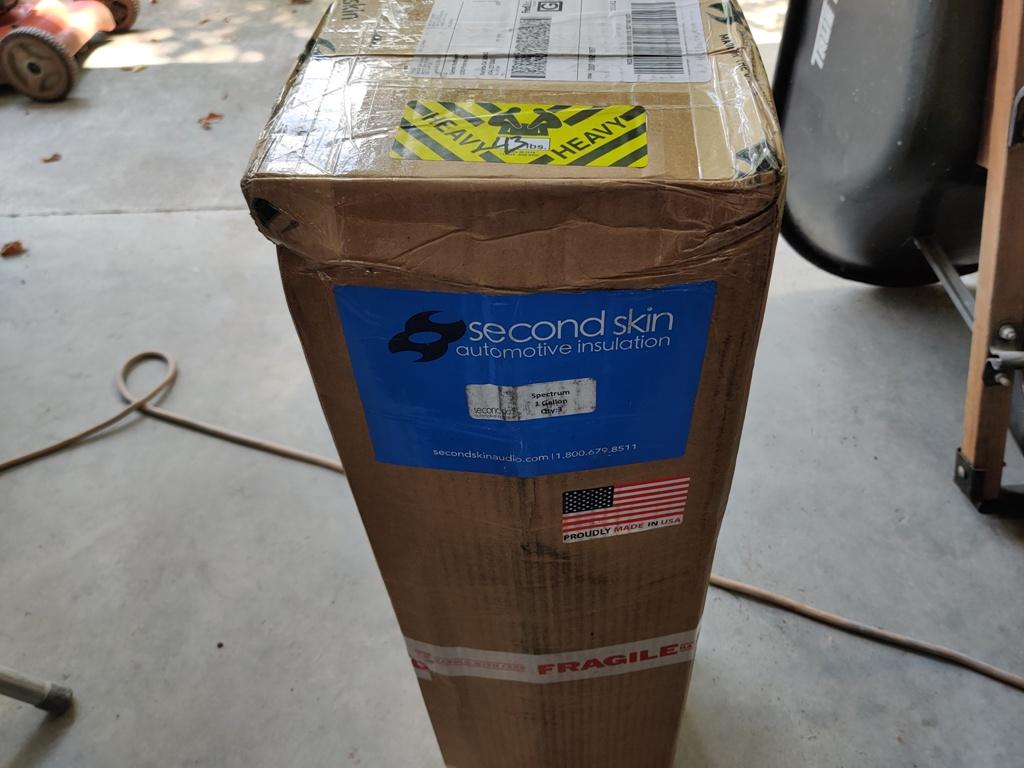
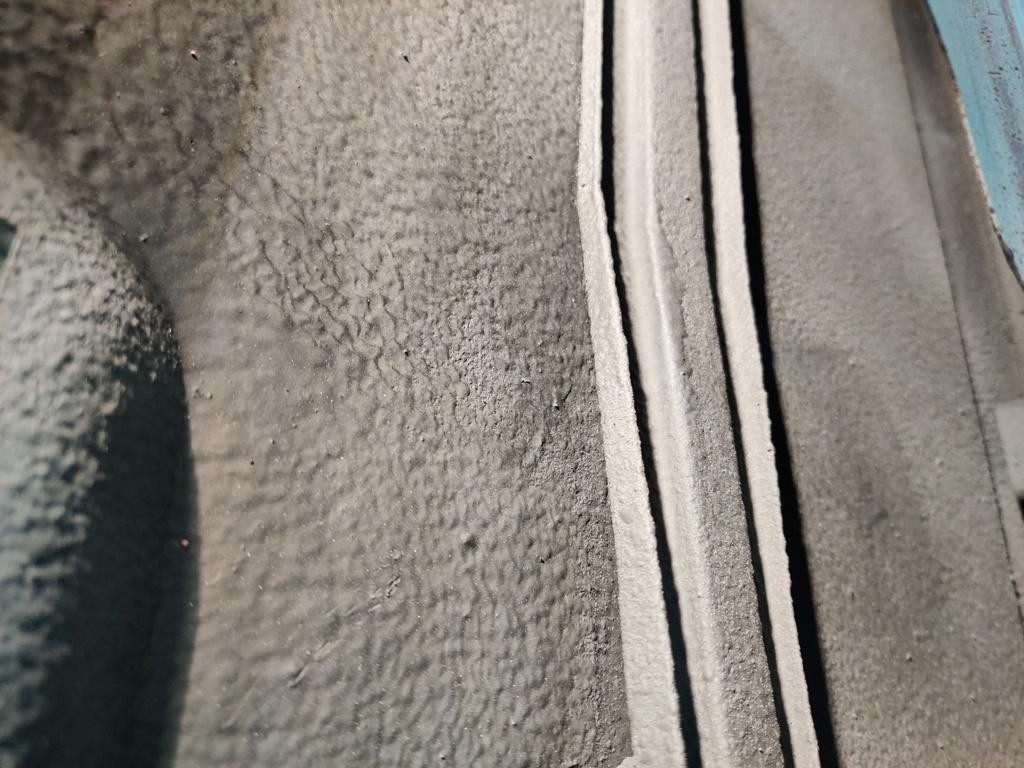
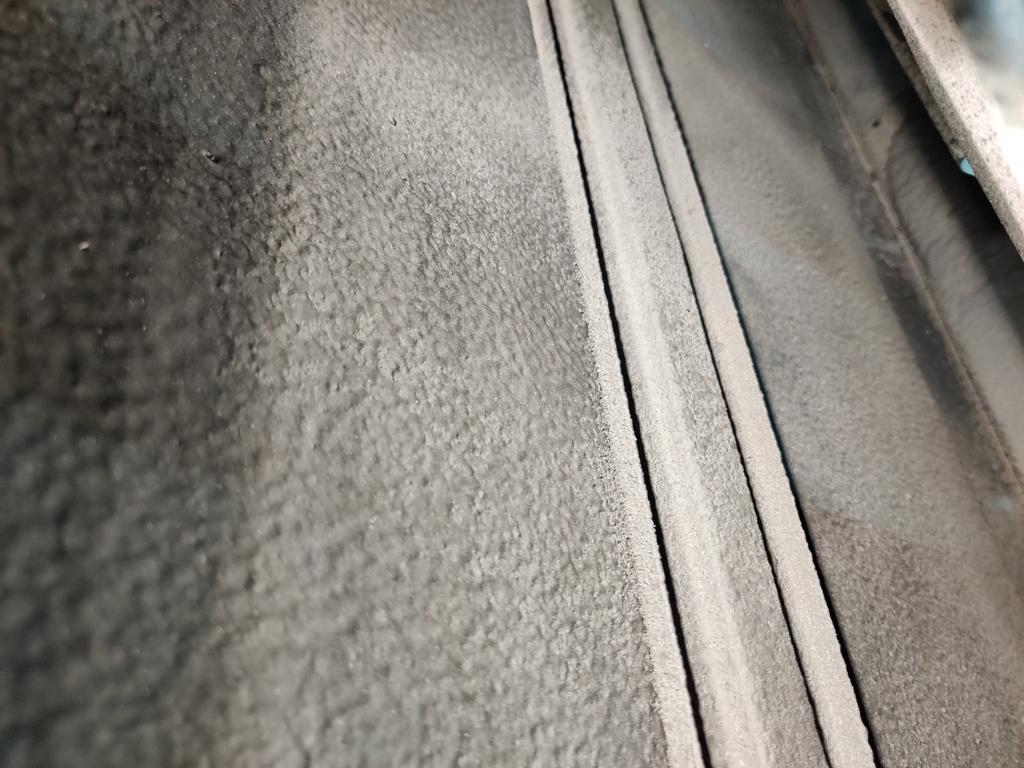
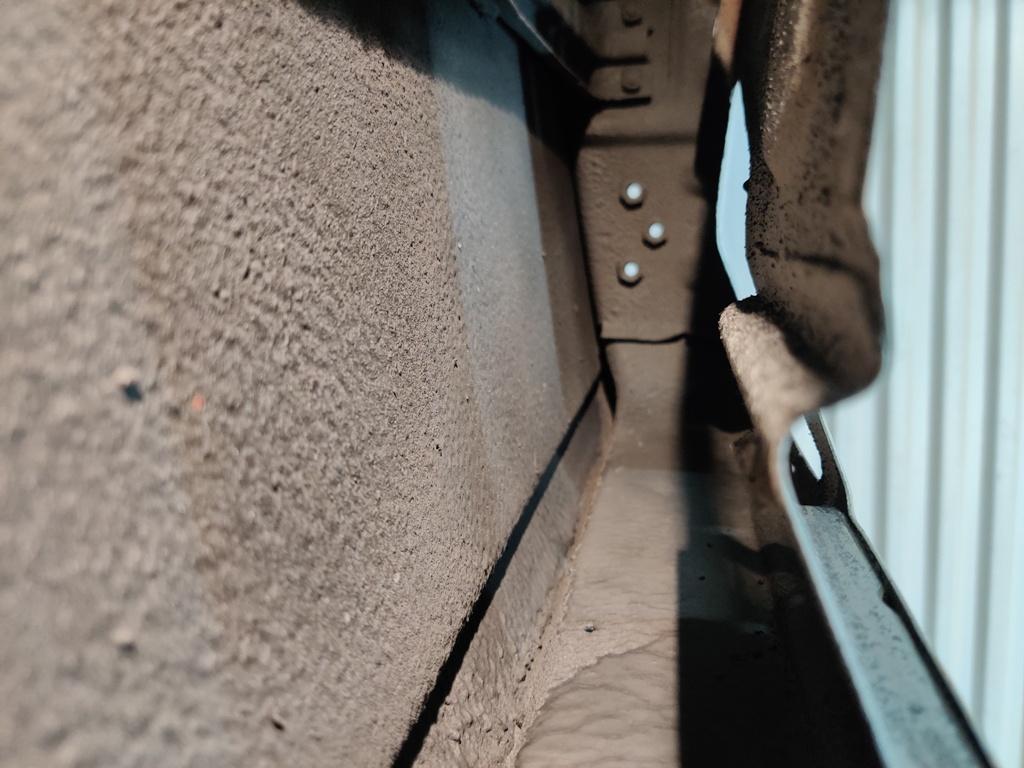
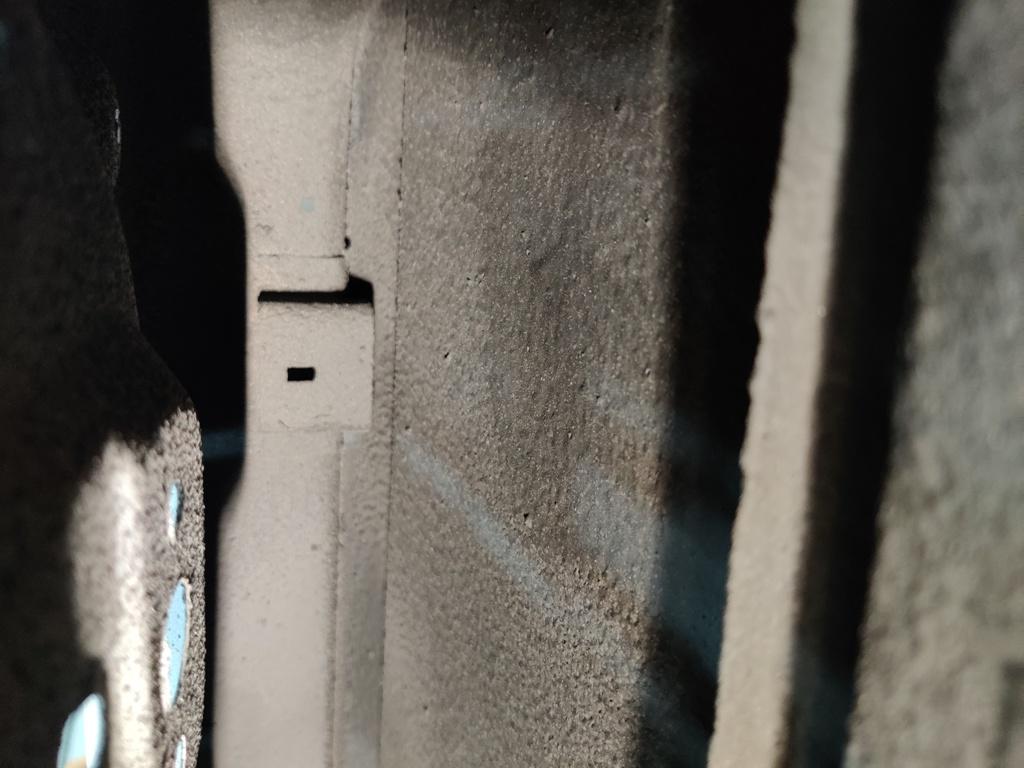
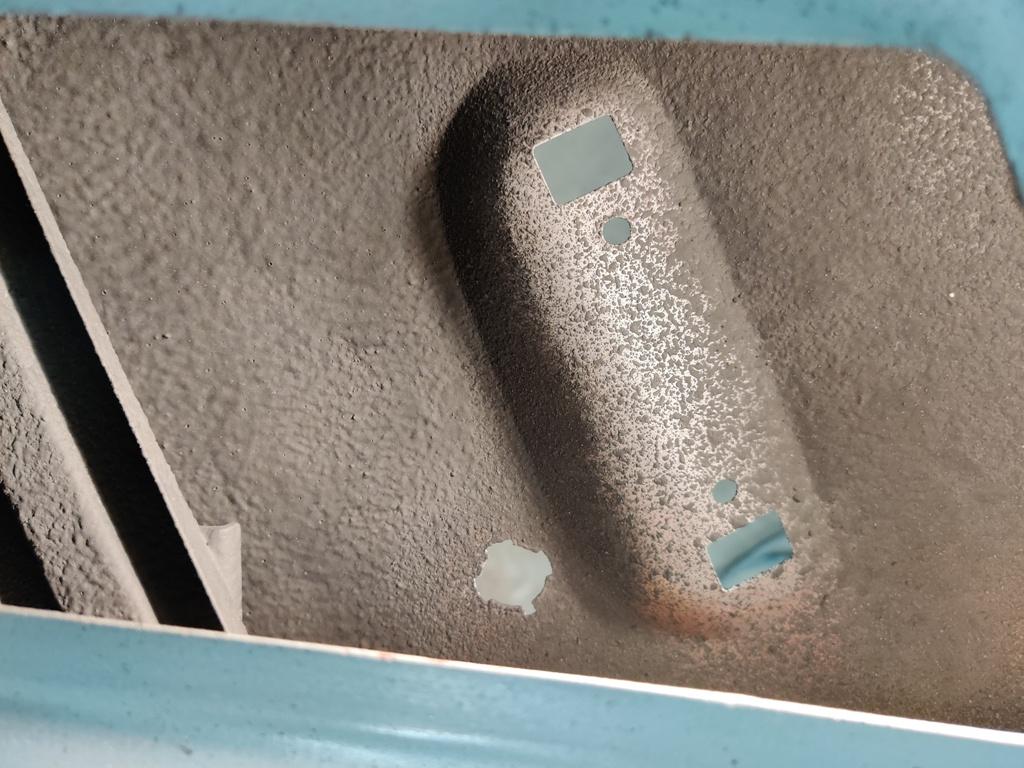
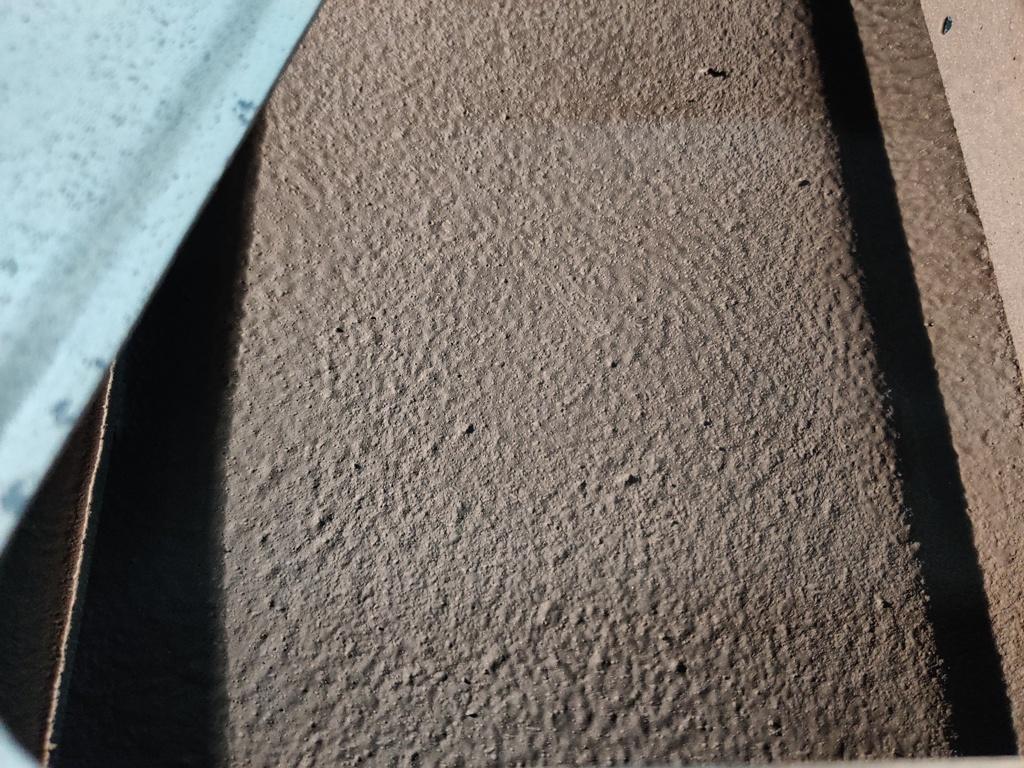
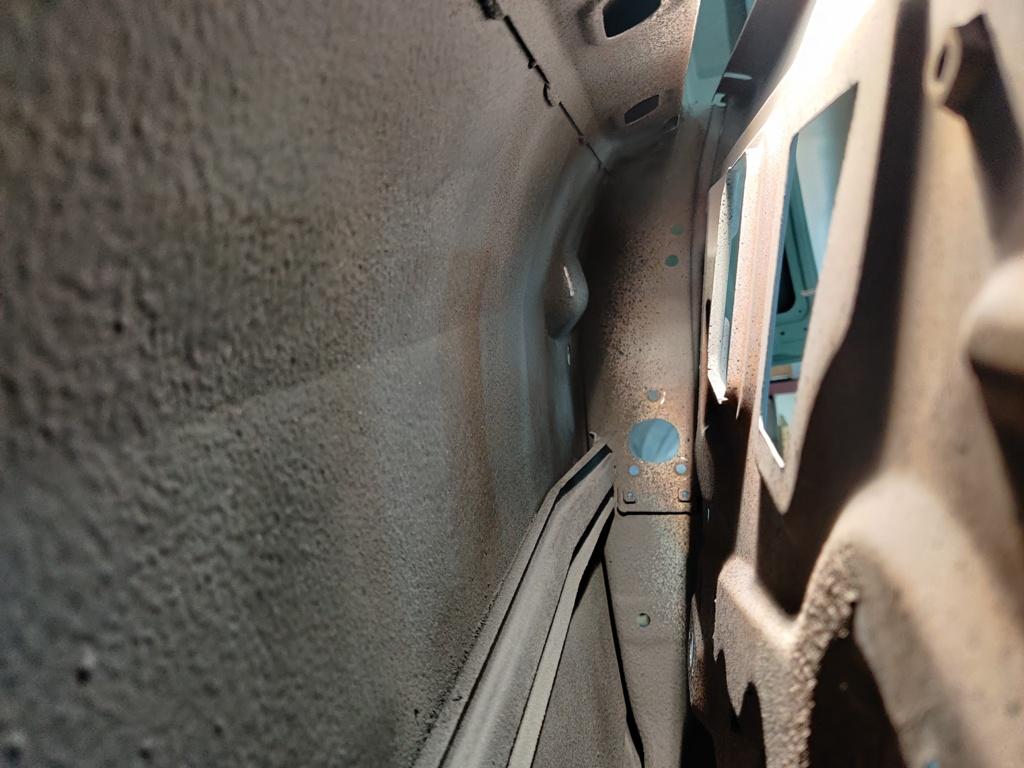
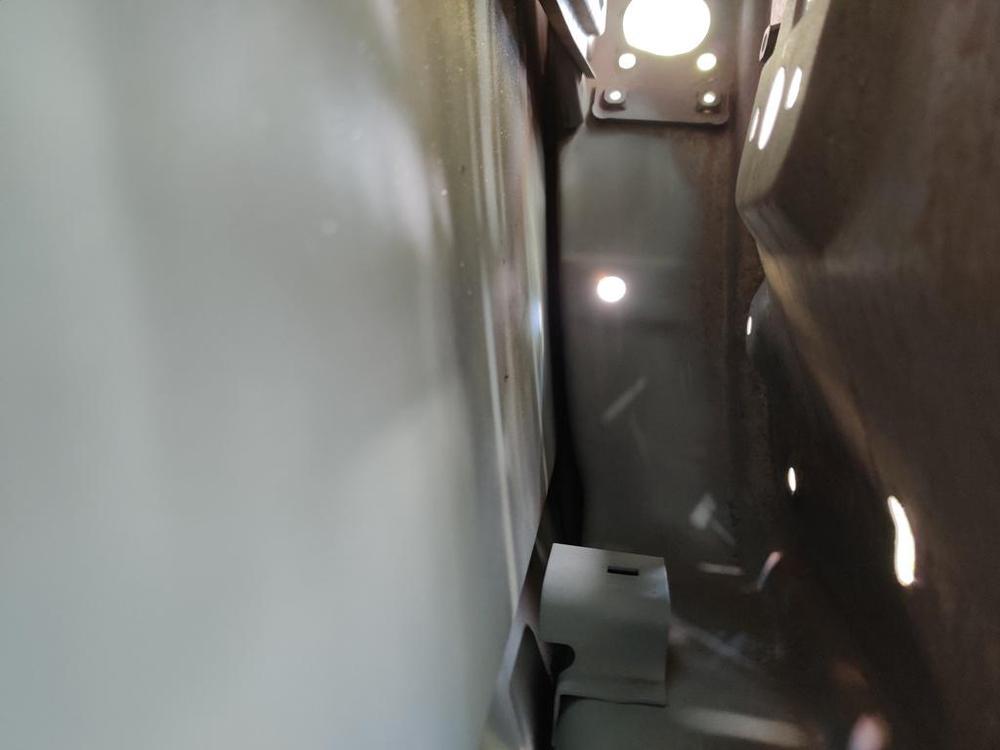
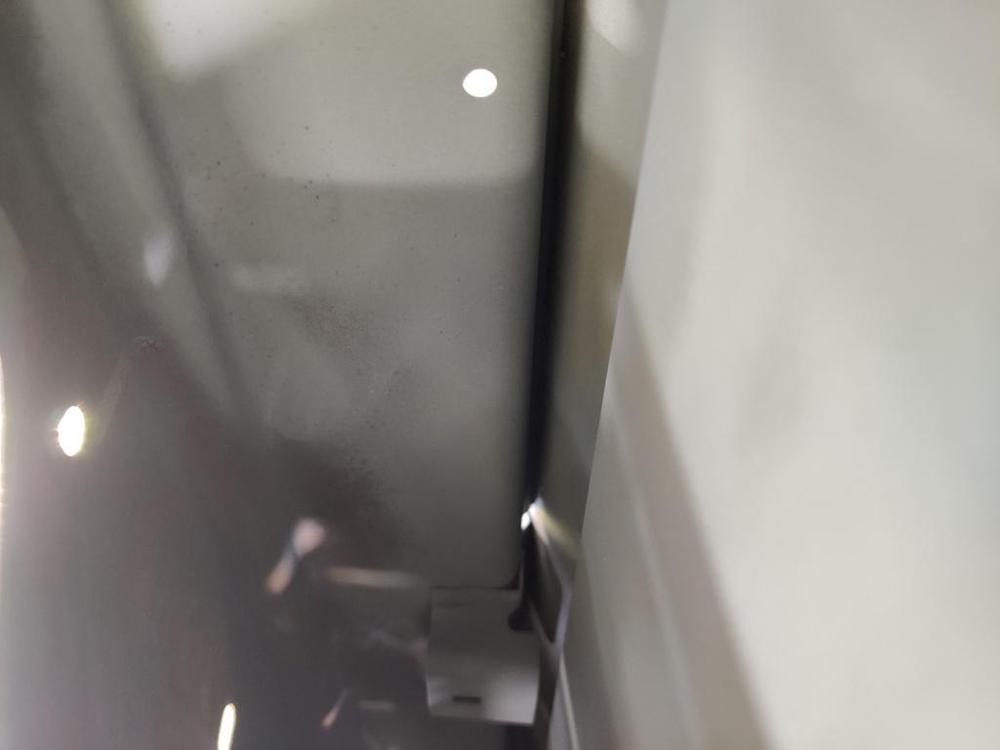
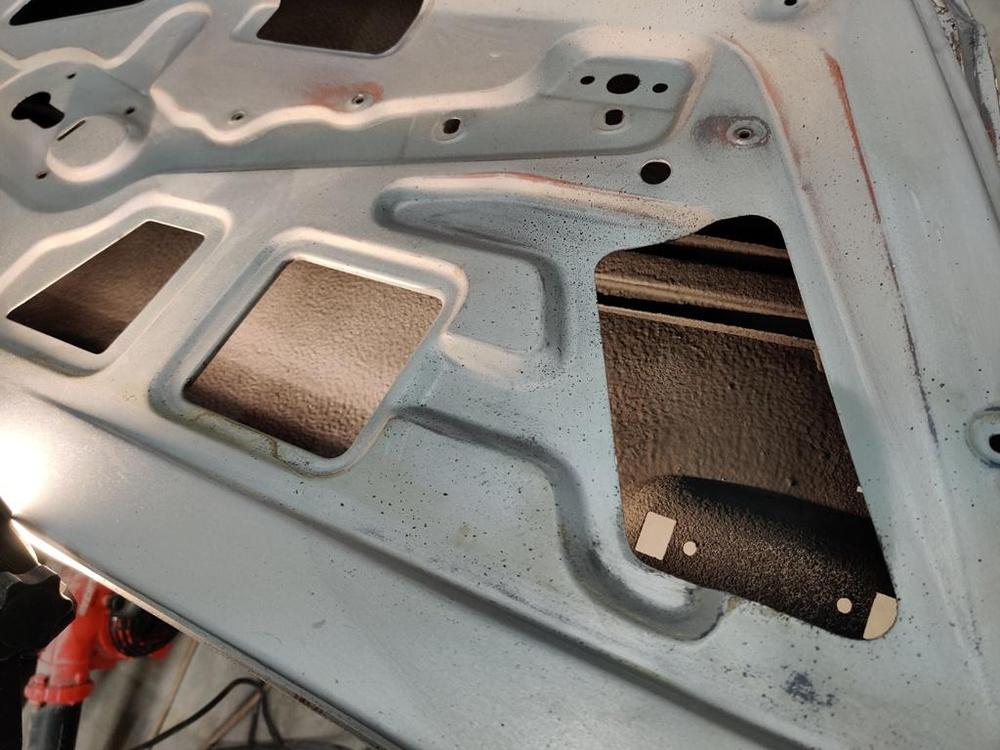
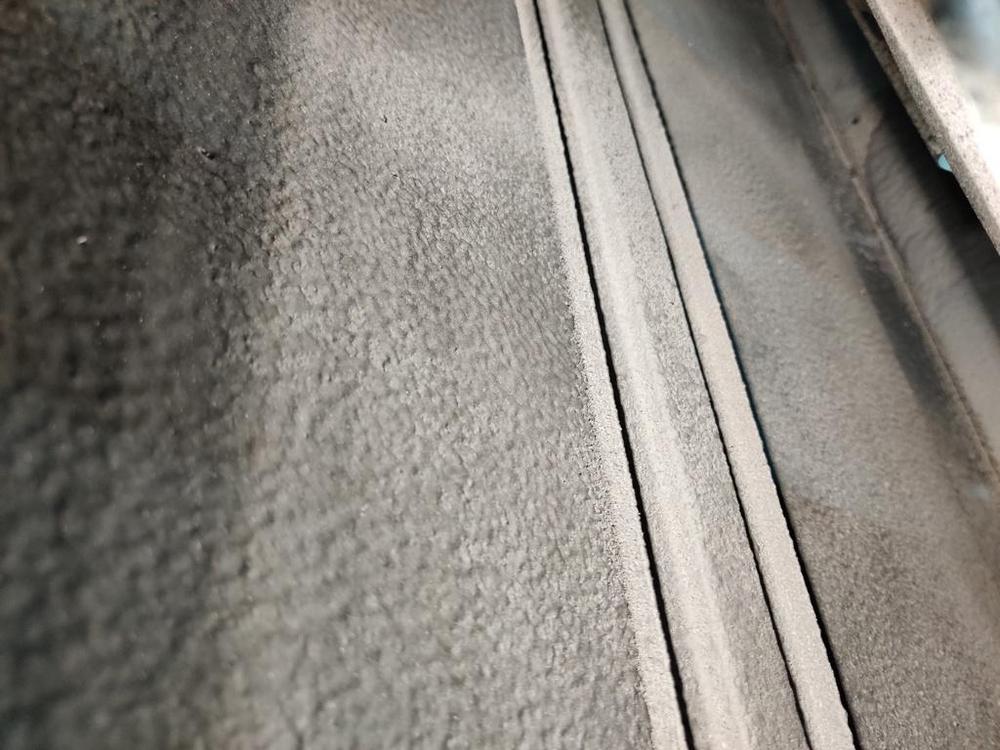
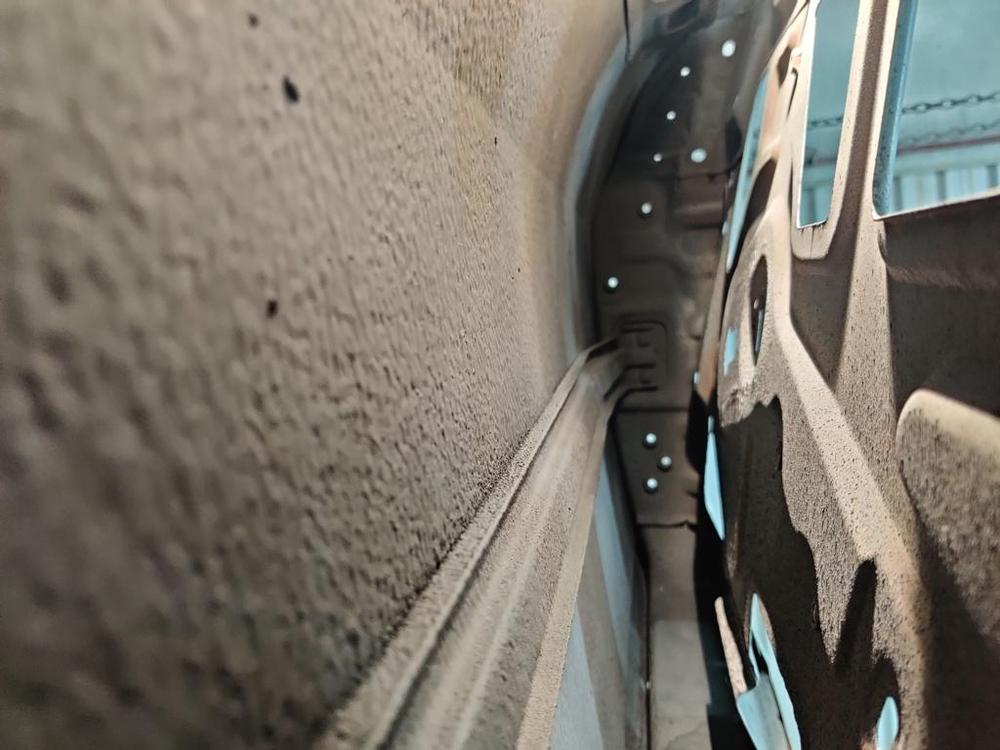
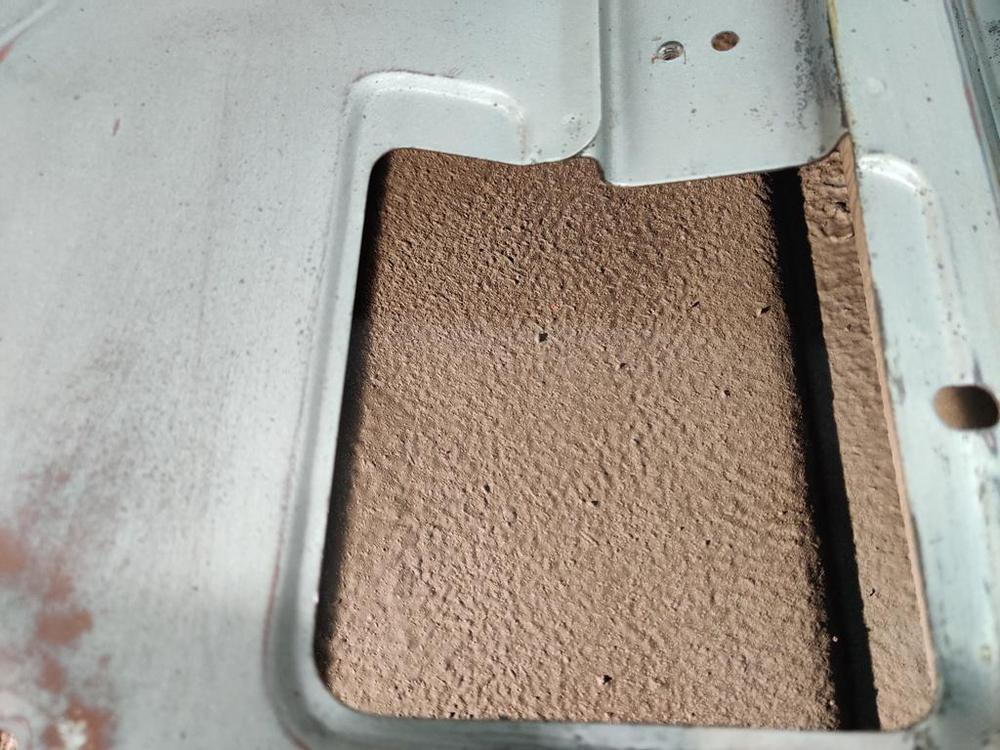
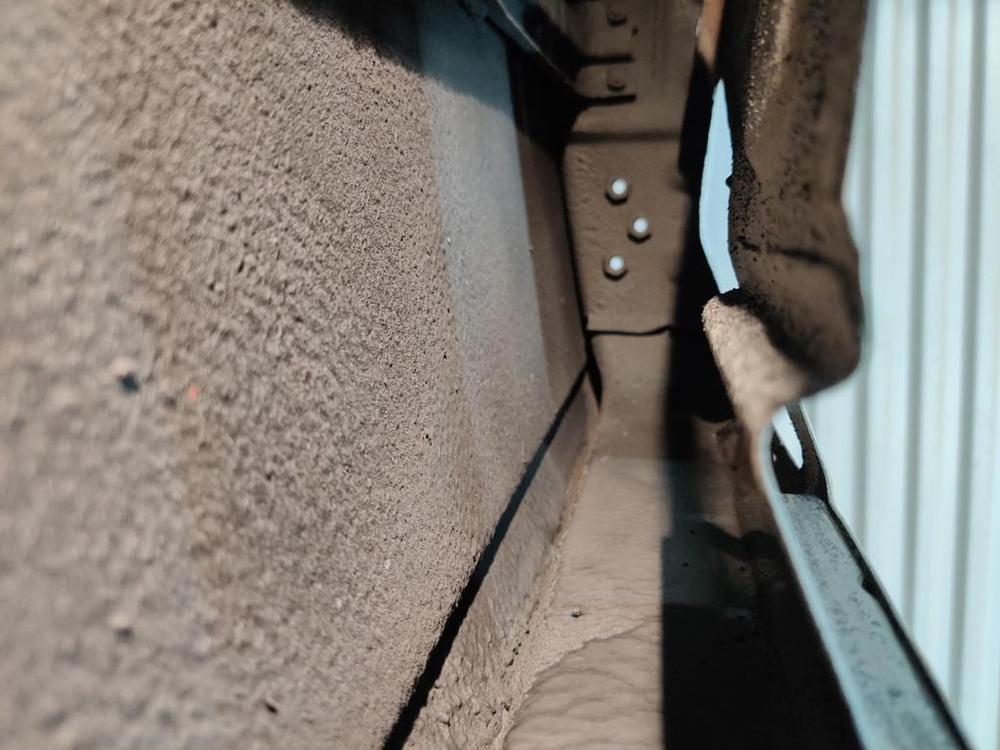
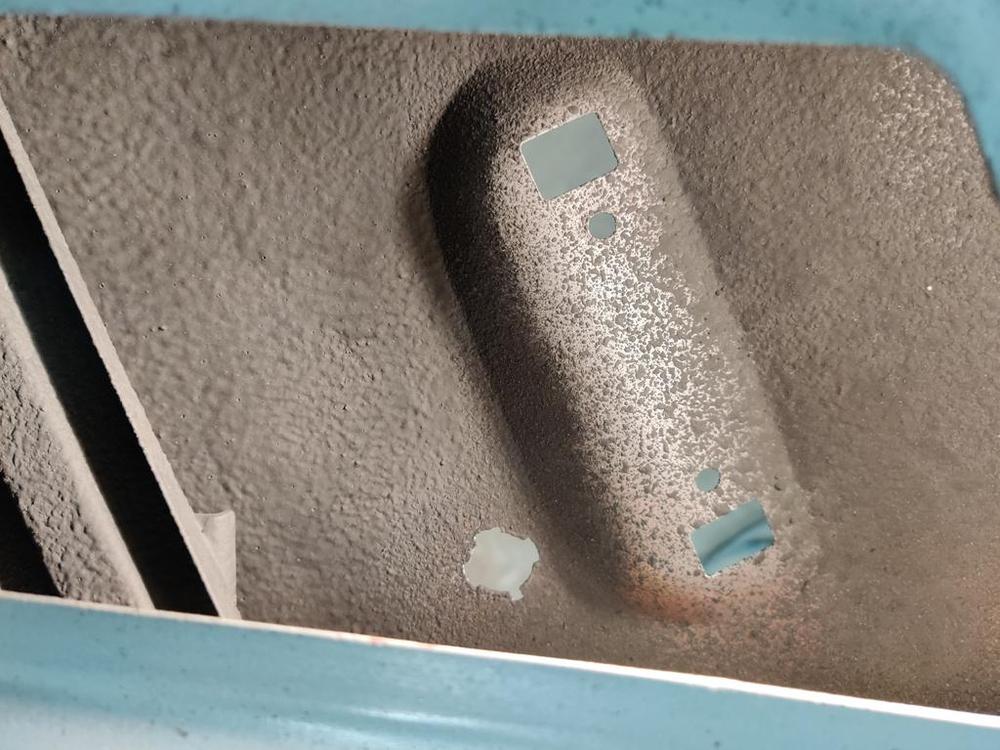
While the doors are off, I finished prepping the insides for spray on sound dampening material. I had some sitting in storage for something like 15 years? And I was shocked to open it up and see it was still usable. I don't think this stuff is sold anymore under this name, but I suspect it is the same as the Spectrum product I bought from Second Skin in this second pic. We'll find out soon enough as I spray more of the inner panels of the car. Pictures showing inside of the doors before spraying the sound deadener. I sandblasted a few spots I could reach to get rid of surface rust. Interestingly, there is bare metal that didn't even have full surface rust inside the door: After spraying the sound deadener. When the sound deadener is fully applied to the car and the truck bed liner underneath, it will have substantial reduction in Noise Vibration and Harshness (NVH) compared to stock. The doors will have a very different sound and feel than stock ones. I think it will be quite a noticeable improvement around the whole car.


 1 point
 -
 1 pointWell, sad to see everyone bailing out. I was really looking forward to some face to face with a lot of you guys. When you weight the pros and cons it makes complete sense. This has been an extraordinary year for sure. Hopefully we get a vaccine before next year. Sorry I’ve been absent on the chat. Extremely busy month or so for me and my family. Working my tail off, and in the middle of a house closing (sale) and moving into my new place all in the span of 3 weeks. Major issue with my contractor and a myriad of other life complications. I’m on my way right now to Amsterdam and then Helsinki, Finland on Monday. These is part of a 8 day European work trip. My Z expected to roll into my new place in a matter of weeks. Can’t wait!! Sent from my iPhone using Tapatalk1 point
 -
 1 pointHi all, when I took the harness out, I don’t remember remove any connector if not necessary. I told myself this is a long term project. I want to leave things as intact as much as possible. Beside, the harness didn’t have to go to any holes like the passenger side where wires need to get into engine bay. I must have took it off but can’t remember why. in case anyone interest how the connectors orientation, take a look at the picture below. time to put rest of the lights in and hopefully by weekend, have her around the block. So eager. order of executions - registration - insurance - break the car in for few hundreds miles - readjust valve clearance - looking for ac drier/receiver and r134 conversion terminals like to keep as much original as possible. Replaced worn out parts and rebuild when parts “unobtainium” or cost prohibit ? then enjoy fruit of labor ? Then smog check at some point.. ughhhhh ;( we can mark this thread as solved Lookout, there will be a post about AC coming shortly much appreciate everyone.
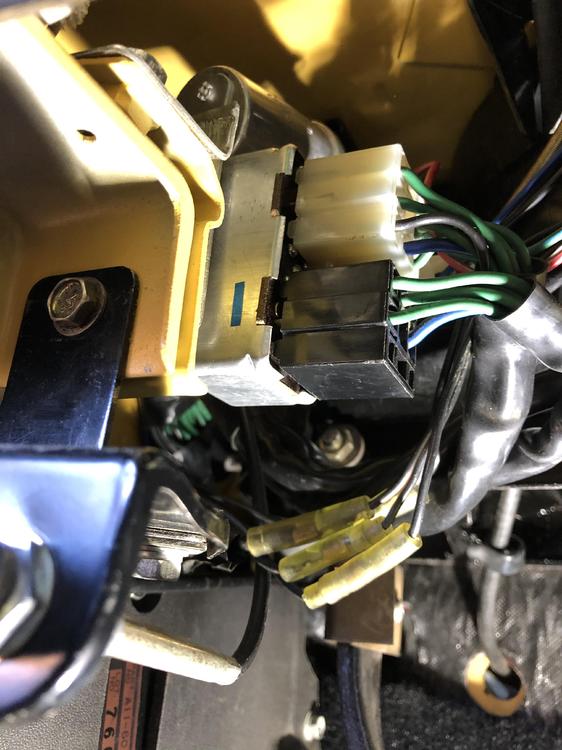 1 point
 -
 1 pointThat's the problem when you license and replicate someone else's design. You usually copy the design flaws, too. You won't find connectors/narrow pins like the 75-77 EFI relay connectors anywhere else in the Z. Those came the Bosch design. Of course, if my designs were perfect, I wouldn't need another engineer to review them...and there would never be red-lines on the drawings from the production floor/startup. Heck, I just carry a red pen with me at work to save time. I never have to hunt for one.1 point
 -
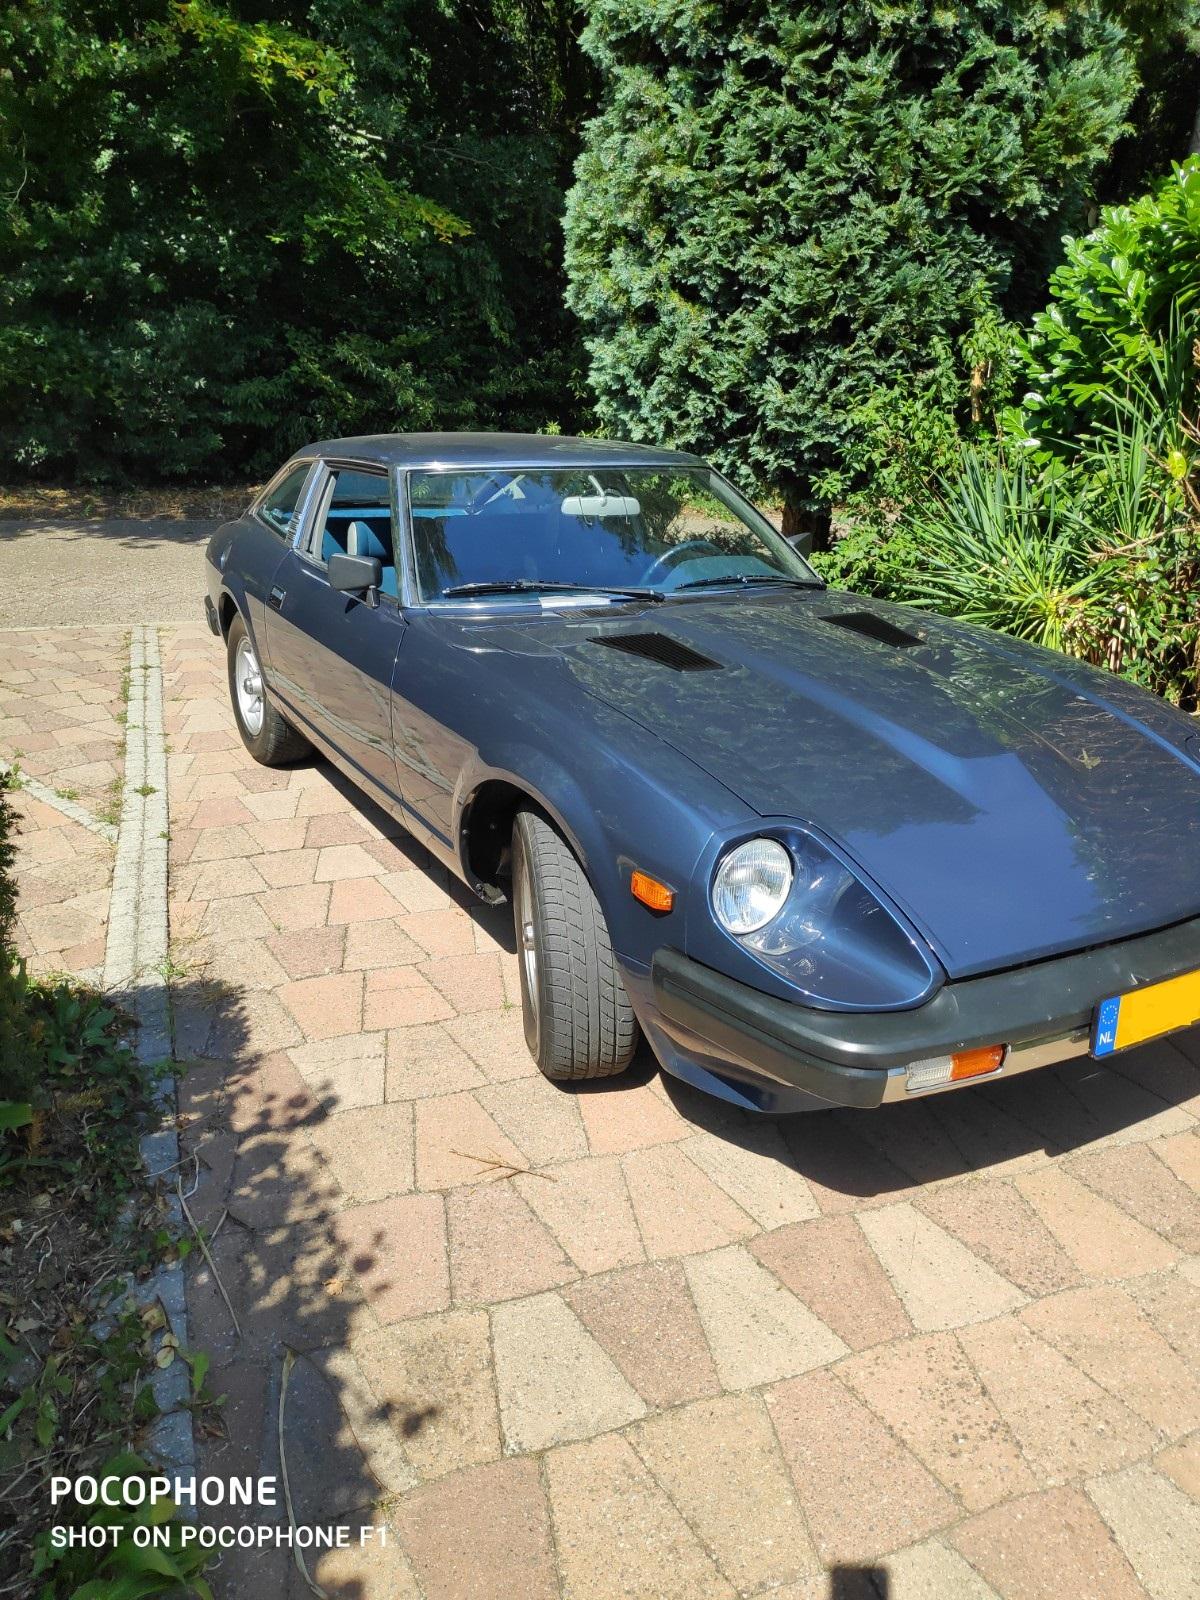
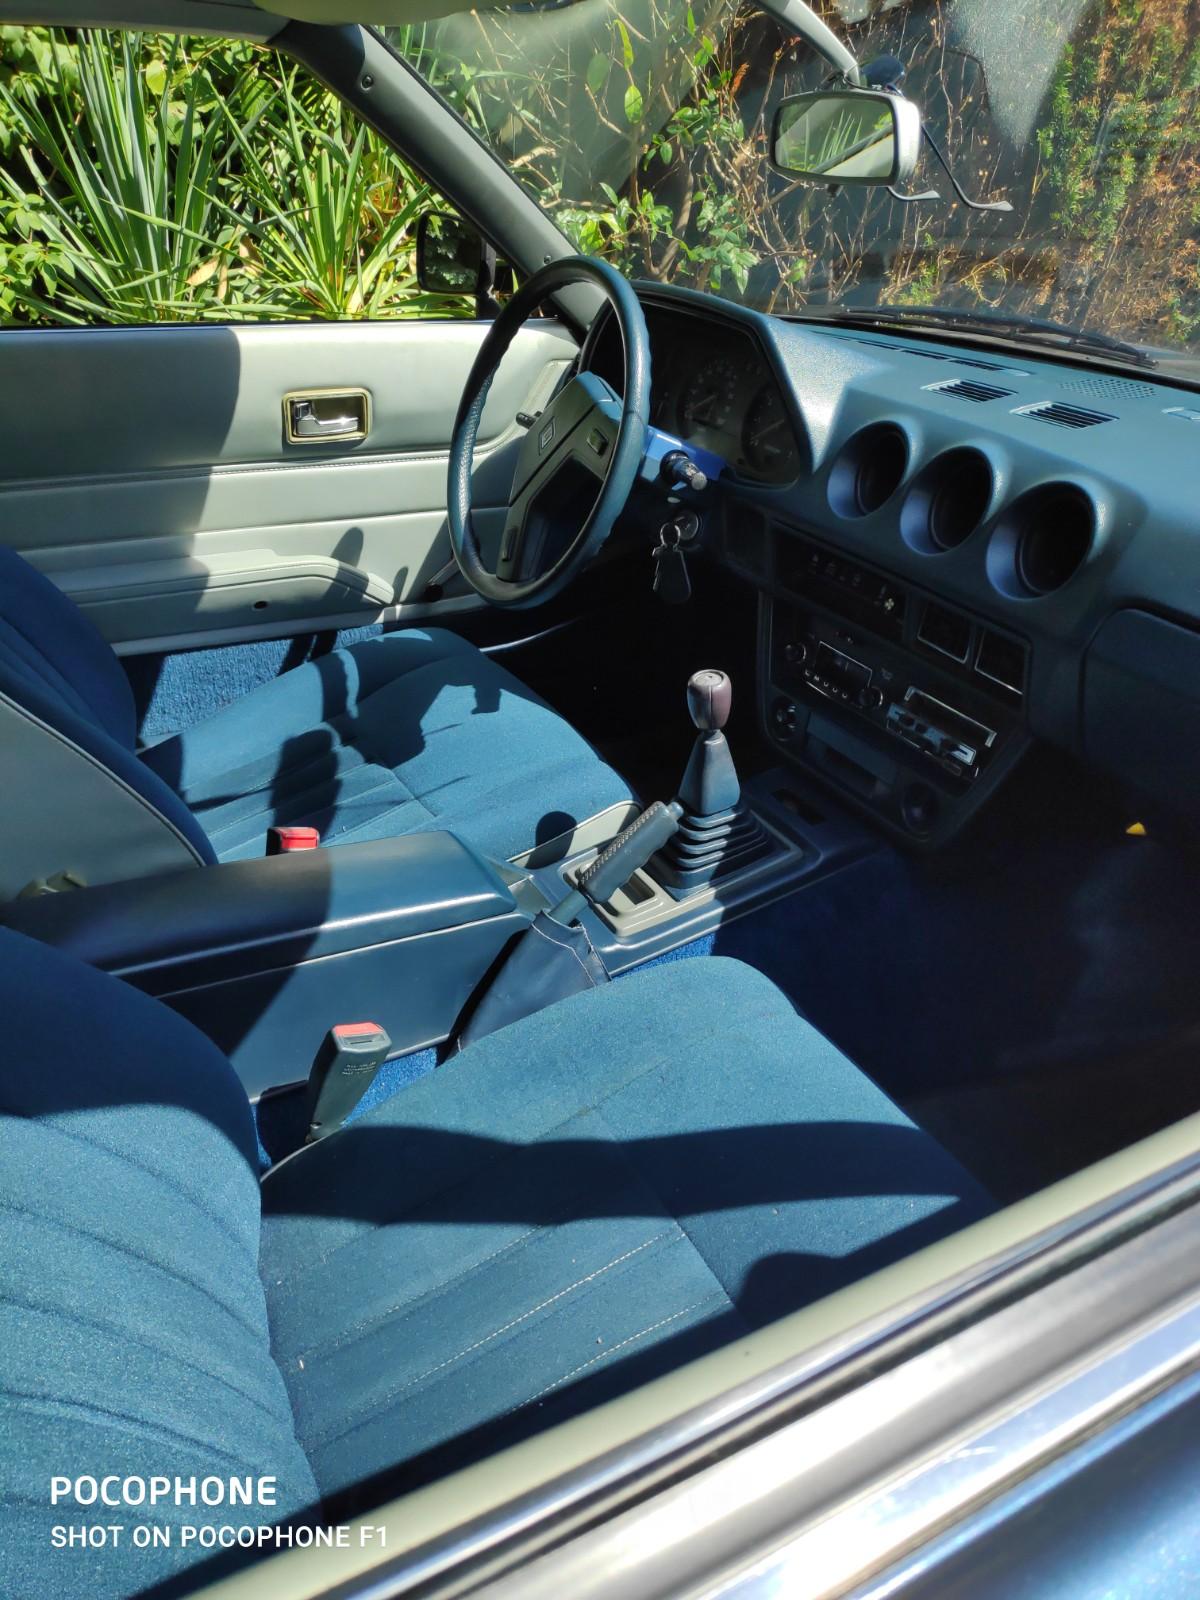
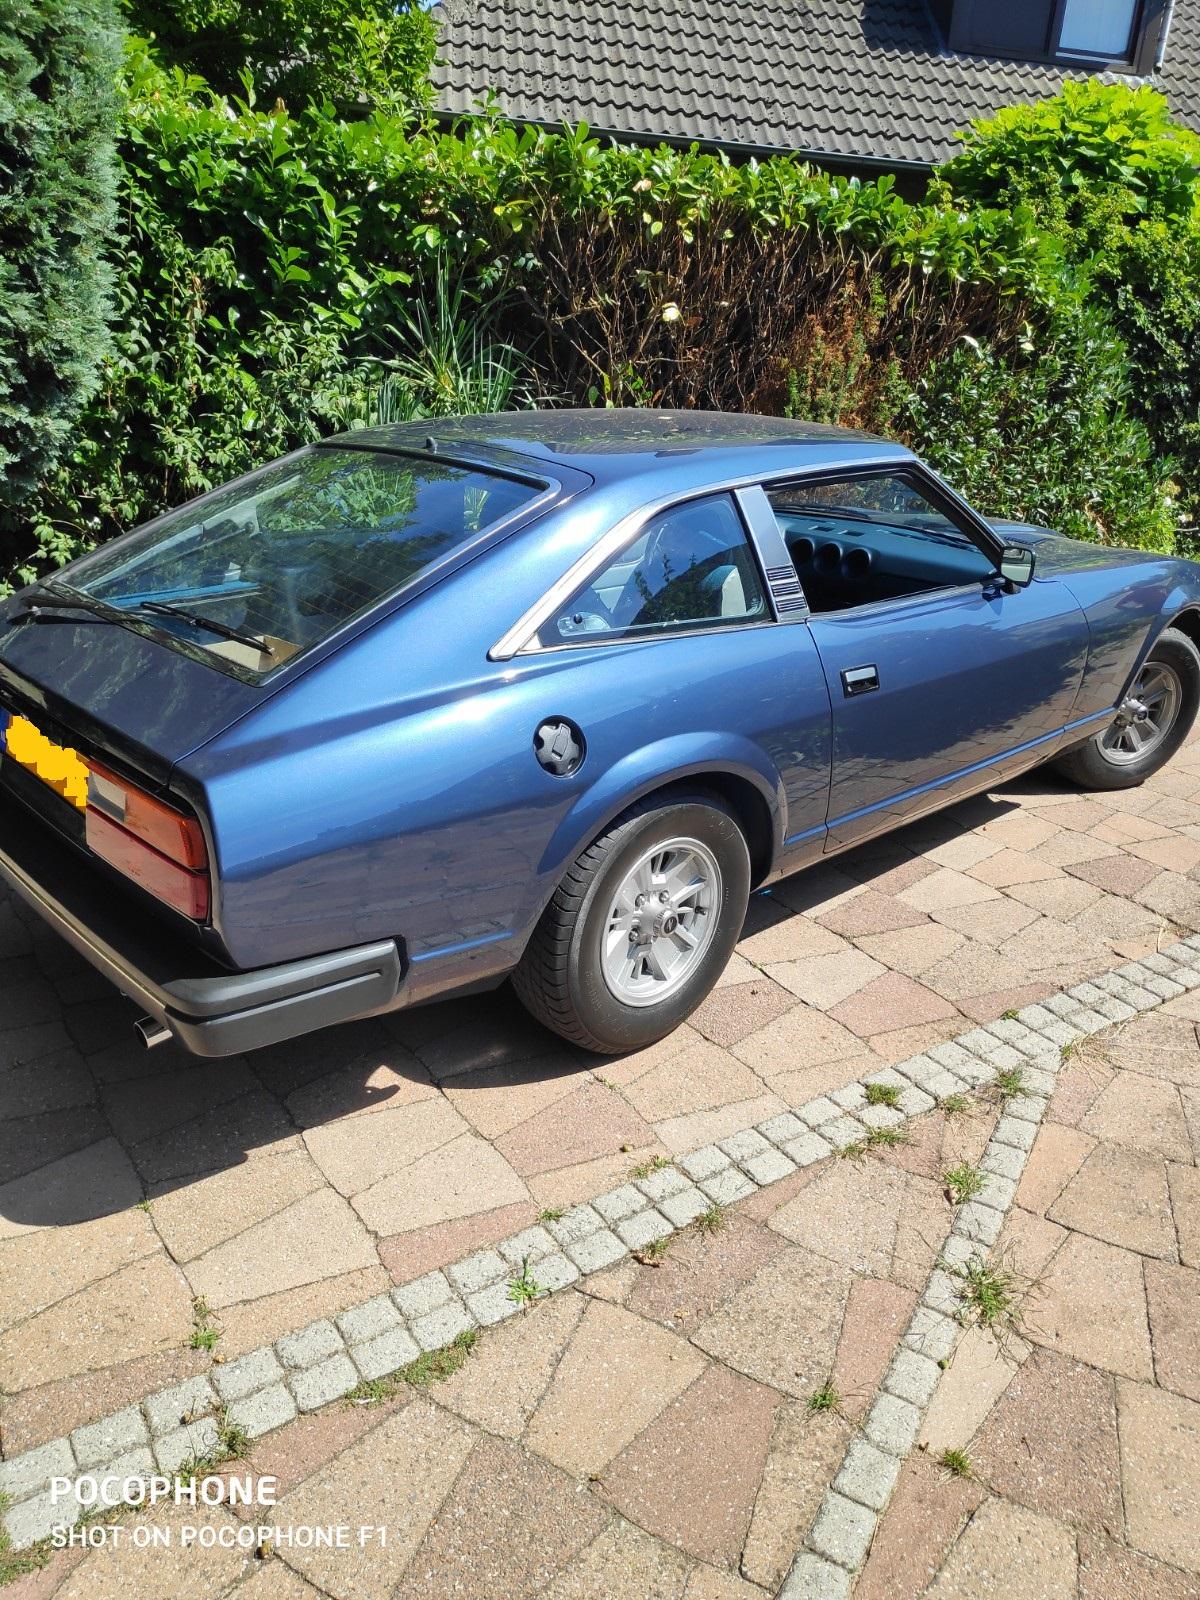
 Yesterday I went to Mart to look @ the 280ZX. He let me drive it a bit, thanks Mart ? He has some things left to do, but overall it drives really nice ! Restoration looks really nice.
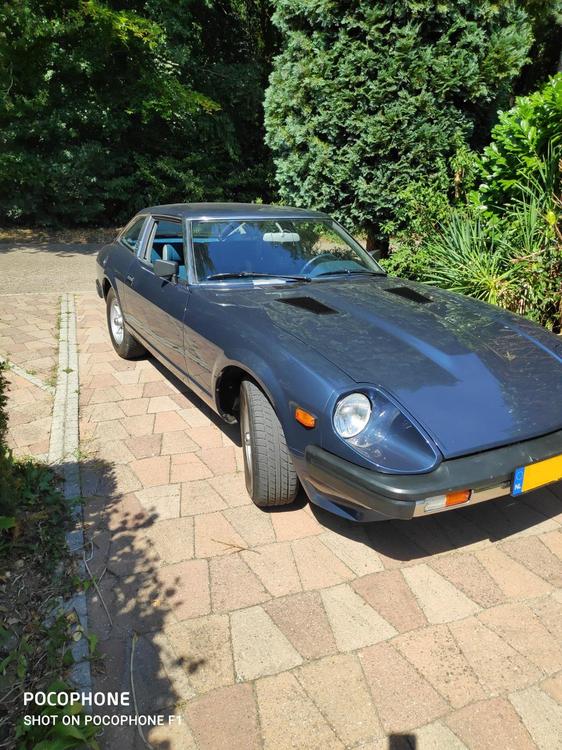
 1 point
 -
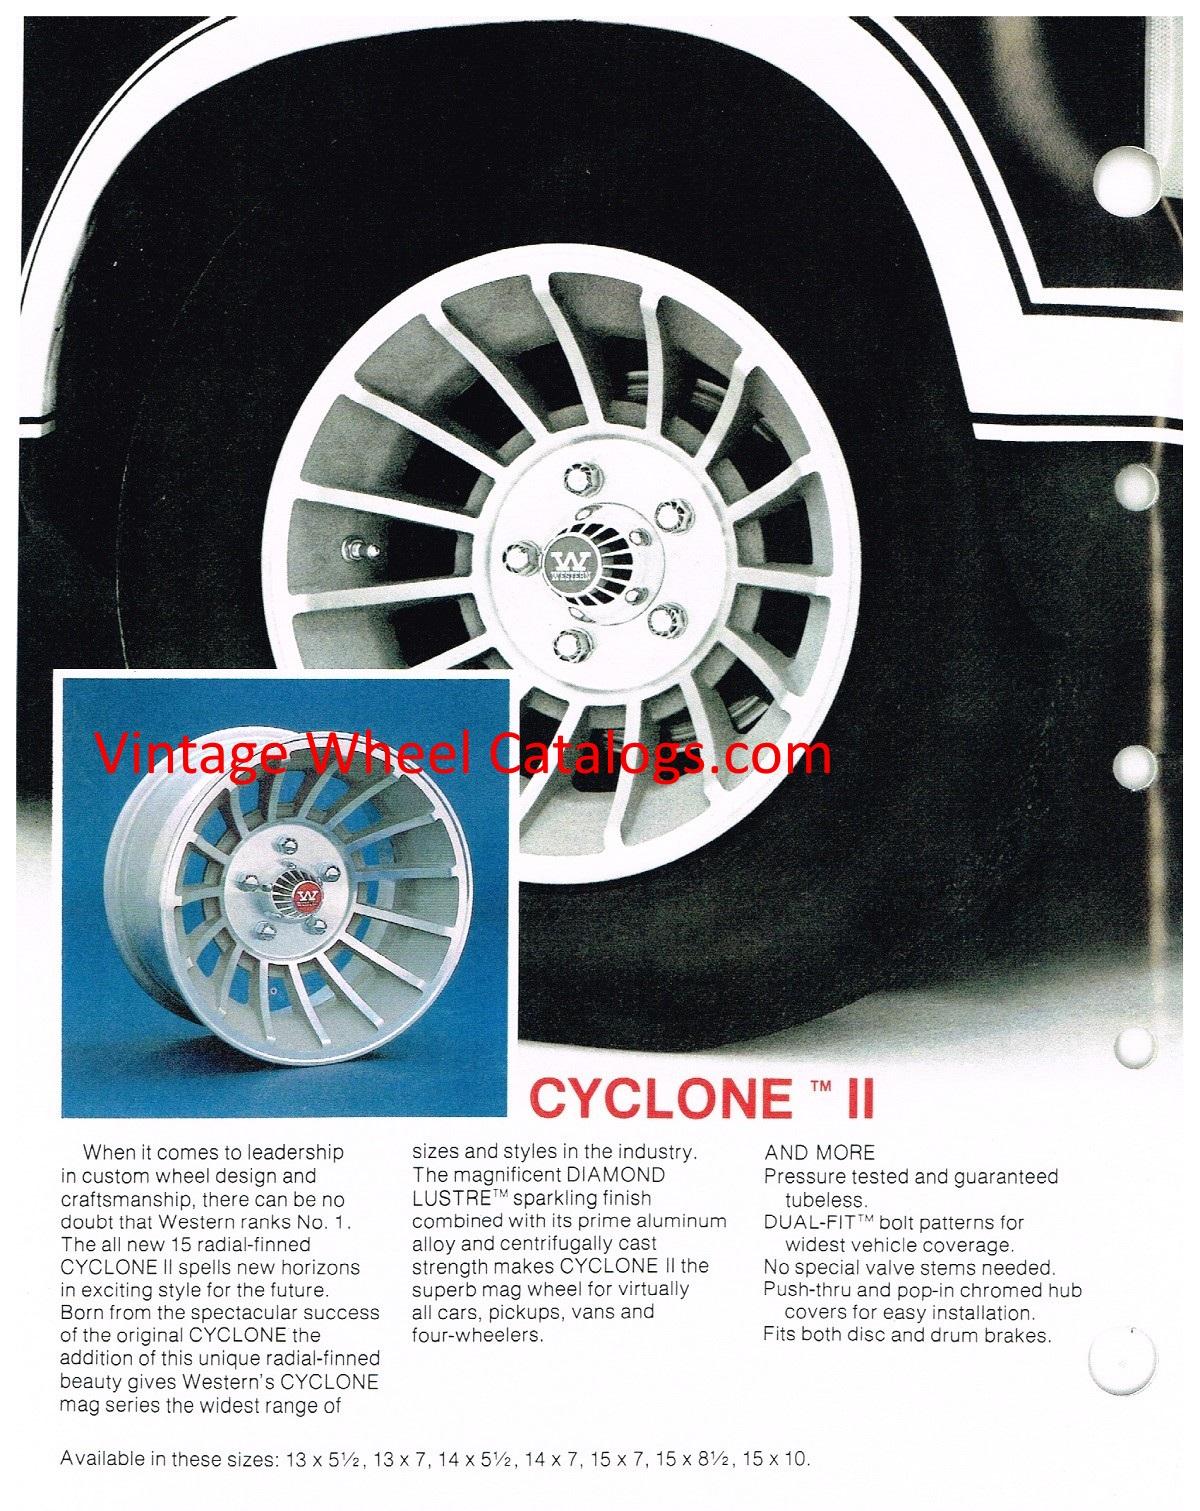
1 pointWestern Cyclone II, 15 spokes, now I just have to find caps for them.

 1 point
 -
 So here's a preliminary report. I tried out the stock bulb (#6 on my list) once again just to have a baseline value. It has a resistance of 3.8 ohms. As had happened before, the light went brightly on after running the car for 25 minutes. Easily seen with the bulb inside the housing even under bright sunlight. Next I tried bulb # 5 which has a resistance of 6.3 ohms. After 25 minutes of running the engine that bulb illuminated very faintly, very hard to detect in daylight and subtly seen in the dark car. This one could work the way @Dave WM suggested which is as a monitor that the system is operational when lit dimly and as a low fuel warning when lit brightly. However, I've yet to run the tank down to empty. Next was bulb # 4 with a resistance of 11.4 ohms. It also illuminated after 25 minutes or so but the glow of the filament is so faint that it can only be seen directly when the bulb is out of the housing. Once inside the housing it's invisible in daylight and almost undetectable inside a dark cabin. If this bulb (as predicted) will glow brighter once the fuel level falls below the thermistor, this would would work well as intended. With this trend, one could extrapolate that the remaining bulbs could illuminate even more dimly (directly proportional to the increasing resistance values) at the 25 minute mark as well but might be a bit dim even when the fuel level drops below the thermistor, rendering the low fuel warning function ineffective. Again, I will finish reporting once I run my tank empty but seemingly there are 2 alternatives so far I could live with ?.1 point
 -
1 pointNo engineer here, bean counter, but I did room with one at FTU (now UCF) I think I was accepted into the engineer club when I was able to quote star trek during summer reruns (and I knew the resistor color code, that was unexpected). We had 4 engineers and one accountant in the dorm suite.1 point