Leaderboard
-
Jughead
Free Member3Points131Posts -
EuroDat
Free Member1Points3,309Posts -
Captain Obvious
Free Member1Points10,069Posts -
qz16
Free Member1Points147Posts


Popular Content
Showing content with the highest reputation on 08/31/2020 in all areas
-
Update: Found a broken female spade connector om wire to resistor. Renewed it and now I have voltage to resistor....and the car runs nicely...THANKS!!!3 points
-
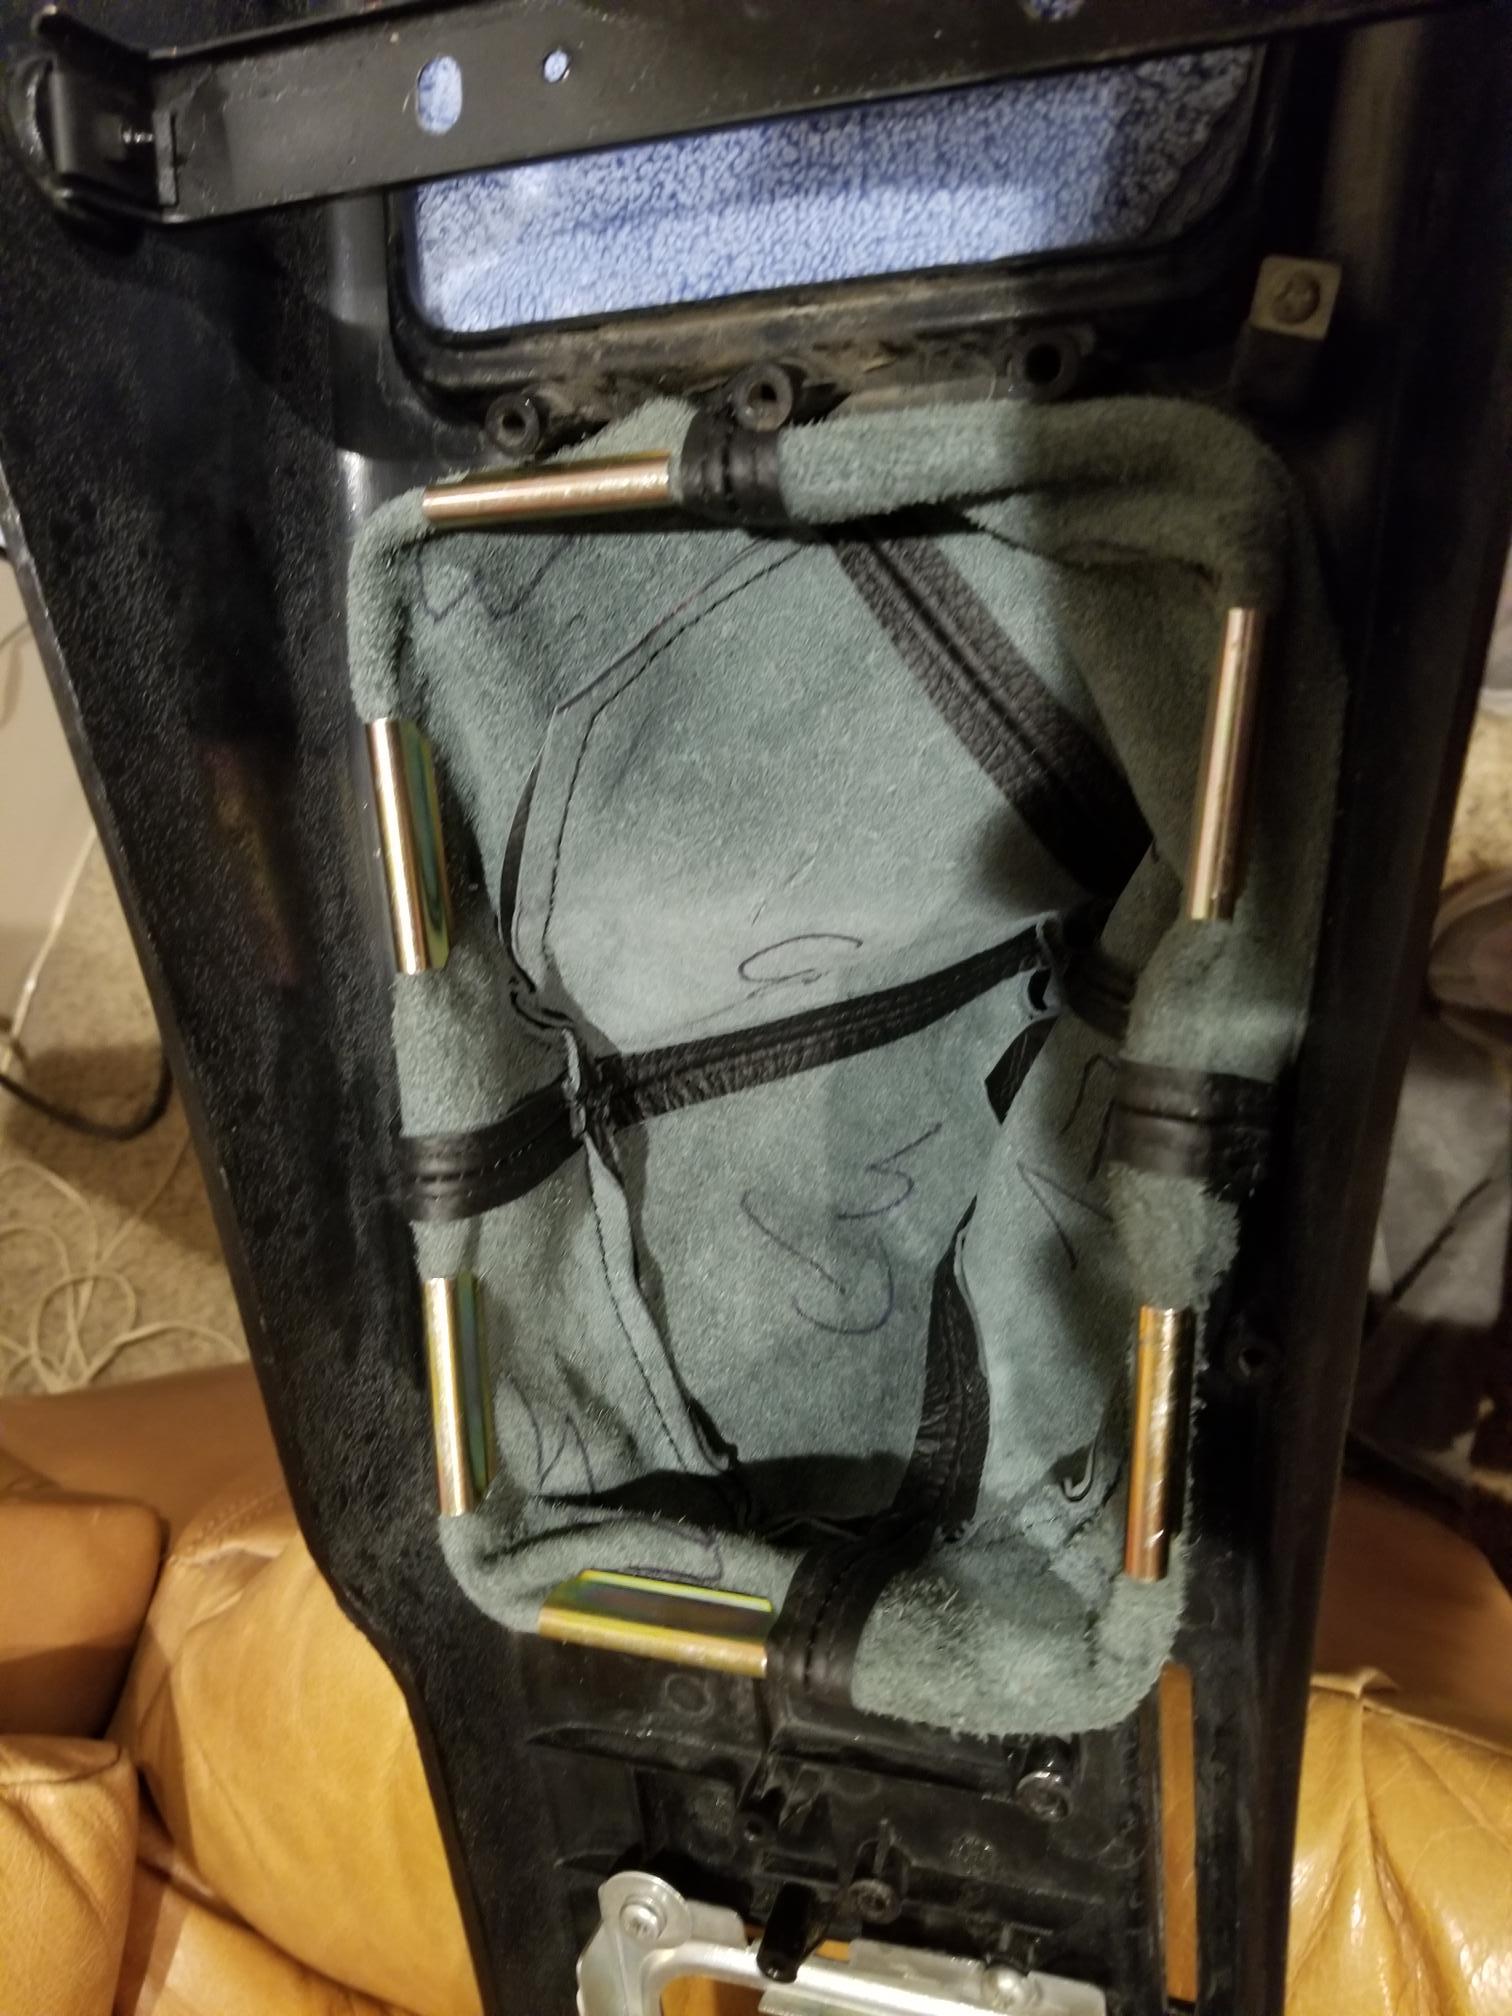
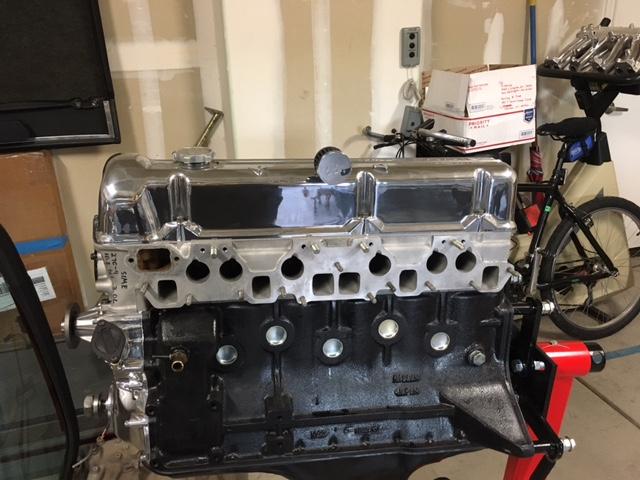
Here is the engine. As I said above, Rebello 3.0. The cam is 27C-9, which I don’t know what that means in terms of lift and duration but I had asked Dave for a EFI street motor with some grunt. The compression is 10.2:1 so that cam will have to bleed off some compression for pump gas. The car will use a Haltech Elite 2500 for brains so you know I follow Duffy Mahoney every time he posts!
 1 point
 -
1 point
-
1 pointThat looks worn out. I don't think I've seen one that bad before. I think that some people have devised ways to repair that bushing surface but it takes some work and proper tools.1 point
-
1 pointAMPCO was/is a majority Nissan-owned affiliate company, making parts for use on Nissan vehicles. Whilst the H2716 'Pop-up' pistons were not OEM on any S30-series Z, they were supplied by Nissan as a service replacement part on Nissan L-series engines. They are not 'aftermarket' or custom.1 point
-
Right. One of them (the big one) goes to the starter, and the other one powers the EFI system (and only the EFI system). The rest of the car (everything except the EFI) is powered off the white wire is connected to the other end of that big (+) battery wire down on the starter.* Next time it happens, wiggle stuff around and see if you can pinpoint where the issue is. Battery terminals up on the battery. Other end of the (+) wire down at the starter. Wiggle the fusible links. Wiggle the body ground wire next to the battery below the wiper connector. Happy hunting, and here's hoping you find it. * Want proof? Disconnect that EFI spade connector and then turn the headlights on. They should light up. Then try to start the car. The starter will turn the engine over, but it won't start.1 point
-
1 point
-
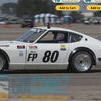
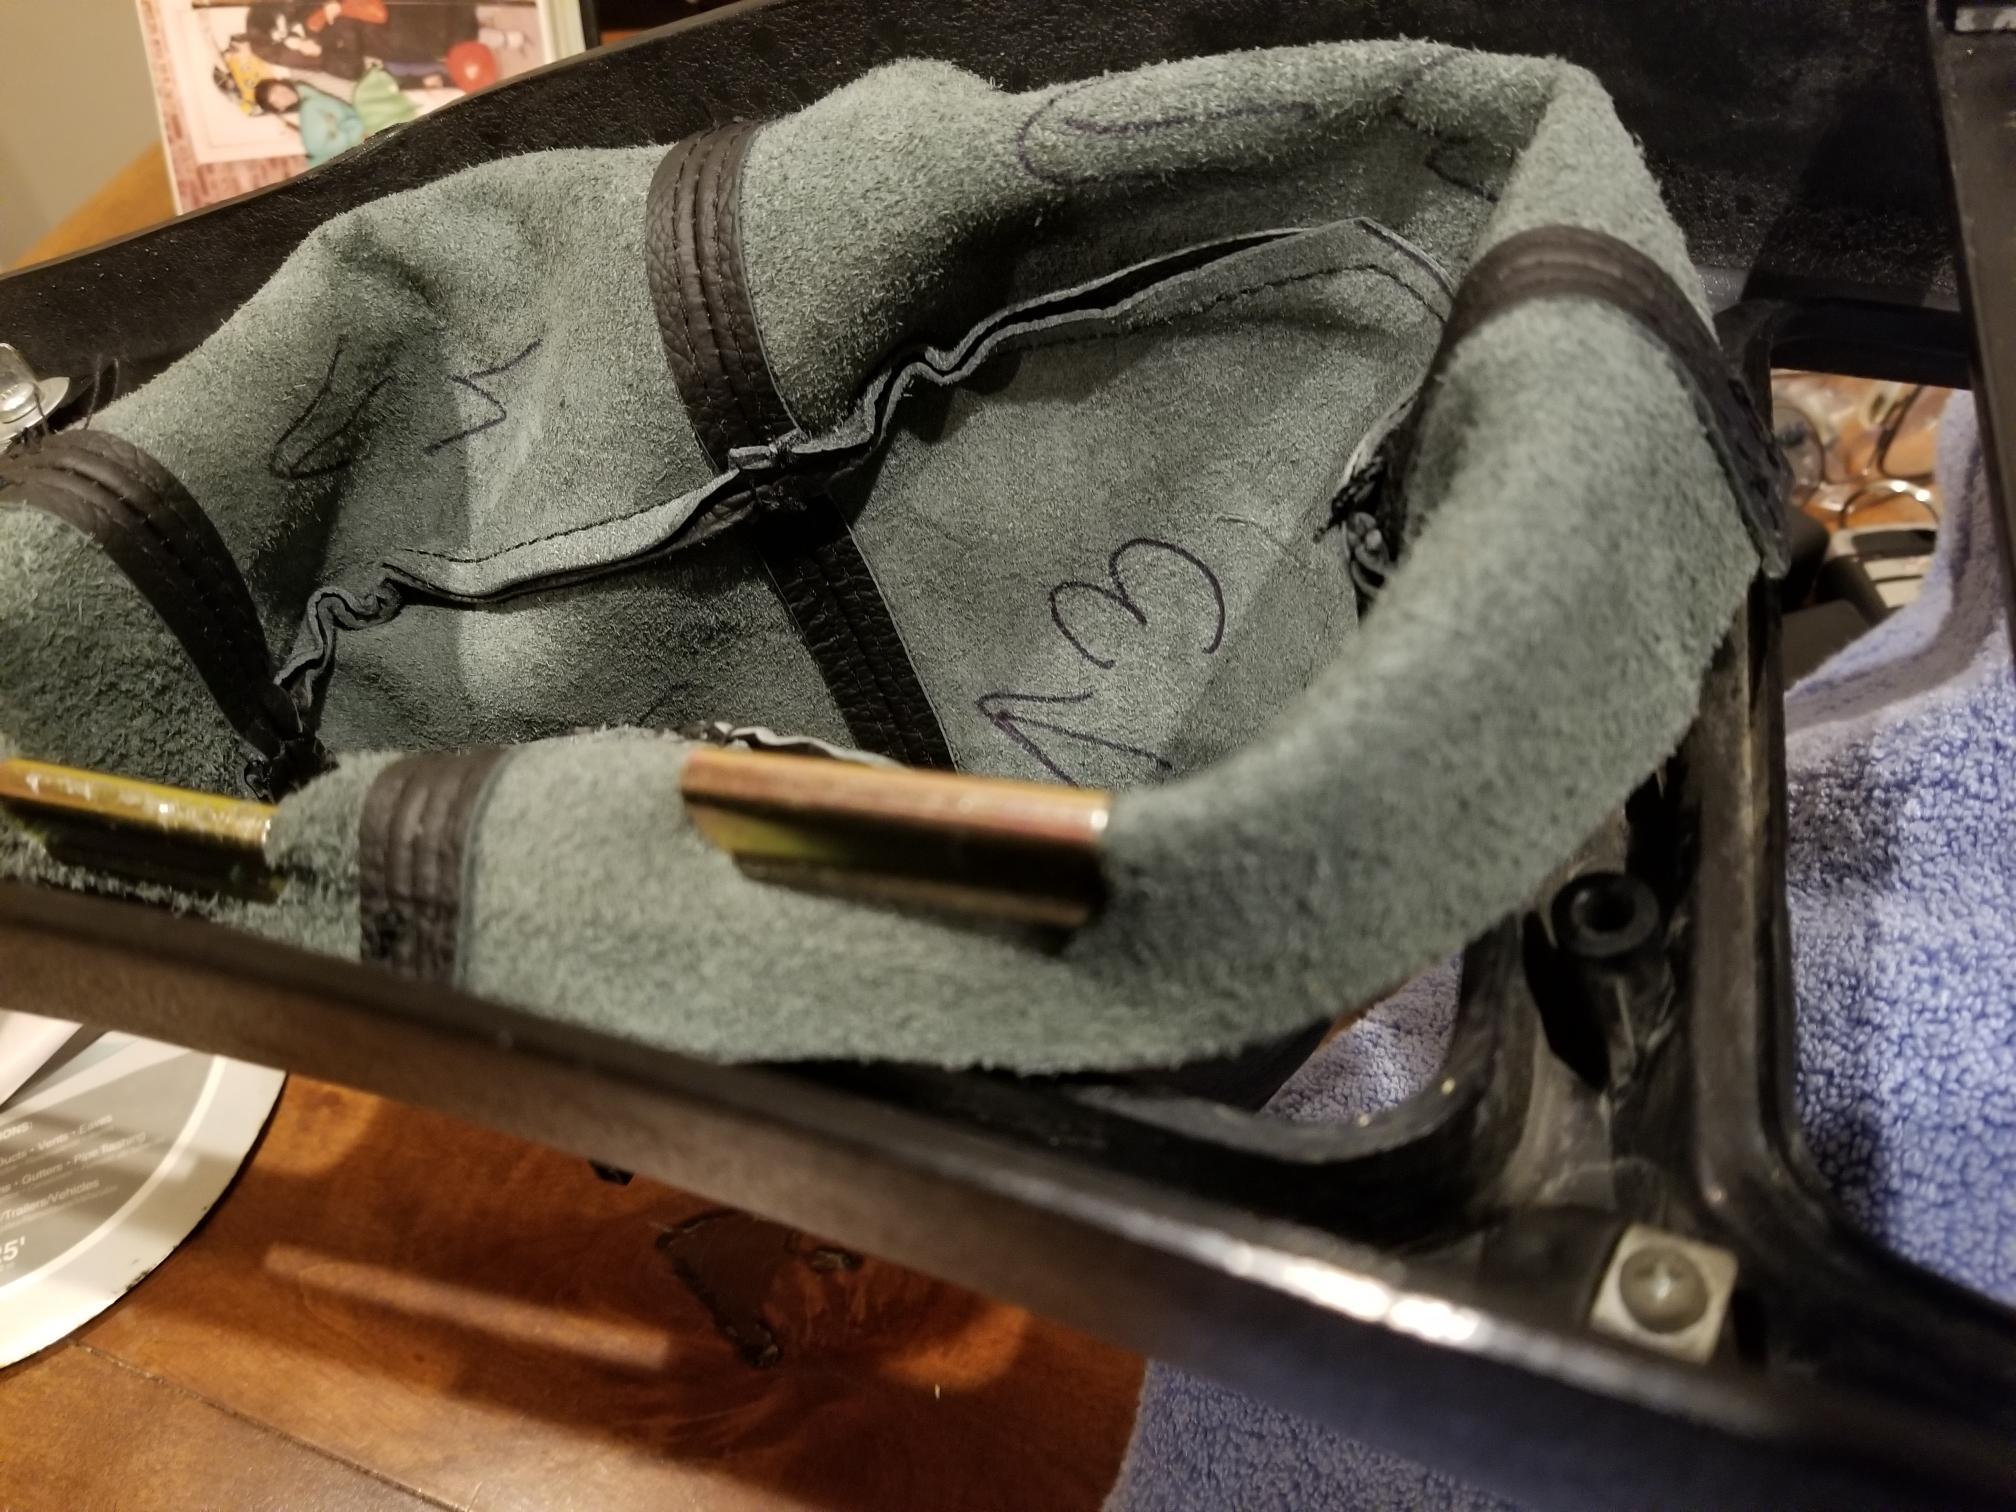
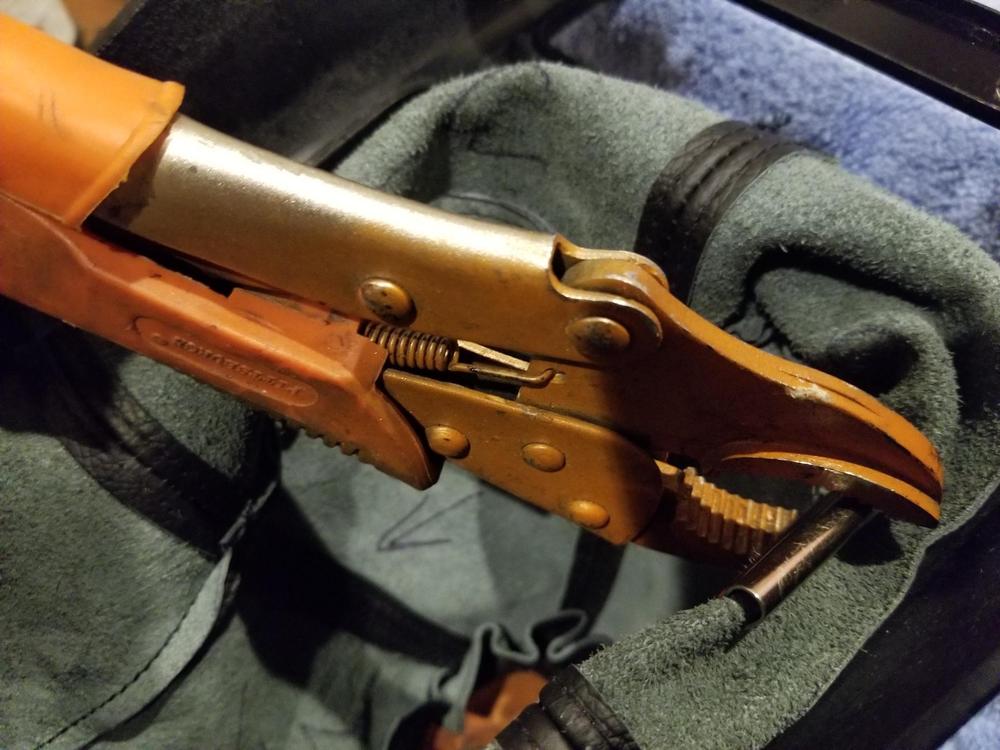
1 pointReplacement of the Inner and outer Shift boot When I bought the bucket it did not have an inner or an outer shift boot. Replacing the inner shift boot is fairly obvious. There is a rectangular ring that surrounds the boot and holds it in place. The outer boot is soft vinyl, or leather and it slips over the gear stick. Mistake 1: I installed the center console after completing work on the center console area and everything that is involved with that like the vinyl over the trans. tunnel, choke control, fuse box lid, indicators, radio etc. It turns out to install the outer shift boot you must remove the center console so that you can press the spring clips onto the underside of the center console, seems obvious now, and it would be exceptionally obvious if I had removed the previous outer shift boot. I did not think this was going to be a particularly difficult task. I recall seeing someone hammer the clips into place to hold the boot to the backside lip of the boot hole in the center console. This proved to be way too scary for me. My center console is in pretty good shape but I suspect it is 40+ year old plastic. The new leather boot is thick and the new clips are very tight. One blow with the mallet and I put the bludgeon down and started typing. There must be a secret that I was unaware of and if I find the decoder ring or learn the secret hand shake the leather boot will be installed on the clips, it will be tight, the center console WILL NOT crack and this minor nightmare will be over. Unfortunately, a search of the forum and the internet did not provide much in the way of guidance or tips. So this post is NOT for those of you that have been successful in the past and did not think it would be valuable to document the process because it was such an easy project. I was not having much luck draping the material over the console and hammering or squeezing the clip over the boot onto the console. It seems insignificant and it may be so, but putting the leather inside the clip and then putting the clip on top of the edge of the console made a big difference, for me. It took me a while but it finally came to me. Hammering was too scary, pushing the clip into place seemed impossible. So I went to my second most popular GOTO tool. The first being the mallet and the second being a pair of vise grips. I slowly and carefully squeezed the clip over the console lip. It was easy. I cant explain why it took me so long to figure it out. Now that it is completed my memory of the task was that it was easy. I feel a bit silly posting this, but hopefully the next person to replace their outer shift boot will not have to think twice about how to go about it. One more thing. I read that you only need 6 clips. In my opinion you would be better off with eight. There is no way to get a clip over the seam and if you did the clip would be expanded to the point that I doubt it would hold very well. Below are some photos that may be useful . By the way the console did not crack -----yet!


 1 point
 -
1 pointIt certainly sounds like your synchros are wearing down. Probably below minimum spec. A good oil could make all the difference. The GM AC delco oil suitable for brass synchros has yielded good results for some members here on this forum. That or Redline MT-90 75W90 GL-4 gearoil. Btw: The A type transmission (F4W71A) uses the same synchro rings in second gear as the F4W71B the FS5W71B and the early FS5W71C transmissions (the 71C without the reverse synchro). All four gear have the same synchros. Only fifth is little smaller in diameter.1 point