
Leaderboard


Popular Content
Showing content with the highest reputation on 11/27/2020 in all areas
-
Well thank you for the help everyone! The car is back to it's normal self. In the future I will be more mindful of this air gap when problems arise again. Though with old cars, I doubt it will be the same problem twice.2 points
-
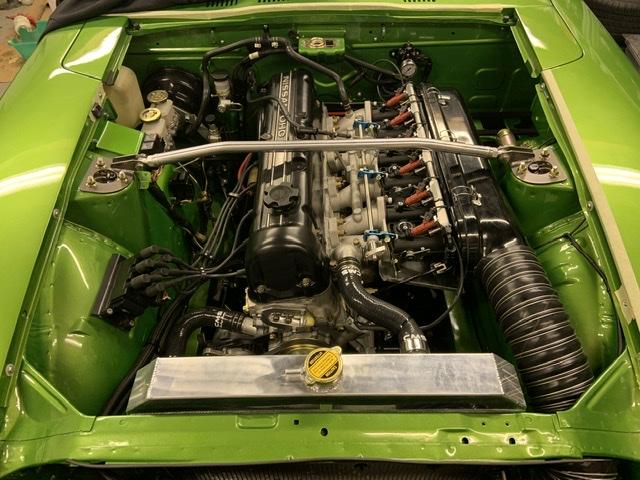
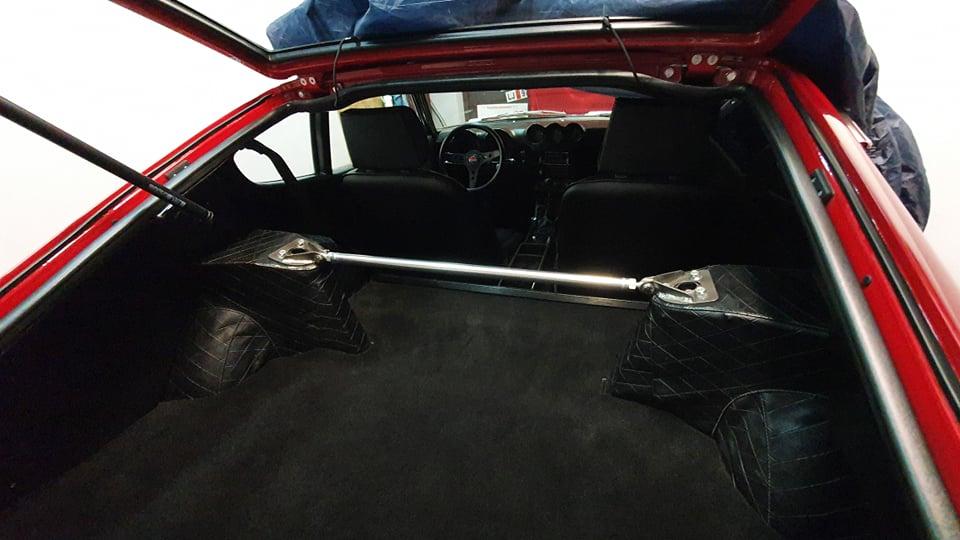
Well, my all-aluminium strut-brace bar kits are becomming popular and it didn't take long before my friend 'down-under, #AaronNeubauer from #BuiltOnPurpose made us a 'how-to-fit' video which I shall steal and share here: https://www.youtube.com/watch?v=NMO1j7NnhEQ&fbclid=IwAR3CZILk4vdsmXX1WSBJZ1uMq3PDGeQxgNWcS7CVgSnlr5ZiA950-vFsBMU There's a Black Friday promotion price too : Black Friday Prices (both bars) : US$290 £215 CAN$380 AUS$400 NZ$430 € 230 / Fr €220 Prices (front or Rear bar only) : US$180 £130 CAN$380 AUS$250 NZ$270 € 135 / Fr €120 Fits all S30s, please specify your year and model when ordering !

 2 points
 -
The air gap is important on the 280Z pickup. If the voltage generated by the pickup can not reach 0.3volts the HEI module will not activate. A wider air gap will reduce voltage. These pickups at best will generate 0.5 to 0.8volts at cranking speed. The later 280ZX distributors have a better designed pickup which will produce much more voltage at cranking speed.2 points
-
I ran all my extra nuts and bolts through a vibratory tumbler then oiled and packed in baggies for a later date. Next time I may hook up a recirculating pump with a filter and run evaporust through the tumbler system. https://youtu.be/RRBi1lC873I?t=127 https://www.youtube.com/watch?v=cl1fB-eYt7U Or clean while you drive: https://www.youtube.com/watch?v=Hr5PNQeZRi02 points
-
I hear you completely! I did this to start with so as to be able to identify all the bits afterwards .... ... but even then I kept not being able to identify other bits I had chucked in at the last minute! At least it’s a fun jigsaw puzzle with a beer in hand!2 points
-
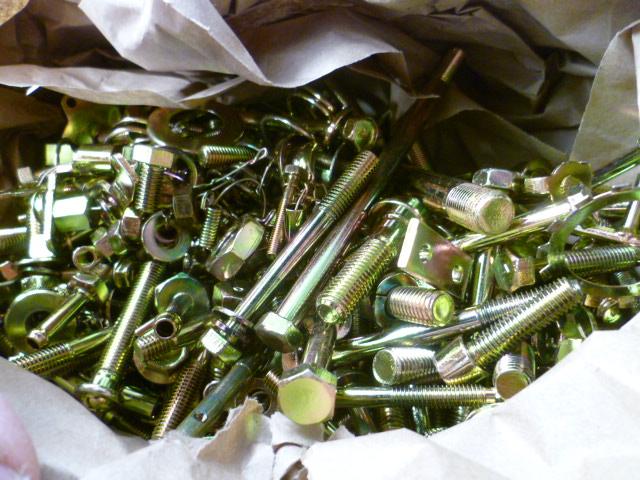
The black coating did not come easily with a finger. Came off with the wire wheel on the grinder, but even after that, the metal seemed to have a darker color to it. However, all that said, I just got the parts back from the plater, and it did not seem to affect how the parts looked after plating. Of course, I'm just looking at the yellow chromate coating and not the zinc underneath, but the parts look great. Couple small issues, but overall, I think it was a success. Everyone loves pics of boxes of newly plated parts, right?

 2 points
 -
I've never seen an oil scraper made for an L28 engine before so thought I would post it. https://www.kijiji.ca/v-engines-and-engine-parts/markham-york-region/280z-crank-scraper/1537652171
 2 points
 -
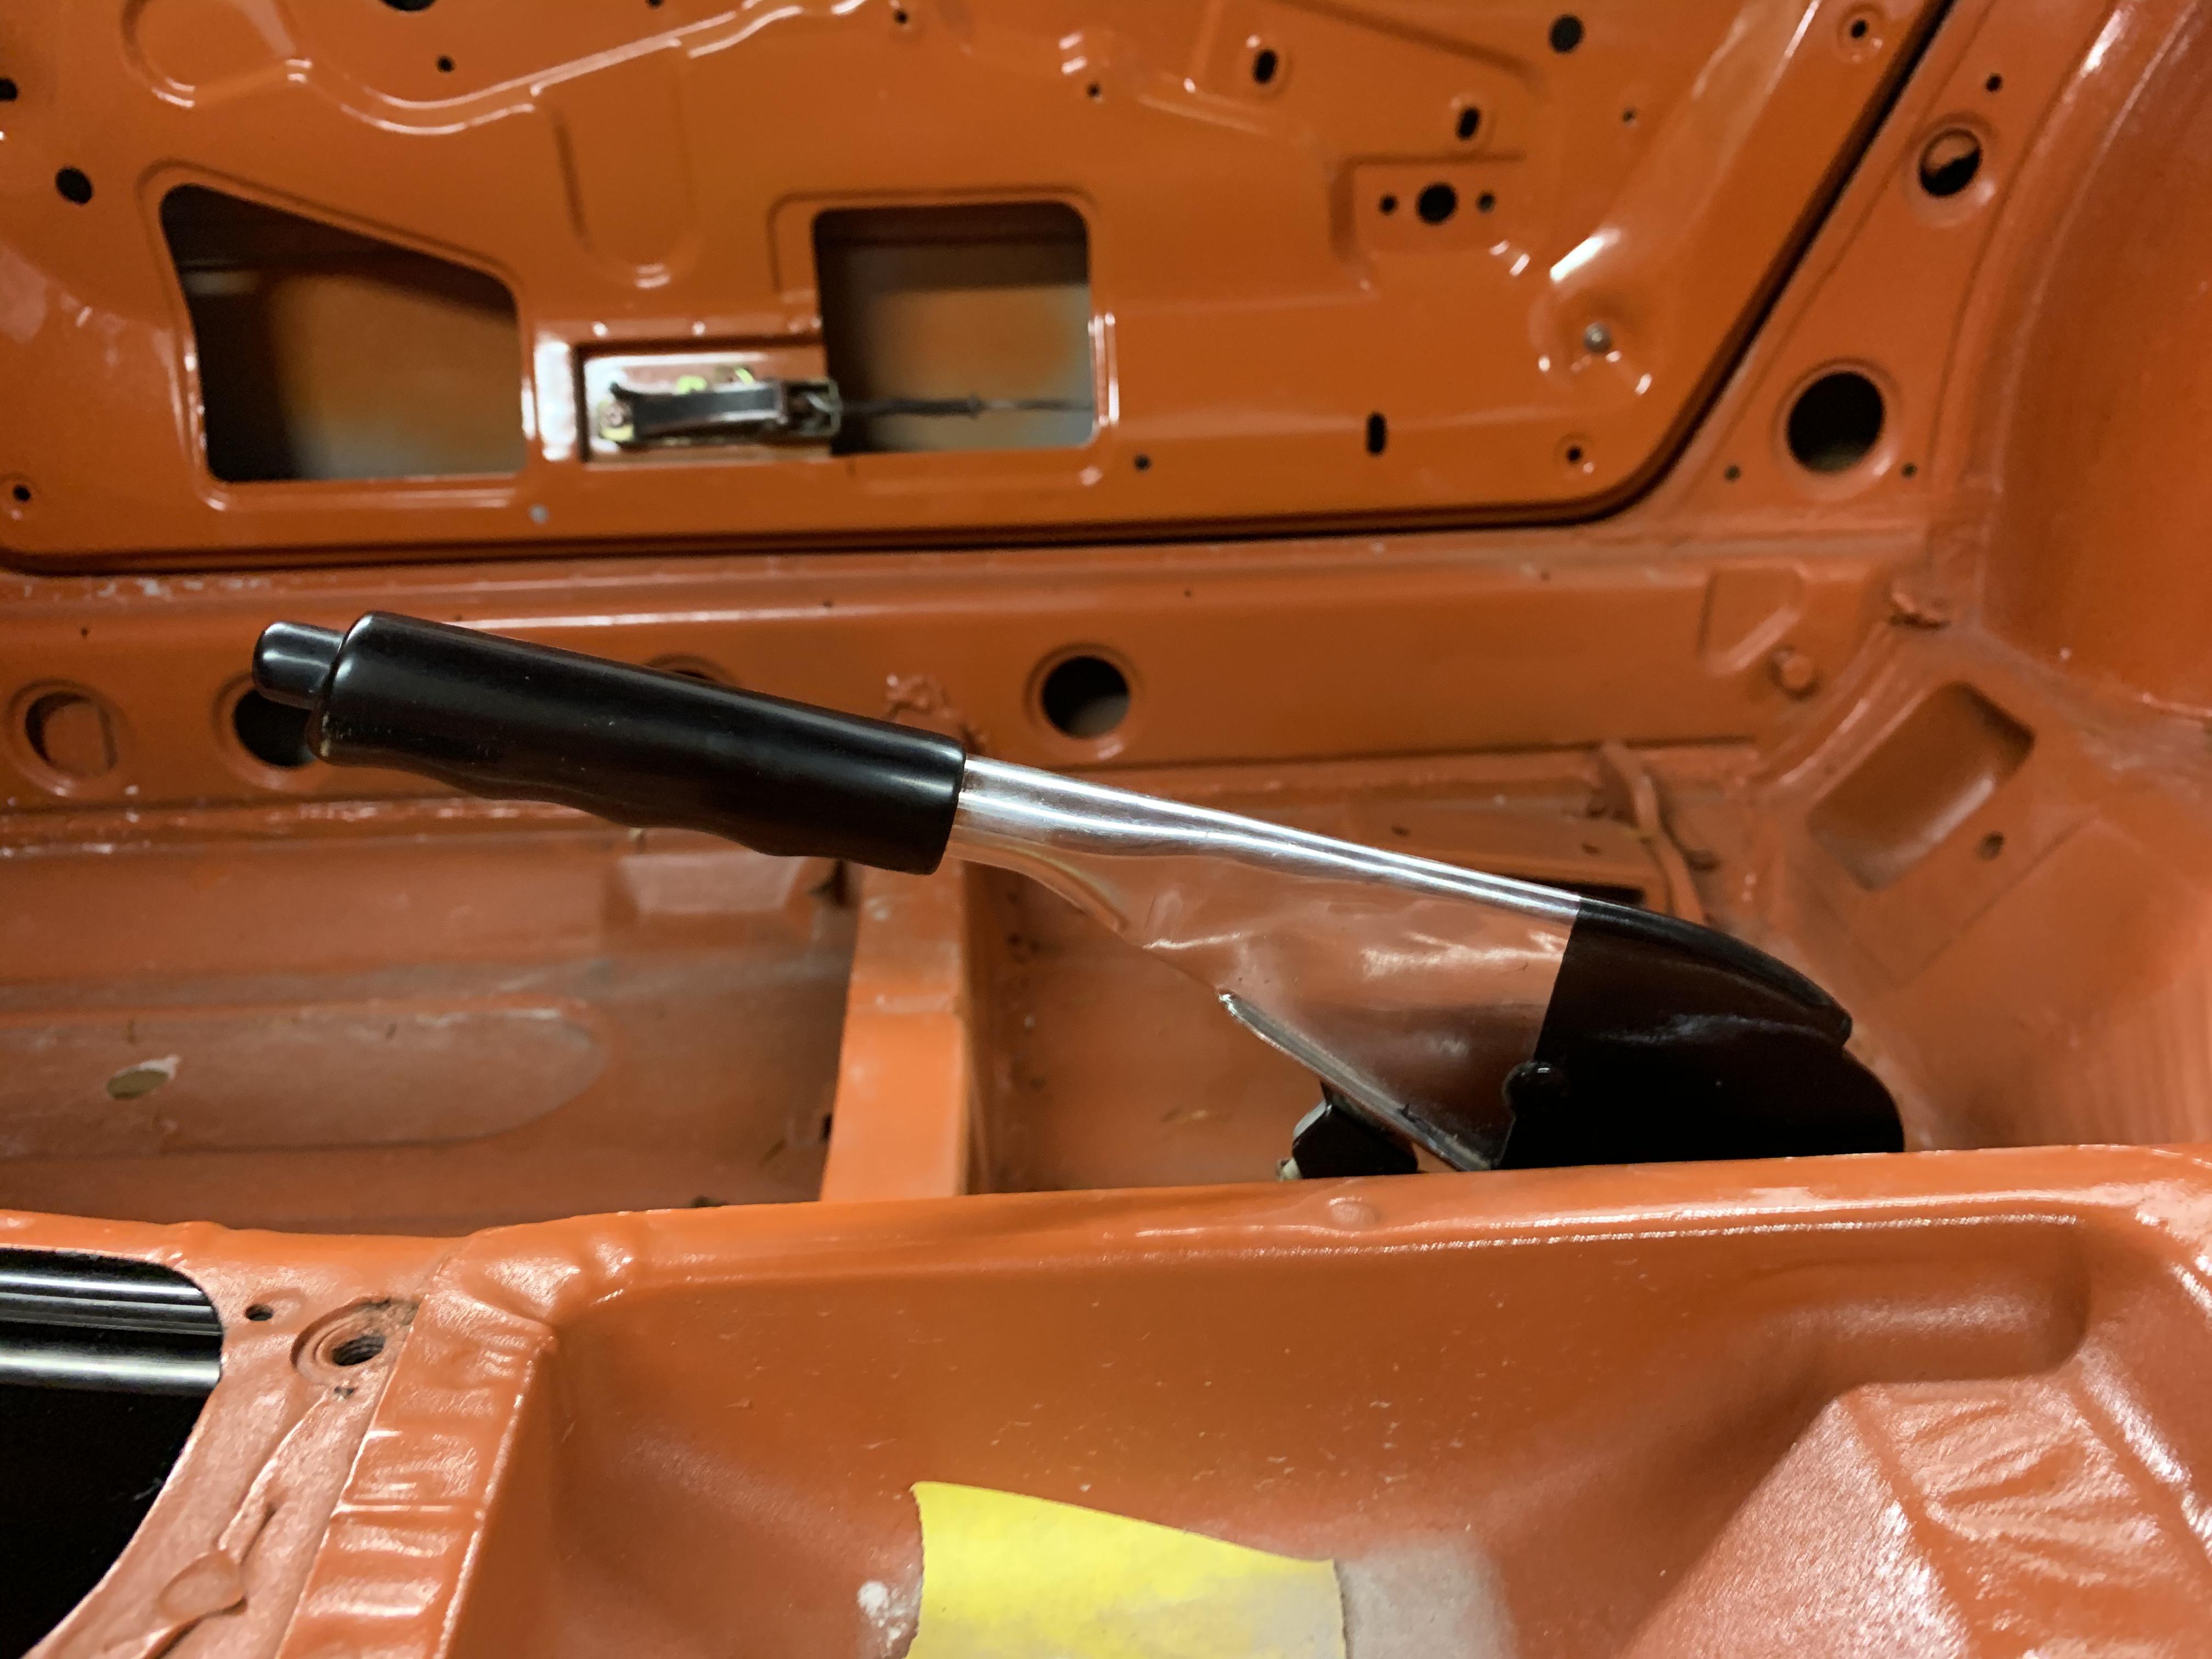
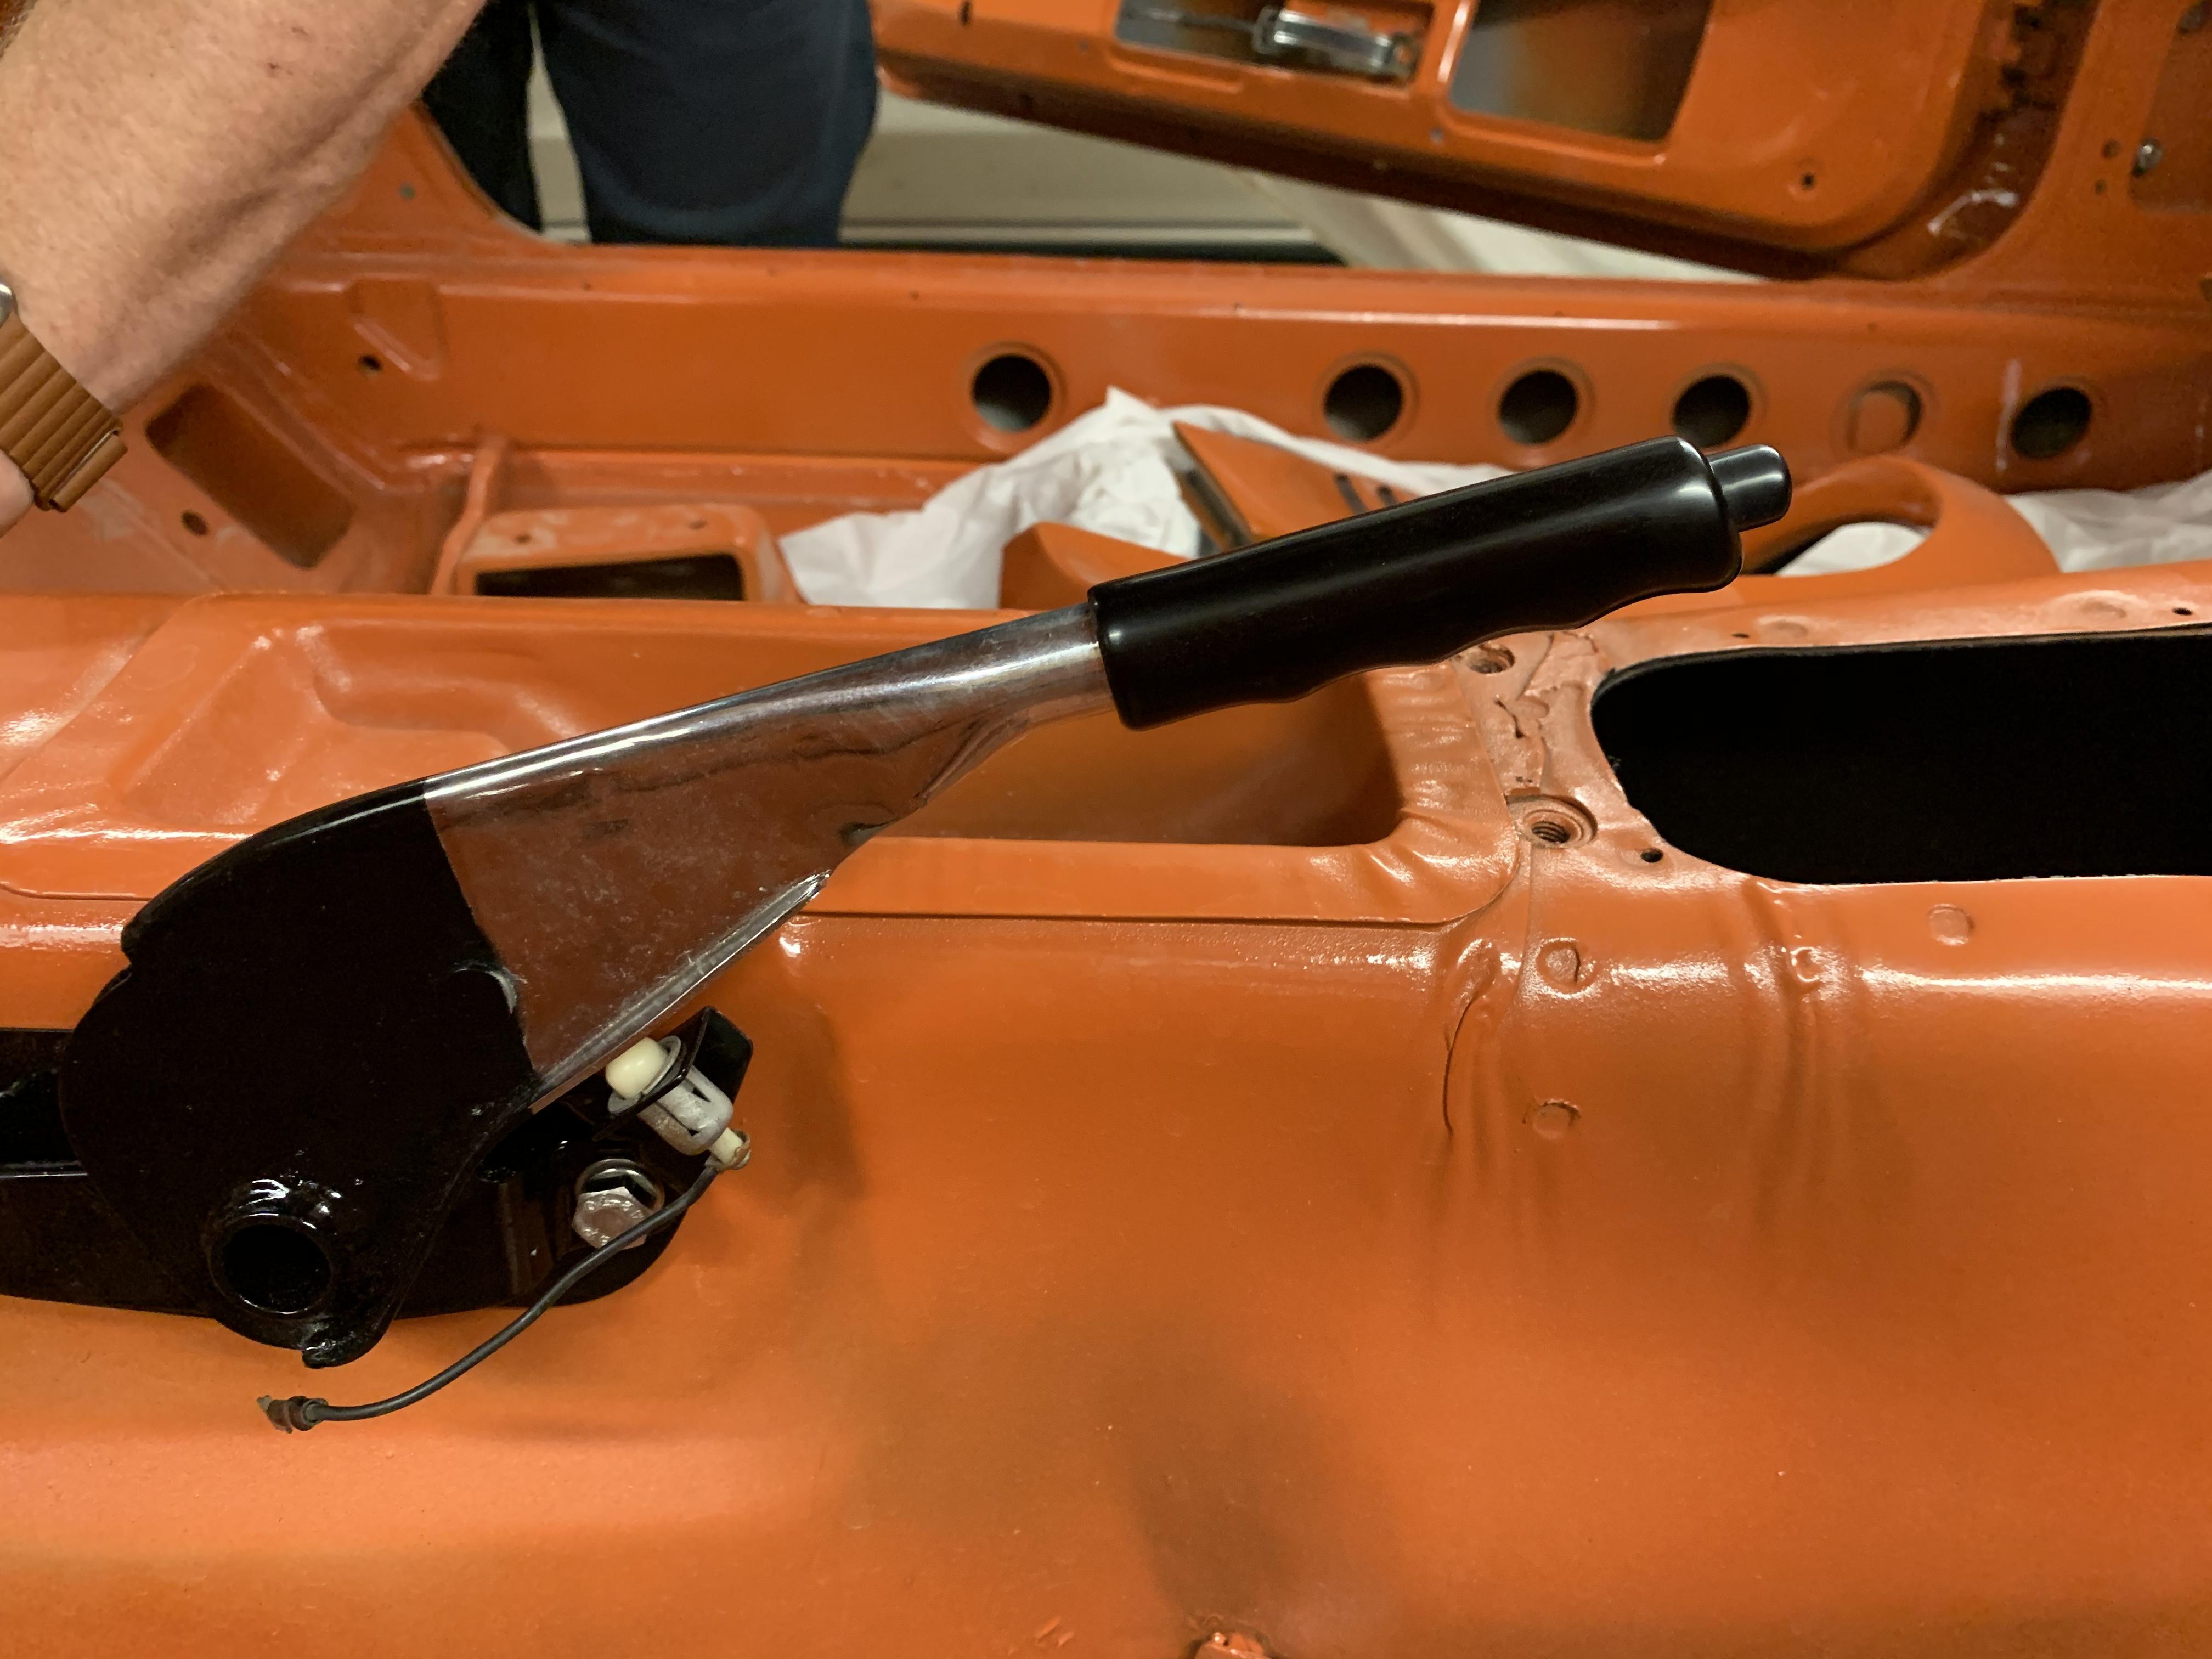
Okay. It’s in and all the linkage is together. I had forgot to mention how I solved not being able to get the rubber bushing cover. it’s one of those caps from the end of a piece of black pipe from Home Depot. I just over there and grabbed one of the floor that was close to the same size, then cut it down until it was about the same length and drilled a hole in it. Problem solved.


 2 points
 -
I agree with mr Racer 100% on this. I have had so many tell me I had an exhaust gasket leak but I do not. You can hear things so much better with header runners it sounds like a leak but isn't. Do the short section of hose as a stethoscope and you'll hear all 6 sound the same.1 point
-
Headers have that pinging sound that can make one think there is a leak. Steel tubing doesn't absorb the shock of the exhaust pulses like cast manifolds do. Or, they may just be leaking some. Your car is pretty clean, so finding evidence of leaks should be easy, just look for the streaks of carbon where the exhaust gasses are squirting out.1 point
-
Yes, after resetting the air gap on the pickup coil, it runs again. I plan to test the old HEI as I assume it is still good.1 point
-
The wiring is the same without the ballast resistor. If it ran for 6 months it was probably right. Check the play on the distributor shaft. That will affect the air gap. The screw is just as tight as you can get it with a hand screw driver. Sounds like yours just came loose. You're saying that you reset the gap and it runs now right? You're probably good to go.1 point
-
The coil negative is the blue wire that goes to terminal C and positive is the black that goes to the B terminal. The screw that is on the grounding lug shows 0 Ohms to ground, so I believe it is properly grounded. The heatsink is mounted where the old junction from the pickup coil was, as the transistor ignition unit it led to is no longer in the car.1 point
-
Your Z sounds nice and healthy.1 point
-
It was the pickup coil too far out. Is there a torque spec for those screw, or are they just a thing to check occasionally? I remember gapping this not too long ago. Just for my piece of mind, the HEI is installed correctly for being a '78?1 point
-
I think it varies engine to engine depending on displacement, cam, compression etc. If it at all helps, here is what mine was doing ... Mine is 10.5:1 compression with a lumpy cam as you can see at idle. Here is a good guide ... Tell us more about your engine and it’s spec.1 point
-
That's the Remover. AK260's was the Converter. https://jenolite.com/about-us/faq/1 point
-
@siteunseen - thanks. I have no background knowledge here, so it's good to hear that. I have thought about taking the headers off (they are the standard 3-2-1, which are stock headers, as far as I know) and sending them to get Jet Hot coated instead of wrapping. But, that's like $400. I just figured if some see it as a problem then now is the time to address it. But, if the braintrust on this forum think no wrap or coating is necessary, then that's good to know. I have an electric fuel pump back just off the gas tank.1 point
-
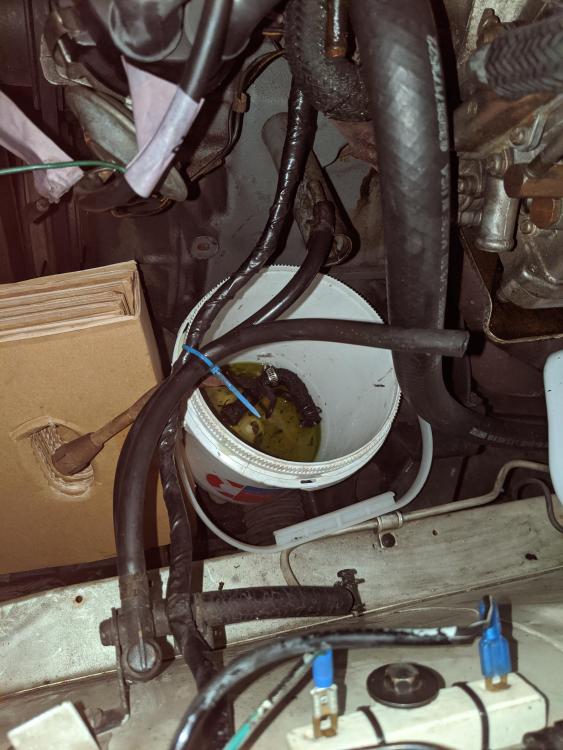
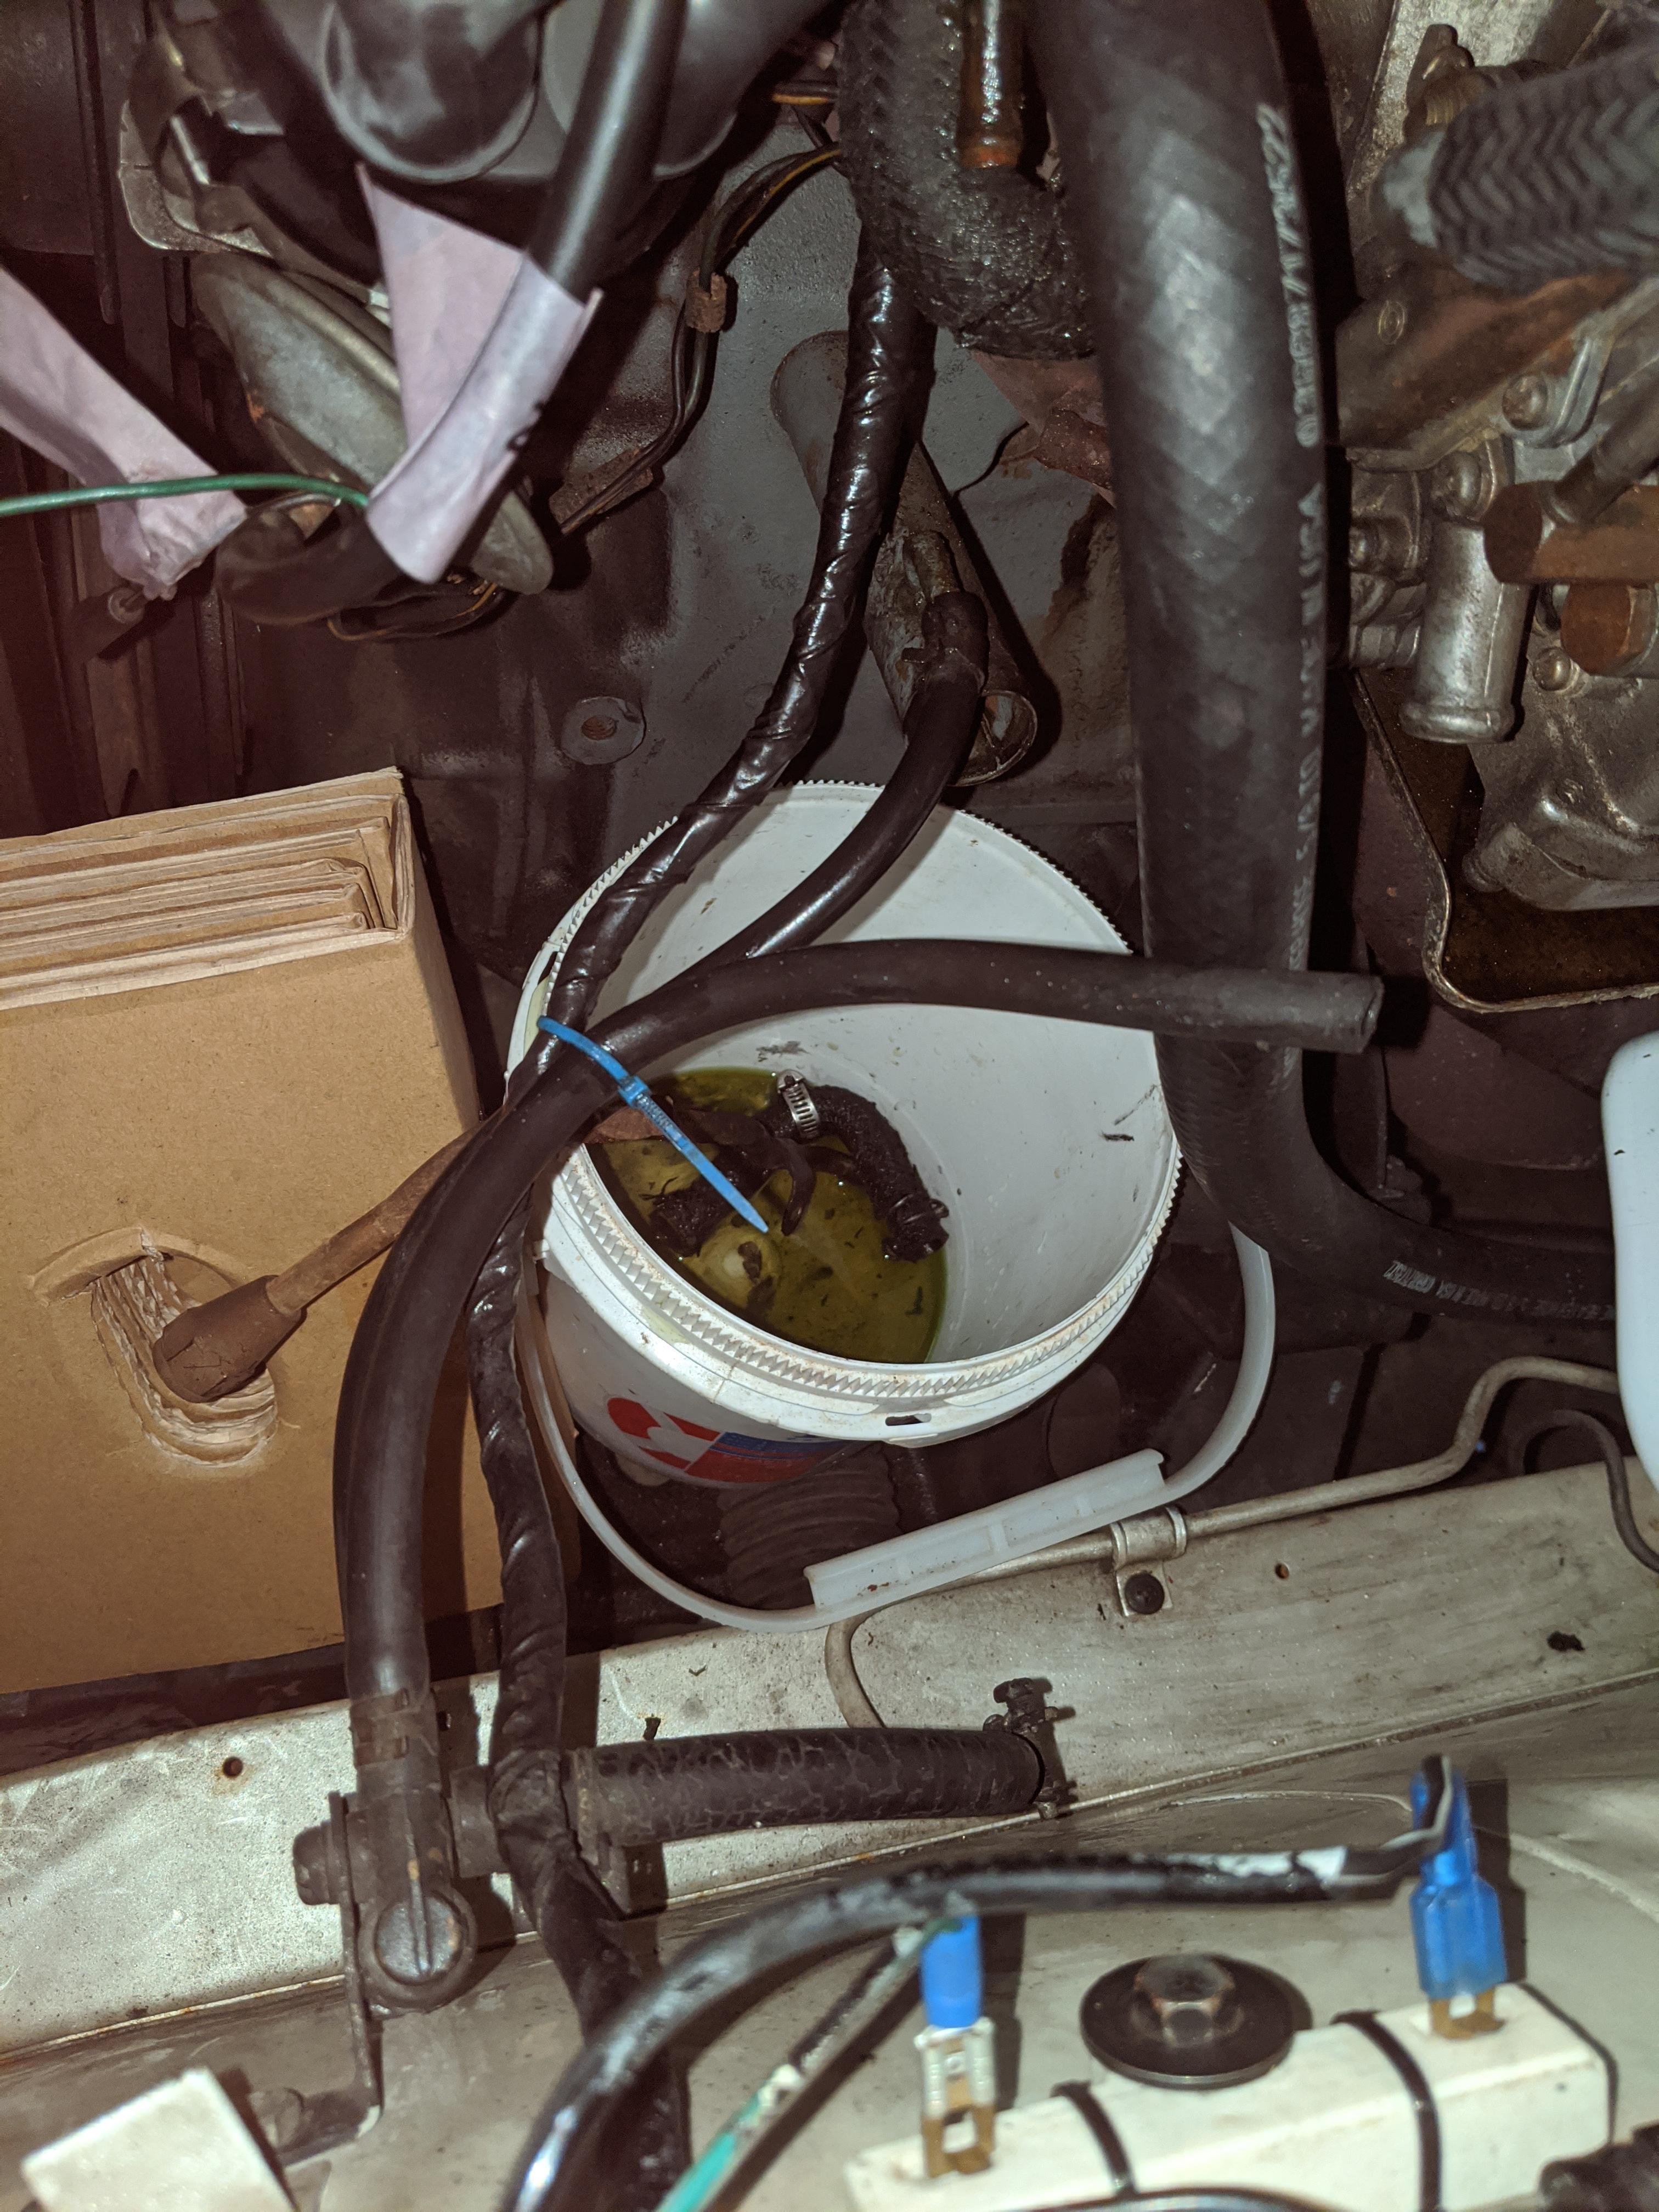
I found the free hanging vapor flow valve hose that goes to #5. See pic. It is in the blue zip tie. Thanks. Sigh, so many hoses to replace. The other hose within the blue zip tie goes to the crankcase and it looks like the big port there is where my PCV hose from carb linkage is, according to diagram I found, supposed to connect? It is currently not connected to anything. The flat tops setup I inherited had the PCV hose going straight to the air cleaner housing. Also, I've been reading about wrapping my headers, since they'll be exposed, and some even wrap the heat shield to prevent percolating in the carbs. Any thoughts on this?
 1 point
 -
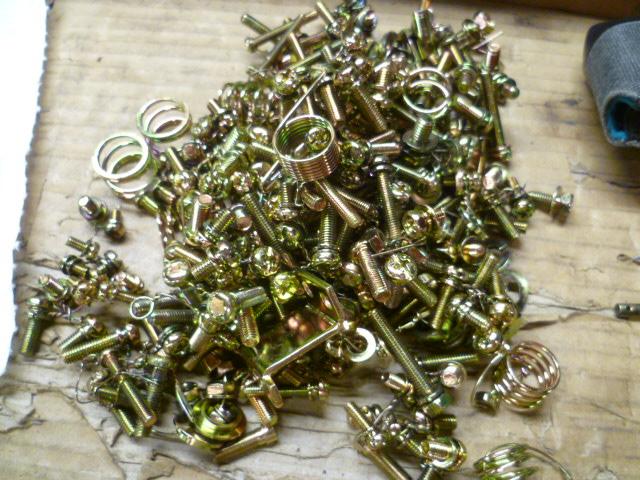
Absolutely! I was geeking out last night, and I plan to do more today. About half the very small parts are hardware bits and pieces for carburetors. The trouble is figuring out what goes with what. As I tossed stuff into a box at the beginning of this project, it was "No problem, I'll remember what this went to". Well now that I'm looking at a vast pile of tiny yellow parts that I took apart starting maybe two months ago? Not so easy... LOL. I tried to wire the small parts together in a configuration that would make them easy to identify and sort into appropriate applications, but even that plan seems to have gone all muddy and indistinct. By the end of the pre-processing, I knew I was running out of time and I stopped being so contentious about what went with what. I just needed to get stuff done and off to the platers. The big stuff like the inspection lamp and coil bracket, etc. That stuff is easy. It's the little nuts and bolts that are the hard part. And it's a mix of round top and flat top carb parts. Anyway, a nice hot cup of tea or two and a comfy stool at the workbench and I'm good to go for the afternoon. That's my plan.1 point
-
Its going to be a big job anyway you cut it. If you know someone nearby you that has a stock system it would be a good idea to look it over. You can find drop in replacements for both the cond and the evap (an evap that uses a standard expansion valve). so you have 3 basic options to consider 1) All new stuff aftermarket AC system pro should work great, con will require a lot of fabrication, will not be OE (could hurt value if you care about that) 2) Used system pro will work OK will be OE, will likely require least of all fabrication (just have to have all the parts) ie drop in. con will work ok NOT great (I don't know if aftermarket is great so I just assume it is, I know OE is ok, not great, don't expect it to work like a new car that can freeze you out). con may have faulty parts (leaks, blockages etc... quality can be from works great to does not work at all 3) hybrid new compressor SD709 with mount designed for this compressor, new aftermarket cond, generic drier, custom hard/soft lines, new OE style evap new expansion valve old controls/servos/housing/electromagnetic air switches idle up servo. Pros no faulty parts to deal with, will work ok, adapt to R134a right off so no contamination issues, preserves the OE look and function, most correct approach IMHO. con expense (well compared to aftermarket prob about the same) as the cond and evap alone will be 600 is) con in the end you have a like new OE unit which as mentioned before will be OK not freeze you out like you can store frozen goods inside (my 2001 suburban could substitute for a meat locker). Take your time, look around, see if you can find a actual example of the aftermarket and a functioning OE before making up you mind. Its going to be expensive and its going to be difficult, so I would want to know the end result before starting down a path.1 point
-
top tip: Now if you have to plate long springs I put an elongated piece of steel with notches in the ends IN the spring so that it is stretched and the spring becomes perfectly plated.. 👍 Your parts look very nice CO!1 point
-
As a "college restorer" of mine always says... "Ut zien net krehjuh.. ast mar blihnkt" A very local saying.. in dutch: Het zijn net kraaien... als het maar blinkt! Translation would be: They all are like crows, it has to be shiny!!! Hahaha... it's true! 😜1 point
-
Absolutely right! Loving how that inspection lamp came out!!! I geeked out on my box of shiny bits ... Obviously my wife was delighted with me laying it all out and labelling on the kitchen counter! Does anyone else here think we need to get a life?1 point
-
Haha!!! One would assume!1 point
-
https://www.carpartsmanual.com/datsun/Z-1969-1978/electrical/air-conditioner Note there are 3 illustrations at that link. Also cross-check against the FSM. Driers are NLA. You will need to source a condenser, and it is likely to be a generic one, so you'll have to adapt the fittings. The expansion valve is likely to be problematic as we noted earlier in the thread. Unless you can source a relatively intact parts car that has AC, you'll pay a pretty good amount of money for 40+ year old parts. I thought about going down that path before. I have a 260Z evaporator and control panel that a friend stripped out of a parts car. It has been sitting in my garage for several years now. There is a better chance that I'll strip off the control panel and do something like work with Nostalgic AC to fabricate the system. It will be newer parts. The AC will probably work with the defrost, and I'll have a new heater core. To me that's a win-win-win situation.1 point
-
240260280 you seen genuinely concerned I sold my car. I took a dissambled barn find and turned it into a museum grade car. What do you expect me to do with it? Start a museum,?1 point
-
It’s enough to fix for sure . I thought sharing numbers would be beneficial. to see the outcome of shaving a warped head1 point
-
1 point
-
1 point
-
1 point
-
Interesting, I haven't seen that yet. Does it rub off or is it fixed to the metal? Something you mentioned earlier about the rust just falling off, yes most of the rust accumulates at the bottom of the bucket, I think that might be part of the reason why the solution keeps working for so long. I've had a bucket of solution working for up to 6 wks with it cleaning dozens of parts before it 's used up.1 point
-
Happy Thanksgiving everyone.1 point
-
1 point
-
That actually looks very clean. Not really worth doing more to. If you start using a detergent oil most of that will clean up as the engine runs. The brown color isn't from overheating it's probably just from blowby, combustion byproducts that have deposited up there. Not hurting anything. The brown color on the cam lobes is because the anti-rattle springs keep the rocker arms off of the cam base circle if the lash is set correctly. There's no rubbing there, which is good. It's also a good sign that you don't have any sunken valves since that will reduce the lash. Can't remember the year of your car (you should create a signature on your profile with information), but sunk valves were a problem before about 1976. Check the notch and groove on the timing chain sprocket to get an idea of timing chain wear. Make sure the tight side of the chain is tight and the timing mark is on zero.1 point
-
The one issue you may have is with the joints. In the early Z cars the connections were flare fittings and flared copper tubing. The connections to the condenser are flare fittings. I've never taken apart a '77-'78 A/C system so I don't know if they are the same as the '74-'76 A/C fittings but I would think they would be the same. With the 280ZX, they started using o-ring connections. The fittings on the condenser are probably o-ring. You could have the high-pressure lines that connect to the condenser custom made if the ZX condenser is the same form factor (or could be made to fit in the Z chassis). But you will probably be better off with an aftermarket condenser that's made to fit the Z car and it's flare fittings (if that's indeed what you have).1 point
-
Darn thing posted the wrong tune. I edited three time, and it still puts the wrong song in the post. Let me try this. Remove the song from the post and save it. Quote the post and insert the correct tune. Maybe.1 point
-
1 point


-
-
Forum Statistics
-
Total Topics66.4k
-
Total Posts664.8k
-
-
Gallery Statistics
-
Blog Statistics
-
Total Blogs167
-
Total Entries251
-
-
Download Statistics
-
Vehicles Statistics

