Leaderboard
-

inline6
 Subscriber
 5Points1,237Posts
 -


siteunseen
Free Member4Points14,904Posts -

Namerow
Free Member3Points1,487Posts -

Patcon
Subscriber3Points10,925Posts
Popular Content
Showing content with the highest reputation on 12/12/2020 in Posts
-
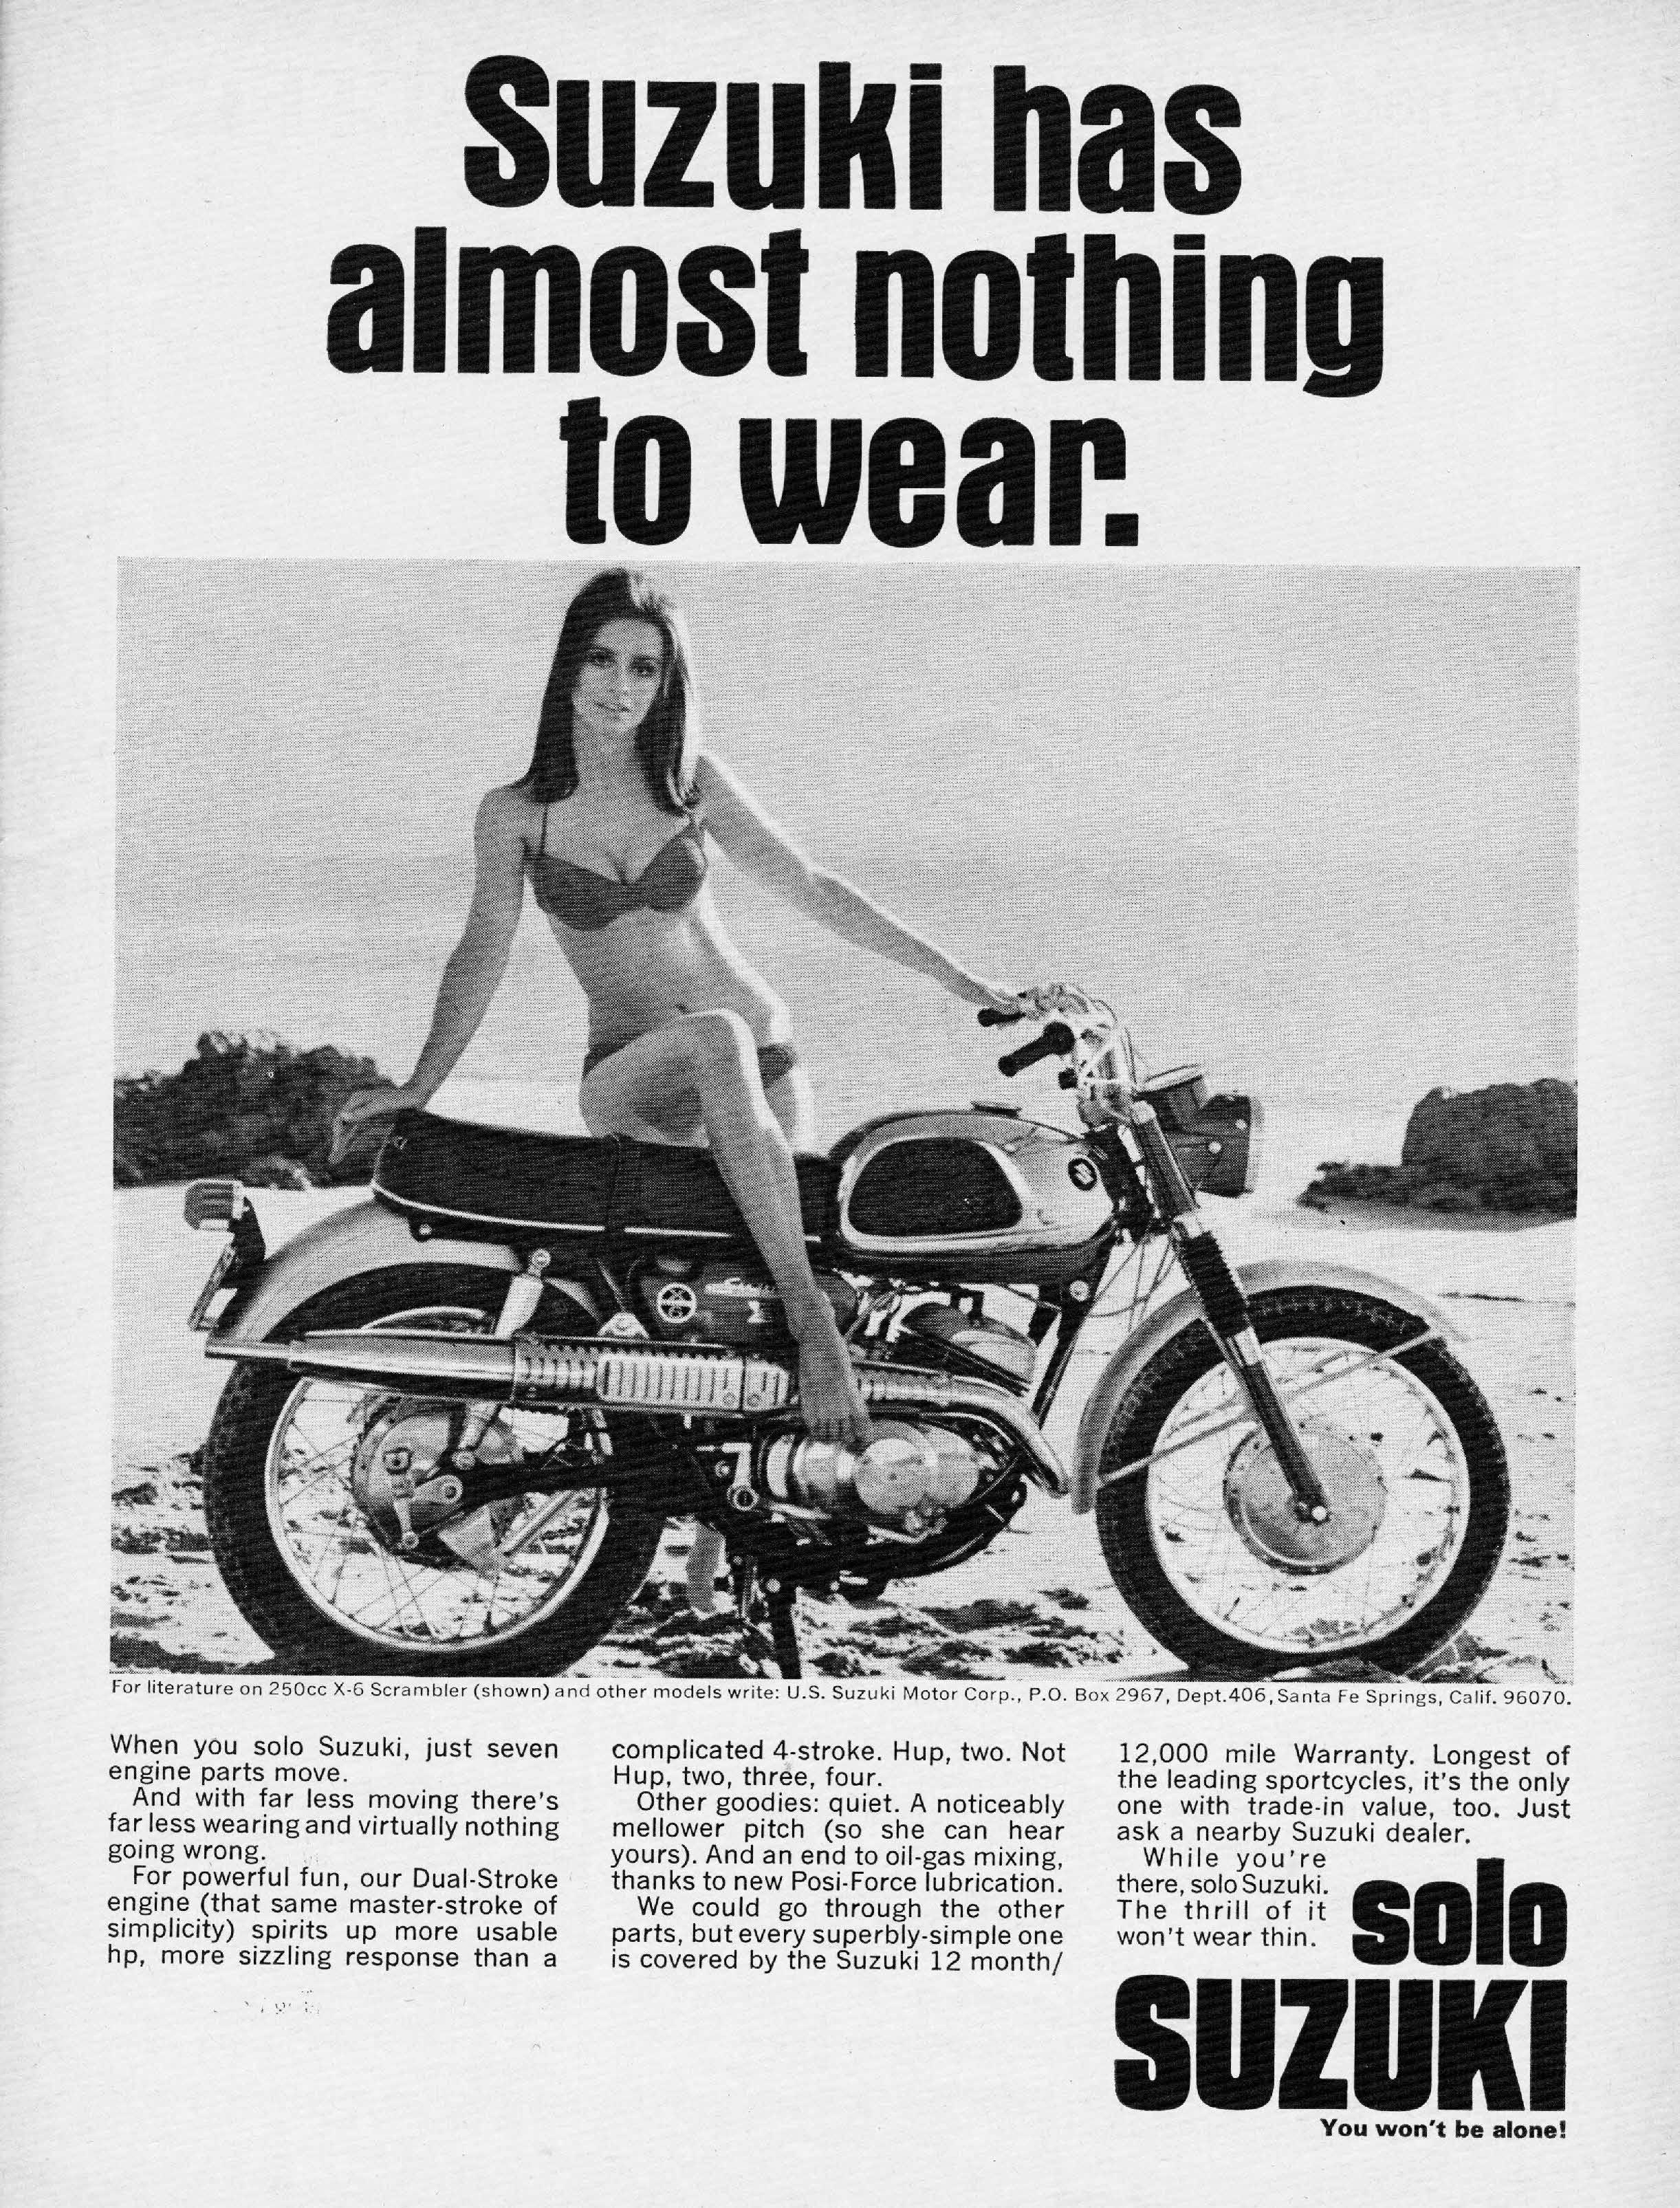
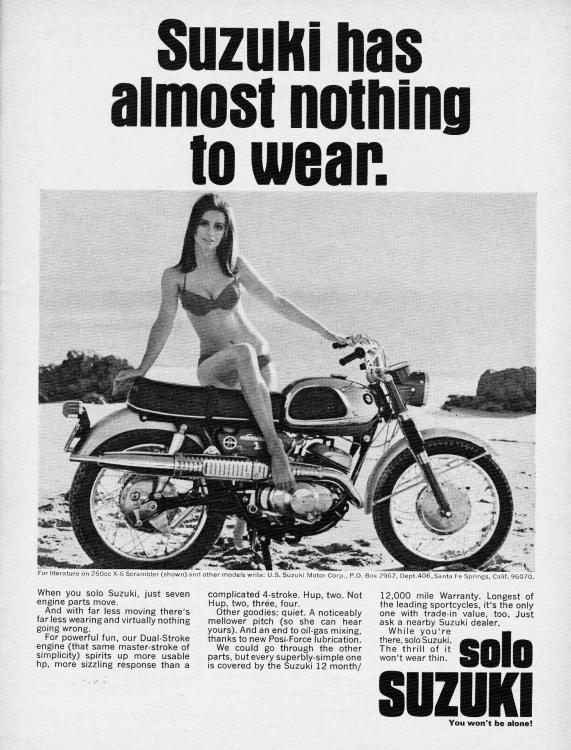
2 pointsI had one of these back in the late 60's. I don't have any of my own pictures but I always liked this magazine ad (the girl was 'available at extra-cost' option)...
 2 points
 -
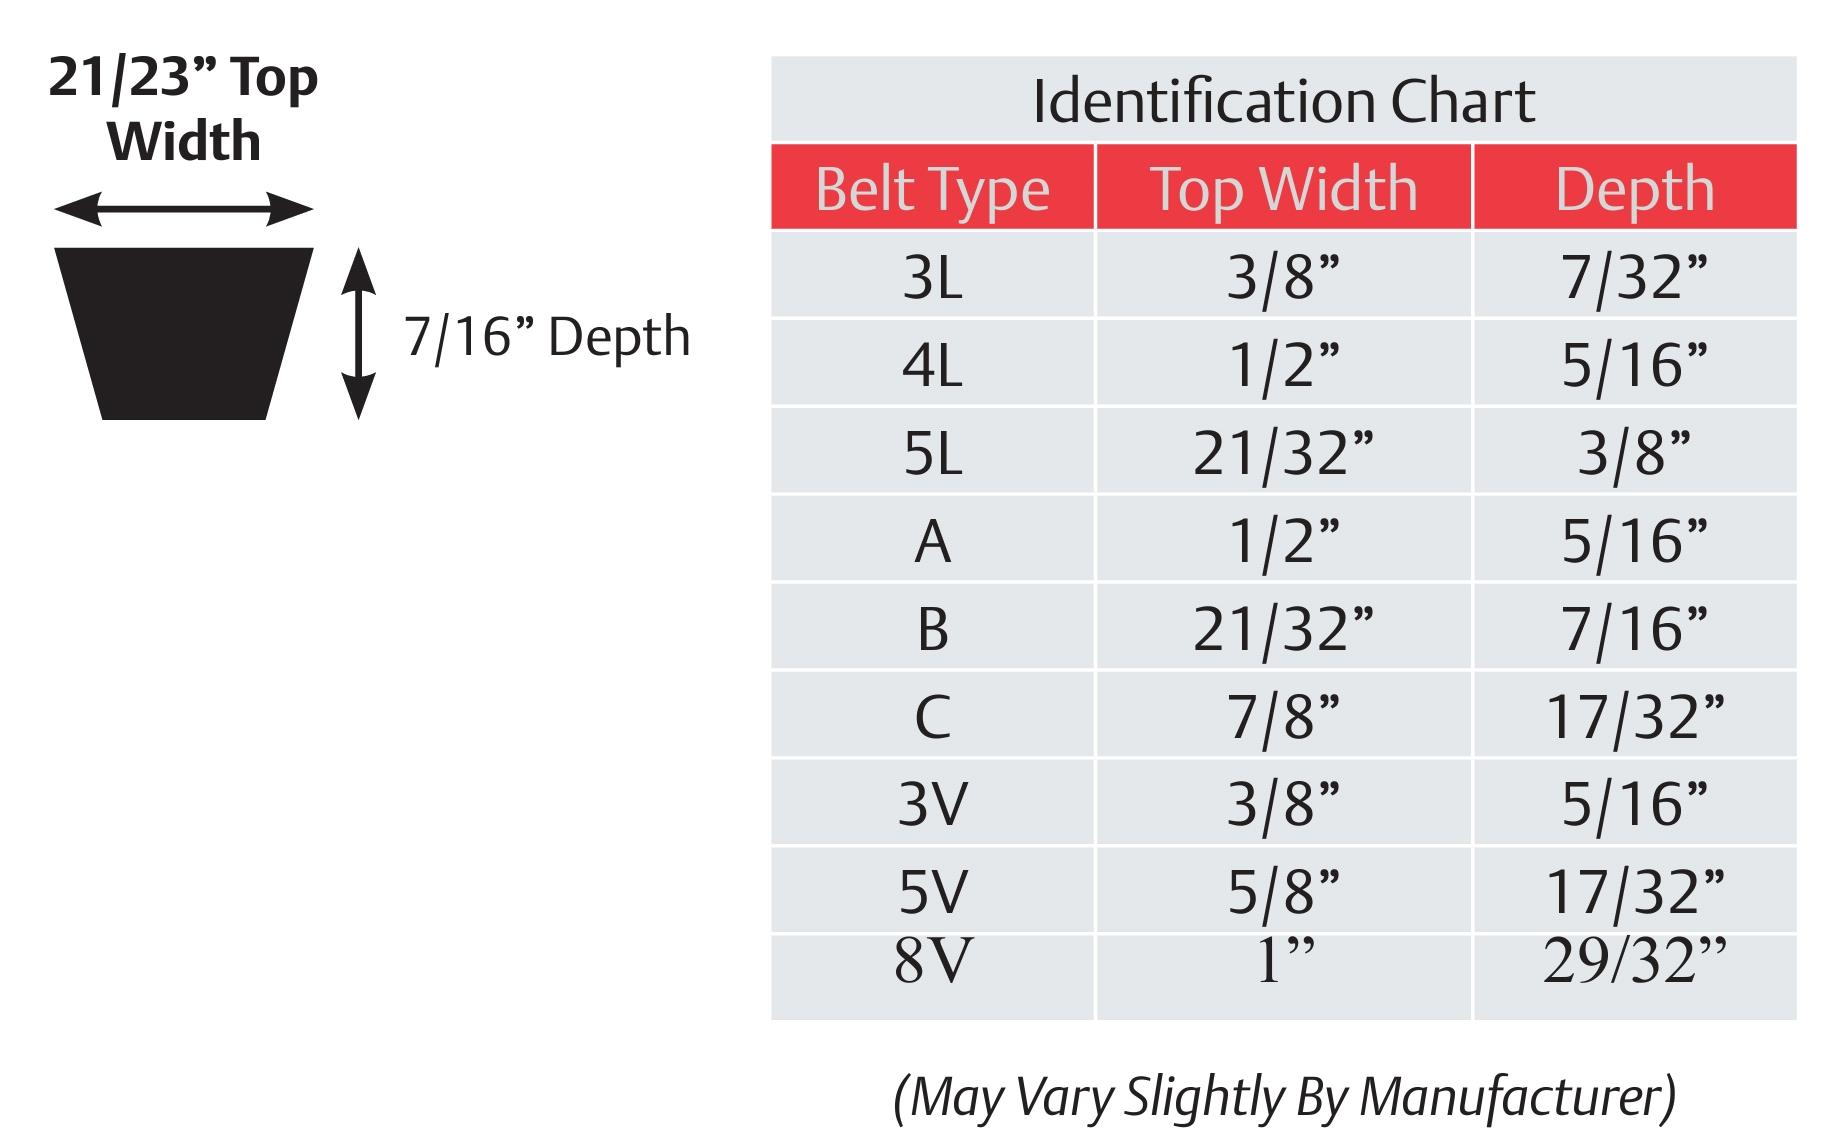
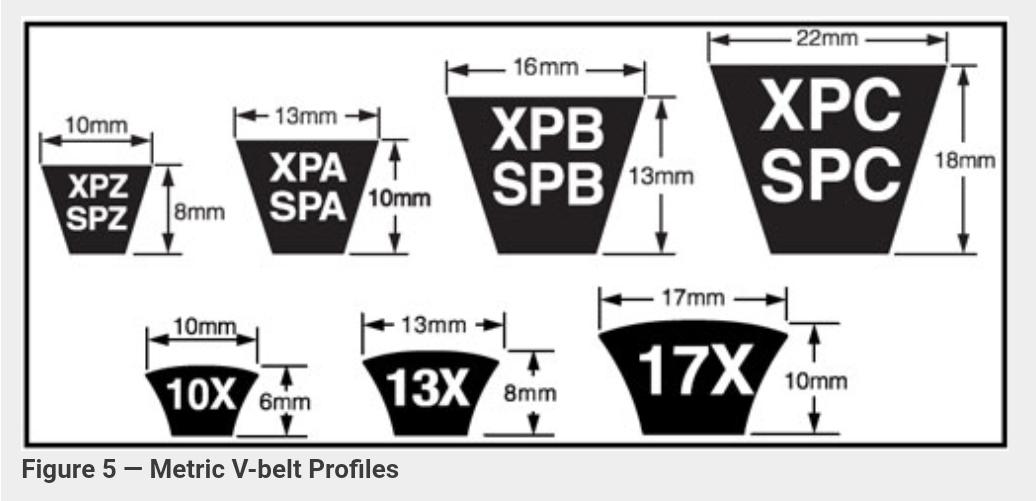
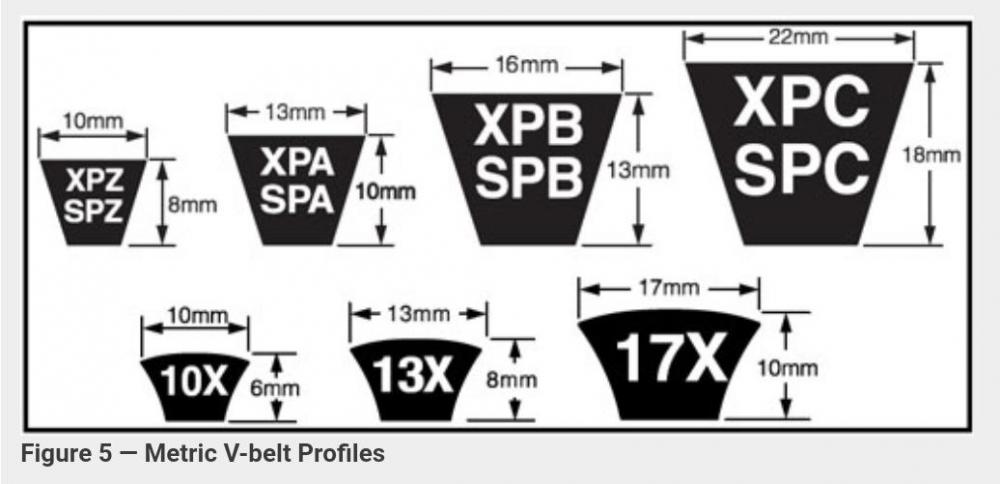
 It is a challenge to design a good working adjustable compressor bracket. Most systems that use an idler pulley do it for two reasons. 1. Adjustment. The larger the V-Belt section the deeper the belt is and requiring more movement to replace the belt. The larger the adjusting pulley is the more movement required to release and replace the belt. For example: The fan belt is a A or SPA section belt with a length 900mm. The belt is 10mm deep and the alternator pulley has a small diameter. To remove the belt you will need approx 20mm to release to belt get it over the pulley groove and apply the correct tension. The alternator is easy to move and it has no big hoses sticking out to hit things. The compressor on the other side uses a B or SPB section belt (13mm deep) and has a large pulley requiring more adjustment to remove the belt. The compressor is bigger and takes up much more space. The hoses stick out and don't give much room for adjustment or they have to be long enough to allow adjustment and still have enough freedom to compansate for engine movement. The compressor adjustable bracket doesn't move the compressor directly away from the crankshaft, but in an arch requiring more movement. Its easier to move a small idler pulley 50mm than the compressor. 2. Tension. Applying the right tension to the fan belt is easier because it is a small section belt and the alternator is accessable. The compressor requires more power therefore uses a B or SPB section belt with a greater contact area. They also have a higher tension. The idler adjustment bolt is easier to set belt tension. Not trying to take anything away from the PO's initiative, but these will be some of the challenges he will face. All solvable with enough R&D. Choosing the right length belt will be important and routing the hoses to give yourself enough room to adjust the compressor.
 2 points
 -
2 points
-
 2 points
 -
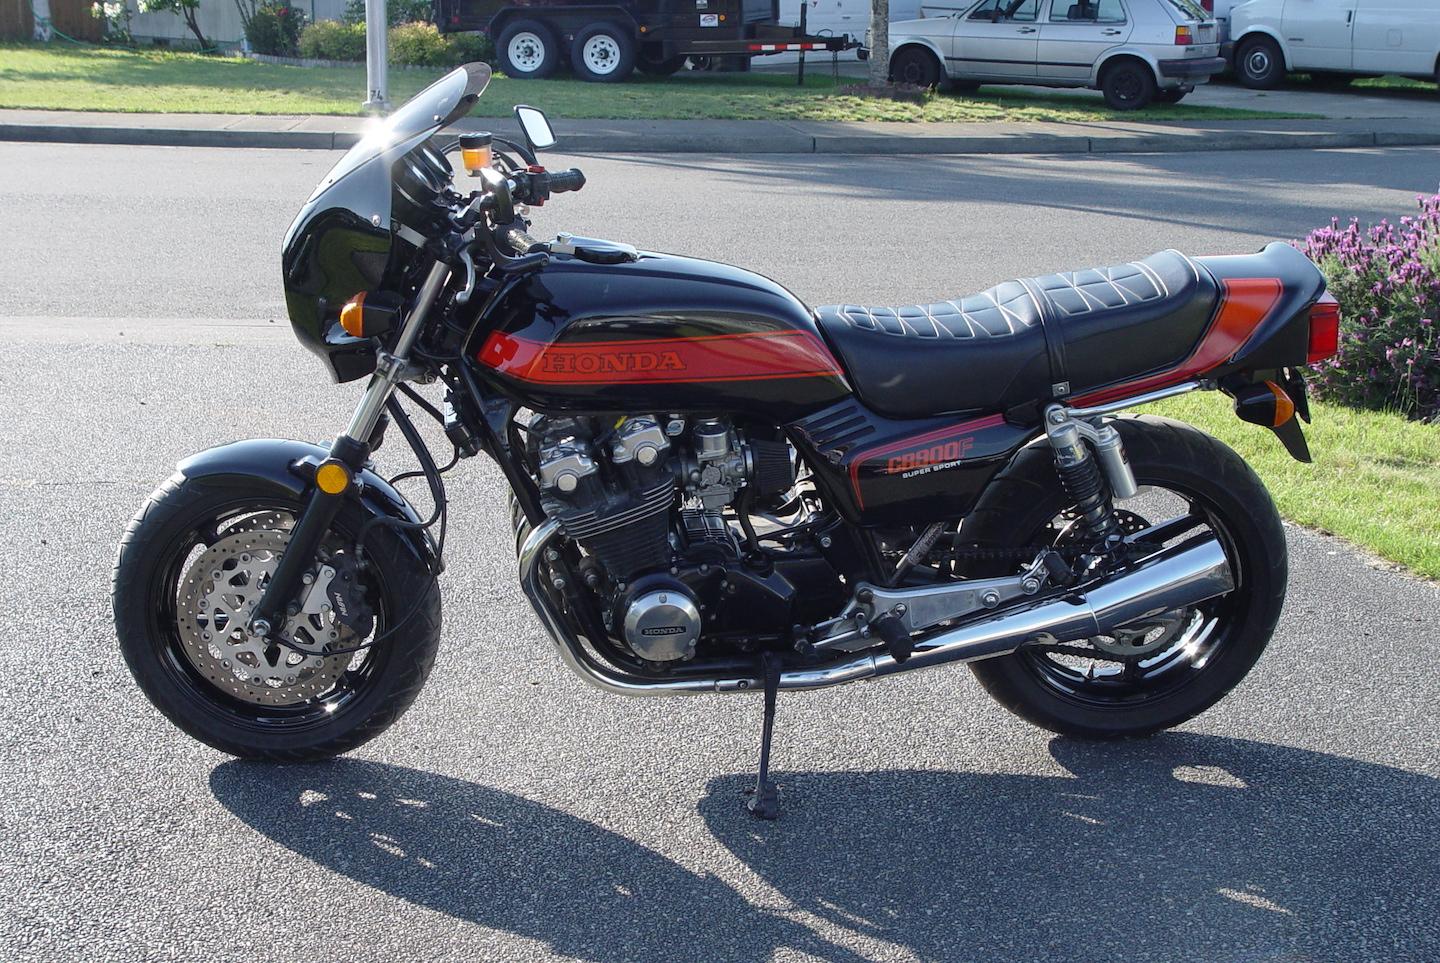
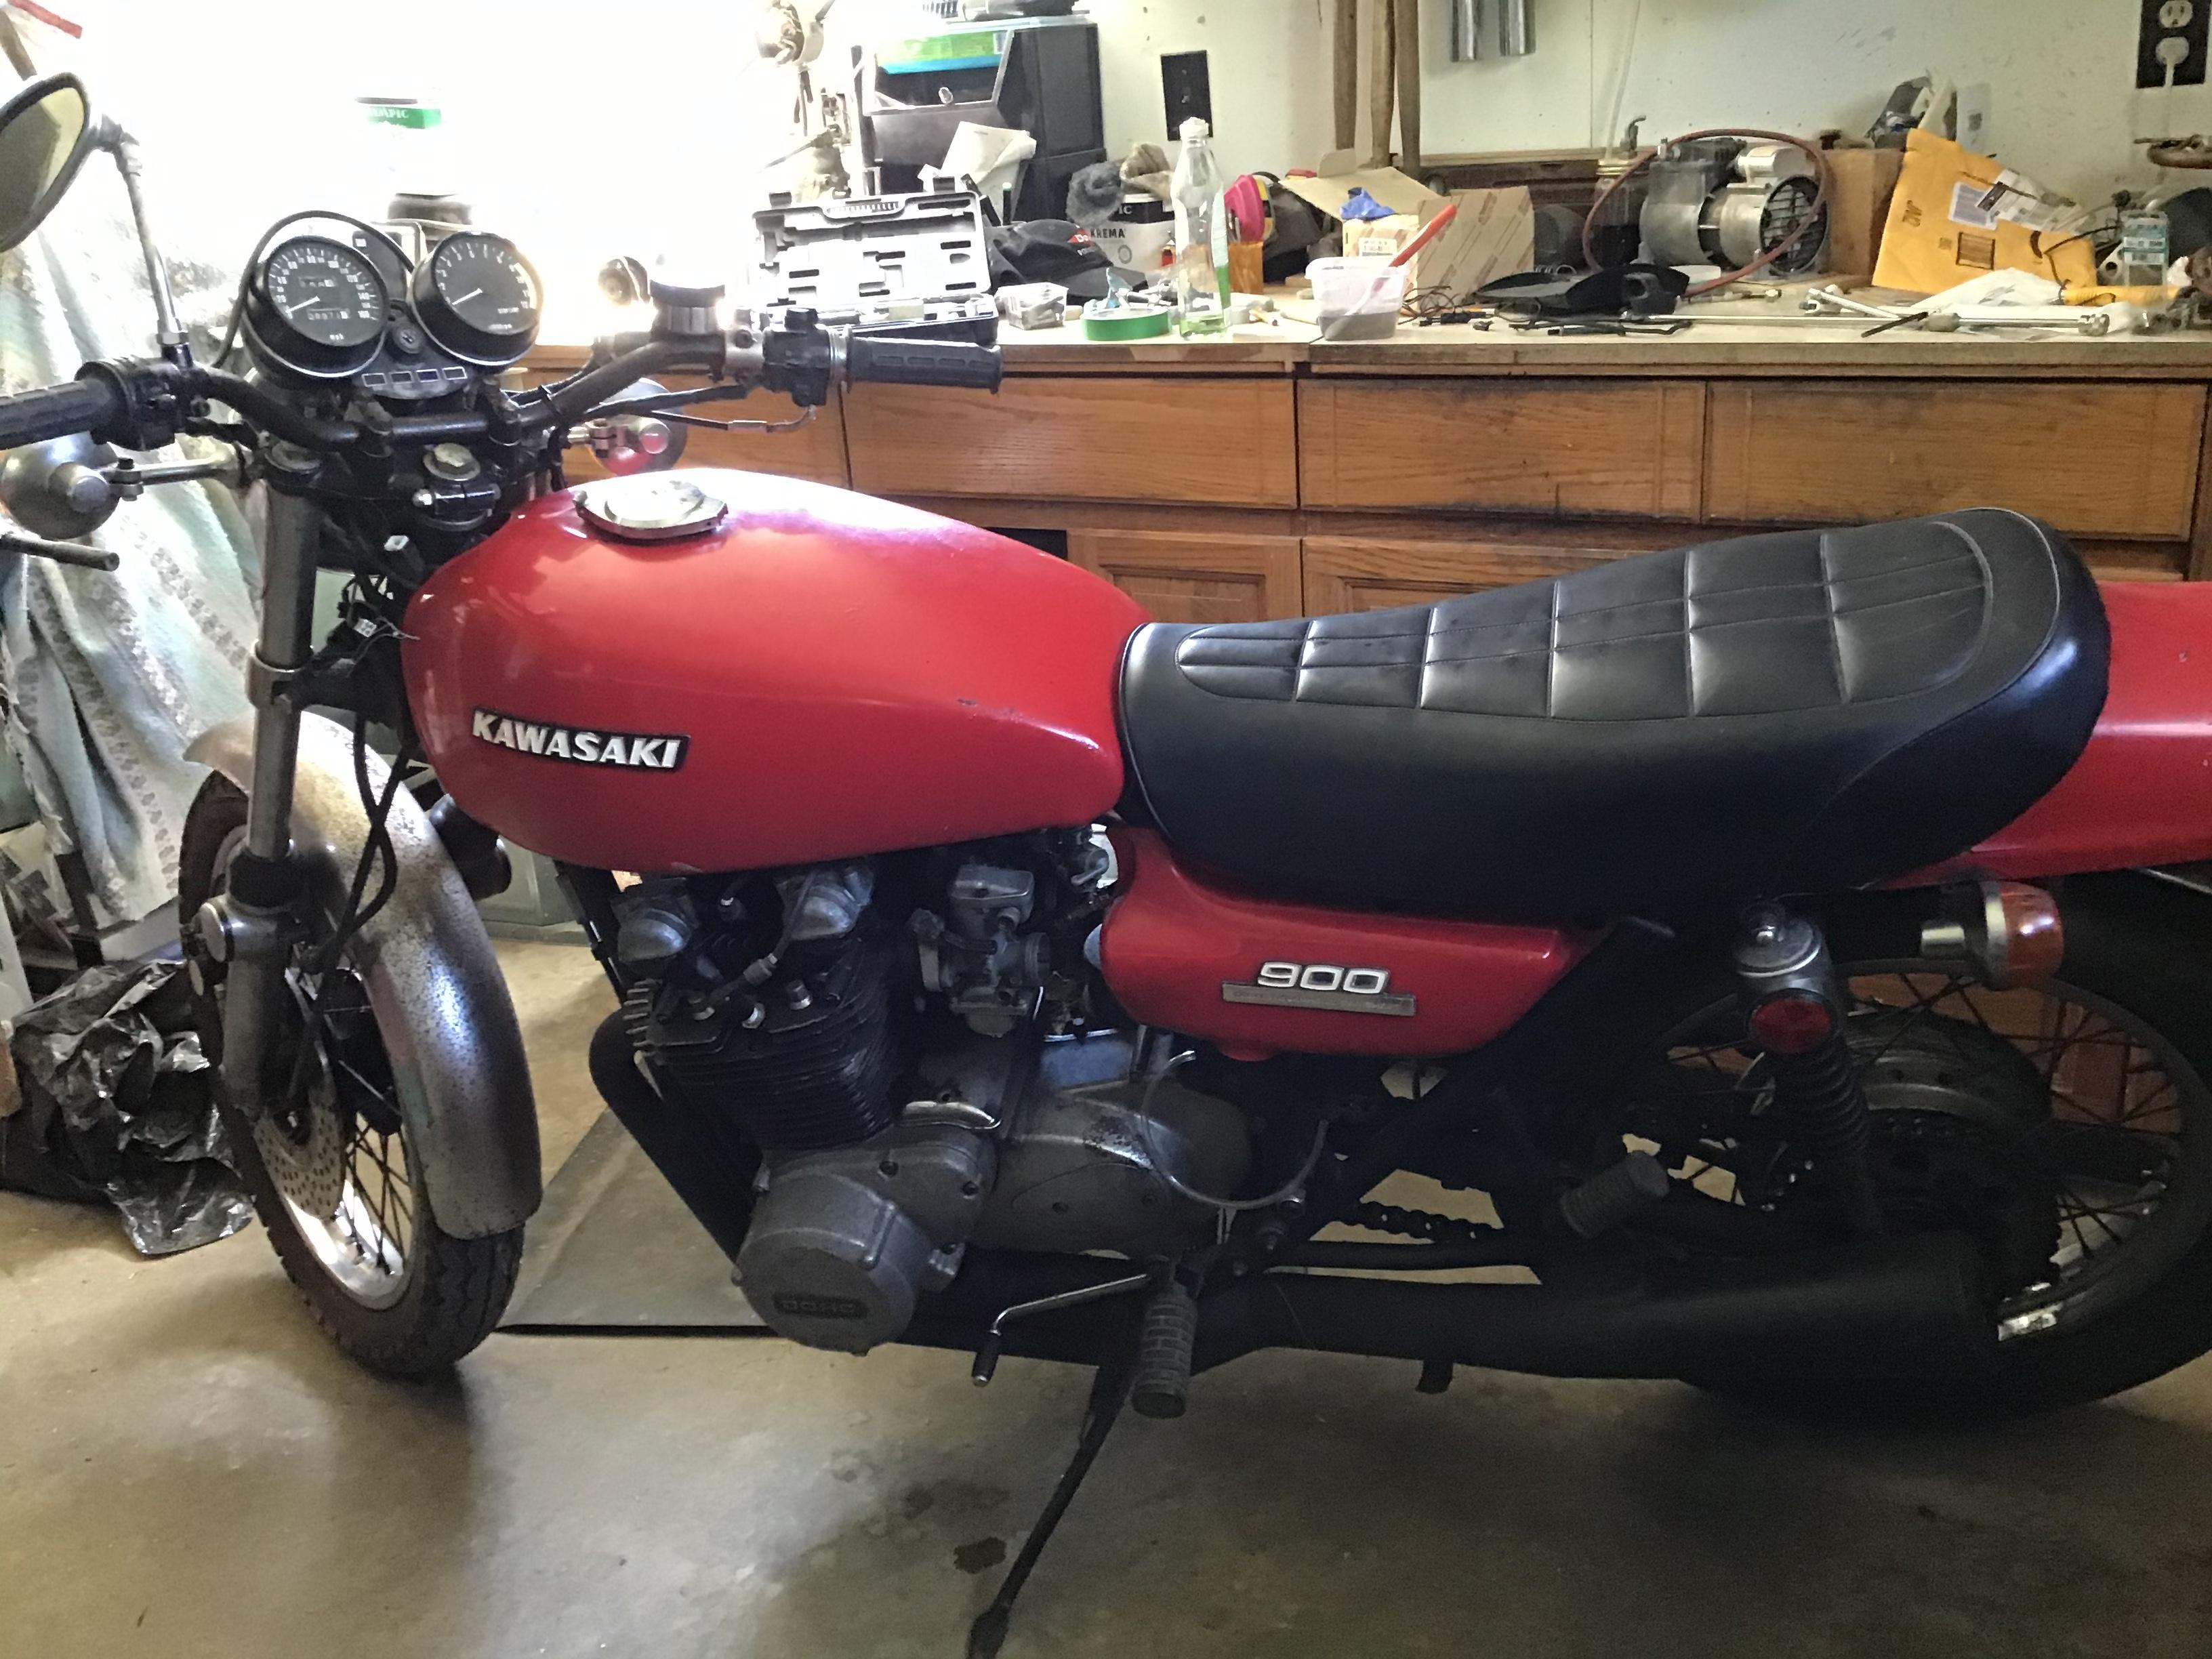
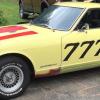
 1 pointWell, I have been looking for a new project and everything is beyond my price, so I picked up this to work on for the winter. Not a S30, but it is a 70’s Japanese Machine with a Z in the model name.
 1 point
 -
I can't tell if your pro or con on this. Doesn't matter but being a southerner that phrase could go either way.1 point
-
 1 point
 -
Maybe somebody else will confirm. I wouldn't think twice about deleting manifold heating1 point
-
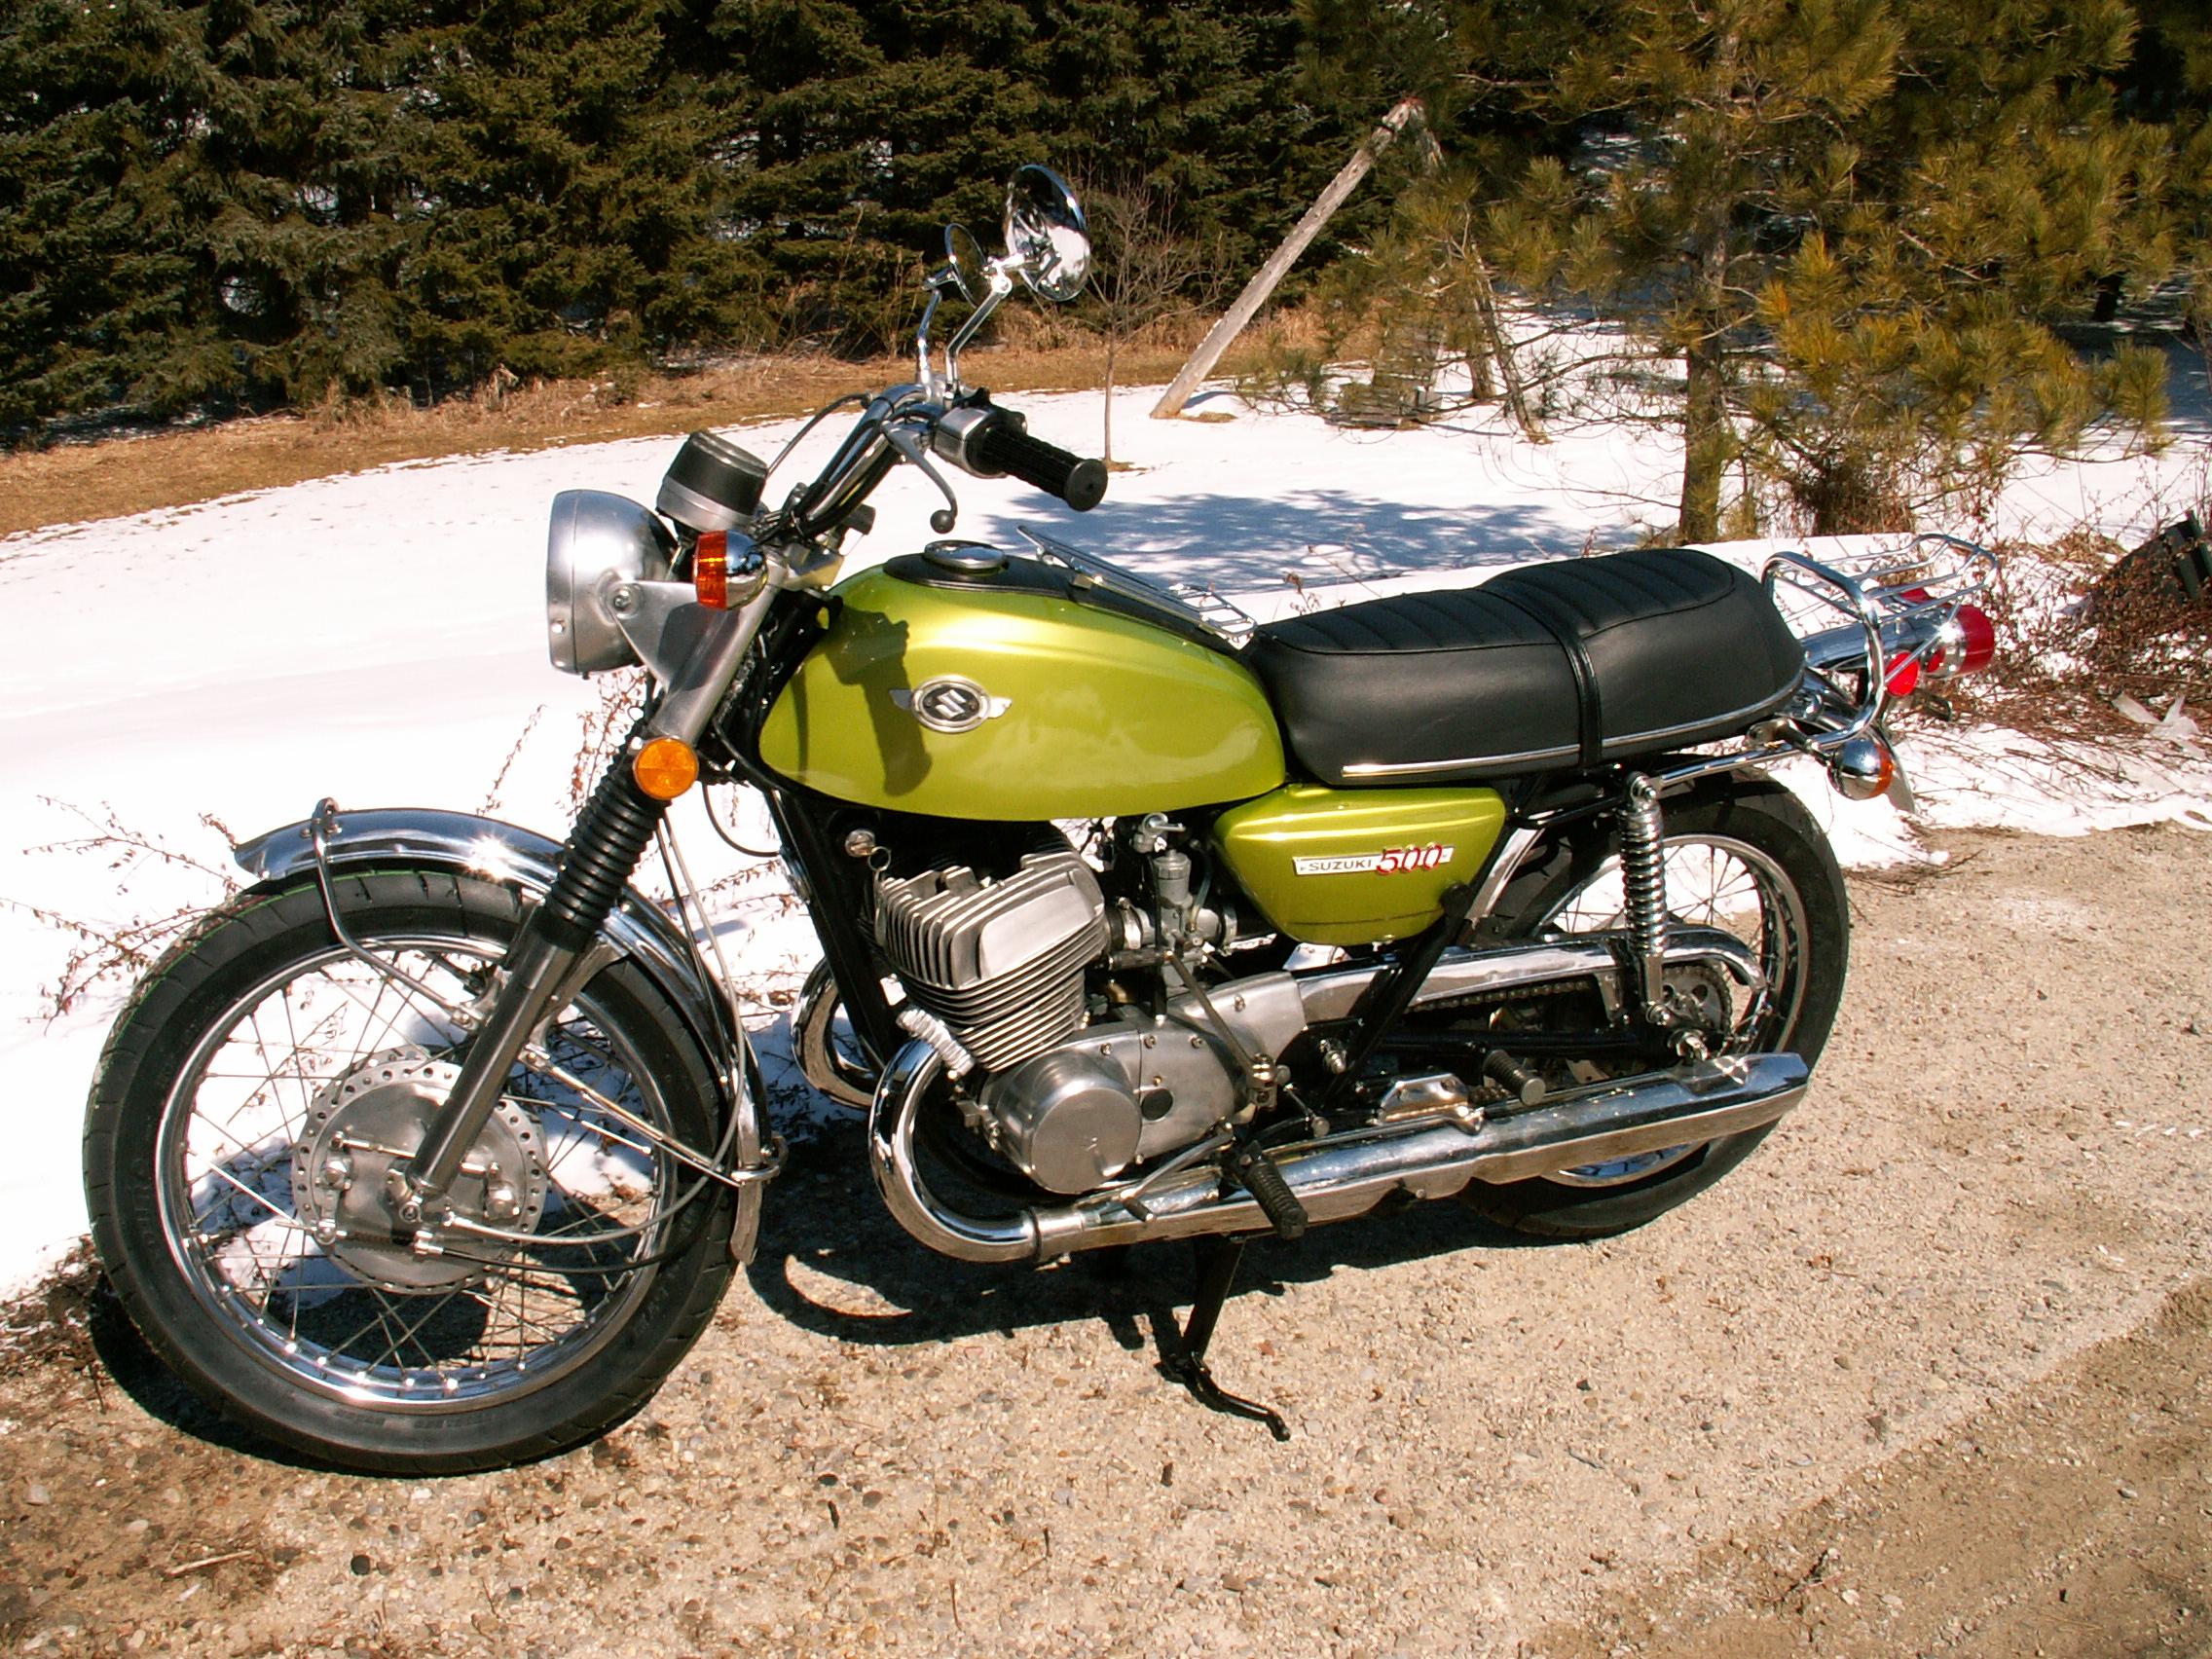
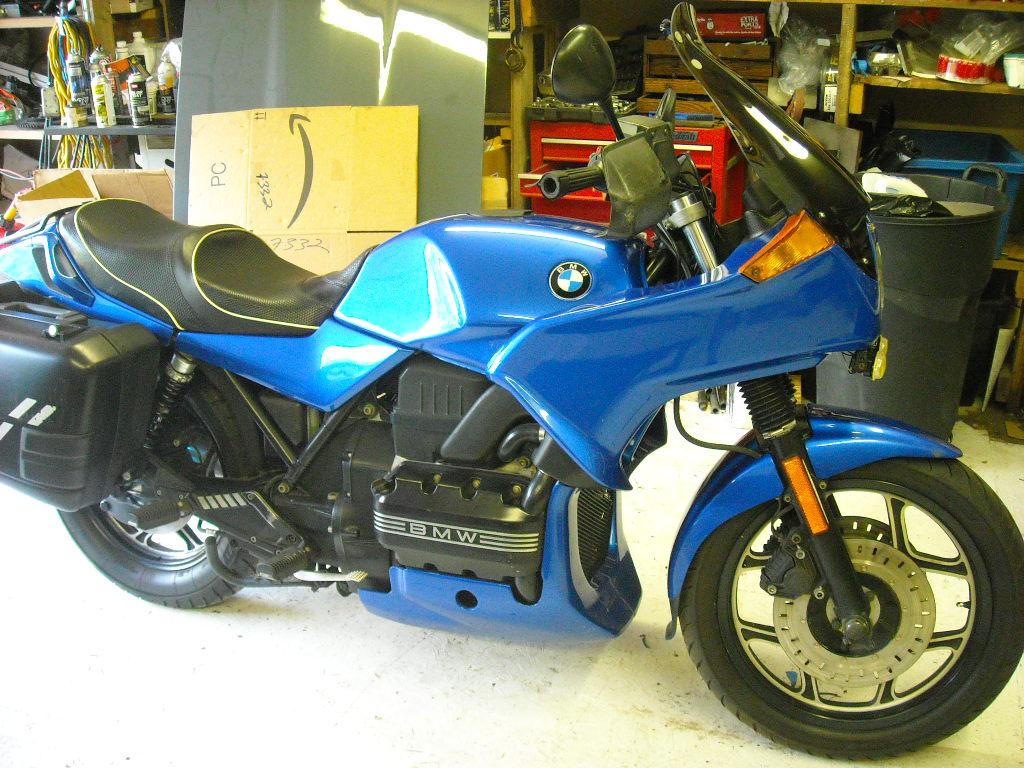
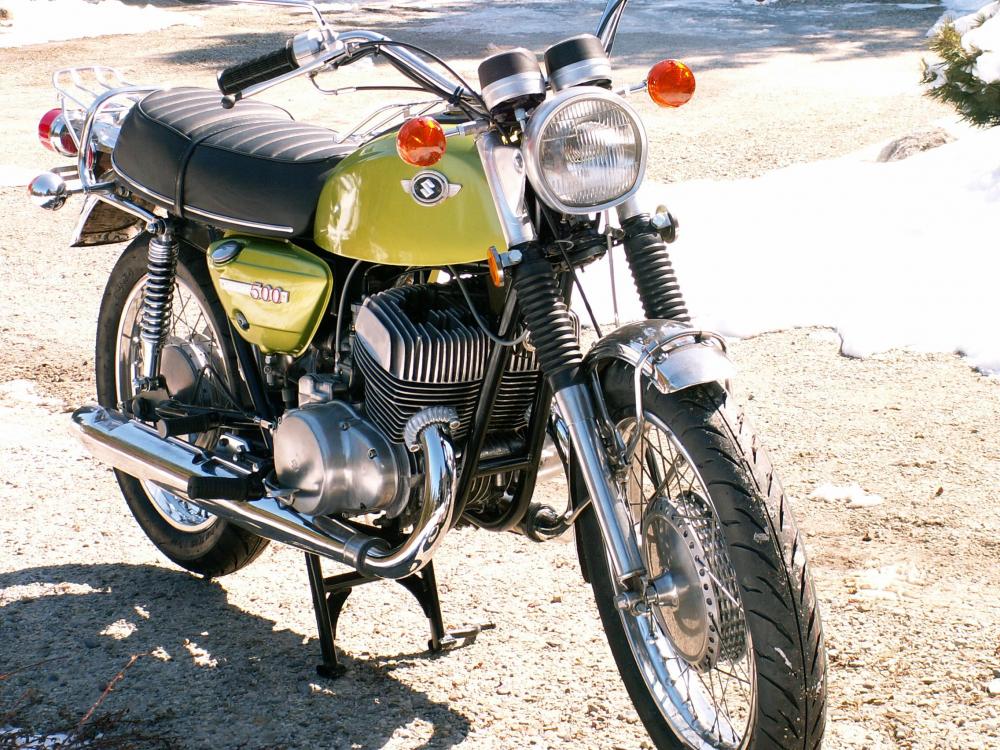
 1 pointDid someone say post your bike? 1991? Yamaha FJ1100 a beast. l 1970 Suzuki T500 or Titan 2 stroke 1991 BMW K75
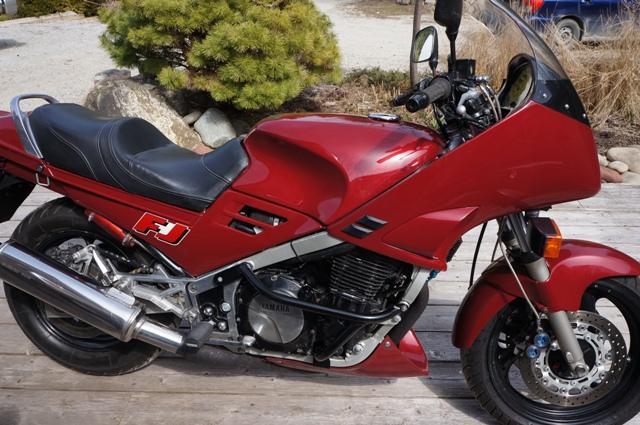

 1 point
 -
 1 point
 -
 @tyroguru @Racer X @Patcon @240260280 @Captain Obvious Thanks heaps fellas! It’s the greatest project of them all!1 point
 -
 The brackets I purchased are slotted to allow the compressor to swing and tighten the belt. I chose these to avoid using an idler pulley. If the compressor can only be mounted to a fixed bracket, an idler pulley is necessary.1 point
 -
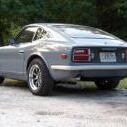
 I have BFGoodrich Radial T/A’s. size 225/60R14 and they are great. Plenty of grip and they are wide enough to look mean. Very old school looking.
 1 point
 -
https://www.summitracing.com/parts/vta-1510151 point
-
My vote for, 'Best Post of the Year (in the Humor category'). Someday I'll write my story of having a conversation with a dog before starting out on a 400-mile drive back home after finishing my race weekend at le Circuit Mont-Tremblant.1 point
-
I have done something close to this but it only hurt me, about $2,000 and 12 months without a driver's license. I forgot headlights use a concave reflection mirror for high beam/low beam. Put duct tape on the top of my headlights thinking that would make high beams low beams. WRONG. Spent the night in jail. The cooler of empty beer cans didn't help either.1 point
-
 A while a go i made a CAD drawing of what the manual calls "Felt", but are actually rubber pieces, that work as dampers between the fuel tank and the chassis. Then took the drawing and sample to the local rubber shop and they cut them to spec for me: Left new, right old (with some dirt): Had them make two sets, in case if they mess up something. but the second set is already sold to a local owner... Oh and since NOS A-type 5-speed manual transmission parts are a bit rare, i just had to get this bearing when it popped up for sale. Also love the genuine oldschool Datsun (Suisse) SA Bag, it must have been in storage for quite some time...1 point
 -
Man that's great!!! Enjoy, nothing like beautiful baby girls!!1 point
-
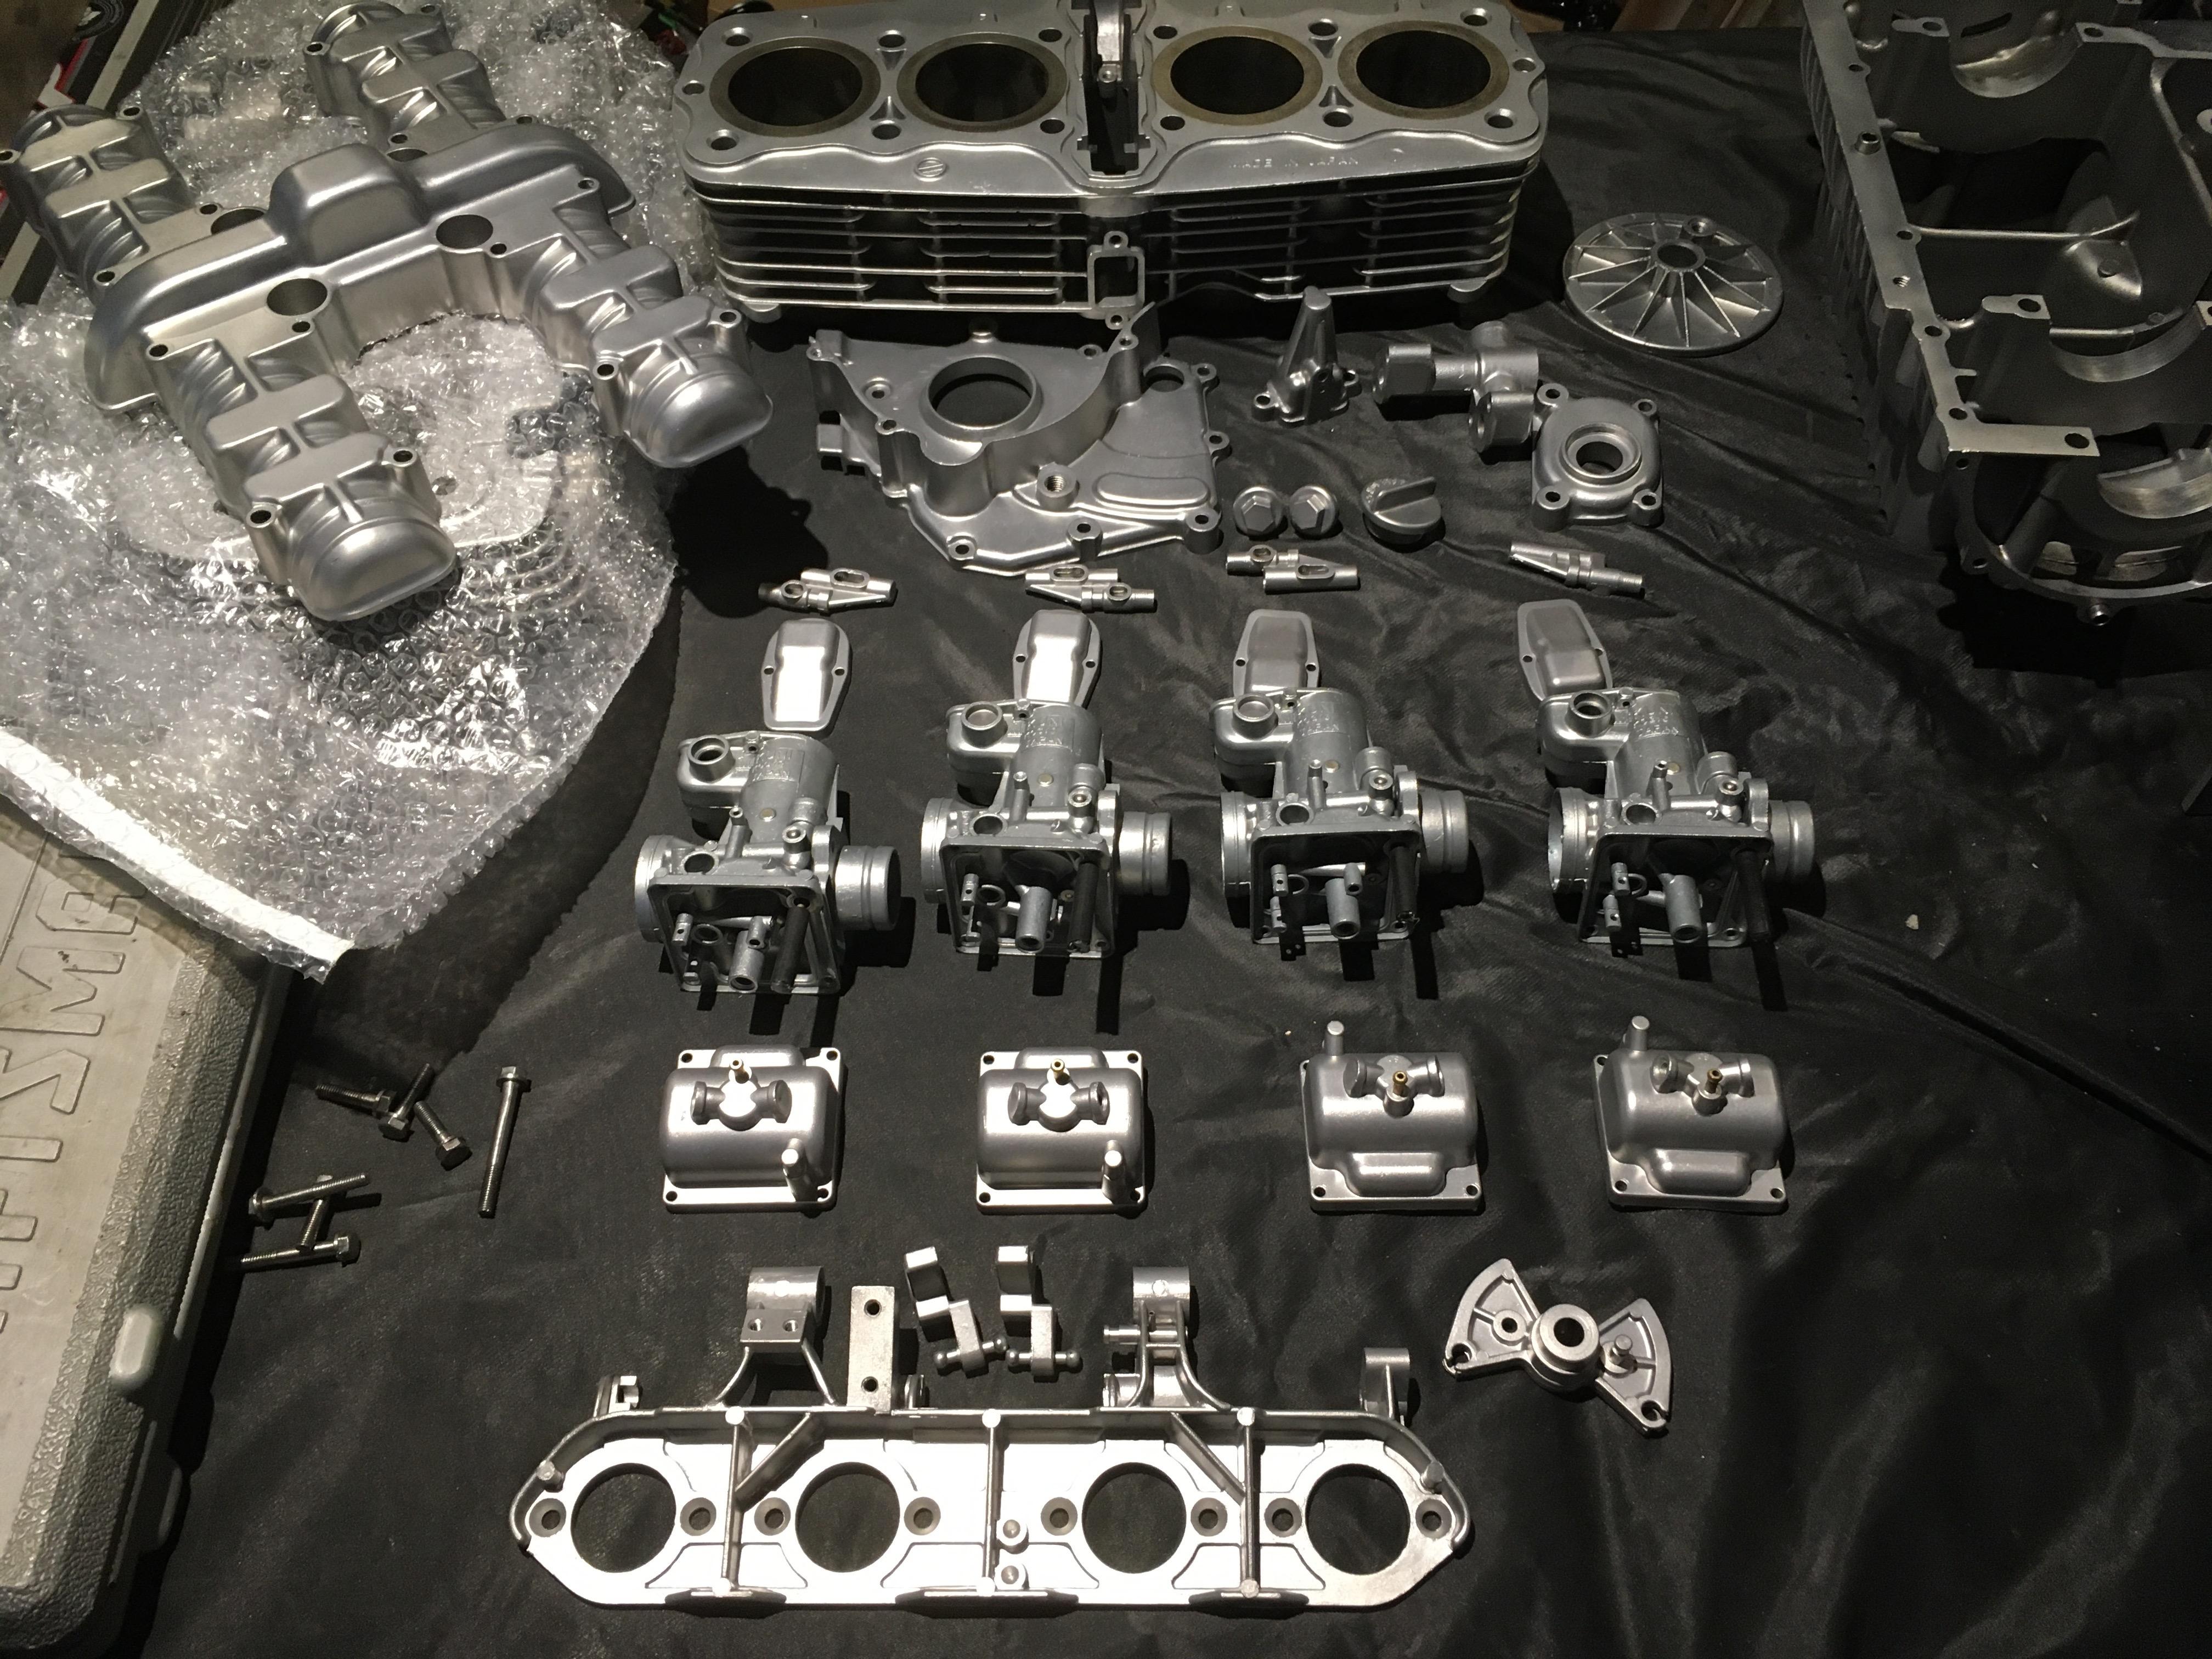
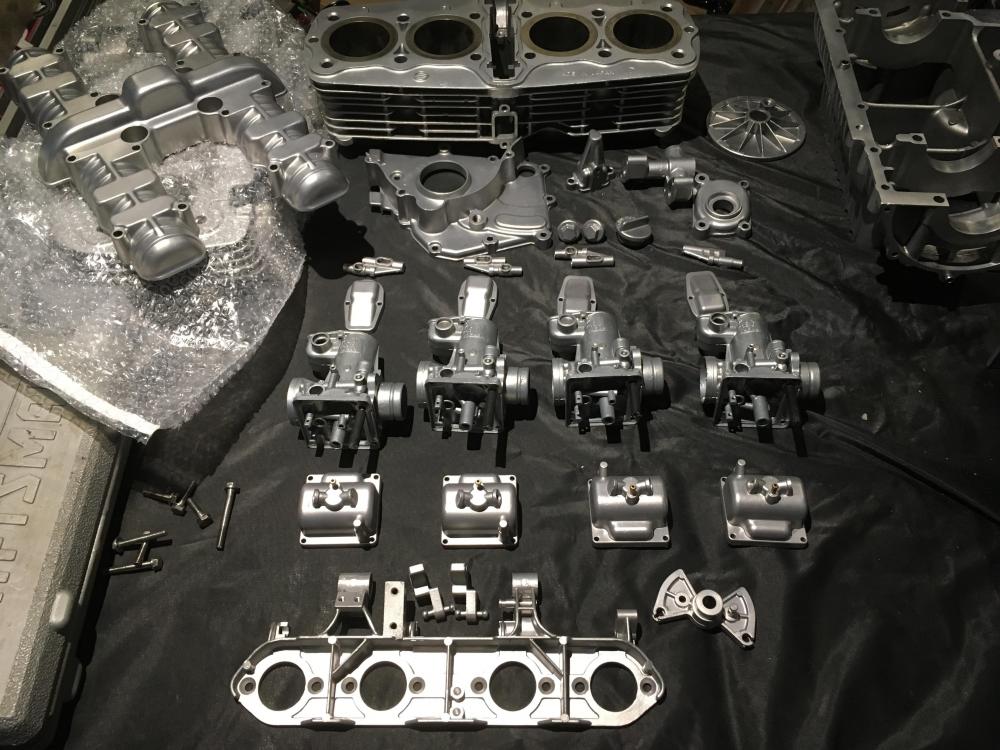
1 pointTrying not to clutter this site with bike stuff, but had to post how the engine parts came back from vapour blasting. Really impressed with the look. @CanTechZ I used VaporBlastCanada which is in Chilliwack if you need anything done.

 1 point
 -
Congratulations Ryan, especially for the arrival of a healthy child. Awesome!1 point
-
 Congrats on all fronts! And yes... The N-27 is the stock needle for the 240Z round tops. At least in the US. Not sure about other locations.1 point
 -
 Congratulations! They grow up faster than your Z can go....enjoy the journey ahead!1 point
 -
 Obviously I'm pleased you got your needles out but bigger congrats on the safe arrival of your daughter! Remember: cars are for life but children are hopefully out of the house by the time they're 21 😅 . Have fun!1 point
 -
Since i got the triple Mikuni / Solex carb setup, i was looking for an original Competition fuel rail that belongs to it, as shown in this 1978 american Datsun competition parts catalogue: Lately i found a NOS one for sale, and of course i had to get it... Here's how it's listed in the Japanese Race & Rallye preparation manual: And while ordering stuff anyway, i decided to include the floorpan rubber plugs... Oh and there was a free little early christmas gift inside the box too:1 point
-
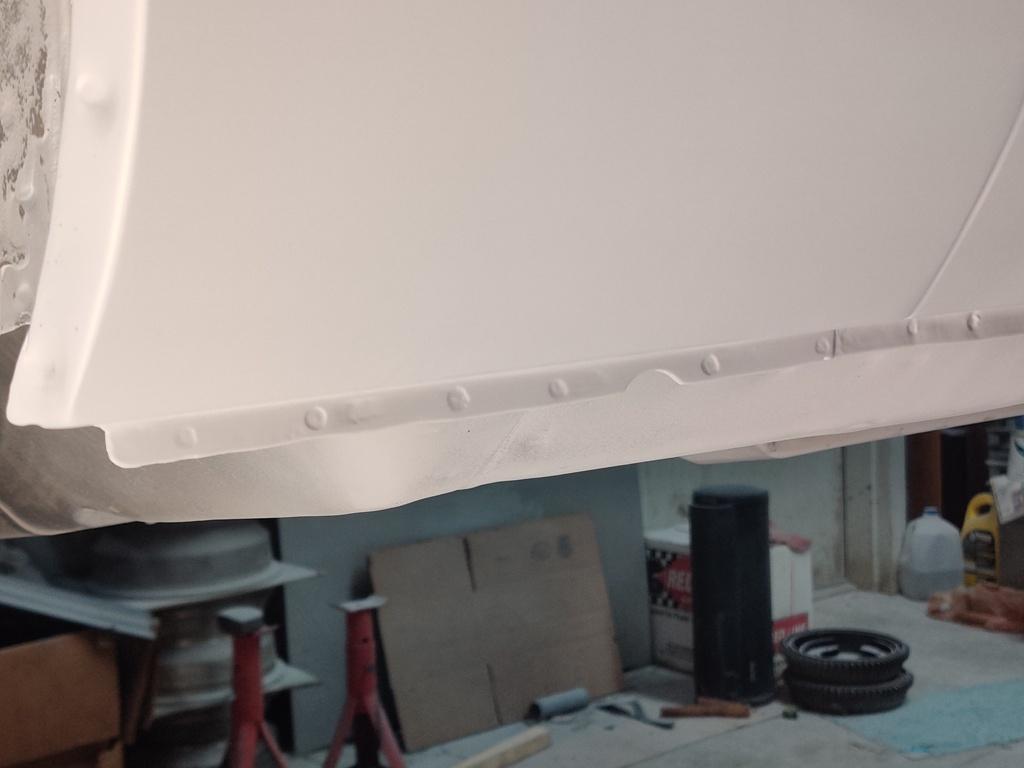
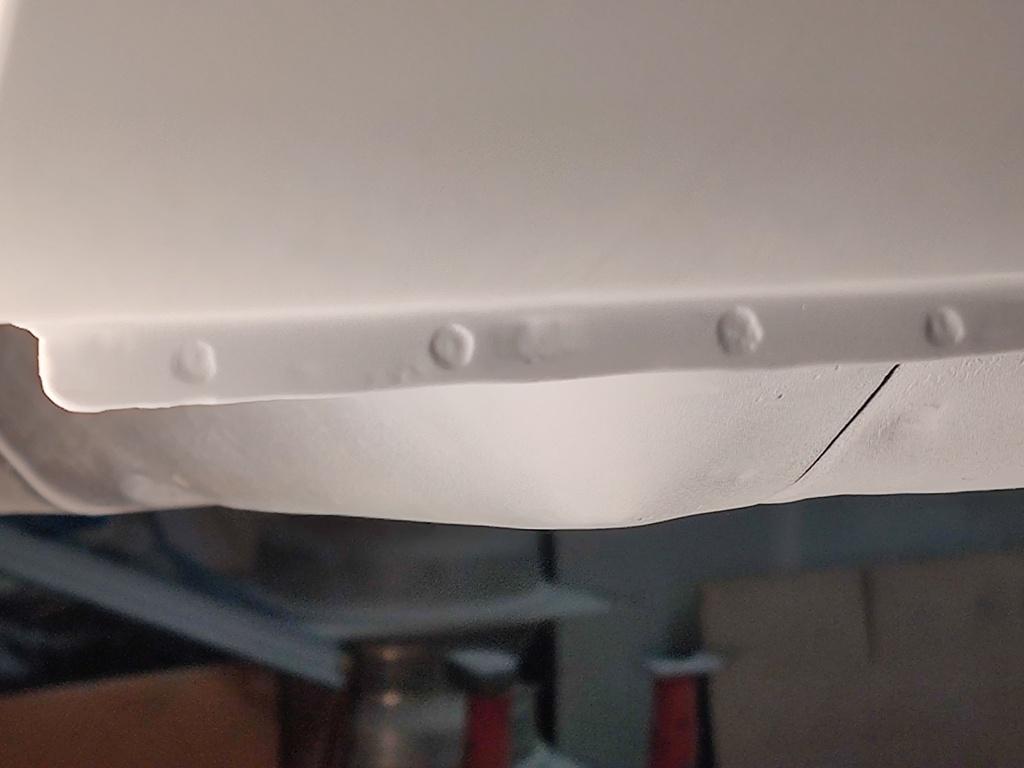
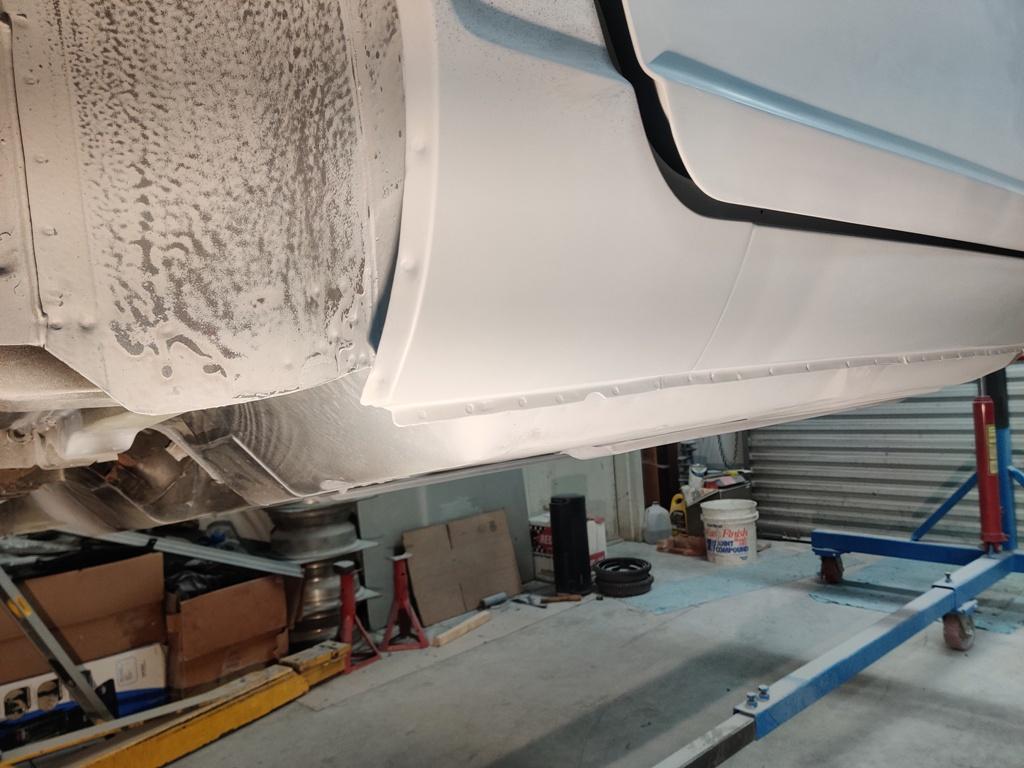
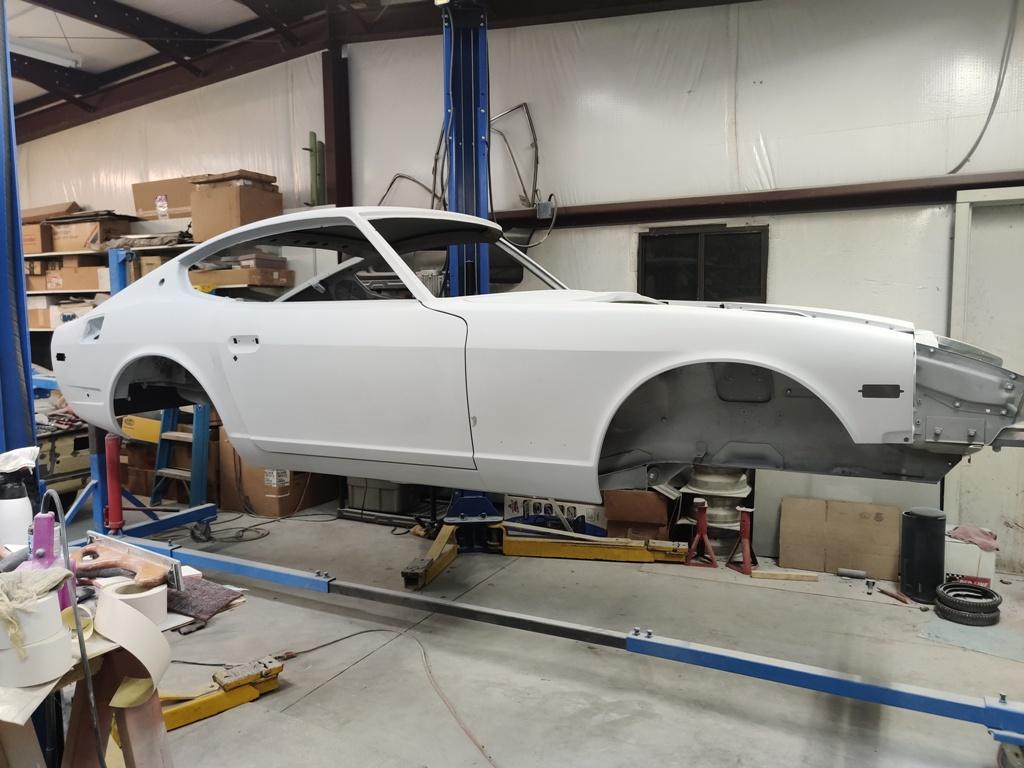
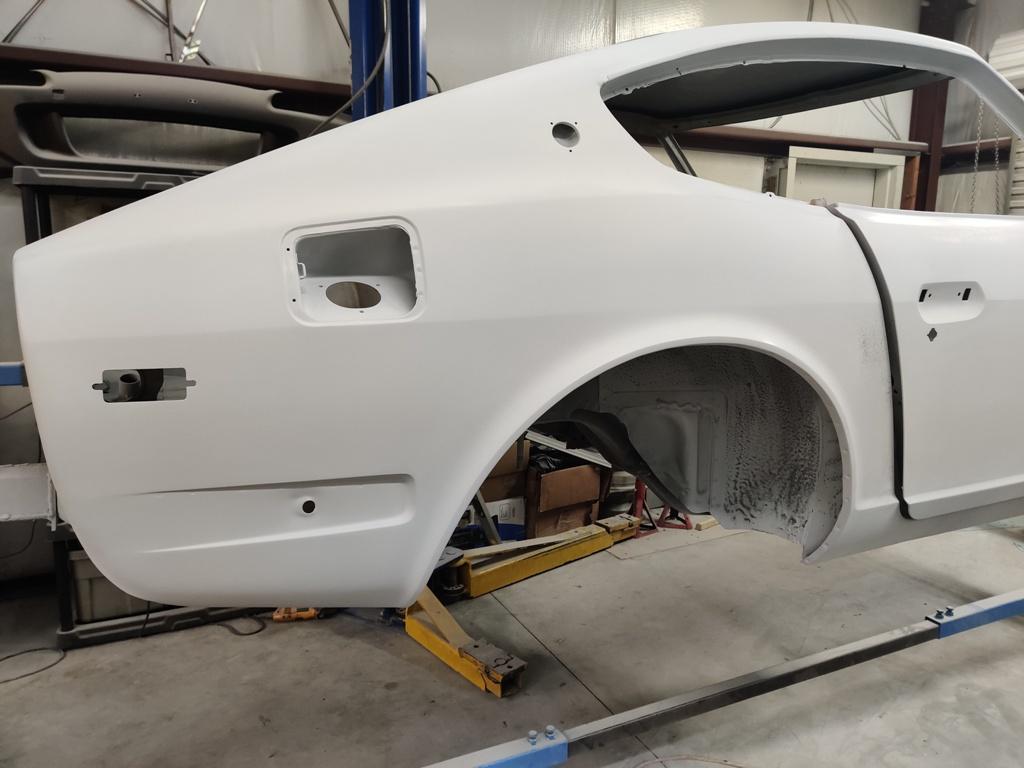
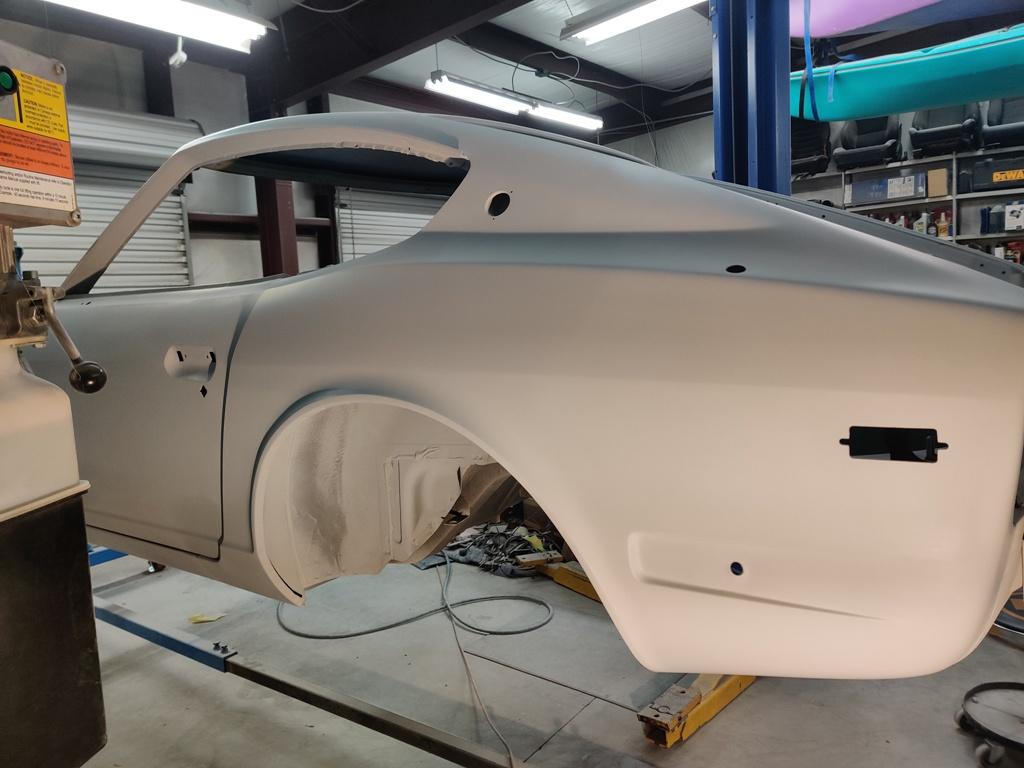
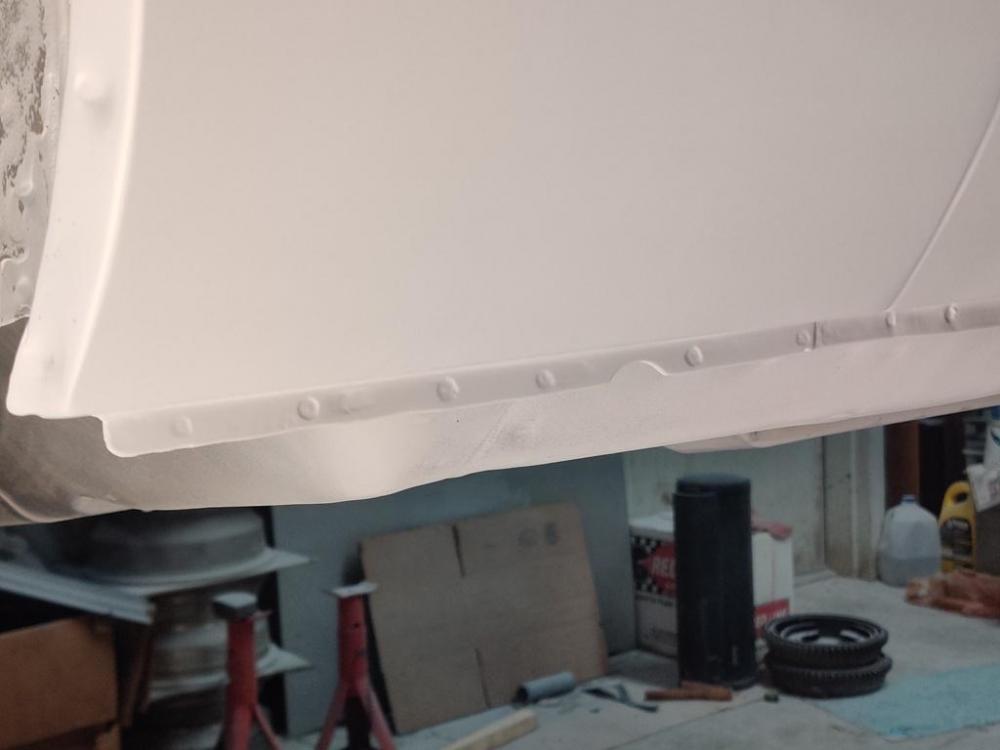
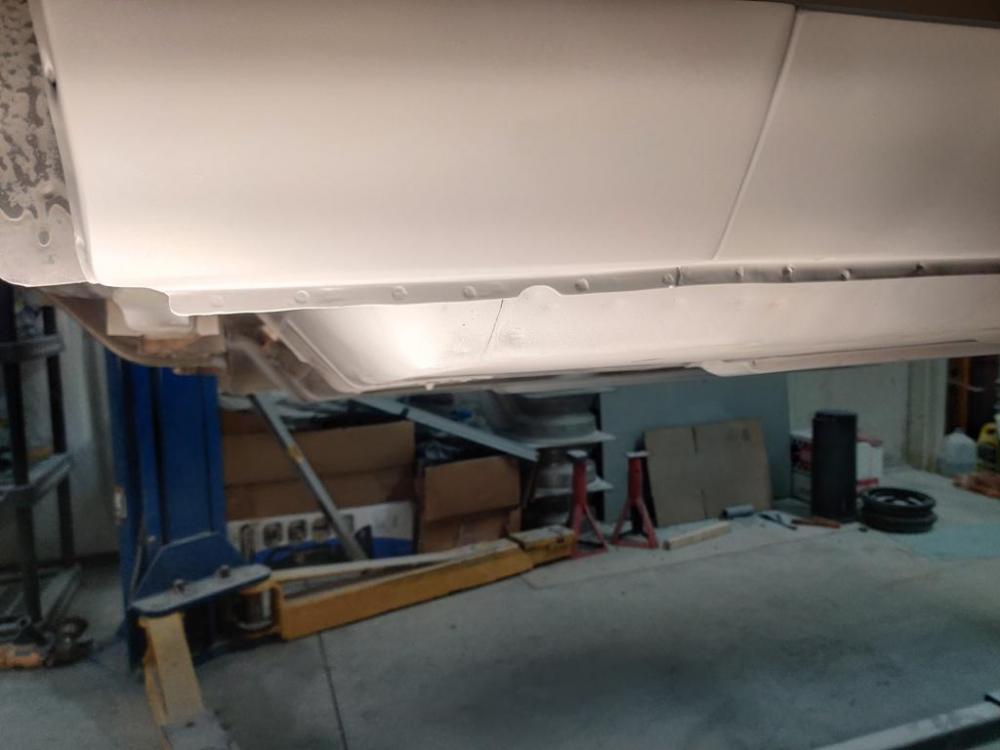
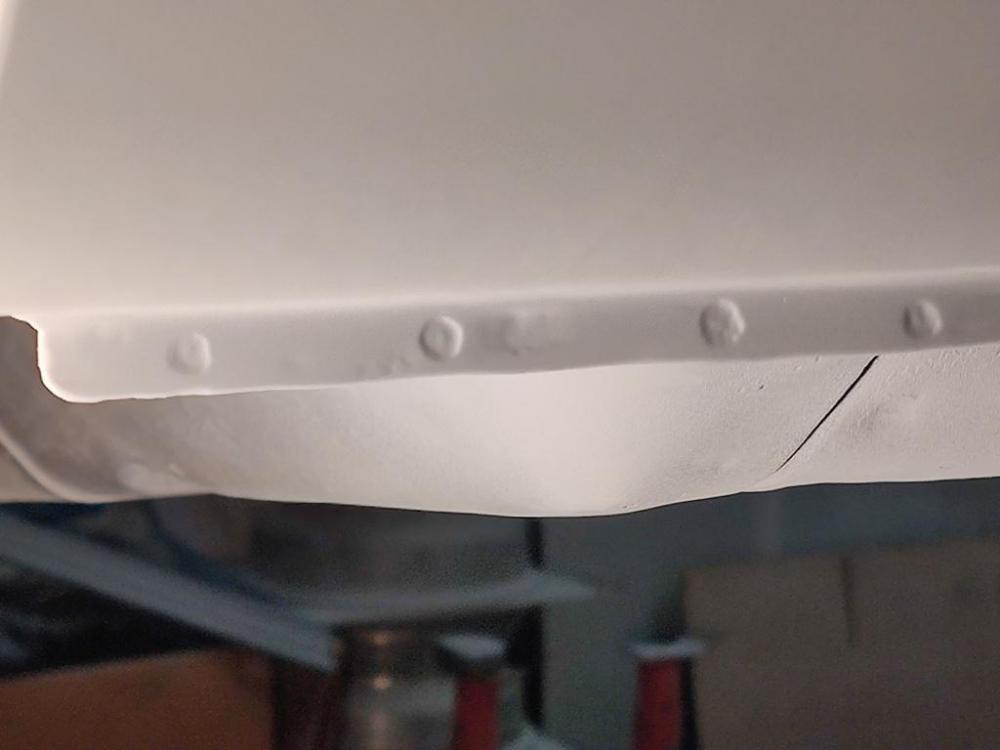
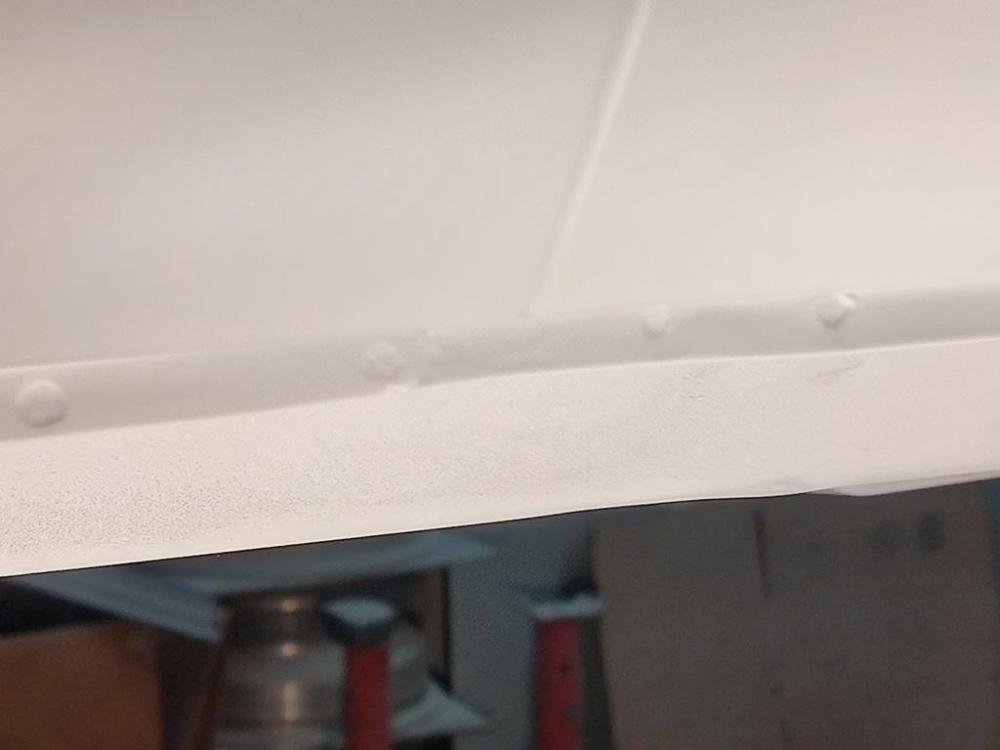
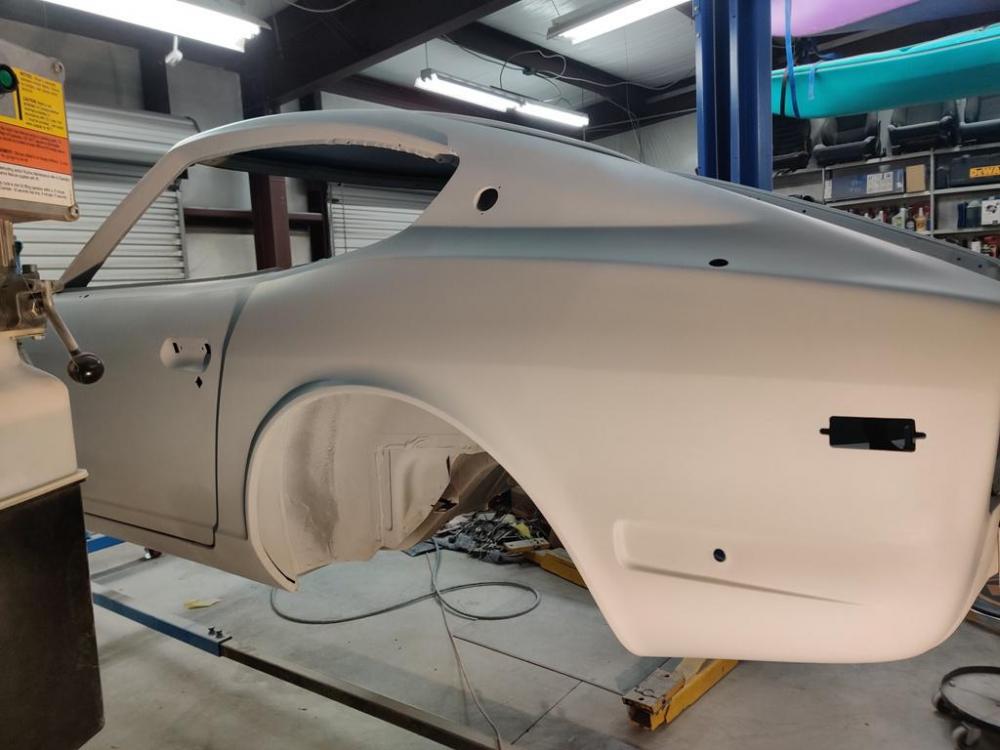
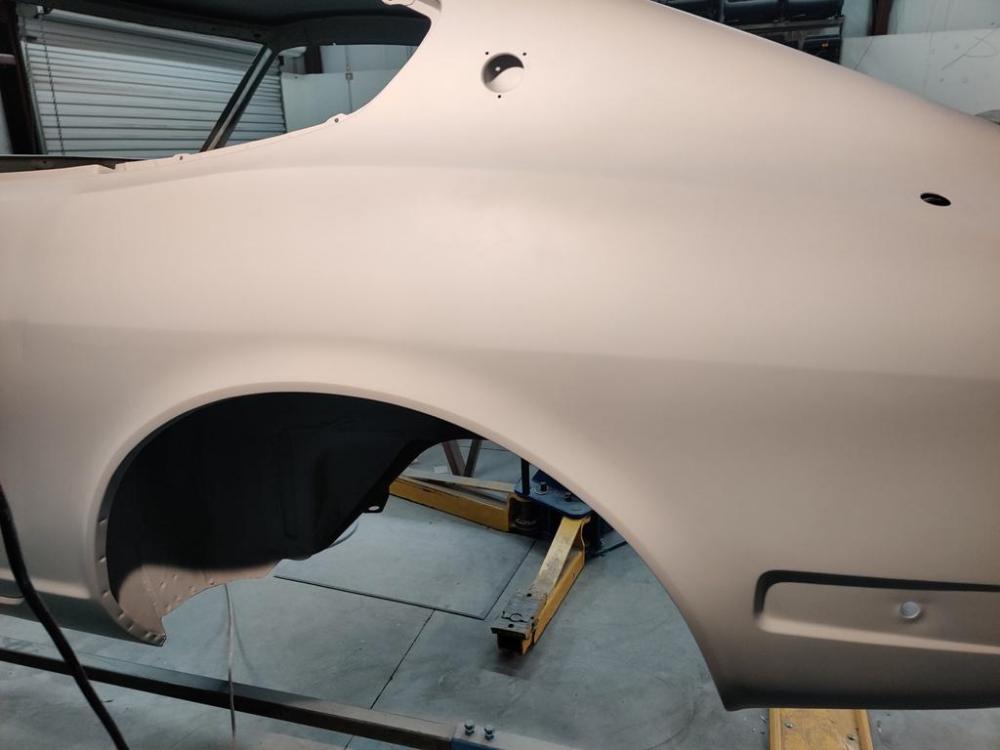
I took about a week and a half off and went to Florida for vacation. Lots of beach, swimming, and biking. Felt good to set aside this thing for a while. I am back on it now with blocking and primer application continuing. Getting panels near perfect is really a lot of work. How do you like my spot "welds"? 🙂 You may recall that I used the Mig welder to attach the cover panels (reused most of the original on right side, and fabricated a new one for the left). I used rosette welds on the bottom edge (drilled holes and filled them in with weld). However, I want the original look here on this bottom edge. Looks pretty good, right? All of the ones on the bottom edge where the quarter panel attaches to the rocker panel are fake. In the third picture just above, the two on the left of the visible joint are fake, the two on the right are authentic factory welds. To create the fake ones, I waited until I had applied many coats of primer as normal part of doing the body work. Then, in the original factory locations, I used a dremel tool and a round cutter bit to remove a circle of the primer back down to the base metal. And then I followed that up with another coat or two of primer. The spot welds on the wheel opening flange are authentic factory ones. Only the ones along the bottom edge where the quarter panel attaches to the rocker are fake. Authentic ones pick up again in front of the visible edge where the quarter panel to rocker panel transition occurs. The belt line is looking much better now. I like how they have turned out. I won't have to give this line much more attention before painting. This is the case for both sides of the car, from fender, to door, to quarter panel. I still have some low spots on the passenger fender and door to eliminate. After that, I should be able to prep the underneath of the car for undercoating. The tail light panel hasn't been worked yet because of the interference with the rotisserie. That will need attention before I can send the body assembly to the paint shop.


 1 point
 -
 First, let me comment that those carbs and manifolds are true automotive jewelry - absolutely stunning! Your mention of the fuel rail caught my attention so here are a few observations. The supply nozzle positions for the flat-tops are substantially different than for round-tops so I recommend you get a fuel rail from a '70-72 model car - the pic is a Series 2 style from the later '71's and 72's. The rail is longer and correctly positions the nozzles for the feed to the floats. As @Patcon mentioned, the asbestos wrap is a big caution. They put it on the '72's and later, carbed and injected. It has an adhesive that will have melted around everything, expect to find significant corrosion under it. Also, the wrap contributes to deterioration of the nylon insulators for the mounting tangs. I've restored quite a few of these rails and faced all of these issues. Jim
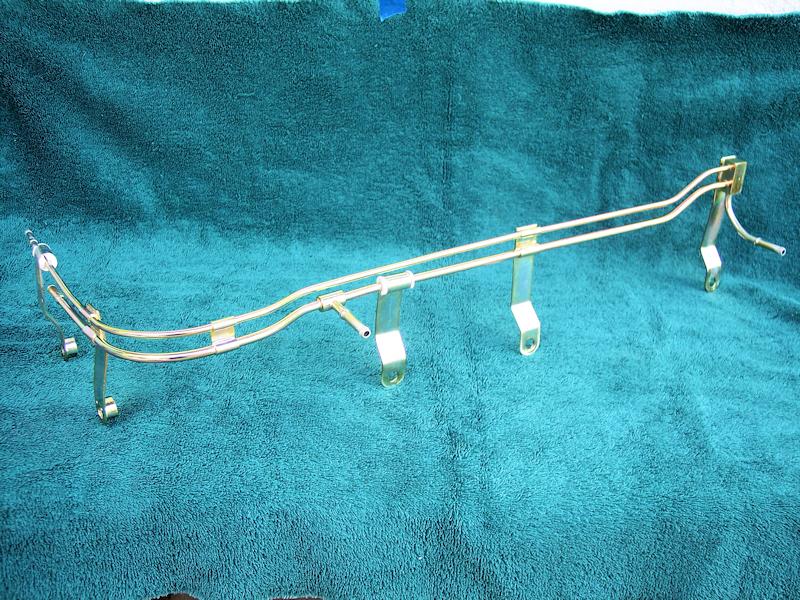 1 point
 -
Thanks. I have learned some things the hard way for sure. I like this sanding block a lot: https://www.eastwood.com/contour-rigid-sanding-board-2-75-in-x-17-in.html It is comfortable to use with both hands for hours at a time. Even though it was designed to use non adhesive type paper, I have been using adhesive backed. The rubber "pad" on the aluminum is hard/tough enough that when you pull the adhesive paper off, it doesn't damage it. The sand paper I have been using comes in rolls. I have been getting most of it from TP tools. I have also been using some 3M "red" rolls that I get locally at a body supply store. In general, I have had good experience with epoxy primer on bare metal to start before applying filler. Light sanding with 80 grit and then applying body filler was done next. Then I used 80 grit on the body filler to shape it, followed by 120 grit on the body filler to get a smoother finish. 120 grit scratches are a lot easier to cover up with primer (or sprayable polyester) without sanding scratches coming though later. Then, I recommend you depart from what I did and spray several coats of sprayable polyester filler, and then block sand that with 120 grit until flat. Then, I'd recommend going over it once with with 240 grit to put a smoother finish on it. Similar to before, the 240 grit finish will fill better when you spray high build primer over it. Then you can block again with 240 and repeat primer spray, and sand with again with 240 grit until you have perfection. Then, you should switch over to 400 to 600 for remaining finish work. It is widely agreed upon that before you put down color, a minimum of 600 grit should be used. That should be safe - the color will fill those scratches so they are not visible. This is true for base coat/clear coat (2 stage), or for single stage paints.1 point
-
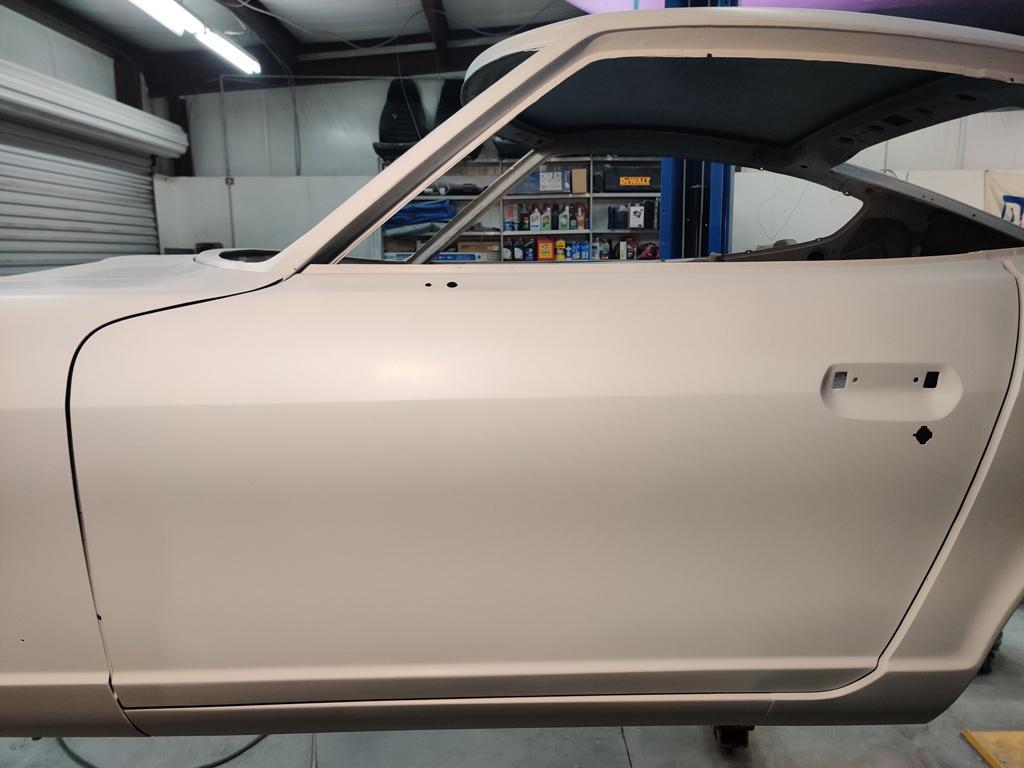
Some more progress towards getting this thing painted! Insert pretty boring videos here: 🙂 Roof panel: Passenger door - not good enough yet!1 point
-
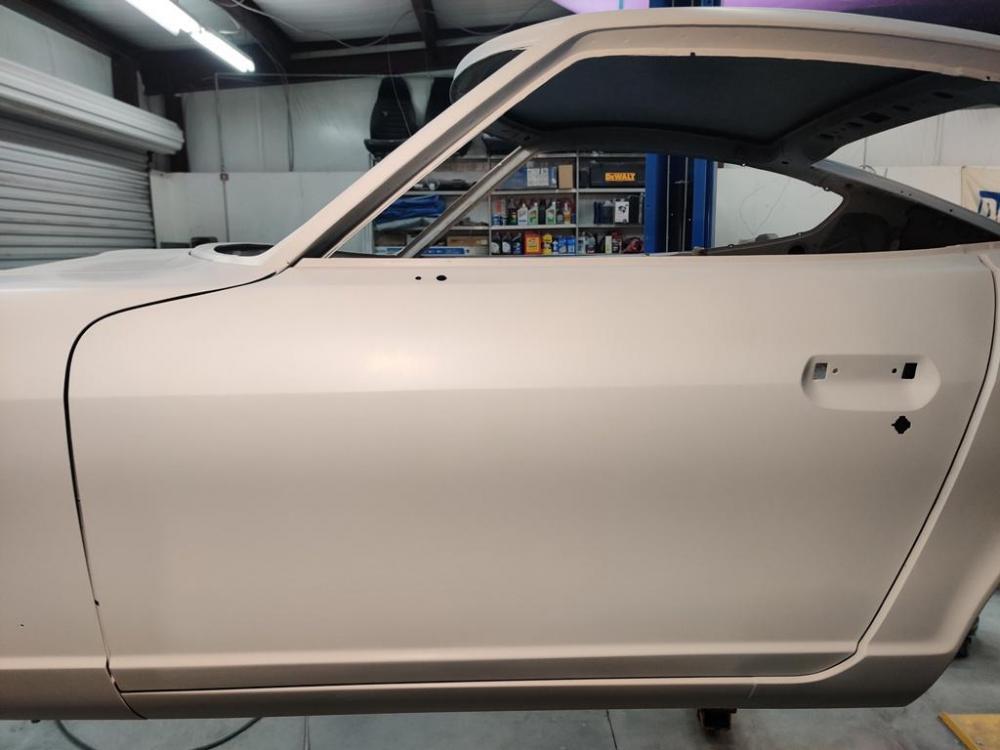
In a couple of more hours tonight, I was able to get the driver door, rocker panel, and most of the driver side quarter panel sanded with 240 grit. The door is super straight. I am very happy with it. The quarter panel has a dip at the front that I can probably address when the next round of primer application. The quarter panel is pretty good, but the belt line in the area directly above the wheel well is tricky and I see a couple of spots that are not quite right. Videos:1 point
-
That's good progress. It's time consuming work1 point
-
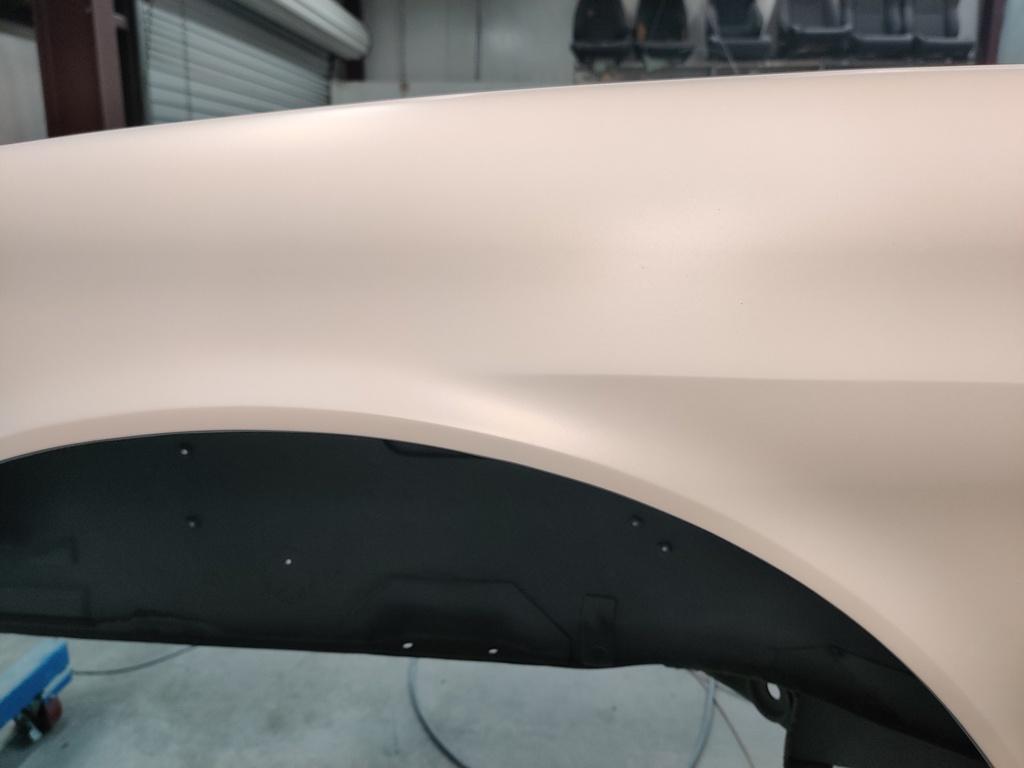
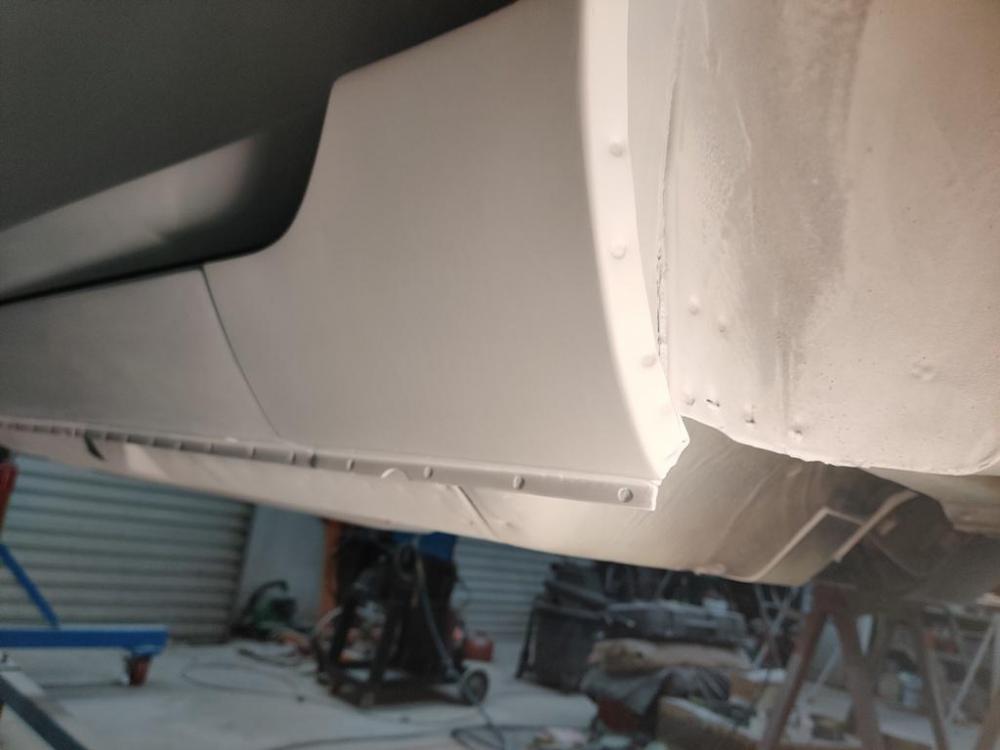
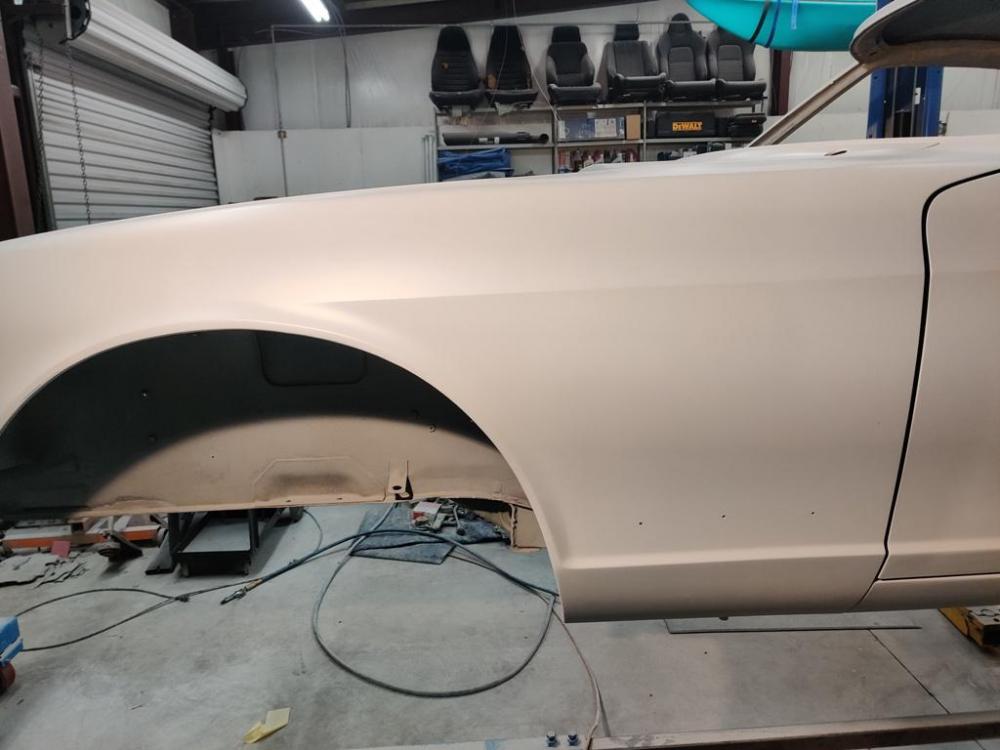
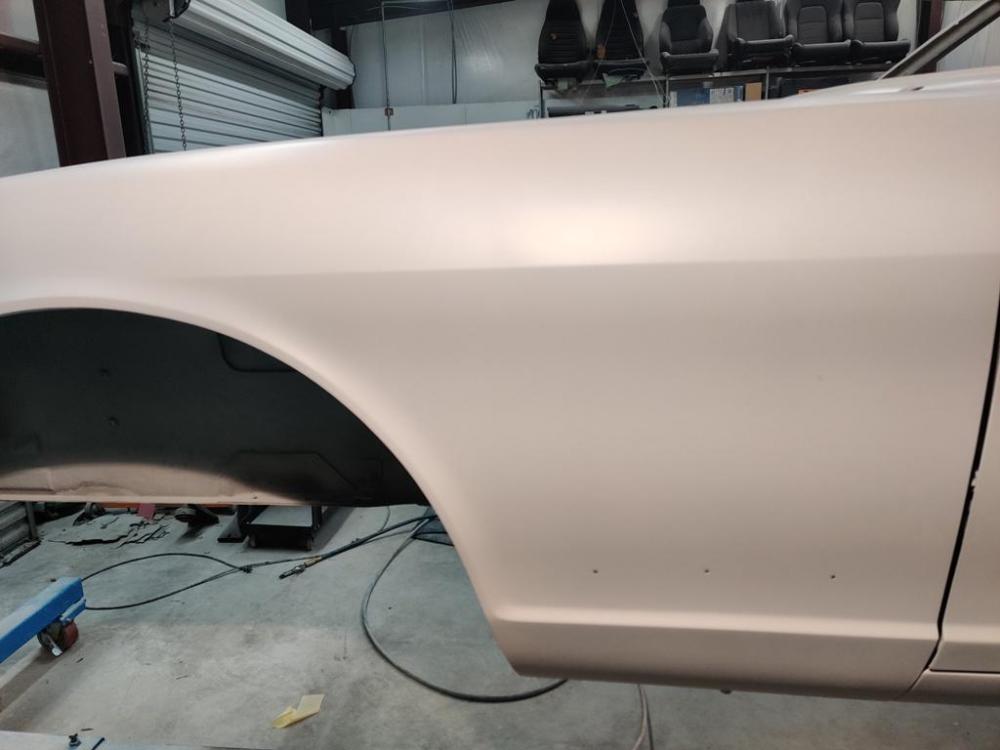
Progress (which at times feels absolutely like none) is happening with the body work. I think. Though most of it ends up on the floor after sanding, I am now two gallons in on the high build primer and need to buy a third. That's going to be over $1000 in primer alone. Not how you should do it folks. Next time around, I think I will try applying body filler over entire panels and sanding down, followed by a few coats of sprayable polyester filler, followed by the high build primer (just a few coats should be needed). Here is a brief video showing the passenger front fender at the critical body line where it starts just above the wheel well opening. You can see that there is some distortion in the reflection, indicating some more work to be done here. Not quite there. Much of the rest of the car is getting to where it needs to be however. I have been spending time as of late, working on additional panel fit issues. The cowl panel is a bit of a challenge. Because it is just a single thickness with no backside reinforcement, the large, flat areas in the front corners are susceptible to moving up and down very easily. Before final sanding is done on this panel, I will be sure to replace the foam that resides underneath in these areas (proper thickness is important) to allow for proper location of the horizontal surface. Then final sanding will be done to make these areas nice and straight. Inspection doors were hand twisted/straightened for near perfect fit. These again, are made from single thickness metal sheet with little in their construction to hold them to shape. Heights of fender top surface, cowl panel surface, and inspection doors were all massaged to make them line up. I actually had forgotten to fit the gas lid prior to doing body work on it, and laughed at how bad it was when I test fitted it to the car. Quite a bit of hand adjustment was necessary to give the right profile curvature to match the quarter panel appropriately. Passenger side door panel gap (with rebuilt hinges is looking good I think):1 point
-
Oh, it's still there. I had the head work done by Dr. Marcus Nichols at Plexicorp.1 point
-
 My car Msa 6-1 2 1/2" pipe to zstory jdm muffler. IMG_9275.MOV1 point