


Leaderboard
-

heyitsrama
Free Member5Points1,185Posts -
Captain Obvious
Free Member4Points10,080Posts -
Clint Bizzle
Free Member4Points2Posts -

240260280
Free Member3Points4,442Posts


Popular Content
Showing content with the highest reputation on 03/02/2021 in all areas
-
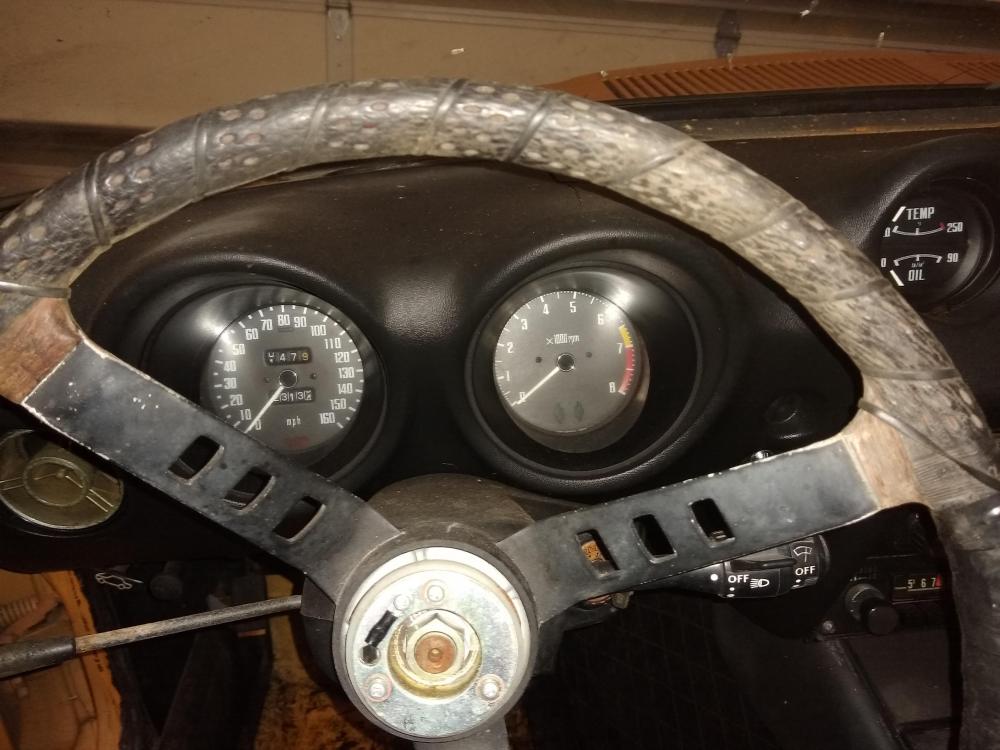
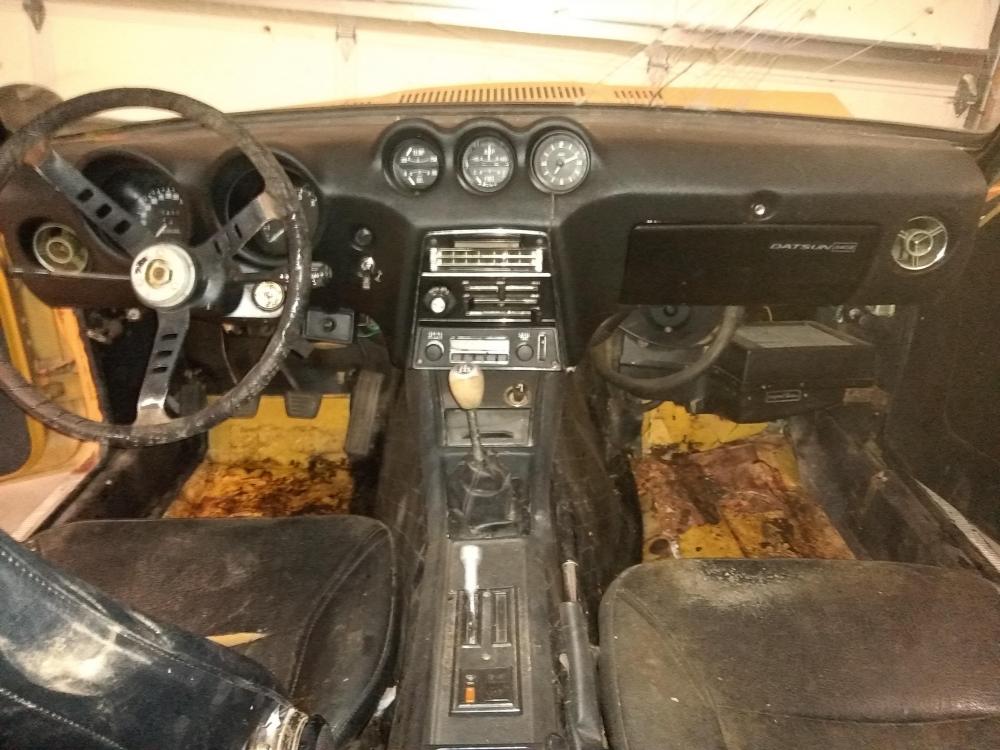
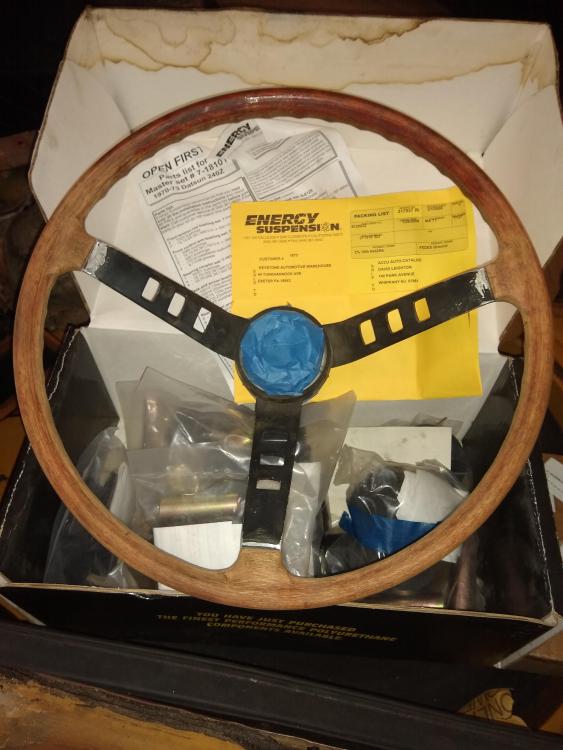
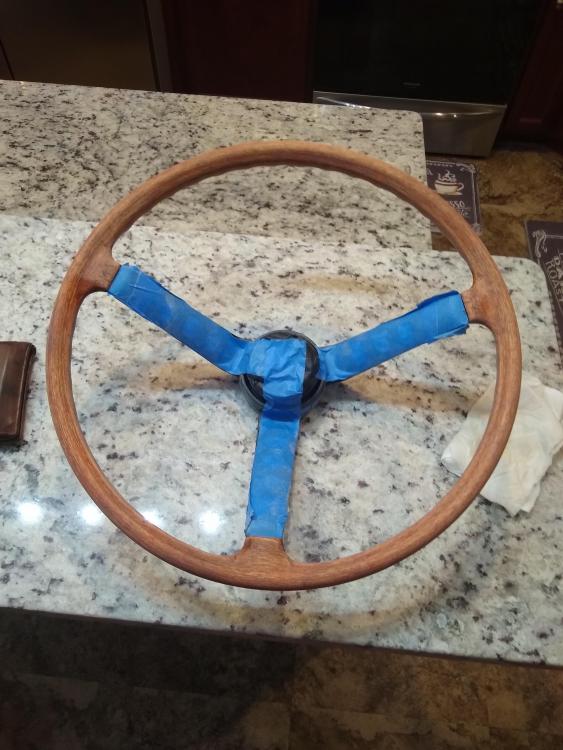
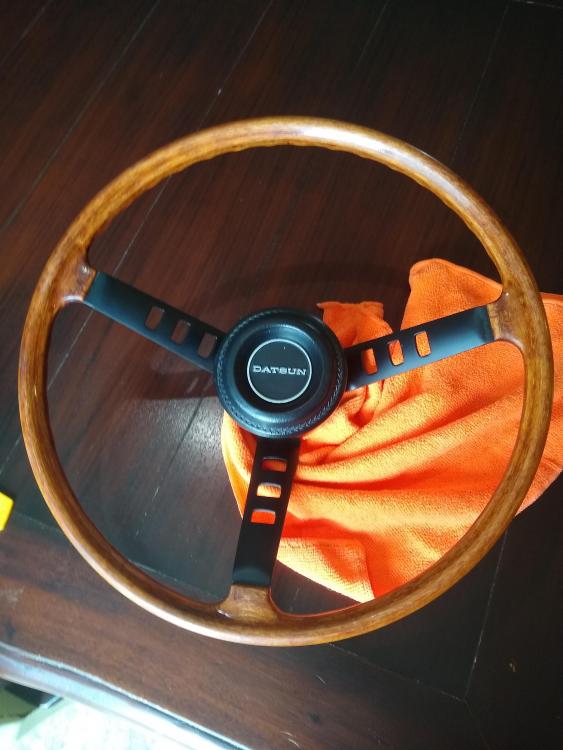
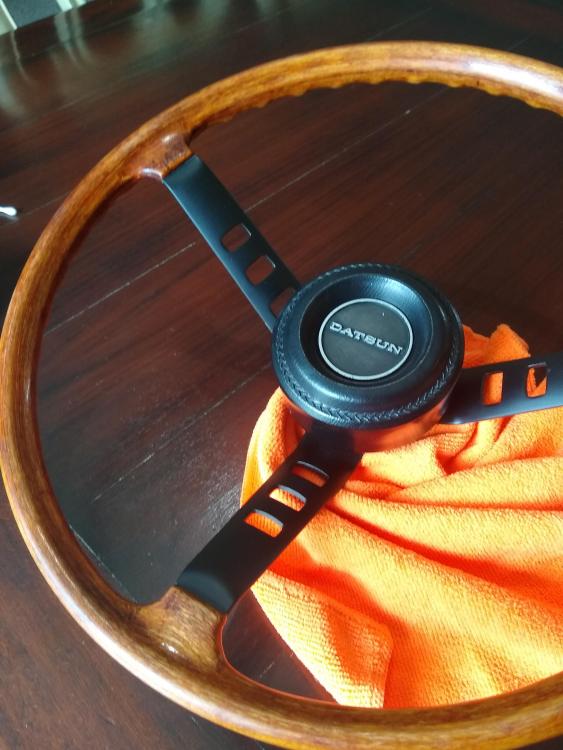
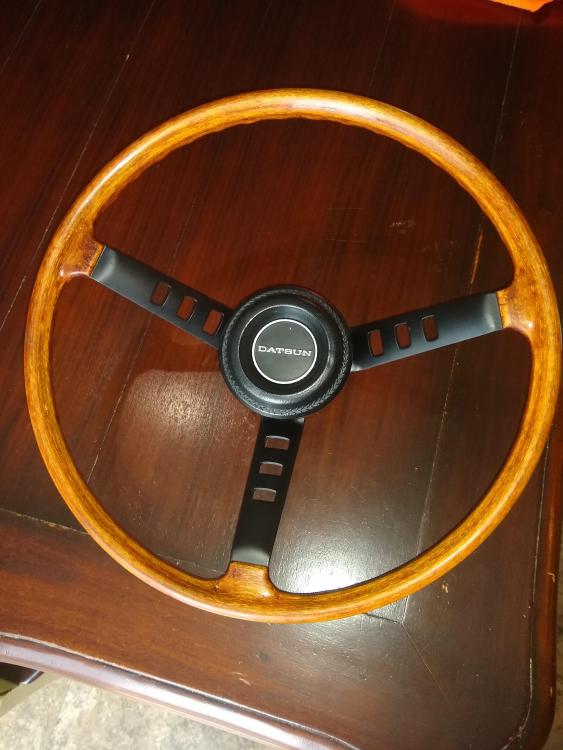
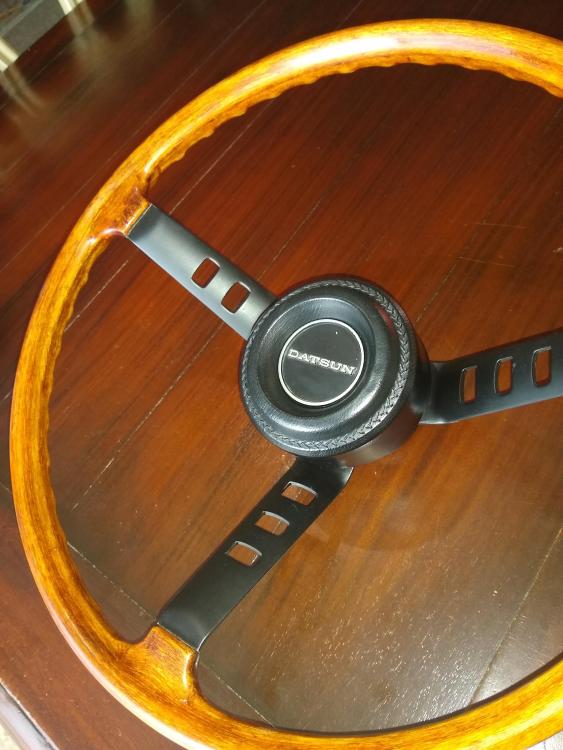
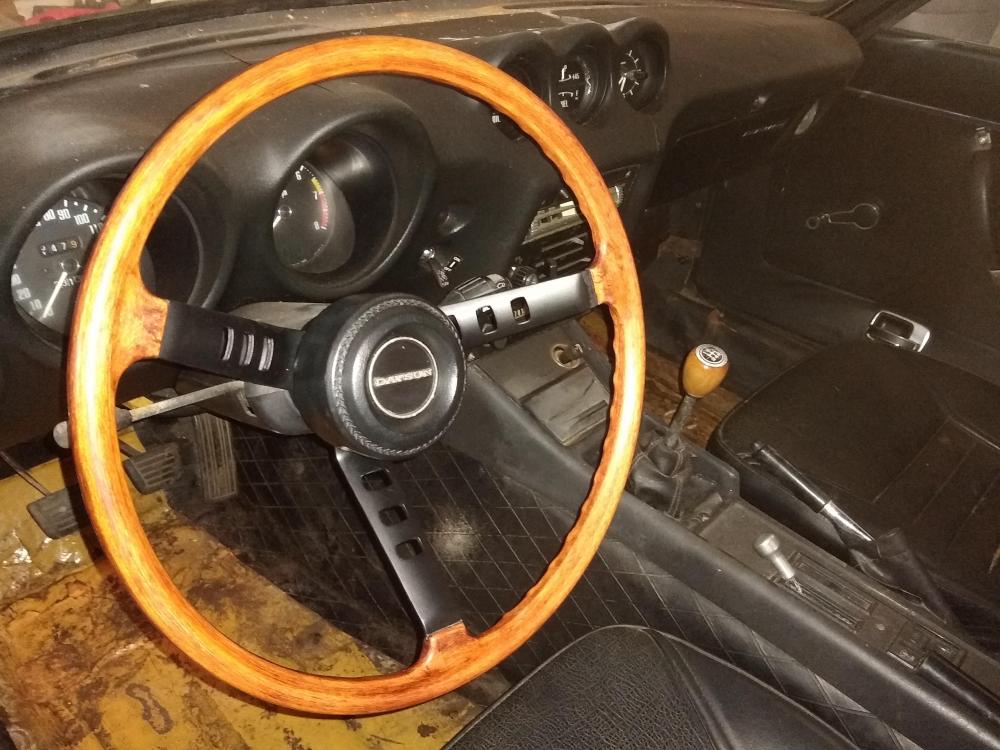
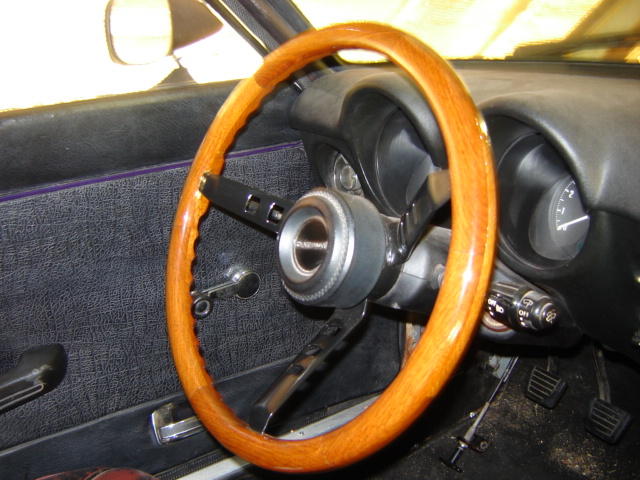
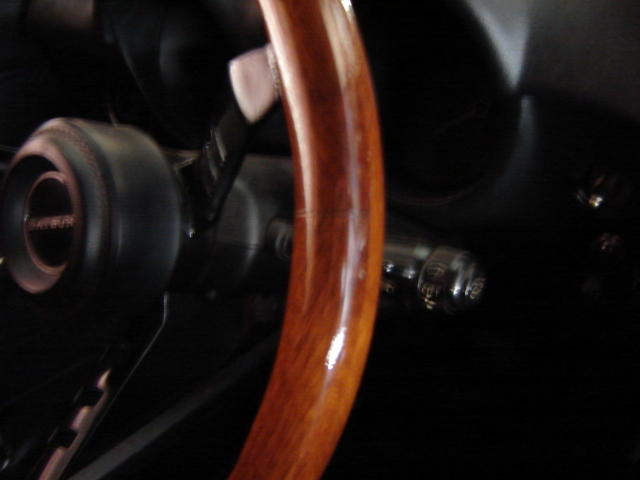
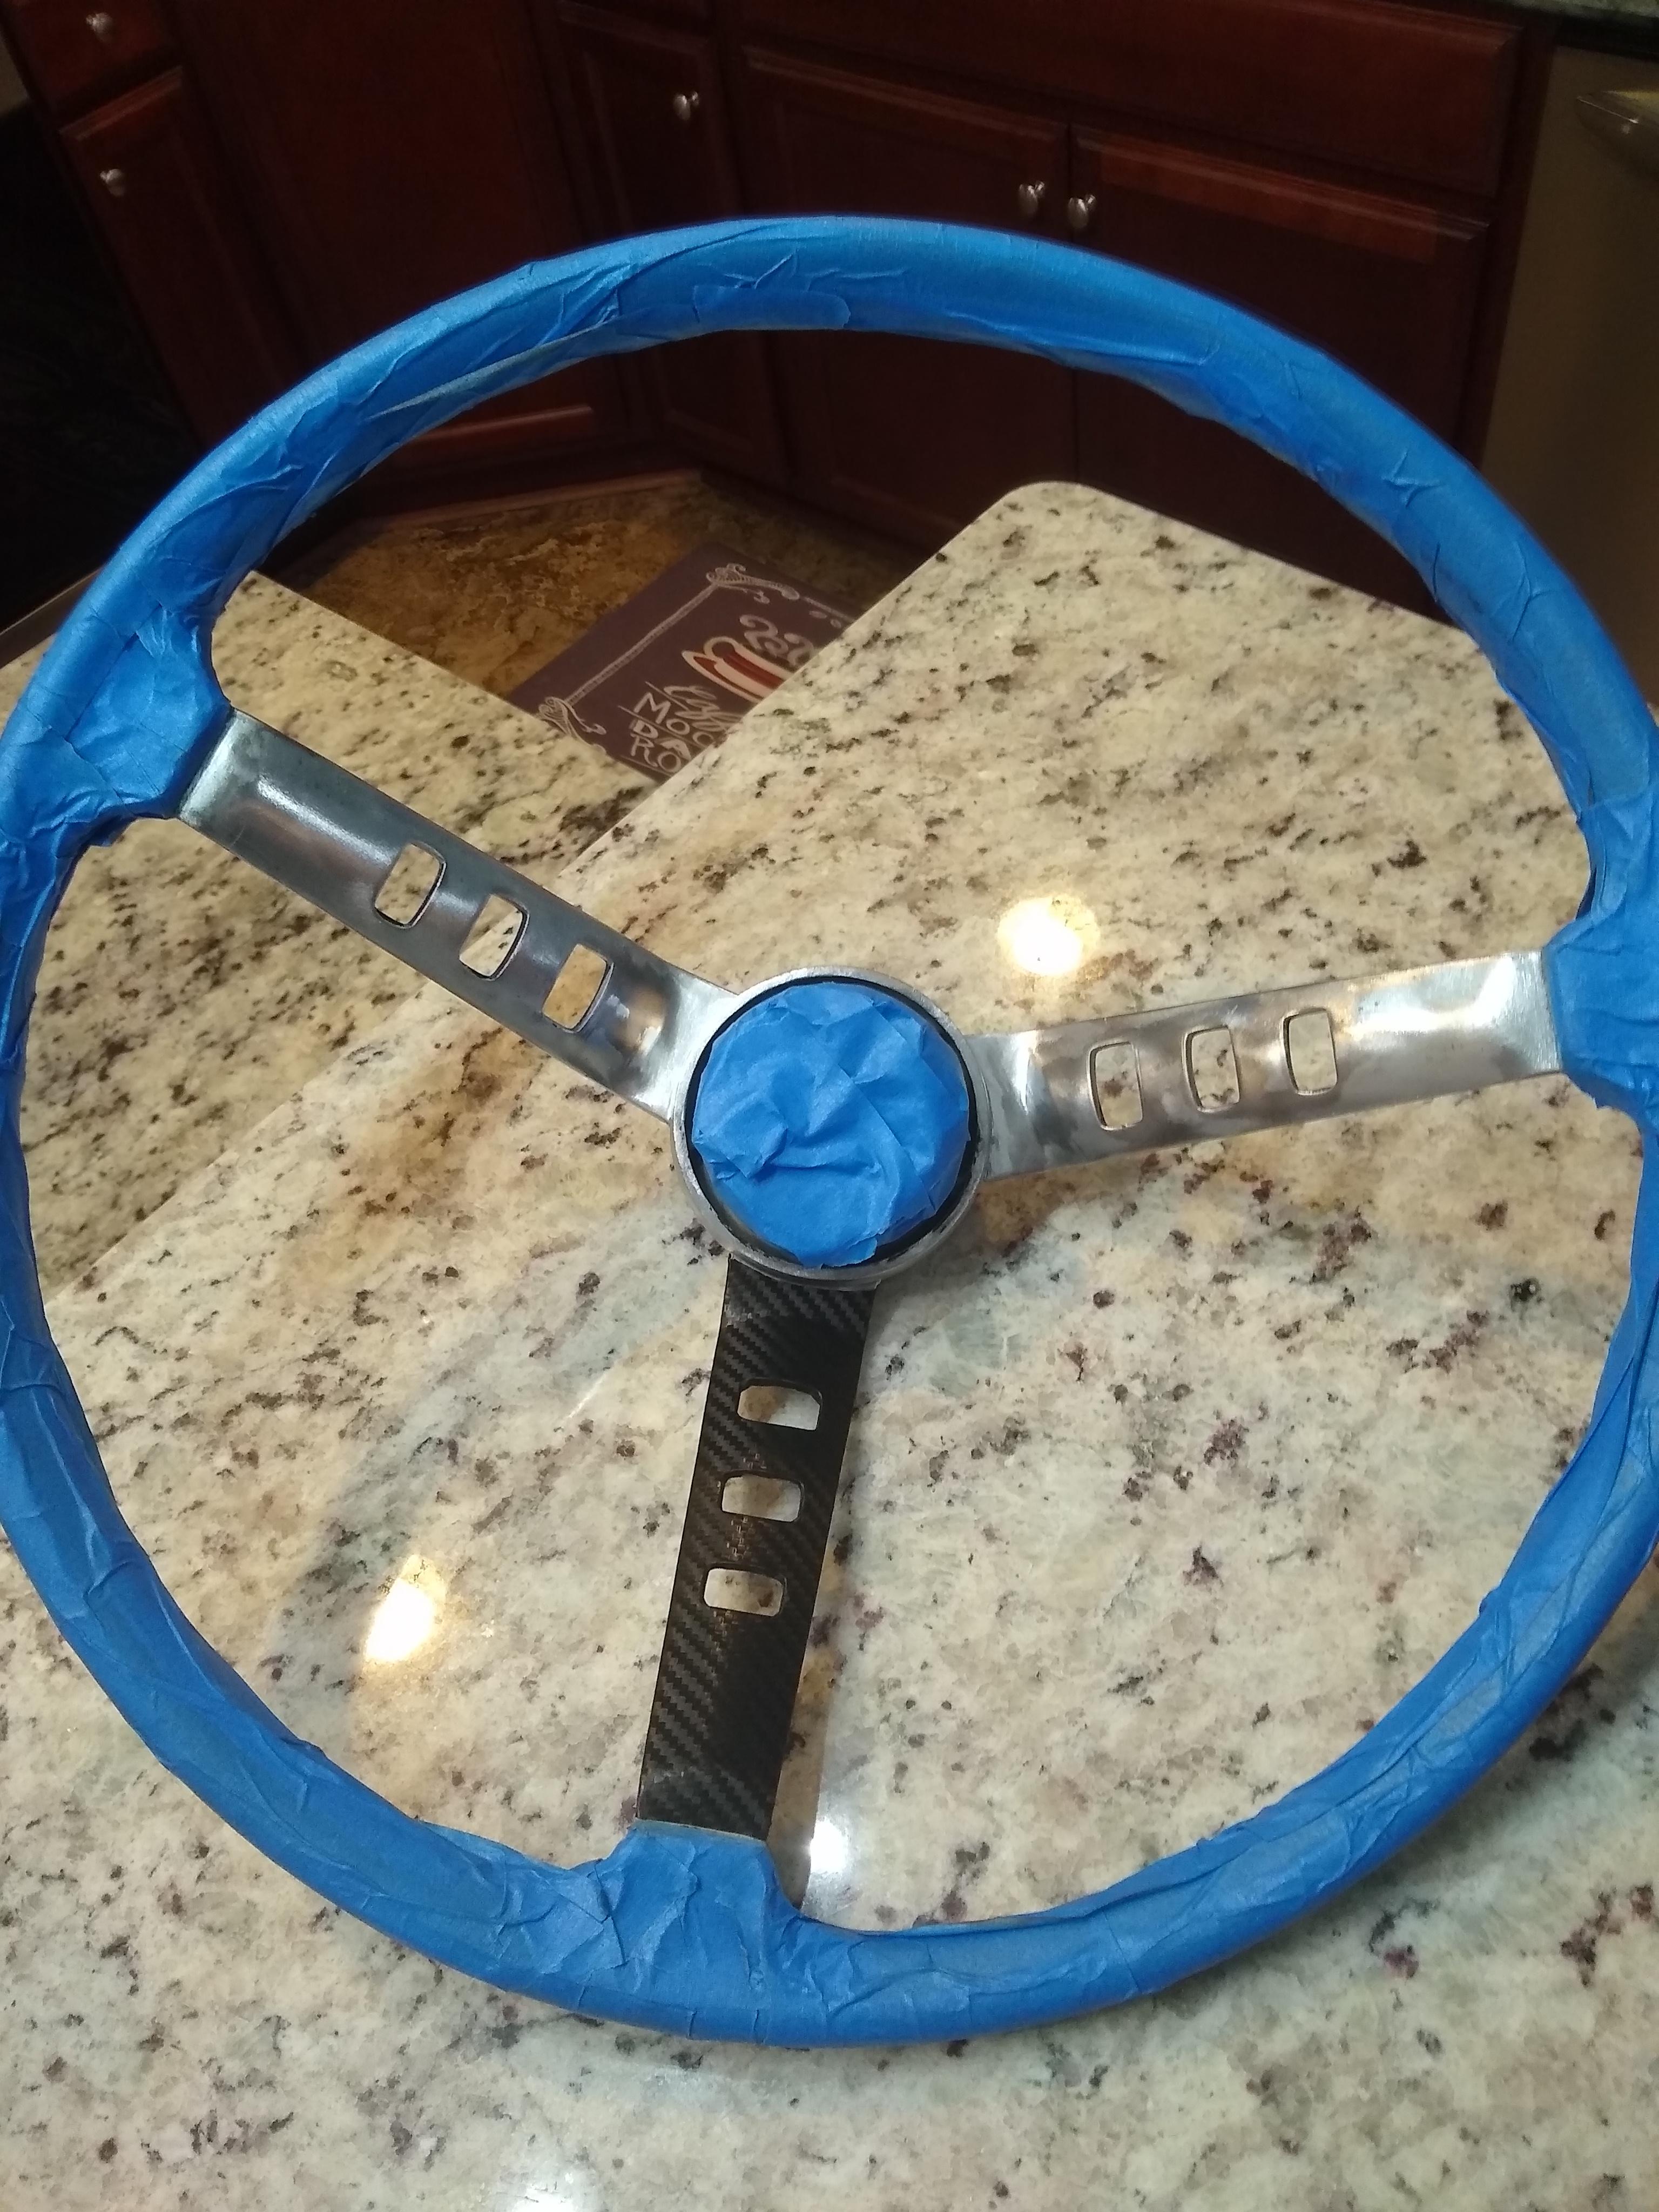
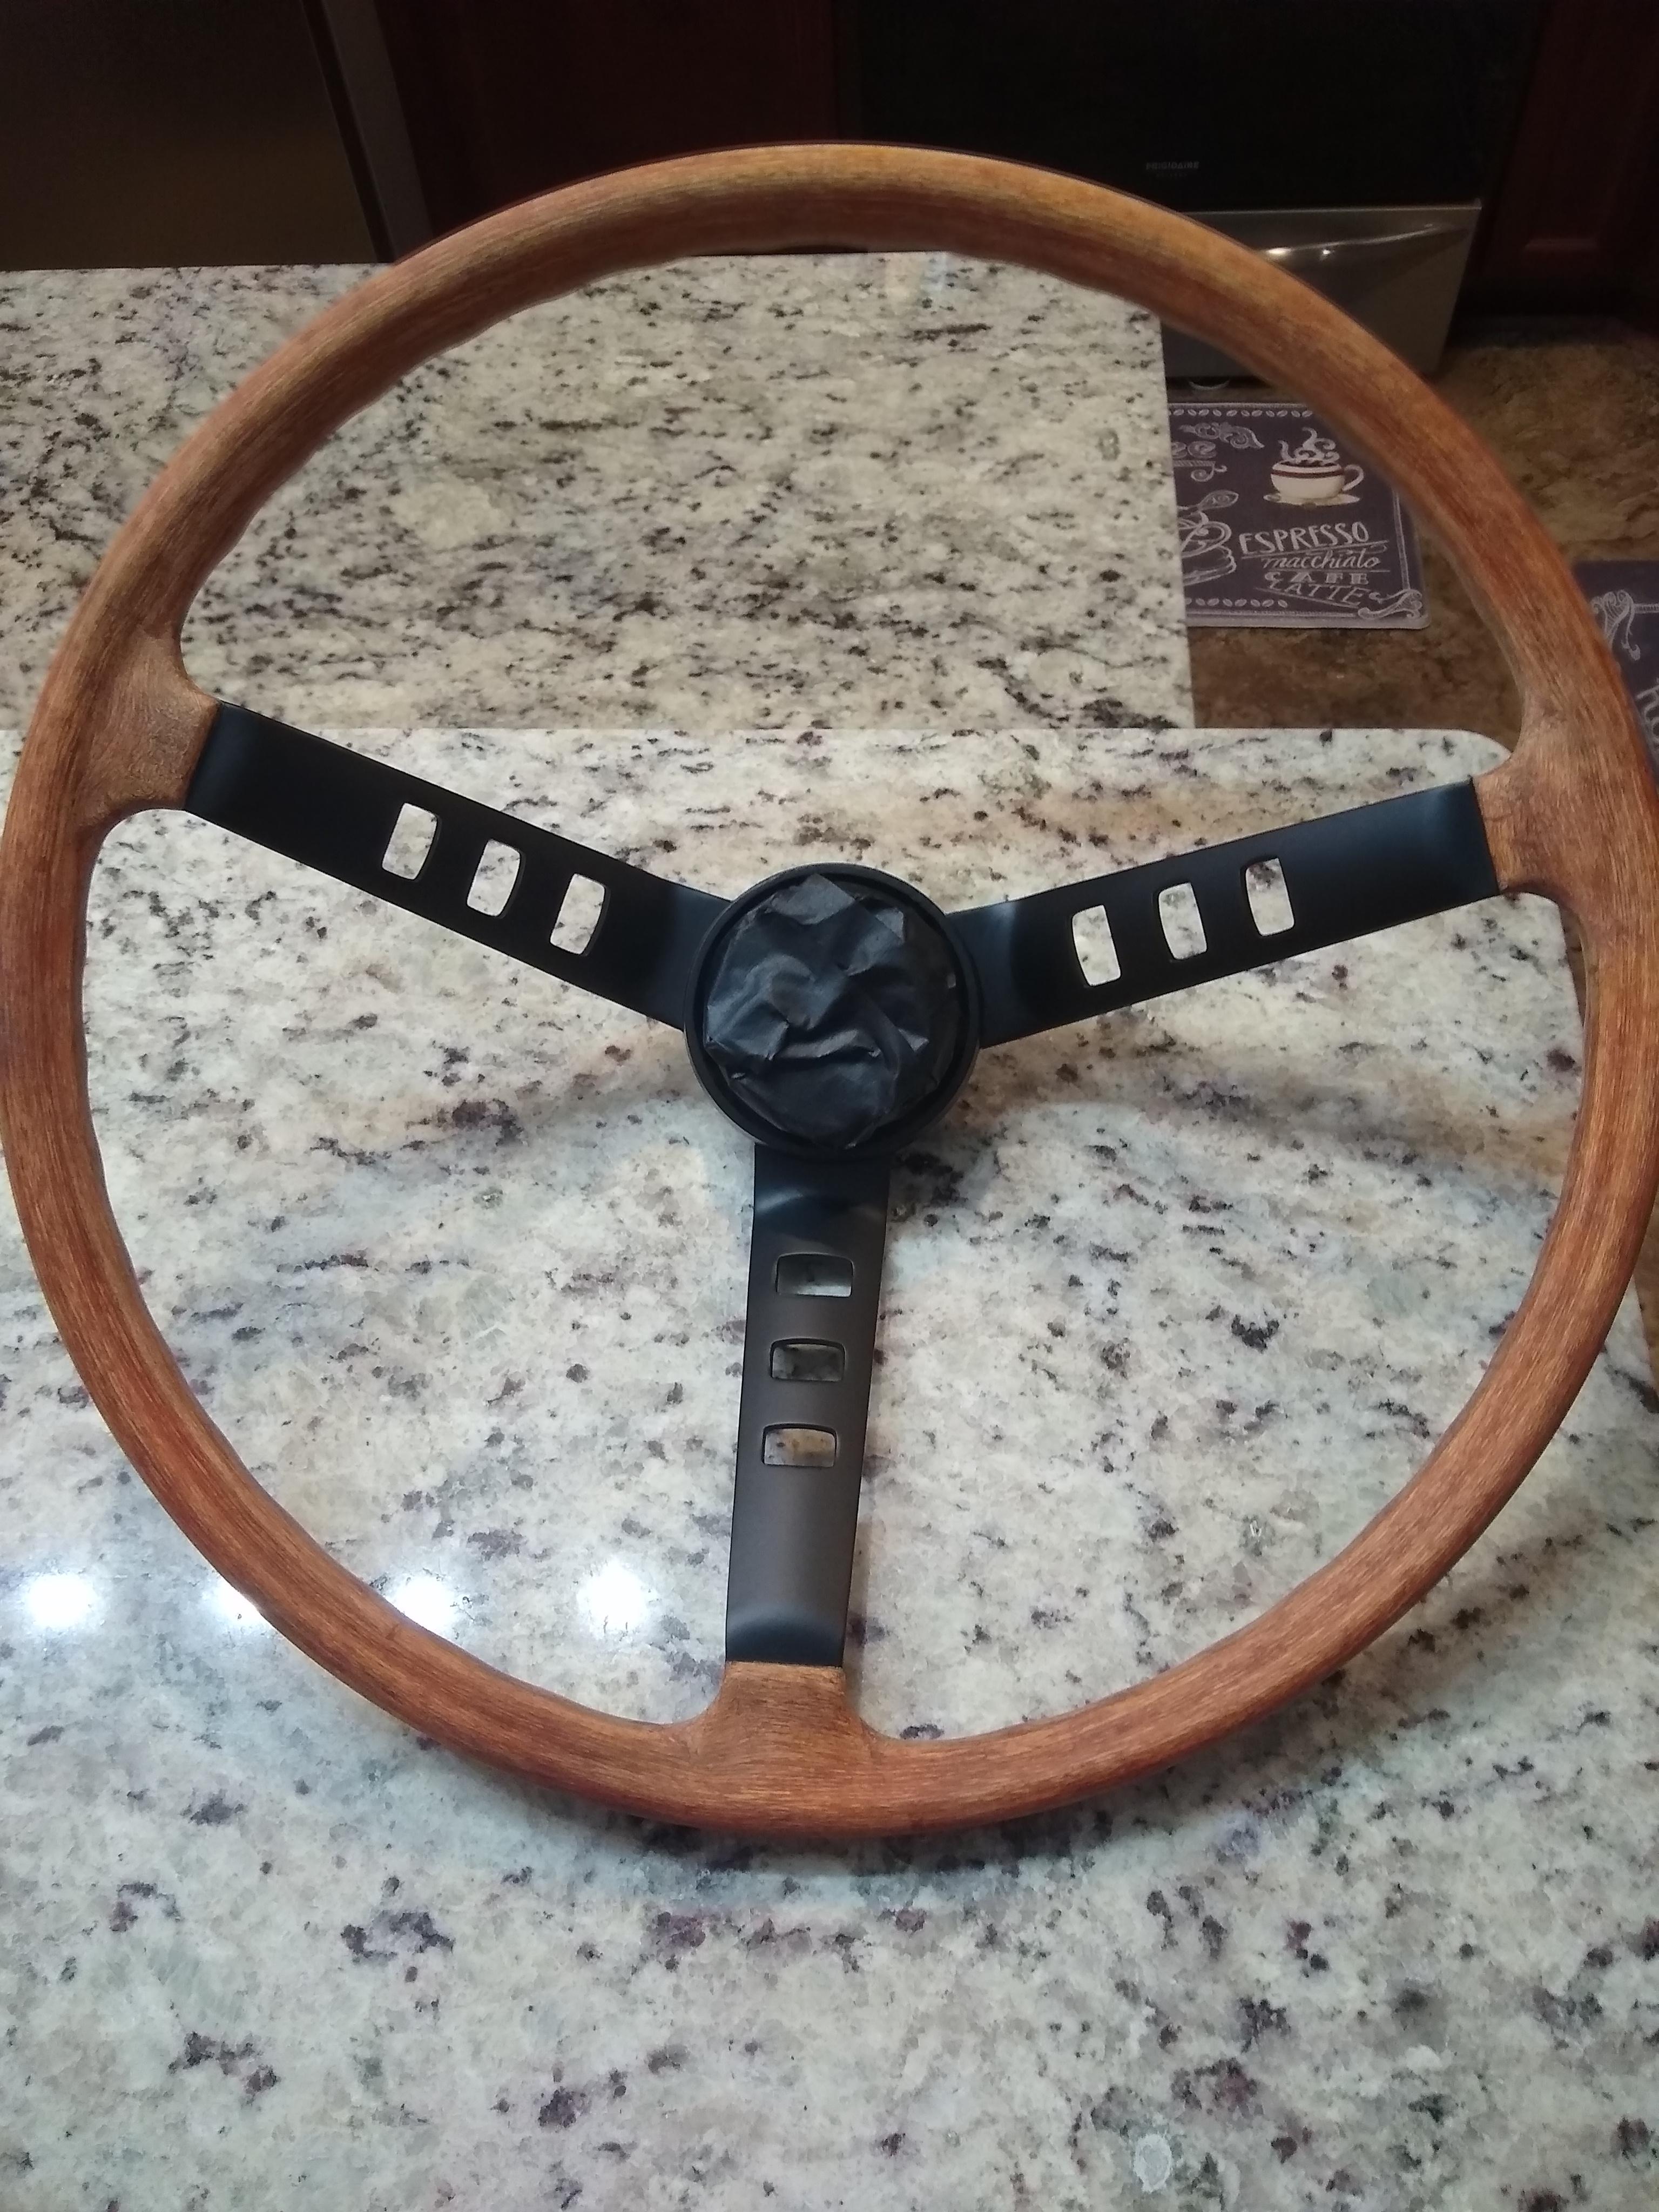
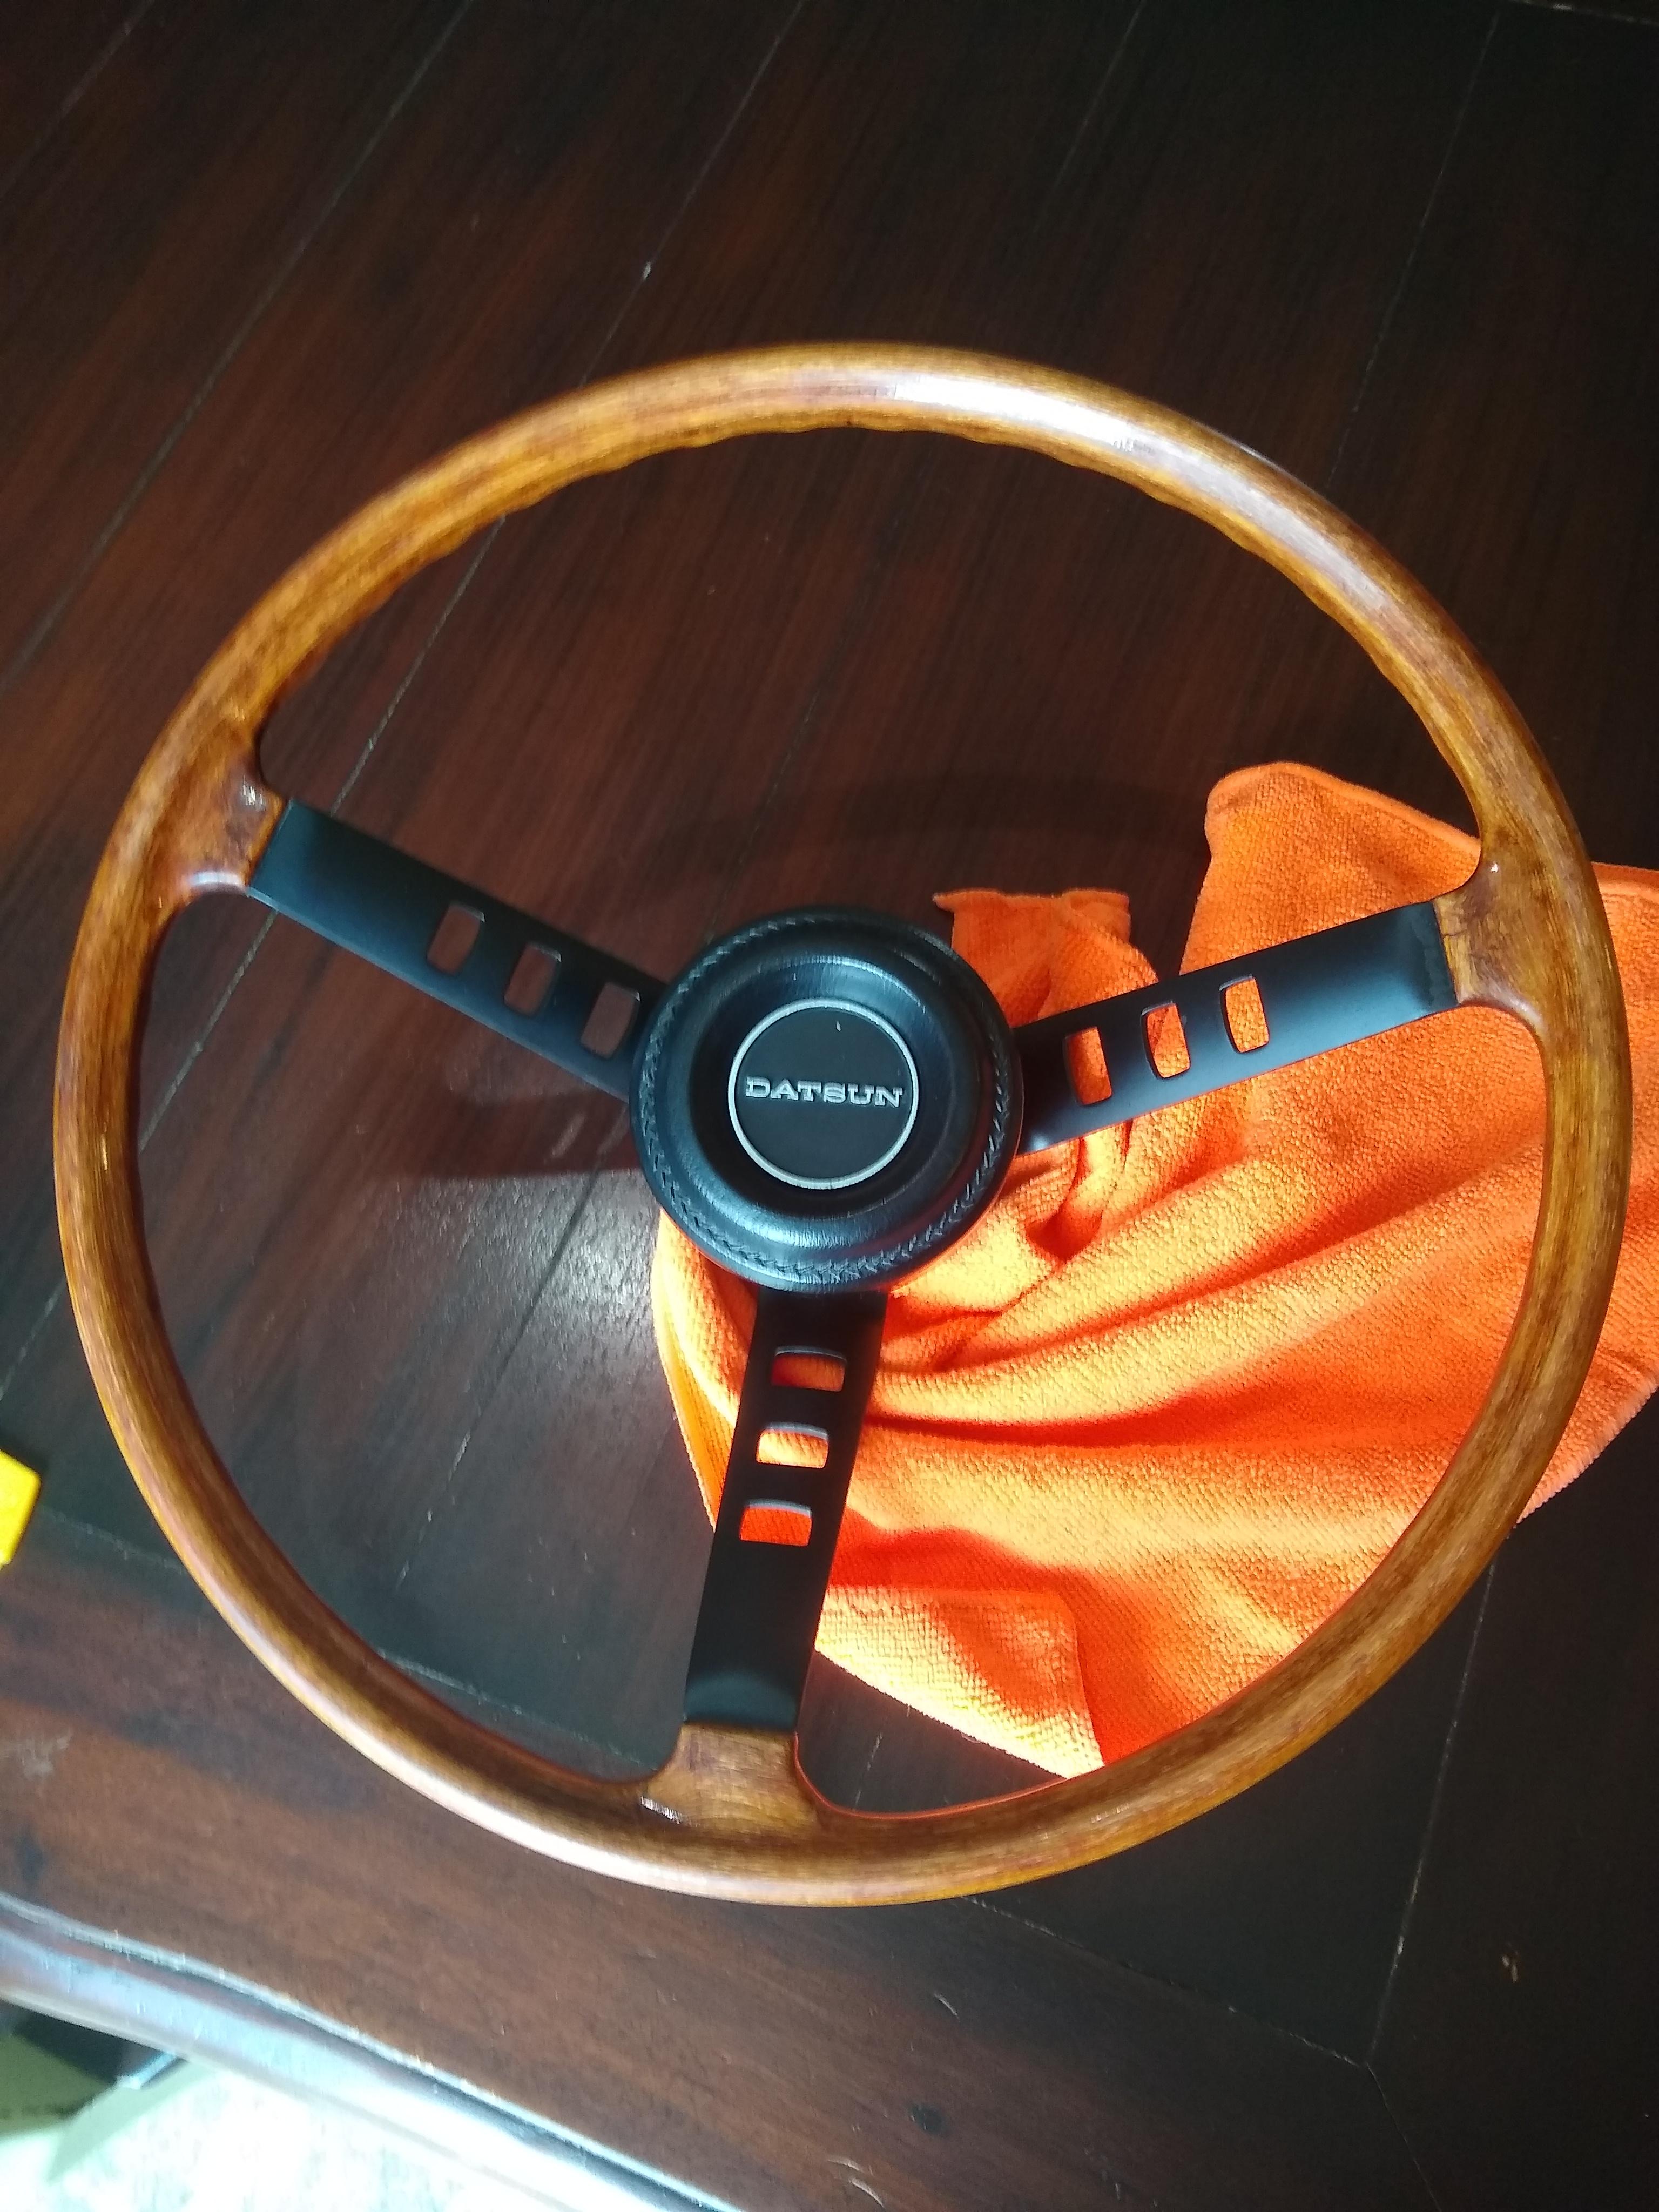
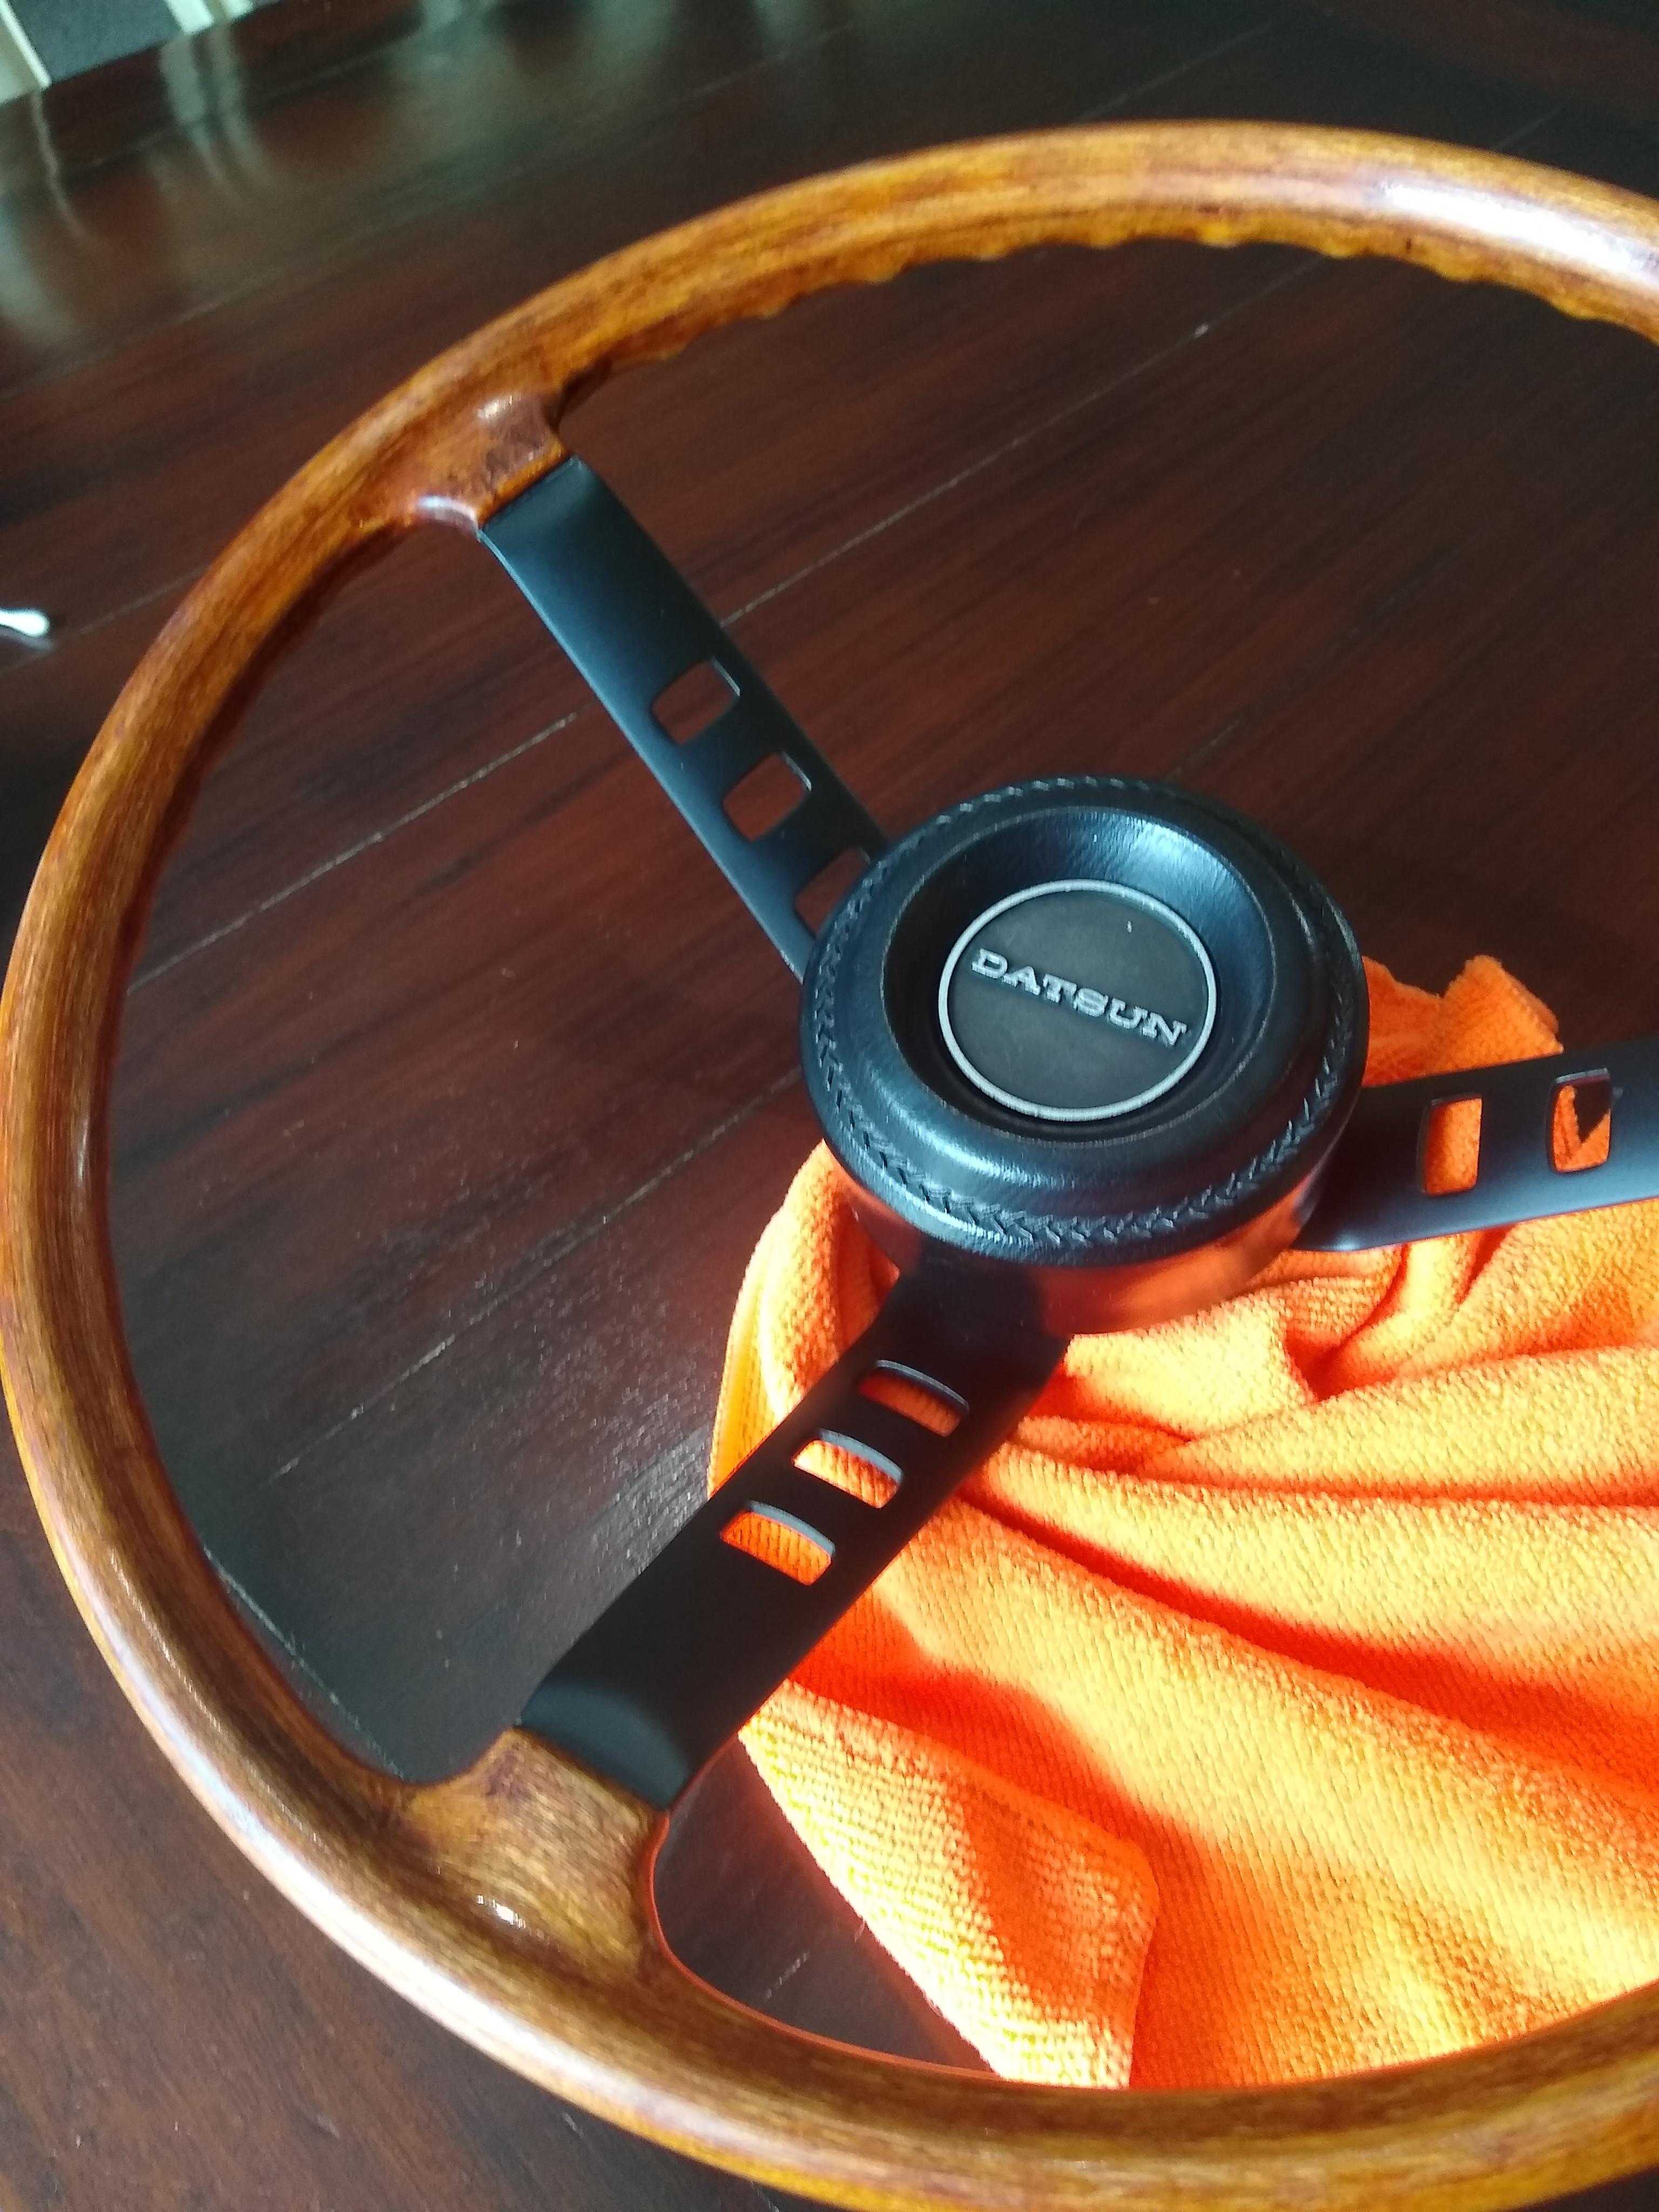
4 pointsI know this thread is a little old but I just finished my wheel and I believe it turned out pretty good and to me looks pretty close to the brechures that were posted on here. Anyways If anyone is interested in the full story behind my 71 240z I have a thread going here: https://www.zcar.com/threads/240z-worth-saving-front-end-damage.421423/


 4 points
 -
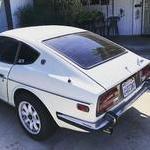
2 pointsSarah sold her 280Z a while back now. She still occasionally visits the forum, but it's a while back now.2 points
-
2 points
-
2 pointsThat stripped chassis weighs just over 500 lbs, with the front suspension and cross member attached maybe 650 tops. On a fully loaded Z using the tire changing jack that came withe car I would agree with you on the jacking points but not the way it is. Besides, those points under the T/C mount are probably the strongest areas of the subframe.2 points
-
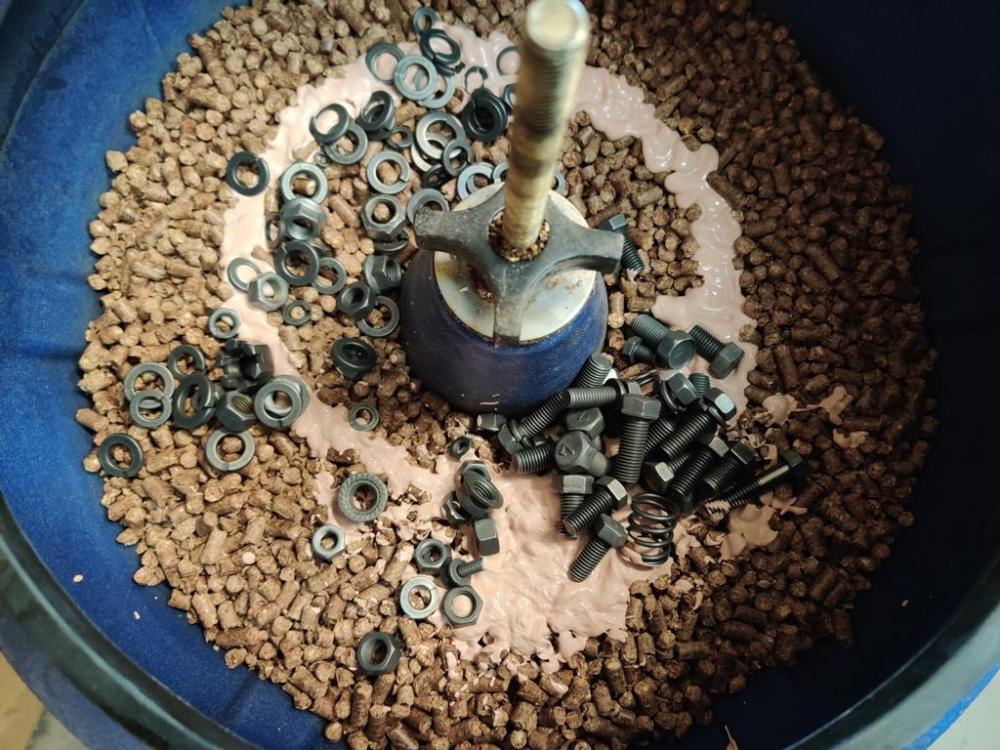
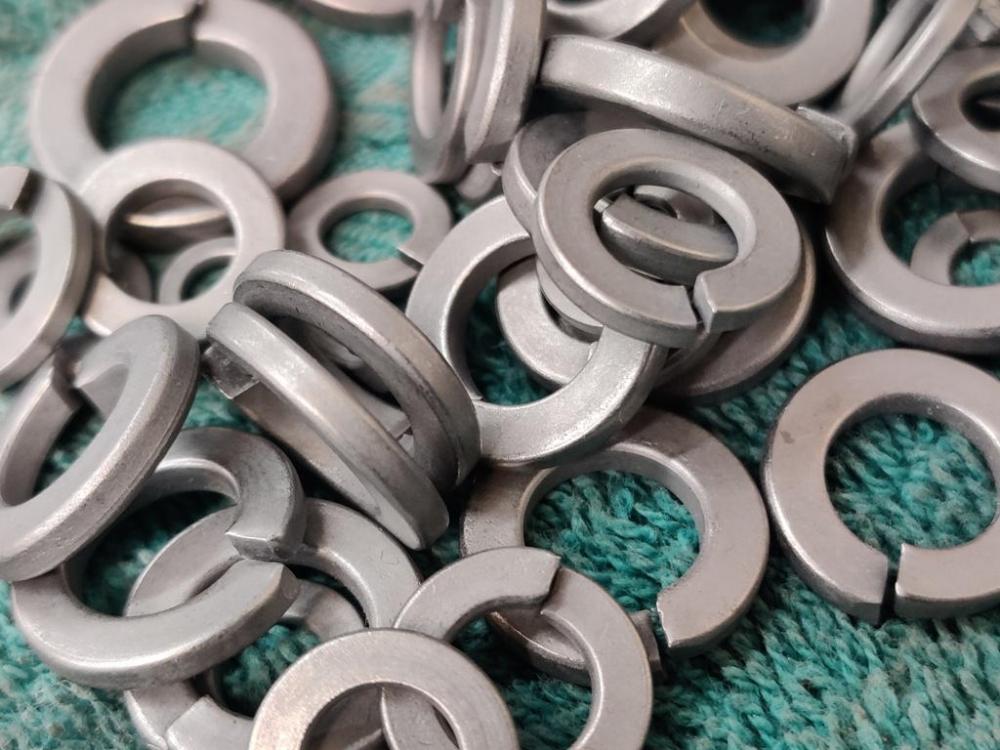
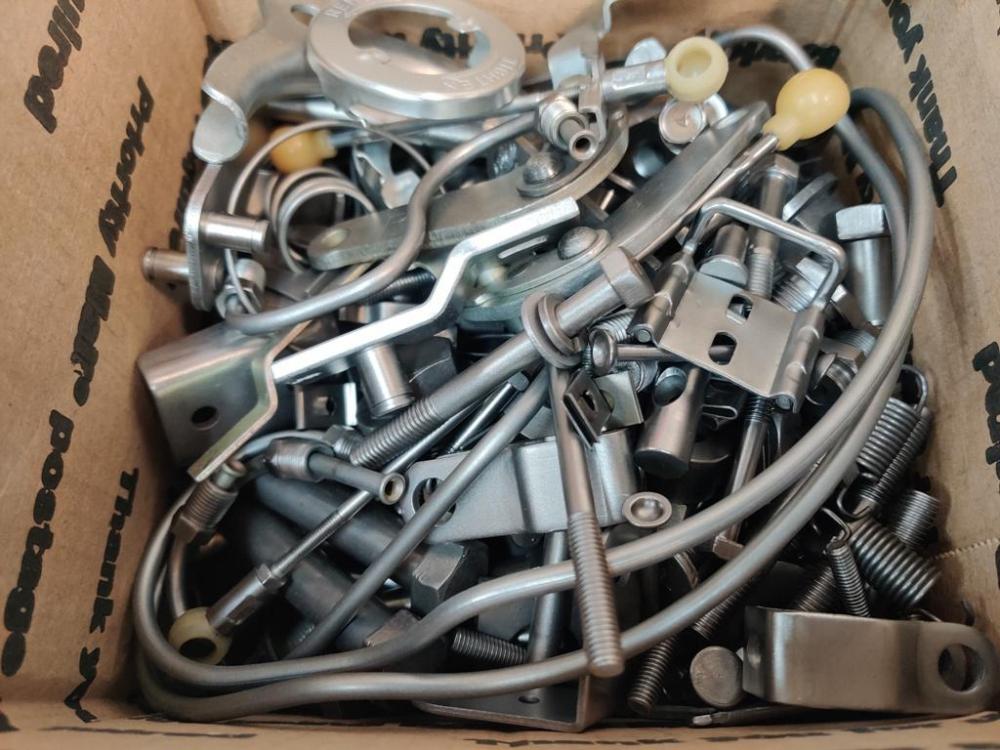
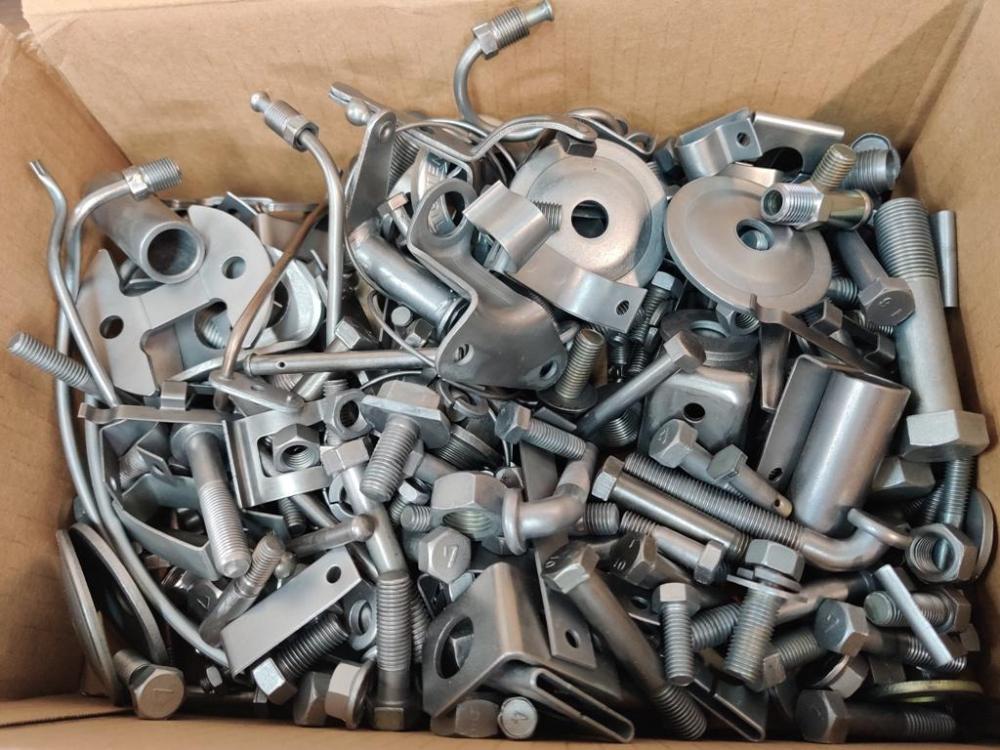
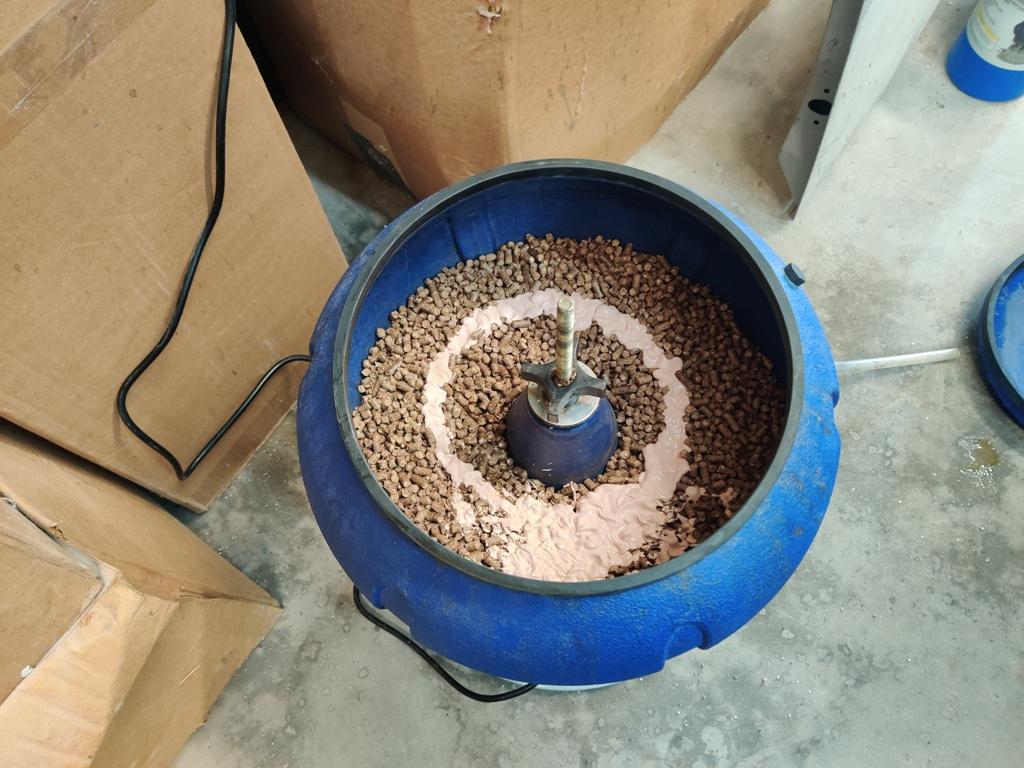
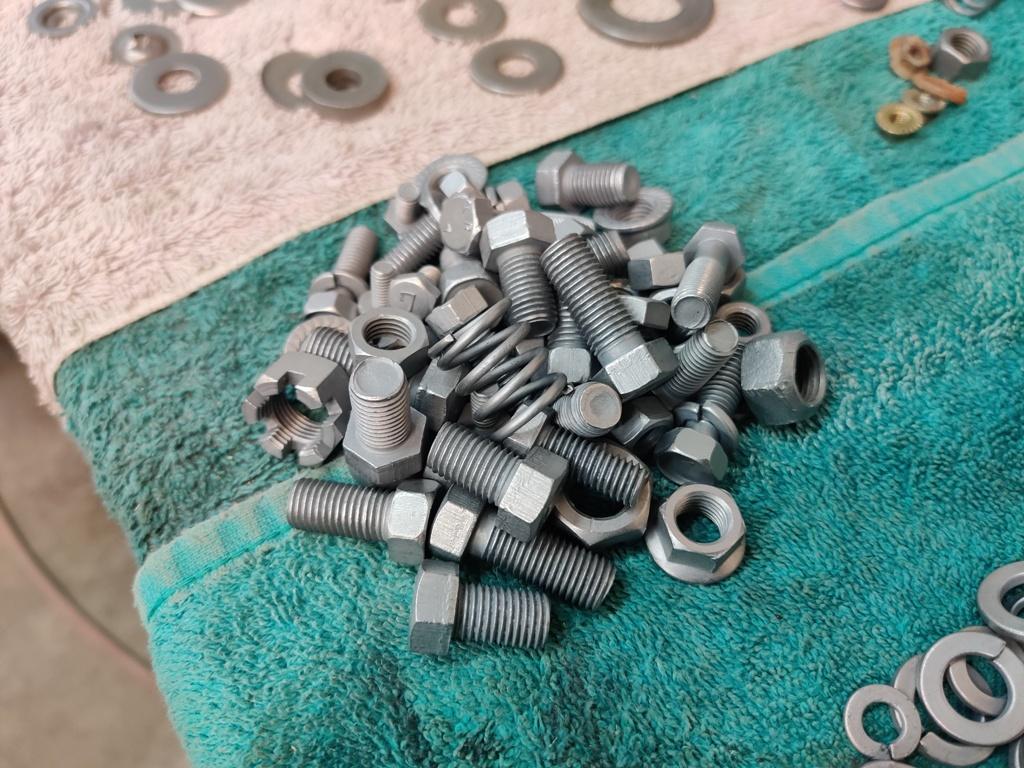
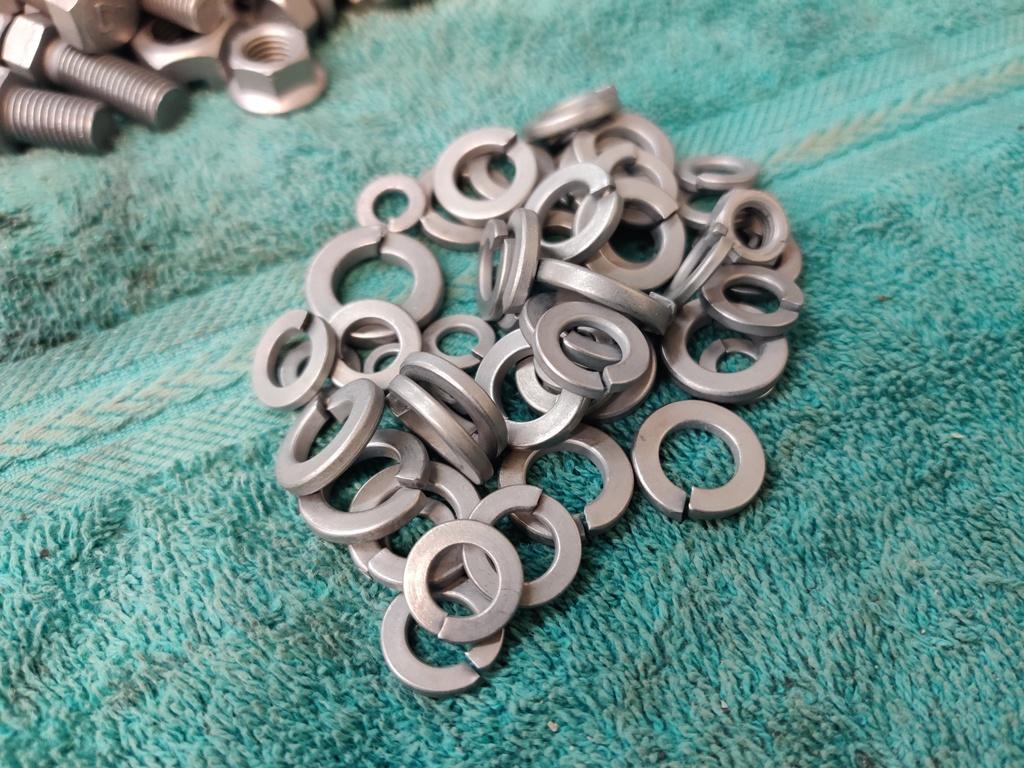
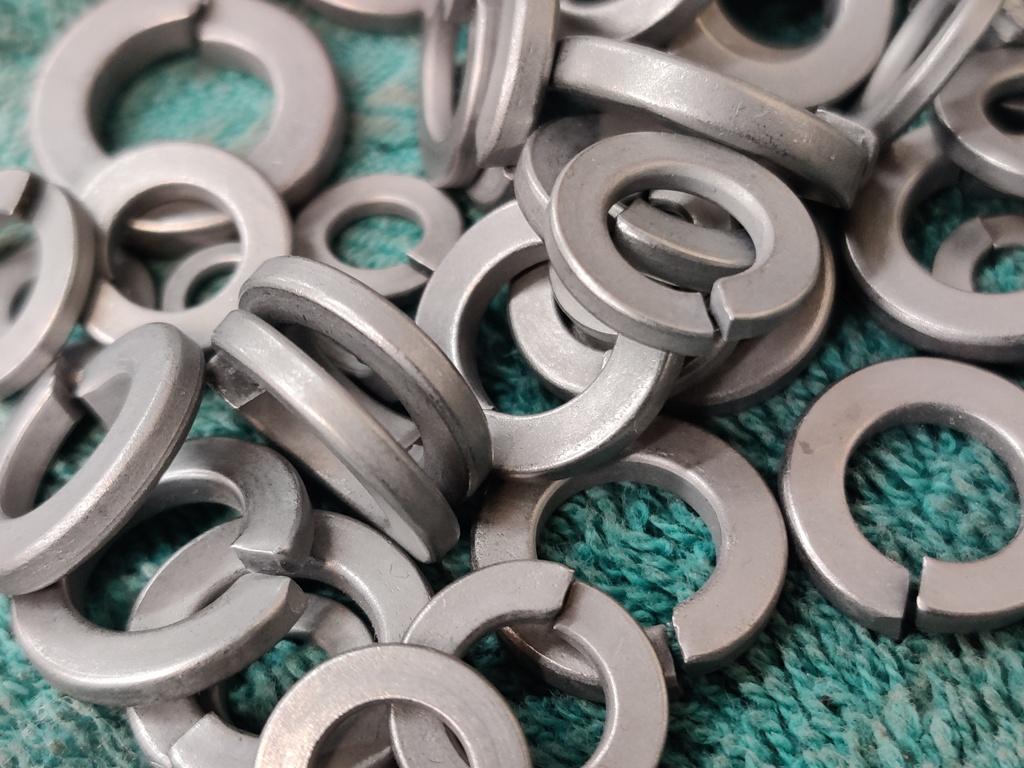
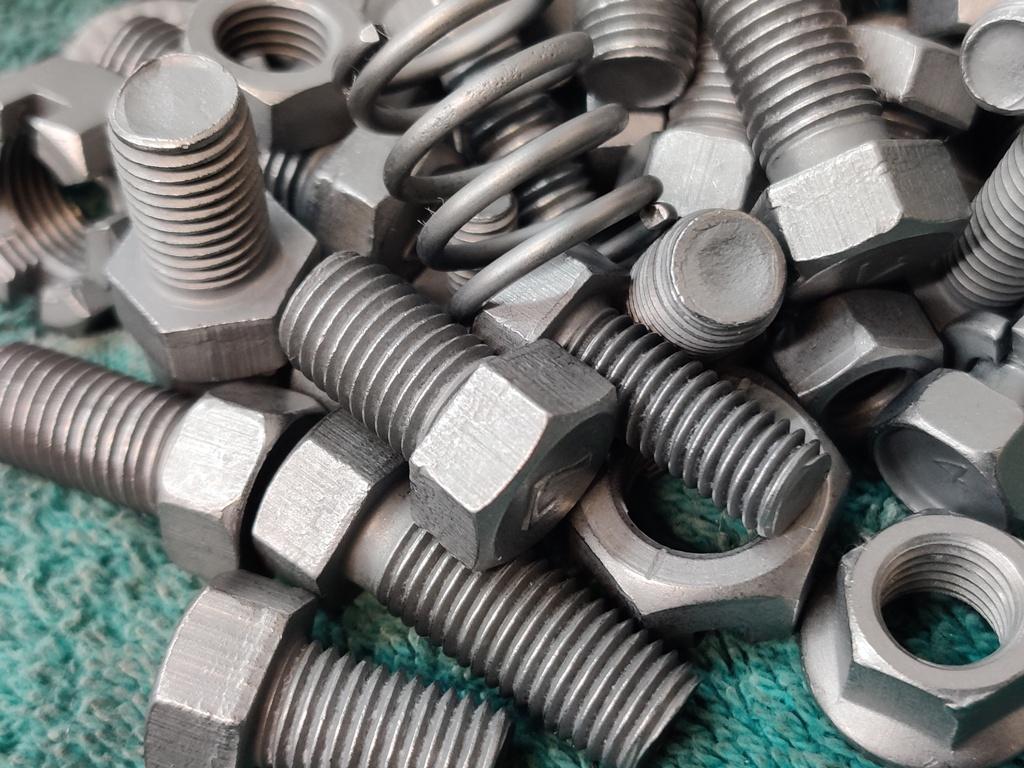
I continue to track down hardware and run it through the process of glass bead blasting, followed by vibratory tumbling with stainless steel bits. And now, I have experimented with another round of vibrator tumbling using corn cobb and Semi-Chrome metal polish. Interesting results with that last one. Some of my hardware came out of the stainless round of tumbling looking a bit dark. On the left here is a "dark" bolt after I hit it with the dremel tool and wire brush. You can see the shiny, lighter silver part. My theory is that the parts in that batch didn't move around fast enough to keep oxidation from making them dark. The right amount of water and citric acid needs to be in the tumbler or the action is "too slow" (I think). Anyway, I experimented with adding corn cobb media and metal polish, along with a bit of laquer thinner for kicks under the theory that it would tamp down the dust a bit and not cause oxidation (rust). After tumbling for a few hours, here is what the dark hardware looked like: They are notably lighter in color. Additionally I blew them off with compressed air, immersed them in a jar of laquer thinner, and blew them off with compressed air again. Close up pics: After all of that, I still ended up using the dremel and a wire brush on the bolts. I am still thinking about a solution that will polish the parts without doing each by hand with a wire wheel. But, at least the amount of time with the wire wheel is low after the other treatments. The box of hardware is getting more and more full. 🙂 Shuffled a couple of times for pics:


 2 points
 -
2 pointsVery industrial and not so good. Strange looking and influenced by the unusual guitars from Japan in the 60's. I have a few of the Japanese guitars and like them a lot.2 points
-
1 pointThe timing cover can be removed and replaced with the head on. It is tricky, but doable. It helps to drop the oil pan, but still isn’t necessary.1 point
-
No problem. I really liked the tuning capabilities of the 123ignition dizzy for the L6. You can have a tame tune for when you feel calm and want decent milage and a more “spirited tune” that you load for carving canyons or sporting around. You are correct, from memory I have the green/wht, black/white and red wire to the 123/tune+ all on one side of the ballast resistor. Nothing on the other side. The other black/wht wire goes to the coil. So yes, I connected Green/wht, one Black/wht and the Red together. Everything works as it should. Hope this helps.
 1 point
 -
I finally went ahead and got a MSD 6AL with a tach adapter. Not sure if I gained anymore power but the car is definitely a lot smoother especially in the higher rpm range and I noticed a lot less fumes.1 point
-
1 pointJust to be sure, you showed the picture of the clutch fork hitting the back of the hole in the bellhousing. Is that the problem? The 5 pages is about how the problem couldn't be solved by the normal methods, and it could only be solved by lengthening the pivot stud. But that is very unusual. You might just need the tall throwout bearing sleeve. That is the most common solution. Normal.1 point
-
1 point
-
1 pointMine sits at about ~10.3 with the choke on to warm up, 12 on idle after warming up, 14.5-14.8 on load ~3k RPM, 14.7-14.9 @ 80-100MPH, cant get it over 100 it pops out of gear 😞 Running SM needles on a 4screw SU.1 point
-
1 point1 point1 point@Jughead Makes me wonder if you could cover your with some strong tape to seal it and see if the helps?
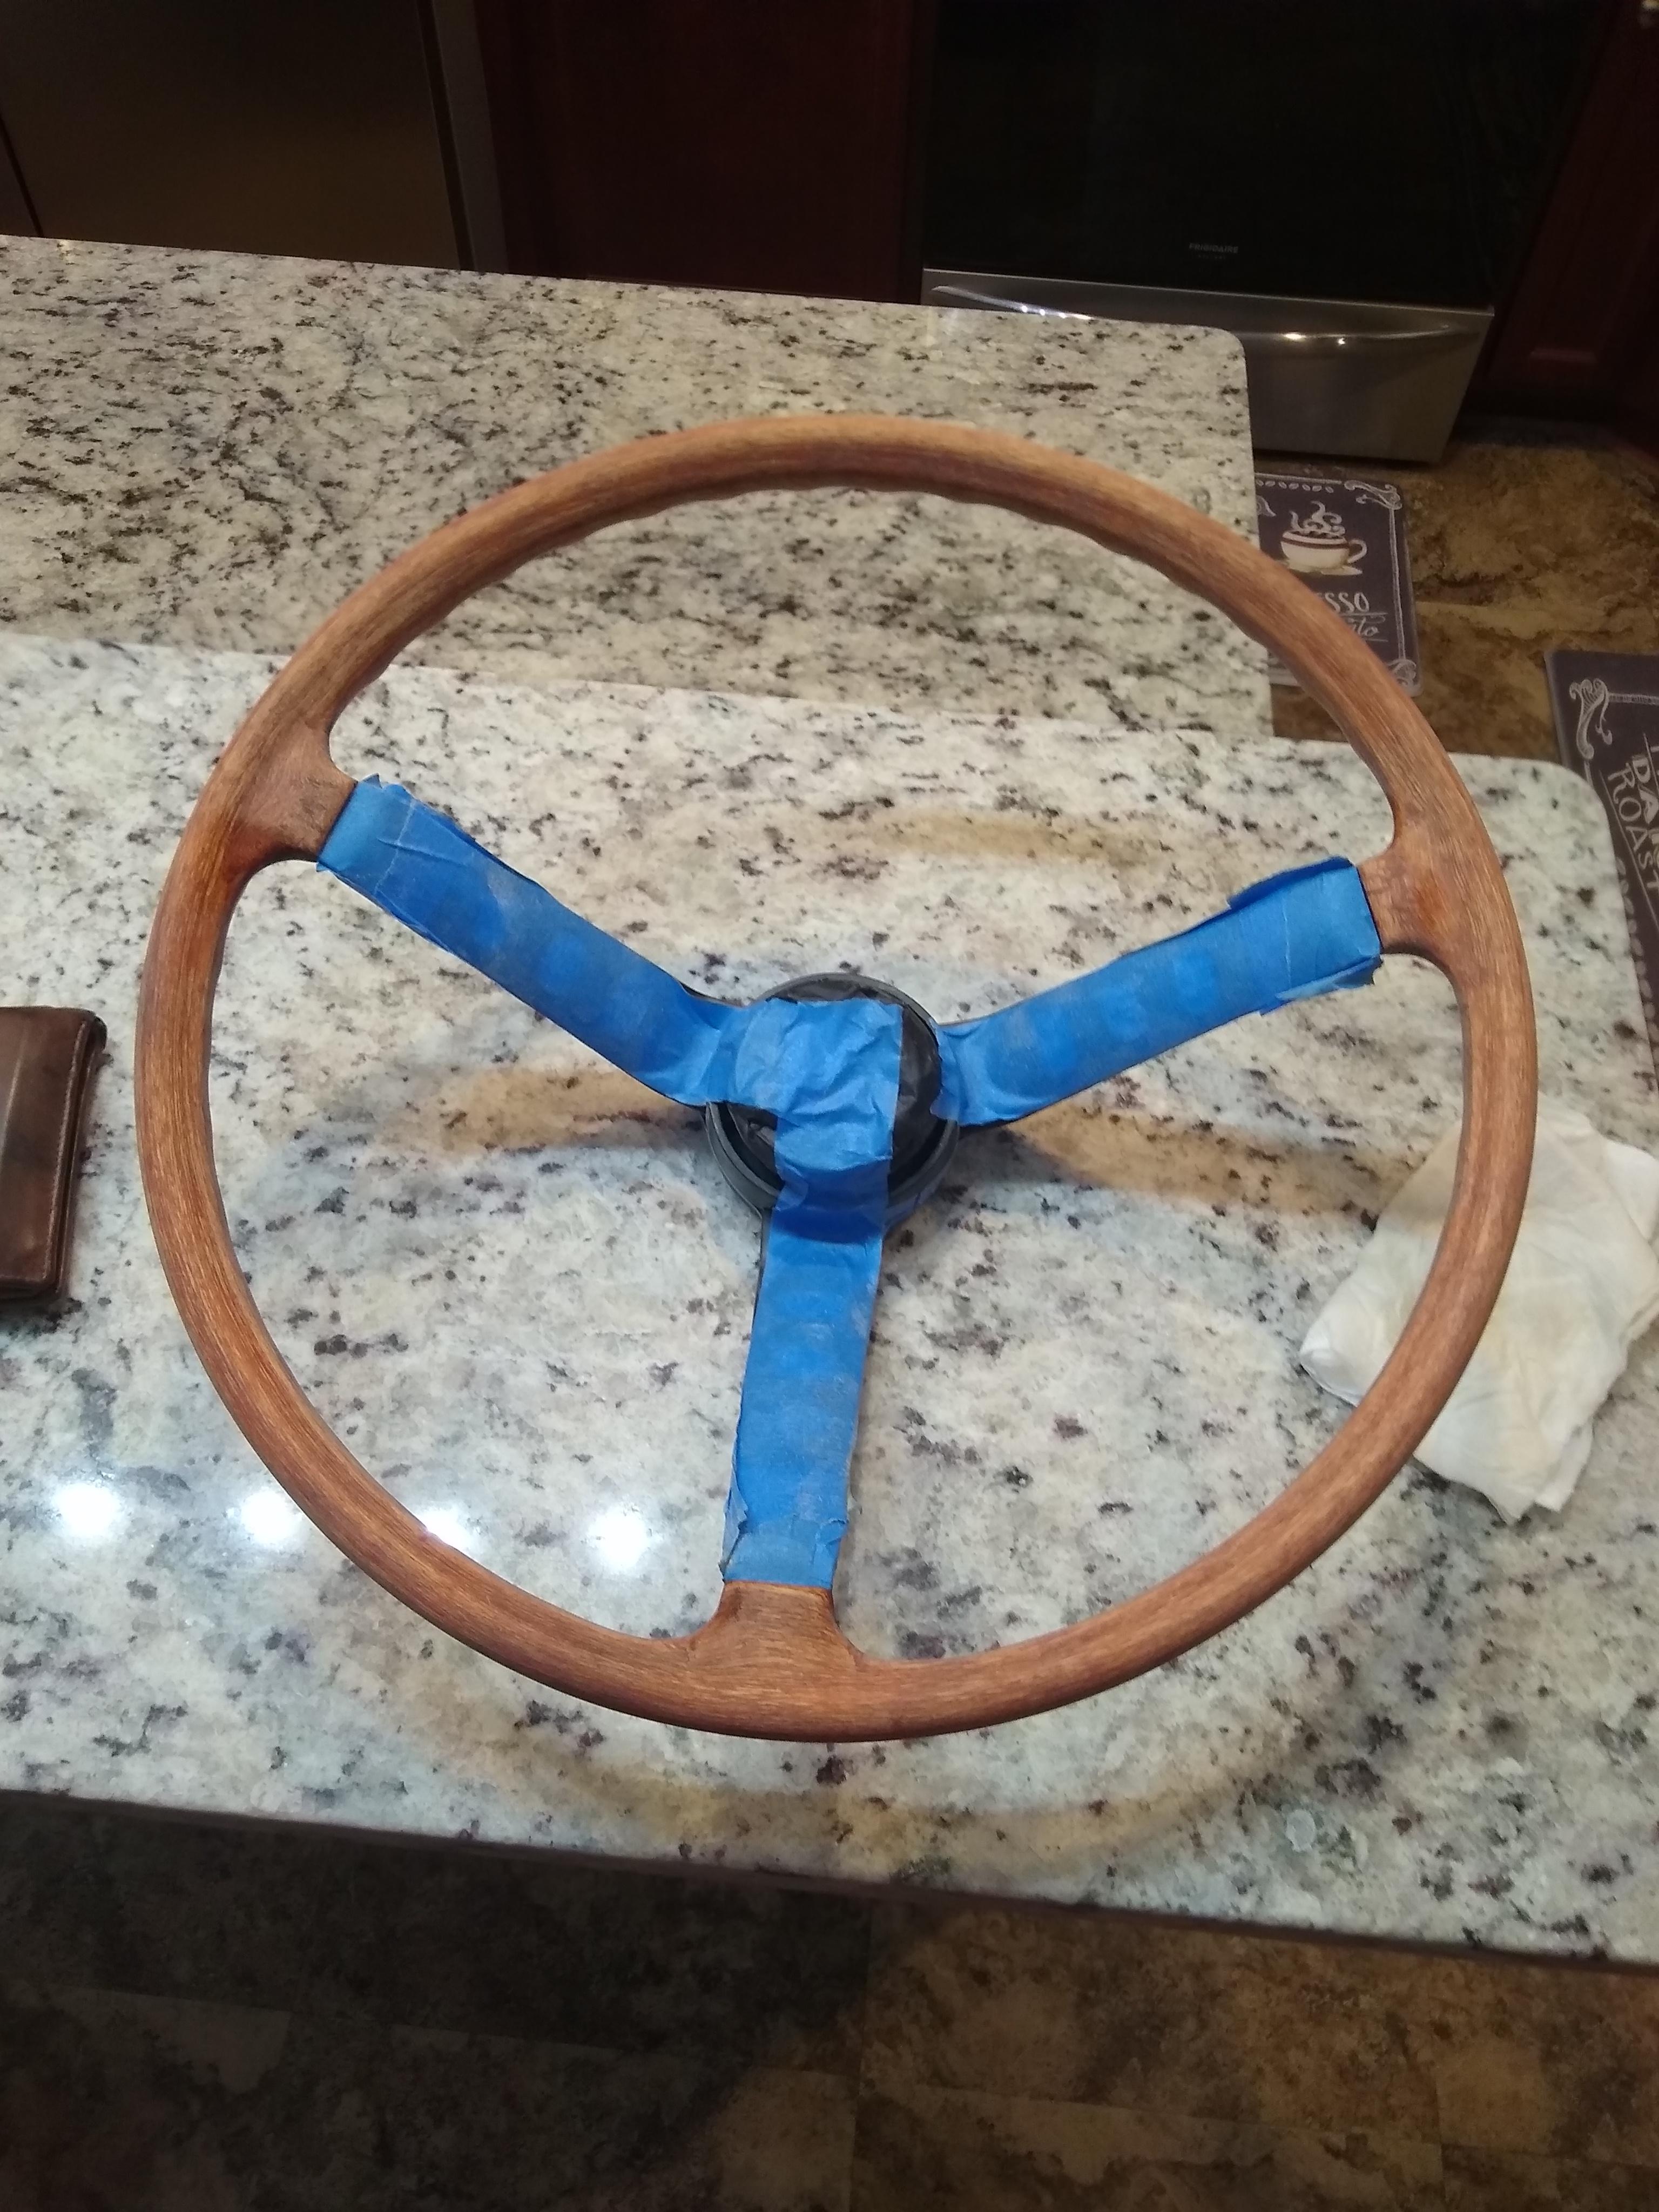
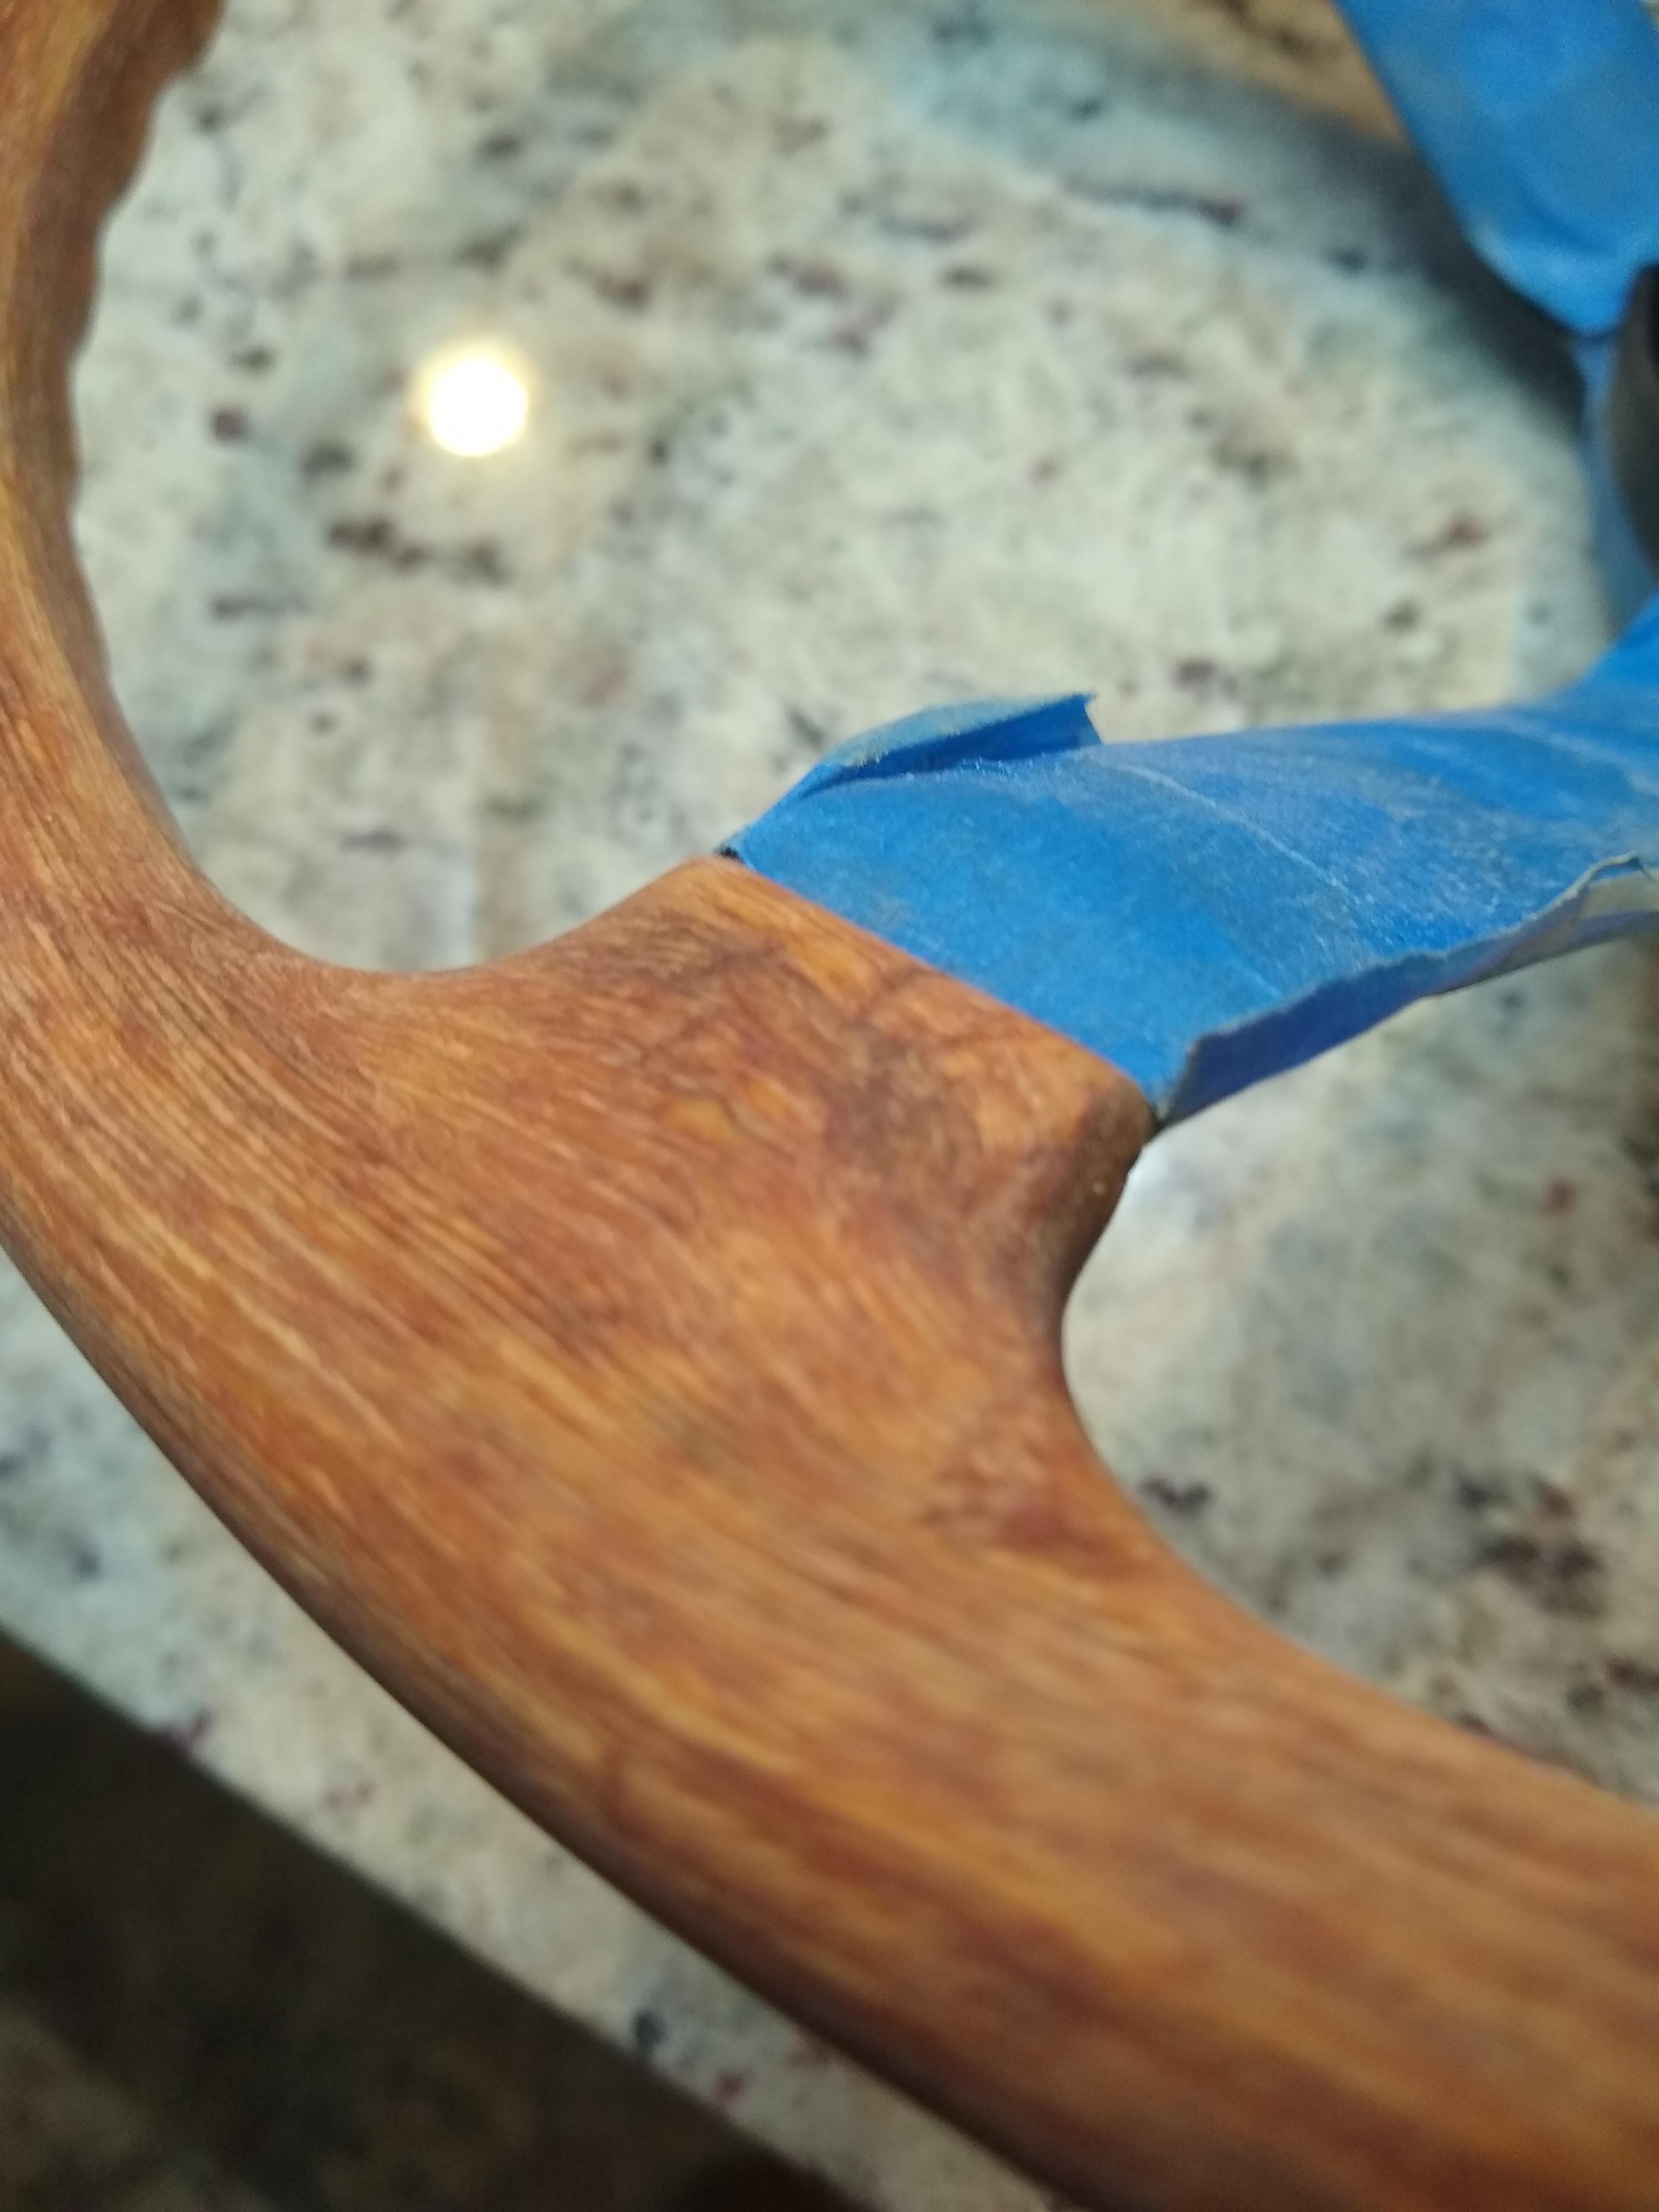
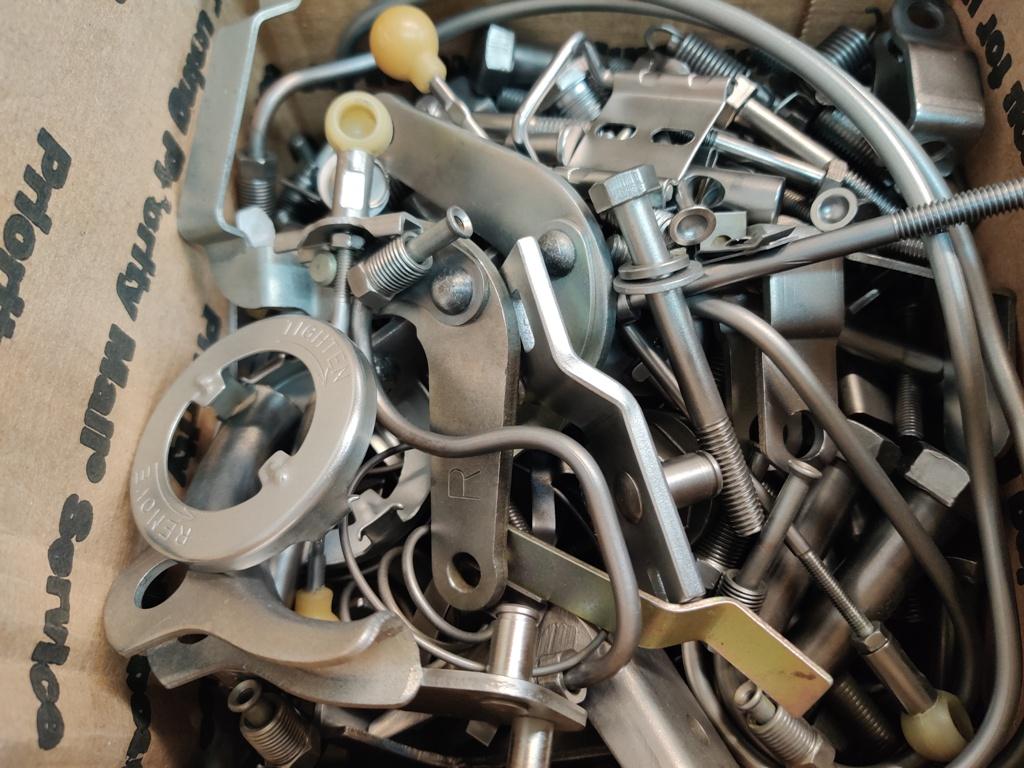
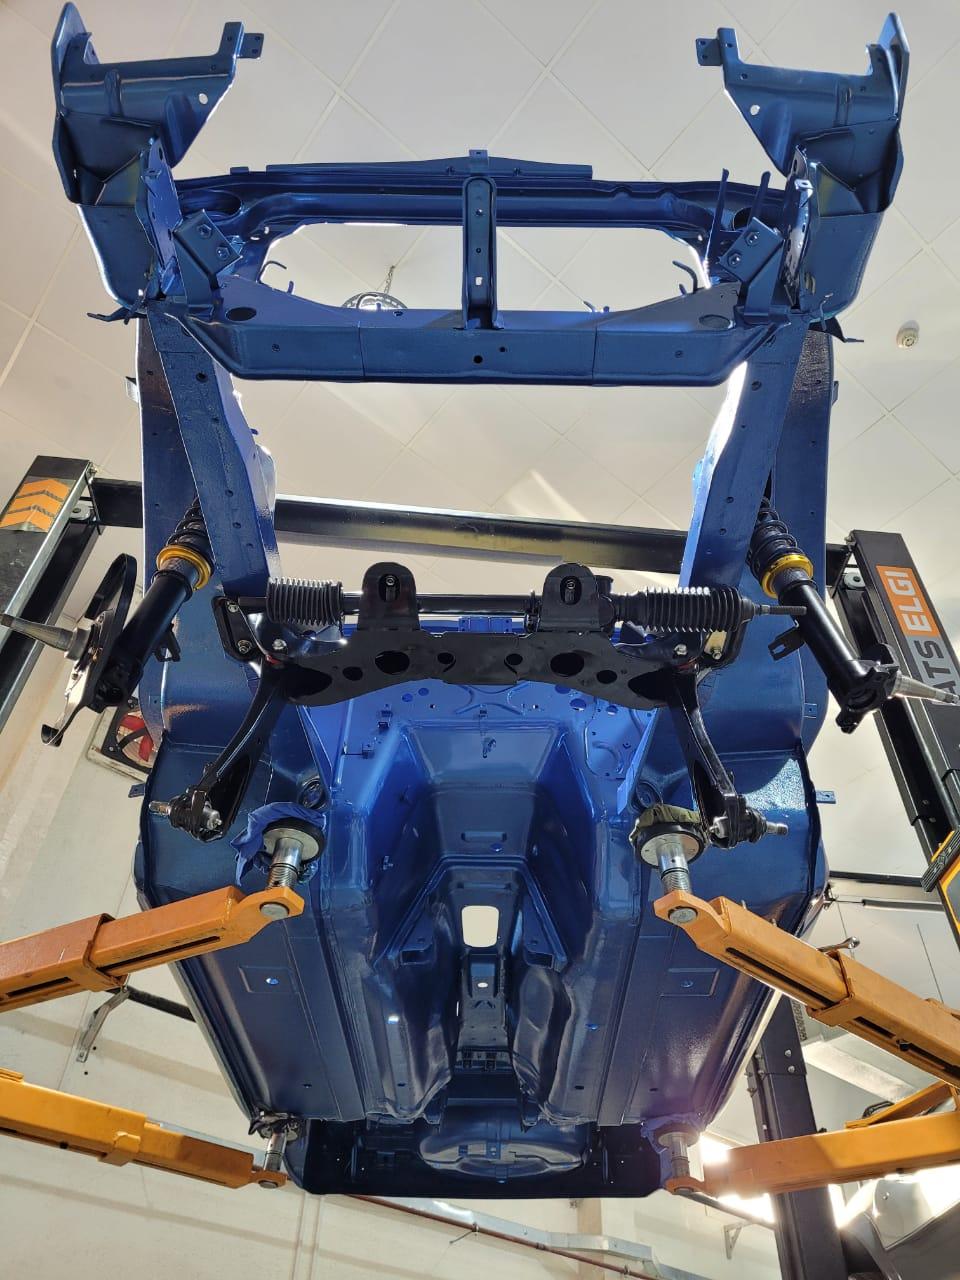
 1 point1 pointAnother simpler option would be to simply disconnect the oil pressure sender connector and let it hang. The fuel pump will run any time the key is ON.. Of course, the oil pressure gauge won't work with that connector off, but for the trip to AZ, it would be OK.1 point1 pointOh, and I took a quick look at the wiring diagram for the 78. There are two relays up in the engine compartment that deal with the fuel pump. The "fuel pump control relay" (which has five wires) and the "fuel pump relay" which has four. If you pull the connector completely off the relay with five wires, there should be two W/B wires leading into the connector. Short those two W/B wires together and it disables the interlocking. The fuel pump should run any time the key is in the ON position. Let it hanging off the relay with just those two wires shorted together and put some tape on it? As a quick alternative, that might get you through the time crunch? However, I just took a quick look... If you're going to do this mod, let me know beforehand and I'll look into it a little more thoroughly.1 point1 pointYes, when the check valve is working, then everything after the pump stays full of fuel and pressurized. Supply line from pump the engine bay, filter, rail, injectors... Everything between the pump and the pressure regulator. And yes, if you put the check valve up in the engine compartment, then you will not have pressure in the line between the pump and the engine bay, but everything else should be pressurized. I'm not sure the problem is the pump losing prime. I've found that if you disconnect the supply line to the pump, fuel comes out. Implication being that the pump is gravity primed. I'm thinking that maybe the fuel is "siphoning" out of the rail somehow to achieve an equilibrium point where everything is even. That point may not be as low as the pump, but it might be lower than the rail. If that's the case, you would have to run the pump to refill the rail, but the pump itself has not lost prime. In other words, I'm thinking that the check valve does two things: 1) It keeps everything pressurized 2) It prevents "backflow" through the system that would allow the rail to drain from gravity? Just a theory.1 point1 pointI put O-rings on the shafts. I'm sure it's not as good as installing completely new unworn shafts, but it's something I can do here with the machines I have.1 point1 pointAt first you did this: And then desided to go original! Yep i like your wheel! You've done a good job on it! 👍1 point1 point1 pointThis might fit the bill, i dont need 5 of them though. https://www.amazon.com/mxuteuk-Waterproof-Push-Button-Motorcycle-MXU-kp-107/dp/B07Z4BDXLX/ref=sr_1_20?dchild=1&keywords=push+button+toggle+switch&qid=1614673411&sr=8-20#customerReviews1 pointHow’s the flywheel look? https://www.racetep.com/engine-building/flywheel-lightening.html 👀1 point1 pointThank you guys 🙏 I cannot lie it's extremely convenient to have a workshop and a team of pro to support on most of it, but I obviously enjoy very much getting my hands dirty whenever I can (also a matter of insurance with the garage). I am not as OG as many of you here, but it reminds me of my teenage years when swapping engines with couple of friends, on a 205 GTI (1.6L -> 1.9L -> 1.9L with turbo -> MI16 from 405 -> Turbo16 from 405), within a weekend to avoid the parents finding out... Good old days ! On the Z, I am mostly taking care of the project management for the tasks organization and planning, the procurement for all the parts to ensure the build is hitting as less down time as possible, and I obviously select the parts, colors, style and so on... It started on the 3rd of October 2020 when we dismantled everything, let's see when we have the engine running smoothly... Few more picture from yesterday: WE HAVE A LIFT OFF ! (rotisserie is gone)
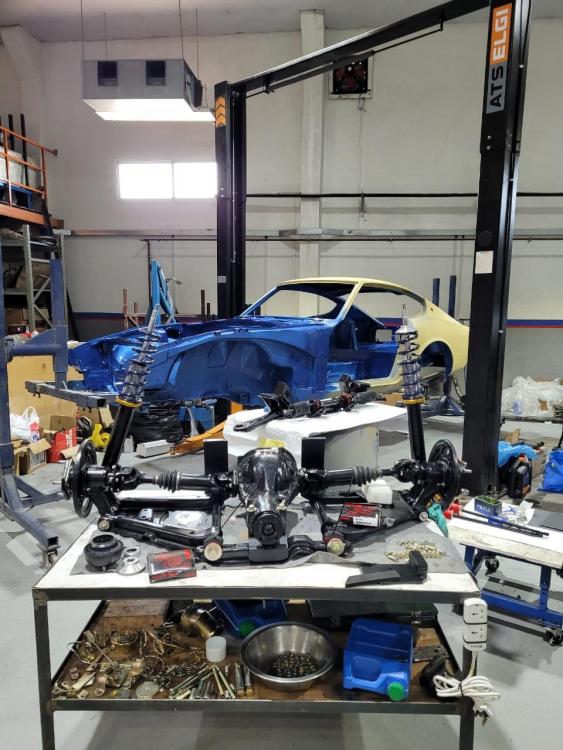

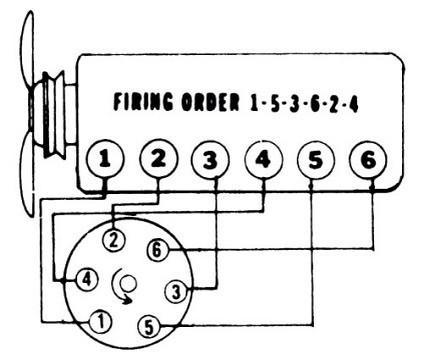
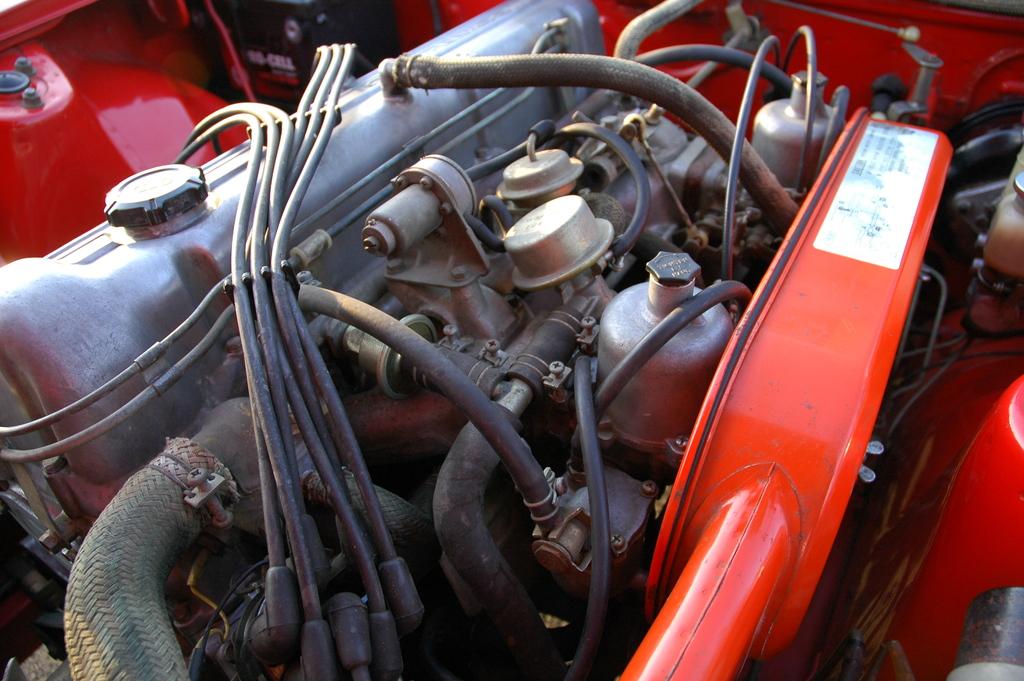
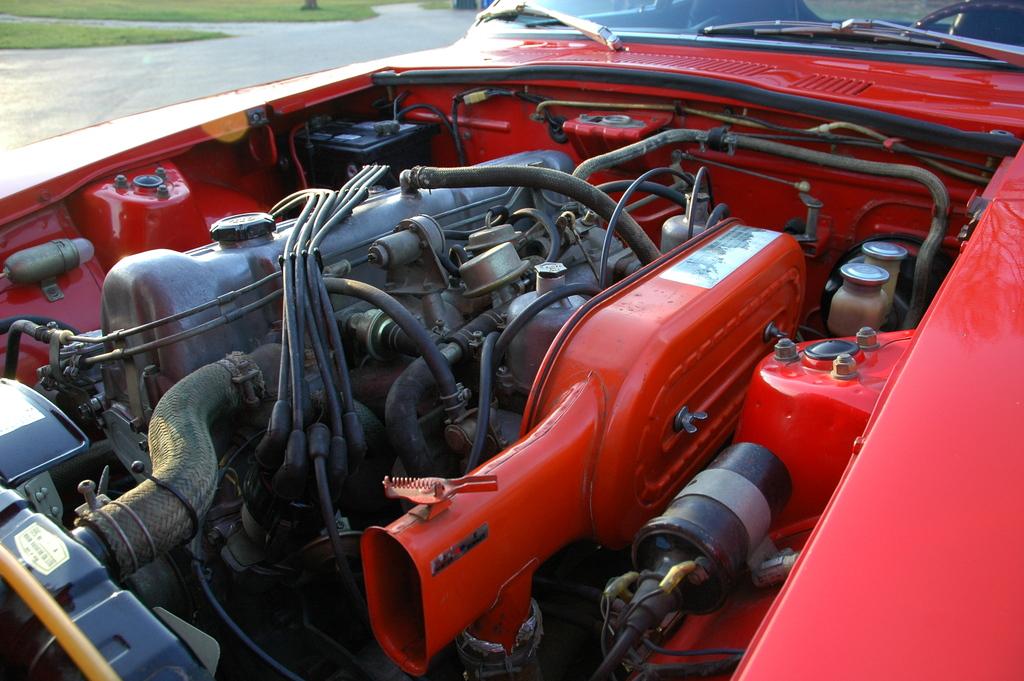
.thumb.jpg.104cfc308945d8898c73422fe598adc9.jpg) 1 point1 point1 point1 pointSeems like I needed to remove the front torsion bar, or at least one side, and get it out of the way to drop or install with the motor in. Here again I did this. There may be a way I didn't see? I agree with RacerX. It would be much easier to put the cover on without the pump. The way you have to time the spindle with the crank gear also. There's a trick Tom Monroe's book has that works for me. I'll post that in a little while when I can find it. Edit: sway bar1 point1 pointTwo additional photos of 19769's front carb reveal screws #3 and #4. Although this doesn't prove that your friend's VIN 19270 came with 4-screws, the two cars were built in the same month and quite possibly in the same week...
1 point1 point1 point1 pointSeems like I needed to remove the front torsion bar, or at least one side, and get it out of the way to drop or install with the motor in. Here again I did this. There may be a way I didn't see? I agree with RacerX. It would be much easier to put the cover on without the pump. The way you have to time the spindle with the crank gear also. There's a trick Tom Monroe's book has that works for me. I'll post that in a little while when I can find it. Edit: sway bar1 point1 pointTwo additional photos of 19769's front carb reveal screws #3 and #4. Although this doesn't prove that your friend's VIN 19270 came with 4-screws, the two cars were built in the same month and quite possibly in the same week...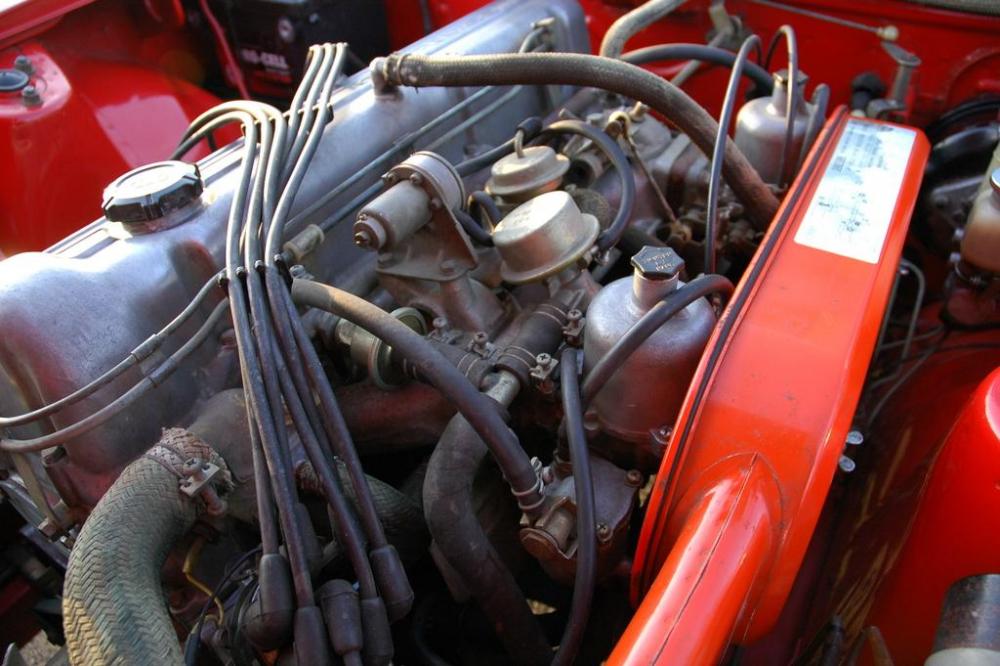
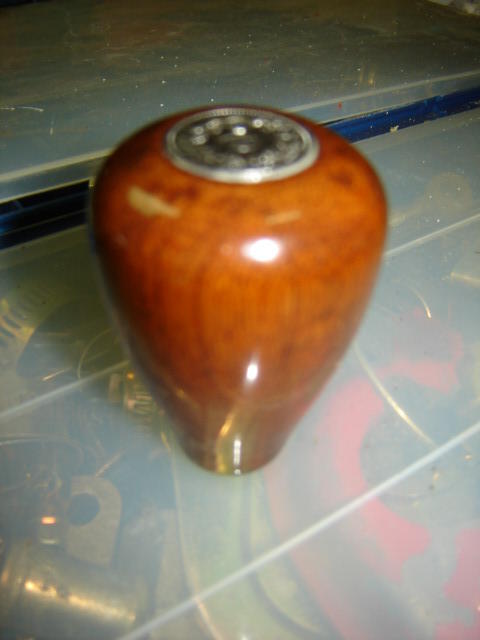
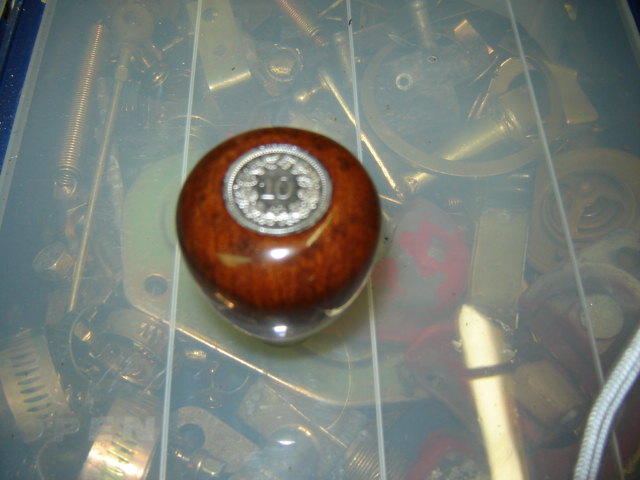
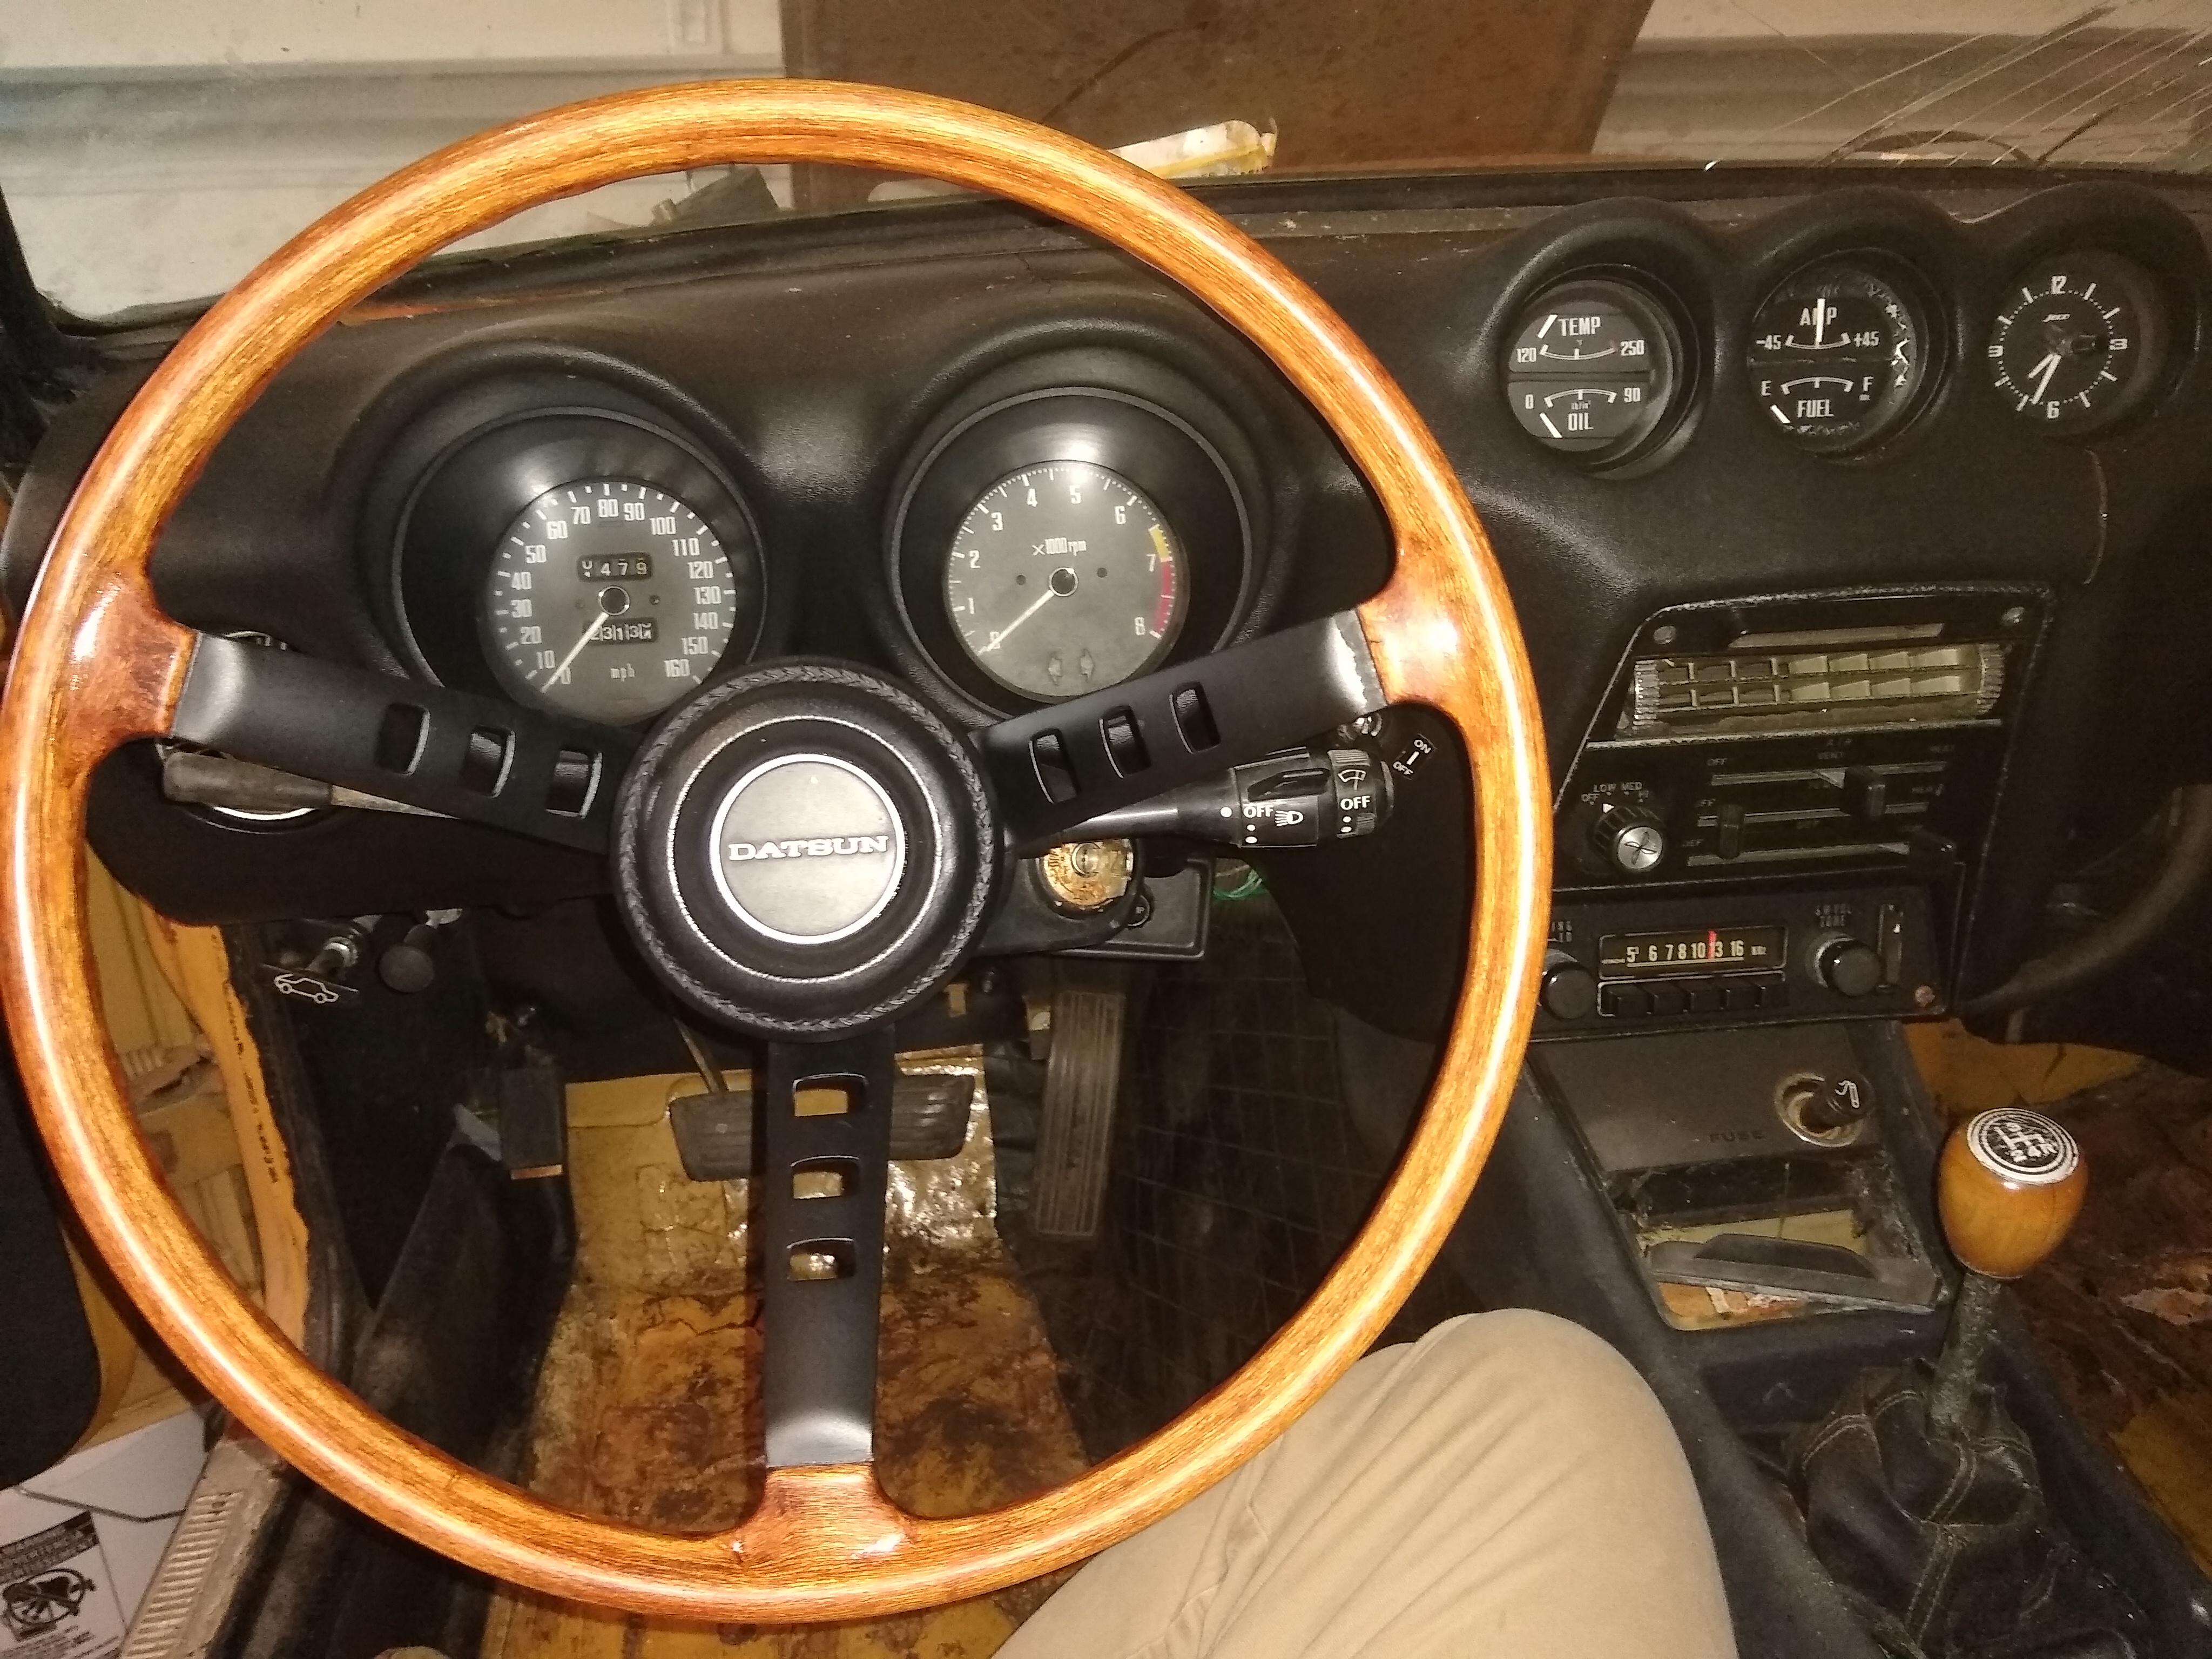
 1 point1 point1 point1 pointIn 2007 i took an old wheel and pulled the fake wood (resin and wood powder mix) off and made myself a fat mahogany wooden wheel! It was 38 hours of work.. 8 layers of blank laquer.. and lots of sanding was involved.. came out nice.. (metall in semi gloss black) There is a ring of 6.5 mm in the wheel.. I made 6 parts on the front hollow and 6 massiv parts at the back, glued the front parts with 2-comp. glue to the metall and the wooden parts with prof. wood glue (water resistant) together.. With a matching gearknob, made on a wood lathe. joke from myself.. the 10 means 10 years of work on my Z ?
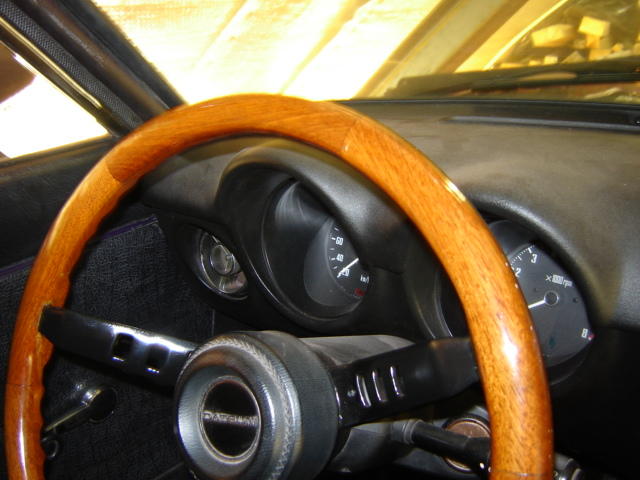
 1 point0 pointsHi all, I am wrestling with the rot of old age. I have a "trigger finger" in my right hand. It's looking like surgery is going to happen. My hands both are being invaded by arthritis which makes wrenching difficult if not impossible to do. As this is what gives me the most satisfaction it is becoming obvious that I may not be able to continue to maintain "the renowned Mr. Brown" in the way he needs. I've had him since 2005 and I don't want to see him go to someone who can't or won't maintain him to the standards necessary to keep him going. So, what to do? I hate to admit that I may not be able to continue in the Z world because my body is letting me down. I have a lot of blood, sweat, tears, and money invested in this love affair. Any suggestions would be appreciated. Cheers, Mike0 points


.jpg.c26e87bd18c8538604fa629cf068c282.jpg)


Important Information
By using this site, you agree to our Privacy Policy and Guidelines. We have placed cookies on your device to help make this website better. You can adjust your cookie settings, otherwise we'll assume you're okay to continue.