Leaderboard


Popular Content
Showing content with the highest reputation on 04/07/2021 in all areas
-
Looking at the pics it looks like the clutch disc lining is worn down to the tops of the rivets. I see what I think is a few shiny rivets. If it's down to polishing the rivets, it's time to replace it along with the release bearing and pilot bushing. And, "as long as you're in there" having the flywheel resurfaced or even lightened.2 points
-
They can be a multi-tasker. I've used mine to pull stubborn shrubs and laurel hedge and lift a riding mower to clean-out the deck. Now I'm considering mods to convert it into a firewood splitter.2 points
-
2 points
-
I have a H.F. engine hoist that folds up and doesn't take up much space. Years ago I pulled and reinstalled my 240 engine using two 2x4x8s, garage rafters, a one ton cable jack, jack stands and the Z jack. I unbolted everything under the car, lowered it, hooked up the cable jack to the engine, finished unbolting the topside, lifted the engine a bit and rolled the car back as I lifted the engine. It sounds like a PITA but it all went well.2 points
-
The timing curve is not going to adversely affect his troubleshooting2 points
-
We've been using an N42 head for the past 4 years on the L28 race engines with great success. These have had extensive work done with race cams and all parts cyrotreated and REMed. CRs range from high 12s to mid 13s running on either 110 or 112. The L24 has an original BSR E31 that we duplicated for $$$. Which is better? That's really hard to say since there are so many variables with the biggest being the driver. Dyno time (engine) is not cheap and the best chassis dyno is not close enough to play "let's swap heads to see if we can get 3 more HP".2 points
-
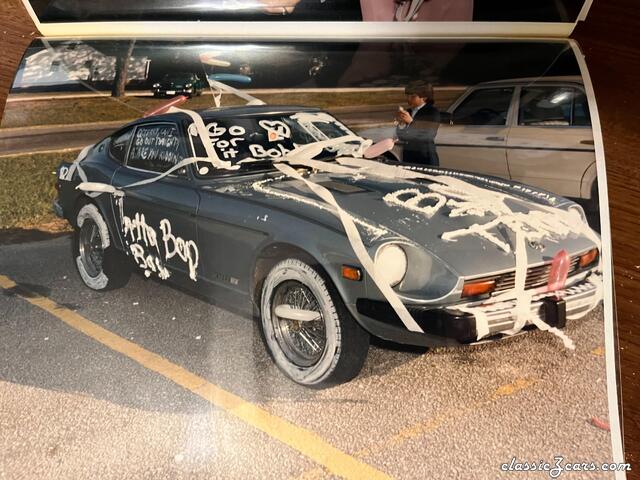
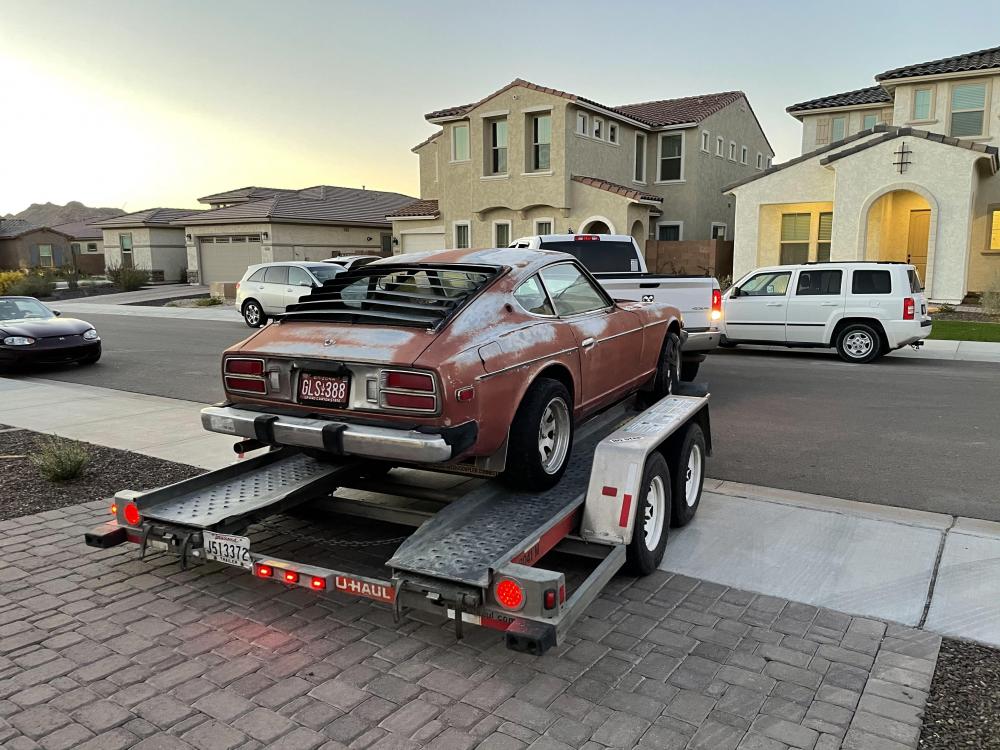
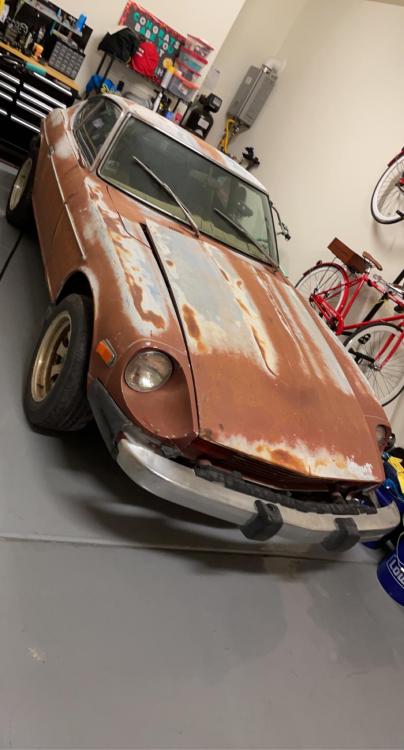
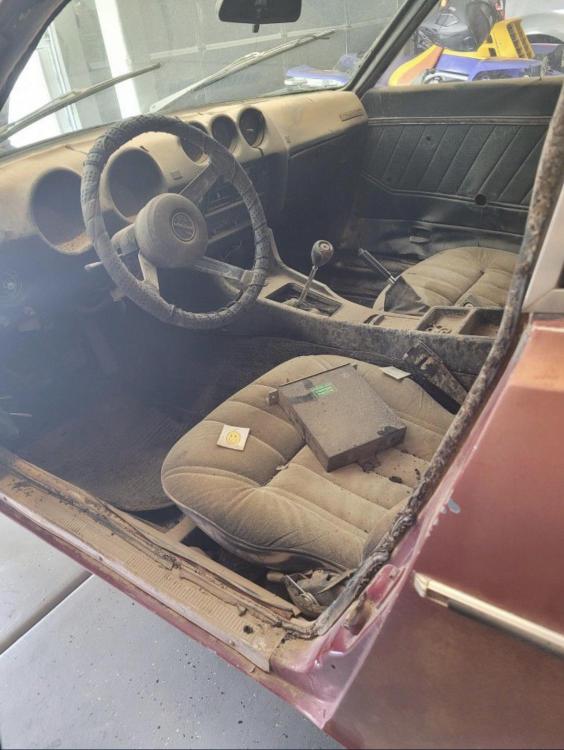
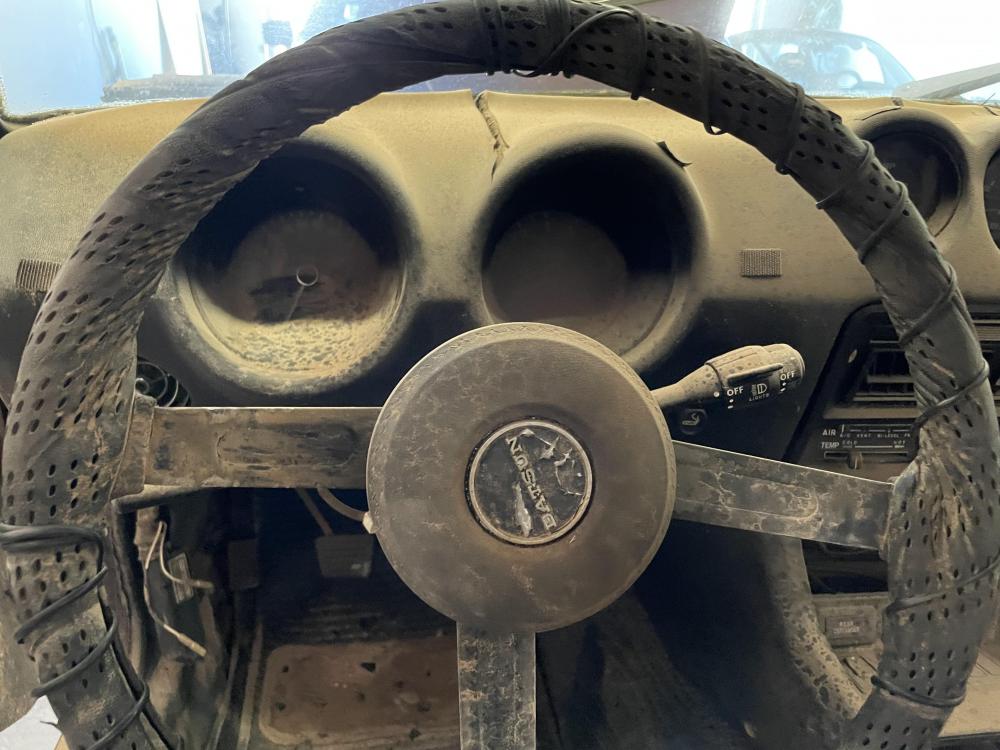
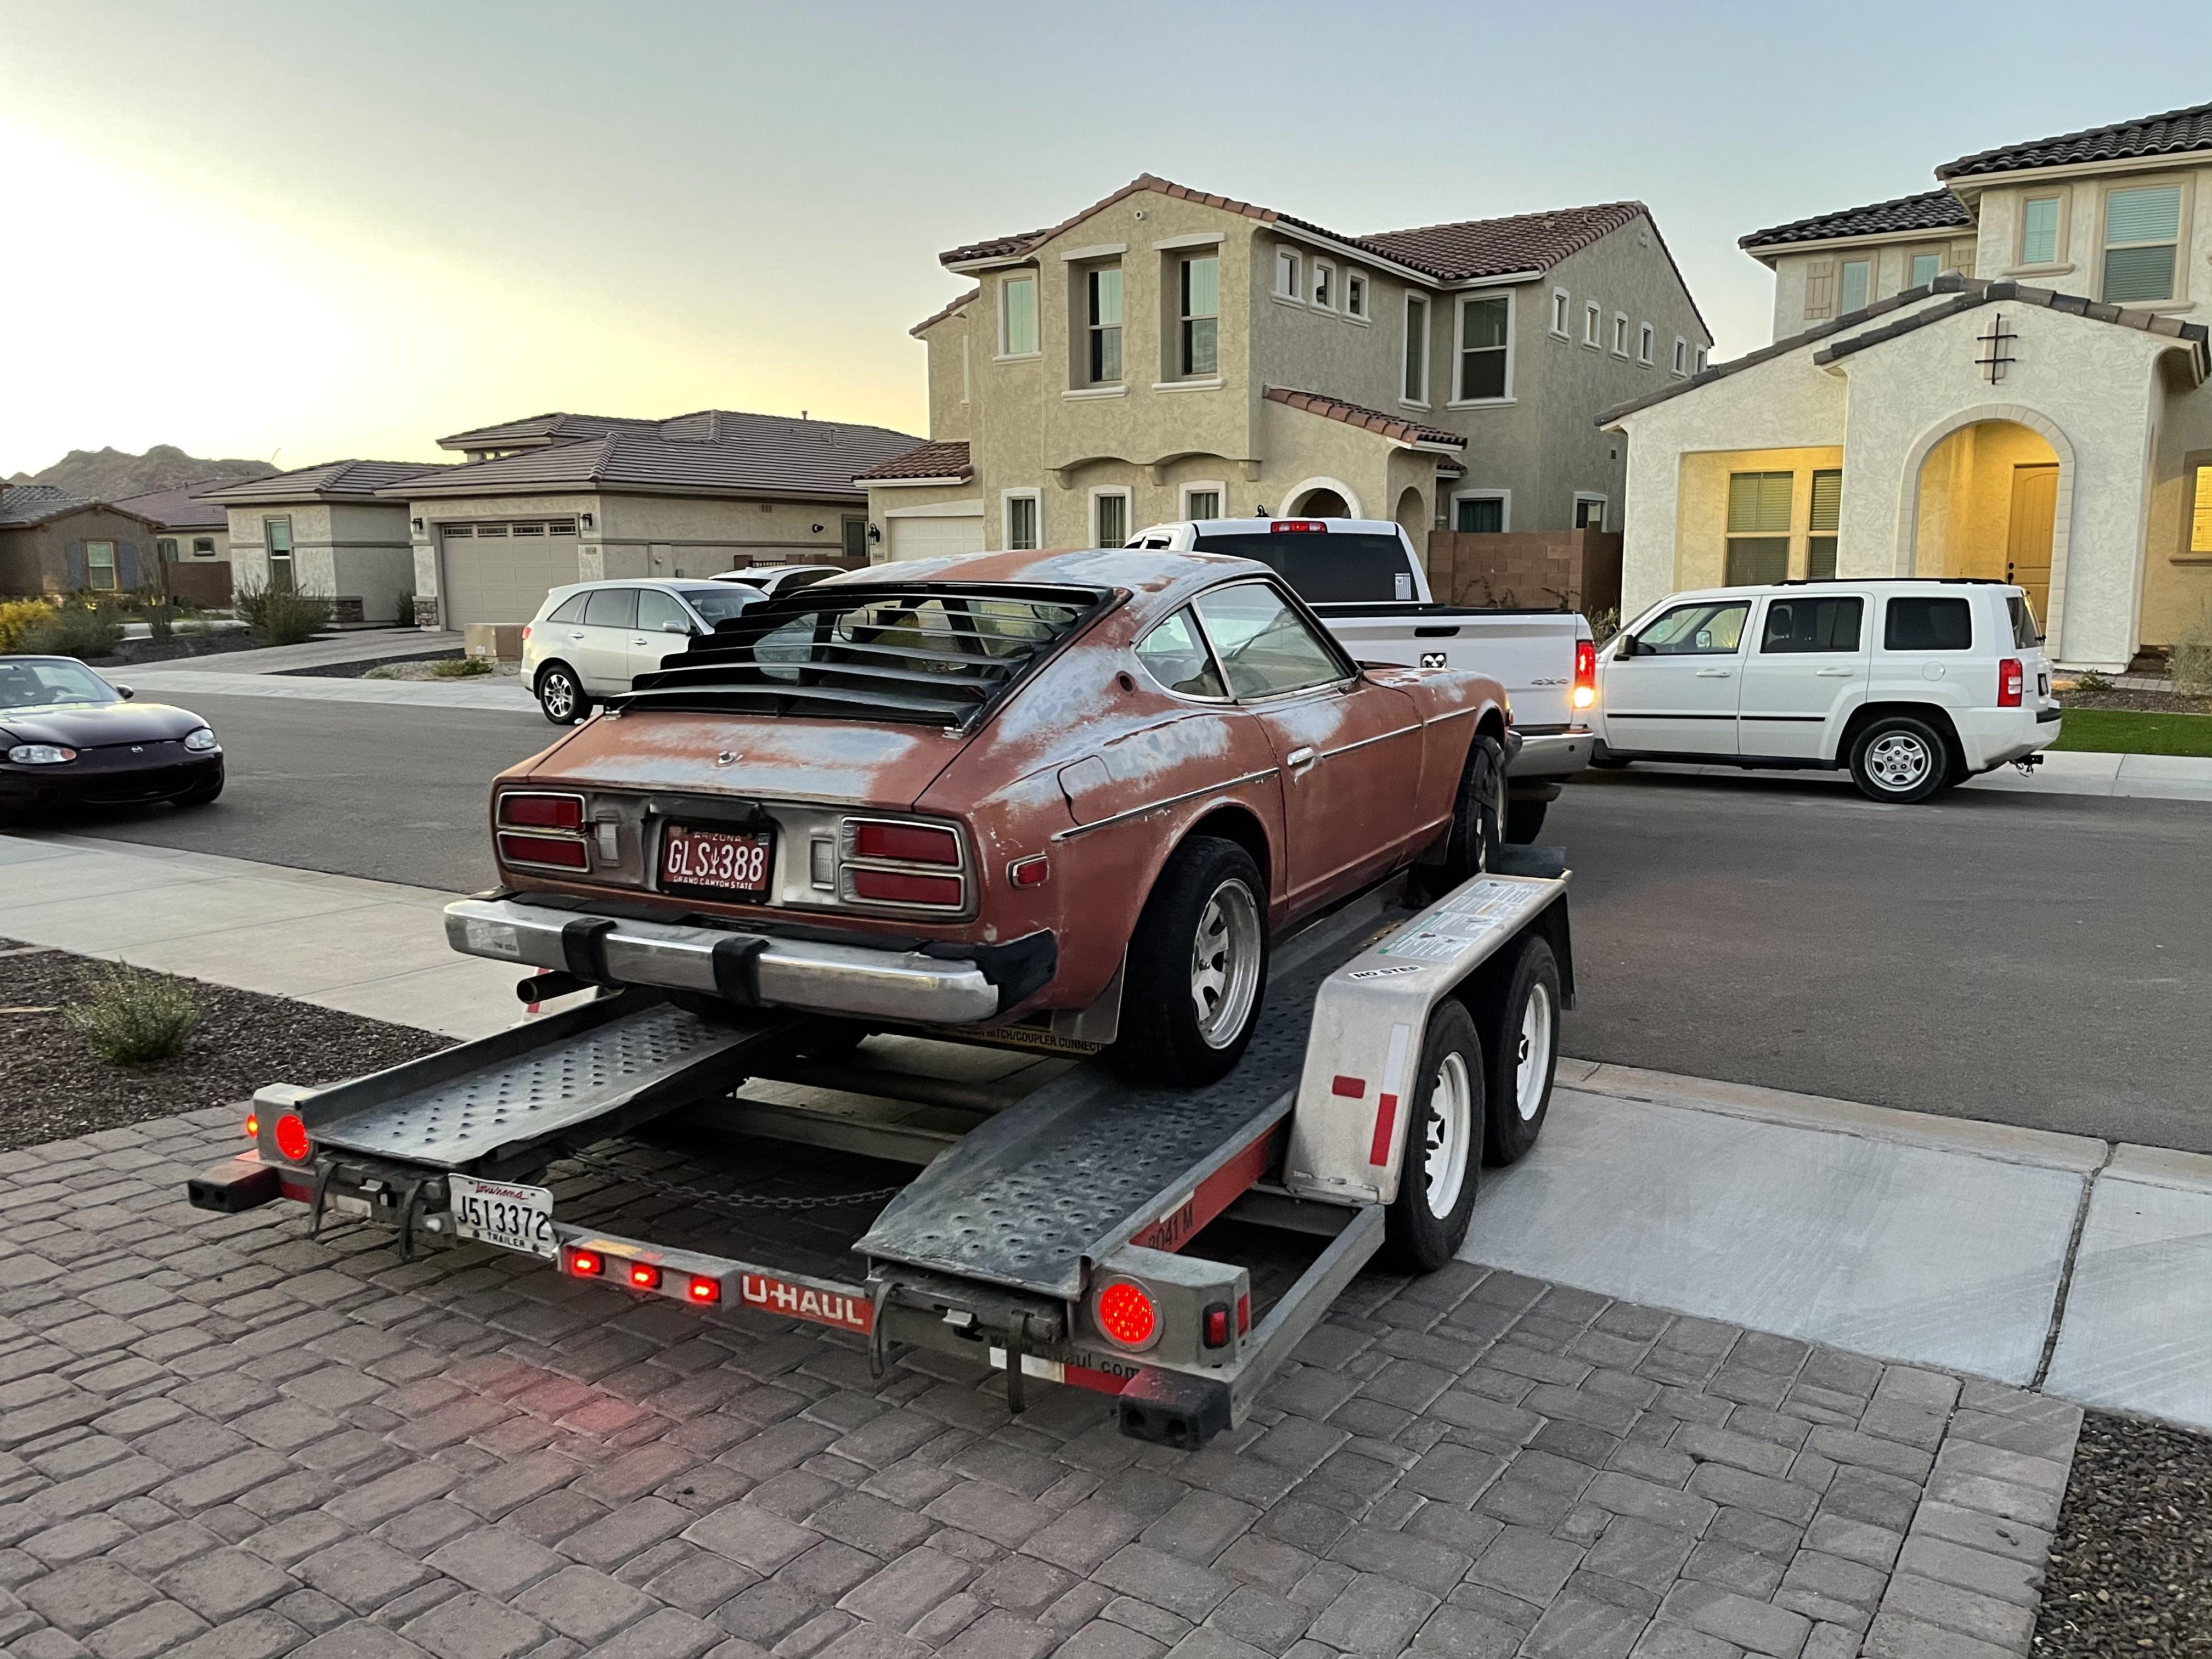
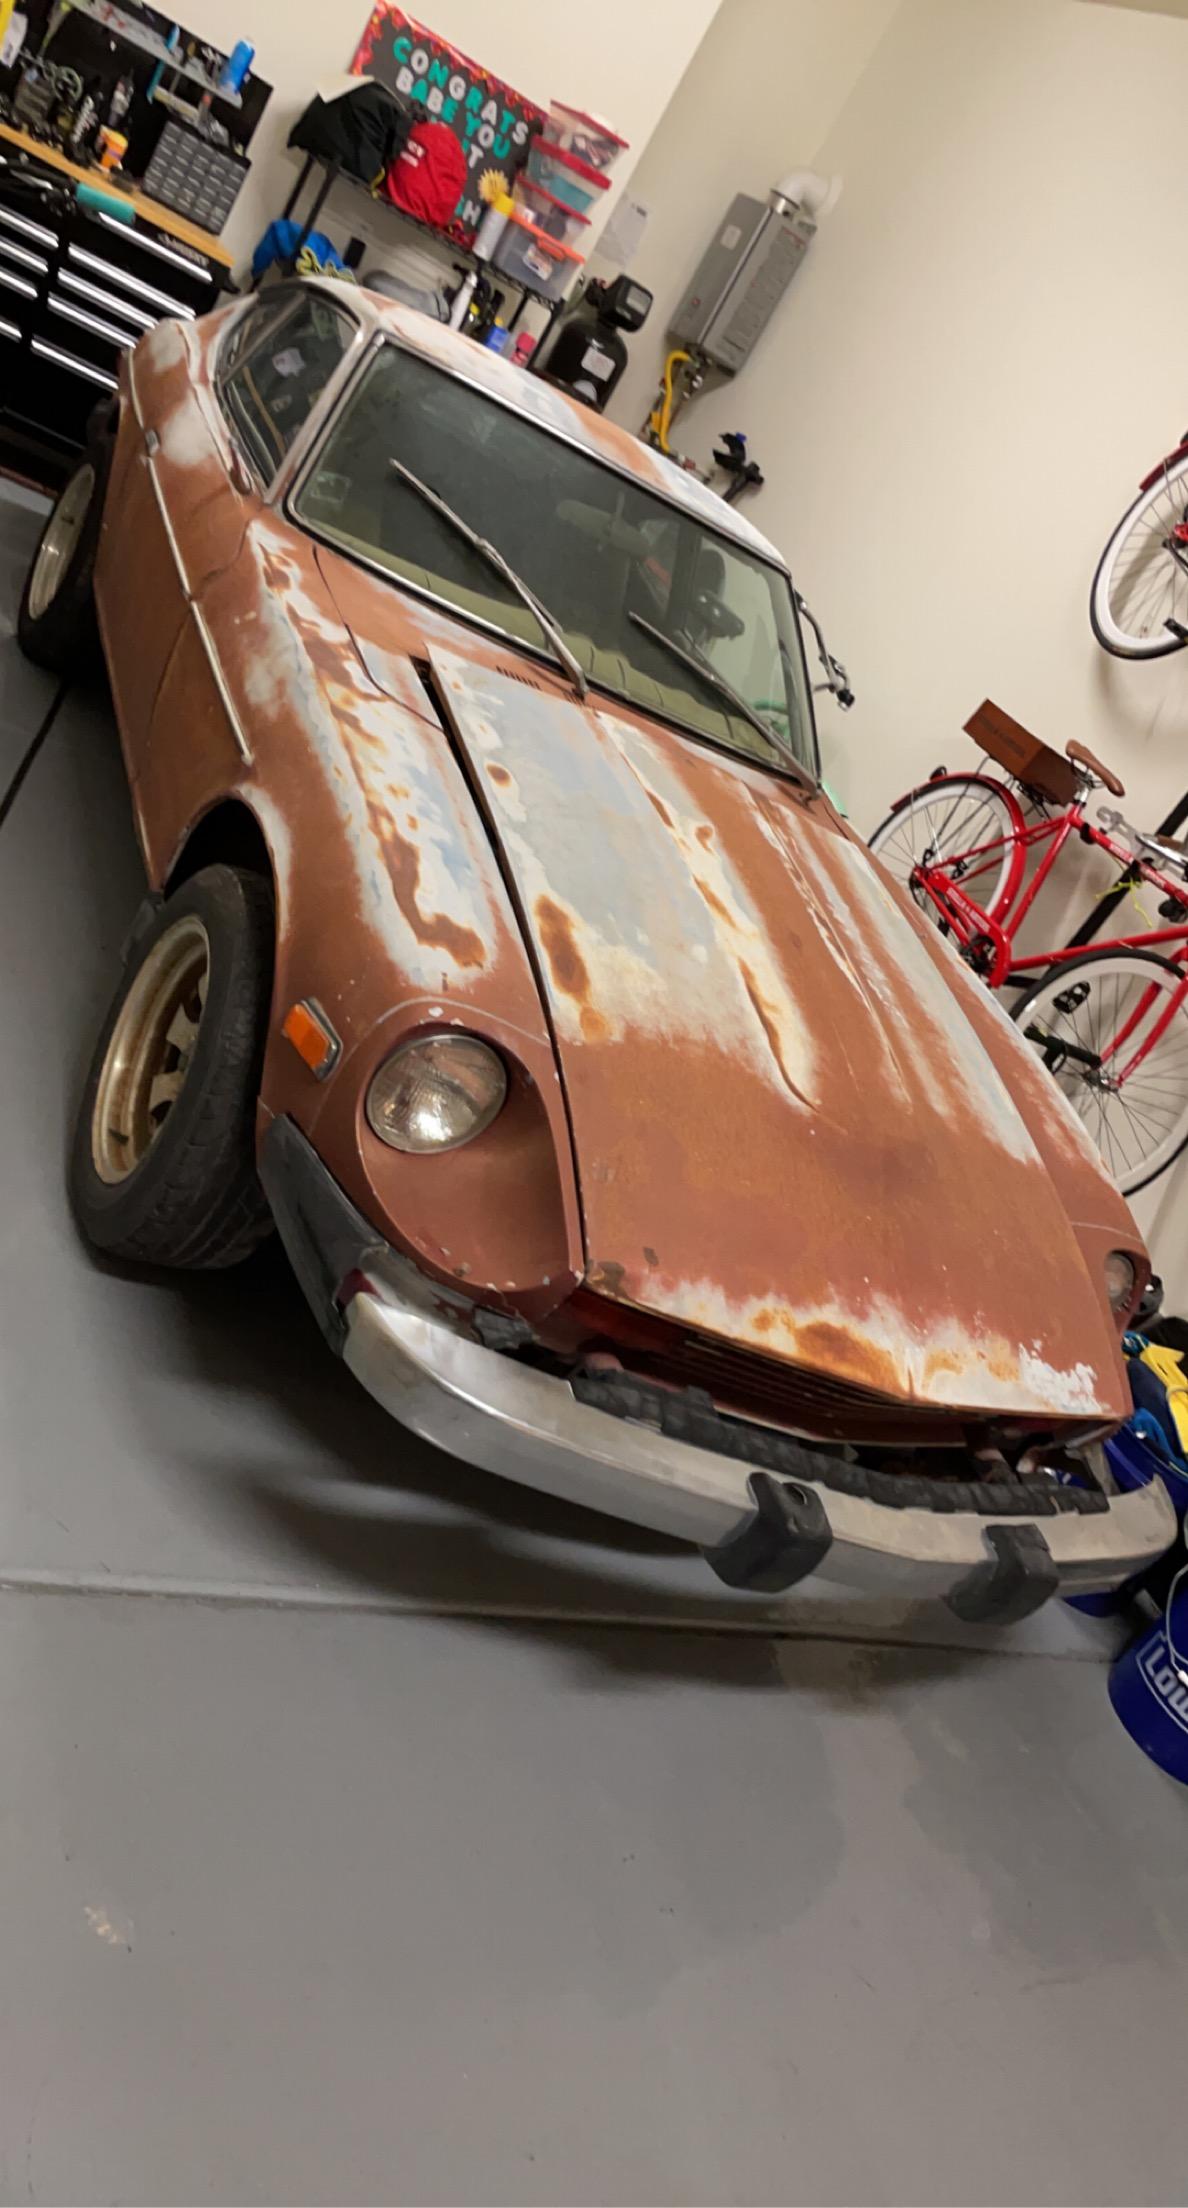
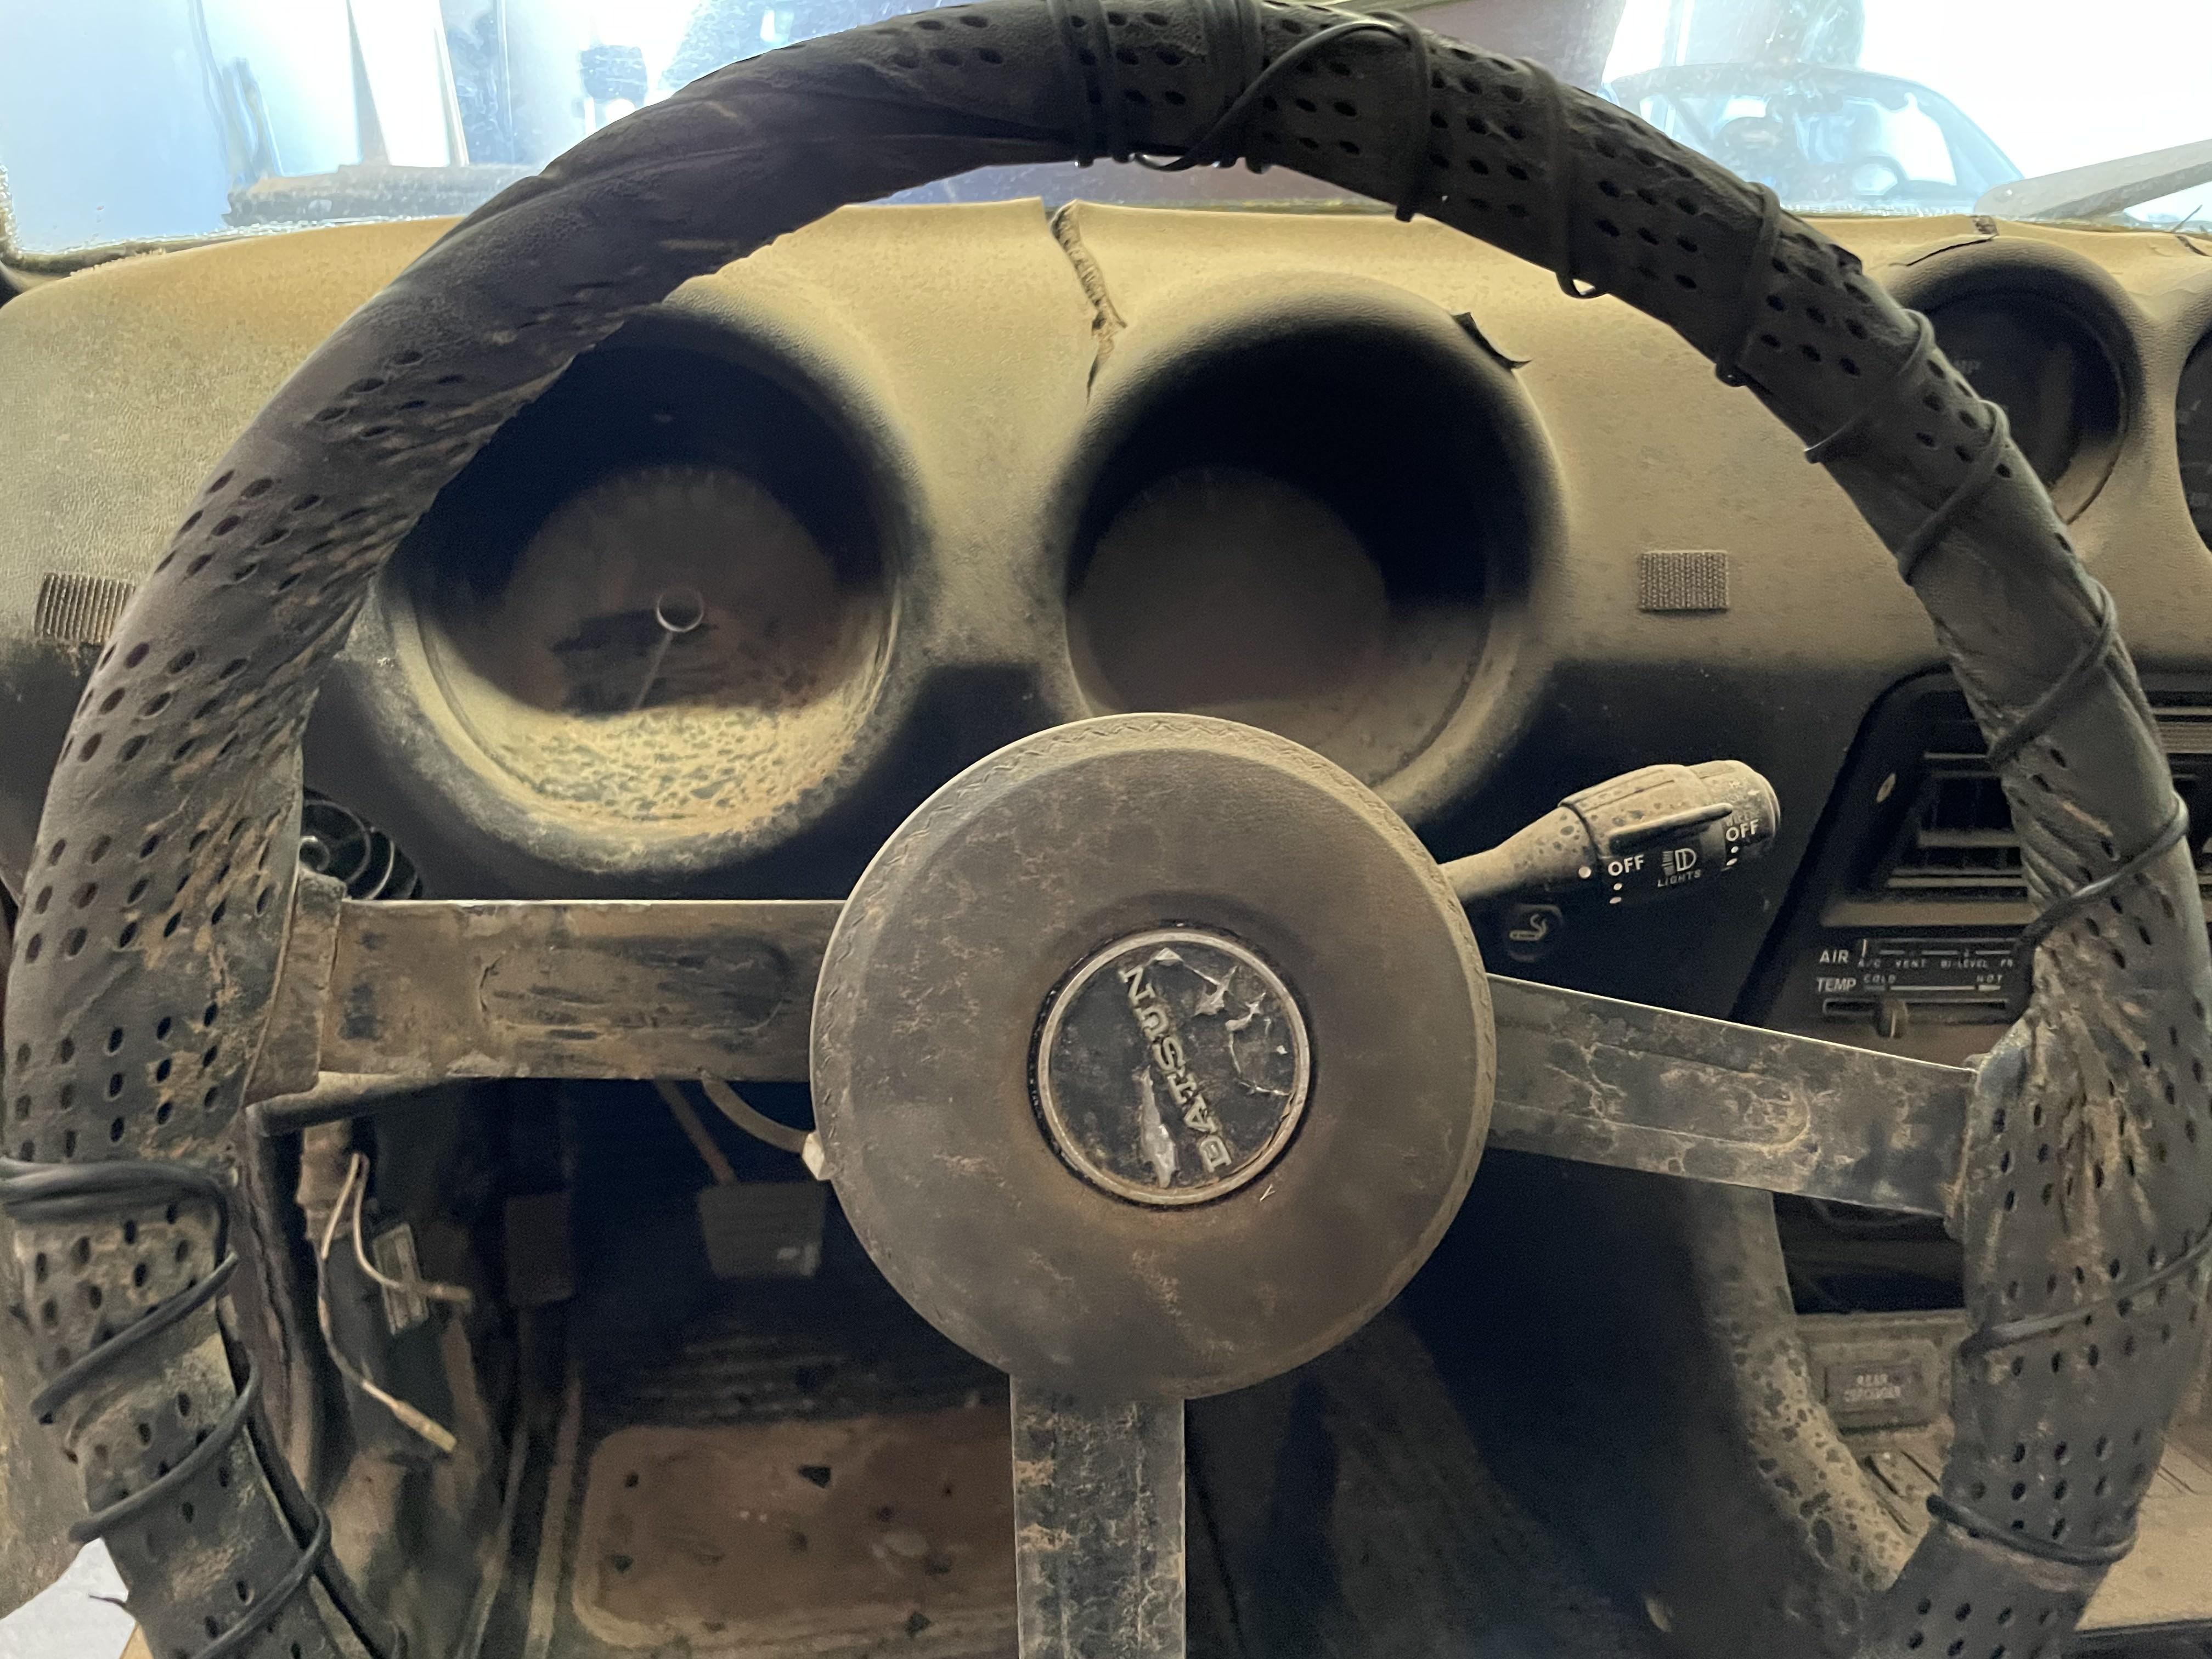
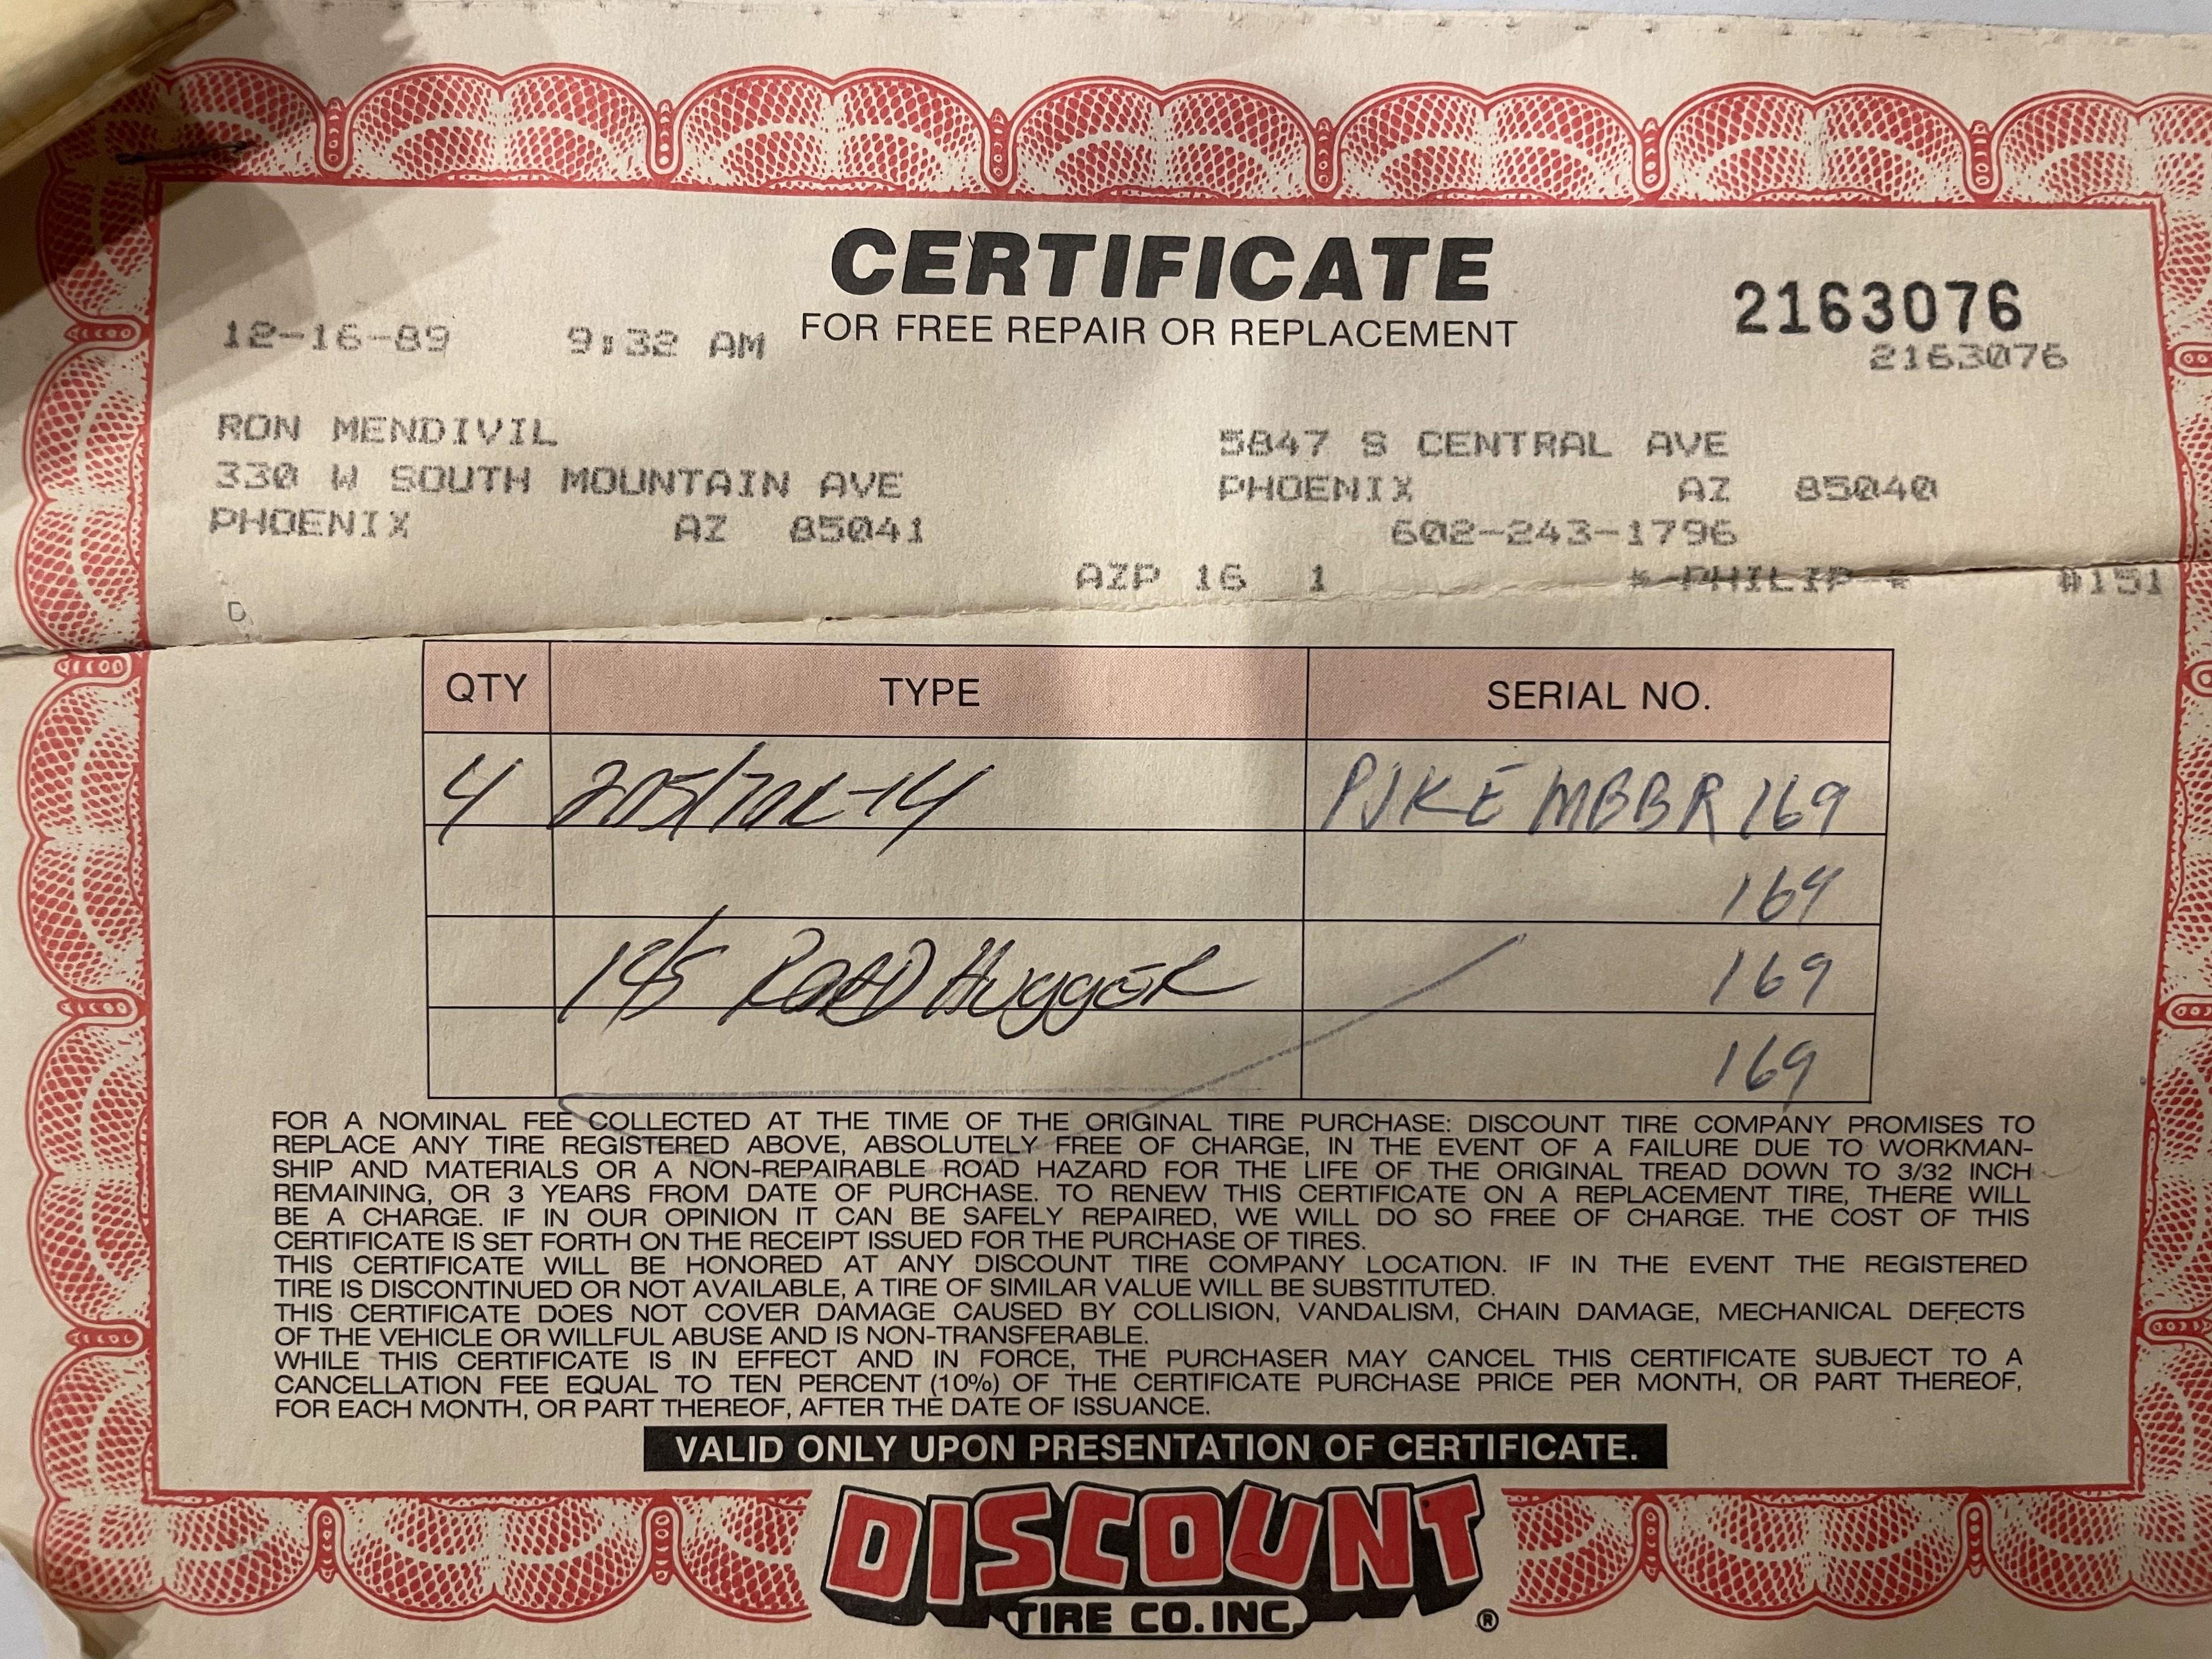
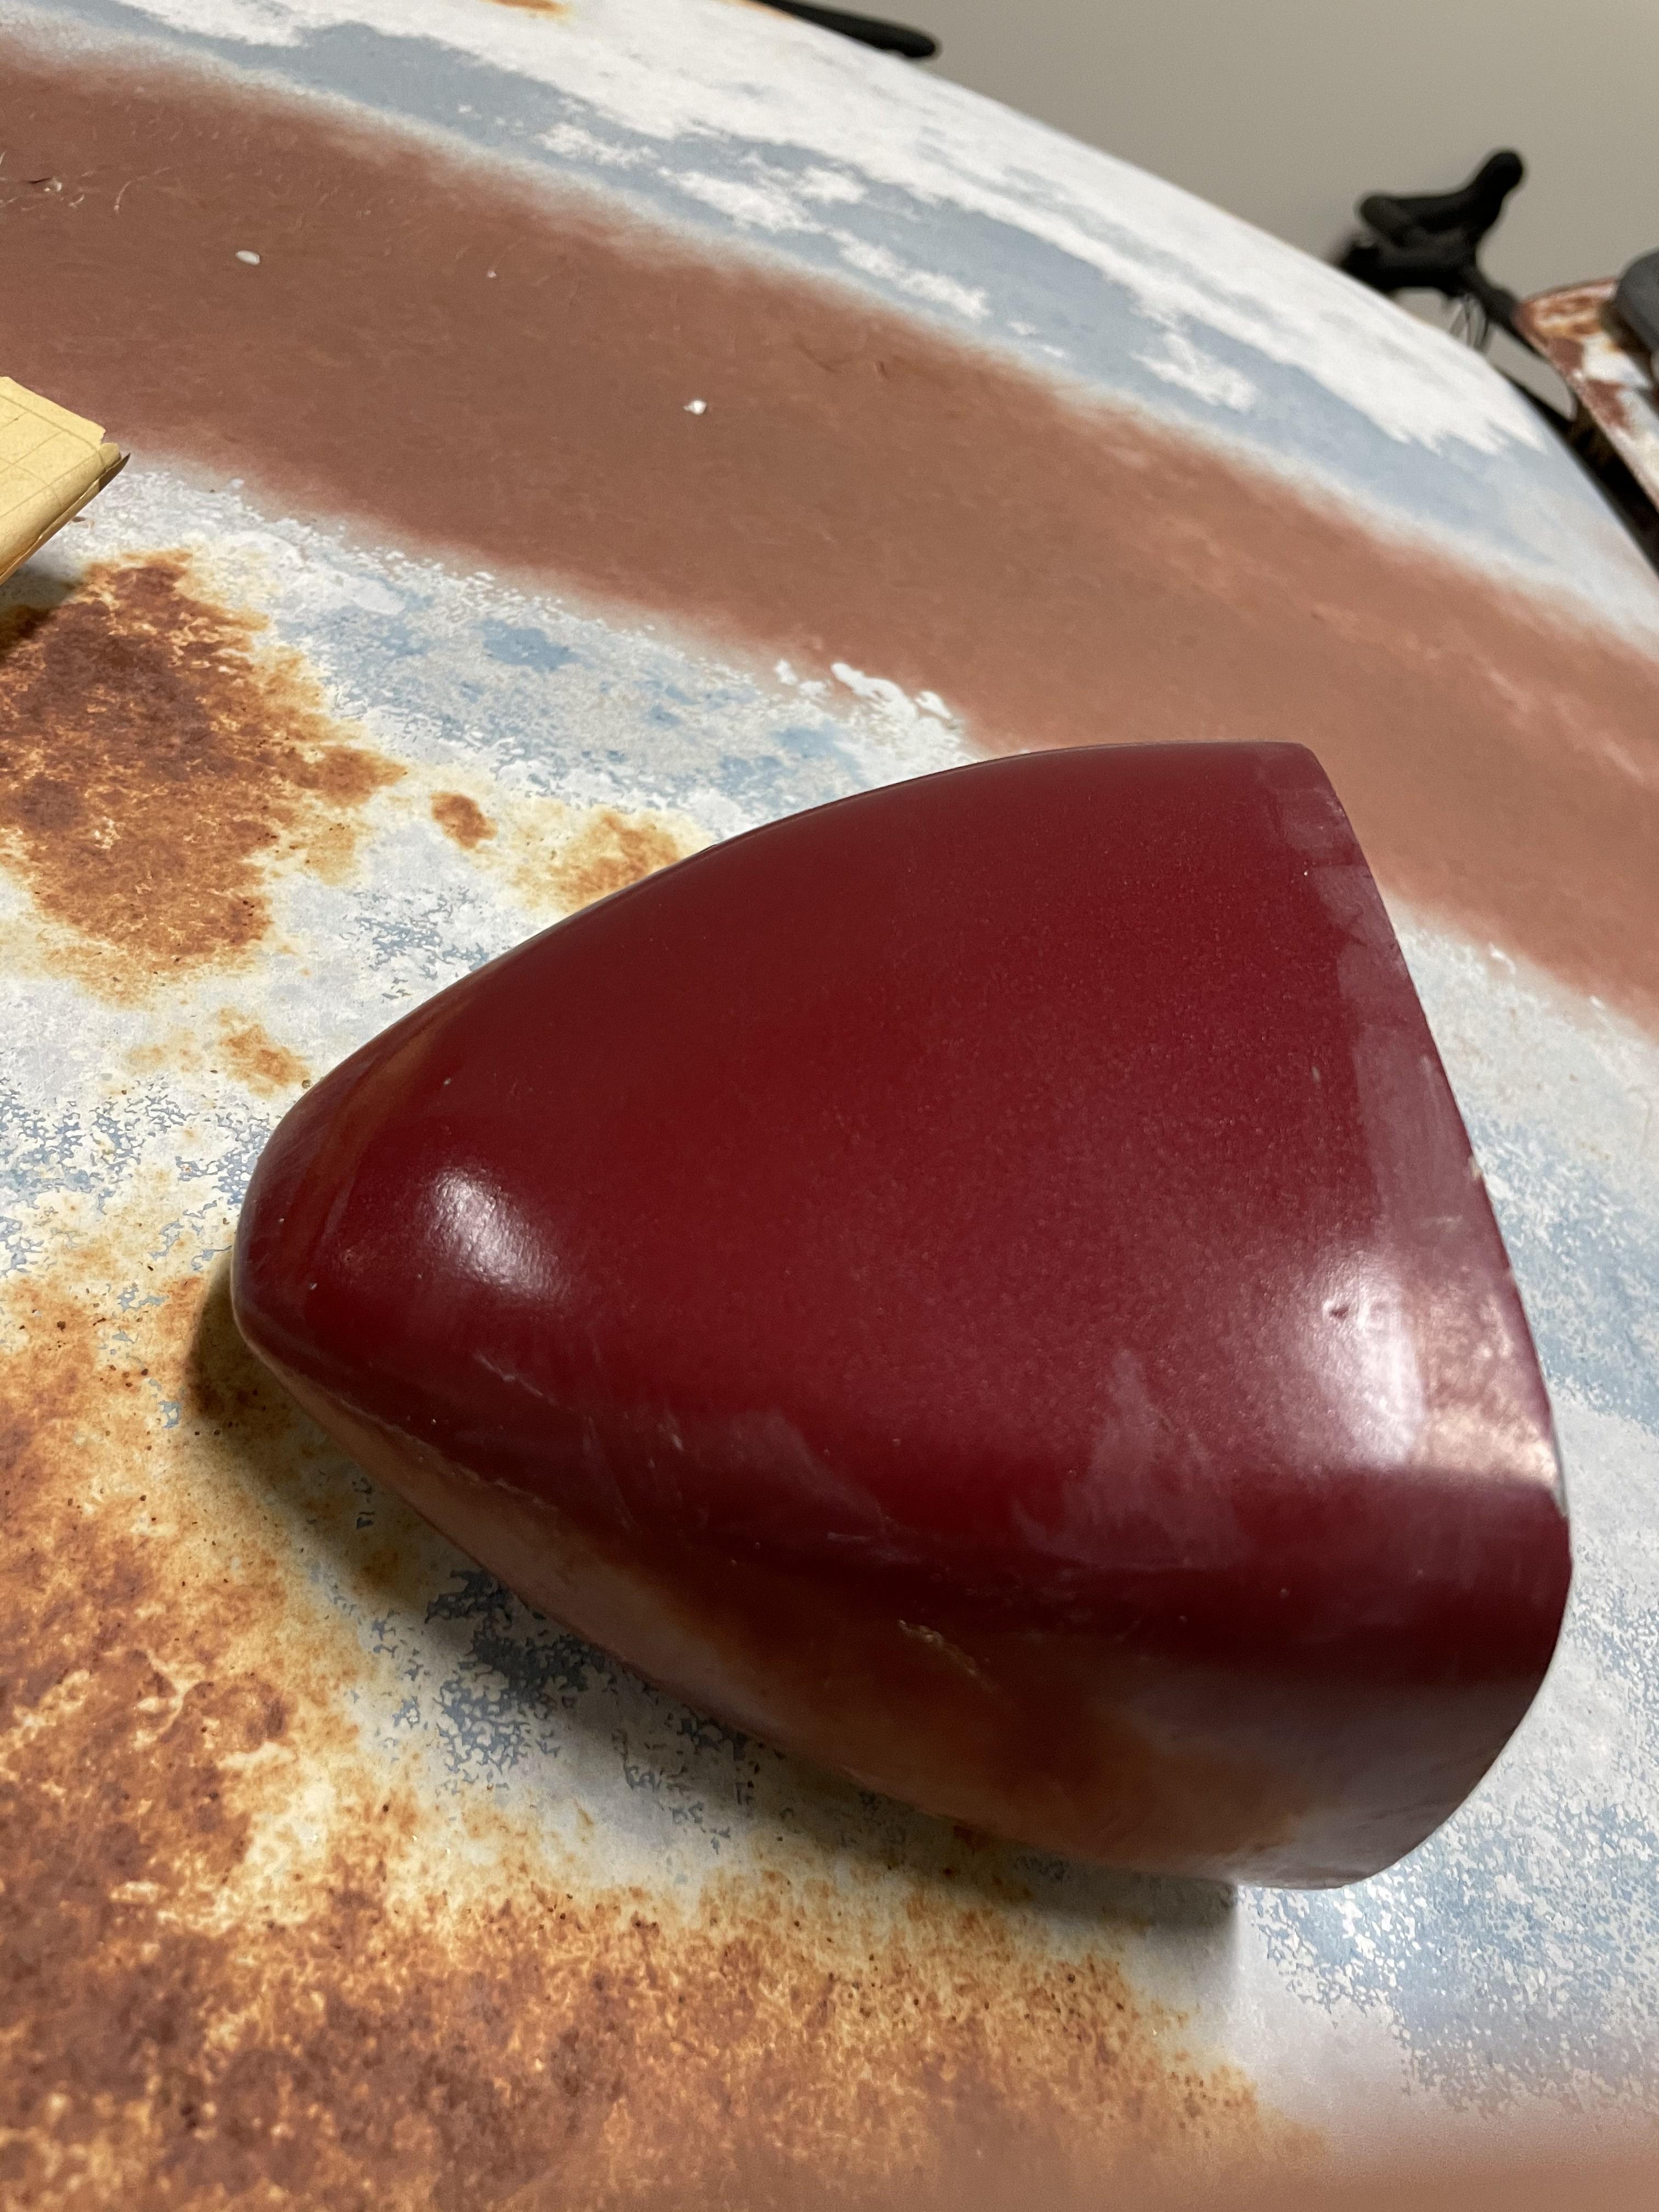
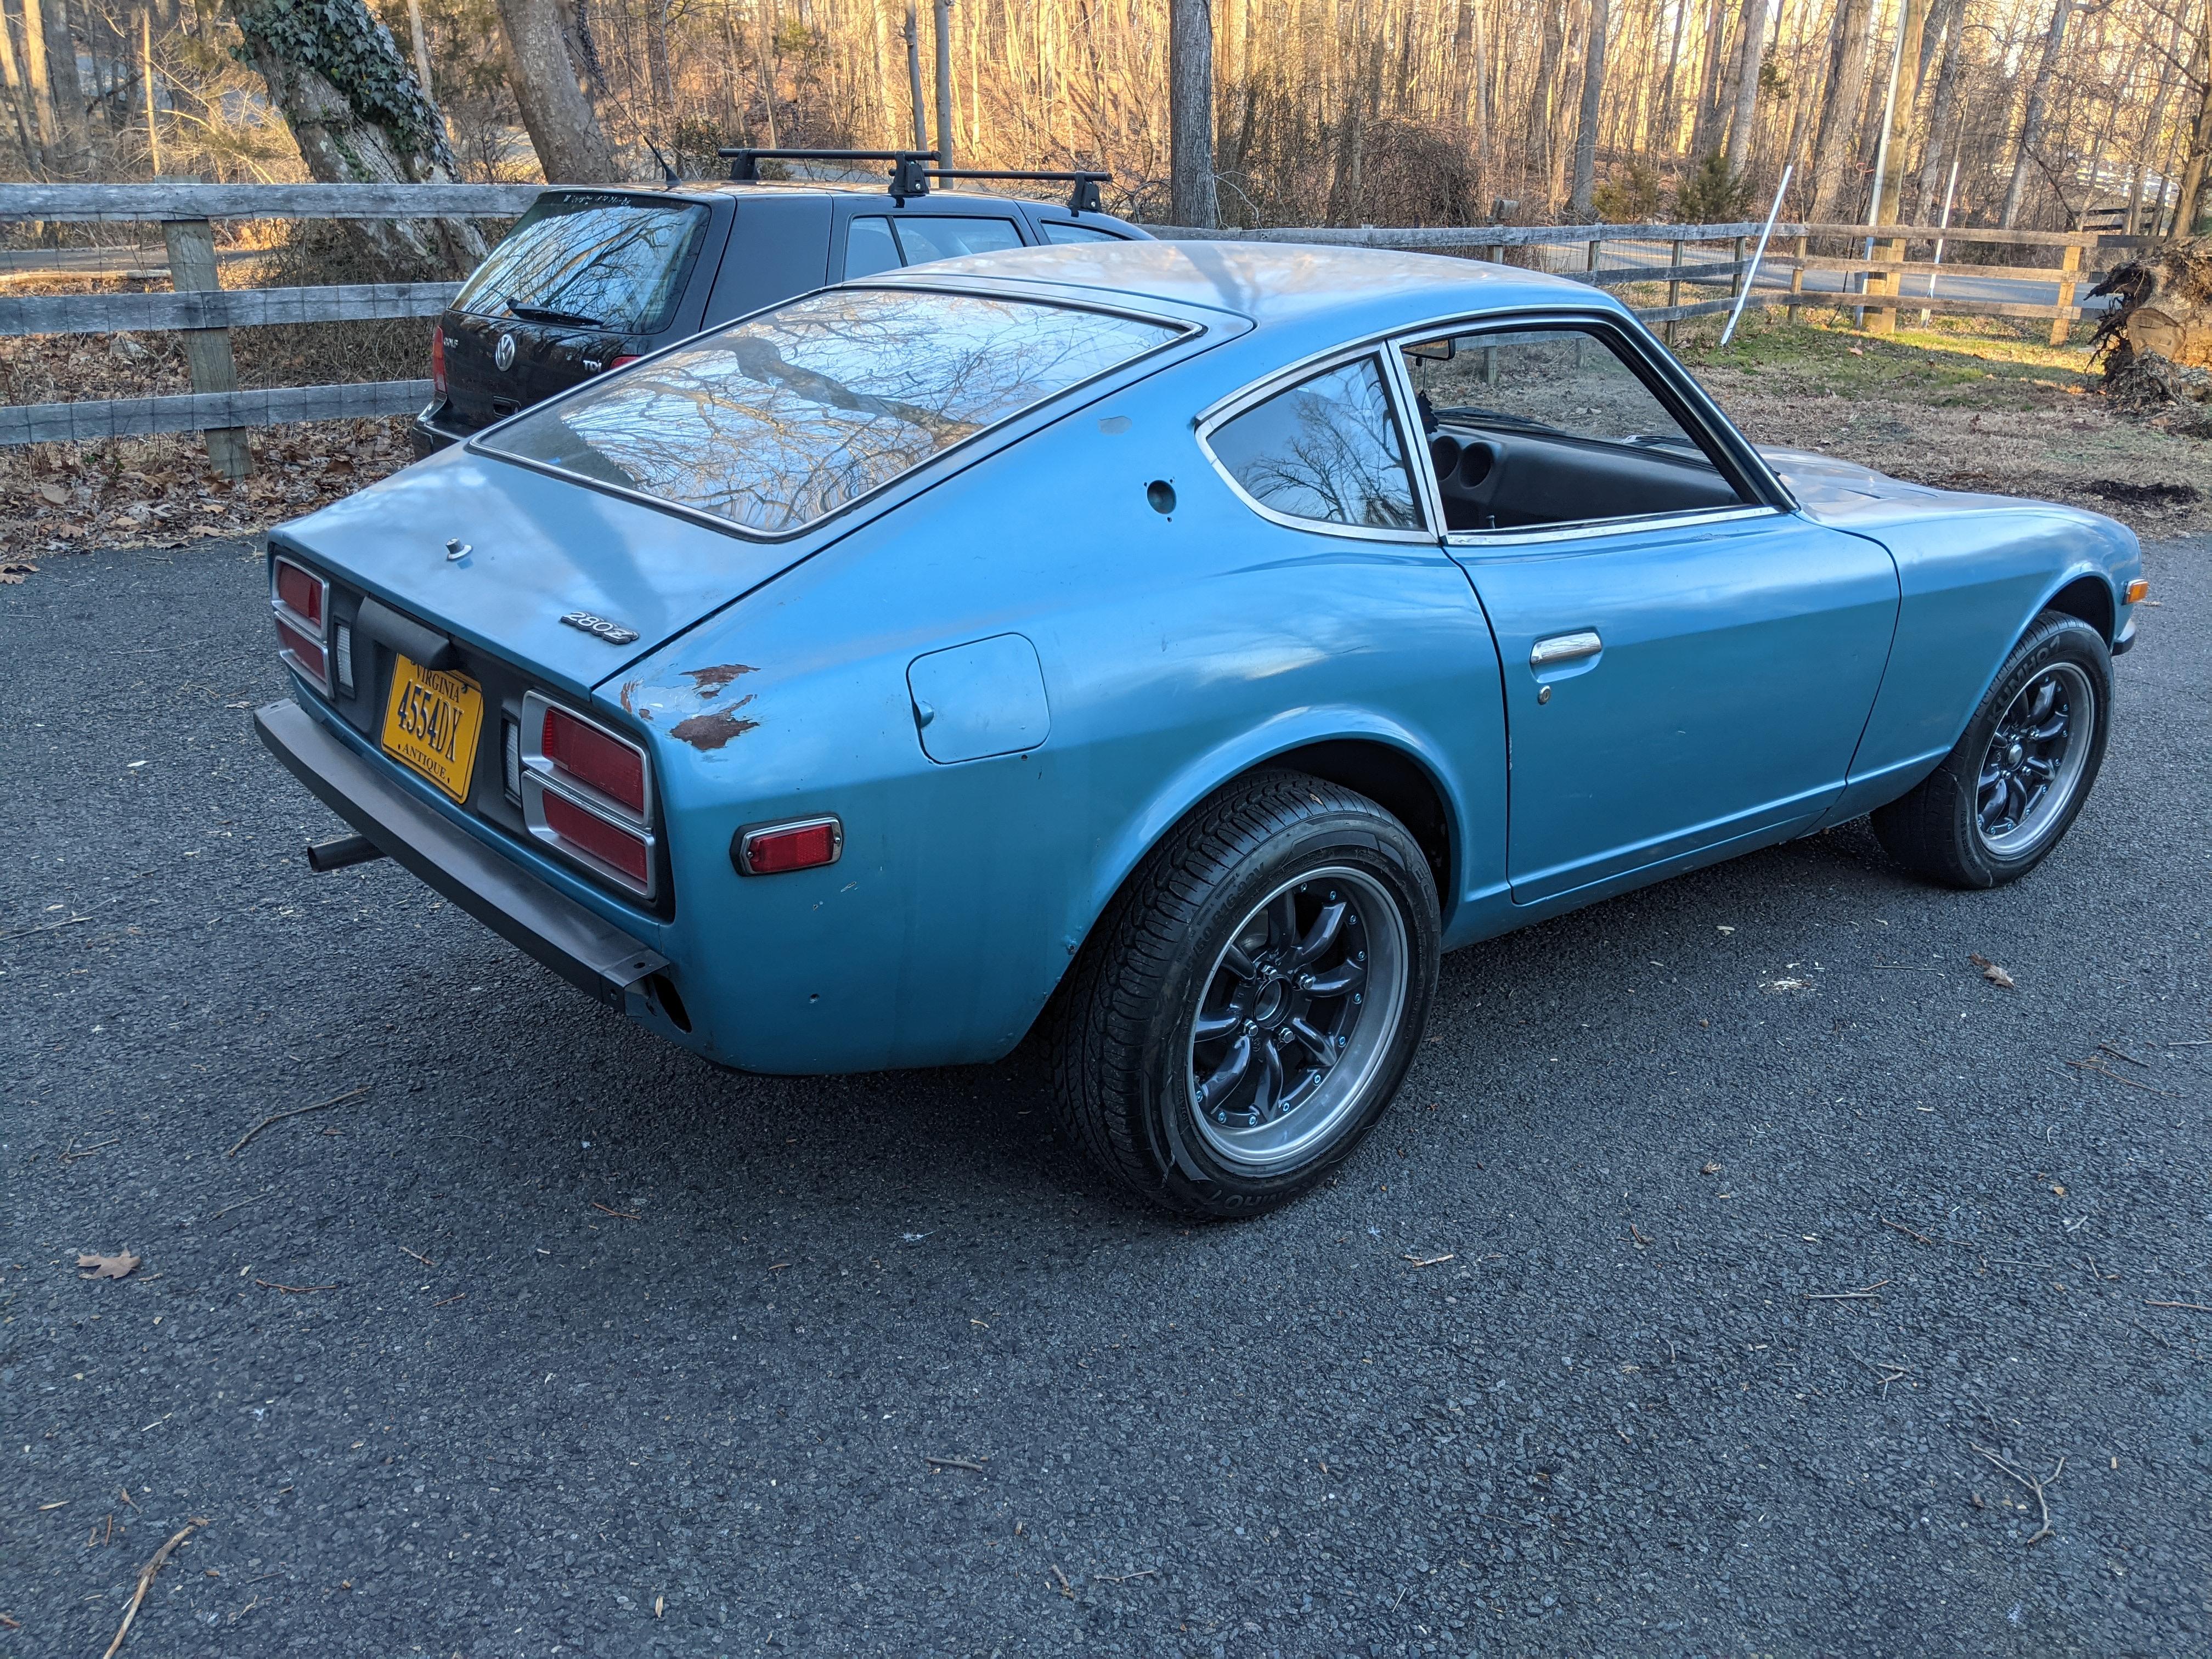
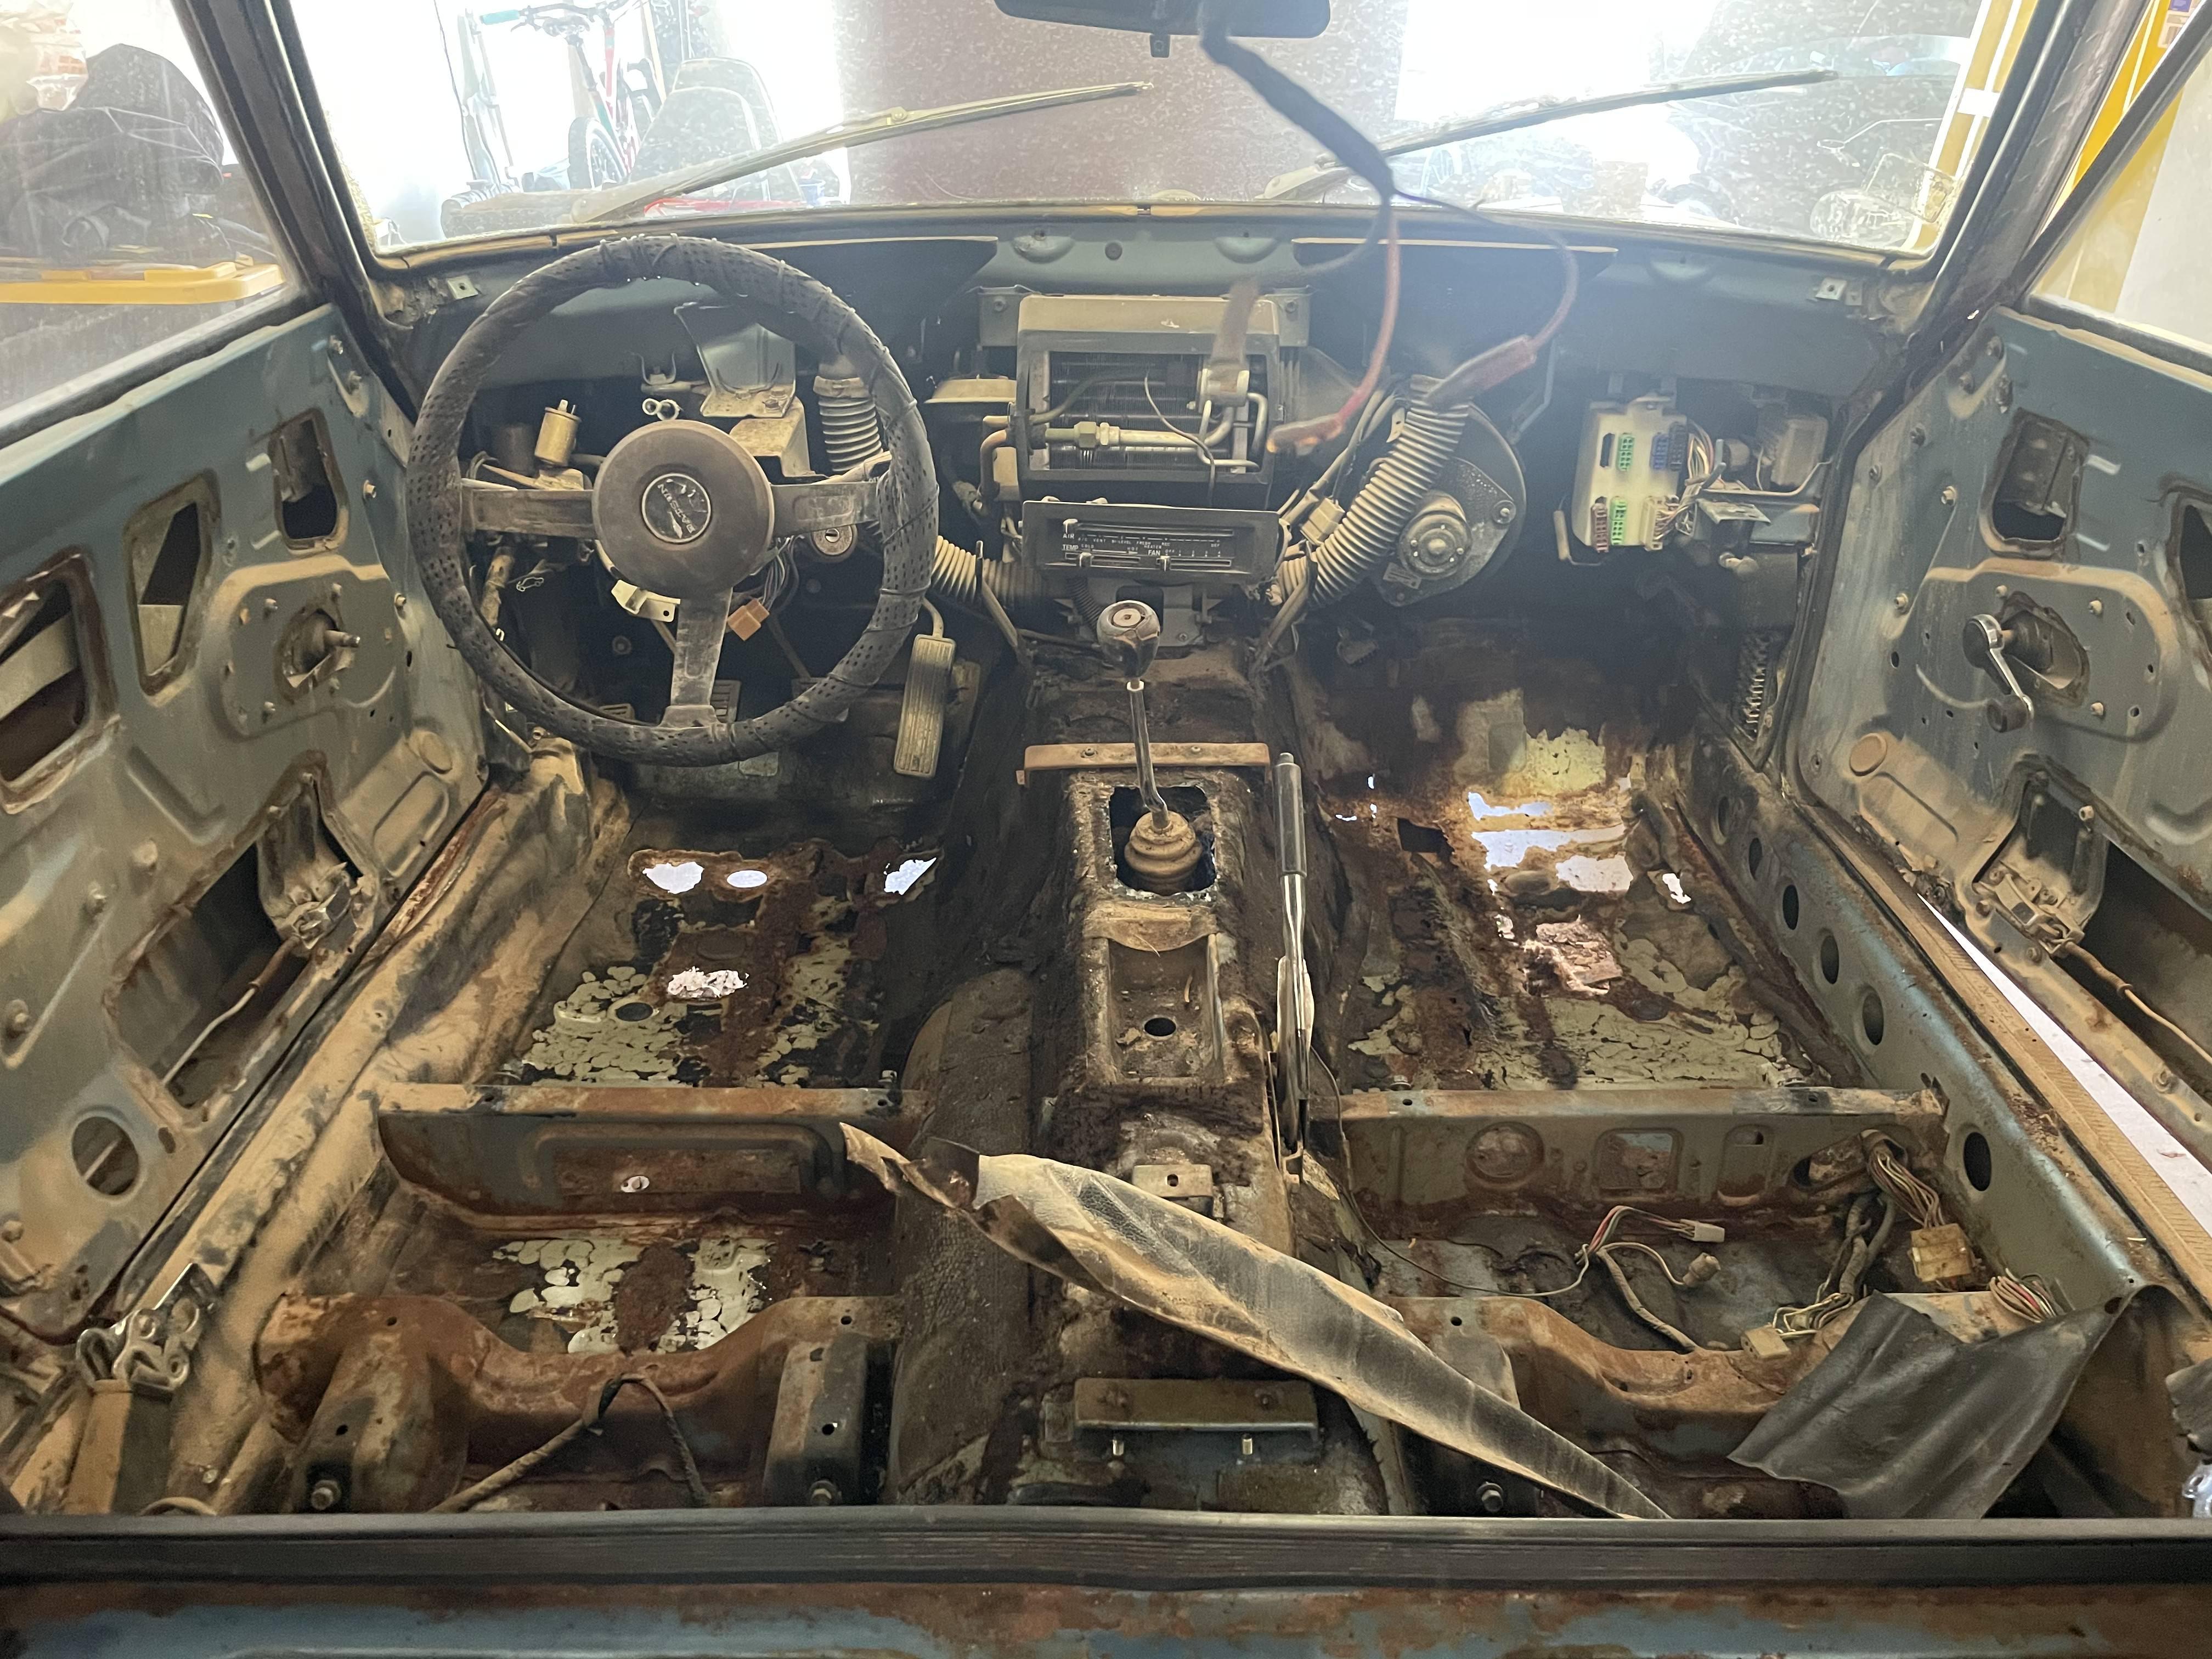
Well after spending the past month in the "Help Me!" section, my 1975 280z lives! I figured it is a good time to start a build thread in the proper section to showcase my next steps. Lets see, where do we start? The story goes that this 1975 280z was an Arizona car for the majority of its life. The owner parked it sometime around 1993 (last registered tags) due to an "ignition issue". It certainly looks the part for sitting nearly 30 years. Odometer says 80k miles, but maybe this is 180k? Looks like it was the silver blue originally then repainted, and finally the fading took over. The engine turned freely and nothing seemed to be seized. It was a clean title and only missing the key, an easy fix. Towed it home: And parked her to start tearing into it: The interior was coated in a nice layer of dust, the window was cracked down a few inches...so the weather made its way inside. The ECU was indeed on the chair like that! The speedometer was unreadable from the dust! But its all there which was nice. These cards will need a full replacement: Found some cool discount tire receipts from 1989 🙂 And the color it was SUPPOSED to be!


 1 point
 -
Yes, unfortunately it appears the the new alternator has failed. Time to invoke the warranty for exchange ...1 point
-
My Dad made a wood splitter using a floor jack and a thick low tree limb.1 point
-
Go ahead and replace it I say. The Exedy is a great choice. I have one in both my Zs. https://www.amazon.com/EXEDY-06009-OEM-Replacement-Clutch/dp/B001B5D7TE1 point
-
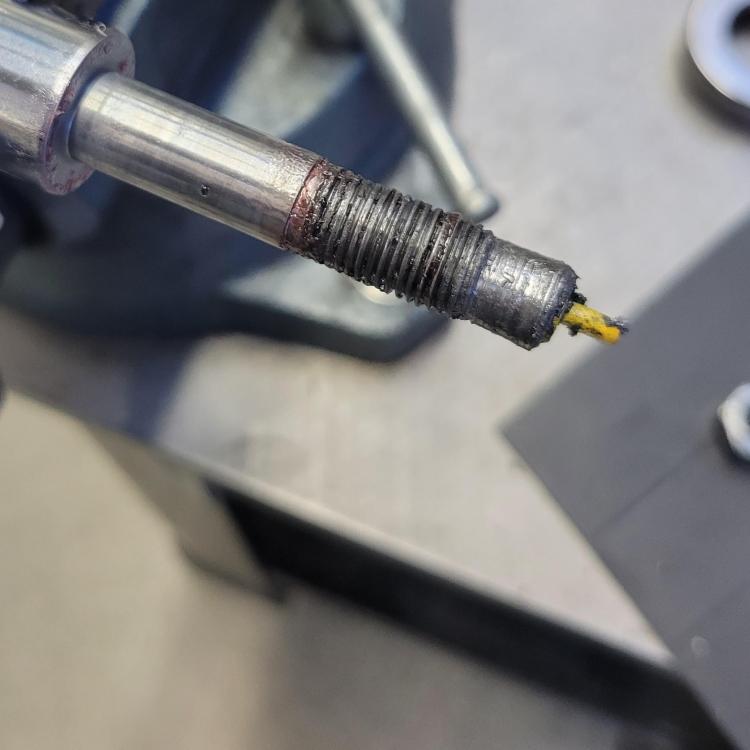
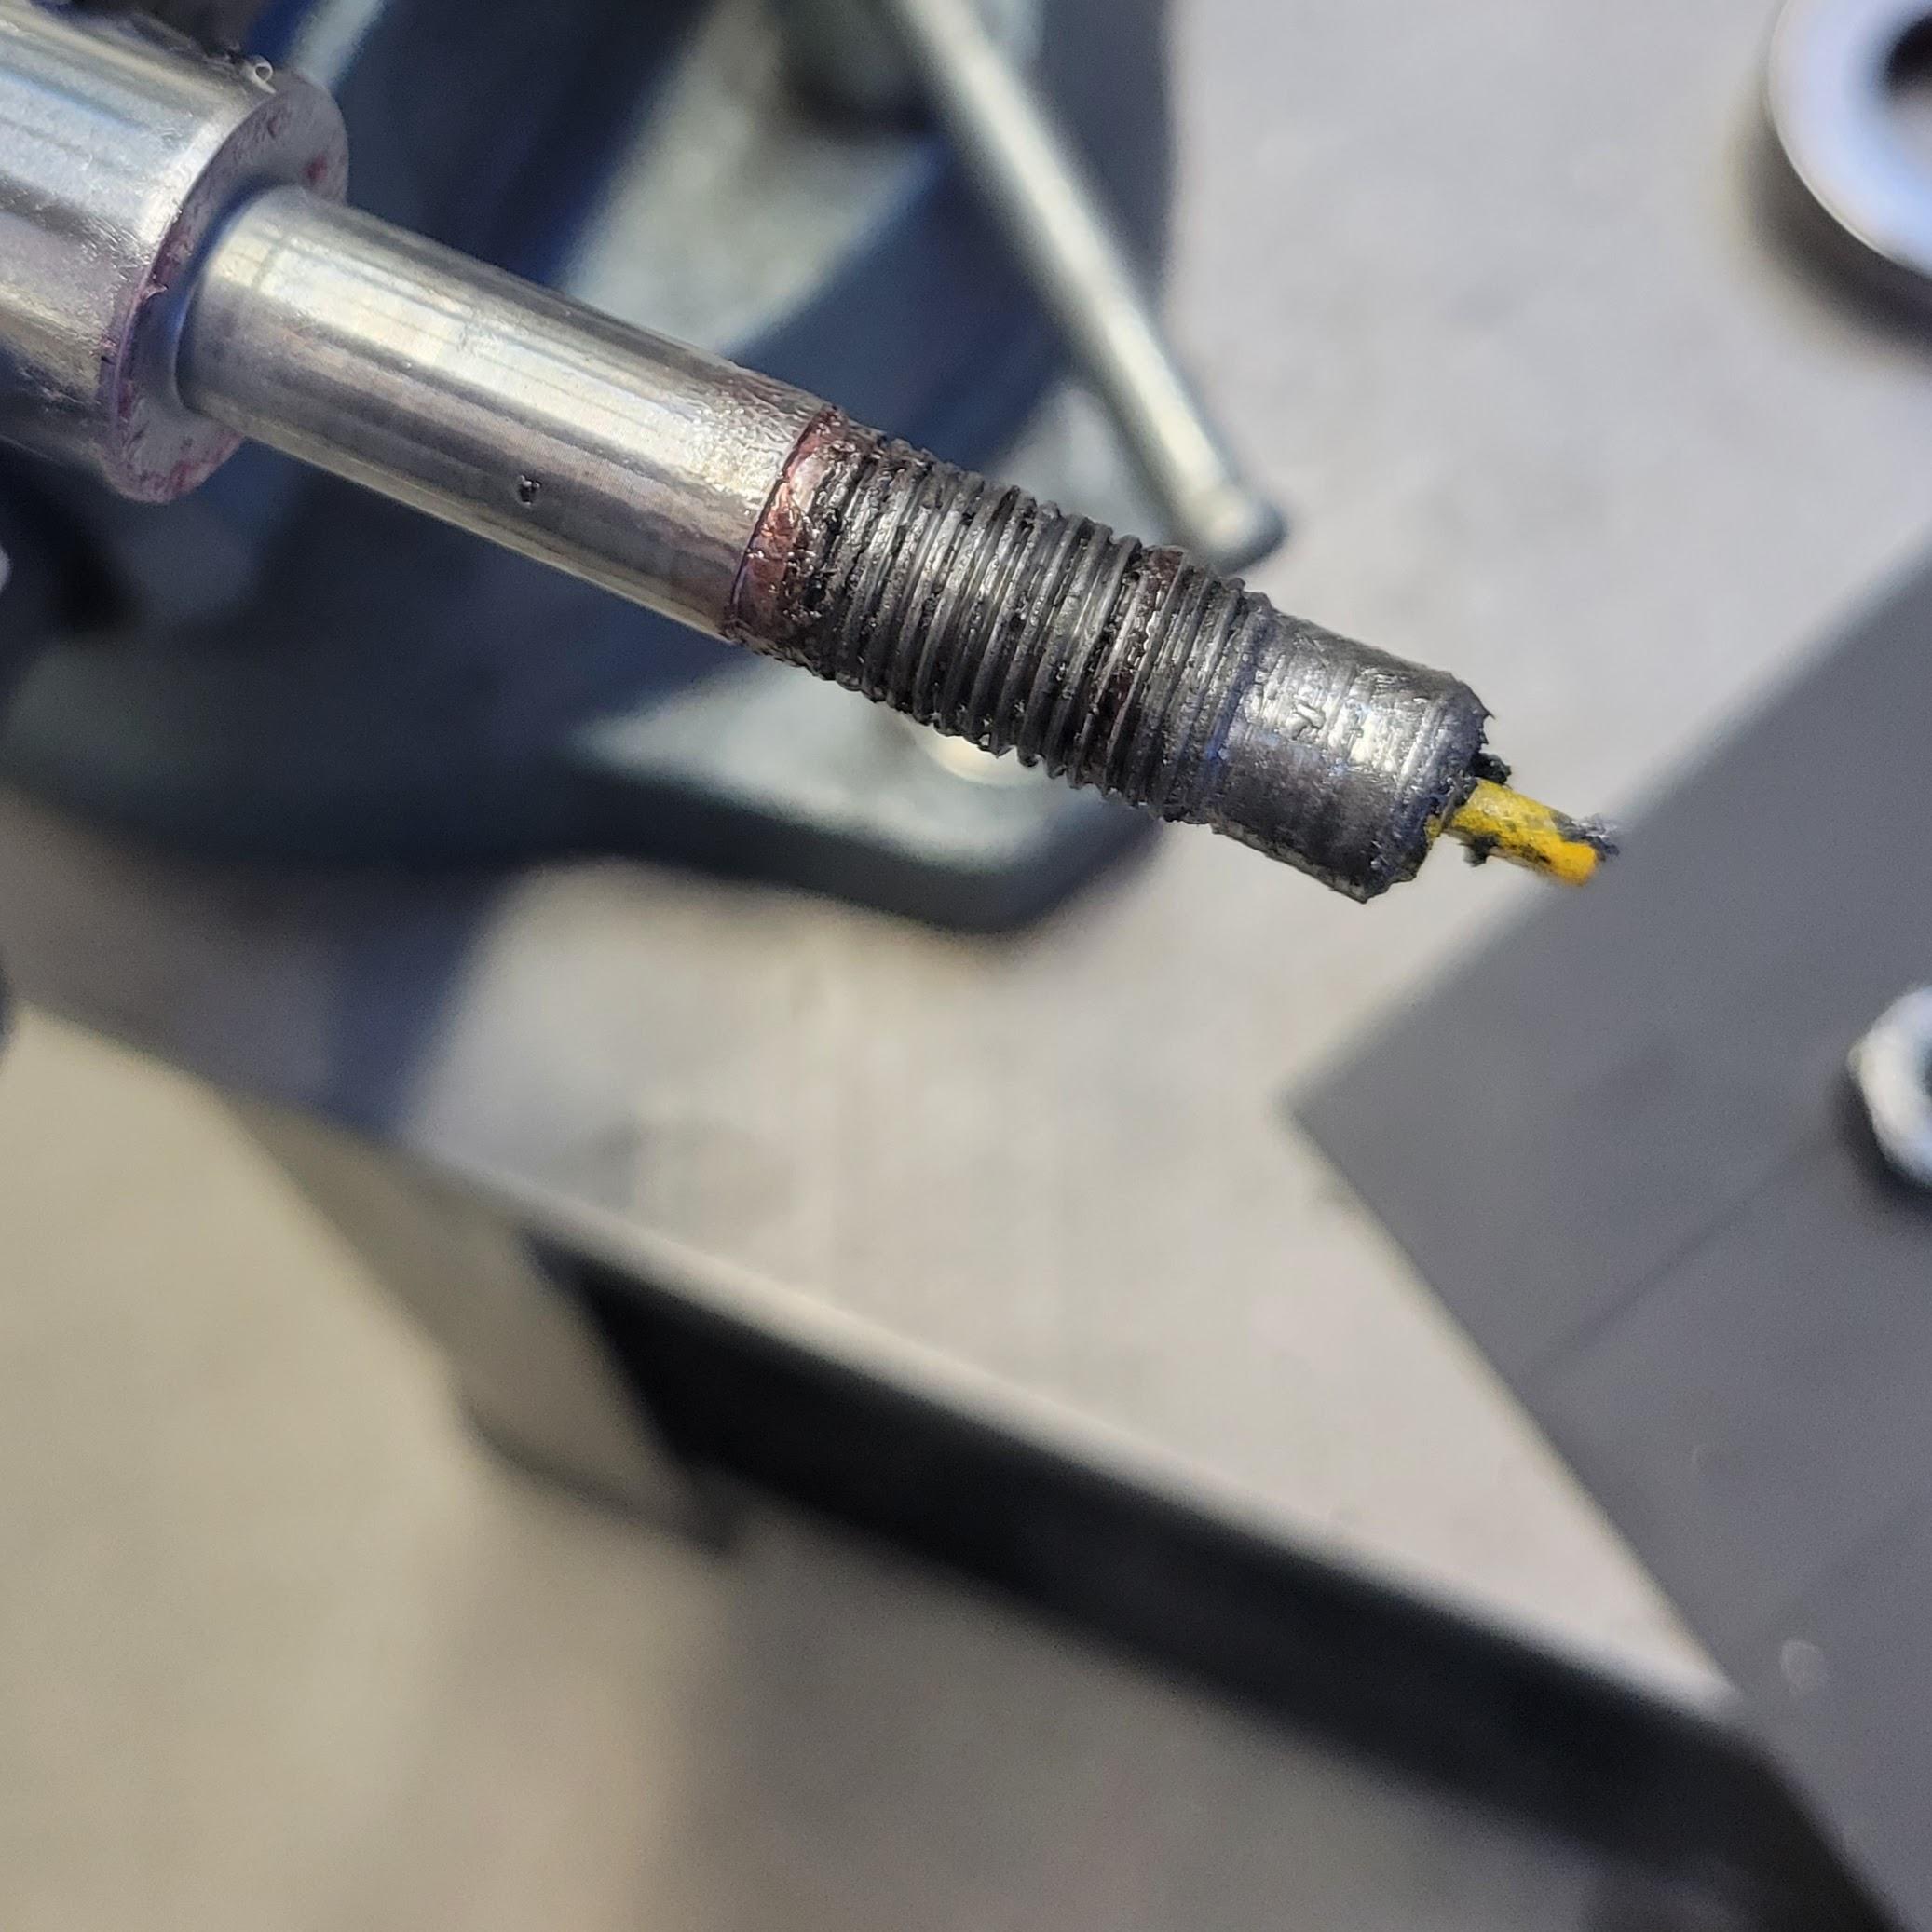
Actually Joseph and I have been talking on the phone about this during recent posts. Lapriser had as also reached out to our KONI tech staff at info@koni-na.com, which is what we would prefer that you do if you have a technical issue such as this. I also saw the post notification when it popped up on the forum. First off, clearly I am sorry to see of the issue that had occurred with the stripping of the threads during installation. We (KONI and Motorsport Ind.) have already made a plan to get a new replacement unit sent out to lapriser at no charge listed officially as a "customer courtesy" replacement due to an installation error that hopefully we can all use a teaching/ learning example and not actually as a warranty situation caused by a product manufacturing issue. Looking at the photo, it is pretty clear that the nut was not cross threaded from the beginning as the threads are only truly destroyed down in the area where the nut sits in the tightened position. The instructions state that the nut should only be tightened to 37 ft./lbs. which is where we feel that things went wrong here. Normally we only see issues of mounting threads being stripped in place (it is quite uncommon though) when someone uses an air or electric impact tool and bangs away to a much higher torque and also gets the very common side effect that the damping adjuster tab and mechanism also gets jammed from the hammering effect of the impact tool. Although the adjuster did get stuck in this case, lapriser did state that he had only used hand tools so must have been solely from manually tightening to much greater number than recommended. Of particular note, the top mounting threads used by the Z cars are use D -shape on the quite small in diameter (12mm vs most strut mount threads at 14mm) with a pretty fine thread 1.25 pitch. The flat area of the D means that about 25% of the circumference has no threading which will also mean that there a not a lot of threads available to hold excess torque without damaging the threads. The D -shape is required by Datsun's upper mount shape which was not uncommon in the 1960s and 1970s but went away for the vast majority of cars after that and now 360 degree threads are the norm for several decades. Extra care should be used if you are installing the D - shaped mounting pins in a spherical bearing camber plate as well that doesn't have the D -shaped mounting hole. Laprise did make the comment that the insert appears to no longer be damping now which is probably evidence that difficult and escalating process of getting the thread damaged nut and mount separated had also cause the strut's piston to become untorqued and open up or bypass the valving flow paths. Normally we only see this when someone uses and impact tool and it aggressively spins the piston rod inside the body or it the car has experienced very high side loading force or top mount bearing failure under use. So we will make sure that we get a fresh units to laprise for his car but would very much like to caution people during installation to be careful and be aware of the following: Use only hand tools and not impact tools as you can overtighten and cause internal issues that you may not notice at that time Use only 37 ft/lbs when tightening the top nuts . If you don't have a torque wrench available, better to be ion the conservative side than the too aggressive side The Z car's 50 year old top mounts require a small diameter, fine thread and a D shape top mounting area with about 25% of the circumference having no threads so again, please do not overtorque it or you can damage the threads and have a tough time getting it back apart. The provided nyloc nut is there to hold the mount properly tighten and not loosen so there is no need to tighten beyond the recommended amount. Earlier in this thread someone projected that the KONI nyloc nuts were made of stainless steel and the cause for galling but that is incorrect. The KONI nuts are actually chrome plated mild steel and not stainless (much more expensive and not used in damper hardware) so dissimilar metals of different hardness is not an issue here. Sorry for this being long but I am trying to be thorough with the explanation.1 point
-
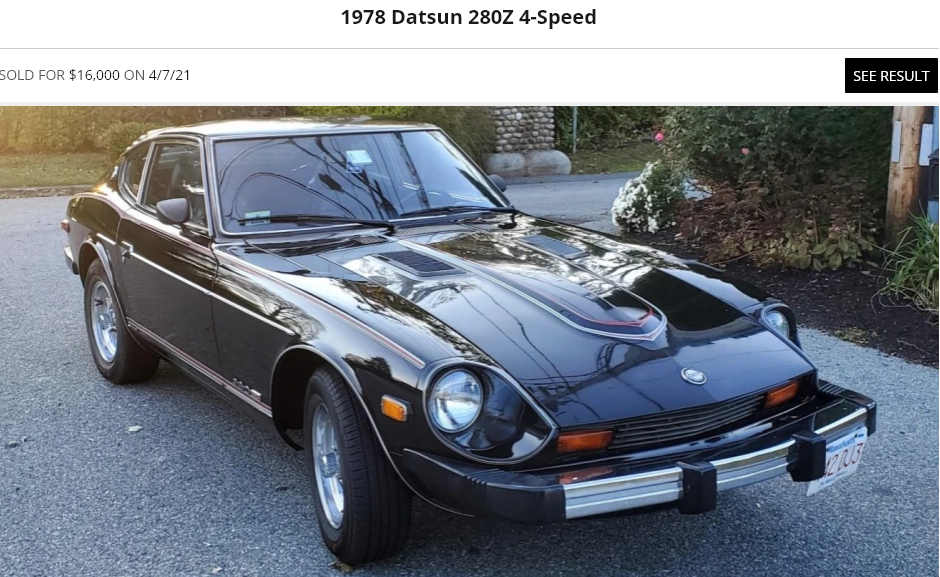
What a great deal that was! Hope he keeps it original. Be nice if the buyer shows up here and joins the club.1 point
-
$16,000 for the black 78 four speed. Looks like a dependable ride, no worries about using it. https://bringatrailer.com/listing/1978-datsun-280z-88/
 1 point
 -
Hey guys, I'm wondering if anyone has had any issues with the top nut stripping out or crossthreading? I installed the strut with no issue which involved hand threading the supplied nylock nut until it hit the plastic locking section, then tightening by hand with a socket wrench. I realized I forgot to put the bump stop into the assembly and began unthreading the top not and it eventually froze up and would not move. After some creative clamping and a lot of force I was able to remove the top hat assembly but the threads and adjustment knob on the strut are destroyed. The adjustment knob does not move and the strut seems to have lost its dampening resistance. I am a little baffled about how this could have happened so aggressively. I don't use nylock nuts usually and this one seemed very aggressive. Is this a common issue with nylocks?
 1 point
 -
Yea I may resort to buying one...I should look at it like I am able to get a deeper clean in and replace the clutch if needed too. I'm this far in already!1 point
-
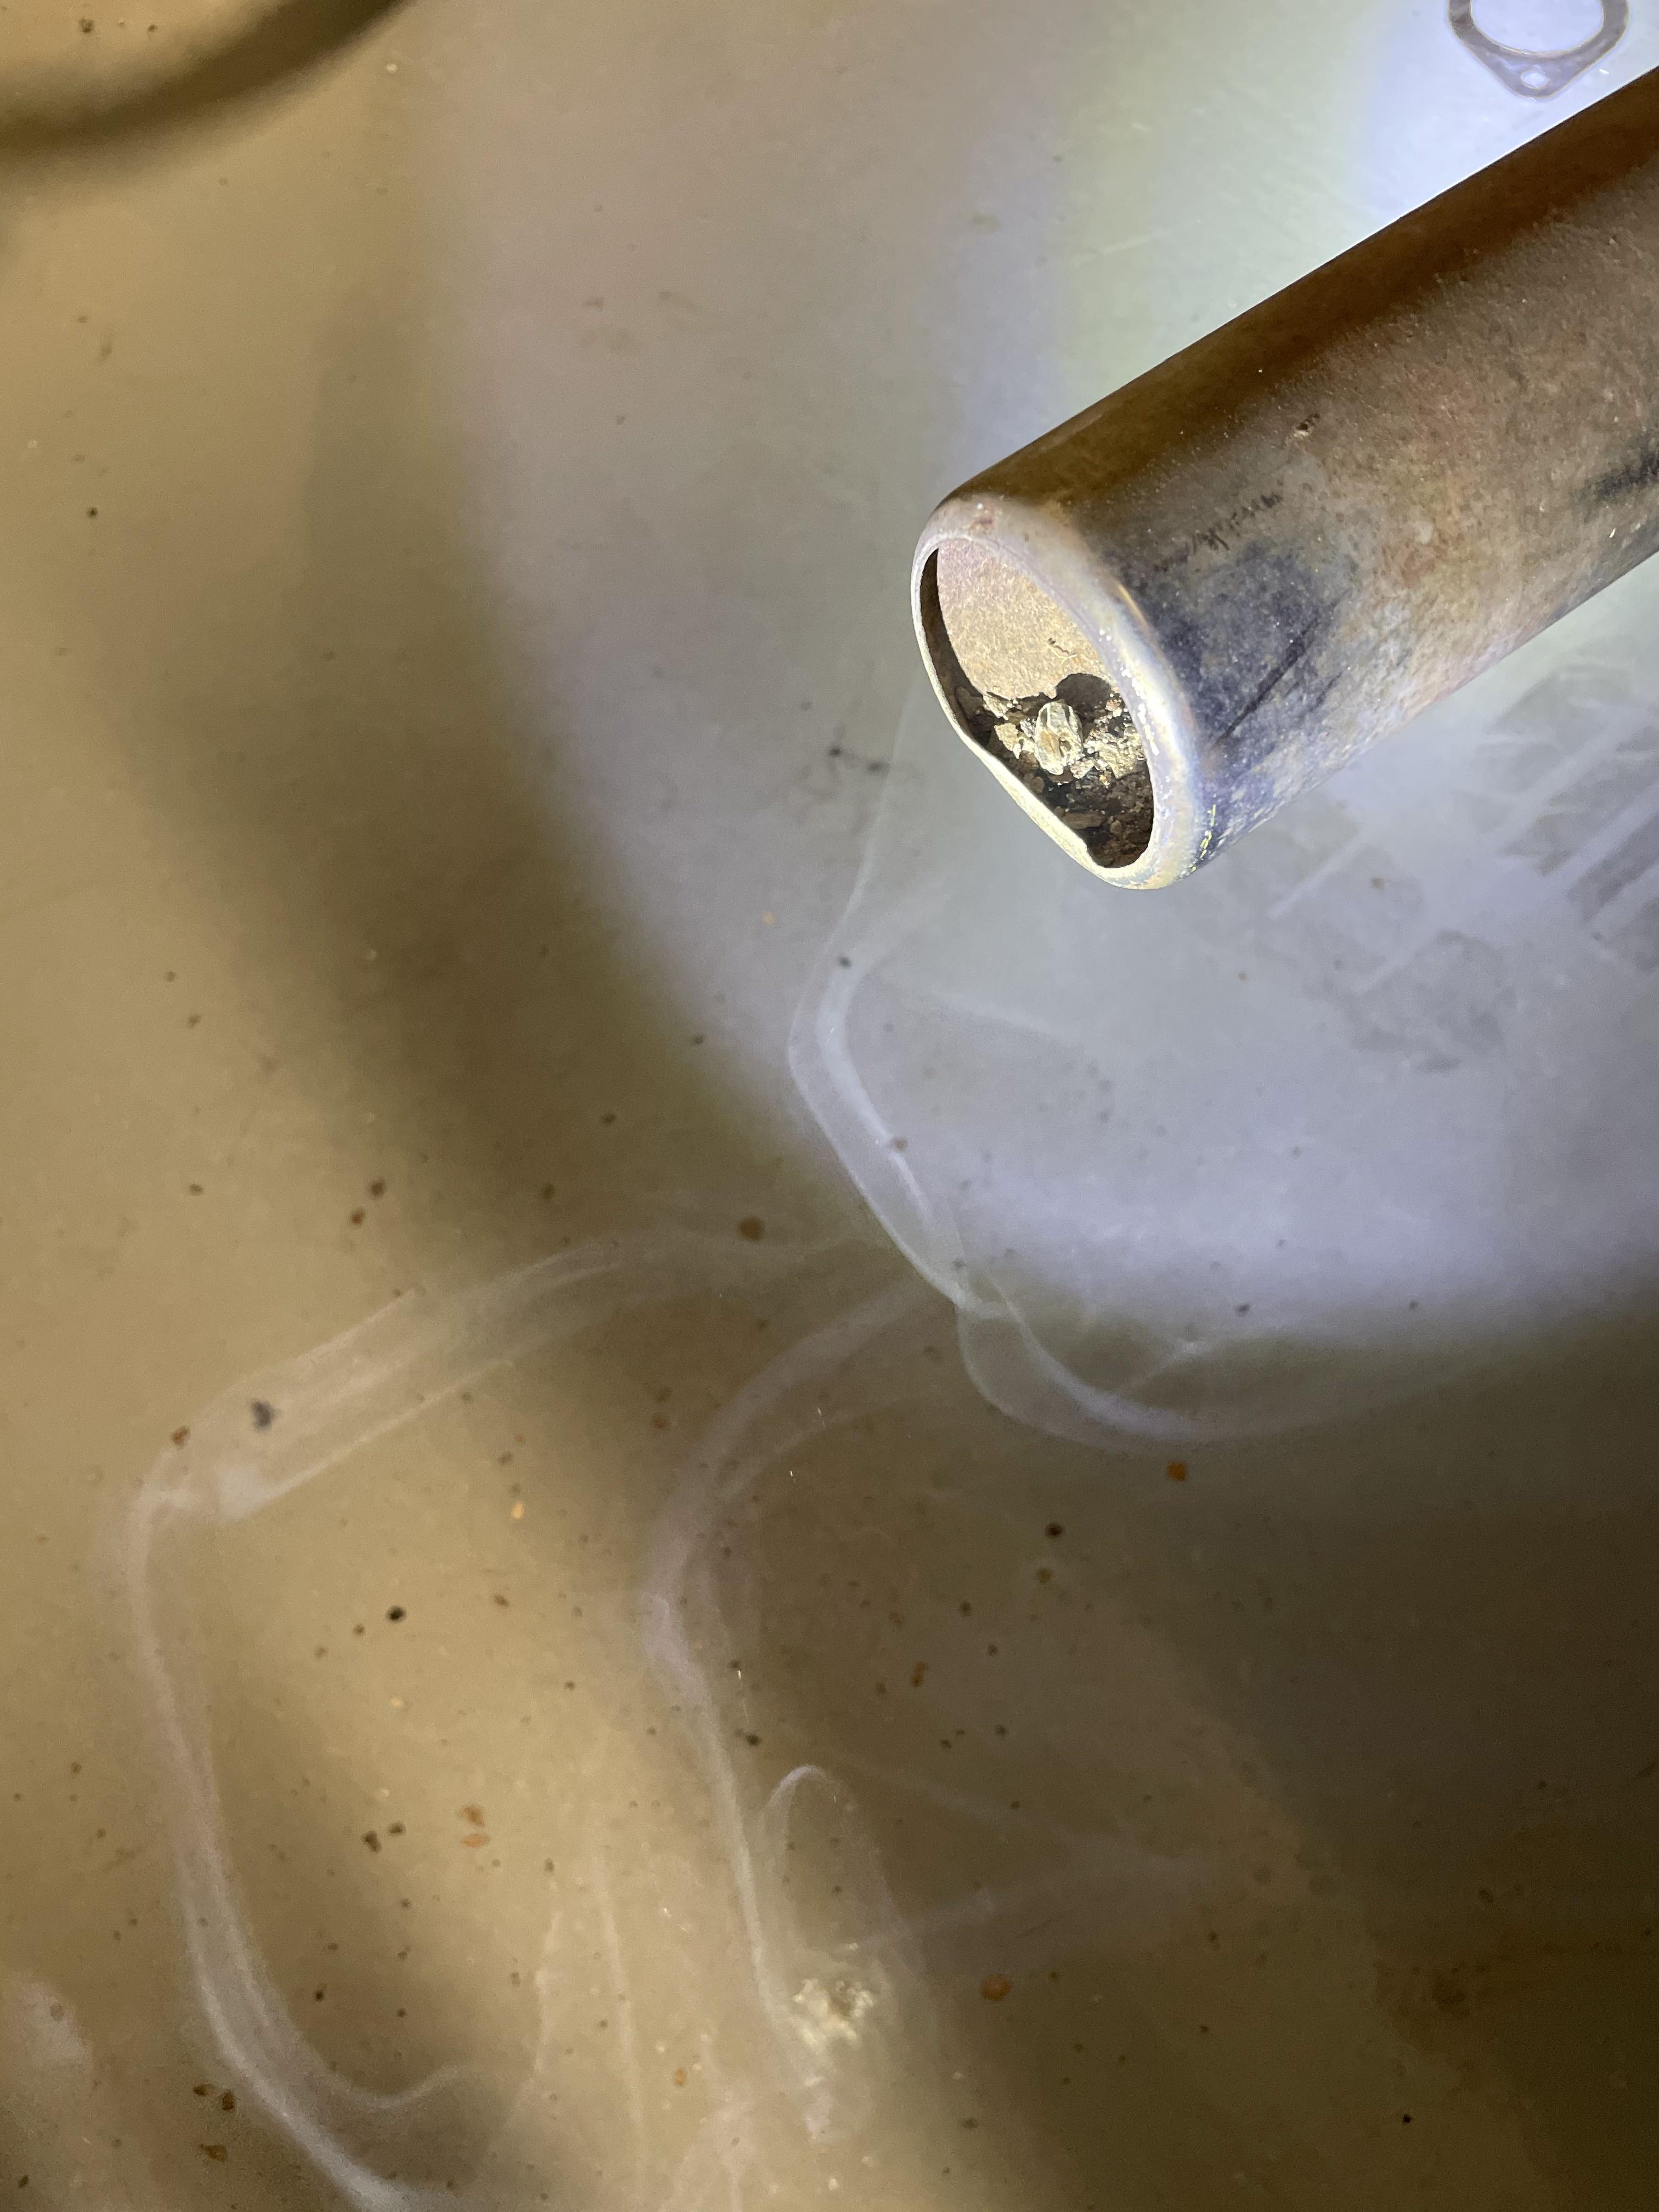
Small project update. I was able to finally decide the direction of the build. I'll be rebuilding the current head (if the machine shop approves) and use the stock cam for now. I figure it is not worth the money for a stage 1 cam and the original EFI. Later on I can decide on megasquirt or carbs and worry about power then. I'll slap on some 6-2 headers and some twice pipes out the rear. I was debating in my post above to not worry about the rings, but I did a quick test by pouring some gas into the cylinders to see how bad they are. Welp, good thing I checked. Within 15 minutes there was a noticeable drop in 4 of the 6. Maybe 30 minutes later they were empty except for Cylinder #6 which held great. SO out they will come. Next debate is pulling the pistons with the block in the car or finding a hoist and stand. Not so much a money issue, rather the space of the two is annoying. Has anyone had experience pulling pistons without pulling the block? Lastly, I made some progress in the engine bay while everything was out. I pulled the wiring harnesses back to the firewall and re-wrapped them. Cleaned it up the best I could and was planning to do a quick paint. But I am just not happy with how unclean I got it. I'll need to push it out front for a pressure wash before I go painting. I wish I took photos of this...there was dirt thick enough to match the brake lines on the frame rails!1 point
-
There should be a very small gap (just enough air for idle) between the butterfly and the carb housing if the linkage is correct and the choke linkage isn't opening the butterfly a bit for cold start. The only way the pistons will lift is by the engine drawing air past the butterflies.1 point
-
Are the pistons up or down when it's running? If they're up it would indicate the butterflies are open. If they stay down it would indicate an intake leak.1 point
-
I can't imagine an intake leak large enough to idle an engine at 4,000 rpms. When you say the throttle is all the way closed, are you referring to the throttle pedal or the carb butterflies? I think your butterflies are partially open which would indicate something is wrong in the linkage. Mine did the same thing one time when I forgot to hook up the heat shield springs.1 point
-
These are only $9 (plus some shipping I expect) https://www.240zrubberparts.com/apps/webstore/products/show/55070311 point
-
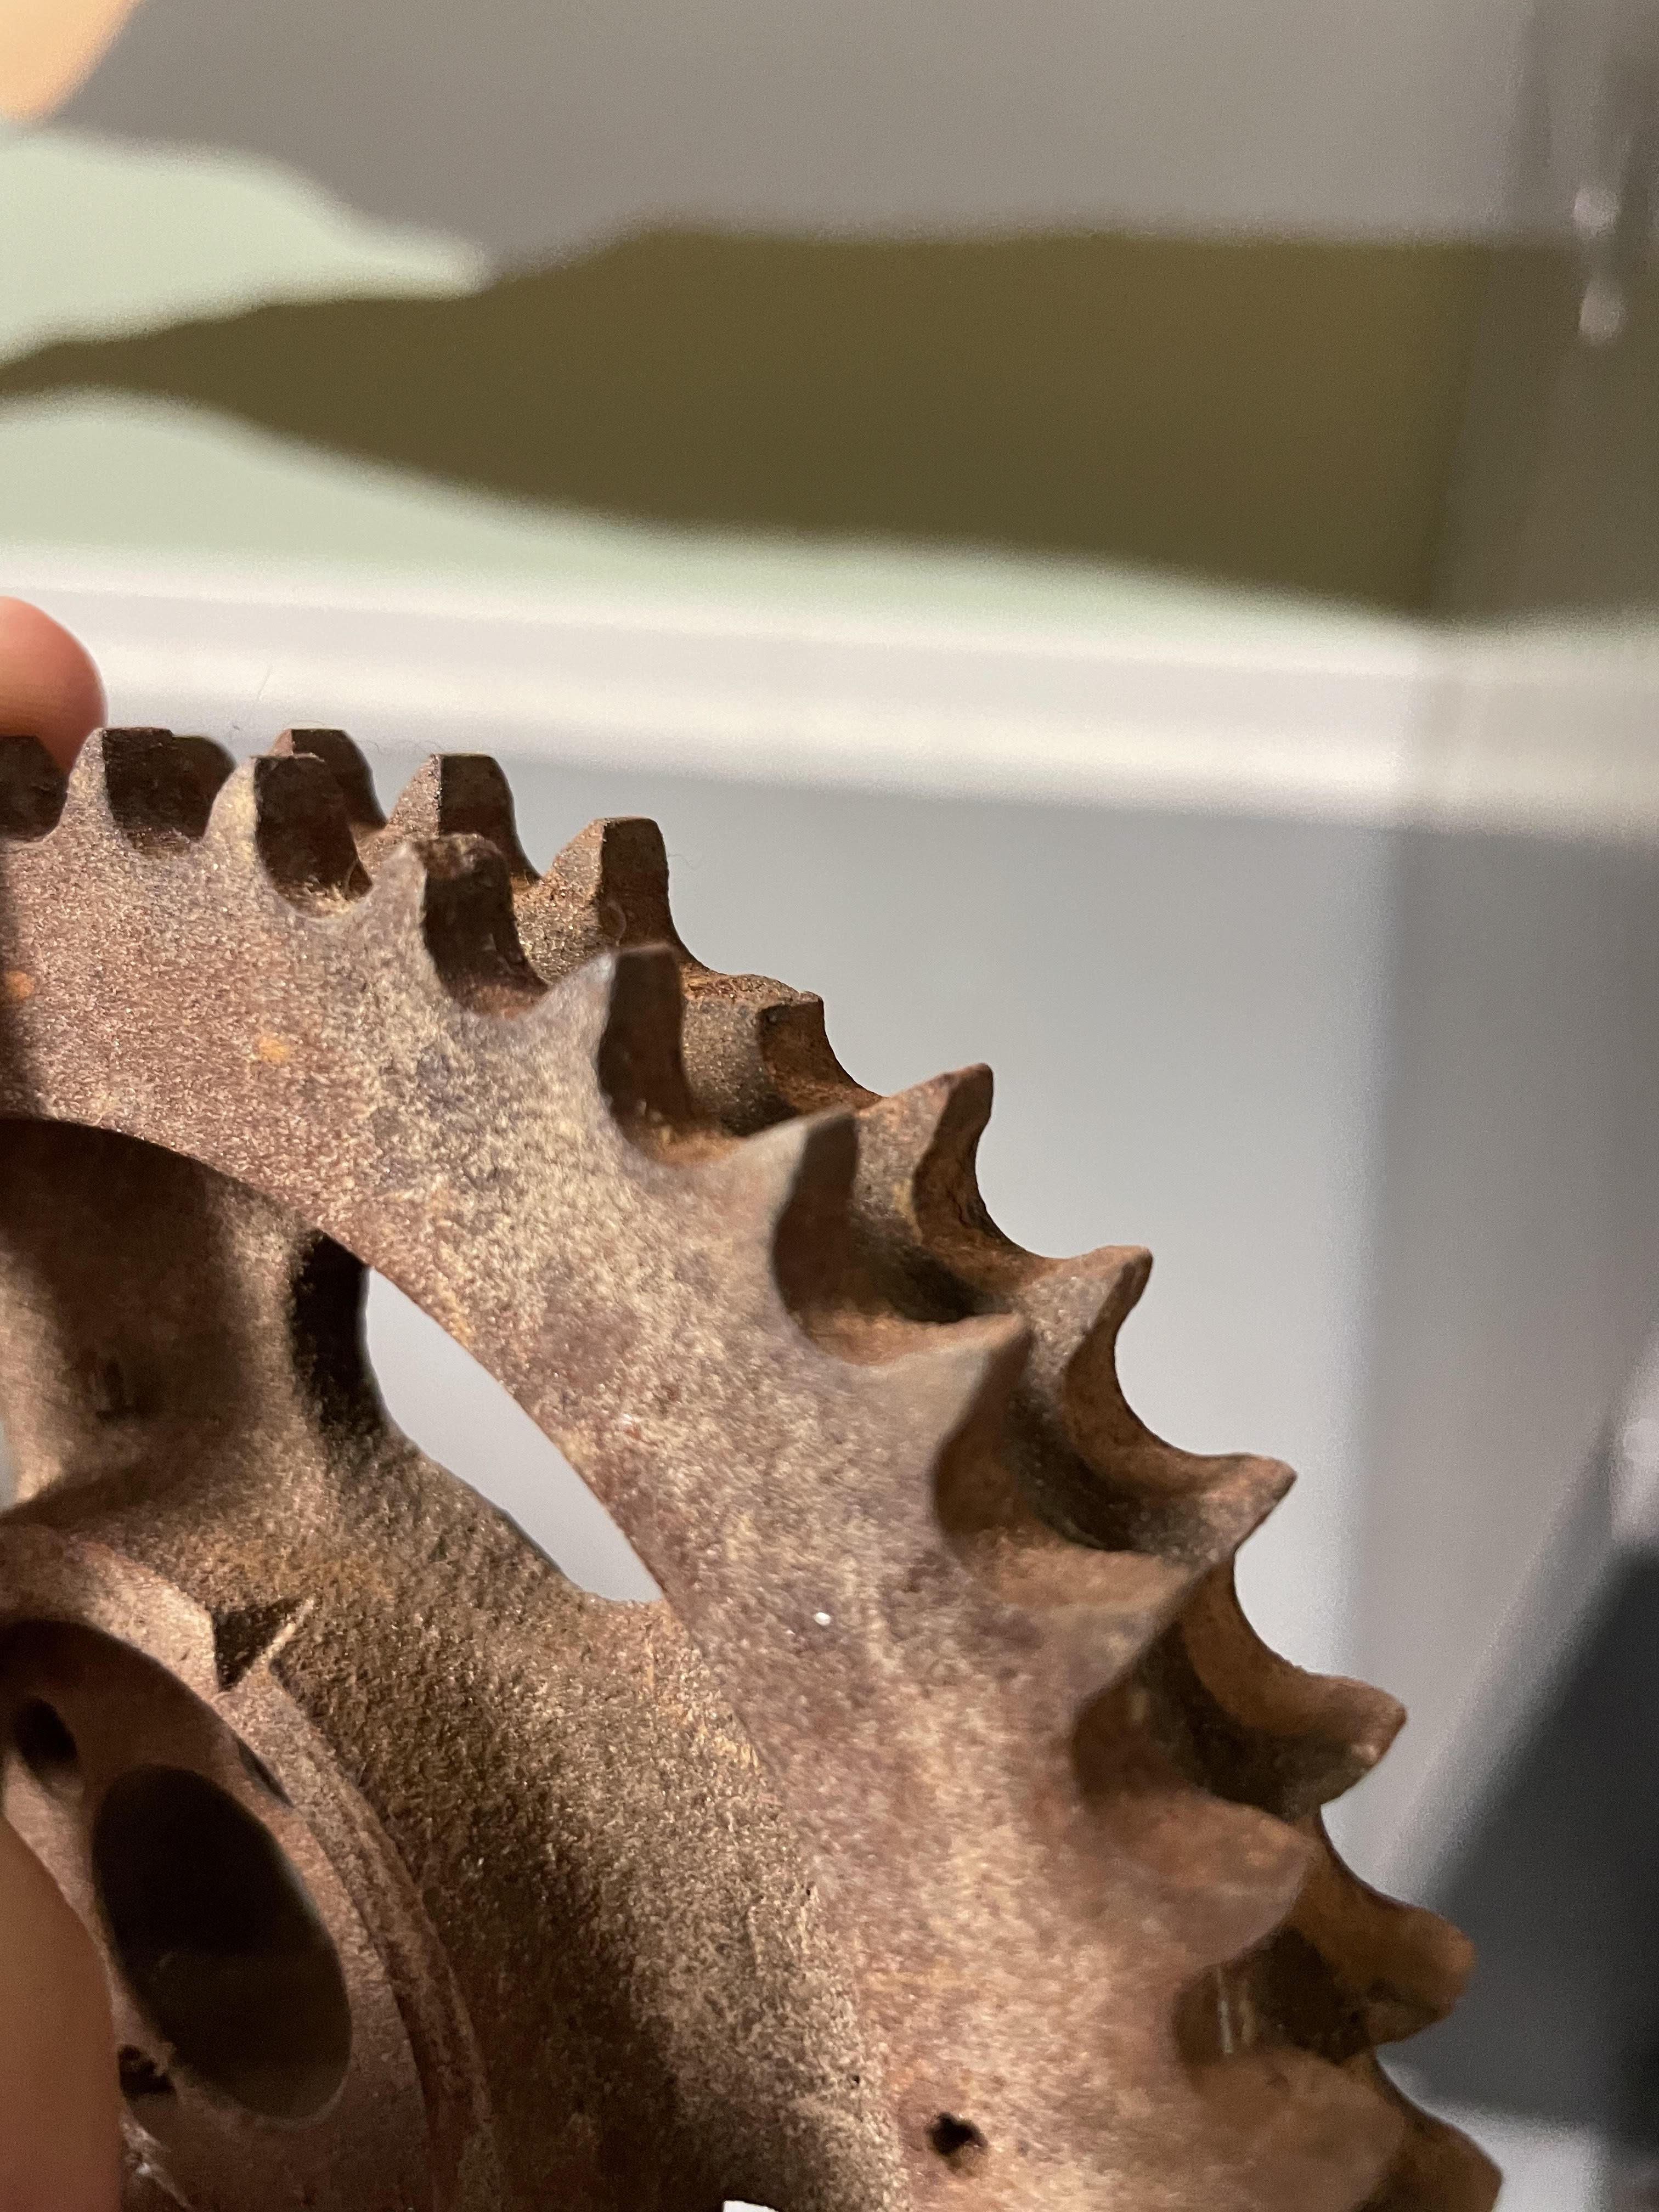
Yes, mine has been filled in a lot on the left, and around the spark plug as well. That's not just a shave that made the spark plug area look like that. I was also thinking that the wall down towards the valves was too abrupt. But that could easily be sloped off a little more gradual by removing some of the infill. By it's next owner.1 point
-
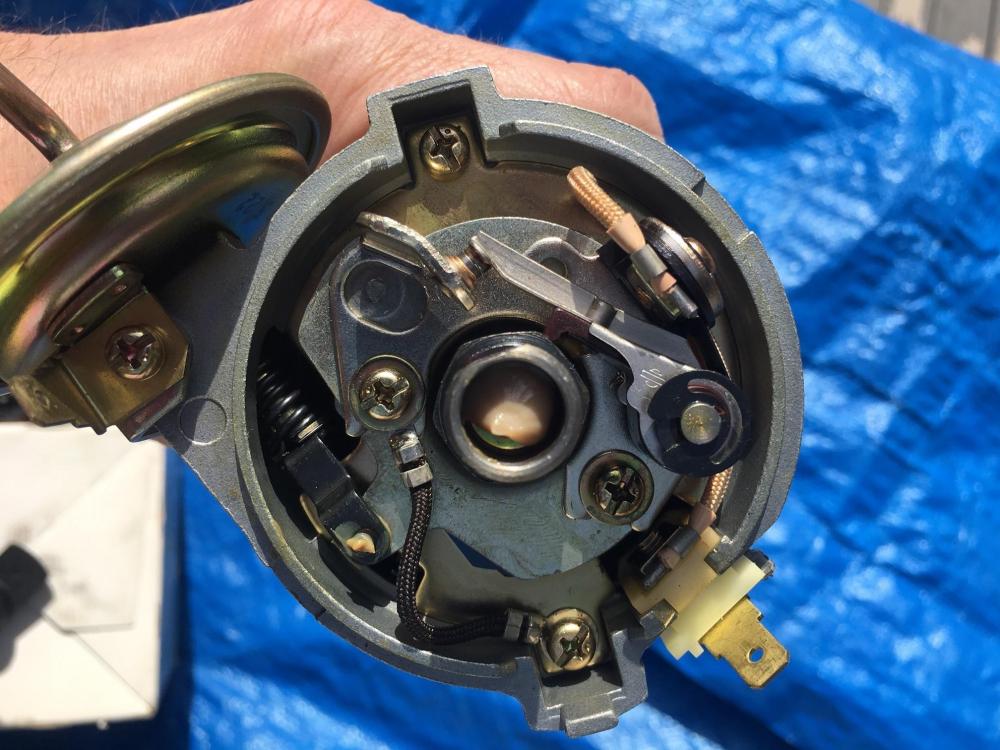
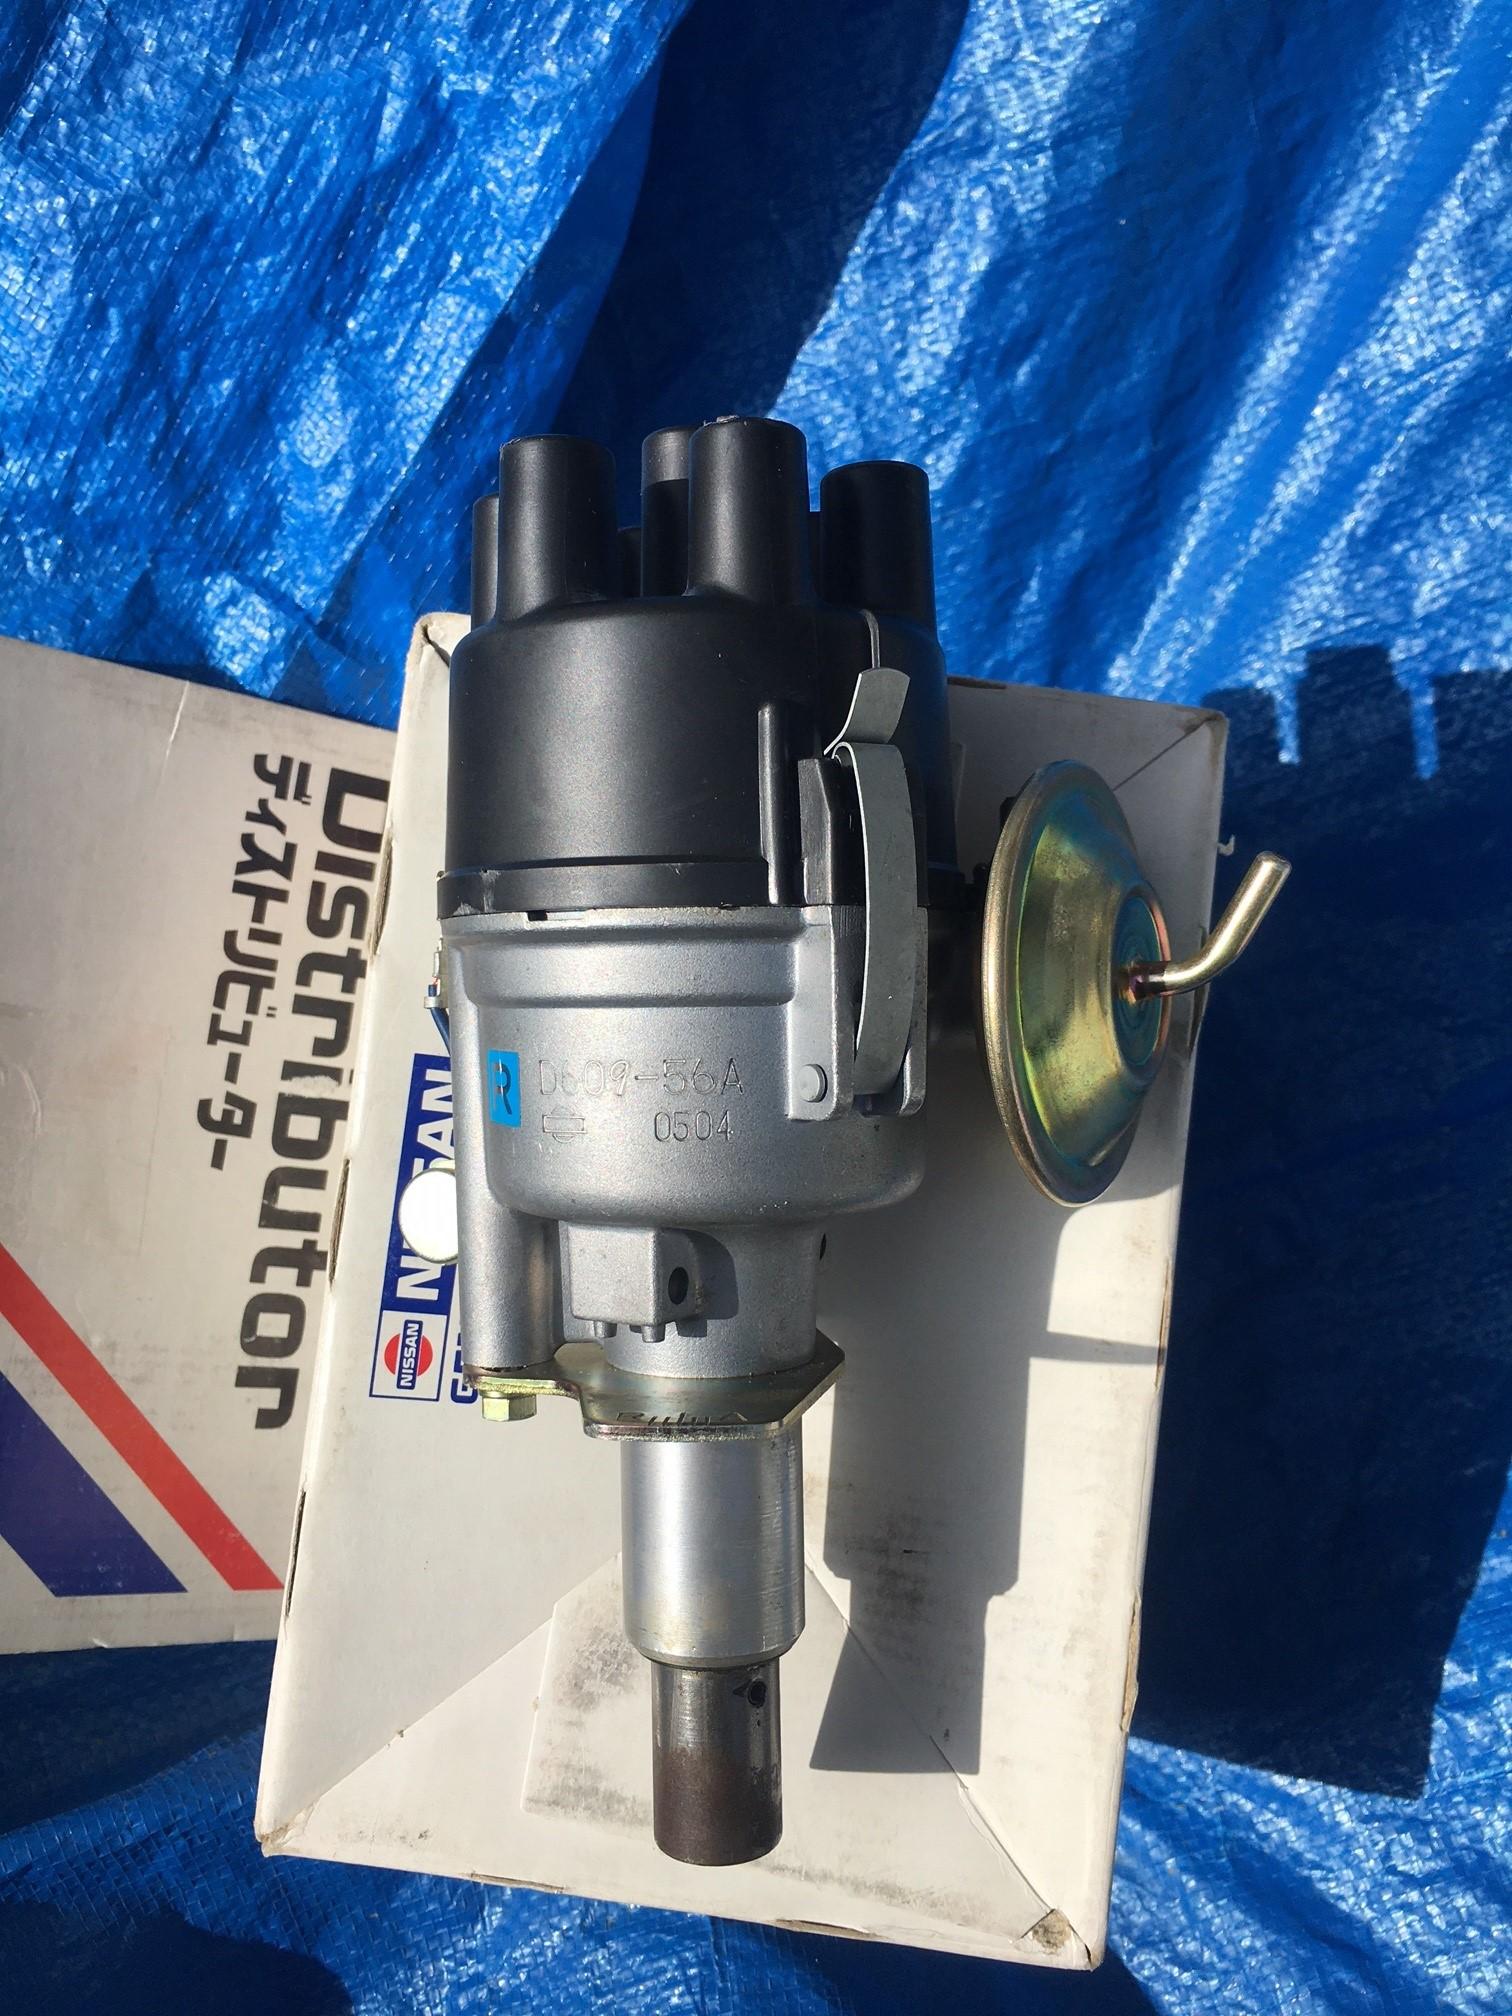
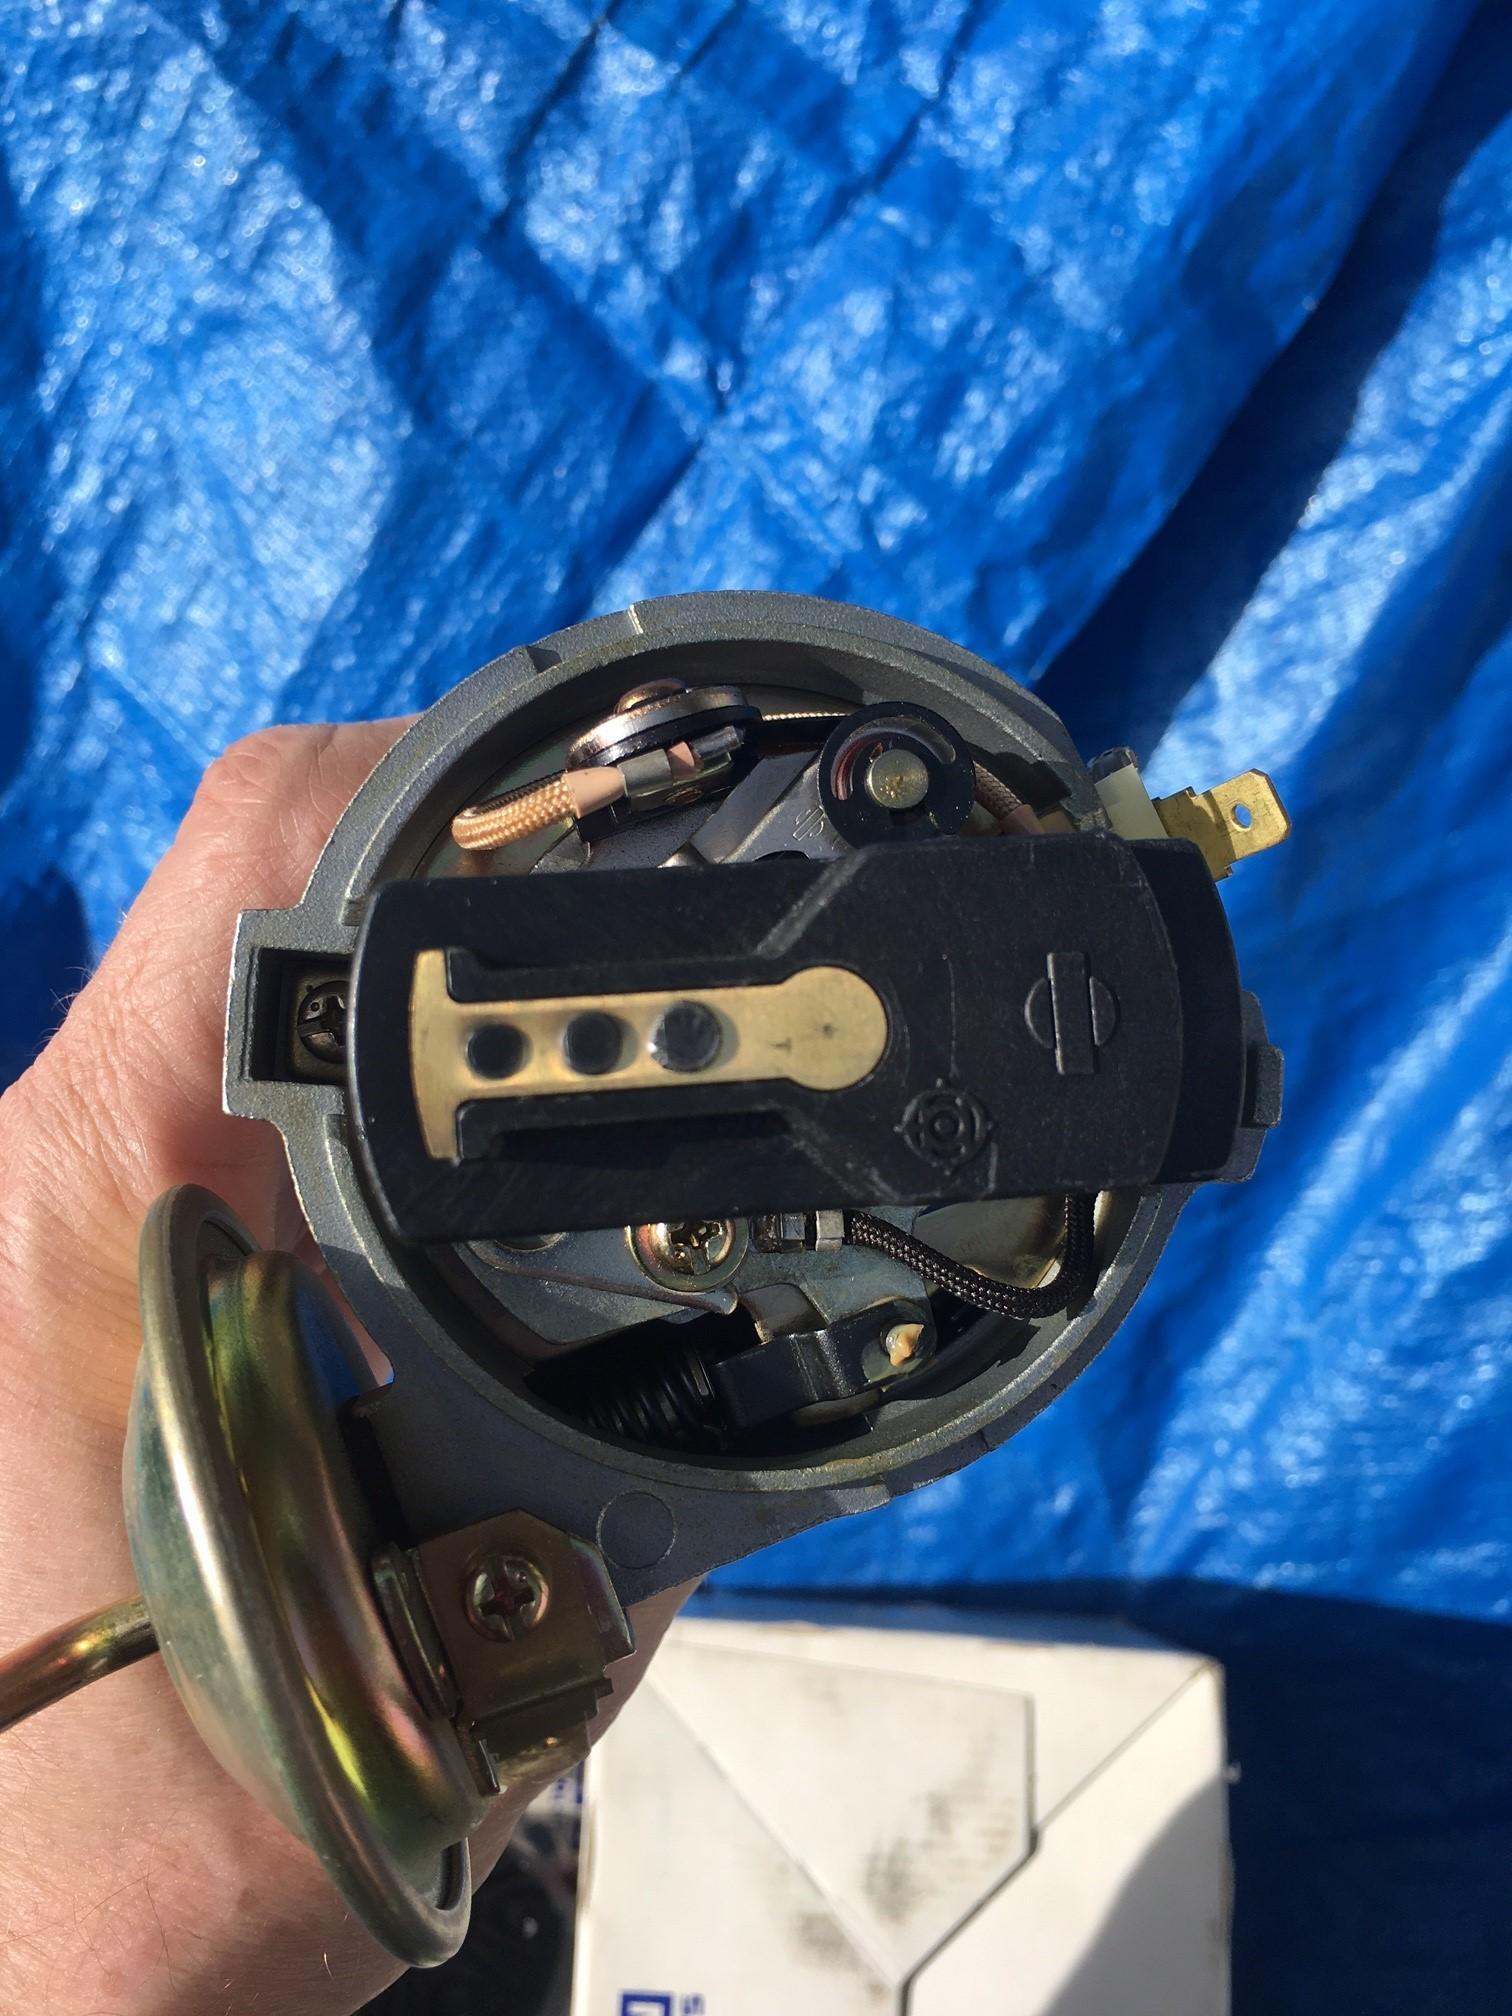
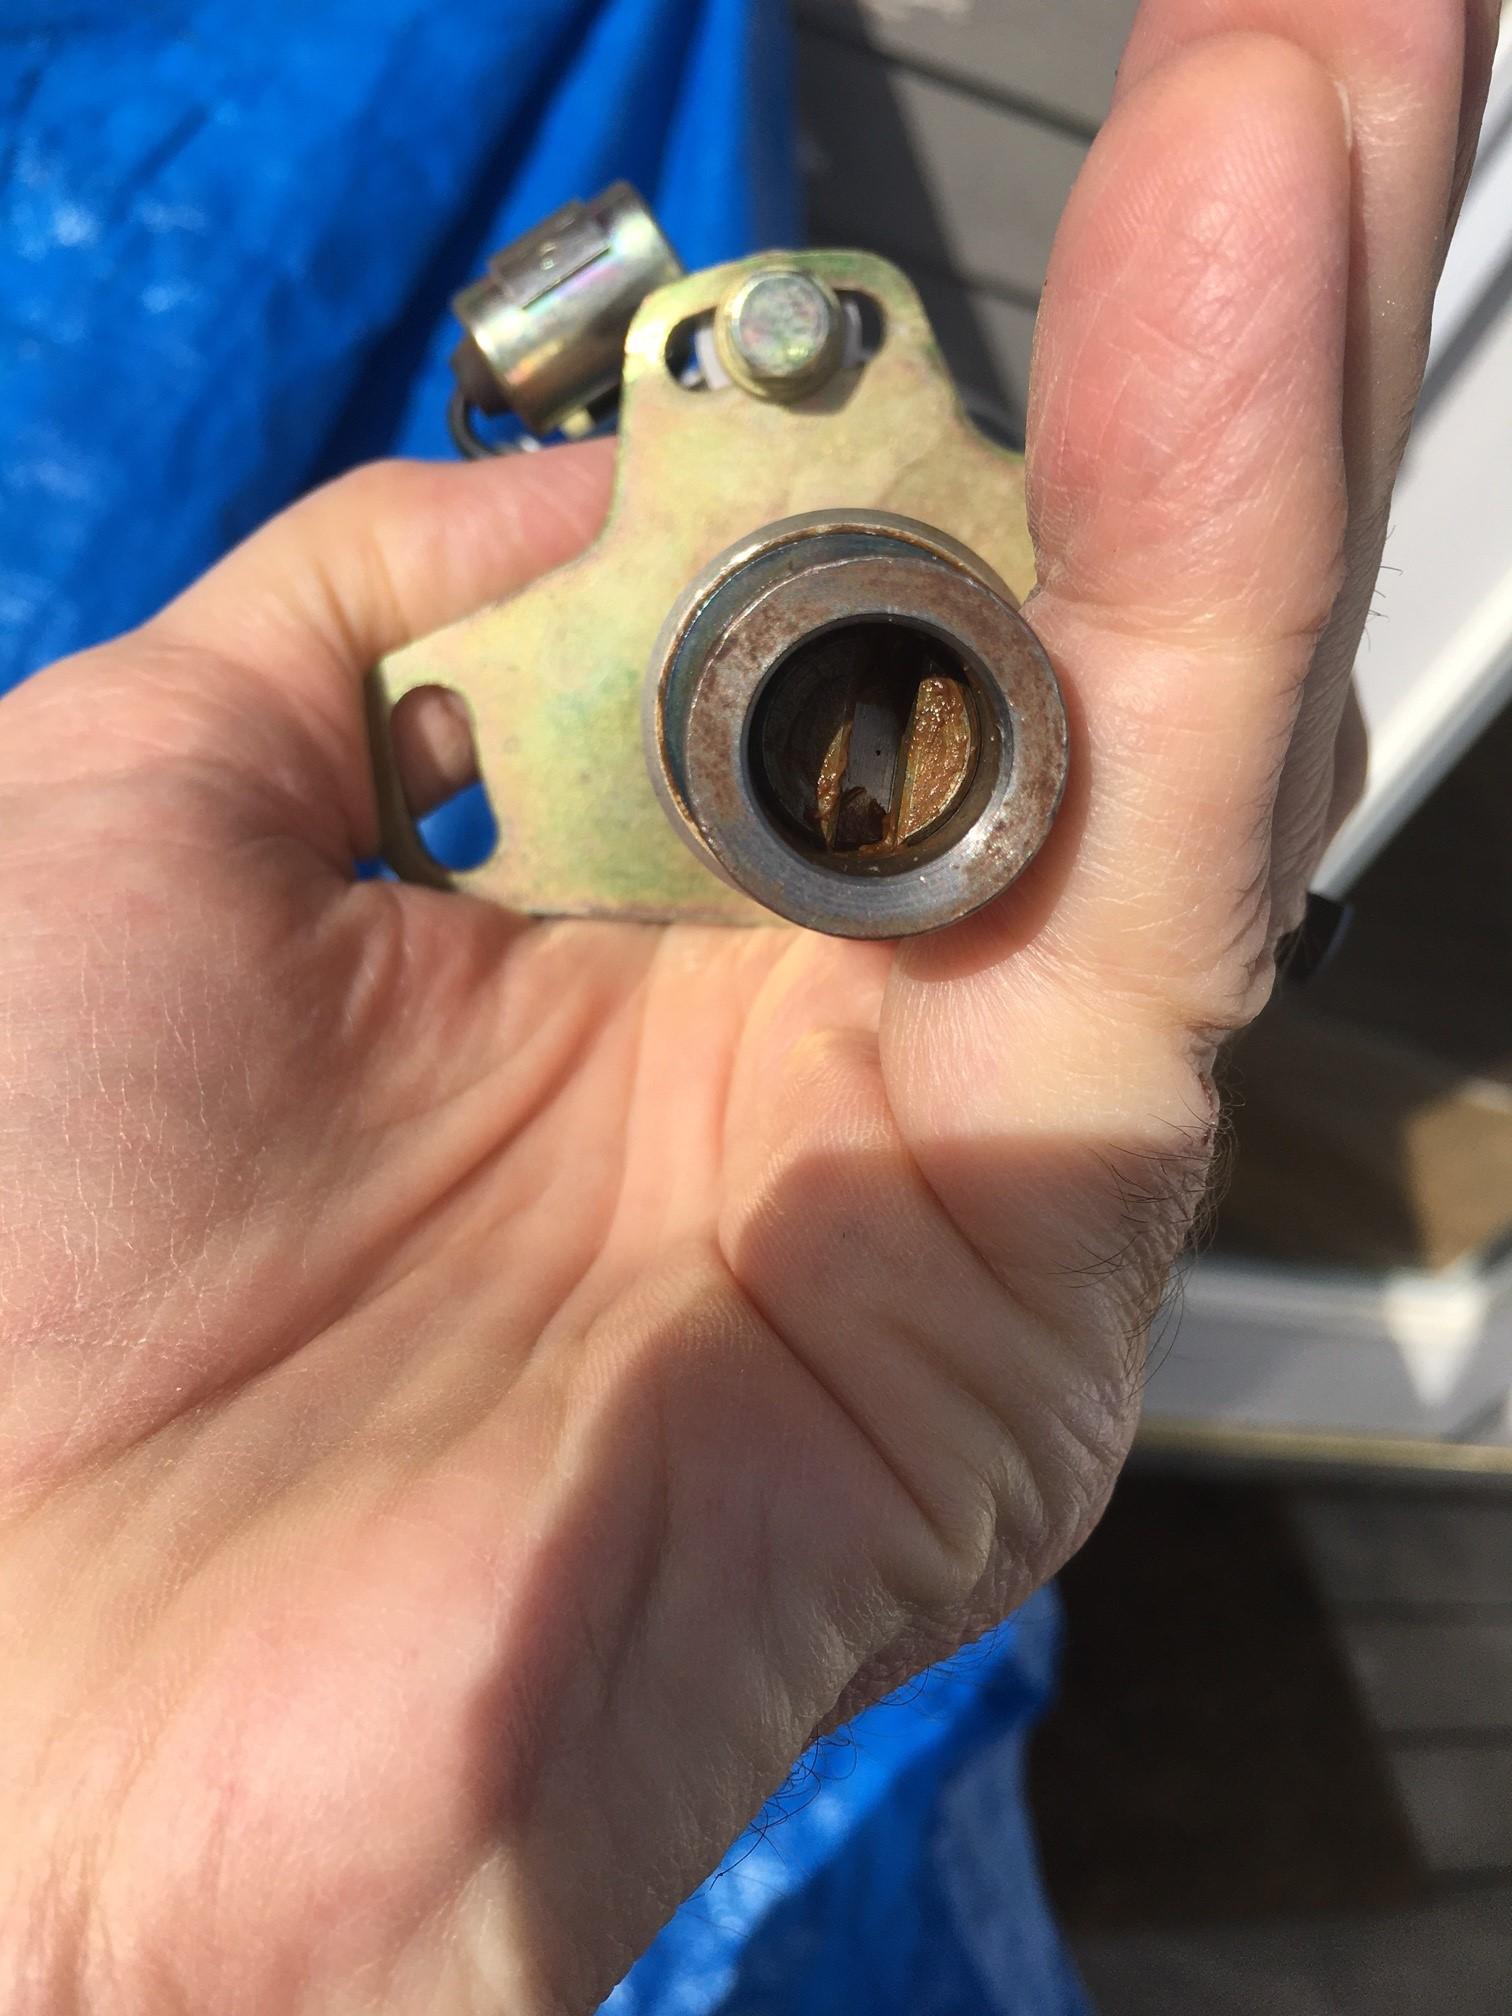
I'm no expert on distributors, but I think that is a euro distributor and may have a different advance curve. I found this old post about that very dizzy. I also found this chart showing the advance differences. Maybe someone here can explain what the different curves will ultimate mean for your set up. Just to add to your frustration 🥴 I hope it works for you.
 1 point
 -
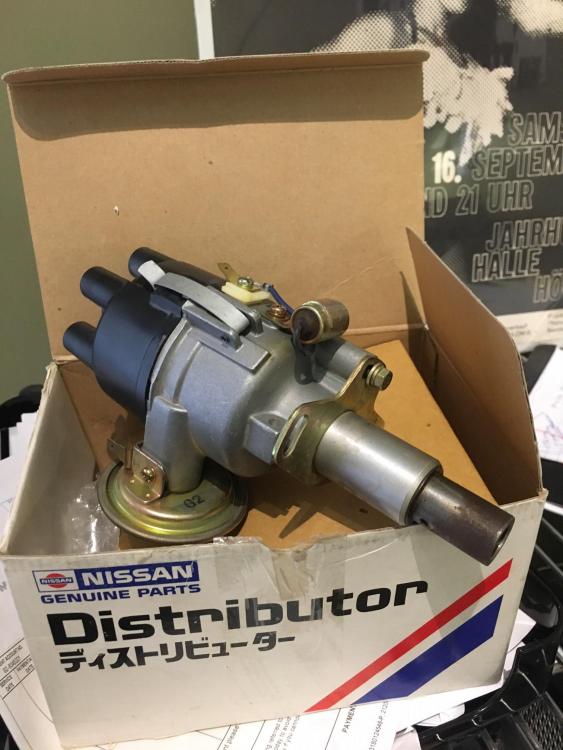
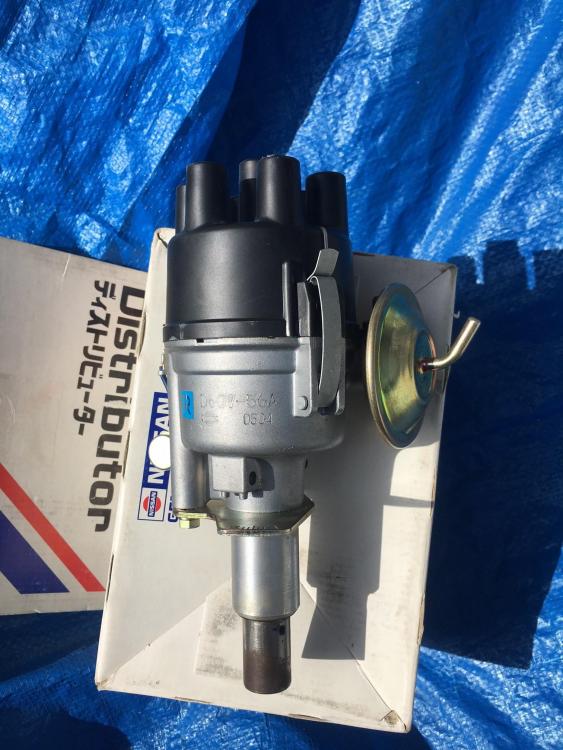
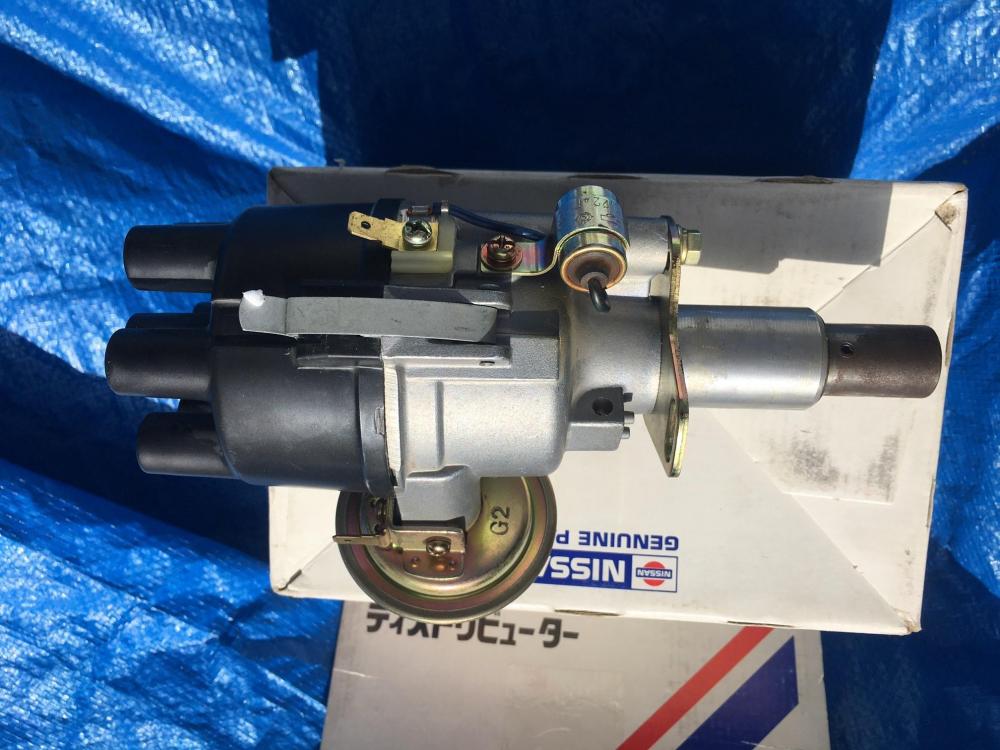
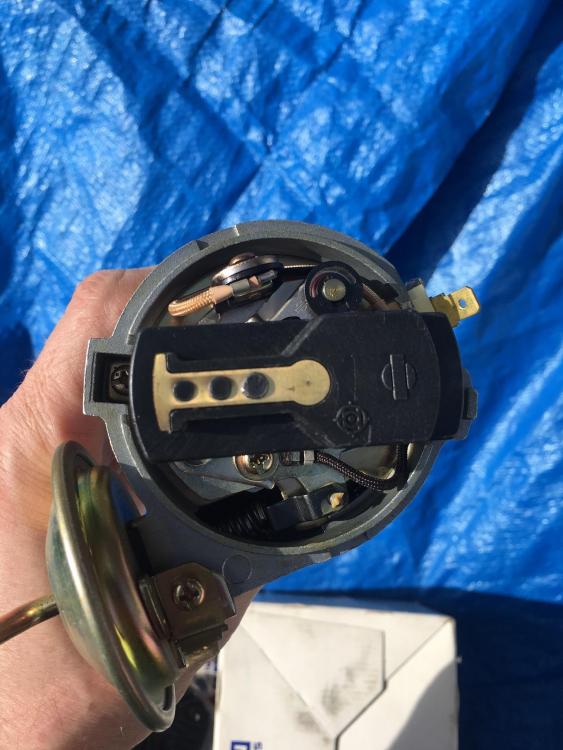
Gents, I'll check all those connections out this weekend. (I won't be able to test this weekend though, because I'm waiting for a cam oil tube from Yoes Racing. In the meantime, here's a distributor I bought on ebay (see pics) . It came from Kuwait(!). My plan is to swap it with the old distributor as-is - with the points, so I have some more questions: 1: What do I need to do under the hood in order to revert back to points from a Pertronix set up, other than a) Reconnecting the Ballast resister and b) Reinstalling the condensor on the coil bracket? Question 2: Should I leave the 3.0 ohm flame thrower in or re-install a 1.0 ohm flame thrower that I have? (I'm guessing the latter.) Question 3: Is there good wiring diagram anywhere that would help in this process? (I have a Haynes and the FSM.) Question 4: What am I NOT asking that will get me in trouble?! 🙂 Gracias, Amigos.

 1 point
 -
I just put a 40" TV in my shop. Still trying to get the HDMI over Ethernet thing to work right, but when I do I'll be able to catch the racing on the weekends, and get work done.1 point
-
I'm basically starting my journey; I'm in only a couple of weeks. My wife has asked several times already, "So how long do you think it will take?" She clearly has plans. Meanwhile, I'm fitting the garage with a hammock....1 point
-
Just wanted to chime in after installing these on my '75 280Z. I definitely researched this thread, and very much appreciate all of the great feedback and information here. Nothing but a good experience for me. I replaced the stock springs paired with KYBs with the full eibach lowering kit (23-4042 on MSA) and koni shocks (2x 23-1033, and 2x 23-1034 on MSA). I also did the MSA sway bars at the same time. Everything bolted up fine. I had the usual issues with the rears when trying to get enough clearance without pulling the spindle bolts. I ended up dropping the rear subframe; pita, but there was no way those spindles were coming out and I wasn't ready to tackle that monster just yet. I did not have any issues fitting the gland nuts, or with seating the shocks into the strut tubes. The fronts were done in about 1/4 the time of the rears, mostly due to having to drop the subframe. Once installed, the drop in ride height was definitely noticeable. I didn't measure, but I'll include a picture or two of the before/after. I set the shocks to 1/2 rotation from full soft for starters, and haven't felt the need to adjust them further yet. I've been out on 2 short twisty drives so far. The car feels firm, but in a sporty confident way. Bumps are felt but not harsh. Far less dive and roll. I'm sure the sways are helping there as well. The shocks and springs seem very well paired. A definitely improvement over the floaty feeling of the stock springs/sways + KYBs. Looking forward to pushing it a little harder this summer!
.thumb.jpg.dca115758718d33e620d84ad14db09fb.jpg)
.thumb.jpeg.a4726c7dc01d11bc2d500c283338a305.jpeg)

.thumb.jpeg.7ffda07855aa876da71933c5c0b1b774.jpeg) 1 point
1 point -
@dutchzcarguy1 point
-
Yeah, I agree, won't be signing up for Instagram!1 point
-
Never realized how tight a fit cross flow s6 can be.... +1 for the v8 for me 😛1 point
-
Cool build! I considered that swap, but in the end kept the original motor and put ITB's on it. Health issues caused me to sell the car but to a friend, so I still get to visit! Will watch this thread with interest!1 point
-
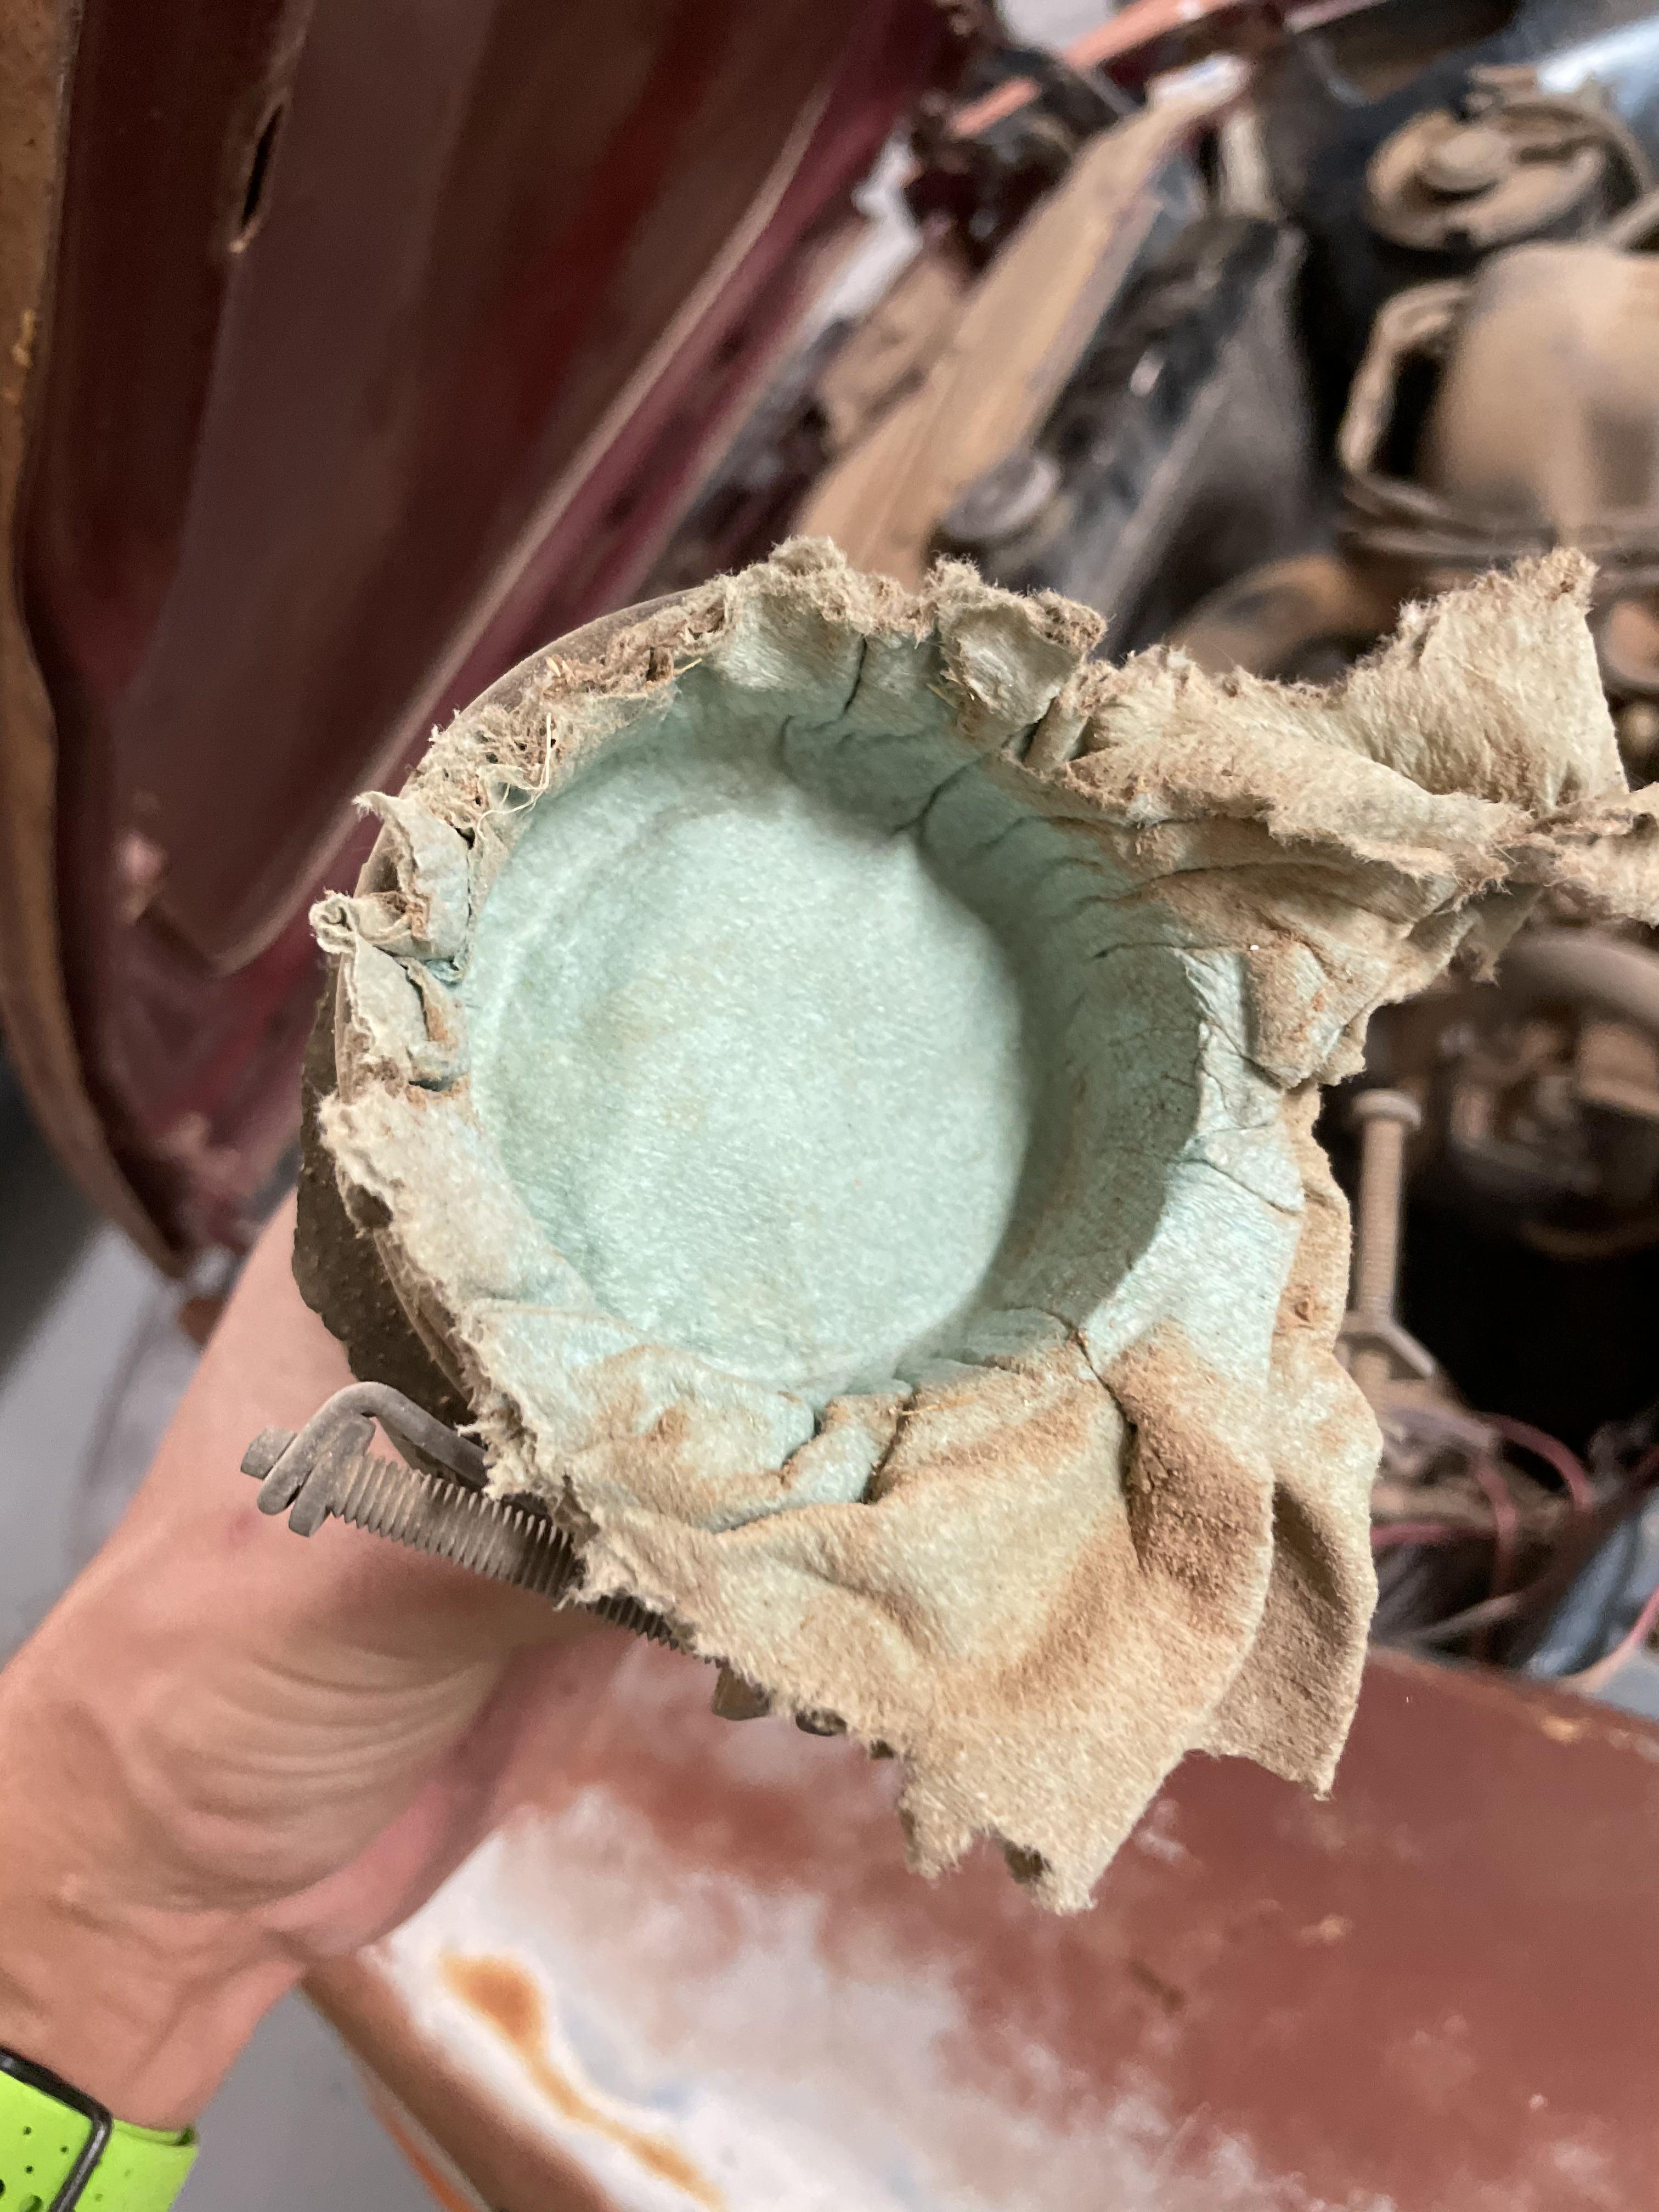
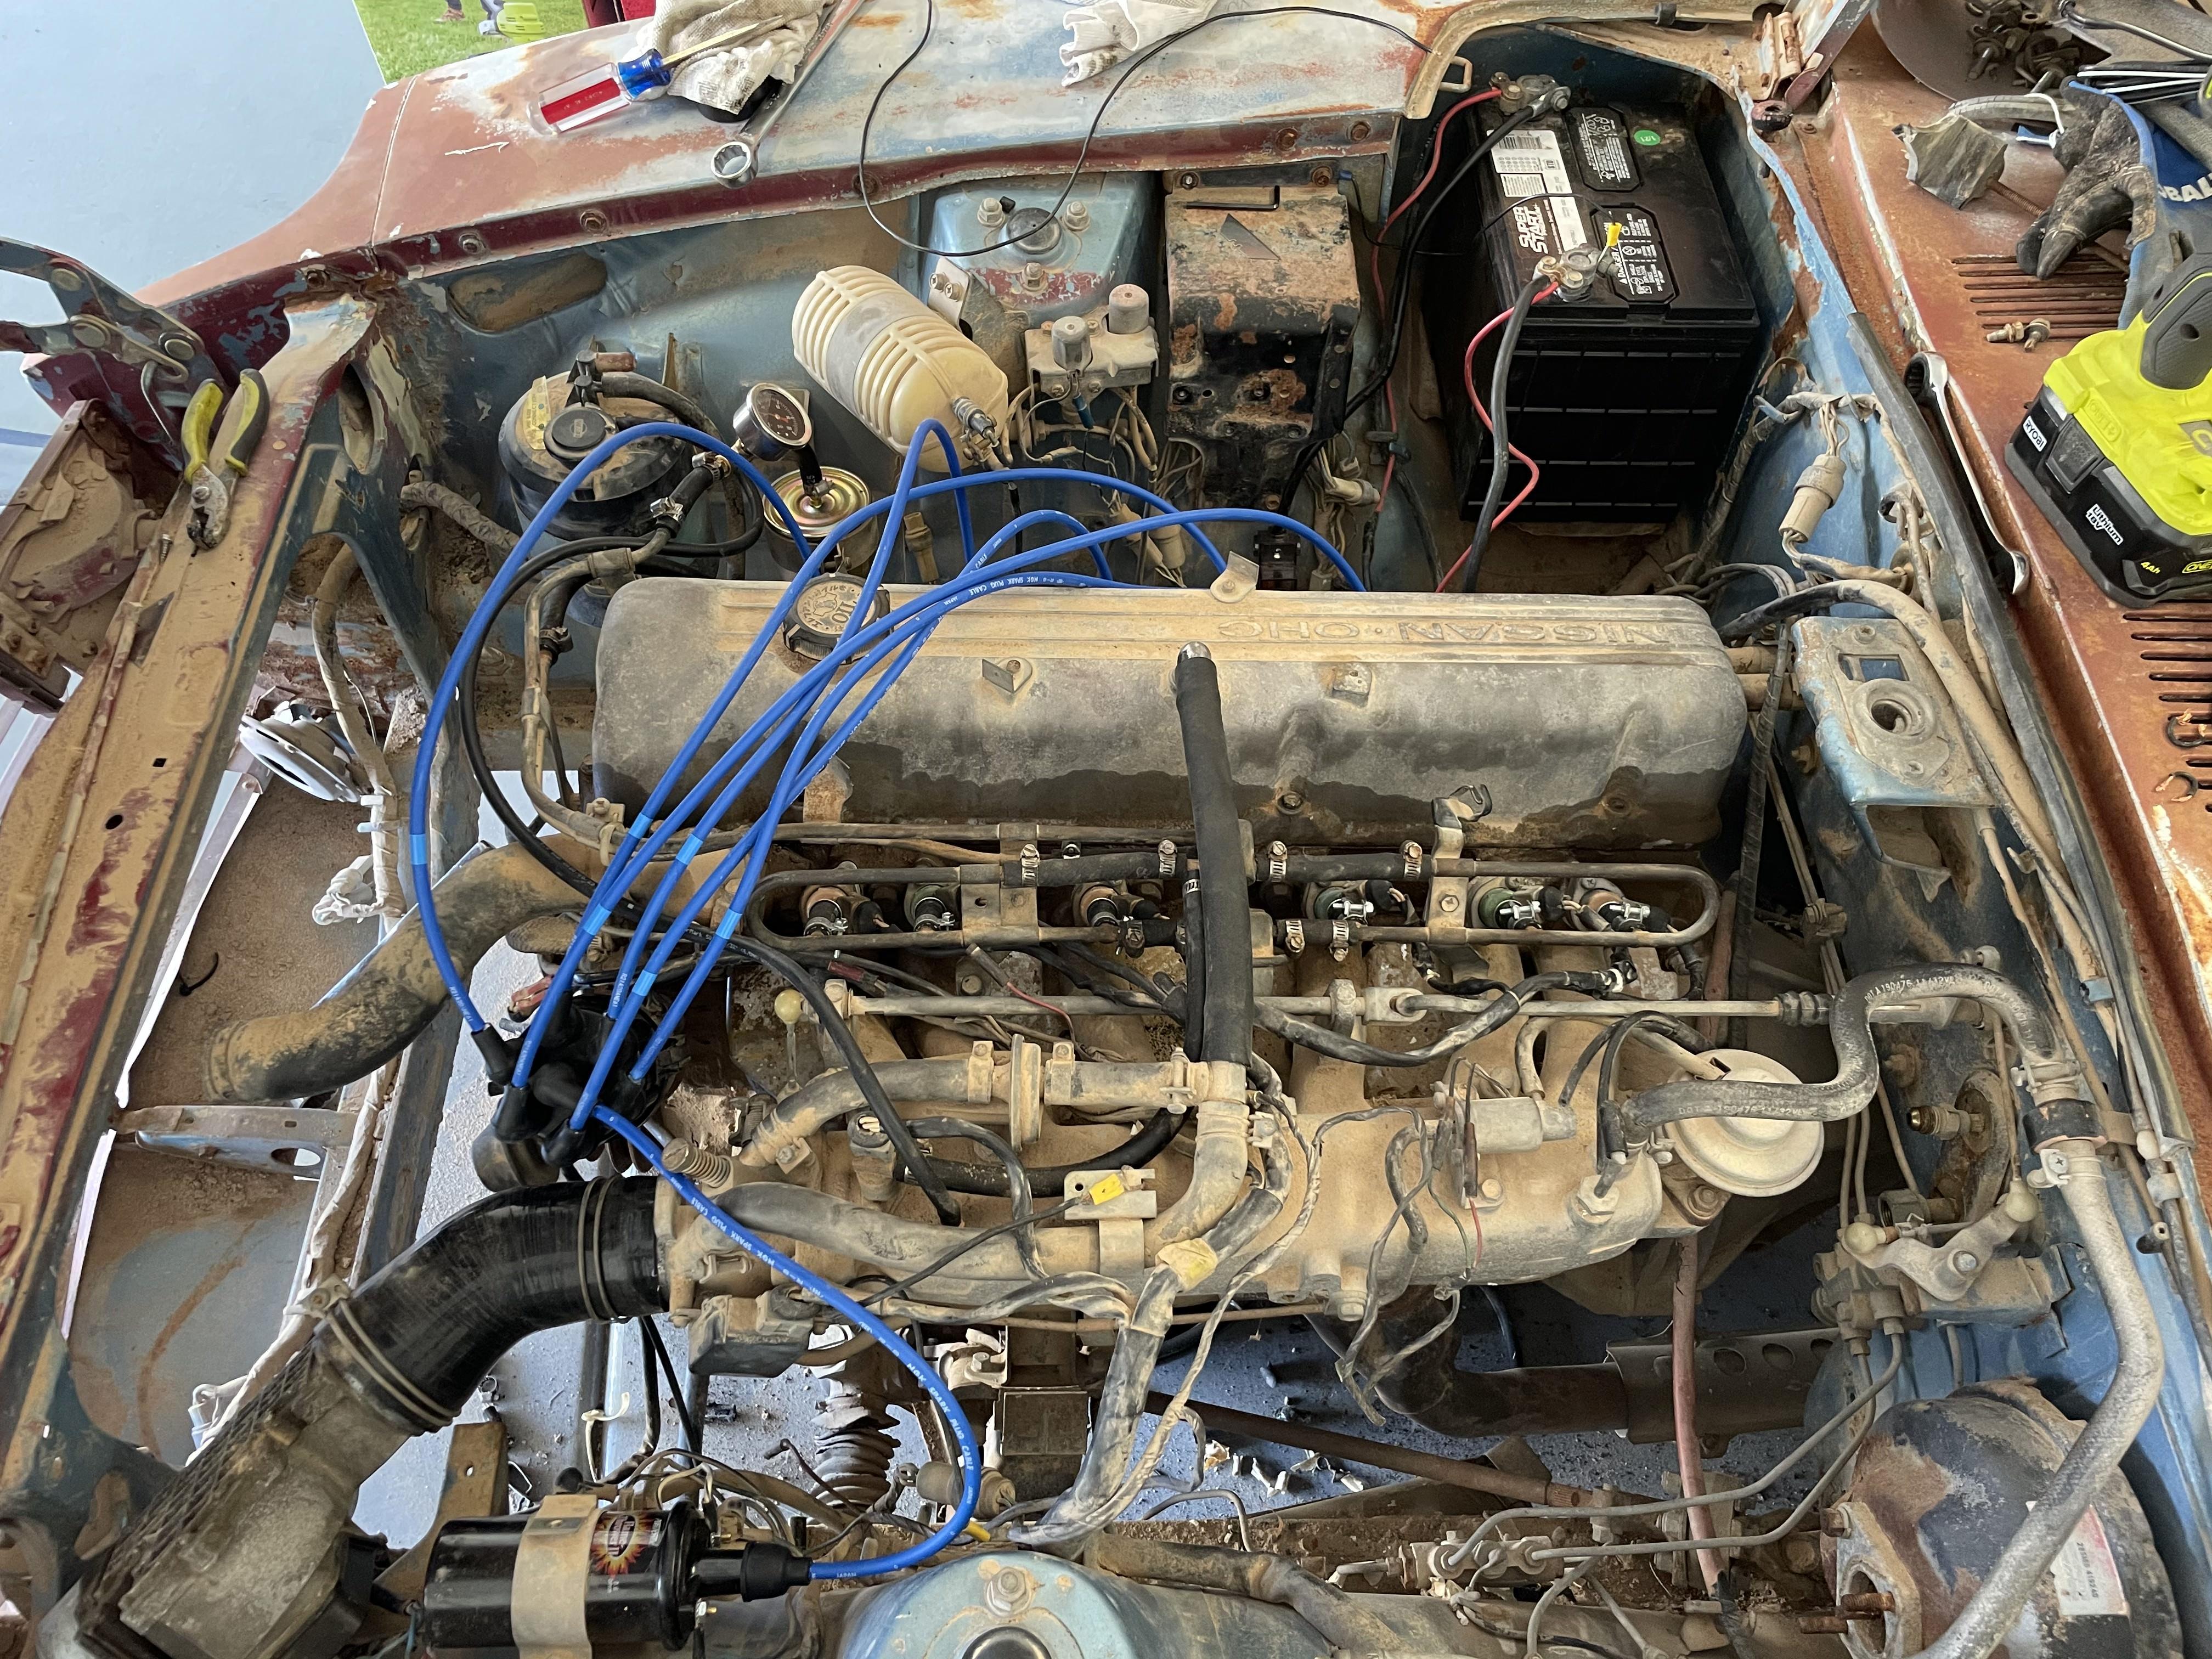
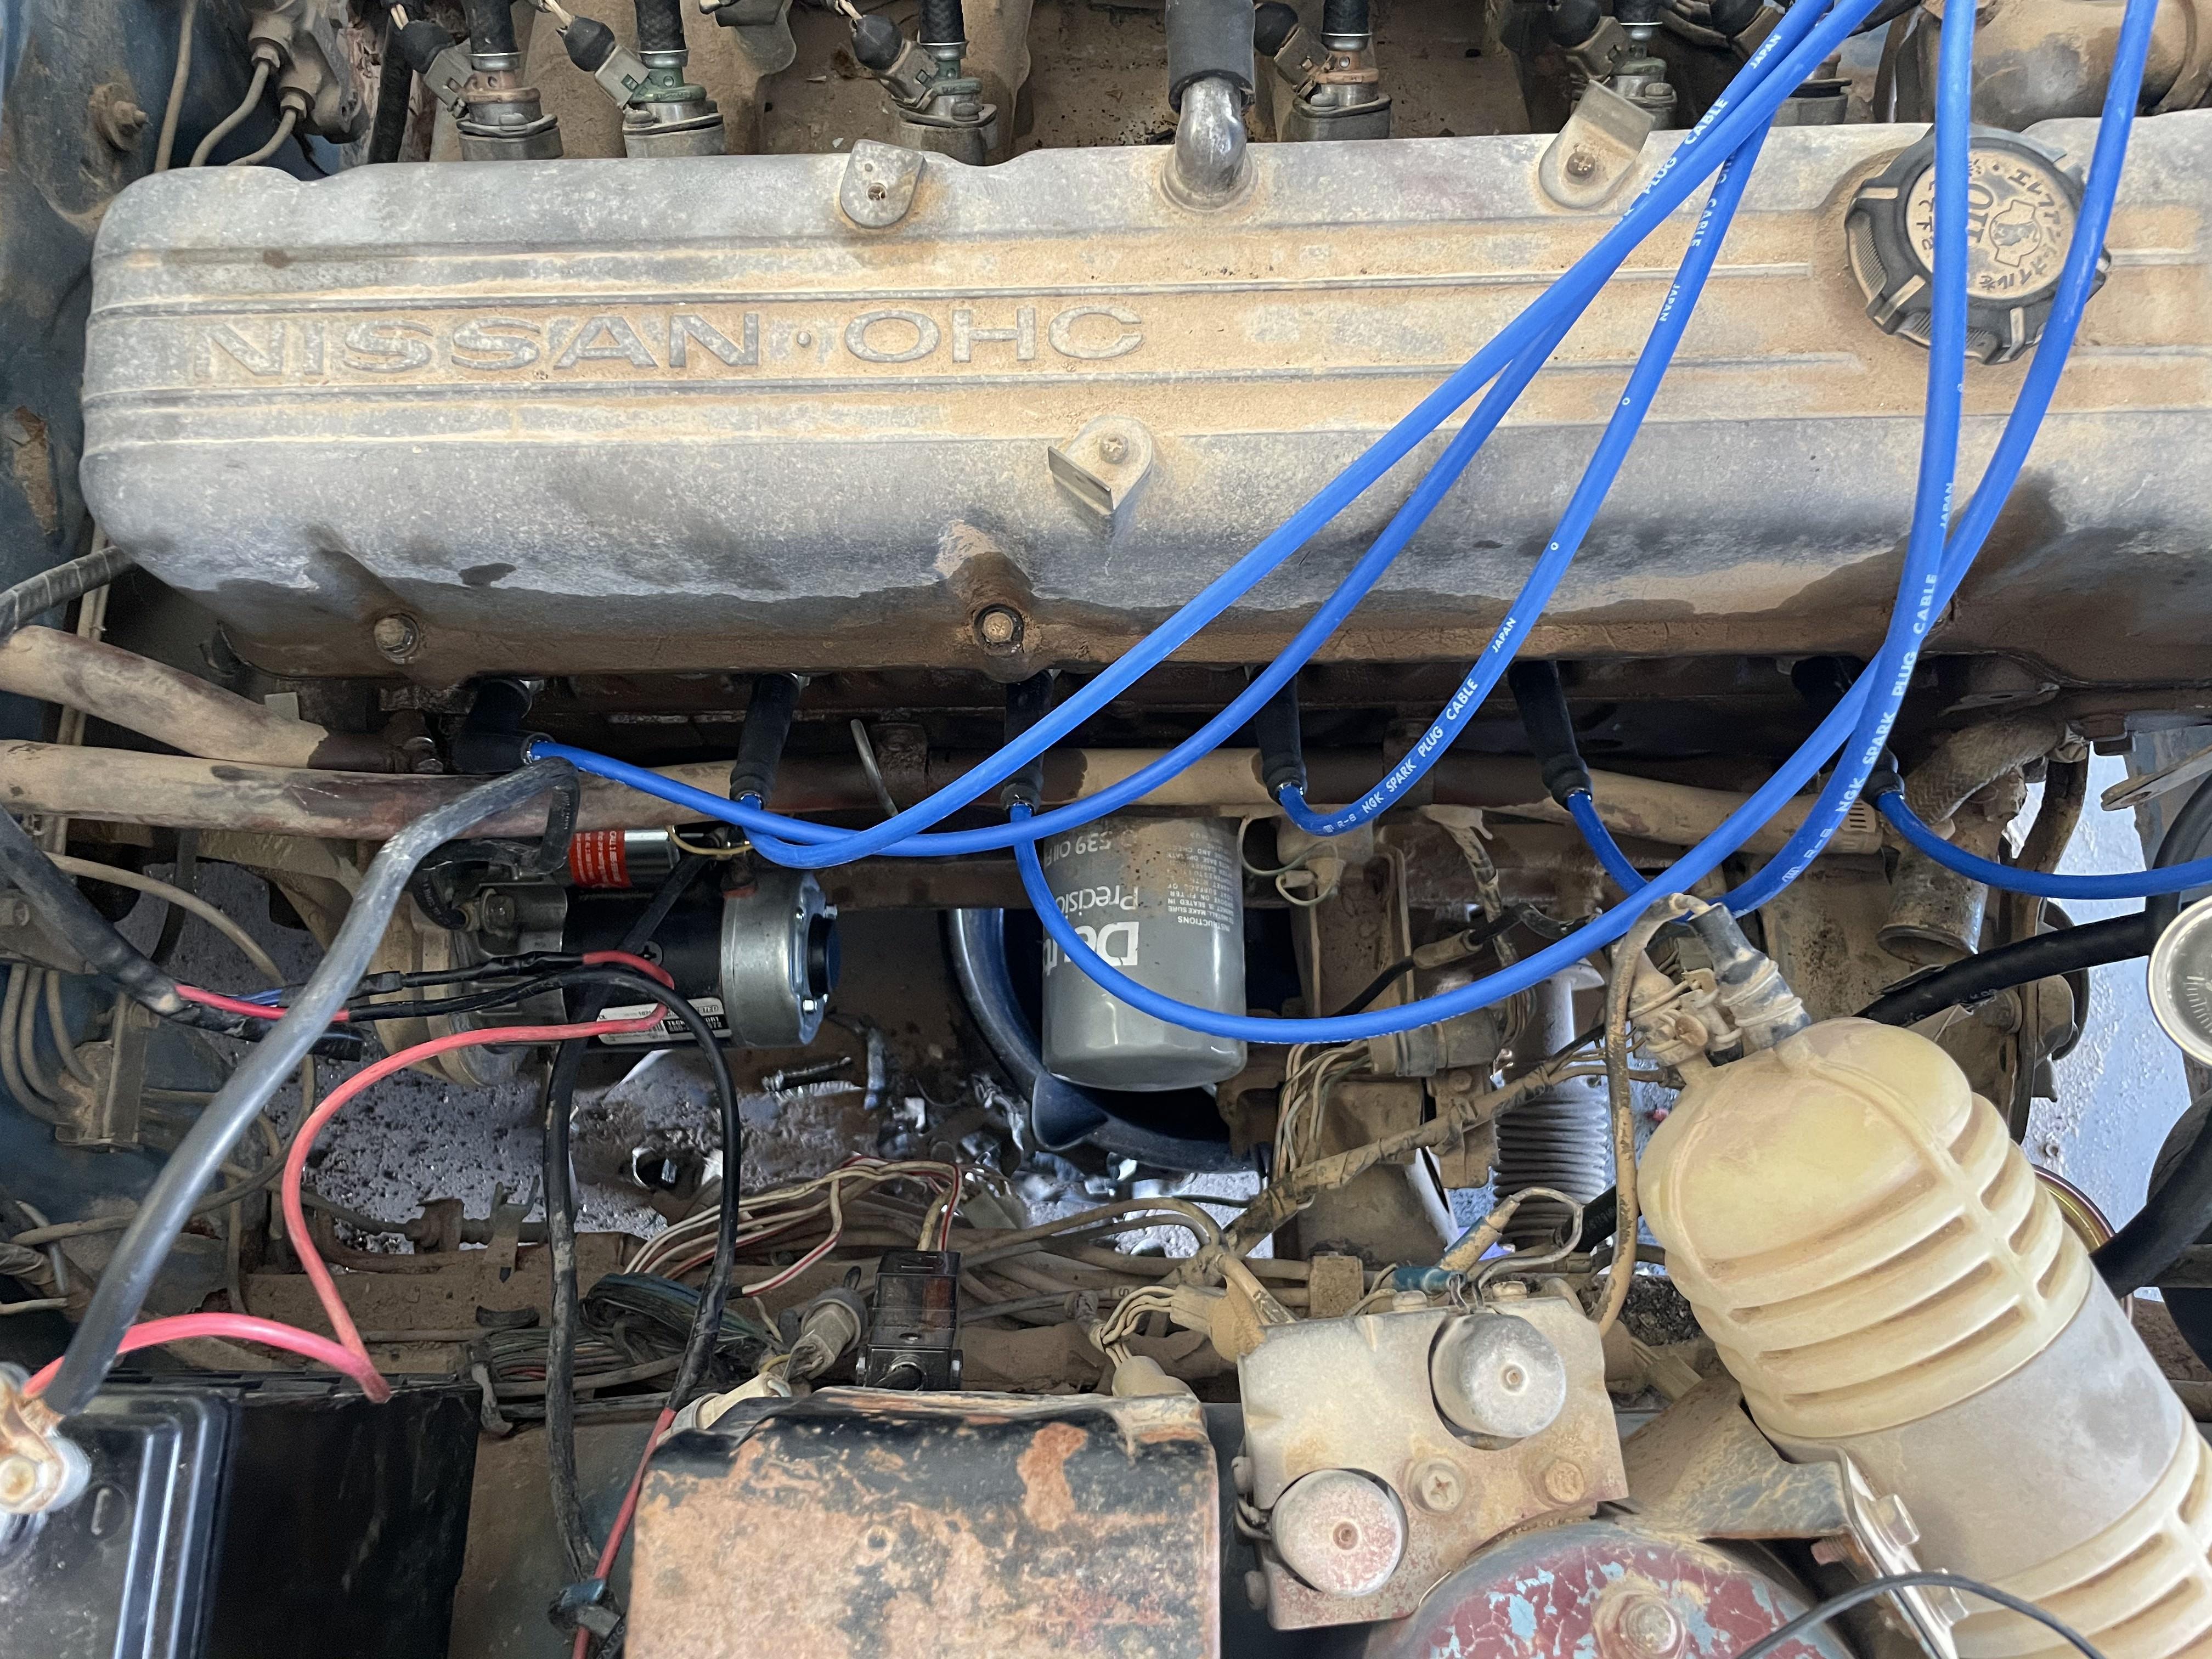
Next was to see this girl run! Even the engine bay has a nice coating of dust on everything! Luckily the previous owner capped the intake, I think they knew it wasnt going to run for a bit: Here is the bay after sourcing an AFM, coil, plugs, wires, battery, starter, and some new fuel lines. The oil around the valve cover is from the missing 4 or 5 valve cover bolts! Started to seep as soon as I filled it. It didnt bother me as I knew we would be diving deeper soon. This is when I joined the club and started to walk through all the electrical gremlins. @Zed Head was a huge help walking me through the FSM and EFI bible. We encountered numerous loose connections, all 6 injectors were bad, fuel pump needed replacing, redid the fusible links, etc. But we got it running! After nearly 30 years, its back to life: Unfortunately cylinder #3 had 0 compression. a valve adjustment yielded no improvement. Maybe this had something to do with that? Found this guy in the trunk. I've never seen this before!


 1 point
 -
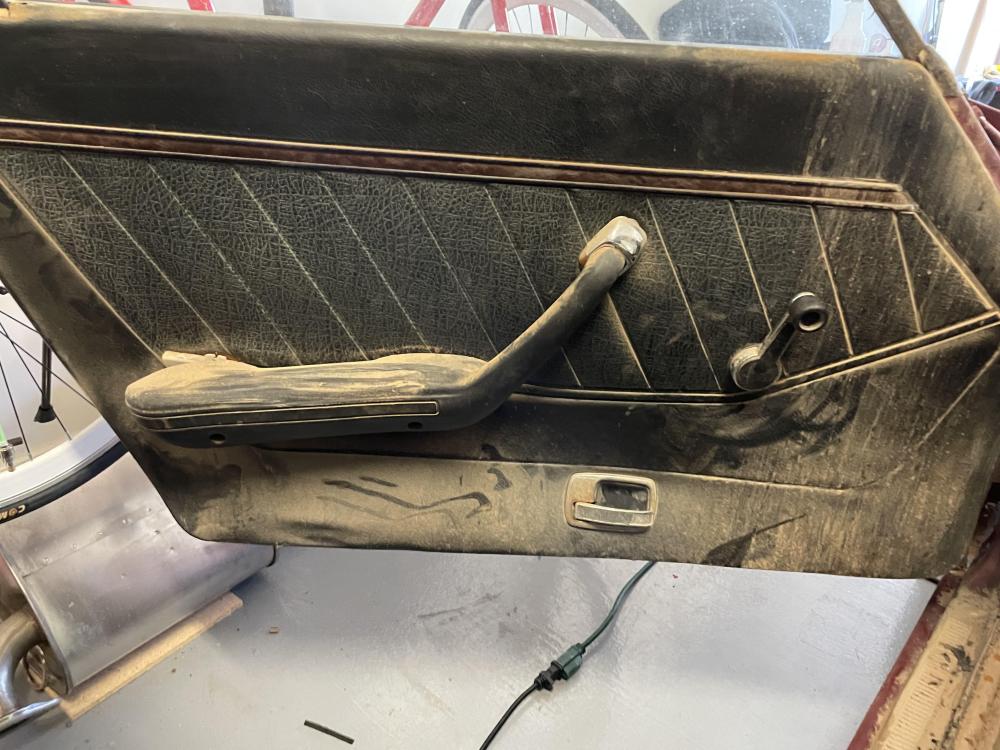
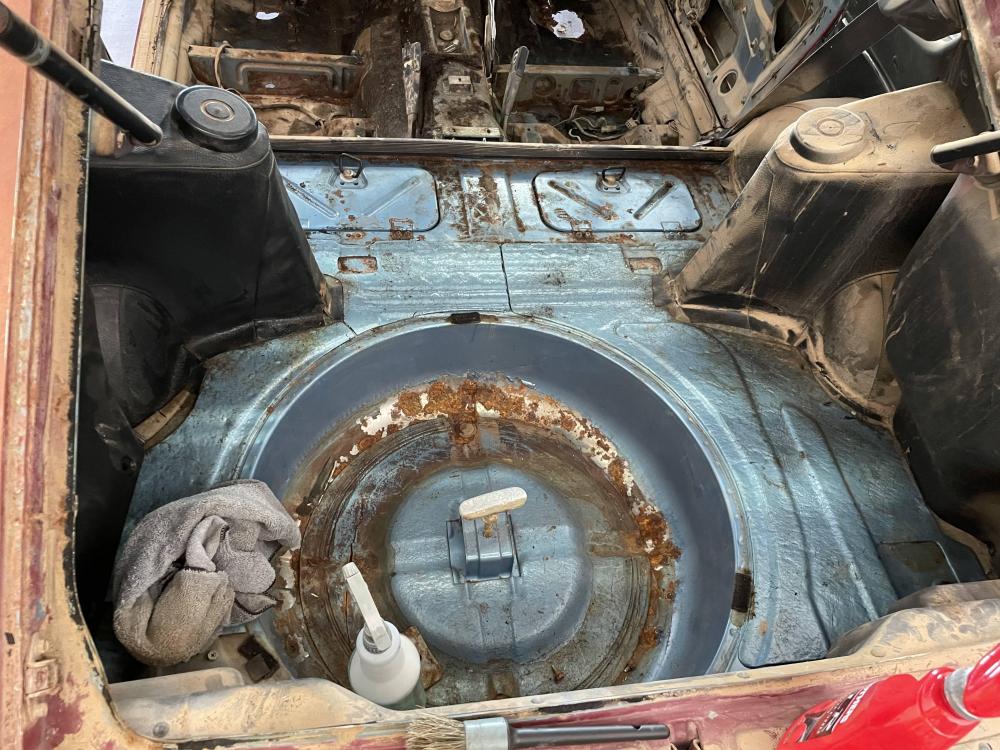
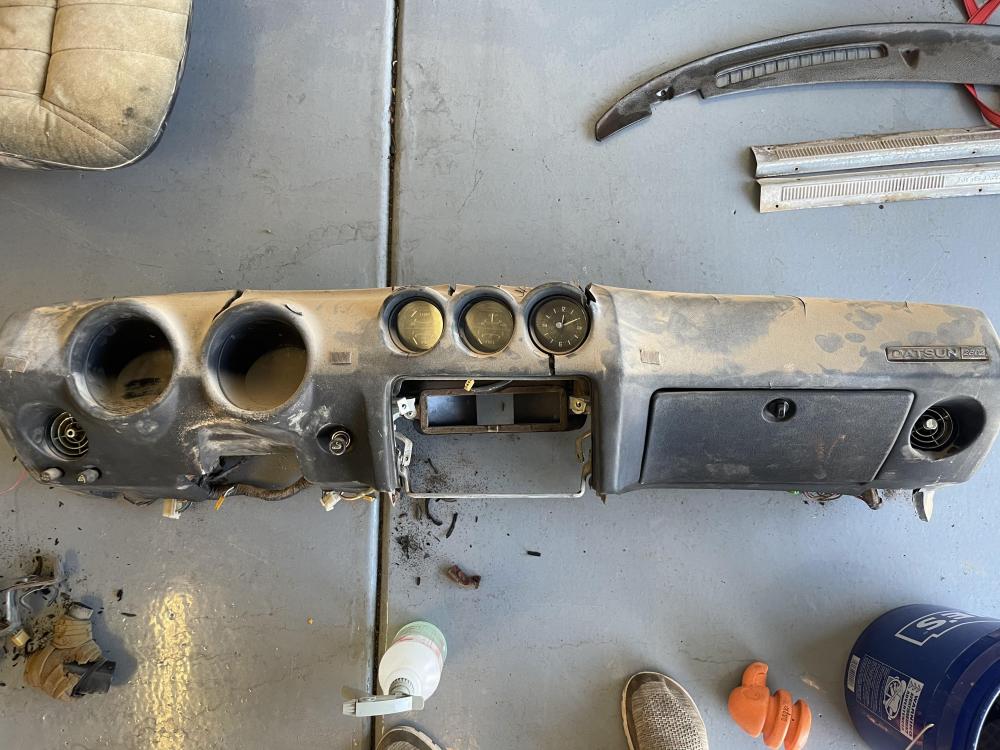
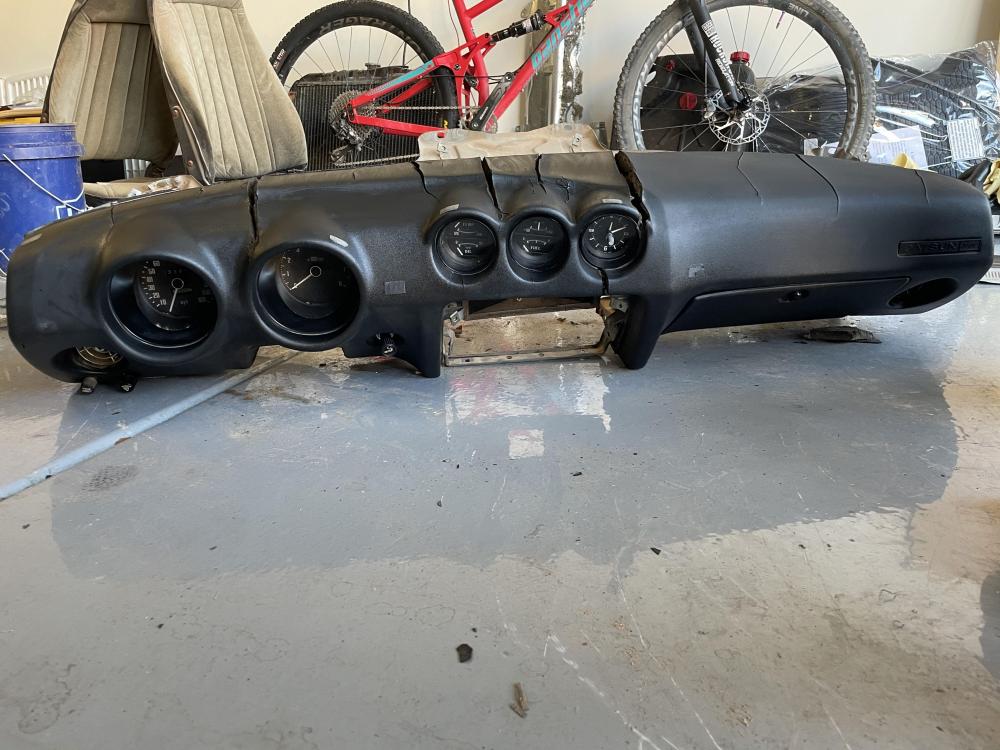
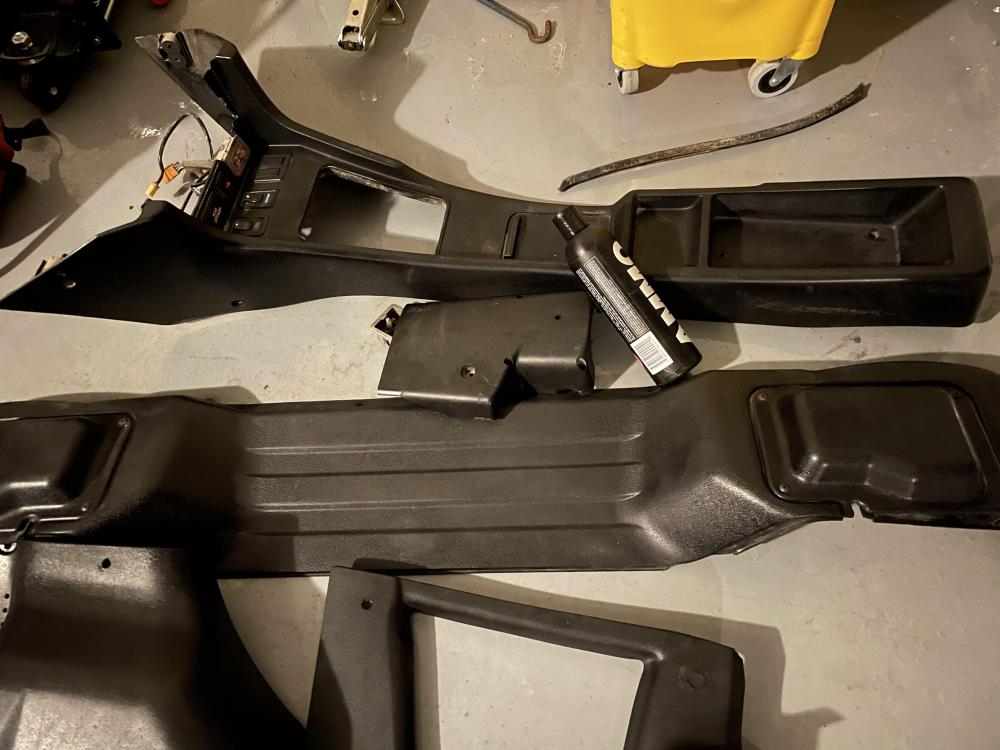
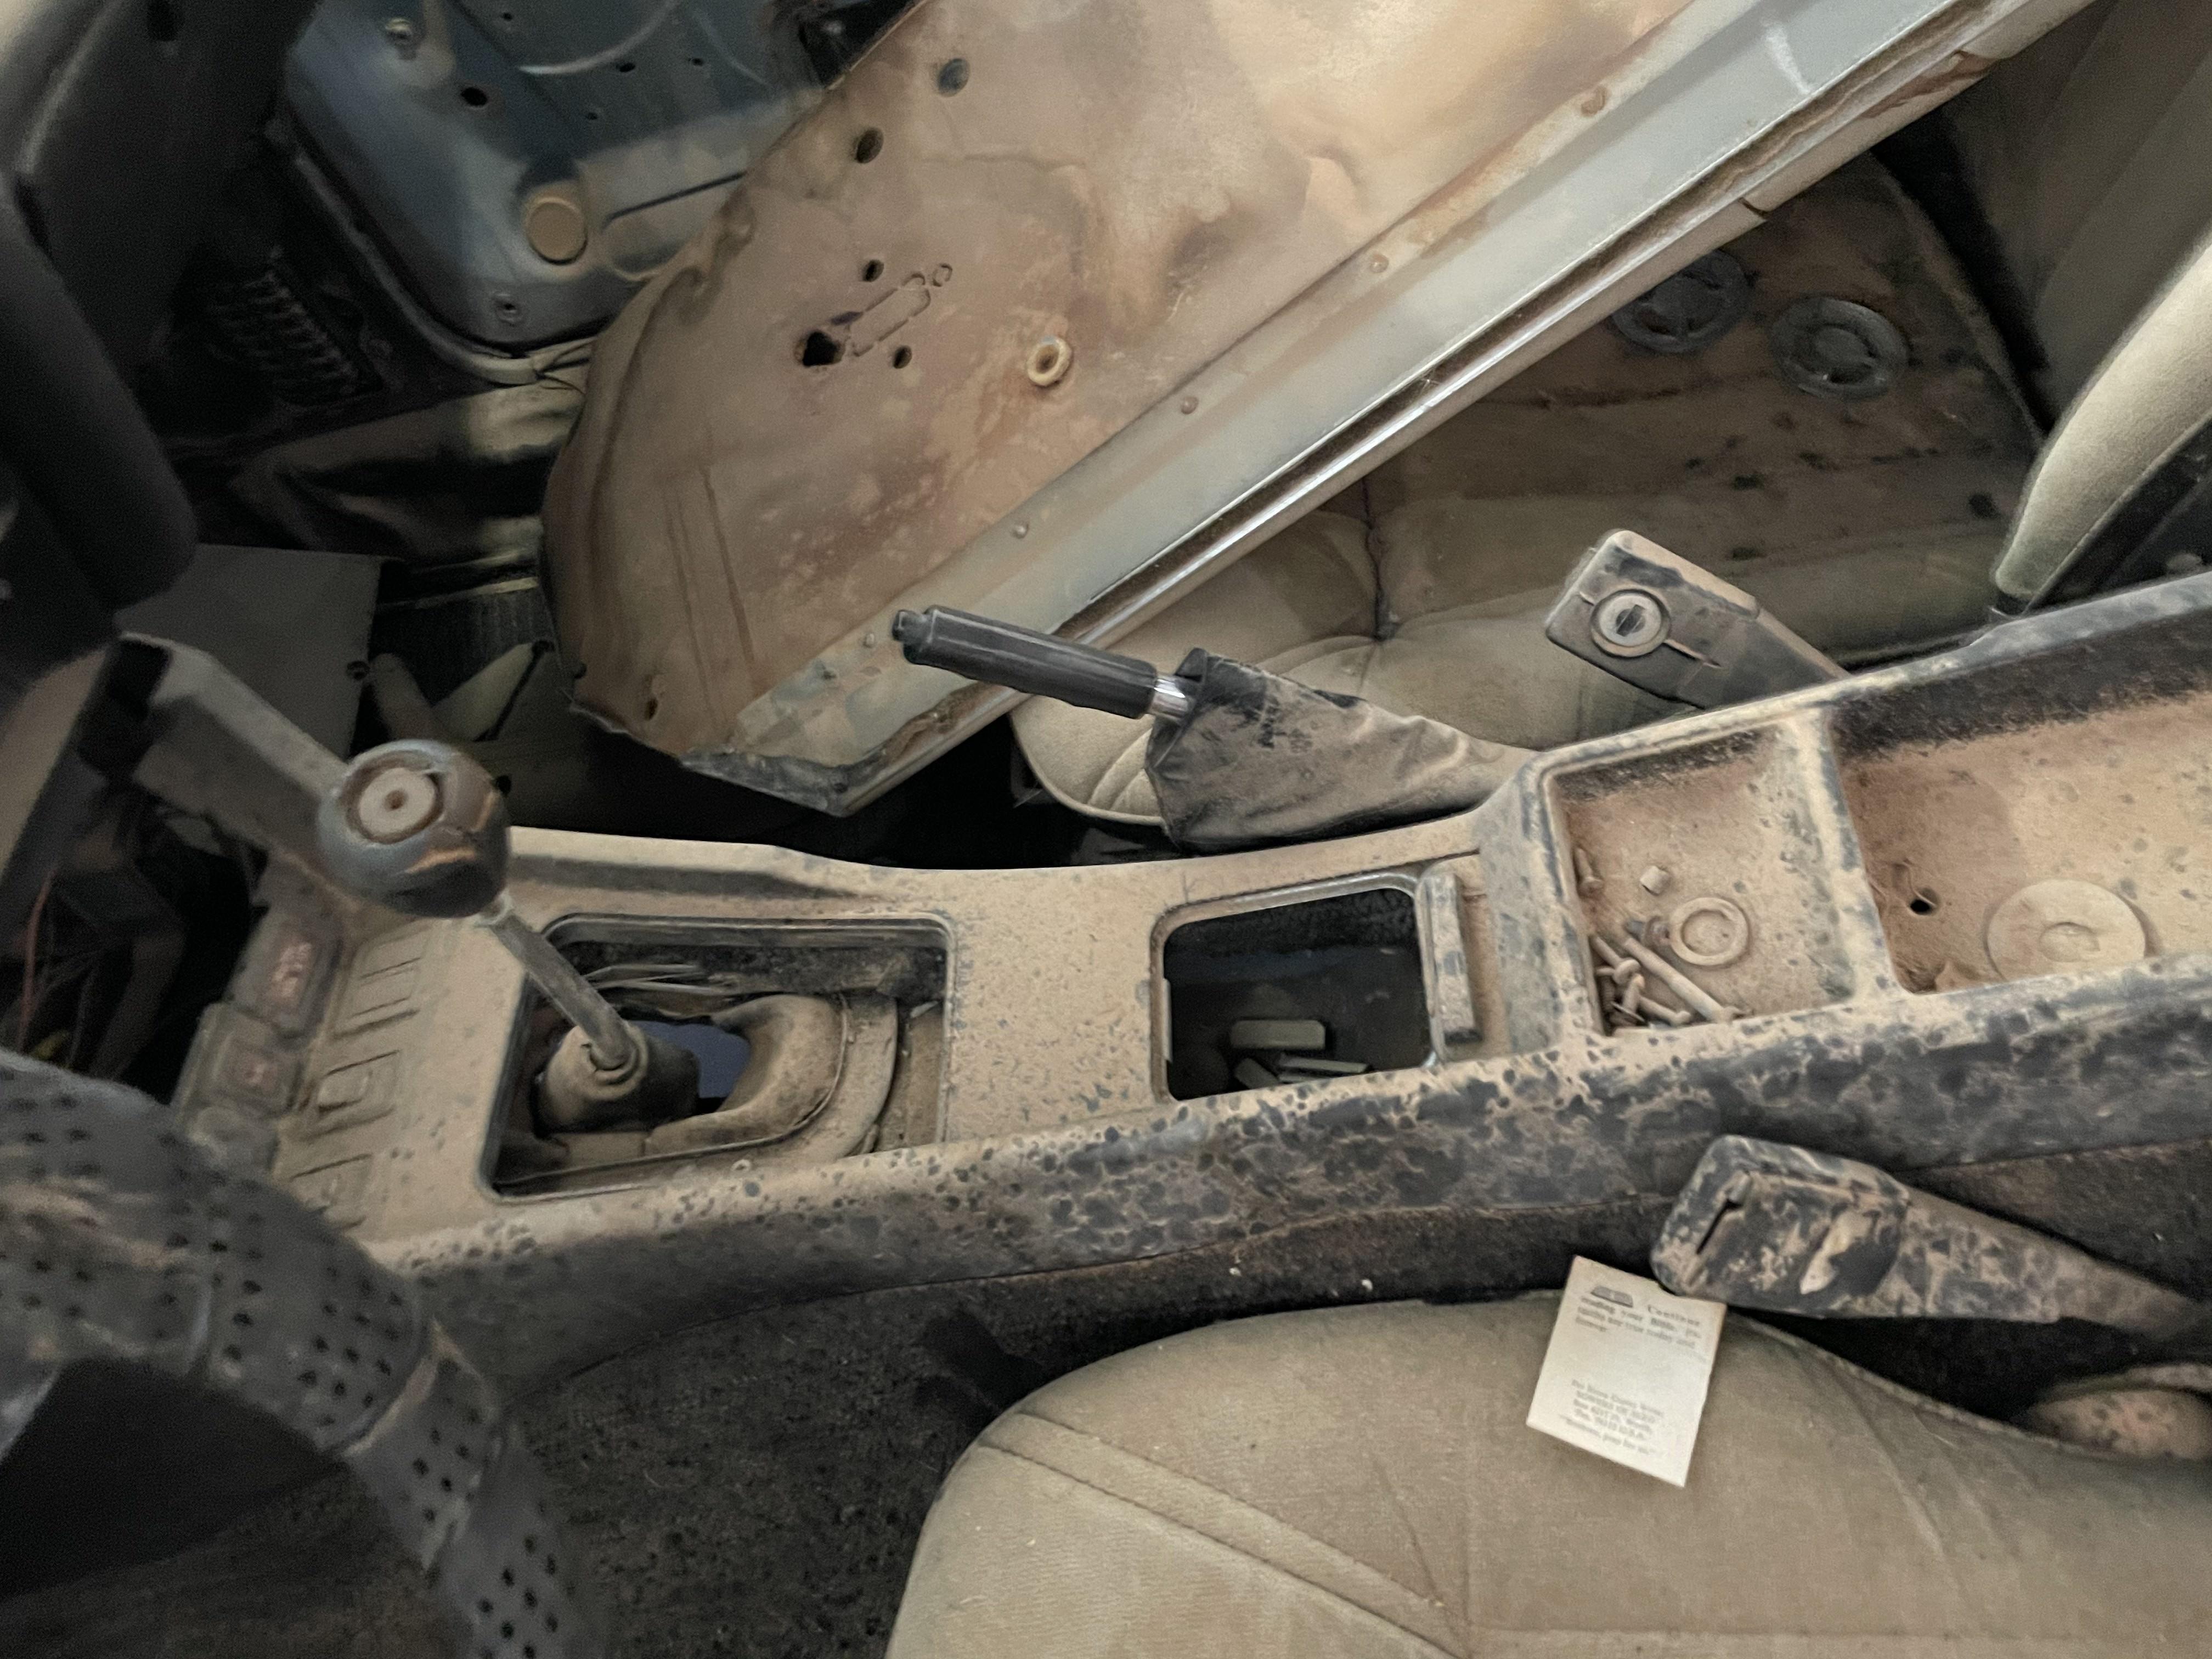
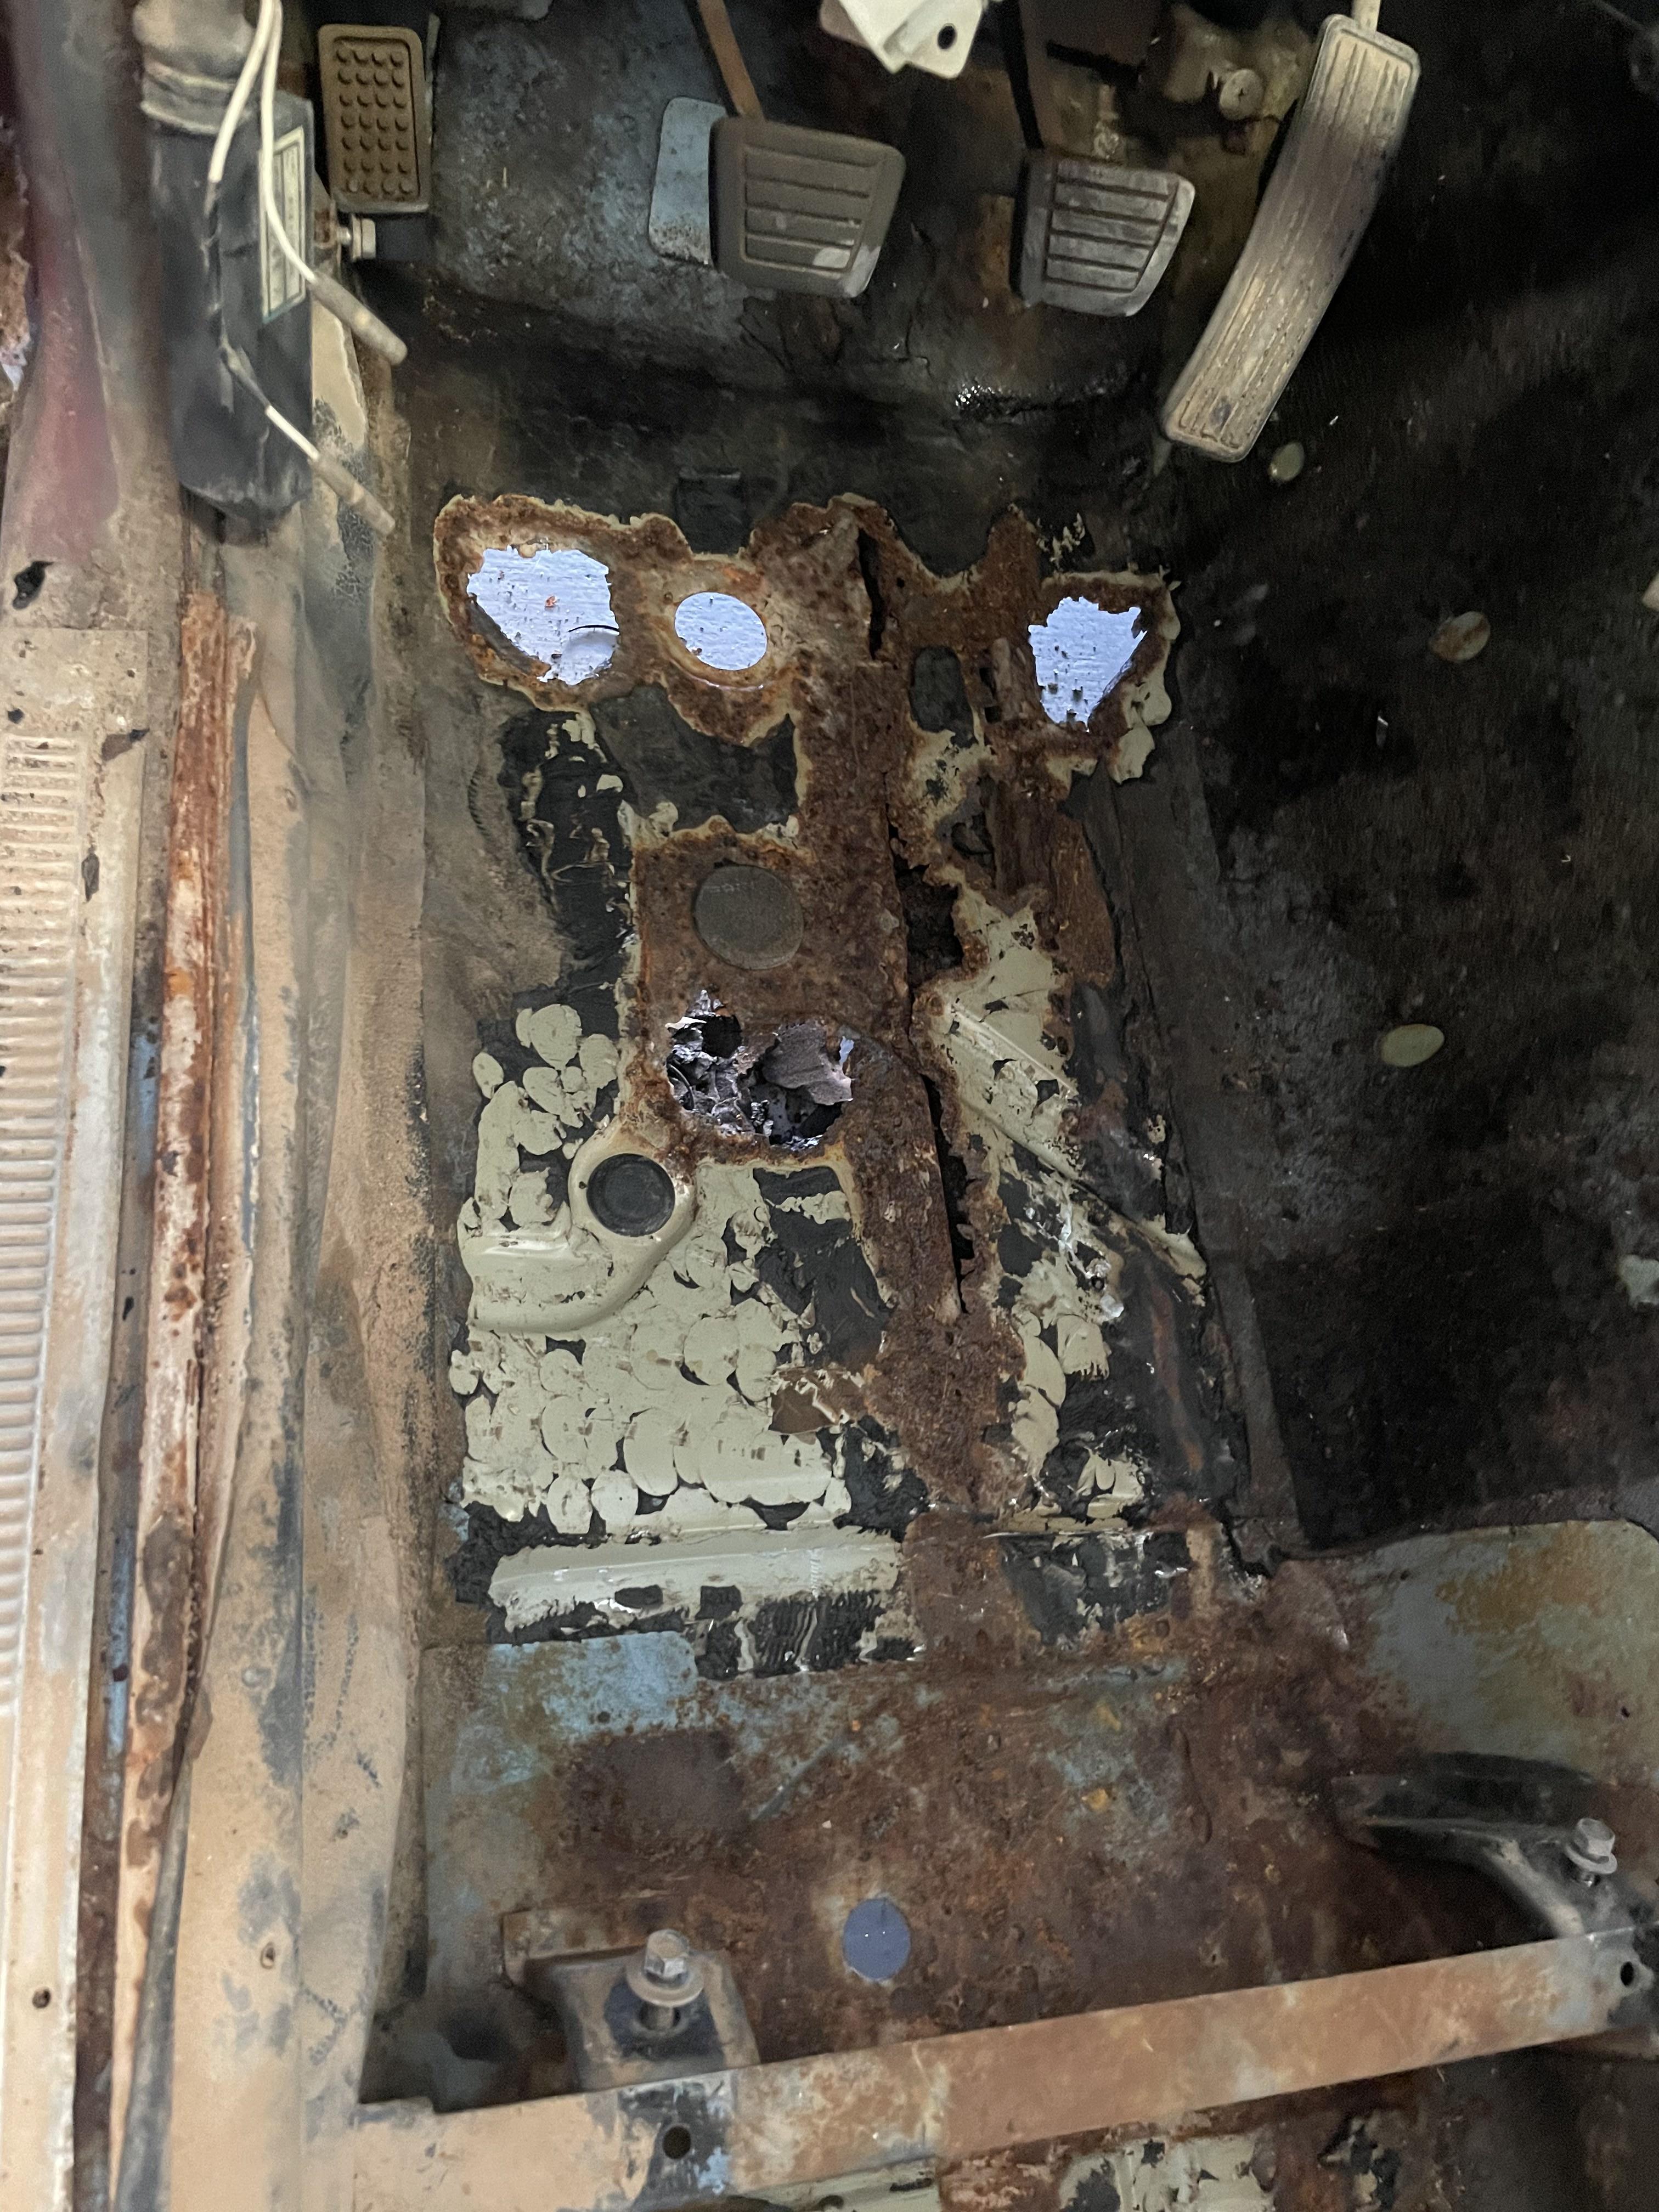
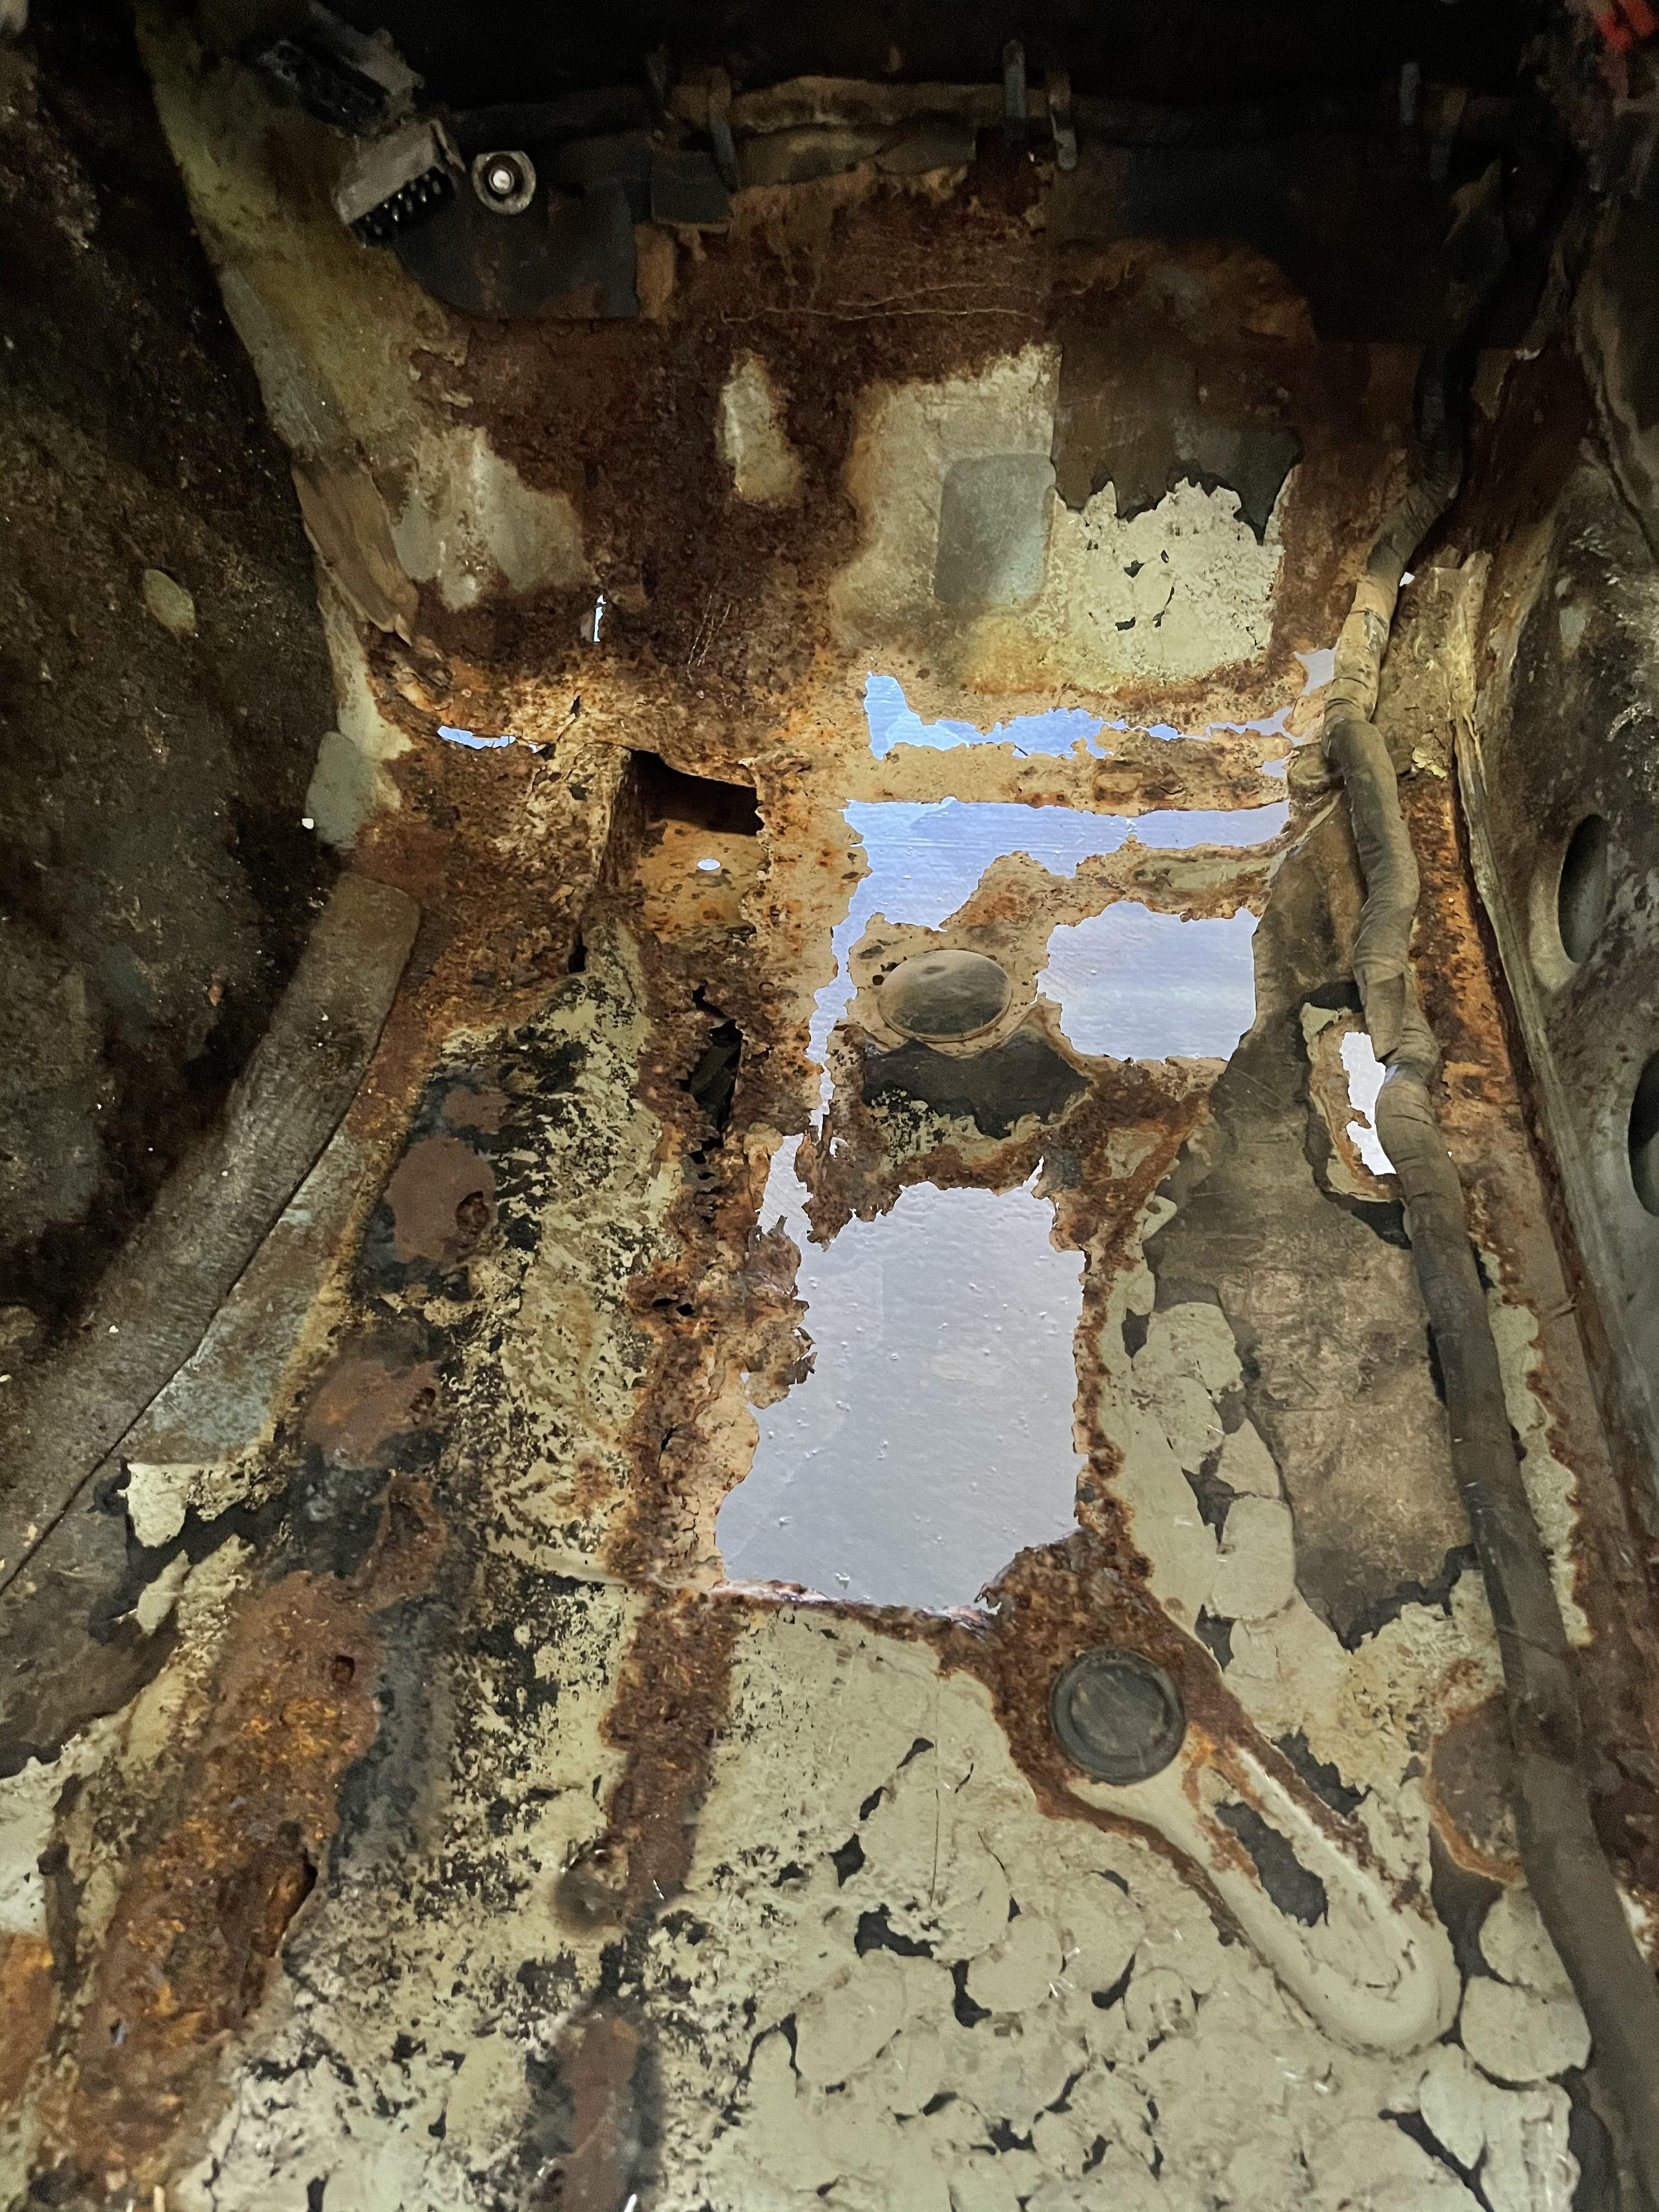
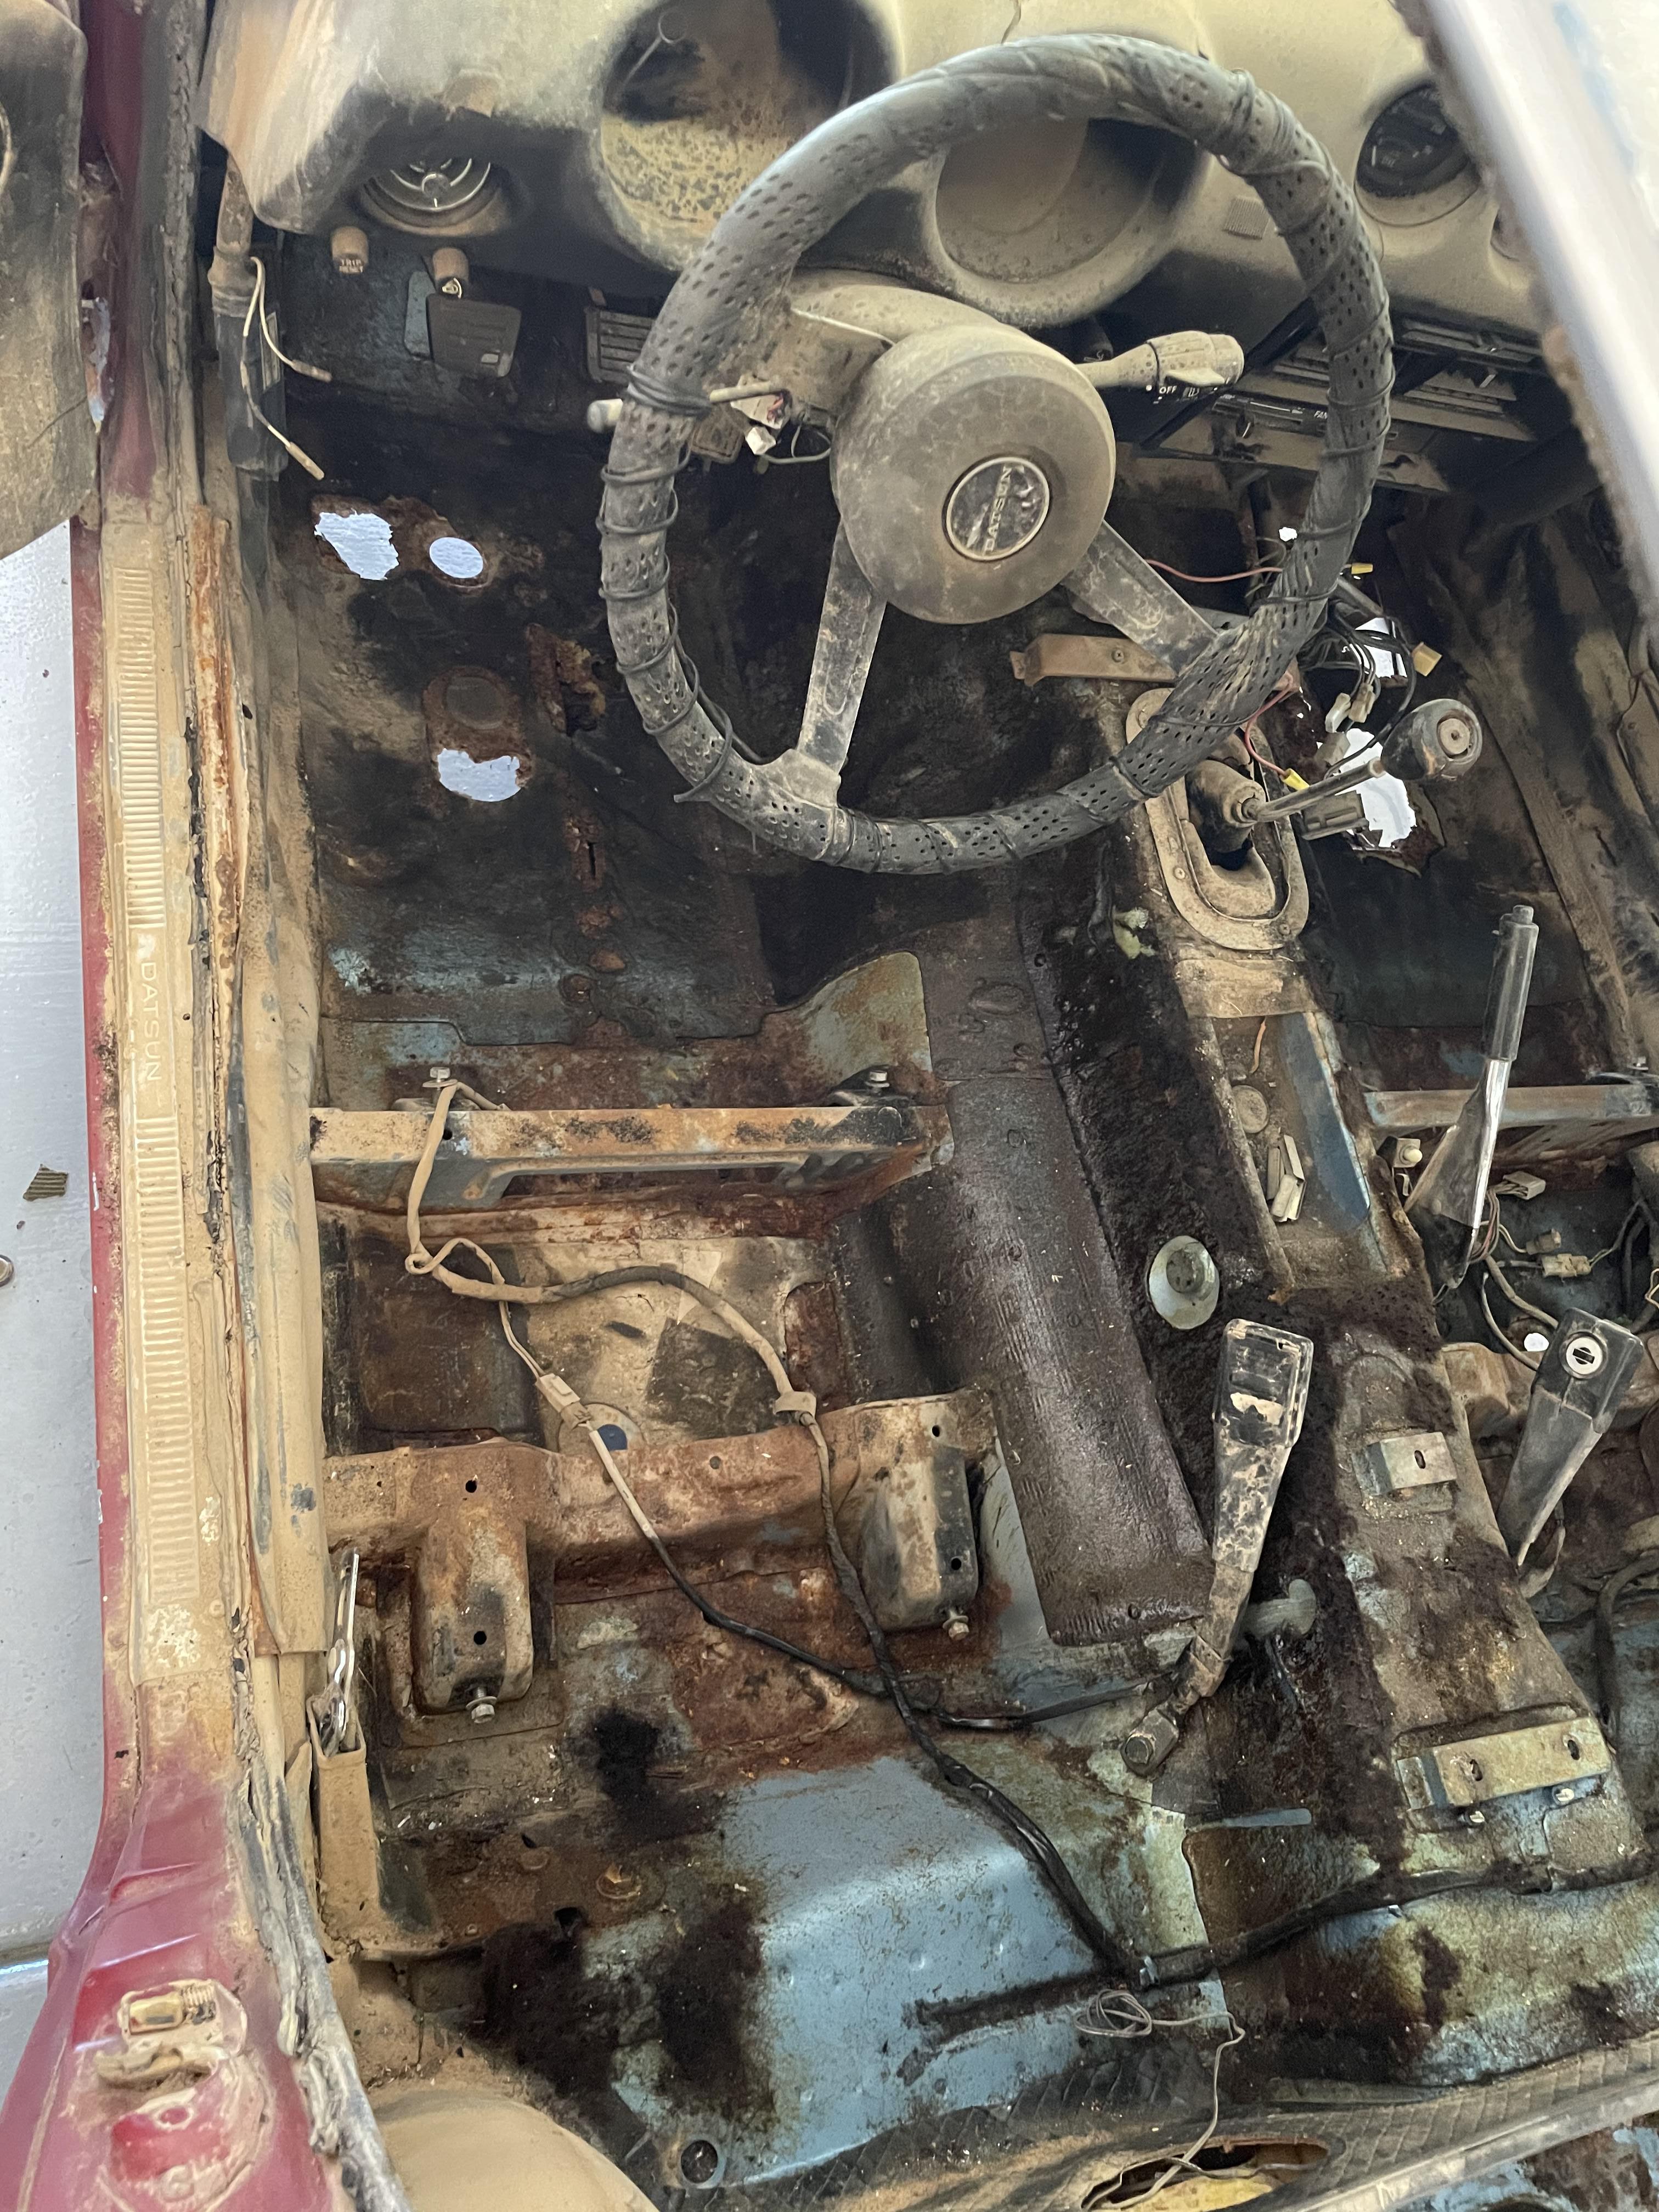
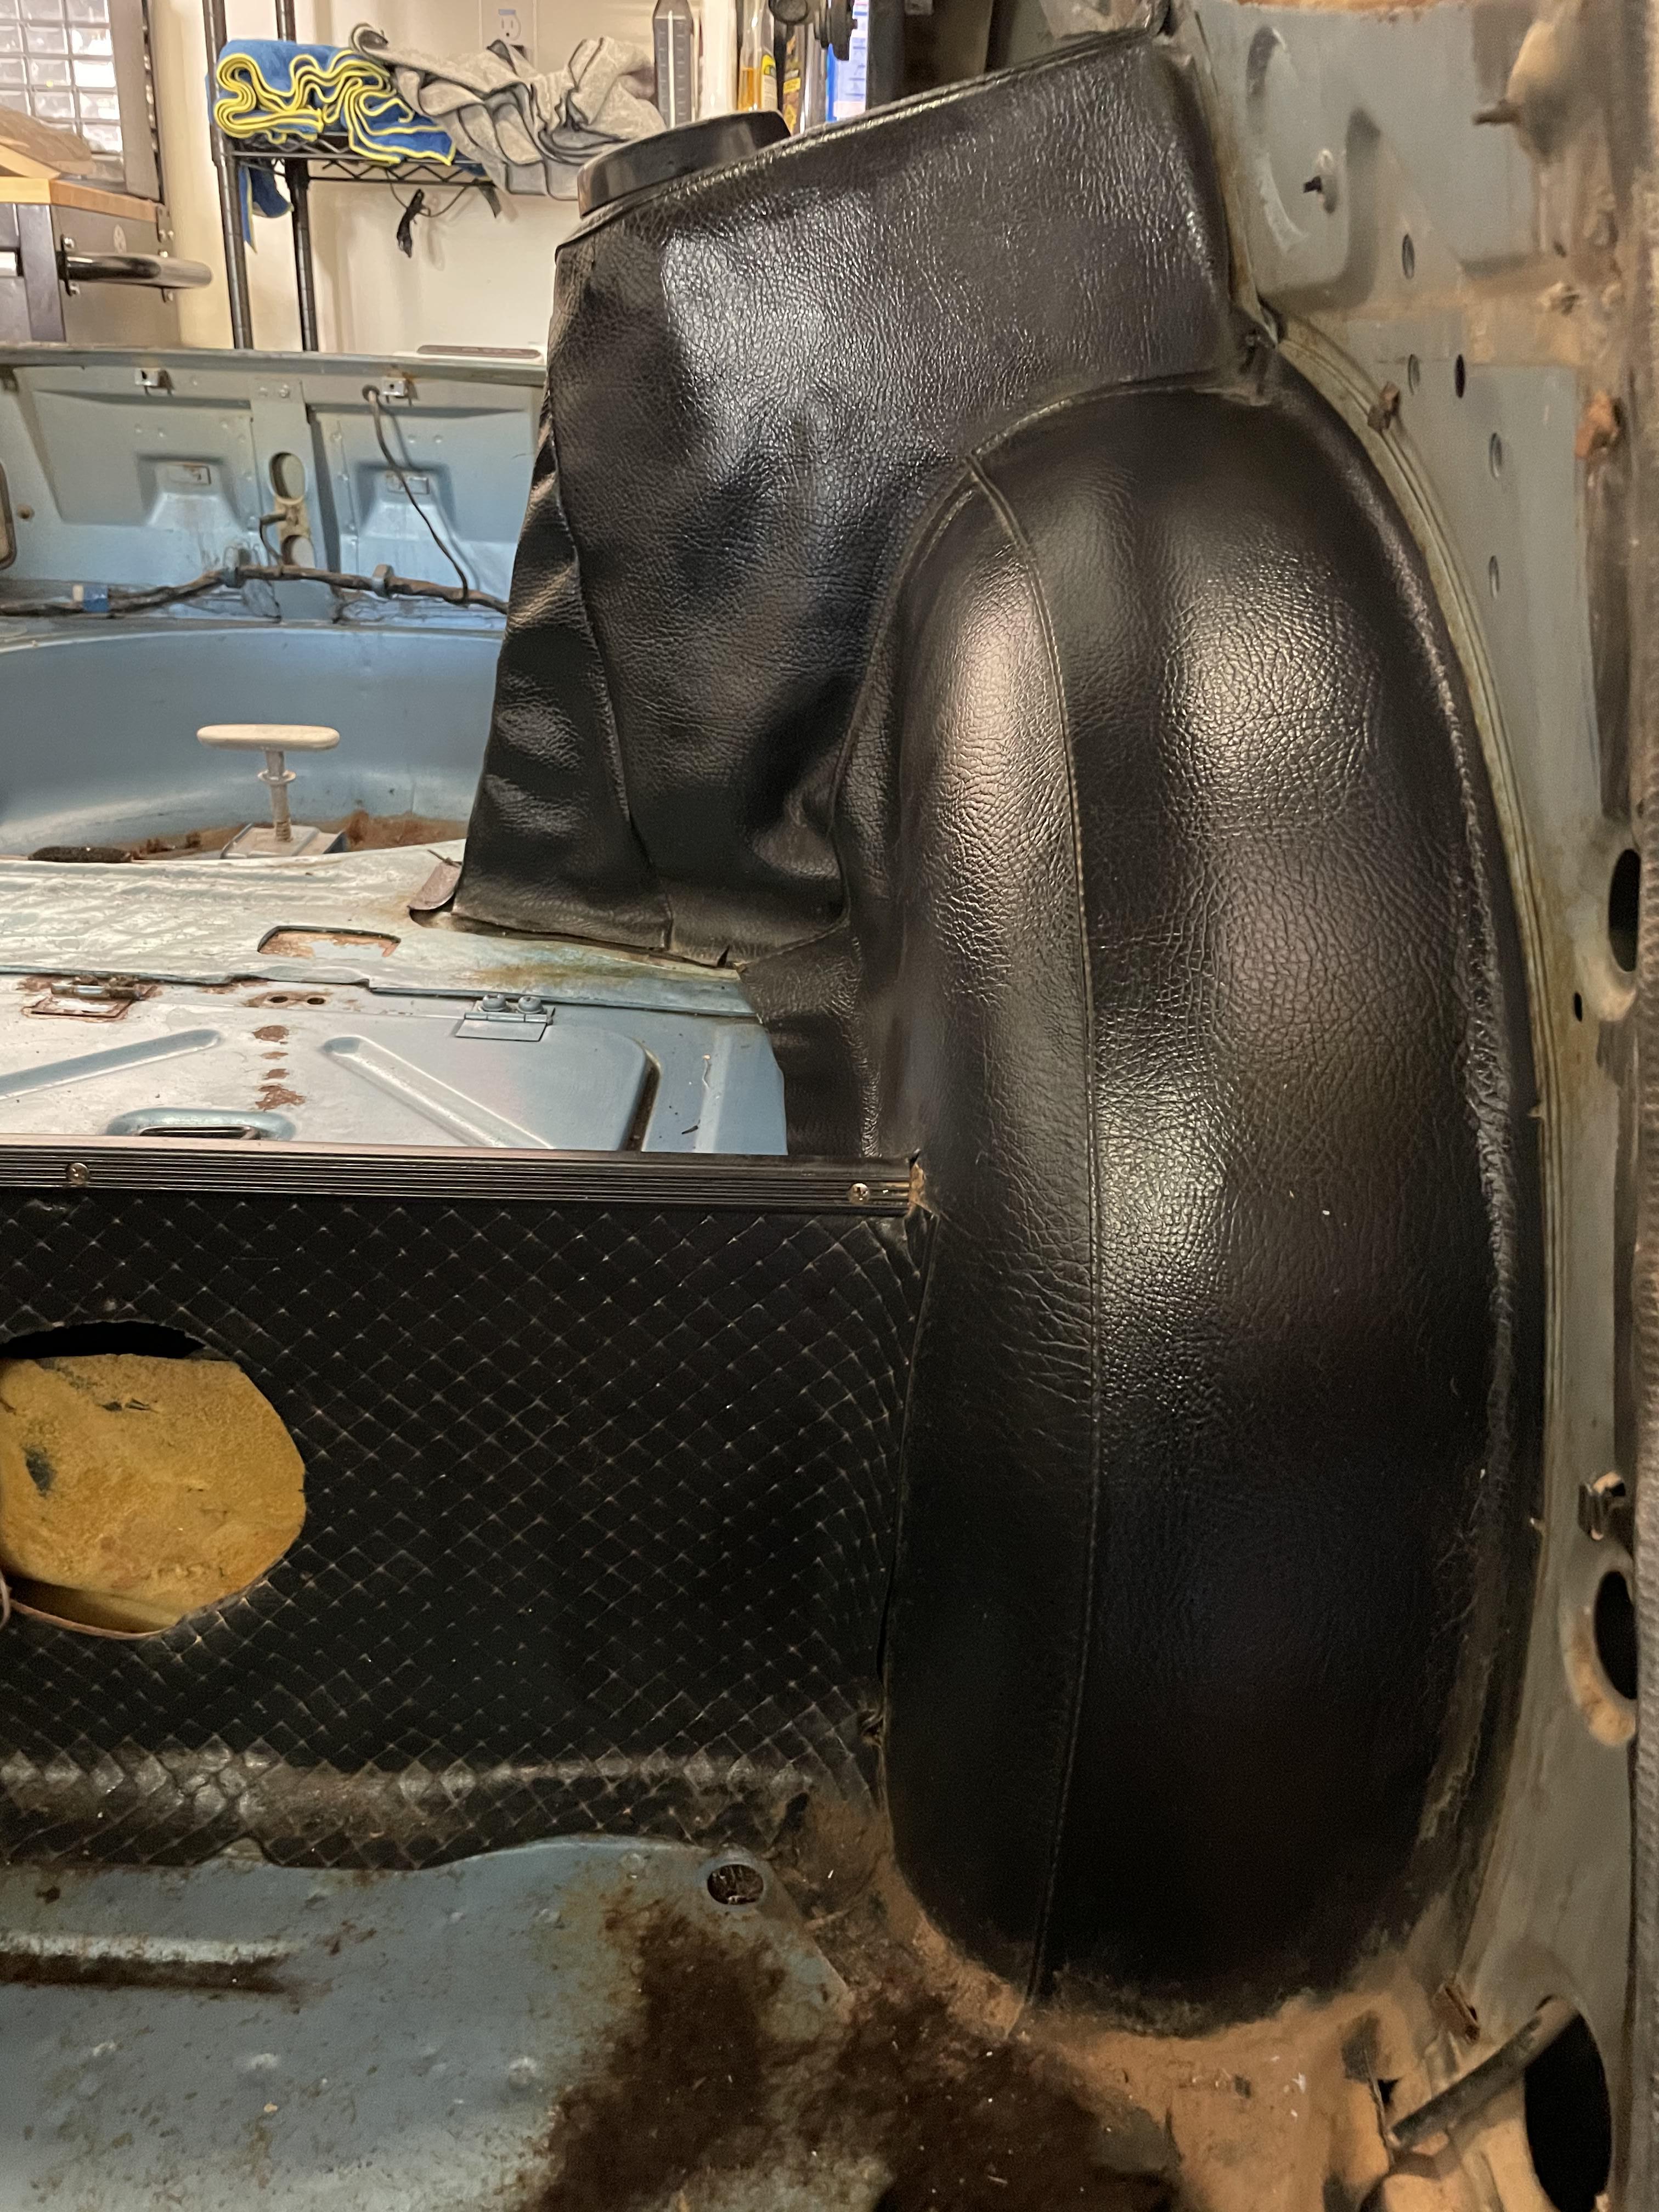
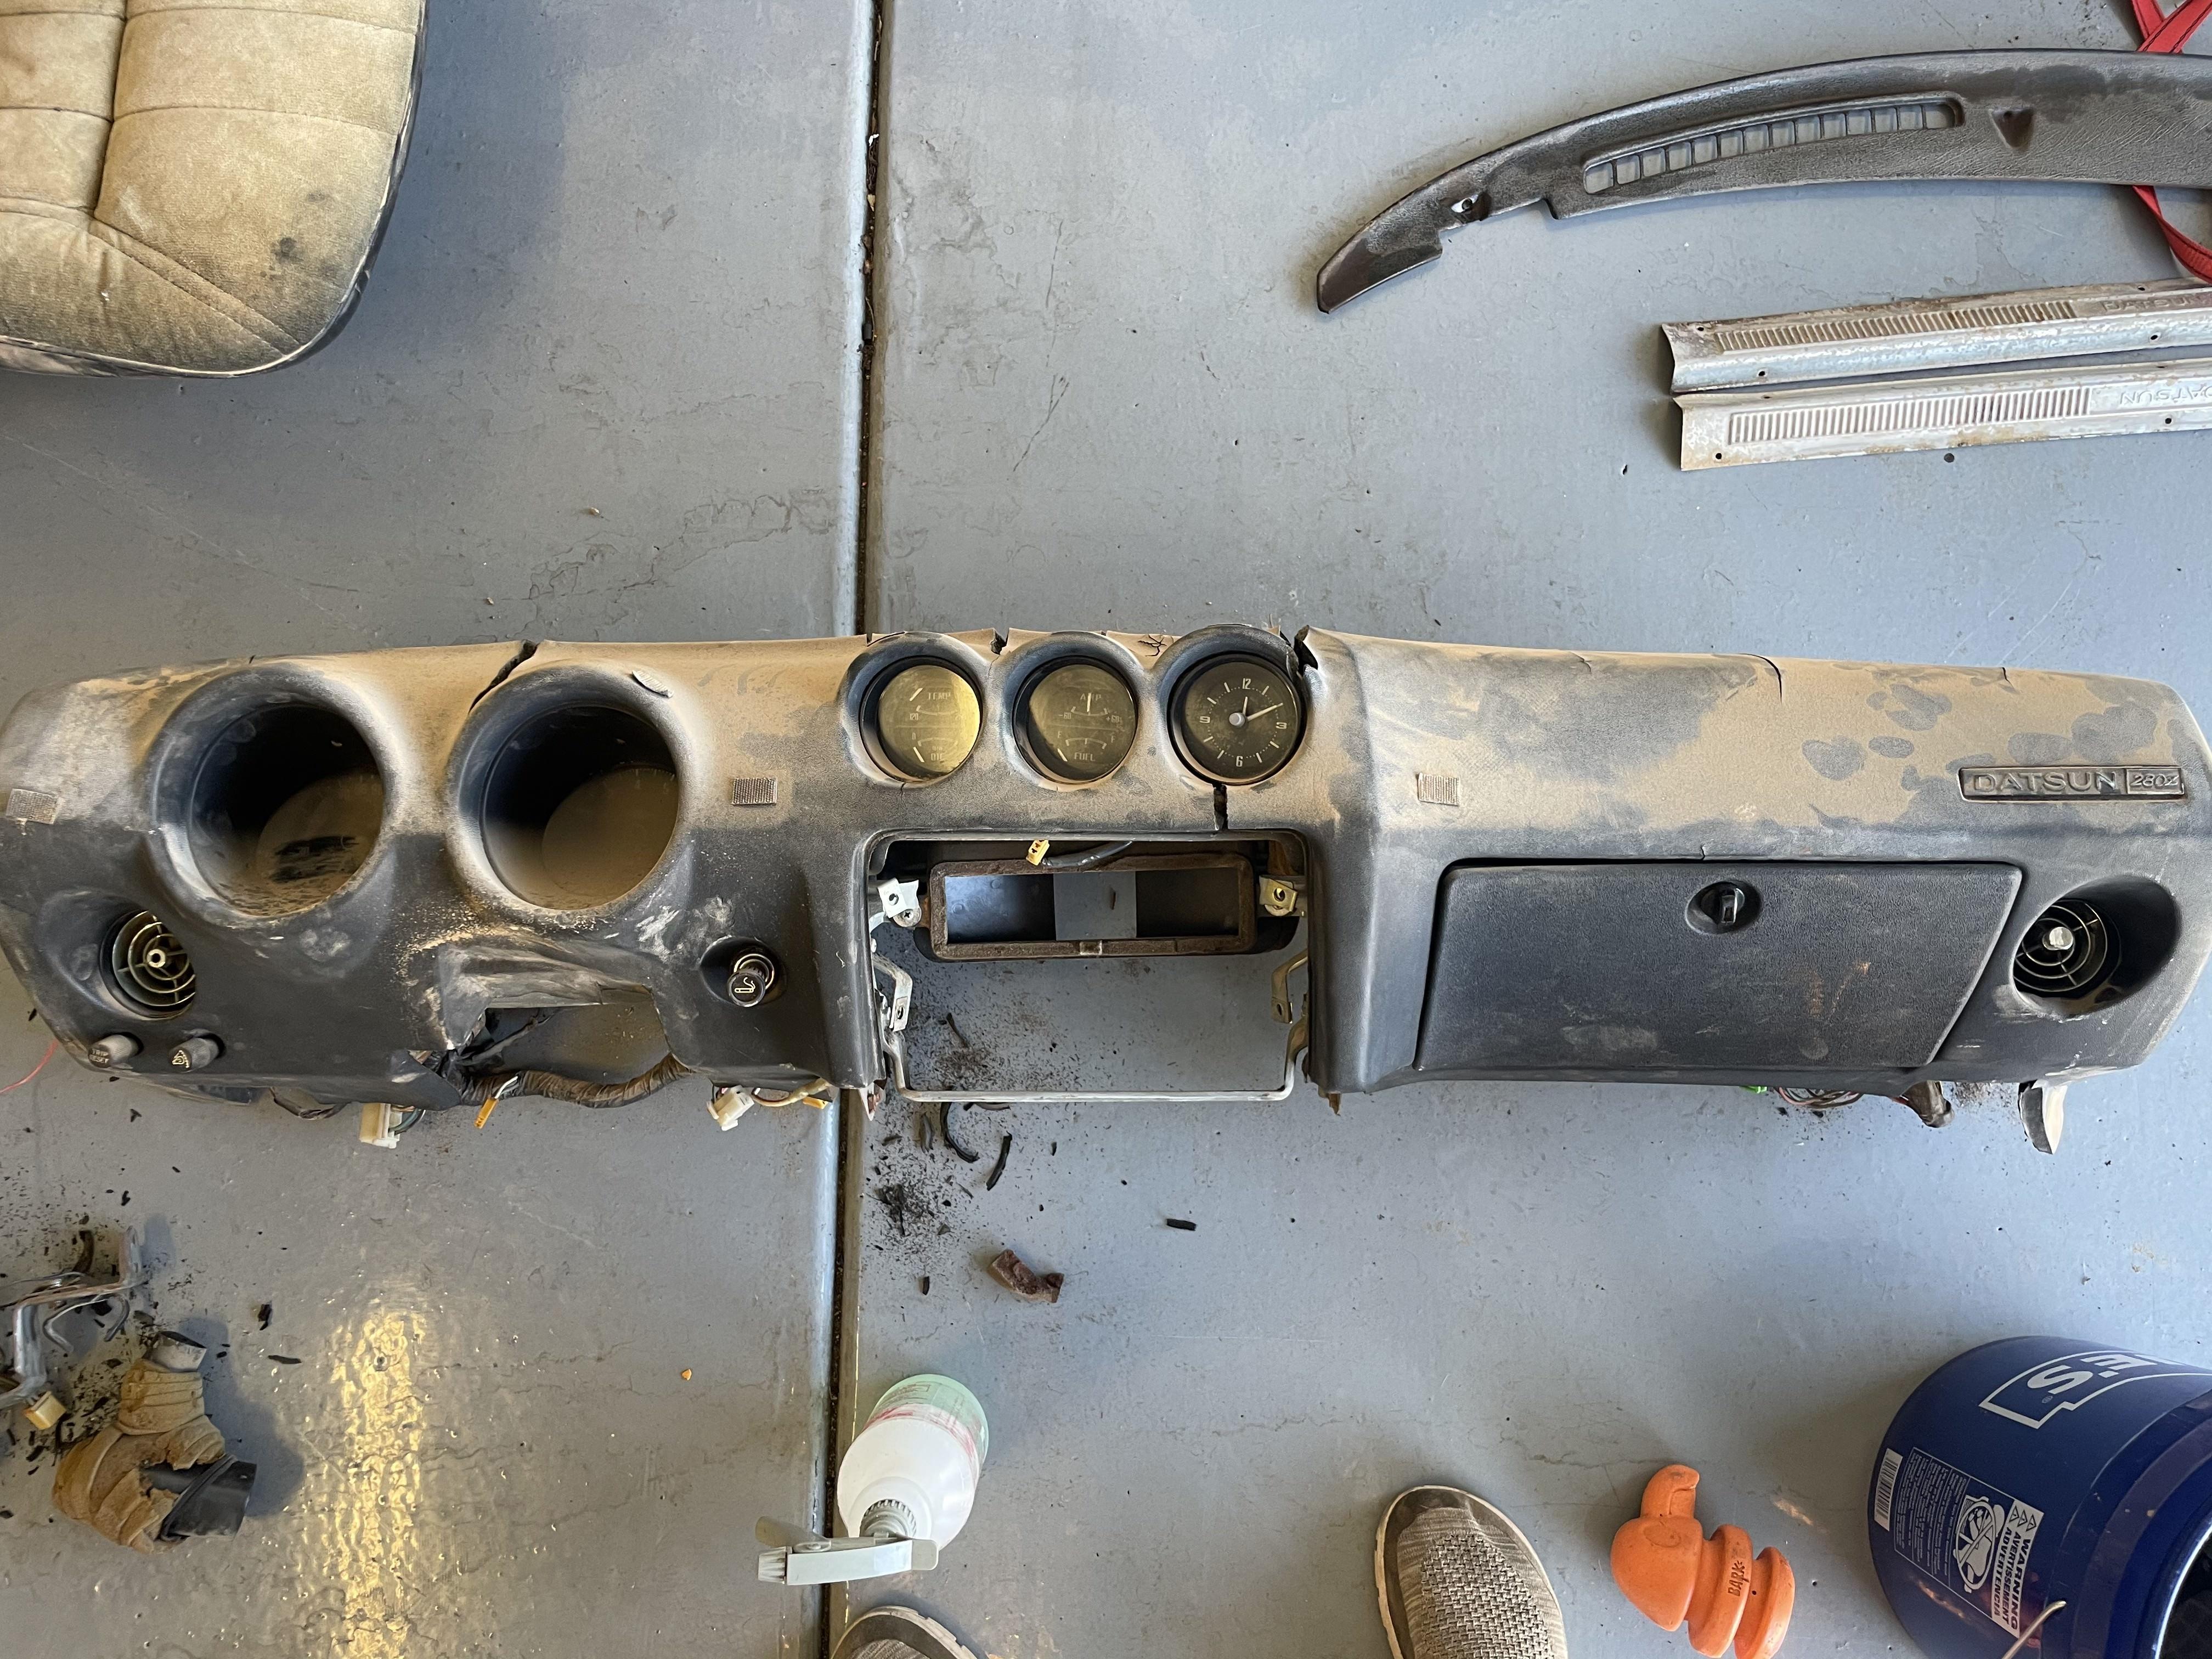
First order of business was to clean out the interior. I tore out all the panels and carpet to see what we were working with. 🤢 Drivers footwell has a few holes of rust: But the passenger side got the metal cancer pretty badly: This will be addressed at a later date, but its nice to see what I am working with. The trunk wasnt too bad, just some surface rust and that original blue: Some cleaning while I waited for parts: Maybe the dust acted as a UV Barrier 😂 Dash is out, cracked and crusty. I'll be ordering a new cap soon: But for now, some elbow grease is good enough: Misc panels after a nice scrub:


 1 point
 -
Been so busy lately. Glad I have a grandson to help get the tree this year!1 point


.jpg.1d4ddd1180c7b371594c080d06309707.jpg)
.jpeg.2b4147c75f492a69537e08d4fc2ddc54.jpeg)
.jpeg.0c87cfc497331bbd4f7431a1ea87852d.jpeg)


-
-
Forum Statistics
-
Total Topics66.4k
-
Total Posts664.7k
-
-
Gallery Statistics
-
Blog Statistics
-
Total Blogs167
-
Total Entries251
-
-
Download Statistics
-
Vehicles Statistics