


Leaderboard
-

Captain Obvious
Free Member4Points9,855Posts -

zKars
 Subscriber
 4Points3,747Posts
 -

Escott1622
Free Member1Points17Posts -

gwri8
Free Member1Points1,385Posts
Popular Content
Showing content with the highest reputation on 06/20/2021 in all areas
-
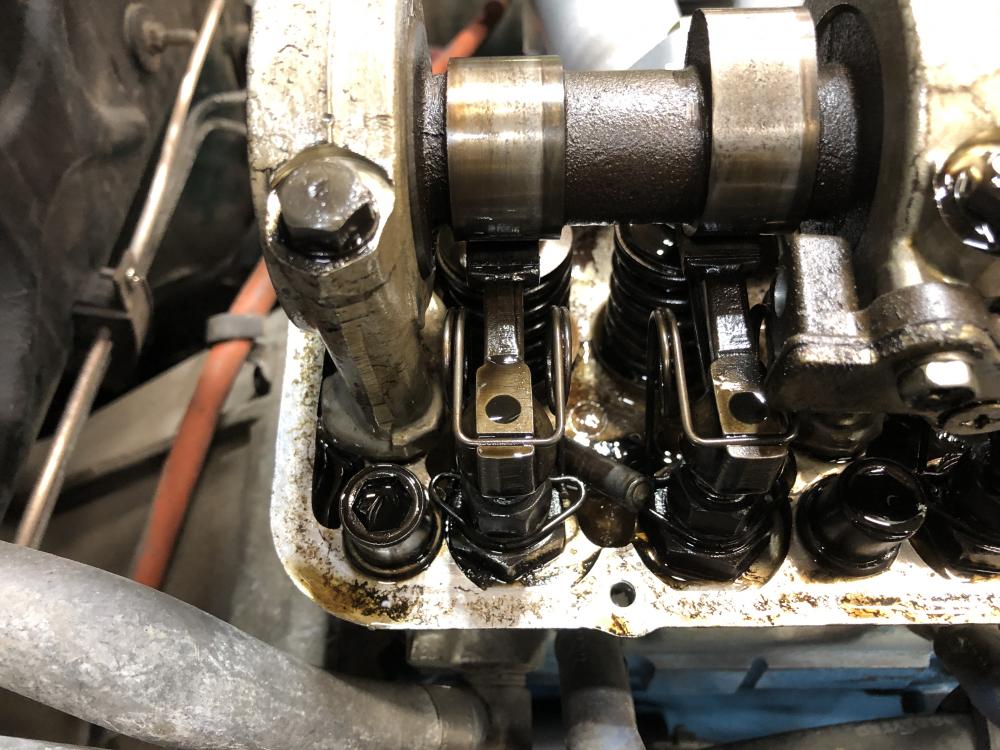
Deja vu all over again. Working on a buddies L26 engine, doing a Weber carb jet and tune, and decide to check valve lash and replace the valve cover gasket. Take off the cover, and starting doing a SOP check up on things and what should I see? Well first, what do I NOT see? The back end of the spray bar is what! Ok, where’s Waldo? Oh thank god, there it is, laying there happy as a clam. Cam lobes don’t look too bad, hopefully this happened not too long ago. Go to the stash for the later version that has better welds. Down to one more of those. Going to have get the TIG welder out and weld that back tube into place on the dozen or so spares that ALL have loose welds ALL Along the rail. The middle ones are trapped, so they can’t fall out. Everybody go check your spray bars. See who’s home or who is packing their bags and has a ticket purchased.
 2 points
 -
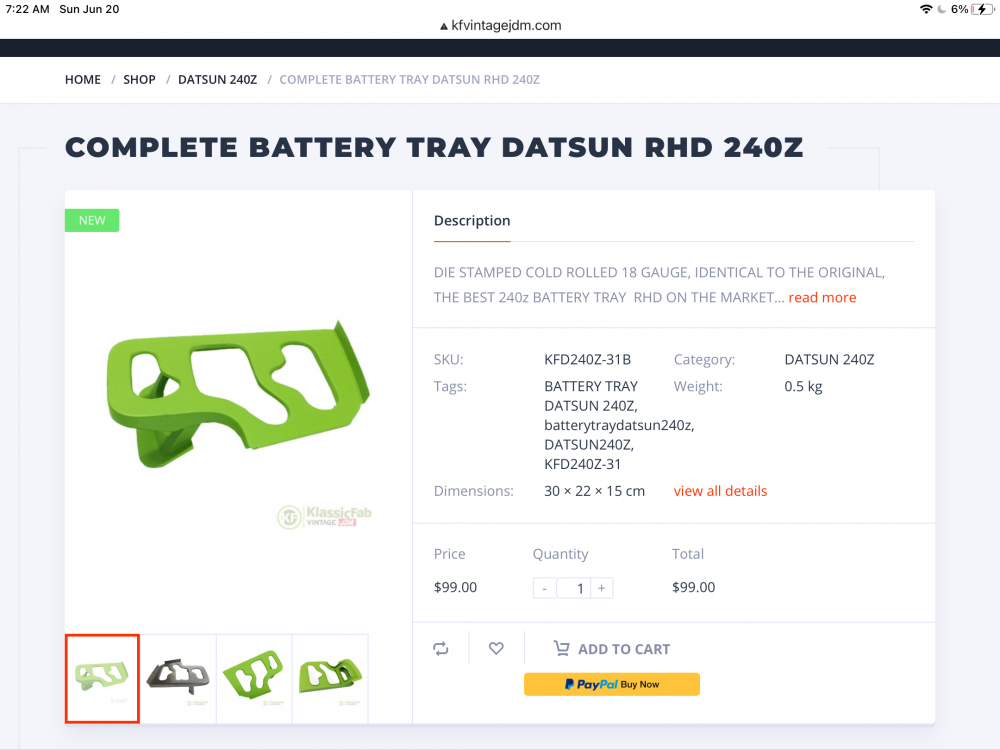
2 pointsExcellent work all around. There is a particular joy in creating something from essentially nothing but raw materials. I use M5 rivet nuts for my tray removal function. Once you buy a decent rivet tool to set them, they are cheap and easy. I use them all the time for things like replacing all the silly plastic push pins that hold in the plastic interior panels. Just to help everyone down the line, don’t forget our friends at KFVintage now have a new battery tray at a very reasonable price.
 2 points
 -
1 pointAlright so this is the first time I’ve ever done anything like this. My dad bought new a 240z in probably 72-73, it was his favorite car and the one he regrets selling. He always talks about this car and said if he had to choose one car to buy before he died it would be another 240. Now that I (his son) am getting older and have more cash flow I wanted to see if maybe I can find his car he had. How do I even go about this. He bought it new in Pittsburgh pa I know what dealer and everything it’s still around, I doubt he has any info on the previous sellers or the vin. I’d love to be able to track down the current owner and depending on its condition put in an offer. Idk where this thing could be it could be a museum quality car or rusted beyond recognition1 point
-
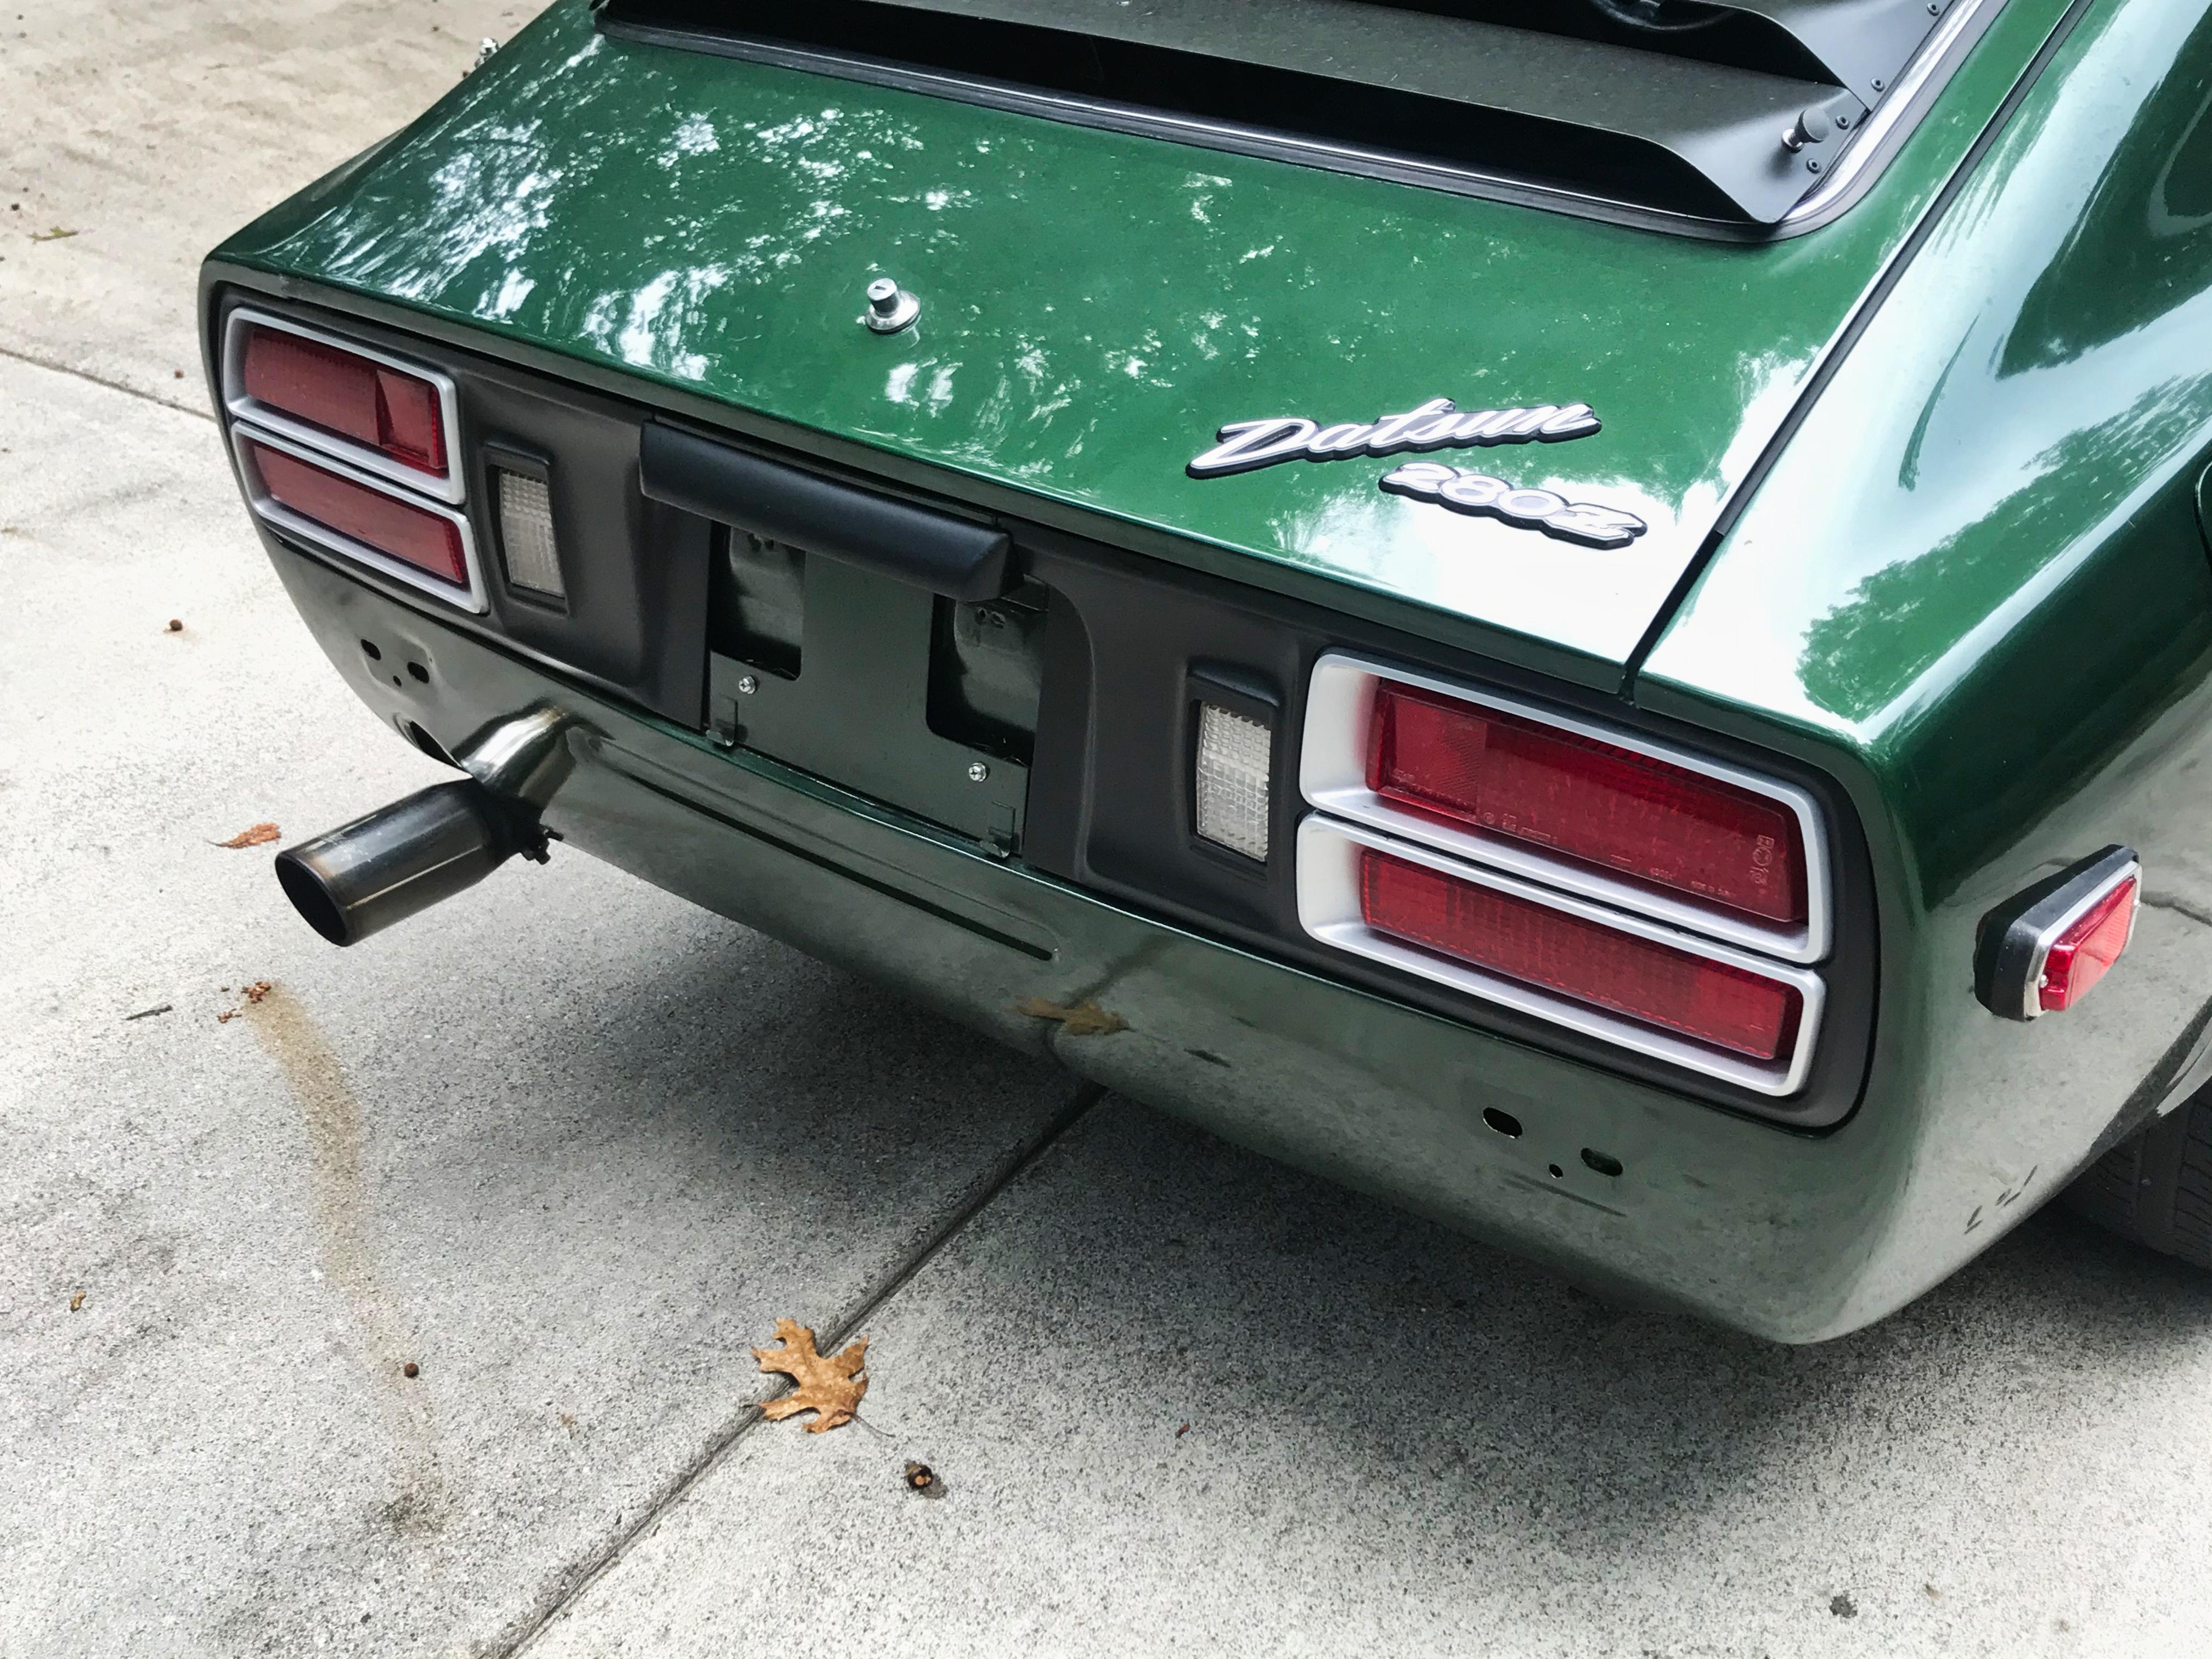
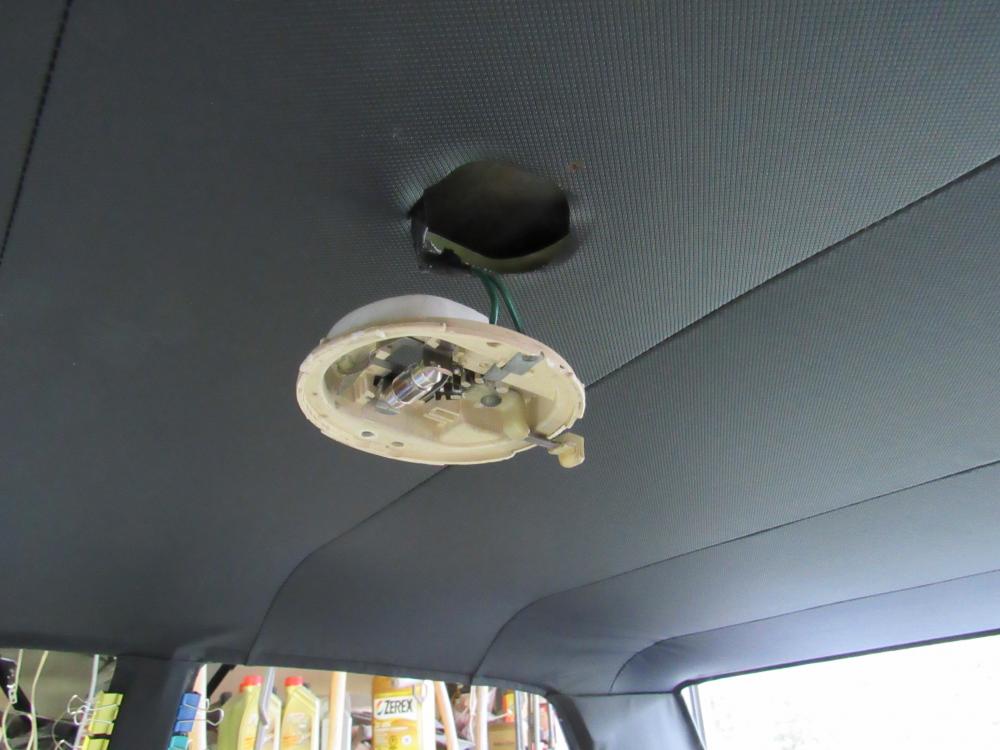
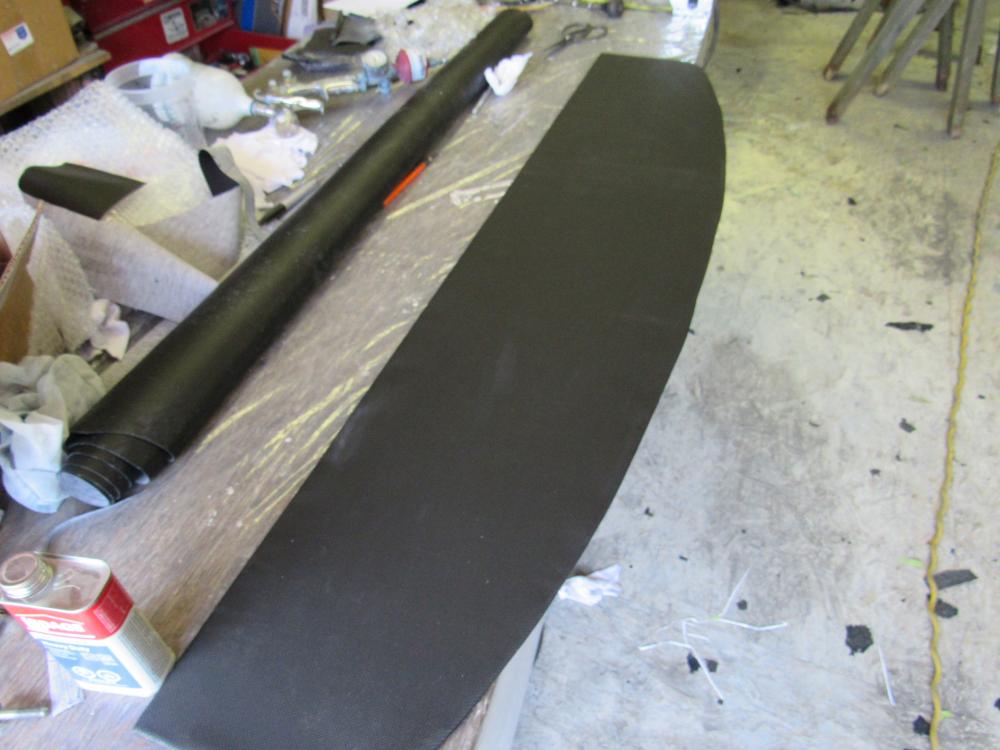
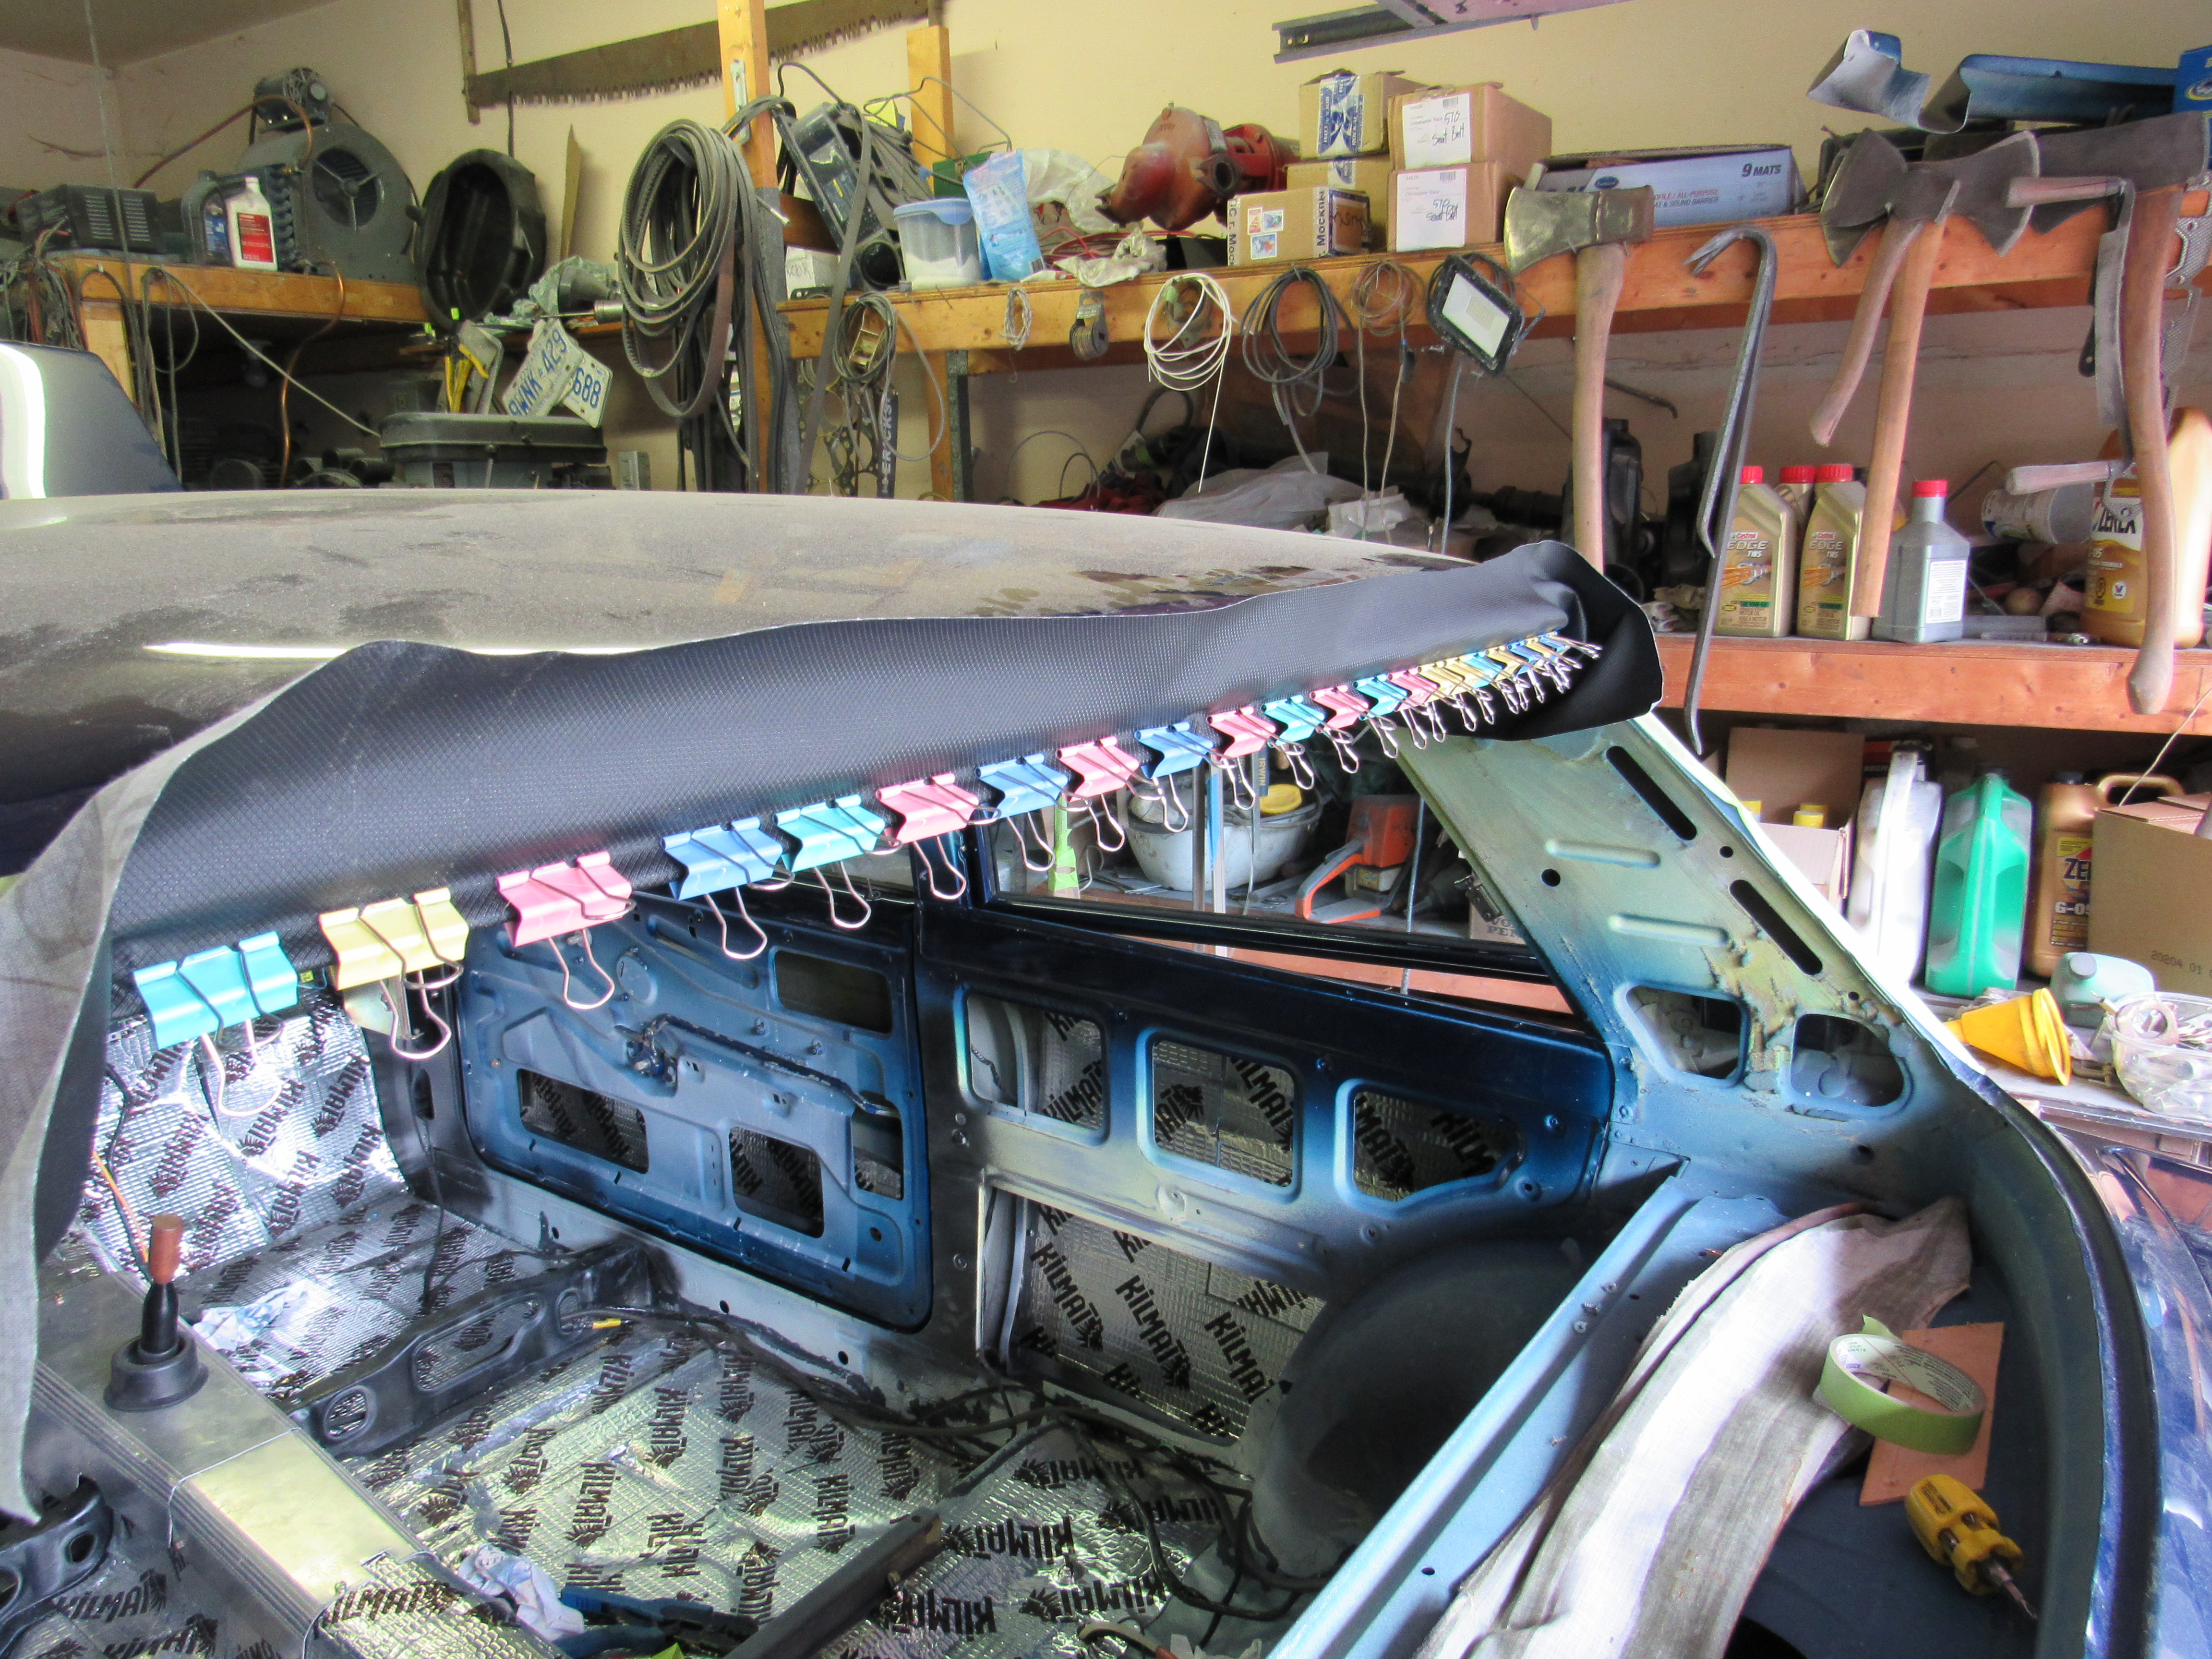
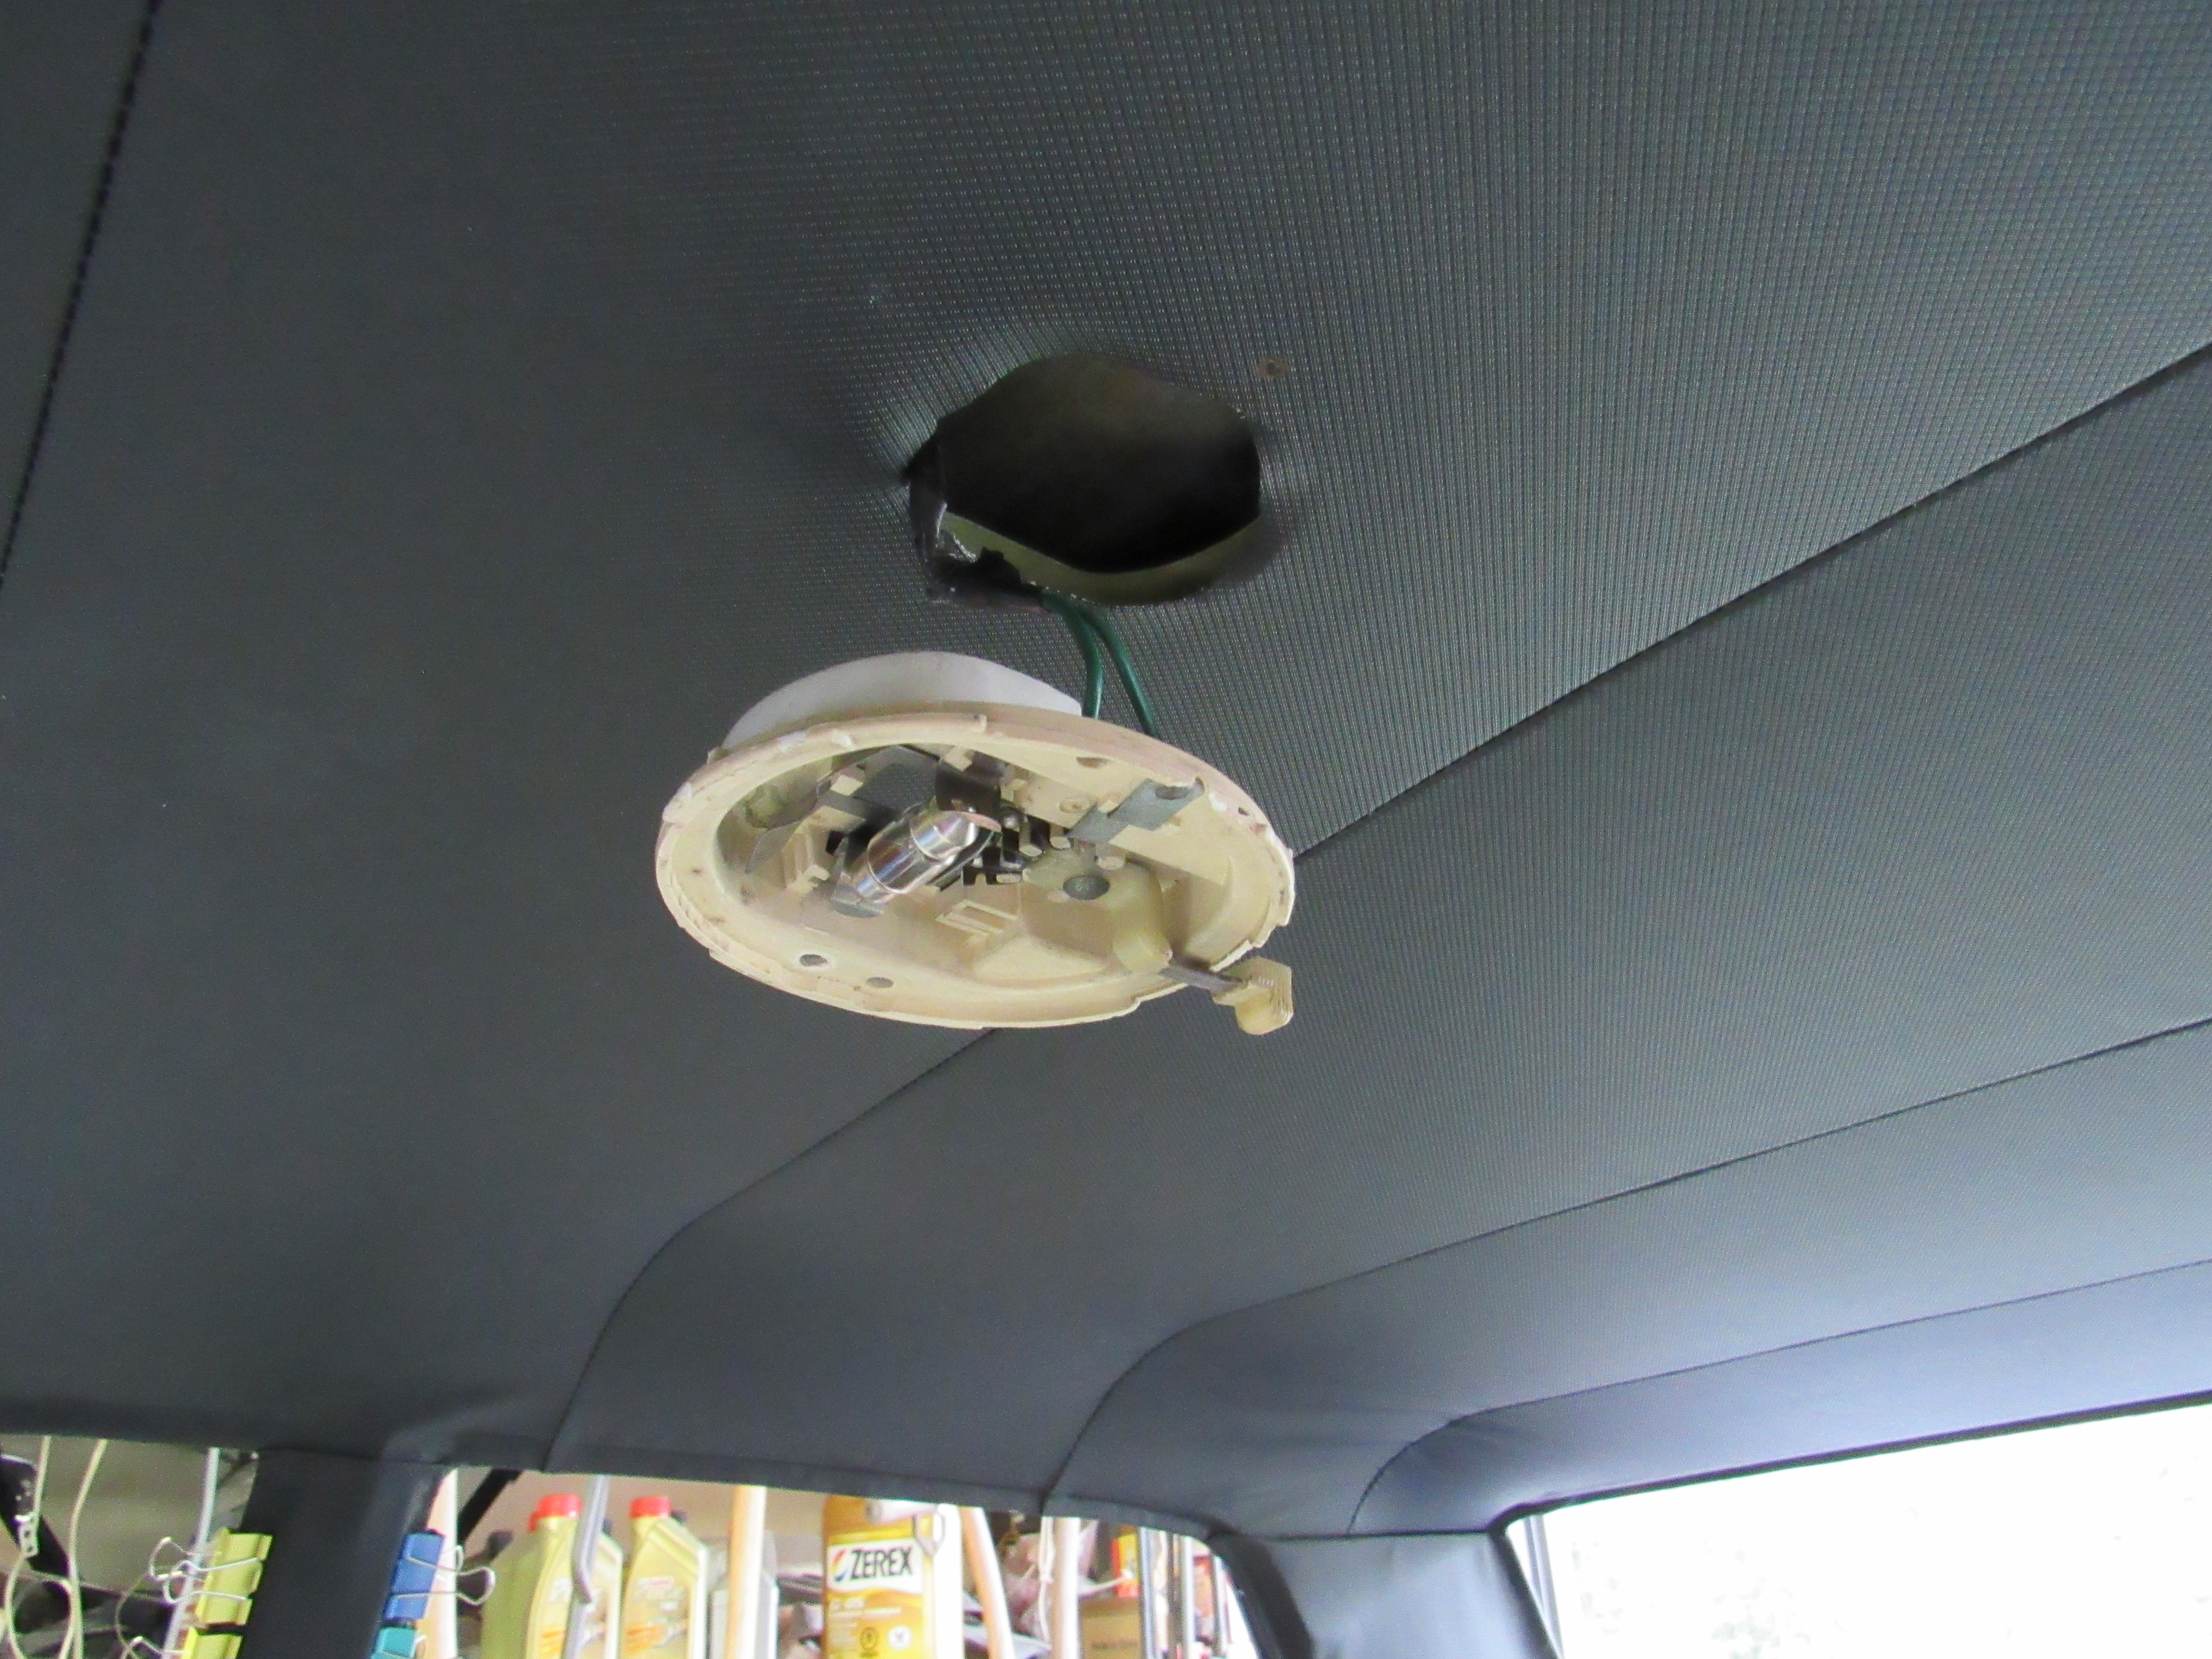
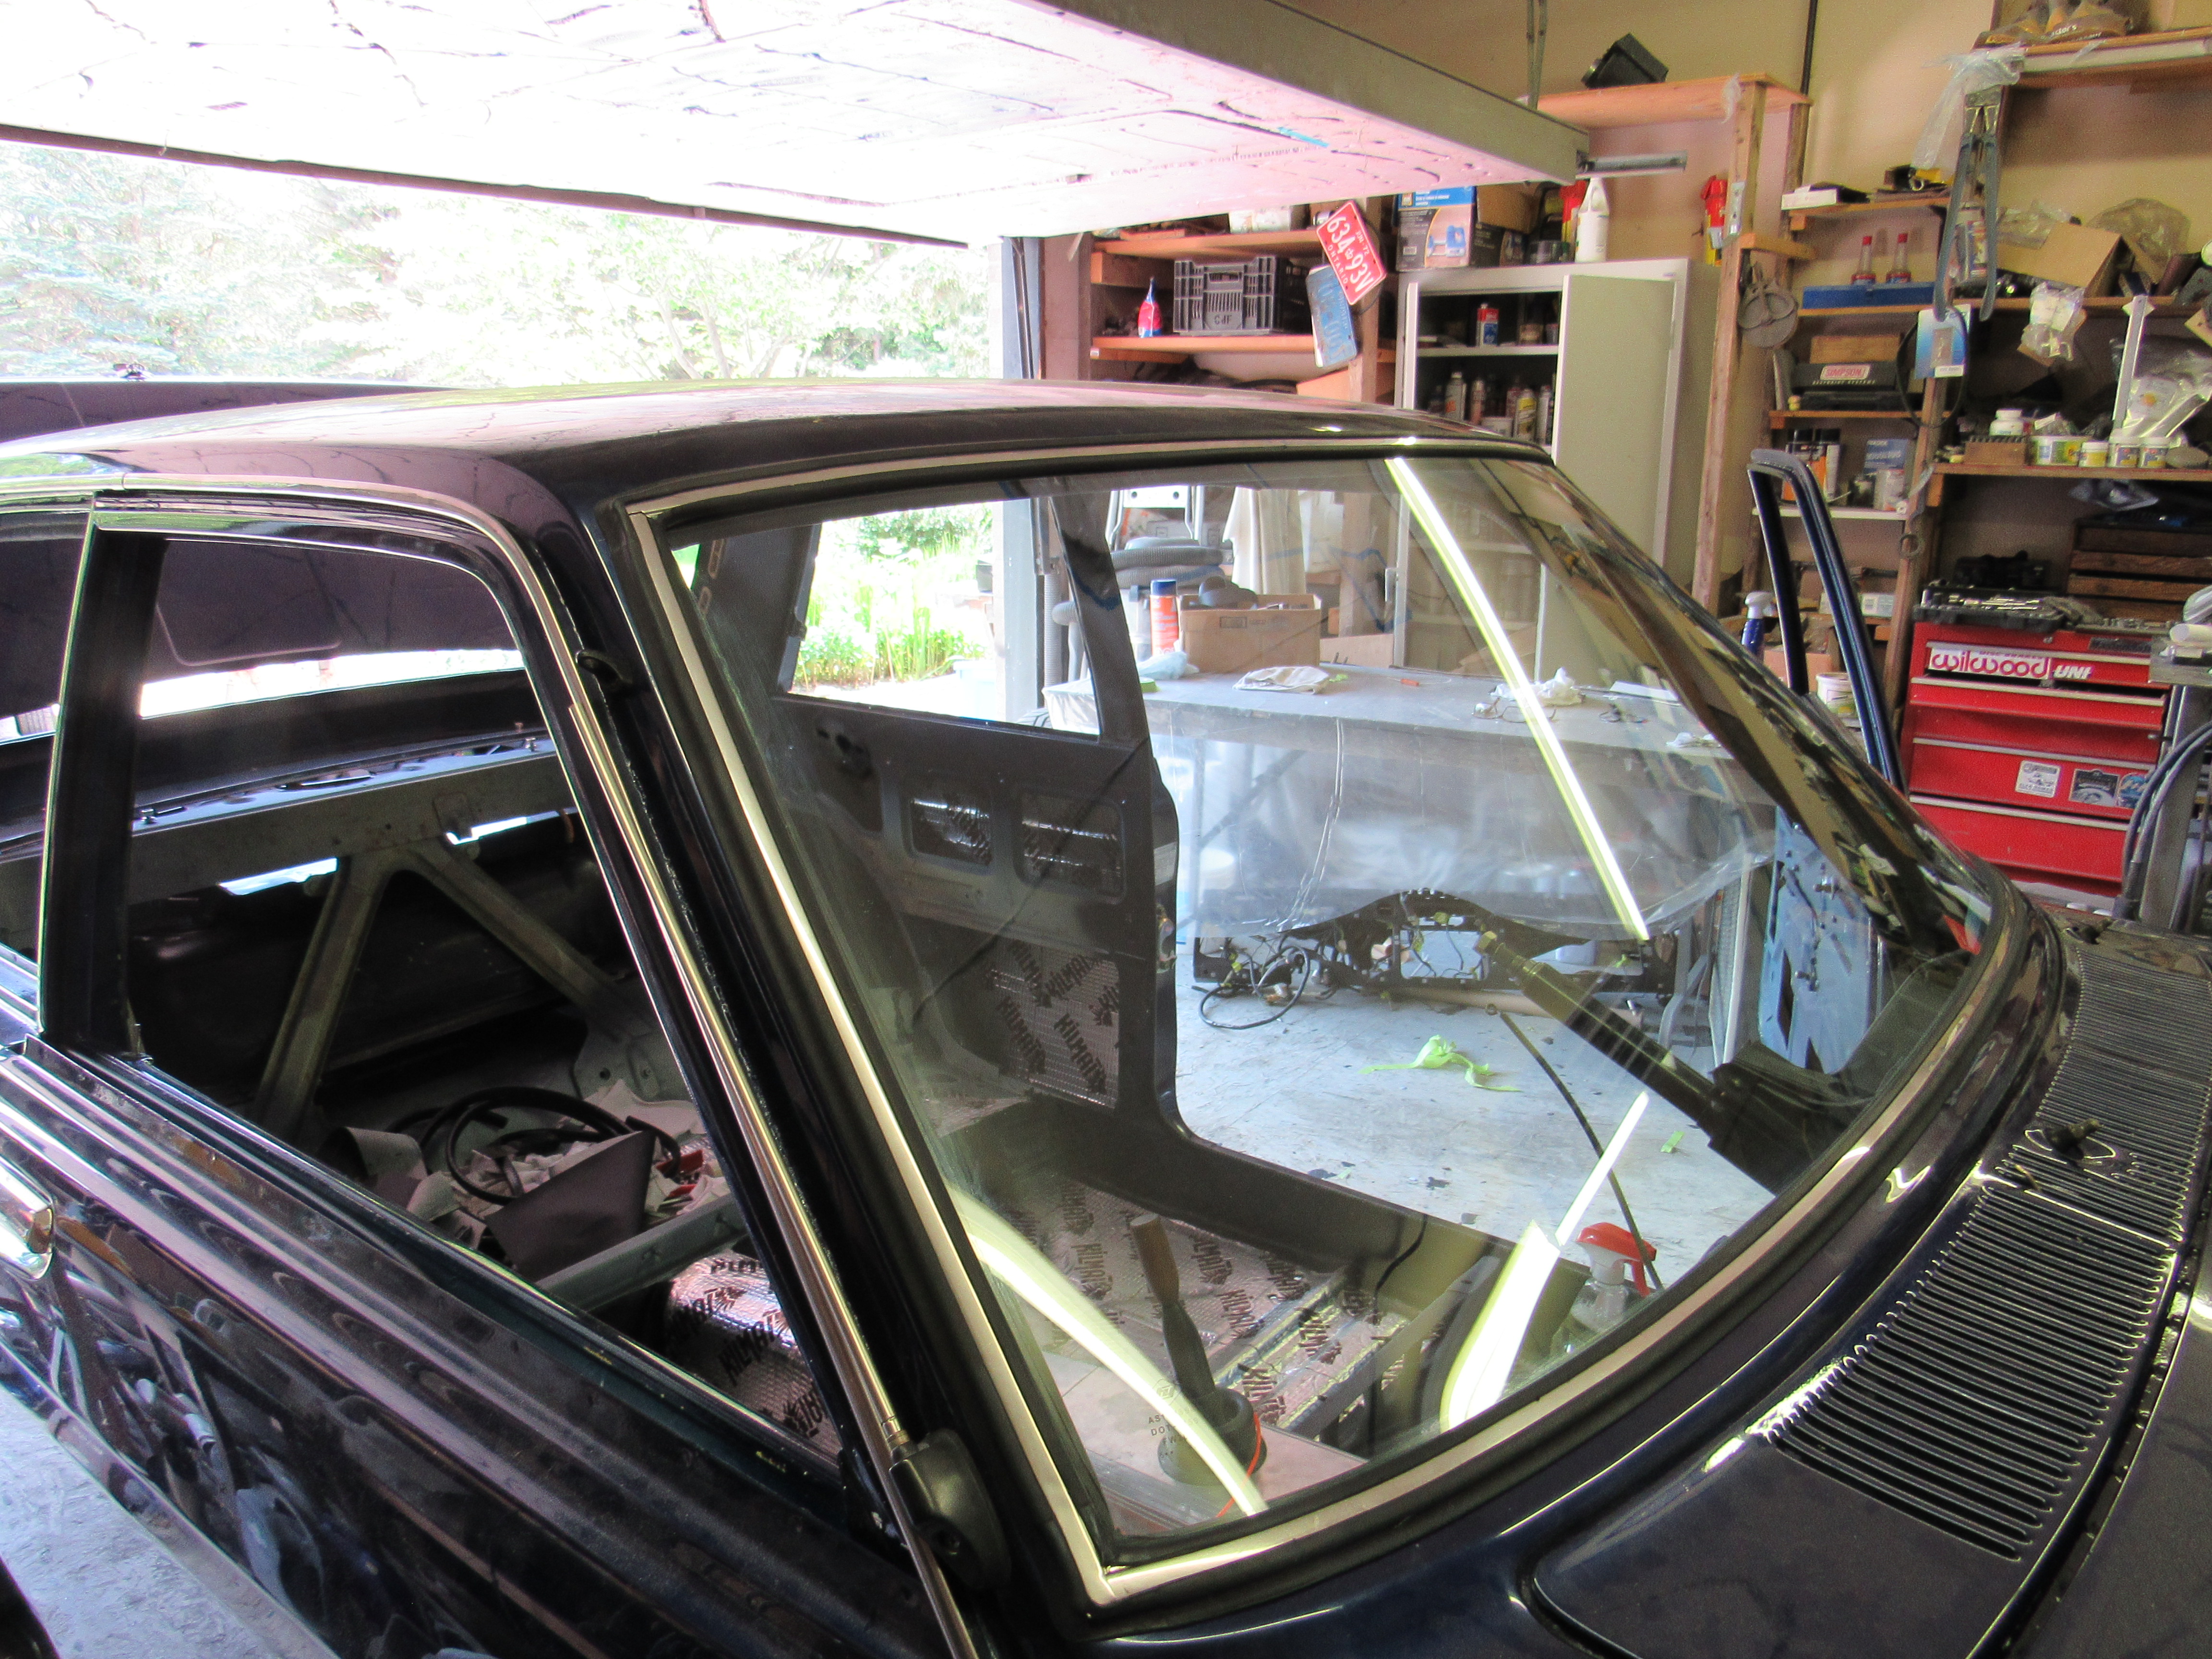
 1 pointI swear there is an unwritten law of nature that sates anything you install you will have to uninstall, several times for one reason or another. A productive weekend though, got the headliner and the rest of the vinyl trim finished, that's a nerve wracking moment when you take the Xacto blade and puncture and cut a hole in the headliner you've worked so hard on got to be done though, that light has to recess up into the center frame. I got the parcel shelf and footwell kick panels completed, both bumpers painted with 3 coats of clear, also installed the front windshield, just have to remove the exhaust system again so I can get at the fill plug on the transmission that hasn't been filled yet. Hoping to fill the tank next week and try and get it started.
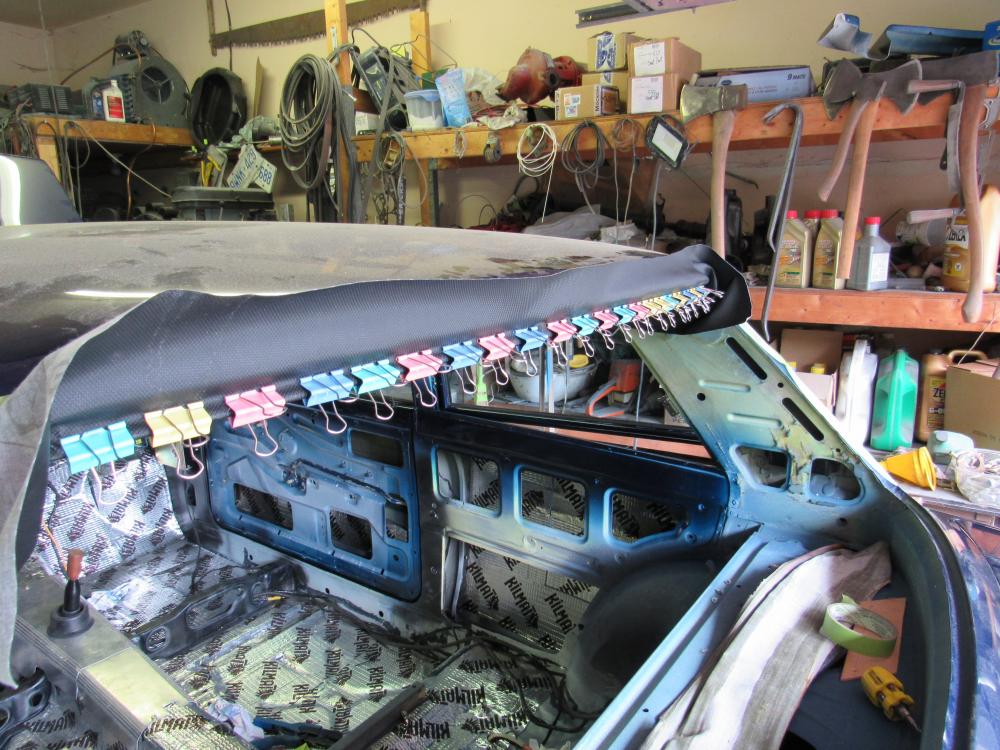

 1 point
 -
 1 point
 -
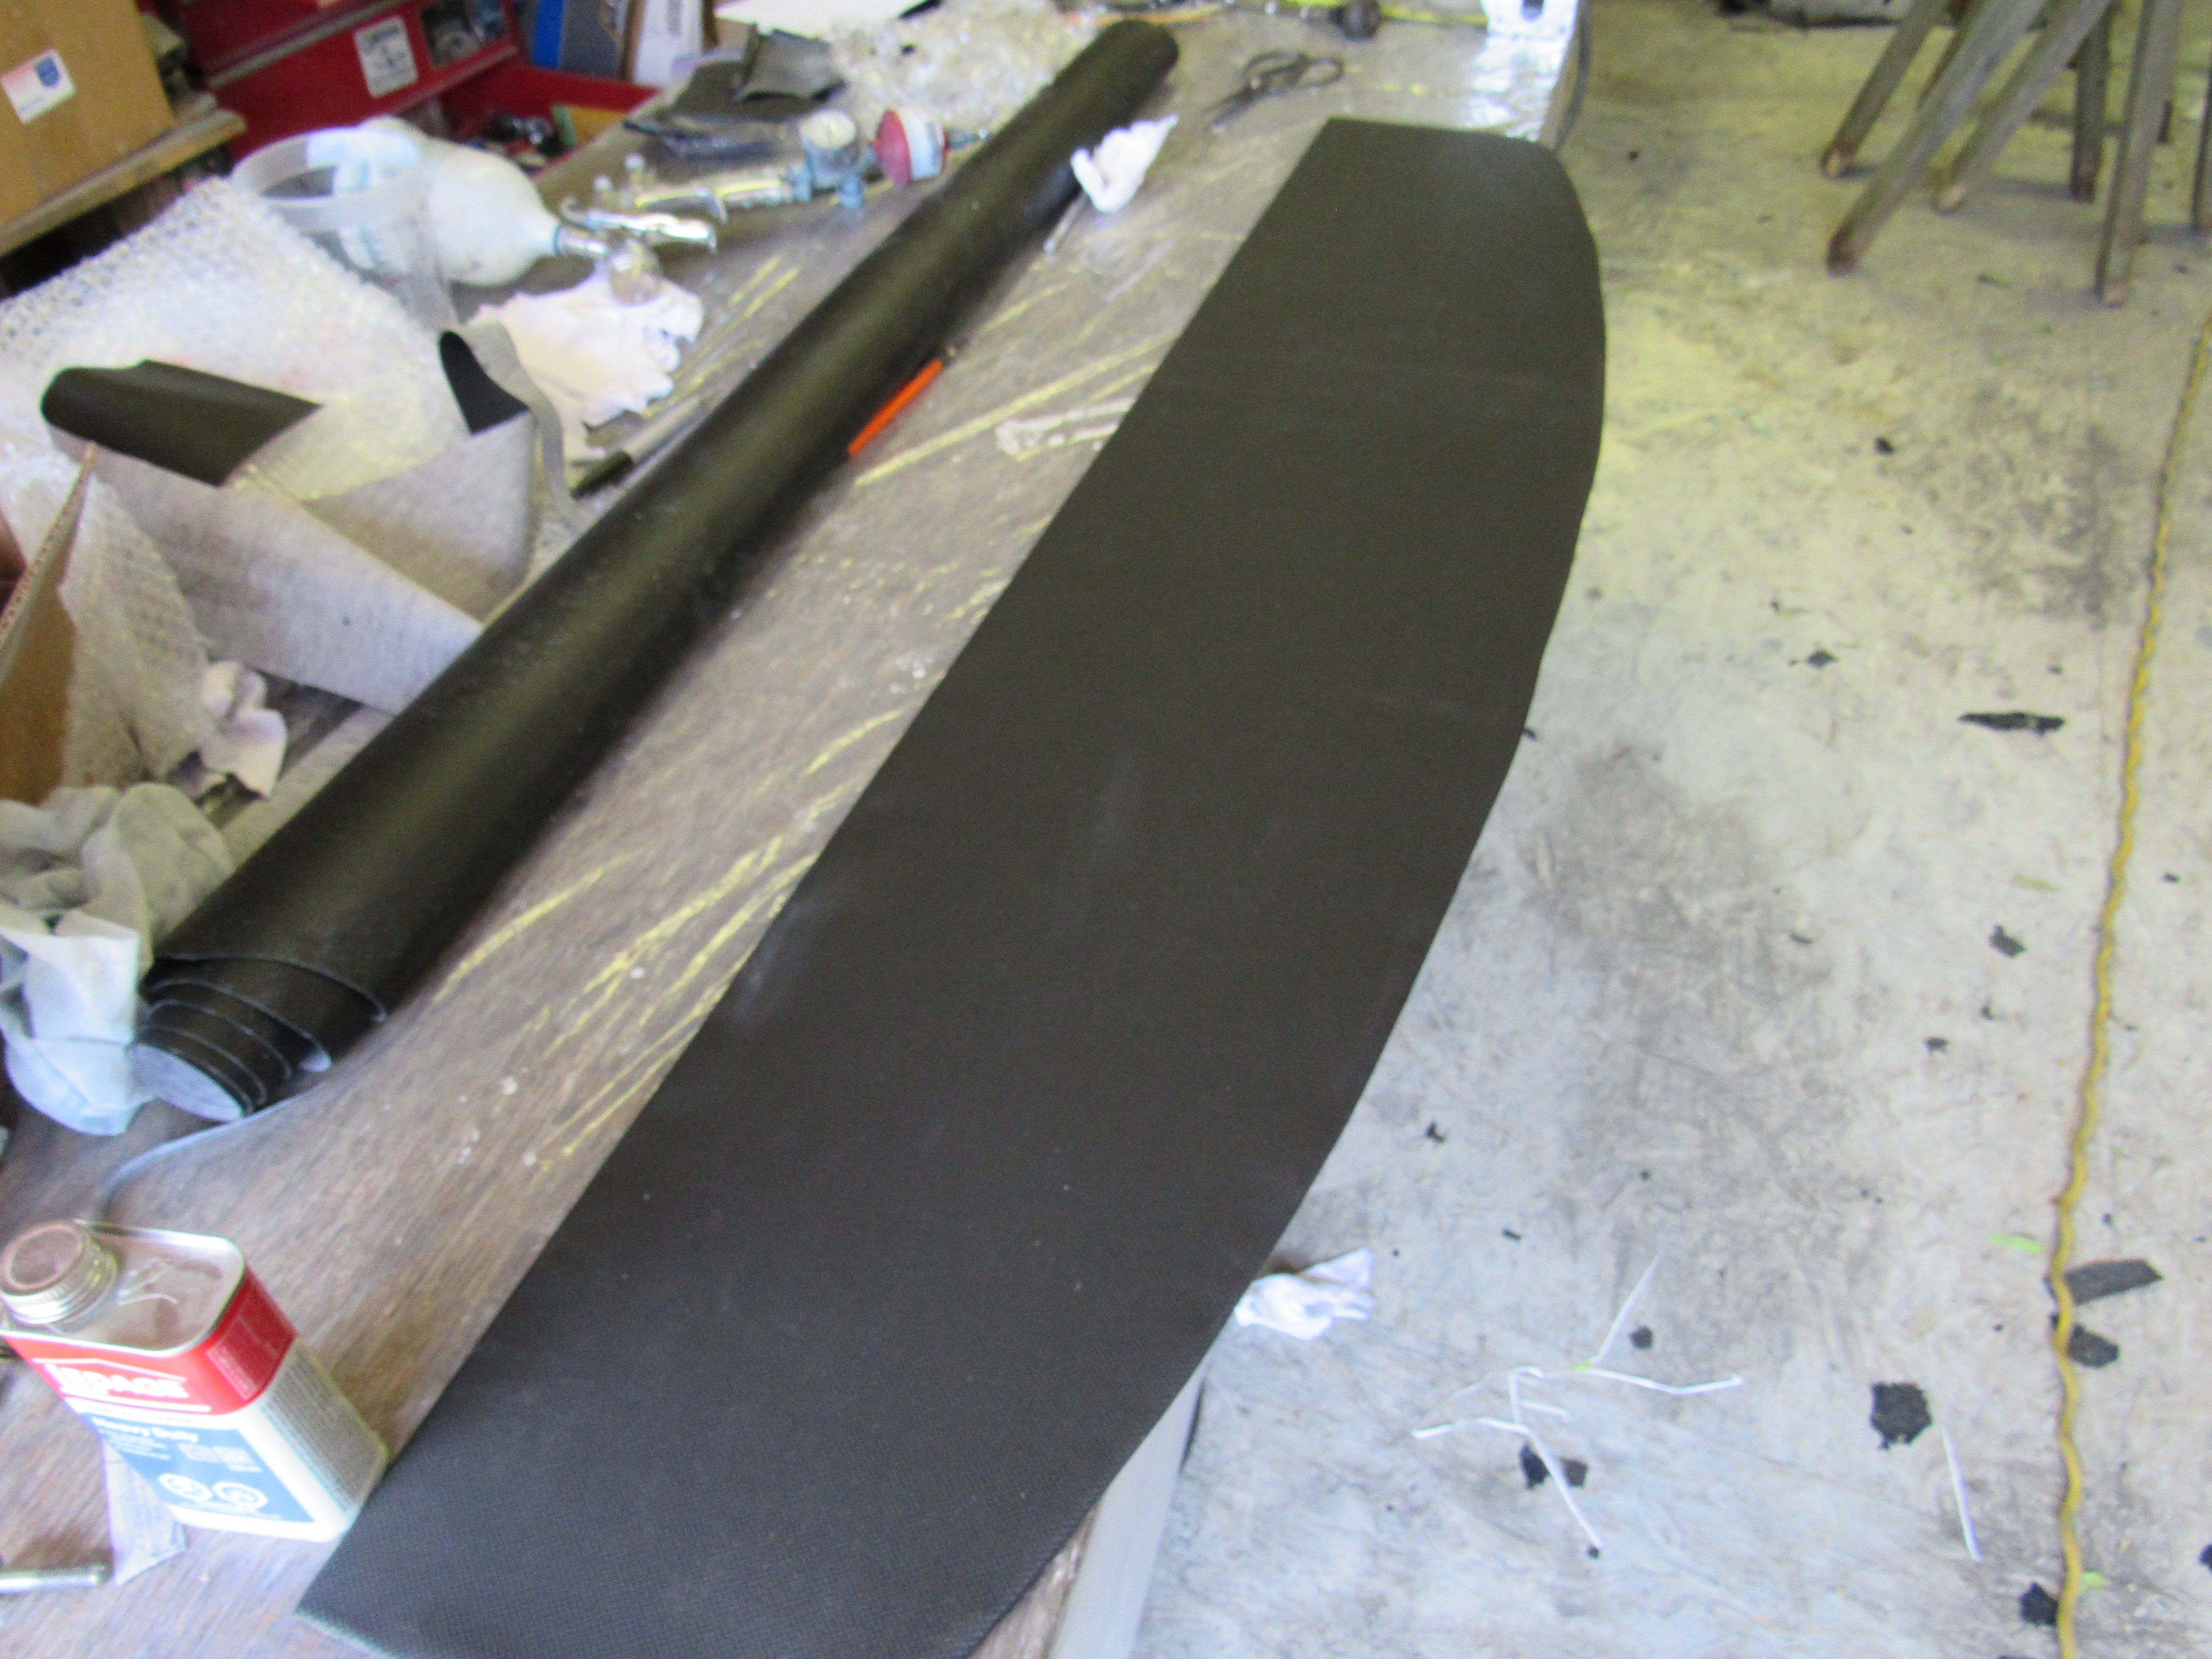
 Thank you for the comments. I really appreciate it. That thing took about every bit of a day and a half to make. Started with the flat area and marked the opening cutouts. Then I used a scribing tool to mark the length of the turndown flanges. I just set the gap to about .210 and ran it around the inside of the openings to get the cut lines. Used a jigsaw and die grinder to cut make the cutouts to the offset lines. I used a lot of things in the shop that were never meant to be beat upon as a backup rest for the metal while I slowly tapped the flanges down. The big problem is that flat section needs to be held hard and flat while you are working the flanges down. Because the flanges are so short, the metal is really hard to work (no leverage + work-hardening), and the flat area around where you are working it wants to deform upwards in reaction to the flange being deformed down by the hammer. I did the best I could to use clamps or heavy pieces of steel to try to keep things in place, but it wasn't good. So I started using a little heat right on the flanges because they had to stretch as they make the curves. That helped a lot, but not really enough, because the flanges didn't really want to stretch enough. I was reluctant to add too much heat as I didn't want the flat area to easily deform - I wanted them to stay hard and flat. At some point I used steel tubes and rounds of the correct diameters as forming tools where I pounded the rounds into the openings to force the flanges to stretch enough and make the profiles look halfway correct. That also helped a lot, but if you look at the radiused openings they don't quite look right still because the flat sections started to deform under the stress of the round "forming tools". So then I had to go back and reflatten the flat areas. The biggest problem with forming the short flanges is that after you've formed the first one, it is now in the way of getting all the others done. You have to have a piece of steel you can hammer against, it has to be large enough for the area you are working, it has to be small enough to fit between the previously formed flanges and you have to have a way to clamp it to something solid. I have an anvil, dollies, lots of scrap steel, a million clamps, many hammers, and yet I still had trouble getting it all to work together. We were having having beers with friends yesterday at a great outdoor place overlooking a portion of the Shenandoah Valley. My buddy used to make the bodies for his race cars, so I kept quiet and let tell me how to do it. "Ahh, it's easy - you just need a positive and negative form." Really? Why didn't I think of that? Of course I need forms 😁. So there's the challenge. Make forming tools. Those curves are organic. It's totally doable to make in wood using a handheld router, but it would some slow and very careful work. But at .062, CRS is going to win against wood (unless it's perhaps Ipe), when you start bending those short flanges against it. I could also go back to .047 which would make a huge difference. In fact, with a little thought to adding stiffening gussets to the underside and securing the batery well, 20 gauge (.035) would do the job. As for the larger flanges, all straight sections are bent, including the two upturned flanges, one of which is curved. All the corners for the downturned flanges are welded on. After everything was in place and welded up, I used a air board file with ceramic abrasive to level off the bottom of the cutout flanges. That made a huge difference to the appearance of the underside; although, you'll notice I didn't show a picture of the bottom of the shelf. Between all the various hammer, chisel, and blunt objects marks, welds I couldn't quite get to grind to my satisfaction, and the bluing from heating, it looks a little rough. Maybe a little spray-on flaw remover (undercoat/bed liner/body filler) would help 😉1 point
 -
 1 point
 -
1 point
-
1 pointAgreed! And I find it's the same way with people you've never met. For example... This is my mental picture of you:1 point
-
1 point
-
1 point
-
1 pointThank you Mr X. Happy to hear you took the step to become part of the solution by removing yourself from the mutation pool. I want to stamp this thing out, and as long as there are enough hosts out there for this bug to propagate, we're at risk. So for all you people who cheer that fact that restrictions are being relaxed. Woo hoo! It's awesome, isn't it? All you people who like the fact that the numbers are going down. Yay! That's fantastic, right? Well if you like the results but have not gotten a vaccine yourself, you're setting us up for another round when this thing mutates and pokes through the vaccine. If you like the benefits, become part of the reason things are getting better. Don't rely on your friends and neighbors to fix the problem for you. Everybody's got an agenda, right? My agenda? I don't want to go through this ever again. I want life to go back to normal. I don't want to wear a mask. I miss seeing my Z friends and I guess I'm willing to go out on a limb a little bit for not just myself, but for other people as well. We're all in this together. So go get a vaccine! Get yourself out of the pool of mutation donors!1 point
-


Important Information
By using this site, you agree to our Privacy Policy and Guidelines. We have placed cookies on your device to help make this website better. You can adjust your cookie settings, otherwise we'll assume you're okay to continue.