Leaderboard
-


siteunseen
Free Member5Points14,904Posts -


Av8ferg
Free Member5Points1,538Posts -

bartsscooterservice
Free Member3Points1,896Posts -

ETI4K
Free Member3Points382Posts
Popular Content
Showing content with the highest reputation on 08/06/2021 in all areas
-
4 pointsTook about 1hr with two helpers. She’s out and now I have a bunch of work to do to get the bay squared away. Thanks for all the help. You all provided invaluable advice and support! Discovered the transmission was not the original. It had markings from a junk yard...she was toast anyway. Sent from my iPhone using Tapatalk4 points
-
3 points
-
 3 pointsTo bring closure to the "rusted nuts" on the bumper saga, here's what happened. I took the rear bumper to a machine shop. Who better to resolve the issue than professionals who work with corroded metal every day? They kept it for several days, soaked it in a combination of acetone and ATF, added a little heat, and eventually got the rusted nuts off of the 50 year old bumper and over rider without breaking either of the threaded mounting studs. All good, I just need to clean it up and install the new rubber strips on the over riders and the bumper ends. A weekend project if the temperature stays below the 122º level it hit earlier in the week. Thanks to all who offered suggestions!3 points
 -
2 points
-
1 pointYep, I know it possible but didn’t have time today to screw with it. I looked at it this AM and was like...nope not gonna happen So if I have to remove the DS then is that the right time to go ahead and put the spear ZX diff in too and get the rear end done. I had contemplated doing that over the winter but once the DS is off maybe I keep loving forward on the new diff too. I don’t want to get distracted too much and get overloaded. Too many people are great at taking apart but somehow it take forever to get it all back in. I’d like to have the engine in an running by next month. I have a big work trip (9 days) coming up so I’ll hit a work stoppage soon. Goal now is engine bay prep!! Sent from my iPhone using Tapatalk1 point
-
1 point
-
 1 pointI figured out all my ITB issues. My fancy no contact tps sensor has this goofy huge 0 volt rest area. I had it clocked, but from 0-75% throttle the tps didn’t change at all. Then 75%-100% throttle it would move. Basically 0-1.1 volts at full throttle. So it would bounce .00-.15 volts and the ecu thought that was like 0-10% throttle. So clocked it 70 degrees. Starts around 2volts and goes to 4.3 volts. It’s super happy. Somehow this took forever to figure out. I can be so dumb. Now I can actually start to tune it. FullSizeRender.mov
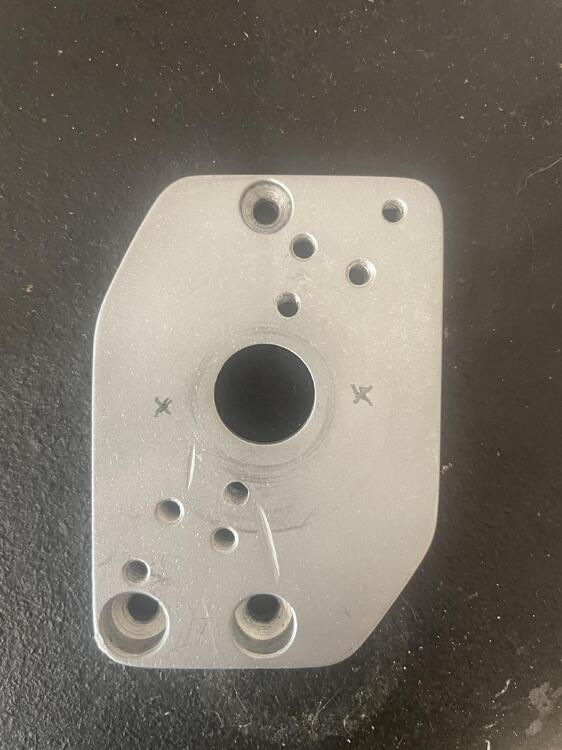 1 point
 -
 1 point
 -
 What was the particulate matter made of? Blowing out the 280Z high pressure fuel filters is a quick emergency fix. But replacing them with new is the right way. They have a pleated element inside that isn't going to clean up by using backward flowing air. There is one main supply line from the tank. I'd get underneath and inspect it to see if it's damaged. If it's not, maybe just buy a new filter and run it. They're cheap and your local parts store might have them. https://www.oreillyauto.com/shop/b/fuel---emissions-16775/carburetors---parts-16801/fuel-filter-water-separator-12305/6bf814fc80d2?q=fuel+filter https://www.rockauto.com/en/catalog/nissan,1975,280z,2.8l+l6,1209204,fuel+&+air,fuel+filter,62001 point
 -
 1 point
 -
 I just edited my post #8 above with some observations about the TSB with the change to white labels, I'm of the opinion that the 1972 model would have used Yazaki leads based on the TSB date. However that is just my opinion.1 point
 -
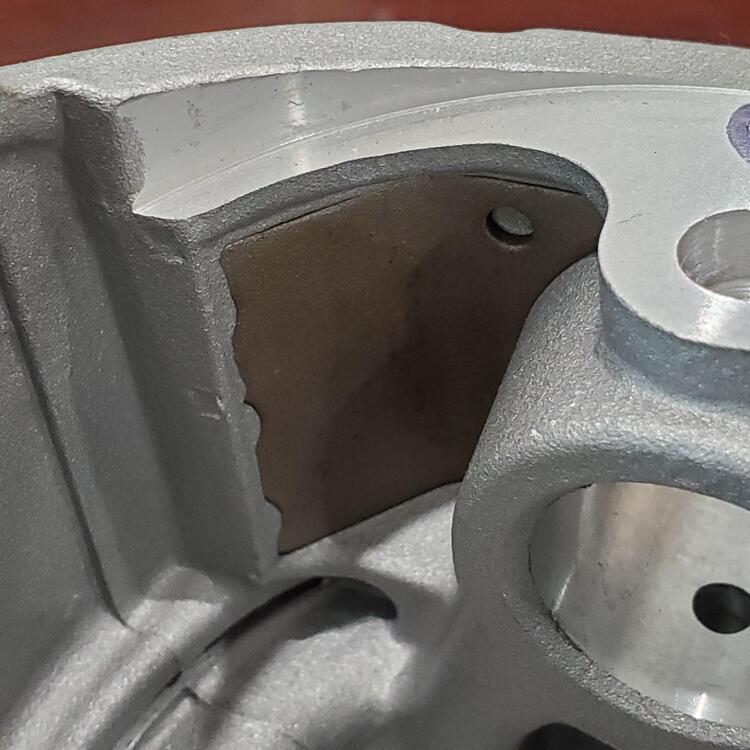
Very cool idea. That had to be fun building that motor. Could even add some steel to those inserts easily with MIG. Then I'd just sweat it out the first few hundred miles hoping nothing went screwy. So the cost of insurance against sweat (that sweat anyway) is $800 ($1000 forged - $200 cast). 🤔1 point
-
Those corners wrap around steel inserts (dark grey). Not sure if removing material could free the inserts under loaded conditions.
 1 point
 -
 I certainly will. It'll be a while though, package tracking estimates delivery in December... Cost was $100 including shipping. The part itself was about $66. (Ish... exchange rate being what it is.)1 point
 -
 1 pointI use a floor jack under the trans with the handle pointing towards the rear of the car so it rolls easily. Once the engine mounts are off and the weight is on the hoist, lower the trans jack all the way down. As you lift the engine and start to roll the hoist, the trans will pull the jack forward a bit.1 point
 -
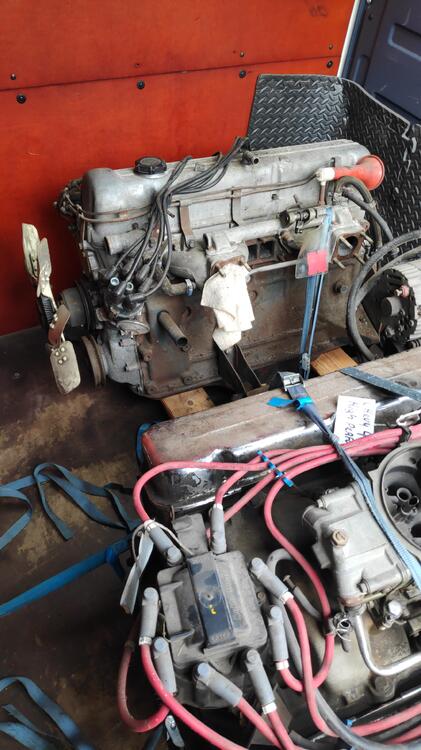
1 point@bartsscooterservice You guys over there got all the cool stuff. Just at a glance I see: - non emissions (EURO) balance tube - single groove balancer pulley - greenish gray distributor cap (original?) - original spark plug leads (are they date coded?) it would be great to pictures of the labeling on them. Overall a great score.
 1 point
 -
1 pointI've seen some goofy work also, but my FAVORITE one is from high school. My buddy asked me to help rebuild a SBF. I got everything checked at the machine shop and told my friend to get the machine work done - mains and rod journals need to be cut. He called after he had the motor back and I went to his house with all the parts. He was in a panic. His father wanted that damn car out of his garage. NP, we'll have the motor back in and ready to roll today. So I dropped in the mains and lowered the crank in place, but it wouldn't drop in - at all. I checked the bearings. Yep they were correct, .020. Then I put a bearing shell on the crank main journal. Uh oh. Not gonna happen. Me: Mike, you did get the crank cut, right? Mike: Cut? Me: Uh oh. Mike goes inside to tell his dad the car would not be moving today. bull****, I heard him holler. Next thing I know, dad is in the garage with us with a roll of aluminum foil. Here, he says, make shims to space out the bearing caps, and get that damned car out of my garage. I ran away. No way was I gonna be near that motor when he started it.1 point
-
 1 pointI’ve always found heat to make removing stubborn bolts or studs from cast iron much easier. And if a bolt or stud breaks off flush (on cast iron) I learned how to heat it up cherry red with a cutting torch (using just the flame), and blow it out using the cutting function of the torch. Works a treat, leaving the threads intact in the cast iron manifold, ready to chase with a tap and install a new fastener.1 point
 -
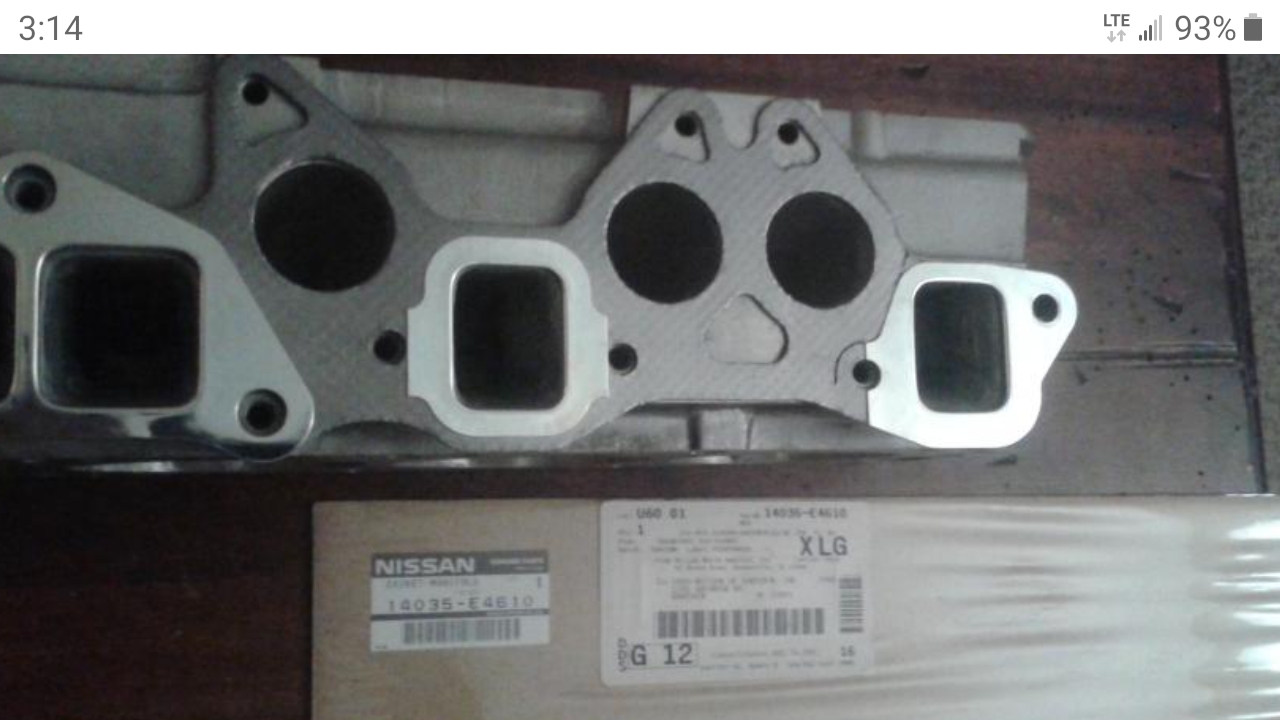
1 pointPicked up the spare L24 today. Casting code 056069 Also for my Friends 67 chevelle project a rare corvette C2 427 high performance casting code GM 3904351 4 bolt main. We checked the head numbers these are from a later 427 but we can het the early high compression cast iron heads from the US that combo it would make stock 435 HP.
 1 point
 -
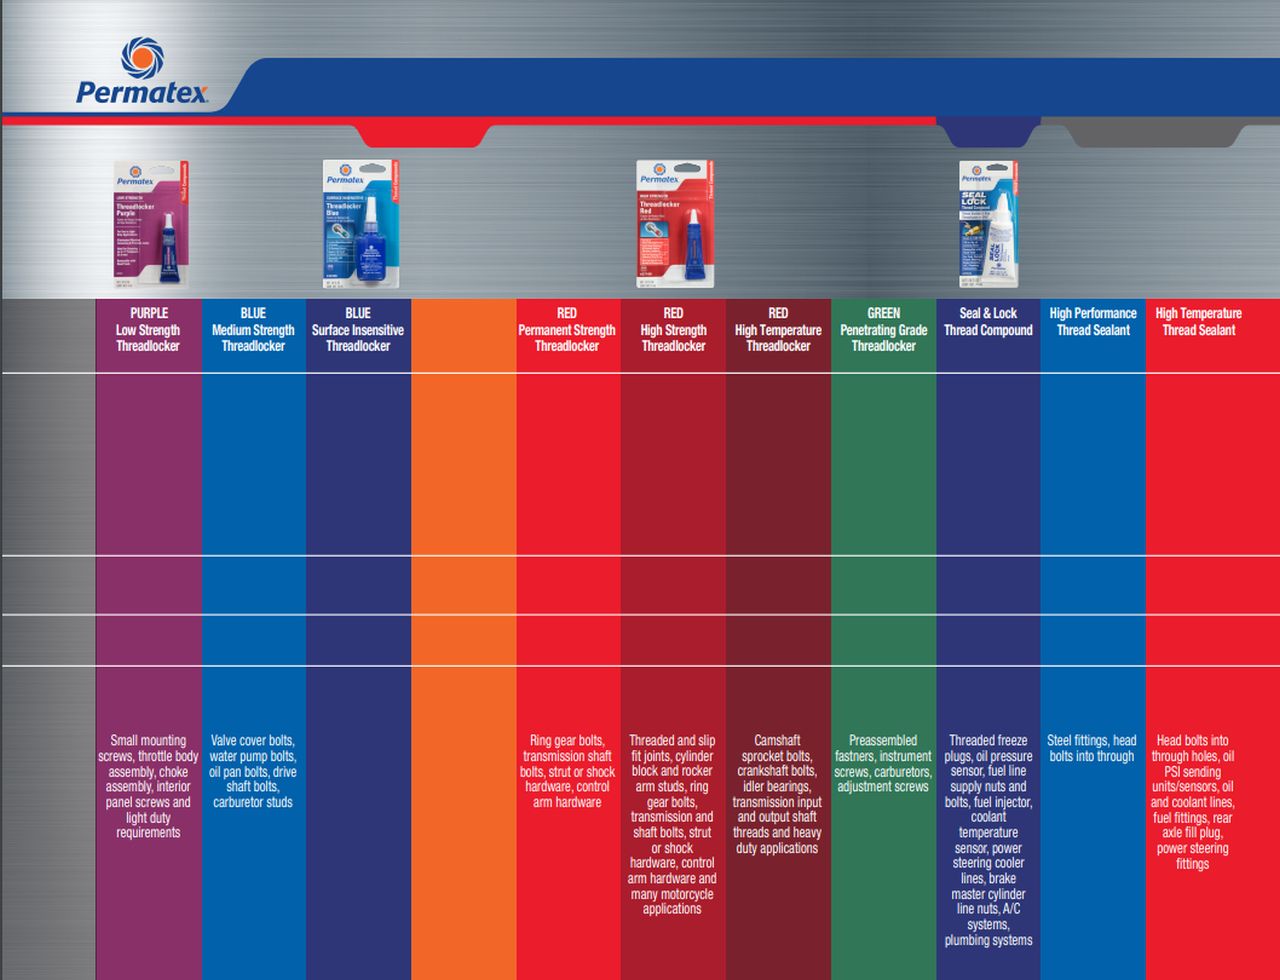
 1 pointDon't forget about green and purple Loctite:
 1 point
 -
 1 pointThe hub should not require any special care or treatment. Remove the horn elements and set them aside for a good cleaning. Strip and clean the spokes and hub for your paint prep. I found that refinishing the rim before painting the spokes and hub worked best for me. This is a fun and satisfying project, looking forward to your results.1 point