Leaderboard
-


siteunseen
Free Member11Points14,904Posts -

Captain Obvious
Free Member7Points9,855Posts -

Jeff G 78
Free Member5Points3,007Posts -


cgsheen1
Free Member4Points628Posts
Popular Content
Showing content with the highest reputation on 09/22/2021 in all areas
-
8 pointsI've worked for 2 people, self centered narcissistic micro managers what's in it for me type for 35 years. I made a life improving decision to go to the corporate workforce and after two weeks I love it! When I leave I LEAVE. Nothing but family matters when I clock out now. They don't even know my phone number. I took a small pay cut but the nonexistent stress evens it out by way far. My beer and stress eating make up the difference plus some. Money is time don't jive anymore. How I spend my time is #1 now. So now my time is worth more than money to me as it should be to everyone else too. Smell the roses my friends.8 points
-
5 pointsGood for you Cliff. I did something similar, but stayed within the same company. I went from a high-stress job that was very rewarding 5% of the time to a simple non-rewarding job that I can walk away from at the end of the day and I don't have to think about work until the next morning. Work/life balance is more important than anything else.5 points
-
4 pointsGlad you're happier. So just how corporate are we talking? Are we talking "Now I understand Dilbert, and it's really really funny" kind of corporate? But whatever the details, Just glad you're happier!4 points
-
 3 pointsBig congrats on the move! Now about retirement... Been there since 2009 and still love it. Still have a boss, but she treats me pretty good most of the time.3 points
 -
3 pointsThat all makes sense. Many people do some of their best thinking in that location!3 points
-
 2 pointsYour life is usually what you make it. Sounds like you've made yours a whole lot better. Retirement did that for me.2 points
 -
2 pointsNothing like Dilbert. I still need to wash my hands BEFORE I take a leak. I've gone from buying building materials to selling them. I'm a people person, love to help people, so this is a good fit for me as get older. It's a huge company, Lowes building material. I'm most excited about getting my feet wet in the "new" business model everything is going to, computers! Half my day is working on a keyboard, the other is helping customers get what they need. My years of working for a general contractor were a great help in getting the position and pay. I see me retiring from this company. All the other, co-workers, benefits and the chain of command are fantastic. I can do anything (legal) and not get fired. Being personable has cemented my position with these folks and pretty much every other aspect of my life. The Golden Rule I was taught. Not the stupid one that narcissist believe, "the man with the gold makes the rules". Don't live that lie.2 points
-
 2 pointsMy 240z has the pertronix ignition and coil. I have started using the gap used in the -11 version of the ngk plugs...which is .039 - .043. I experienced what @Mark Maras mentioned above (high RPM stumble) about a month ago and swapping plugs cured it....even though the old plugs looked perfectly good. I broke the golden rule though and changed two things...plugs and plug gap. So, I am not sure whether it was changing the gap or the new plugs that solved the problem. I suspect it was the new plugs. Checking float bowl levels is a good thing to do at some point. There are many ways to do it. I do it the way Mark describes in an earlier post. FYI, it is a tedious process if you need to bend the float tabs to adjust the levels. Can consume several hours...or several days depending on how quickly you get used to how it works. Also, read up about ColorTune. Can be very helpful in getting the mixture right. But...getting the floats right is the first step. Think of it as your macro adjustment and the mixture screw as your micro adjustment. If your float levels are not in the ballpark then you can turn the mixture screw and have nothing happen at all. J2 points
 -
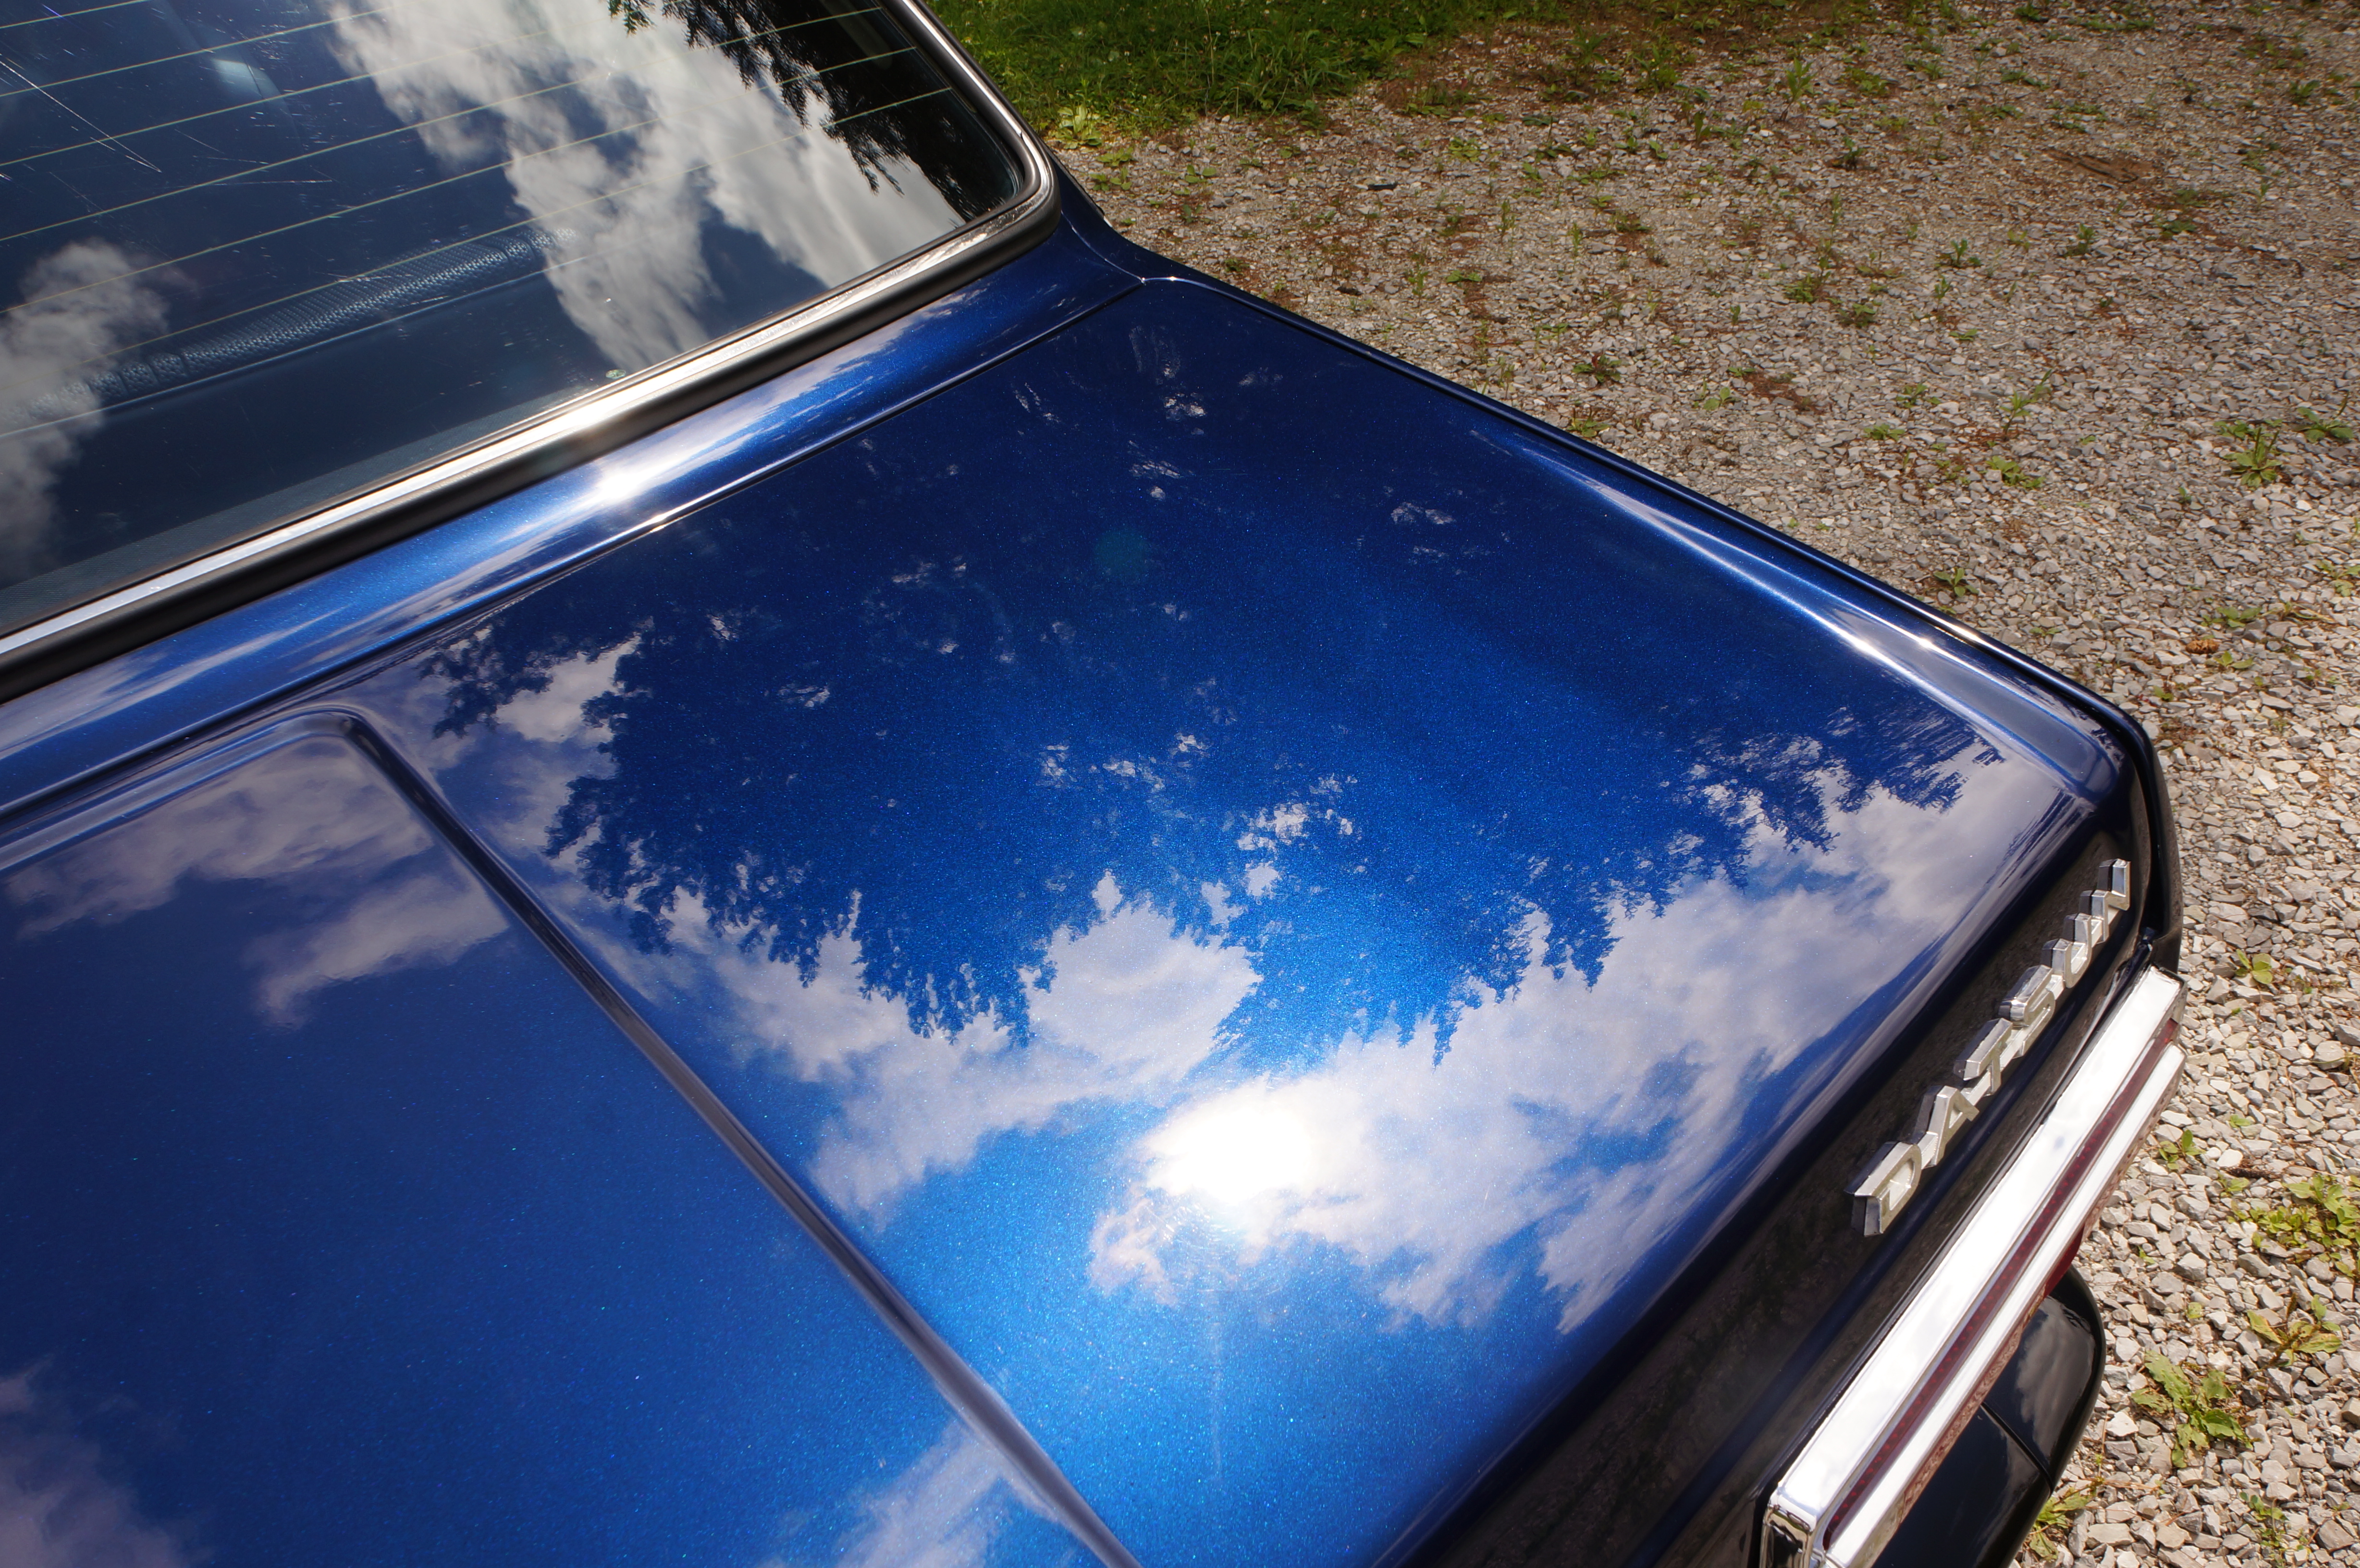
 So, someone we know is selling his 510. https://bringatrailer.com/listing/1973-datsun-510-6/ Looks very nice.2 points
 -
 2 pointsAbsolutely outstanding decision! Congratulations on taking the leap. You already know how happy you are now, just wait. It gets better.2 points
 -
2 pointsQ, Take that hatch off and don't put it back in until you have the glass and trim installed. Seriously. You may think it's better to fit and adjust with the glass removed, it's not. Adding right side struts are a very good idea for a 240Z, but I'll be very surprised if that's the answer to your issue. I'd look at the hinges again, angle of the hinge mount to the body, or angle of the flanges on the hatch itself. Have the welds broken on the hatch flanges on either side - or have they been re-welded at some point? (That issue came up not long ago at the shop...) I would want the actual hinge (the point that rotates) to come up in the cavity - which would mean rolling the top of the bracket rearward and the bottom of the bracket close to the body (shimming the top, keeping the bottom flush against the body)). My hinges have never been off the body - the "pin" is so far up in the cavity such that I can't reach it with my finger. The front arch of my hatch is like yours, it's "more flat" than the roof arch so when it's coming up the center of the hatch is closer to the body line than the corners... I have a pretty consistent ~6mm gap at the top of the hatch, 5mm gap on each side (slightly wider at the bottom on the right side), and mine juts past the quarter sheet metal about a millimeter on the left and maybe 1.5-2mm on the right. (I could probably remove shims and get a tighter match at the rear and still clear the body but that's just too damn much work for a 70 year old...). I'll see if I can get an angle measurement on the hatch flanges when I get to the shop tomorrow. Keep a couple layers of tape on the body and the struts off or completely out of the way until you have the hatch aligned - it's a two man job. (we use microfiber towels draped over any crucial body area until we're sure there isn't any contact point whenever we do hatches or hoods and/or keep all the edges covered with 3M Blue Masking Tape. Two men - watching each side, corner, and top gap as we move it up and down.2 points
-
 2 pointsYou did a great job with that build, Chris. We all knew that you could cut and weld, but the paint job that you pulled off on the 510 in that small garage was truly impressive. It will be interesting to see what kind of price it brings. As they say on BaT, 'GLWTS'. For your next project... ???2 points
 -
 1 pointGreetings all, new member joining. Just picked up a green 71 Z. Seems to be all original, (no rust😁) with 69k miles, other then a repaint about 25 yrs ago. Planning to fix all the seemingly minor issues. Car has been sitting for many years, about 3k miles over the 34 years. Car actually runs pretty good considering it’s been parked for so long. Sitting in it seems like a throw back in time. Previously owned a 74, 78, and a 82 many yrs ago. Can’t wait to bring it back to life.
 1 point
 -
1 pointI've got a few more years before I can retire so I figure I'll make them the best I can. I didn't really want to post about something so personal but now I'm glad I did. All the positive replies from you guys have really made me feel good about my decision. Thank you all so very much! I don't like change but y'alls support has made a huge impact on me and my decision. What a great group of friends I have here! I only hope my contributions are helpful to someone. 1 person at least and I sleep good tonight.1 point
-
 1 pointThanks, I'll look at the hinges I have to see if there is anything that resembles a "stop".1 point
 -
 1 point
 -
 1 point
 -
1 pointThe stops were just to keep the nose of the hood from hitting the steel bumpers on the lates. I don't think there was ever an issue with early Z bumpers that required a stop to limit travel. The difference in the hinges was just a small piece of metal welded to one of the arms to halt motion at a set point. I'd use hinges without stops if you have them, it'll keep you from hunching over so much...1 point
-
1 point
-
 1 pointGood luck. I predict a big number. Nice driving video, I think I saw a 56 Chevy. That's a good sign!
 1 point
 -
 1 point
 -
 1 pointCongrats! Glad you could make the jump. It's nice to be able to leave work at work and enjoy family and friends when the work day is done. 🍺🍺🍺1 point
 -
1 pointthe only differences I noticed is in the presence or absence of "stops" that prevents the hinge from opening past a certain position. they all bolt to the car and hood the same way. Gnose hinges are different and are not interchangeable1 point
-
 1 pointI don't recall any talk of adjusting the float levels (the primary mixture adjustment). The easy way to check them is remove the domes and pistons, raise the mixture screws to the top, then lower them 9 1/2 - 10 turns down from the uppermost position. The fuel level should be close to the jet height at 9 1/2 - 10 turns down. Then raise the jets back up to 2 1/2 - 3 turns down from the top. How many turns down are your mixture screws now?1 point
 -
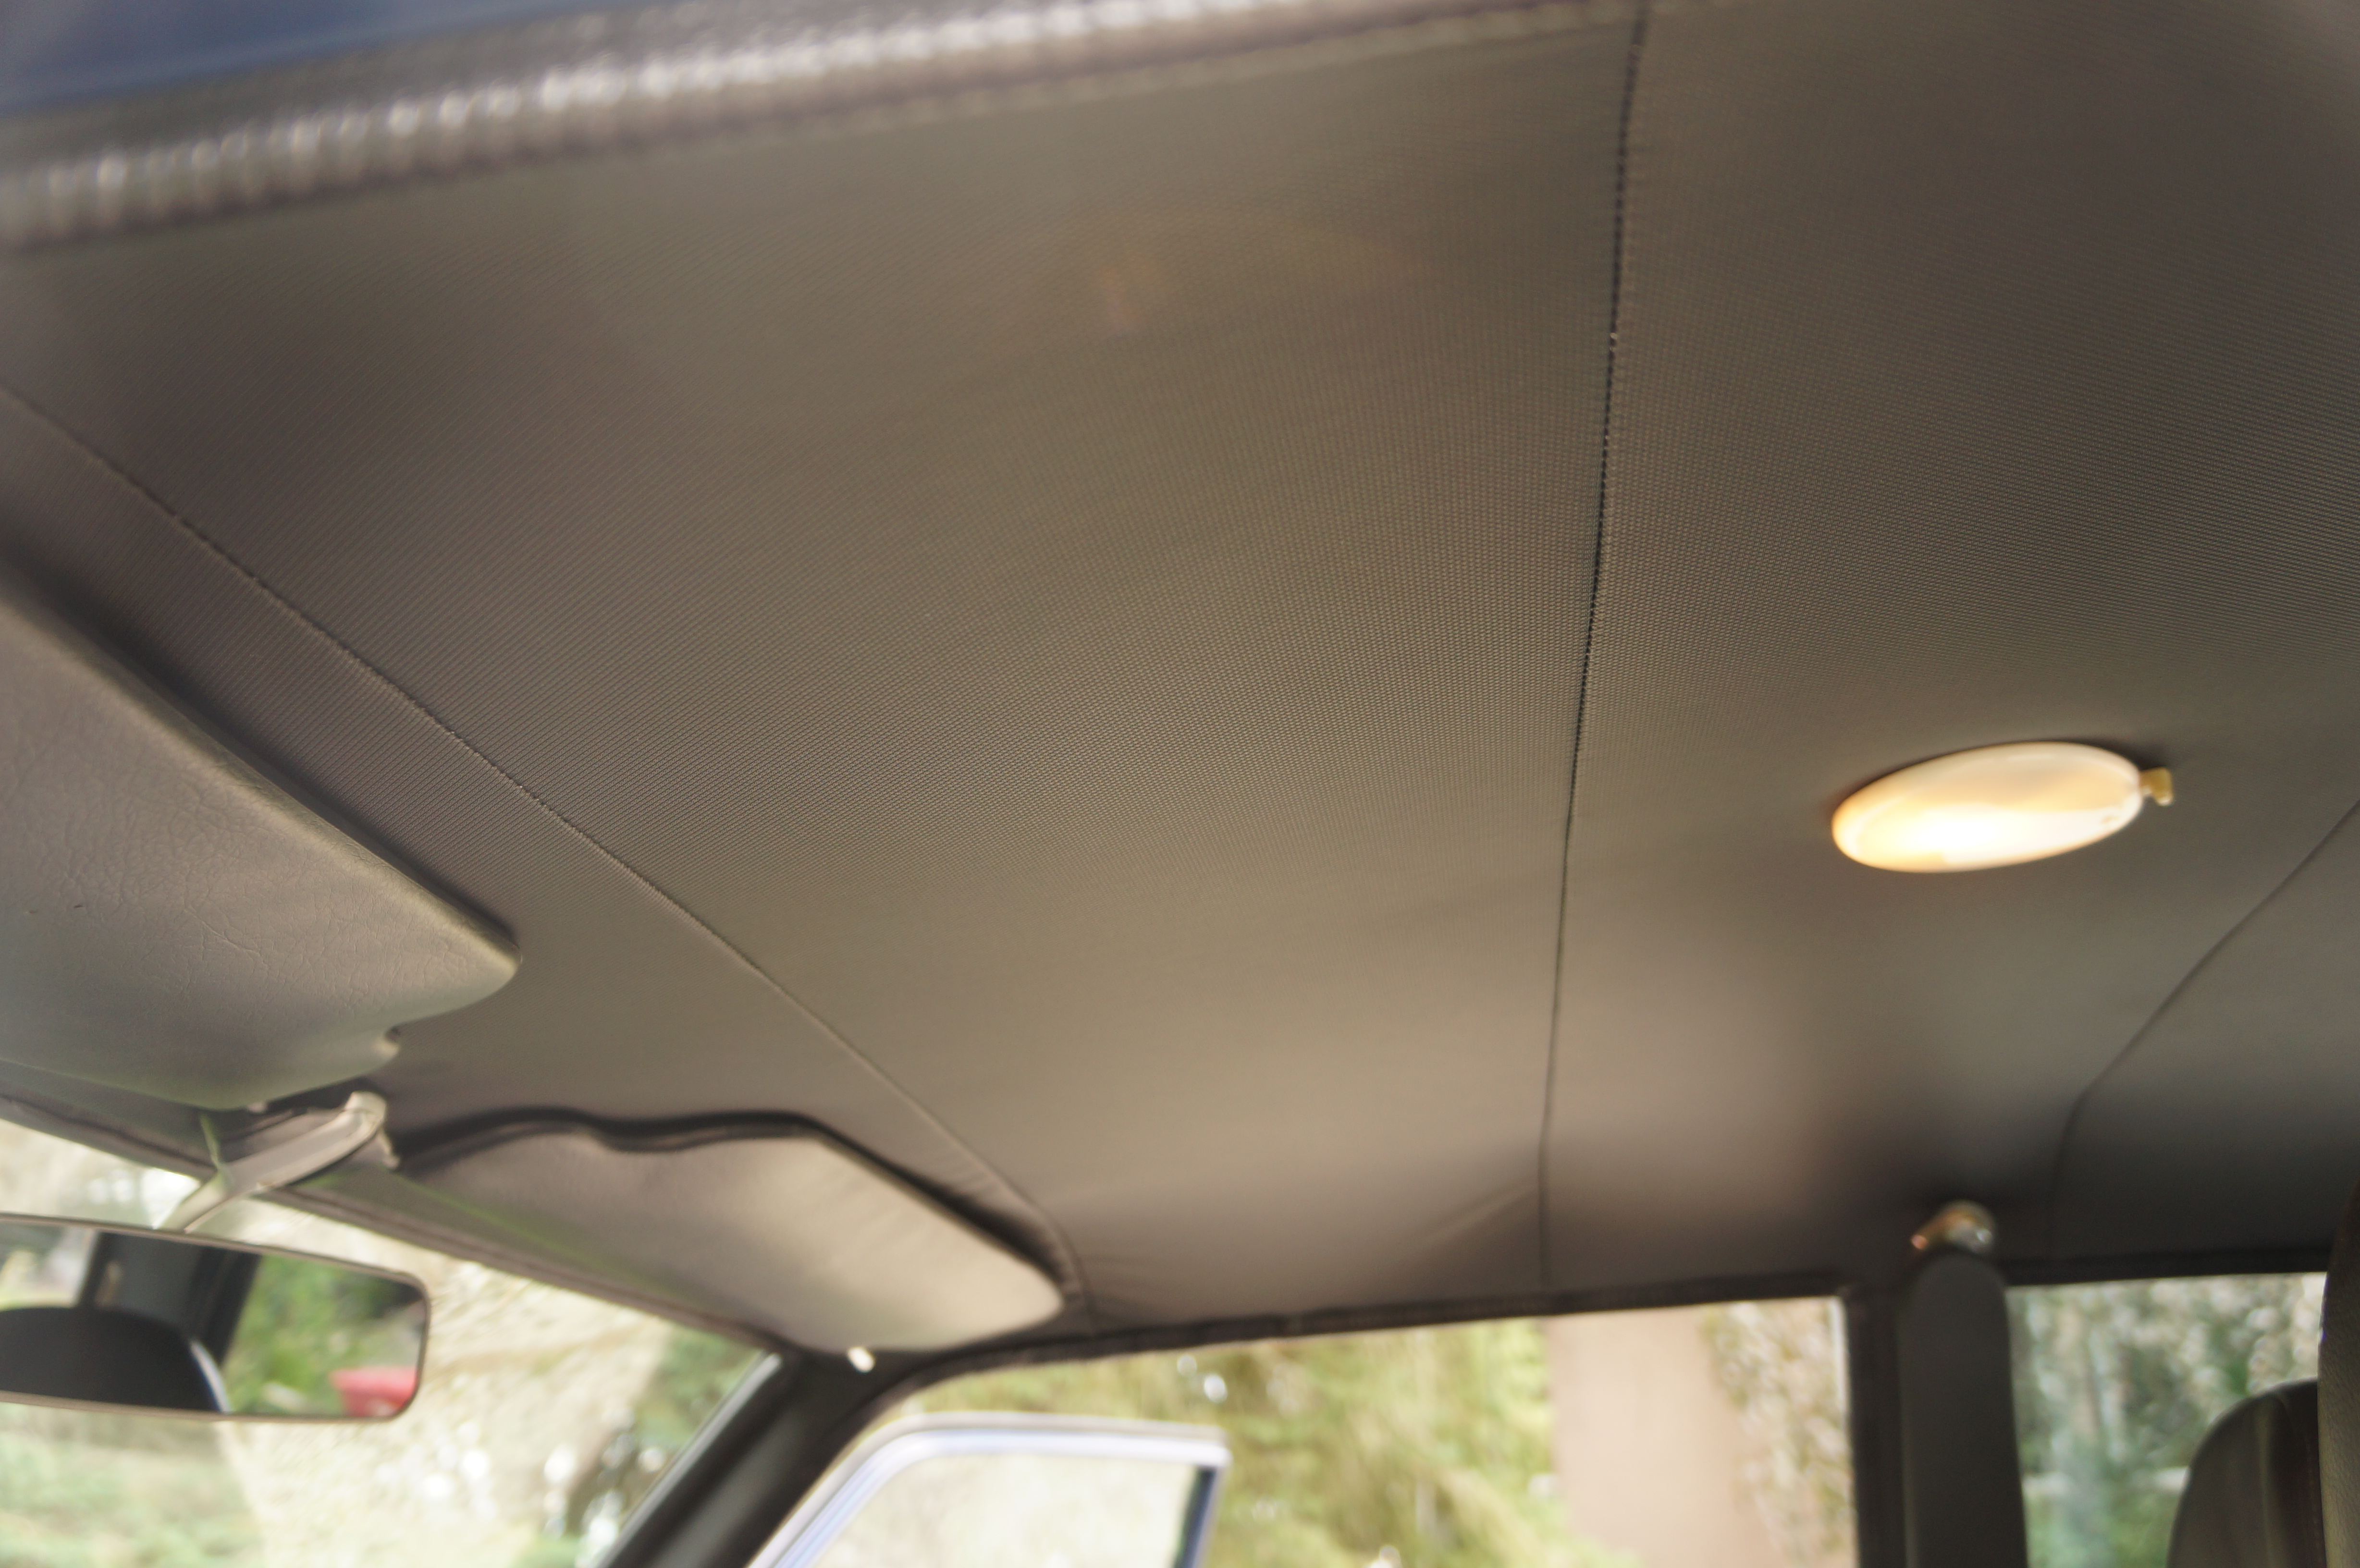
 1 pointAnd she's done! Licensed and on the road and it only took 42 yrs. I'm wondering anyone is even going to notice the 240Z sunvisors, they look like they could be stock.


 1 point
 -
 1 pointI'll sum up my position and let it go after that: If I had done as well as Fauci has, considering the administration's ineptness and mess he was faced with until January, knowing that the science and knowledge around this pandemic was changing every week, and also considering the internal and external politics of the health organizations he has to deal with, I'd be very damn proud of what I had done. I firmly consider him to be the best source of information in the US.1 point
 -
 1 pointYou don't say whether it is BOTH sides of the hood or just one. If it is both sides, you need to move both hinges downwards in order to get the hood to "level" out with regards to the sugar scoops. Look at the hinge closely and you'll note that there are 3 screws for each of the hinges. These screws provide not only front to back adjustment but also up and down, and to a limited degree side to side (although this is not a parallel side to side adjustment) You've already done some adjustment so we need to back track a bit. First of all look at the general alignment of the hood, and here I'm referencing how the hood fits in the opening between the fenders and to the cowl. Don't look at flush with, but rather evenly spaced on each of the 3 sides. This is your first adjustment that needs to be made. Is the spacing to either side of the hood even with the other side? Is the space even from the top of the hood (closest to the windshield) to the bottom (by the sugar scoops)? How about at the cowl, is the space the same (approximately) as the side space? How does the bottom of the hood line up, as seen from the top, with the sugar scoops? If all those are "ok", and here is a subjective term, because if one side is at 3/8" and the other is 7/16" then it's up to you how anal you want to be as far as aligning it. Then again if one side is 1/2" and the other is barely 1/8", then it isn't in the opening properly and you could possibly have problems. Also with the overall fit. It could be that at the top you have 7/16" on both sides of the top of the hood and on both bottom sides you have 5/16", meaning that the opening tapers down by an 1/8". You can get in there and play with the fender mount, and do a LOT of work, but in reality it's going to be frustrating to get it to align PERFECTLY. Adjustment to the space between the hood and cowl is done by the back and forward placement of the hinges. Side to side is more complex and can involve spacers on one side or the other of the hinge bracket at the hood, or in extreme situations the hinge mount on the side fender. Uneven spacing along the sides of the hood generally shows up on BOTH sides of the hood at the same time, with one side showing the opposite of the other. i.e. the top is narrow on the right side while being too wide on the left top, AND the spacing is too wide on the bottom right and too narrow on the bottom left. If you have spacing differences on one side but NOT the other, then it's more than likely the fender on the uneven side as opposed to the hood. The main key here, the spacing around the hood's 3 sides (cowl and two fenders) should be approximately even. If it is, then you're properly aligned within the opening. Now we can move on to FLUSH. Flush involves looking at the fender and the hood surfaces and how they relate to one another. Let me forewarn you that you're not going to get them to line up exactly. If you'll note the fender has a slope TOWARDS the engine compartment while the hood has a slope towards the fender. What you need to do is level the hood with regards to the fender in such a manner as to not make it look like a STEP. Before you can align the hood to the fender and sugar scoop, make sure the sugar scoop outline is in fact aligned to the fender. I have seen Z's where the sugar scoop is actually out of line with regards to the fender, i.e. the scoops top edge "dives" down from the top edge of the fender. This is going to make it next to impossible to align the front (or bottom) of the hood to the sugar scoops, since it's top edge isn't in two separate pieces and it should be what you align your scoops to, and not the other way around. However, if the scoops are properly mounted then the generally profile of the fender / scoop should match the profile of the hood. Ok, presuming no problems with scoop to fender. If at the top of the hood (by the cowl) it is flush with the cowl and the top of the fenders and the inspection panels, then you're fine. If not, check the hood latch pin first. This is the MAIN component that will pull down the hood to the level it needs to be. Take note that the rubber bumper stops on the side of the cowl do in fact push on the hood, and you need to adjust them as well. What I do is to first lower the bump stops below the level I'm working to. Then using the hood latch I adjust the hood until it rides even with the cowl and the fenders, or the "best" fit I can. Then I adjust the bump stops UP to support the hood and not push up on the corners. Then moving down the hood. The edges should line up with the fenders all the way down to the sugar scoops. Your post says that at the front is where you're having a problem. Again presuming both sides. Open the hood, look at the hinge and note that you can adjust it front to back as mentioned before, or within a given range up and down as well as how and where it pivots. Sometimes the adjustment to get it lined up in front by the sugar scoops involves bringing the front edge of both hinges down a bit, while leaving the back edge of the hinges at the same height. This essentially shifts the pivot point (where the scissors cross) downwards and hence lowers just the front part of the hood while generally NOT moving the back edge of the hood down. (it will change it's angle slightly, but not a lot, as a lot is NOT required). You'll have to do both hinges evenly in order to align both sugarscoops. Loosen the back bolt just enough that it will alow the hinge bracket to shift, but not move freely. Then loosen the front bolts. Be careful here, it might involve closing the hood, reaching up and behind the grill in order to get to the hinge mounting bolts (that is NOT the ones that mount the hood to the hinge, but rather the ones that mount the hinge to the car). loosen them, carefully open the hood, push down gently until you can feel or see the front edge of the hinge shift, then tighten everything back up and check for fit. You'll do this several times until it finally does what you need / want it to. Now, you also have a small amount of adjustment on the hinge to hood mounting bolts, although this is usually a very small amount in relation to the hinge base adjustment. Hopefully this helped clarify it. (sorry for the length, but panel adjustment is somewhat of an art.) Enrique Scanlon1 point