Leaderboard


 Subscriber

Popular Content
Showing content with the highest reputation on 01/14/2022 in all areas
-
 4 pointsHi Kats, Amazingly, despite my expectations, I actually like it too. Maybe even love it. Perhaps I have Omicron...!? Some people outside Japan will be missing the reference point, which is:
 4 points
 -
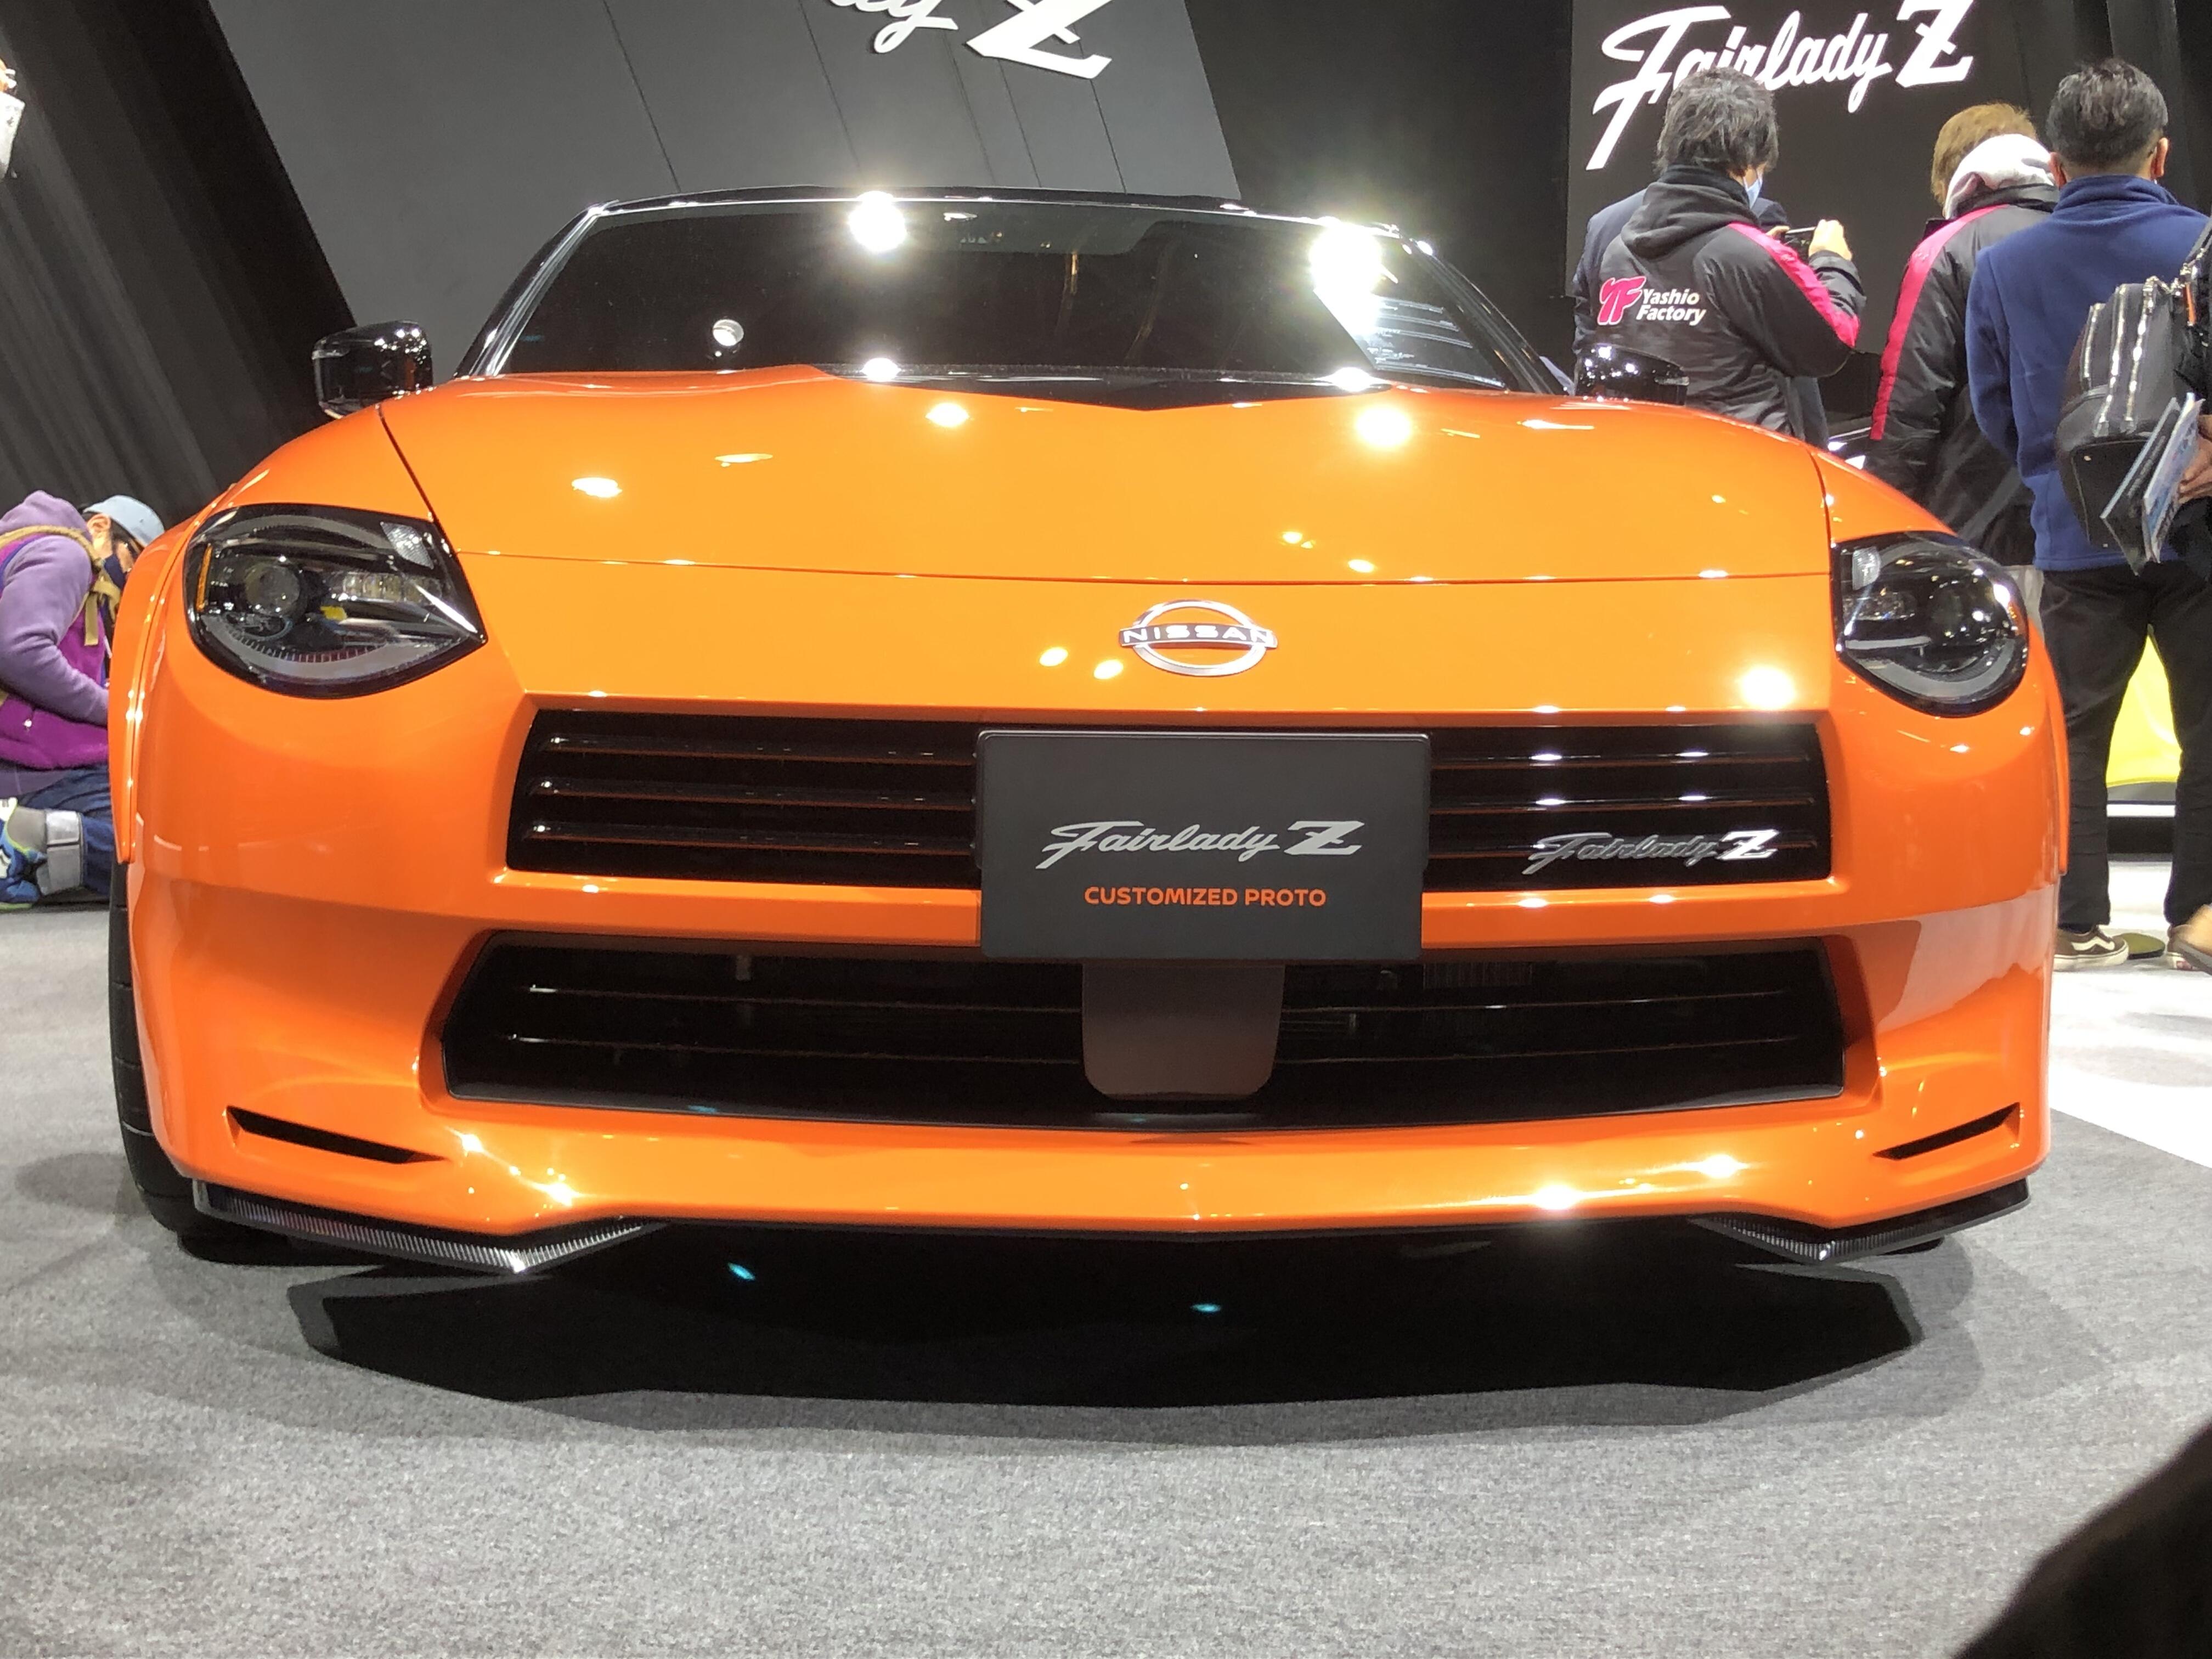
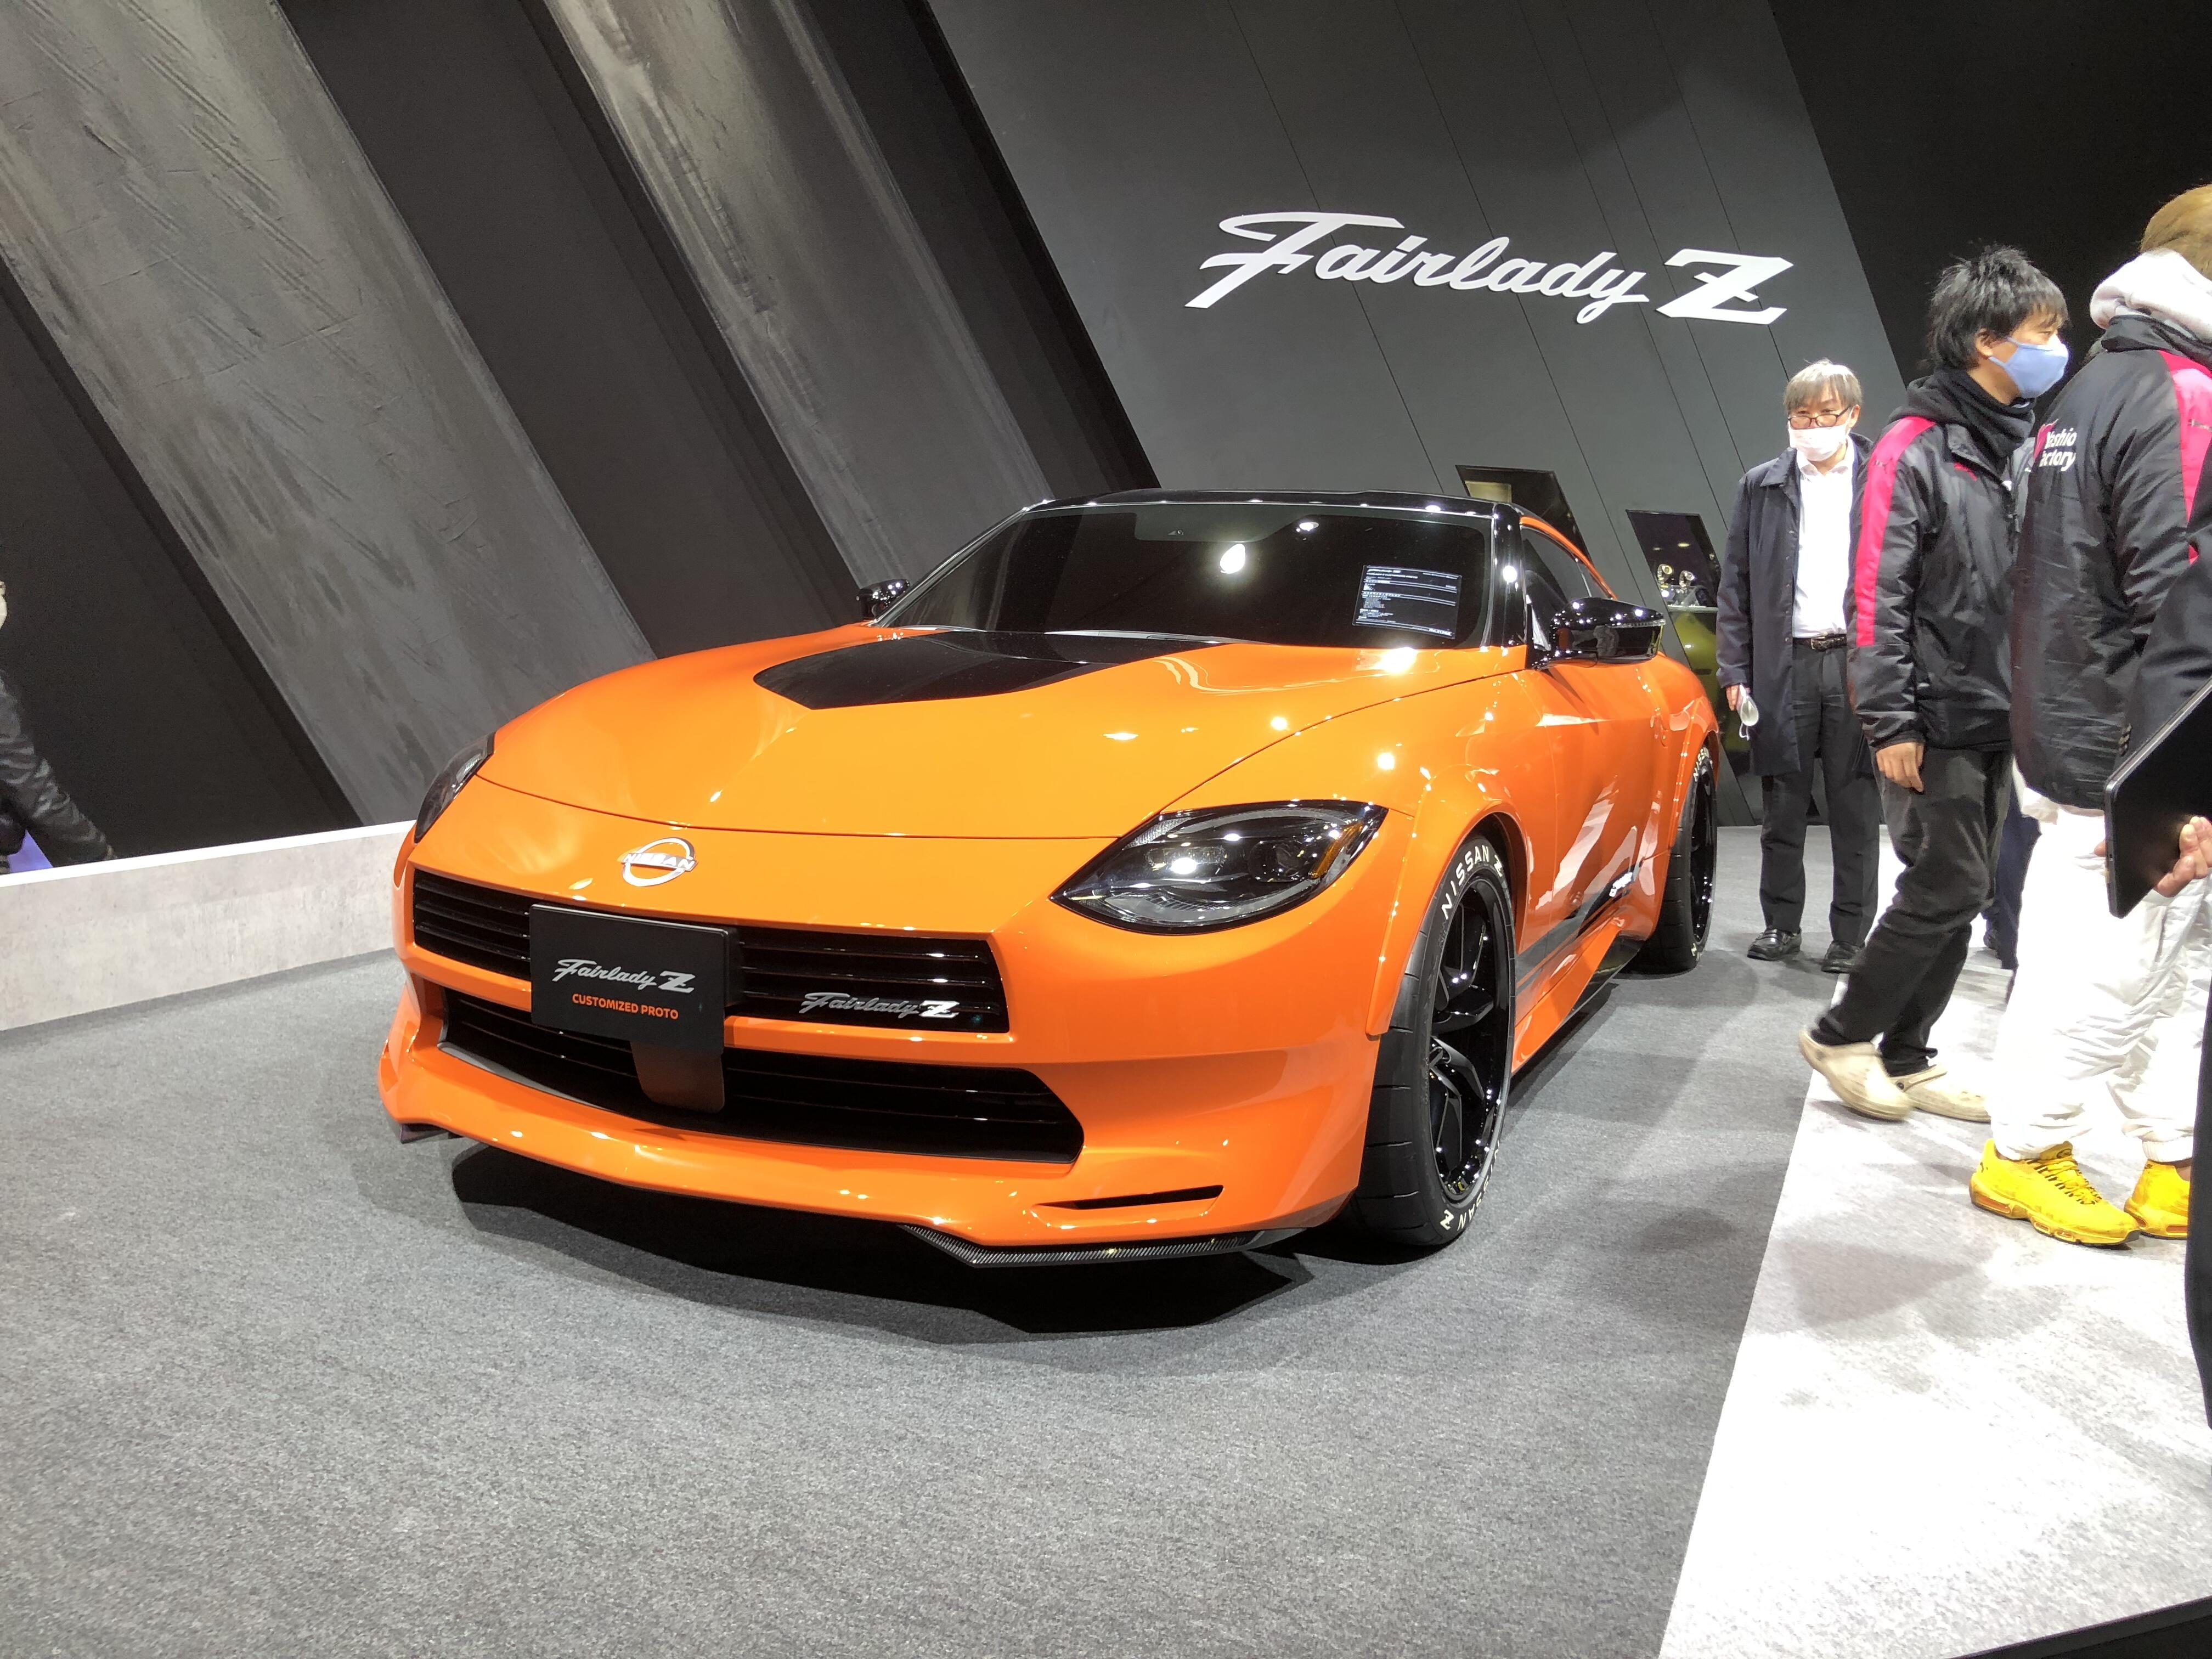
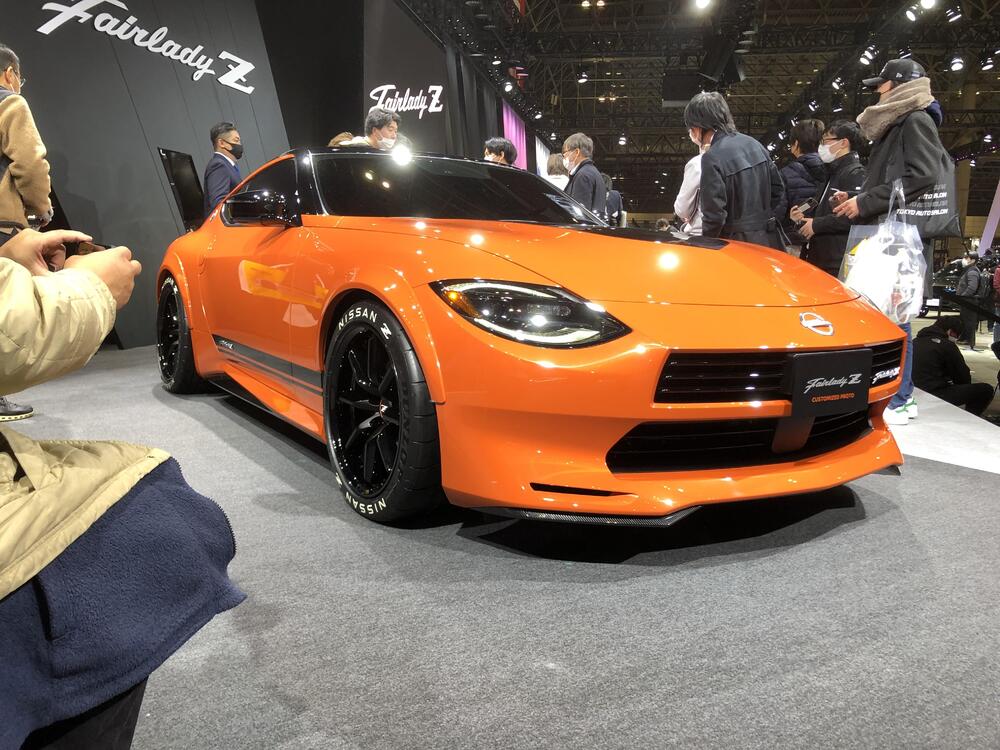
 4 pointsHi , I am now seeing a new Z , at Tokyo auto salon . I like it. Kats
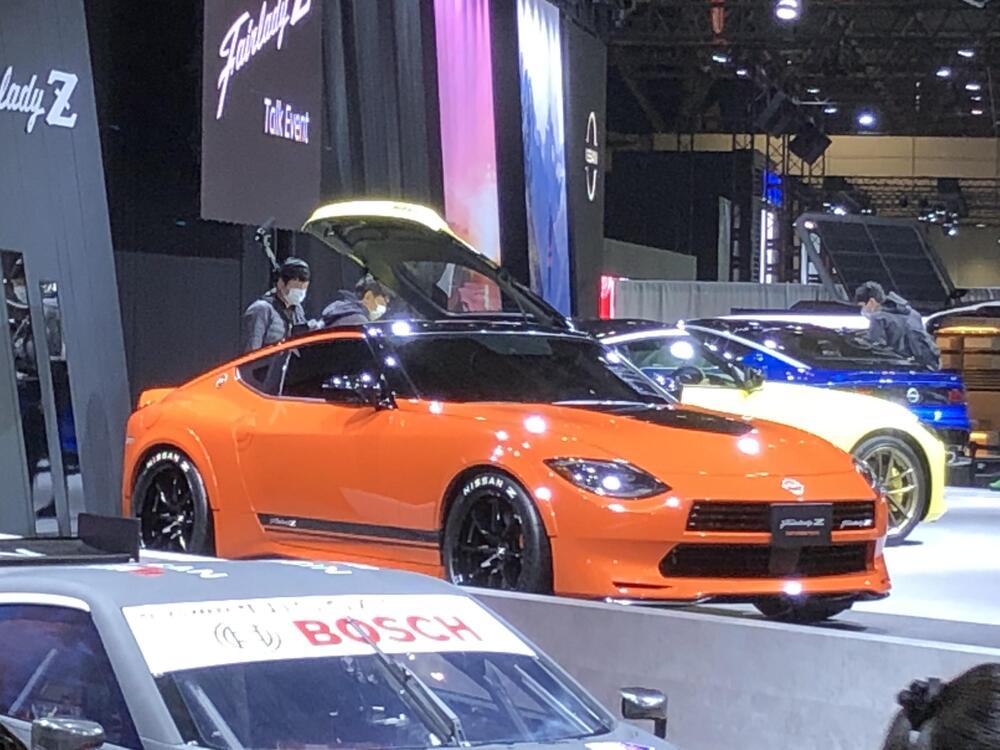


 4 points
 -
 As with many milestone automobiles, the 240Z has evolved from a enthusiast car, to collector classic and now a market speculator's commodity. I have owned a few over the years, but hearken back to a simpler time in my youth when my first Z cost me $3,500 in the early 1980s. I have mixed emotions regarding current values and would have to give serious pause about getting into the hobby today given the high cost of entry. I am just glad to have purchased mine years ago and restored it at a time when NOS parts were still available and reasonable.
 3 points
 -
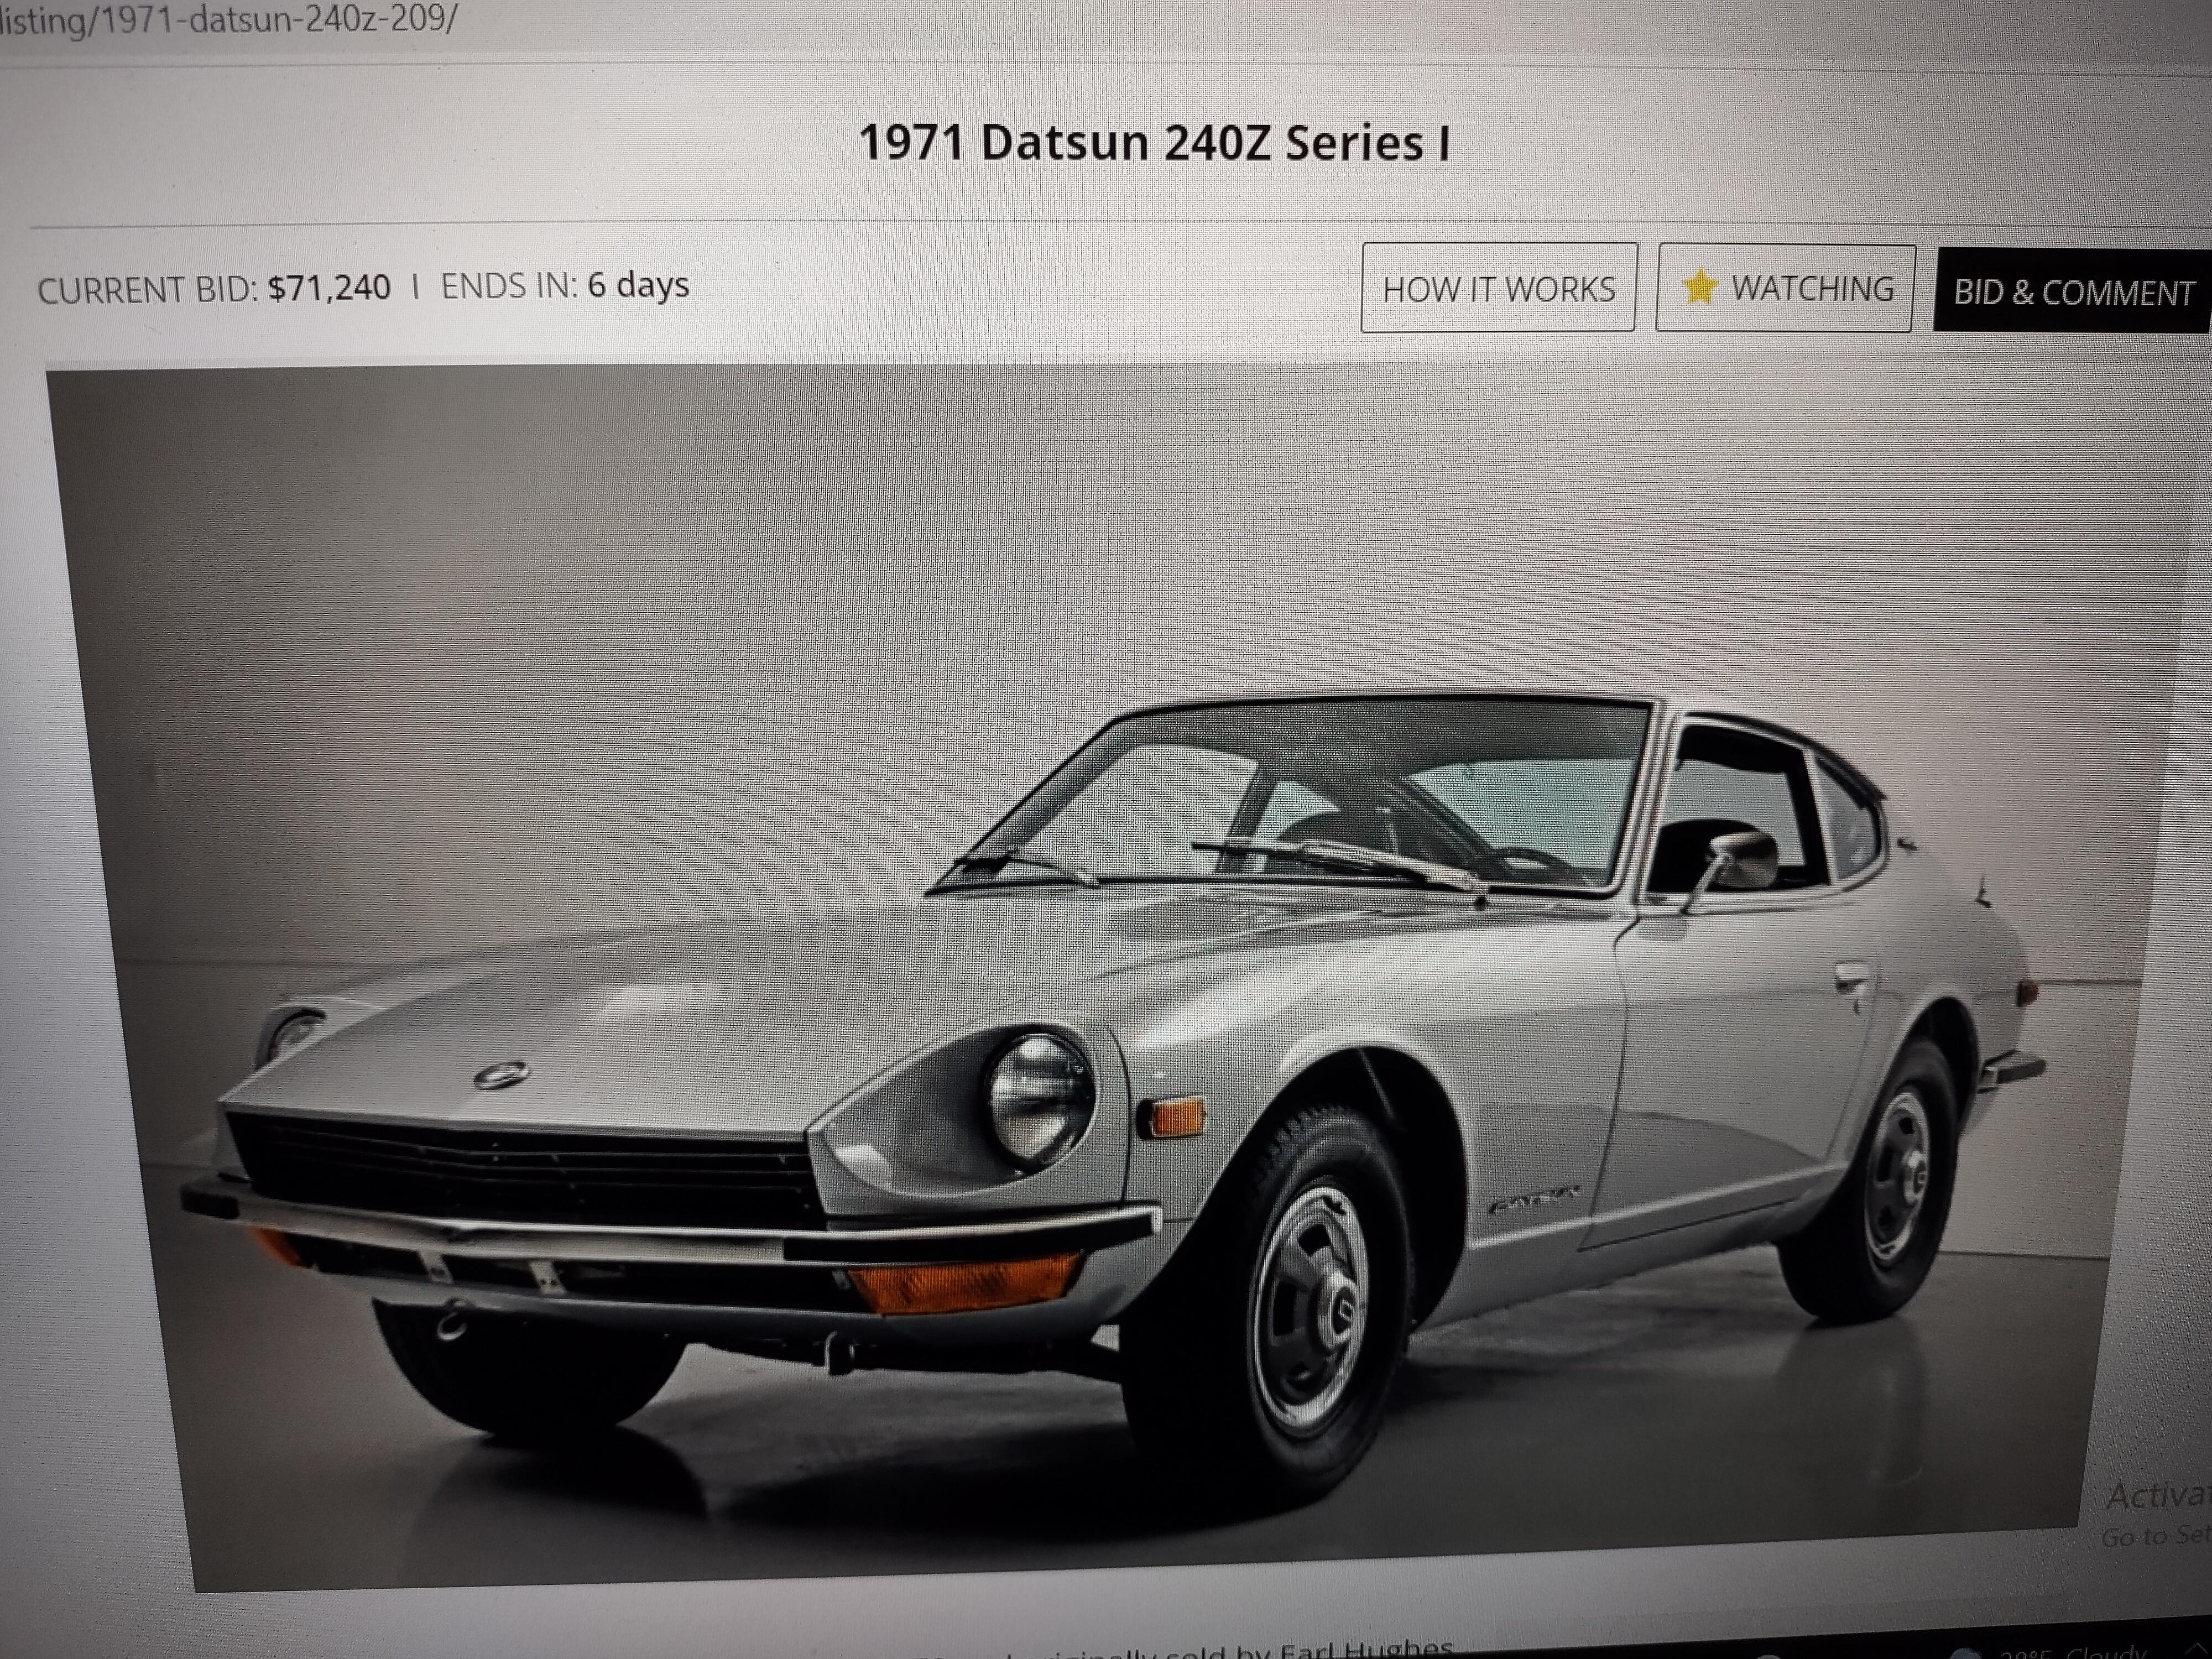
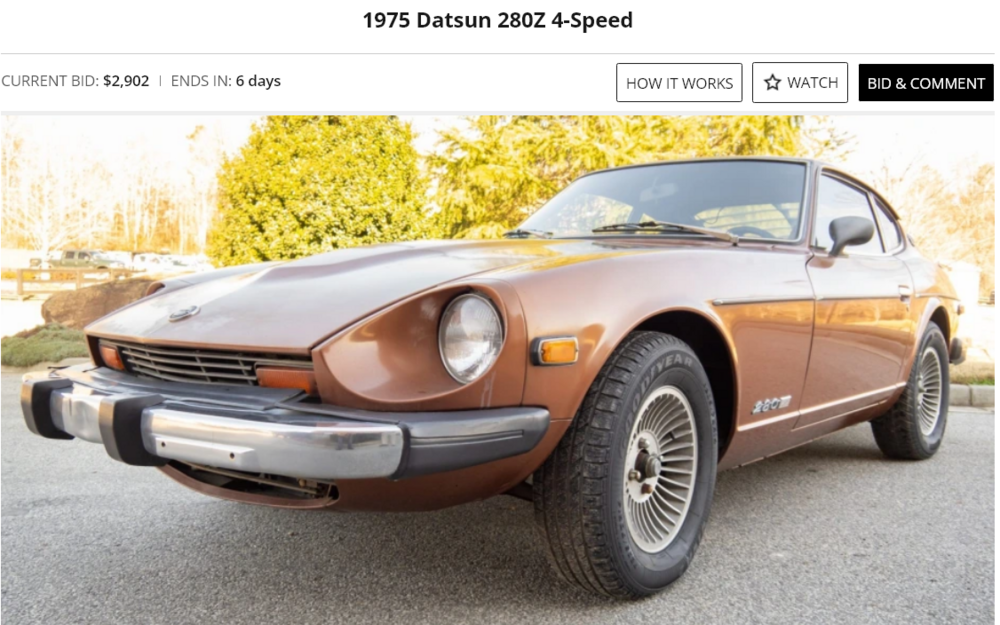
 Check out the current price. Needs another digit, but I thought that was fun.
 3 points
 -
 3 points
 -
 3 pointsL-series motors are a great motor to learn how to rebuild, they are stout, parts are relatively easy to figure out, most of the hard stuff is already figured out. For $6500 you should probably find a new shop. You can probably do a stock rebuild for sub-$1k if you DIY. If you choose to go down that route, perform a leakdown test (or compression if you cant get access to a leakdown) and take notes of what the values are, it will give you insight to engine wear.3 points
 -
 2 pointsI've had a brand new slave cylinder leak. Sometimes you'll find machining grit inside if you take them apart, even brand new. Quality control on aftermarket parts is just poor. Take it back and see if you can exchange for a different brand, then take it apart at home and clean it up inside before installing. I think that EuroDat has seen similar if you want to search for past posts about it. @EuroDat2 points
 -
I agree, I struggle to view these cars in light of the current market. I have bought and sold many Zs for a few hundred dollars. Many of them running cars. I suspect when it comes to the $70k bidding, that the car is viewd as cheap at that price point. So there are plenty of bidders willing to buy at that level. It tapers off until the auction gets closer until closing. My guess $120k, wouldn't be surprised at $150k2 points
-
98K for a diamond in the rough and it still not selling. Like cw24072 said, mind blowing. I cant but think that there are shill bids on these cars.2 points
-
 The silver '71 that went RNM is better described as a survivor. I say that based on comments by the seller. IMHO it was never really a "driver" in the daily driver sense. Only 12K miles from 1971 to 1975, and it must have been parked for winters, being a Canadian car from Ontario where roads are heavily sanded and salted. I was still very surprised that it was bid to $98K and still did not sell considering the lack of detailing. I much prefer a well restored to original car, like the current one up from @CW240Z72 over a survivor any day of the week. Although I'm a little biased as I'm restoring my own right now. Lol2 points
 -
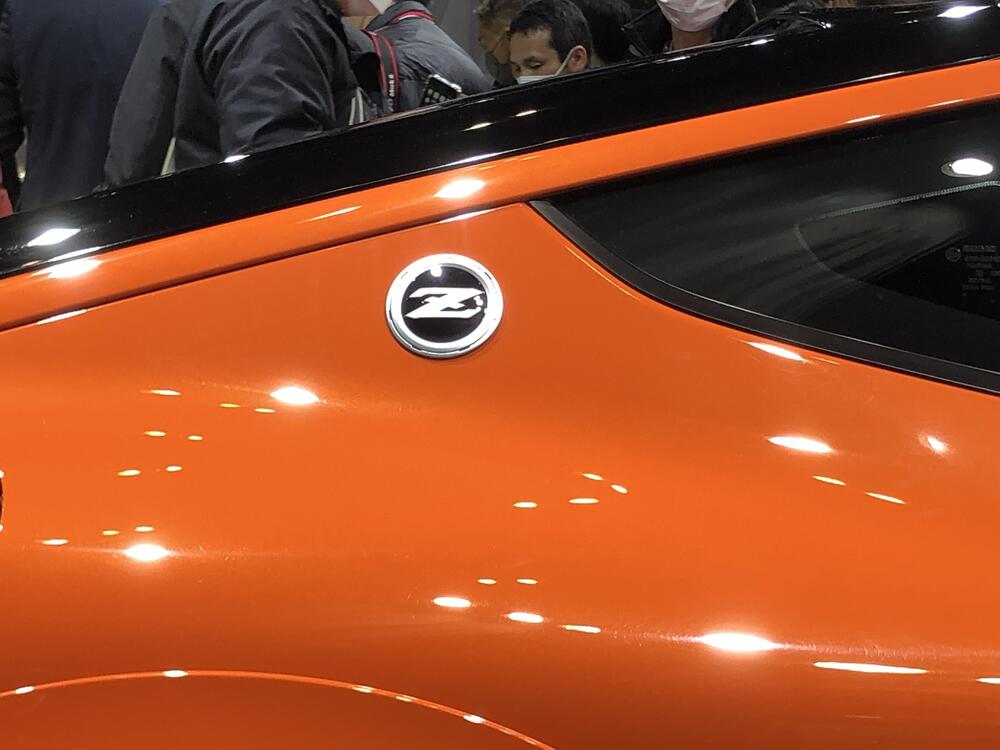
 2 pointsIt's very Z432-R or PS30-SB inspired. I'm looking forward to seeing how the tuning scene takes to these cars. With twin turbos I'm expecting them to be quite a popular thing. Edit: just saw others reference the 432-R also. @katsI think your photos make me appreciate it more than another couple of earlier photos I saw. The only critique of this car I have is regarding the hip lines. Which seem to be able to be drawn back to the 350z. The original S30z is very svelte through the waistline, where as the 350z/370z are quite wide in that area. I am not sure if it's a constraint of modern cars or a design choice. But I also own an FD3S RX7 and I just feel the S30z and FD are so similar in design approach. Both have feminine lines, but at the same time are quite muscular. Perhaps I will feel different when I see the new Z in person but I think it's the 1 thing I would change if I was lead design at Nissan. I otherwise think it's a great to see Nissan finally start to embrace what was so special about the early cars after years of moving away from it.2 points
 -
 2 pointsif the engine is running well, no odd noises, compression checks out, oil pressure good, not burning excessive oil (a quart is less than 600 miles is considered excessive), head gasket ok (check for exhaust gases in radiator with simple test kit that looks for a color change in a fluid, sold at napa), oil does not seem to have water in it (milking looking). then I would just change the oil and drive it, see if those bits show up again at the next oil change. I generally do an oil change ever 3k miles, after adding 2 qts during that time (I burn about 1q per 1000 miles). That's using valvoline 20/50 racing oil in the summer and 15/40 rotella T4 in the winter. Its pretty hot where I drive so I use the high side of the recommended range of weights.2 points
 -
2 points
-
Here's one to watch, look familiar. https://bringatrailer.com/listing/1971-datsun-240z-209/
 2 points
 -
 2 points
 -
 1 pointFusible link diagnostics: It helps to have a DC clamp ammeter like this: https://www.amazon.com/KAIWEETS-Multimeter-Auto-ranging-Temperature-Capacitance/dp/B07Z398YWF Test the voltage at the battery with the car off. Record the result. Test the voltage at the battery with the car running. Record the result. Note: If it is above 15V at idle - there is your problem. Test the current through the fusible link with the key in ON but car not running. Record the result. Note: If the meter shows a negative value, remove the clamp, face the meter in the opposite direction, and put it back over the fusible link. Leaving the ammeter around the fusible link, test the current through the fusible link with the car running. Record the result. Note: The polarity of the current should change. From this we should get a better idea of whether or not @siteunseen is putting you on the right path. If I have time, I'll make a short video to demonstrate. Setting idle speed: You can buy a multimeter like this: https://www.amazon.com/gp/product/B0002LZU7K or a fancy timing light like this: https://www.amazon.com/dp/B000EVU8J8 (Yes, I have both.) You can even find a handheld tachometer, but I haven't used one myself.1 point
 -
 1 pointSeems like your carbs need adjusting. It looks like the "fast idle screw" has some play (meaning, it's not the forcing the throttle mechanism open), which is good. Maybe just back the throttle adjustment screws on each carb off 1/4 turn at a time until the idle sounds right. I'm not sure how the ballast resistor could cause a high idle - I think it functioned to allow a hotter spark during start, followed by a somewhat tamer spark for normal running.1 point
 -
 1 point"3. Slave cylinder: If it leaks replace it. If you buy a new one, strip it apart and clean it before installing it. The new units often have metal shavings left over from manufacture and that can destroy the new seals."1 point
 -
They were $1,000 beaters in the late '80s up until 2010 when everybody got all nostalgic about stuff. Damn internet! Ruined cute local girls now Zs.1 point
-
280Z https://bringatrailer.com/listing/1975-datsun-280z-34/
 1 point
 -
Still says $71,240 on my watched auctions. Hmmmm. I refreshed it. EDIT: I'm slow, disregard.......1 point
-
1 point
-
 It is a bit of a shame how these are turning away from the hobby to a business like you mentioned. Always been a hobby for me. If I can find a Z (like the silver one) build it up, find it a new home, and fund my other Zs, I'm a happy camper. We got into the Z cars long time ago because the 70s muscle cars were out of our price range. Z cars were then affordable, so away we went. Community is great, part availability is decent, and quality aftermarket world is picking up. I'll enjoy and drive my '72. Like you I still see it as the $2500 car I bought so long ago but happy the rest of the world thinks higher of it.1 point
 -
 Awesome, Jeff!! Thanks for the quick replies! This is going to be fun. Really appreciate the input!1 point
 -
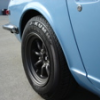
 Steve, There is a thread from about 15 years ago where I documented what it took to make my wheel/tire package fit. I can't find it, but here is another thread where I posted pics of the trimmed lips. I believe I removed between 8 and 10mm from the weld flanges between 11 and 1 o'clock on the fender. My wheels are Panasport 16x7 zero offset with 225/50R16 Hankook RS-2 tires. My car is lowered 1" via KYB springs. The front tires rub the front valence when backing up and turning, but not while going forward. An aftermarket airdam will usually give you more turning clearance. The rears took quite a bit of rolling and trimming to clear. I attempted to run them without trimming and the tires were getting cut badly with any moderate suspension travel. I tried rolling first, but it wasn't enough, so I then did it right and trimmed. As I've said over and over and I'll say it again here - ride height has no effect on tire clearance. Lowering a car only changes the starting point of travel. The tire will still move through the same arc regardless of the starting point. If you go with extremely stiff race springs, you might get away with less clearance, but any street springs will still allow full suspension travel over bumps and undulations in the road. That's why the only correct way to check clearance is to remove the springs and run the suspension through full travel using a floor jack under the control arm. Go at least far enough to compress the jounce bumper by 1/3 of its height.
 1 point
 -
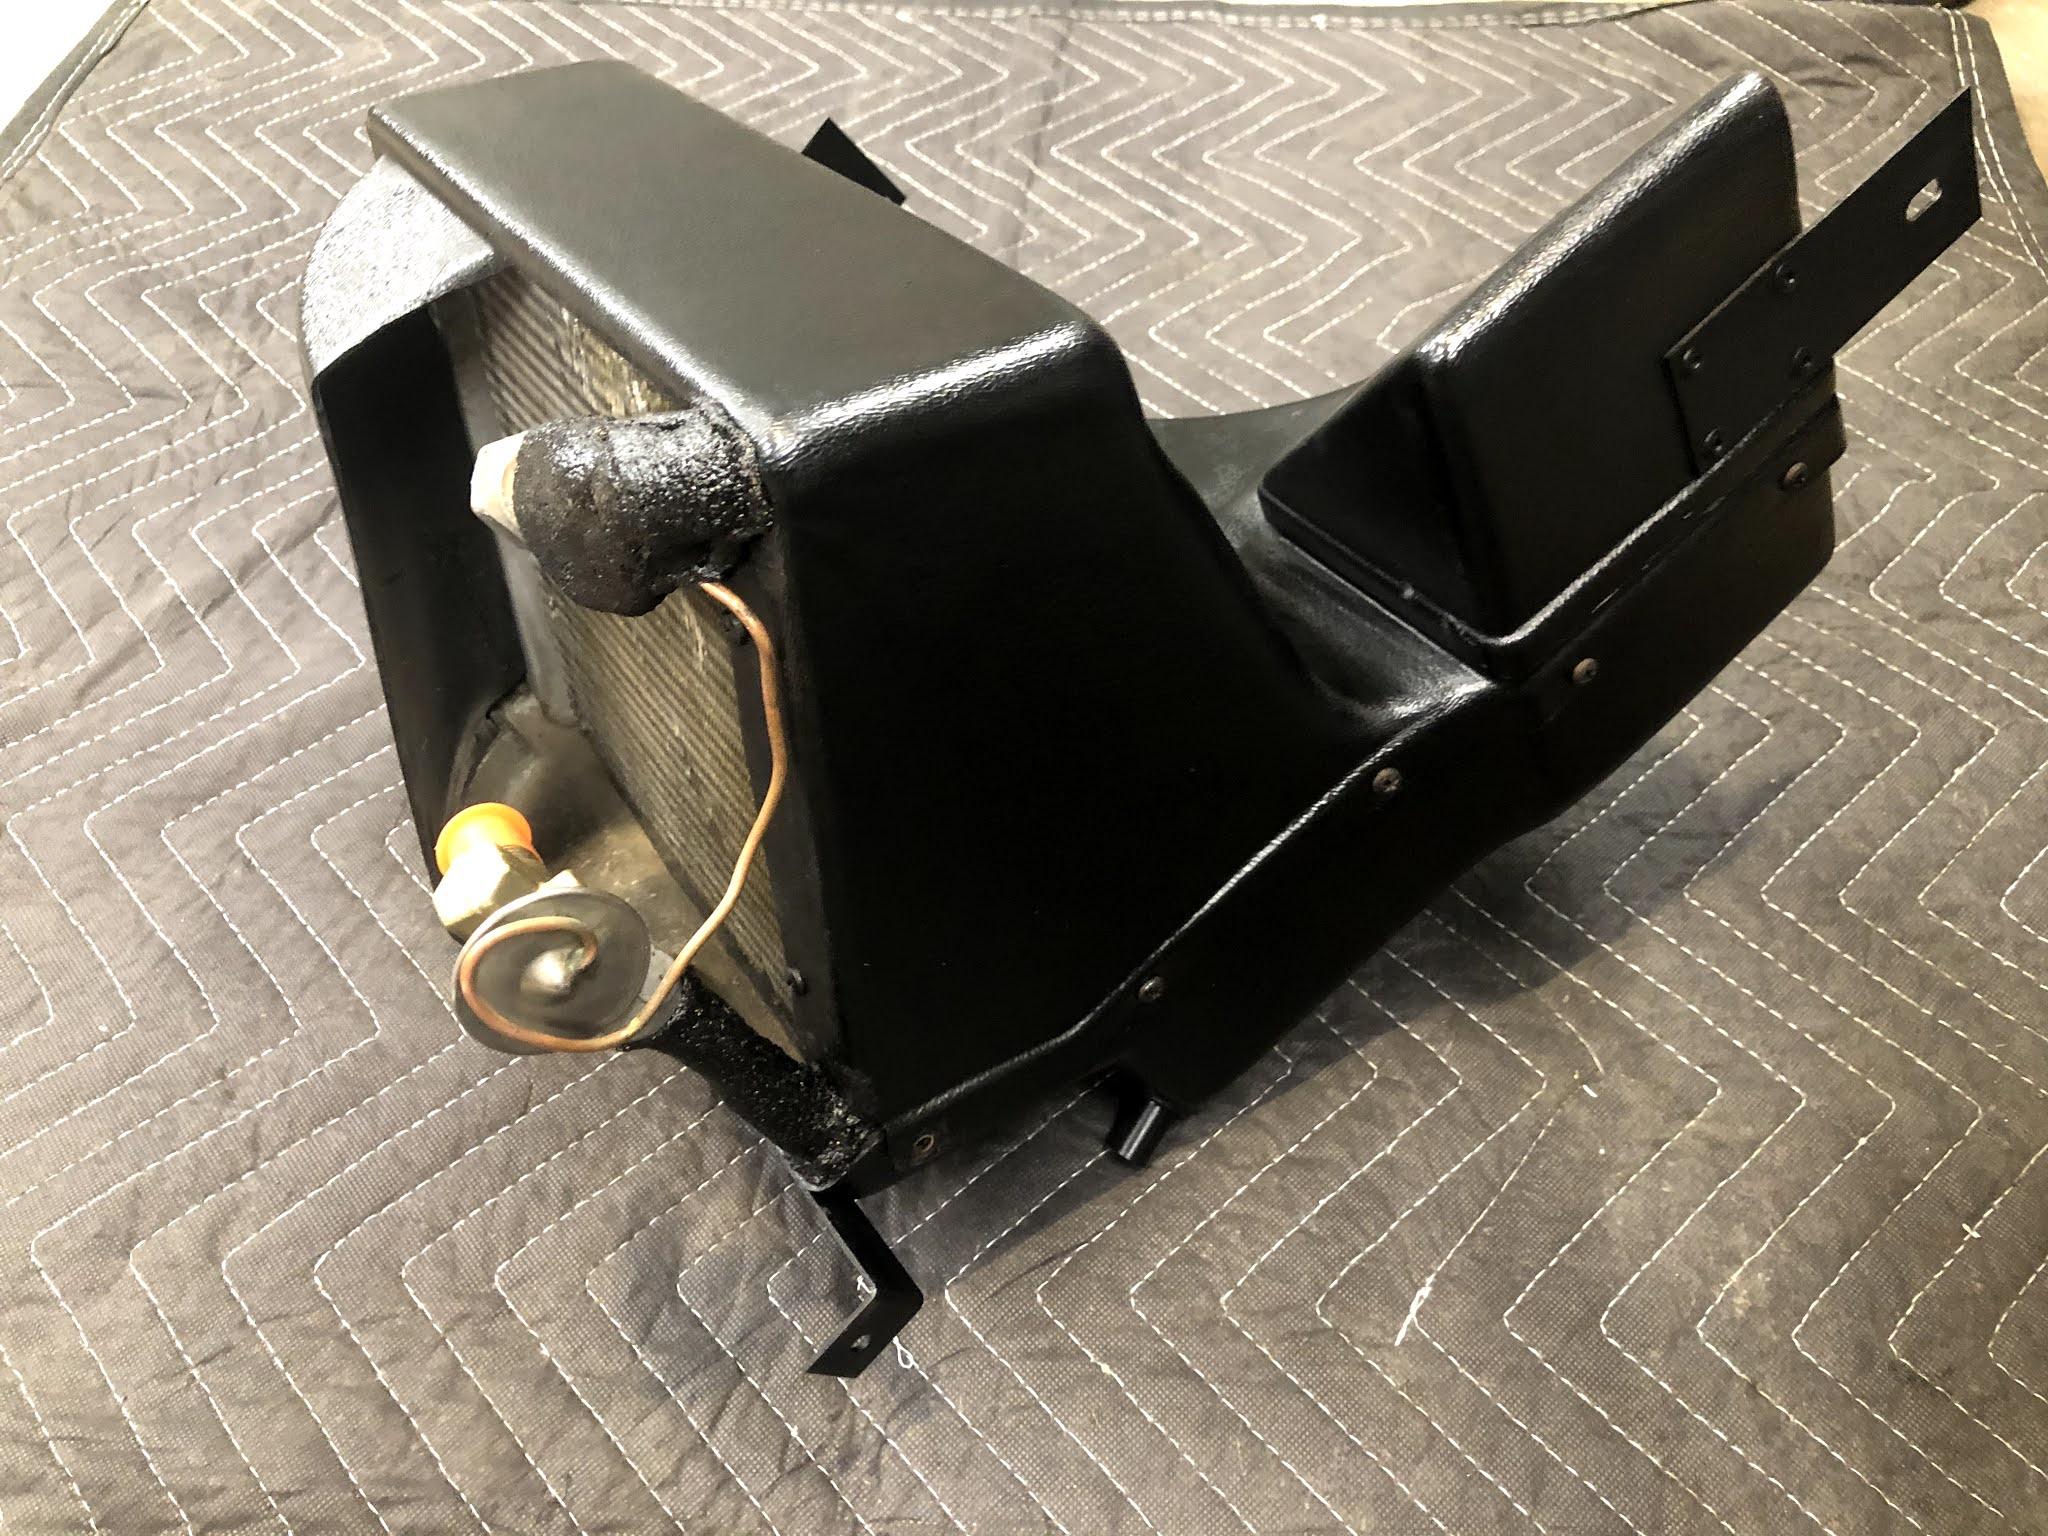
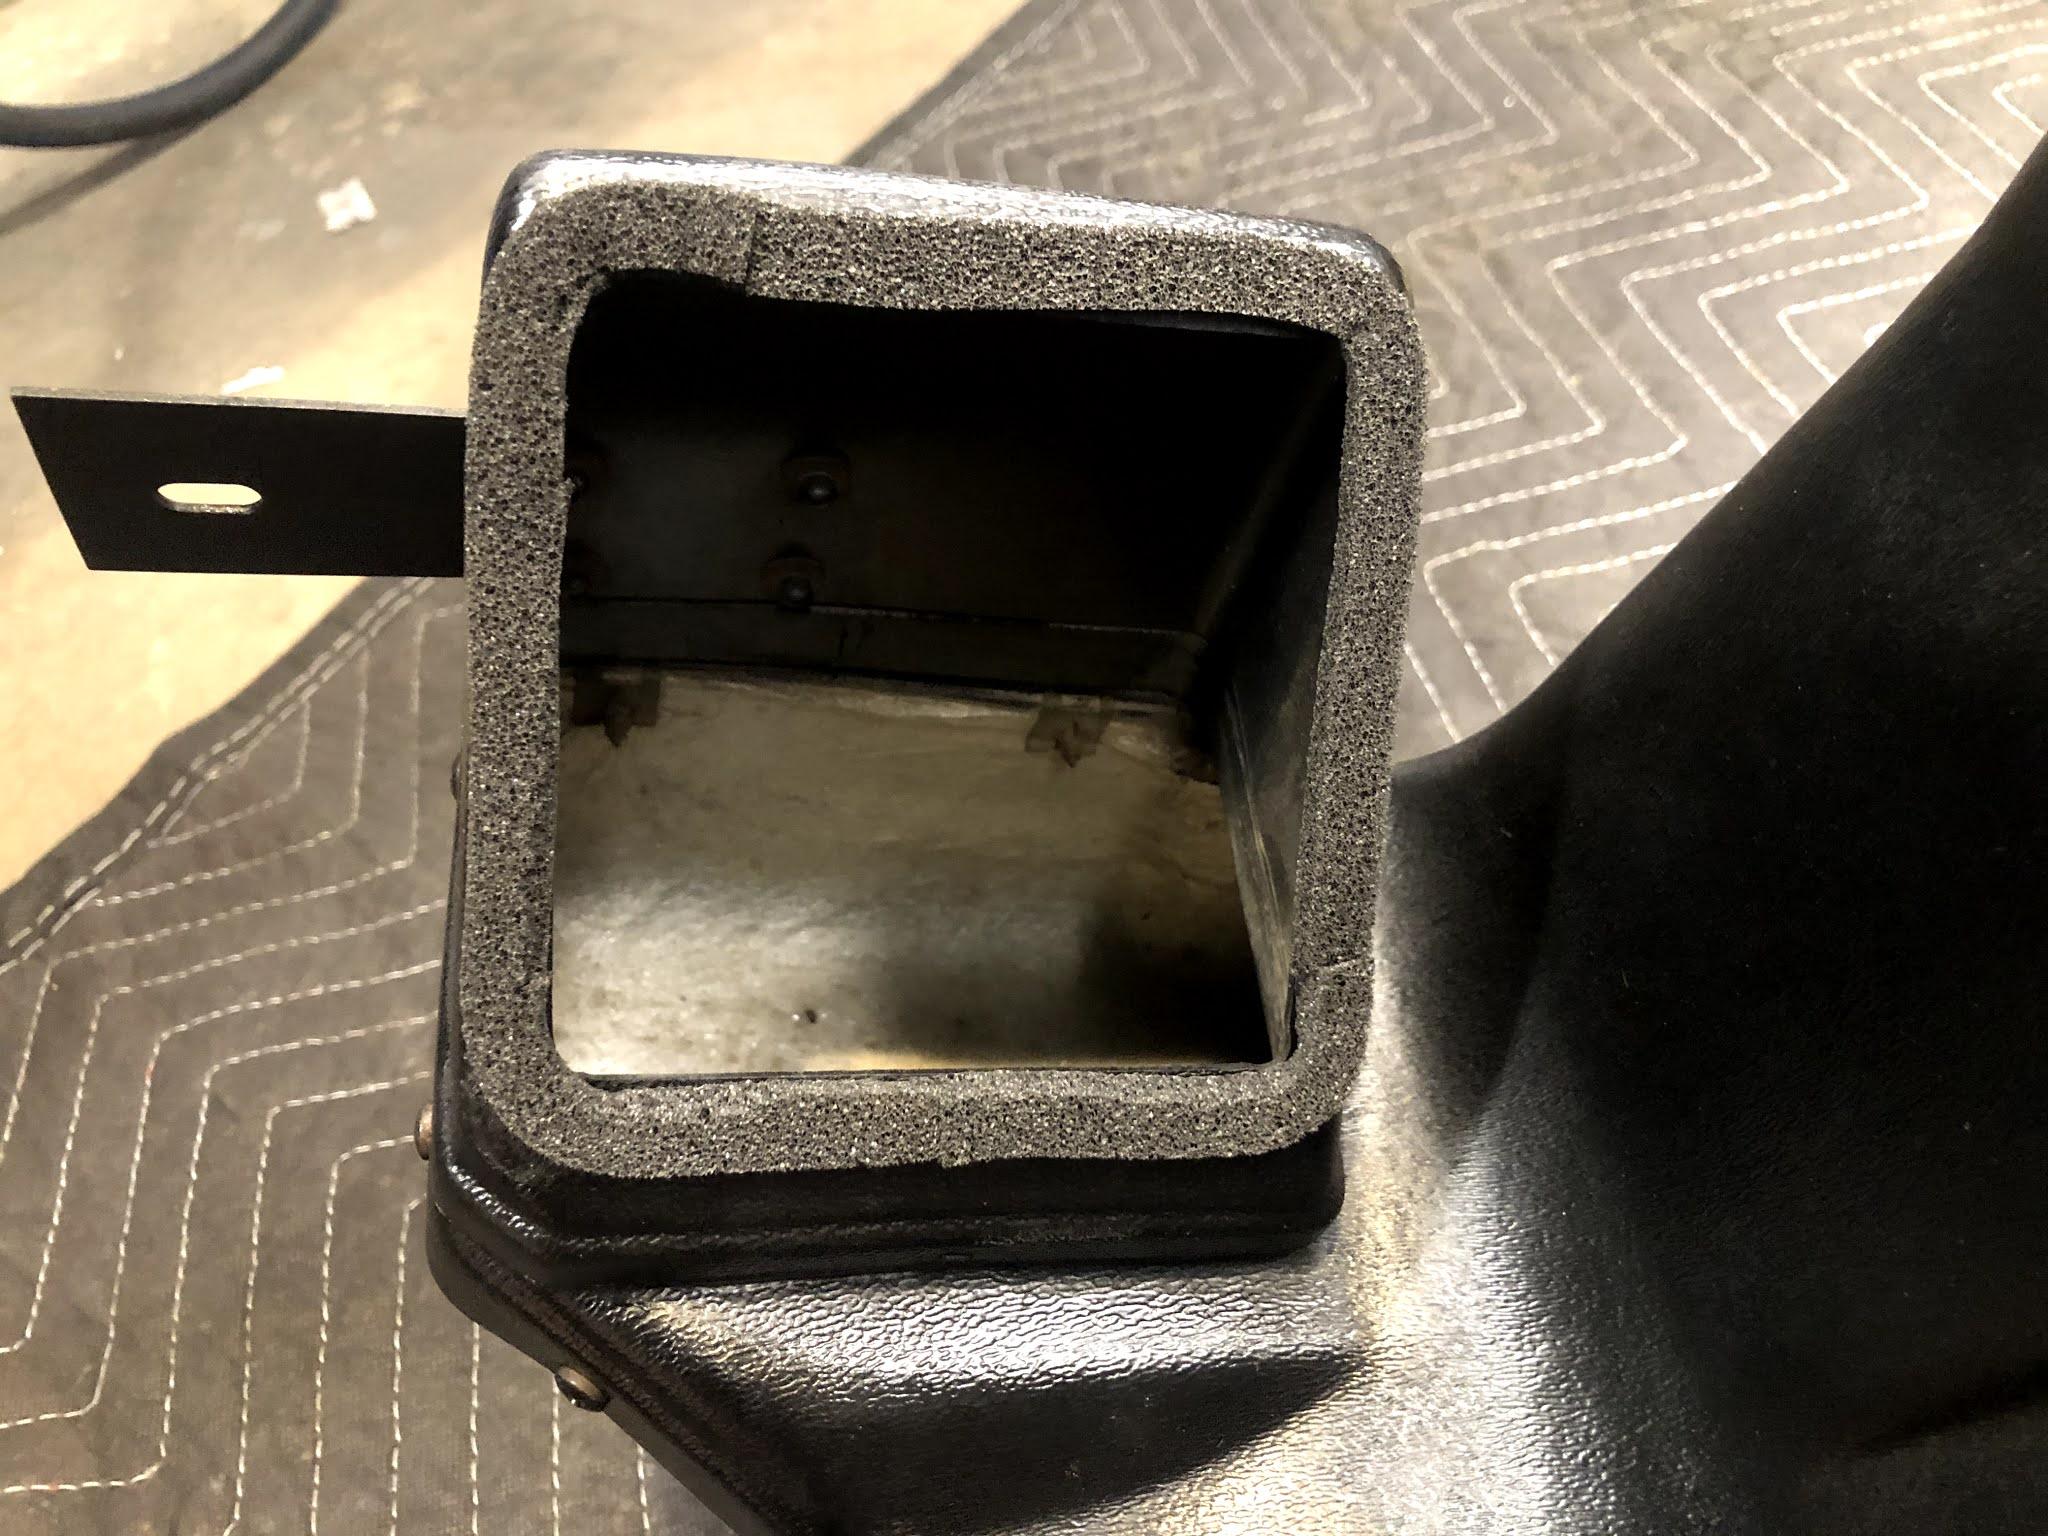
 1 point@Av8ferg I won’t be using any of my oem hvac system besides the control panel. I can send you some photos of what I have in hopes it can help. I’m not sure how operational it is since I never tried to use it and it sat for 20 years. Let me know 👍1 point
 -
 1 pointCliff, everything is pretty much toast. Finally got the heater core out….it looks shot too. Now I have to find one and from the looks of it I won’t be a stock heater core. I saw the Captain Obvious used a alternative core from an Escort . I might have to do something like that. I’ll have to pick his brain. Pain….every time I cross one hurdle I get two more thrown at me. Sent from my iPhone using Tapatalk1 point
 -
 1 pointHi Kats. It is nice to see you here. That new Z is looking PS30-SB-ish!😀1 point
 -
 1 point
 -
 Not every day you can buy a 12k mile 240z in really nice condition. I didn't want it so I could show it or drive it though. I thought it was worth a shot to try to get it for a price that would leave room to cover the cost of the work it needs to take it to condition 1 or 2 level and then sell it for a profit. That car is most likely going to be a trailer queen (or stored in someone's private collection) from now on anyway. I was thinking of bidding again just before pwest and steamboatenthusiast hit the gas. Oh well. CW240Z72 - Your car is off to a strong start!1 point
 -
I'm not trying to cause trouble. Just talking about an interesting car. Your build thread is too long to search through to find the explanation. It really stands out in the pictures.1 point
-
1 pointLooks like the silver foil from the top of a gallon jug of oil. ? If it is a bearing failing you will hear it eventually. Measuring cylinder pressures, examining cam lobes, checking timing chain wear...those are the typical things you'd do to determine engine wear. 136,000 miles is not a huge number for these engines.1 point
-
1 pointWhat kind of mechanical skills do you have? An engine rebuild is really not that hard if you have the right reference materials1 point
-
98K and he didnt let it go? Something aint right there.1 point
-
 There are two adjustment pots on the back of the gauge for syncing the needle with the sender. Ya, that's why no one does it...1 point
 -
 1 pointThanks, guys! I took both of your advice and contacted some local glass shops. I should be all set now. Unfortunately, I am clumsy and dropped one which broke, but shouldn't be a big deal. I am going to make a separate post in the future overgoing the rebuild for anyone else who may run into the same questions I had.1 point
 -
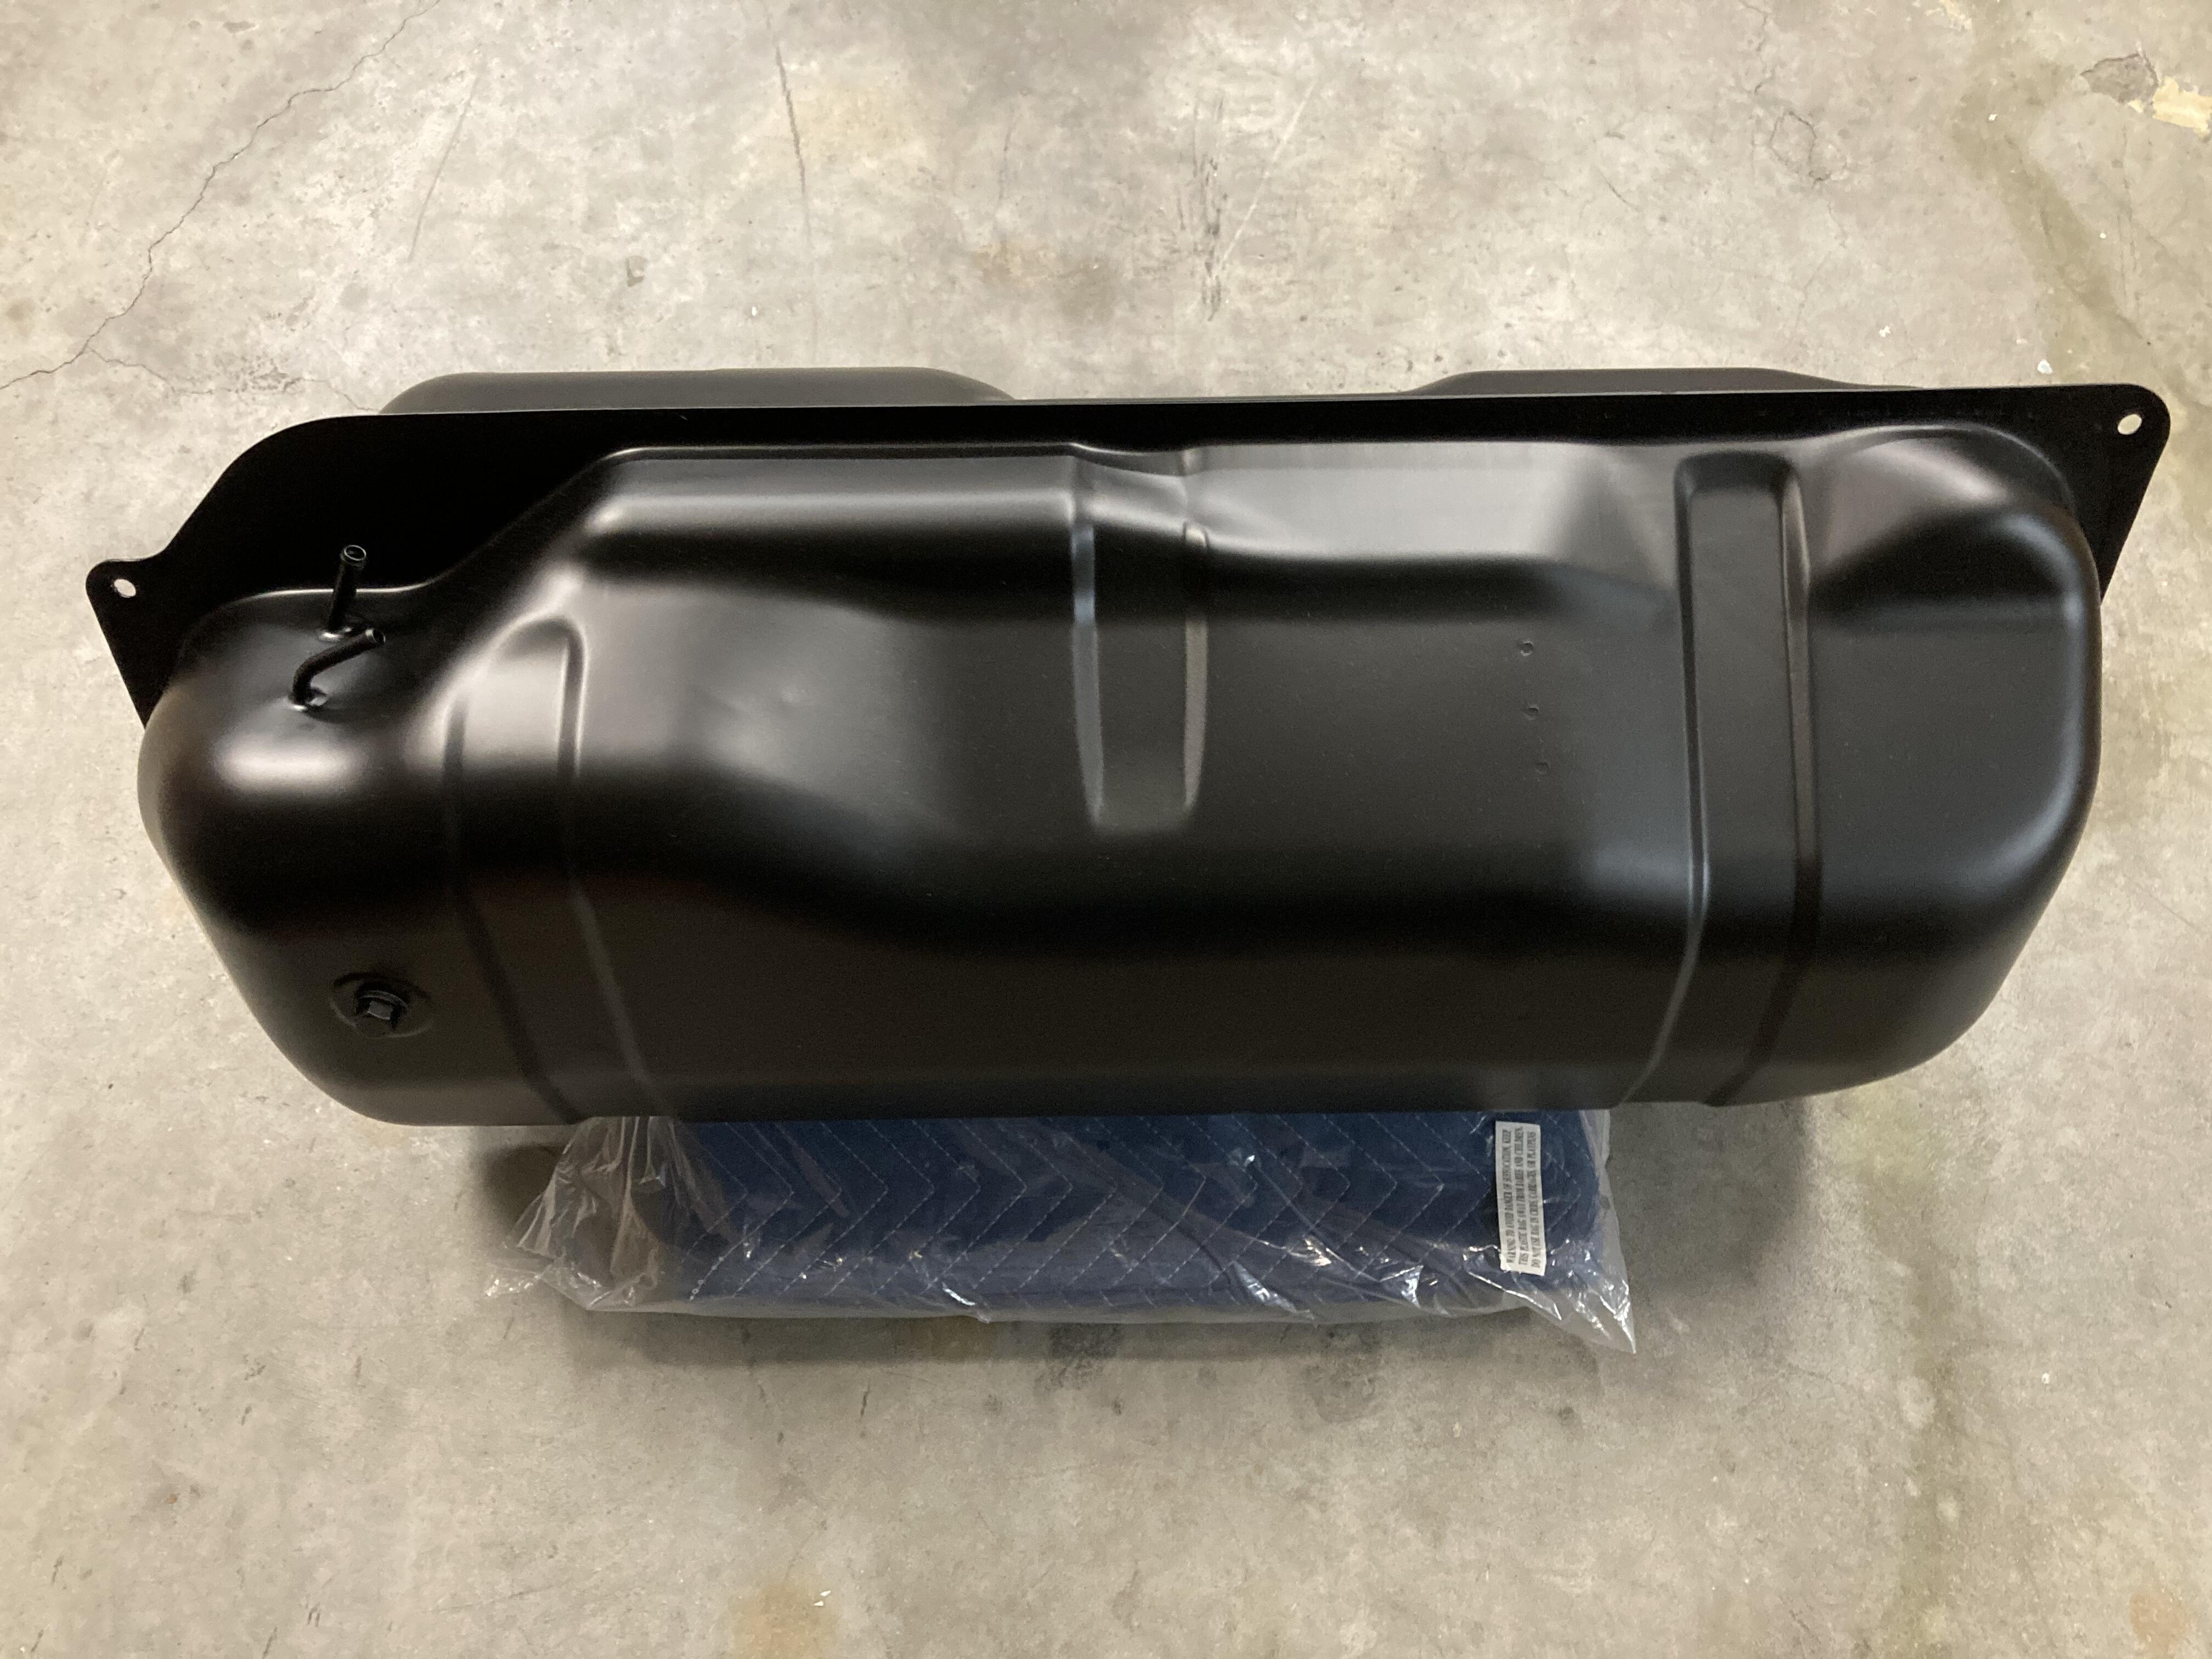
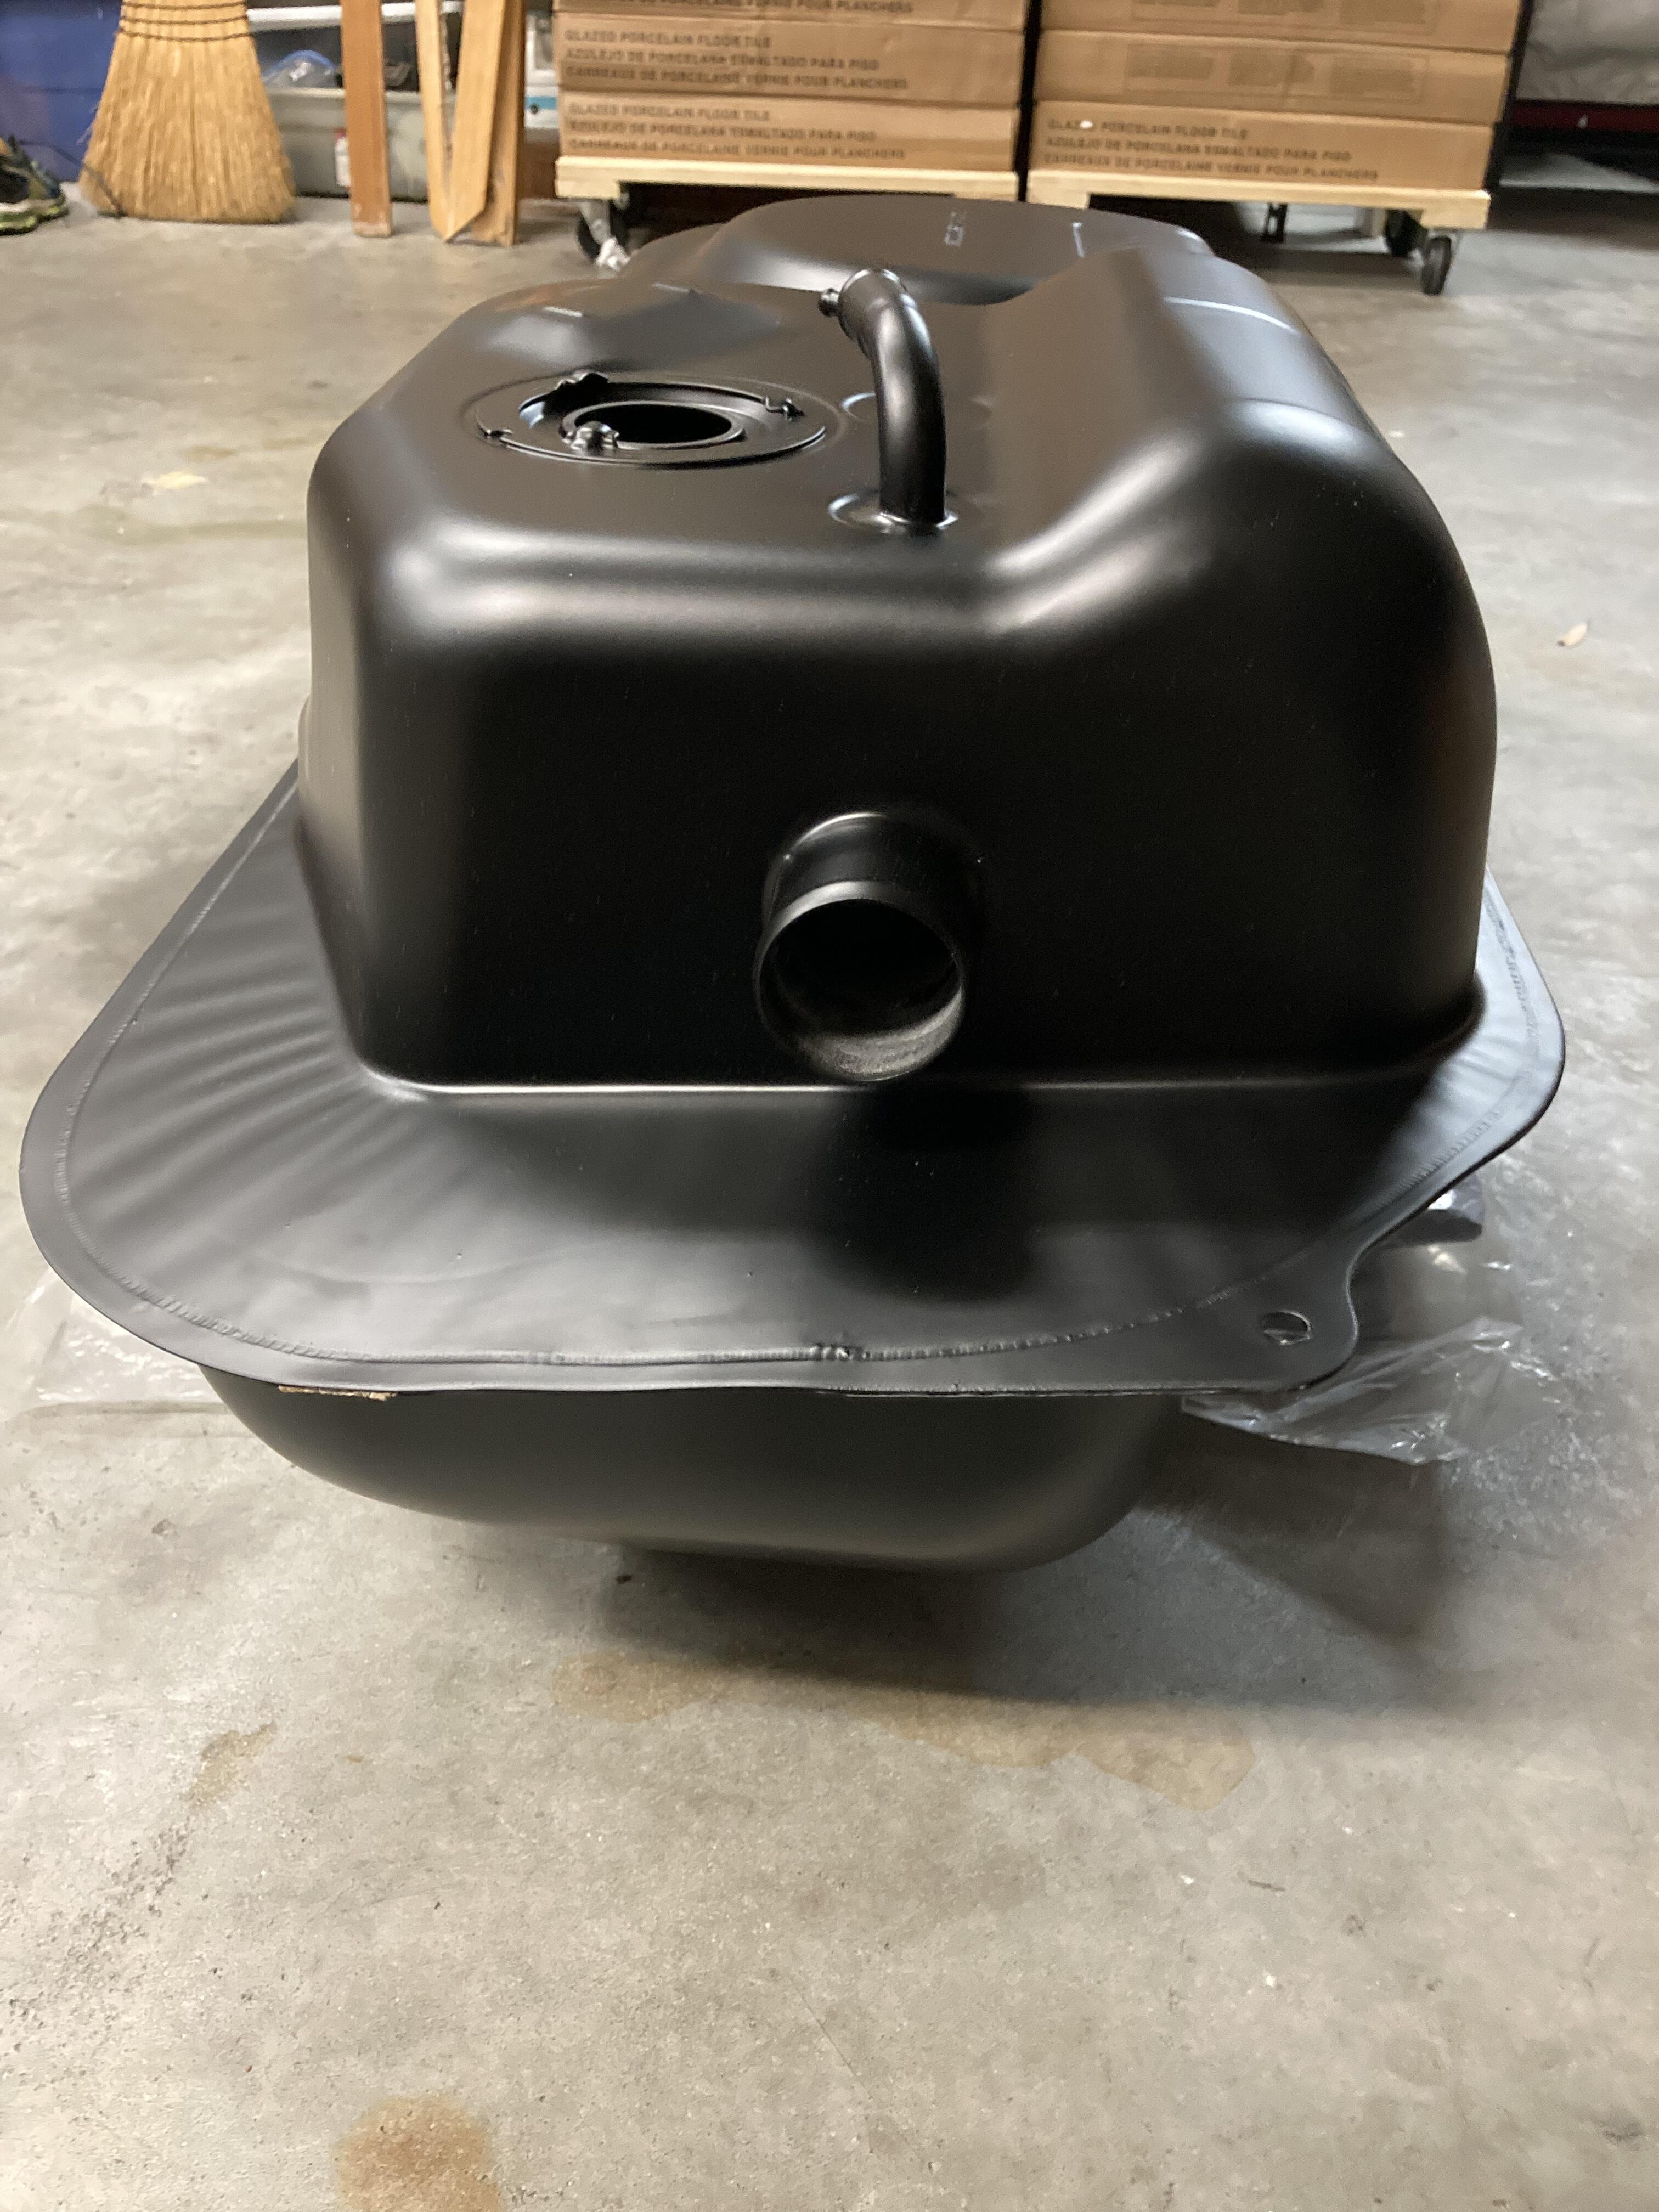
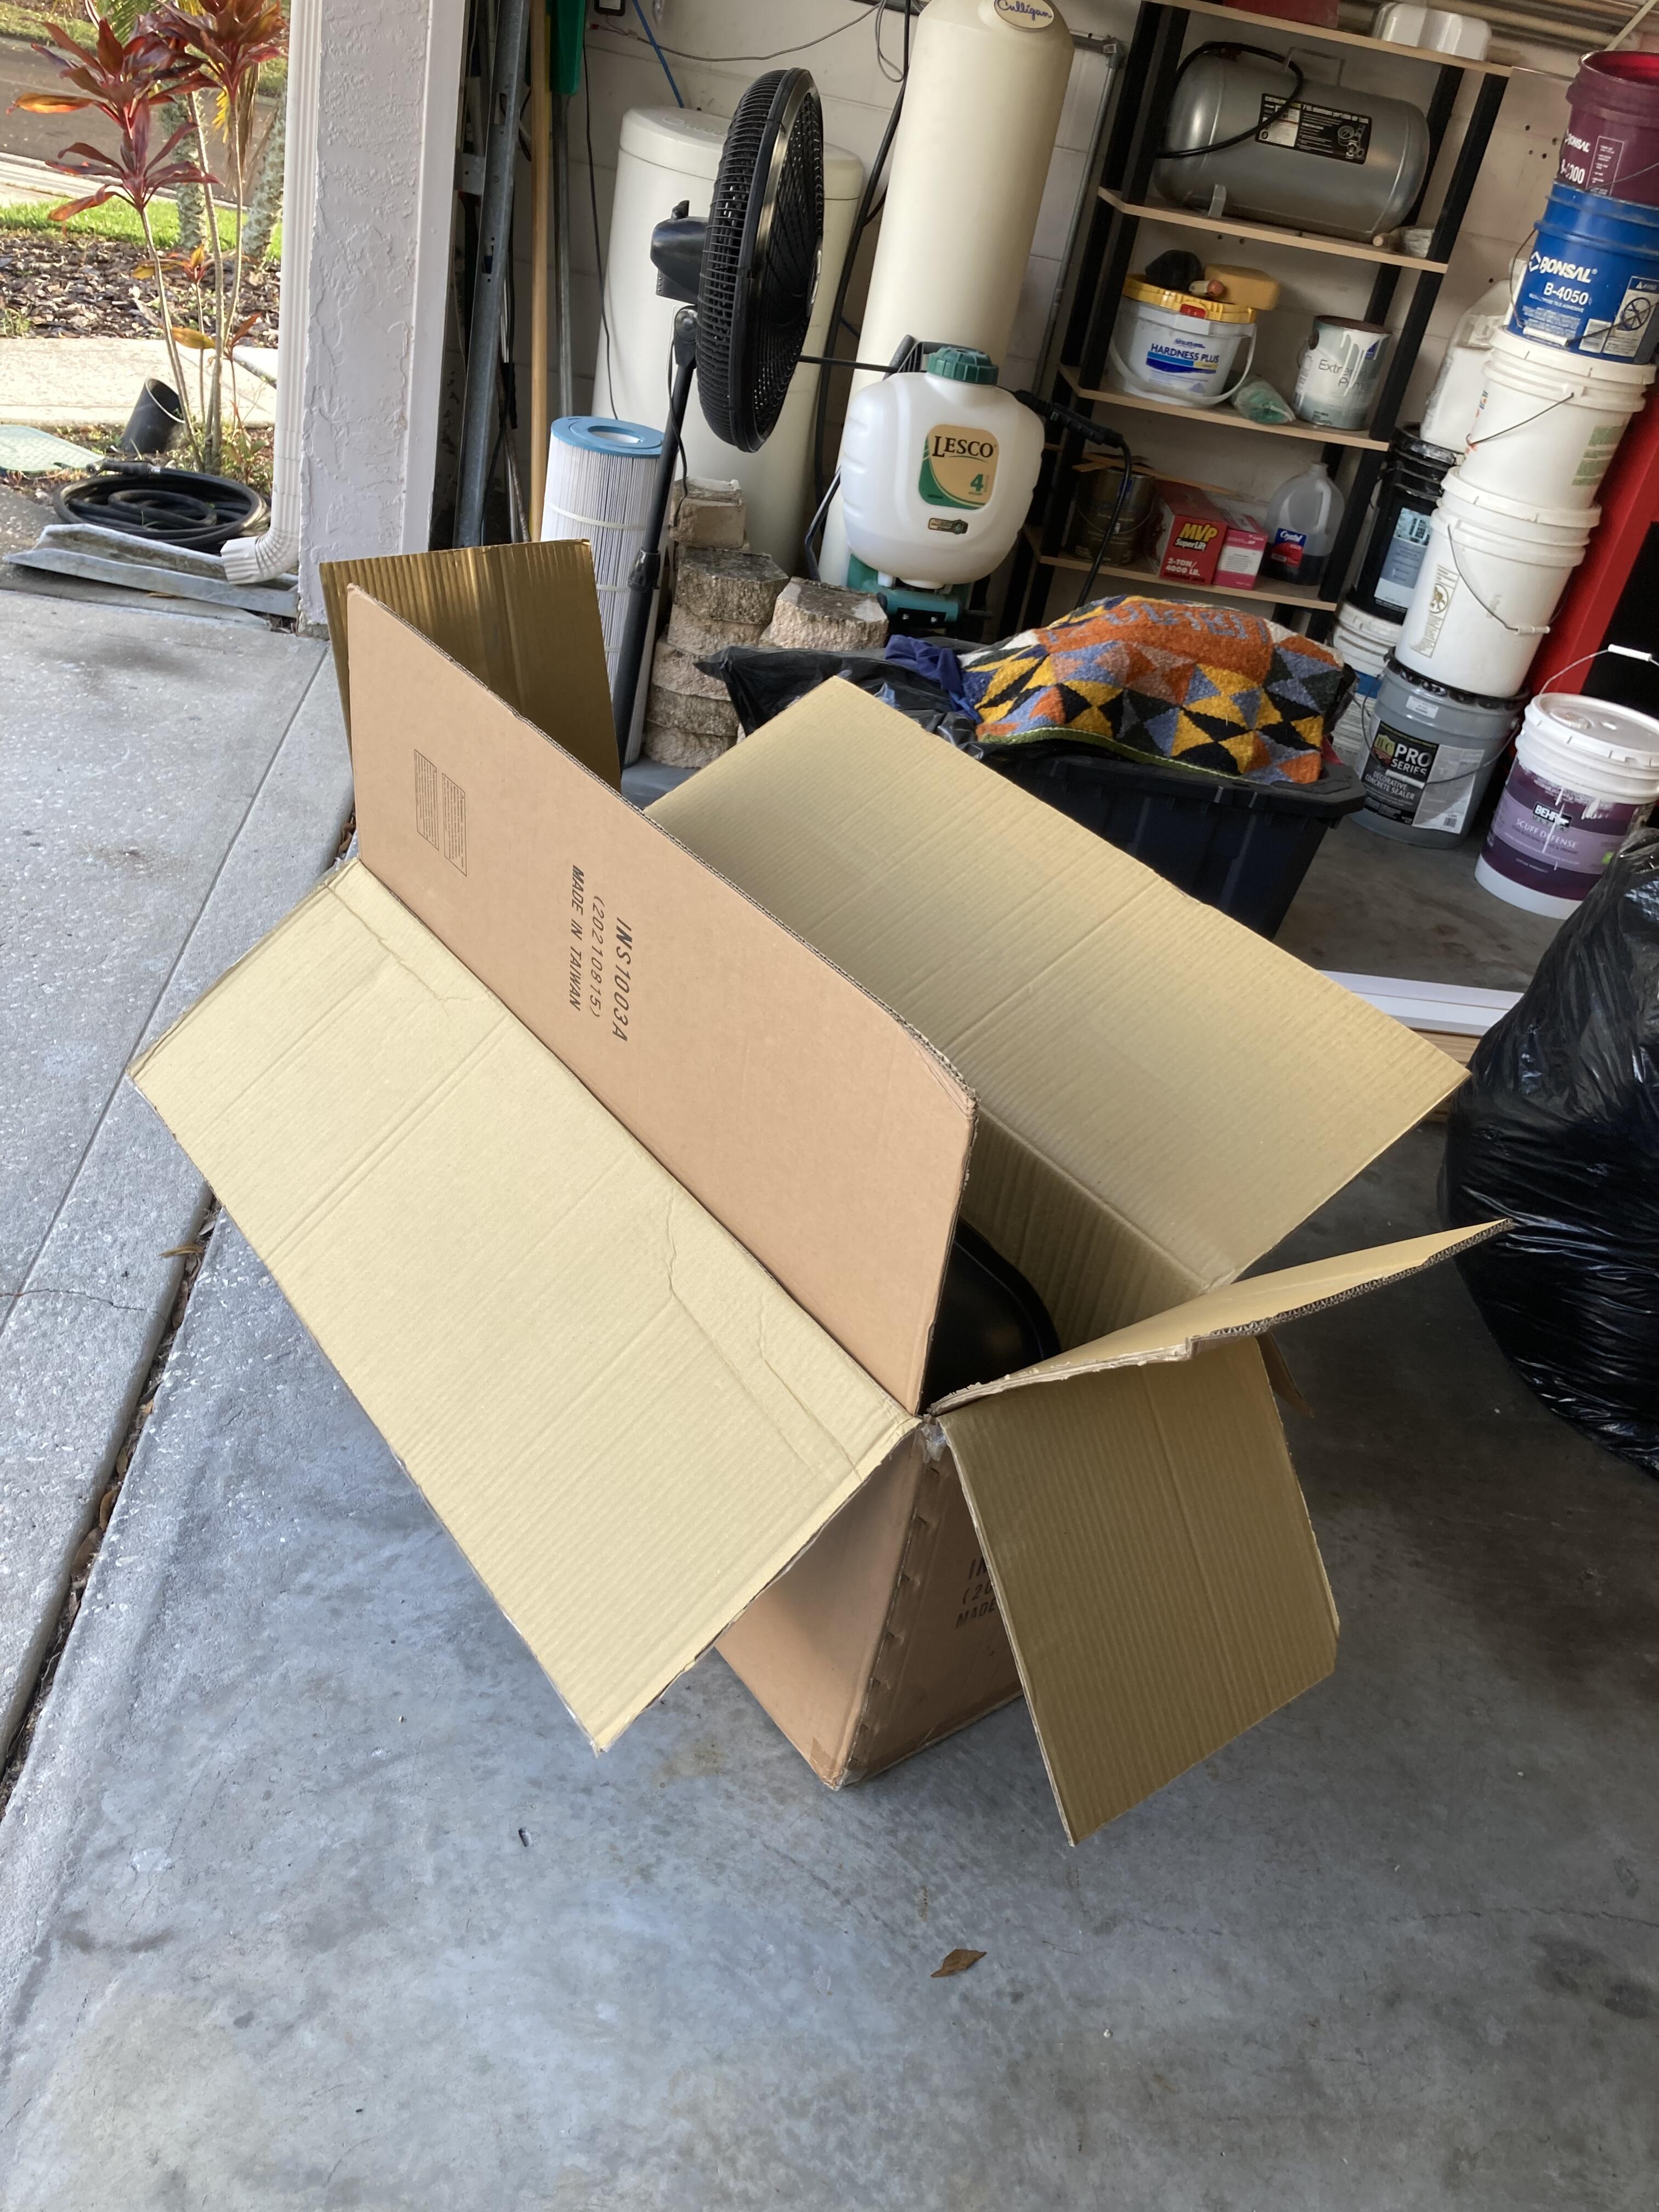
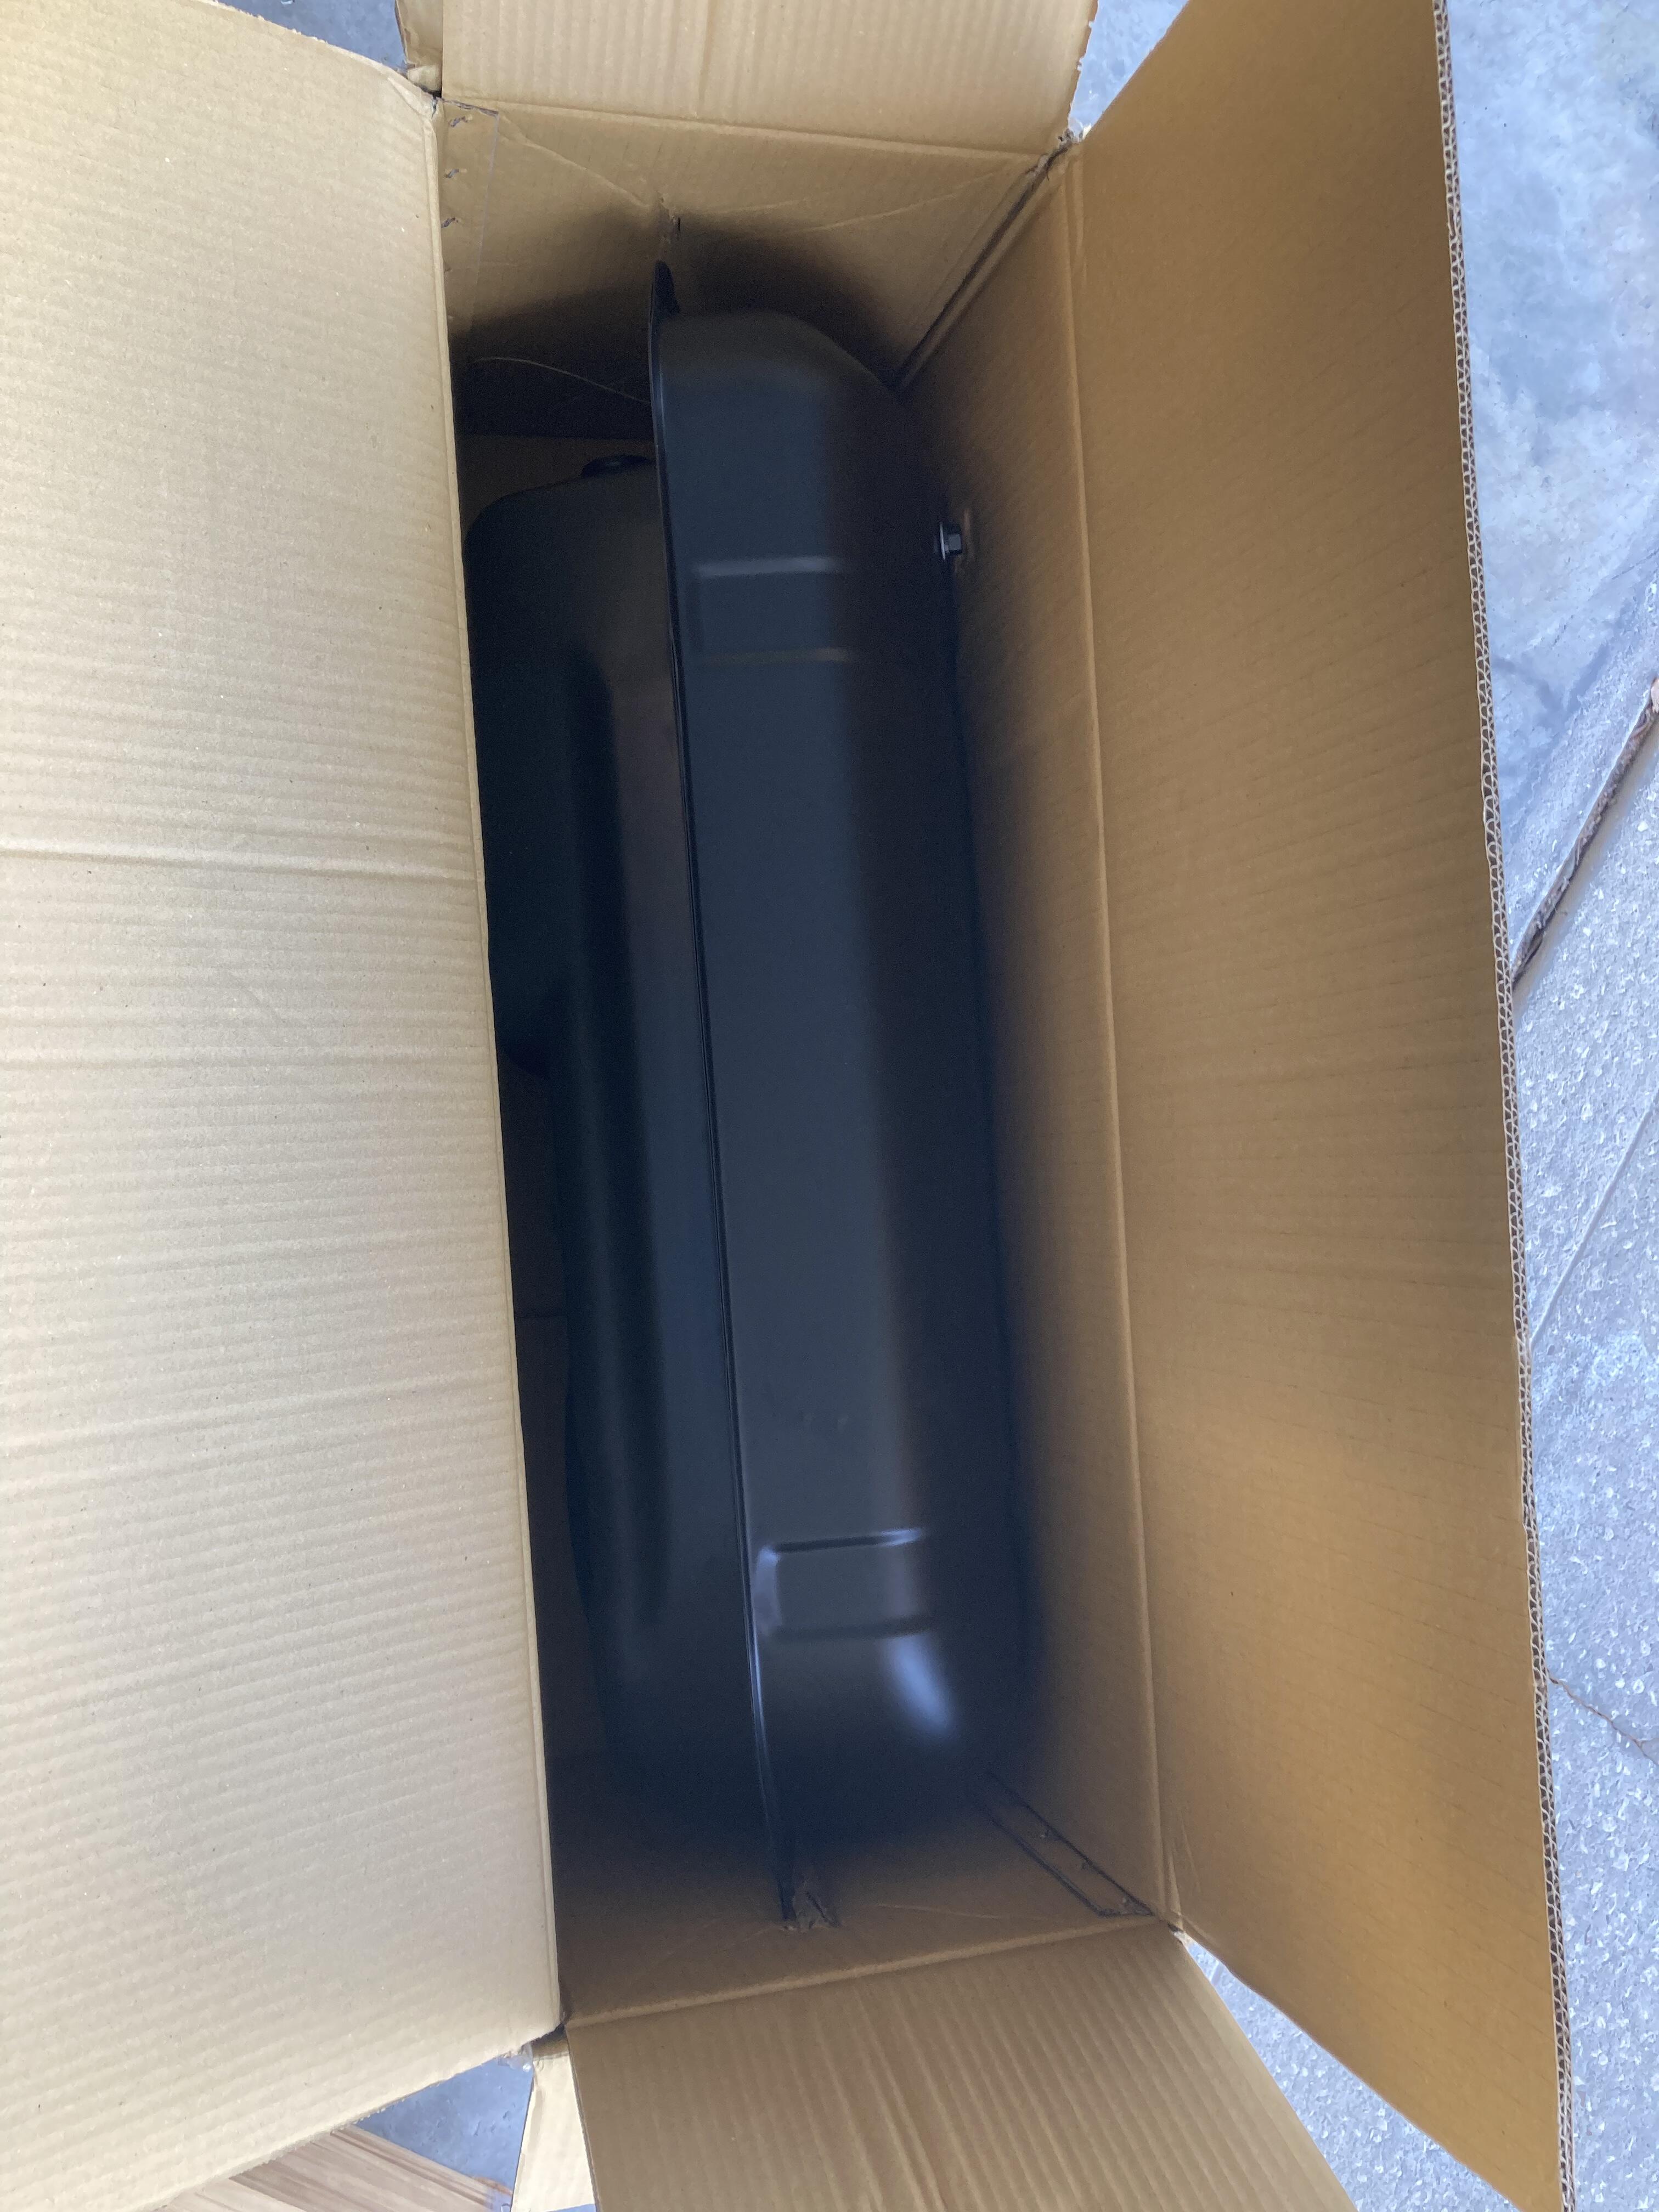
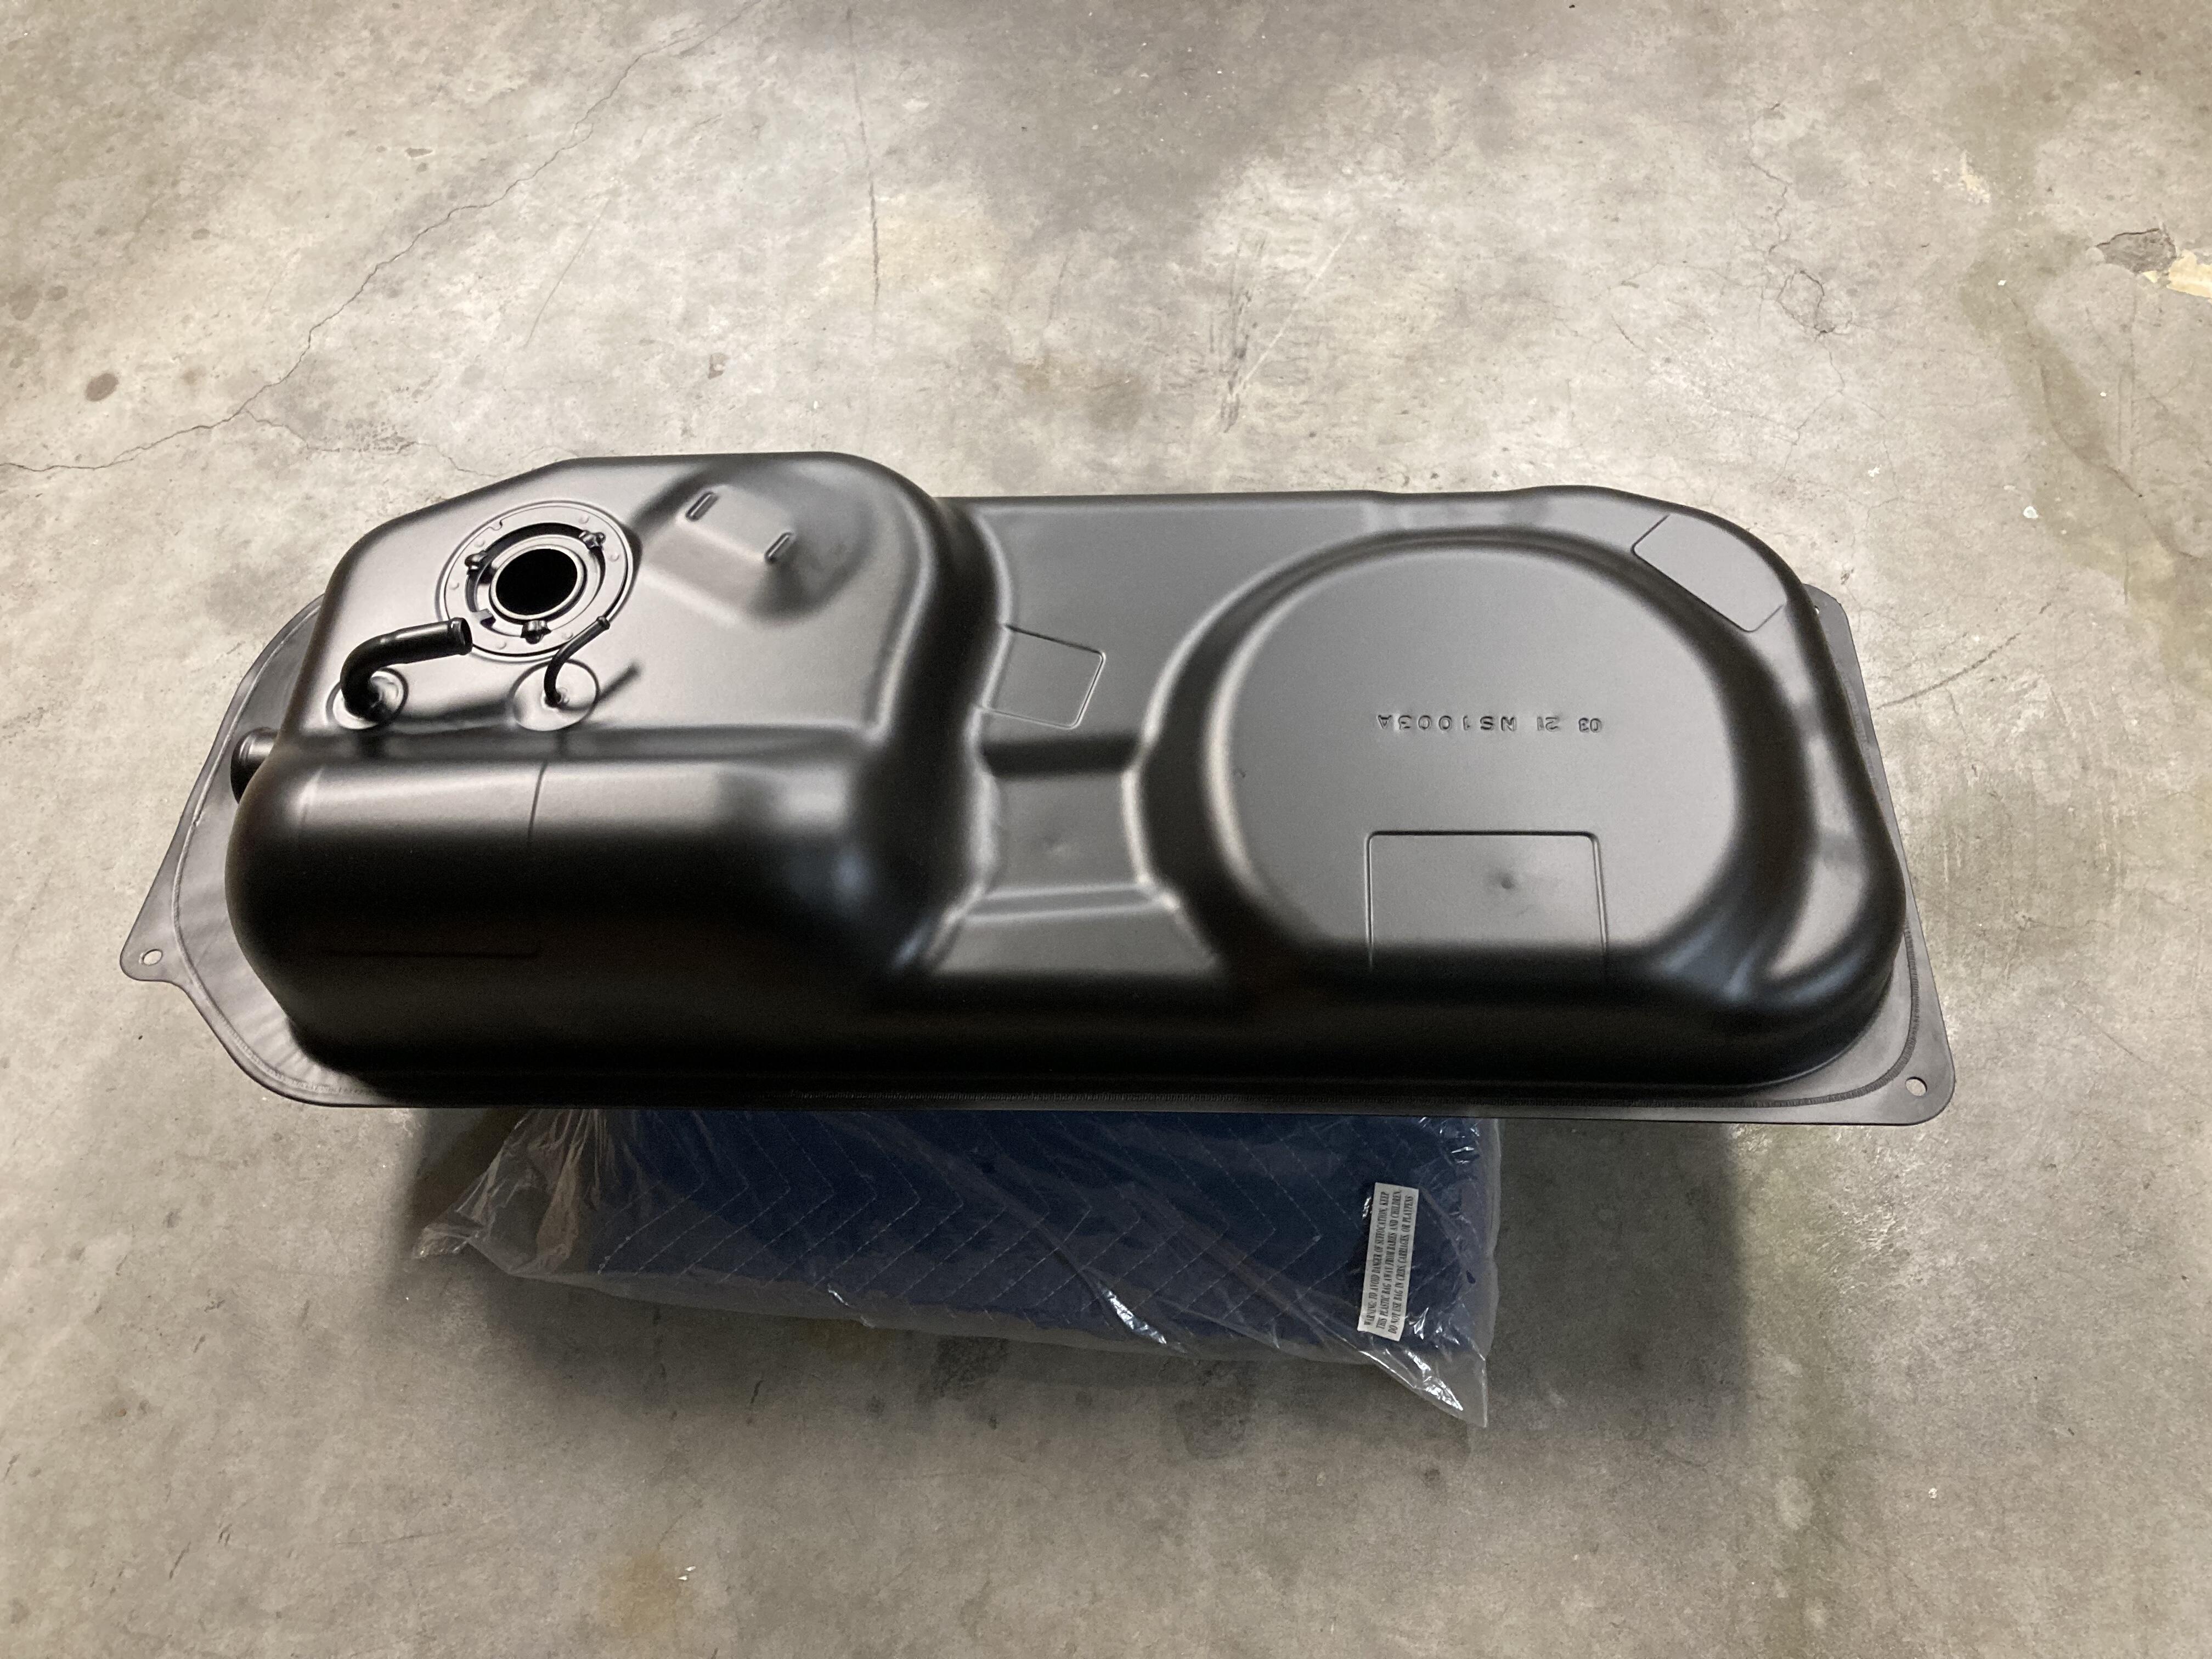
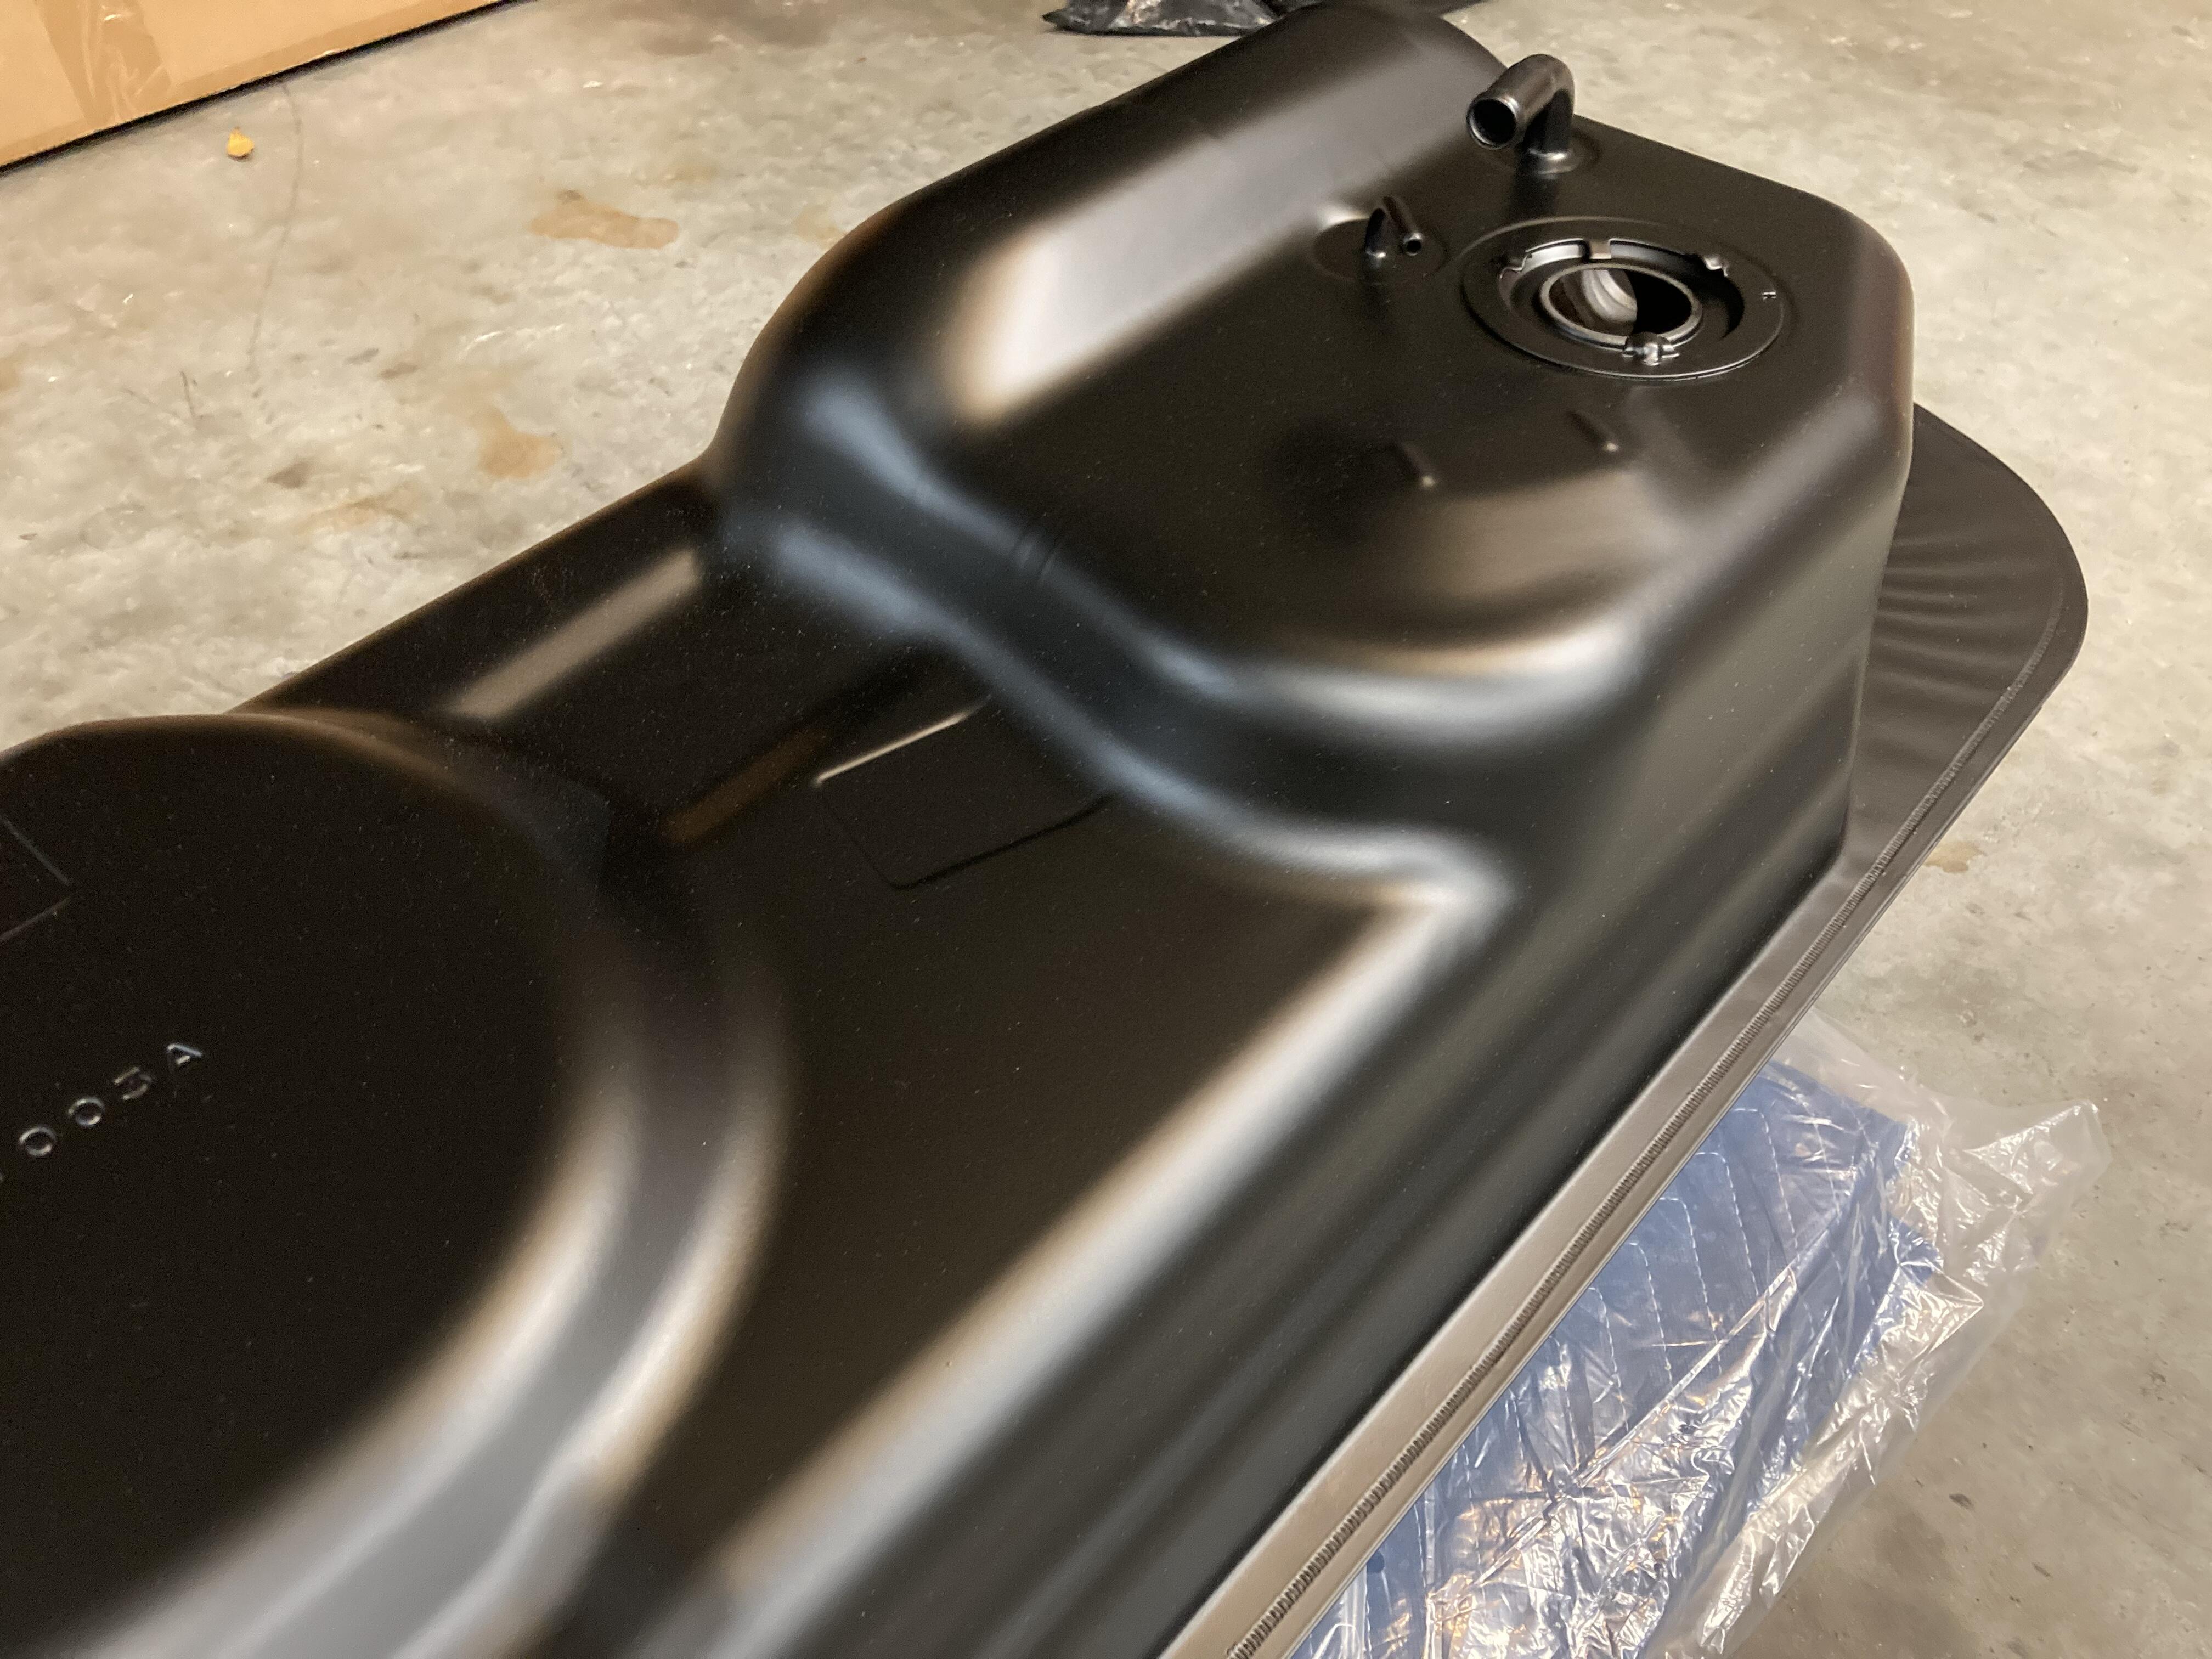
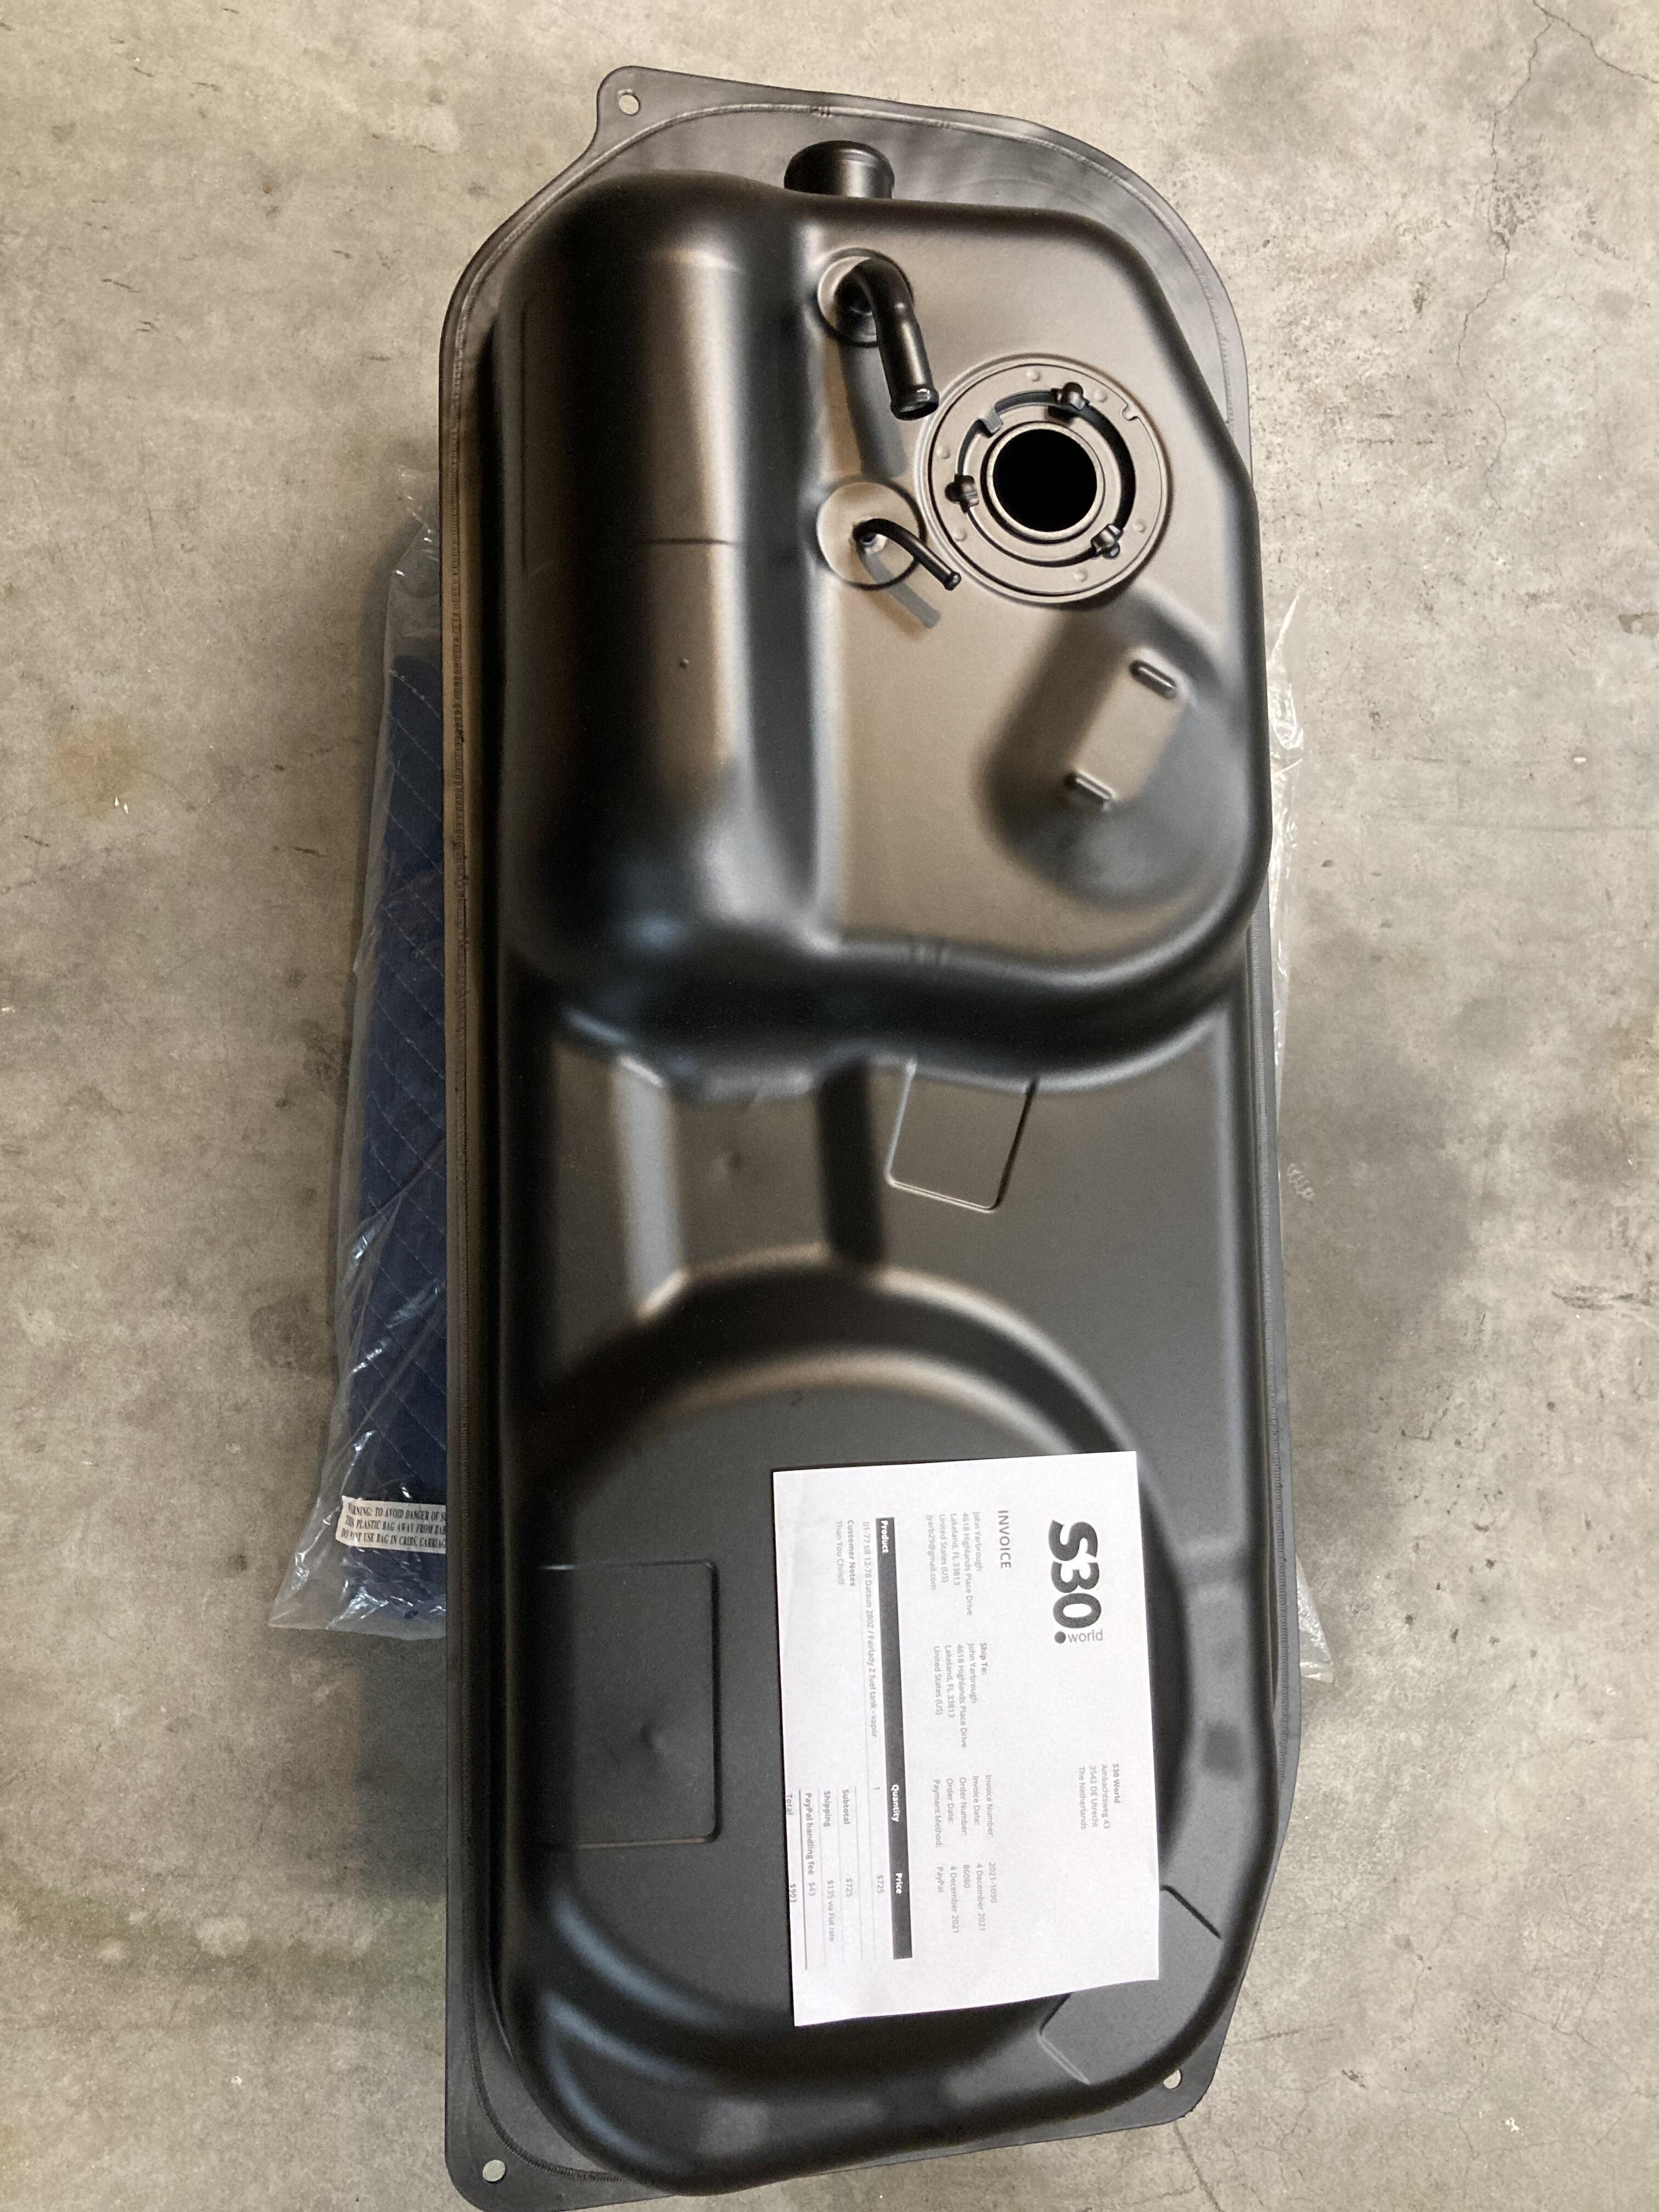
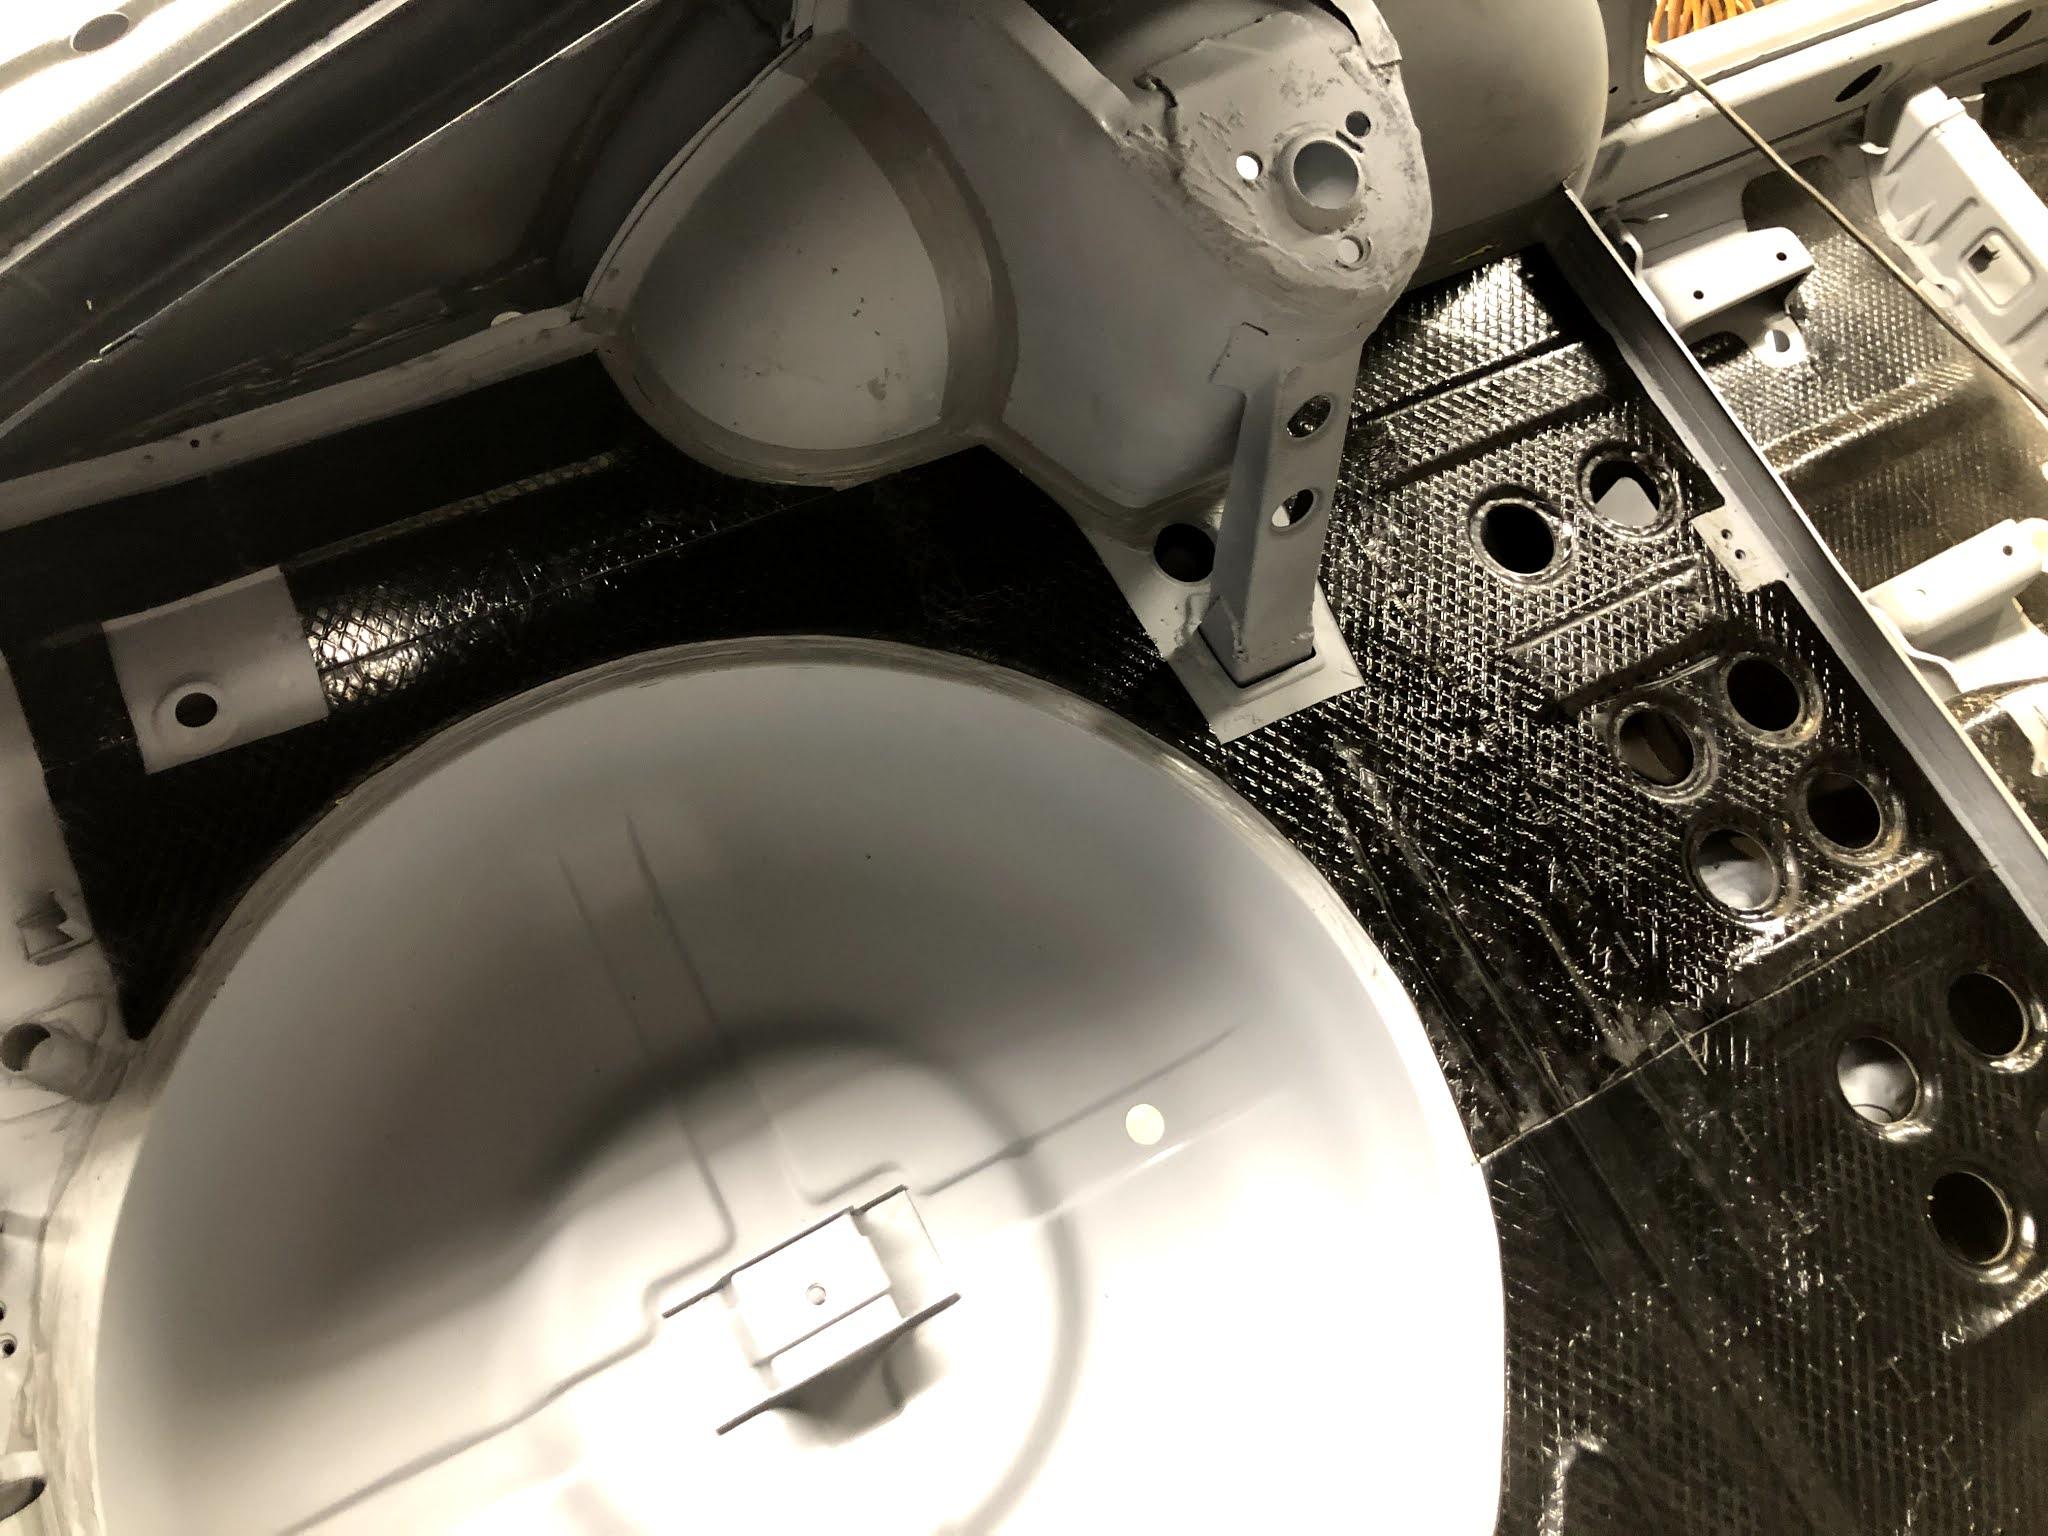
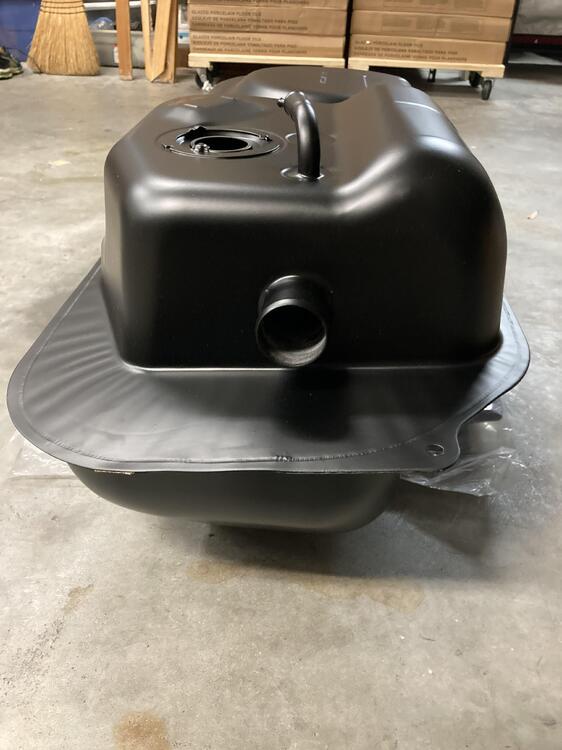
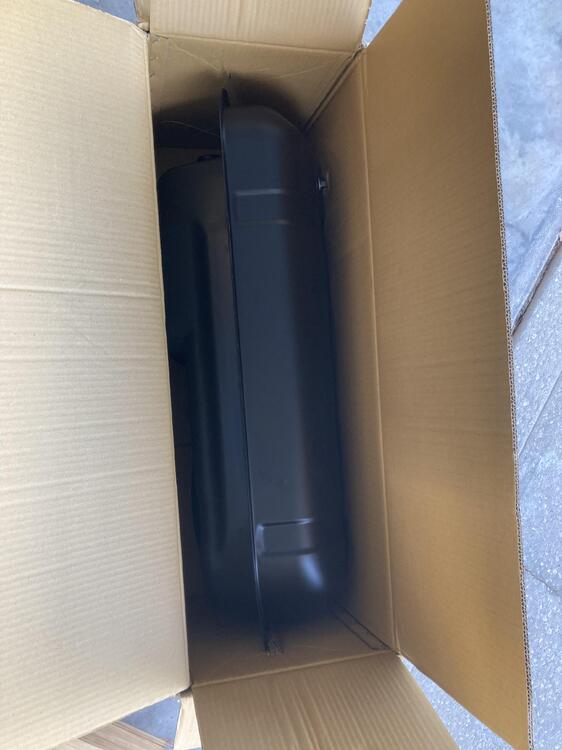
 Here are a few pics of the tank upon arrival. I’ll post internal pics once I get back to my shop.
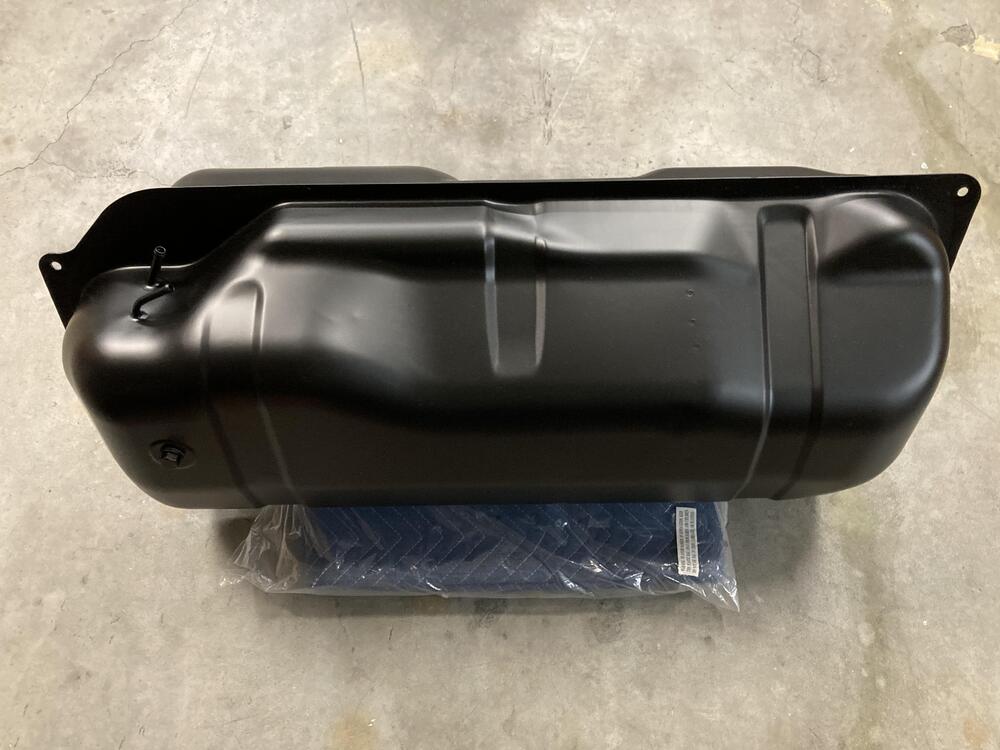


 1 point
 -
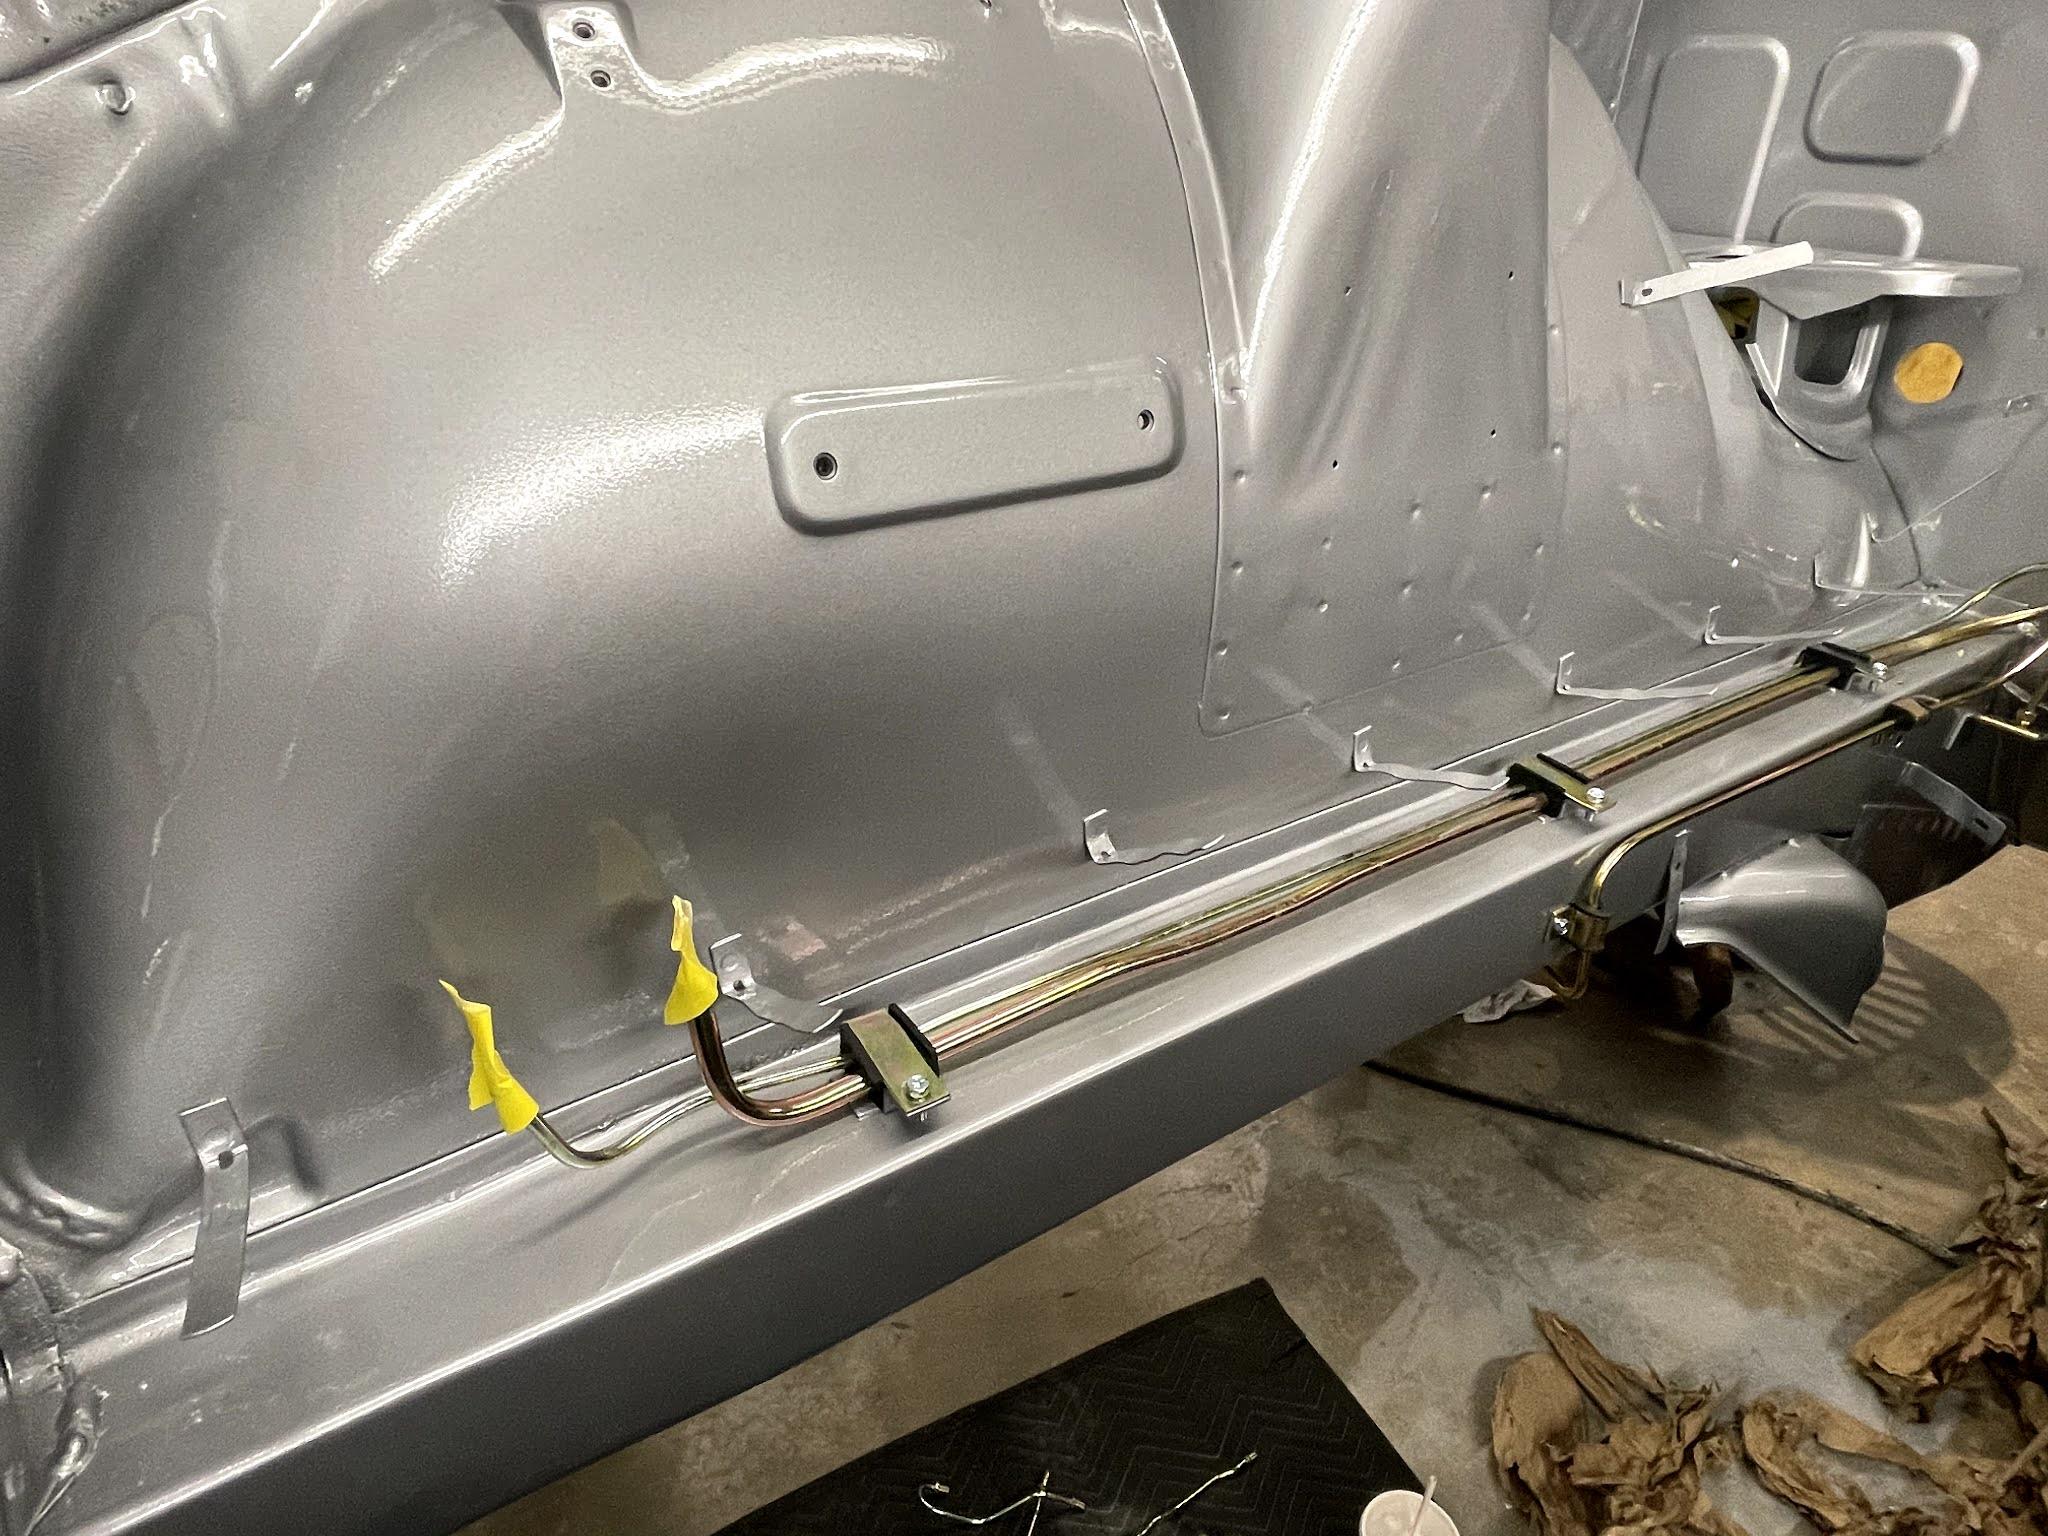
1 pointIn the middle of sub 10 F temperatures, been working on the routings for the AC hoses. Being one of the very few things on the car that's not original, I wanted to do the AC installation with as few permanent cut ups to the car as possible. I plan on routing the hoses down the passenger frame rail so that they'll be tucked away and not as much of an eye sore as the dealer setup was previously. To do this, I created these mounting saddles that I can zip tie over the electrical harness, and will also saddle each of the lines. 3D printed two to rough-in the concept. I think it'll work out nicely with a few more.
 1 point
 -
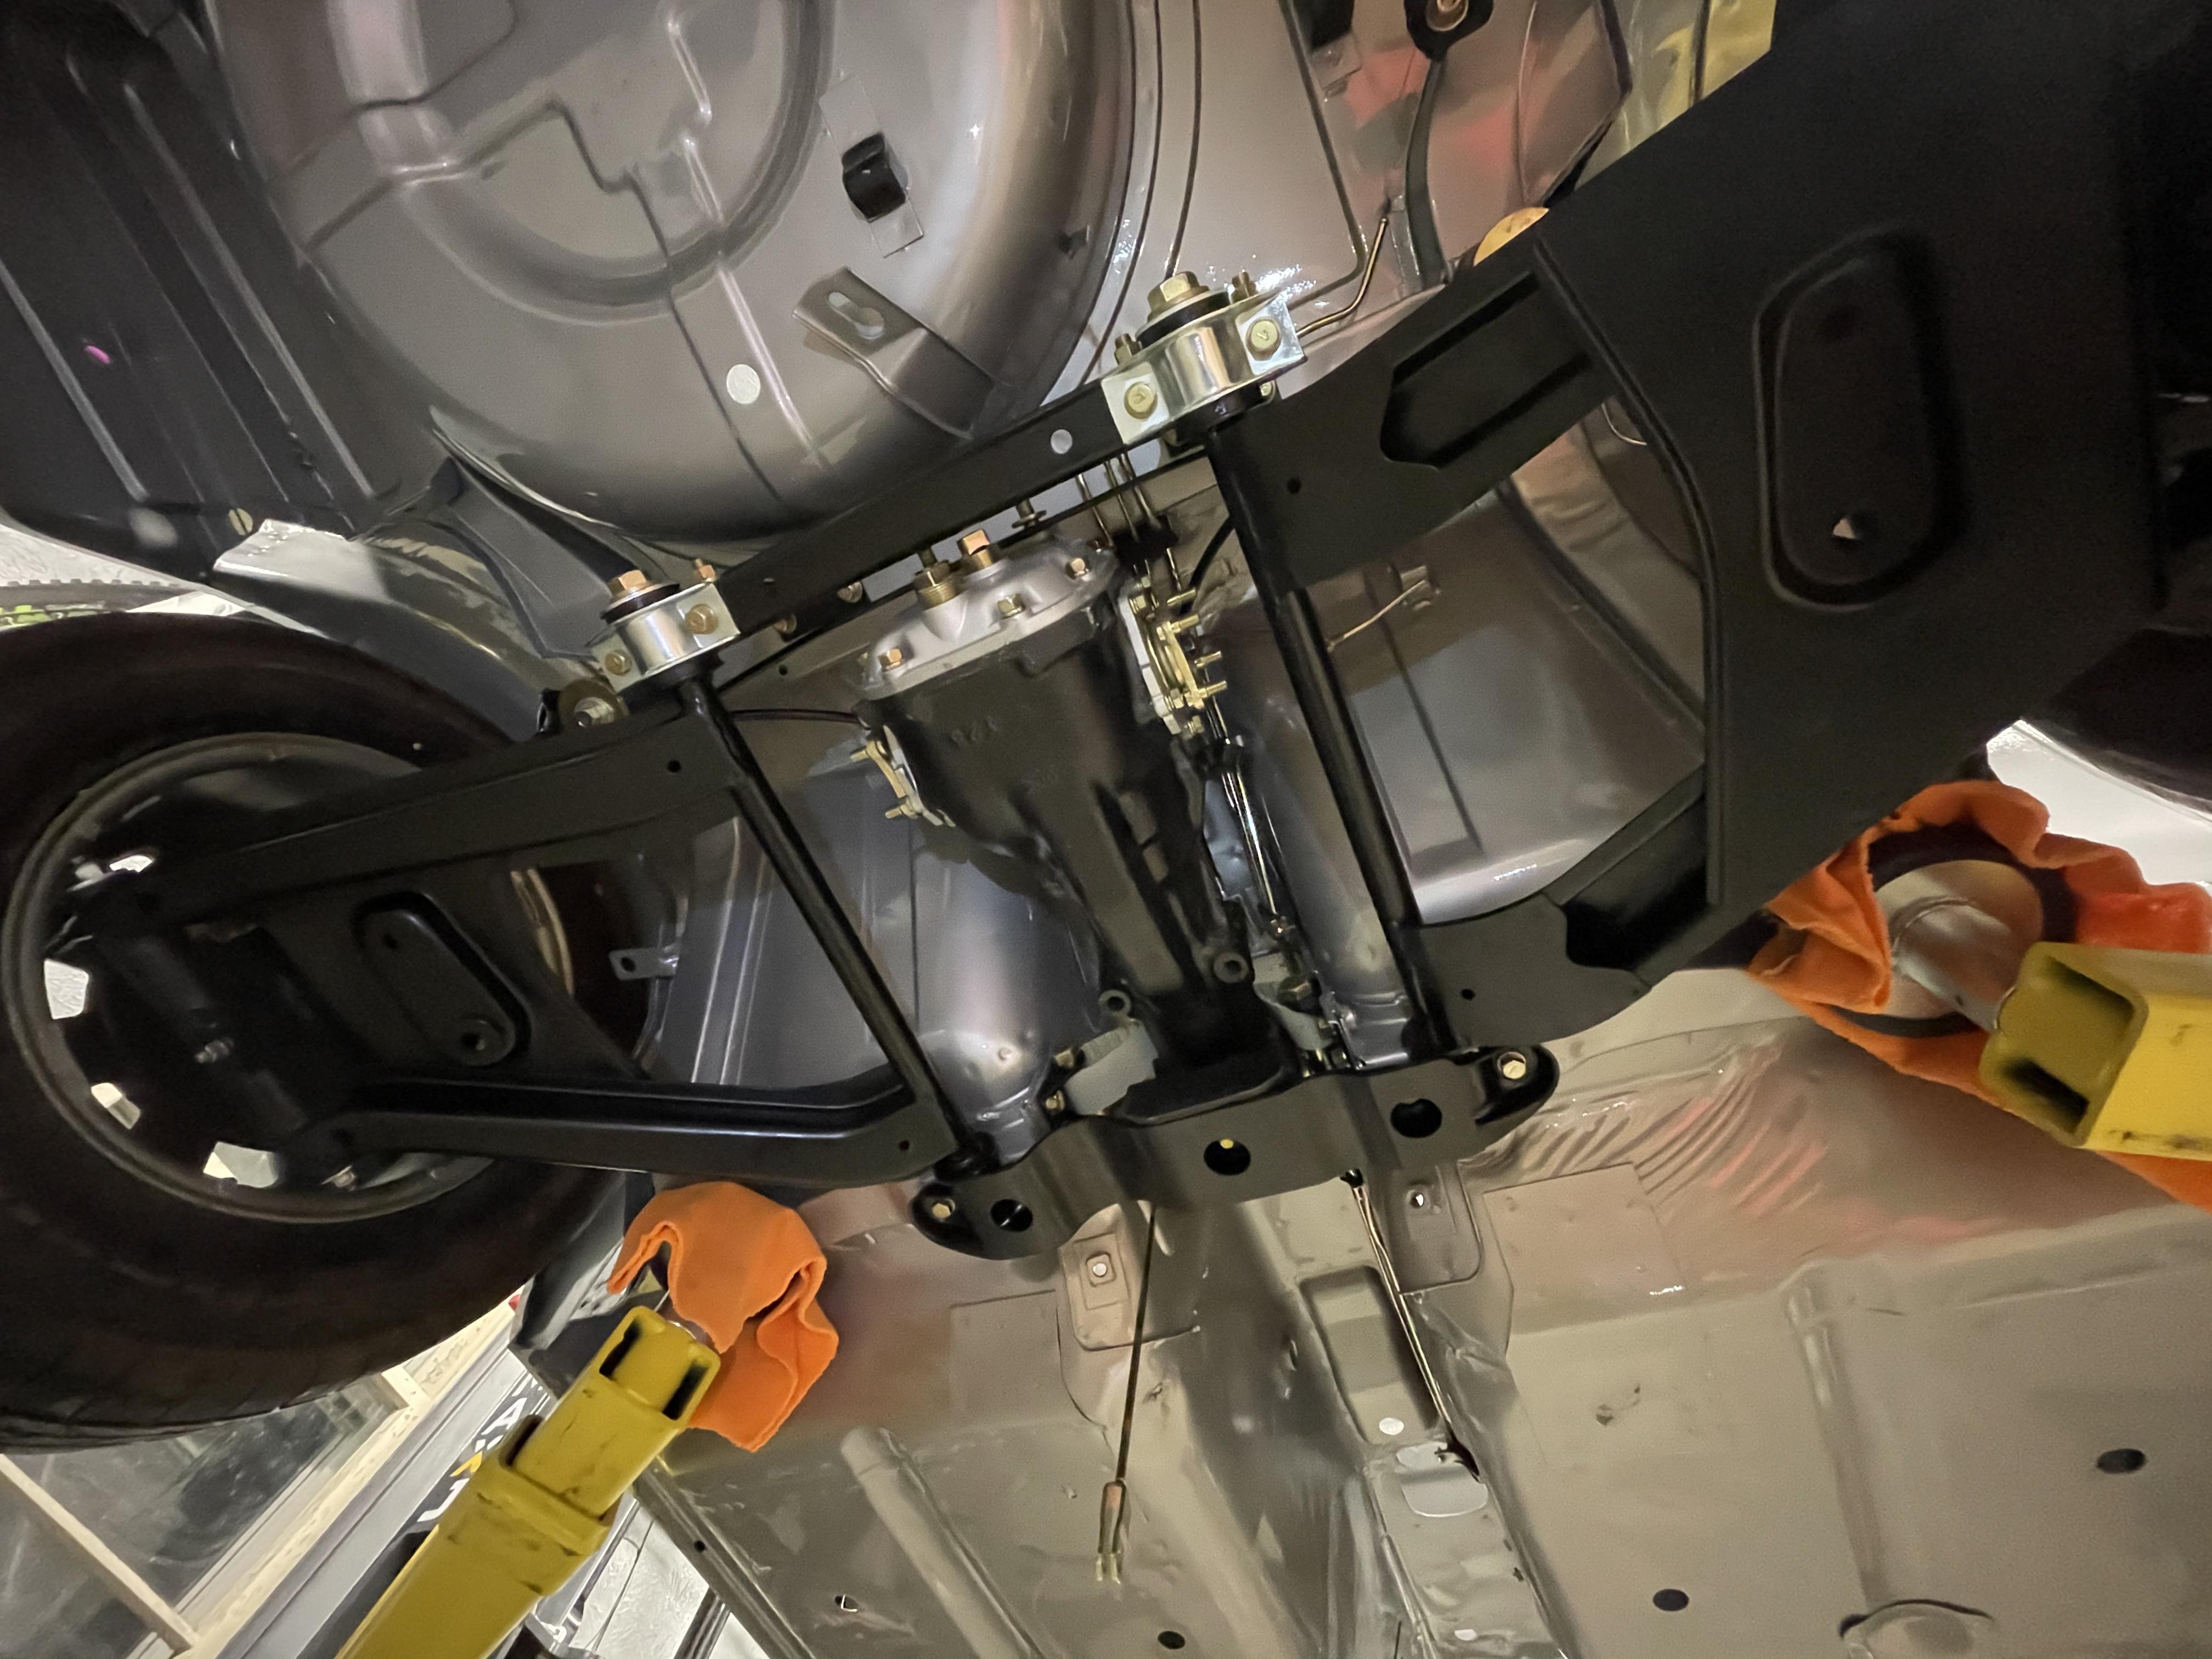
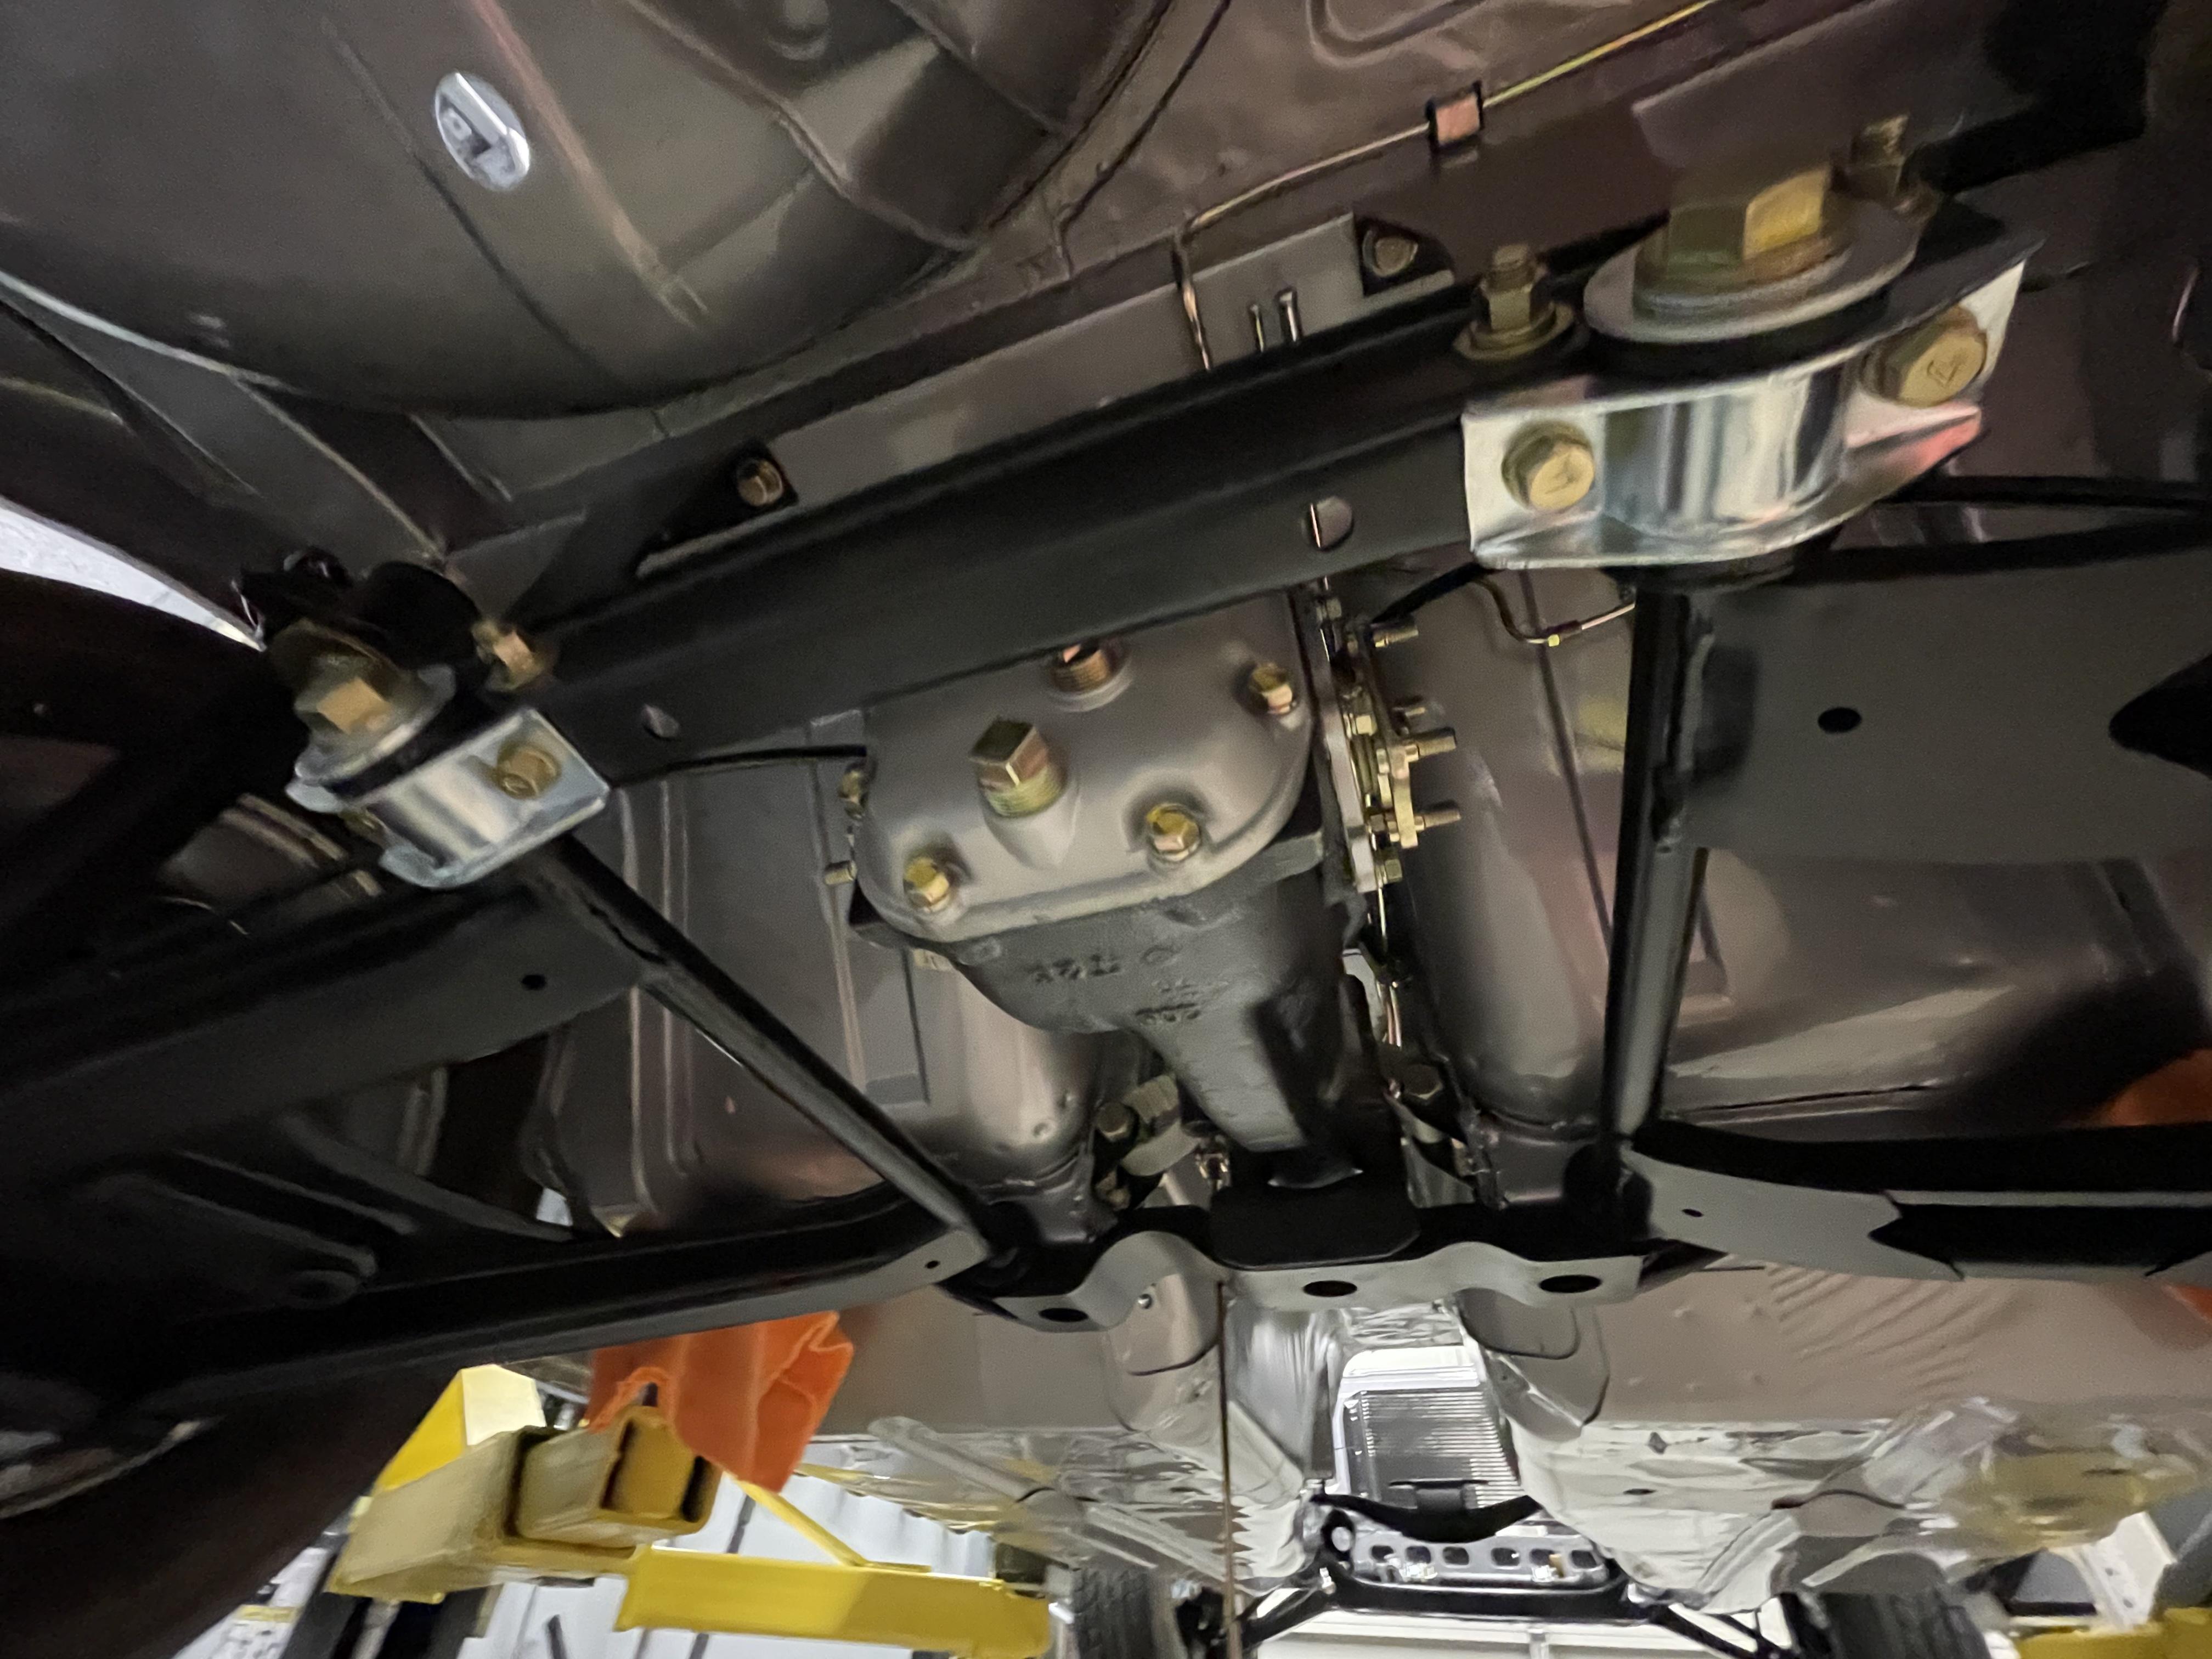
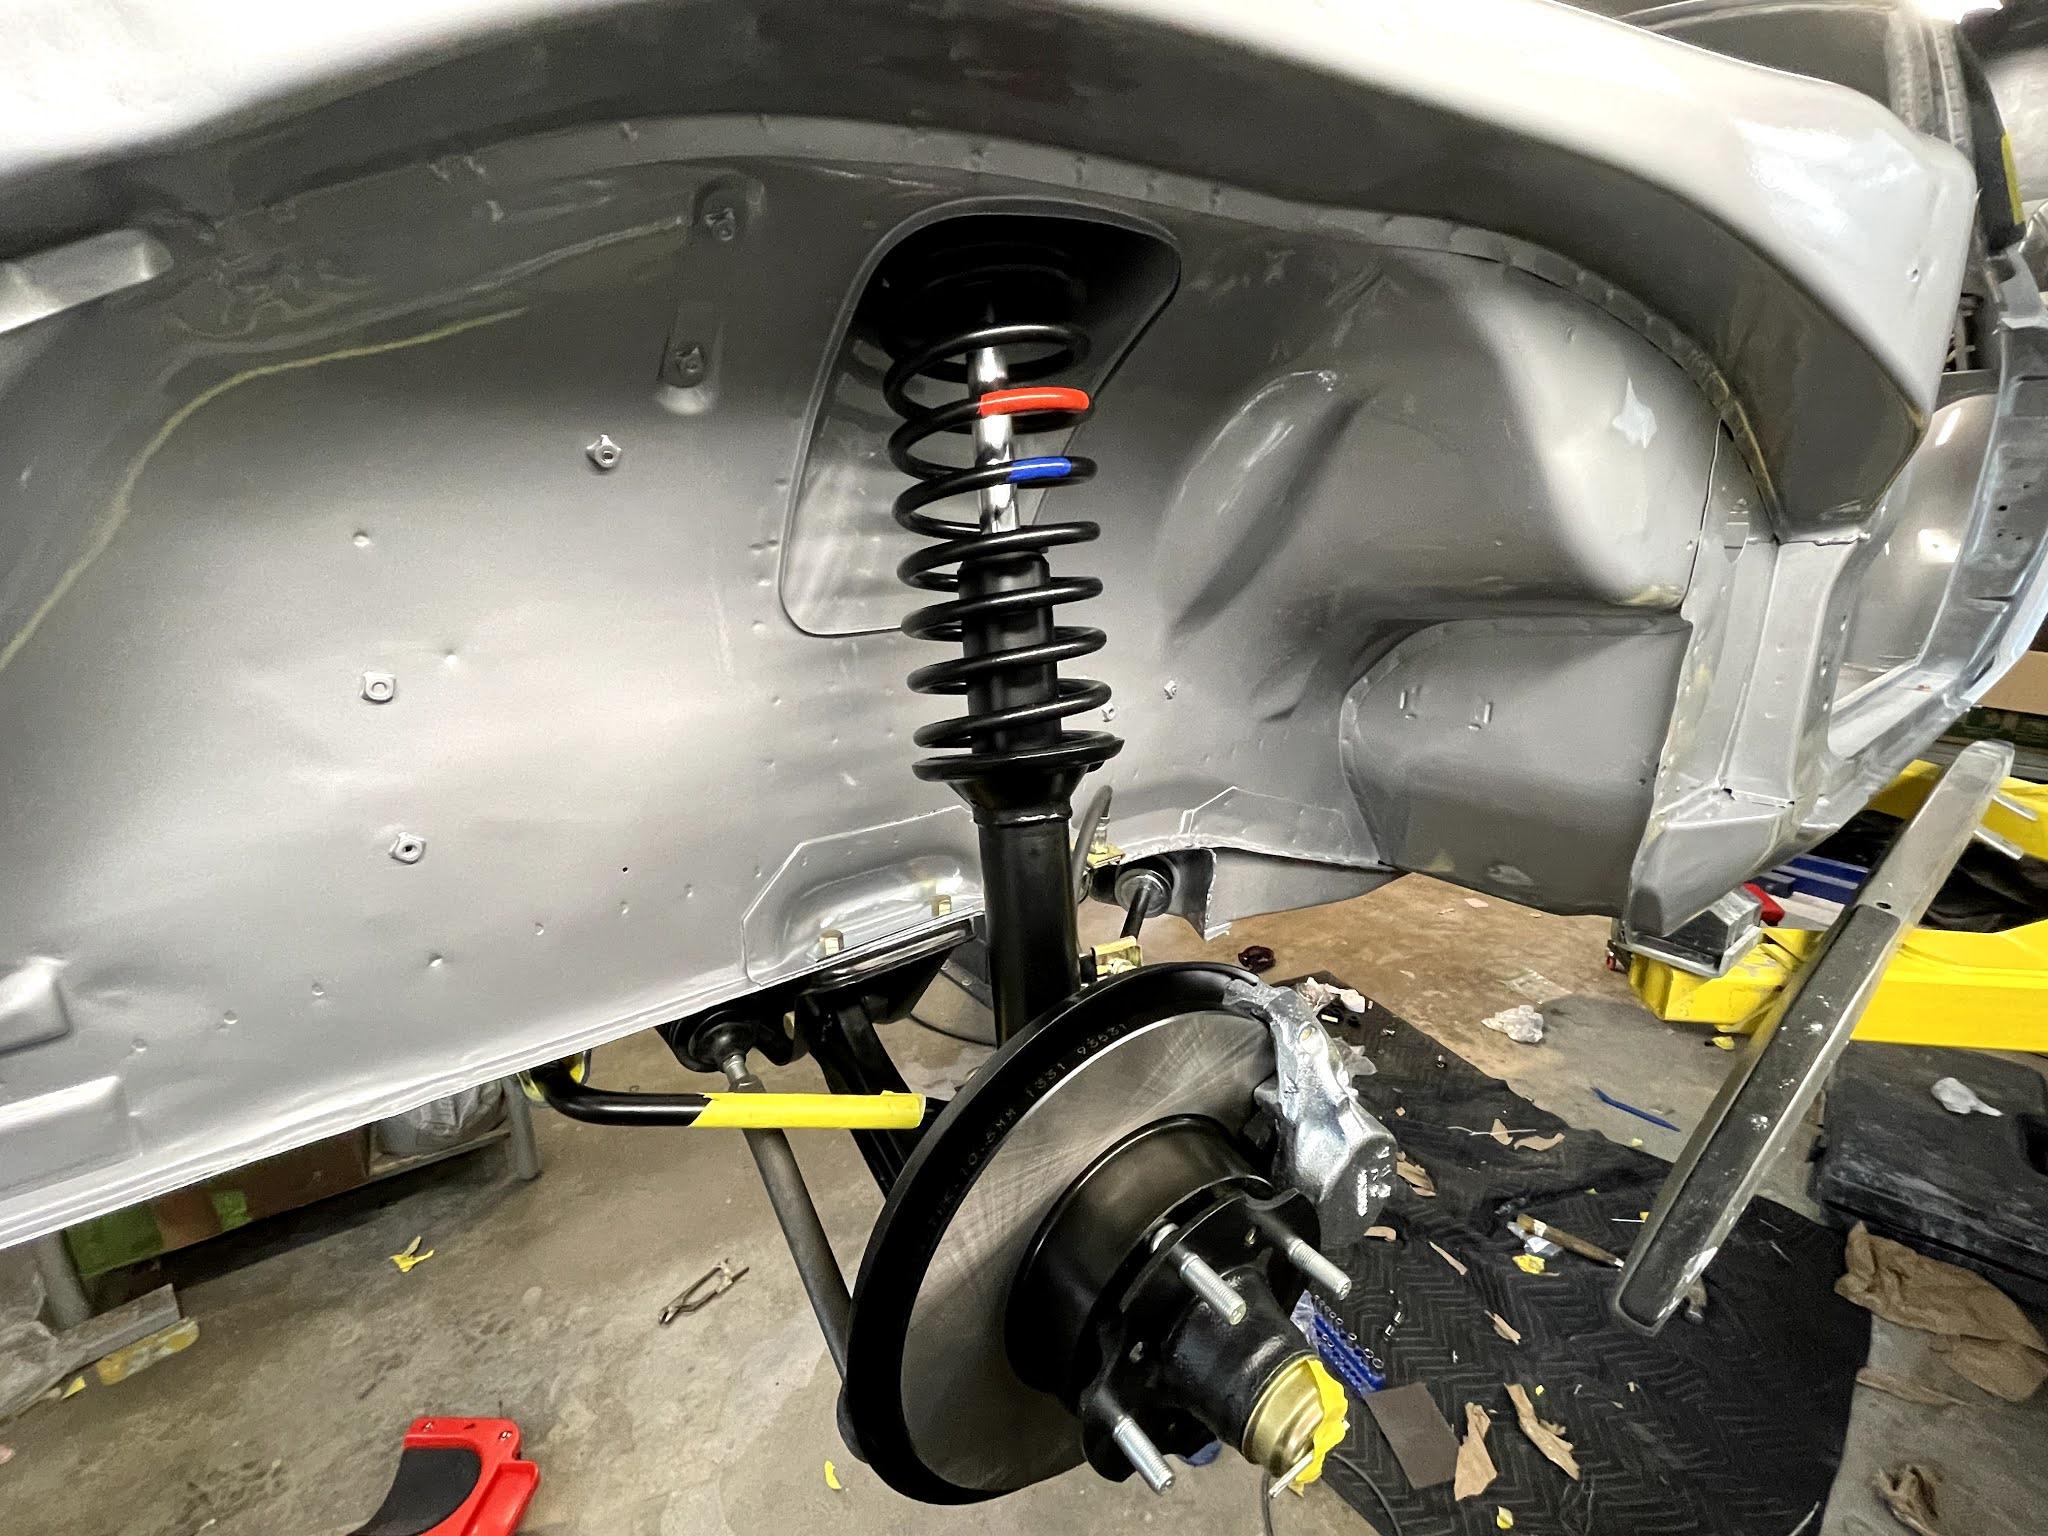
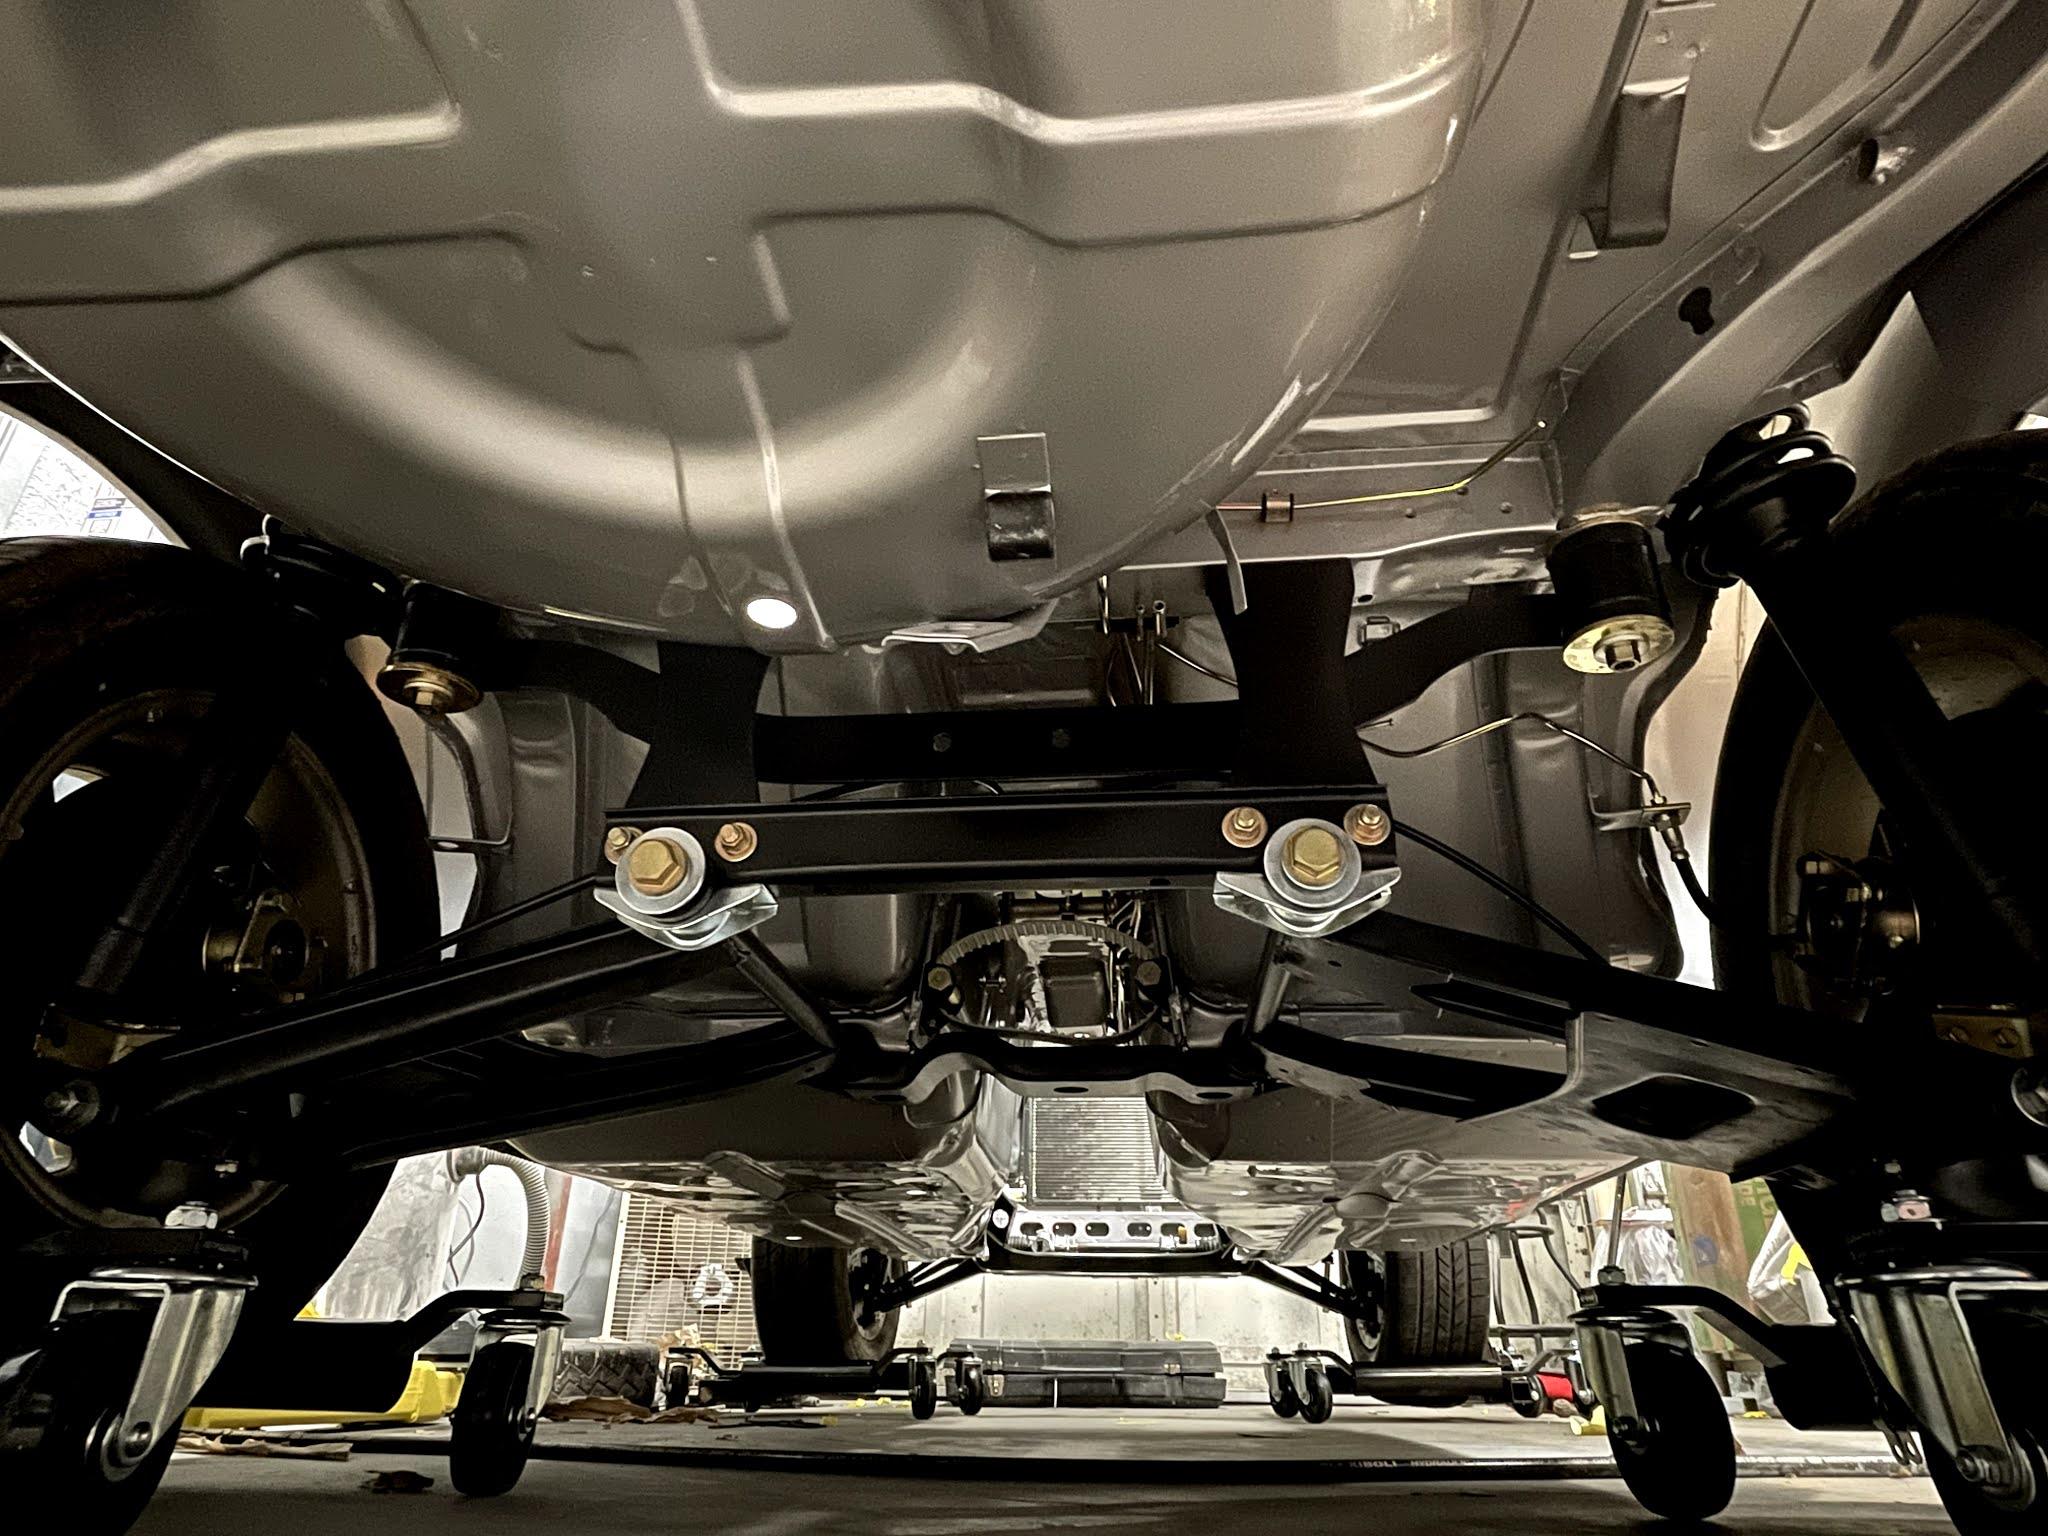
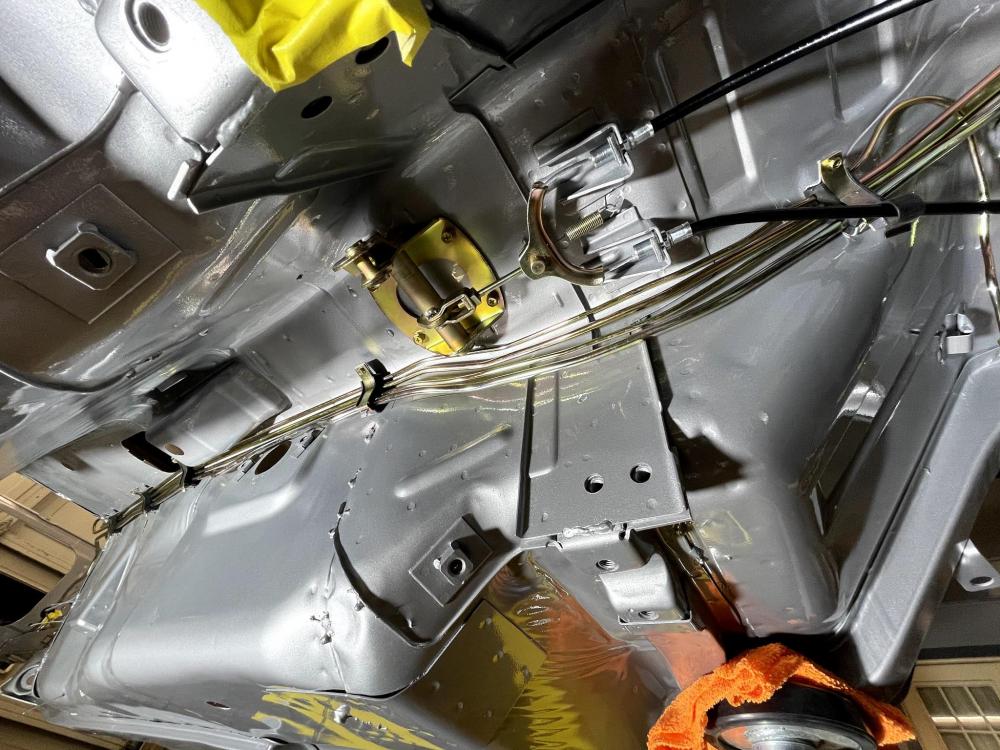
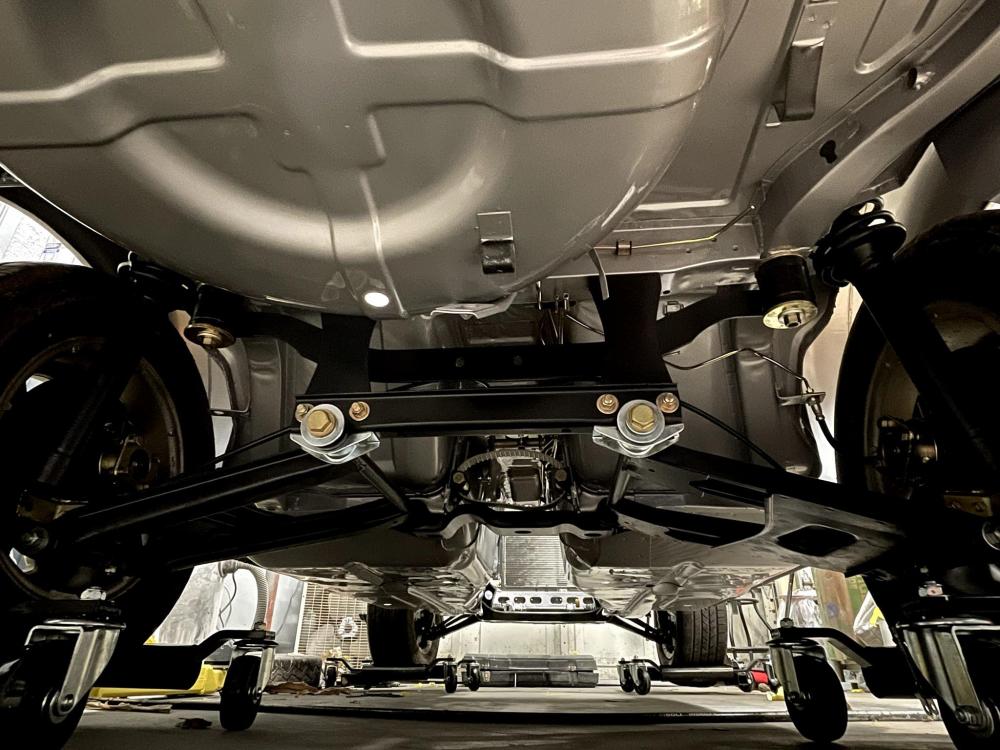
1 pointDifferential made it in tonight. Next we need to get the suspension loaded so we can torque everything down under load.

 1 point
 -
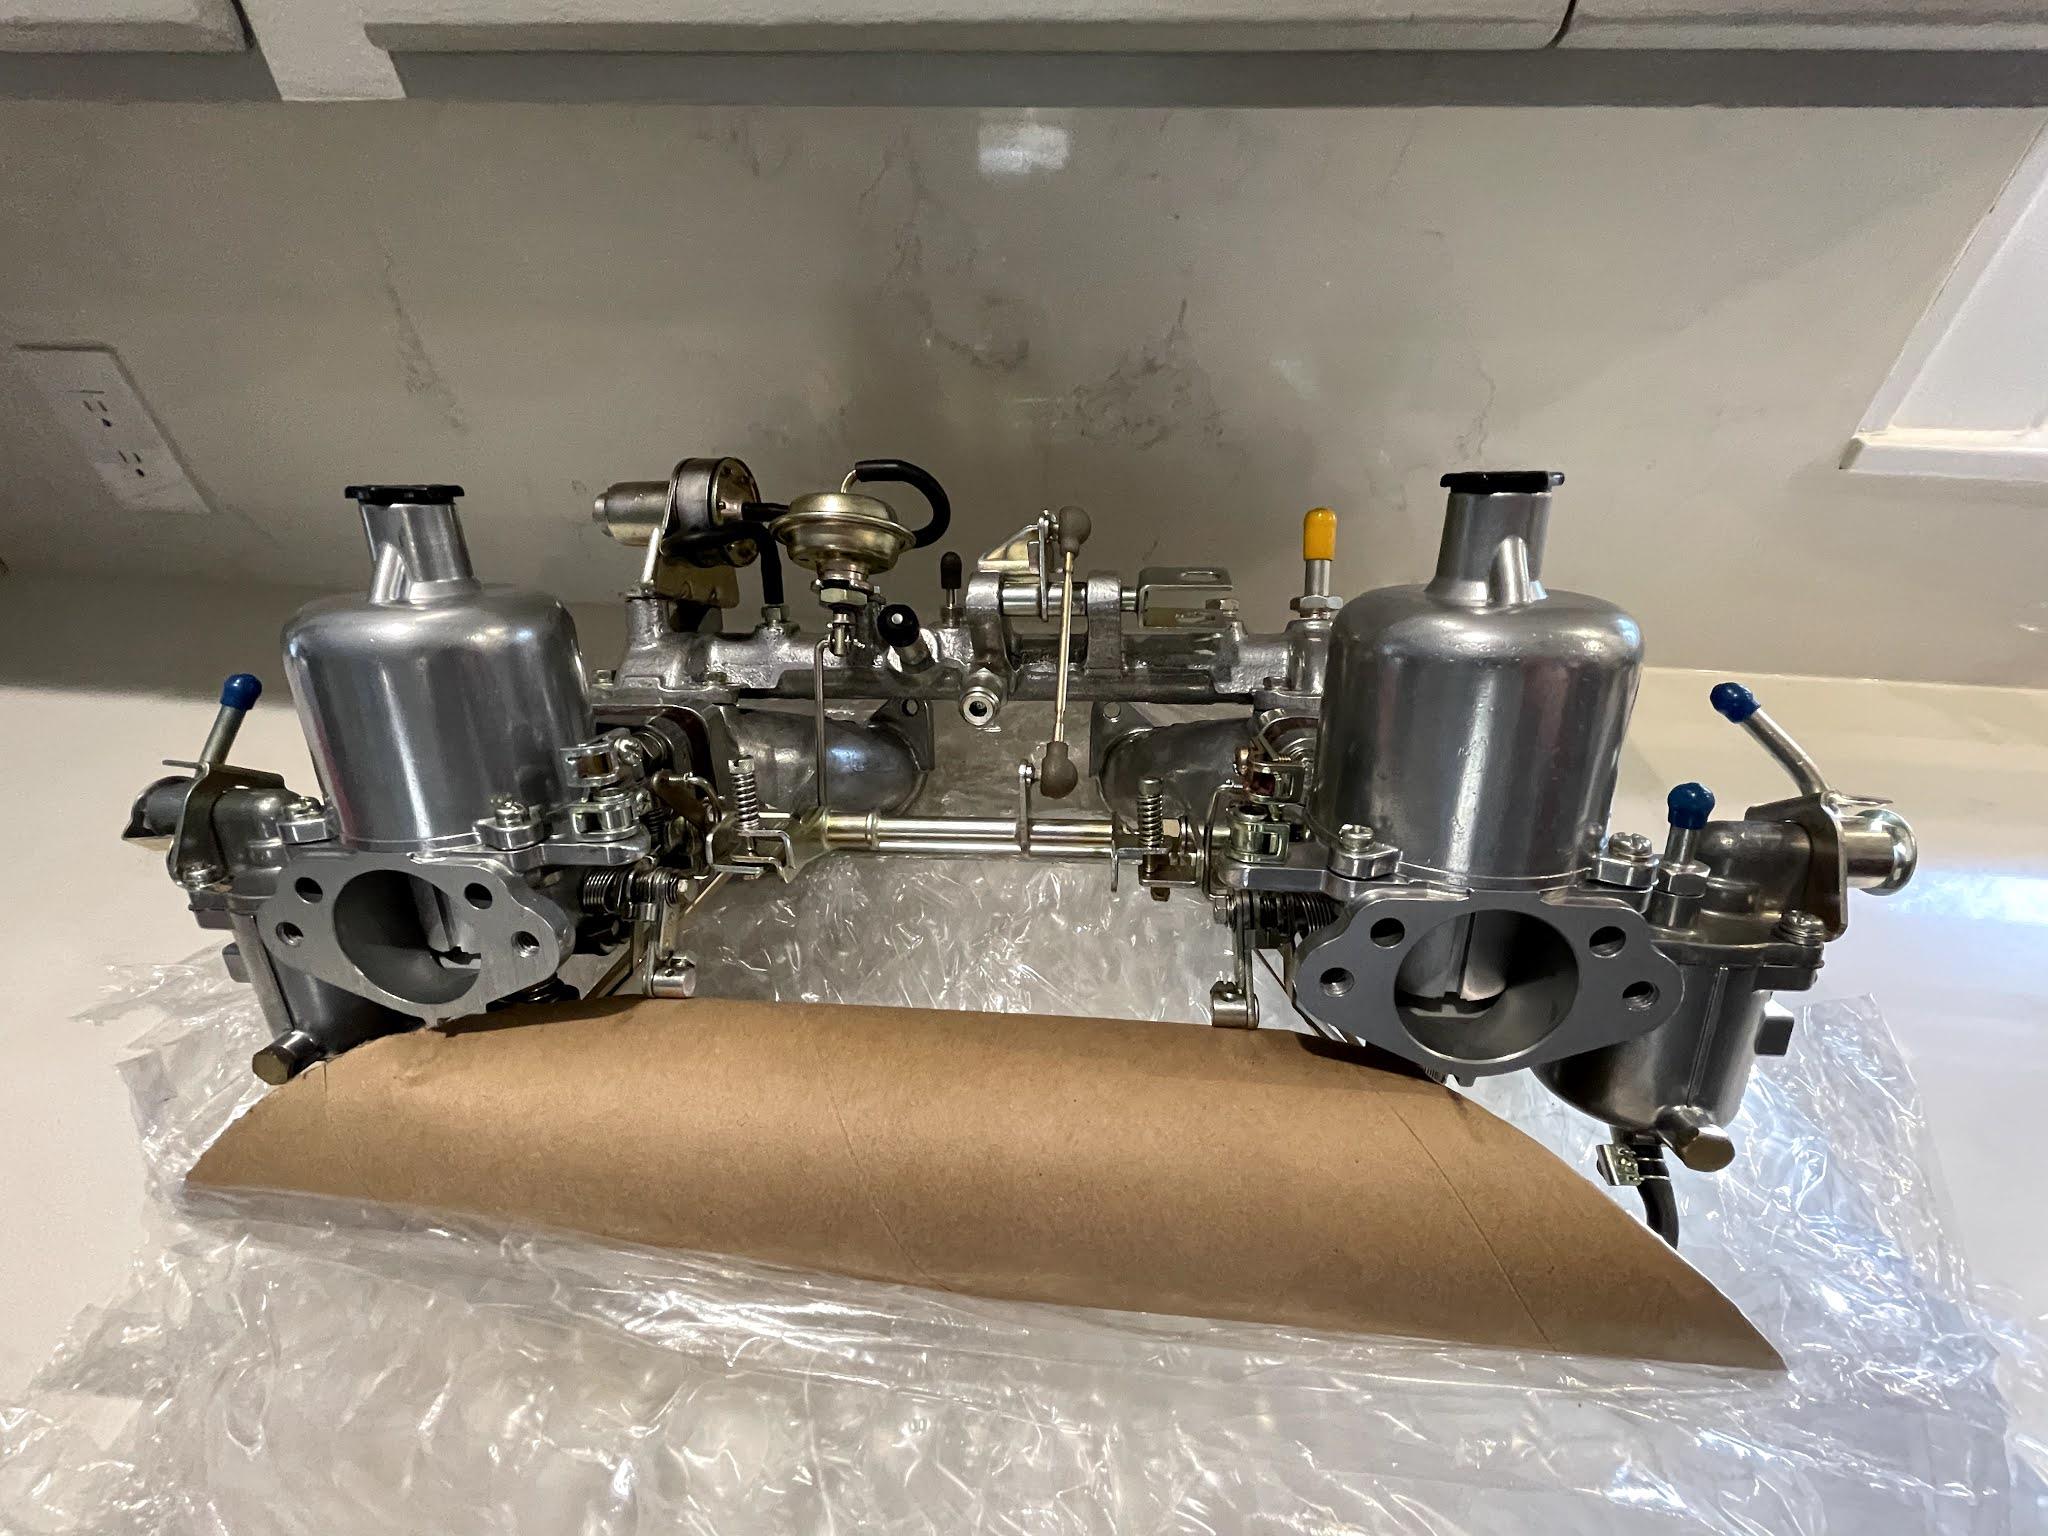
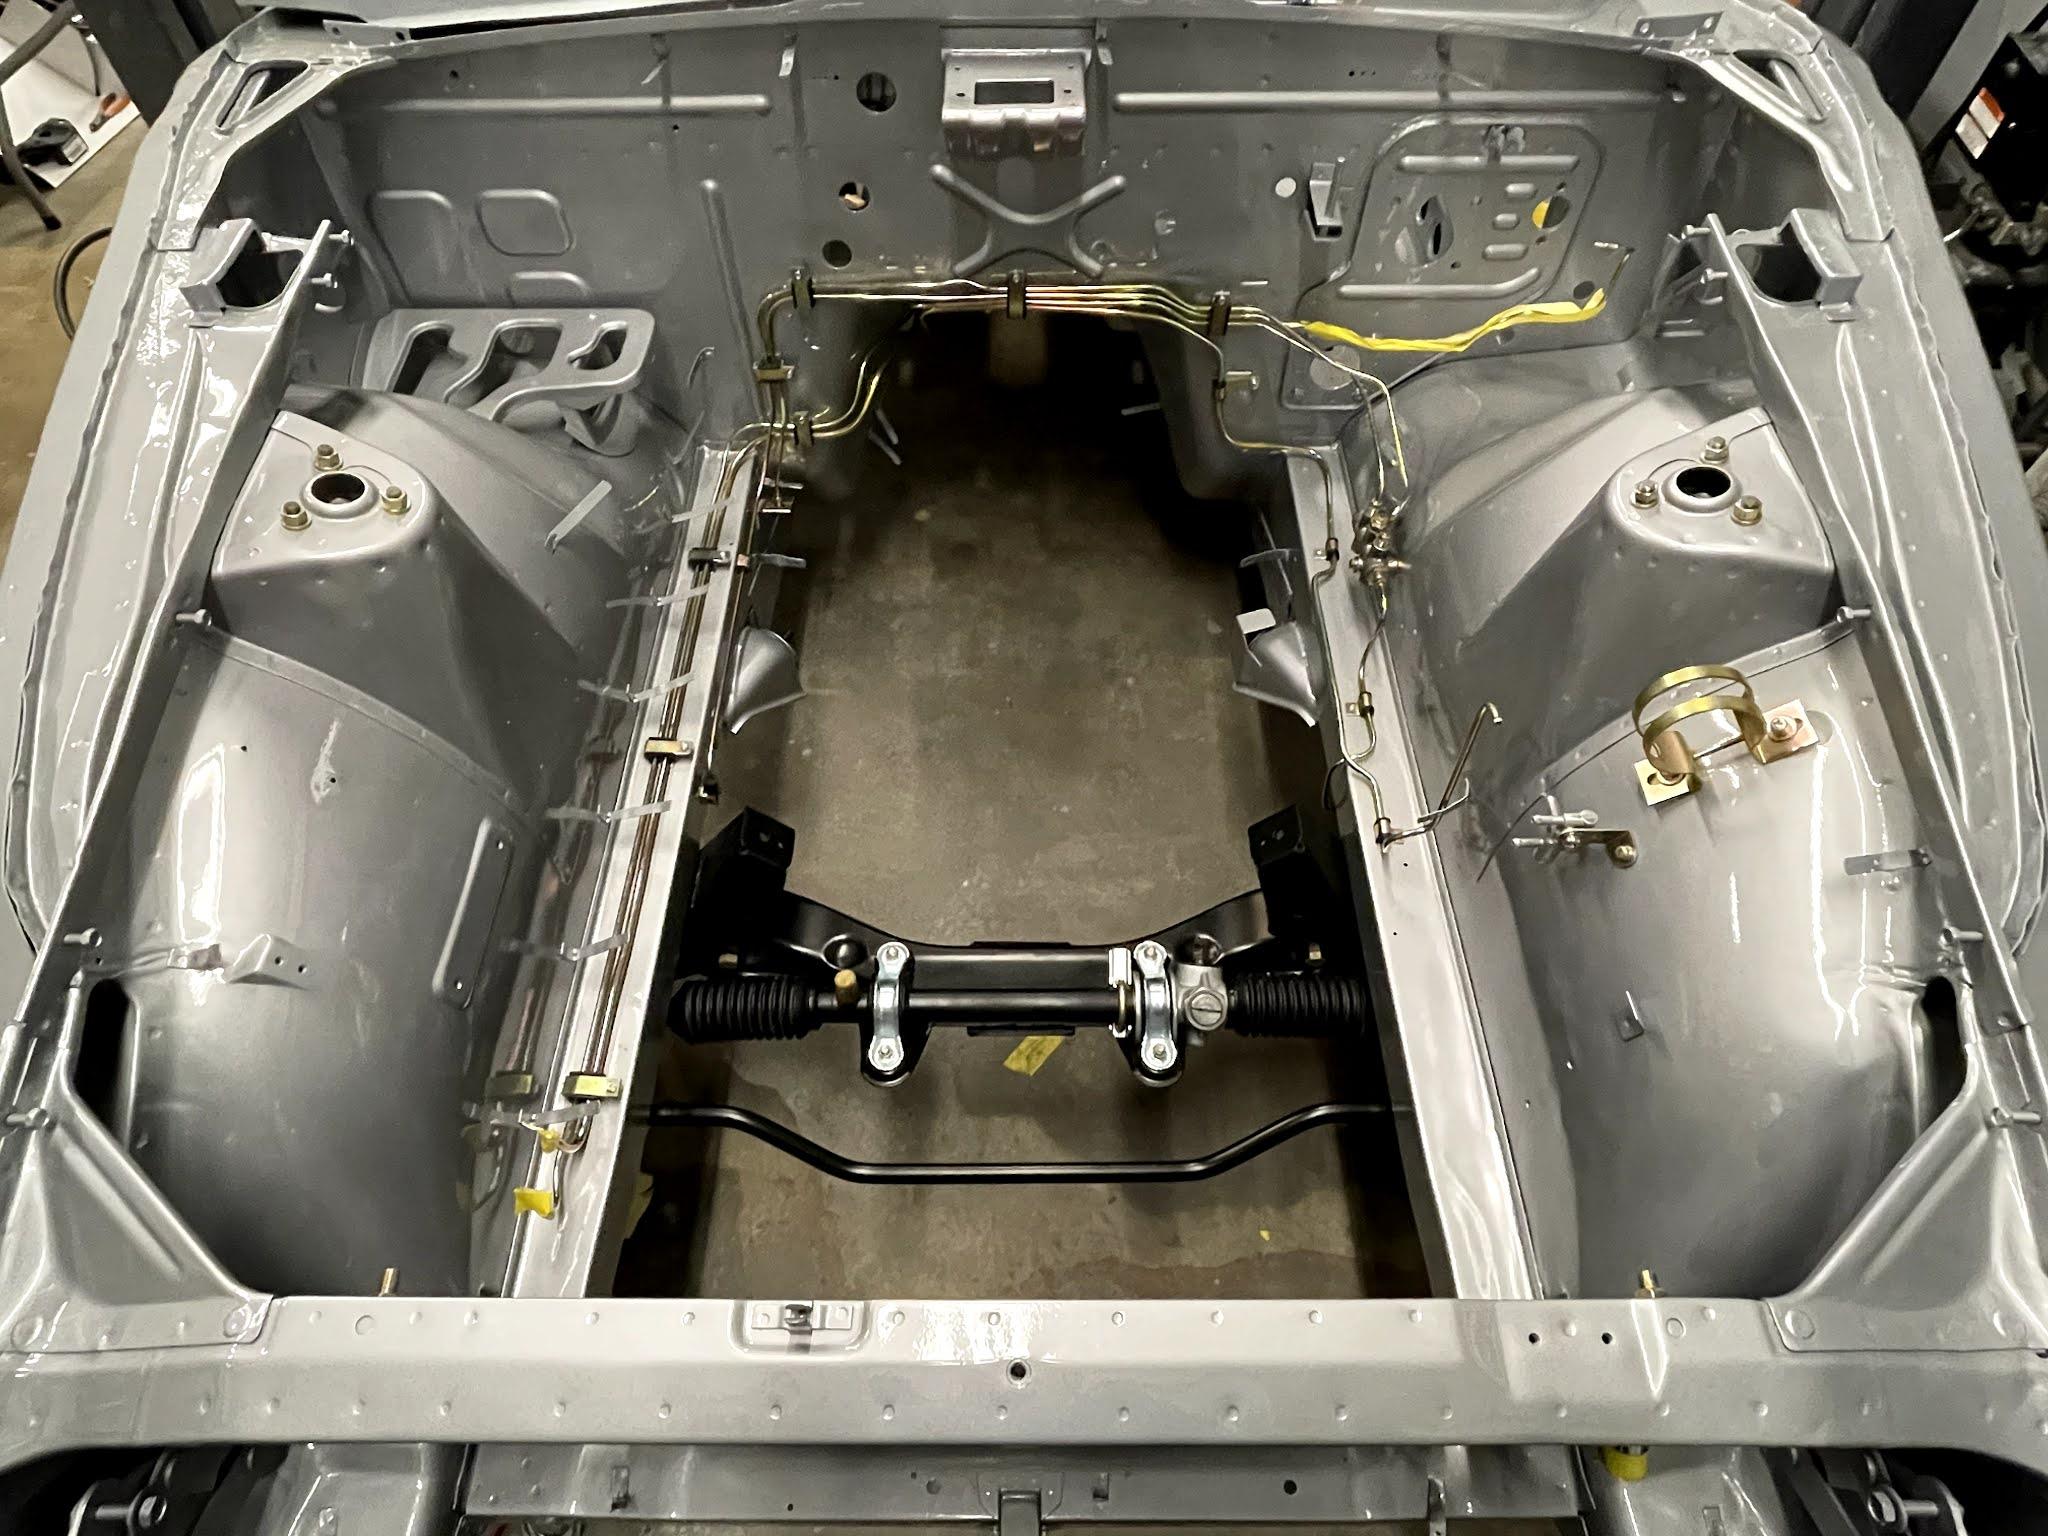
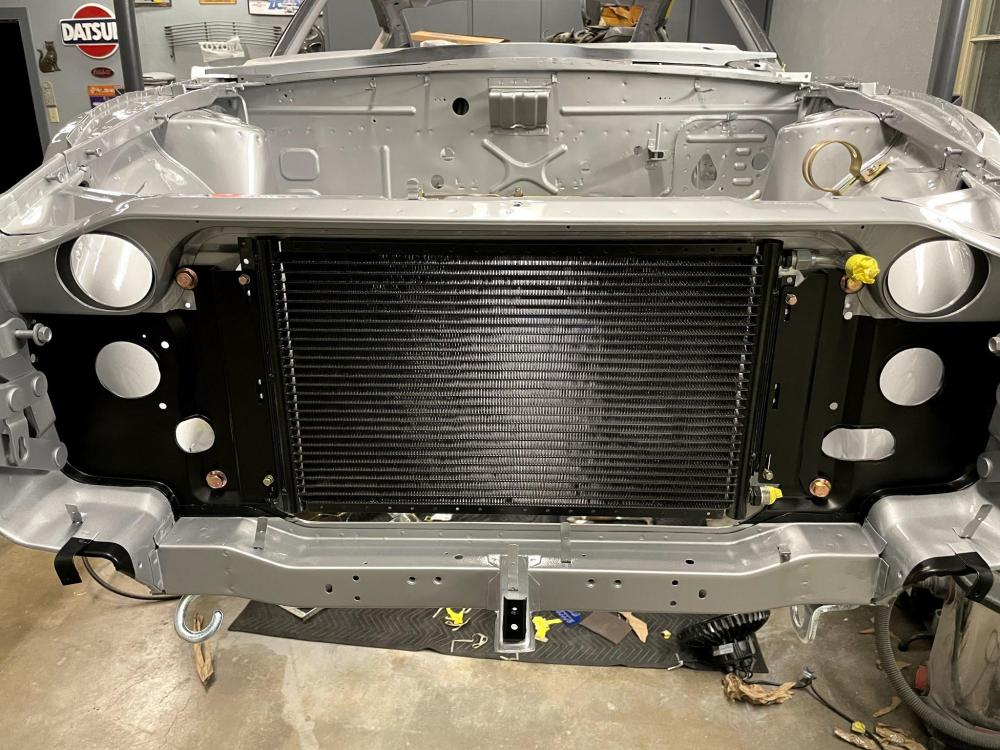
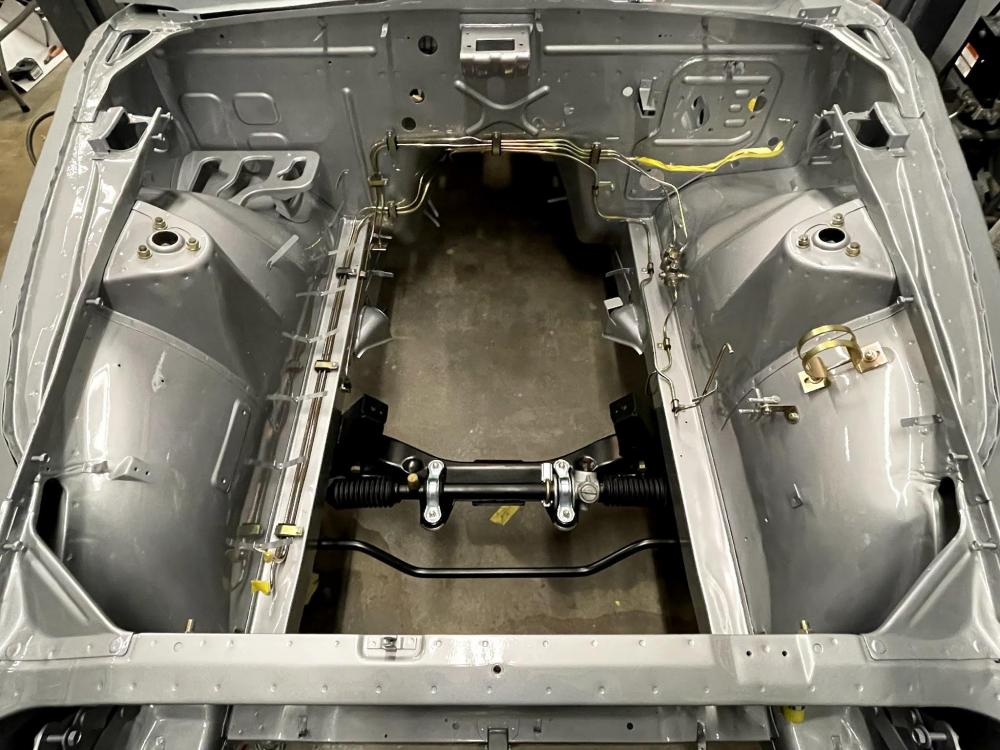
1 pointFew additional pictures of updates made on the Z. We blacked out the core support and grill mounting tabs (thanks to @jfa.series1 for his excellent build for references) and installed the condenser mounting brackets built just for this car. Really like how that turned out. Should all disappear behind the grill and keep the AC system eye sore down to a minimum. The Z Therapy carbs also showed up this week. Another excellent job by Bruce on these. And finally the hand brake and differential strap were installed. Thanks to @grannyknot I can straighten them out even more.

 1 point
 -
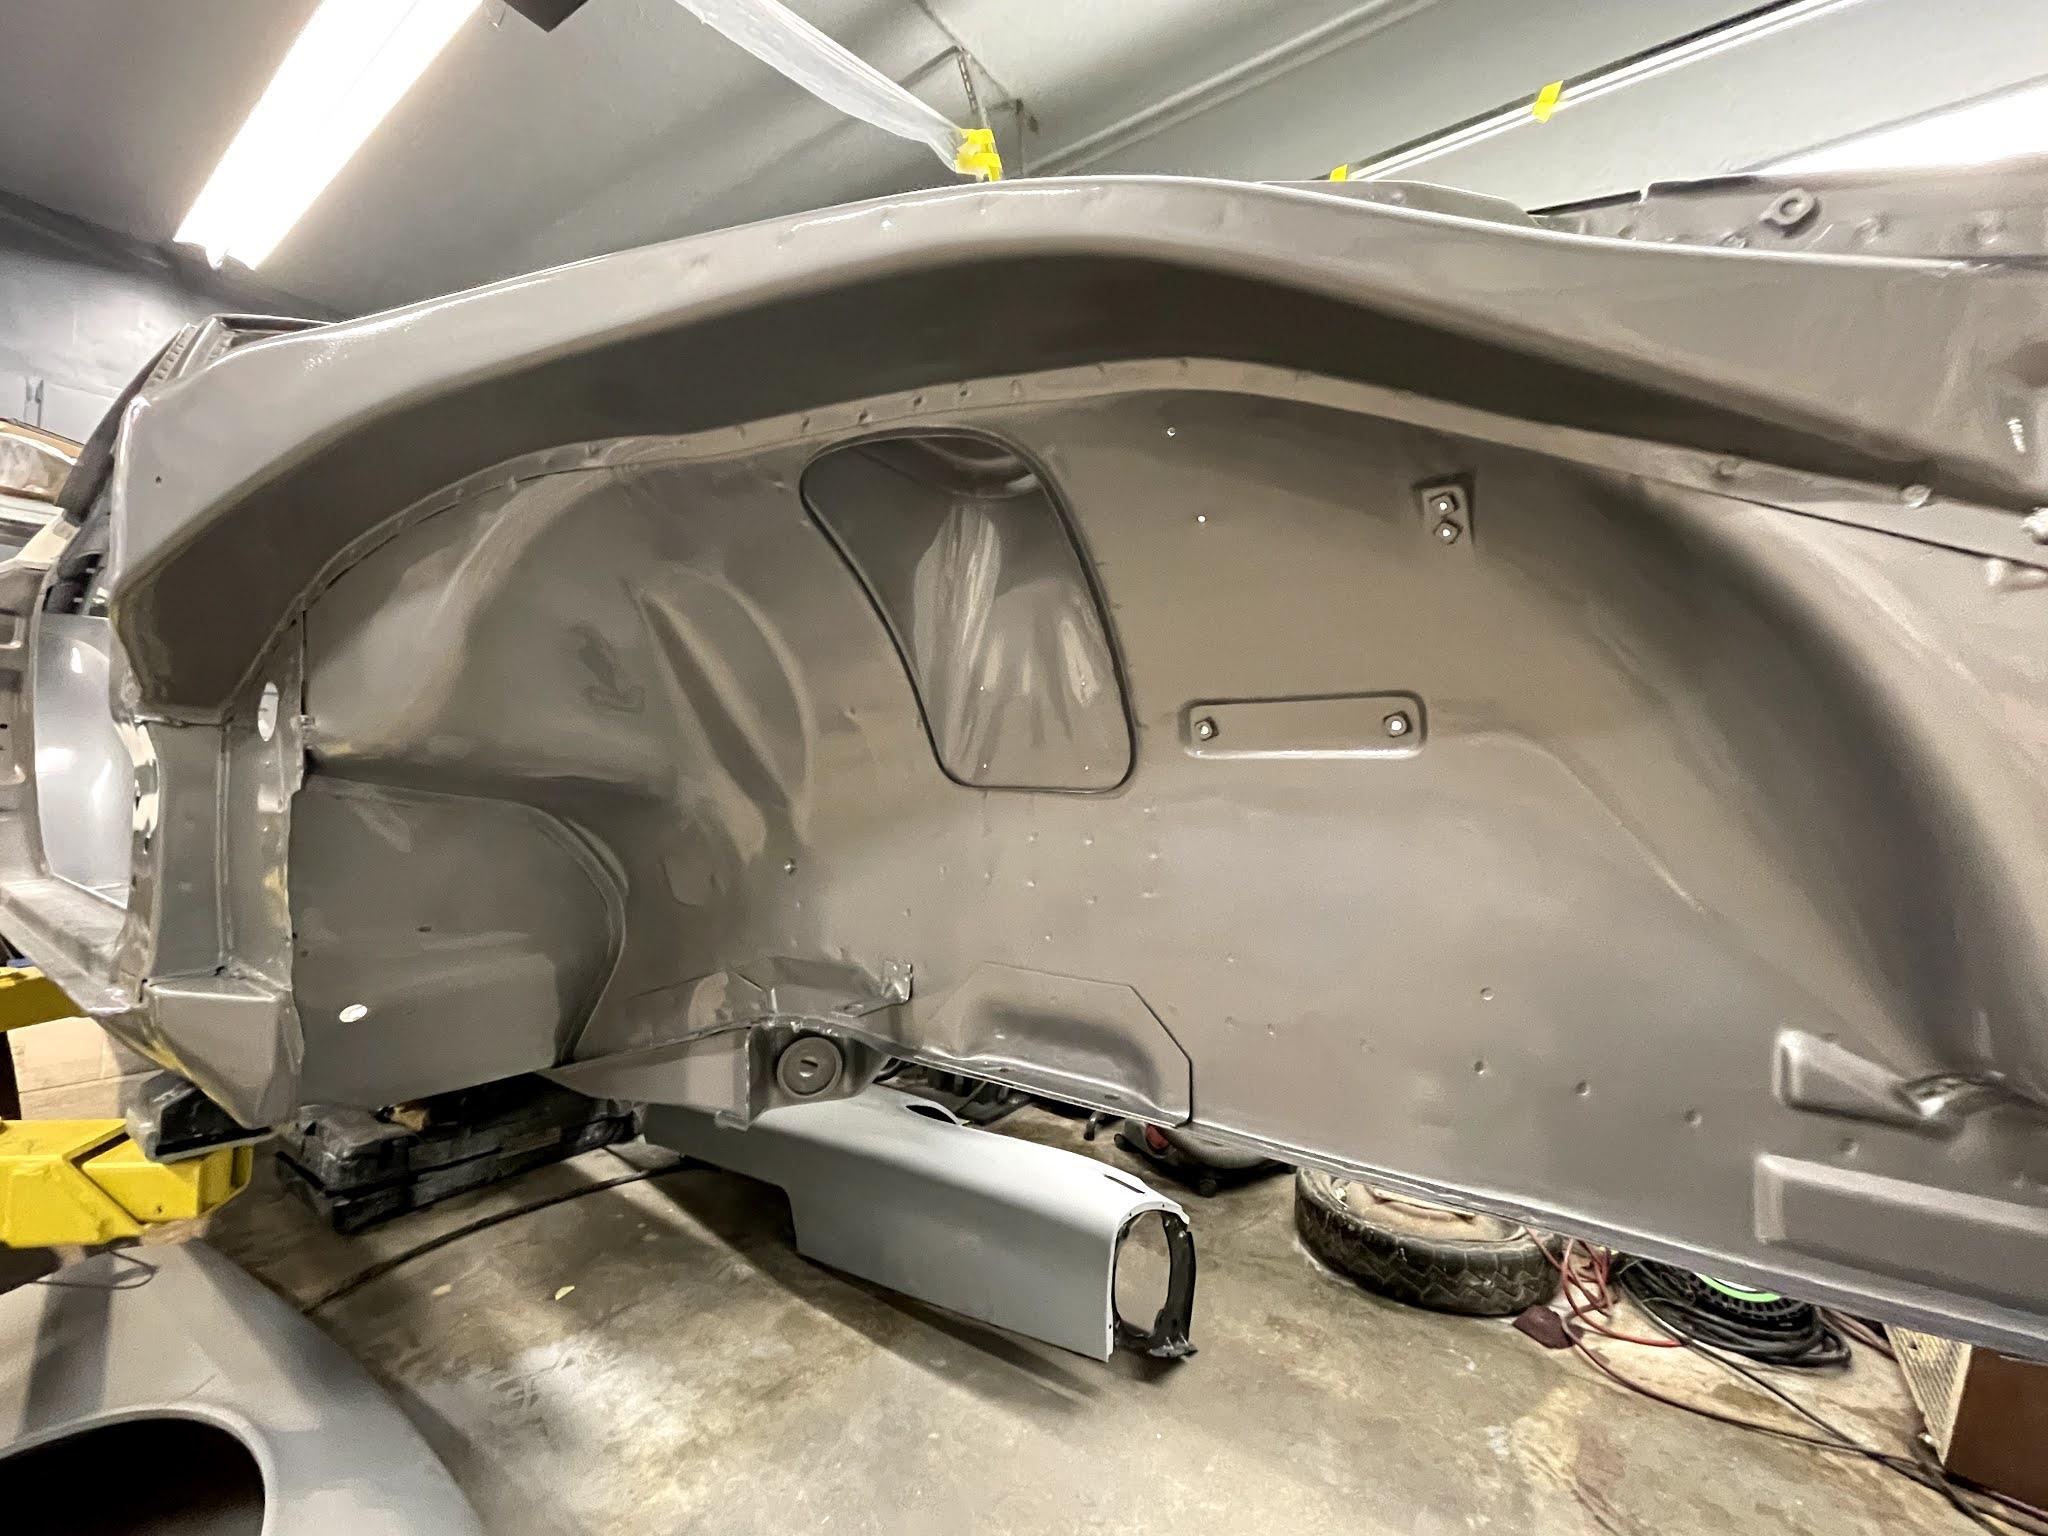
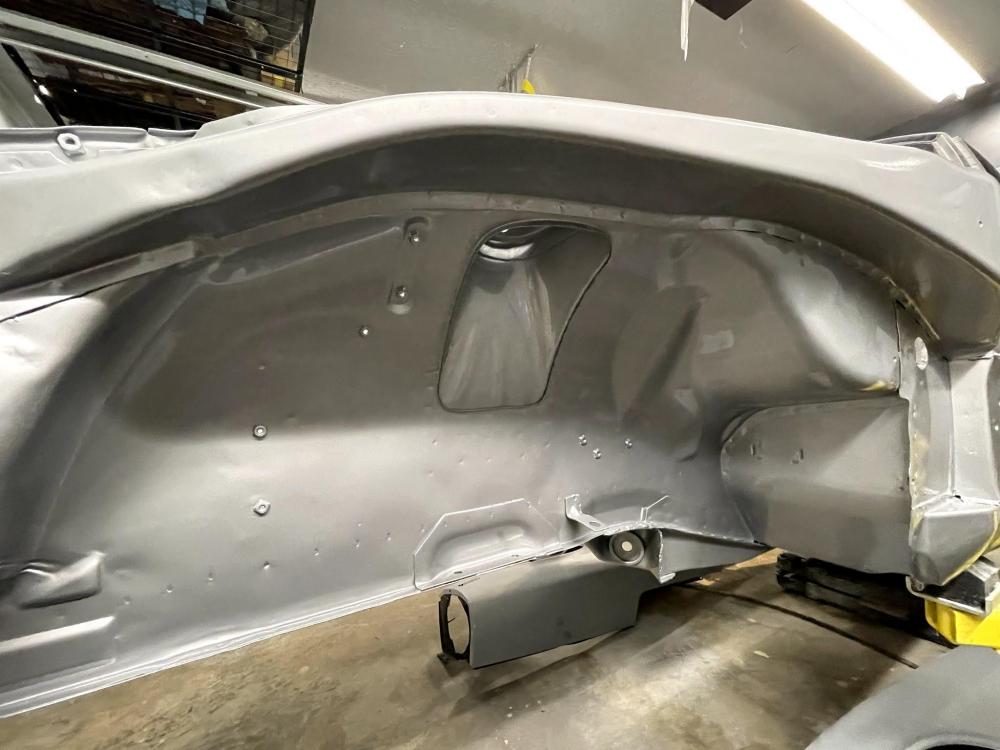
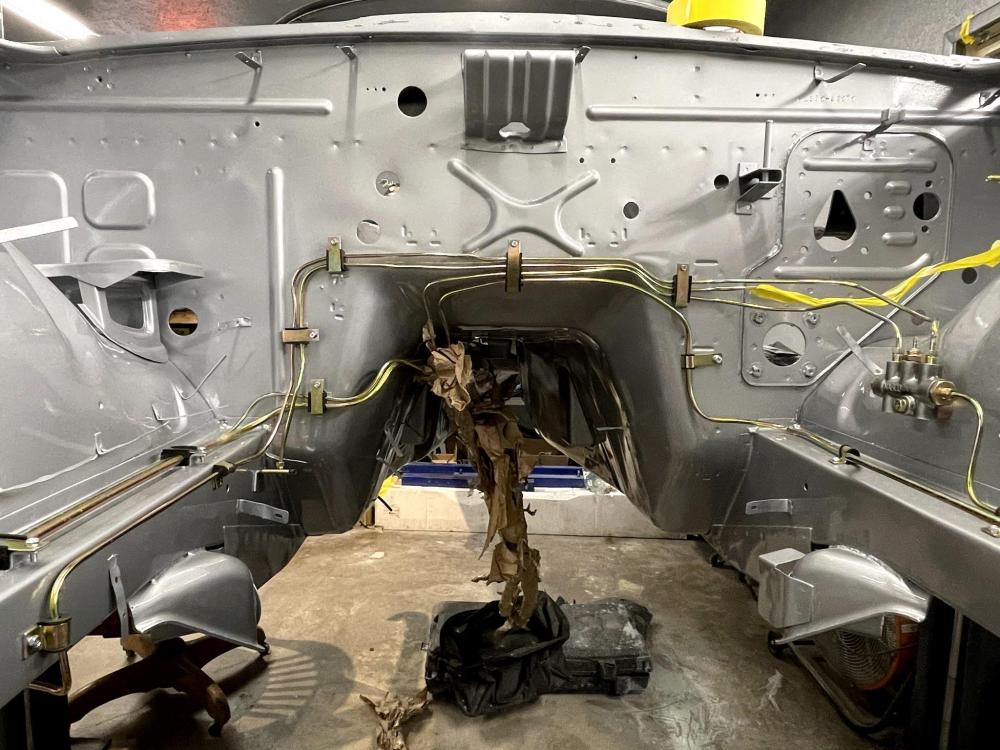
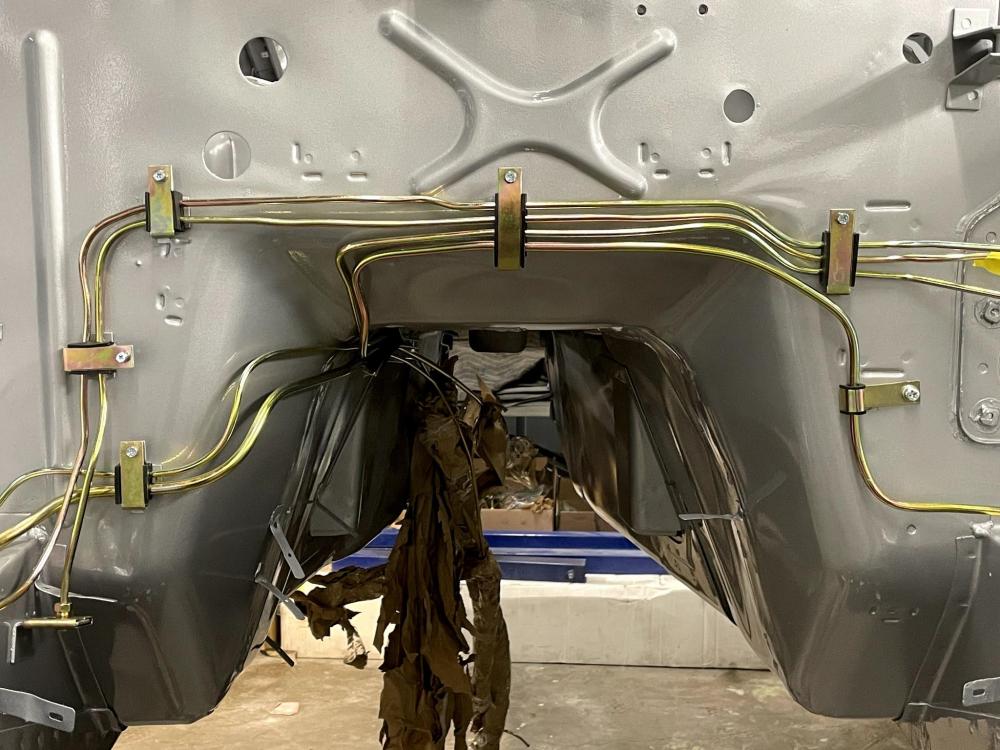
1 pointAnother round of updates for the Z. This time the engine bay was painted, hard lines routed, and suspension being installed.


 1 point
 -
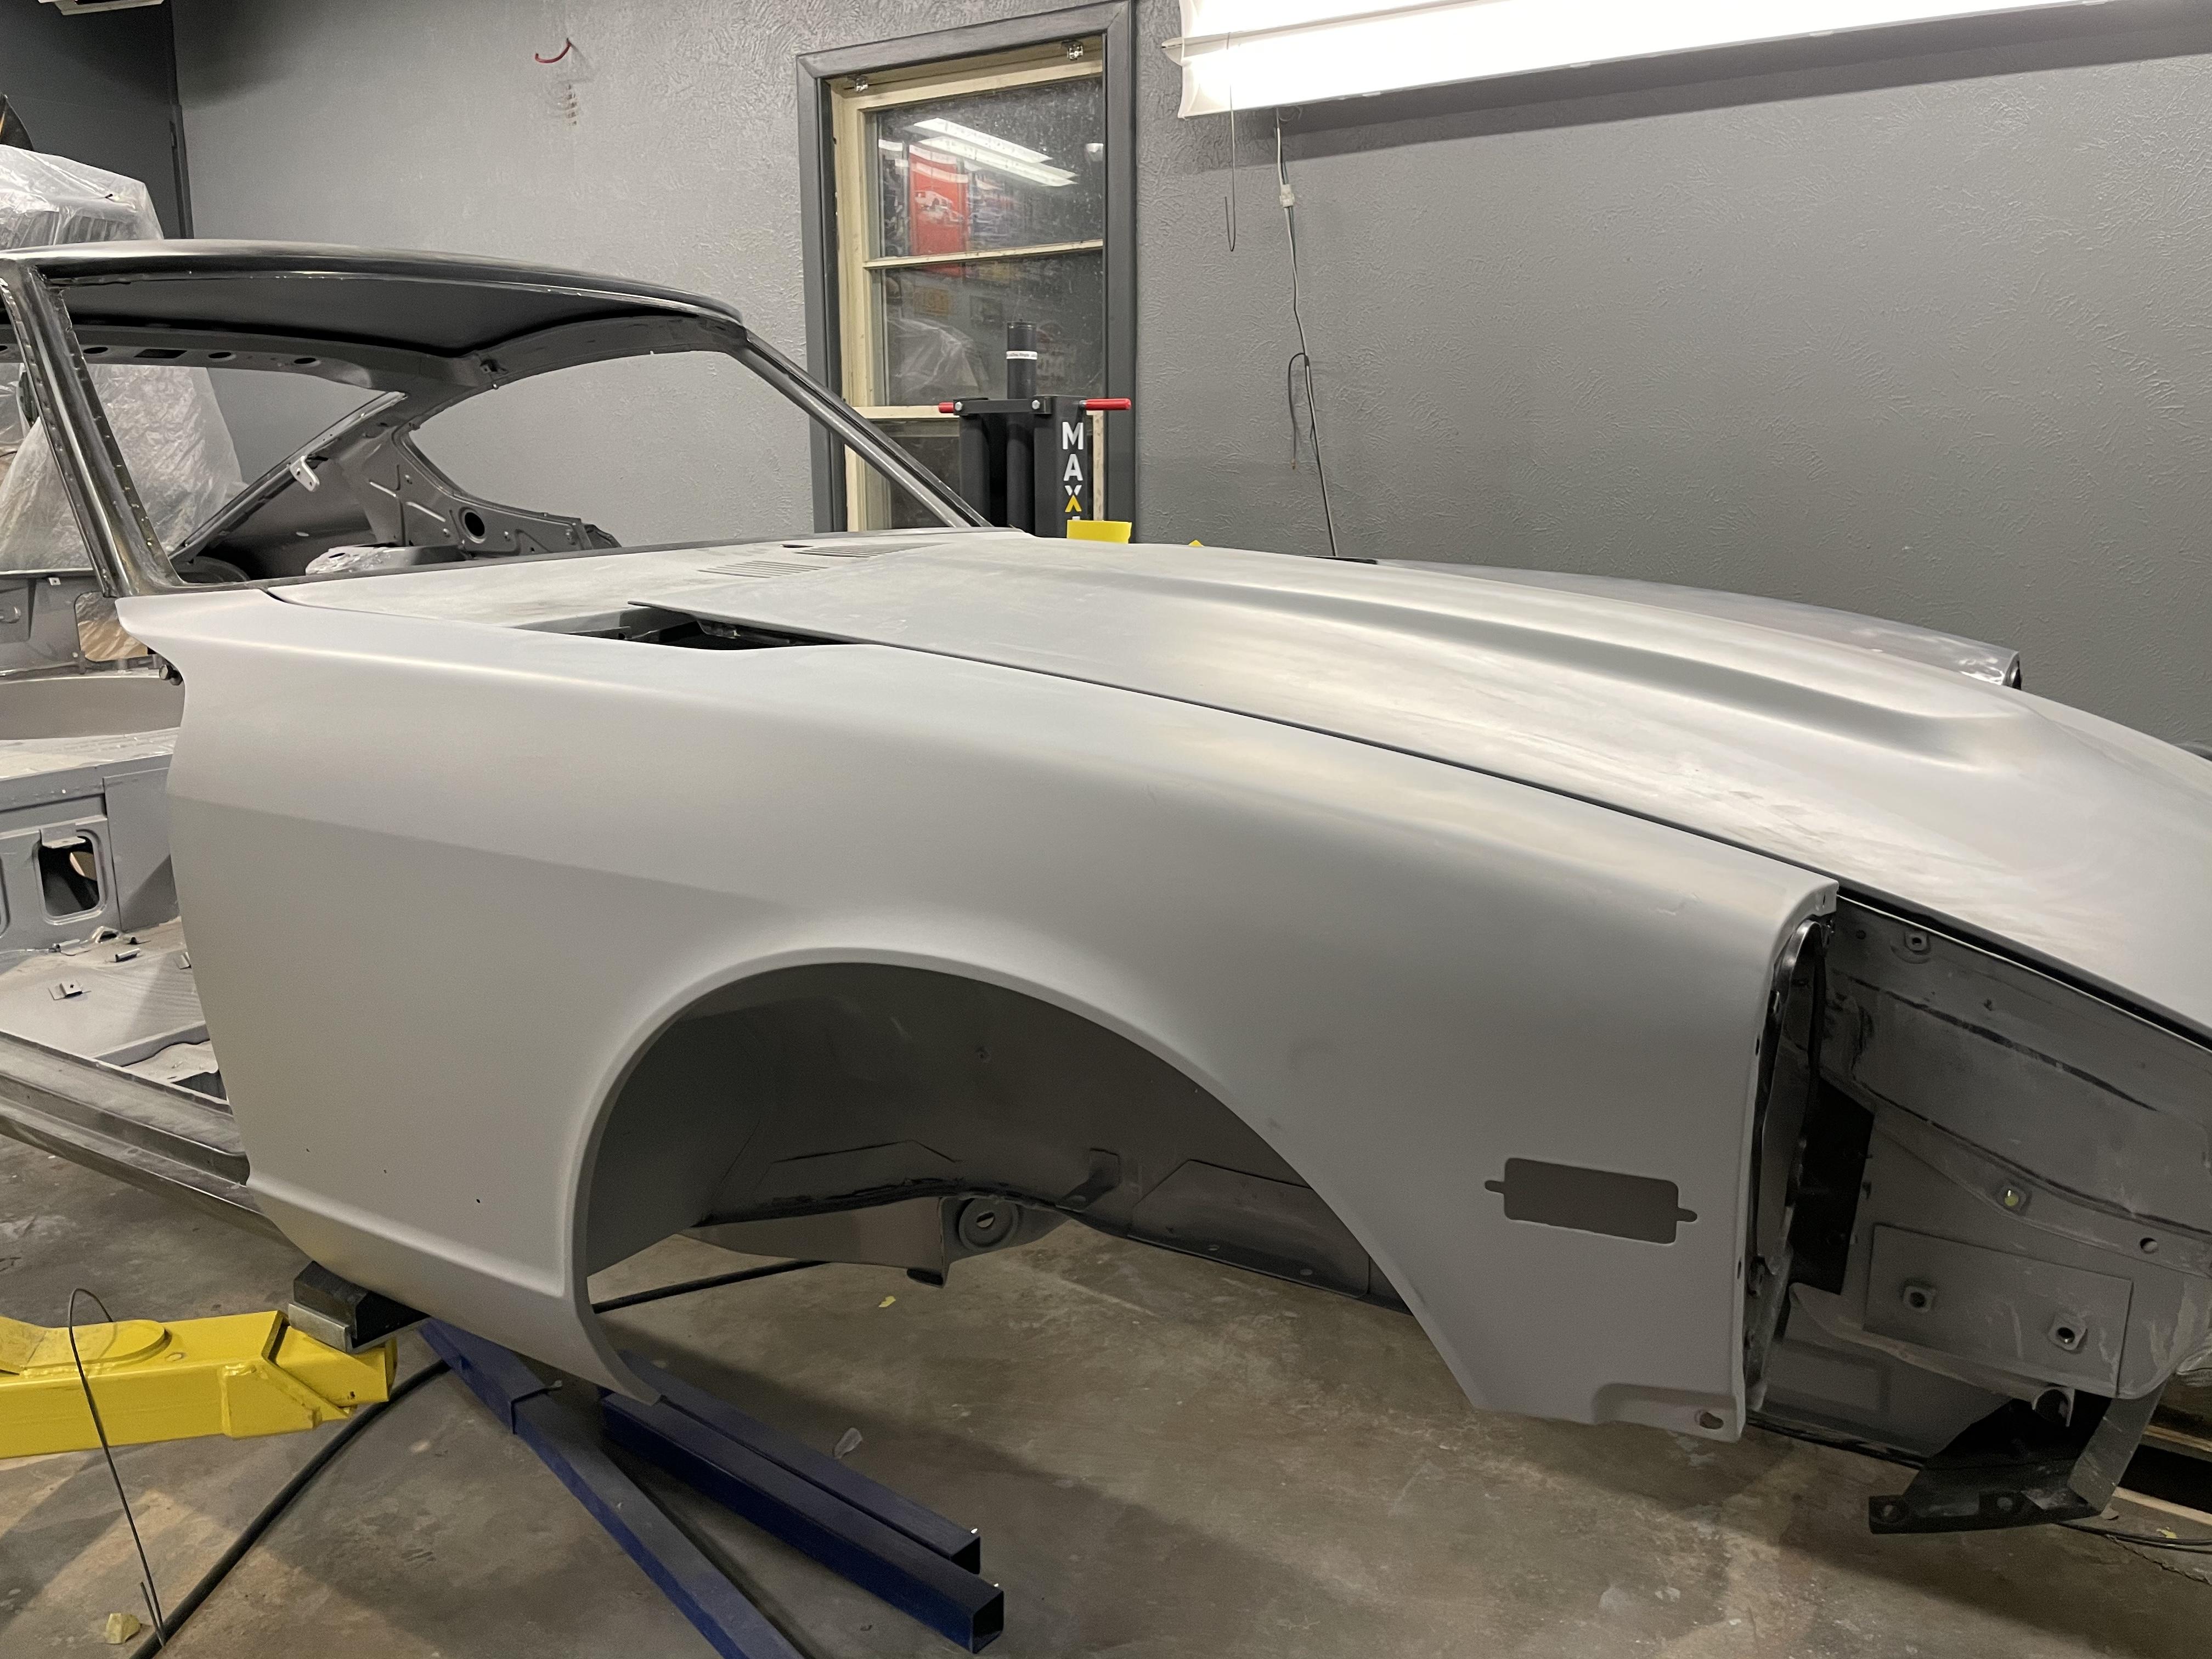
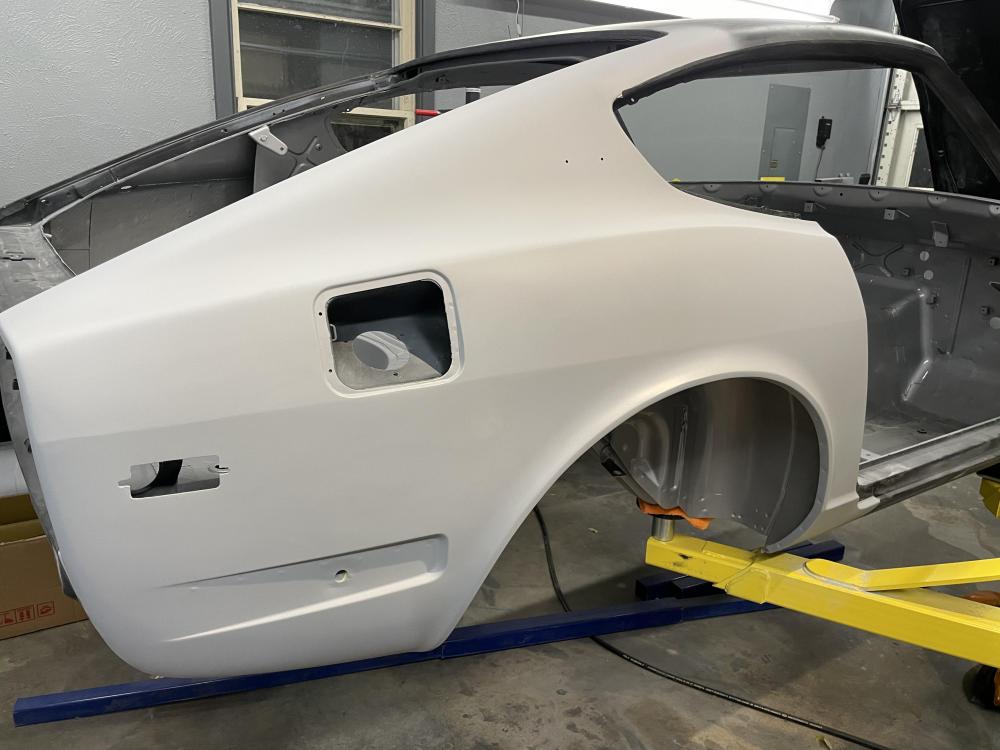
1 pointI hope everyone had a nice and safe holiday break these past few days. During that time we worked on the body in preparation for paint. Passenger quarter and fender received the first round of body work and primer. Driver’s side soon to follow.

 1 point
 -
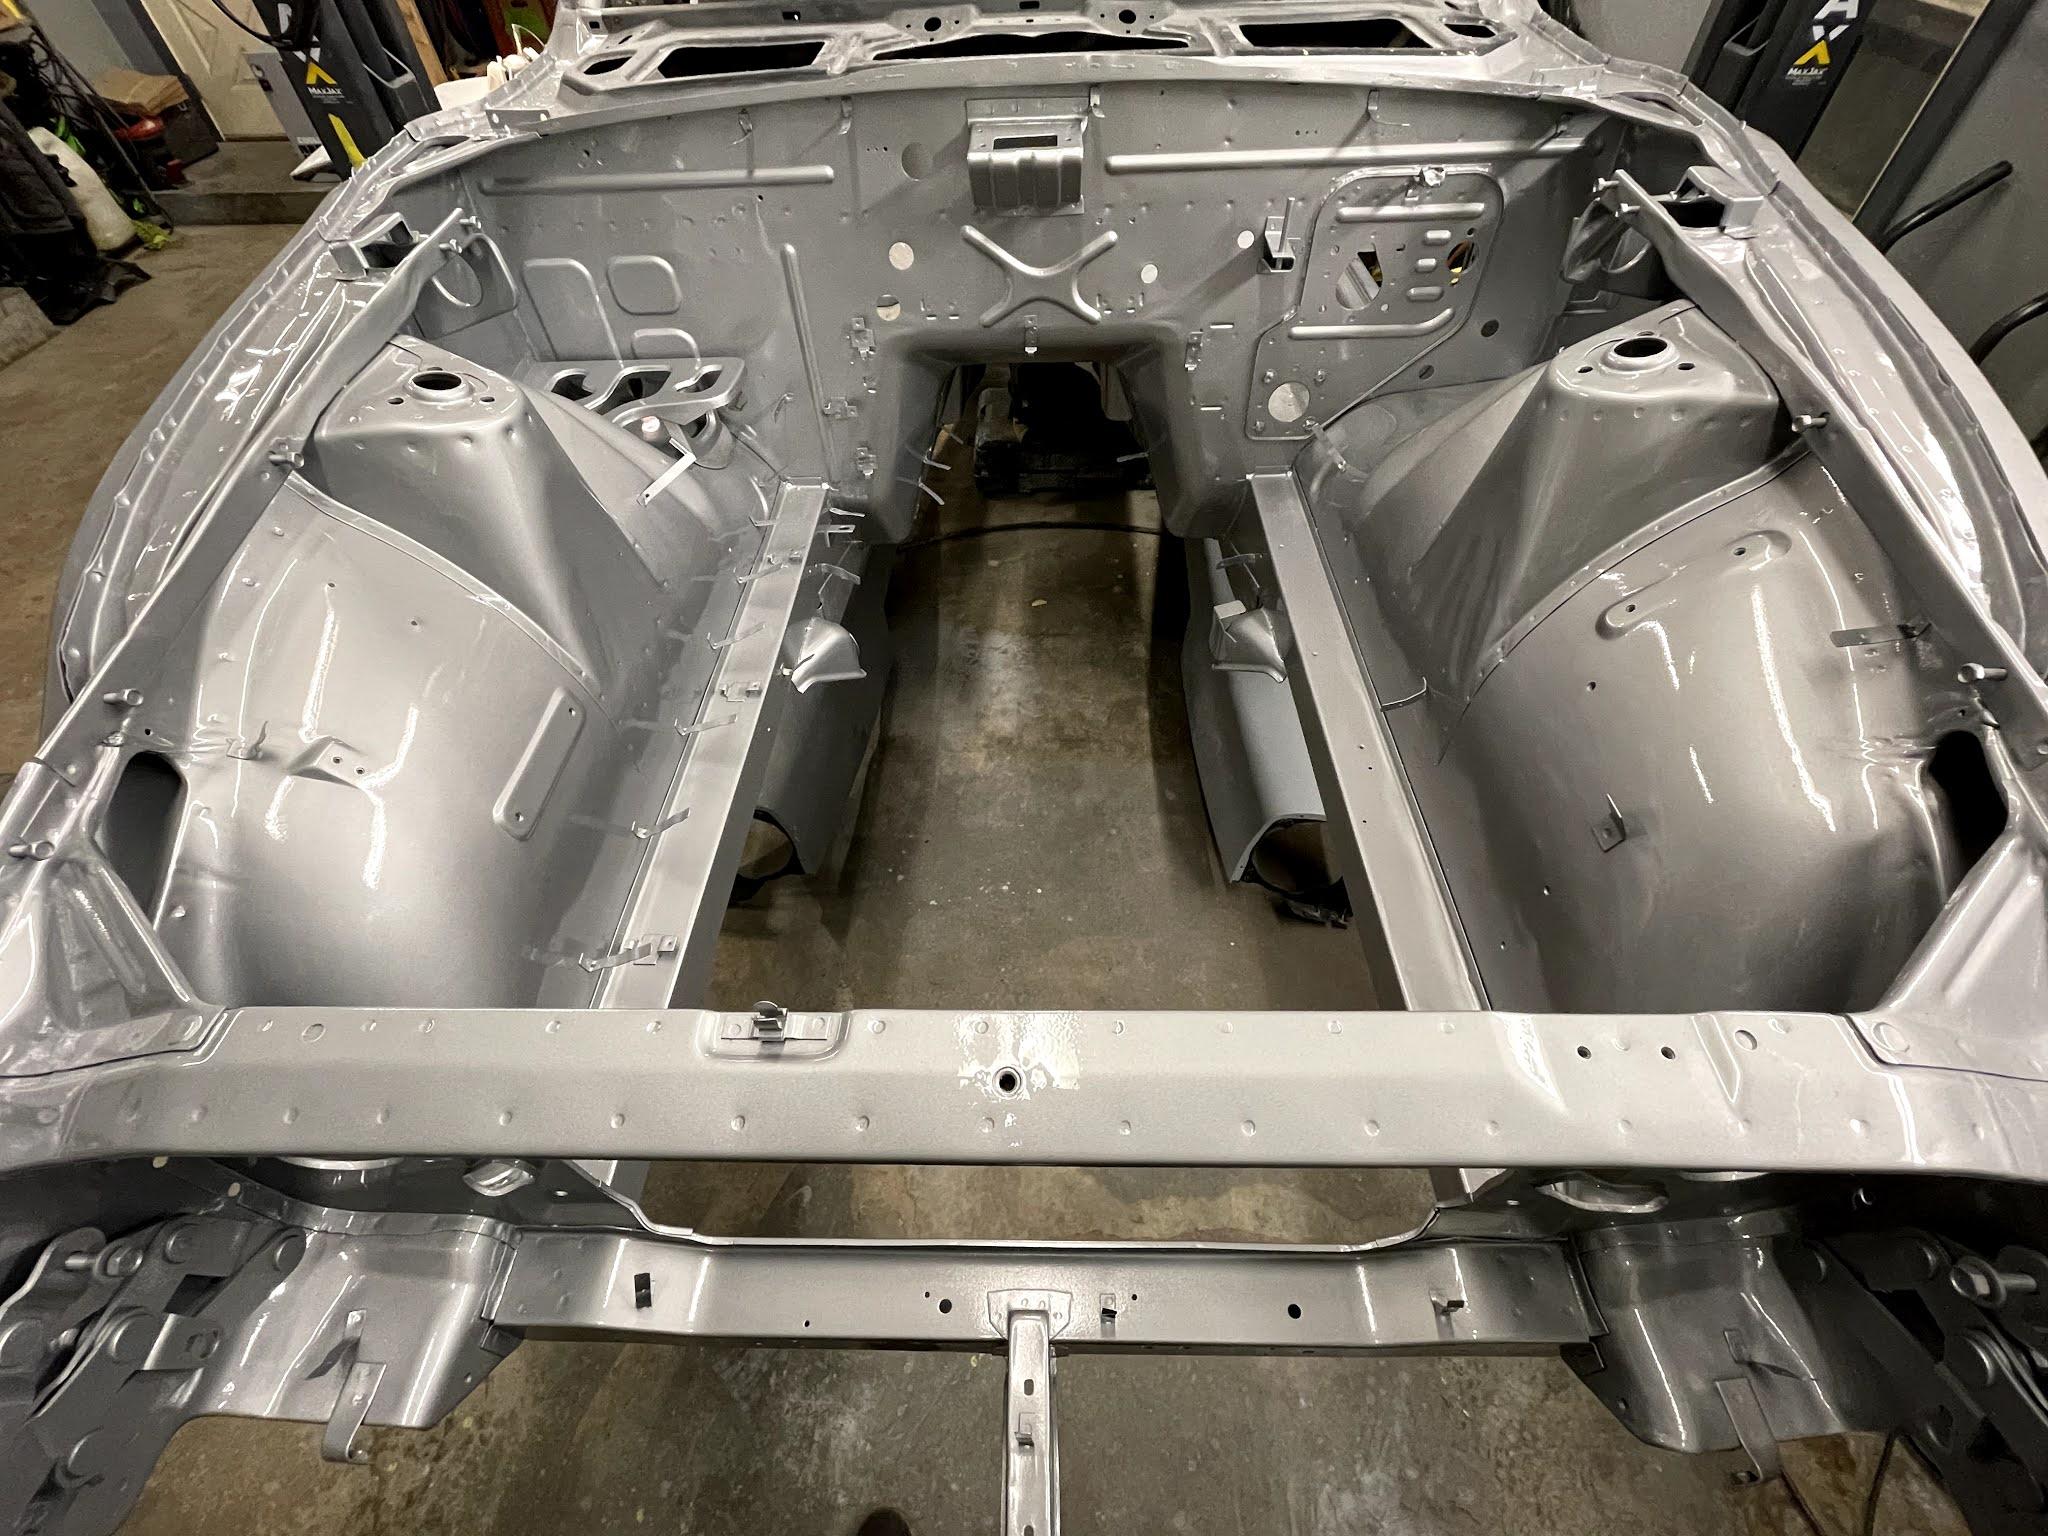
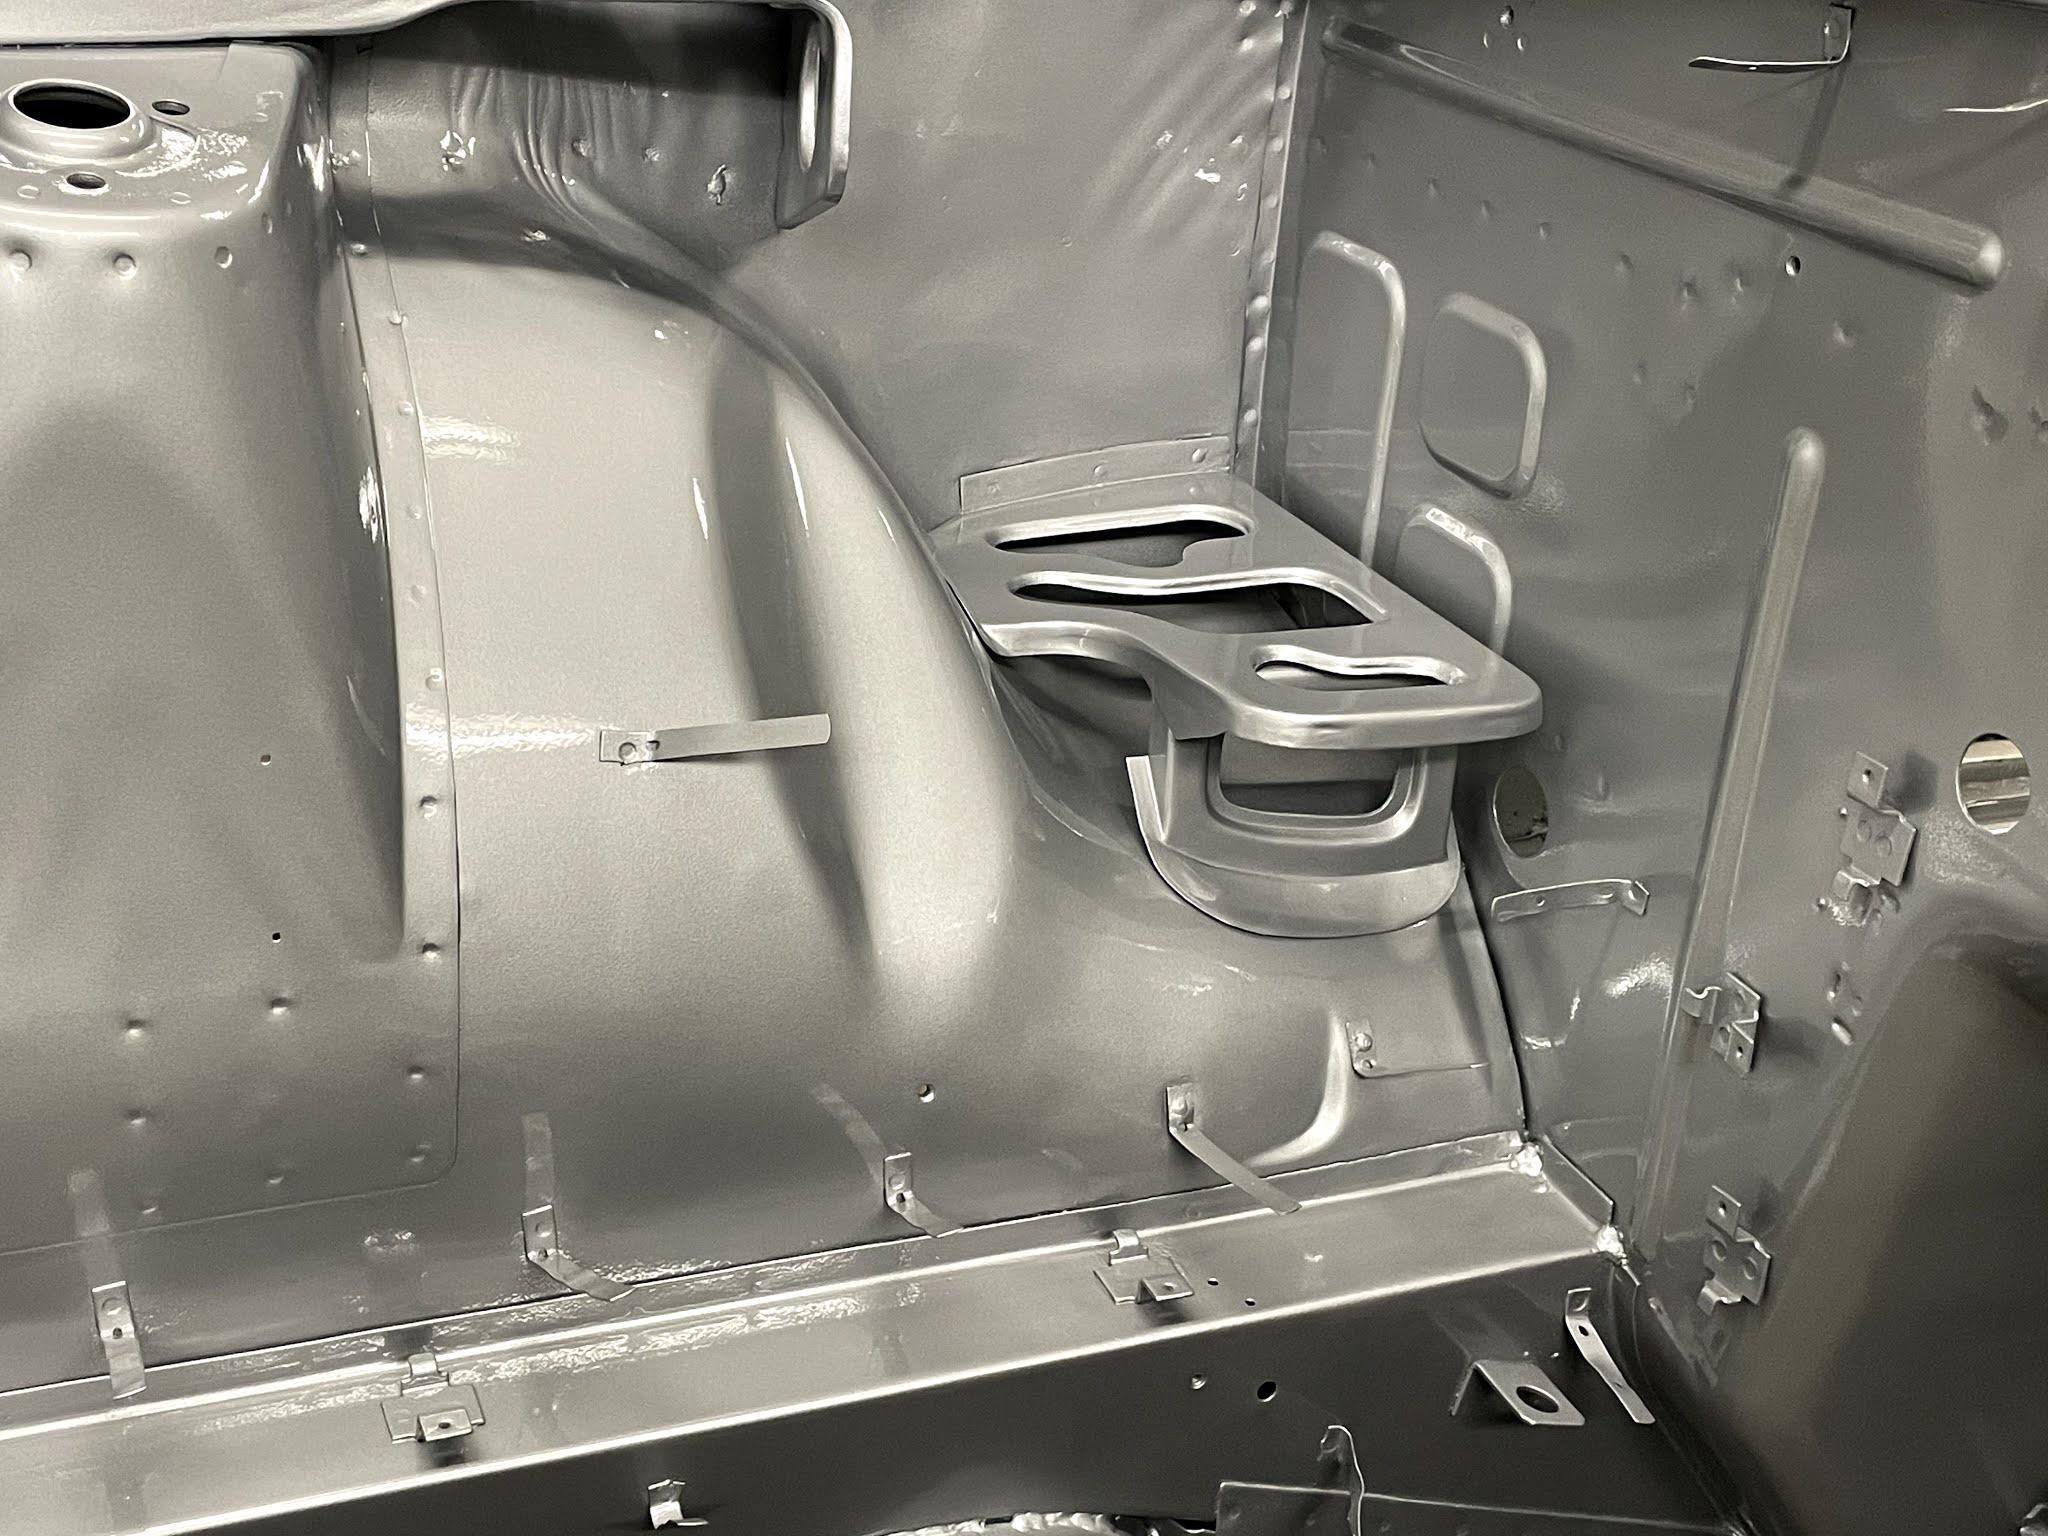
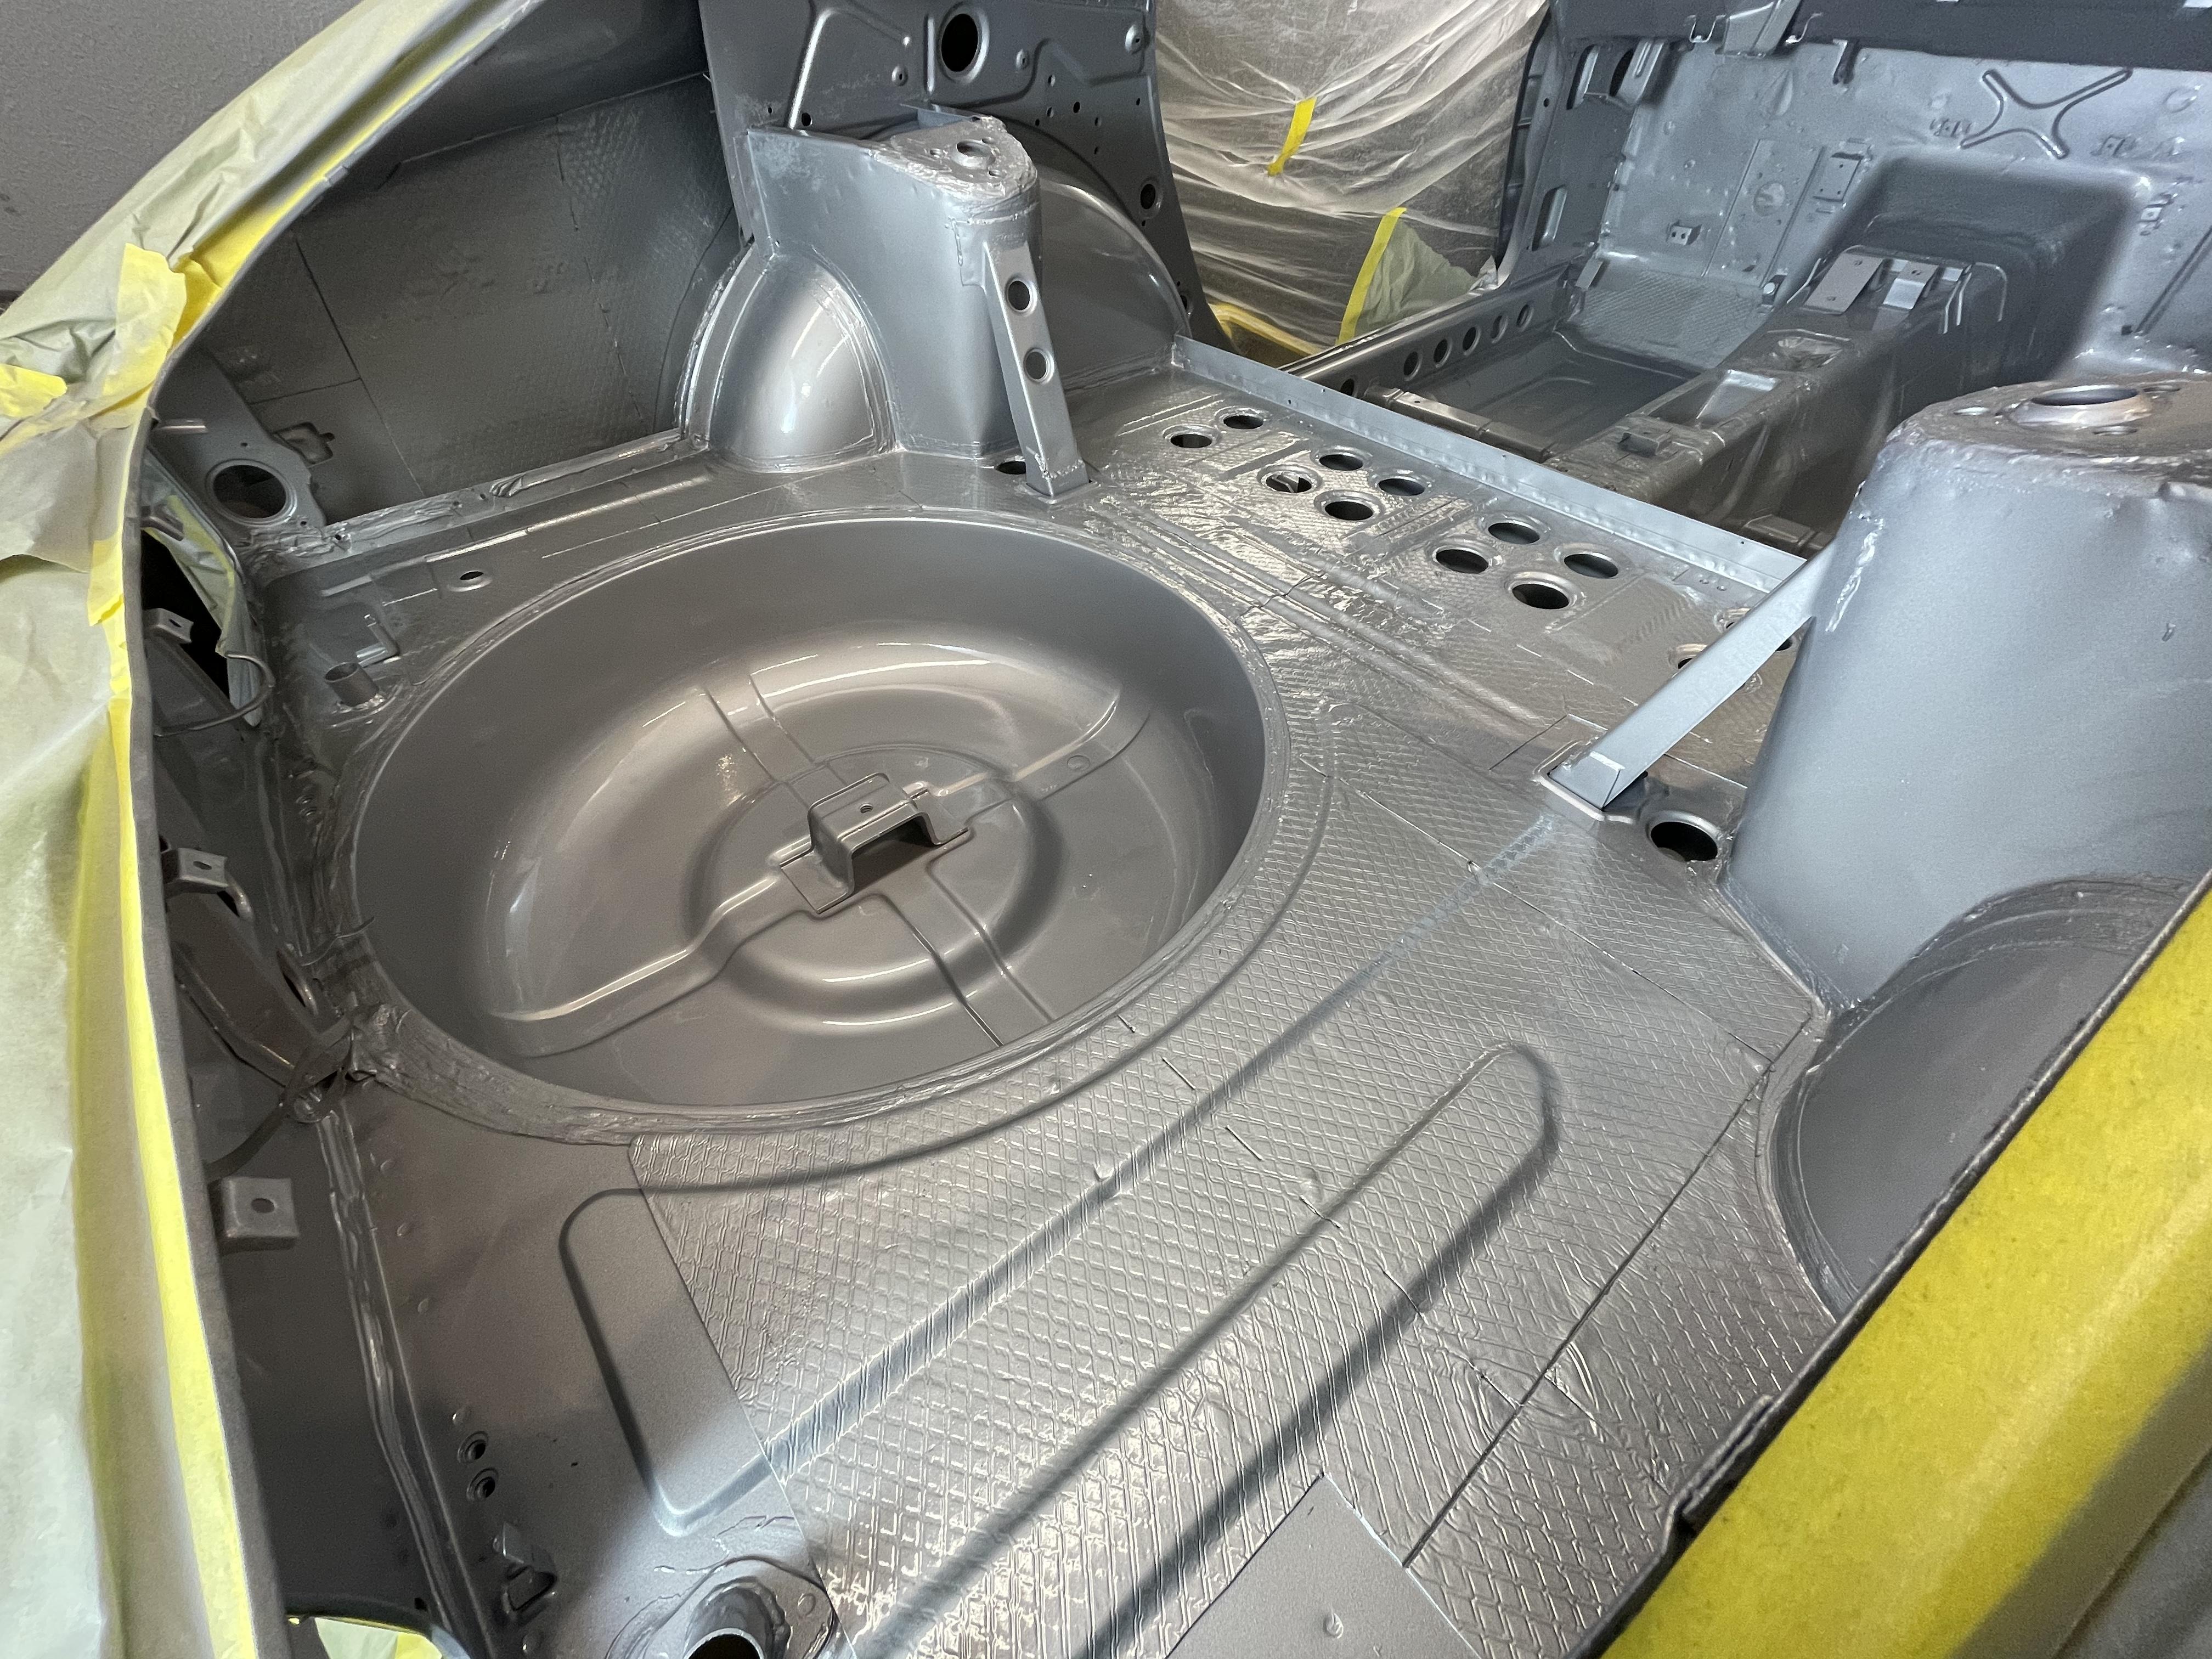
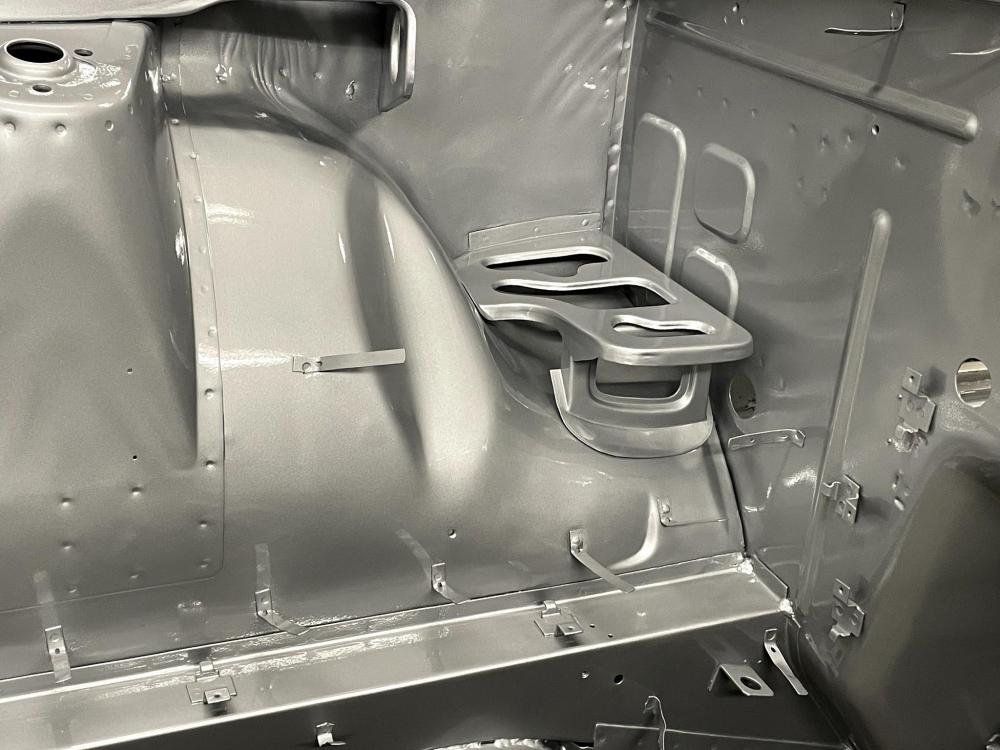
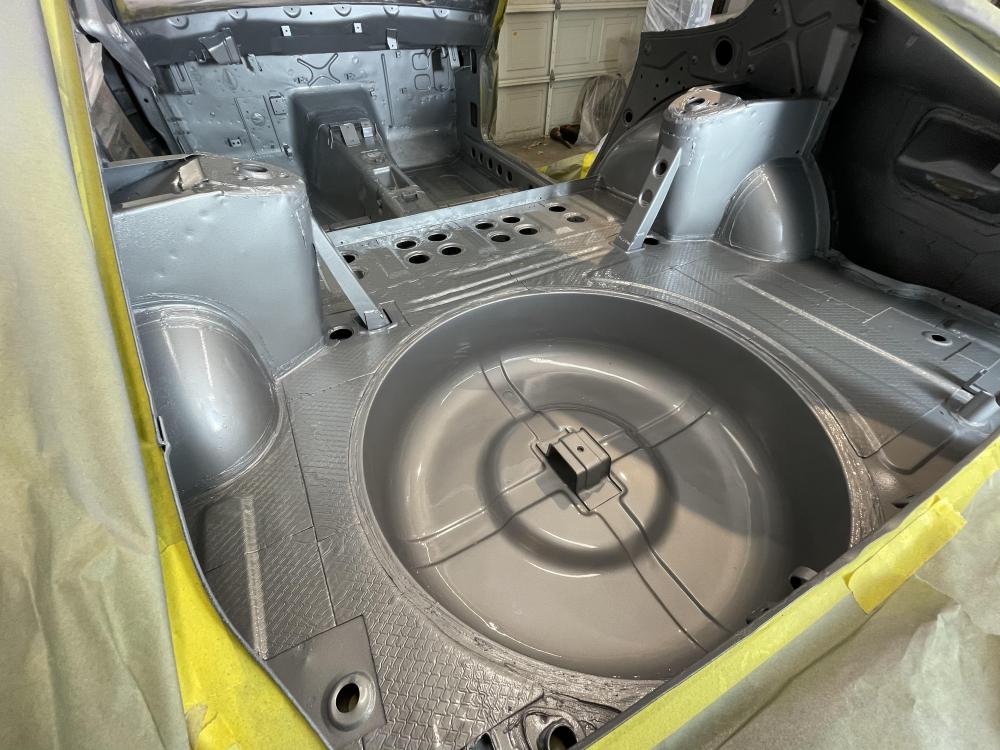
1 pointInterior of the shell was painted tonight. Next we’ll go back and mask off the areas that need to be blacked out, and begin the reassembly process.


 1 point
 -
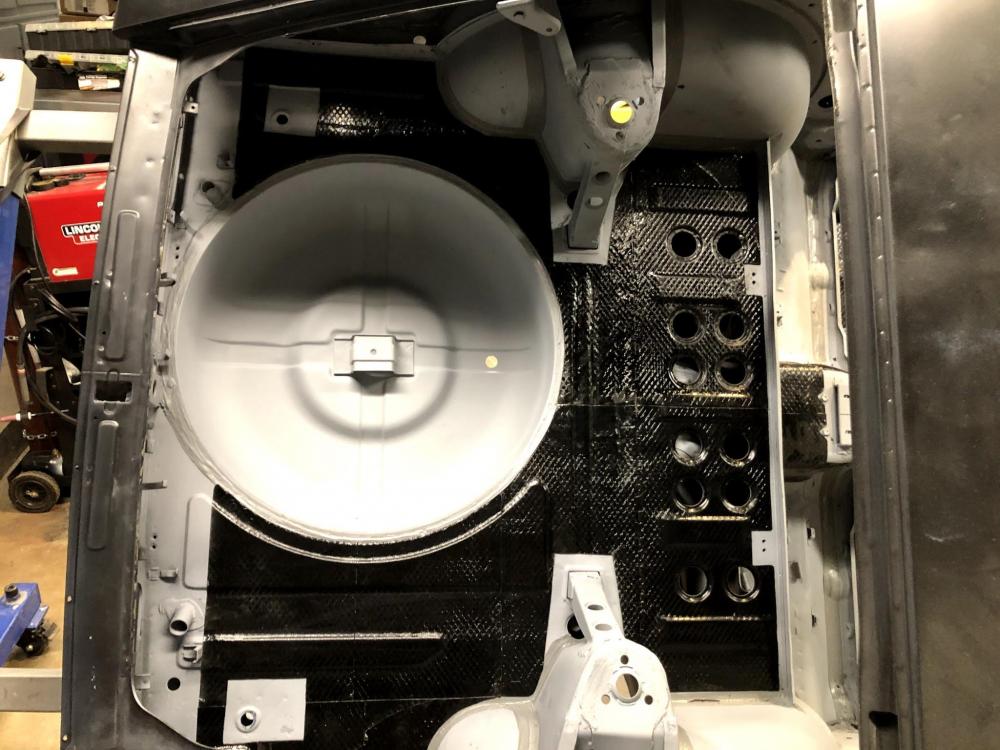
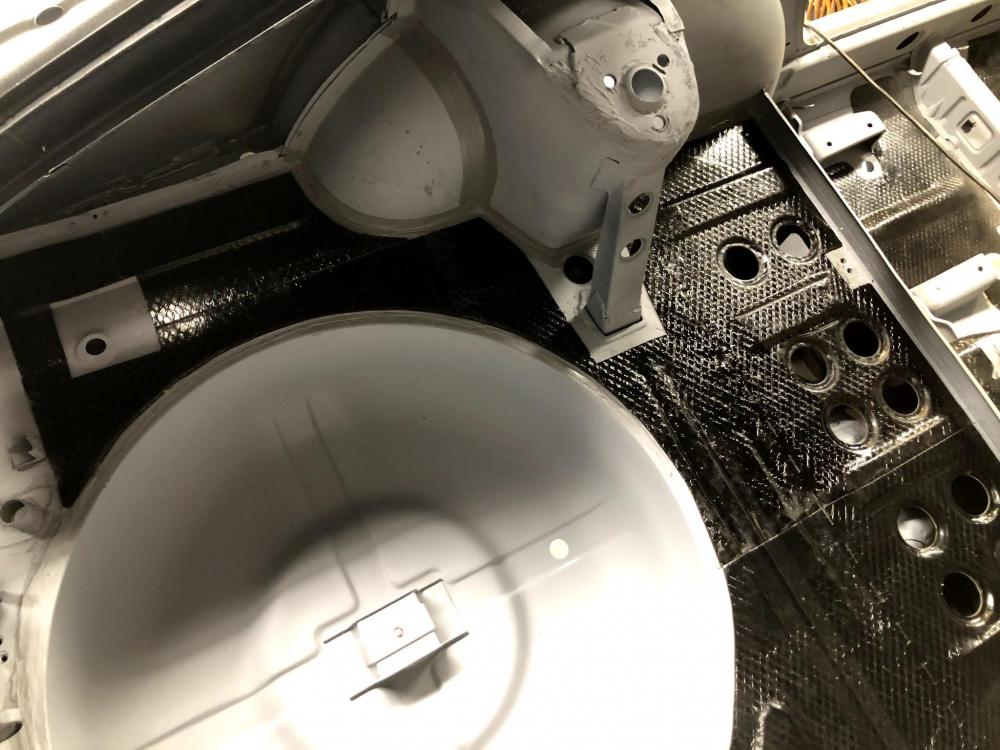
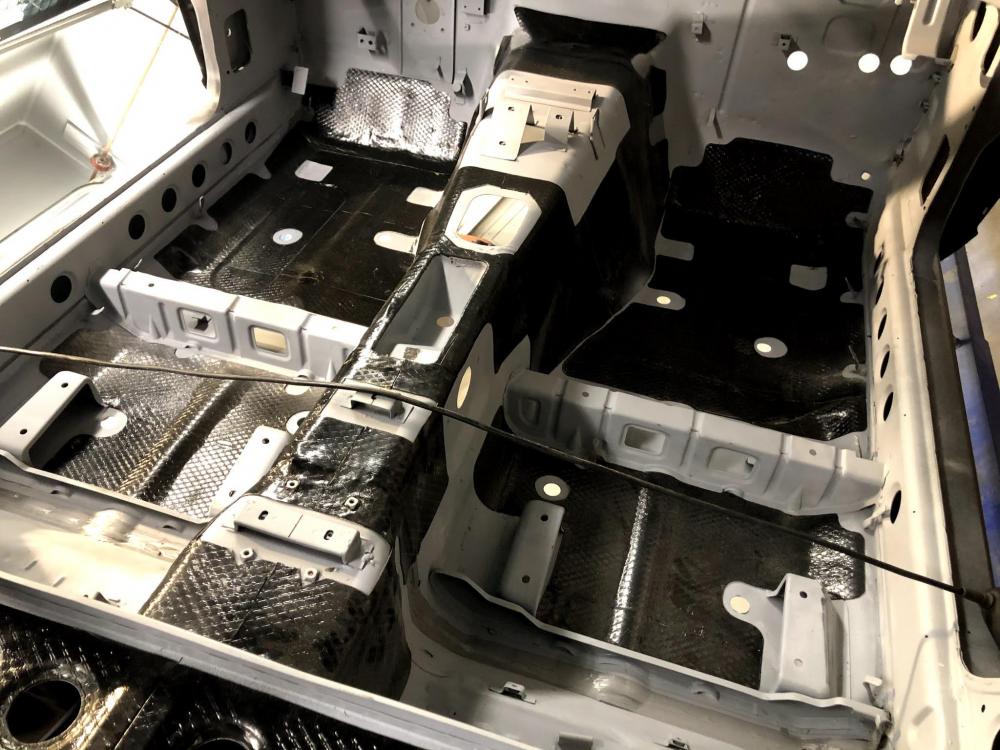
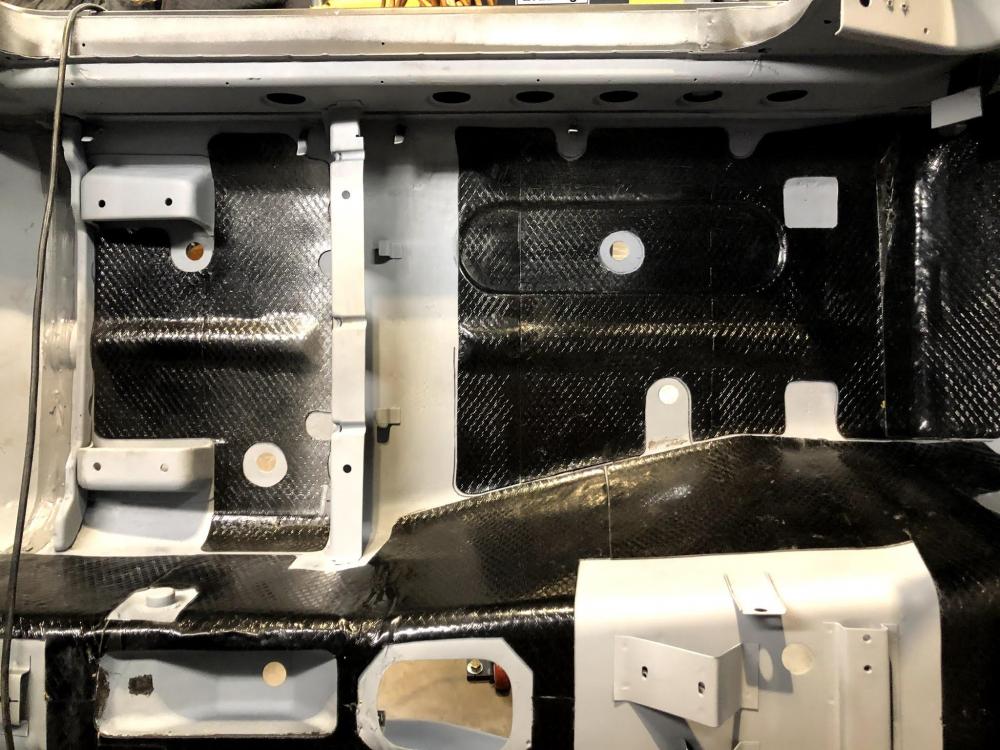
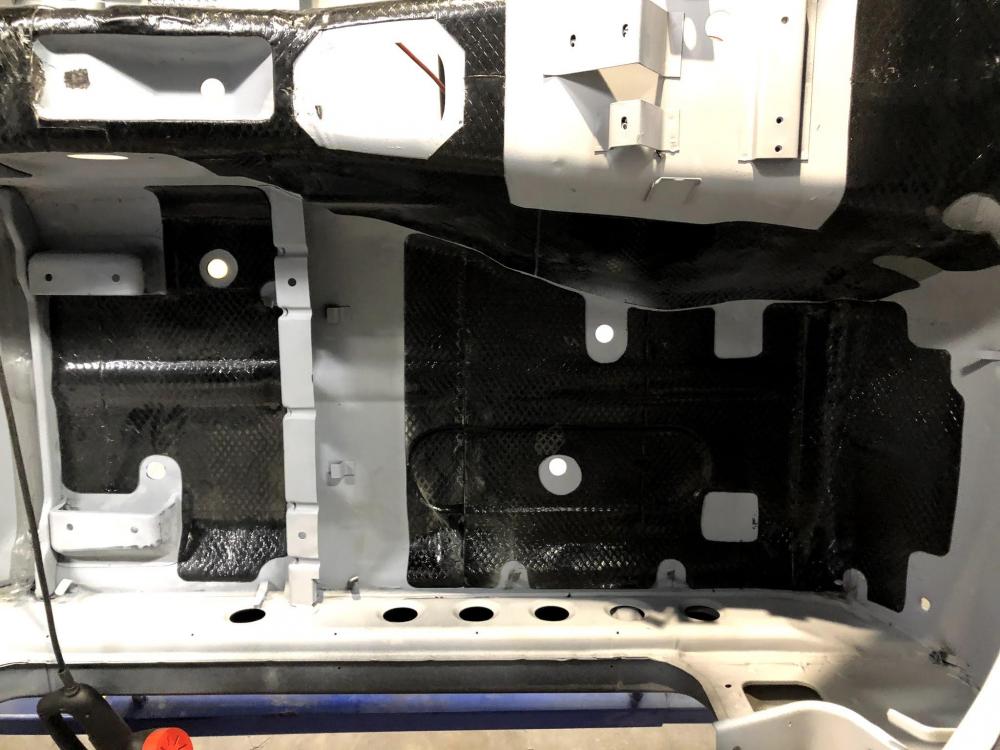
1 pointBack on the body for some final work to the interior before paint. When the shell was blasted we had all of the sound deadening removed so that any rust underneath could be removed and cleaned up. I wanted to maintain the original look of the floors best we could for this rebuild. To do this we replicated the factory sound deadening pads placed throughout the interior with sheets of a 3M material: Sound Deadening This material comes with an adhesive backed side and a top surface that can be painted. It goes on very easy and can be trimmed down to the correct size with scissors or a box cutter. Once ready for paint the entire interior will get a coat of sealer followed by the silver base color and clear.
 1 point
 -
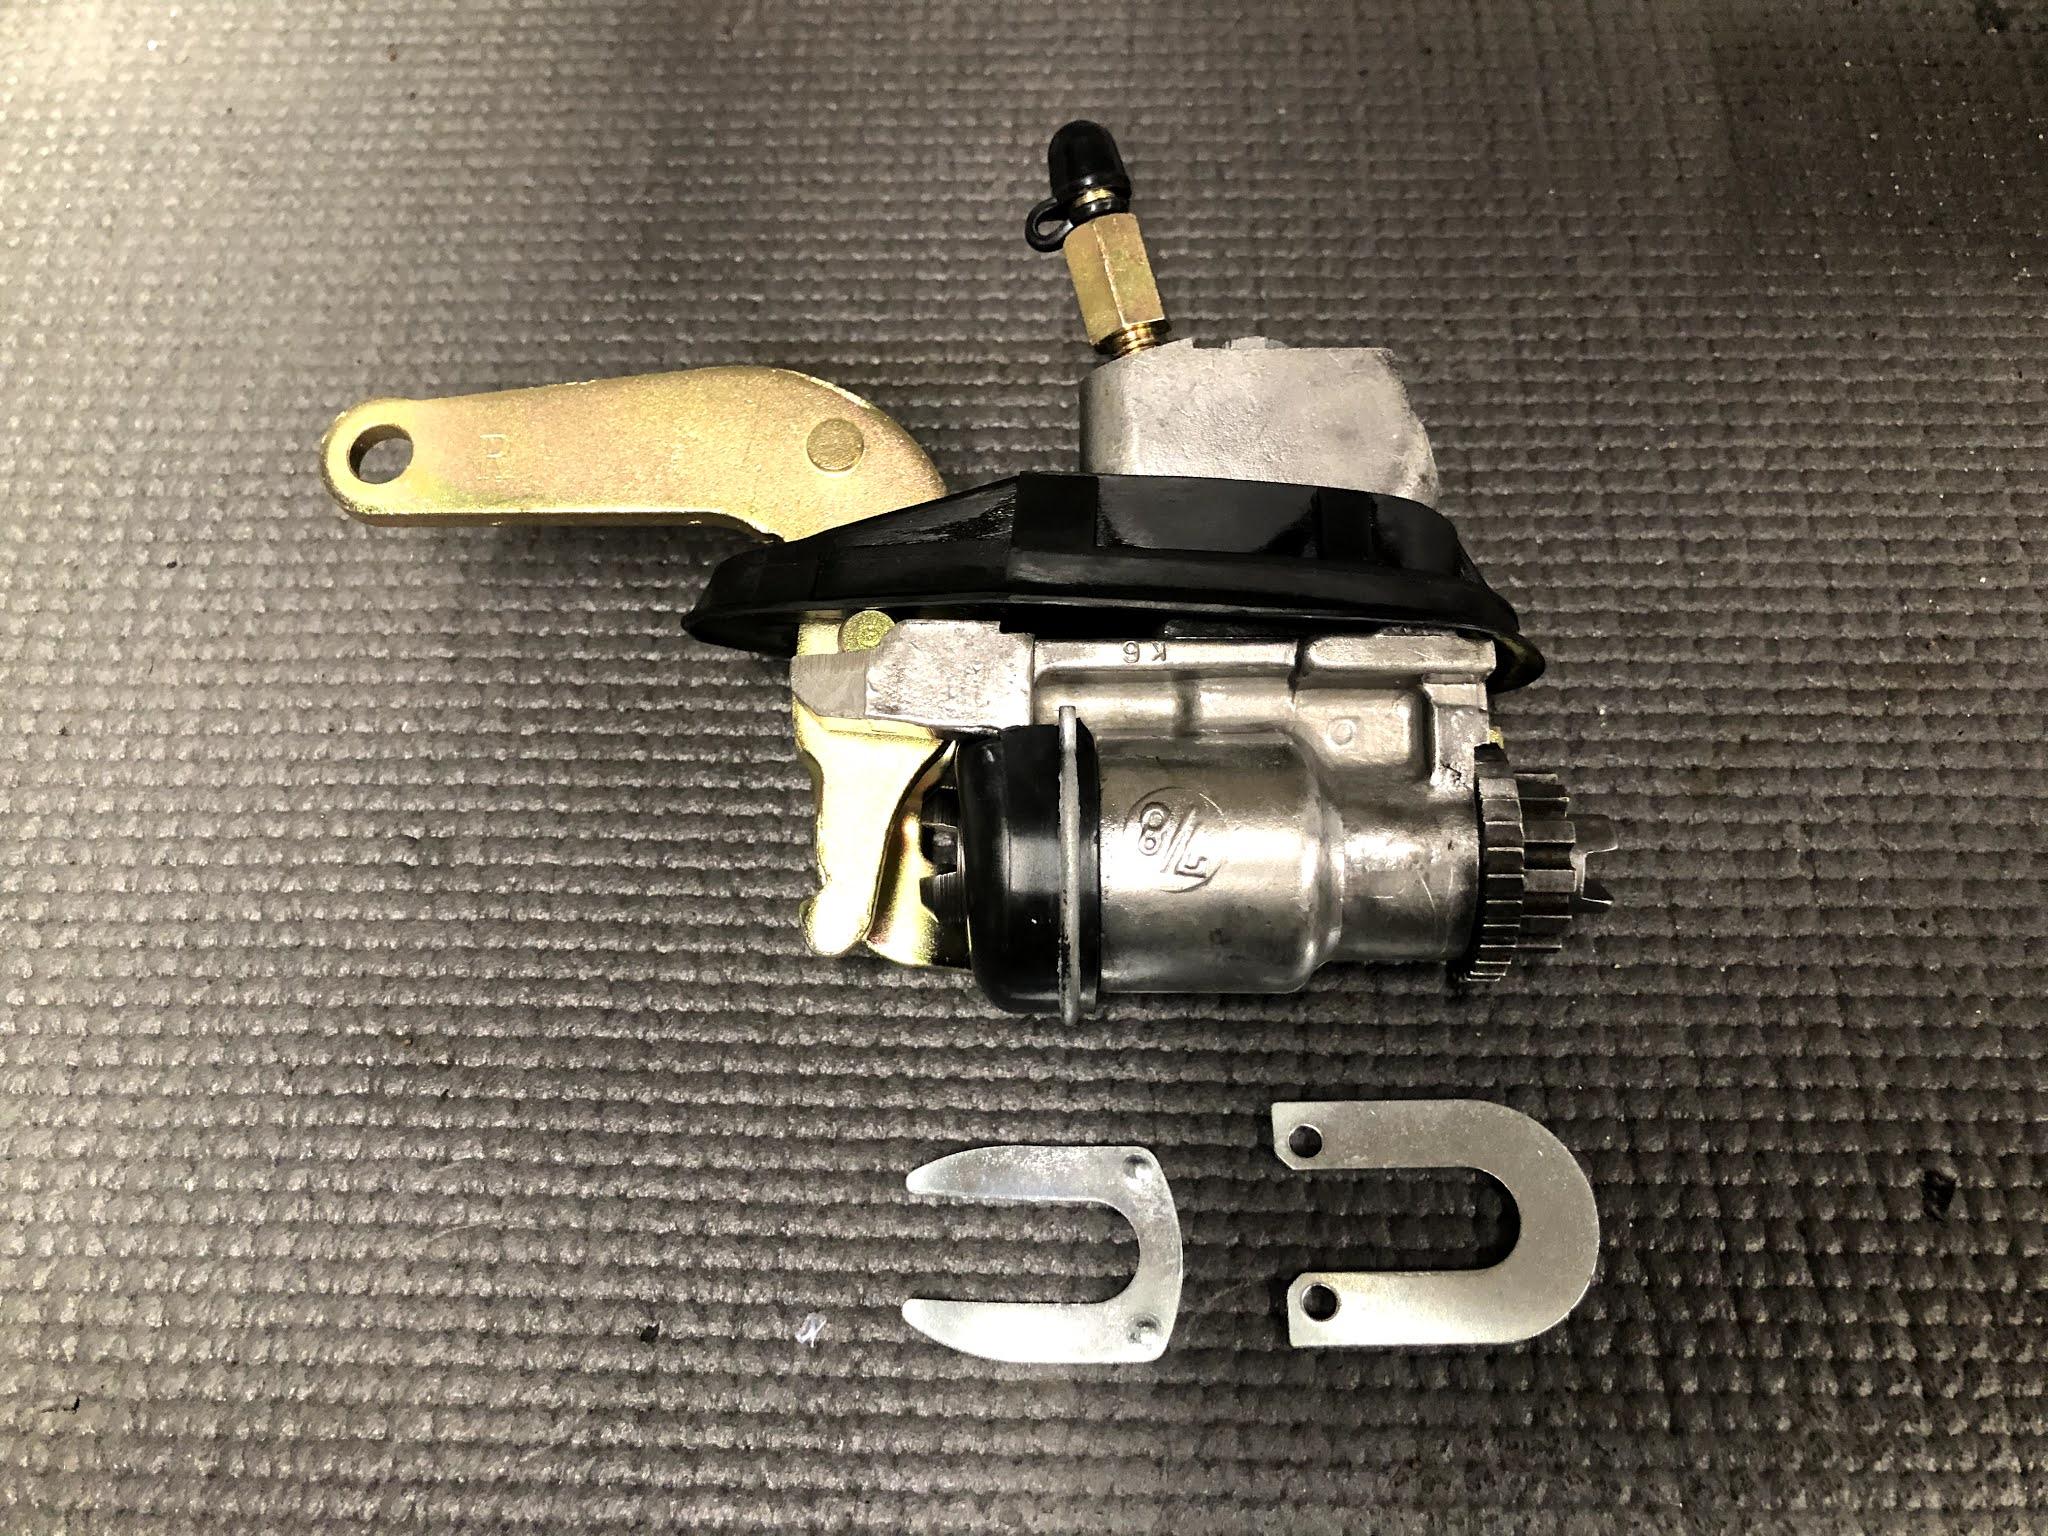
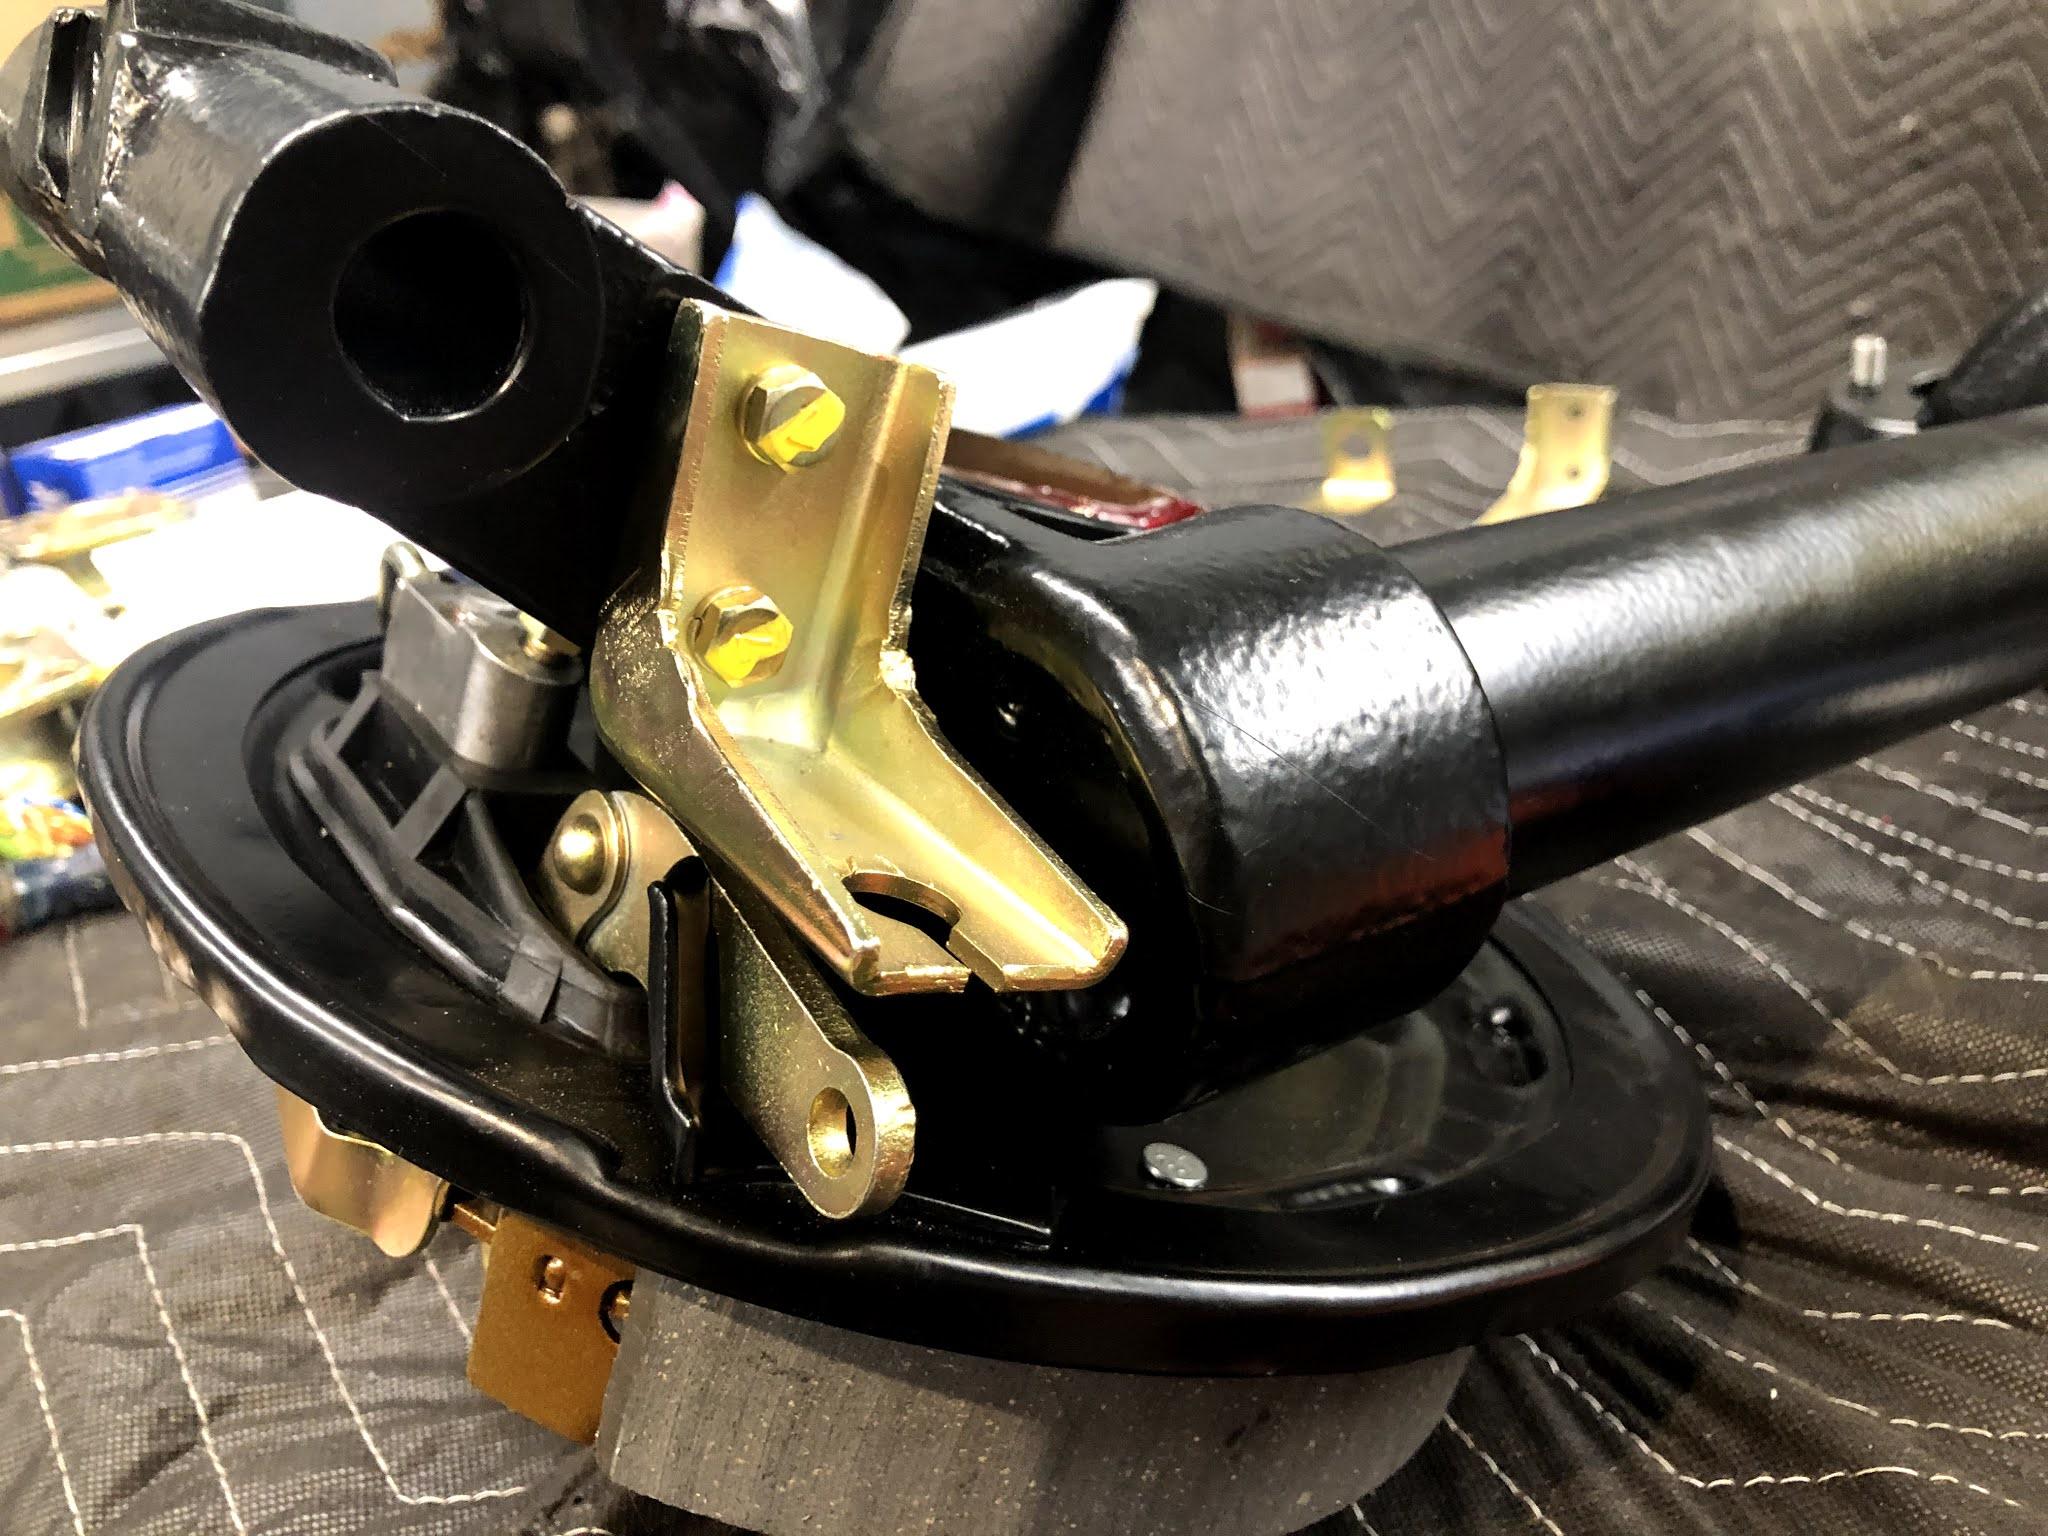
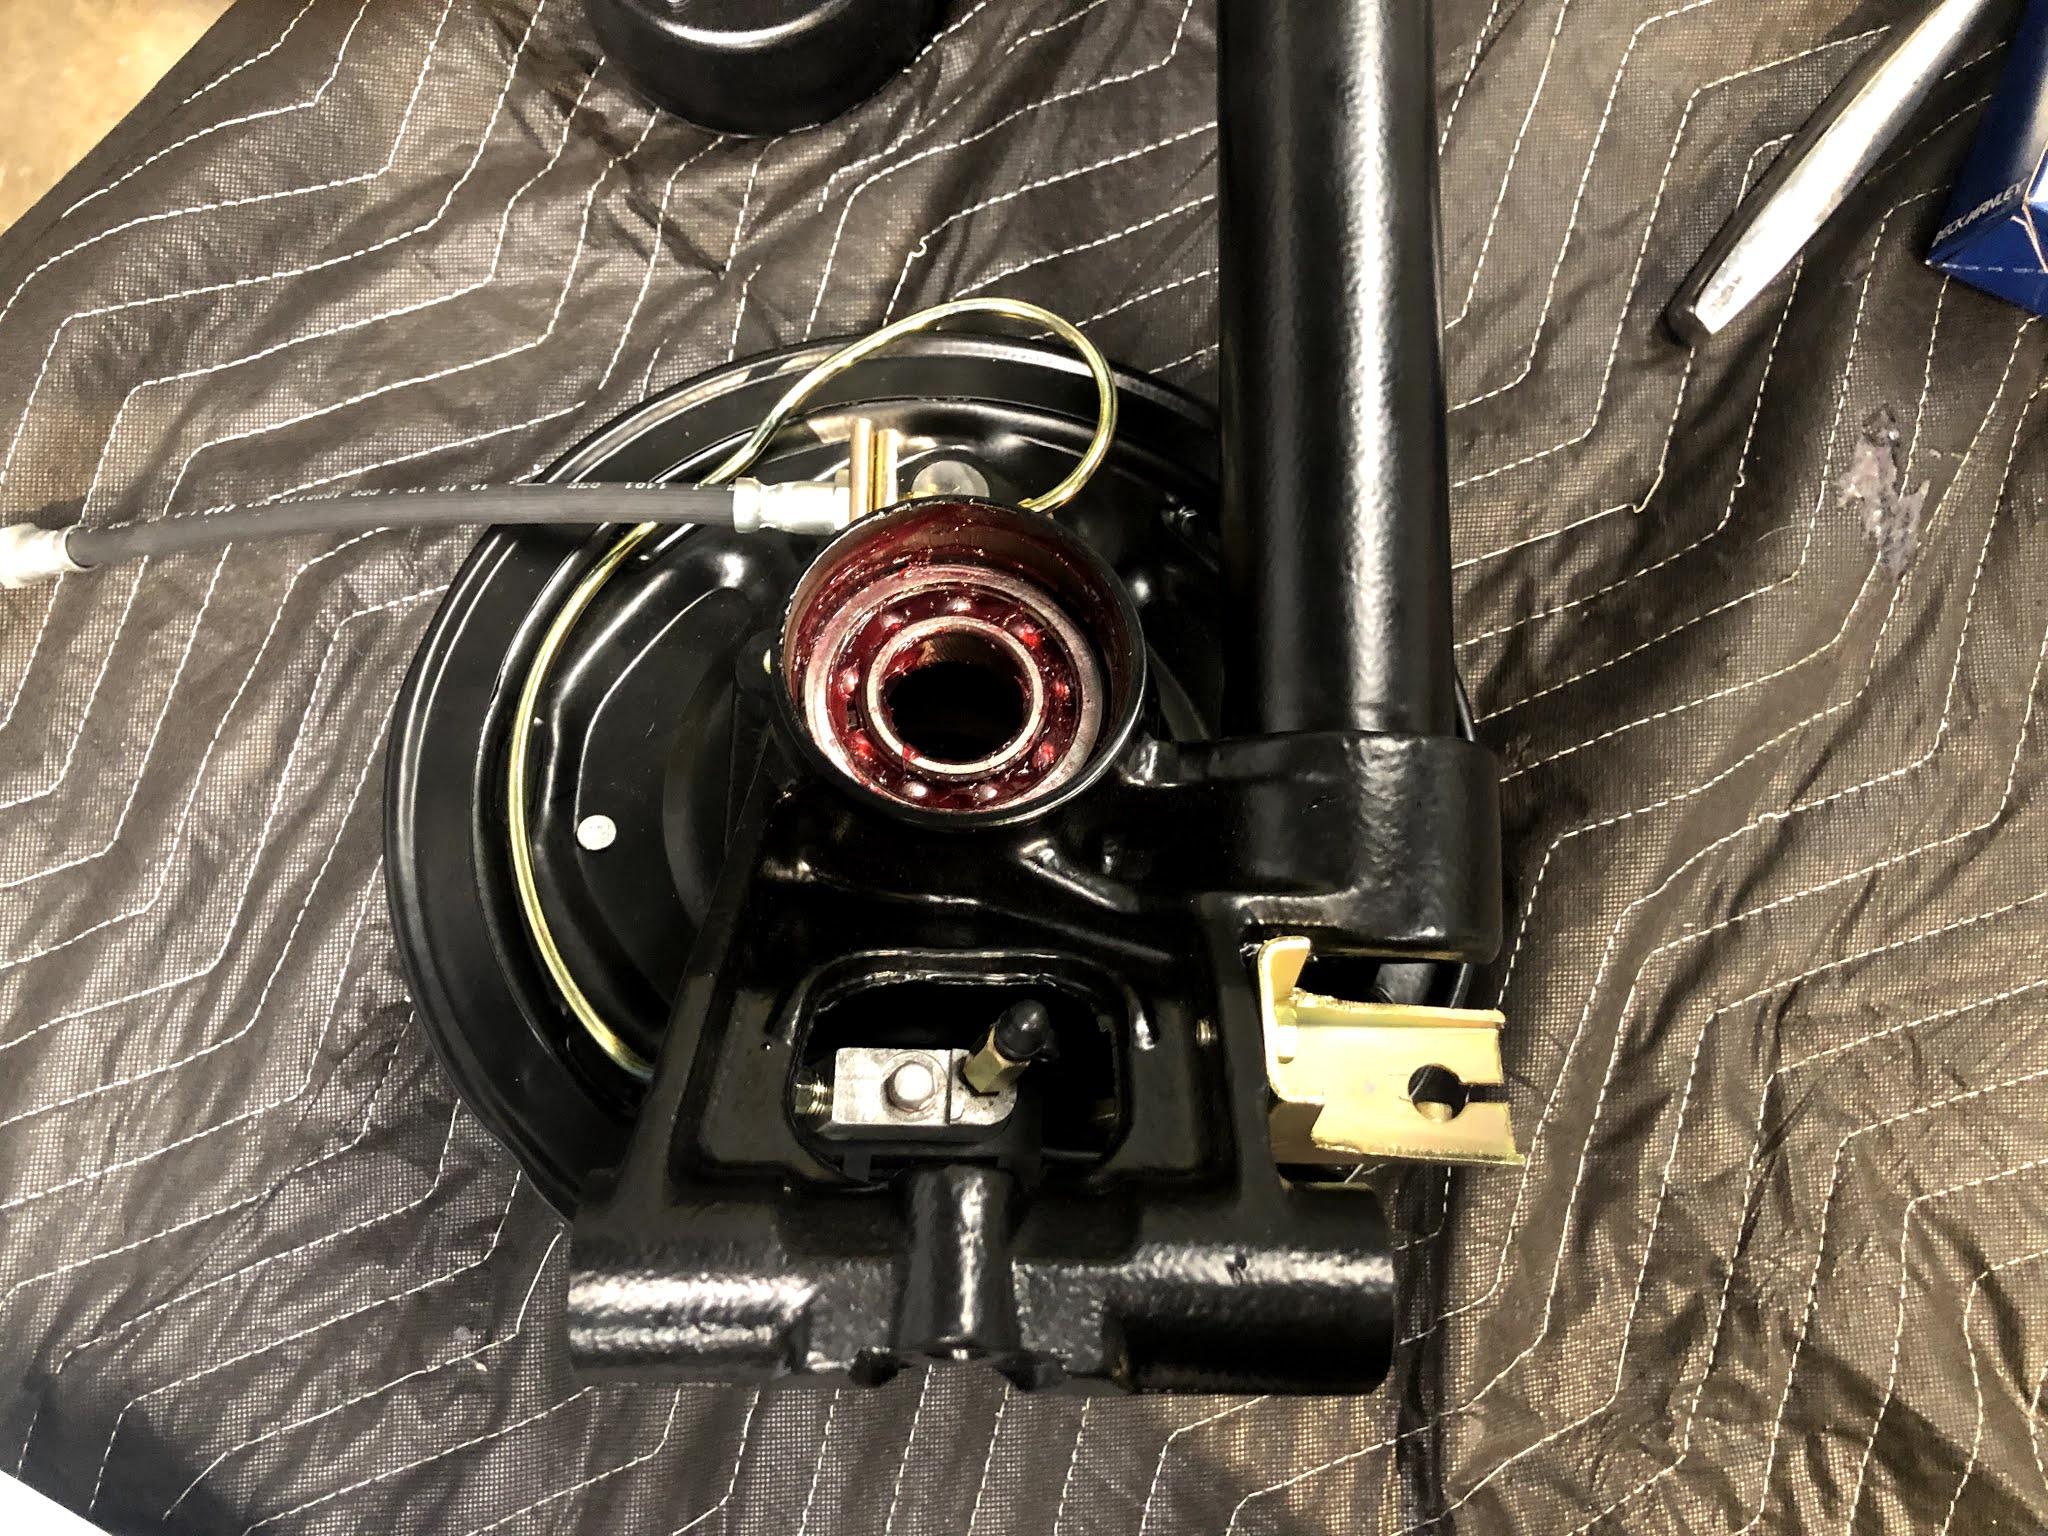
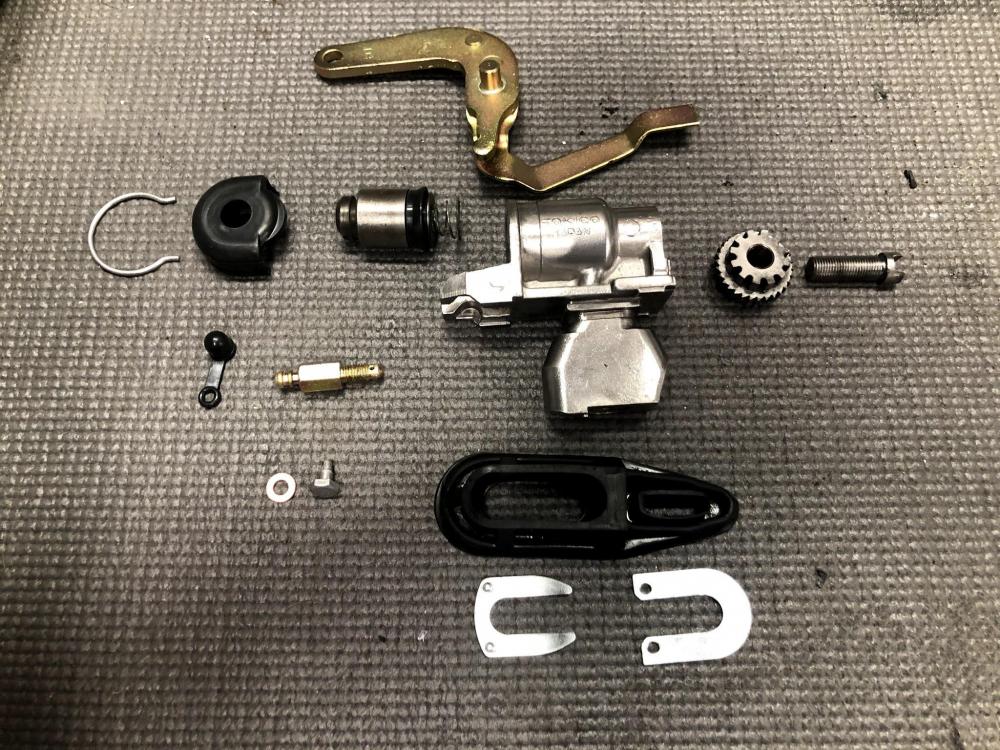
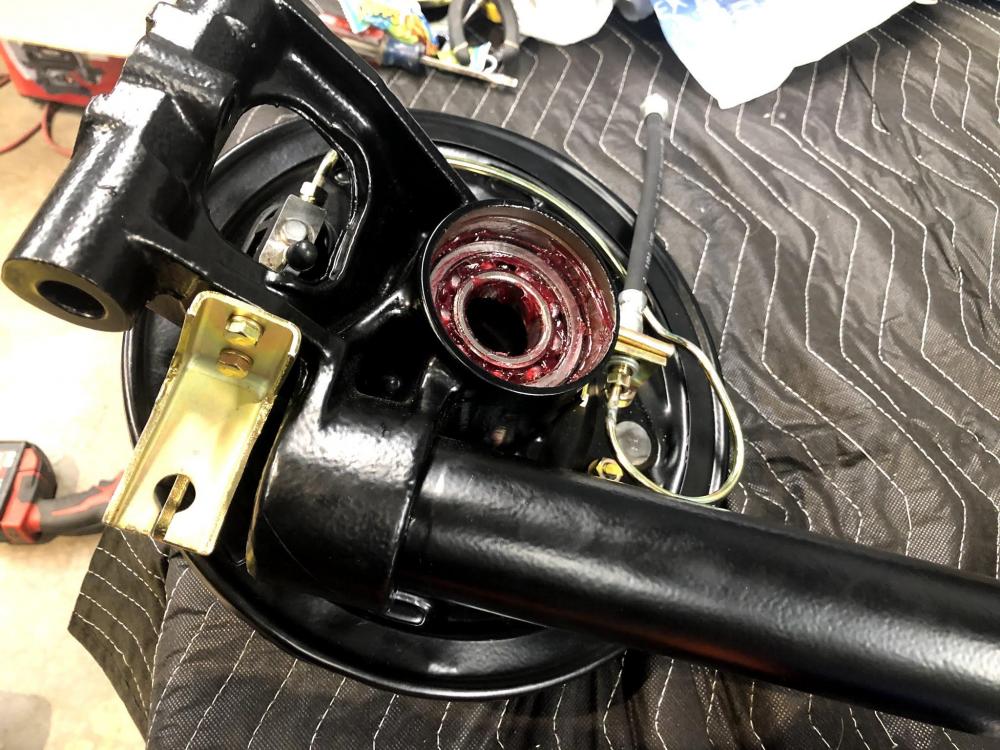
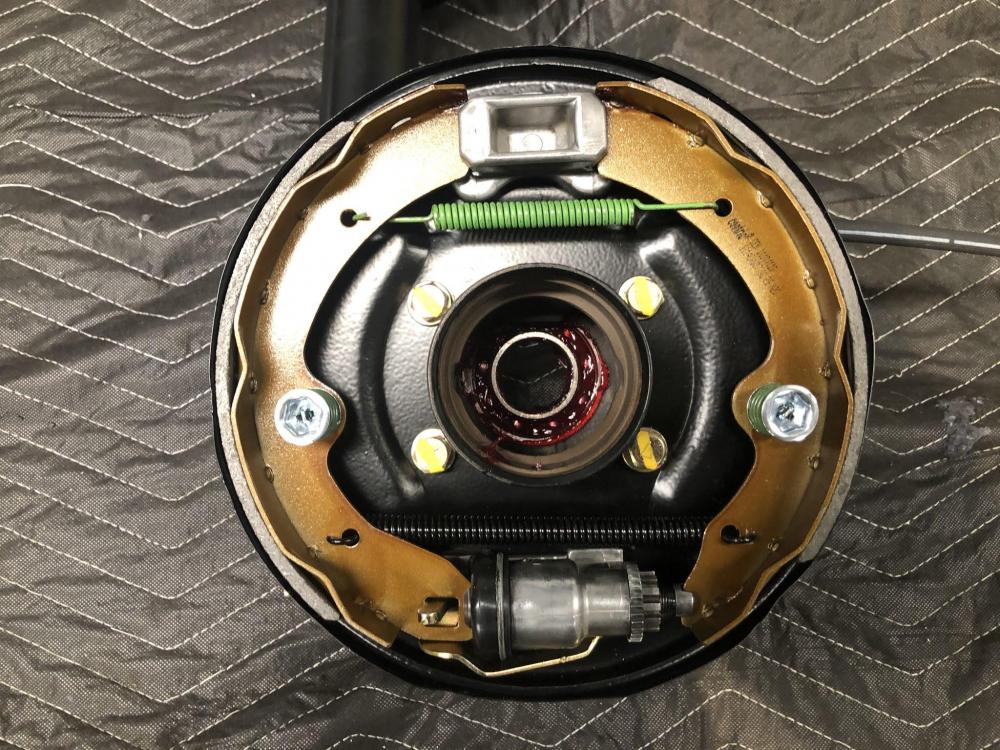
1 pointSmall project completed tonight, rebuilding the rear brake cylinders and rear struts. Couple quick shots of the completed struts with hardware and shoes. I'll post some more in depth pictures of the entire assemblies before and after.


 1 point
 -
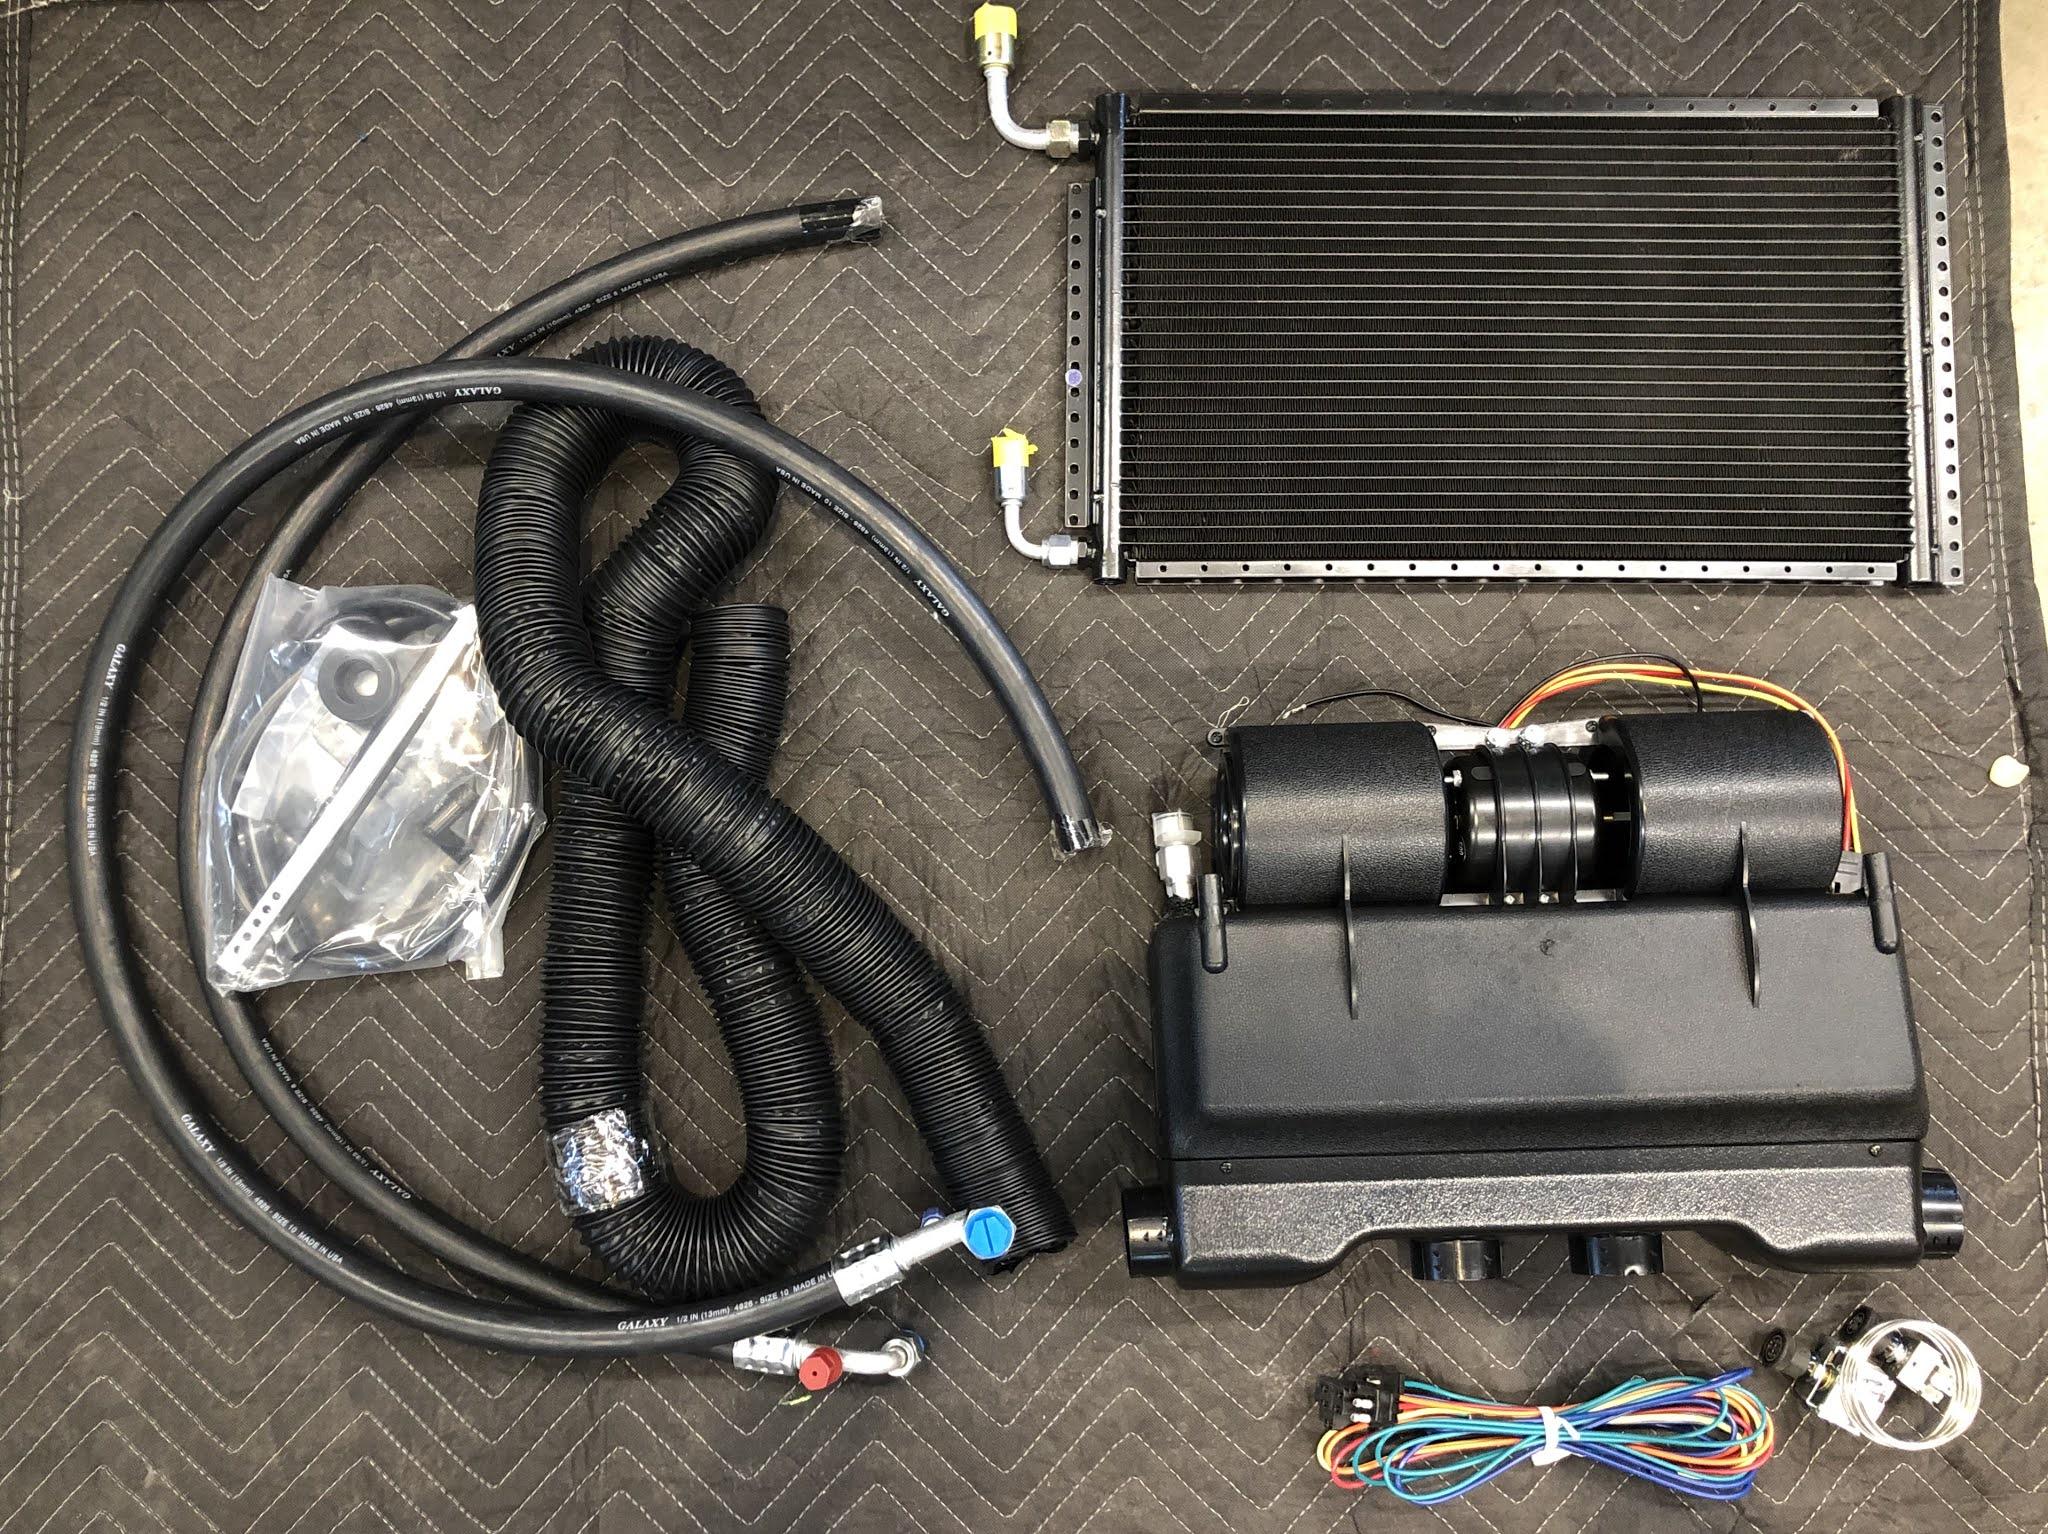
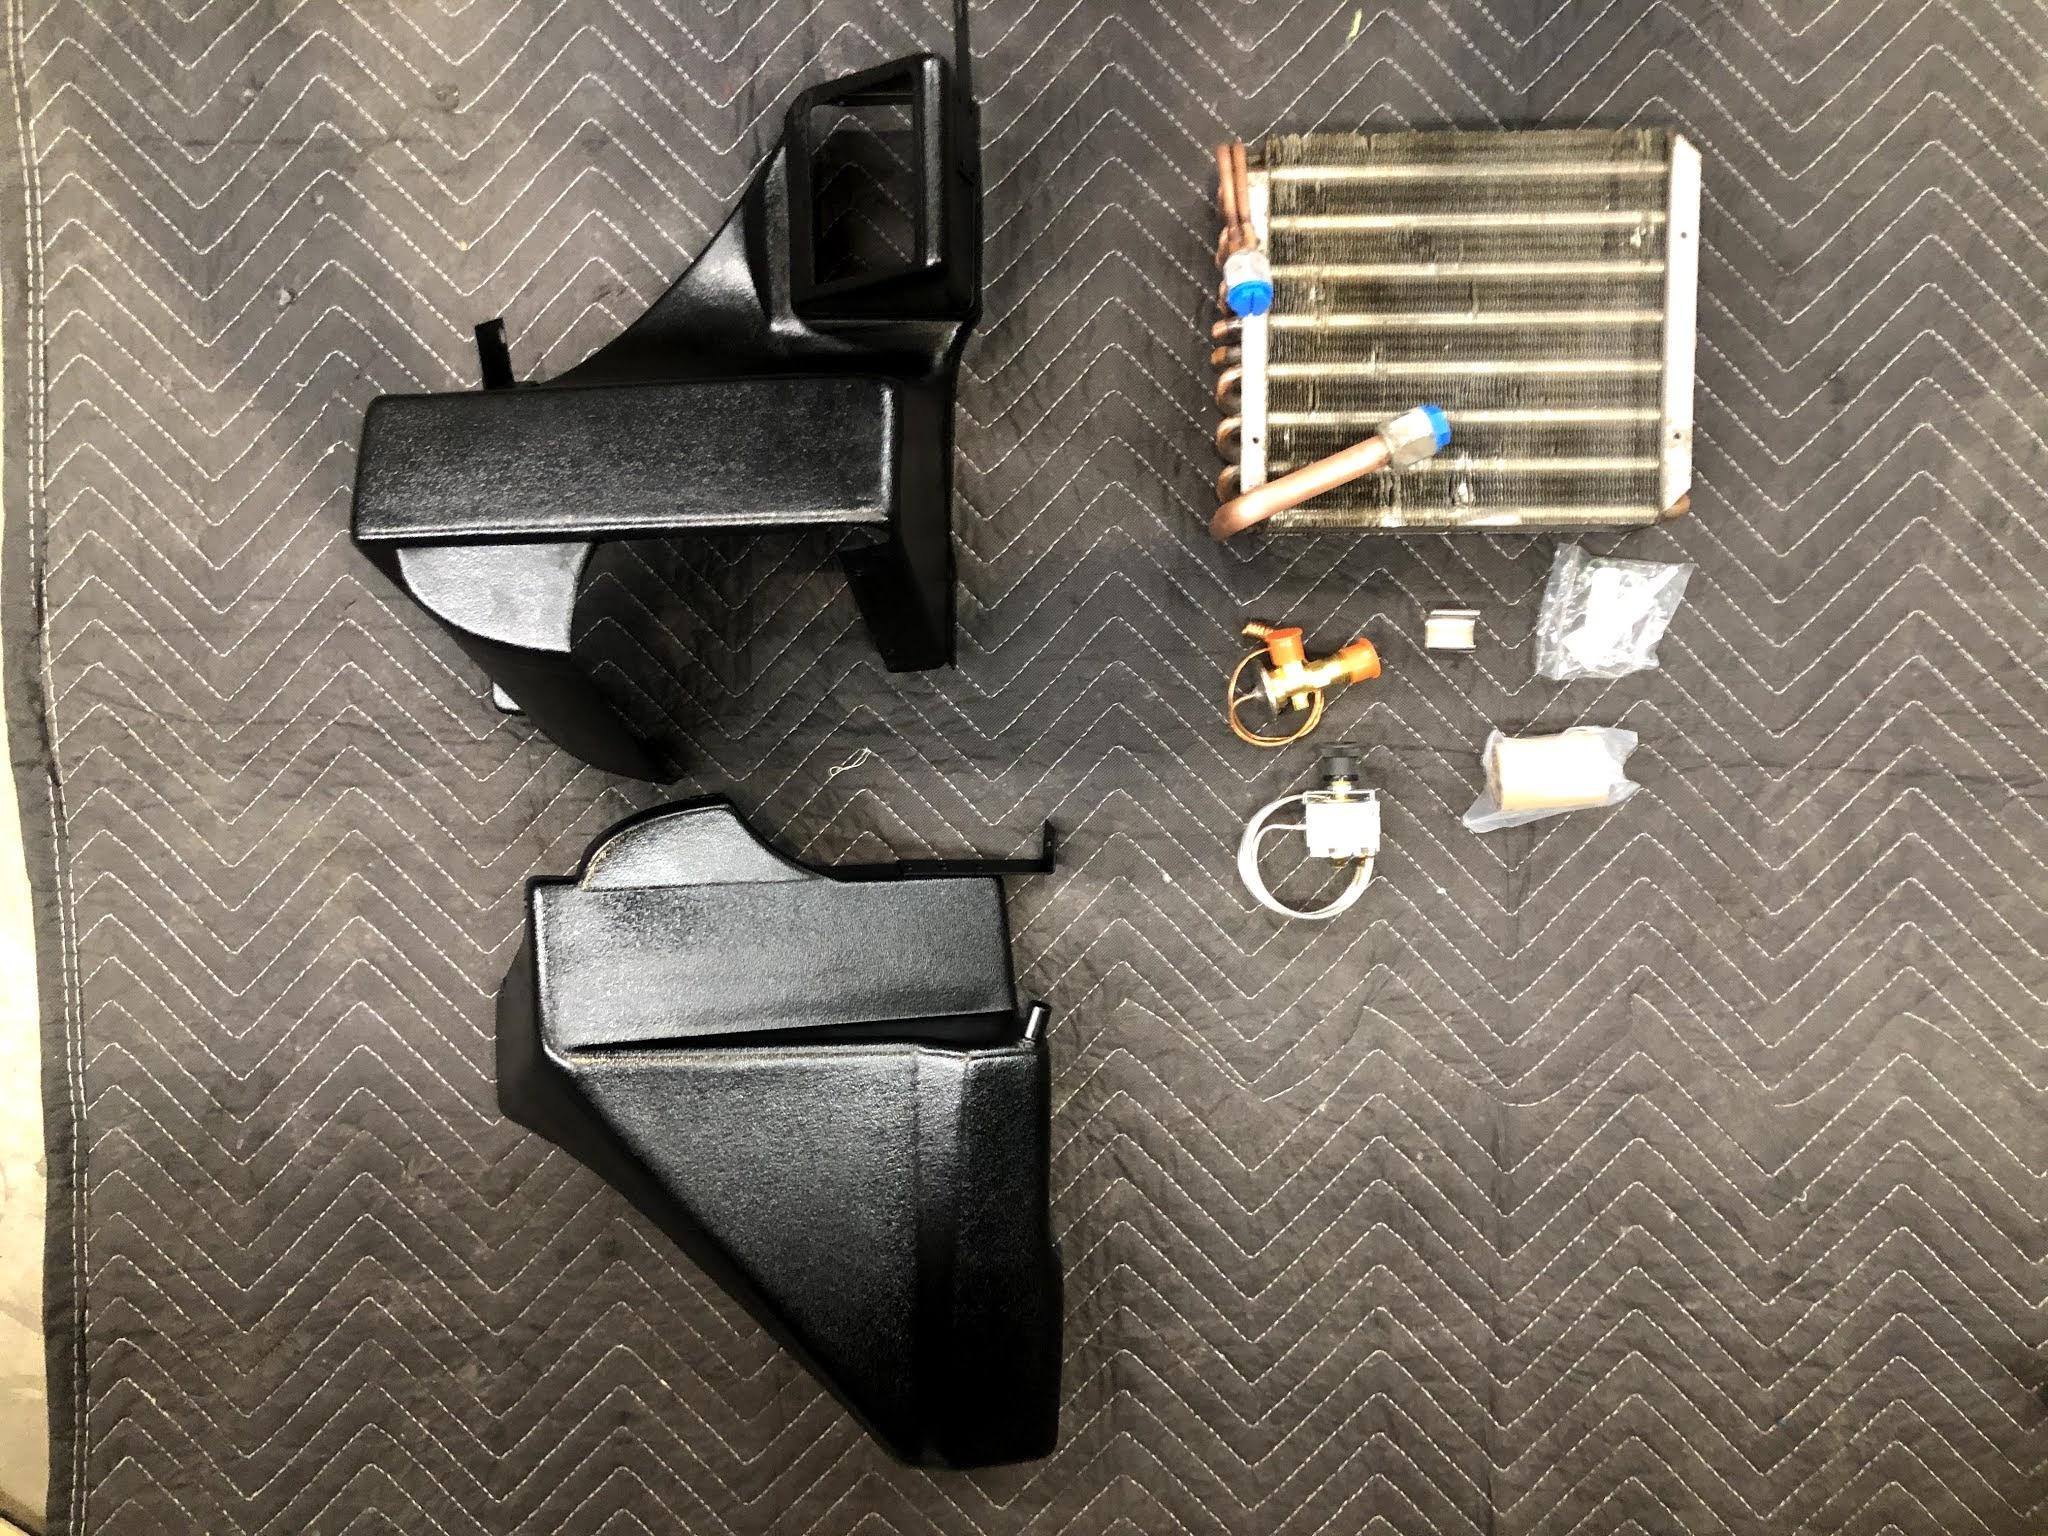
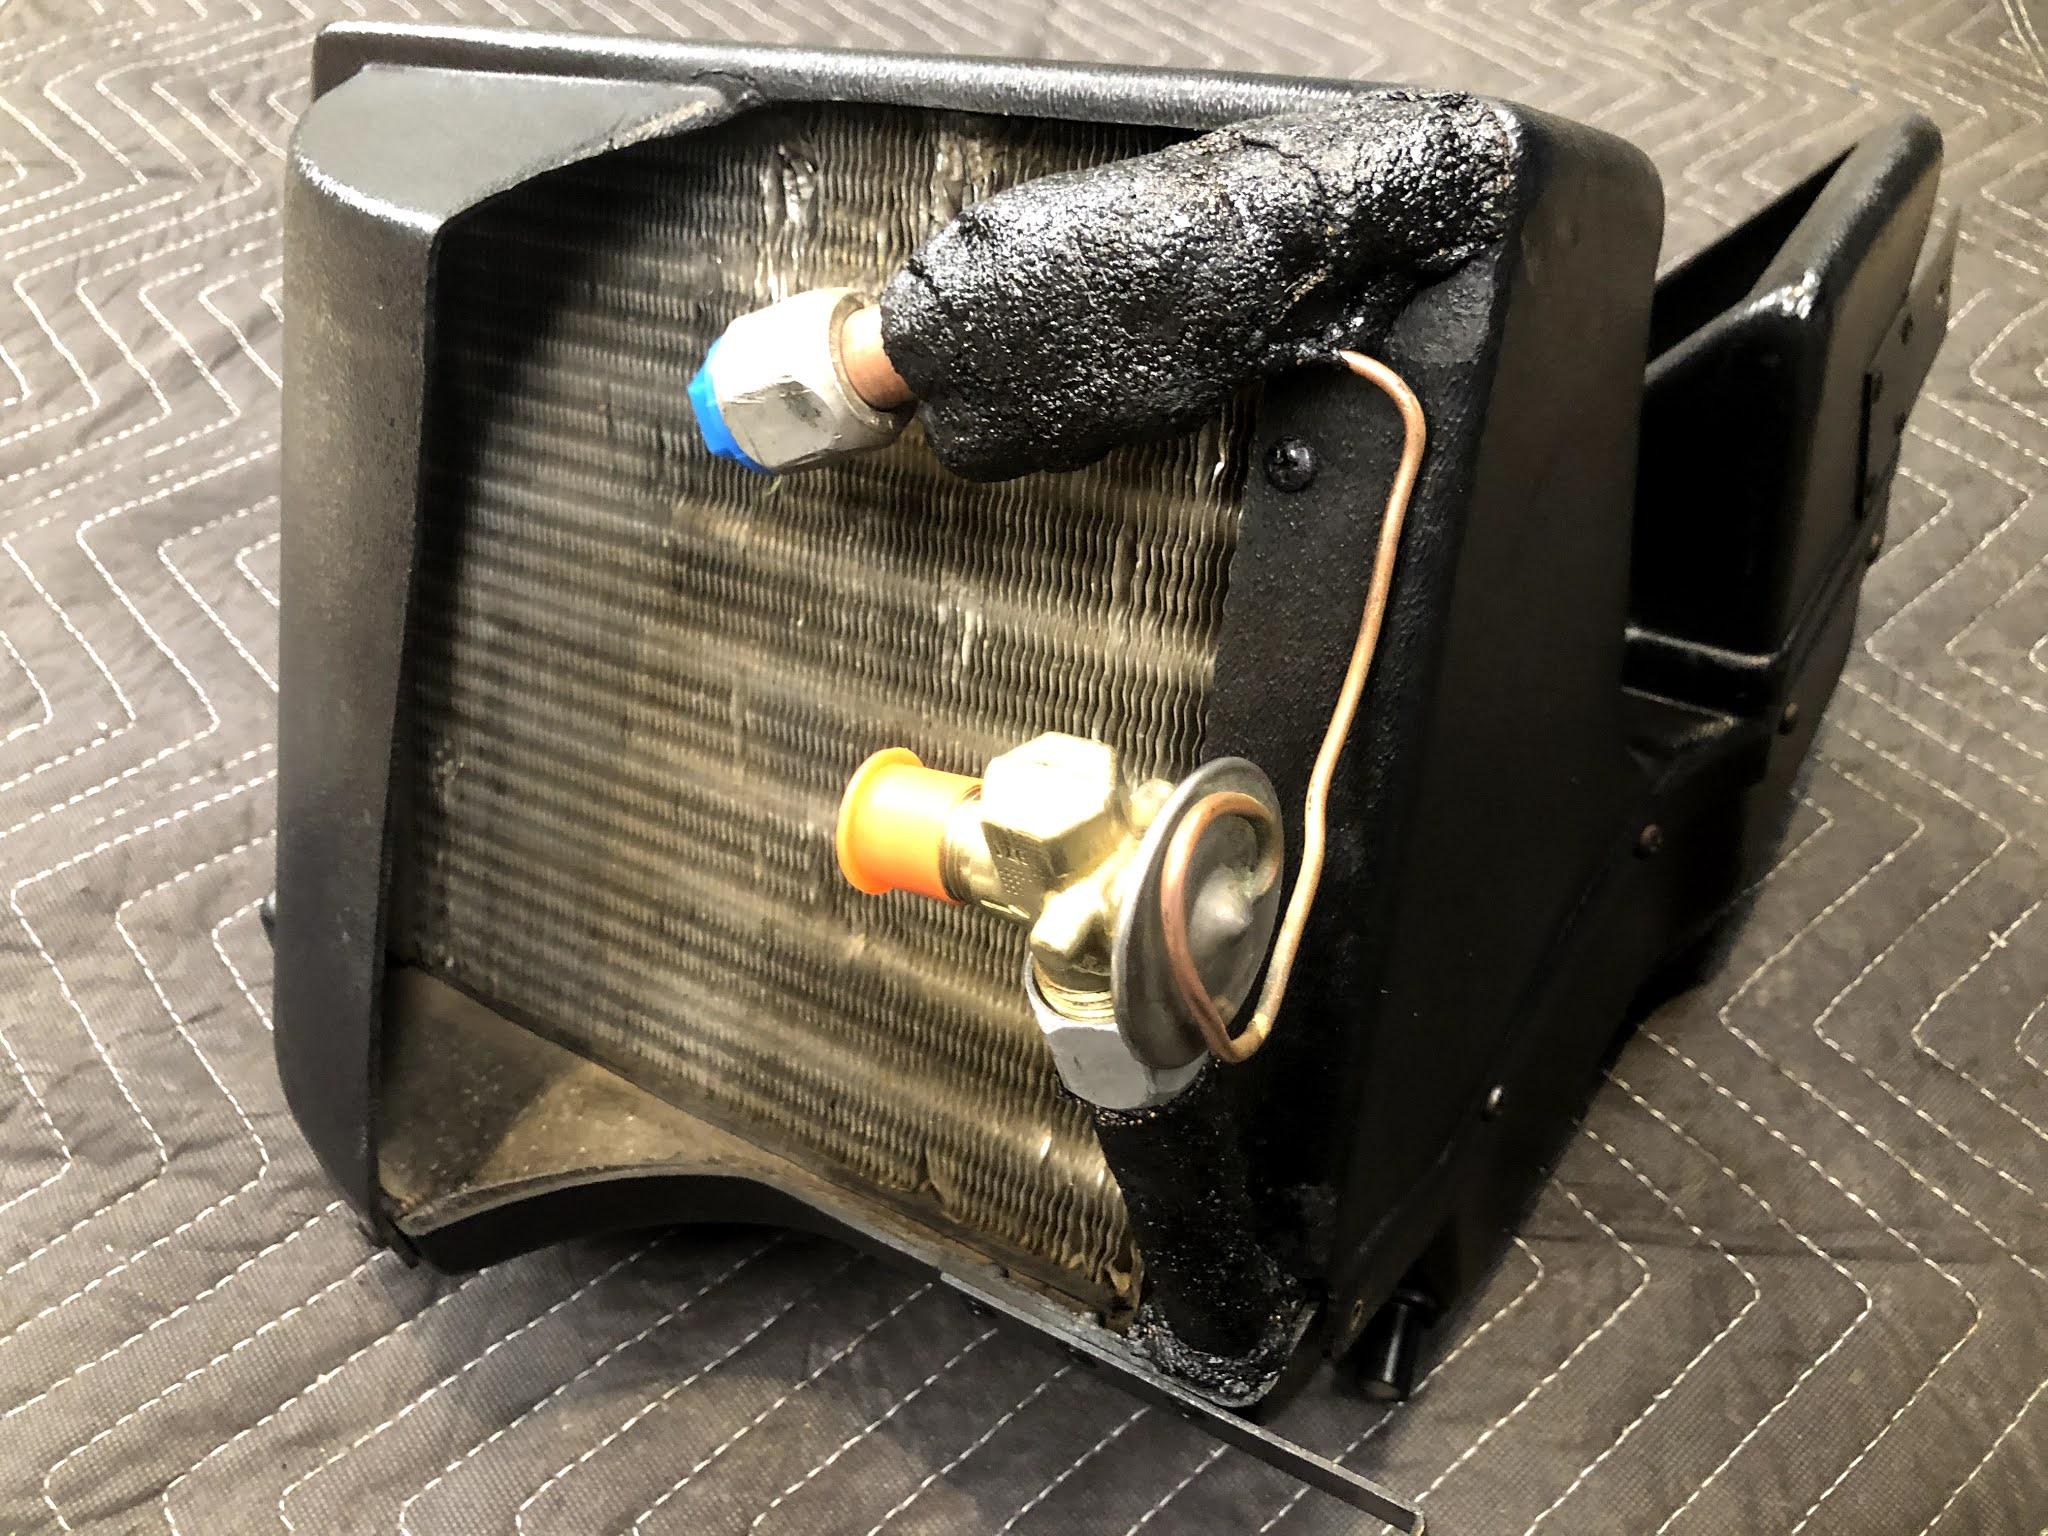
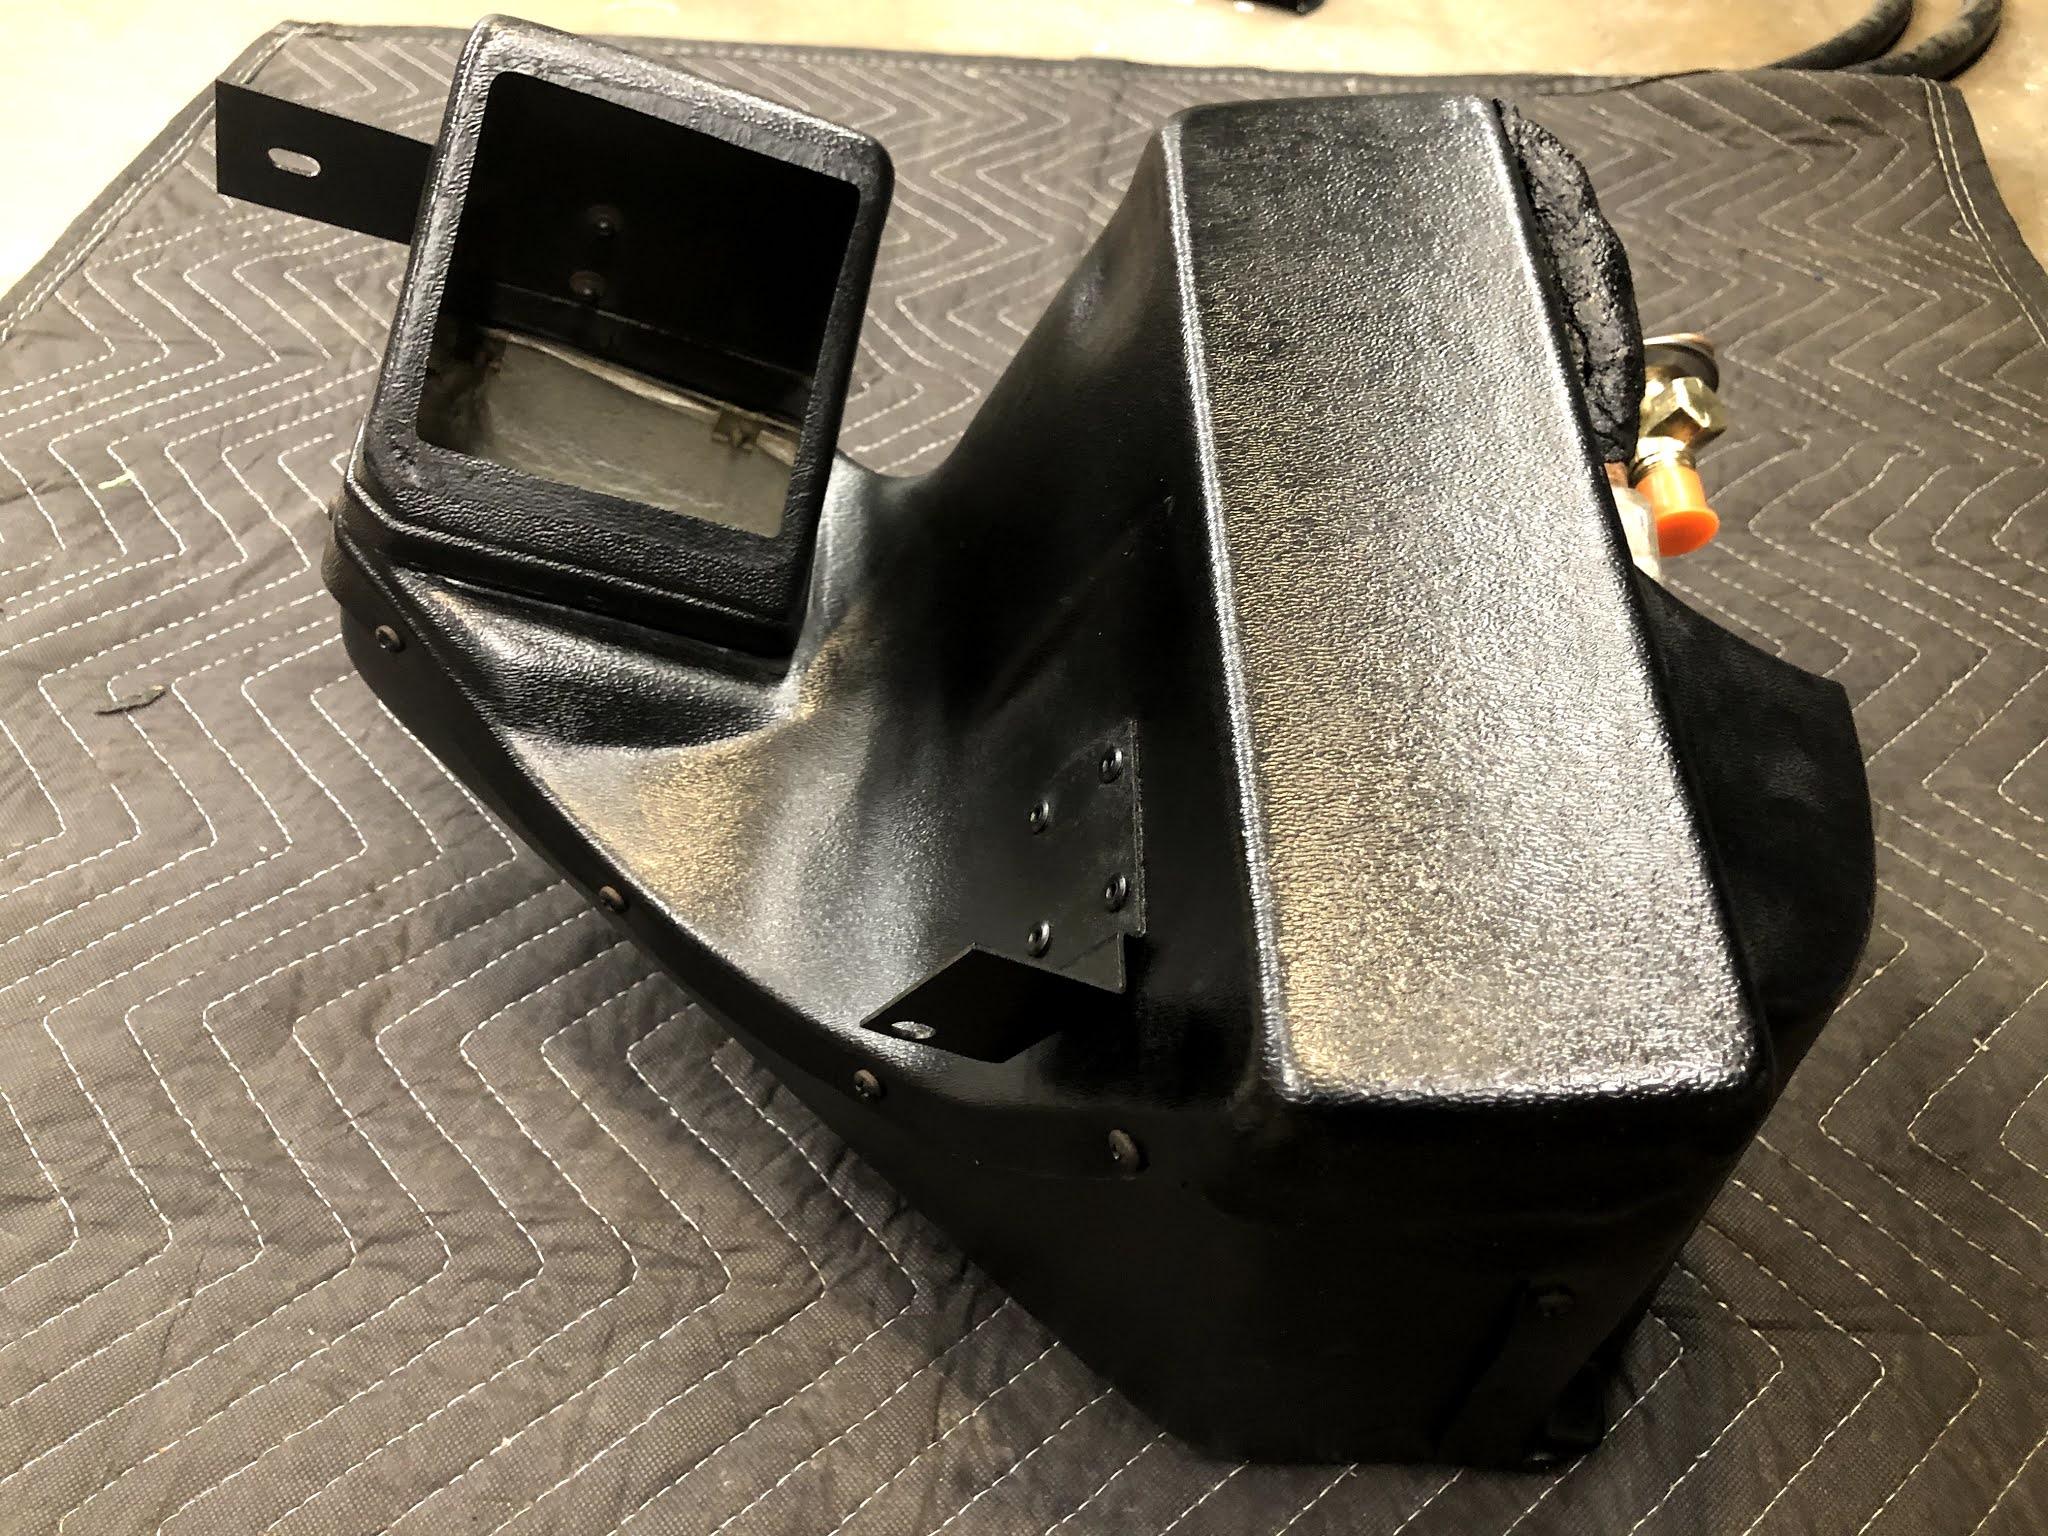
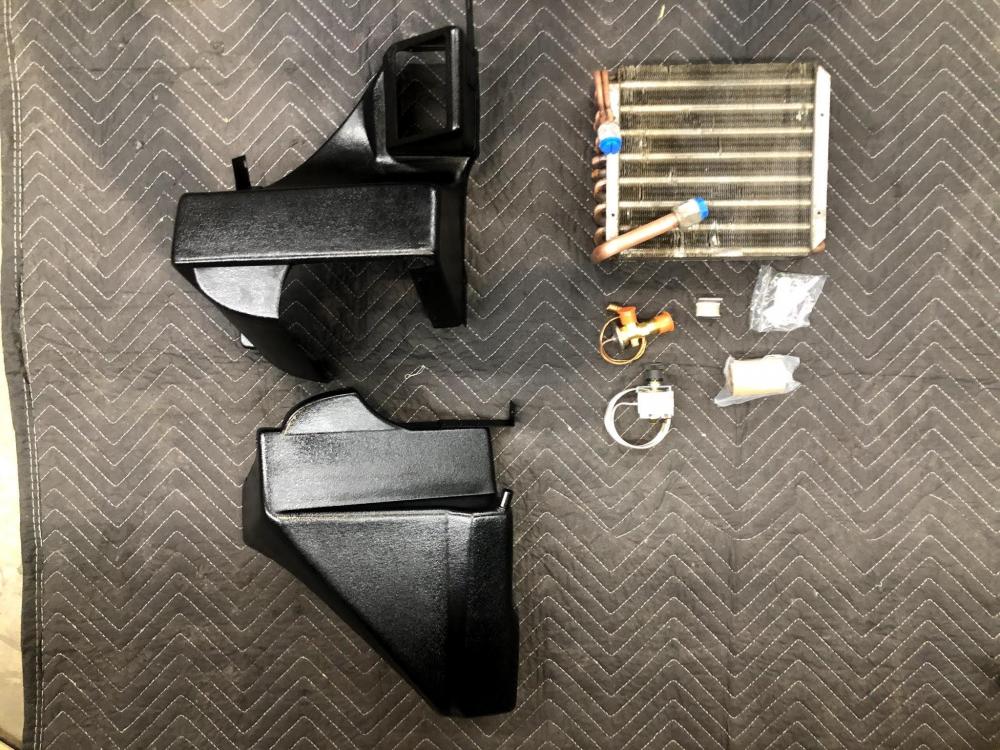
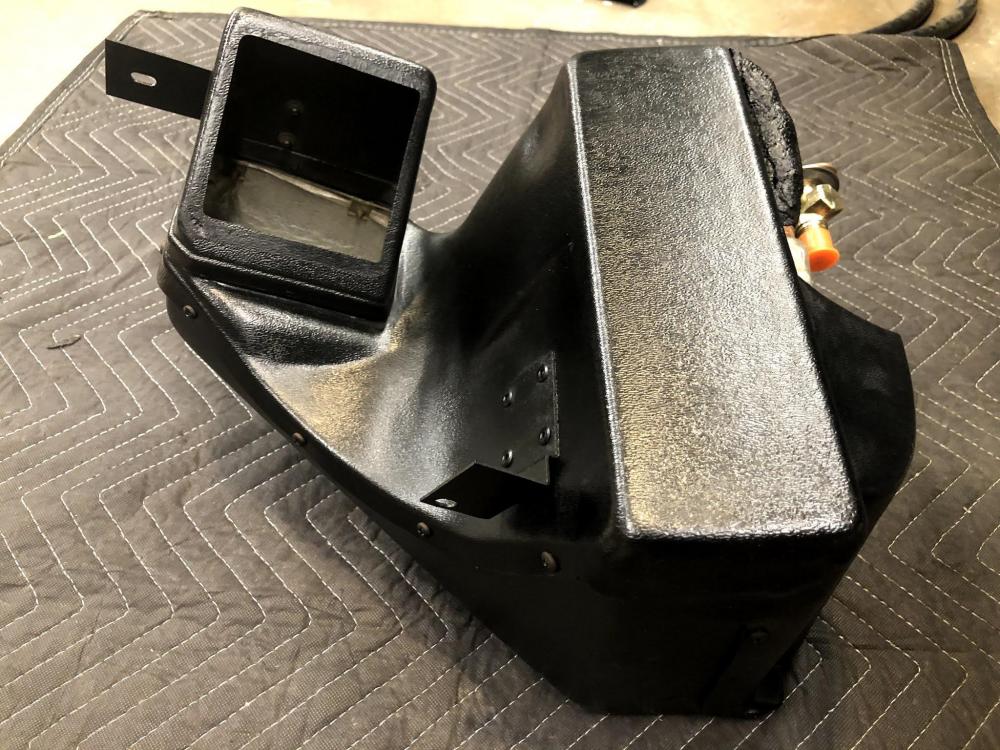
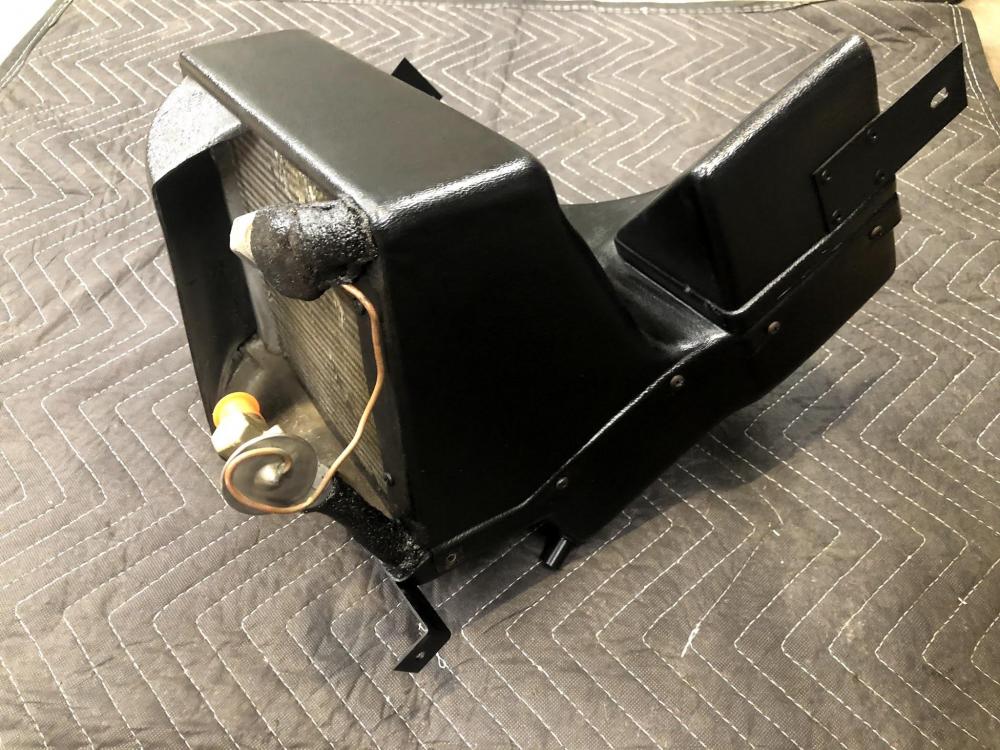
1 pointReceived the AC kit from Auto AC solutions last week and decided to mock it up in the car. Link to the kit we got as reference: Z AC Kit Initially I had high hopes for this kit. From the description on the website it sounded like it was designed specifically for the Z. I wanted a system that was much cleaner than the dealer unit originally installed in the car that had the massive York compressor. This is what came in the kit (AC compressor and mounting brackets not shown - mounted those before snapping this picture) As you can see, the evaporator unit is a massive assembly. I could not figure out how to package it cleanly behind the dash and with the existing HVAC system. Perhaps I was looking at it wrong, but it didn't seem as integrated of a unit as the one removed. The compressor mounting brackets seemed fine, but the hardware provided was useless. Looked like M10X1.5 hardware for the most part, but with mix matched bolt head sizes and thread pitches. Definitely not very well thought out. I will replace all of this will better quality hardware. With the York compressor, all the AC lines and fittings remain on the RH side of the car. With this new system, the compressor is mounted down on the LH side of the engine, similar to the ZX. Now this aspect of the kit I liked, as I didn't want to look at the compressor when I opened the hood. However, the condenser seemed to be setup for the York style of system, with both inlet and outlet ports on the same side of the unit. Again, I don't think this was very well thought out. We'll be able to make it work, but with more effort than I was anticipating. Another feature of this kit is the ability to maintain the smog pump as the AC compressor bracket has holes to relocate it slightly higher up. With all that said, I am pretty disappointed in this kit. Looks like a quality Sanden compressor and some cobbled together off the shelf pieces to make a "kit". With that said, we decided to rebuild the evaporator originally on the car and utilize the new valving, hardware, and fittings so that the under dash appearance was as clean as possible. For someone who is looking to install AC in a Z but retain the factory heater and look, I'd suggest picking up only the engine mounting bracket and compressor. You could easily build the rest of the system yourself, if you can locate an original style evaporator. Pulling the evaporator a part, it was amazingly clean and needed very little to recondition. The plastic housing was split open, cleaned, new seals installed, and painted. The evaporator core itself was thoroughly cleaned externally, checked for leaks, flushed, and vacuumed to ensure no containments were left. We'll leave it plugged until final install.


 1 point
 -
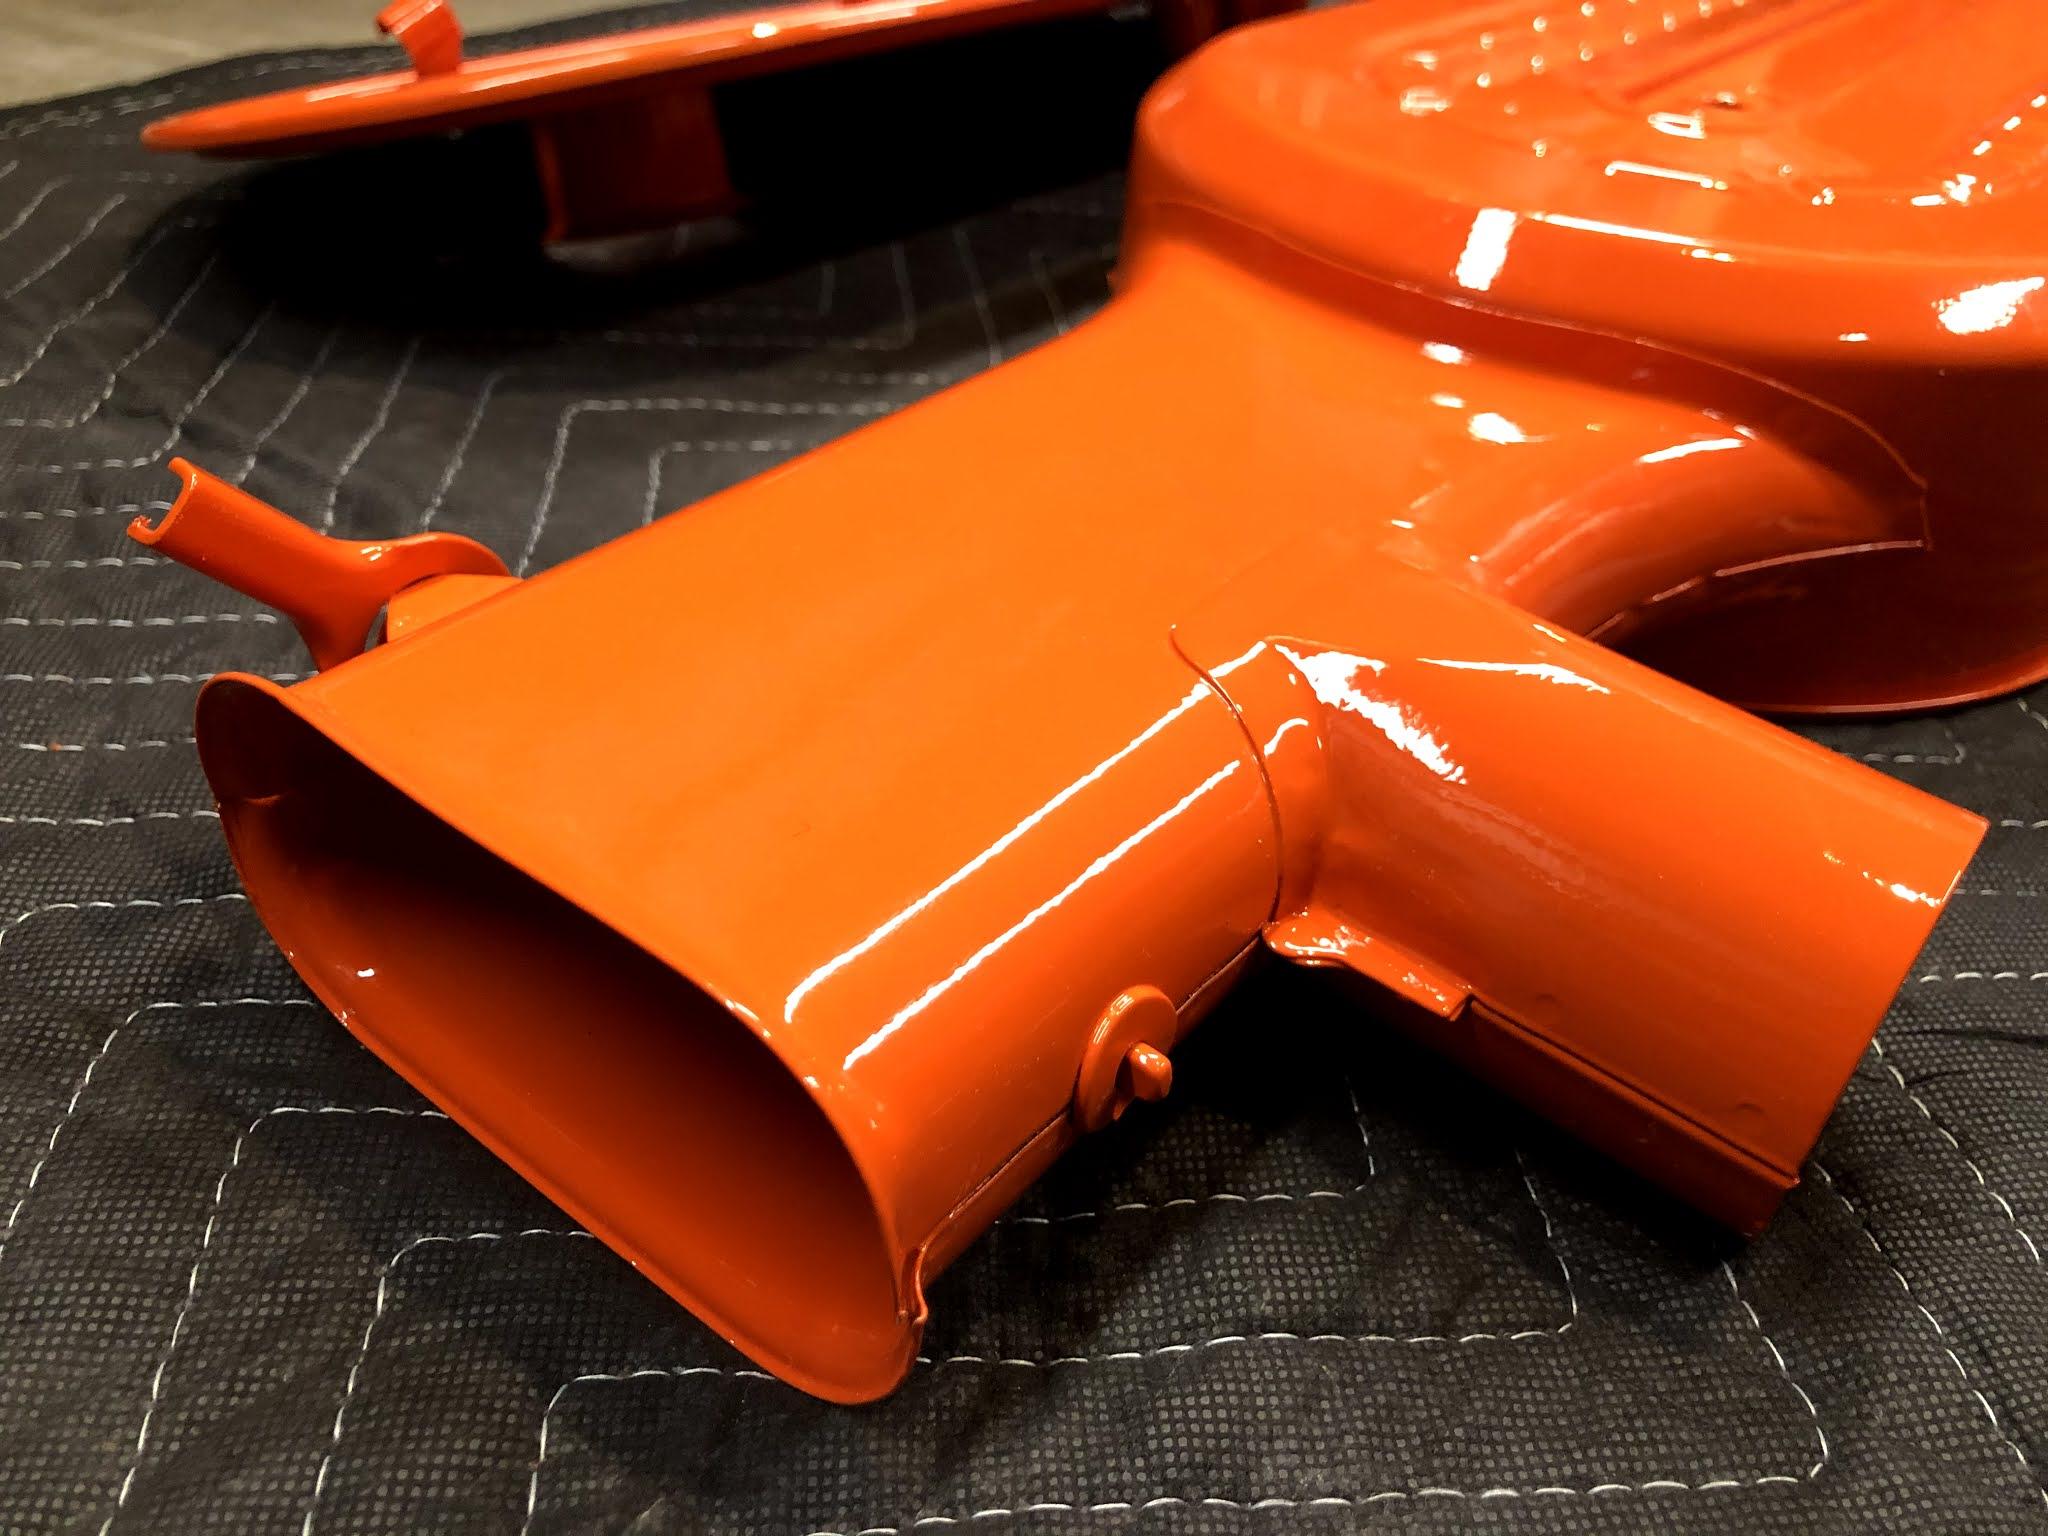
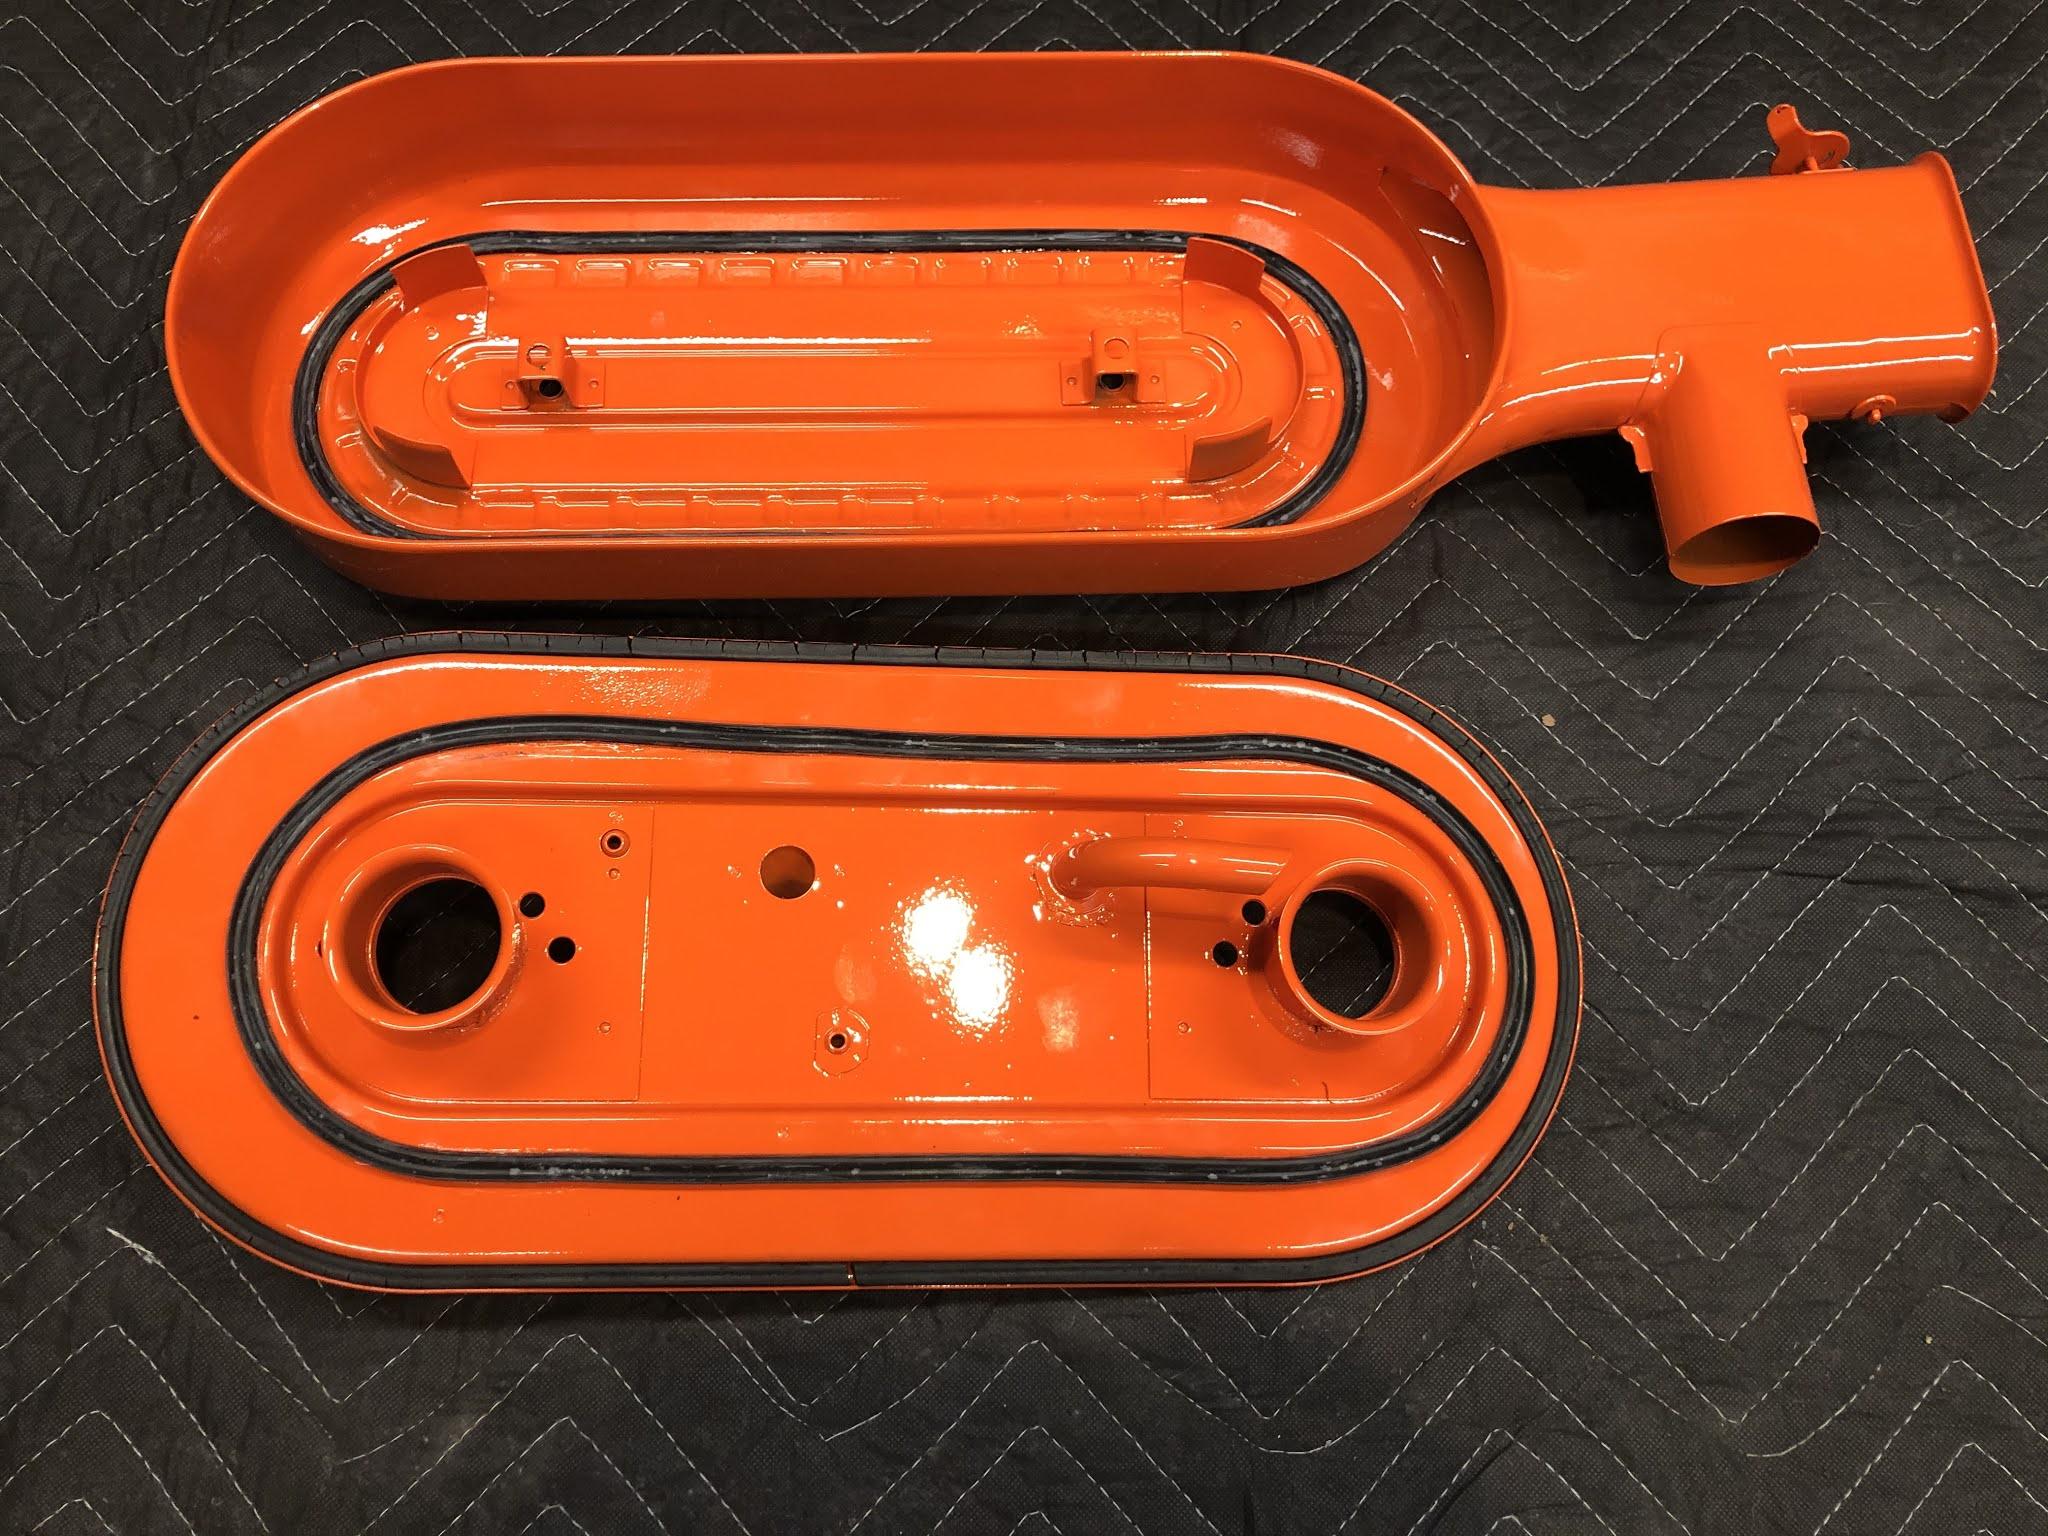
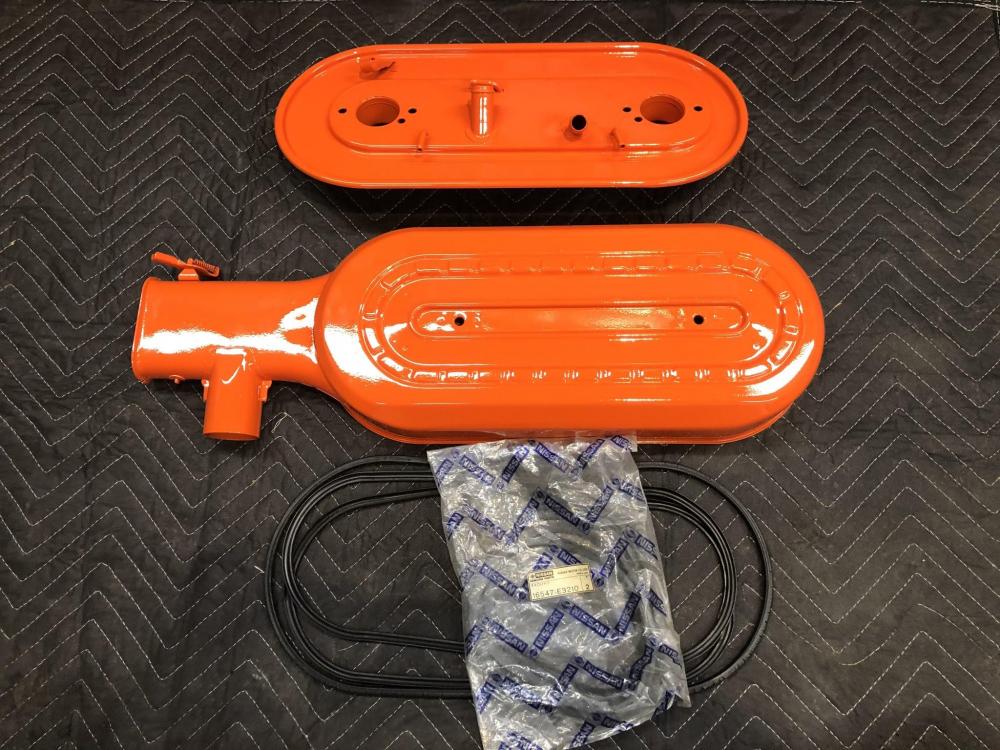
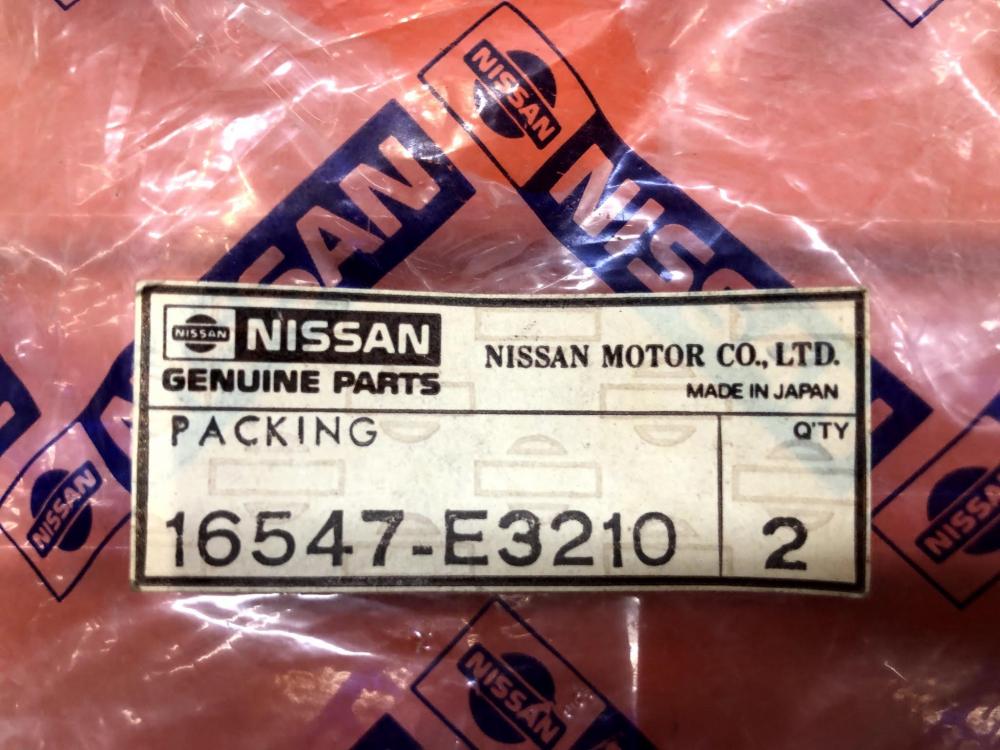
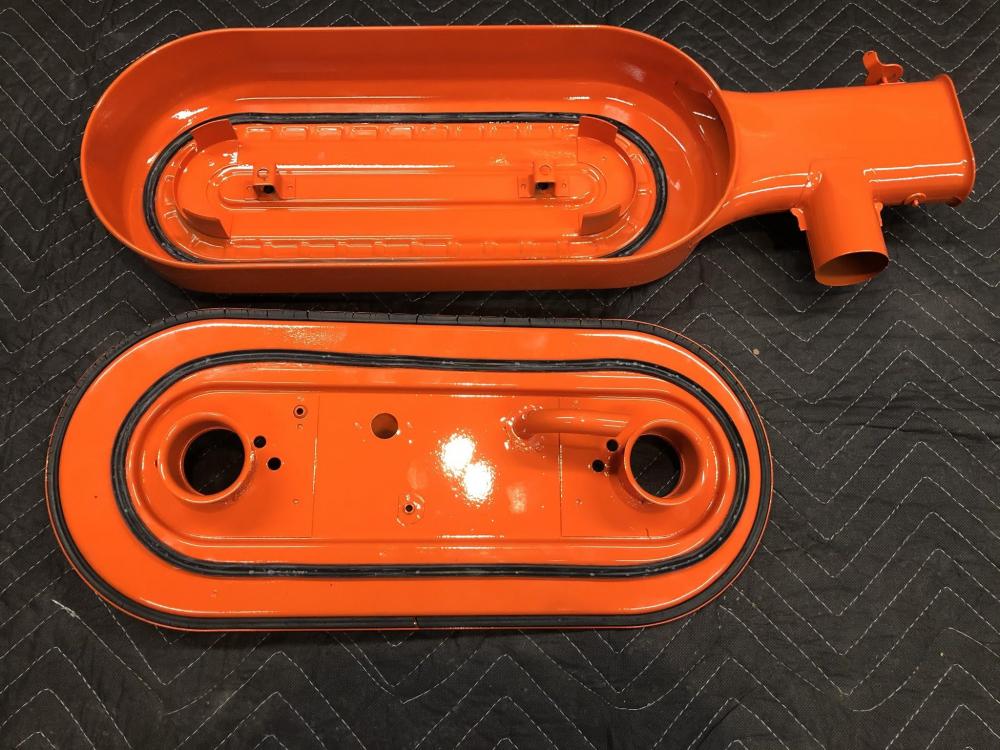
1 pointAnother small restoration project, cleaning up the original air cleaner. During the dustless blasting process we had both pieces of the air clean blasted, coated with a DTM, and then finished in the correct shade of orange. In my stash of parts was a set of NOS air cleaner gaskets. Once the correct stickers arrive this assembly will be ready for install.

 1 point
 -
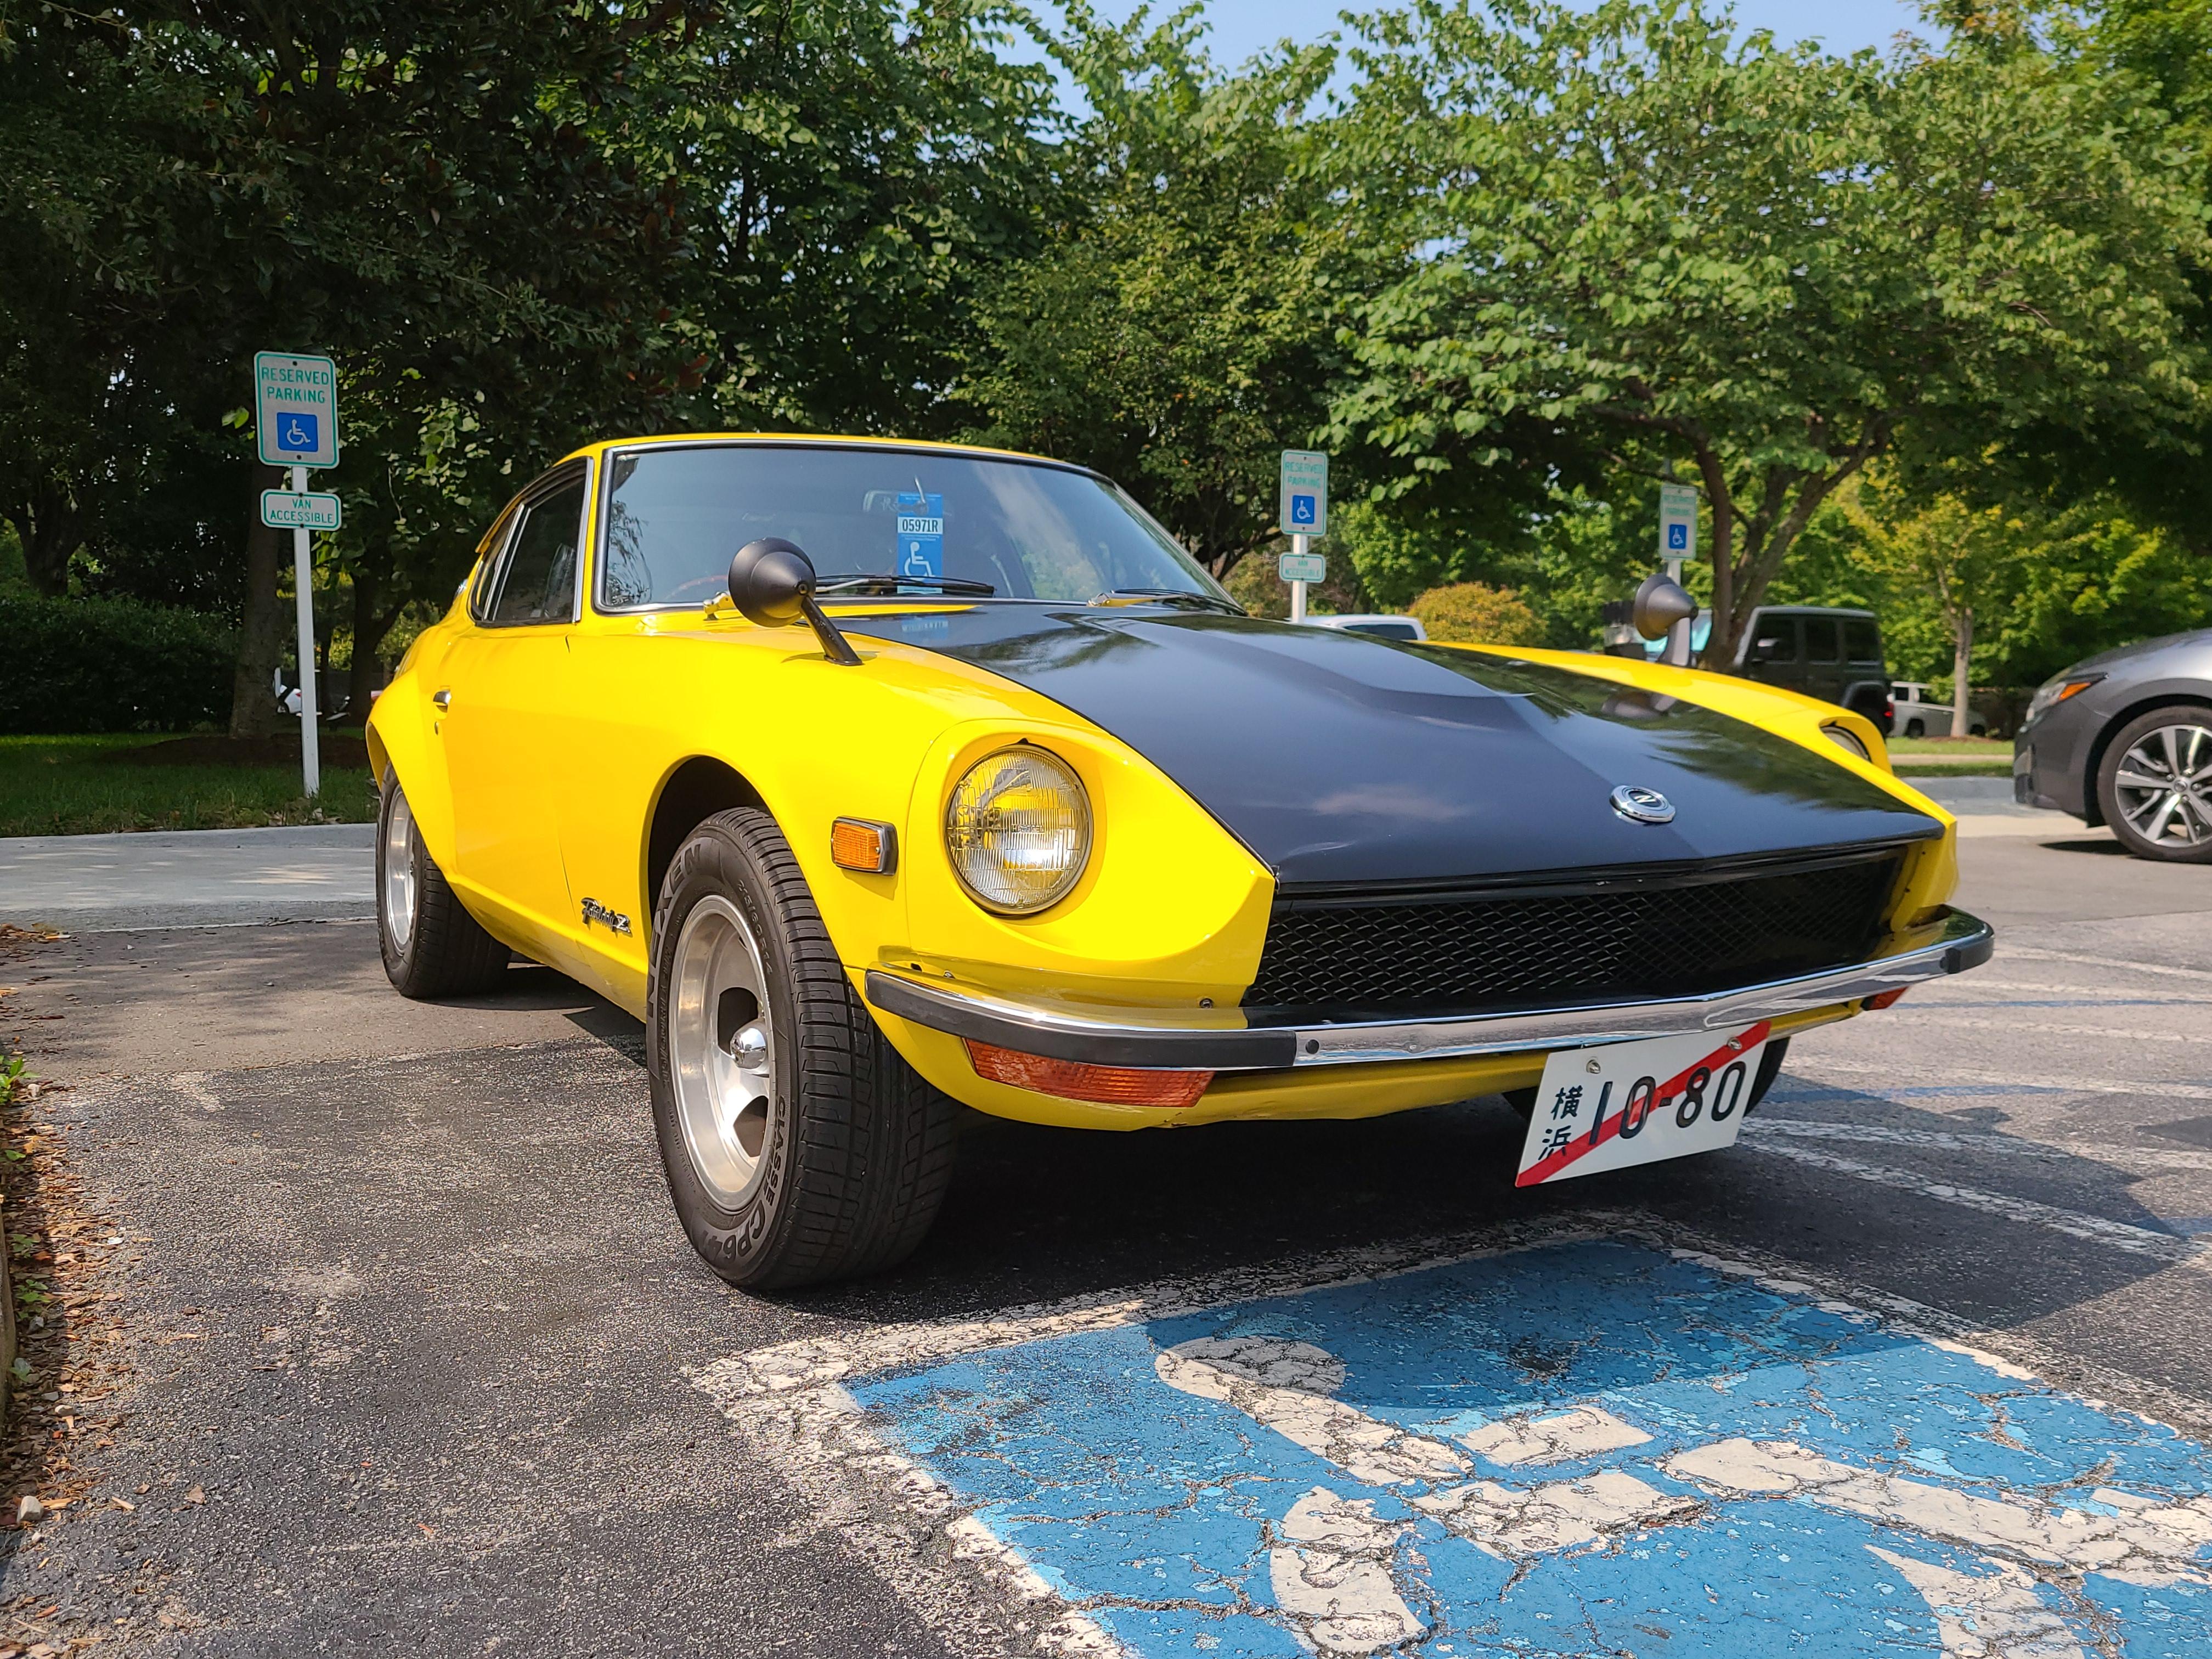
 1 pointI am fortunate to have this tire clamp for my 1970 Nissan Fairlady Z.
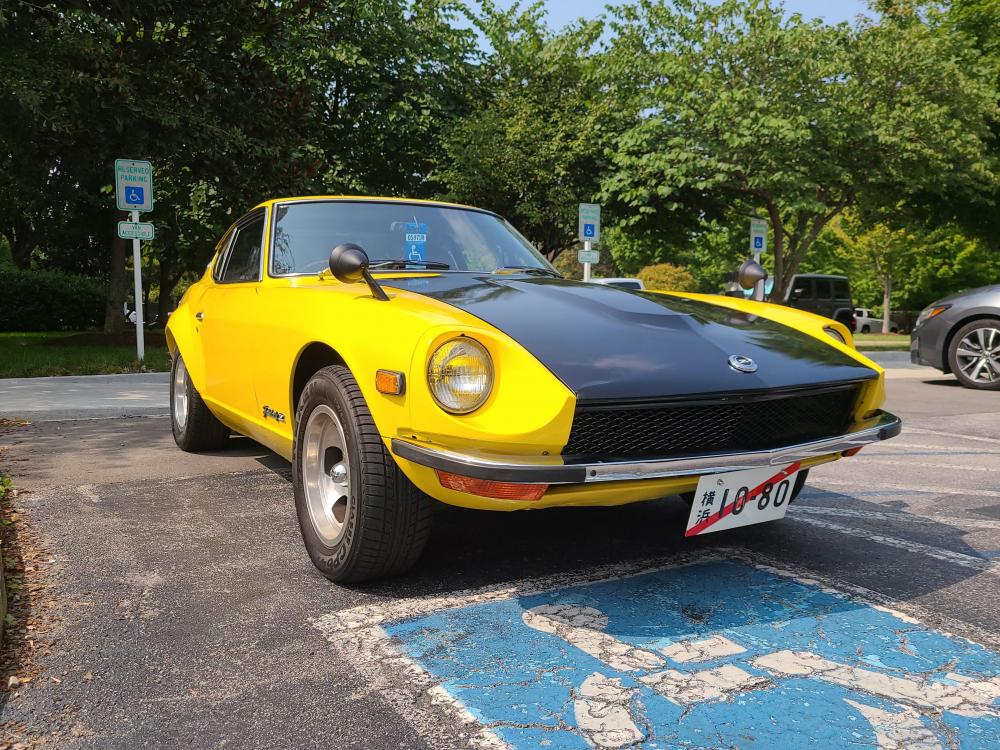
 1 point