


Leaderboard
-

z8987
 Subscriber
 16Points348Posts
 -

ETI4K
Free Member4Points382Posts -

Barefootdan
Free Member2Points275Posts -


Av8ferg
Free Member2Points1,538Posts
Popular Content
Showing content with the highest reputation on 01/19/2022 in all areas
-
3 points
-
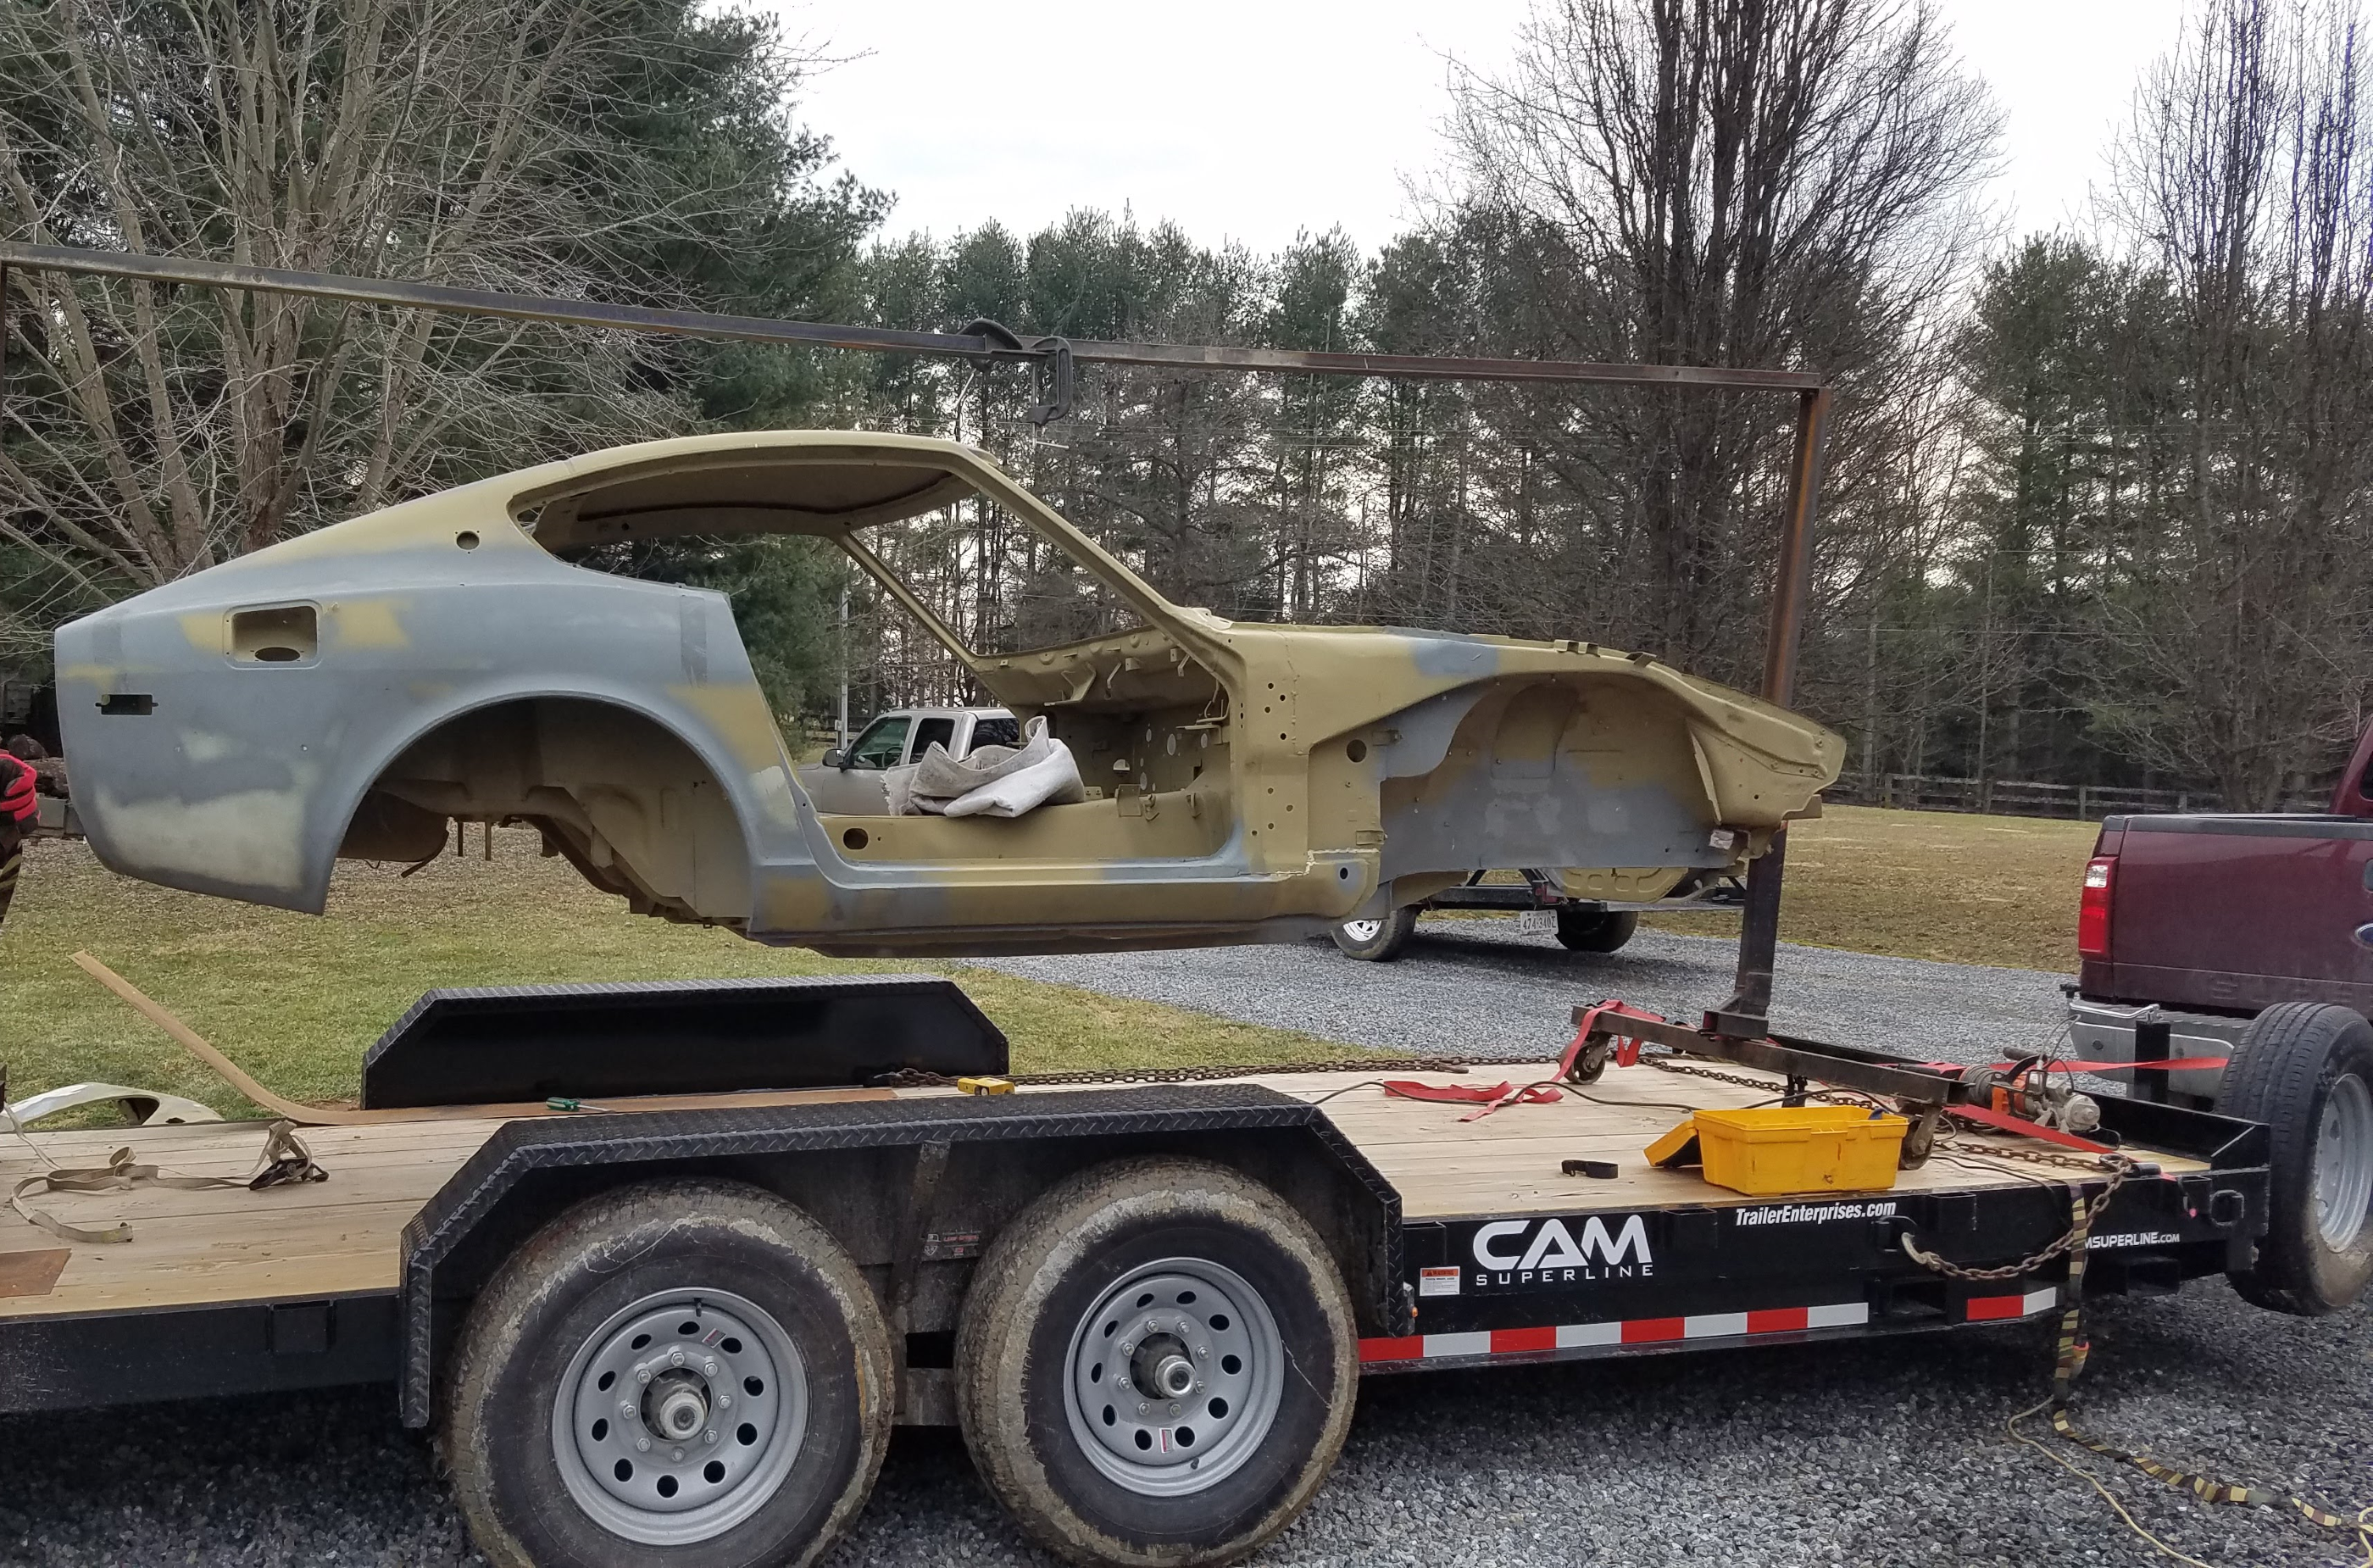
3 pointsWow! It's almost unbelievable to see one in that condition. That is indeed quite a find. Congratulations.3 points
-
2 points2 points
 2 pointsSomething about “Thou shalt not covet thy neighbor’s Datsun….” comes to mind, but… I’m coveting like crazy here. Nice find indeed!2 points
 I don't have any adbockers, up to date Chrome on Windows 10, newish computer, but CZCC often takes forever to load a page, and is even timing out now at times. Sometimes reloading while the little wheel is spinning helps, other times it just starts a new spinning wheel. Seems like it has to be some sort of tracking or history extraction Google thing going on. Edit - adding a @Mike . It seems like a complaint but it has to be reducing traffic on the site. Which is bad for everybody.1 point
 1 pointI swapped my 260Z to headers, and it wasn't for any performance gains. I had a massive exhaust leak that turned out to be from a huge crack in the exhaust manifold. You can see photos here: https://fiddlingwithzcars.wordpress.com/intake-and-exhaust/ I also had to replace the gasket on my 240Z not that long ago because I had the engine worked on 25 years ago, and I didn't know to re-check the snugness of the nuts on the manifold. Heck, there were even a couple of missing studs. With the low mileage I've put on the 240Z, the studs were no problem. On my 260Z, a good mechanic worked on the car a few years prior and fixed a broken stud. Again, there were no headaches for me. Sometimes it's better to be lucky than good. If it seems too daunting, there are a couple of really good Z wrenches in Virginia. Eiji Hosami has Datsun Spirit in the DC area, and Todd Wagner runs Tidewater Z Auto Service near Newport News. https://datsunspirit.com/ https://tidewaterz.com/1 point
 1 point
Since the gasket for the intake and exhaust are combined, yes, you need to remove both so you can replace the gasket. Headers need a thicker gasket. A friend of mine who has worked on Z cars for 30+ years uses 2 gaskets with plenty of Ultra Copper spray to hold them together to seal. Check for a flat mating surface on the header to reduce the opportunities for leaks. Have new studs available. Be prepared for studs to break, especially any near the exhaust. You can get studs from Motorsport Auto (http://www.zcarparts.com/) sold as a kit or from ZCarDepot (https://zcardepot.com/) sold individually. I purchased JIS style M8 nuts from Bel-Metric since the Motorsport Auto kit had the wrong M8 nuts in their stud kit (I actually bought a lot of those nuts for various applications on both of my Zs.). The MSA kit does include spacers, so that is nice. You'll need to plug the EGR on the intake since you won't have exhaust gas coming up from the exhaust manifold anymore.1 point
1 pointThanks @Av8ferg! I will totally print up a set of the bumper plates. One thing I am wondering is, are all bumper cut outs the same size? I only have my '75 to measure. If you get a chance, can you let me know the dimensions of one larger and one of the smaller cutouts? Just want to make sure before I send something that doesnt fit 🙂1 point
1 point
1 pointSince the gasket for the intake and exhaust are combined, yes, you need to remove both so you can replace the gasket. Headers need a thicker gasket. A friend of mine who has worked on Z cars for 30+ years uses 2 gaskets with plenty of Ultra Copper spray to hold them together to seal. Check for a flat mating surface on the header to reduce the opportunities for leaks. Have new studs available. Be prepared for studs to break, especially any near the exhaust. You can get studs from Motorsport Auto (http://www.zcarparts.com/) sold as a kit or from ZCarDepot (https://zcardepot.com/) sold individually. I purchased JIS style M8 nuts from Bel-Metric since the Motorsport Auto kit had the wrong M8 nuts in their stud kit (I actually bought a lot of those nuts for various applications on both of my Zs.). The MSA kit does include spacers, so that is nice. You'll need to plug the EGR on the intake since you won't have exhaust gas coming up from the exhaust manifold anymore.1 point
1 pointThanks @Av8ferg! I will totally print up a set of the bumper plates. One thing I am wondering is, are all bumper cut outs the same size? I only have my '75 to measure. If you get a chance, can you let me know the dimensions of one larger and one of the smaller cutouts? Just want to make sure before I send something that doesnt fit 🙂1 point 1 pointHere are a few places that popped up with a Google search. https://www.zeddsaver.com/collections/datsun-z-car-id-plates http://www.zzxdatsun.com/catDecals.php https://www.datsunpartz.com/search/vin-plate?cookies_currency=USD¤cy=USD&dss=true&price_max=3000&price_min=&search=vin+plate&sort=name https://www.datsunspares.com/en/spare-parts/itemlist/category/3-datsun-body-plates1 point
 1 point
 Yes you were hihihi... Yeah, but often the harness is in bad or very bad condition after all those years.. (The harness i'm talking about has been in a dutch car for 15 years (about) and is in a box for over 25 years.. I like to keep it for the numerous connectors that are in there. Often very specific ones not found on the market easely.) Later on i googled Dieppe again.. and yeah.. i now got Canada also! (It looked like it was in the netherlands and in France..) Keep us posted with some pics of your progress!1 point
 Hi and thanks for your proposed solution. However, I do have the original harness for the car so this bit I have. My problem is I have to split and take out all the non-necessary wiring out of my harness and re-wrap. This is probably my only option...I was wishfully thinking that some manufacturer would ahve the proper harness designed for a RB25 DET swap for the Z but I was being wishful or Naive. Thanks for your interest in the project. I am in New-Brunswick Canada (east coast) and one of my sales person for my company is Dutch (Go Verstappen !) Bruno1 point
1 pointDo you know if he disassembles and renews the internal components like the valve seat and seal? Can you attach his contact info?1 point
1 pointDan this is an awesome post. If my wife walked in and saw what you did to the dinning room table…..oh boy would it be a bad day for me. I once’s used the oven to back some high temp painted engine parts and she about shot me for that, never saw it the act but smelled it upon coming home BTW. I have a couple extra stock wire harnesses that connect from the harness behind the dash to the center counsel. If you need one let me know. Got them incase I had issues with the connectors on mine. Any chance you’d be willing to print up a set of rear bumper plates. Something I thought about but don’t have a printer. Sent from my iPhone using Tapatalk1 point
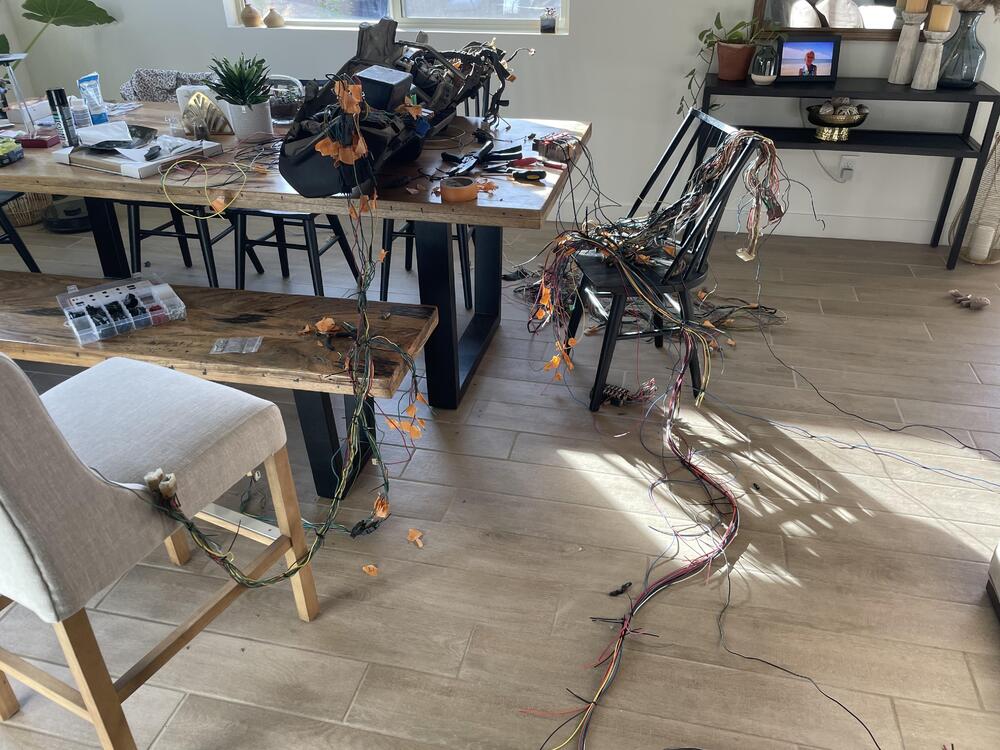
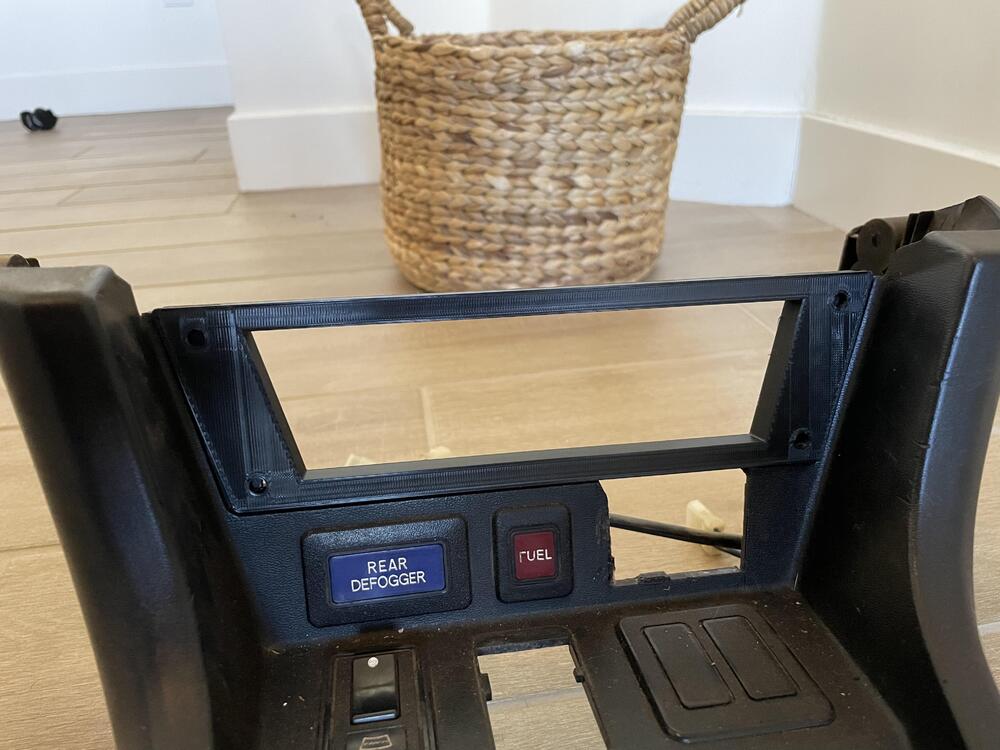
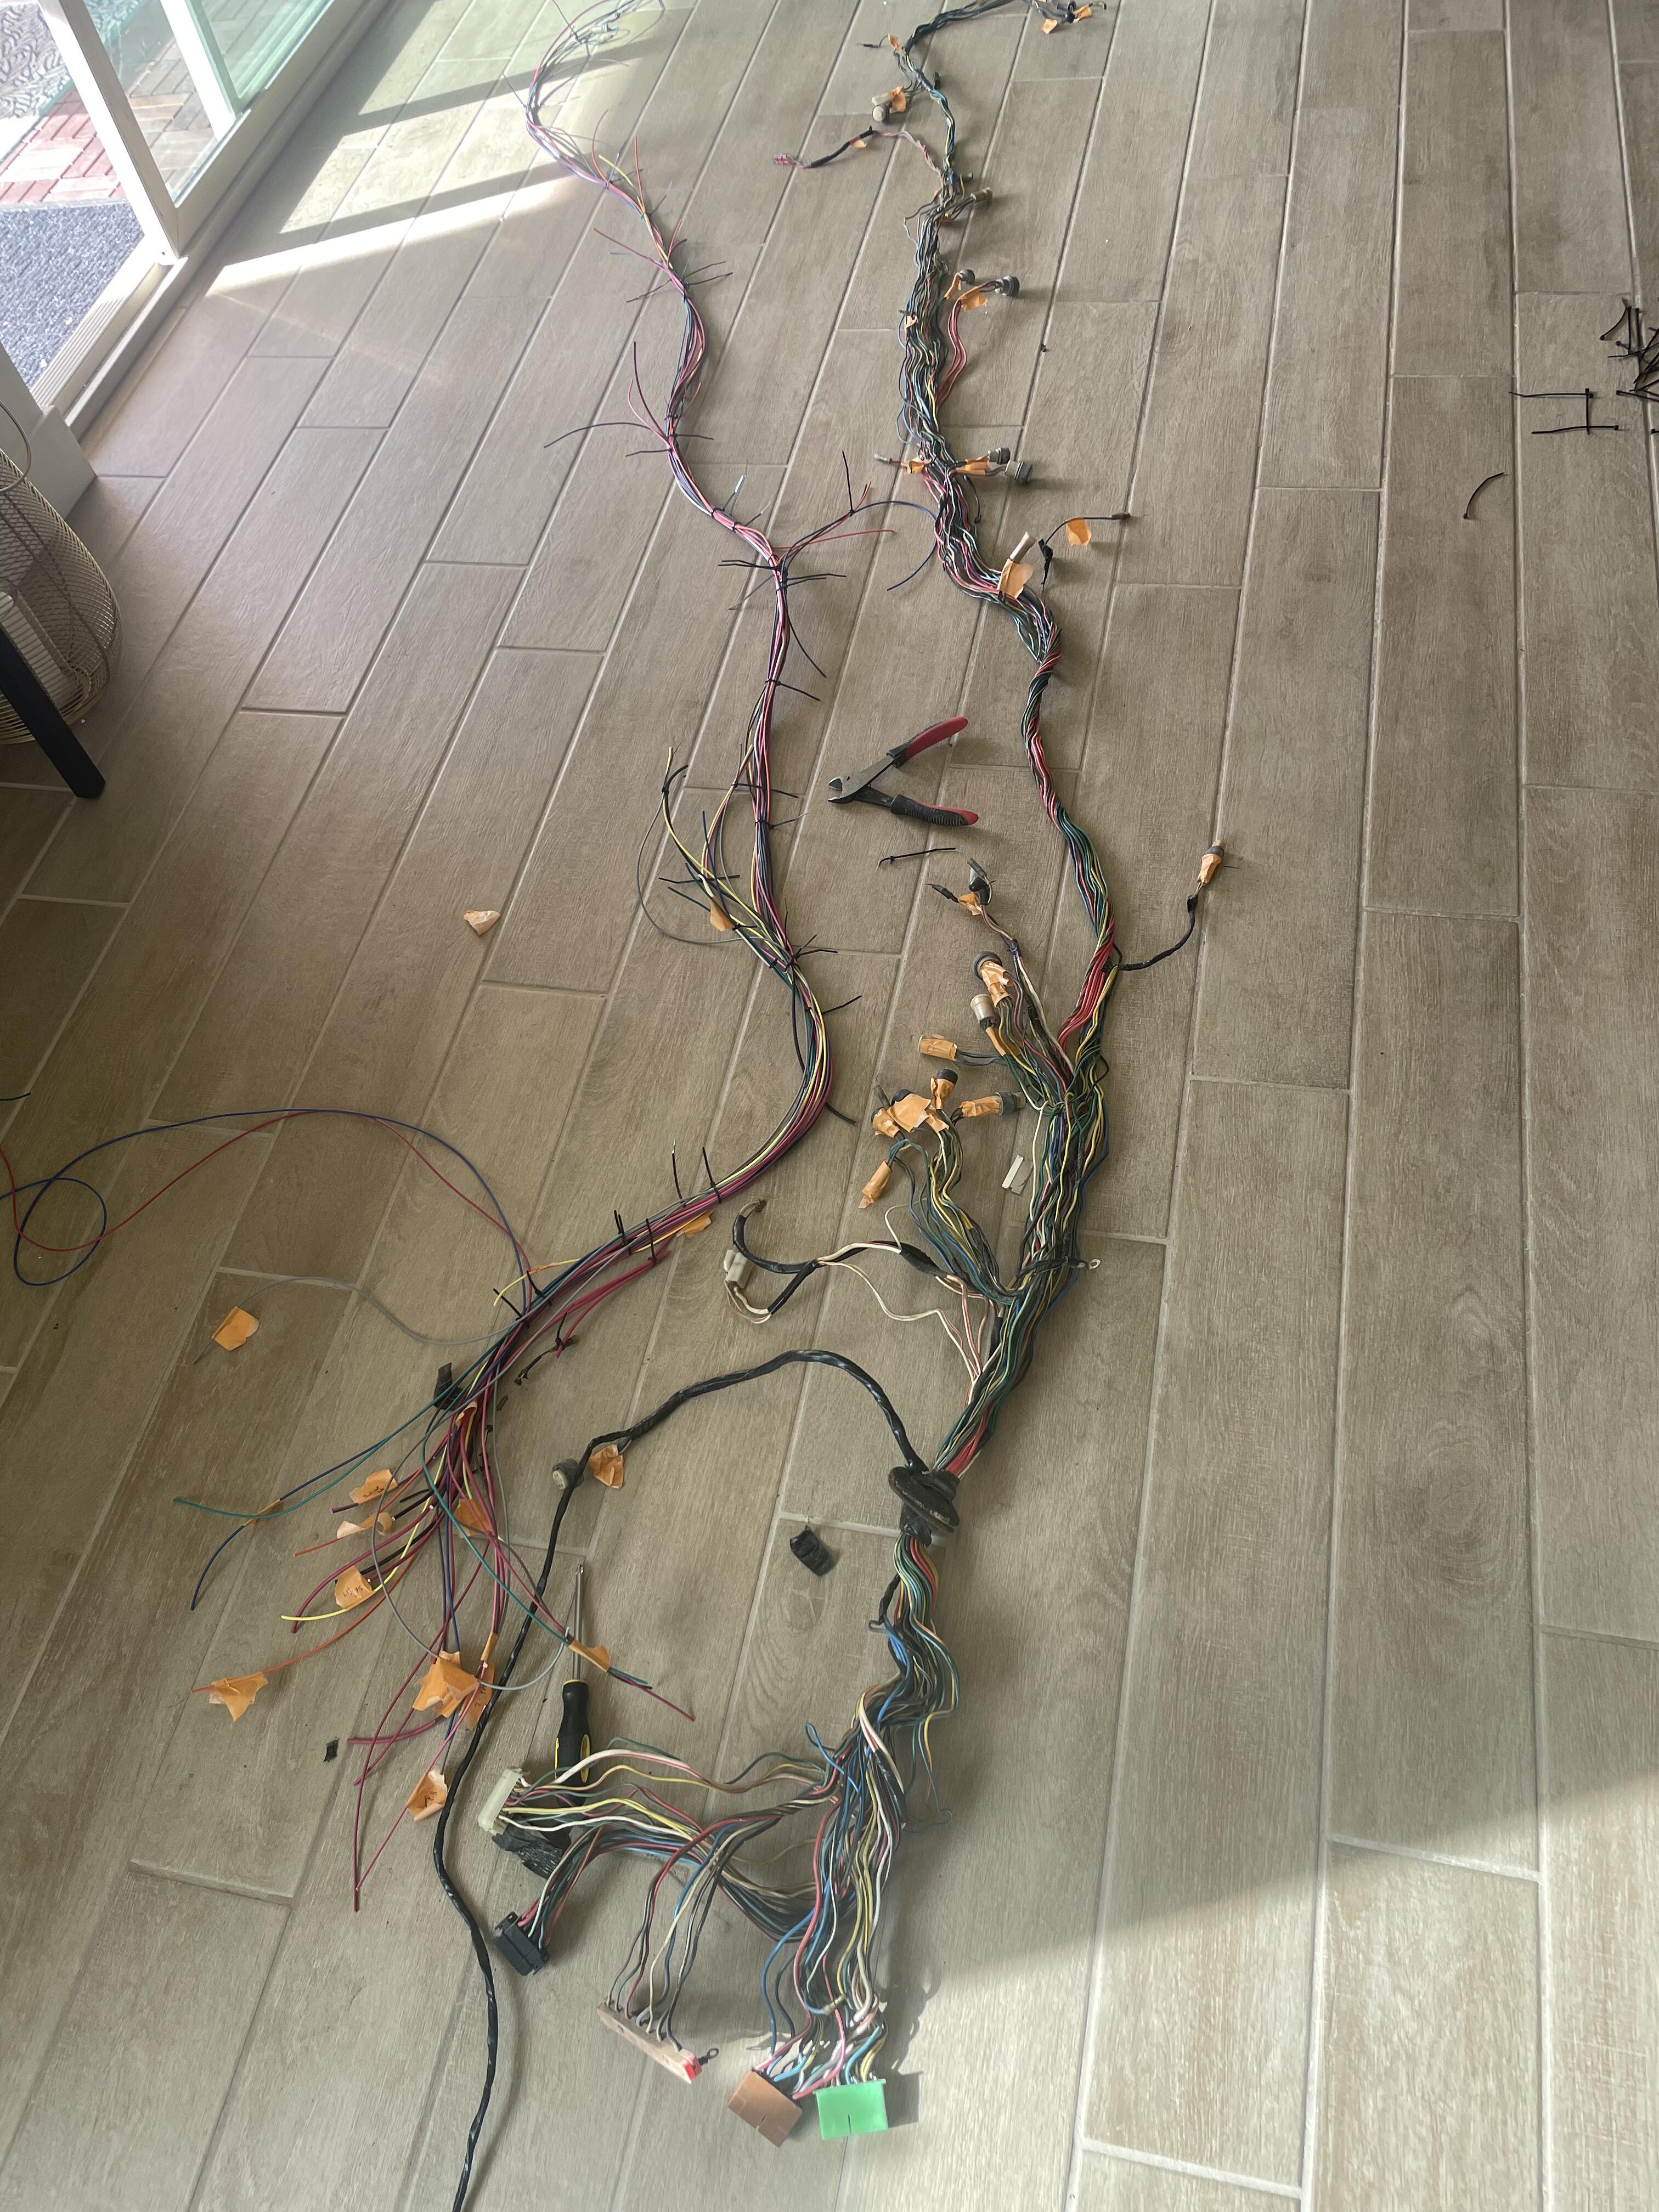
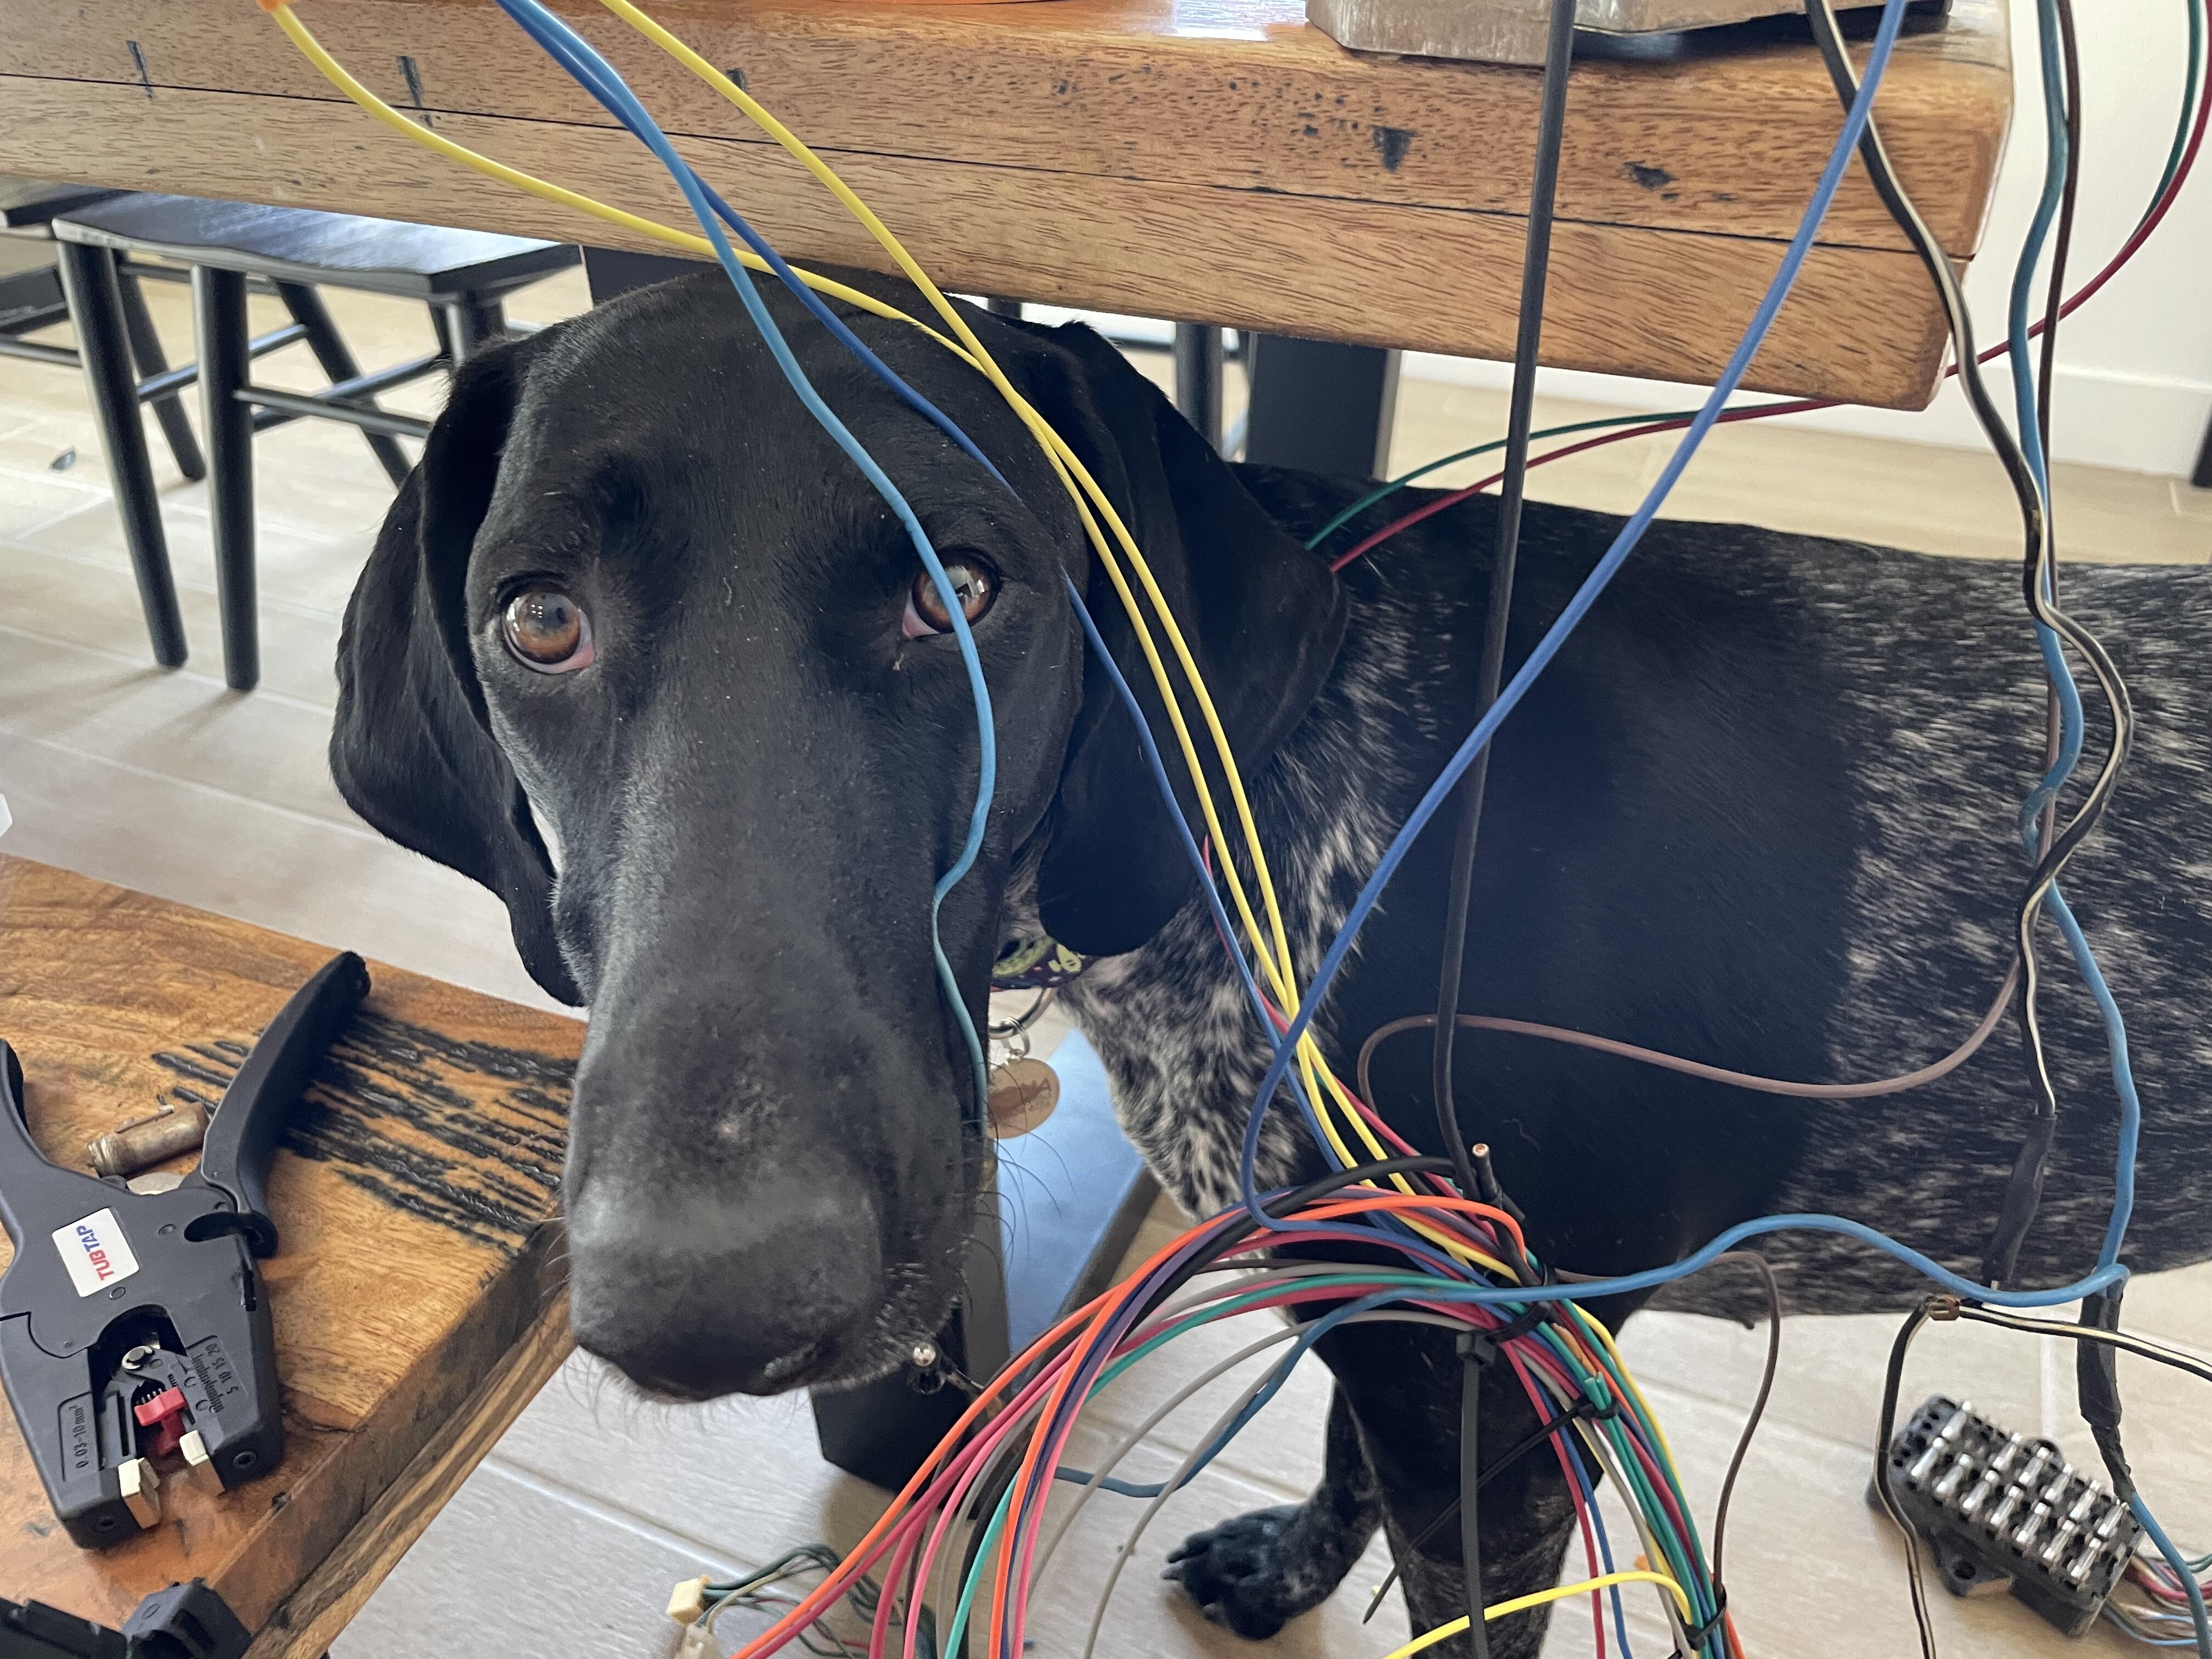
1 pointA few updates since last month. I’ve been able to find the studs needed to mount the mikuni manifold. Cleaned and painted it as well. Can’t wait to clean up the carbs next. I’ve been playing around a lot with the 3D printer. I created a faceplate adapter for my switch panel. Slides into my center console and I will be able to screw on the actual switch panel to this adapter via the four screw holes. Looking at original center consoles online, it looks like mine was hacked up for an aftermarket radio at one point so it was missing the upper material. This new adapter should add back in some rigidity. I also toyed around with some filler plates for the rear bumper. I know the proper way is to weld in blanks, but this was just a fun side project 🙂 they clip in and are fit very nicely! And then the big project of wiring has started. The engine bay is getting a full new harness, then I am creating adapters to plug into the dash and body harness. Originally I wanted to redo the full body harness as well but all of the connectors inside were fine. Laying out the harness side by side for lengths. Organized chaos! Luckily, my wife is out of town this week so I’m taking advantage of making the dining room a workshop for a bit. Test fitting in the bay before I start adding plugs! So satisfying to see it come together. My little helper! Im about 80% done with the fuse box side of the harness. A few small fused items left to run and then I can start working on connecting the engine bay side. During this I deviated from my original schematics so I will be needing to update that for future reference. I removed my shunt, externally regulated alternator, and all original relays/flashers. I won’t be running my amp meter, instead going for a volt meter. All relays are now modern bosch style, albeit the micro 280 series size to fit within my distribution block. I have a main 125amp circuit breaker in place, continuous duty relay as a main power trigger, and all new weather pack connectors with GXL wire. There a few circuits I’m slightly confused on so I’ll need to finish those up in car to trace all of my leads accordingly. Surprisingly I barely used my schematic I made. I used the OEM wiring diagram more often. Maybe I need to trust myself more 😉
Hi and thanks for your proposed solution. However, I do have the original harness for the car so this bit I have. My problem is I have to split and take out all the non-necessary wiring out of my harness and re-wrap. This is probably my only option...I was wishfully thinking that some manufacturer would ahve the proper harness designed for a RB25 DET swap for the Z but I was being wishful or Naive. Thanks for your interest in the project. I am in New-Brunswick Canada (east coast) and one of my sales person for my company is Dutch (Go Verstappen !) Bruno1 point
1 pointDo you know if he disassembles and renews the internal components like the valve seat and seal? Can you attach his contact info?1 point
1 pointDan this is an awesome post. If my wife walked in and saw what you did to the dinning room table…..oh boy would it be a bad day for me. I once’s used the oven to back some high temp painted engine parts and she about shot me for that, never saw it the act but smelled it upon coming home BTW. I have a couple extra stock wire harnesses that connect from the harness behind the dash to the center counsel. If you need one let me know. Got them incase I had issues with the connectors on mine. Any chance you’d be willing to print up a set of rear bumper plates. Something I thought about but don’t have a printer. Sent from my iPhone using Tapatalk1 point
1 pointA few updates since last month. I’ve been able to find the studs needed to mount the mikuni manifold. Cleaned and painted it as well. Can’t wait to clean up the carbs next. I’ve been playing around a lot with the 3D printer. I created a faceplate adapter for my switch panel. Slides into my center console and I will be able to screw on the actual switch panel to this adapter via the four screw holes. Looking at original center consoles online, it looks like mine was hacked up for an aftermarket radio at one point so it was missing the upper material. This new adapter should add back in some rigidity. I also toyed around with some filler plates for the rear bumper. I know the proper way is to weld in blanks, but this was just a fun side project 🙂 they clip in and are fit very nicely! And then the big project of wiring has started. The engine bay is getting a full new harness, then I am creating adapters to plug into the dash and body harness. Originally I wanted to redo the full body harness as well but all of the connectors inside were fine. Laying out the harness side by side for lengths. Organized chaos! Luckily, my wife is out of town this week so I’m taking advantage of making the dining room a workshop for a bit. Test fitting in the bay before I start adding plugs! So satisfying to see it come together. My little helper! Im about 80% done with the fuse box side of the harness. A few small fused items left to run and then I can start working on connecting the engine bay side. During this I deviated from my original schematics so I will be needing to update that for future reference. I removed my shunt, externally regulated alternator, and all original relays/flashers. I won’t be running my amp meter, instead going for a volt meter. All relays are now modern bosch style, albeit the micro 280 series size to fit within my distribution block. I have a main 125amp circuit breaker in place, continuous duty relay as a main power trigger, and all new weather pack connectors with GXL wire. There a few circuits I’m slightly confused on so I’ll need to finish those up in car to trace all of my leads accordingly. Surprisingly I barely used my schematic I made. I used the OEM wiring diagram more often. Maybe I need to trust myself more 😉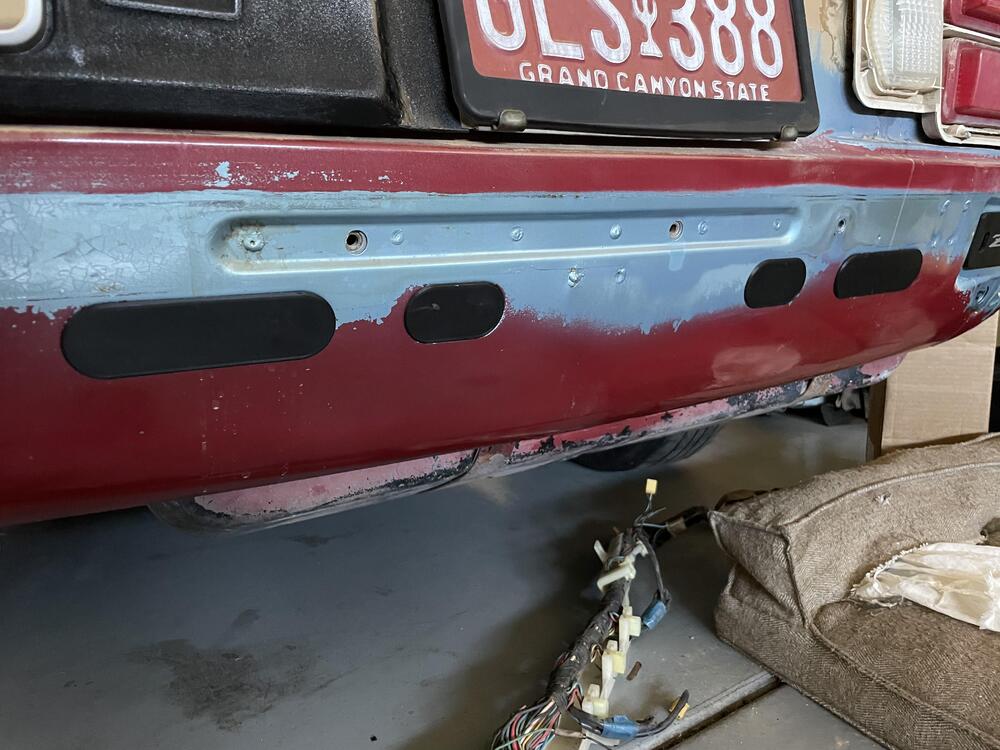


 1 point
Cliff, everything is pretty much toast. Finally got the heater core out….it looks shot too. Now I have to find one and from the looks of it I won’t be a stock heater core. I saw the Captain Obvious used a alternative core from an Escort . I might have to do something like that. I’ll have to pick his brain. Pain….every time I cross one hurdle I get two more thrown at me. Sent from my iPhone using Tapatalk1 point
1 point
1 pointCliff, everything is pretty much toast. Finally got the heater core out….it looks shot too. Now I have to find one and from the looks of it I won’t be a stock heater core. I saw the Captain Obvious used a alternative core from an Escort . I might have to do something like that. I’ll have to pick his brain. Pain….every time I cross one hurdle I get two more thrown at me. Sent from my iPhone using Tapatalk1 point 1 pointAlternatively---if the outside glass surface is in good condition (no scratches) the original glass can be re-silvered on the backside and will be good as new. I've done this several times on interior rear view mirrors. contact: http://mirrorresilvering.ca/?page_id=1131 point
 1 pointThey would cut a new piece of mirror A good glass shop aught to be able to if you have them out of the housing1 point
 1 pointThe coating is starting to "lift" from the glass. I don't think it can be repaired, just replaced. A local glass shop should be able to advise you.1 point
0 points
1 pointThe coating is starting to "lift" from the glass. I don't think it can be repaired, just replaced. A local glass shop should be able to advise you.1 point
0 points


Important Information
By using this site, you agree to our Privacy Policy and Guidelines. We have placed cookies on your device to help make this website better. You can adjust your cookie settings, otherwise we'll assume you're okay to continue.