Leaderboard
-

conedodger
Free Member6Points11,316Posts -

VaCat33
Free Member5Points60Posts -
.JPG.cfcada9cf1c1b502df3f5f2f2ca3ff36.JPG)

SteveJ
Free Member4Points9,572Posts -


Zed Head
Free Member4Points18,795Posts
Popular Content
Showing content with the highest reputation on 02/09/2022 in all areas
-
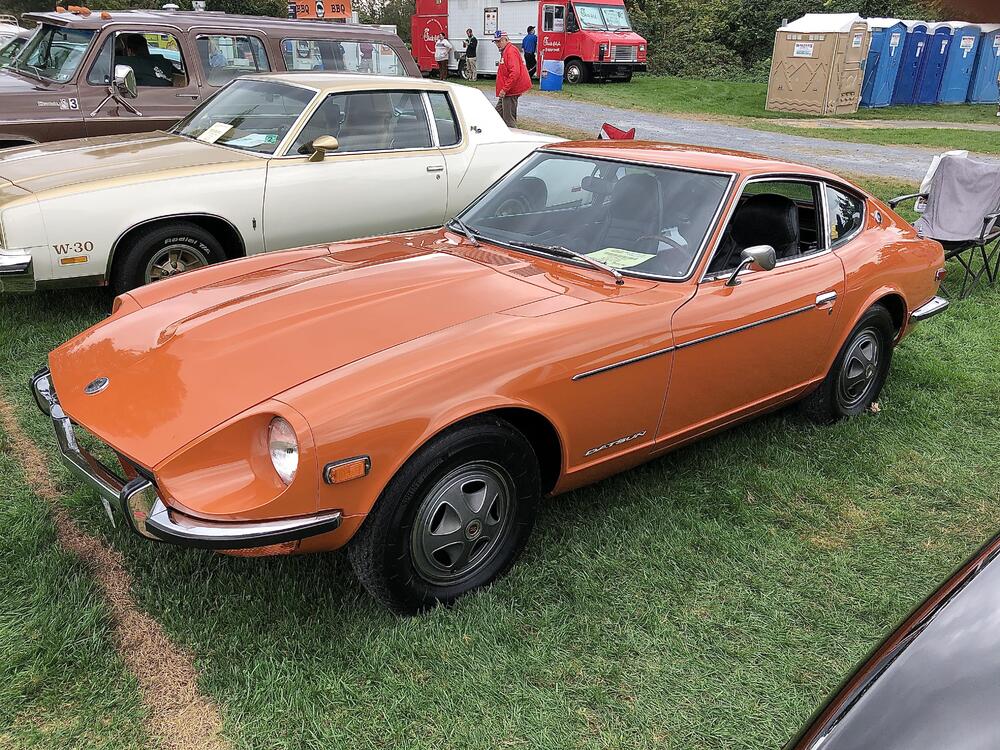
5 pointsHello Let me first apologize in advance for my immodesty. It was a year ago today that I acquired my Z after winning an auction on BaT. https://bringatrailer.com/listing/1972-datsun-240z-161/ I was a bit concerned because I had never bought a car sight unseen before. Based on the comments on BaT I felt confident that I was making the right move and when the car came off the trailer my gut feeling was confirmed. The condition of this mostly original example is unbelievable. I invested some time and $$$ to make sure this car is reliable and safe in every way and operates and looks as if it just came off the showroom floor. A big thanks to Mike at Banzai Motorworks. (I hope this thank you is allowed.) In addition to some spirited driving, I made the 300-mile round trip to Hershey back in October, where the car won a AACA Historical Preservation of Original Features (HPOF) award. Overall, a good first year. Looking forward to when the weather breaks and we can hit the road again. First order of business is to address an intermittent year one problem involving stalling out when hot and difficulty restarting. I have already taken some action…new coil and resistor (thought heat might be compromising one or both) and new floats, needles/seats, tune carbs. I have enjoyed this forum and continue to do so. You have been a big help on a variety of issues. Jim 20210308_164006200_iOS.heic
 5 points
 -
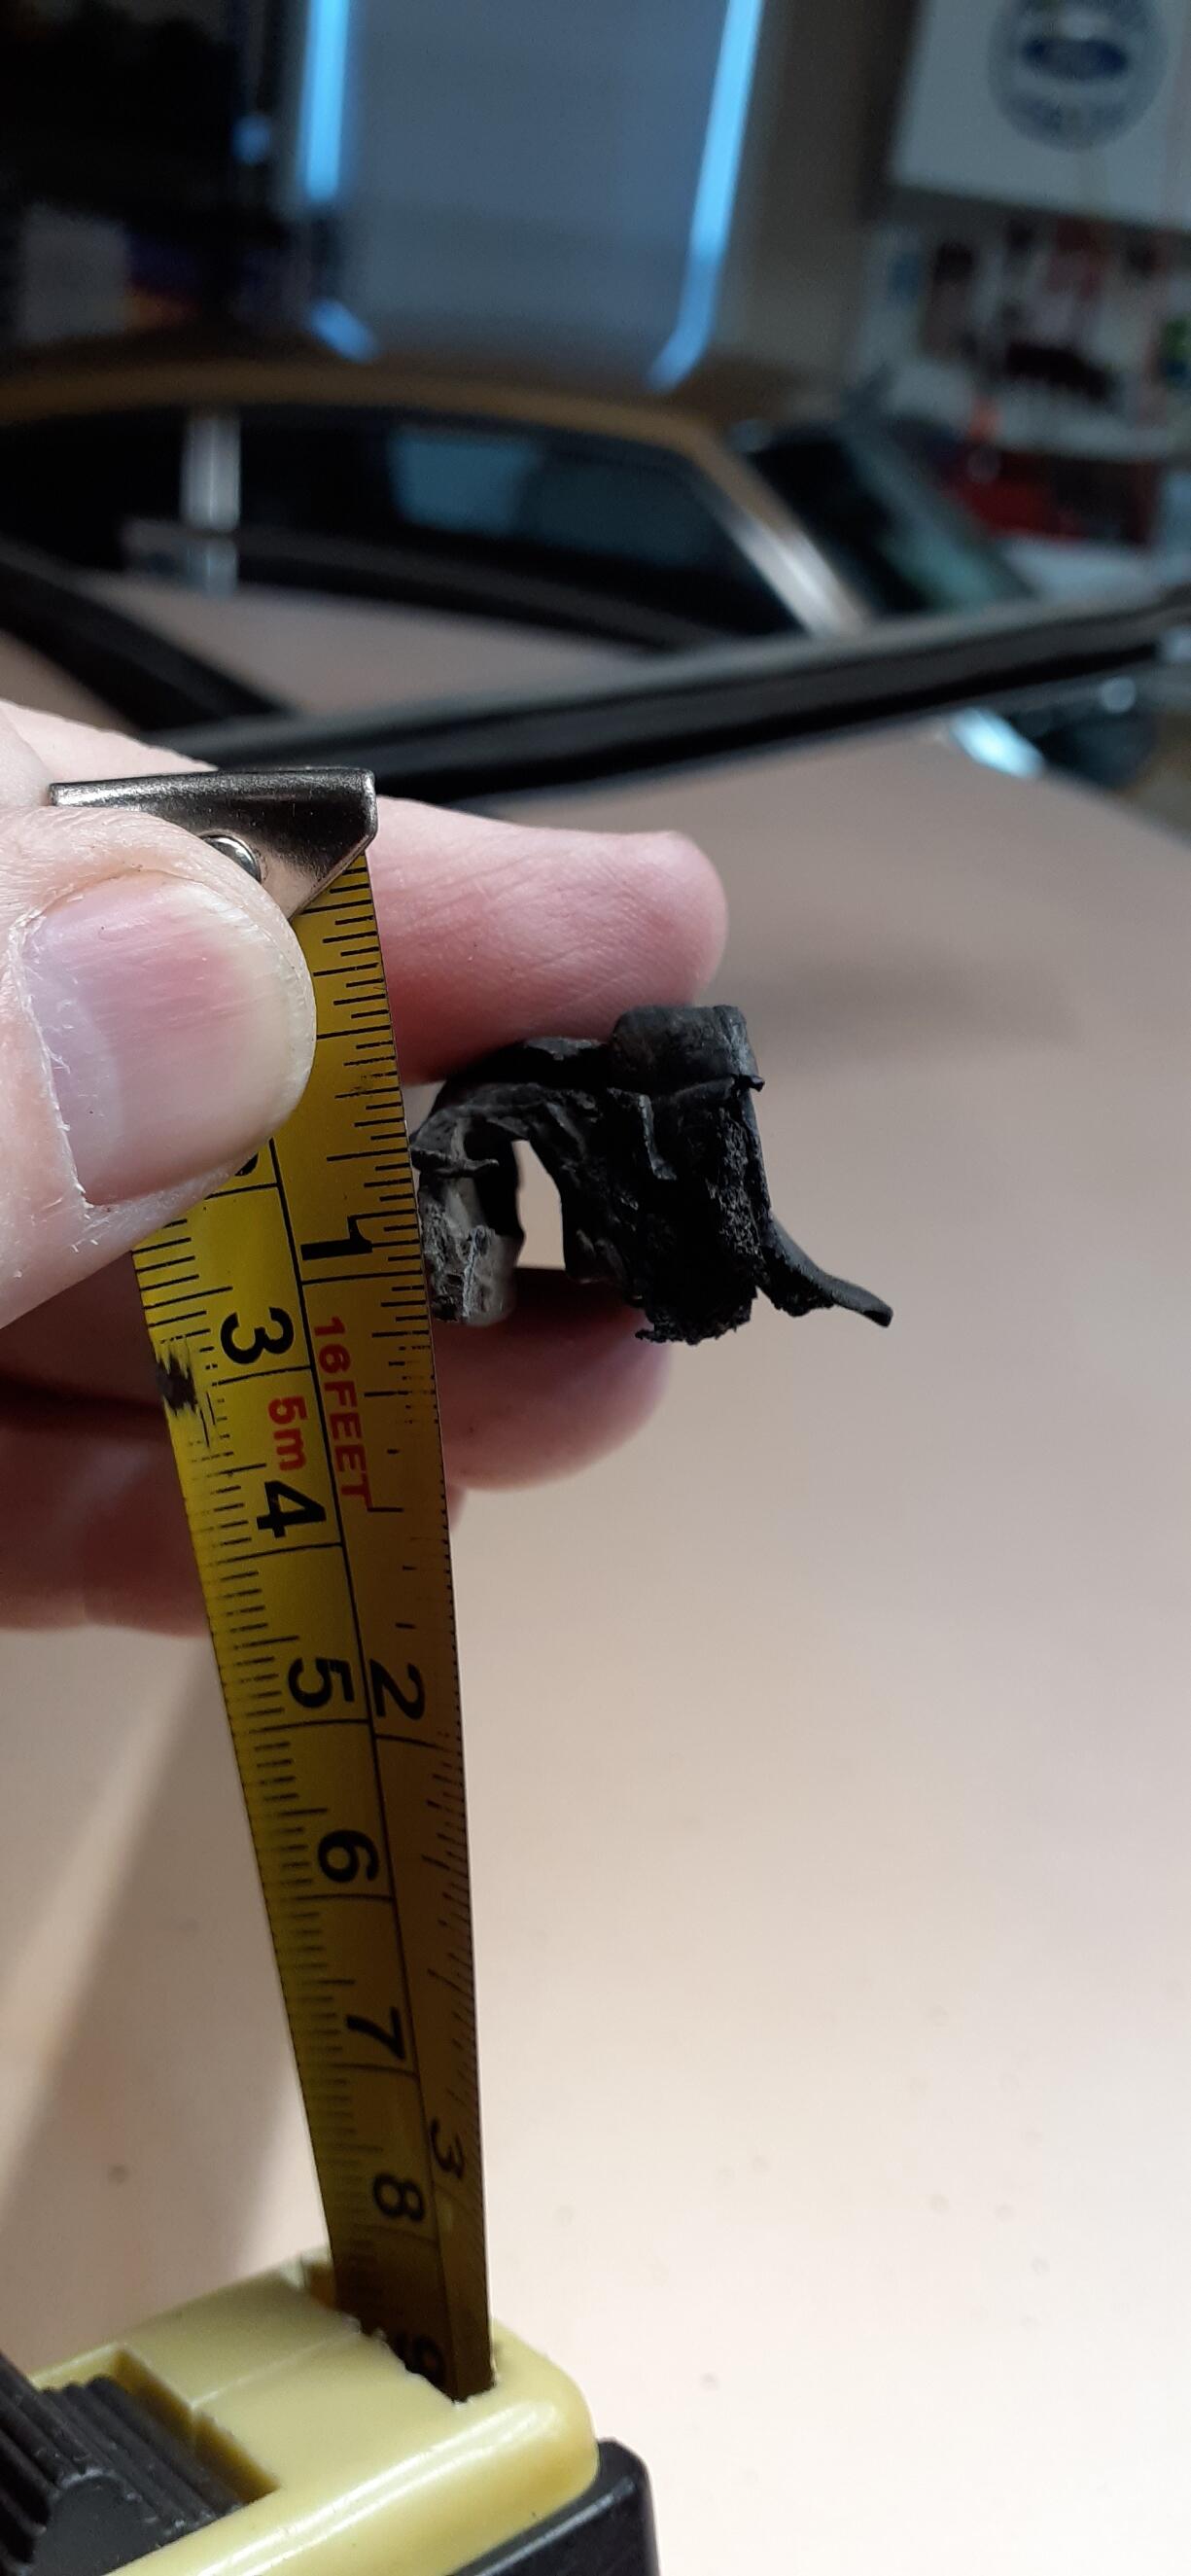
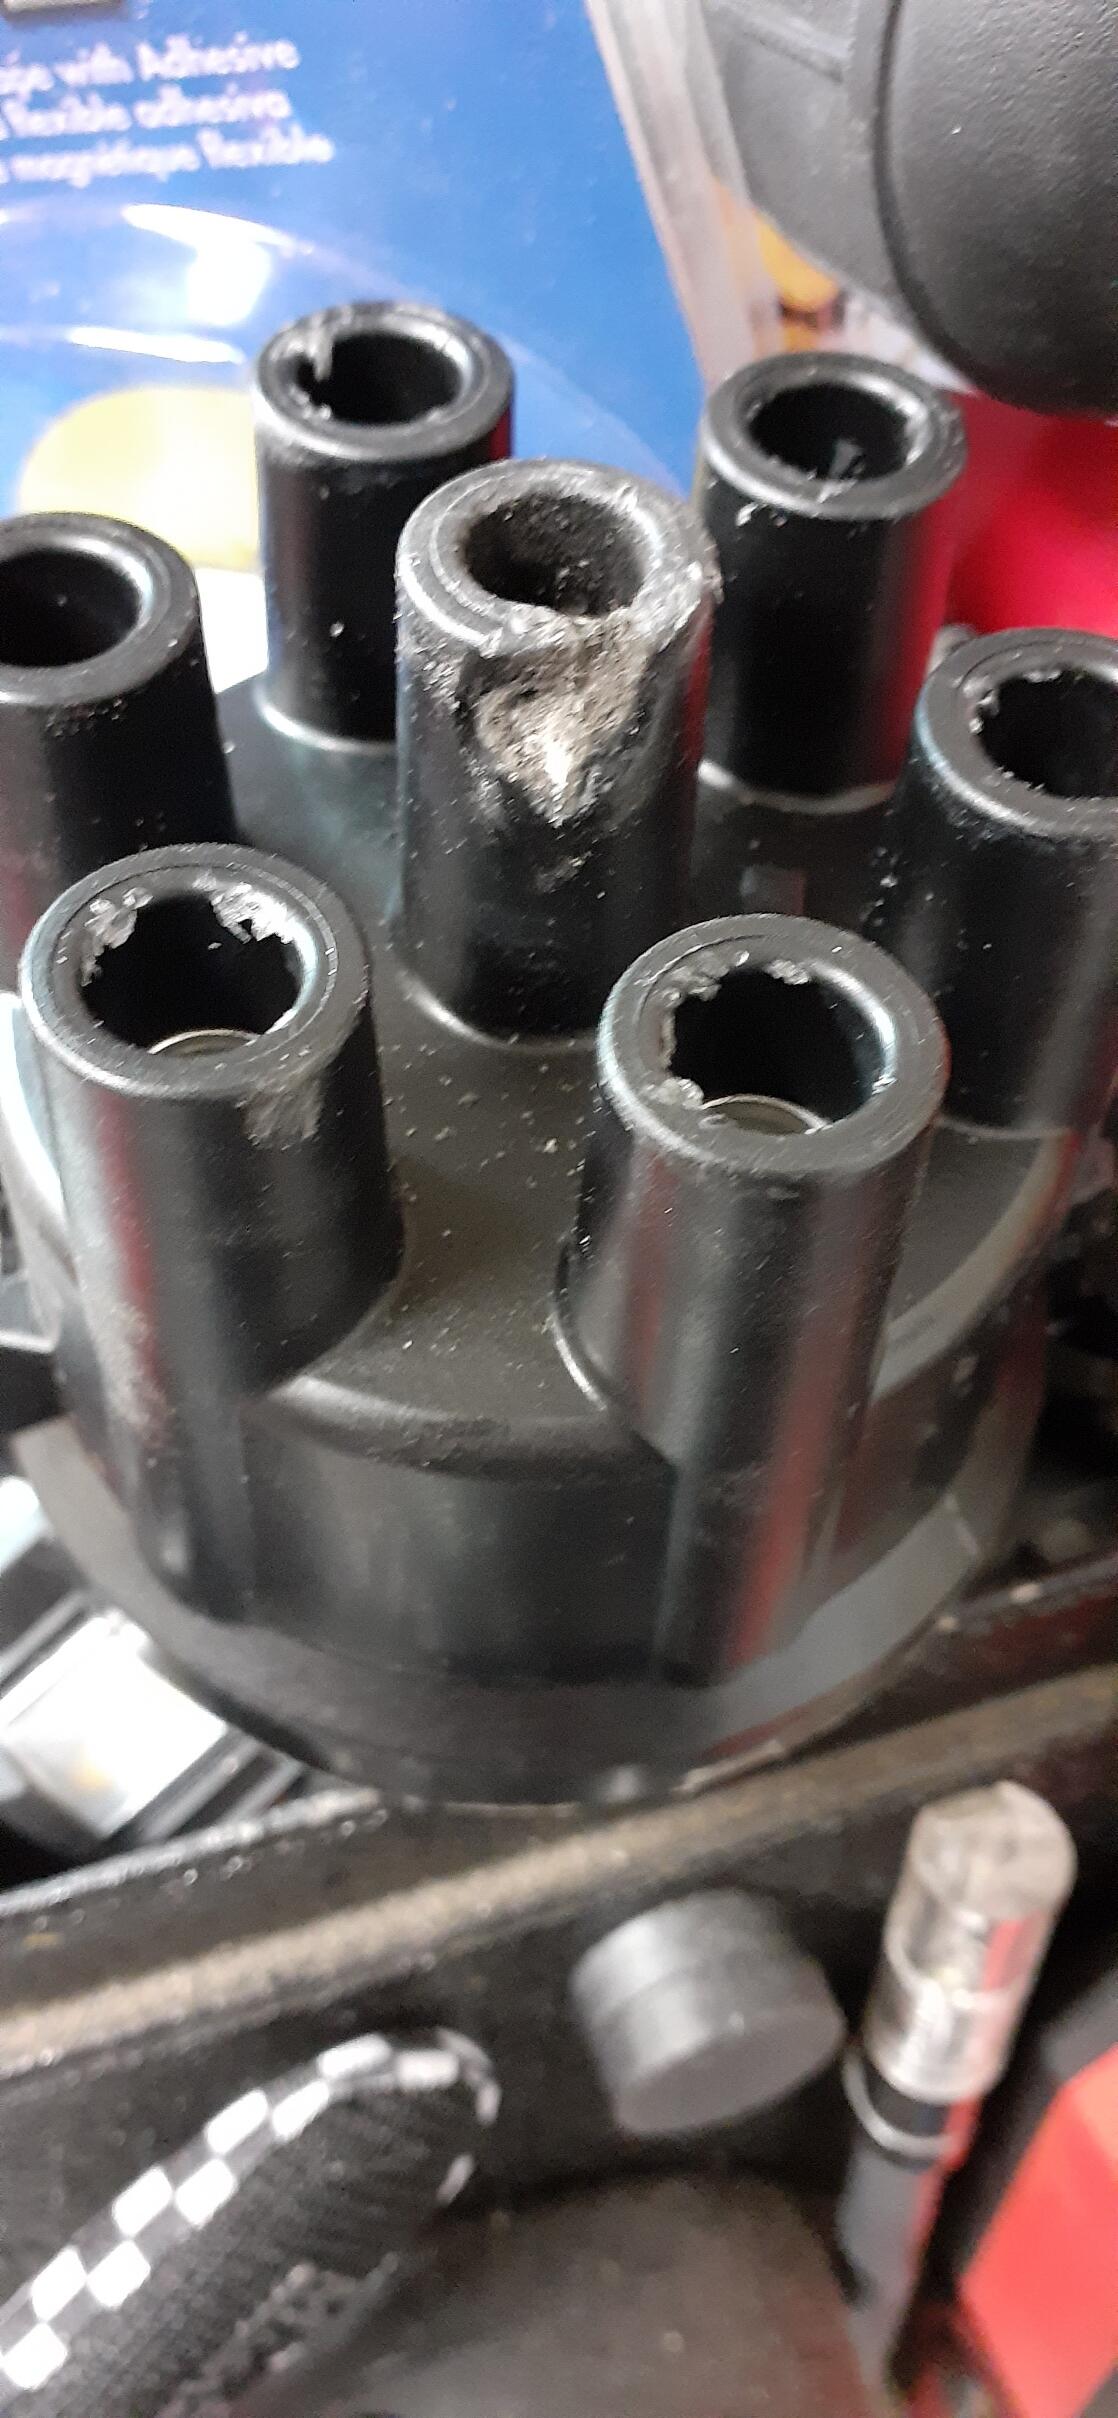
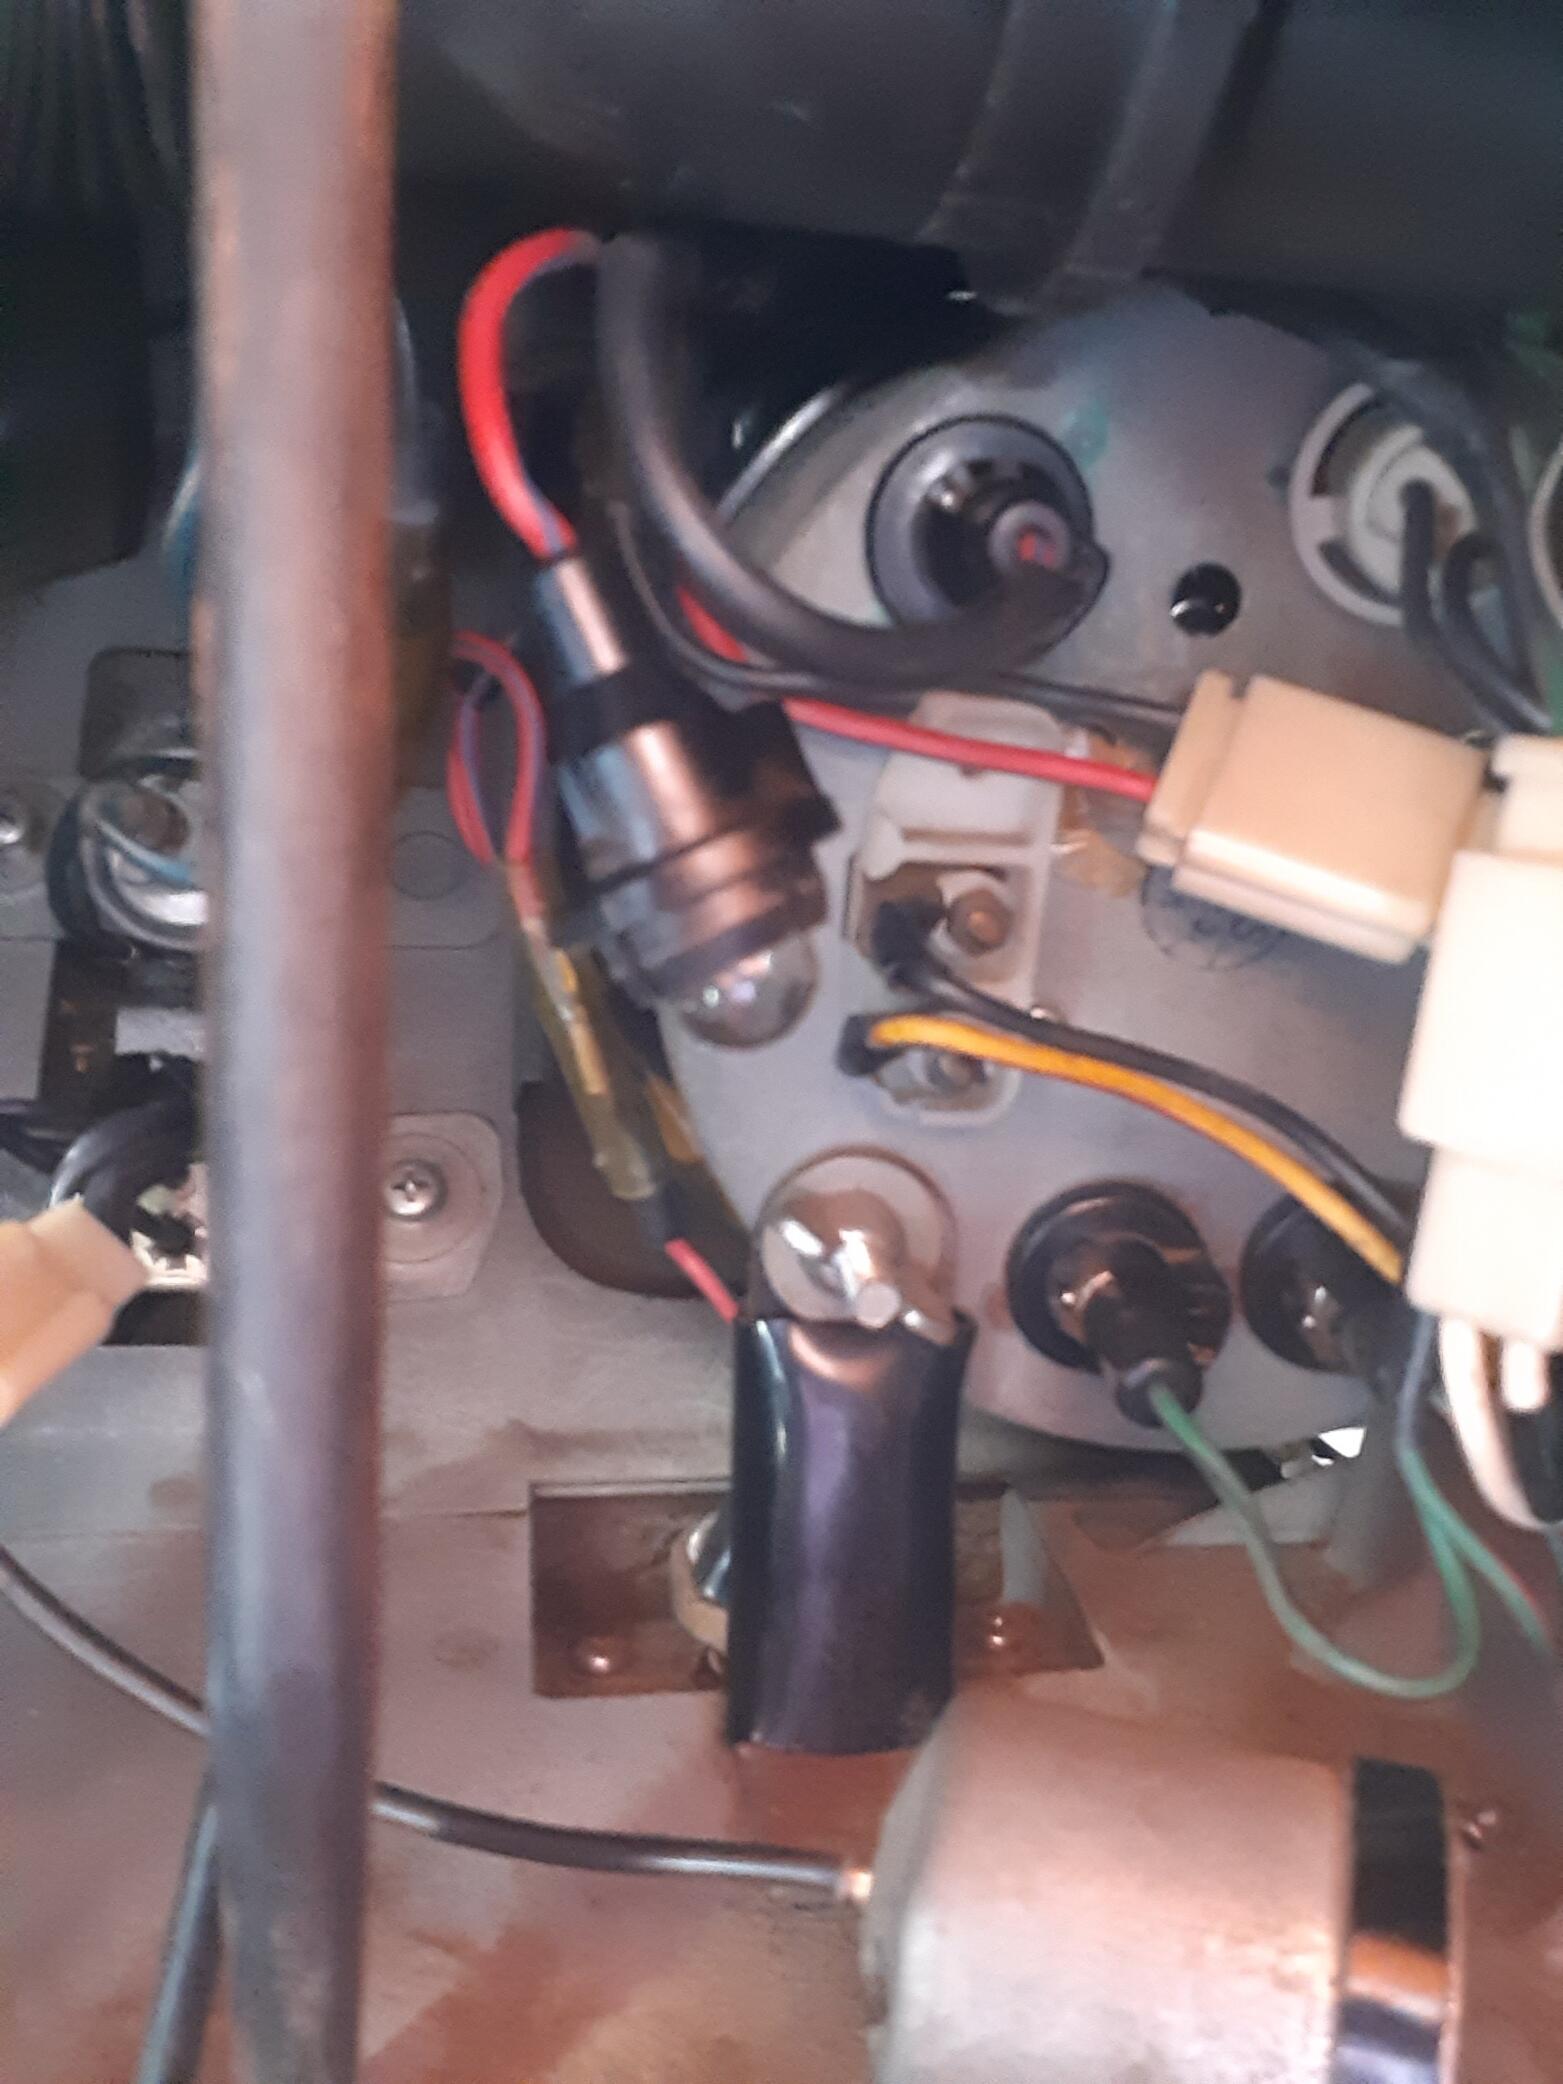
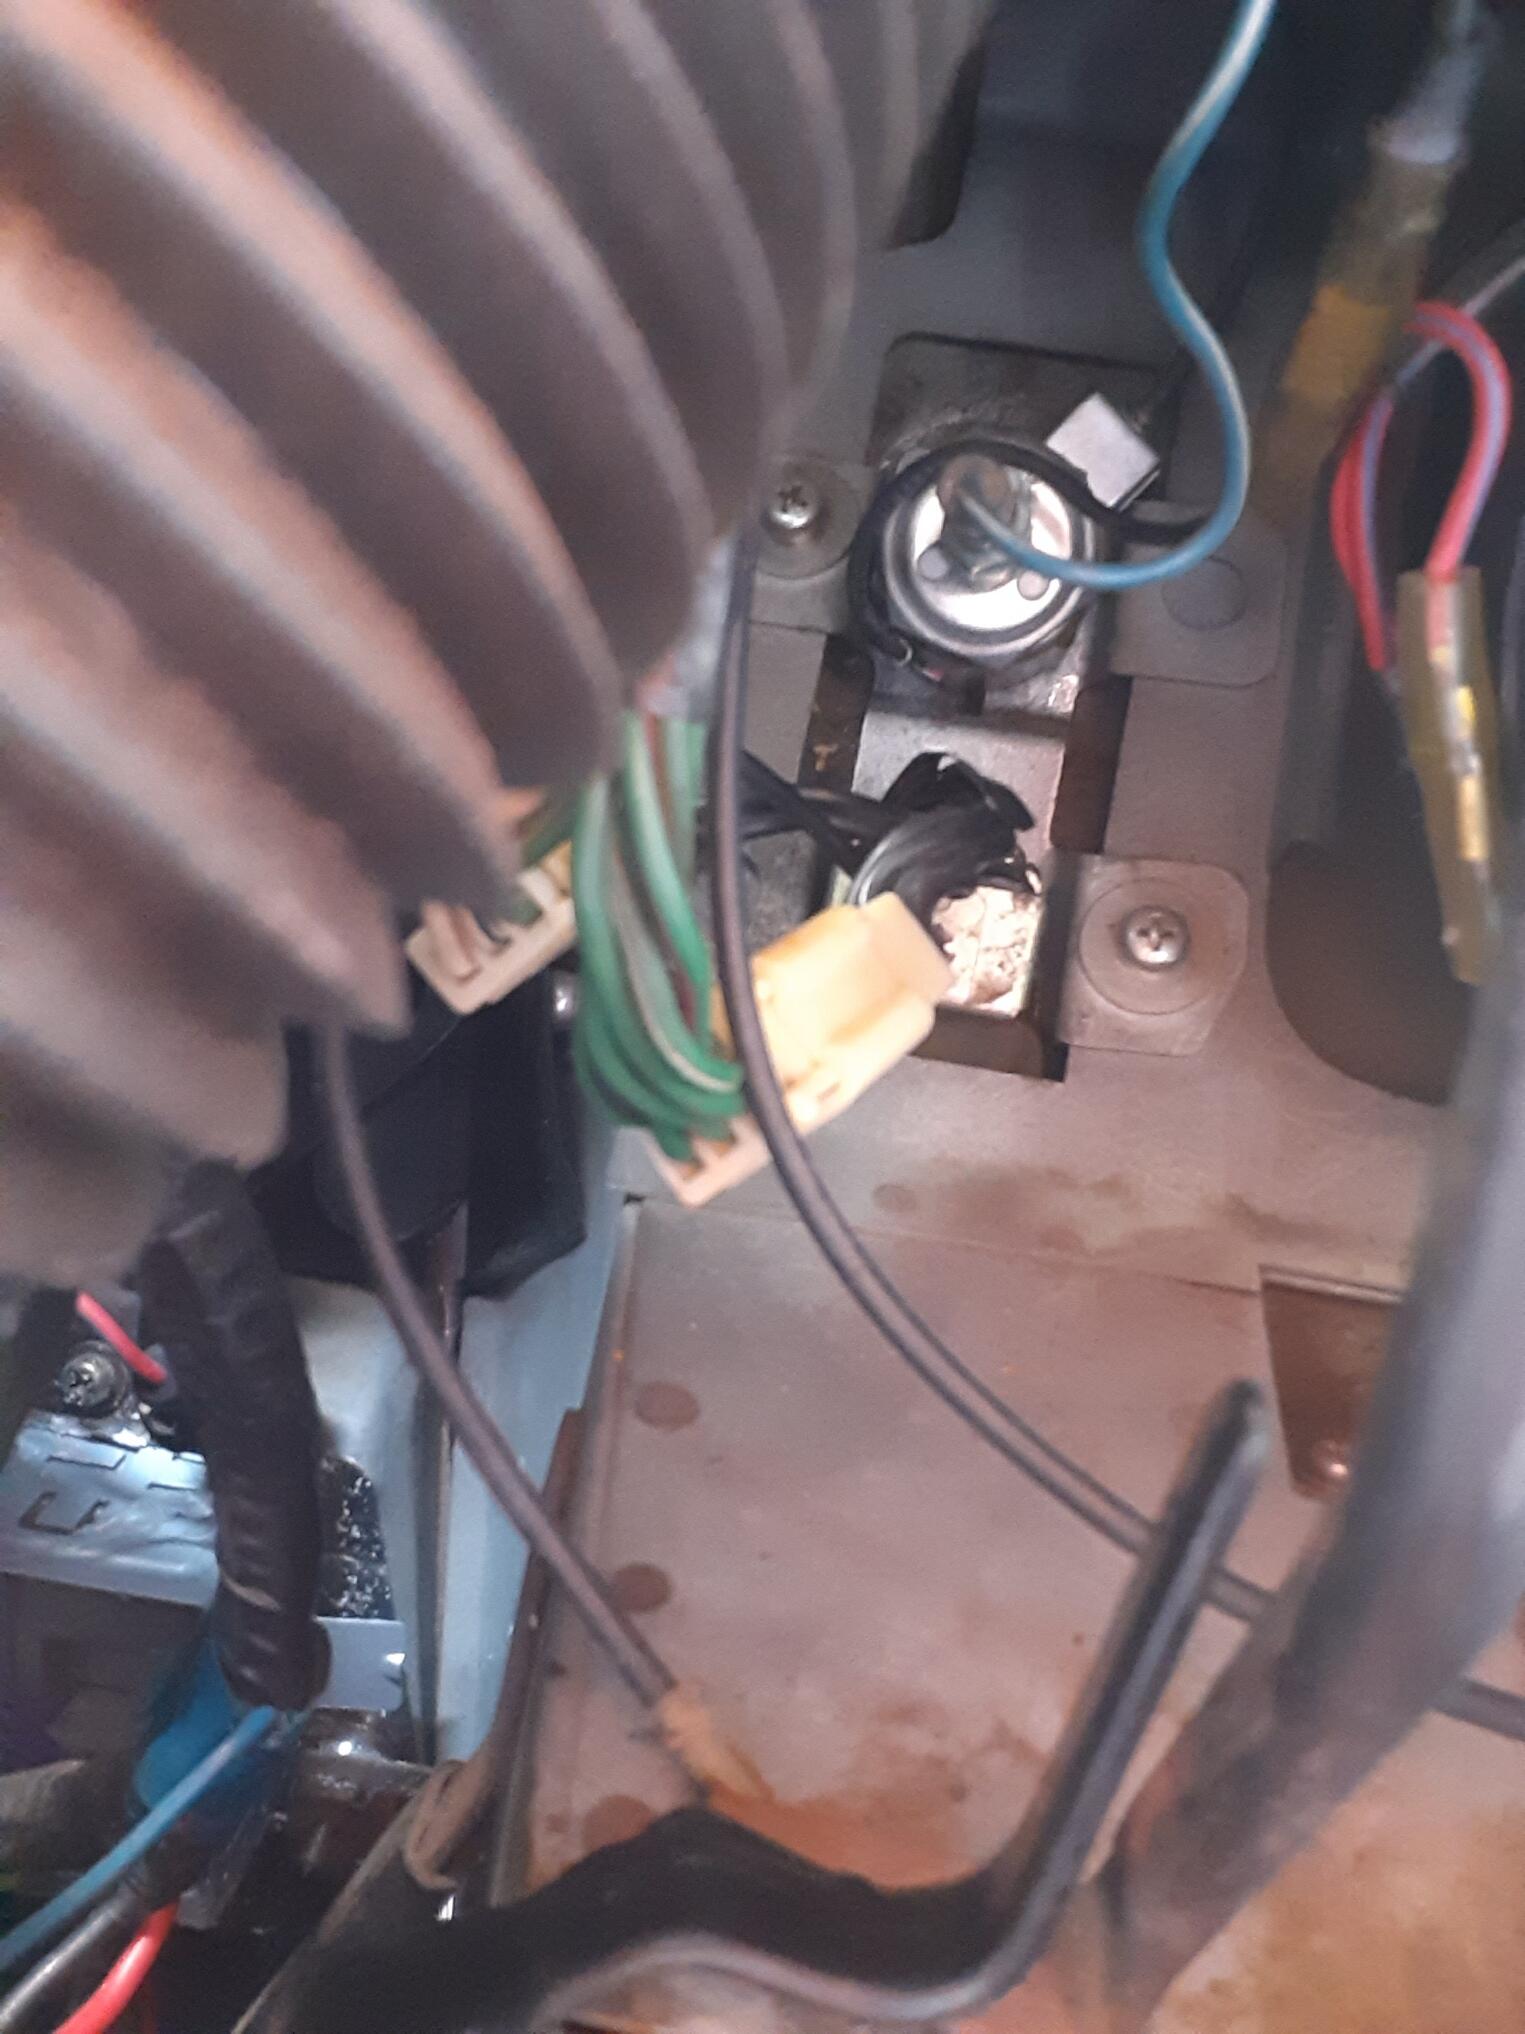
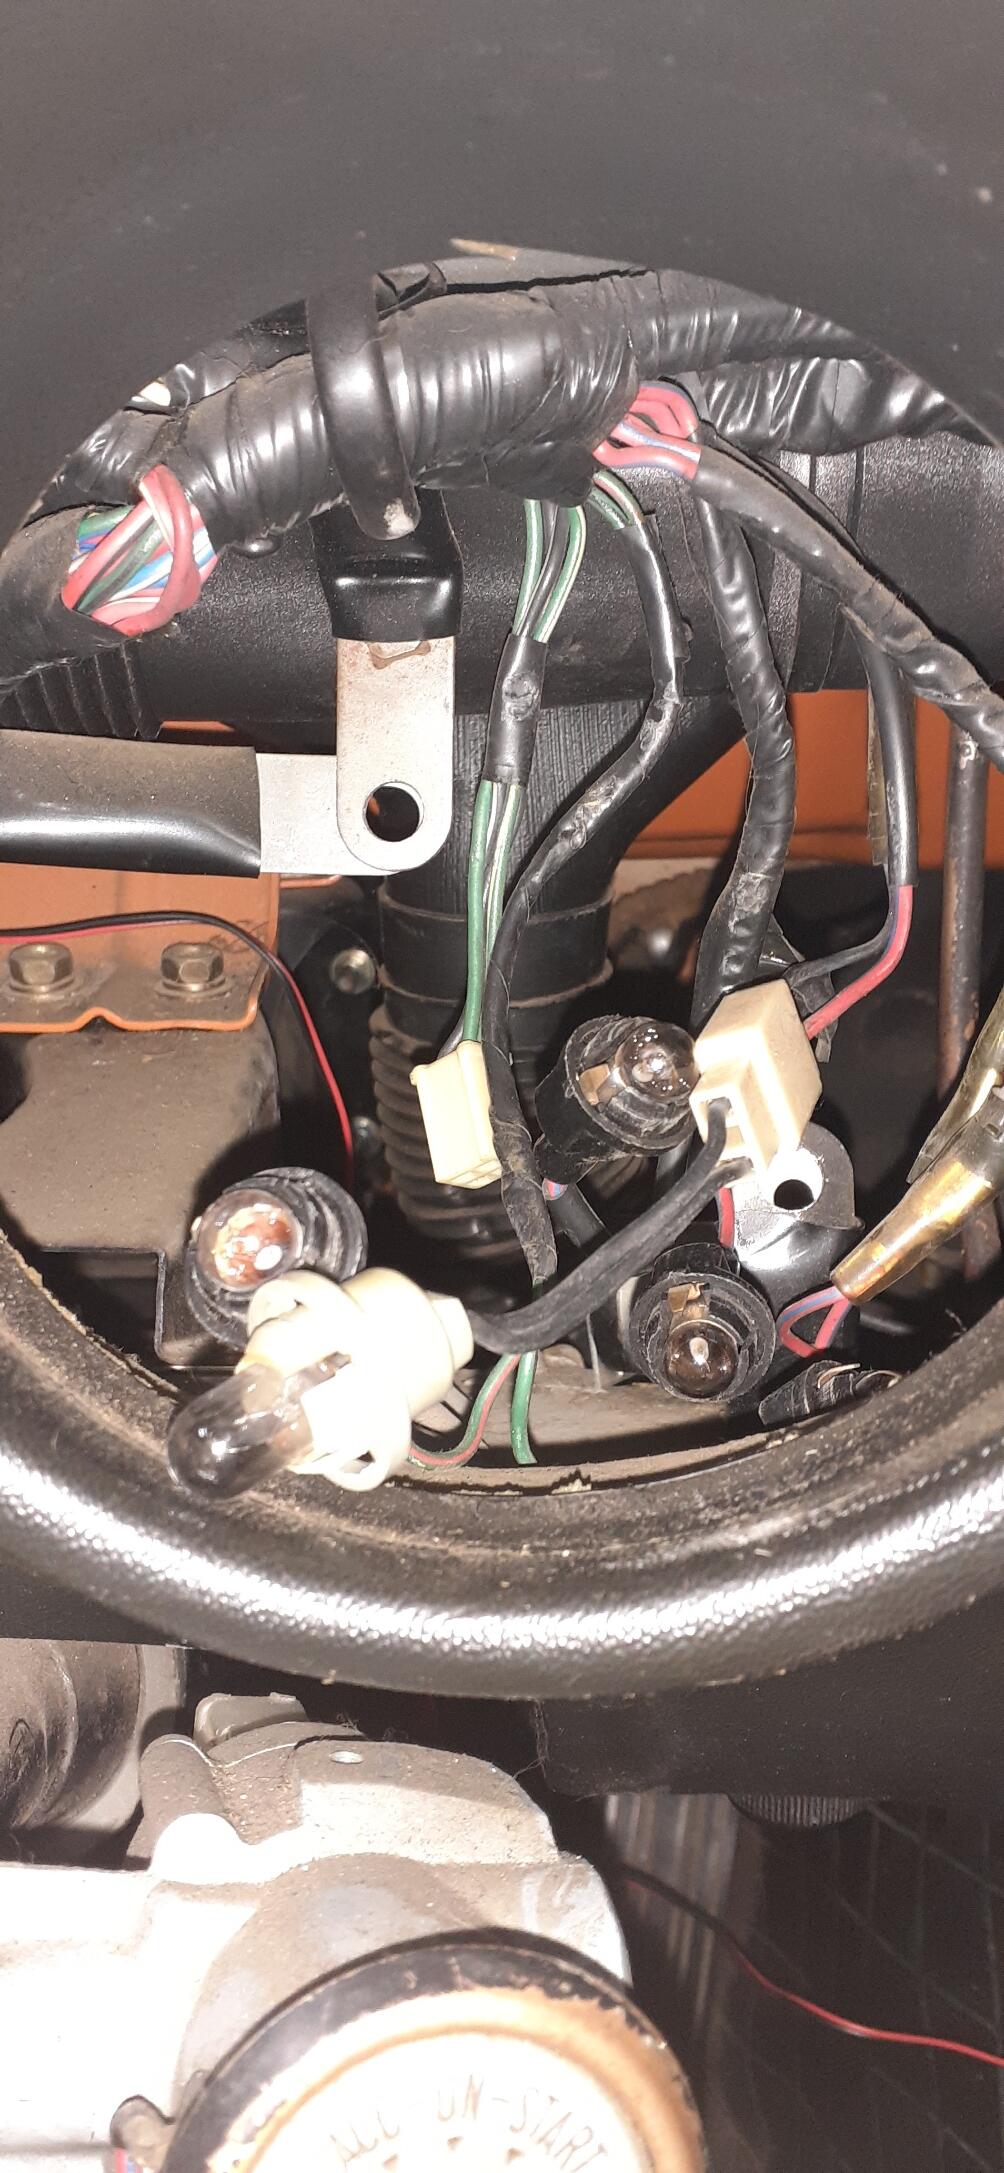
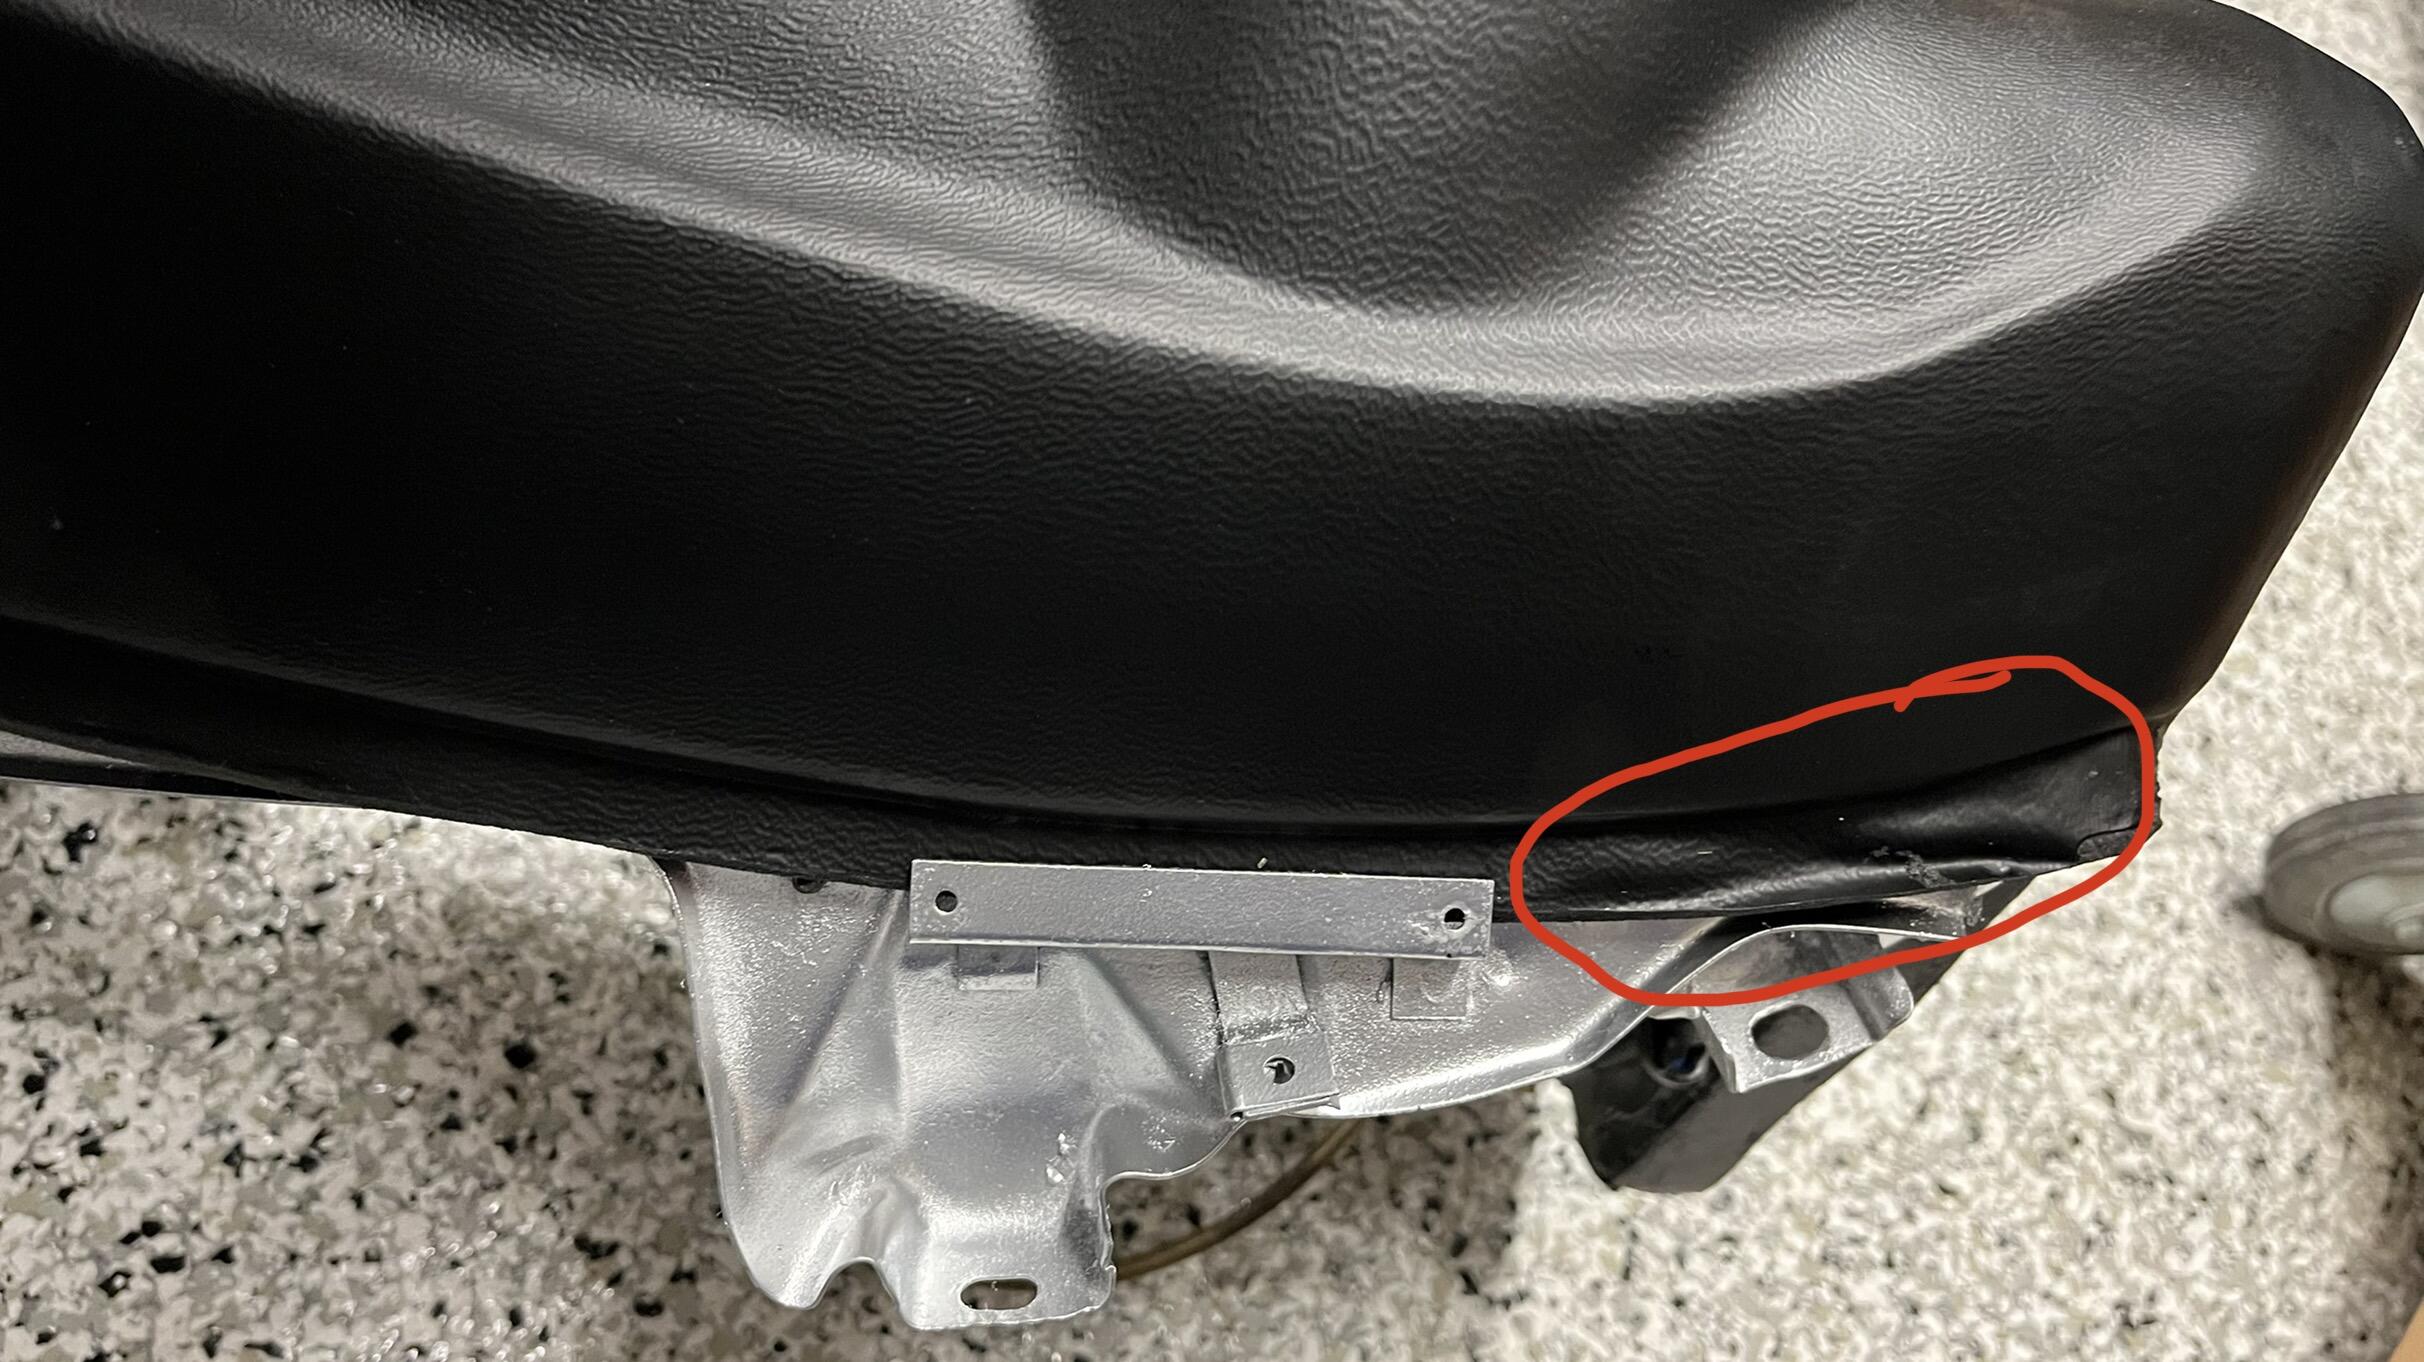
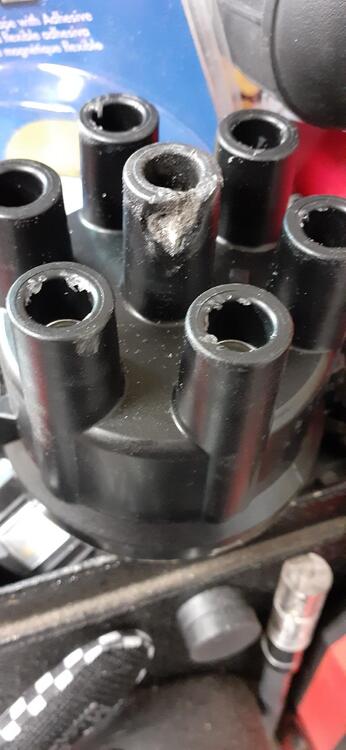
3 pointsTwo aborted projects today. First, I got some new door seal. It was just too big to work right. I re-boxed it, and I'll send it back. However, that did spark me to take some measurements of the dead seal. I'm pretty sure I found a winner, and I'll post pricing and other info if it works. It arrives Thursday. One thing that did go right was getting the replacement distributor cap. As I transferred the wires to the new cap (one at a time to prevent getting them out of order), I also made sure the tips of the wires made good contact with the cap. I also removed the dash cap and steering wheel to install some LEDs. I almost got frustrated trying to figure out how to get the tach out. I found one of the wingnuts easily by taking some photos behind the dash, but it took some time to find the top wingnut by feel. I wasn't happy with the height of the LEDs when I compared them to the midget BA9S bulbs in the car. I just feel too lazy to remove all of the gauges to remove the illumination lenses. Again, measurements were taken, and I ordered bulbs that I believe will be better suited to the task as they are within a millimeter or so of the midget BA9S incandescent bulbs. Stay tuned. It wasn't a completely wasted effort. I replaced the gauge turn signal bulbs with the longer LEDs. I'm hoping for a conspicuous brightness to reduce the frequency of me keeping the turn signal on like an old man in Florida. (You guys know who you are. 😉) With the tachometer out, I also found the loose bulb for the hazard switch and cigarette lighter. The wedge bulb was dead, so I wrangled up a replacement LED wedge. I also needed to plug in the optical fiber from the hazard switch to the housing for the wedge bulb. Meanwhile, entertain yourselves with some of the photos I took while trying to learn what I needed to know before buying parts. Here's the old door seal. The carnage on the old distributor cap: Backside of the tachometer (done with a magnetic light stuck behind the dash and phone in selfie mode): Ha! I just noticed the wedge bulb is plugged into the tach and one of the tach bulbs is just hanging out behind the dash. Here's the backside of the cigarette lighter and hazard switch. Here's looking into the tachometer home while I'm waiting on the bulbs.


 3 points
 -
 2 points
 -
 Did you do a wet test? If you add a little oil to each cylinder and retest, if the numbers improve, it's rings. Could be worn or poorly seating... PS: always hold the throttle 100% open when testing. Not doing so, will give lower numbers2 points
 -
 2 pointsInflation is upon us and in my opinion it’s not going away soon. I think the Fed got spooked when they saw back to back months of inflation at ~7%. Sitting on the sidelines to buy something is going to cost you. I knew I had to do it now. I’m happy with the product too. A couple minor install issues with screw alignment but nothing insurmountable. Sent from my iPhone using Tapatalk2 points
 -
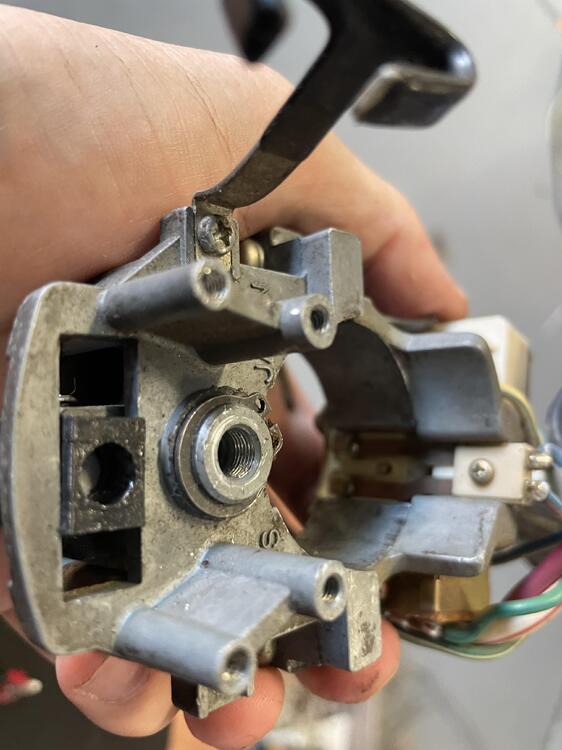
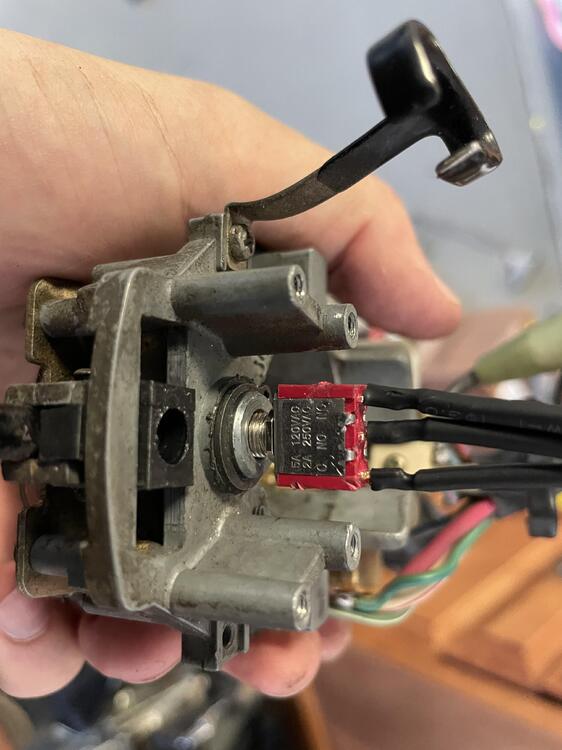
 1 pointAh, I remember now why I didnt use the original stalks for headlights! The high beam switch is baked into the turn signals. Pull the lever to activate. I took a wild guess at a 3 way switch and to my amazement, it fits perfectly. I needed power to 1 pole of the switch and always be on for a second pole (Low Beams) and when pressed, it would swap to a third pole (High Beams). The trick was I needed the switch to be a momentary one as well. So that when I release, it went back to my low beams and did swap between the two outputs for each press. This switch accomplished exactly what I needed and the size needed no modifications either: https://www.amazon.com/gp/product/B079D923V9/ref=ppx_yo_dt_b_asin_title_o05_s00?ie=UTF8&psc=1 Just be careful when you solder this little bugger. I put too much heat at first and I think I ruined the contacts. With my wires soldered up, I could work with mounting. I originally planned to 3d print a mount similar to my turn signal switch. But when aligning everything up I was shocked at how well the threads matched the rear of the stalk. A quick tap: and viola! There is a satisfying click when pulled as well so you know when it is on or off. Not mushy at all. I still may 3d print a brace since I have the provisions for a mount and its a super simple shape. But for now I am not worried about this coming loose. Now my original stalk works again for turn signals, headlights, and high beams! Lastly, a quick model for my center console. I was missing a plate next to my rear defogger and created an adapter for a volt meter. Nice to have since my wiring is all new and I can monitor it at all times. If you recall, I took out my shunt so I wont be using the amp meter. I may look into adding a small USB port here as well, but I dont want to get too cluttered up. Sorry for the dusty console 🙂 I am wrapping up the wiring job and only need a few small pieces left before I can do the final sleeving. My interior is an absolute disaster with wiring bits everywhere. Organized chaos, I swear!
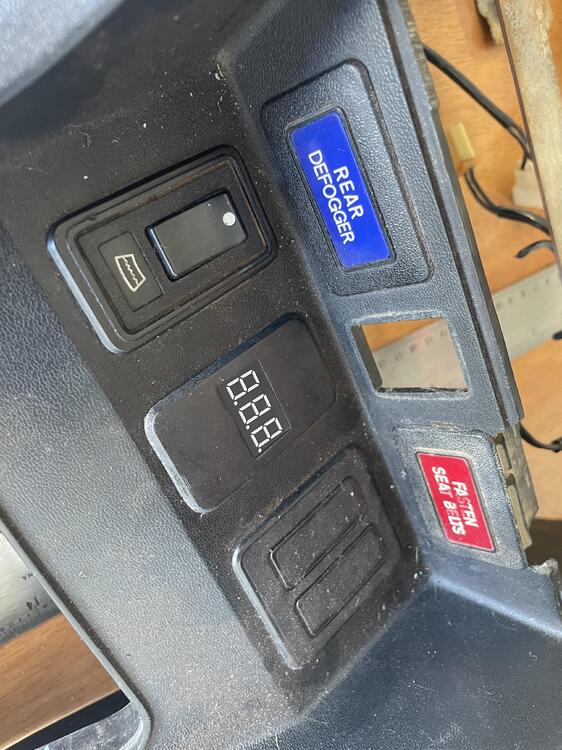
 1 point
 -
 Those look good to me but they could be higher doing the testing different. Good read...1 point
 -
1 point
-
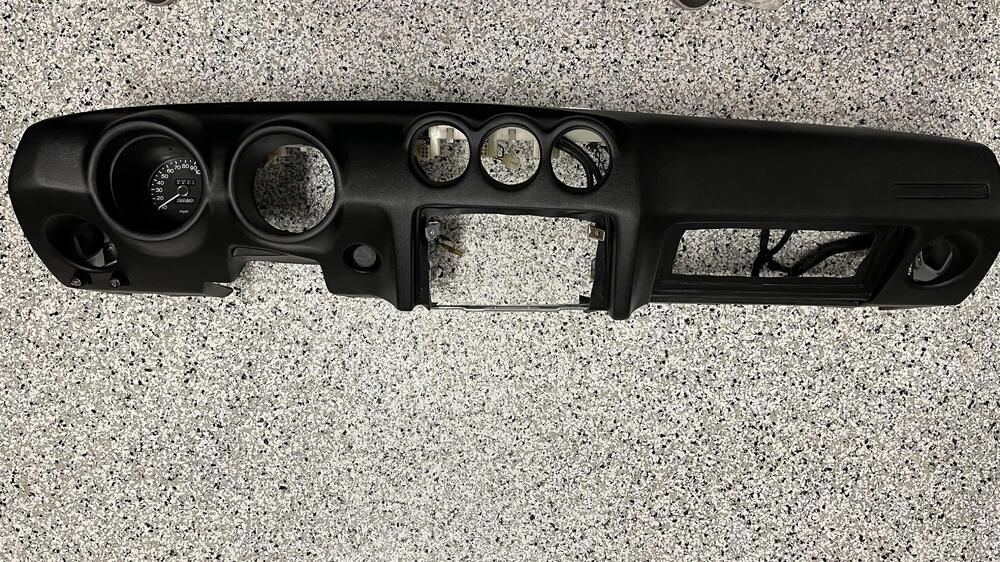
 1 pointThanks John, I installed one 18 months ago in a 75 280z. All new Speedhut instruments as well. Was very impressed with the quality of the dash which at the time I believe was in the $900 range.1 point
 -
1 pointHere are pics You can that lares in the red circle where the material isn’t even is going to be hidden under the metal finisher
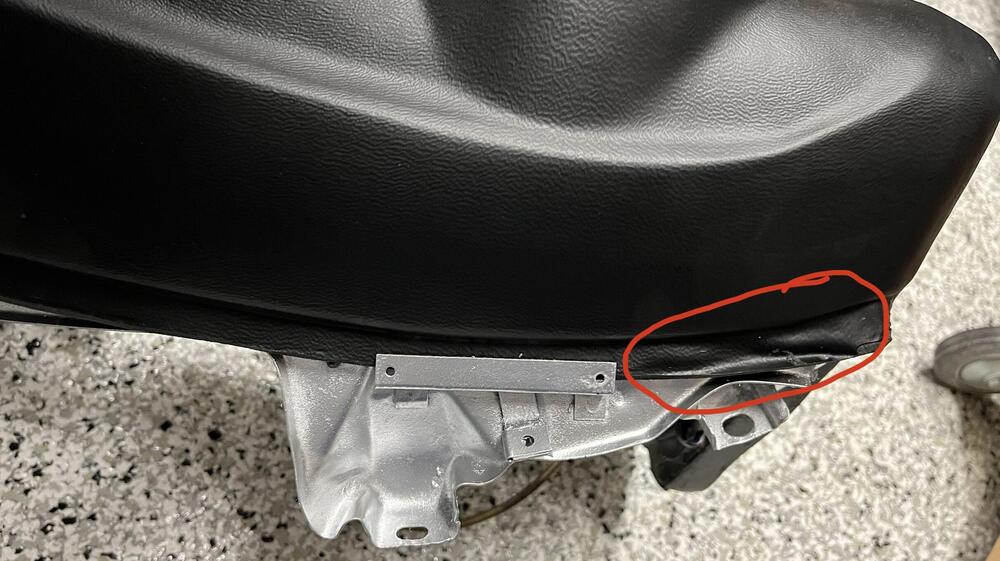 1 point
 -
1 pointhttps://www.240zrubberparts.com/apps/webstore/products/show/56445161 point
-
1 pointI put the springs in the shoes with the shoes laying on the ground then fold the shoes up like a book. Hold them up to the backing plate and open the book to get the shoes placed correctly. Then insert the pins and retainers. You need to be dexterous with one hand, holding the shoes in place with one while you try to get the pins and retainers inserted with the other, or use your knee to keep the shoes in place once you get them up there. If I was going to do it again I might use a bungee cord to hold the shoes in place while I put the pins and retainers in. One way to do it.1 point