Leaderboard


Popular Content
Showing content with the highest reputation on 03/18/2022 in all areas
-
 3 pointsFinal initial thoughts: I've heard before that it's best to install these covers with the chrome surround in mind, which is the method that I attempted first. In the end: other than to make sure the chrome piece basically fit and aligned with the cover, I did not find it all that useful to fit everything while trying to hold the metal surround in position, in addition to holding the cover. Since the metal is flexible, I figured that I could more easily massage the chrome to fit around the cover, vs letting it dictate where the cover would be installed. Perhaps I got lucky this time- others may have alternate tips and tricks to share. The end result is, IMHO, a superior and easier-to-implement solution to the "3-hole" mounting tab that Nissan provided. As as I said before, no one will ever know, because I'm not telling anyone!
 3 points
 -
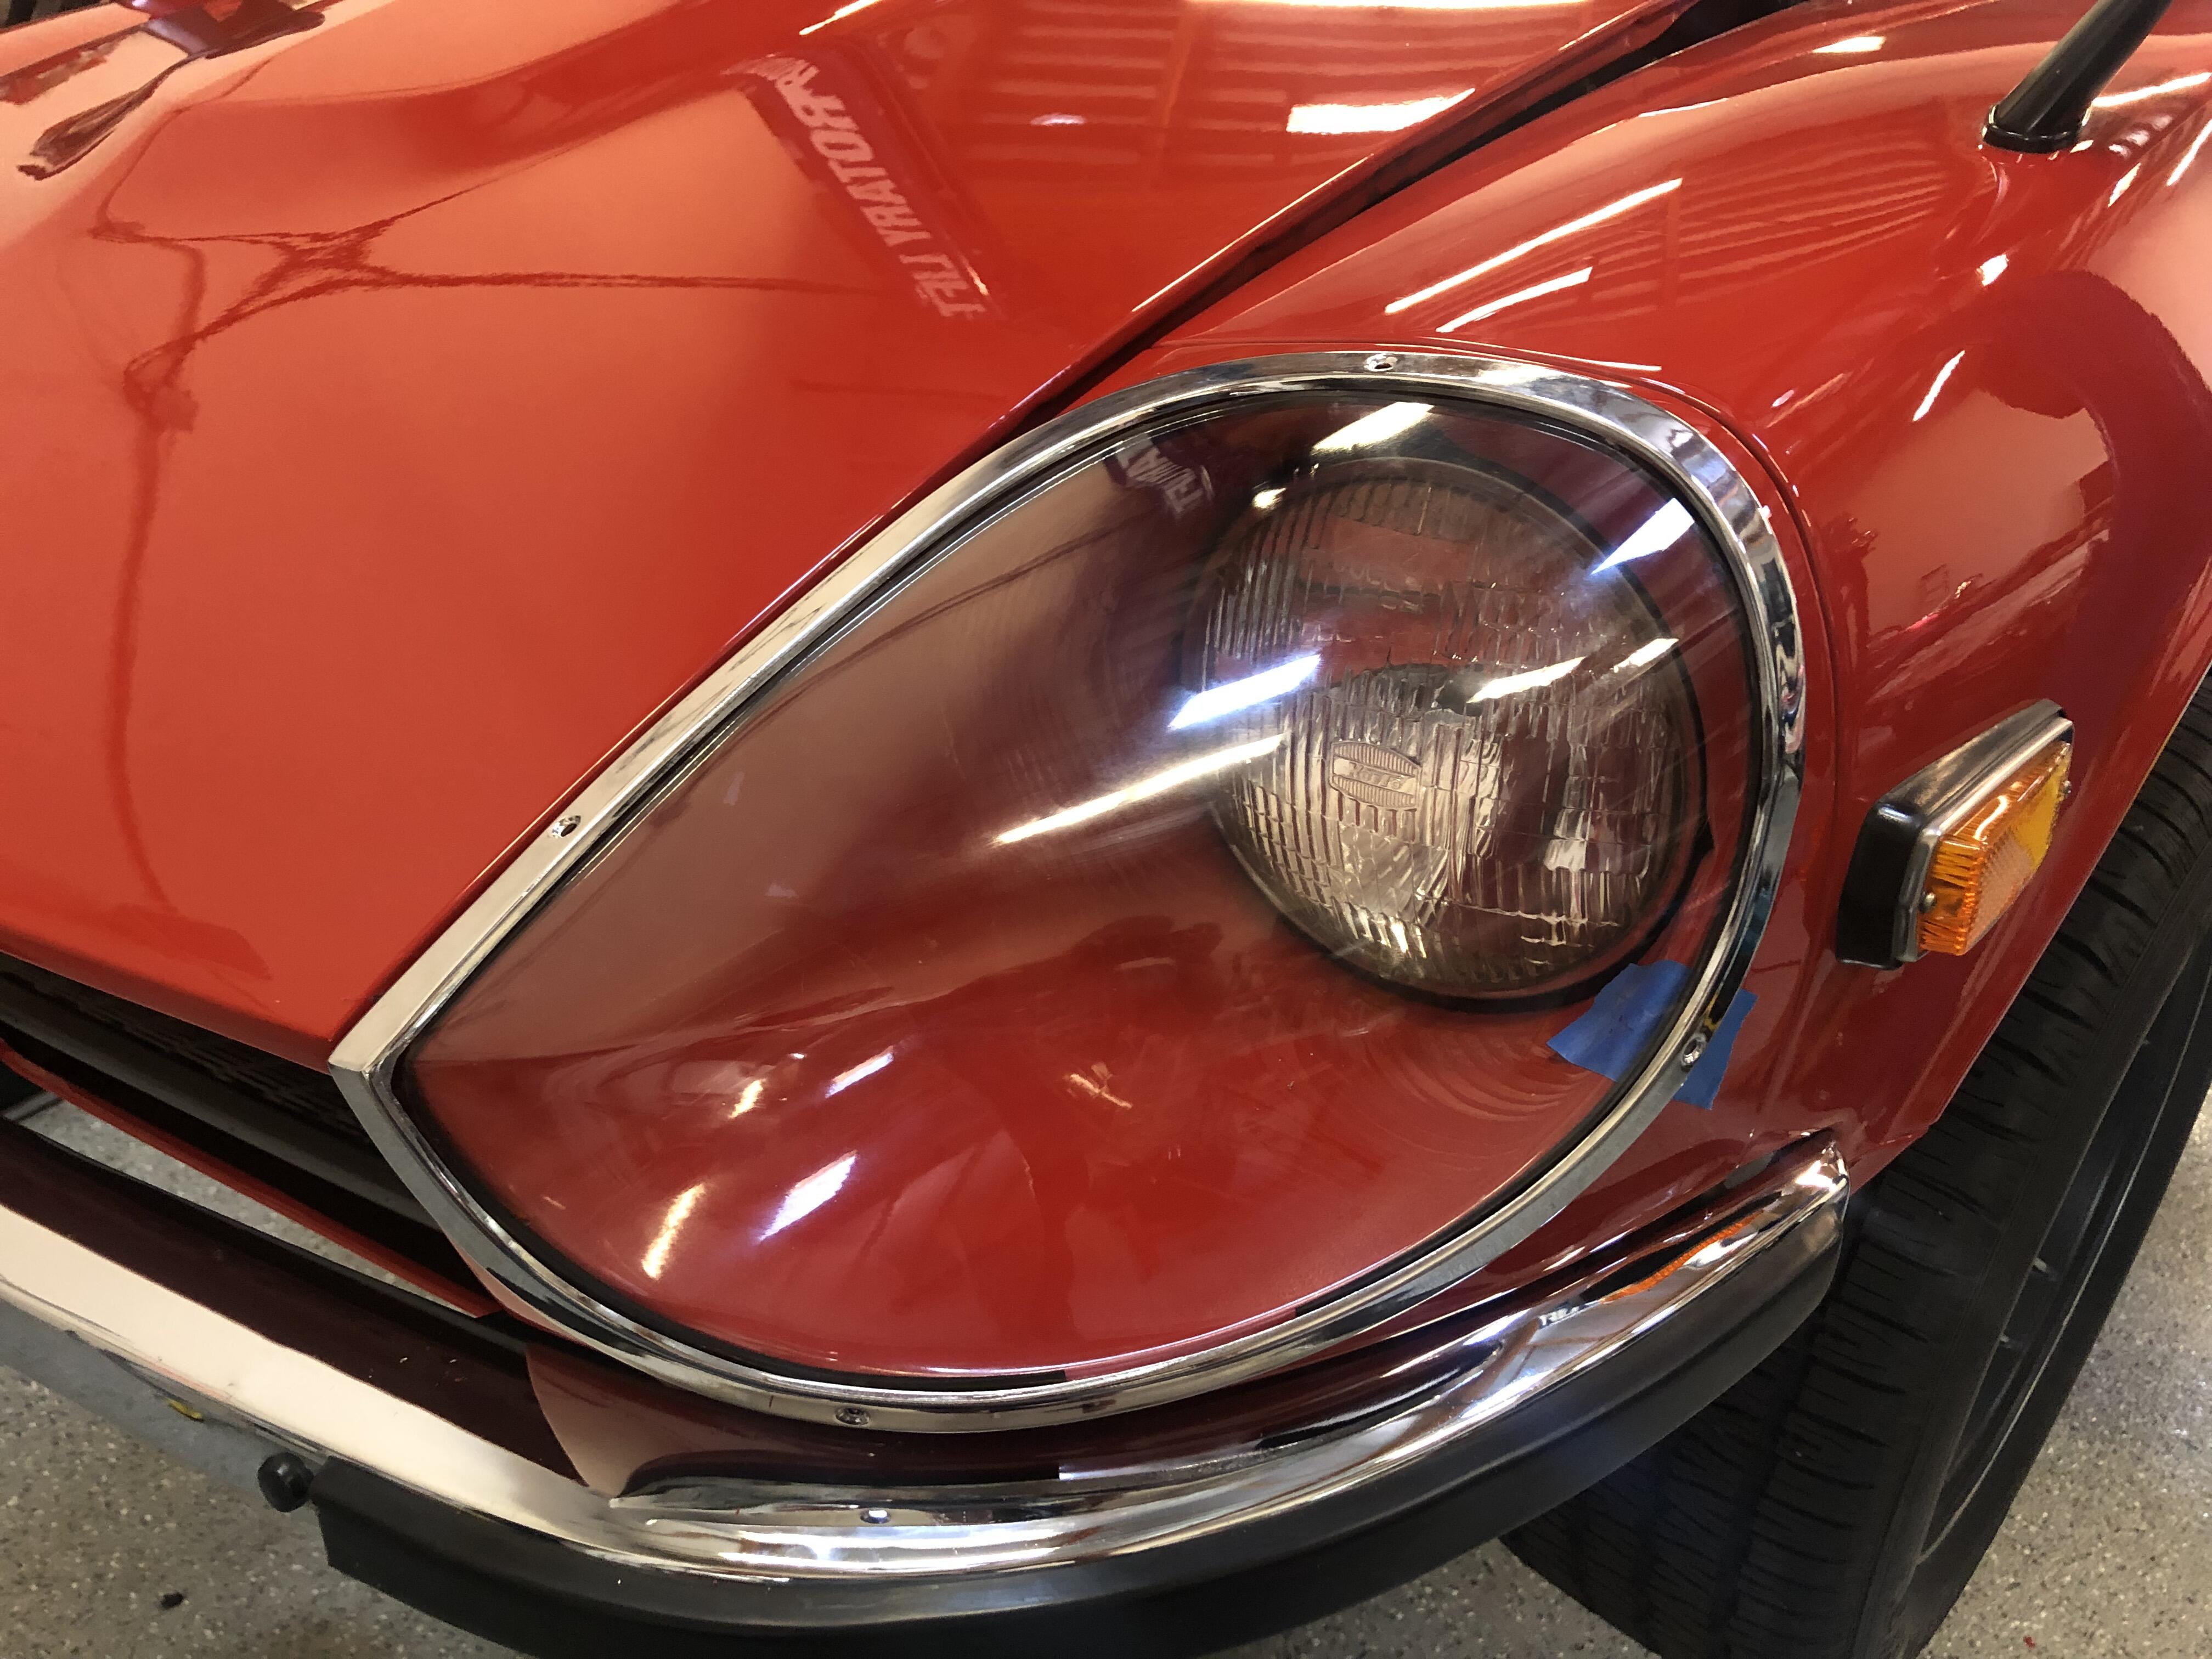
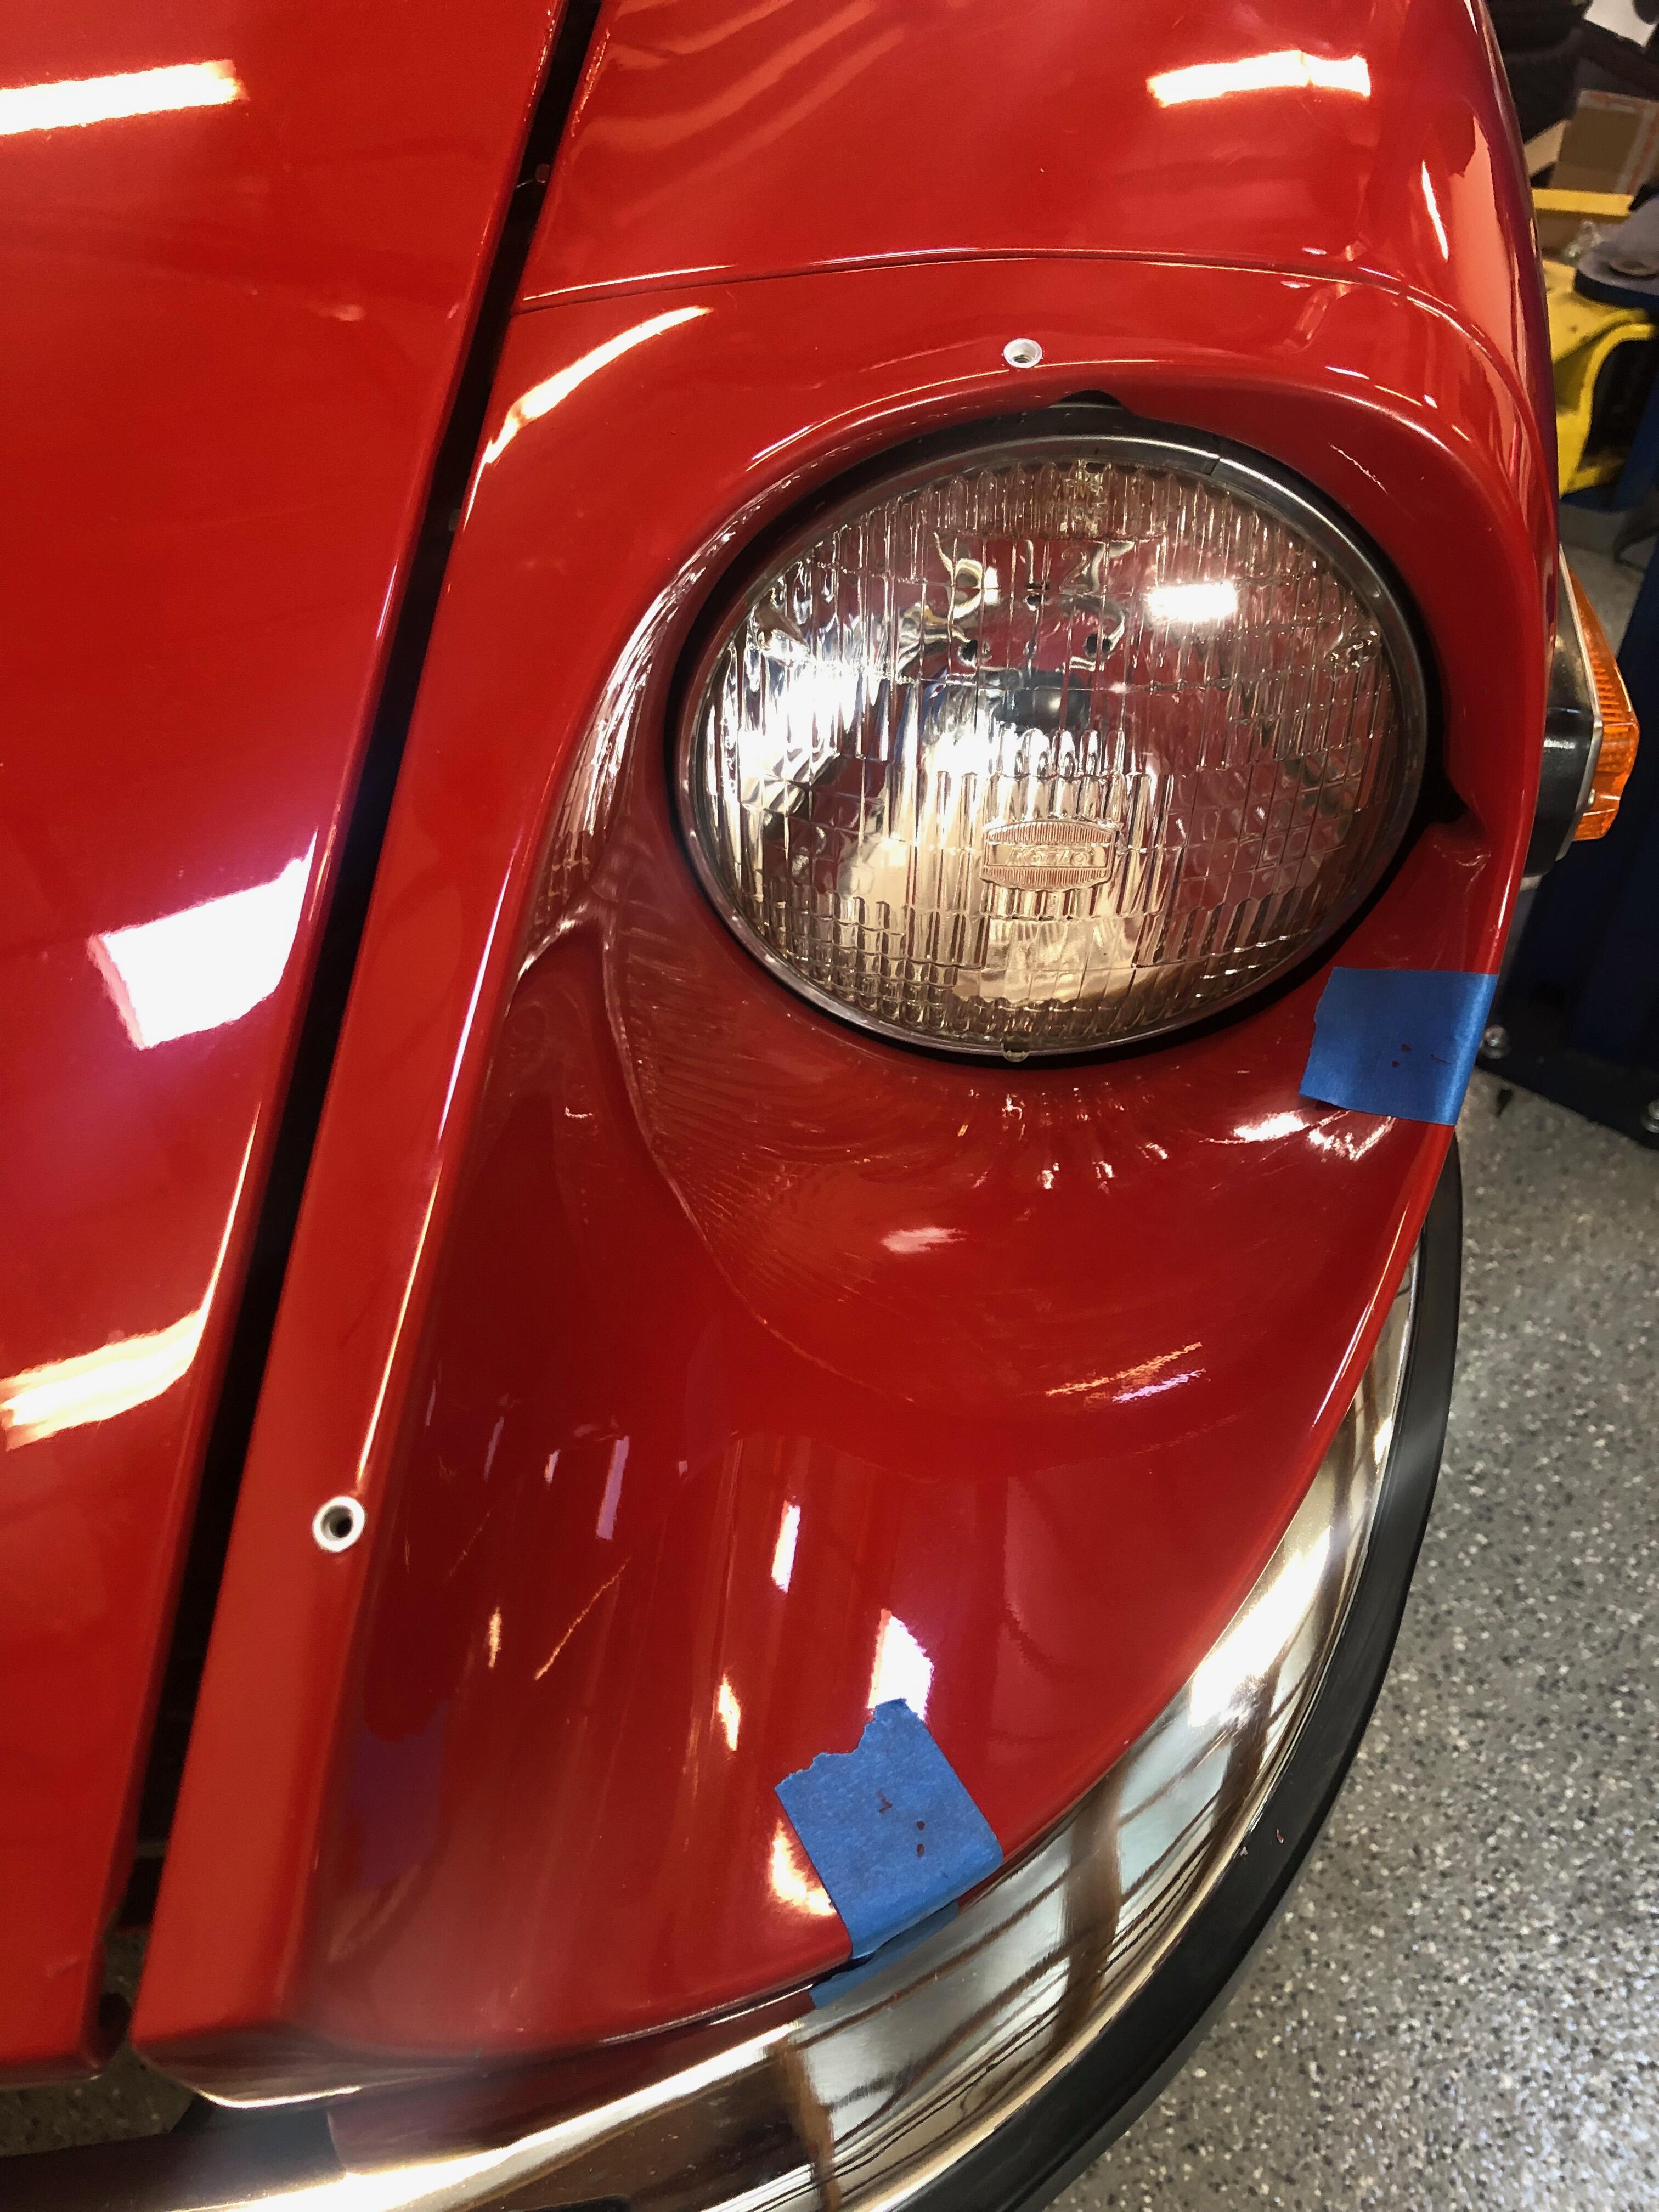
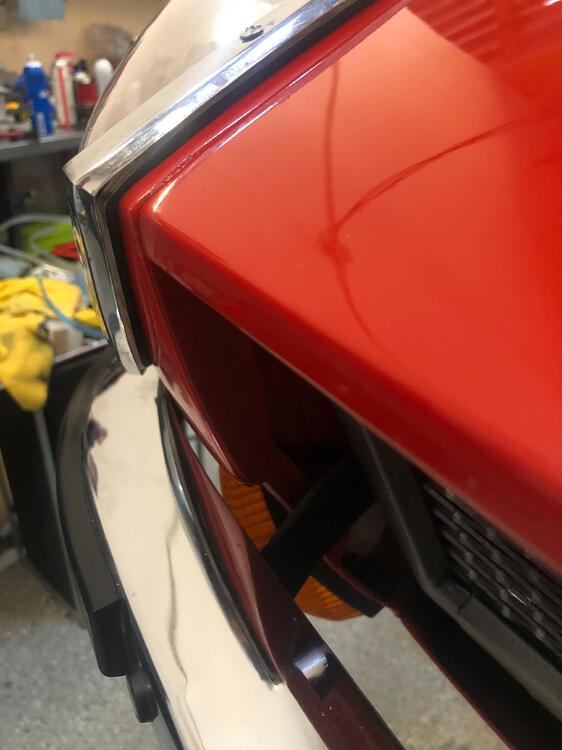
3 pointsContrary to what the above photos appear to show, I went around the bucket by drilling one hole at a time, inserting the rivet, and then re-installing the plexi cover, making sure that the remaining holes would still line up. On the right side of the car, i started with the front-most hole, next to the bumper. On the left side, I started with the top-front hole, by the hood. Of the two methods, I found it would be best to always start with the front-most hole by the bumper, as that seemed to do a better job in "sucking the cover" up against the sharp ridge on the nose than the other method did. As a result, the right-side installation is completely tight all around, and the left-side installation is off by perhaps 1/16", which is enough to reveal a tiny gap between the cover and the bucket at the front edge.

 3 points
 -
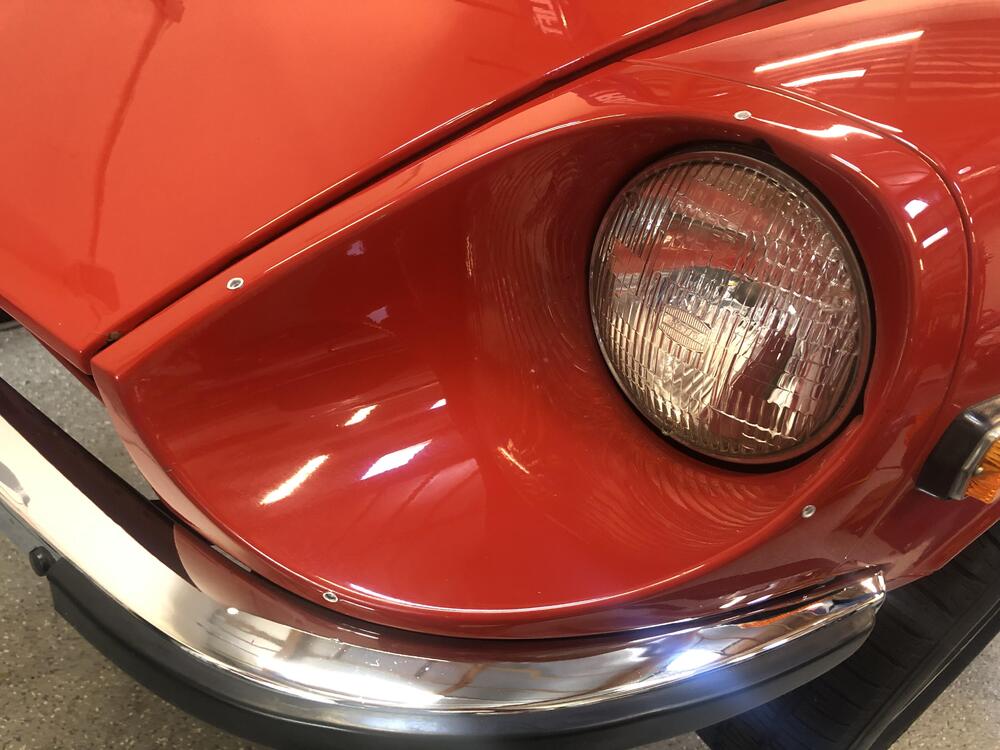
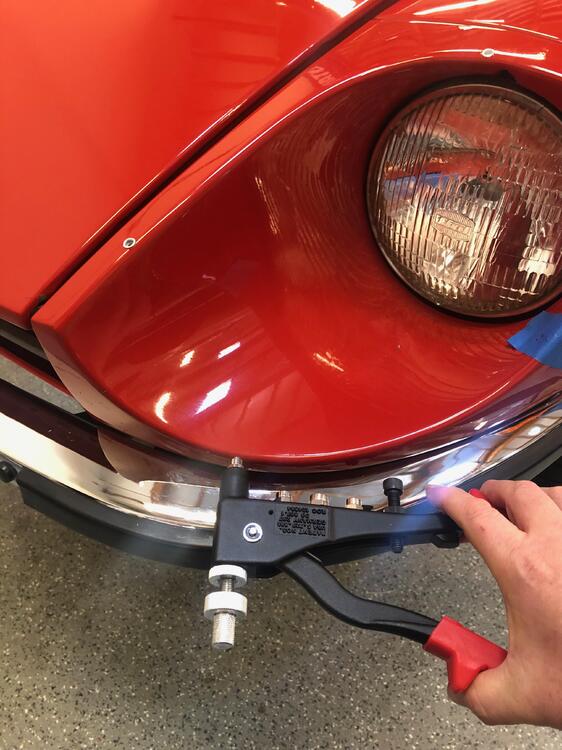
3 pointsThe basic cheat is to discard the dubious supplied mounting hardware (or just put it away for the next sap who wants to "do it the right way"), and go with aluminum rivet nuts. You'll only need to drill a single hole per mounting screw, and although it is a somewhat larger hole, IMHO it is a cleaner install that allows you to use the car without the headlight covers in place without looking too unsightly. I used an old SAE rivet kit from Astro that I had lying around (number Astro 1440). Regrettably, this kit and the metric kit (Astro 1441) has been discontinued, so after weeks of trying to locate a metric version in order to use the supplied finishing screws, I gave up and went with 8/32 stainless hardware and aluminum rivets, which had a nearly identical size and appearance. The car I was installing them on is a January 1970 car, where an earlier owner had replaced the fiberglass buckets with steel ones. Given that this was already "non-stock", I felt that there was little concern about keeping the rest of the headlight install "stock", so long as it LOOKED stock. Thankfully, no one reads my posts, so this little secret will be mine for all eternity. Here's what the finished rivet installation looks like.
 3 points
 -
2 pointsThose who have attempted installing an s30 headlight cover with chrome trim probably can tell you that it's a bit of a cluster. The moldings are not all that great and/or uniform, and there always seems to be an alternate positioning on the bucket that yields, at first glance, a better fit, but ends up causing problems with either one of the mounting holes, or creates a larger-than-desired air gap elsewhere on the cover. I'm here to tell you that after my first install, I don't have the answer for you. But I do have a cheat which seemed to make the installation a bit easier and cleaner. It yielded one decent fitment, and a supurb fitment. I hope this knowledge will help prevent others from screwing up their headlight buckets during their installation attempts.
 2 points
 -
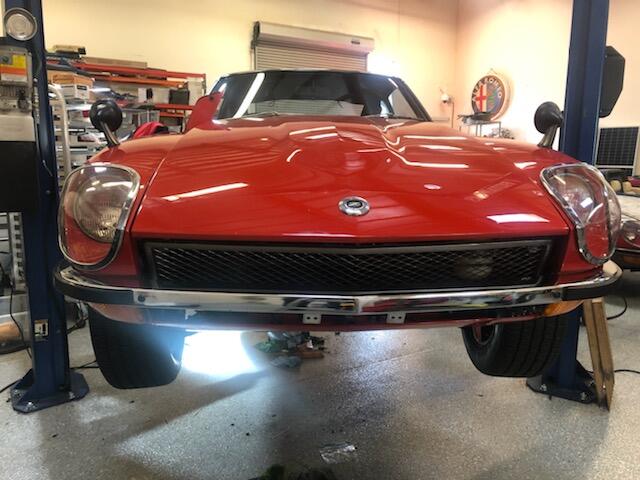
 Looks like somebody put a lot of work in to it. Why not the last piece though? Makes no sense! "400ci Chevrolet V8 is equipped with a Holley Stealth Ram intake and throttle body, sequential-port fuel injection, an electric cooling fan, an engine-compartment fuel pressure gauge, a Harwood plastic fuel cell, and a remote battery mounted in the trunk.......Power is sent to the rear wheels through a Ram clutch and a Tremec six-speed manual transmission." and an R180.
 2 points
 -
 2 points@Av8fergone of the two black/yellow wires should be hot at all times for your brake lights. Can you see if you are getting power there? Perhaps it only gets power when your combination switch is on (we can trace backwards if this is the case). edit: oops I was using 75 colors. 77 will be green/red. Check to see if your defroster works too. Seems it shares the same circuit. Fuse could be blown?2 points
 -
 2 pointsThe biggest advantage of using a 2 ton, is the extra boom length, usually about a foot more. And at full extension the de-rated tonnage is double. For example my 2 ton has a 57" extended boom length and is still rated for a half ton lift. Also using a leveler is a must if you are pulling the engine and transmission together. Here is a picture of mine at full extension pulling engine only, it was useful having a leveler even for engine only removal.
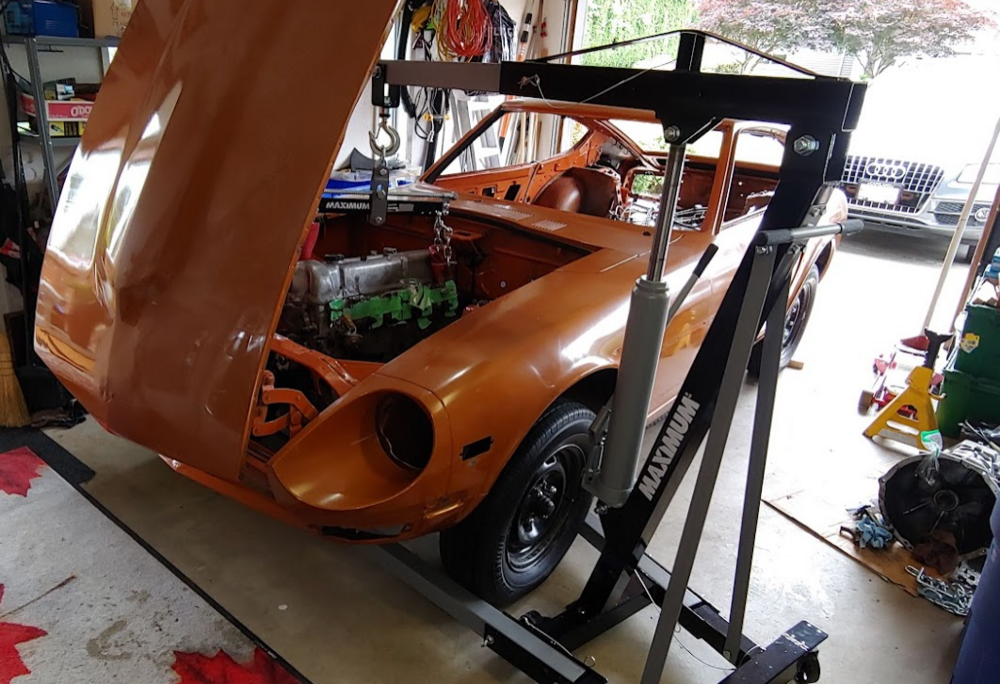 2 points
 -
 2 pointsSo I'm sure you are doing what you are doing because you don't have an engine hoist or an engine stand, but doing any internal bottom end work is way easier with the engine out of the car. I'm not trying to imply that you don't know what you're doing. I have one of these and my friends and I have put it through the ringer for the past several years. It's held up pretty well. Call it a cost of restoring a car. https://www.harborfreight.com/automotive/lifts-cranes-stands/1-ton-capacity-foldable-shop-crane-61858.html2 points
 -
 2 pointsThat is the oil pump. My suggestion is that you take the following steps. Stop what you're doing. Get a copy of the factory service manual for the car. If you are on a PC, you can find the link in my signature. Otherwise, go to the resources tab on this site to find the manuals. Study the FSM to find the relevant sections to what you're trying to work on. Don't even think about removing the oil pump before you have the engine at TDC. (Otherwise, you'll probably mess up the timing on the engine, especially if the oil pump gets turned while it is out.) On the other hand, why is the oil pump in the way? I'm pretty sure the cross member is more of an interference than the oil pump. By the way, from the amount of RTV on the oil pump, it looks like someone removed it in the past. I don't believe RTV is needed if you do it right. Also, why are you trying to take off the oil pan?2 points
 -
 2 pointsWell, I got the car out for it first real test drive. Yes, no brake lights but it was on back roads away from other cars. I wanted to run through the gears and test the brakes and suspension out. Went pretty well. 1. lights are a mess, I knew this already. 2. Two leaks. One from oil pump, one of the bolts it appears but not from the main seal where it connects to timing chain cover. I will tighten but don’t want to break that bolt and I put the stainless bolts in there and I know they’re not as strong. I might need check the toque setting on those. 3. Transmission is leaking. One bolt on the casing. I tightened that bolt a little and looks okay but won’t know until next drive. 4. I’m getting a “clunking” sound from the rear end some where. Most noticeable when going in reverse or when accelerating rapidly and then coming off the gas pedal quickly. Seems like some play somewhere back there. Not sure where to begin looking. I had debated leaving the rear end alone for this coming summer season but I may have to get in there sooner. (I have a replacement differential from a ZX. Goal is all the bugs worked out by end of June, and have it a daily driver by then. Cars starts perfectly, runs smooth, and idles nicely. I only took the engine to 4K rpm just because the engine is still in break in mode. There is no engine hesitation at all, clean smooth acceleration. Sent from my iPhone using Tapatalk2 points
 -
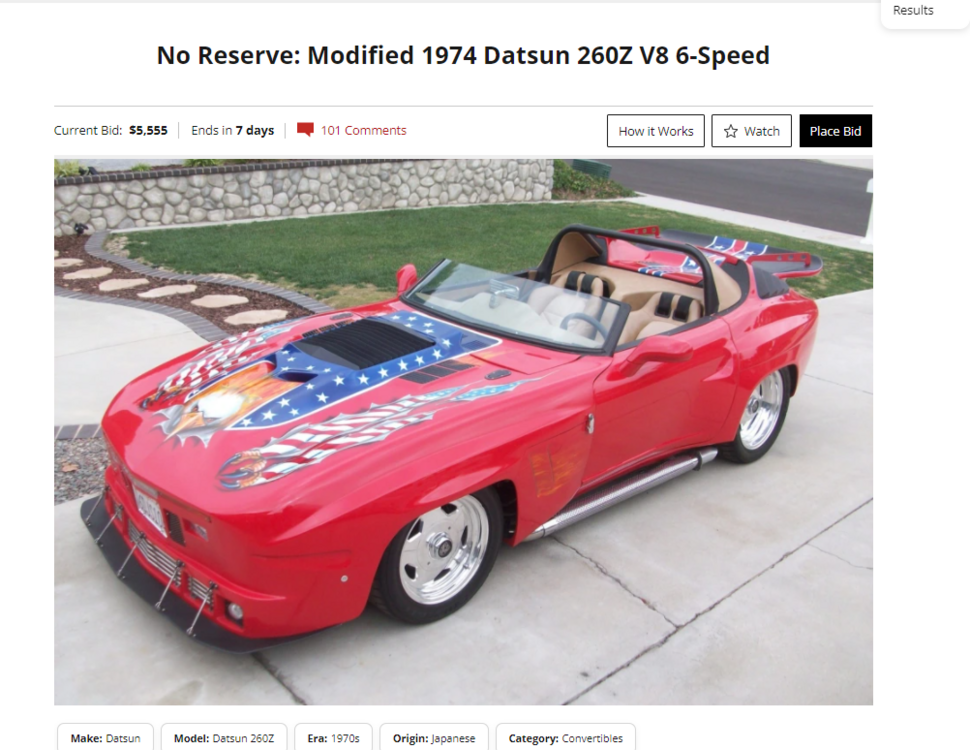
 If "Macho Man" Randy Savage came back as a car, this would be it.
 1 point
 -
 1 pointNothing but sweet music from the motor, sorry but this is insane. Residential ripping. He never hits "wide arse open" though. Find a track!1 point
 -
 My vote for "only a mother could love" thread. Wow, it's fugly.1 point
 -
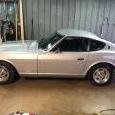
WT...! I wasn't sure if this should go here, or in the Zeds only a mother could love thread, but I picked here. https://bringatrailer.com/listing/1974-datsun-260z-54/
 1 point
 -
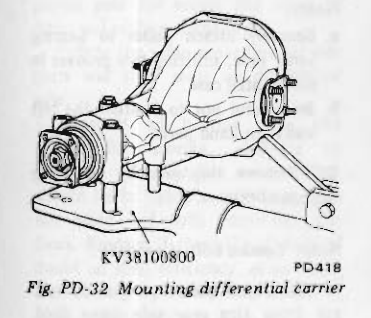
1 pointYou can open up the 1977 or 1978 Prop and Diff chapter and there are drawings of the two. Yours is a typical ZX R200, it still has the ZX mount on the cover. The clean black one is an R180, the ring of 5 bolts is for the "side retainer". The R200 doesn't have those.

 1 point
 -
1 pointThanks for the help gents! I put a new brake switch in this AM. I made a video to explain the situation better. BLUF: they only work with headlights turned on now. Will note work otherwise, so I know the switch is good. See video link below, showing the specifics.1 point
-
1 pointLucky you. I gave away my 1 ton after two engine pulls because it didn't hold up well (and my garage was getting crowded.) The 2 ton isn't that much more ($70 when they are not on sale), and I think it would be safer in this application. @corbenBHere's another reference that might help you: https://www.amazon.com/Rebuild-Your-Nissan-Datsun-Engine/dp/19311280301 point
-
 1 pointHigh probability that the clunk is the rear differential insulator. The rubber separates from the bracket allowing the nose to move up under acceleration then it comes clunking down when you let off. It’s a fairly easy fix, install a new strap while you are at it.1 point
 -
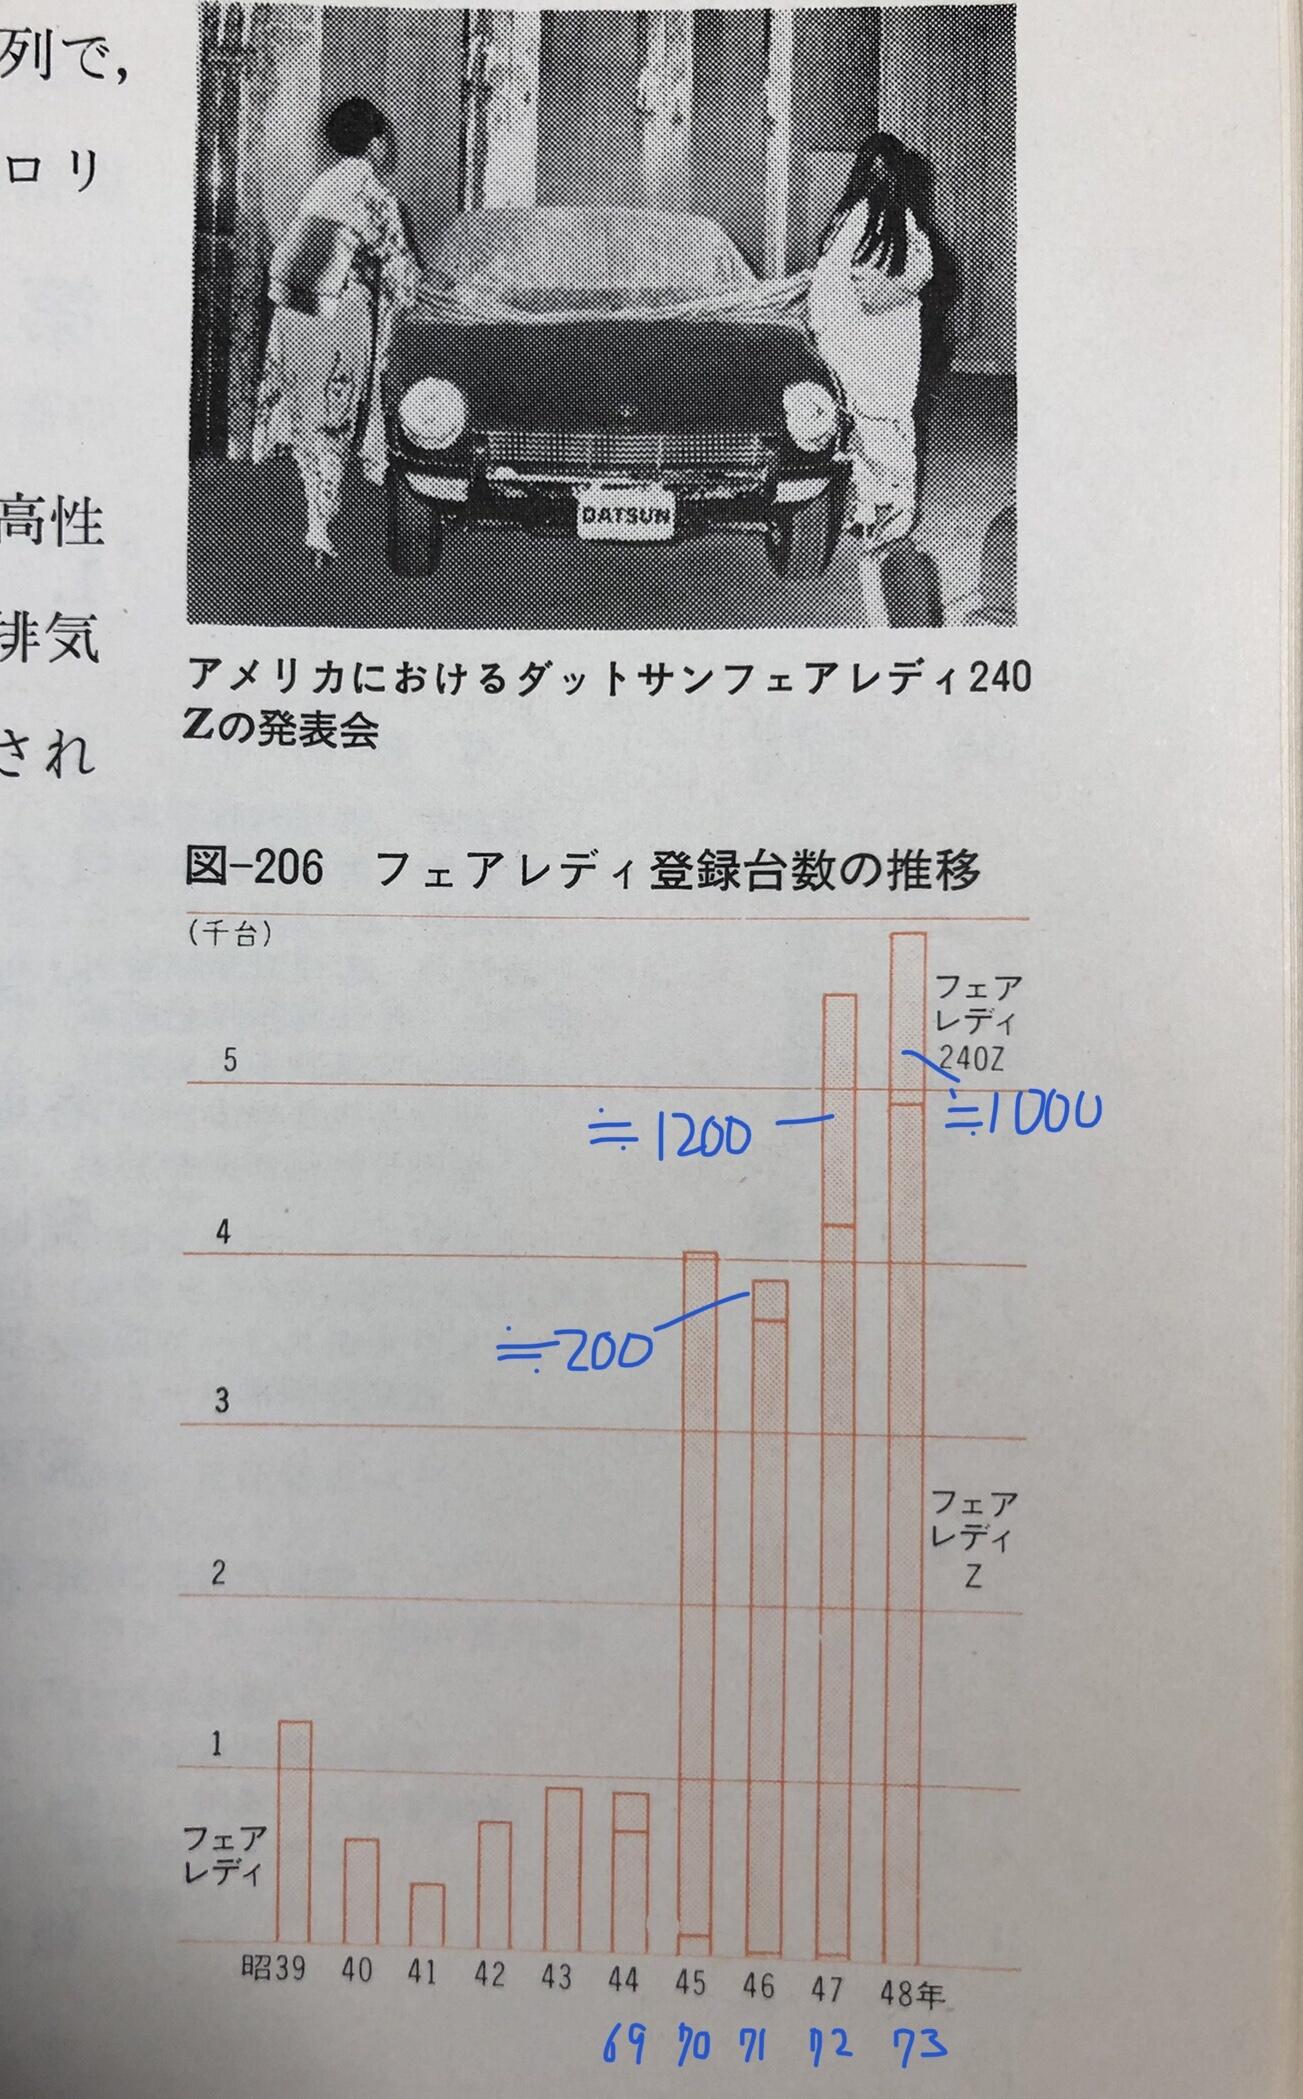
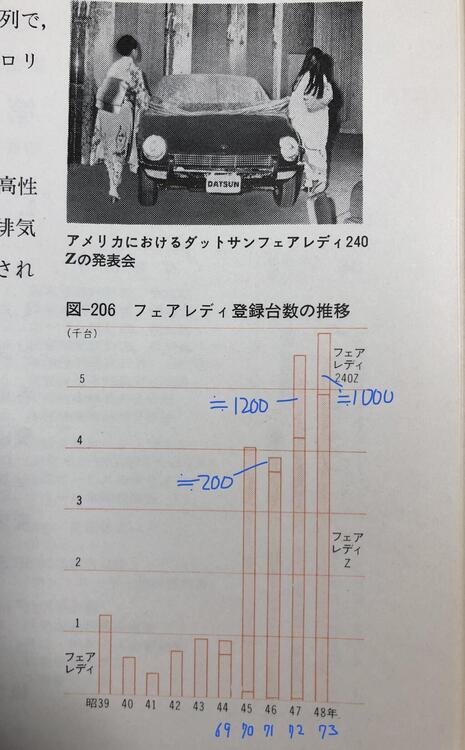
 1 pointThanks Gavin , great info ! “What I noticed with HS30's (In Australia anyway) is that the 72 model year is by far the rarest model (compared to 70,71 and 73). I am guessing this is because Nissan ramped up production of Fairlady 240Z and Fairlady 240ZGs around this time period and perhaps made less HS30's for Australia, NZ, PNG, South Africa, UK, Hong Kong etc..” This is new and making sense to me . Looking at this figure , Fairlady 240Z series were approximately 1200 cars in 1972. Kats
 1 point
 -
 Nice job with the rivnuts. My '71 has the original fiberglass sugar scoop headlight surrounds and my covers came without the mounting hardware. So, they've been in the box for way too many years waiting for me to create my own mounting hardware. I do have a spare set of fiberglass scoops to practice on when the time comes. But, I anticipate the same issues you experienced with getting a tight fit on the chrome trim.1 point
 -
1 pointFunny, my oil pump leaked too using that kit. Luckily I was able to snug it up a bit more and the leak stopped.1 point
-
1 pointI used that stainless bolt kit from zcardepot and mine leaked too. Put the OEs in and now dry as sandpaper. I had some other issues with that kit. Some lengths weren't the same and the threads seemed a little rough compared to OE.1 point
-
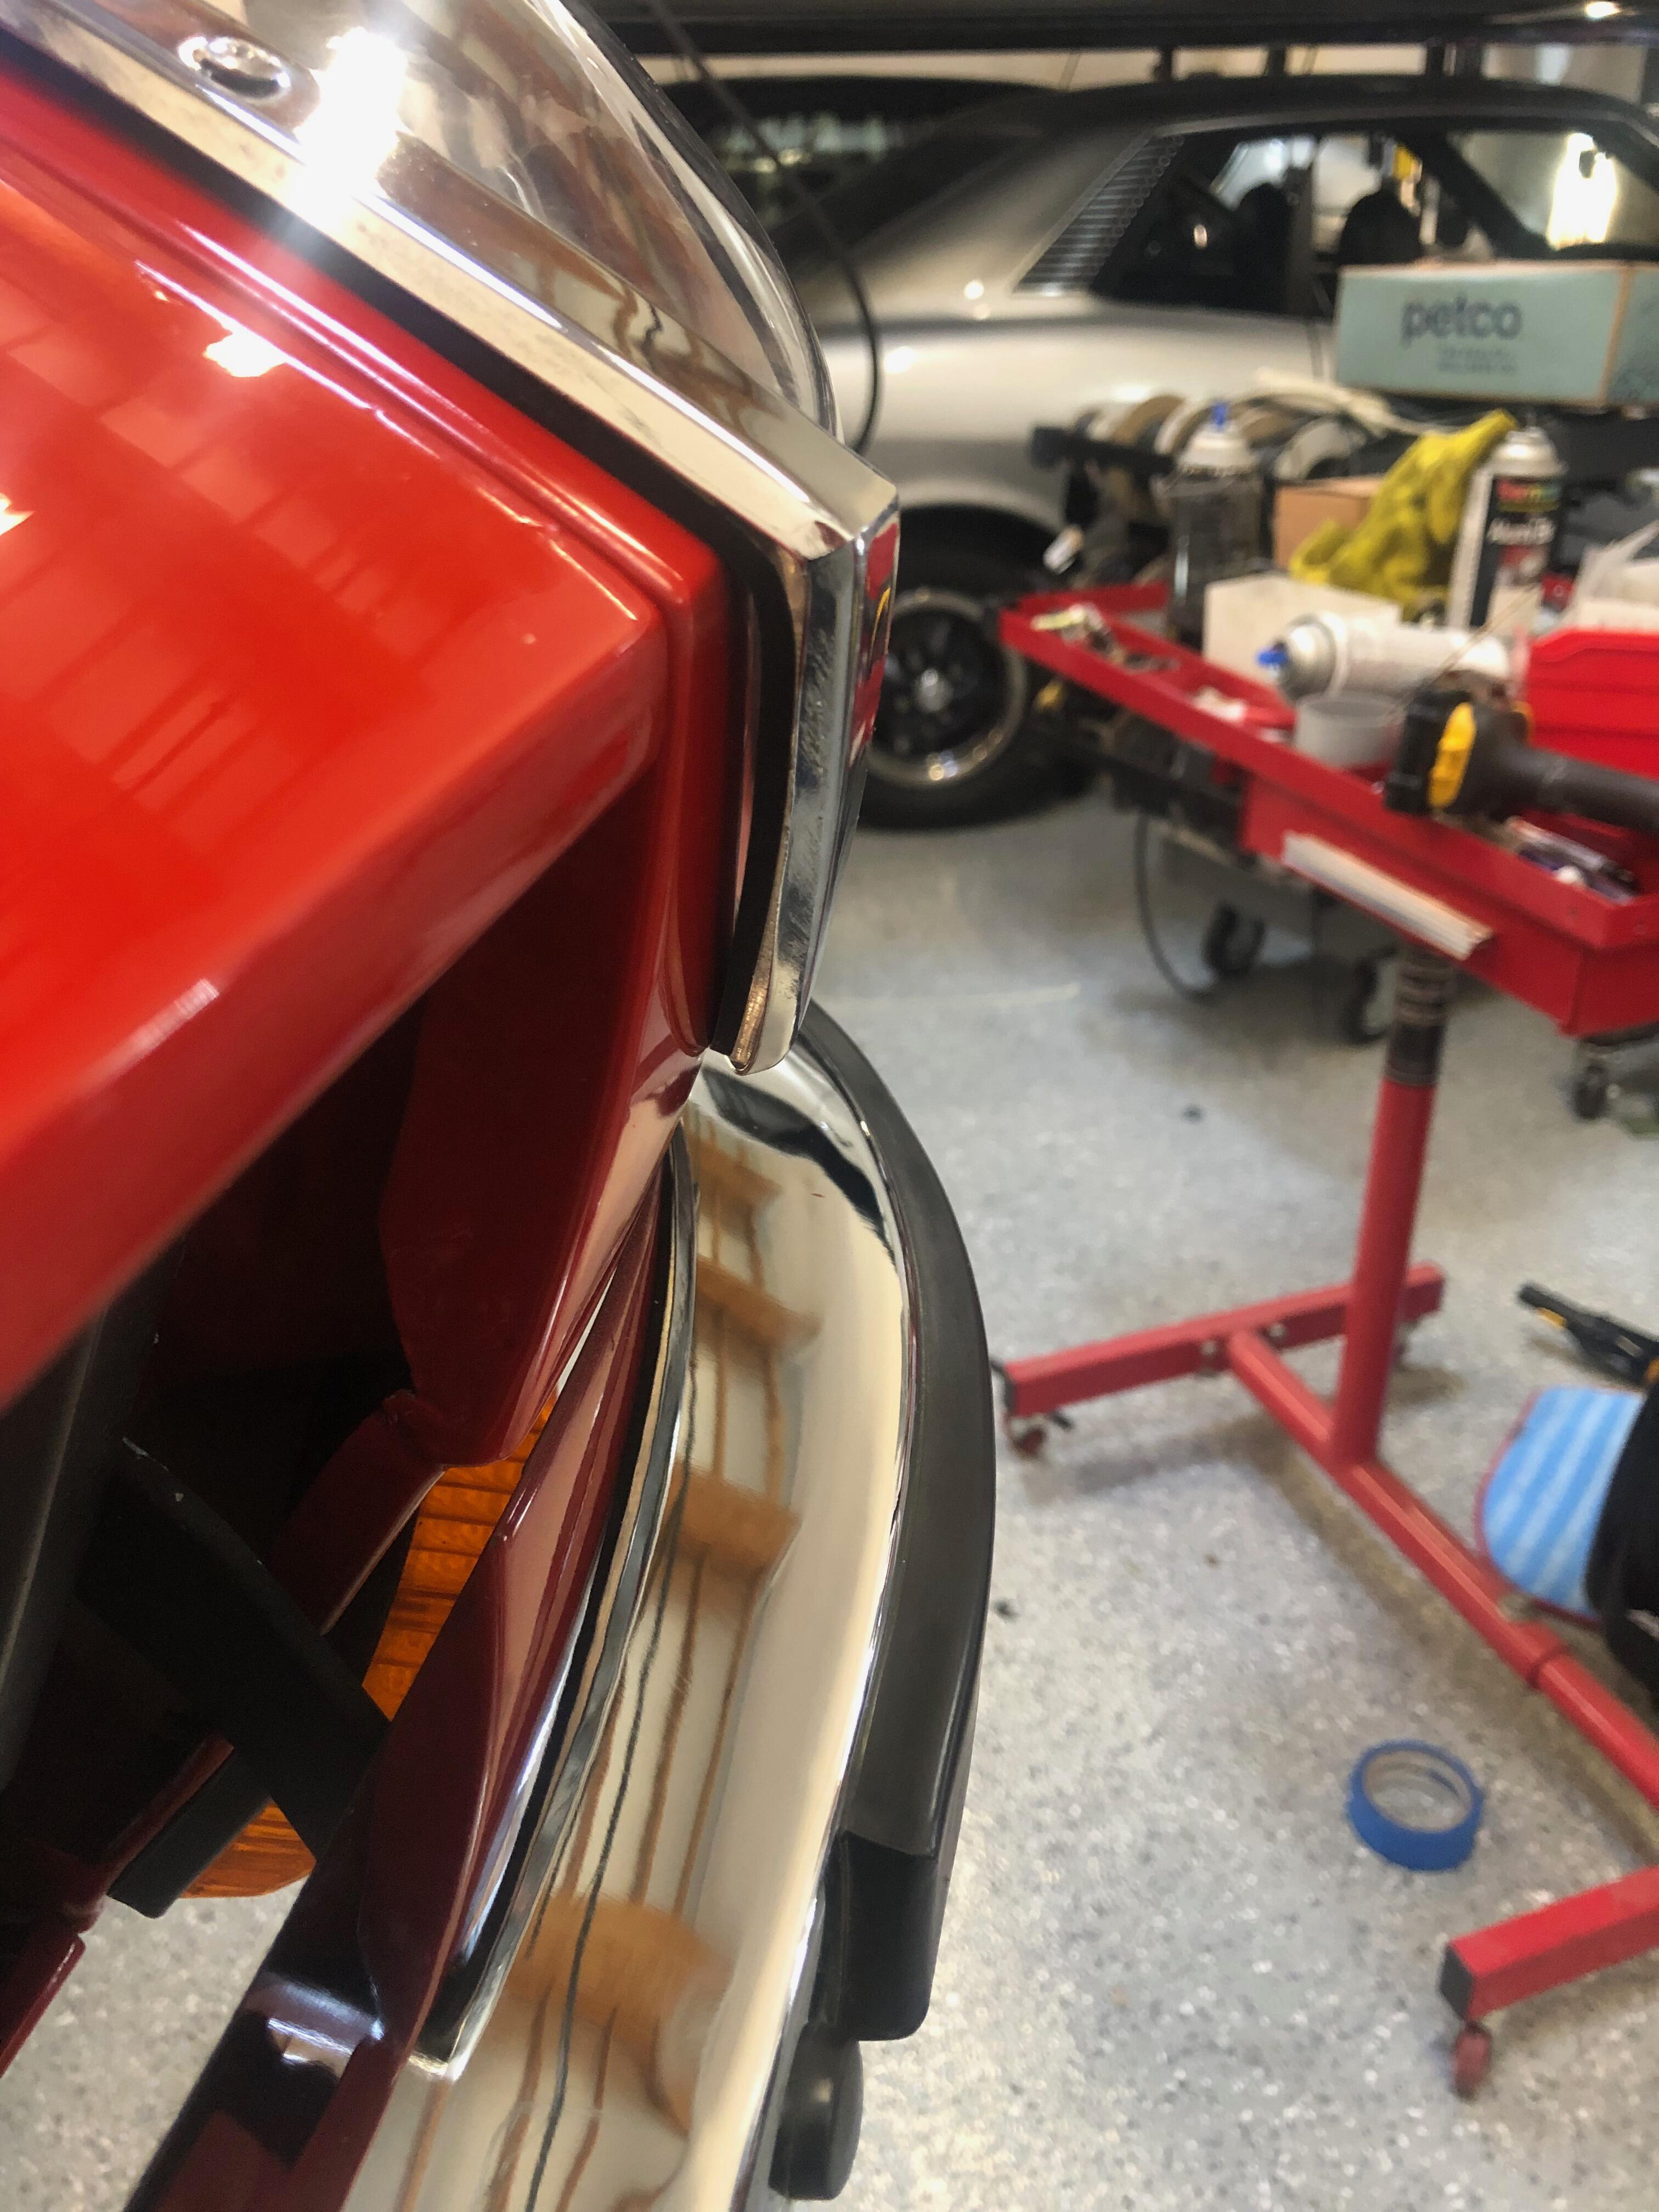
 1 pointI measured my original bumper and it measures the same as @jfa.series1. I also drew a line on the new bumper that traced the rear of the car. When the line was complete, they also matched your measurements. That said, I have a relative that can trim the excess off the inside of the bumper and everything should line up. It may take a week or two, so I'll report back when it's done. Thanks to all for your inputs.1 point
 -
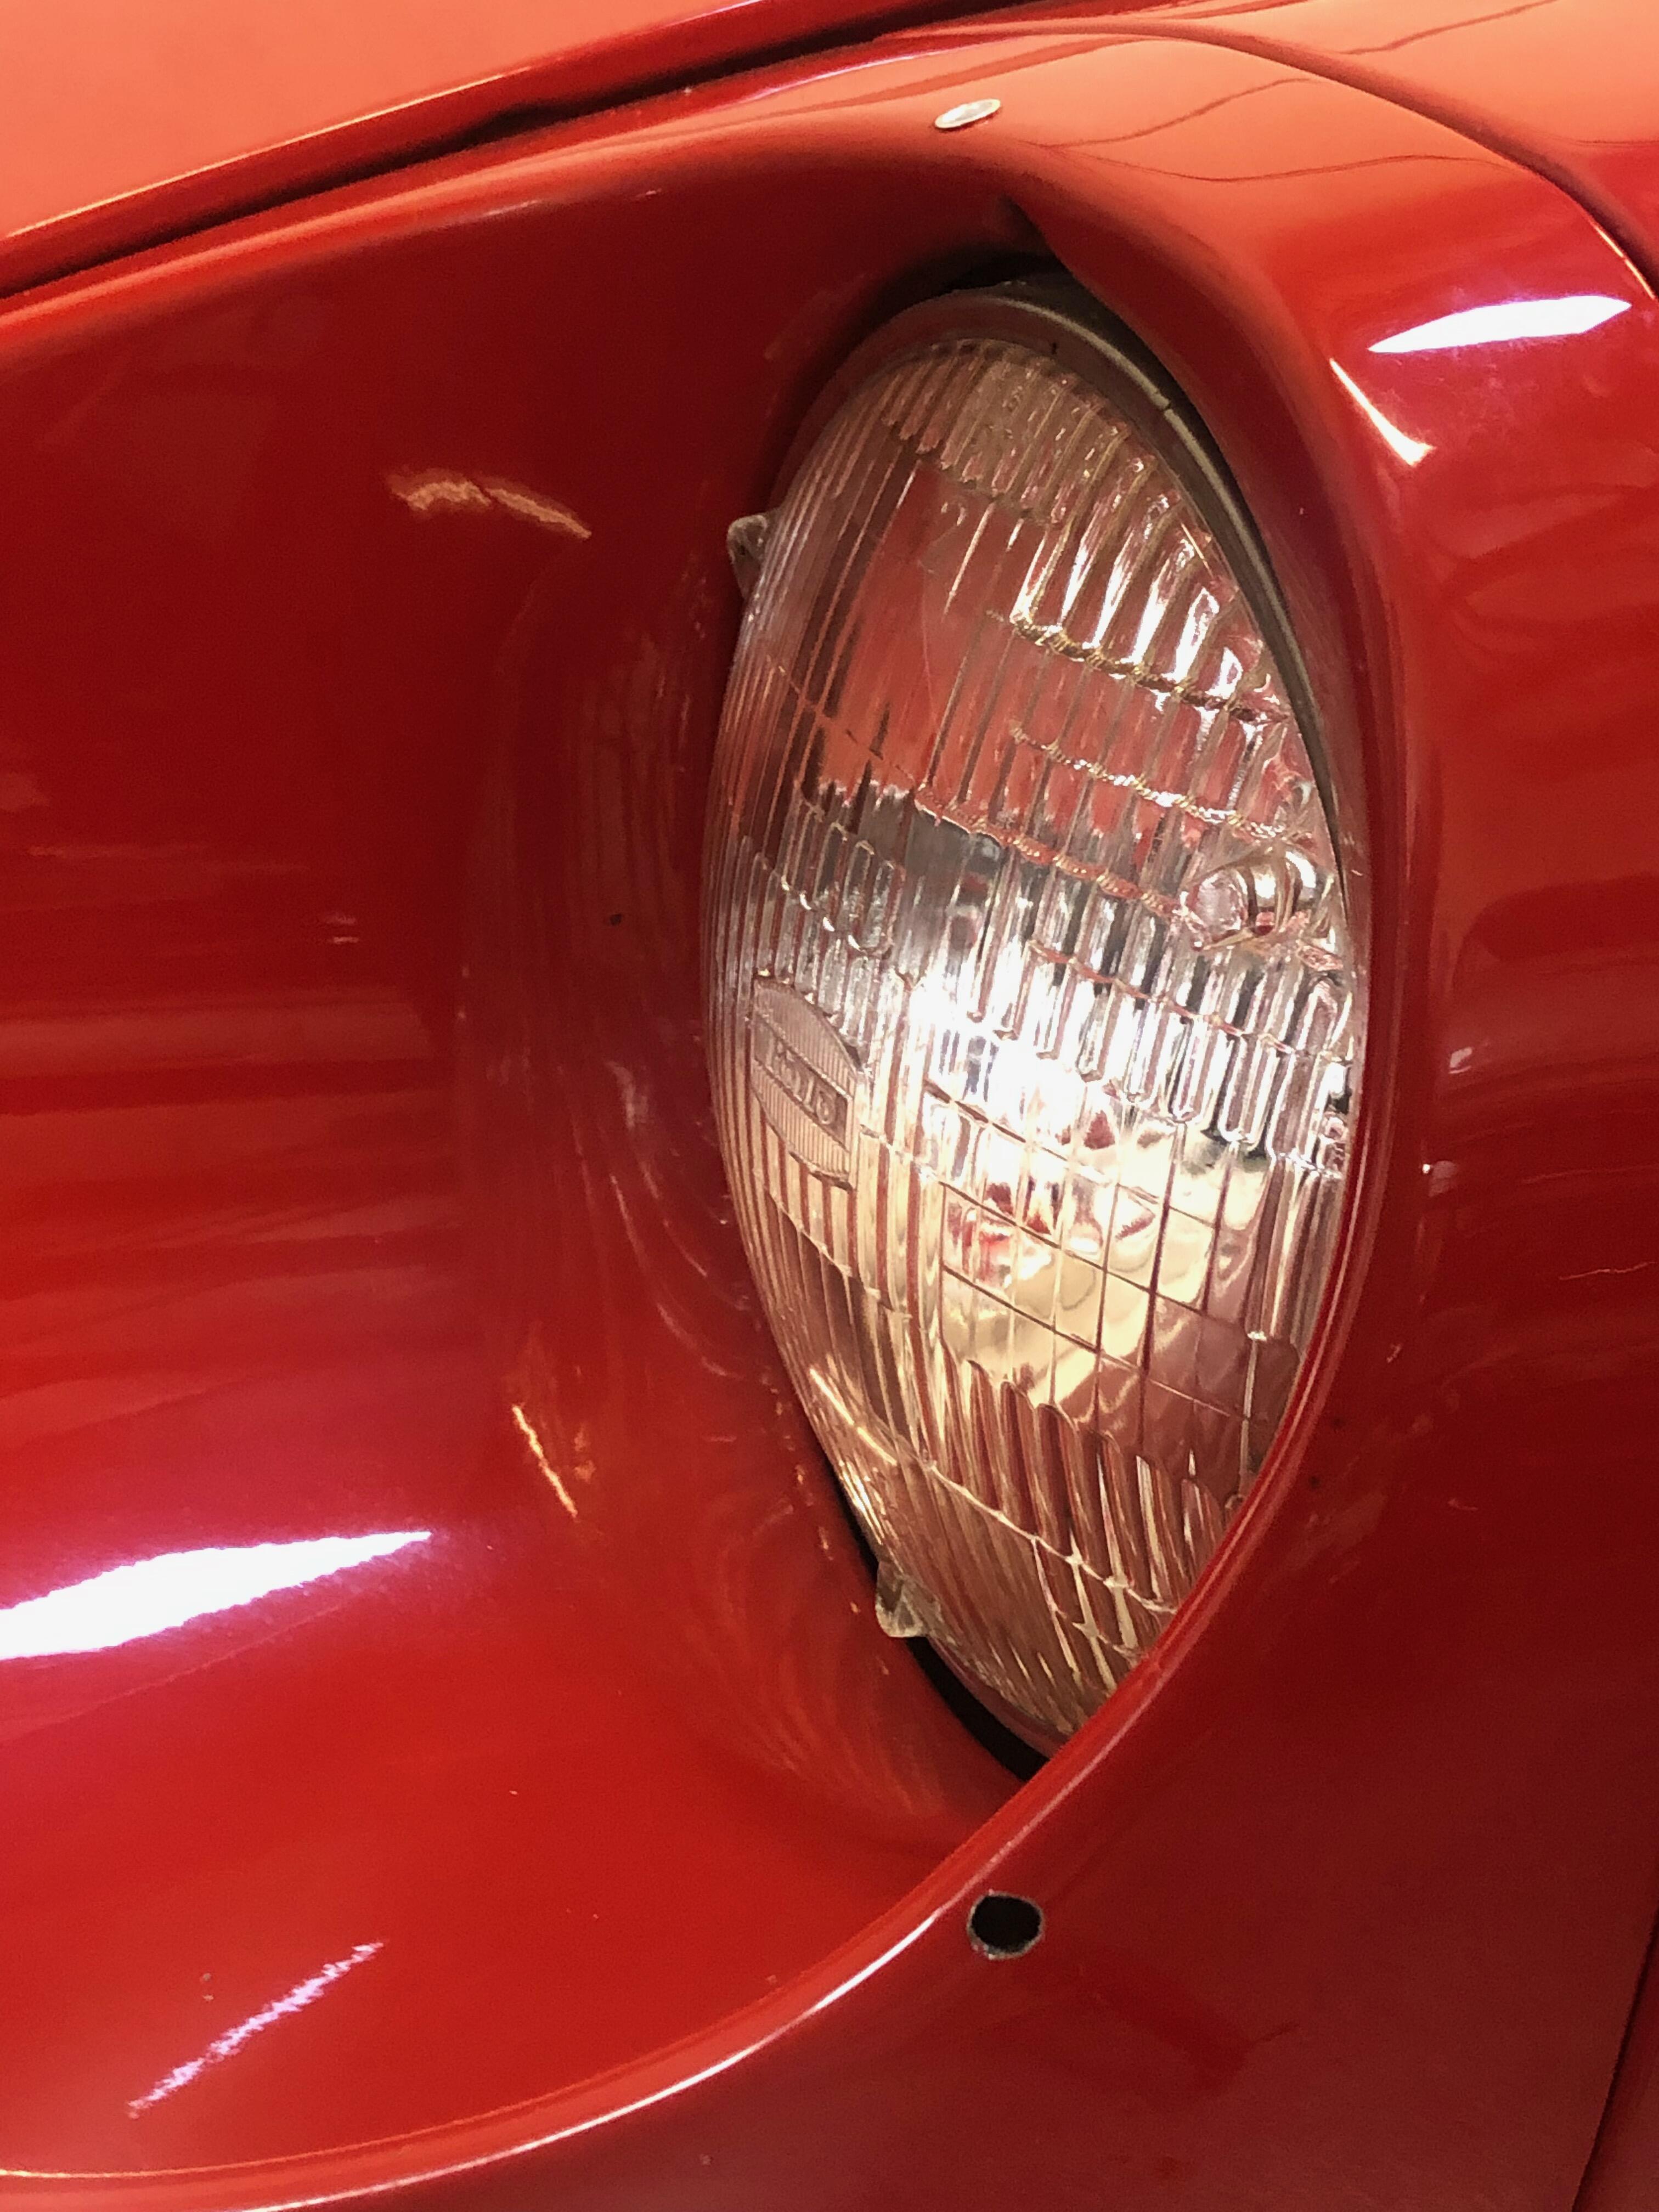
I'll share some tips and tricks that seemed to work well for me along the way. The first tip is to go REALLY slowly. Measure and mark 3 times, then go do something else non-stressful. Then come back and check again. Only then to you start drilling. I started by laying down a 1" piece of masking tape at the approximate center of each mounting hole. I then placed just the clear cover over bucket and massage it around until it appears that all four mounting holes have zero daylight - that is to say, when you look through the hole opening onto the metal, you see only masking tape. After I was satisfied that all 4 holes would be located as far away as I could get them from each edge. I began to drill one hole - first with a 1/8 bit, followed by a 1/4 bit, which was the right size for the rivet nut I was using. CRITICAL: use brand new metal bits that you just purchased at the hardware store!


 1 point