Leaderboard


Popular Content
Showing content with the highest reputation on 11/17/2022 in all areas
-
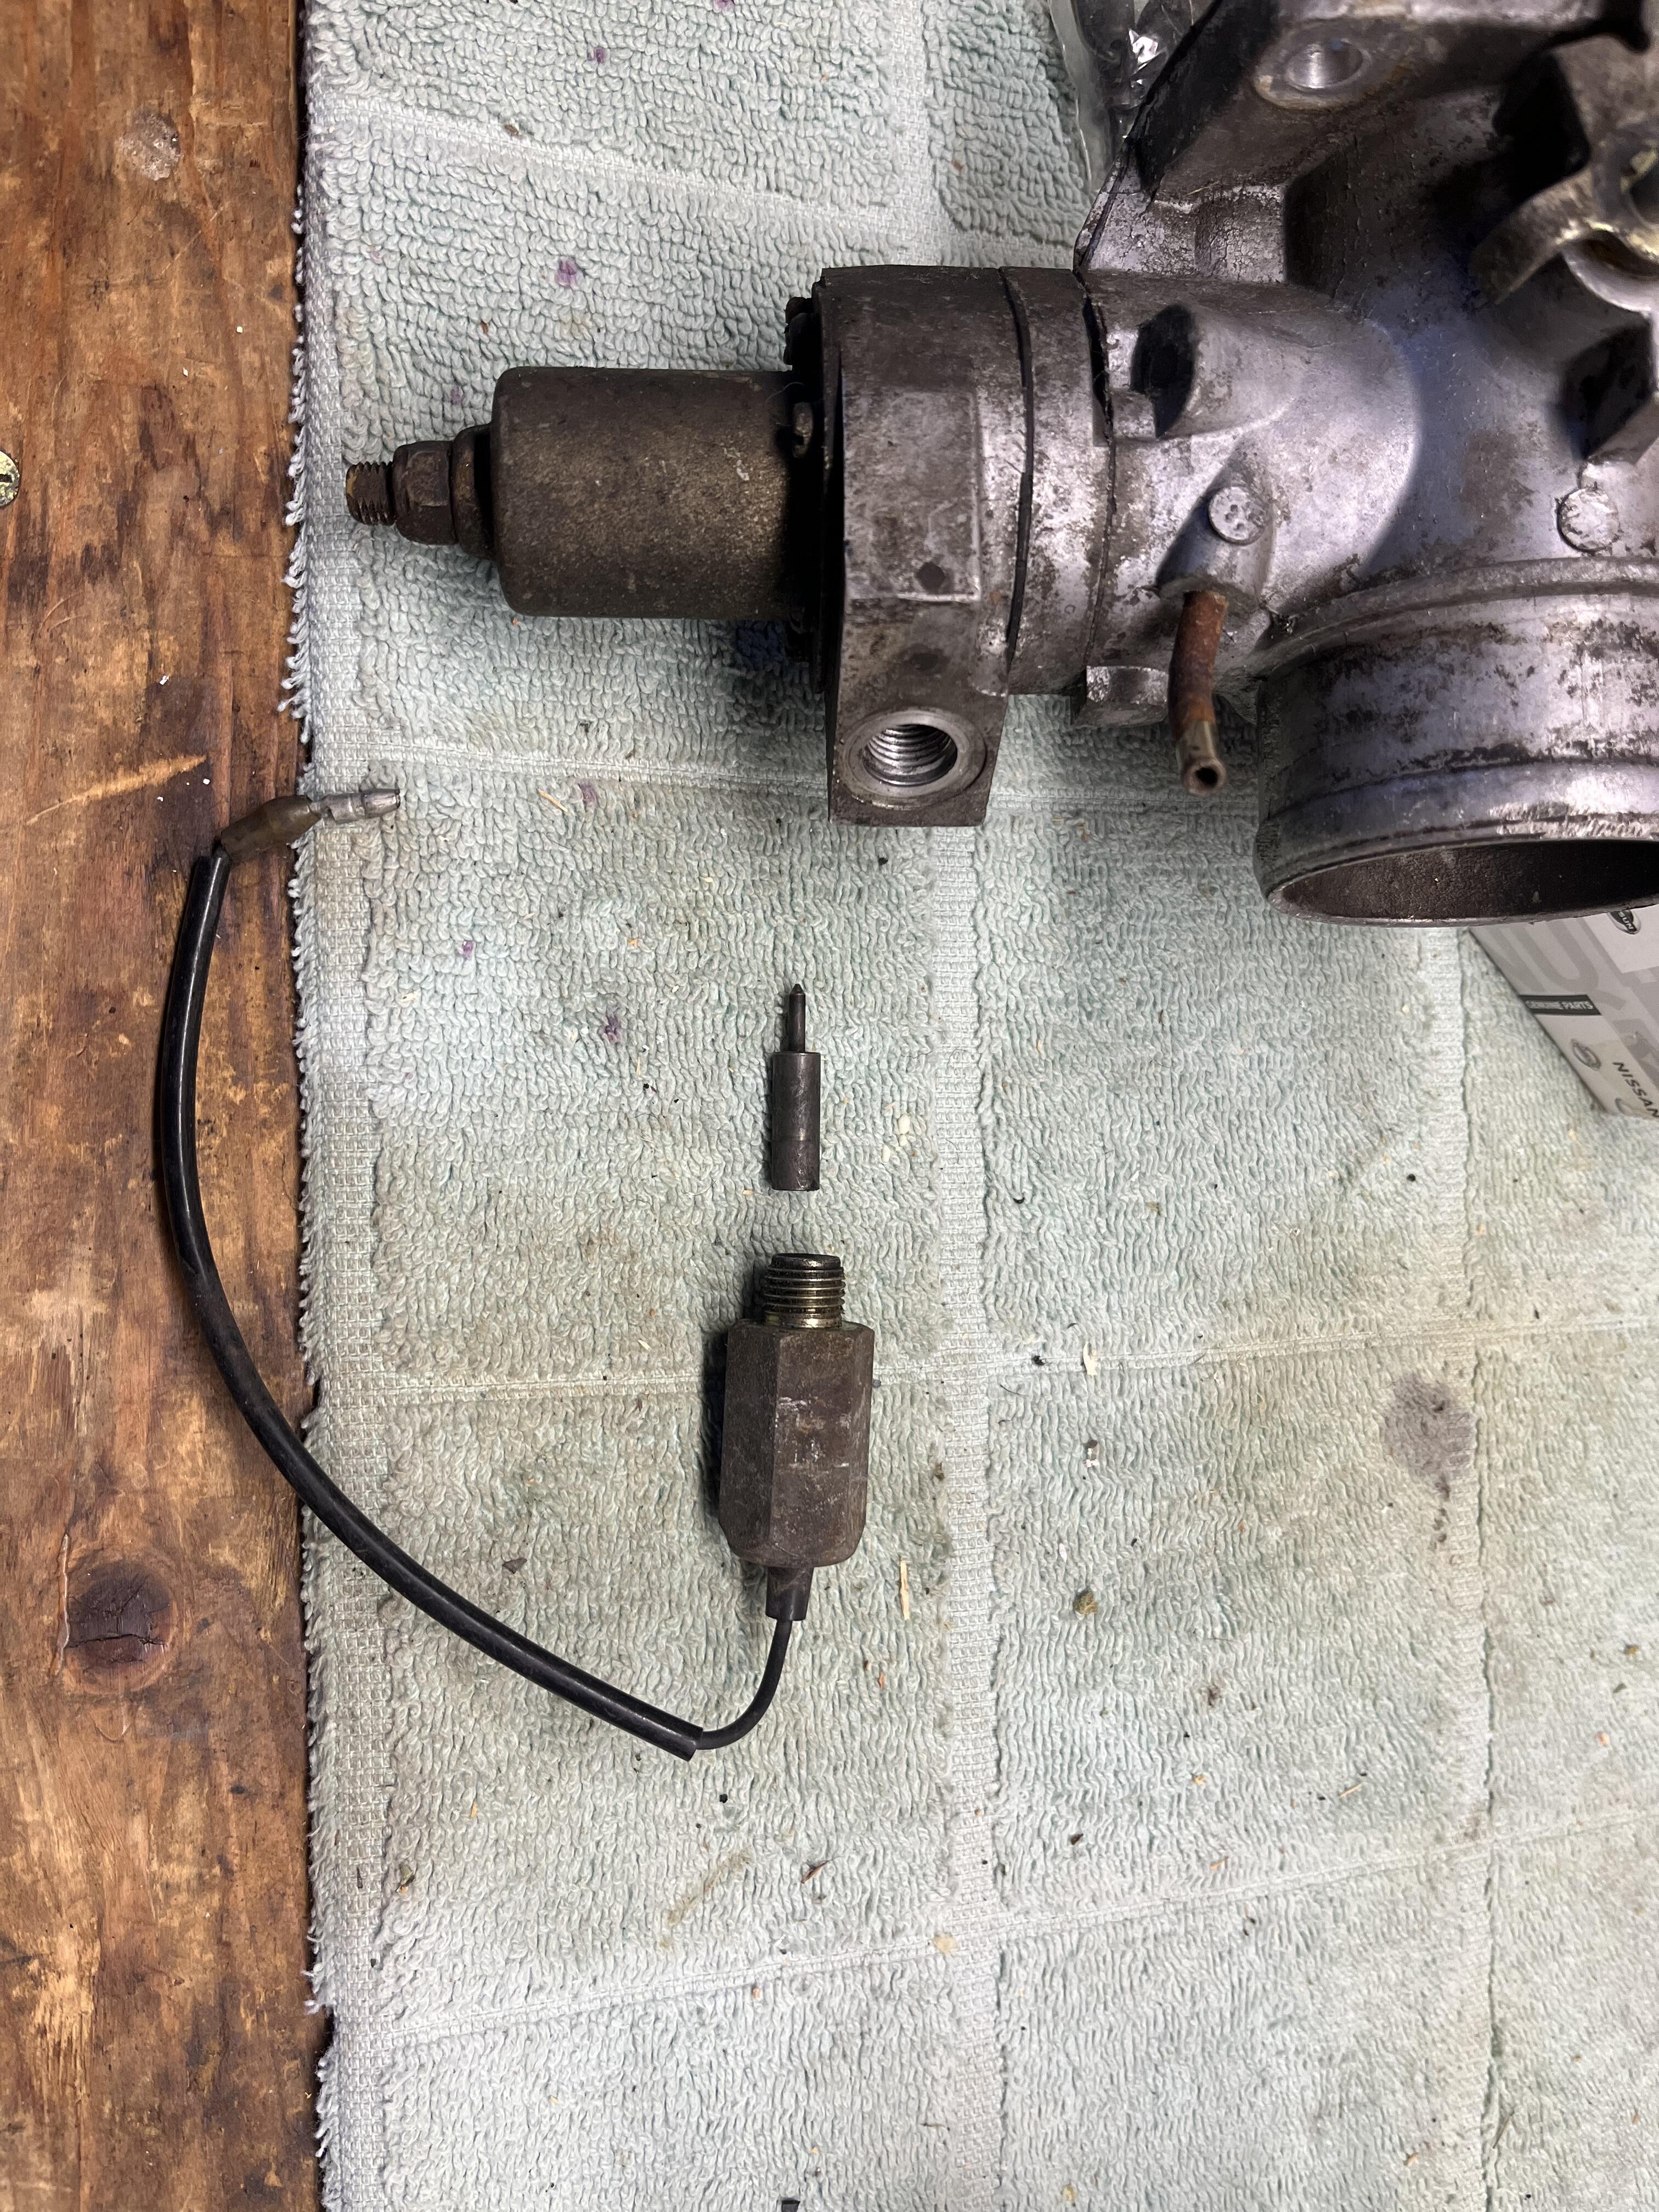
4 pointsHere ya go...found this in a box of old Z parts...they're kinda dirty, but I think you'll get the idea...
 4 points
 -
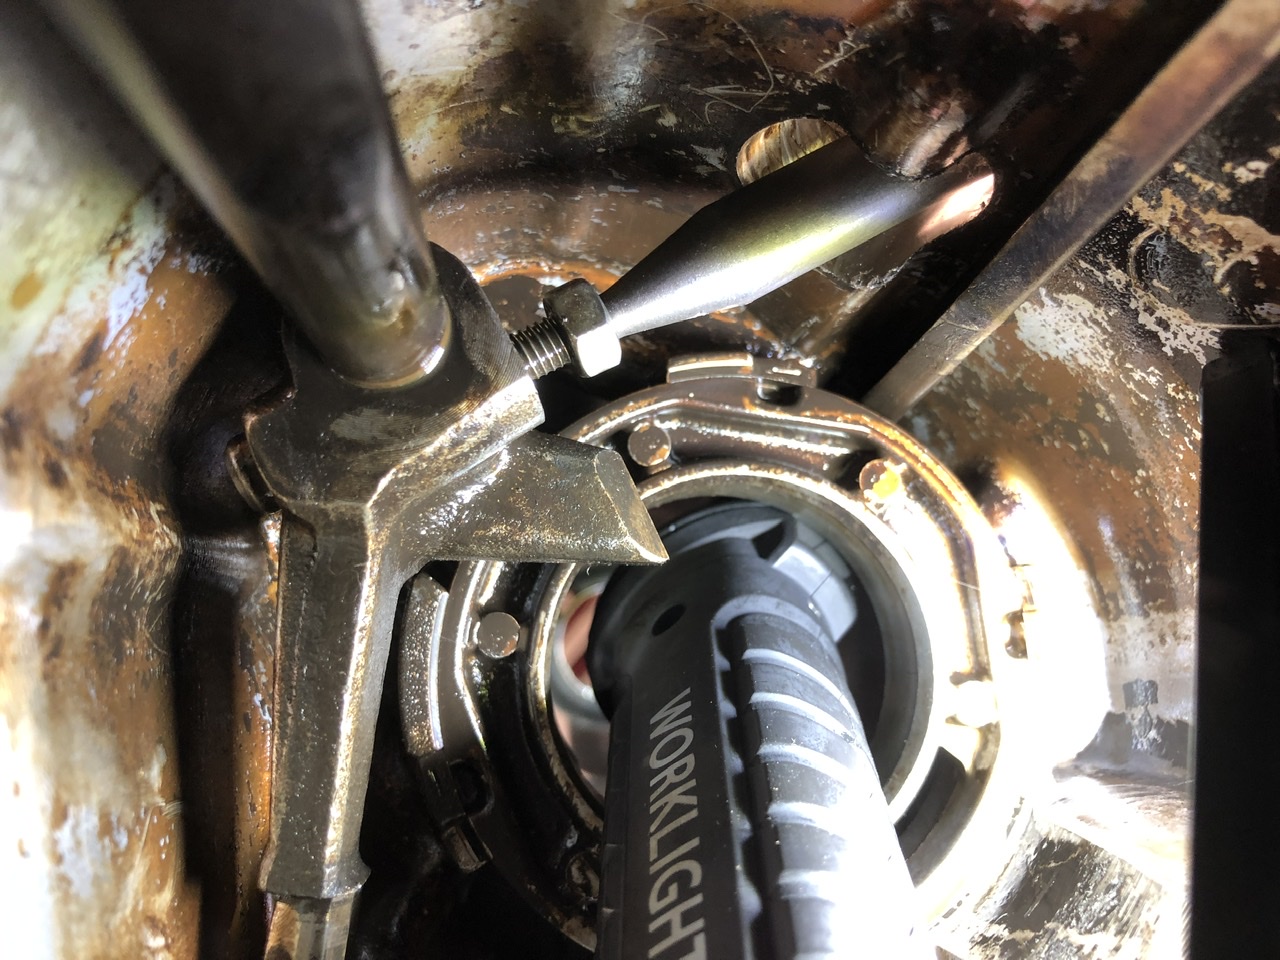
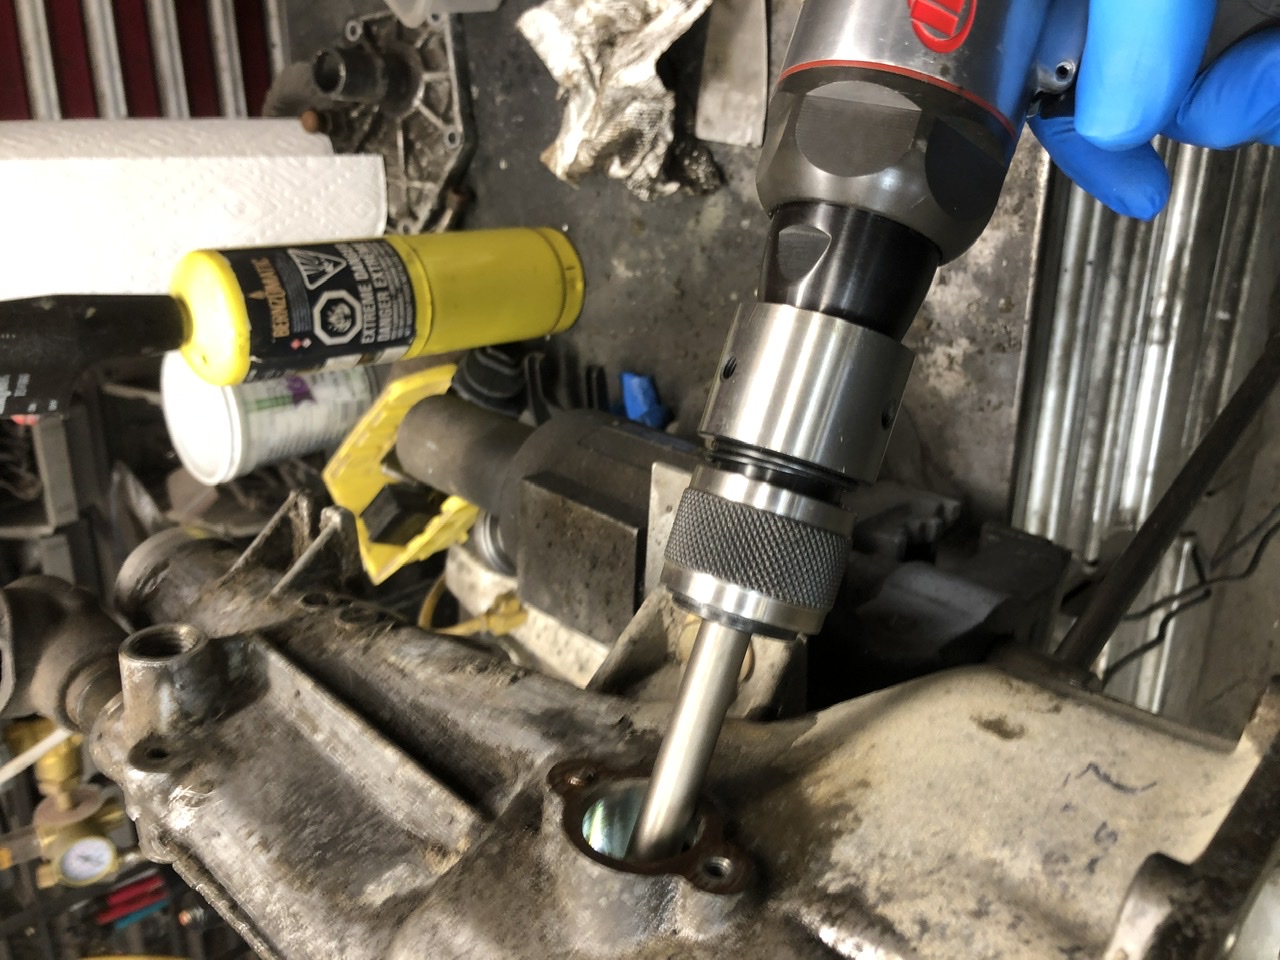
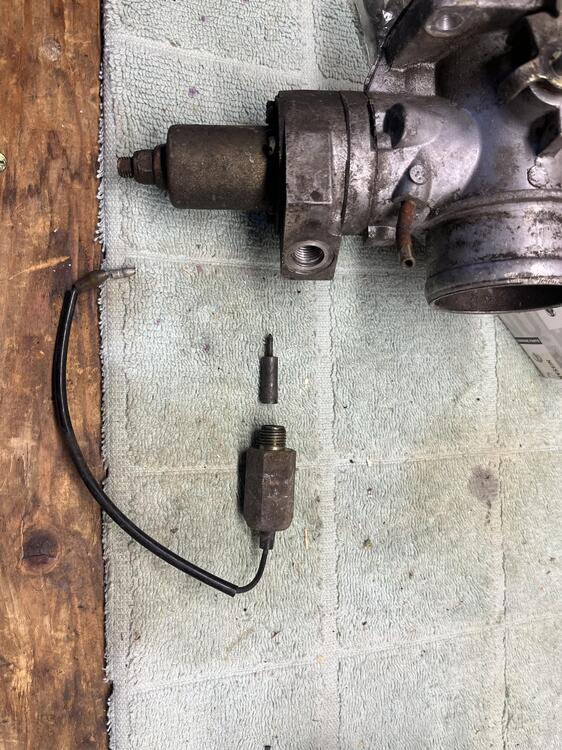
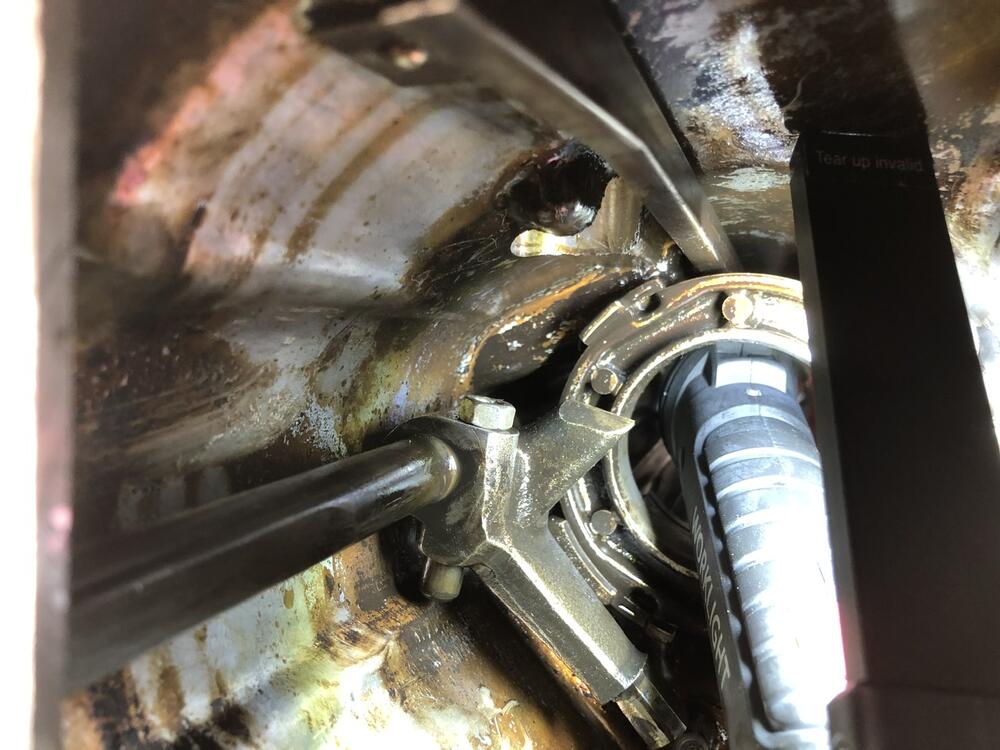
2 pointsAnd for the sake of completeness, today I’m rebuilding a later 5 speed that DOES have the reverse lockout switch access, so I took a few pictures to show how to get that shift rod pin out. No trick necessary, just take the reverse lockout (don’t break a bolt like I did, grr….), position the lock pin so you can see it and get a straight shot at it through that hole, get your air chisel out, put the nut back on the bolt (about 2/3rds of the nut thickness) so the tip of the air chisel has a place to set, then pull the trigger for maybe 1/2 a second. Boom it’s out. Remember you can’t put the reverse lockout thingy in the wrong way, the holes are offset. Another detail, the o-ring on the reverse lockout thingy, and on the end of the shift rod, and the one on the outside of the speedo cable drive cog are all the same.


 2 points
 -
2 pointsInterestingly fast evolution. Yesterday they didn't exist on Japanese cars, and today they do, but only because of..... reasons. Within a few more days we may well see them blamed for Covid-19, the war in Ukraine, Global Warming and wearing Flip Flops on public transport. Impossible to know. Good luck with your quest. Me, I rather like them in the right context. Unlike the AMCO towel rails, which only their mother can love.2 points
-
1 pointI still think that since the entire system isn’t fully connected and grounded the lights are back feeding somewhere.1 point
-
If you look at the pic of the back of dash posted by emccallum ..look at the amp/fuel gauge it is attach with 1 screw to a bracket. Remove the 1 screw and the gauge will be ready to come out after you unplug the 3 wire plug and 2 amp meter wires connected by nuts. Remember to disconnect your negative battery cable before working under your dash alway.1 point
-
1 pointWell its possible to make a 72 bumper out of a 73. Drilled new holes in the bumper to move the bumperettes inboard. Luckily I had an old bumper to use for measuring. Drilling into fresh chrome was a measure ten times, walk away, measure ten more times, drill once job.
 1 point
 -
This is what it looks like from the rear. Make sure you disconnect the battery. If you zoom in you can see the one bolt that holds each gauge in place. HTH
 1 point
 -
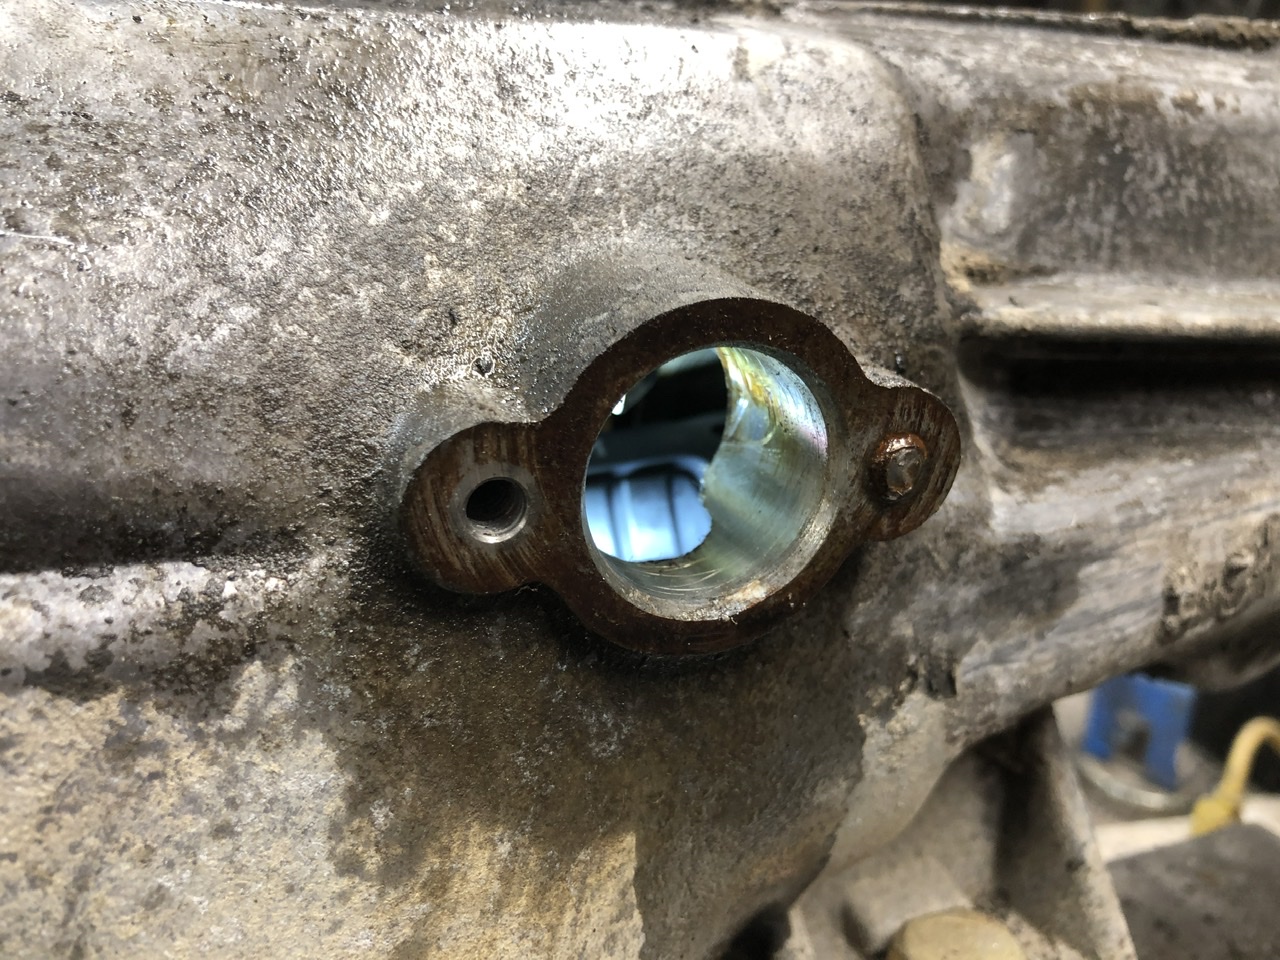
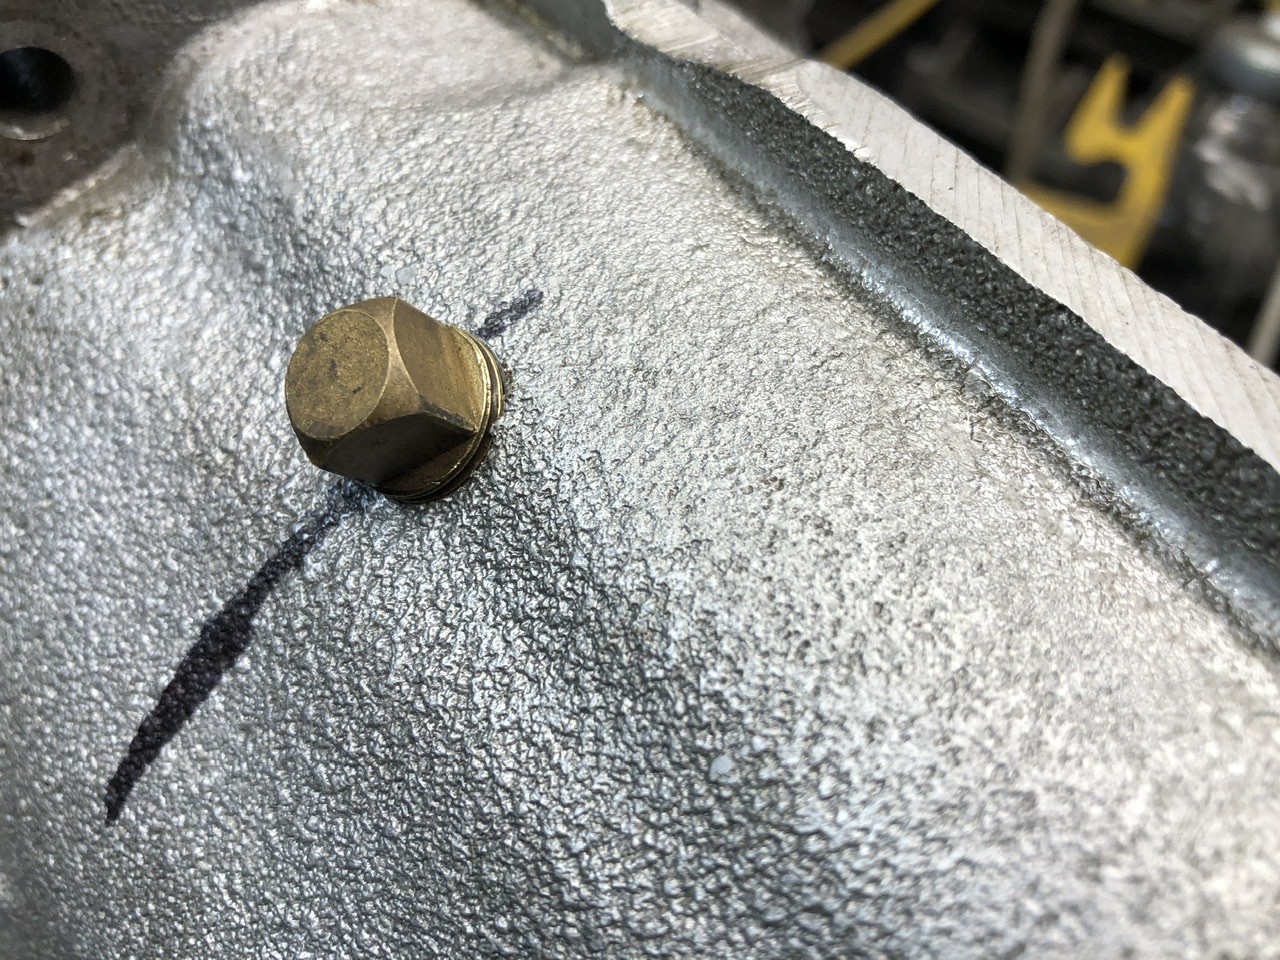
1 pointI drilled a 5/16 hole, then enlarged it to about 3/8 and angled it to aim at the pin more directly. When done I drilled it to 27/64 (just under 7/16) and tapped it with a 1/4NPT tap and plugged it. The hole is 3.125 from the case face, and down 1.375 from the casting edge above. I’d likely use a plug with a recessed hex head rather than the square headed thing I show, it’s just what I had on hand. Locktight it in.
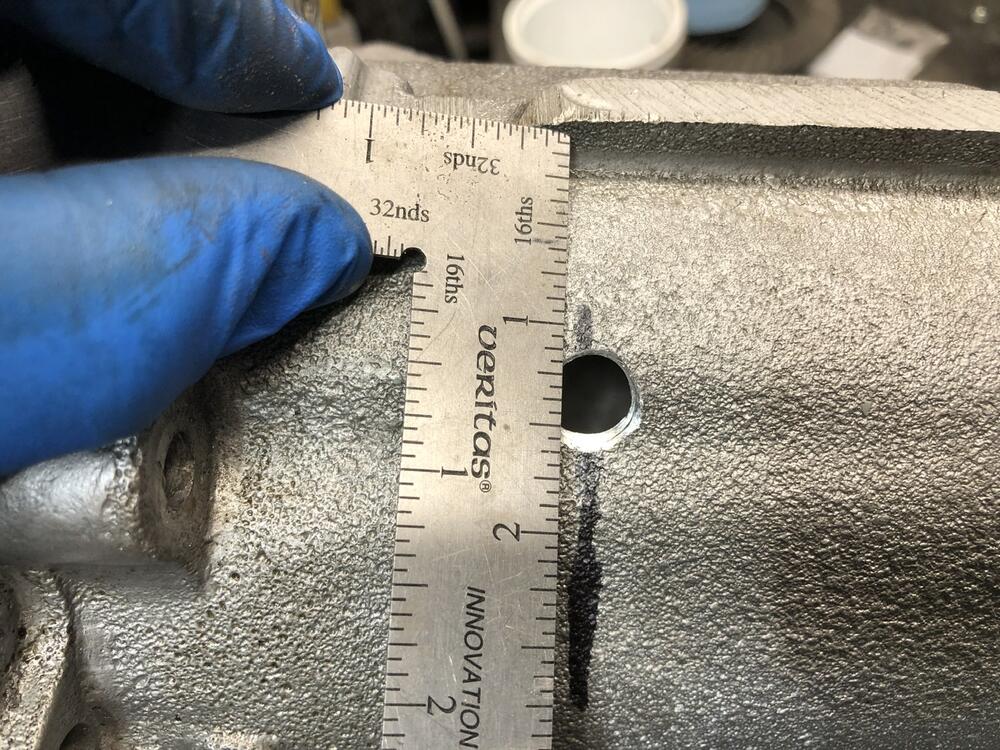


 1 point