Leaderboard
-

bluez
Free Member2Points165Posts -

Barefootdan
Free Member1Points275Posts -

Patcon
 Subscriber
 1Points10,988Posts
 -

zspert
Free Member1Points339Posts
Popular Content
Showing content with the highest reputation on 02/06/2023 in all areas
-
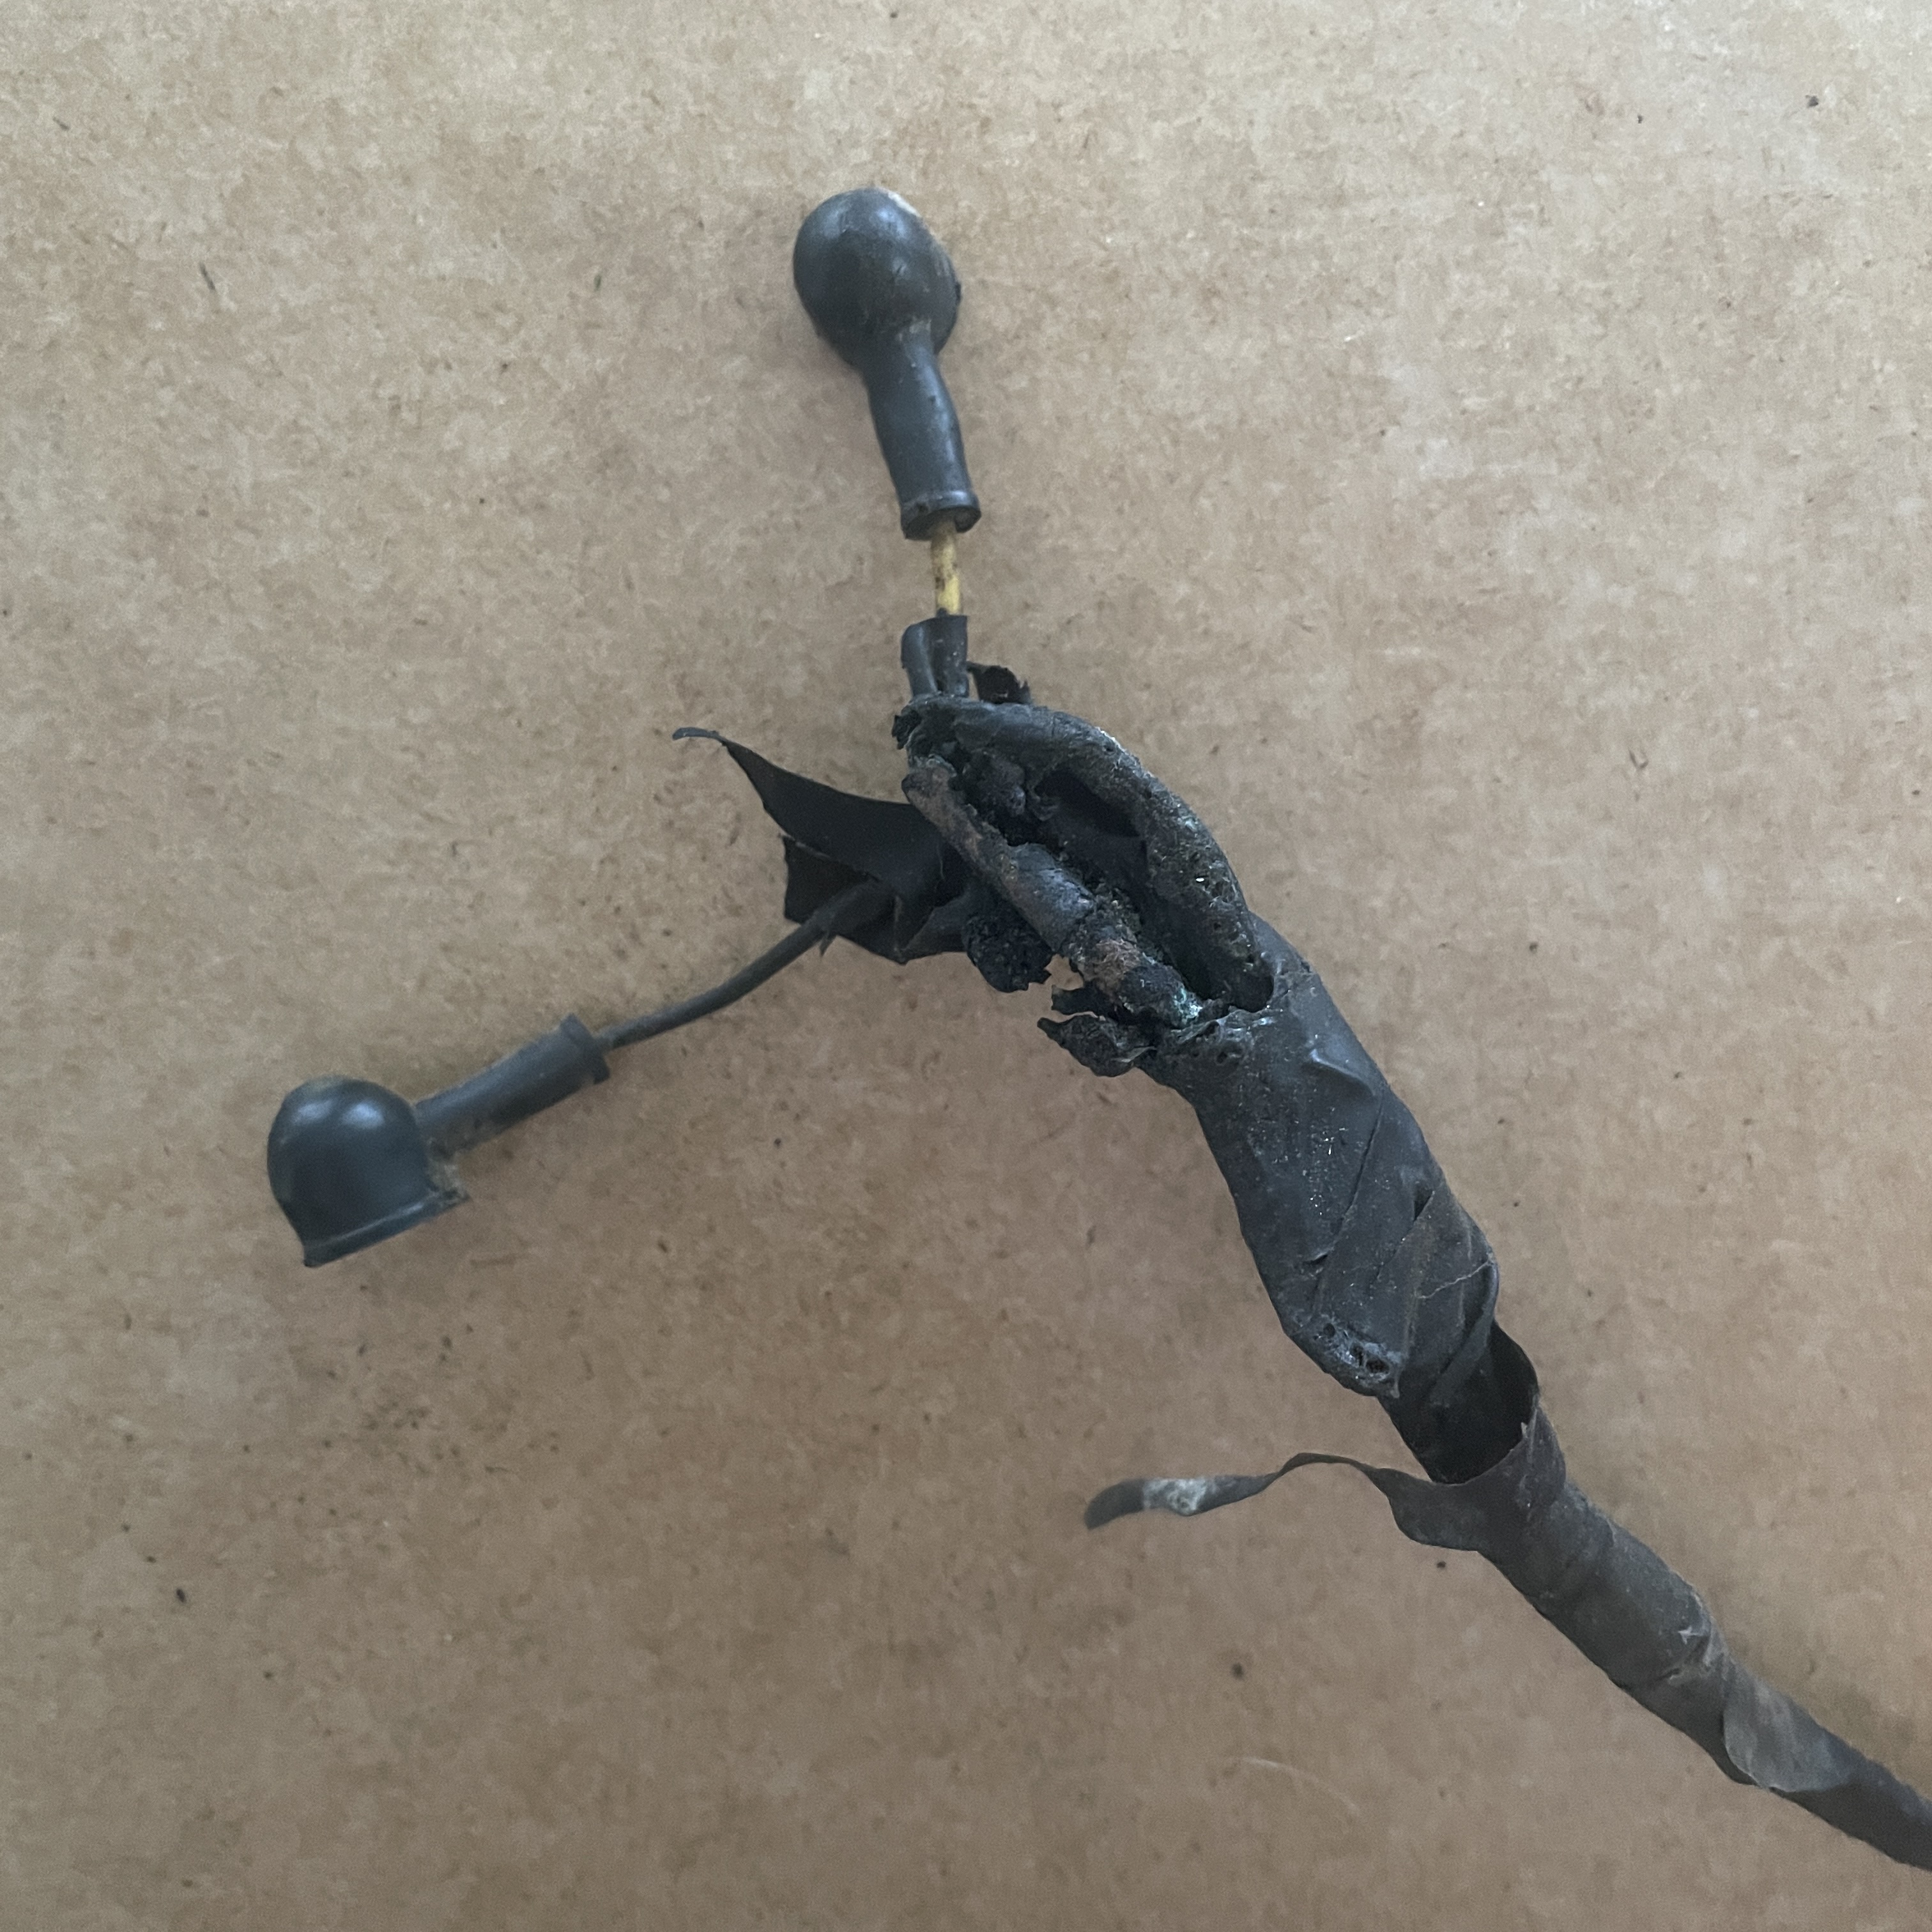
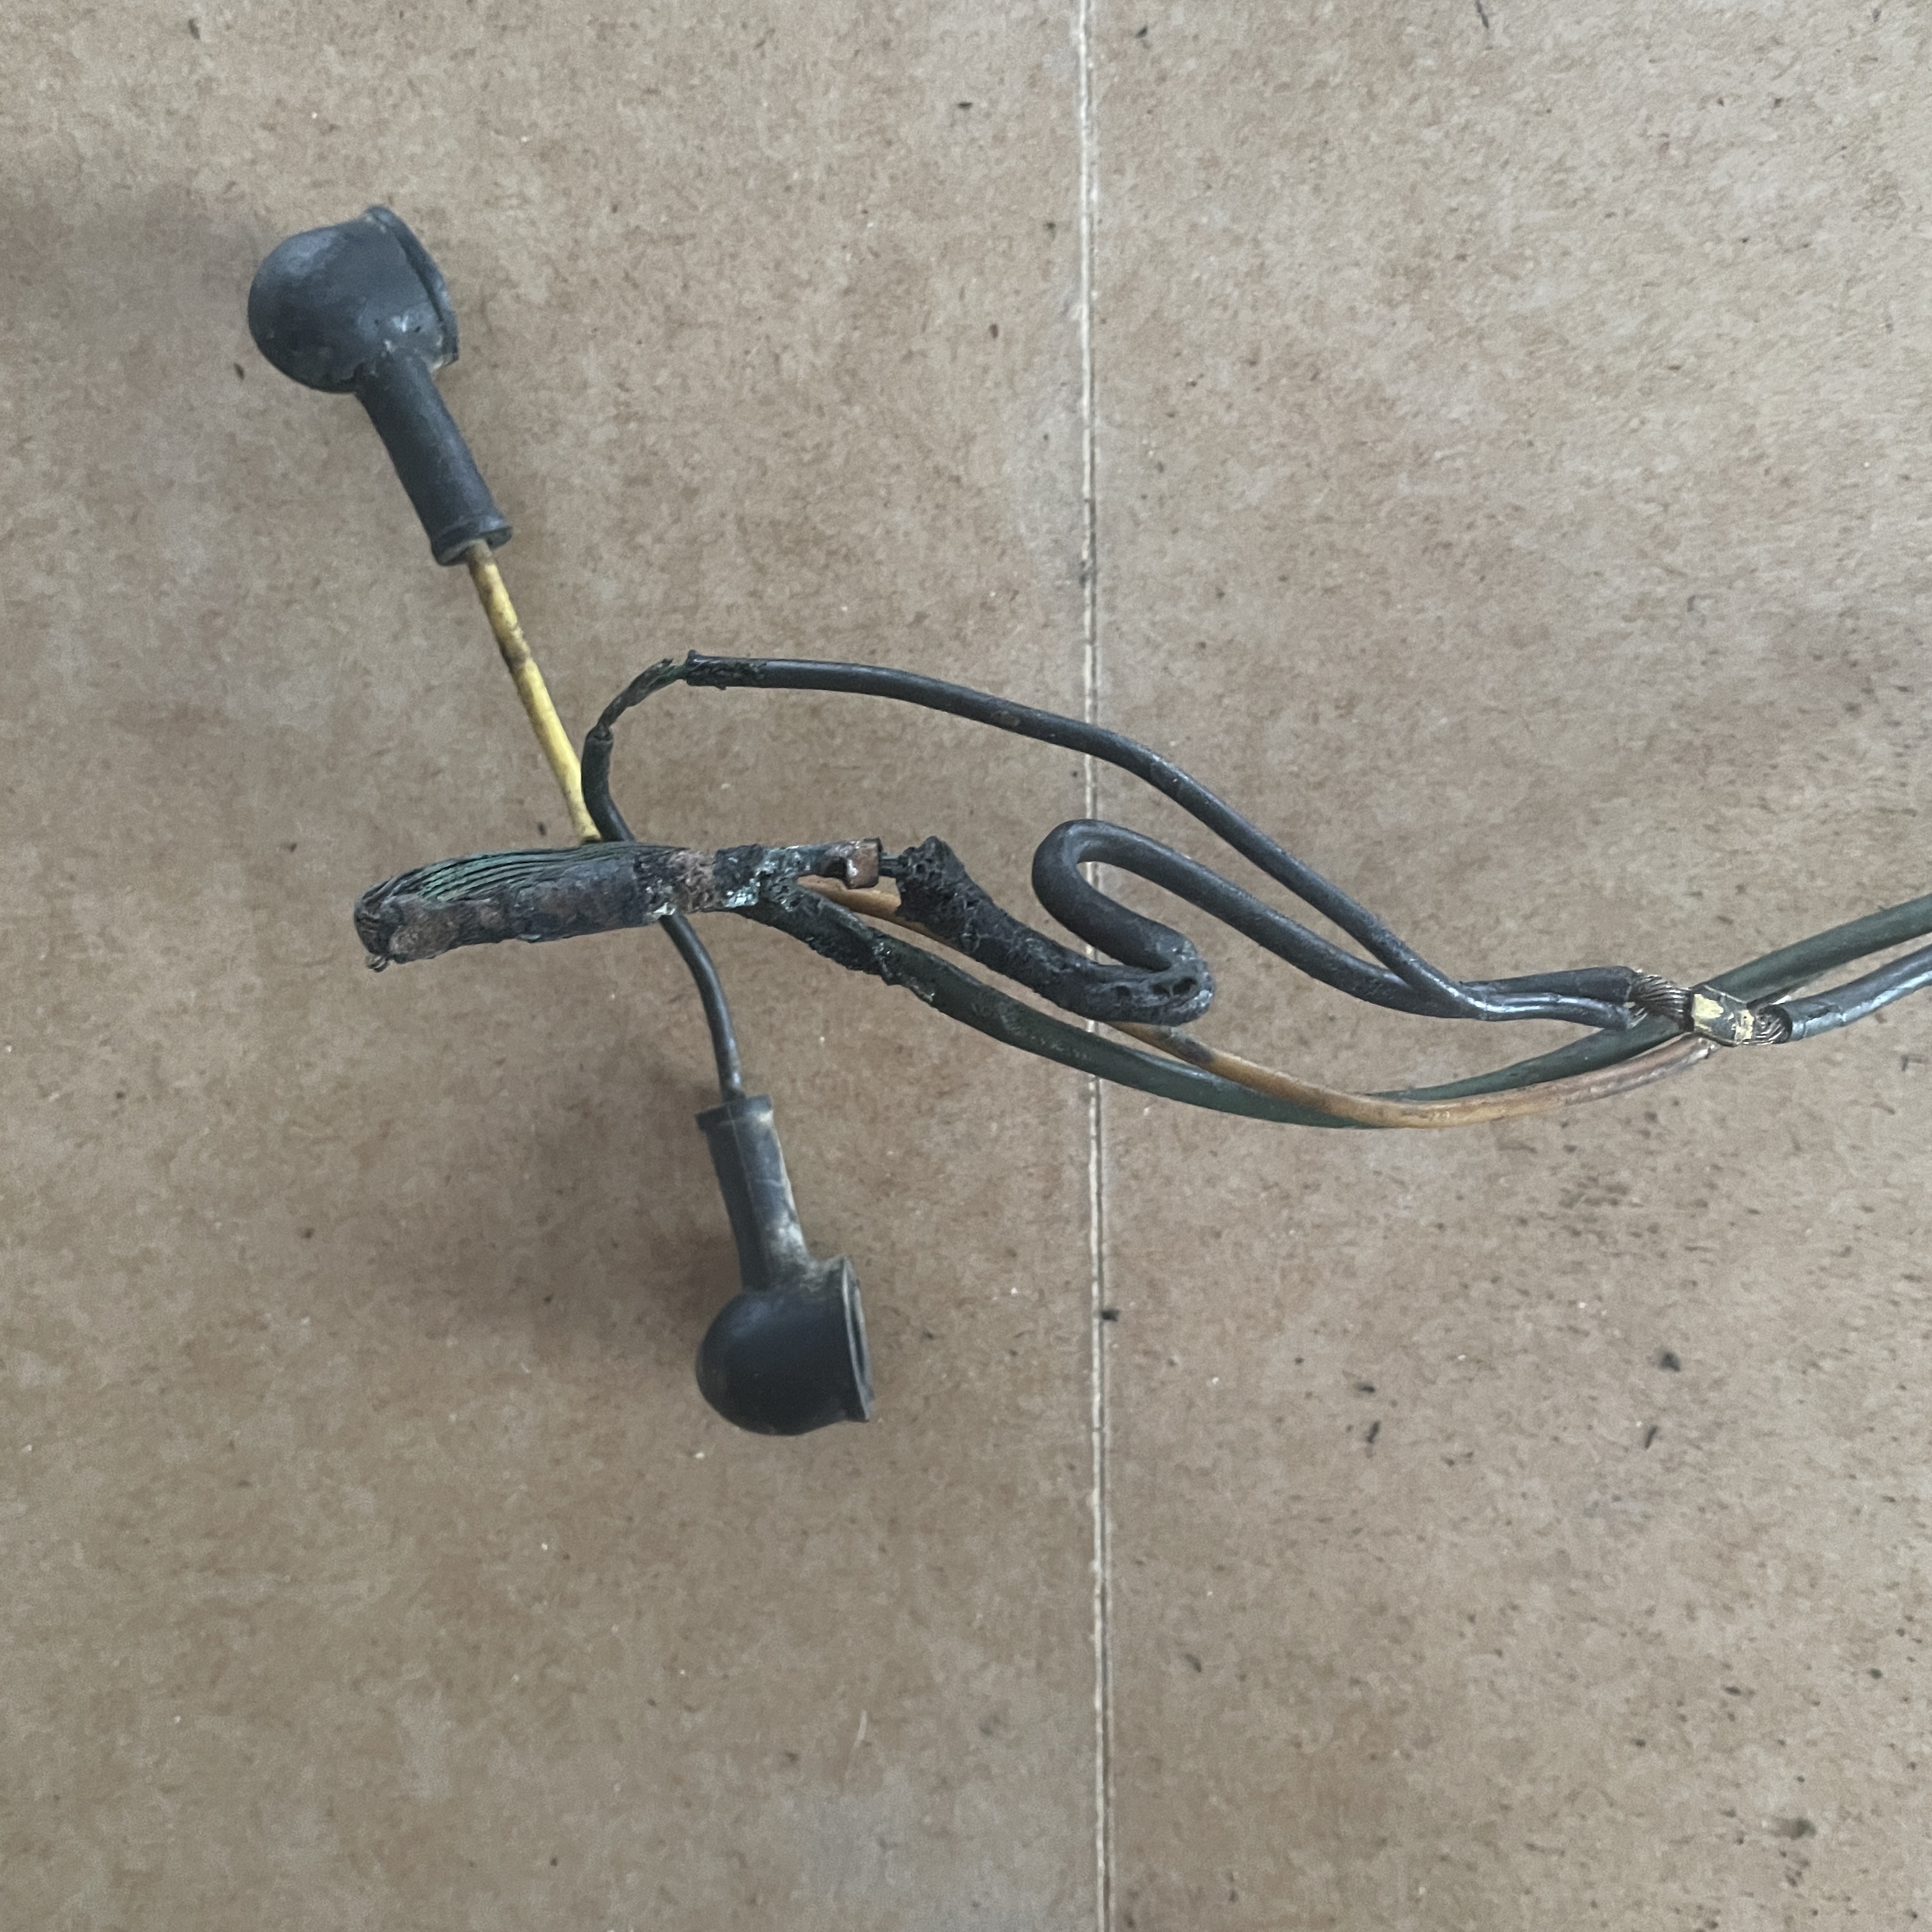
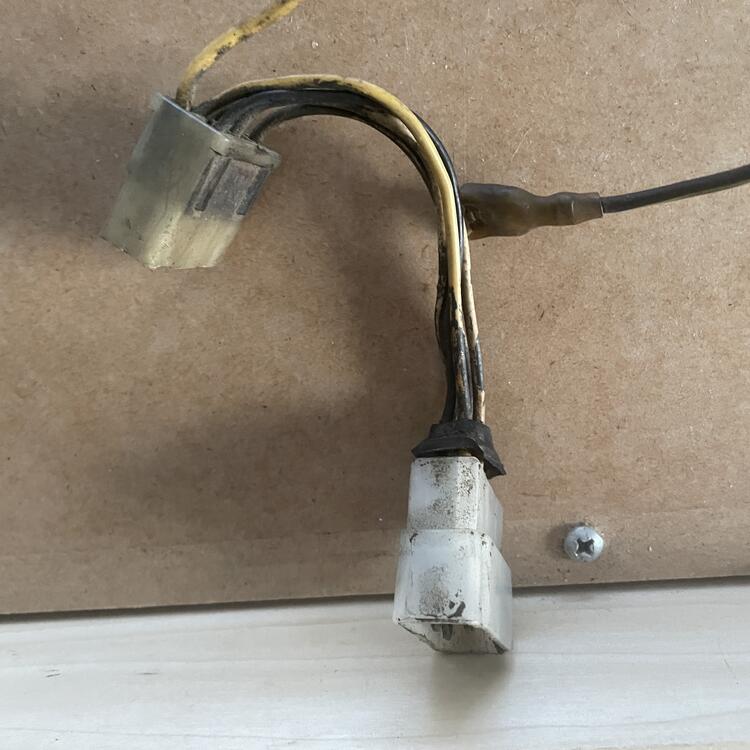
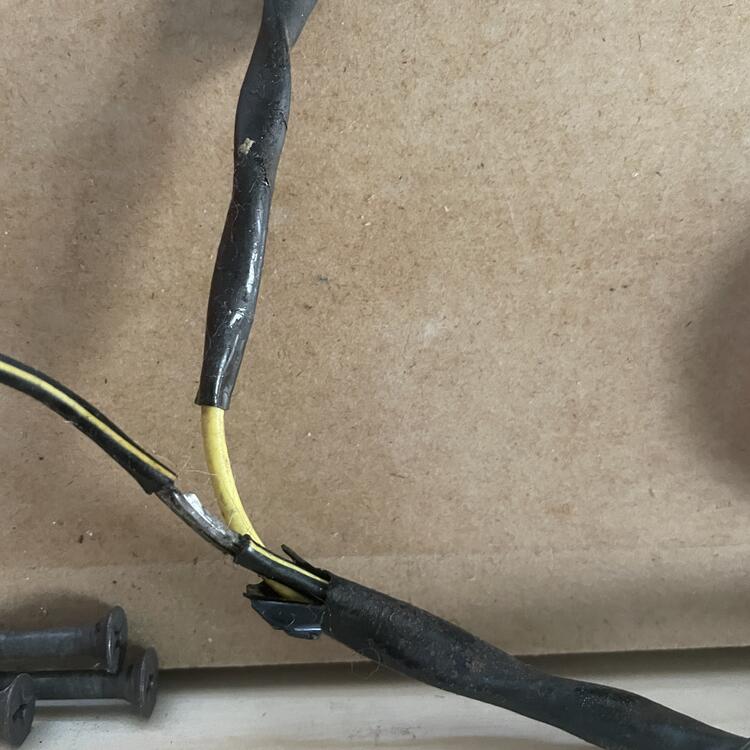
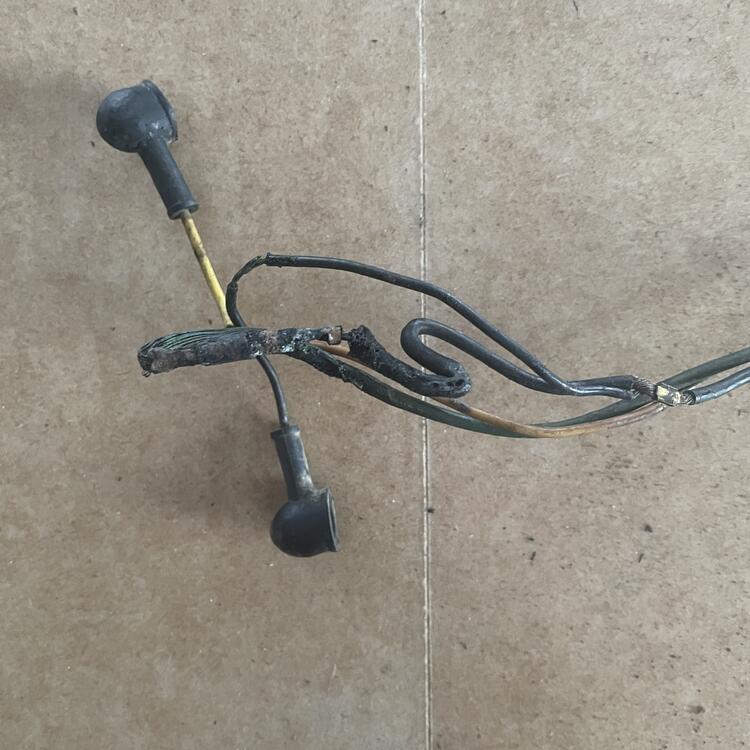
 Someone asked me why I’m making all new harnesses from scratch rather than rebuilding what I have, and I think these photos answer that question. I have problems like these throughout all of my wiring across the entire car:
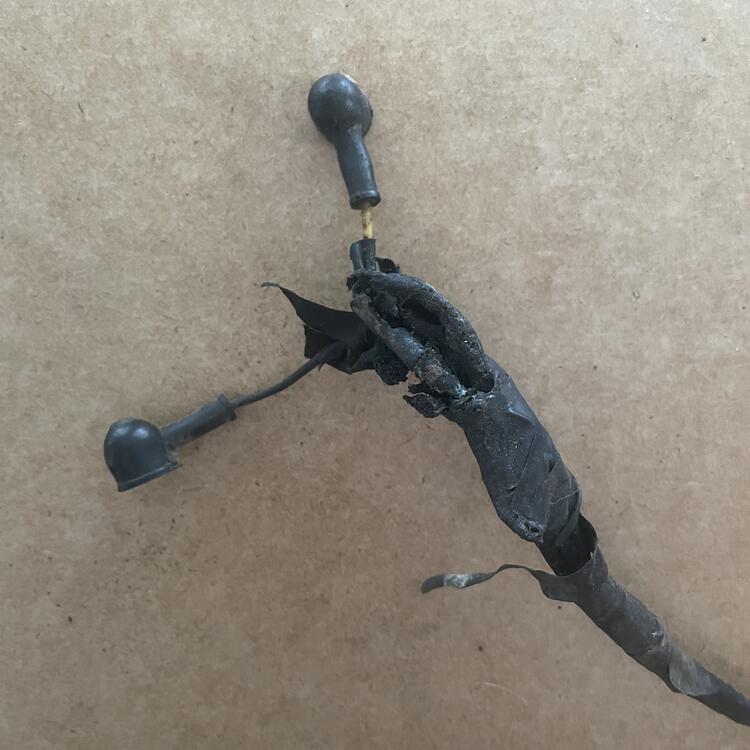
 1 point
 -
 1 pointFor a stock wet sump engine, the dipstick is for checking the static oil level in the pan, relative to the oil pickup, and isn’t checked with the engine running. The oil level needs to be adequate so when the engine is running the level stays above the pickup, even while the vehicle is in motion. The design needs to allow that the oil level doesn’t interfere significantly with the rotating mass. The size and capacity of the sump need to allow for enough oil so the supply of oil is sufficient for proper lubrication during engine operation. Keep in mind the oil also acts as a coolant, absorbing heat as it passes through the engine, and dissipating some of that heat through the water jacket, and some to the atmosphere through the oil pan and exterior of the engine block and cylinder head. Some cars even have an oil cooler in addition to a radiator. When using a larger sump, the other items, baffles, trap doors, windage tray are part of the package. A larger oil capacity is added for extra absorption of excess waste heat generated when the engine is built and tuned to make more power than originally configured. Again, as in the stock setup, the oil level must be sufficient to keep the pickup submerged in a readily available supply of oil. A dry sump lubrication system doesn’t have a dipstick on the cylinder block, as the oil isn’t stored in the oil pan, but in a tank, separate from the engine. Usually the oil level is checked by opening the tank fill cap and looking inside.1 point
 -
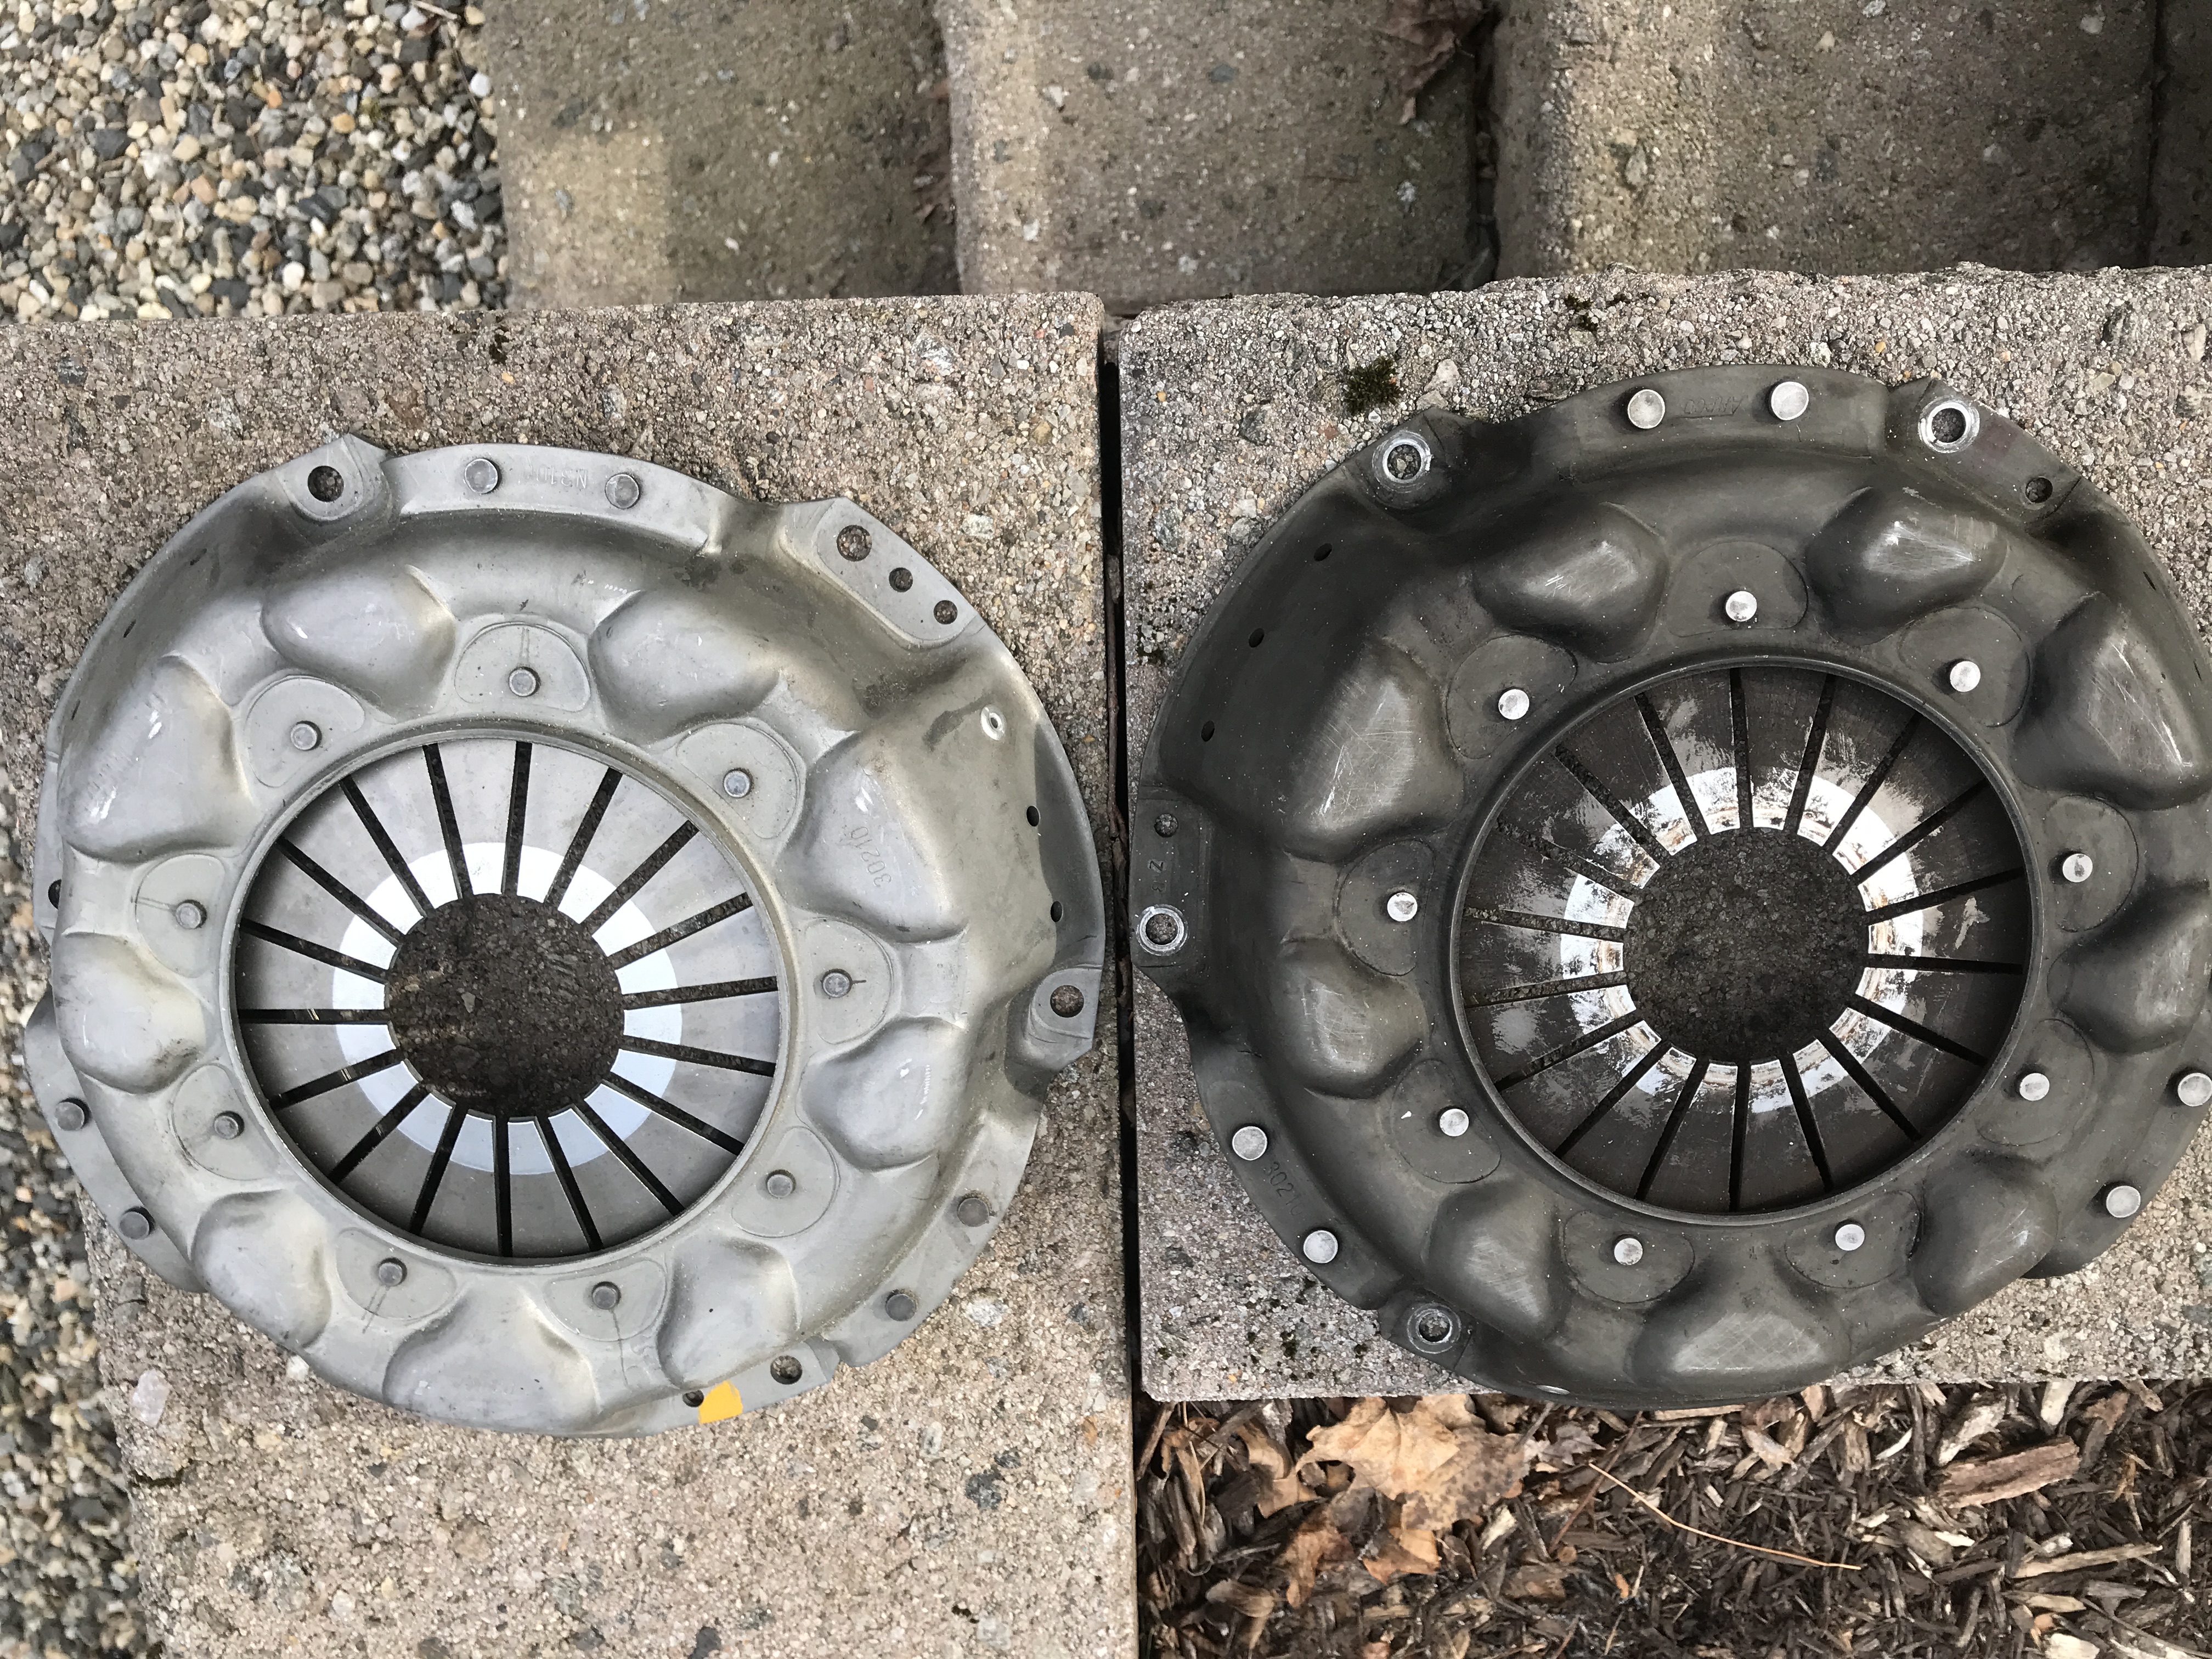
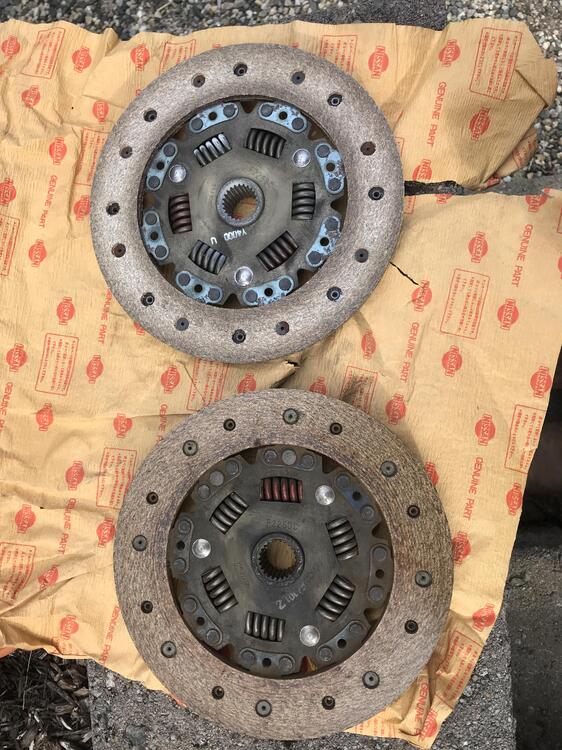
Got lucky found NOS clutch disc (ATSUGI) & pressure plate (AMPCO). Was a bit surprised that the new disc wasn’t much thicker then the original with 69k miles. Now just need a NSK-40-4A bearing.
 1 point
 -
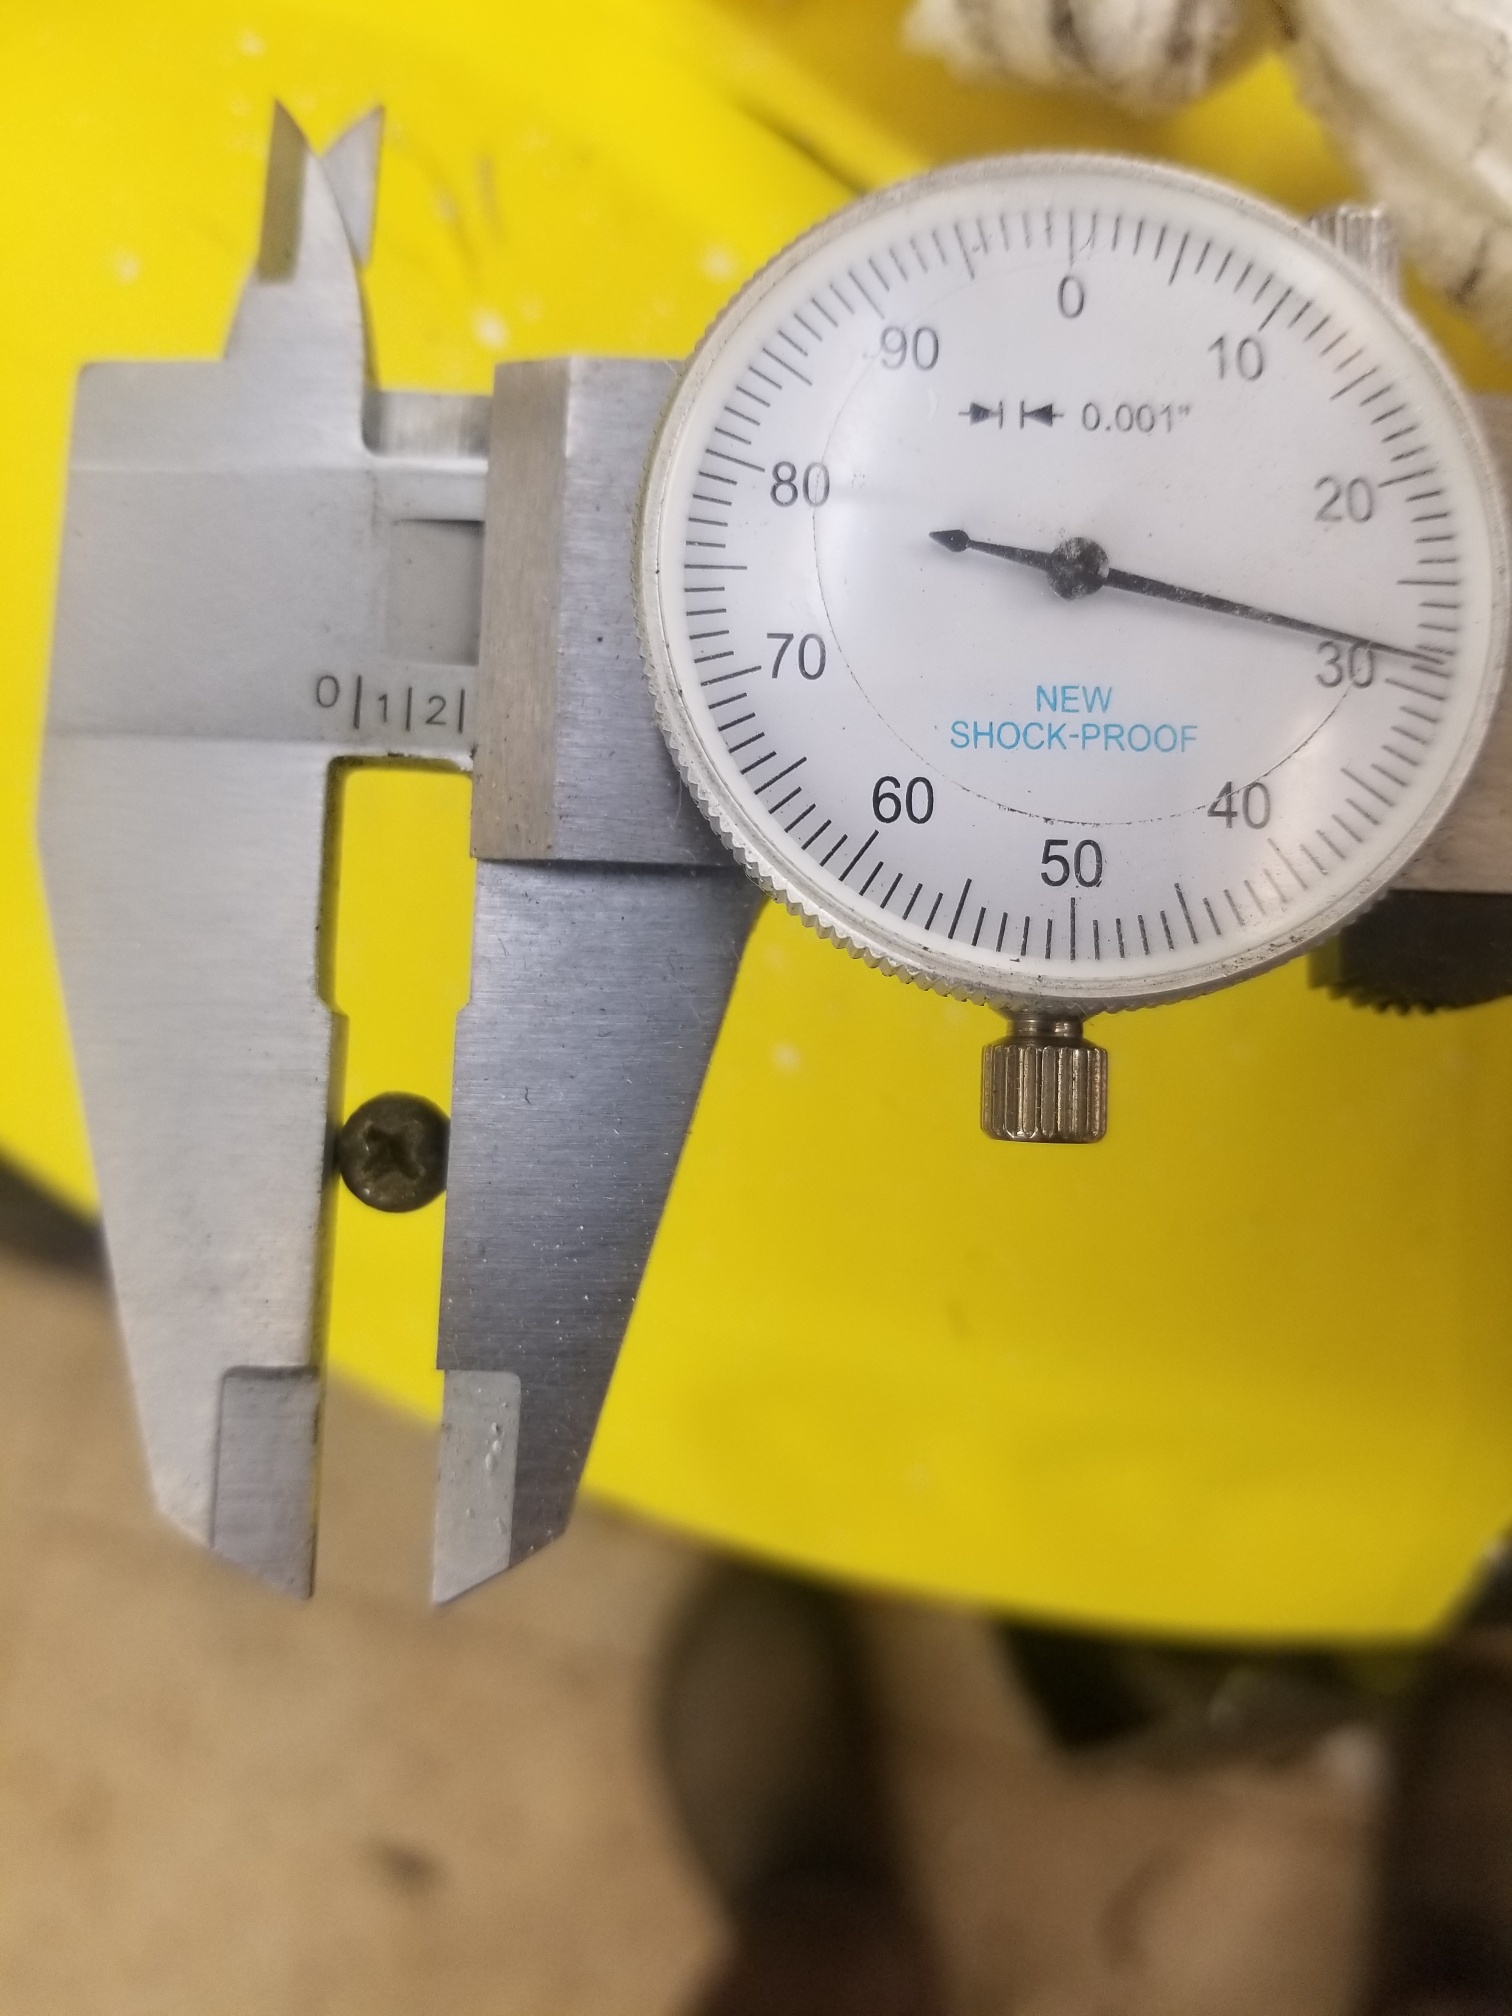
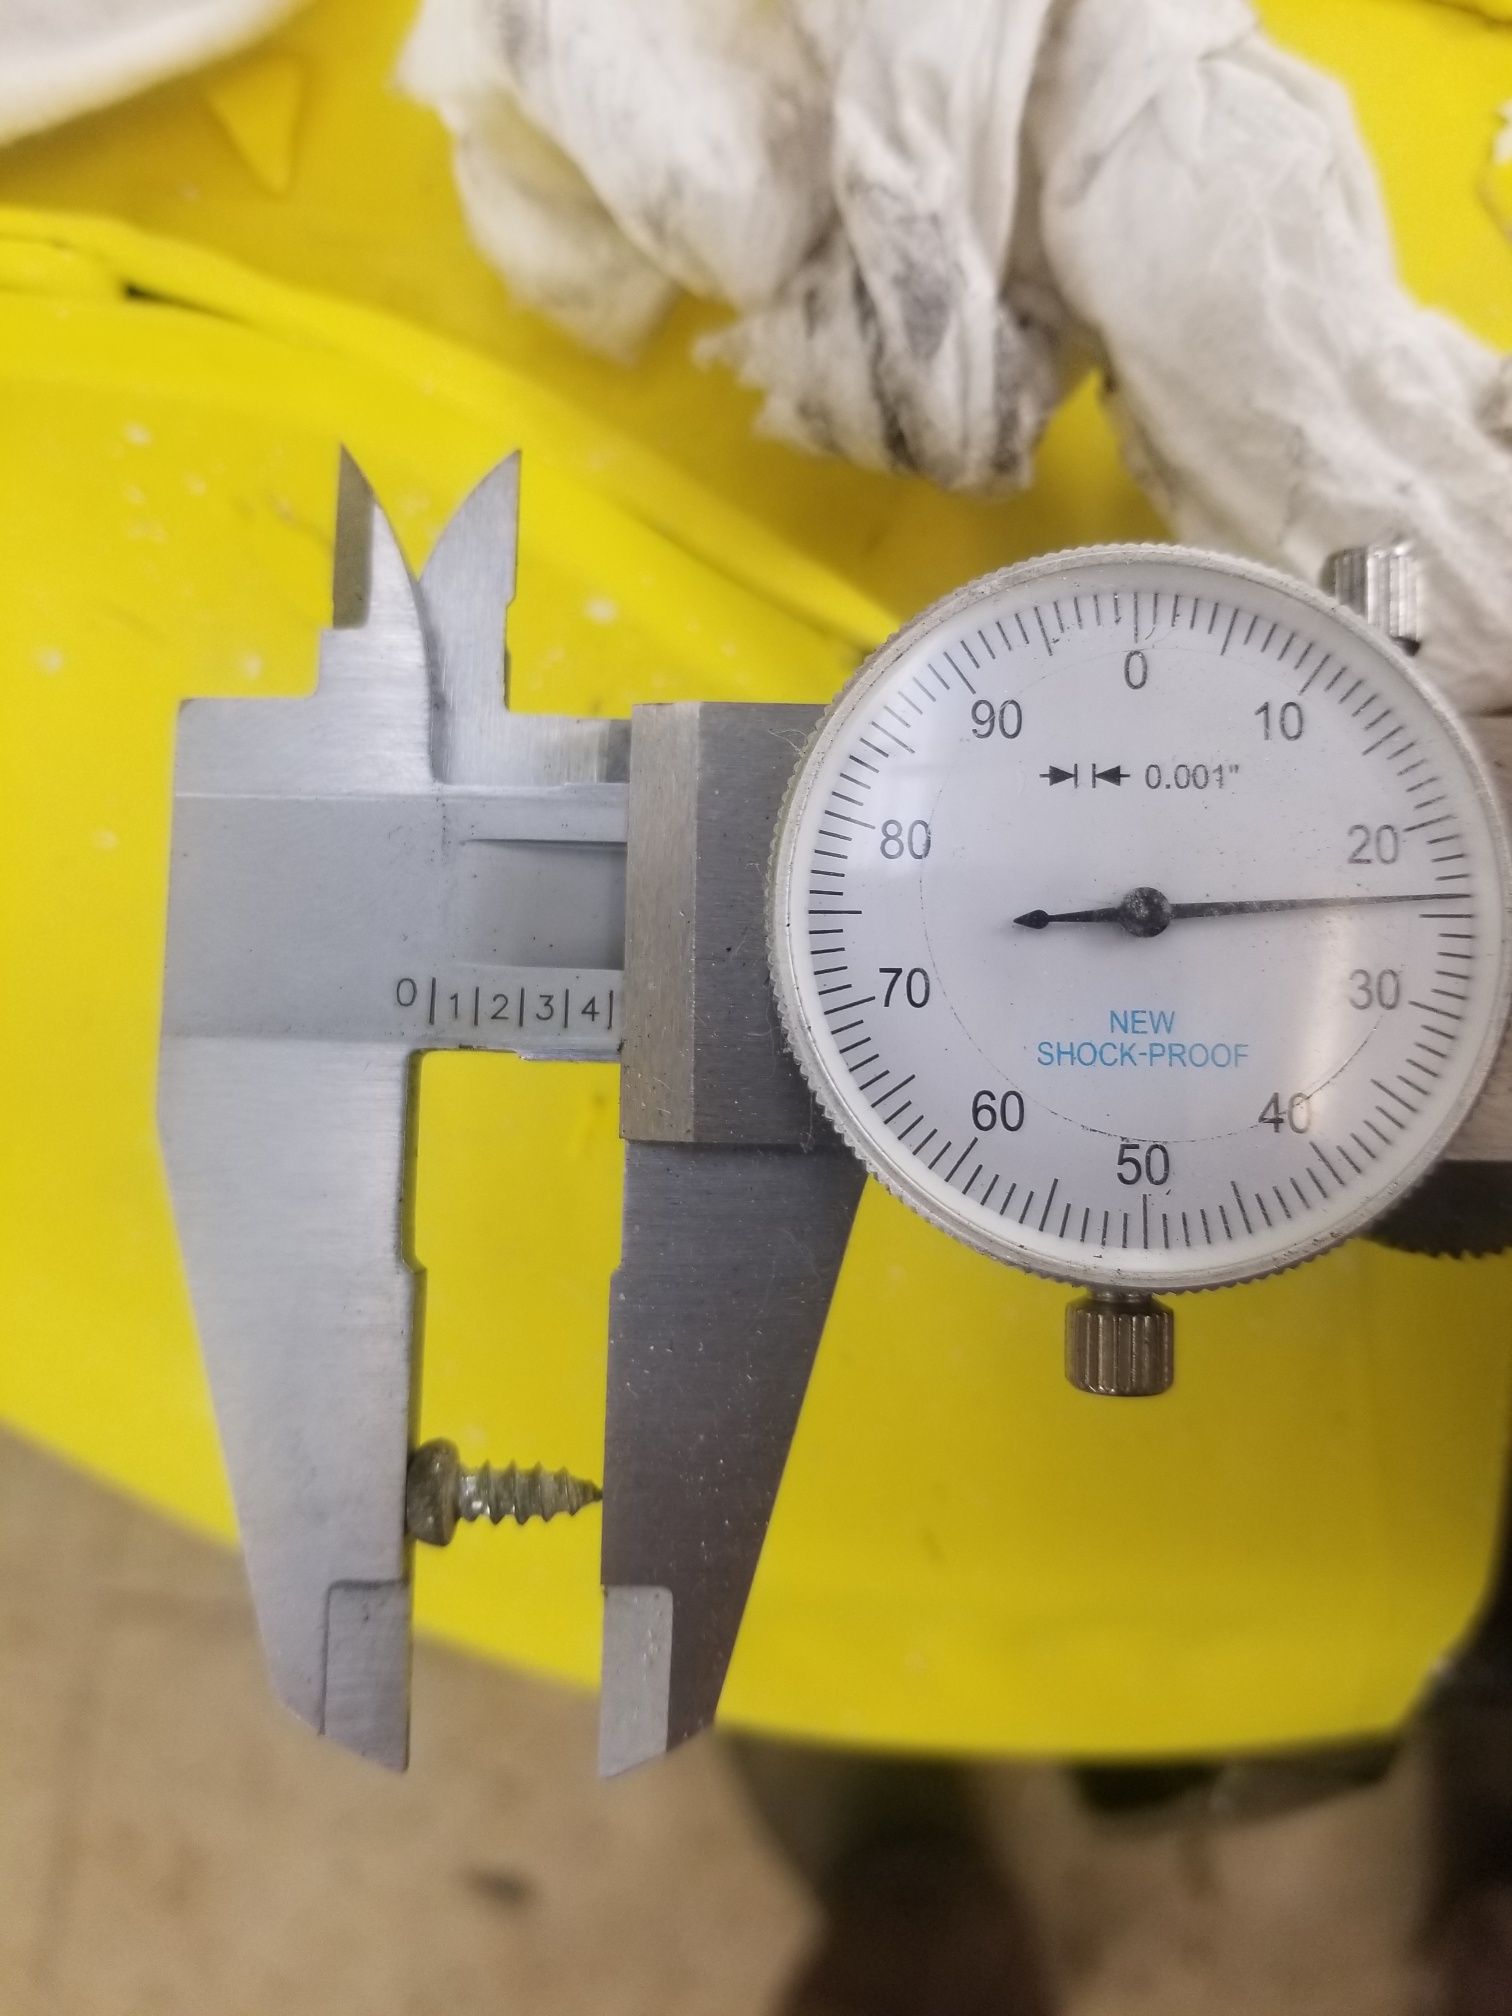
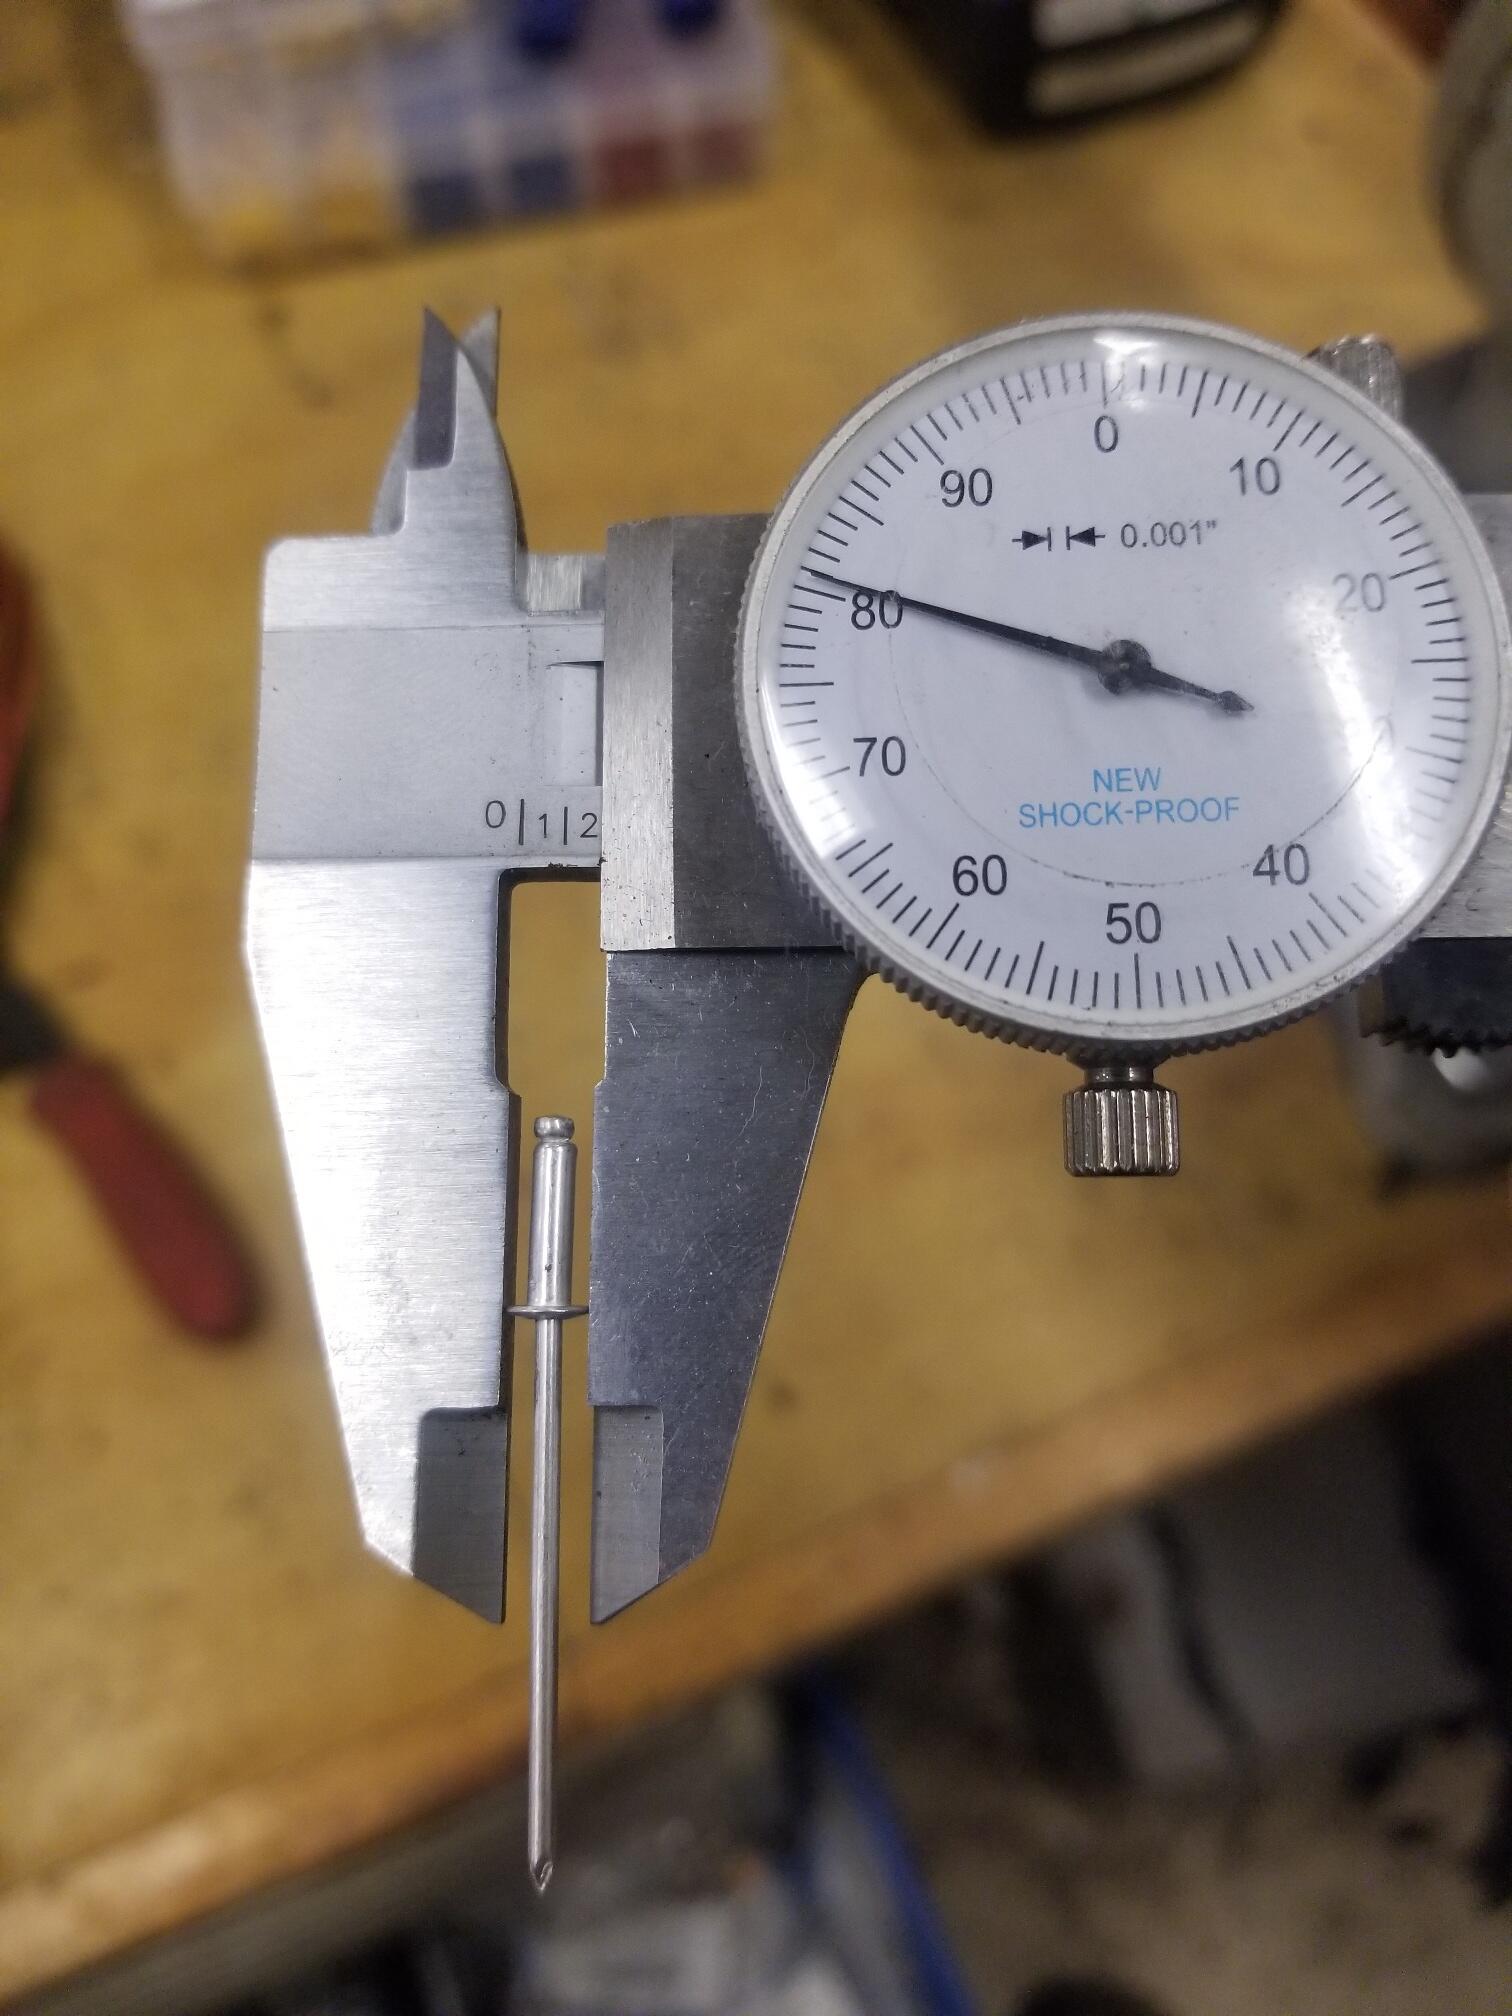
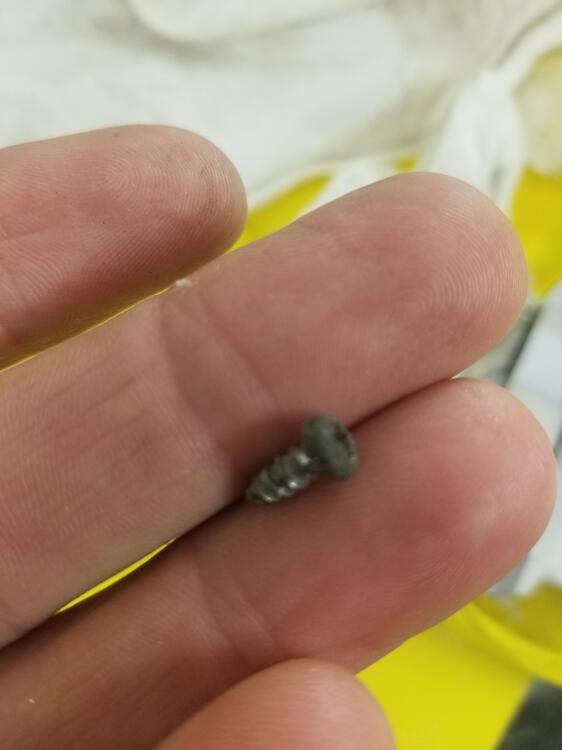
I'm not sure what the original finish was on these screws Rivet is basically a 3/32 rivet. The box I have of them is unmarked


 1 point
 -
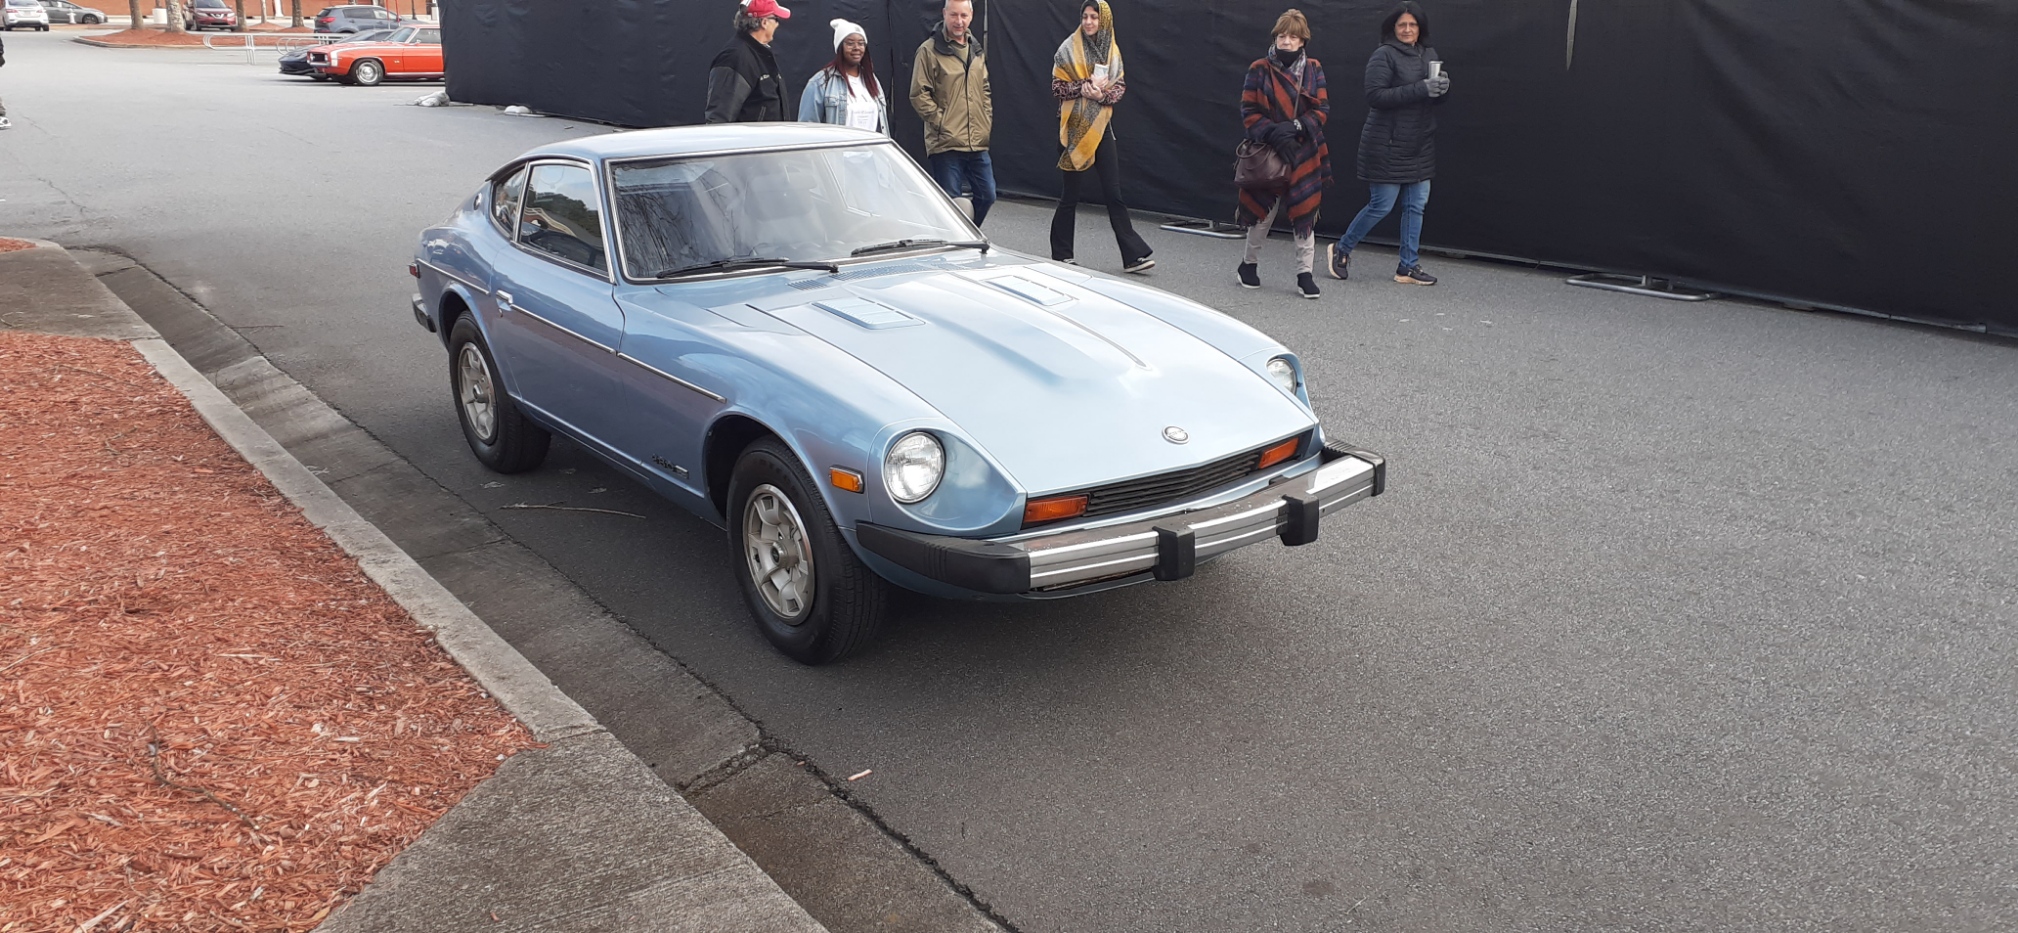
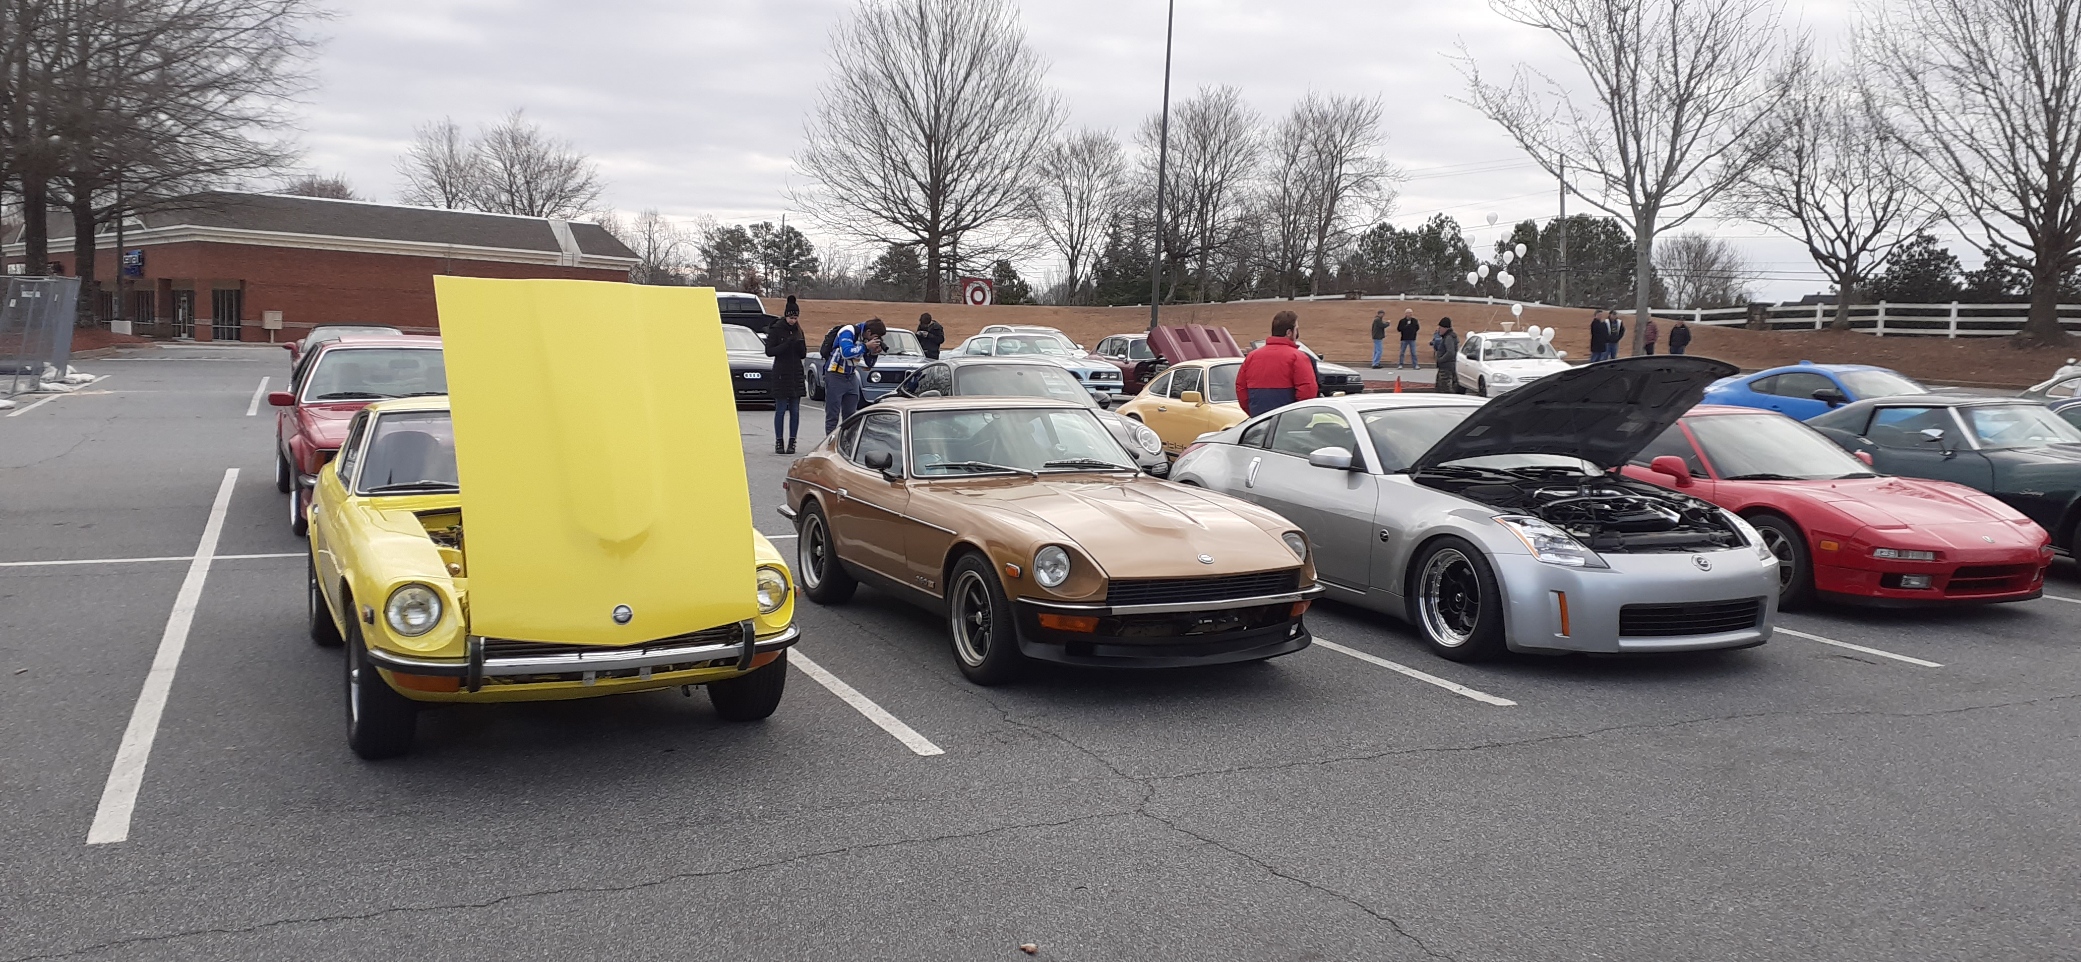
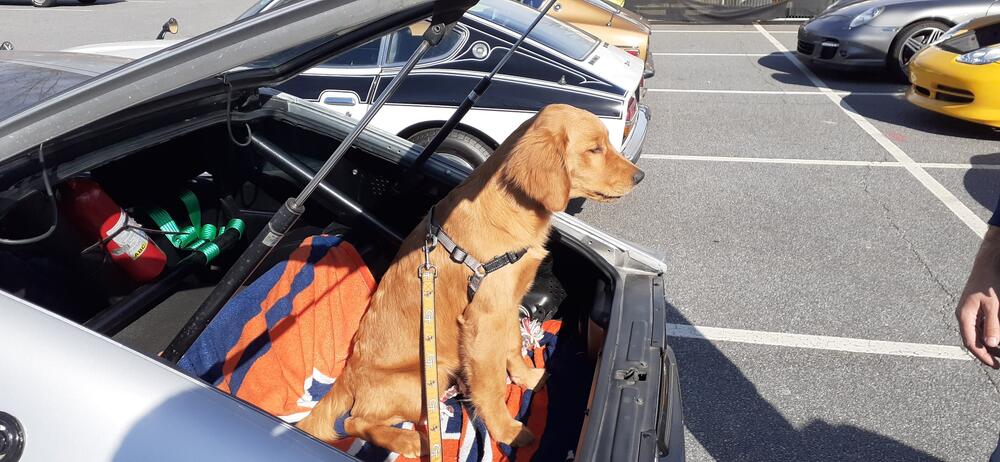
 Another weekend, another car meet. There another couple of Z33s that showed up, but they were shy. The silver 260Z had the rare, but coveted, Golden Retriever option.


 1 point
 -
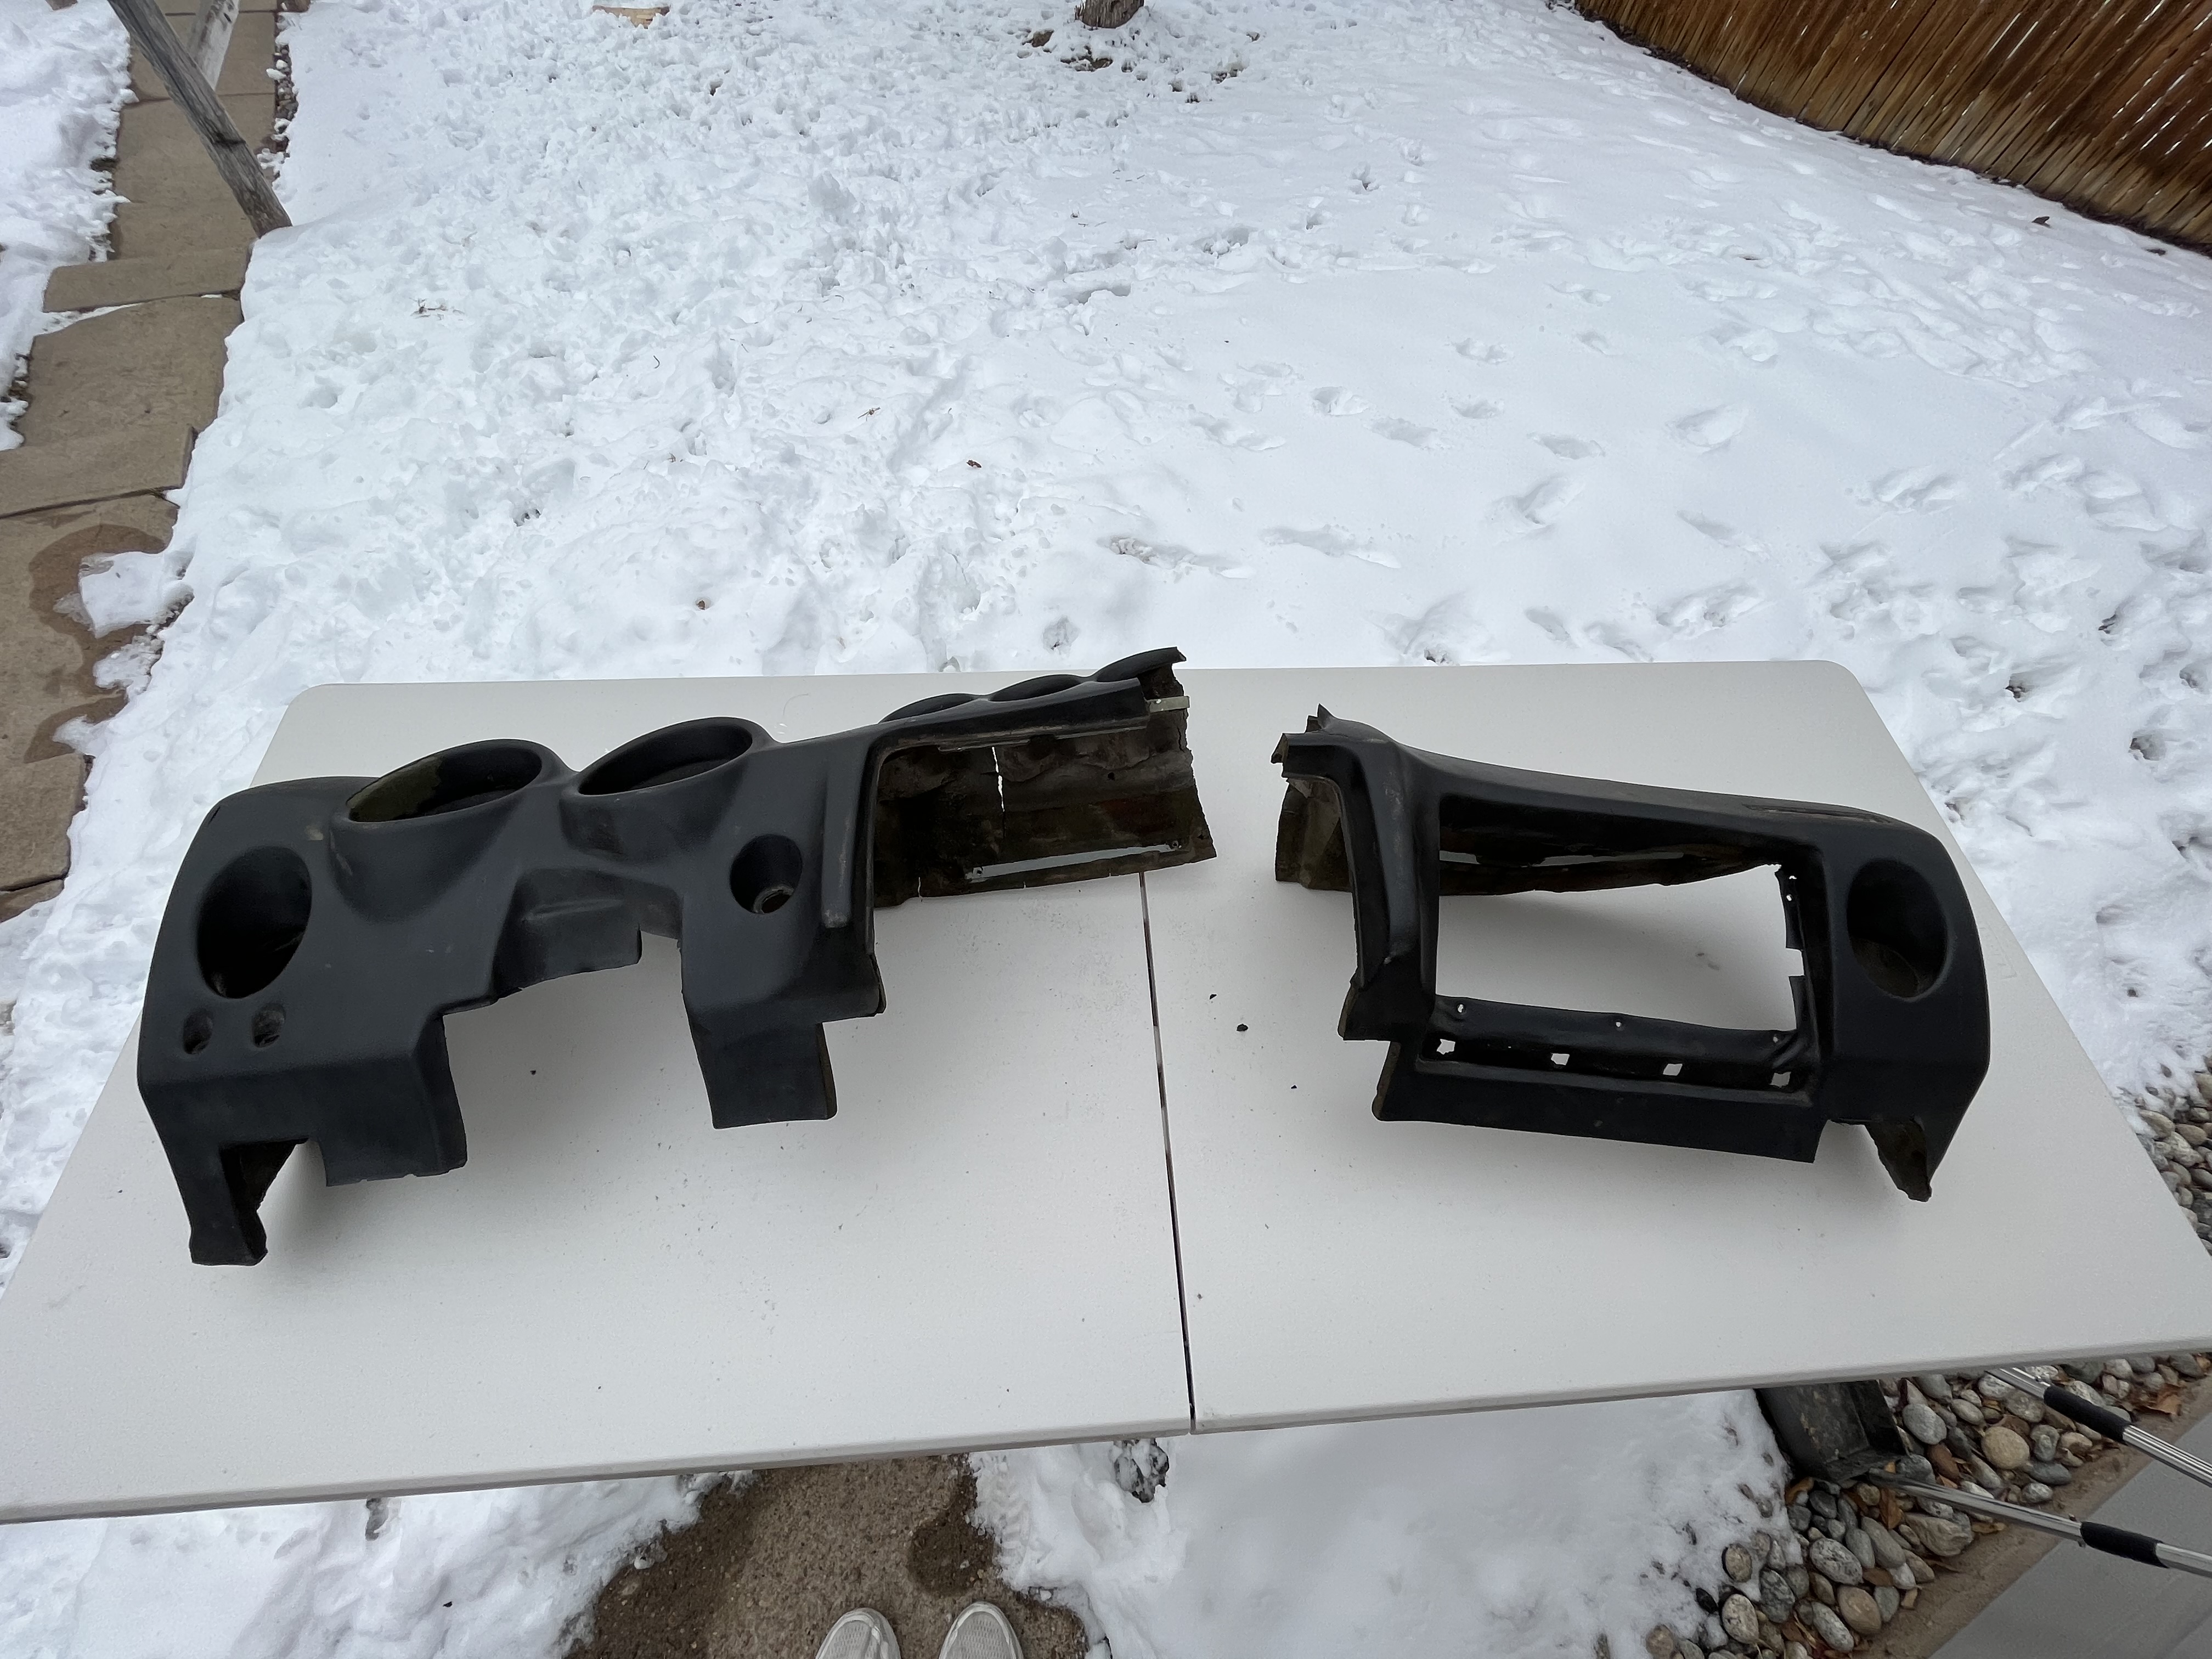
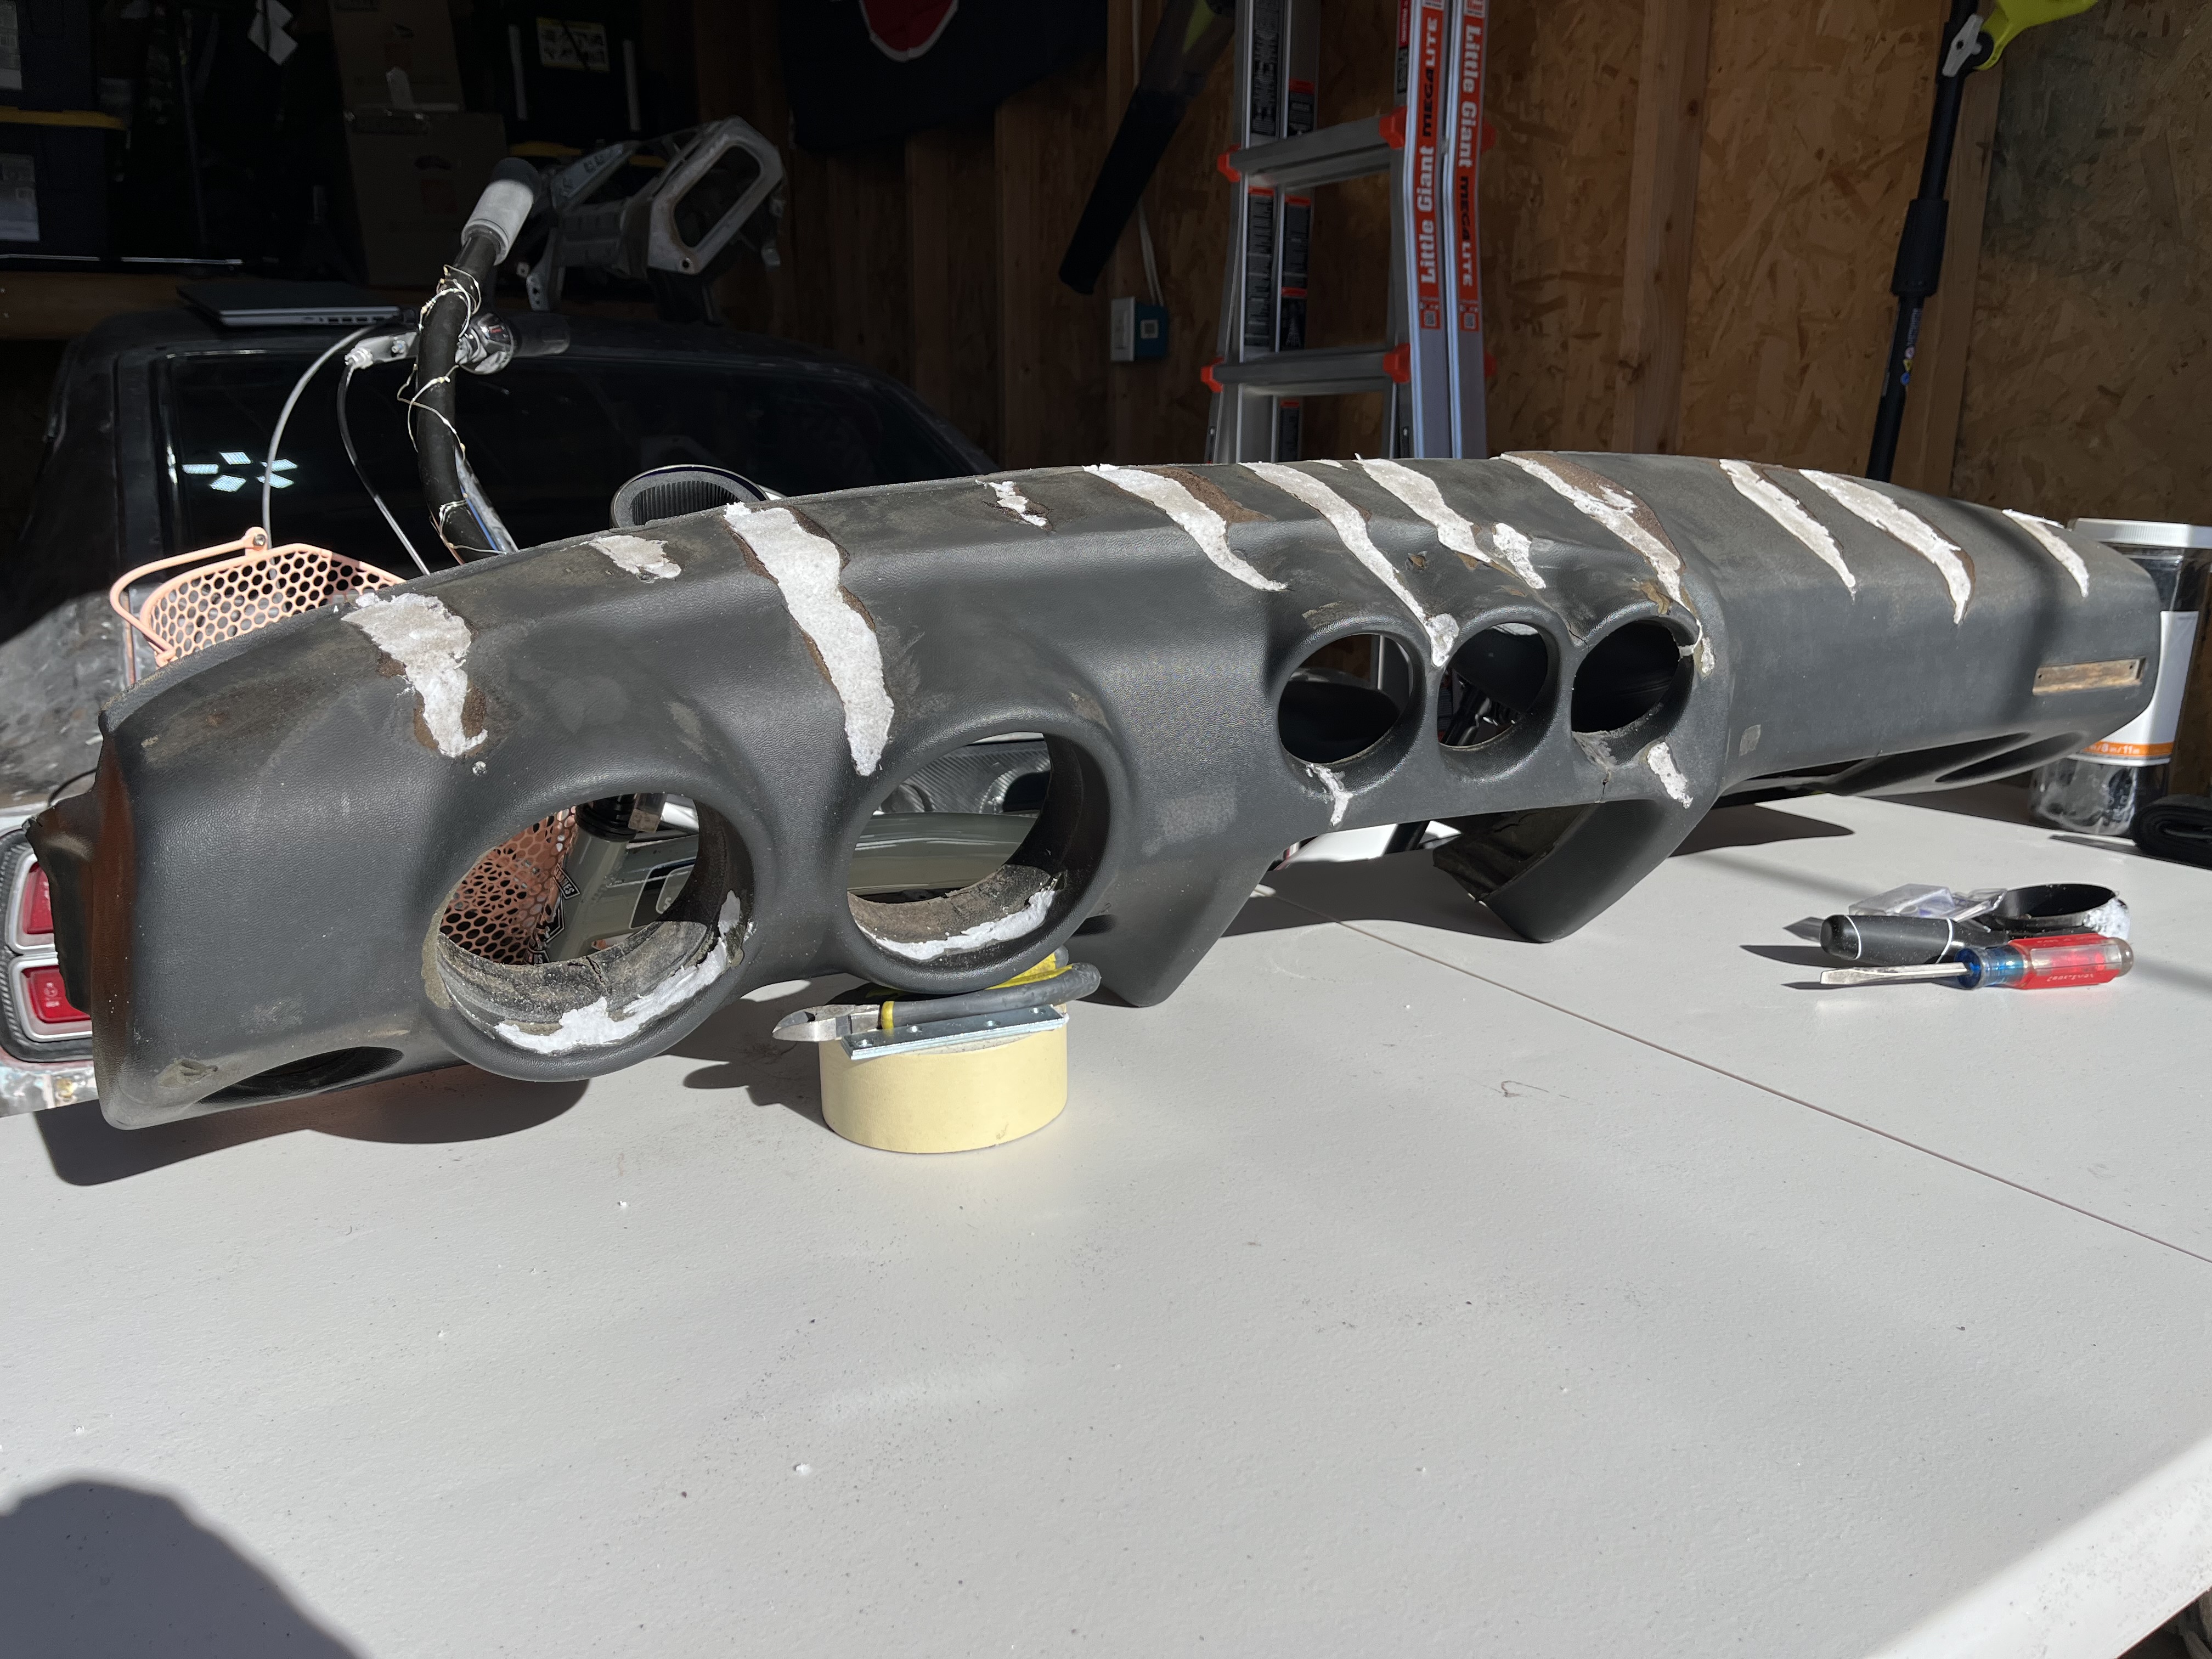
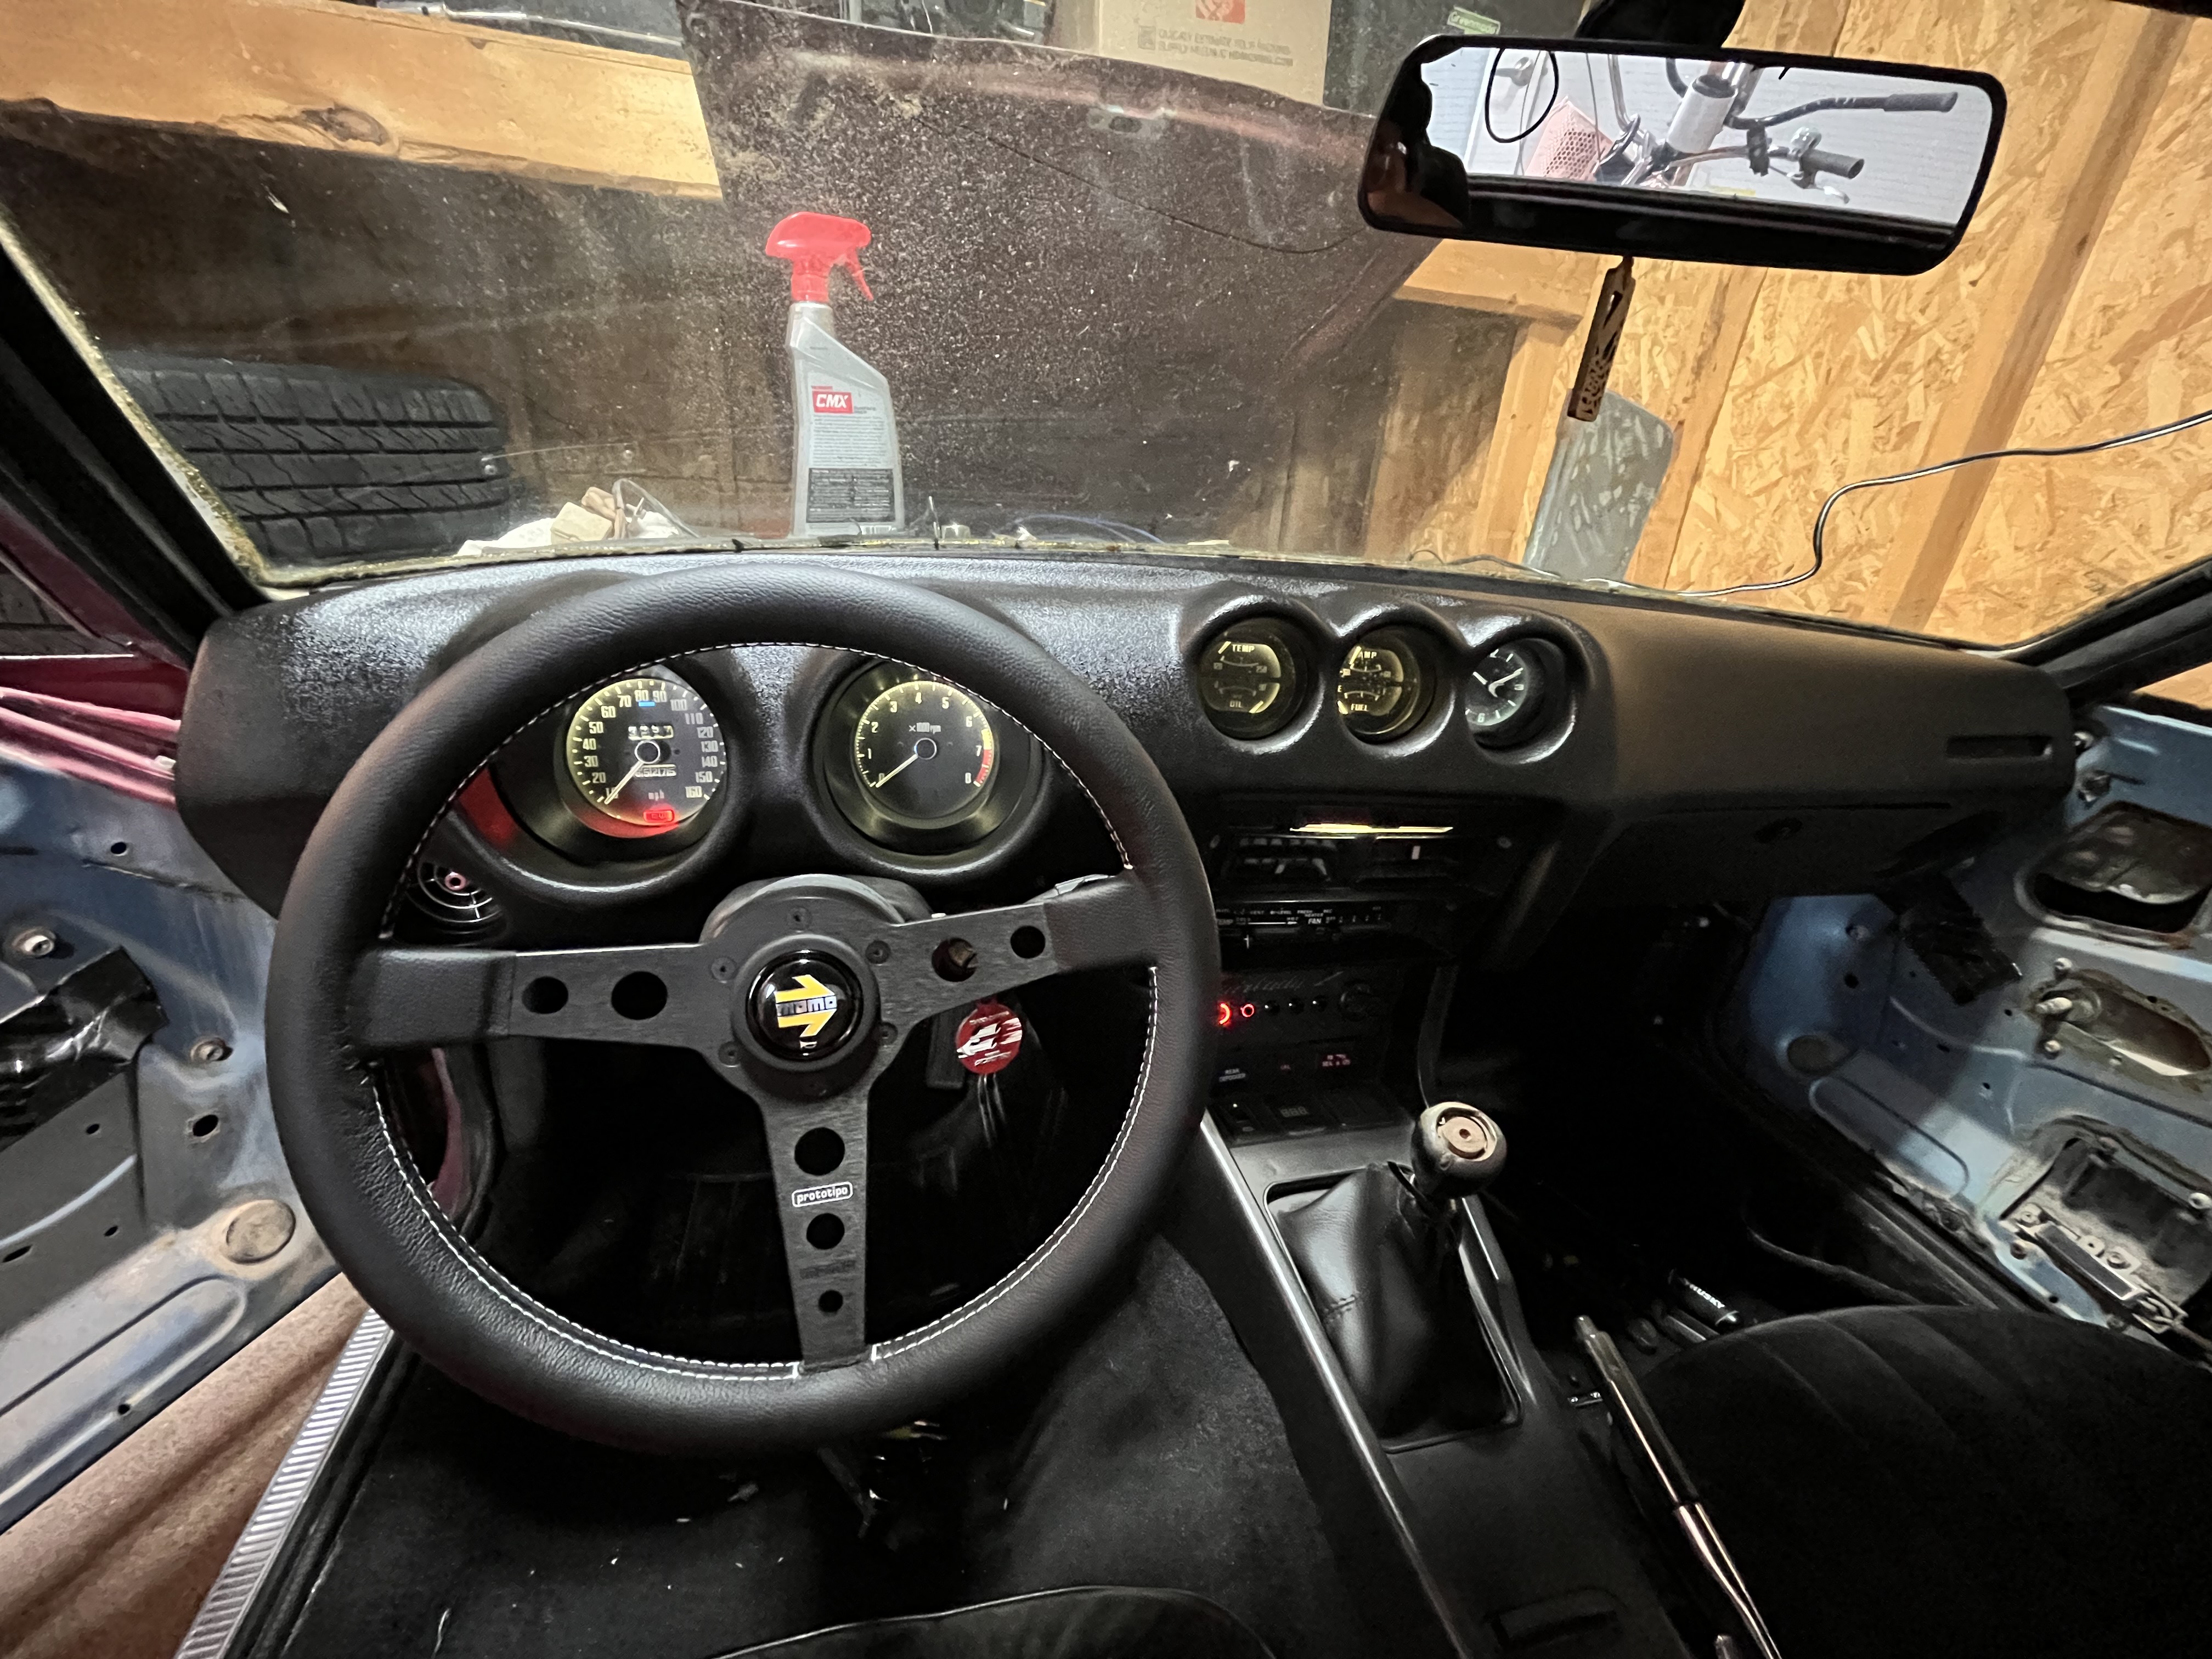
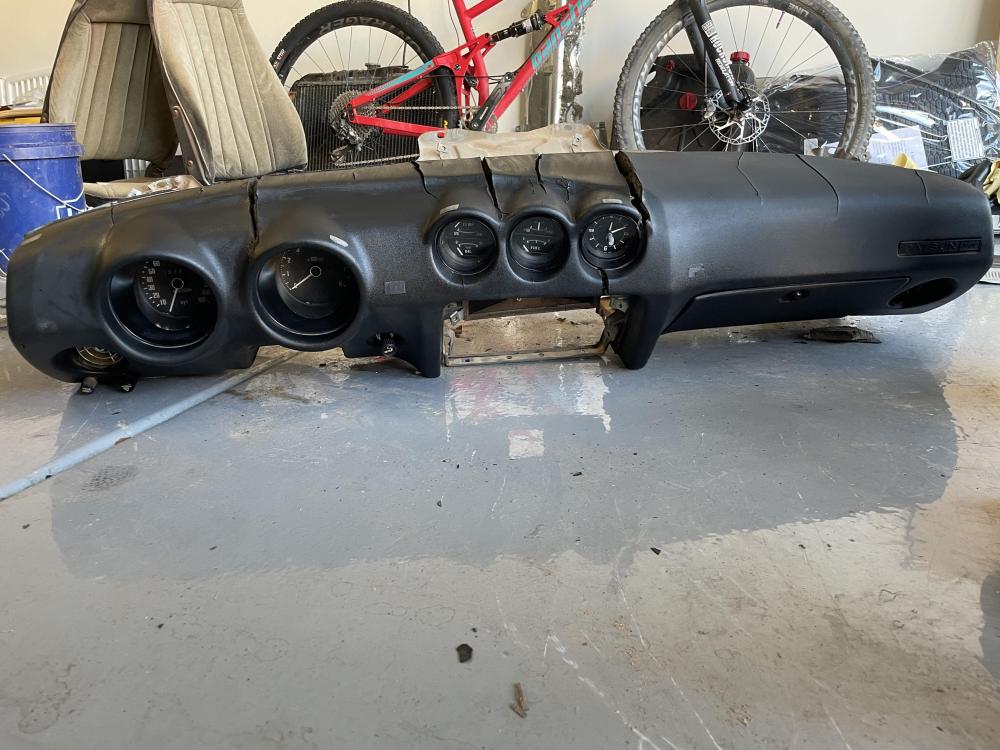
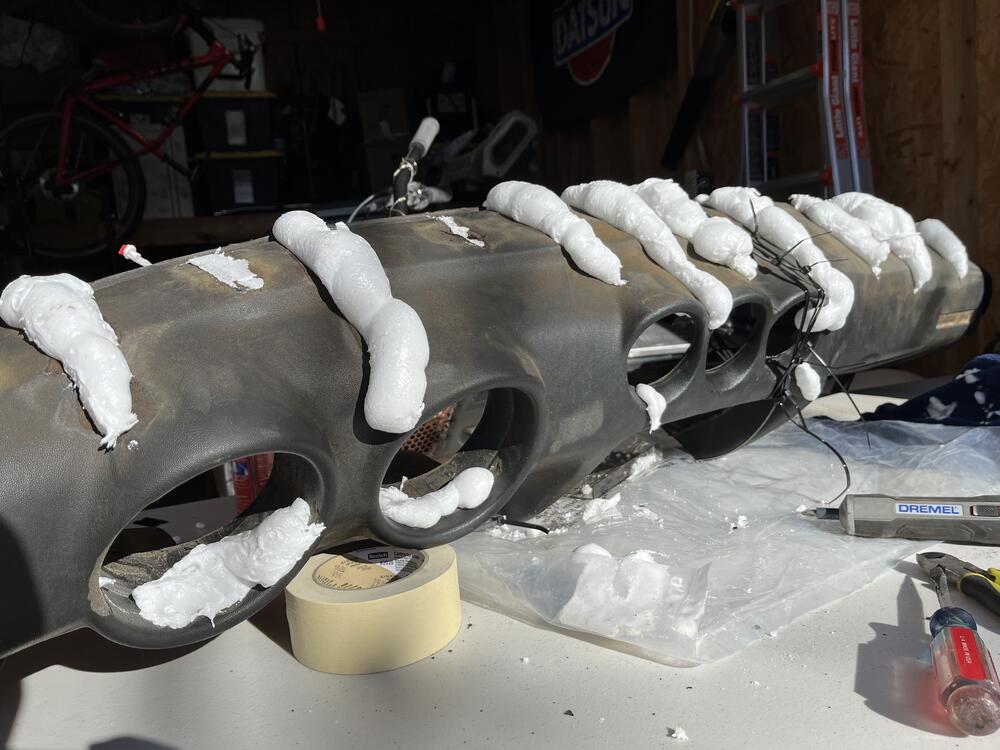
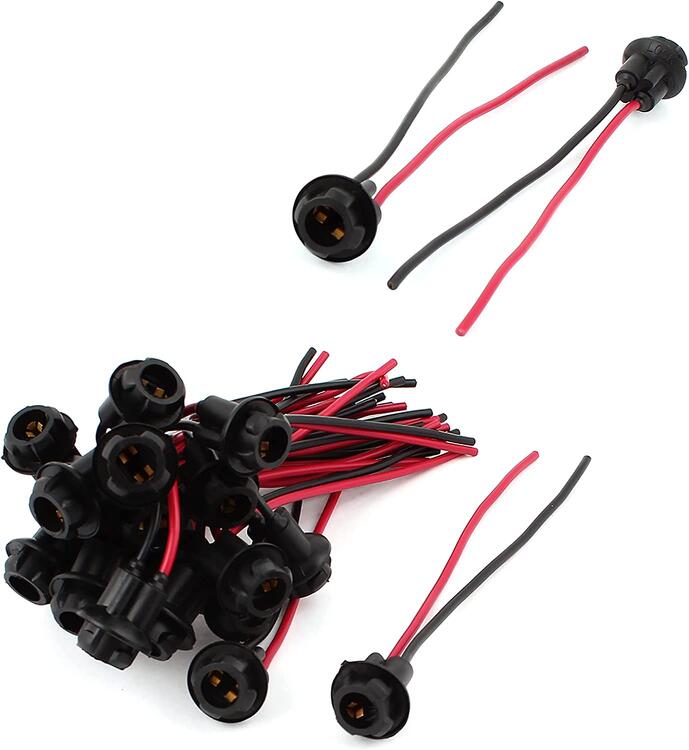
1 pointDove into restoring the dash this past couple of weeks. It was destroyed by the Arizona sun. I didn't photograph the process too much because, honestly, I didn't have high hopes on it turning out well. Here is an old photo of what we were starting with: Typical cracking for a Z dash, but boy was it brittle. My initial plan of attack was to get it off the frame and smooth out the ridges and cracks. But I was in for a nice surprise once it came off the dash frame: Little did I know, the frame was holding together my now two piece dash 😅 The crack near the third gauge pod made its way entirely through the dash. Now I needed to fuse these back together before I could start any sort of work. I also looked into vintage dashes or other reproduction/professional repair options but the cost was just too much at this time. I told myself to try fixing what I have first, then if all else fails, a reproduction dash is always an option. I grabbed some spray foam (loctite brand) and a couple strips of plastic to act as a "stitch" beneath the foam for the two pieces of dash to become one again. After "v" shaping all the cracks and smoothing out the ridges, I foamed everything together and used a jig between a couple of the mounting points to hold the two pieces of the dash in the correct spot. Note all my zipties in the photo below trying to make sure I didn't move the critical bond. After a good 36 hours of drying, I finally mustered up the courage to undo the zip ties and see if everything held. And surprisingly, it did! Sturdy enough to bear the weight of itself from one side even. Success! I now had a dash and no longer had dashes. I began to cut away at the foam and sand smooth with an orbital sander. It came out surprisingly well. The foam feel is excellent. Soft to the touch but firm enough to hold shape. I imagine this is how a good condition Z dash would feel. Unfortunately, this wasn't the end of my road blocks. If you look closely at the crack near the third gauge pod, my jig didn't take into account the transition between the two dash pieces. So while they are the correct distance from each other, the expanding foam must've made its way between the jig and the right piece to cause it to flare up slightly. Not a huge problem as I could sand, filler, and smooth it out. But something to note for future me. I started to work the dash to ensure all nicks and minor cracks were taken care of. But it was endless...I would fix one, but the stress would cause another. I could cause a crack by just pressing down on the old foam fairly easily. Pricing out the cost of materials for filler, skim, paint, etc. I started to look into dash caps. I know, dash caps are not a good permanent solution. But who's project car is ever permanently done? 😉 I did some research on peoples horror stories of warped caps or il-fitted gauges, glove box, etc. Some don't even match the OEM color. Luckily, every time someone brought up American Dash Caps, it was always positive. So that is the route I went here. Ordered up their full face deep cut cap and optioned to paint it satin black with SEM. Overall, it was a fairly decent cap. Some of the trimmings were rough, but easily cleaned up. They provided the silicone and an 18month warranty if you follow their steps. Simply apply the silicone 1/2" away from all edges and openings. It feels weird not applying silicone to the middle, but I bet this helps with expansion and contraction. I did need to sand a couple edges down for a snug fit. And here we are now! So much better than before. The photo makes it look very glossy, it is from the garage lights and just wiping it down after install. The true finish looks much more like the right side, satin. It is very close to the OEM finish in my opinion. While the dash was out I updated my gauge lights to white LED in a T10 socket. Almost half of my original plastic sockets were broken or missing tabs. Picked these up and the rubber socket allows for a snug fit with minimal trimming (of the socket itself, not the gauge). I also cleaned up the dash wiring harness, installed a momo wheel I picked up while visiting in Japan! Cleaned up my gauges inside and out while I was removing the green lenses. Couldn't get that darn clock to work.... Everything is slowly coming together for the interior. Next up is some door cards and a new carpet kit. Not a huge fan of the one piece molded carpet. Going to look at Newark or Chester and Herod for my next kit. I'll leave you with a pic of my helping hand in the garage. She's much more willing to be out here in 40 degree weather as opposed to the 100+ degree Phoenix summers 🙂


 1 point
 -
Reminds me of my first Z, a 260 that I bought in 1978, it had about 20k miles. The owner said he rarely used it. I quickly found out why. During the summer months the car would die after about an hour of driving. Tried several fixes, replaced engine fuel pump with an electric one, wrapped fuel lines, even ran copper tubing for fuel in front of the radiator. No luck it would still stall. Took car to Bob Sharp, mechanic told me the carbs were crap, and recommended getting the triple Solex carbs. Could have gotten them for $500.1 point
-
Did someone say V-3 kit - final installment So, for the next two plus years we tried very hard, at least I did, to make those 73, 74 & 74.5 Z cars run properly. I paid careful attention to each and every service bulletin ignoring those that didn't make sense and trying those that I thought had a shot. I found that as time passed less and less of the affected cars ended up at the dealer. Where did they go? Fast forward to my post dealer days. I was getting a fair number of mostly second owners who weren't aware of the faulty induction system but knew something just wasn't right and wanted very dearly to make the damn thing run properly. Of course the fix was to backdate the induction system, the entire system. Everything from the cylinder head out. This operation turned the undriveable into pleasurable. Most of these second owner cars had low mileage, often less than 15k. It seems that most of these cars were parked by the original owners after their patience ran out. In about the year 2000 I did the backdate to a 73 with only 8K miles. Uemura-san's book drew a detailed picture of the extensive real-world testing that was done before the 240 was introduced to the US market. It's clear to me that Nissan did ZERO real world testing before introducing the 73 240 to US market. What a colossal foul-up! Interesting postscript - 10-15% of the cars in these model years, according to the original owners, ran just fine! In my view these chaps weren't being completely honest or they only used their Zs in the cooler months. Some time in the future I'll go into the other 74 & 74.5 big problem - loose crankshaft pulley bolts, oh yea! Cheers
 1 point