


Leaderboard


 Subscriber

Popular Content
Showing content with the highest reputation on 03/19/2023 in all areas
-
4 pointsBeen a few years since I drove clutch, slippery concrete in garage, and my wife found it humorous to film. IMG_7739.MOV
 4 points
 -
2 pointsGot this one and bead blasted it for you. Let me know if you want it. Just pay for shipping.
 2 points
 -
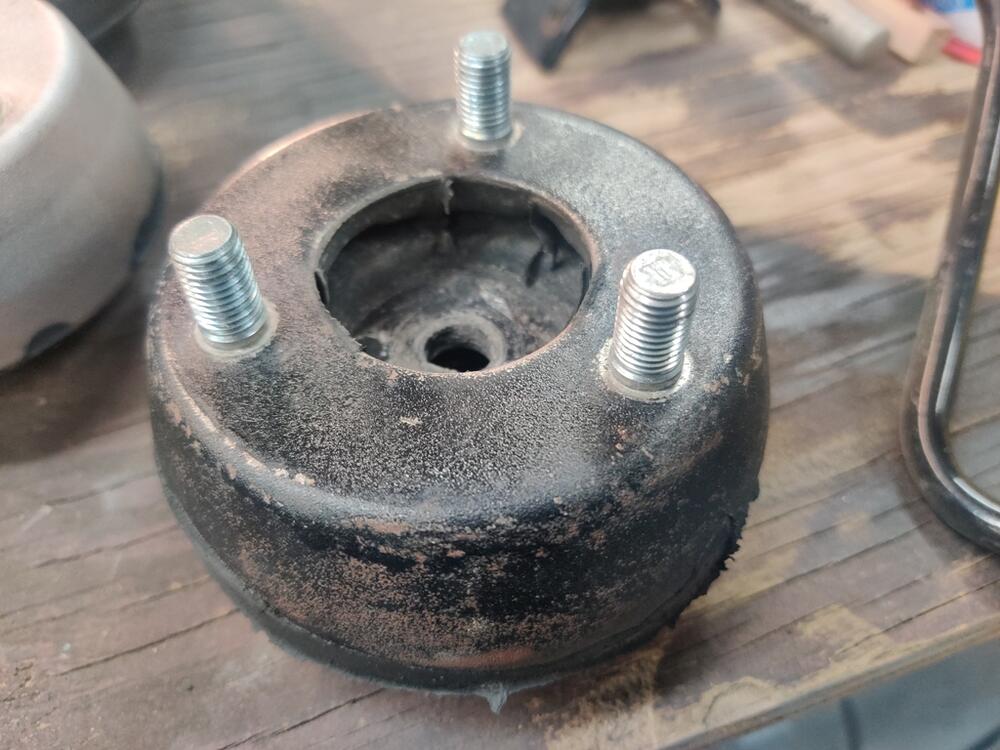
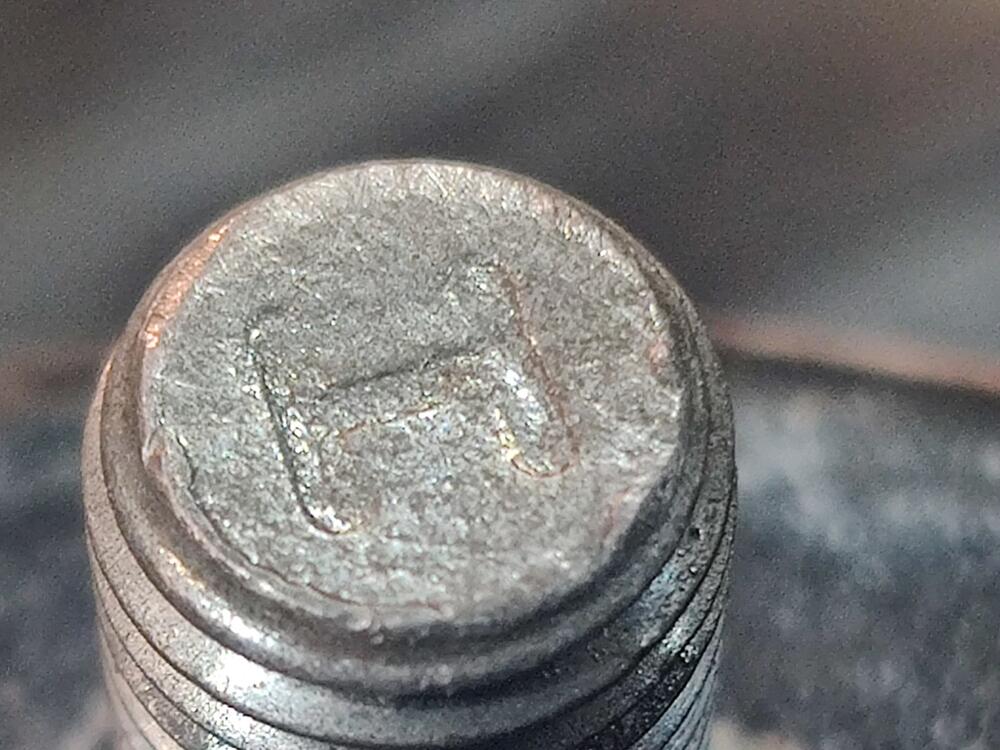
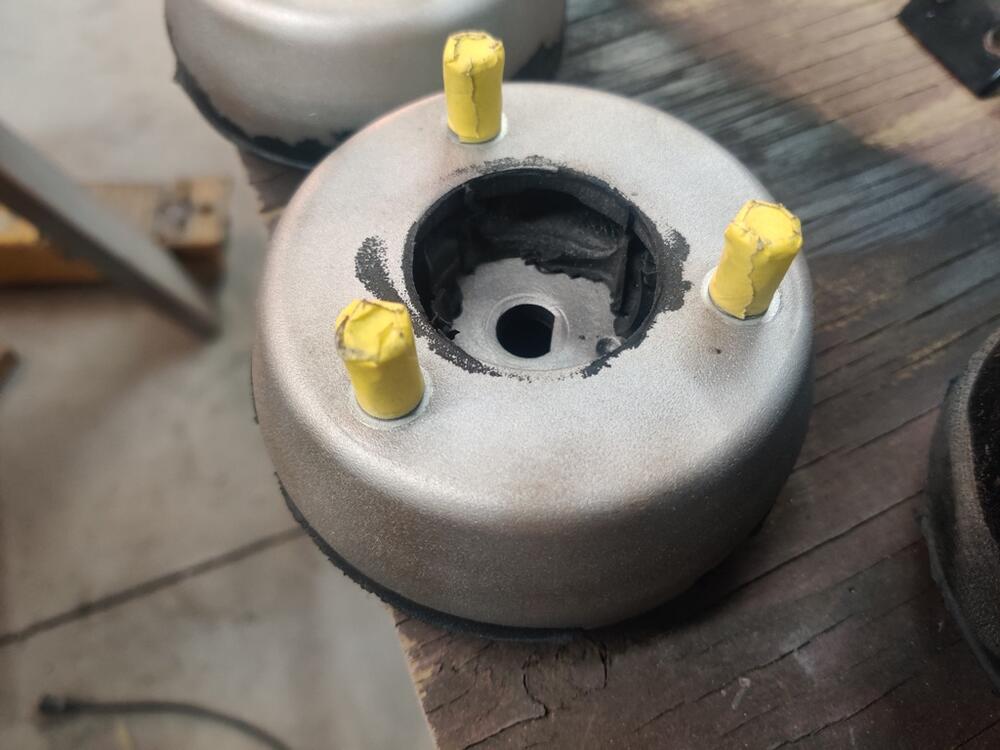
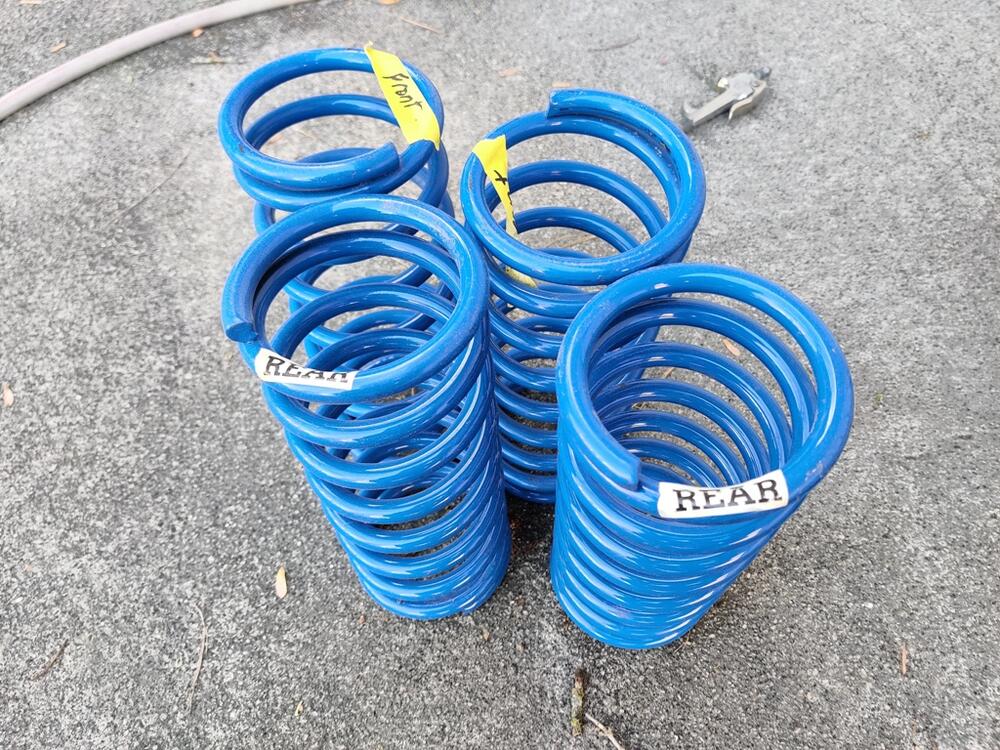
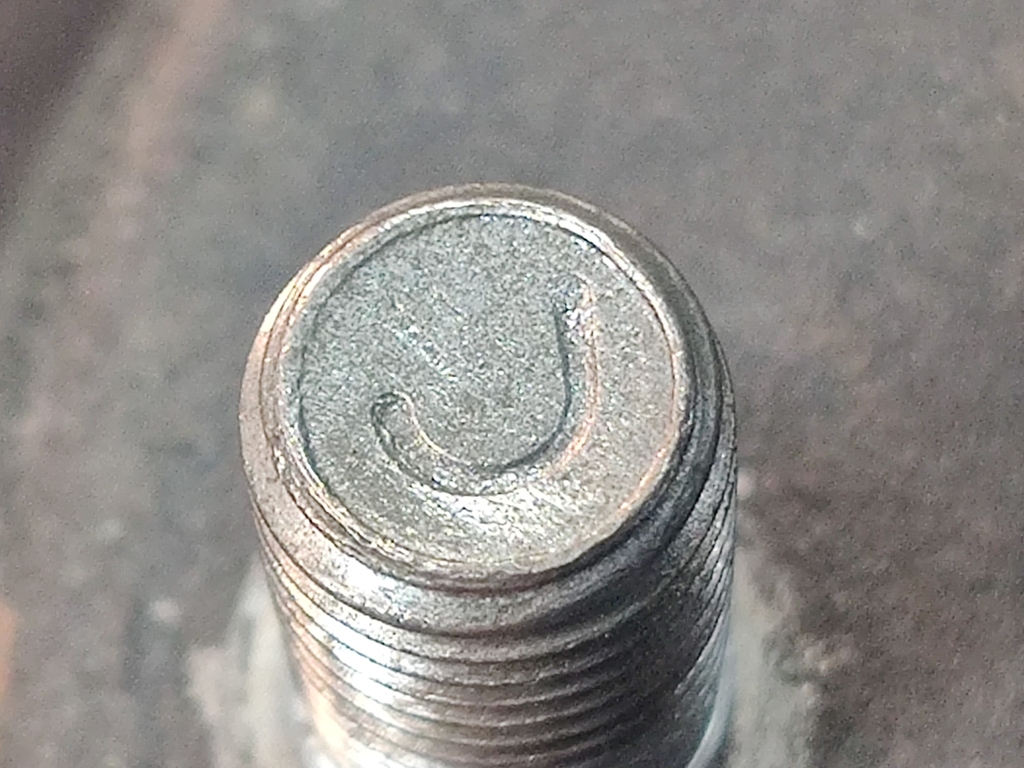
I believe I finished blasting the remainder of my parts today. It was cold... with wind gusts at times, which tried to lift the tarp up. I pushed through though. Next, I'll need to run many of the parts stripped today through the glass bead cabinet to finish them off. I welded metal in to repair the brake hose brackets on the front struts, and finished them with a 13" hand held belt sander. Didn't get pics, but I will and will show later. I forgot to get scrap tube of the right diameter this week to use to press the old bushings out of the rear control arms. I'll have to hold off on priming them until I remove those. Looking at the strut upper mounts, I observe that from the factory, the studs were not painted black: Another thing, which I never noticed before, the studs have letters... or marks pressed into the ends. Does anyone know what these mean? I decided to lightly brush the studs with a brass brush and then tape them off before putting them in the glass bead cabinet. I will leave them taped for priming and painting. I was going to strip the powder coated paint off of the Suspension Techniques springs, but I think I have decided against it. I don't like the blue color. But instead of stripping, I think I will scuff them with green Scotch-Brite and paint them black. Wish I could have sprayed primer on all these tonight, but I ran out of time, and the temp is supposed to hit 24 degrees over night. Not ideal. The epoxy primer needs 60 minimum for 8 hours to dry. Hopefully, no surface rust will start forming before I have the time and the right conditions to prime and paint.

 2 points
 -
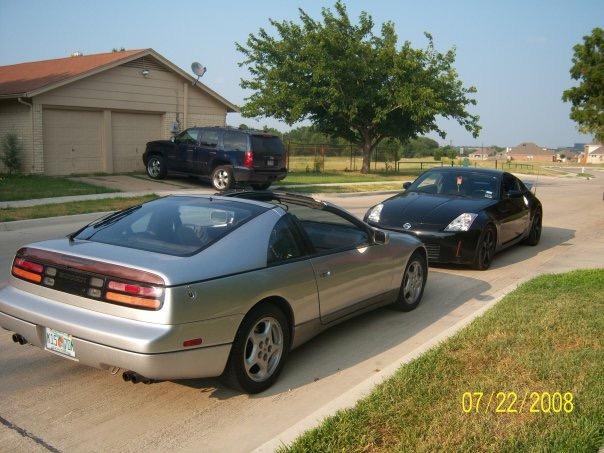
2 pointsMove the car out of the garage, first time since the 90s it moved under its own power. Moved 2 feet forward so I could test the reverse before I went too far.
 2 points
 -
1 pointWow, that is great sound. "Rebello stroker" has just been words on the video screen until now. Looking and sounding good.1 point
-
video to come after I get the tach installed, I want to make sure I can show the 2k rpm for the closed loop testing. I should be able to record that tomorrow. FYI if any of you guys are having issues or just want a ECU tested, let me know after I get that video done. You can send me the ECU and I will be happy to test it. Same goes for non turbo since I have both test stands up and running. Ship it to me with a return postage lable, I will put it on the stand and give it a whirl. I am setup with the early ECU (not the one with the warning sticker on the side) and the dizzy CAS turbo setup (not the early turbo). It maybe a while before I try to install the turbo engine. My plan is to 1st try the MN47 N42 combo NA setup. Just to see how it goes. I will clearly have some fabrication work to use the OE AFM equipment for the turbo as it was for a S130 not S30. The fitment of the AFM is going to be a challenge, especially if i keep the OE AFM perch in place. I dont recall every seeing this on any other conversion to turbos on the S30. Seems most just run a cone filter down at the intake of the turbo. I plan to make use of the stock filter location and have to work around an AC compressor. I have considered removing the stock perch putting in some rivnuts so I can always go back, and make up a custom perch for the turbo AFM. Like I said it maybe awhile, but thats ok I am enjoying the process.1 point
-
Yes, here’s a video showing a YouTuber trying to remove a stubborn one: Thanks1 point
-
Well good news! new plugs (old ones looked pretty fouled prob from idling for 45 minutes, New CHTS (nissan), New O2 sensor (NTK japan). made sure the fuel tank was elevated so pump did not have to pull up (was about 1 foot below pump before). started, ran great, green led started regular flashing in a pretty consistant manner (before it was flashing but very inconsistent in on off duration). Not sure which was the magic bullet, i considered doing one change at a time but WTH, I just wanted to see if it was going to work. Next up will be to get a tach on it (ordered it may as well add to the test stand).1 point
-
1 pointThe cleaner is not vacuum. The cleaner is atmospheric. OK... Physics dictates it must be a tiny, tiny bit of vacuum or the air wouldn't flow in that direction, but for the purpose of this discussion, the air cleaner interior can be assumed to be atmospheric, not a vacuum. The connection to the air cleaner box is simply a supply source of clean filtered air for the crankcase ventilation system. If the engine is not running, nothing flows in that tube. If the engine IS running, that tube supplies clean air to one side of the crankcase to replace the air that the PCV sucks out. The PCV side of the loop (connected to manifold vacuum at the balance tube) is at a much higher vacuum than the tiny tiny amount of vacuum inside the air cleaner box. And that's why for the sake of this argument the inside of the air cleaner box can be assumed to be atmospheric.1 point
-
1 pointThanks for the heads up @Zed Head, luckily I had a simple fix: the wires connecting the the switch under the rubber grommet were disconnected. I have reverse lights now.
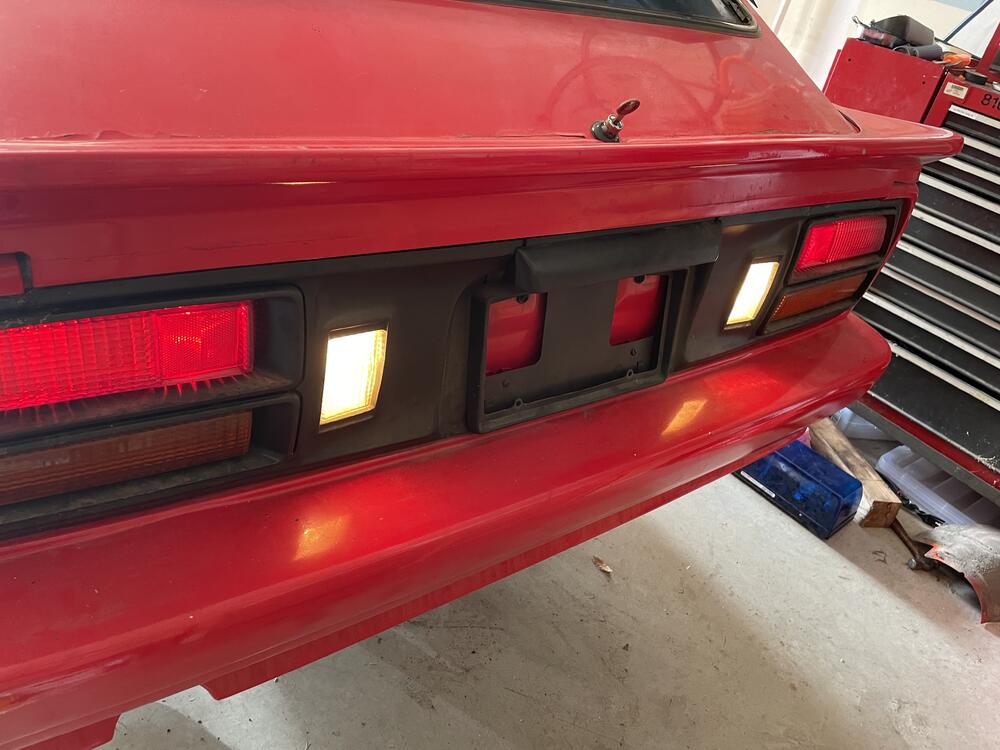 1 point
 -
1 point1 pointHere is a picture showing the wiring for the buzzer, taken when I pulled the dash on my '70. I remember it well as the buzzer and flasher were the only items I missed disconnecting. Almost dropped it.
 1 point


Important Information
By using this site, you agree to our Privacy Policy and Guidelines. We have placed cookies on your device to help make this website better. You can adjust your cookie settings, otherwise we'll assume you're okay to continue.