


Leaderboard
-
Blitzed
Free Member4Points193Posts -
HusseinHolland
Free Member4Points1,031Posts -
DC871F
Free Member2Points674Posts -
emccallum
 Subscriber
 2Points427Posts


Popular Content
Showing content with the highest reputation on 05/02/2023 in all areas
-
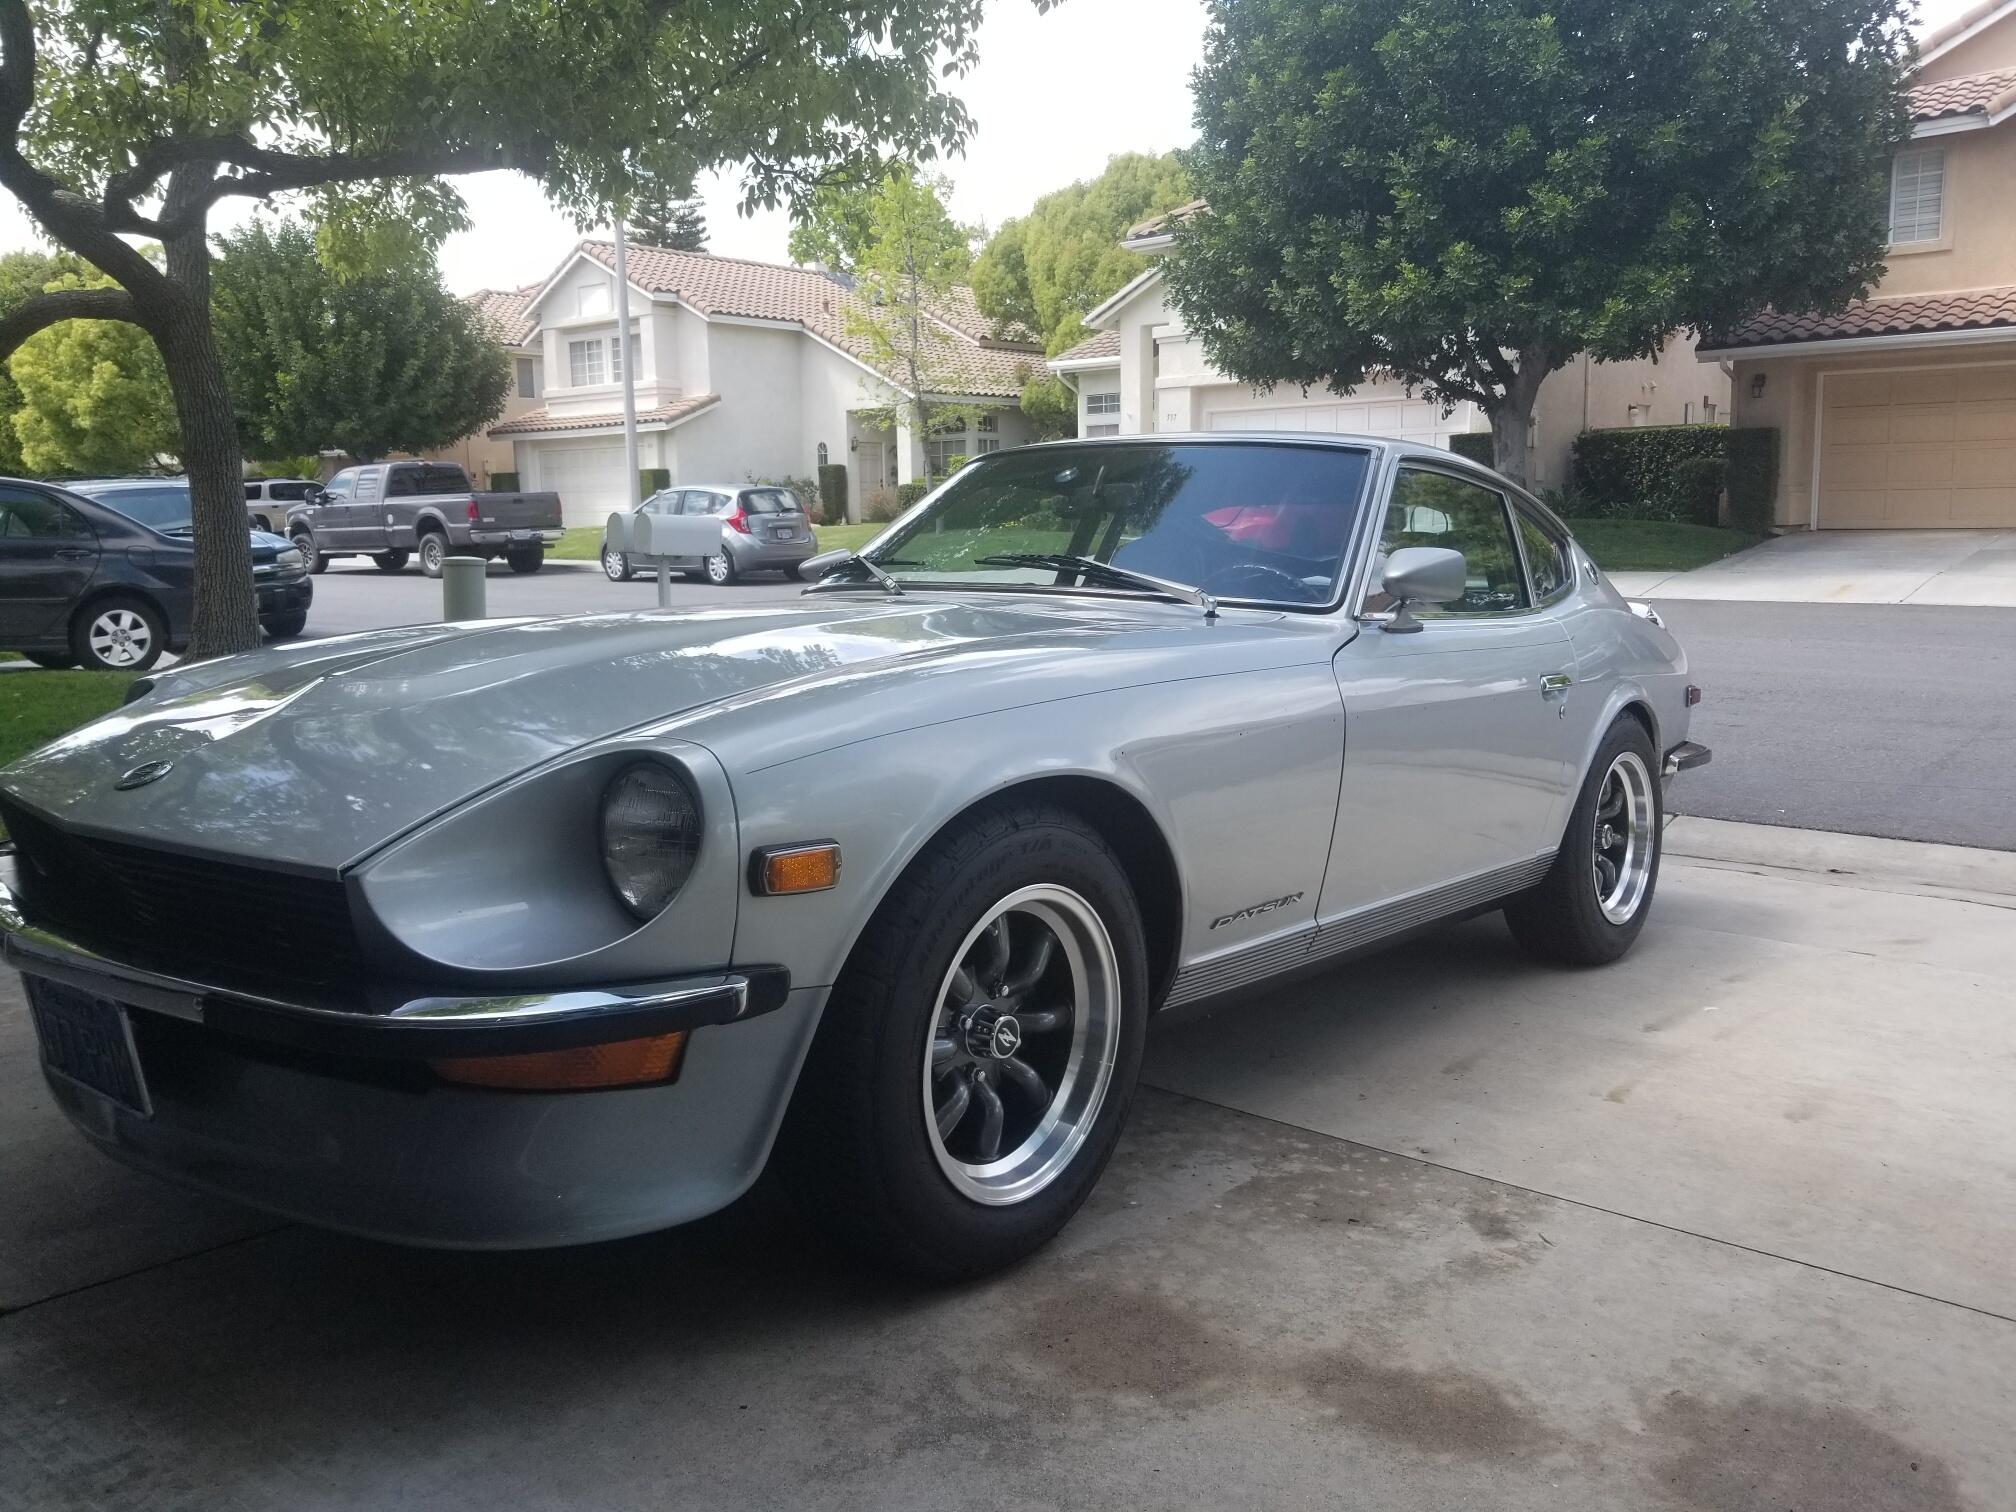
4 pointsHi All, Trying to correct the vibration feedback in the Z's steering wheel is one of those problems you can chase down a rabbit trail and add additional dollars redoing services, unless you find the correct service / shop. Drove the Z to Solvang, CA this past weekend for the Datsun Roadster Classic (they include Z in the show), 340 mile round trip drive and the steering wheel vibration at 60+ drove me crazy the entire 300 + mile drive. Below 60 MPH puts you in the slow lane/ truck lane on the highway's which is also the roughest lane on the highway which compounded the issue. Took the Z to Nate Jones Tire in Signal Hill CA today. Wow, what an eye opener. Nate is an 80 years old, racer, builder and great resource. The service included truing the wheel (rim and tire) on the car. Frist tire pressure, Nate knew the Z's stock suspension was designed with a tire pressure rated at 28lbs max. I was running 36lbs on 205. Tires have too pressure for the suppression. He knocked the fronts down to 26 and rears to 28. Suggested with the mass of the tire, could run as low as 24 in the fronts and 26 in the rears for (dry) highway travel, track add 4lbs front and back. Next removed and rotated all tires with the valve steam to line up over a stud location. This became the static mounting location for the wheel, on and off, must mount in this location ,no future rotation. until the tire is shot Jacked the front up and rolled a custom machine (looked like a lawnmower base) and attached to front tire. Hit the inside edge of the rim lip with a small grinding blade, knocked down any shimmy / wobble imperfection in the wheel (rim) during rotation. Next trued the tires. We all let our cars sit for extended periods, this can create flat spots that will cure it self over time and miles. The equipment shaved grooves in the tread (top not side wall) and trued or rounded the tire. Next rolled another unit to the tire and applied a counter weight ring on the outside of the rim. Than rotated the tire and wheel (on the car) at high rpm. With a several feelers hitting the rim edge inside and outside and a strobe light he picked up the balance position of the wheel and tire at high RPM. Applied weights. The end result, vibration in steering wheel gone, vibration in car gone and a quieter cockpit. Great experience with I fear is dying expertise.4 points
-
2 pointsI dont have any pictures but I just got off the phone with the engine guy. He said oil rings were collapsed. He said they were total garbage. He said the compression rings were already showing wear that he didnt like. I sure wish I knew the name of the rings we used. I wish I would of had a recording of him when I asked if they were in right side up! I got an earful. It looks like its going to work out. I will keep the gang posted.2 points
-
Got the hatch outer upper seal rebounded with the black super weatherstrip glue. I'm leaving the hatch off for another day to make sure the glue is fully set this time side panel buffers in I was going to do the cowl seal, but there was a little surface rust along the inner lip, so I took the cowl off & got sidetracked cleaning off the surface rust in the cowl & used Rustoleum Rust Restorer on it. Really hard to wire brush up under the cowl under the base of the windshield looked much like the underside of the cowl prior to cleanup slamming the door with the new seal caused stress on the mirror mount - the plastic inset broke. I made a SS plate to reinforce it, glued the original piece back in place, and added a retaining clip to join the two retaining clip reinstall2 points
-
1 pointThat's too funny! Well at least he's confidant in his work! That's what you want.1 point
-
1 pointWhen I re-built my heater box several years ago, I left all of these flaps in place. After cleaning up the inner and outer surfaces of the plenum and flaps, I sprayed the inside with a rust-inhibitor paint and then the outsides with matte black. I then cut replacement pieces of foam (adding an outside layer of soft vinyl for the pads destined for the big flap). If you go to the 'Resources' section, I think that my full write-up is still there. Also included at the time was a set of templates for all of the foam pieces (these were designed to be printed at 1:1 and then glued to the peel-off backing sheet of the foam). If you can't find these docs, let me know and I'll re-post them. It's finicky work, but doing it properly produces a heater/blower that works effectively and quietly.1 point
-
Off the top of my head the -P71 suffix part number indicates it could be for the s130z, though i can't quite remember what range the P numbers are, but its not S30.1 point
-
HI Kats, As an owner of very late production RS30Q (10th last from what I see) which I gather was manufactured in June 1978, these late 260z's (as we sometimes know them as) came with the 3.321 1st gear, as the diff ratio changed from 3.7 (pre 8/76) to 3.54. I hope that helps1 point
-
1 pointI saw that happening to a guy who visited my shop with his motorbike few years back, he was bragging about his new tires, but then I gave a look, and saw the direction was wrong lol, he was quite pissed 😉1 point
-
1 pointtest fitting the 1/4 inner panel - the lip covers the exposed opening original gap (pass side) with screws visible left hatch area panel test fit - note I did not re-introduce the speaker perforations in the bottom left. I'm not going to put speakers in the original locations anyway. vent slots recut, retain clips in place1 point
-
1 pointI removed the switch by drilling out the rivets. Looks like the contacts thru the rivets were bad. There was discoloration on both conductor tabs. I have to retest the switch with the cleaned contacts aluminum rivets contact design - open contacts closed if the continuity is good with the cleaned contact area I'll use brass screws instead of aluminum rivets1 point
-
1 point
-
1 pointGood grief. Don't use those aftermarket rocker arms. OEM only on these.1 point
-
Regarding the access to the right side. There should be a small panel, behind the right rear tire that can be removed. Several small hex head screws hold it in. Then you don’t have to drop the tank.1 point


