Leaderboard
-

matt90gt
Free Member4Points13Posts -

JDMjunkies.ch
Free Member3Points620Posts -


Dave WM
Free Member3Points3,591Posts -

HusseinHolland
Free Member2Points1,023Posts
Popular Content
Showing content with the highest reputation on 06/09/2023 in all areas
-
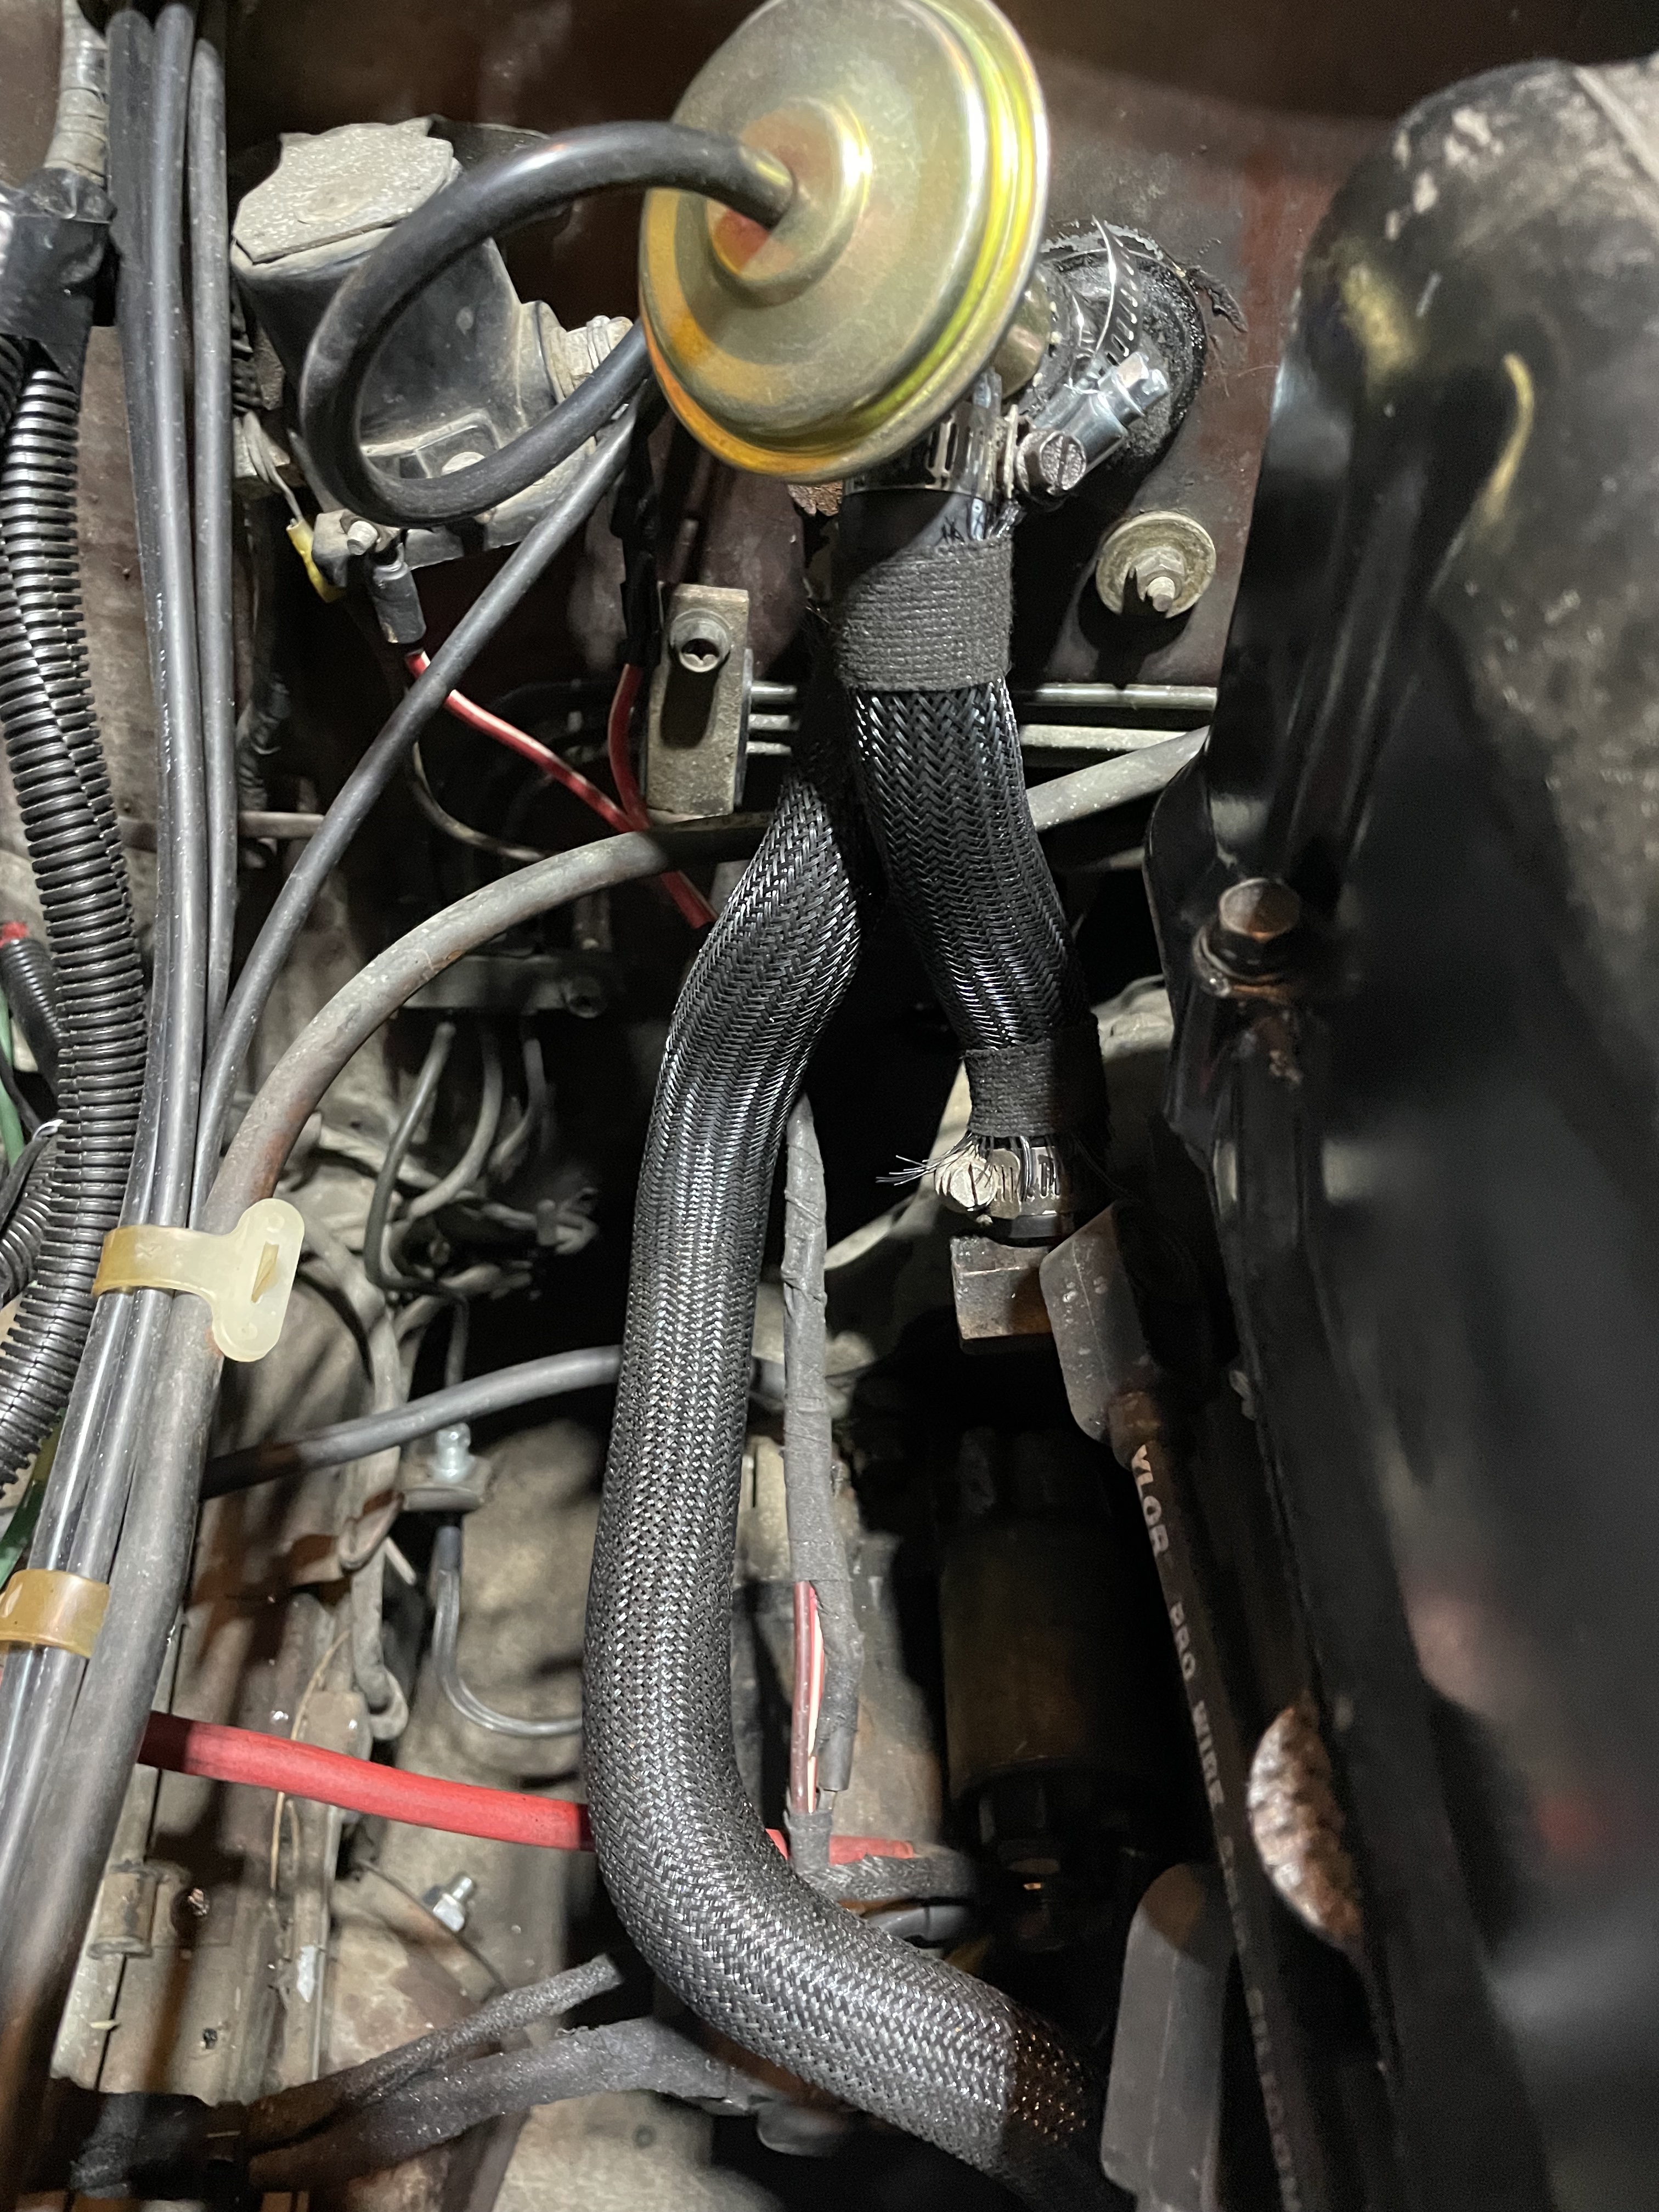
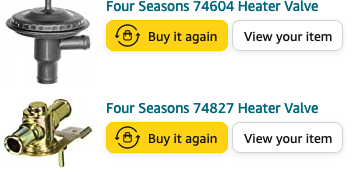
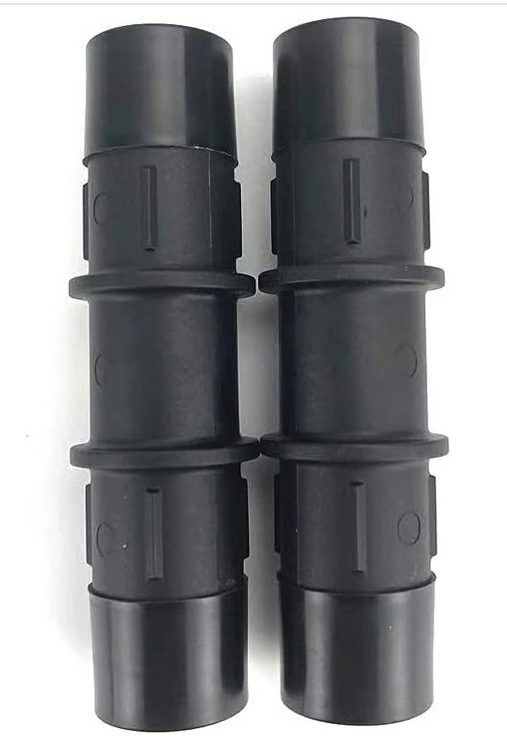
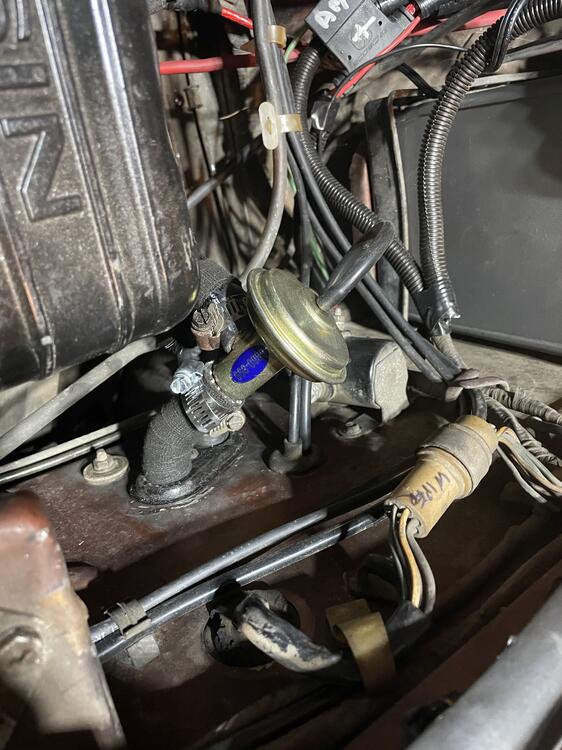
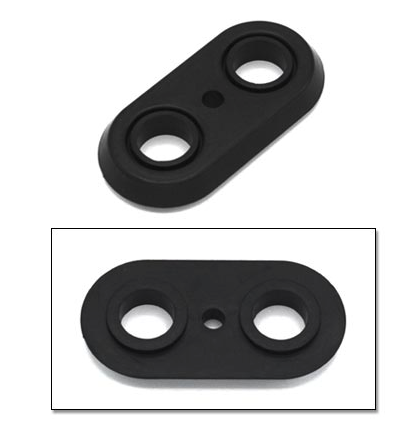
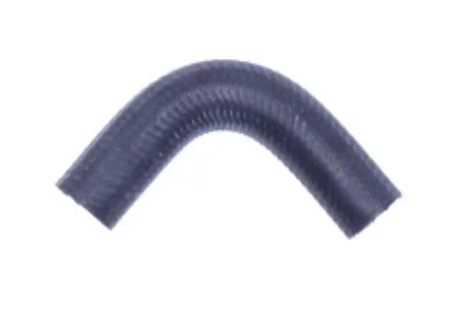
4 pointsI wanted to add to this topic for reference. I recently tried to rebuild the OEM units without success. I learned the first time that I never wanted to do this job again, yet here I was. This is a factory AC car, so it is slightly different at the heater core than @mikev88 has setup. These are the parts I ordered: 4 seasons vacuum heater valve 74604 (1) 4seasons heater valve 74827 (1) Heater Hose Connector 5/8"X 5/8" Hose Barb Glass Filled Nylon PA66-GF33 Straight Fittings (1) Gates Hose 19402 (1) hose clamps vacuum hose barb , M-M (1) Vacuum hose I wanted to make this simple unlike the stock installation. First off was the 74604, I mounted that in the engine bay. For the vacuum line - you will have to make a new hole in the firewall grommet and push the vacuum hose through there. Then connect up with the hose barb to the stock line location under the dash (W for my 1977). For the plumbing into the valve, I was able to use the OEM hose off the block that went to the firewall. just rotated about 90 degrees to mount up the 74604 to it: Why this wasnt done at the factory, well thats a mystery! much cleaner and easier outside of the engine bay. For the factory grommet that seals the lines going through the firewall, you will have to enlarge 1 hole to fit the hose through it. I just cut where the lines were on it and it fit perfect: From the 74604, the Gates hose (19402) has a lot of bends. You just need a long J bend to go from the heater valve through the grommet and through the firewall. The other side will connect to the 74827 (under the dash): This is my installation before I rotated clockwise another 20-30 degrees : For the heater control wire, you will need to use some pliers and make a loop at the end of it. the new valve doesnt travel as far as the OEM one, so adjust where you want the lever to be on the dash. I lined everything up on full cold and tightened the wire holder down. Finish it off with a internal star washer to keep it from popping off. You will use the rest of the gates 19402 hose with the S bend to clear the outlet from the heater core to the new valve. For the outlet from the heater core, I used a stock hose: from the outlet, it went to that OEM hose, then to the 5.8" barb, through the firewall and through the grommet on the uncut side. Make sure to get the grommet pulled through to the middle of the barb. From there, connect to the stock hose. Everything fits and there is more room under the dash to work with. Reuse some of the OEM screws that came off the stock mounts to keep the side plastic onto the heater box. No issues with the setup and if there are future issues, it will be much easier to deal with. Hope this helps someone out there


 4 points
 -
Soo. time for another update from the bodyshop. After the floor pans got prepared and made sure that everything fits: They got welded in and attached to the frame rails: Next then was the inner rocker panel: Along with the rear rocker extension the seatbelt mount and seat rails: And the rear section of the floor pansl. Looks really need. and completely differnt to the RH side, where we used the older type of floor pans and lots of homemade panels. What is missing now is the little factory reinforcement piece (see previous post from the bodyshop). and the outer rocker panel. there we currently have a little fitment problem and need to find out if it's the replacement panel or something else is misaligned, Overall i'm again very happy with the work and attention to detail. I always expect more progress when i go there and then i'm disapointed when i see it looks more or less the same than 1,5 weeks ago, but then i start to look and realize all the small details they had to fix, paint, adjust, test, modify, etc. And then i think about the time it took the previous bodyshop to do the same (in a less good result) on the other side and then i'm super happy again. Overall i'd say that already more than 1/4 of the work is done, and that in only roughly 5 weeks. so if the continue like this, it wil be definitely ready in fall. Nice3 points
-
2 points
-
IIRC the OE mechanical one did have a screw you can adjust the tension on the relay that duty cycles the field winding between off/mid/full. If it was replaced it may not have the screw for adjustment (most of the mechanical ones I have seen that are after market do not, so not easy to adjust). They also IIRC charge more until fully warmed up (the VR does this). I would not worry about it since most of the time it seems to be working with correct voltages. But since they are cheap you may want to just get a replacement and try it if you are unable to adjust. I keep a spare with me at all times.1 point
-
Thank you, gentlemen. The PO said that it has had the hot start/no start condition for quite some time (years). His mechanic suggested a new solenoid to solve it, after he installed the reman (I removed) some years back. I have not tested the new reman. The car has started every time so far with the relay in place. I'm going to a Fiat Club gathering in NH tomorrow, so it will be a few days before I can do further testing.1 point
-
1 pointOK - so with mine, cleaning the contacts & replacing the rivets with brass screws has resolved the lack of contectivity. circuit open circuit closed1 point
-
 0 pointsSorry, but there is still n such thing as an air-to-fuel ratio sensor.0 points