Leaderboard
-
zclocks
Free Member6Points305Posts -

inline6
 Subscriber
 5Points1,218Posts
 -

Captain Obvious
Free Member4Points9,816Posts -

grannyknot
Free Member4Points5,158Posts
Popular Content
Showing content with the highest reputation on 09/06/2023 in all areas
-
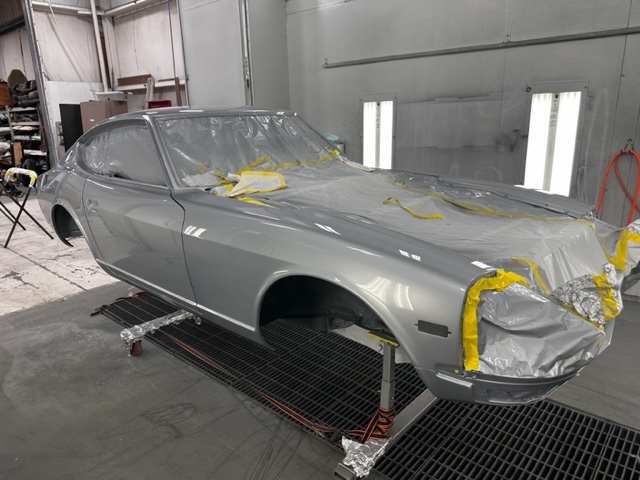
Restoration of BringaTrailer 240z - HLS30-35883
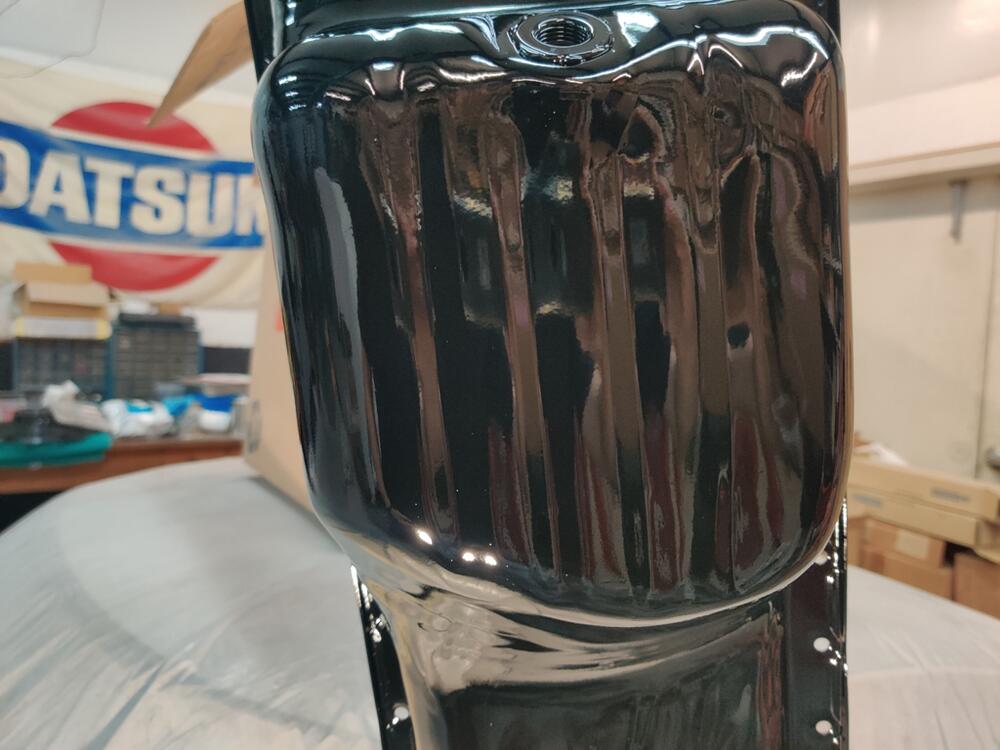
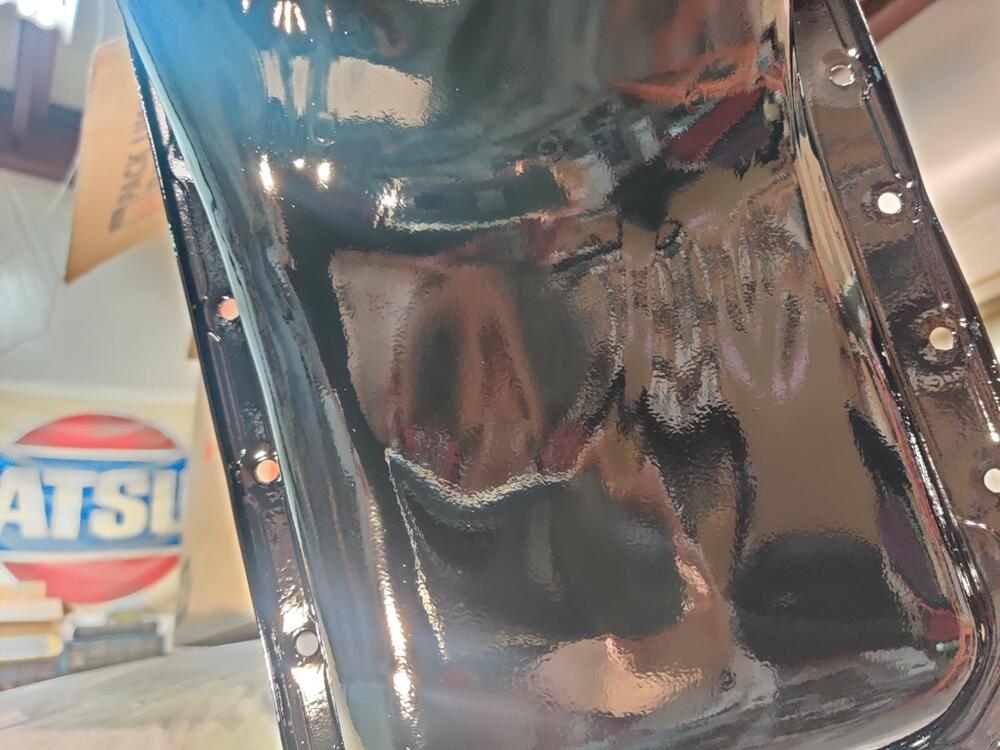
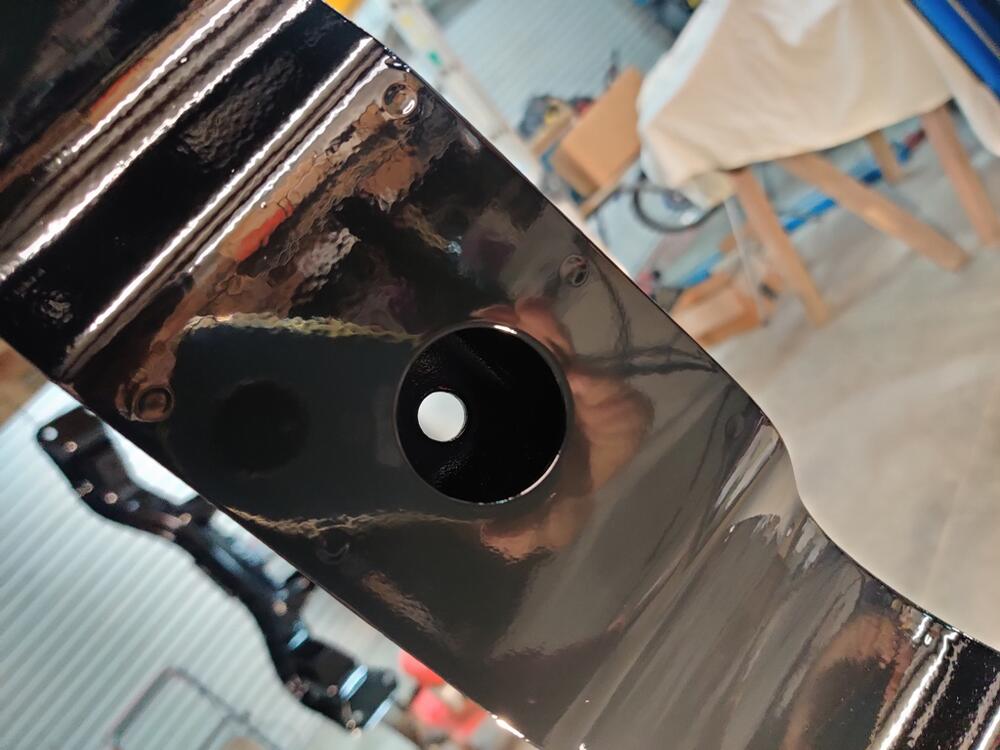
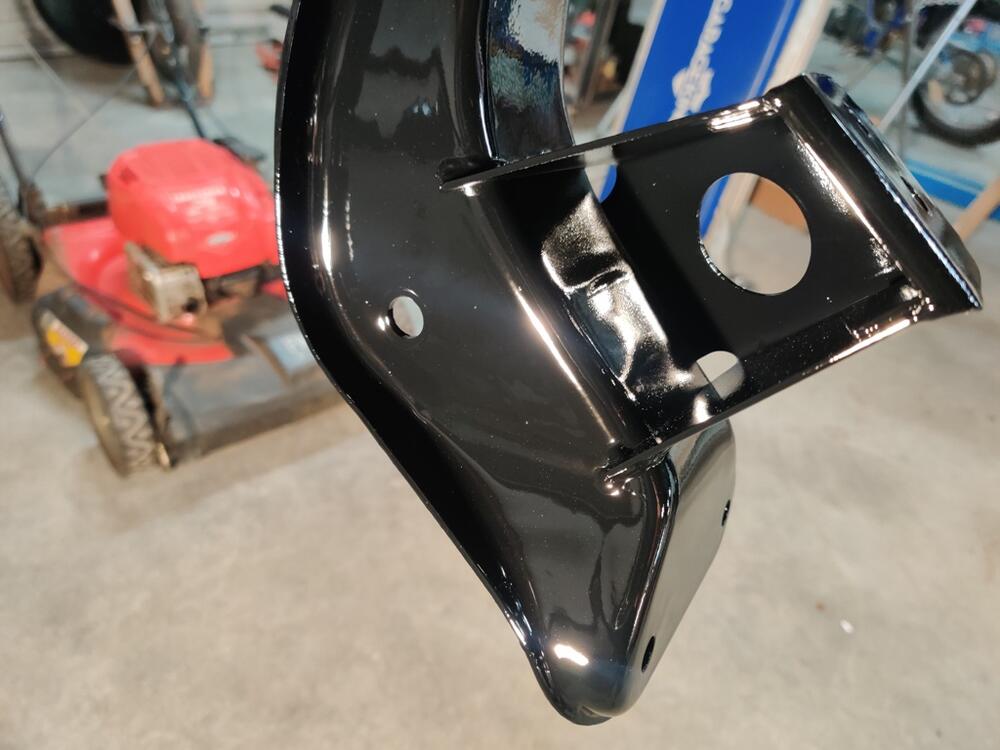
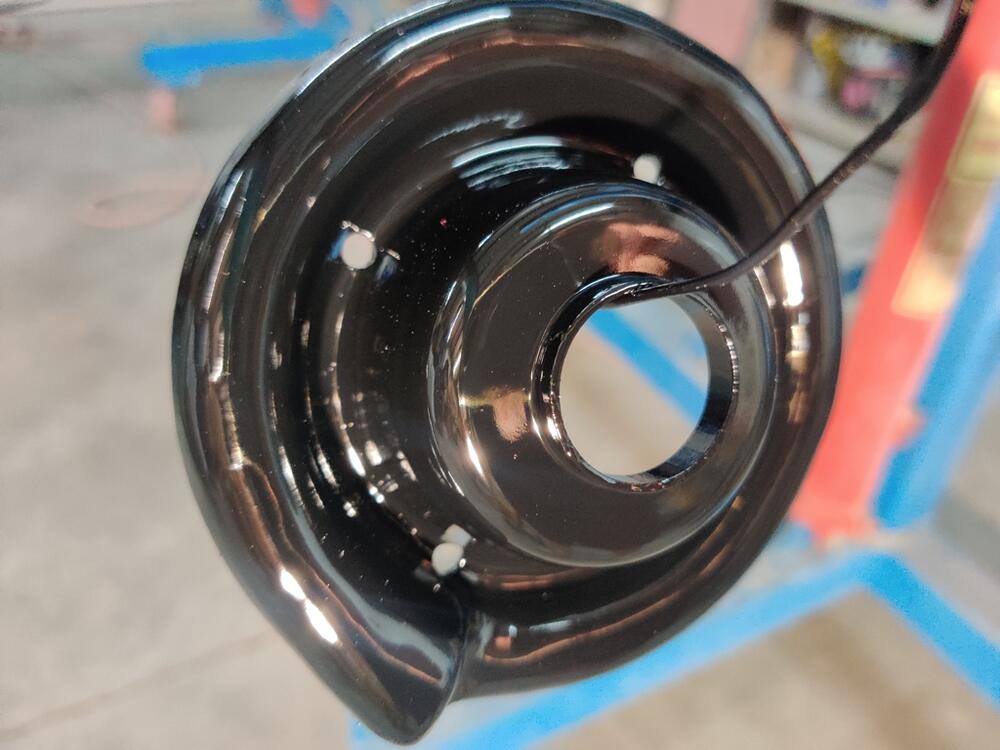
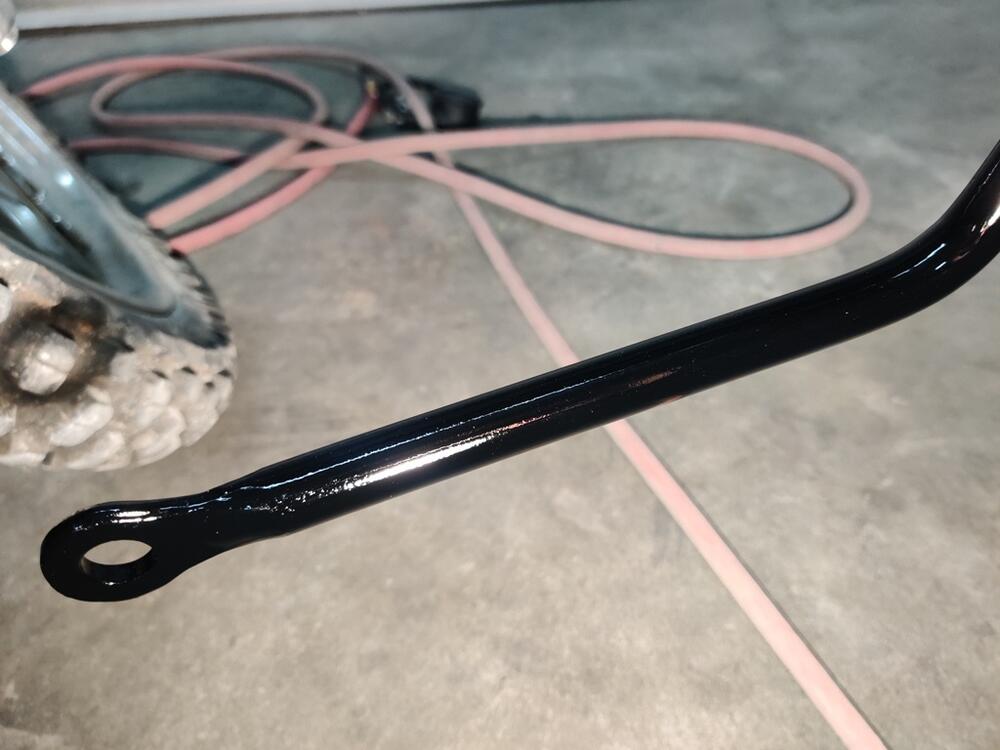
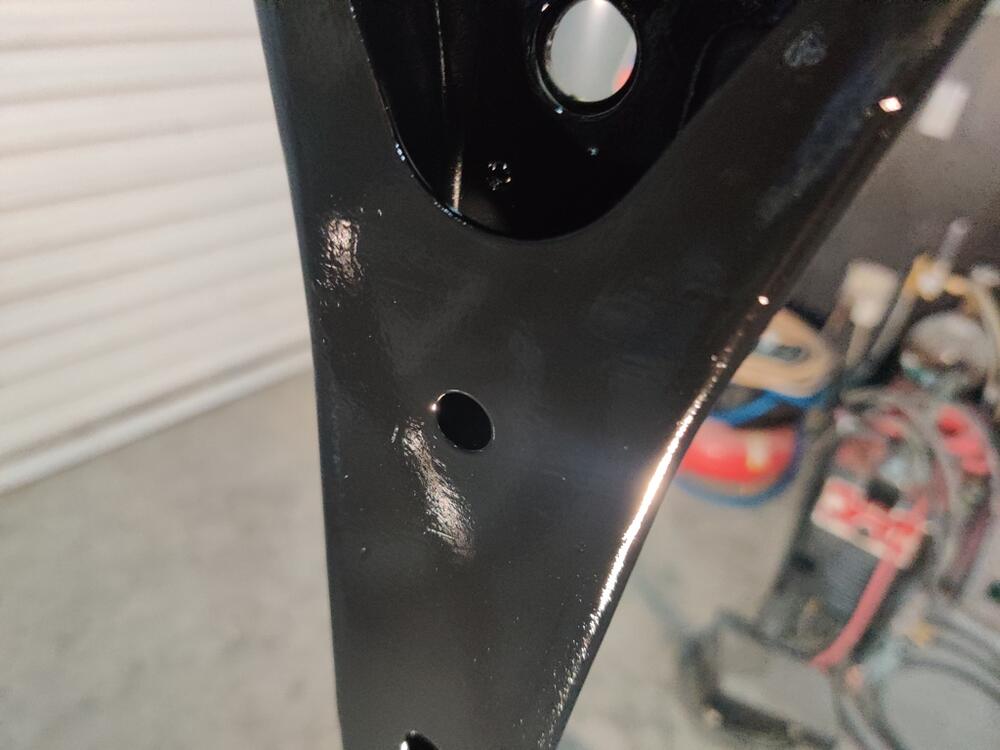
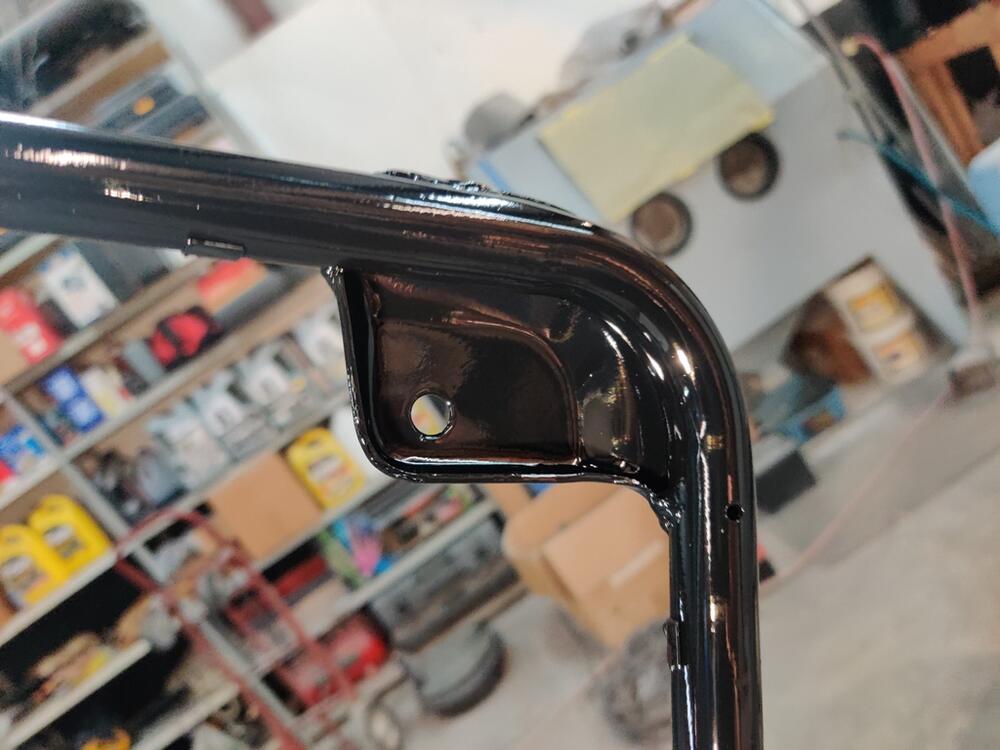
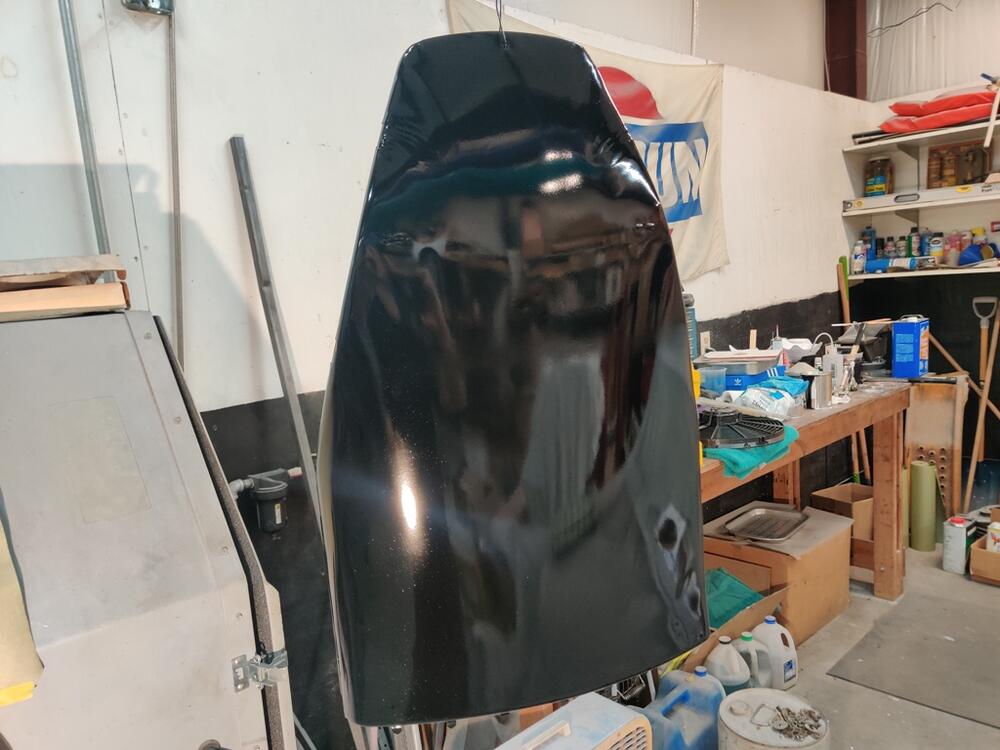
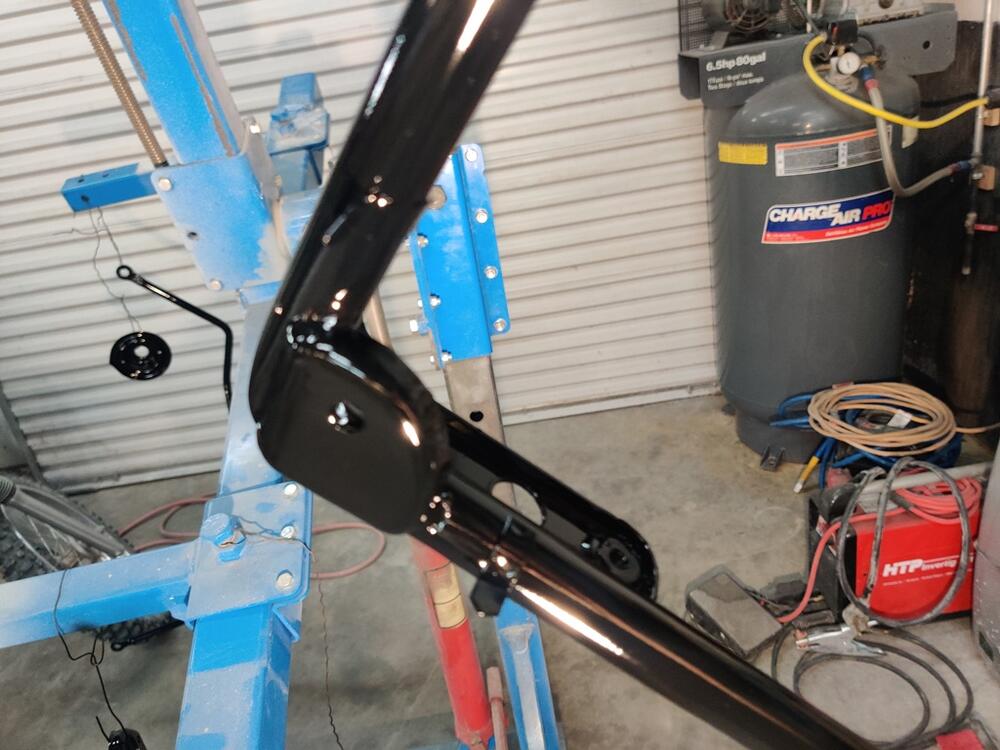
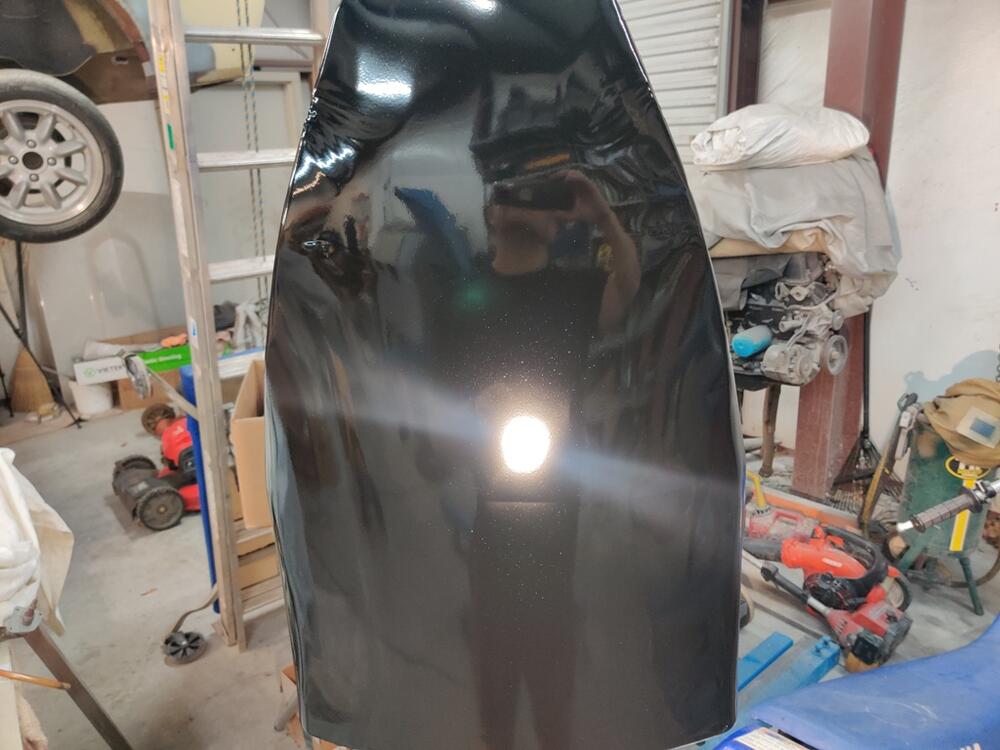
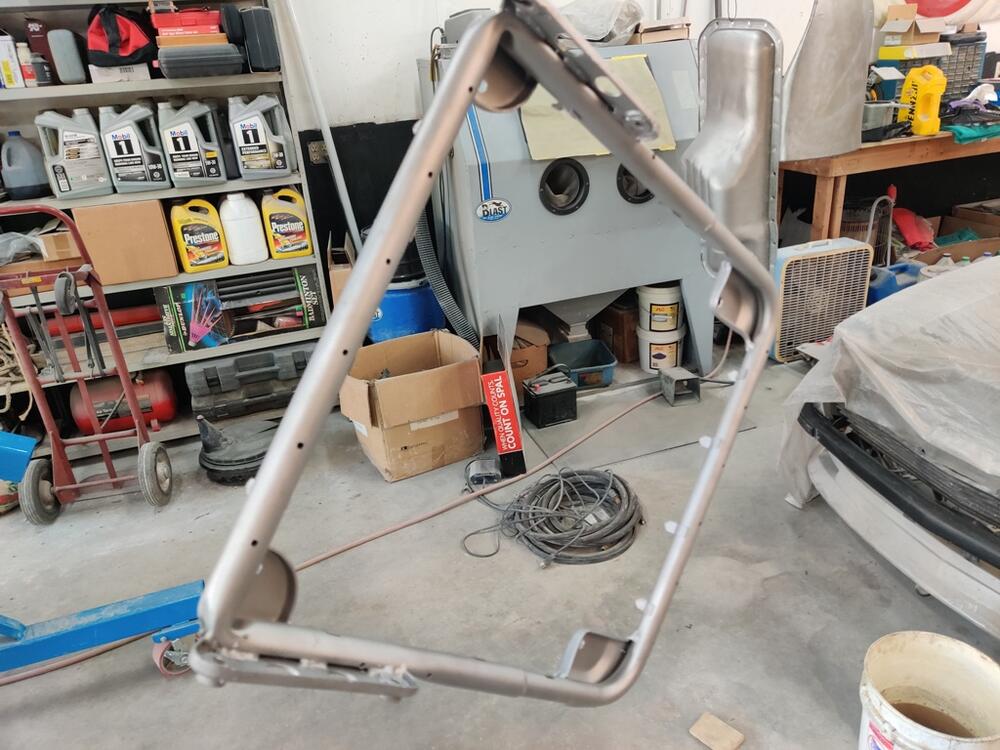
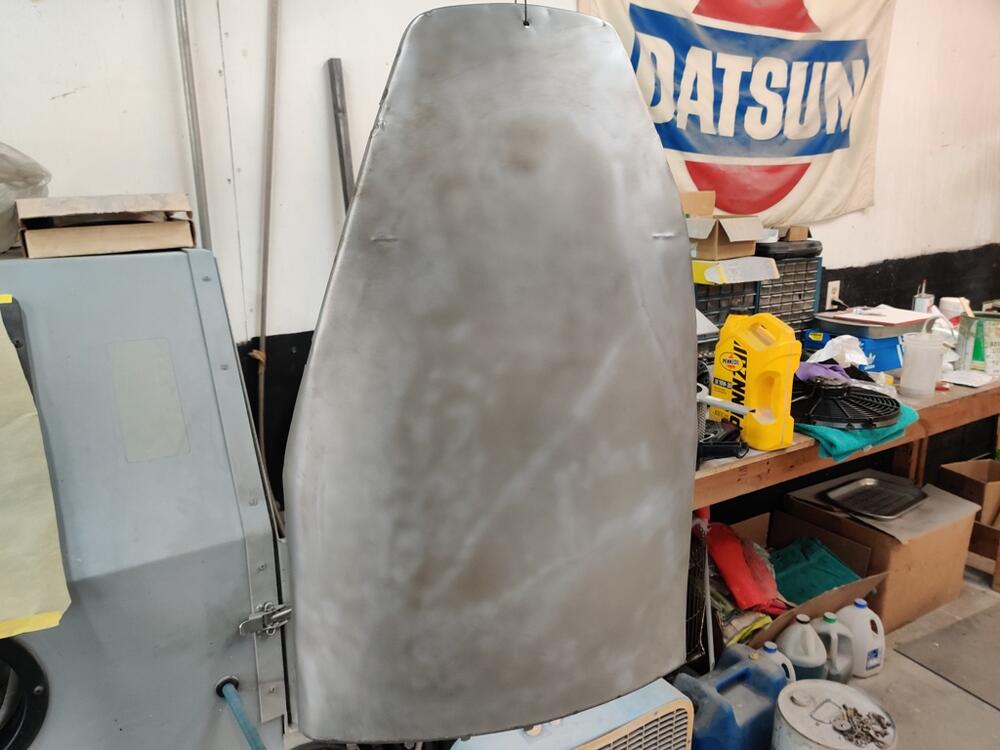
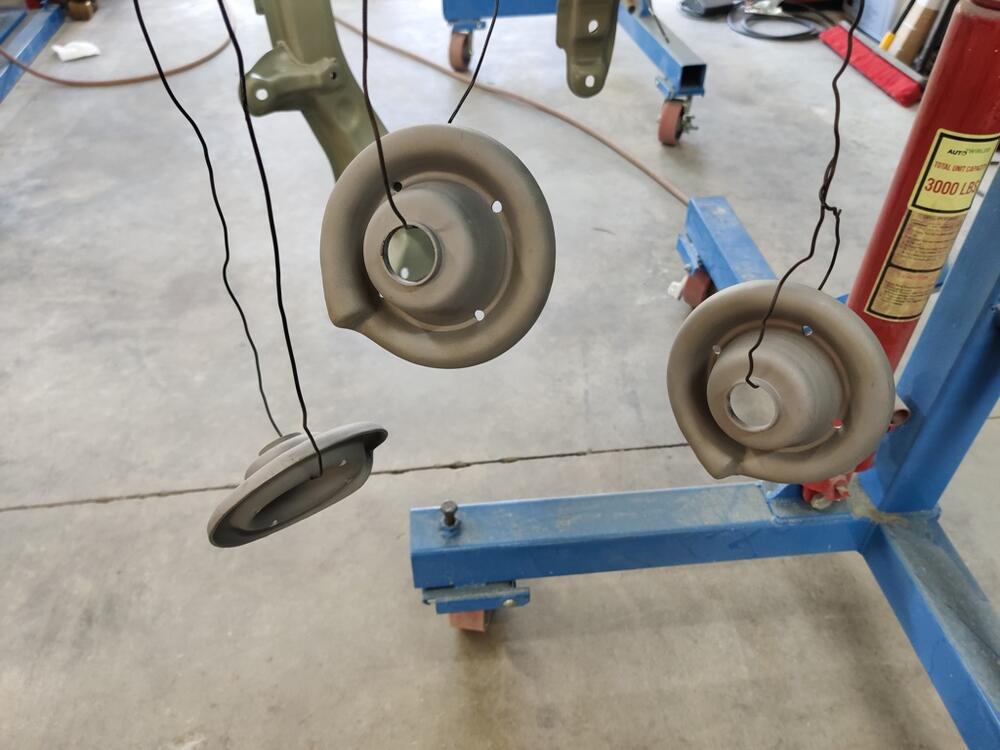
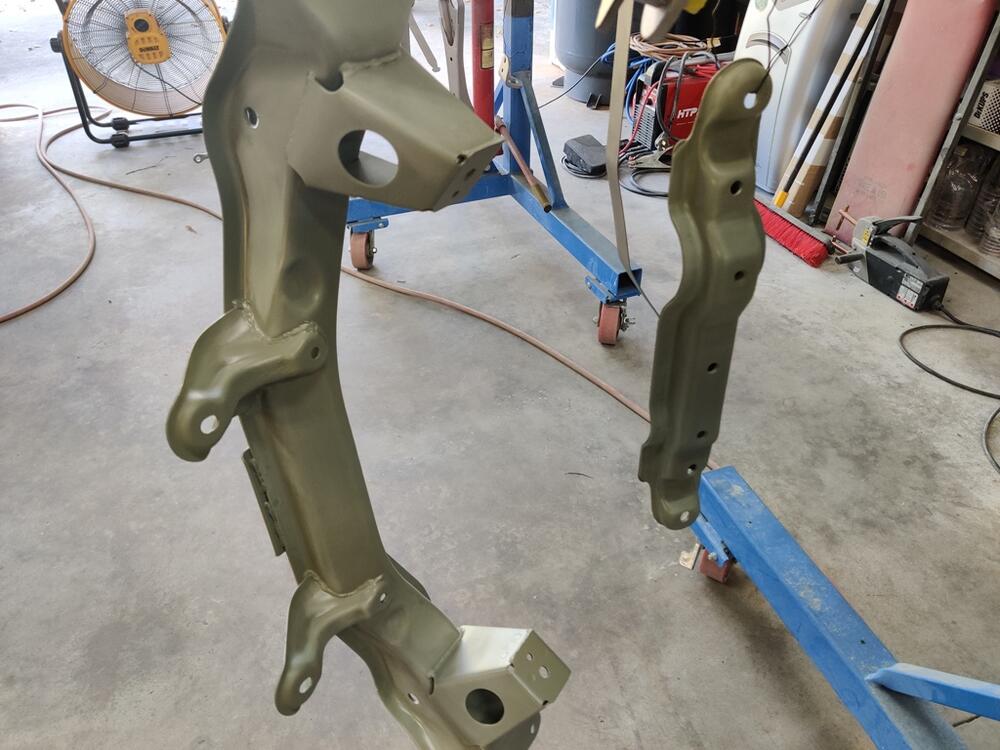
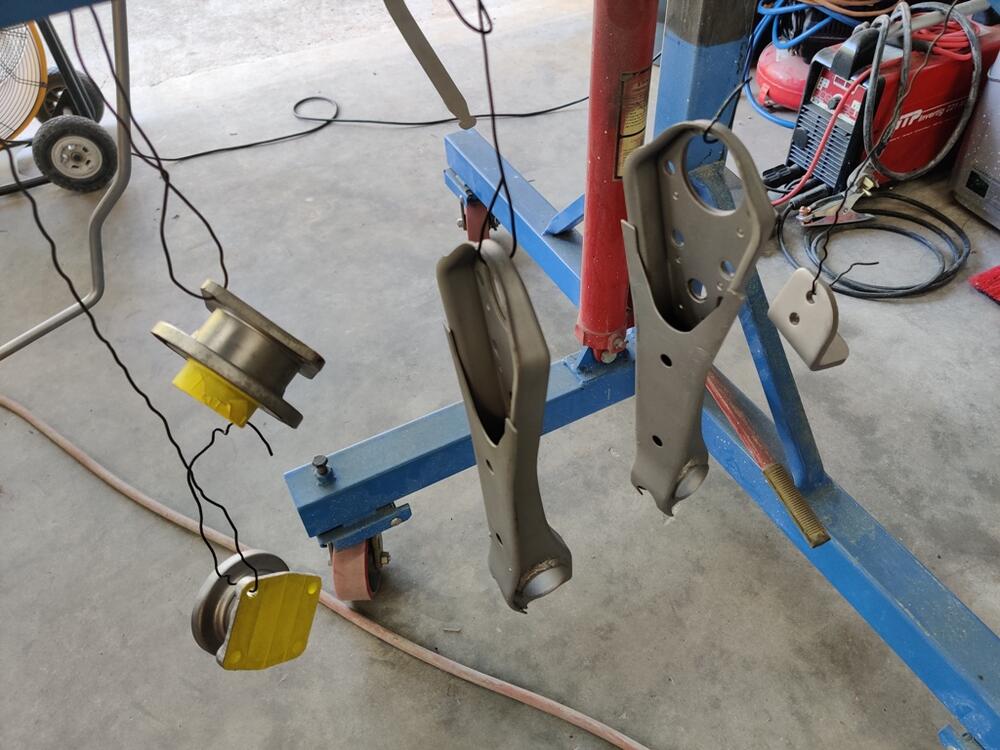
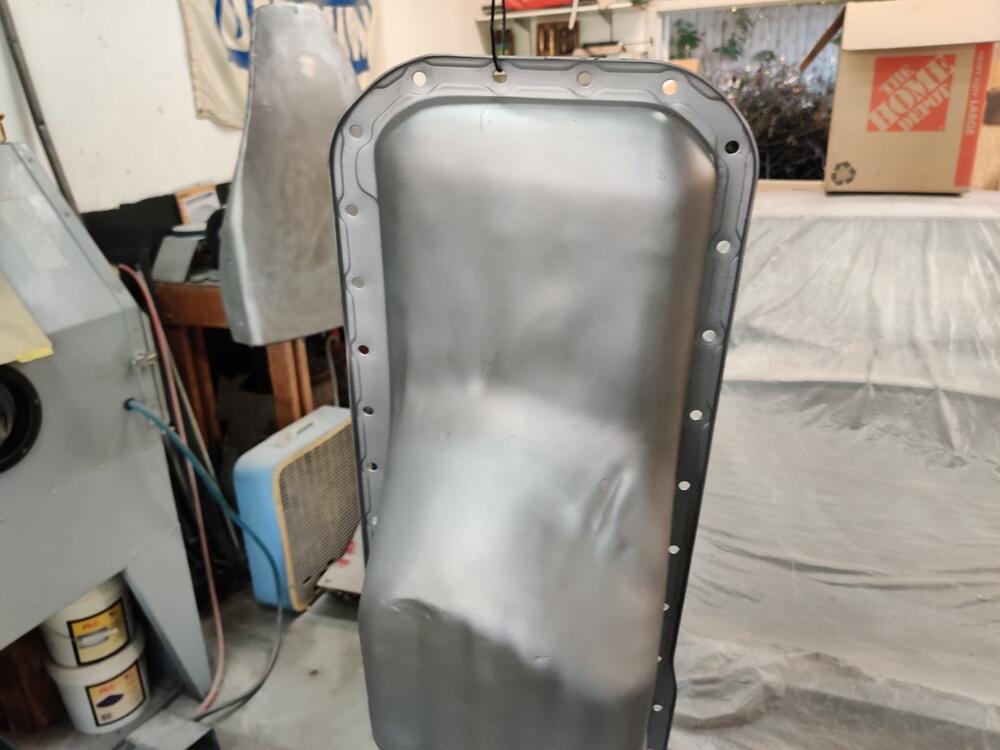
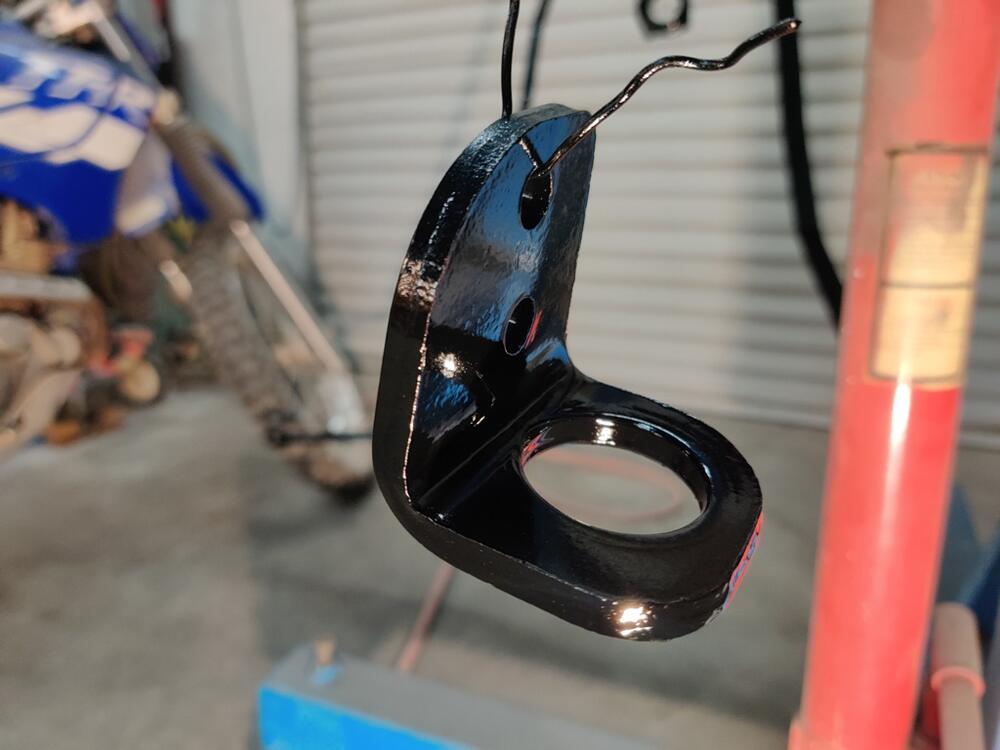
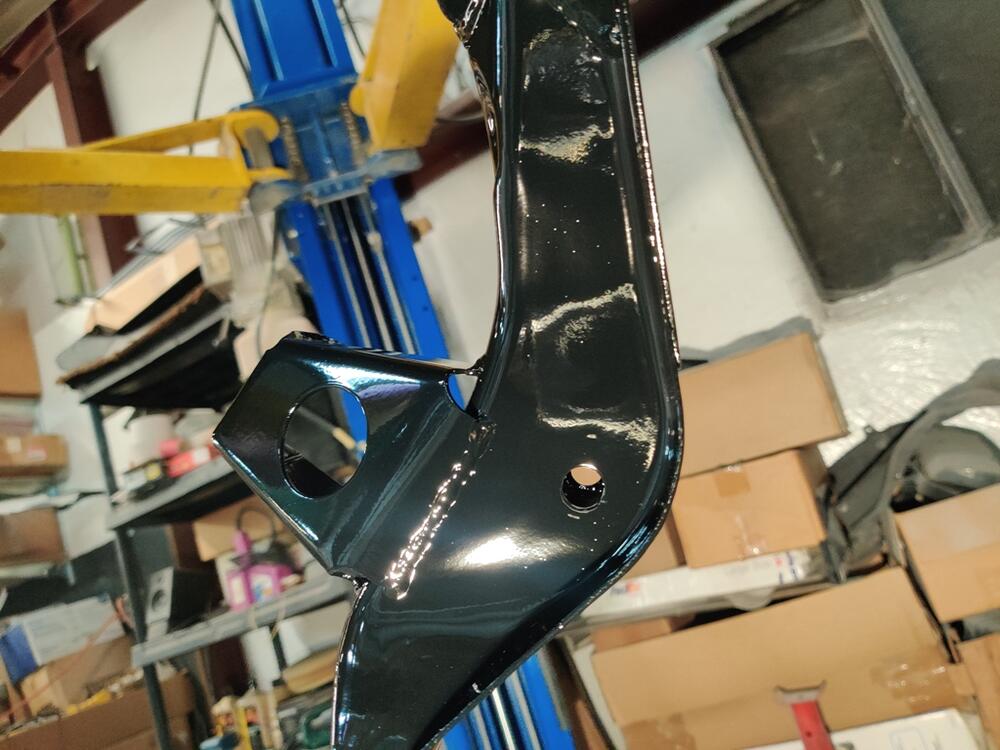
As the time is obviously coming when I will be receiving the car back from painting, I find myself thinking about reassembly. I have been putting together a list containing "order of reassembly" which I will share soon. Over the past weekend, I got through another batch of parts that are black: All of these parts were coal slag blasted, glass bead blasted, epoxy primed and painted black. I only have a few parts left that need to receive fresh black paint. I will try to get that accomplished before the car chassis is back from the paint shop.4 points
-
75 280Z Clock Repair?
4 pointsHey Yarb thanks, I really like helping when I can. I have been helped many times from this site and when I can pay back I do.4 points
-
1976 280Z Restoration Project
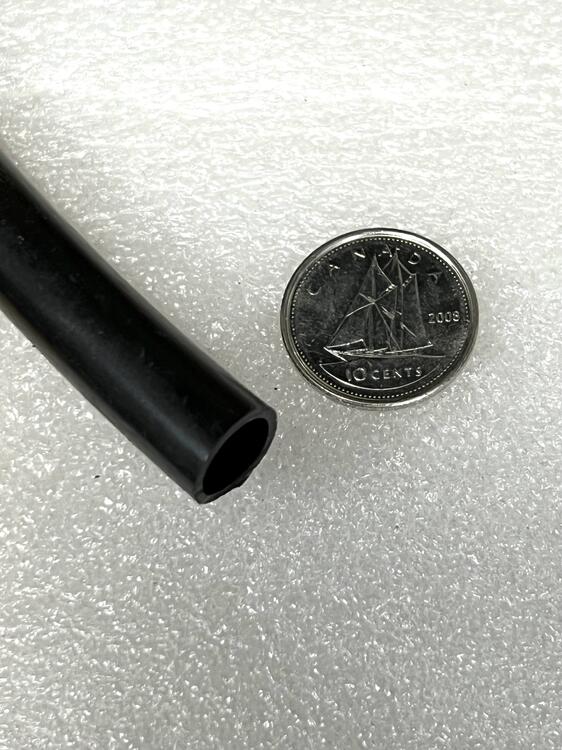
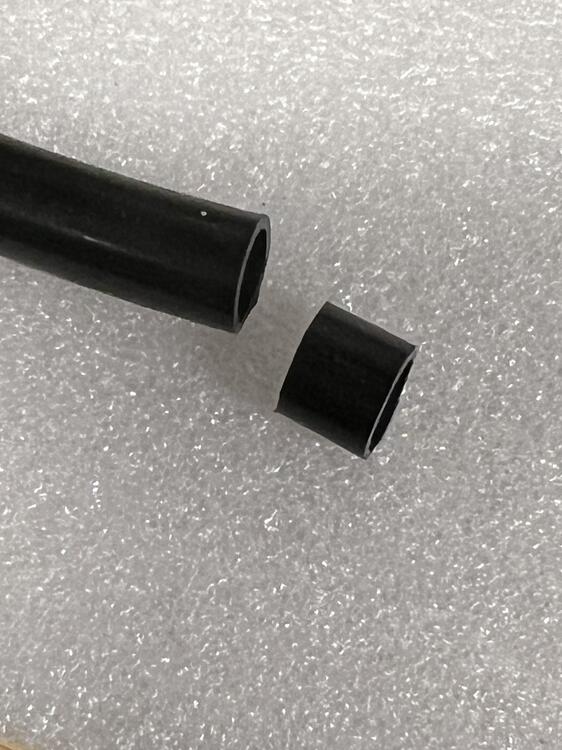
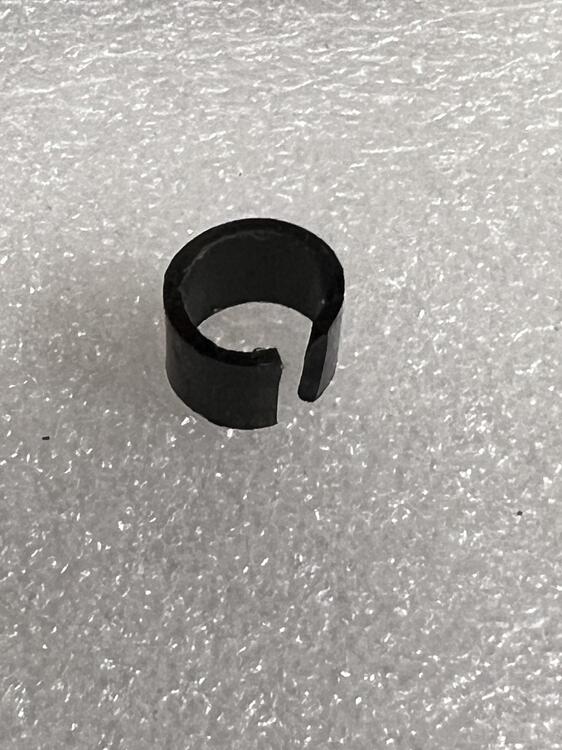
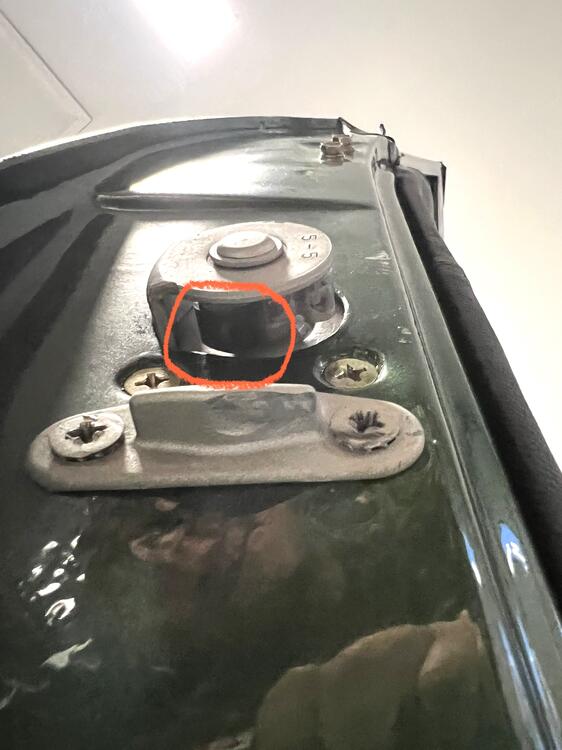
3 pointsOk class! Time to learn how to NOT slam your 70-76 Z doors! Take a small plastic hose about 3/8” diameter and trim off a piece the same width as the bump roller in your door latch. Cut a section out to make a “C” section to clamp itself over the BOTTOM bump roller. Adjust the striker plate slightly if needed and then gently close your door. You’re welcome…. YEARS of slamming my doors are now a thing of the past! Thanks to an old Hybridz.org thread I was able to find the source of my frustration. Unfortunately the rubber snubbers that go in our door catches are long gone and sometimes are available for sale from 240zrubberparts.com, otherwise this quick and cheap solution works perfect and is easily replaced if it wears out! IMG_1149.mov IMG_1149.mov3 points
-
Z's on BAT and other places collection
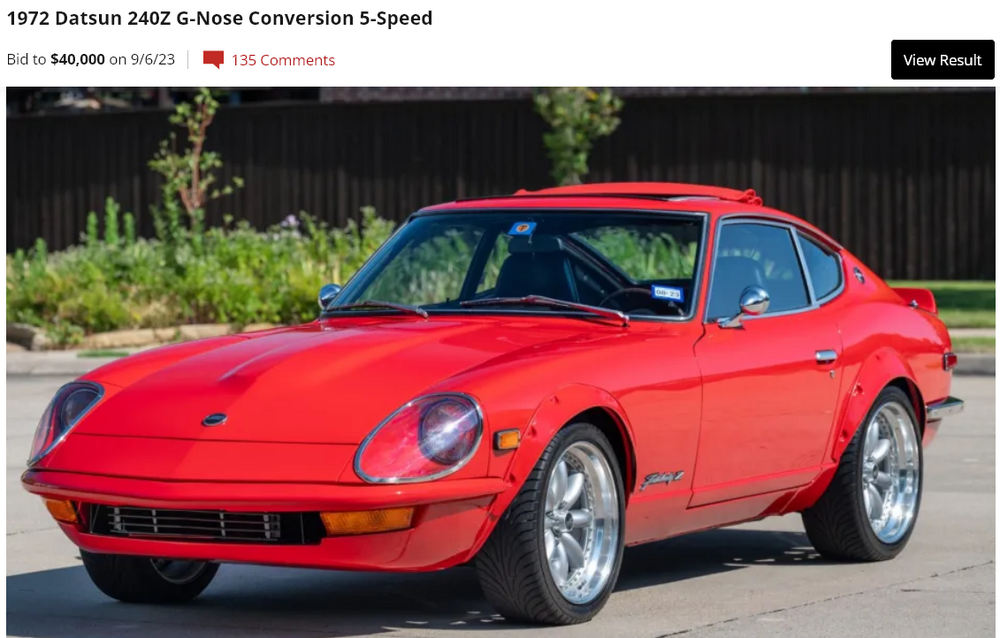
Is a plain old 1972 240Z with a G Nose (of questionable origin), a nice paint job, and an odd "sun roof" worth $40,000? I thought the guy did really well. The 72 alone was probably worth $25,000. That's a $15,000 premium for the three additions. Hard to figure where the additional value comes from beyond that. It's a nice-looking shell on an old 72 with a 5 speed, right? I wonder what his reserve was. The Z collector world is a strange place. https://bringatrailer.com/listing/1972-datsun-240z-287/2 points
-
hatch glass install
2 pointsMuch easier on a table.... unless you are a contortionist 😉 Also, having the hatch on a flat surface with make installing the stainless trim much easier as well.2 points
-
FPR project - cheaper, more available (for a while anyway)
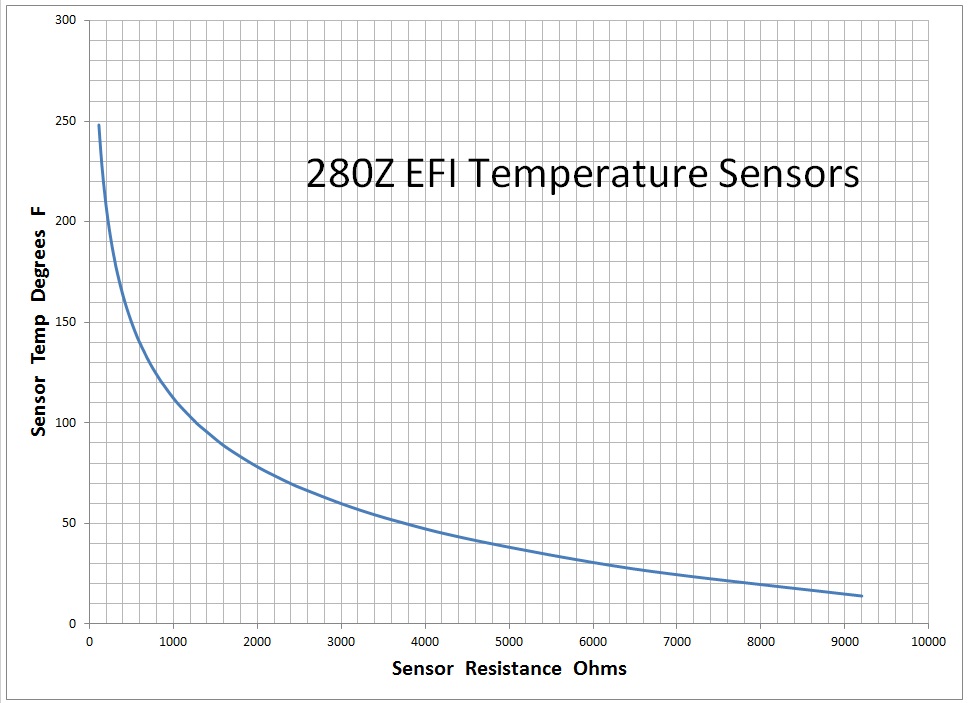
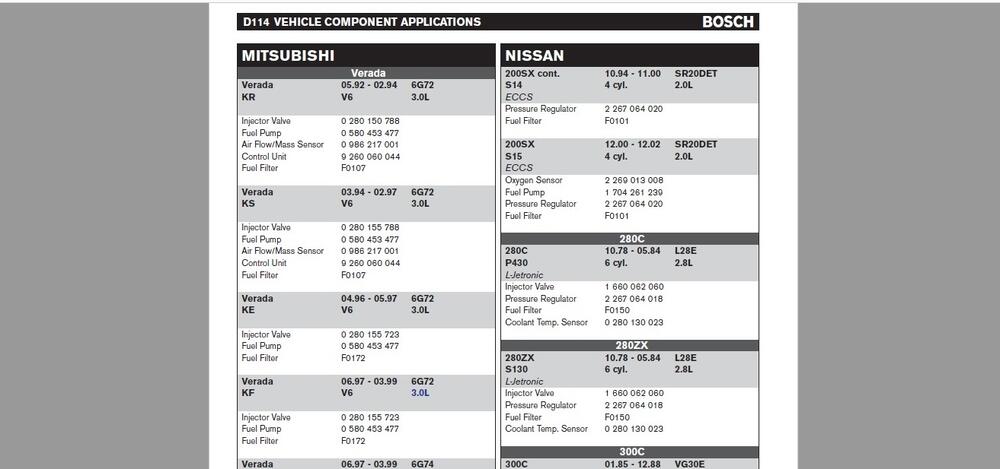
Here's an excerpt from an old Bosch catalog that indicates that the 280ZX (which is the same as the 280Z) uses the 0 280 130 023: And here's a chart I derived from the resistance points found in the Z service manuals:2 points
-
75 280Z Clock Repair?
2 pointsKudos Ron for chiming in to help a fellow member. I personally took notice and appreciated your efforts. Nice job!2 points
-
hatch glass install
1 pointI have done the hatch seal twice while on the car. Wasn't too bad but had someone on the outside pushing down on the glass slightly when needed. I did one hatch seal on those X shaped saw horses while pulling the string down towards the floor which wasn't too bad either.1 point
-
Hatch weather seal that doesn’t suck?
Like grannyknot said, it’s not technically OEM style. But it works OK, looks clean, and doesn’t require glue. It’s very similar to the Kia seal that everyone’s been using, which is NLA, unless you find one at a junkyard. This one is cheap and readily available on Amazon. Sent from my iPhone using Tapatalk1 point
-
hatch glass install
1 pointDefinitely a table, make sure you also install the SS trim as well before installing in the hatch.1 point
-
Hatch weather seal that doesn’t suck?
But it works fine just the same, I had that style of seal on the hatch of my 240z for years and never leaked.1 point
-
Hatch weather seal that doesn’t suck?
No adhesive required. Which is very nice cuz I hate cleaning that stuff up. The seal itself has a malleable metal channel molded into it that gives it “teeth” to stay put. Sent from my iPhone using Tapatalk1 point
-
Window crank extension available?
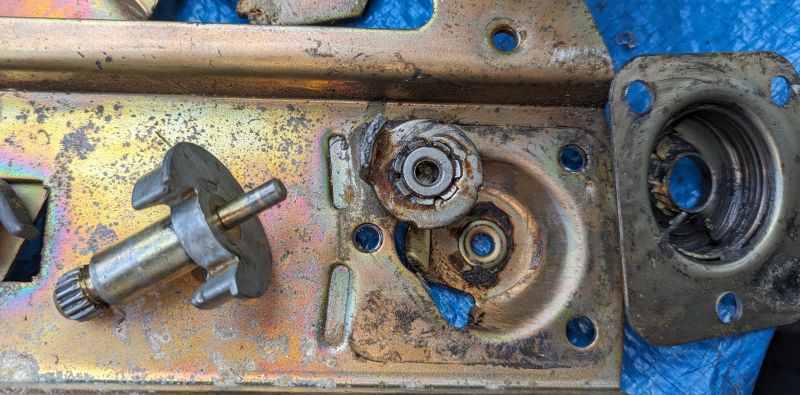
My concern would also be getting the shaft out of the aluminum. Going to be hard to use any force without breaking the aluminum. I think I would just cut the shaft and add metal in between the halves with the welder. That seems like the path of least resistance to me. Probably quickest too.1 point
-
Window crank extension available?
Well, I had nothing better to do so I took it apart to see what's inside. I used to do that a lot when I was a kid. I figure I can reassemble it with some nuts and bolts or a spot welder I hope I still have access to. It looks like the spline shaft is press-fit to an aluminum collar that mates to a spring. My options now look like the following (assuming I can put this back together): 1) Cut the shaft and extend it by adding a little steel by welding the two parts 2) Attach a short hollow tube between the two parts that can be welded or fixed with set screws. The added diameter would not be a problem. 3) Extract the shaft from the aluminum collar and turn a new shaft. The easiest might be #2 and the most elegant would be #3. Separating the shaft from the collar would be my primary concern. Feel free to offer input. I'll try and get this to the makerspace in the next couple of days to see what's suggested.1 point
-
Camshaft Oil Spray Bar Redesign and Rebuild
Haha! Nice fountain! You could do the same test again with the head installed but without the spray bar. See how much oil comes out sideways from the cam towers where the bar attaches. Should be a substantial amount just like your fountain.1 point
-
Z's on BAT and other places collection
I've sold a couple of cars on BaT and you do get to review the ad and make changes/additions.1 point
-
1978 280Z - Won't restart when hot, all interior gauges, fan motor, backlighting not working
1 pointI treated it with Kroil today, going to do that every day until probably Friday, then I'll start my attempts at extraction, which hopefully is met with success; Assuming I'm successful at getting it out, the next thing on the list is installing the replacement sensor; Ideally the threads won't have been damaged, and I can get back to the electrical troubleshooting.1 point
-
Camshaft Oil Spray Bar Redesign and Rebuild
I got the carbs, header and cylinder head off this afternoon, there was some muck in the oil passage just above the oil jet, not sure if it was enough to cause the problem but I'll take anything I can get. I don't believe there is a a blockage in the block anymore considering how free and easy that jet of oil came out in the video, I did it several times to be sure, it even hit the ceiling on one try and never got the drill above 1000 rpm. The cam is new, the cam towers are not, the towers have some wear on the tops of the bearings, didn't have time today start measuring but will tomorrow, it could be I'm losing the pressure on the cam bearings. Do they still make those towers? MVI_2351.MP41 point
-
My Datsun 240Z
1 point
-
Hatch weather seal that doesn’t suck?
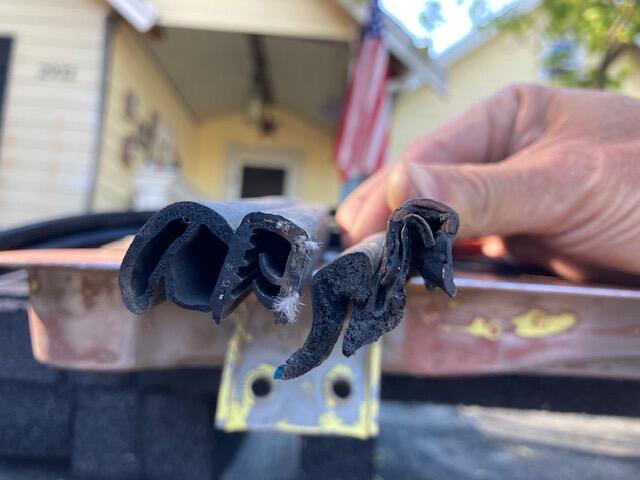
I just went to the pick-n-pull and got some weather stripping off a 1999 LandRover discovery. I pulled the back hatch and the two front door weather stripping and they fit really good. The doors and hatch are a bit tight as I believe the rubber has to settle for a bit. If you buy new they also indicate door need to be slammed shut as they rubber needs to be compressed. They suggest to keep the door closed in a warm environment. Well now that I think about it these are used so maybe they won't compress more. Well time will tell. Left side the new and of course my 53 year old gasket on the right. The best is the price......$1.50 each.1 point
-
75 280Z Clock Repair?
1 point
-
75 280Z Clock Repair?
1 pointYou got to be a little more enthusiastic with the success. You're hiding that little note under all the pics! How about this: "Woo Hoo!!! MY CLOCK WORKS!!!" That's what I would do.1 point
-
75 280Z Clock Repair?
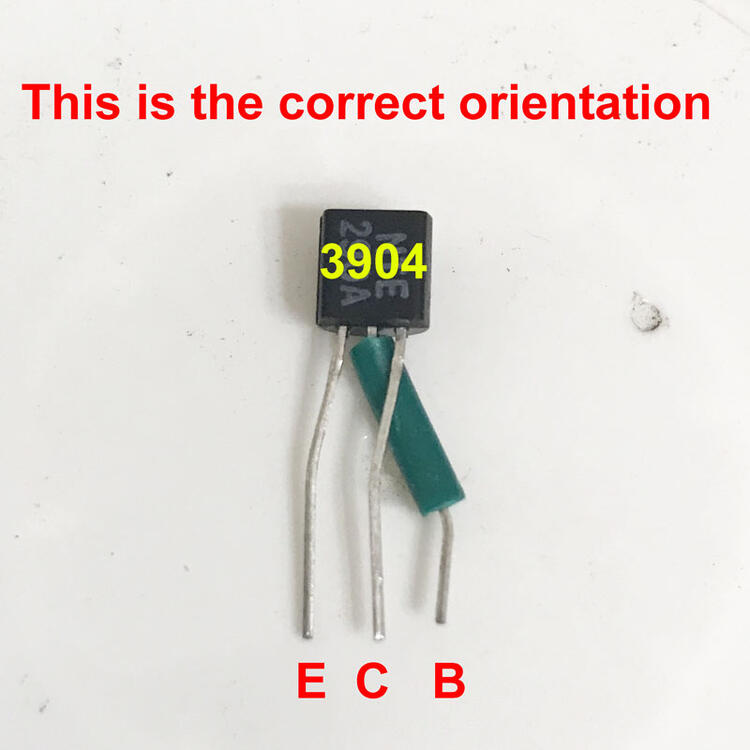
1 pointOh shoot! I'm sorry the drawing should have been crystal clear. I think you have it now , but this is what your new installation should look like. Did you power up the circuit board with the tran in your configuration? Ron1 point
-
Restoration of BringaTrailer 240z - HLS30-35883
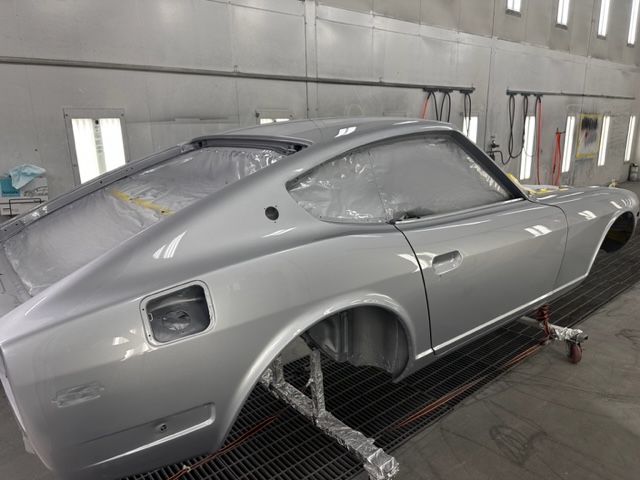
There has been some more progress at the paint shop. It looks nice from what I can see in these pictures. I see that they did as I requested with regard to painting the car without taping off the wheel wells and presumably, the underside of the floor also. My intent was to attempt to replicate the paint done at the factory originally. Those areas of the car received overspray as the primary body surfaces were painted. They departed from my instructions by painting the inside of the car and the outside of the car at different times, and by removing the hood, cowl panel, headlight housings, and fuel door. Those, I assume were sprayed separately (or will be) along with the rear hatch panel. It will be interesting to see the body in person. I am curious to see if the surfaces "moved" due to shrinkage of filler/primer over the last 6 months. Hopefully, it is straighter than when I gave it to them, as they certainly went over it as part of the work done. I have seen over and over how painted fresh from the shop, panels are super straight, and then months later, they aren't due to shrinkage. This car has had considerable amounts of time sitting, so hopefully there will not be additional shrinkage post paint having been applied. I am looking forward to getting it back and starting the assembly process!1 point
-
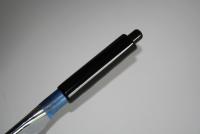
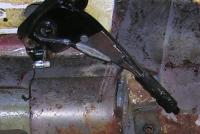
Emergency brake handle restoration
My '72 emergency brake handle was pretty beat up. I looked around a bit at buying a new one and then decided to try and fix my old one. The first picture is a severely cropped shot of the interior showing the brake handle before any work. The second picture shows the brake handle when I was done. The process was fairly simple: Sand out all the bad stuff with 100 grit, than 220. Then smooth it further using ScothBrite (burgandy grade grit) finally polishing it with my polish wheel on my bench grinder. It's hard to get a good picture of a shiny black object, but I'm pretty pleased with the result.1 point


