Leaderboard
-

jfa.series1
 Subscriber
 6Points2,684Posts
 -

emccallum
Member5Points409Posts -

inline6
Subscriber5Points1,211Posts -

Captain Obvious
Member5Points9,812Posts
Popular Content
Showing content with the highest reputation on 09/19/2023 in all areas
-
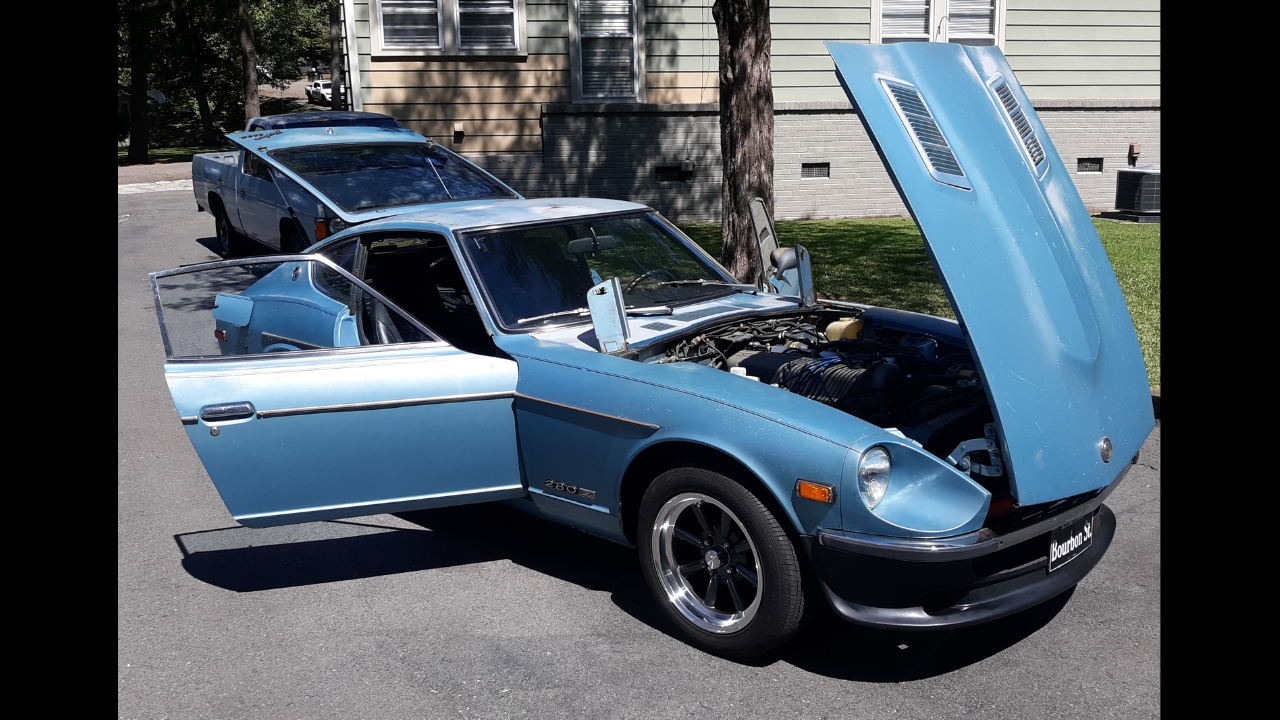
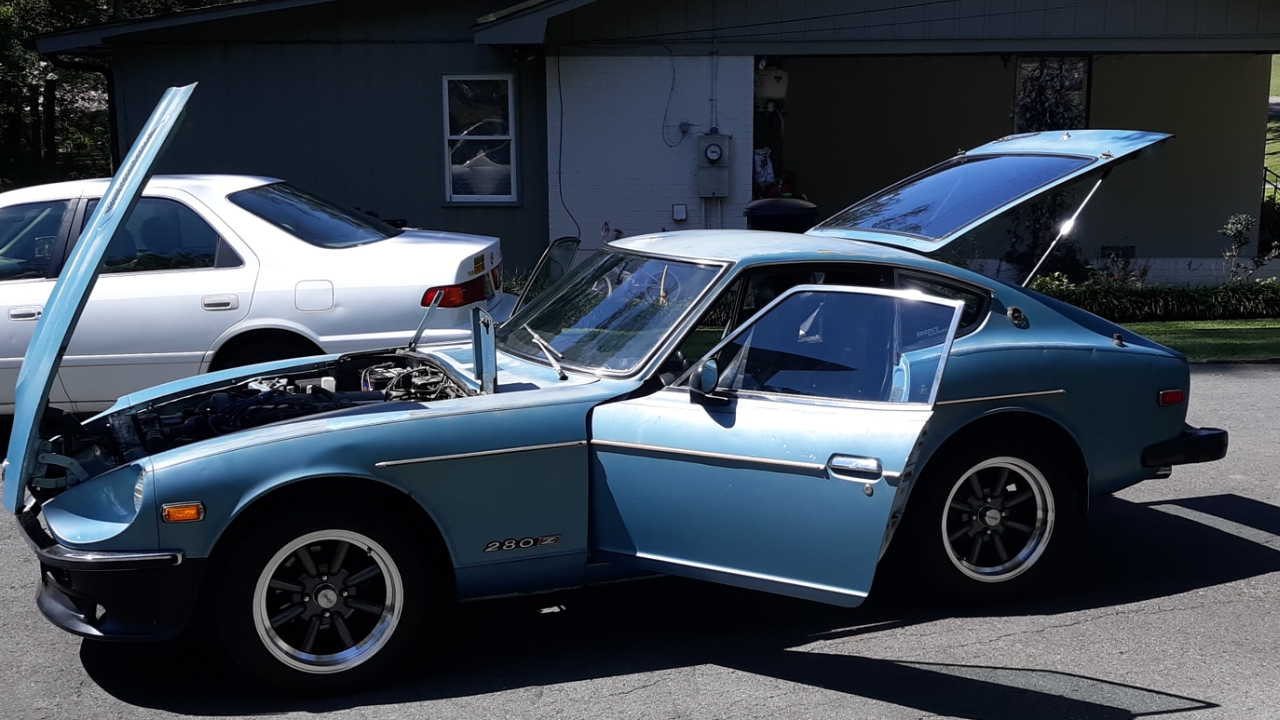
 Gave the Beefeaters the day off and eased out one of my crown jewels. Cranked up and ran good but all that sitting ruined another break cylinder. My dog has a doctor's appointment Thursday morning and he likes riding in this rather than my truck so I half assed cleaned it up for him.
 4 points
 -
 3 pointsMy experience is having one guy pushing downward as far as you can and the other tightening the bolts.3 points
 -
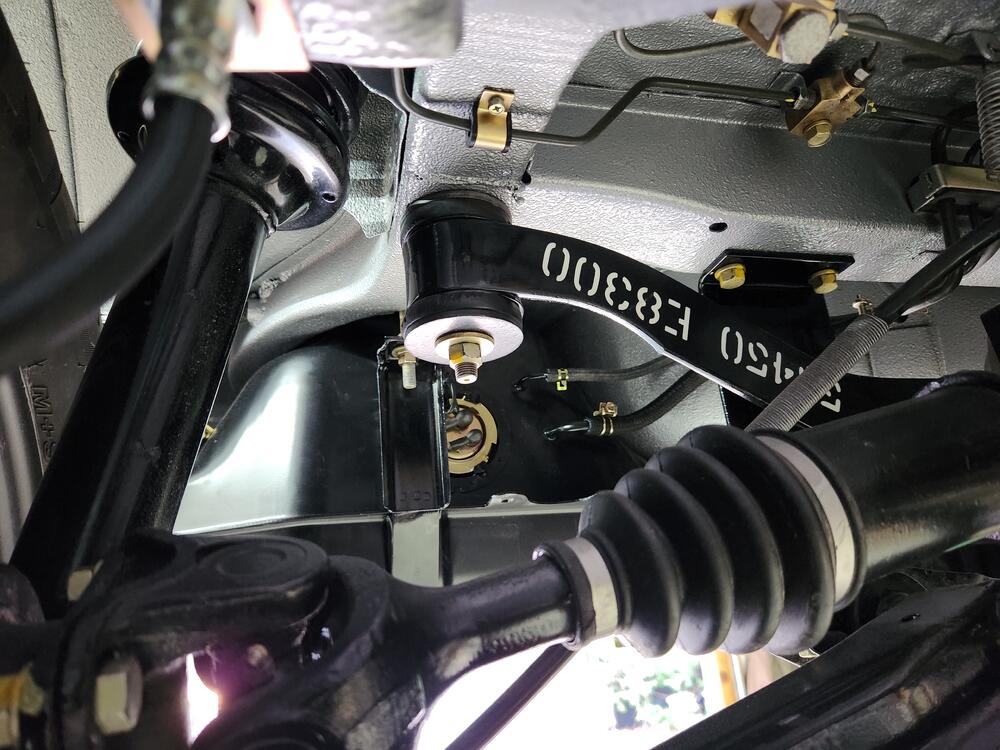
3 pointsReally great work you are doing! I like your part number on the moustache bar - came out nice.3 points
-
2 points
-
 Actually if it is carboned up, it would be dropping the amount of current flowing through the fuse as it would be acting as a load in series with the lights. So we can solve for the nominal resistance of the bulbs, add some resistance in the circuit for the switch (0.5 ohms), and see what the circuit current would be. So the current through that fuse would drop by over 3A. The switch would still be a hot spot, but it should not affect the fuse box.
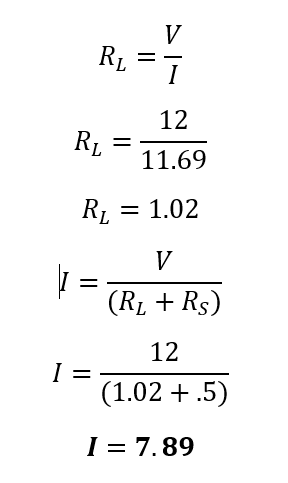 2 points
 -
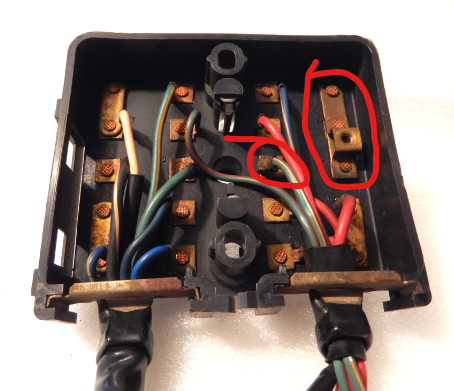
Don't overlook the possibility the combo light switch may be contributing to the problem. If the individual rocker and corresponding contact post are heavily carboned up that could be creating resistance that is backing up to the fuse block.2 points
-
Exactly. The only way the port into the side neck of the canister gets down into the carbon part of the can is through the little hole you plugged with a screw. I suspect that many of the original purge valves built into the cans don't work correctly anymore and I think your use of a new aftermarket purge valve is a cool innovative way to get around that. You just missed the mark a little bit with your original implementation. Glad to help.2 points
-
 As all these contacts are rivetted i would clean up all these contacts ans solder them. (Take out the whole box) As they are 50 years old, clean them with a small rotary brush on a dremel. Maybe replace that burned fuse contact with another one. (Out of an old fusebox) Also clean the contacts between the fuse itself and the clamps (With a soft brush, not to damage the copper, maybe use some alcohol.. no not to drink! to clean!! 😉 ) and take all fuses out and bend them to one another so the fuse is hold very tight in between.. (hope you get what i mean haha 🙂 ) Do this to all the fuses and you will have no more fusebox issues.. (Use clean fuses!)2 points
 -
2 pointsMy headlight housings (sugar scoops) had never been off of my car before I took them off. There was no sign at all of a gasket there. In fact, I could tell from the original factory paint that the scoops were on the car (and bolted tightly in place to the front of the fenders) when it was painted at the factory. I don't think any rubber gasket was used between the sugar scoops and the fenders. Never seen one in all the years I have been internet surfing Datsun Z's either.2 points
-
2 pointsI told the painter to fit the fiberglass (aftermarket ) headlight scoops. He didn't and they fit like crap. Best case only they will need to be redone. I wonder what people that have zero mechanical ability do with their free time? 🤣2 points
-
 2 pointsAbout 10 minutes after I posted this I thought the same thing LOL. Just odd that they would etch the inside of one of them and the outside of the other And PO is prior owner.2 points
 -
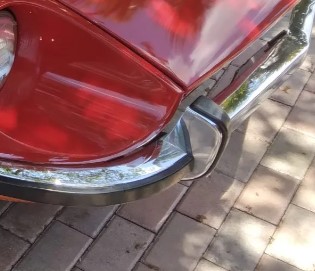
1 pointI have been looking a several cars that sold online, including the 21k mile $300k on BAT. I am noticing that the hood is slightly elevated compared to the headlight on almost every car. I am putting on my body panels and having the same issue, although mine is a bit more pronounced. Maybe its normal to not be even? Here is an example from a BAT car that just sold:
 1 point
 -
Switching to LED bulbs will also lighten the load on the turn signal and hazard flasher cans. If you still have the OE thermal-style cans the flasher will likely not work. Switching both out to new electro-mechanical type units will take care of things. Something like this will work for both: https://www.autozone.com/electrical-and-lighting/turn-signal-hazard-warning-flasher/p/novita-turn-signal-hazard-warning-flasher-el12/849385_0_0 I'm still running incandescent bulbs all around with relay kits, these type flashers work very well.1 point
-
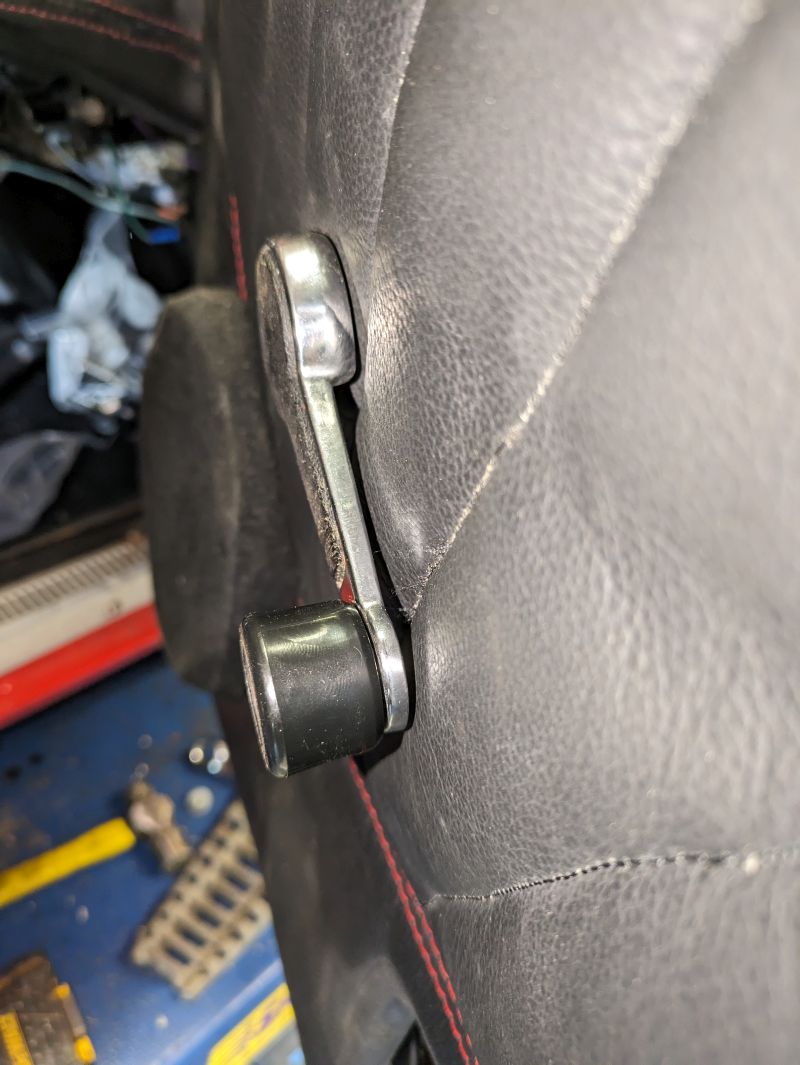
 Finished product. Now to move onto the next detail. So many little issues to chose from.
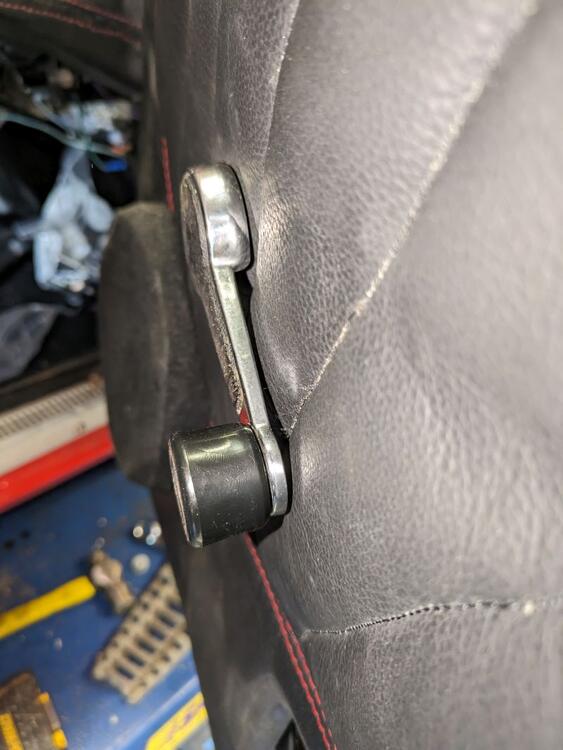 1 point
 -
 1 pointThis. If your hinges are kind of worn, pushing down on the front of the hood while tightening is the only way to fix that problem.1 point
 -
I replaced every bulb in the back half of the car with LED today, $180.00 😵, the fuse holder was too hot to touch yesterday, after the new bulbs went in it was slightly warm and consistently warm over a 5 min period, heading in the right direction. Will replace the front bulbs tomorrow, I cleaned out my local NAPA so will have to raid the store in the next town over. Thanks guys.1 point
-
 1 point
 -
 The same assembly method was used on the ignition switch. I had one that was so loose it would lose contact completely. I restaked it with a punch and it came back to life. For that amount of heat, to melt the plastic, I'd bet that it's so loose that you can see it move. Some silver conductive paste would probably help. But if they can be removed and soldered that would probably be the best you could get.1 point
 -
1 pointThanks! Some things have really turned out nice. Most of the good stuff will never get seen, like the underneath and the wiring harness. Hopefully I can get the bodywork adjusted to my liking. Aftermarket parts are tough.1 point
-
There have been a lot of folks that made the conversion and swear it’s a night and day difference.1 point
-
If you go back to my orignal post that started this thread, you'll find my coment that the OE housing has to be trimmed about 1/16" all aroound to accomodate the new squirrel cage.1 point
-
I was actually talking about either the stock purge valve, or the aftermarket one you put in. Doesn't matter. Why did Datsun put that valve there? What is it's function? Why would you want to have that valve open? Ever? Why didn't you just cap off all the lines at the engine and pull the carbon canister off your car? I'm trying to confirm that you know what the purpose of that purge valve is.1 point
-
OK, then let's start simple.... Why would you want to have the purge valve open? What would be the reason to ever do that? Explain to me why having the purge valve open is a good thing.1 point
-
Adding that extra valve the way you have done it does not "work like stock". It does nothing functional at all with respect to vapor mitigation, and in fact, could actually cause engine damage. The stock system does this... The fuel vapors that come off the tank and temporarily stores them in the carbon canister. Then under certain circumstances while the engine is running, those vapors are pulled back out of the carbon canister and disposed of by burning them in the engine. That's what the stock system does. The system, as you have modified it does this... The fuel vapors that come off the tank are stored in the carbon canister. Until the carbon in the can becomes fully saturated and cannot hold any more vapors. After that point, any vapors that are pushed into the tank are simply vented to atmosphere through the fiberglass filter on the underside of the can. Also under certain circumstances while the engine is running, the purge valve will be opened and an unknown and unpredictable amount of fresh air will be pulled into the engine leaning out the fuel mixture an unknown and unpredictable amount. That's what you have now.1 point
-
 I think Captain Obvious is pointing out, it can't "work like stock" if you blocked the port with a screw...1 point
 -
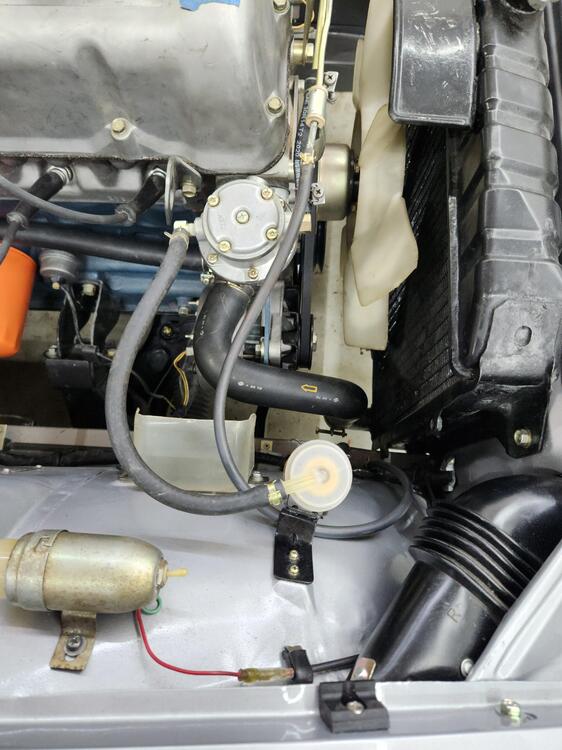
1 pointStarting the slow process of reassembly. Here's some gas tank porn: I have some braided fuel hose I am going to install. Anyone have a picture of the correct routing of the small fuel return rubber hose. This just doesnt look right: Thanks!
 1 point
 -
 1 point
 -
I've never taken thermal readings, but less current flow results in less heat. I have not seen signs of overheating in the parking light circuit in my 260Z since I changed to LEDs 12 years ago.1 point
-
@SteveJ Thanks, so if I change the the bulbs in the tail lights and marker lamps to LED, that should cool that side of the fuse holder sufficiently ? Anyone have a list of LED replacements bulbs handy, I know I've seen a couple floating around? @Zed Head I didn't know someone was making that upgrade harness, looks like that would solve my problem too.1 point
-
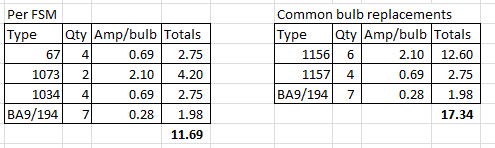
The contact that is at the point of melting is the load side of the fuse. The line side has enough copper to spread the heat out. I know I posted in the past about the amount of current that runs through this circuit. I'll put it out there again. The design of this circuit is marginal. Using the specified bulbs, this is approximately what the current is in the circuit with incandescent bulbs at 12VDC. The circuit is rated at 20A, so the fuse is fine, but if a previous/current owner used the wrong bulbs in the side markers (either to make the car more visible or due to ignorance), the current goes up quite a bit. This is why I push for LED replacements. This goes double for owners of 73-76 cars as they use a smaller connector at the steering column, and I've seen that connector burned up too many times. After replacing the bulbs with LEDs, the fuse should be downrated to 10A. I can get the current down to around 3A or less on my cars with LEDs for all the marker and gauges lights.
 1 point
 -
 I got that too. I removed the headlight relay because I noticed my blinker problems after I installed it. That of course wasn’t the problem but at least I was back to the original configuration Sent from my iPhone using Tapatalk1 point
 -
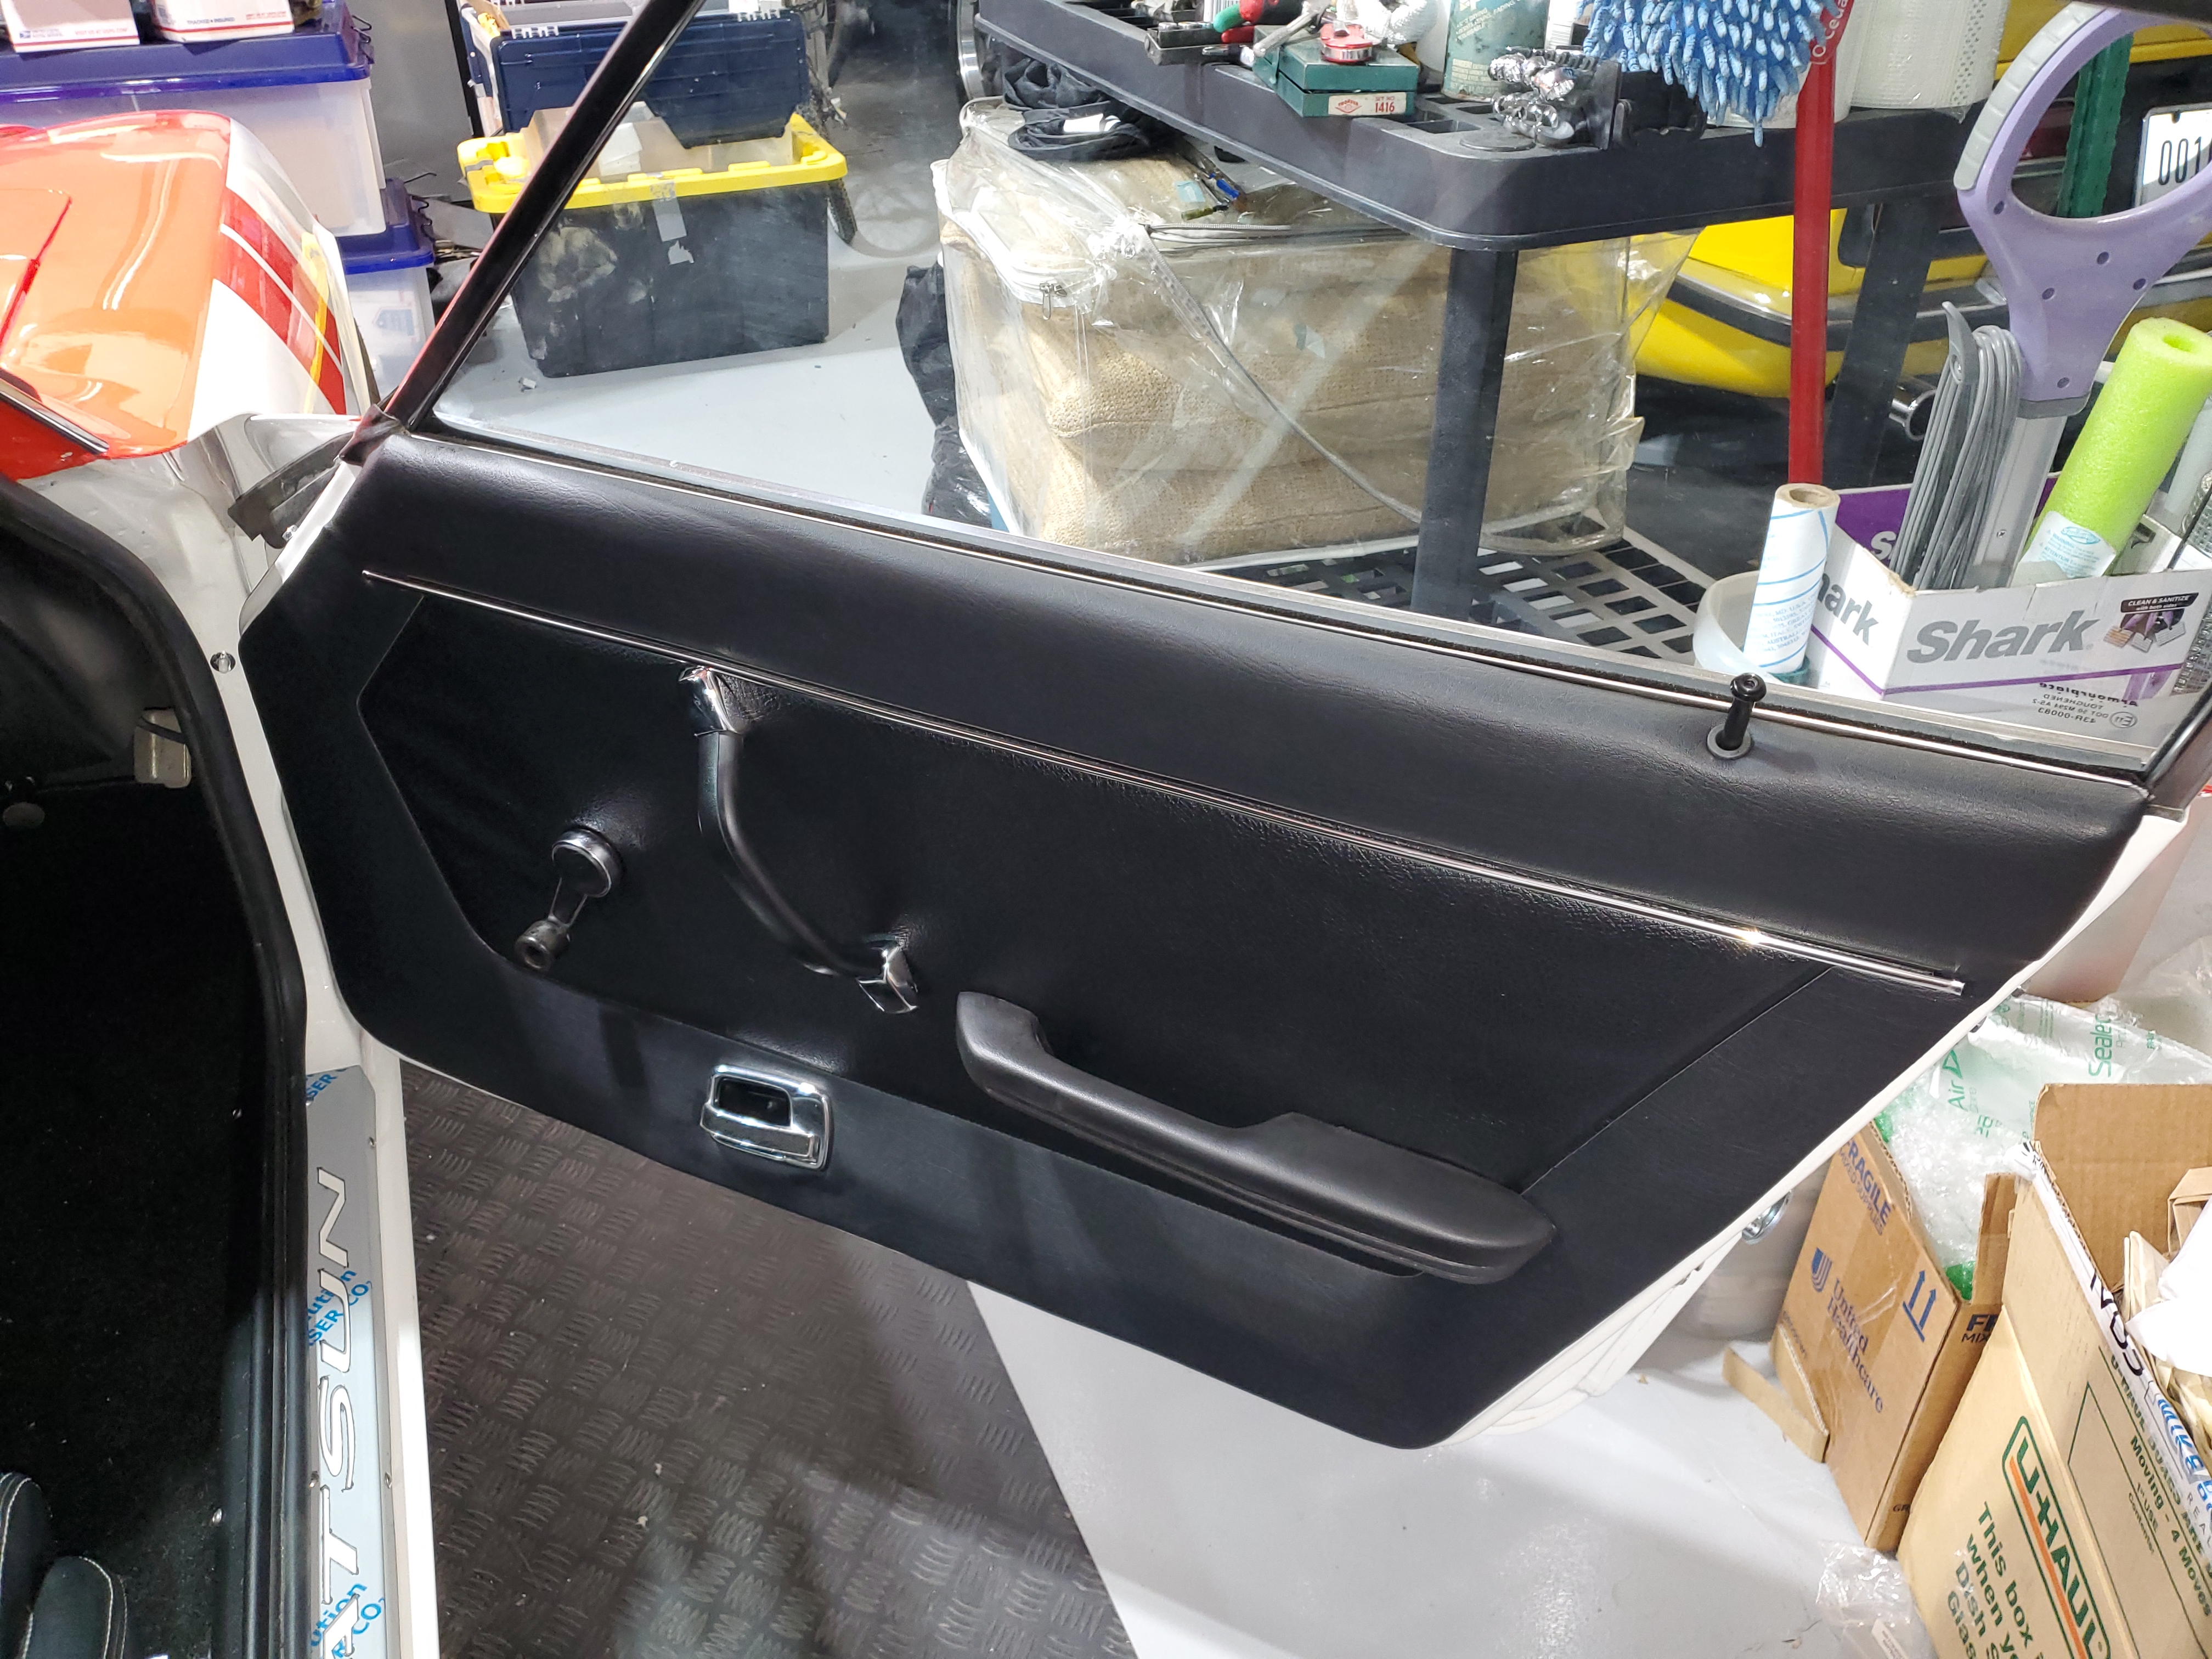
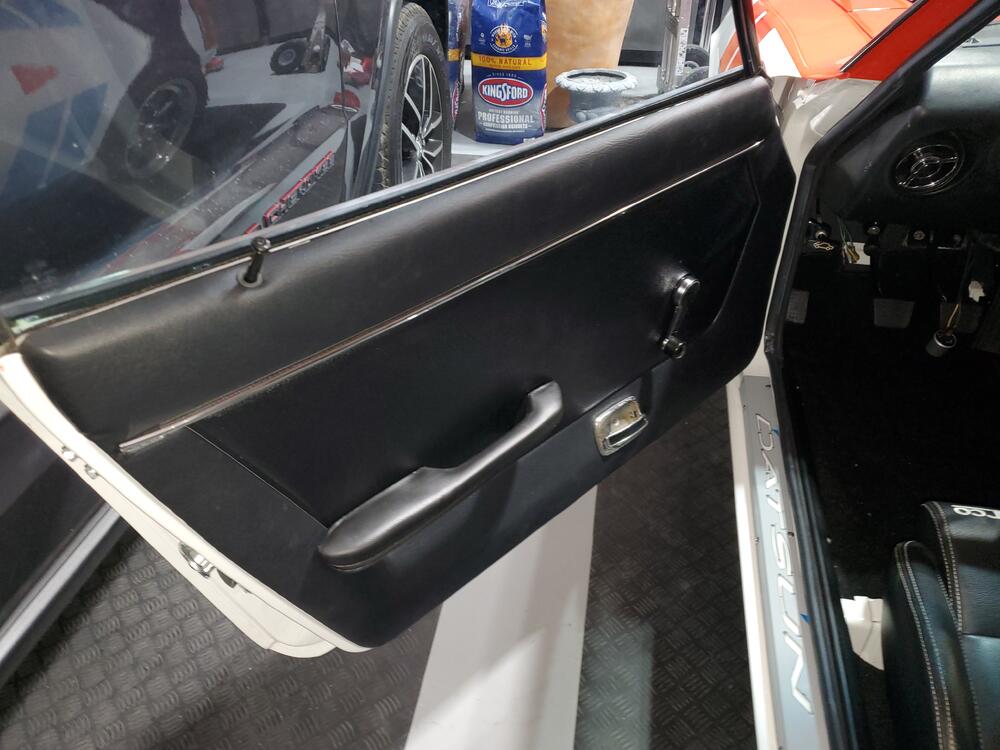
 1 pointGot the Door cards and handles installed. They went in very nicely with no issues and look great. Need to find a chrome pull handle finisher for the drivers side. The one I have has pitted chrome. May be somewhere in the stash of parts here.
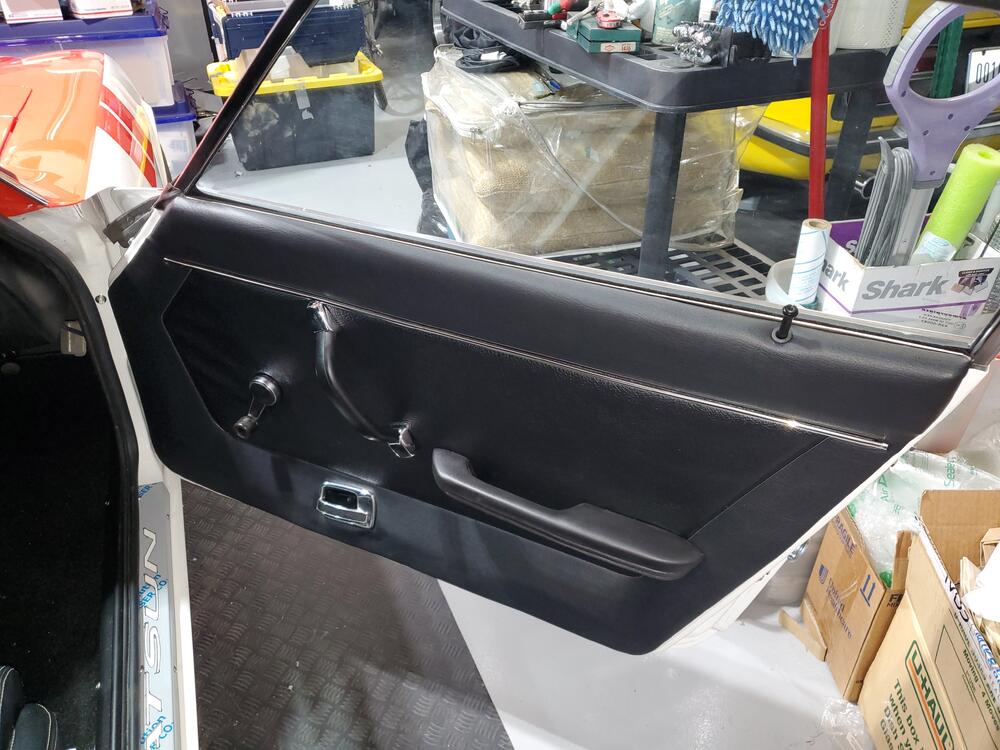
 1 point
 -
 I know, right? I've survived three AZ summers already. This summer was brutal. We had 55 days over 110F and 31 consecutive days over 110F. Last summer, I think we had less than 10 days over 110F. I plan to get my Z ready to daily drive once the weather is cooler.1 point
 -
 1 point
 -
 I got my Kia motor from RockAuto and installed it last fall. Used a metal nibler to make it fit. Got it all hooked up with the factory connector and turned it on. The new motor made some noise but didn't make much difference in air flow. Did some testing and determined it was spinning the wrong direction. Swapped the pins in the connector and tried it again. Tons of air blowing after that. If anyone does the upgrade and doesn't notice a difference try swapping the pos / neg that feed the motor.1 point