Leaderboard
-

ConVerTT
Free Member5Points422Posts -

siteunseen
Free Member4Points15,103Posts -
.JPG.cfcada9cf1c1b502df3f5f2f2ca3ff36.JPG)
SteveJ
Free Member4Points9,645Posts -
conedodger
Free Member4Points12,477Posts


Popular Content
Showing content with the highest reputation on 01/09/2024 in all areas
-
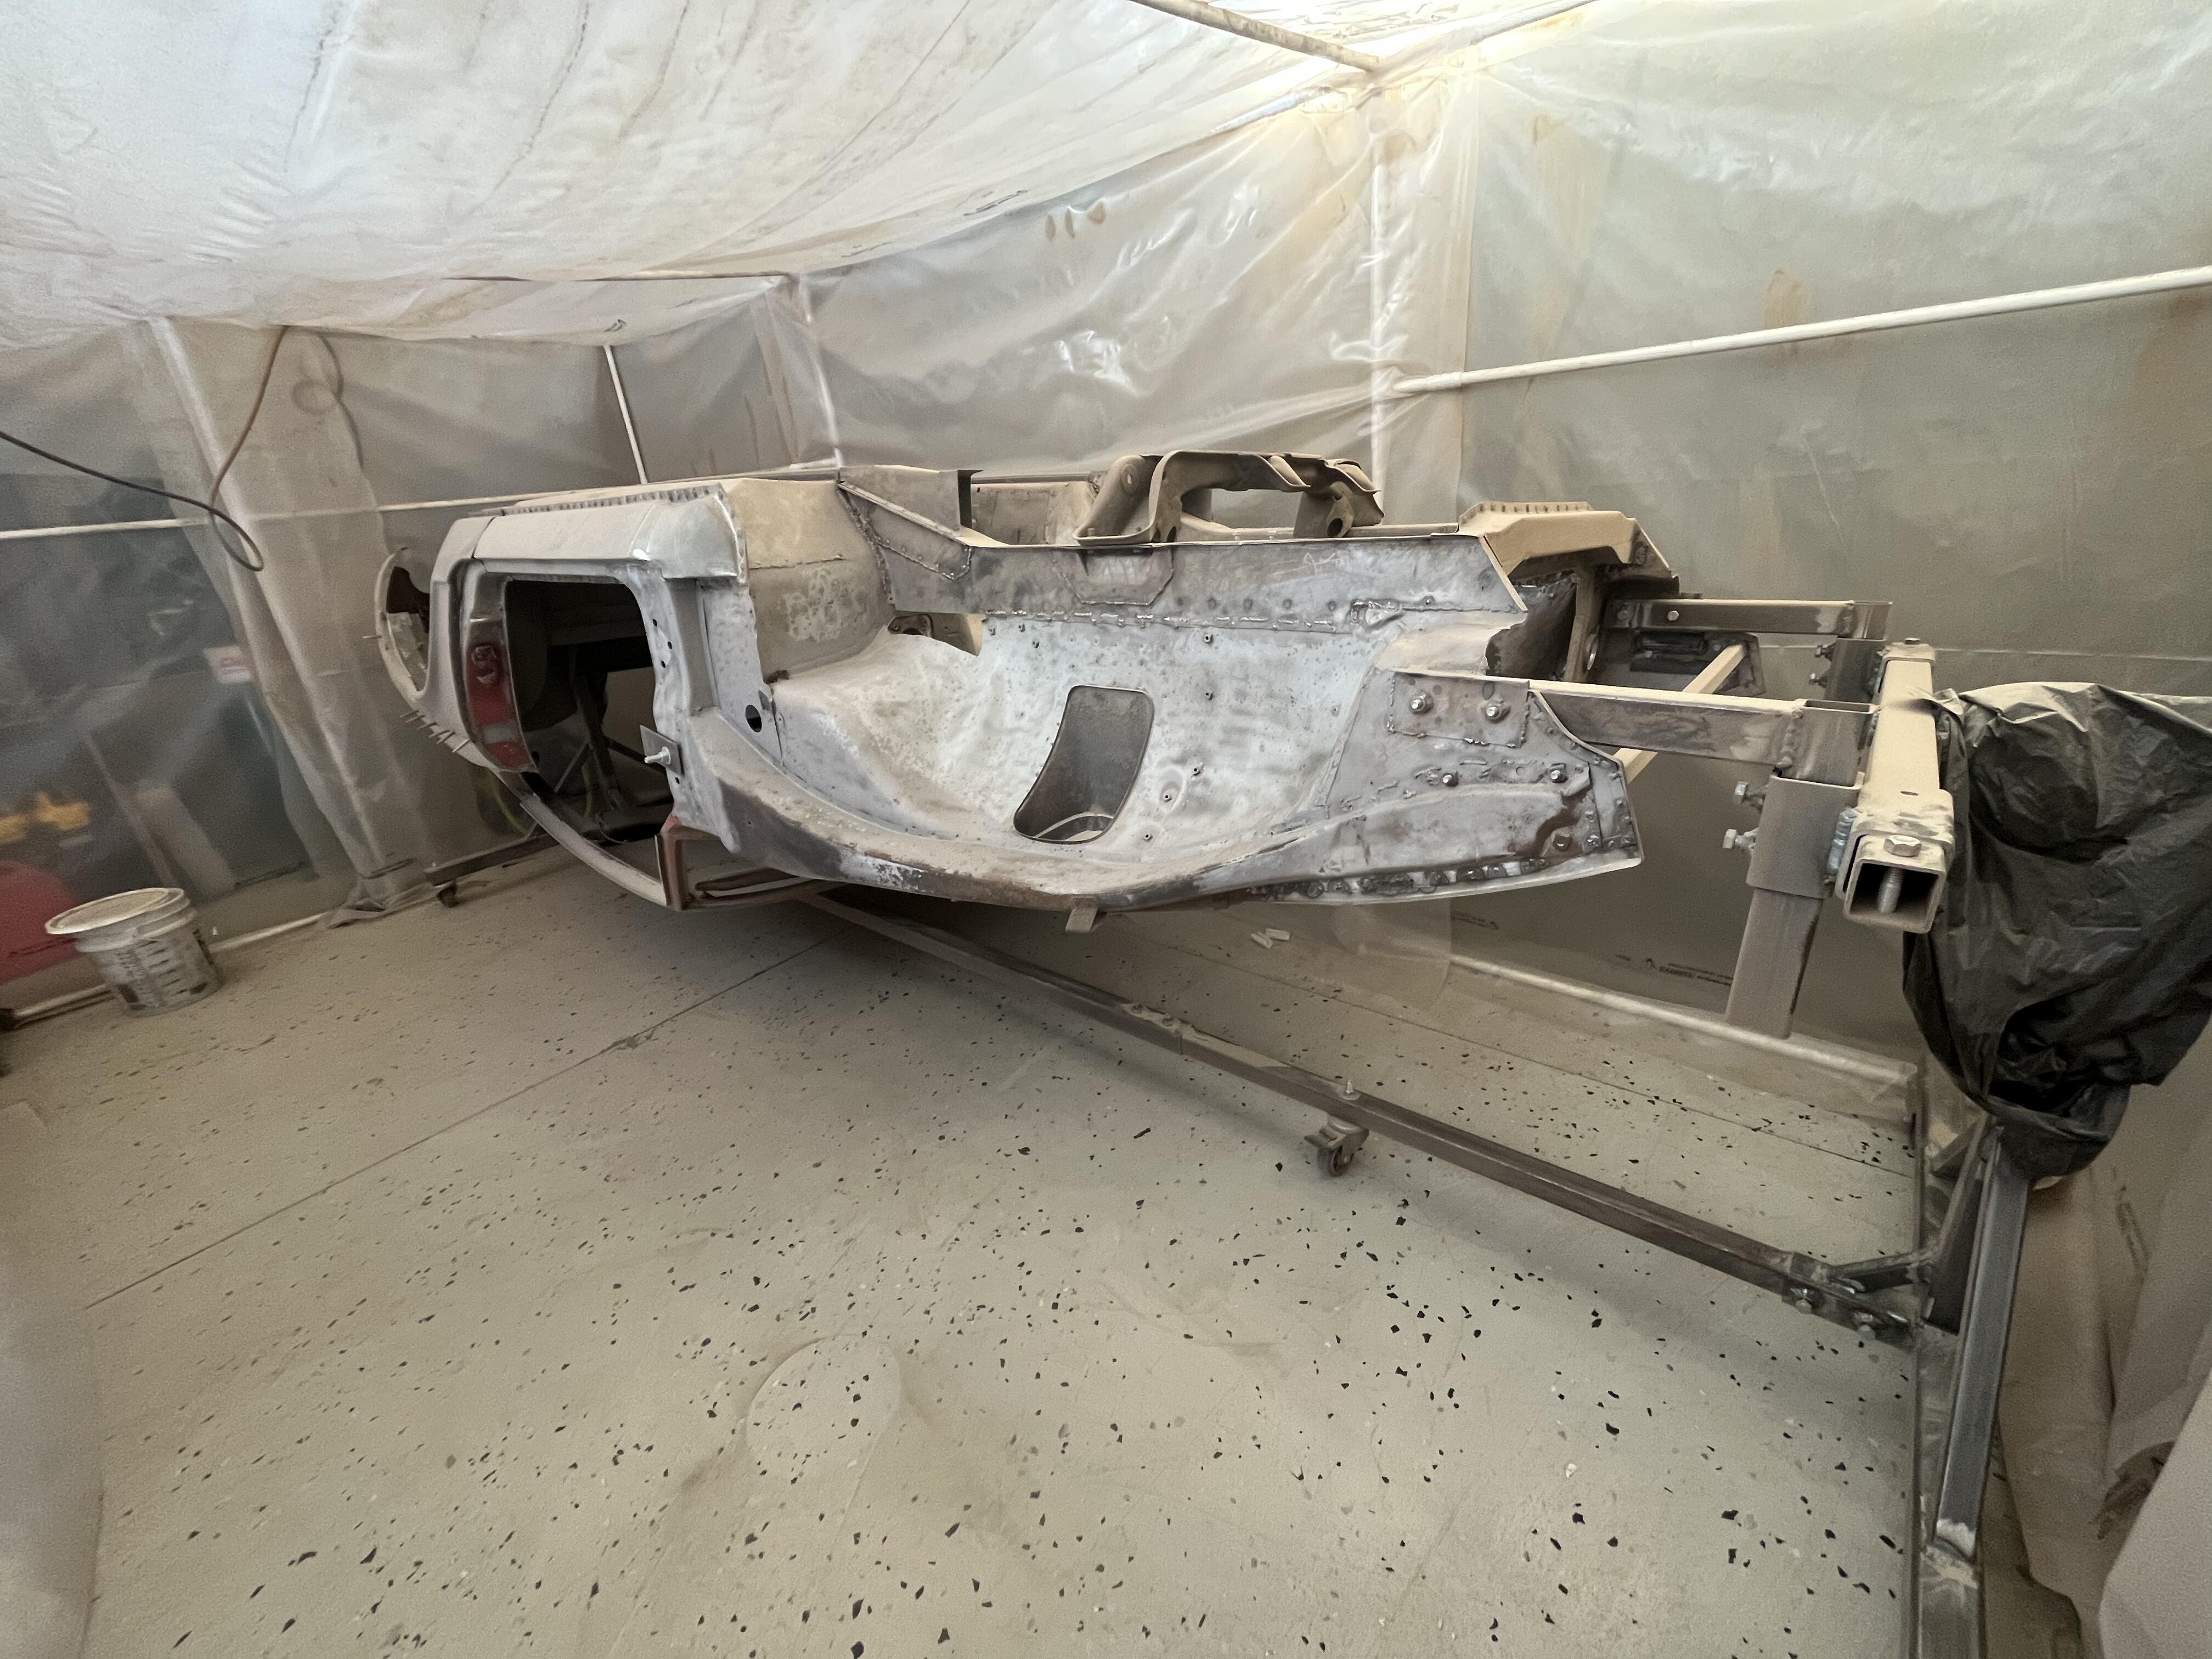
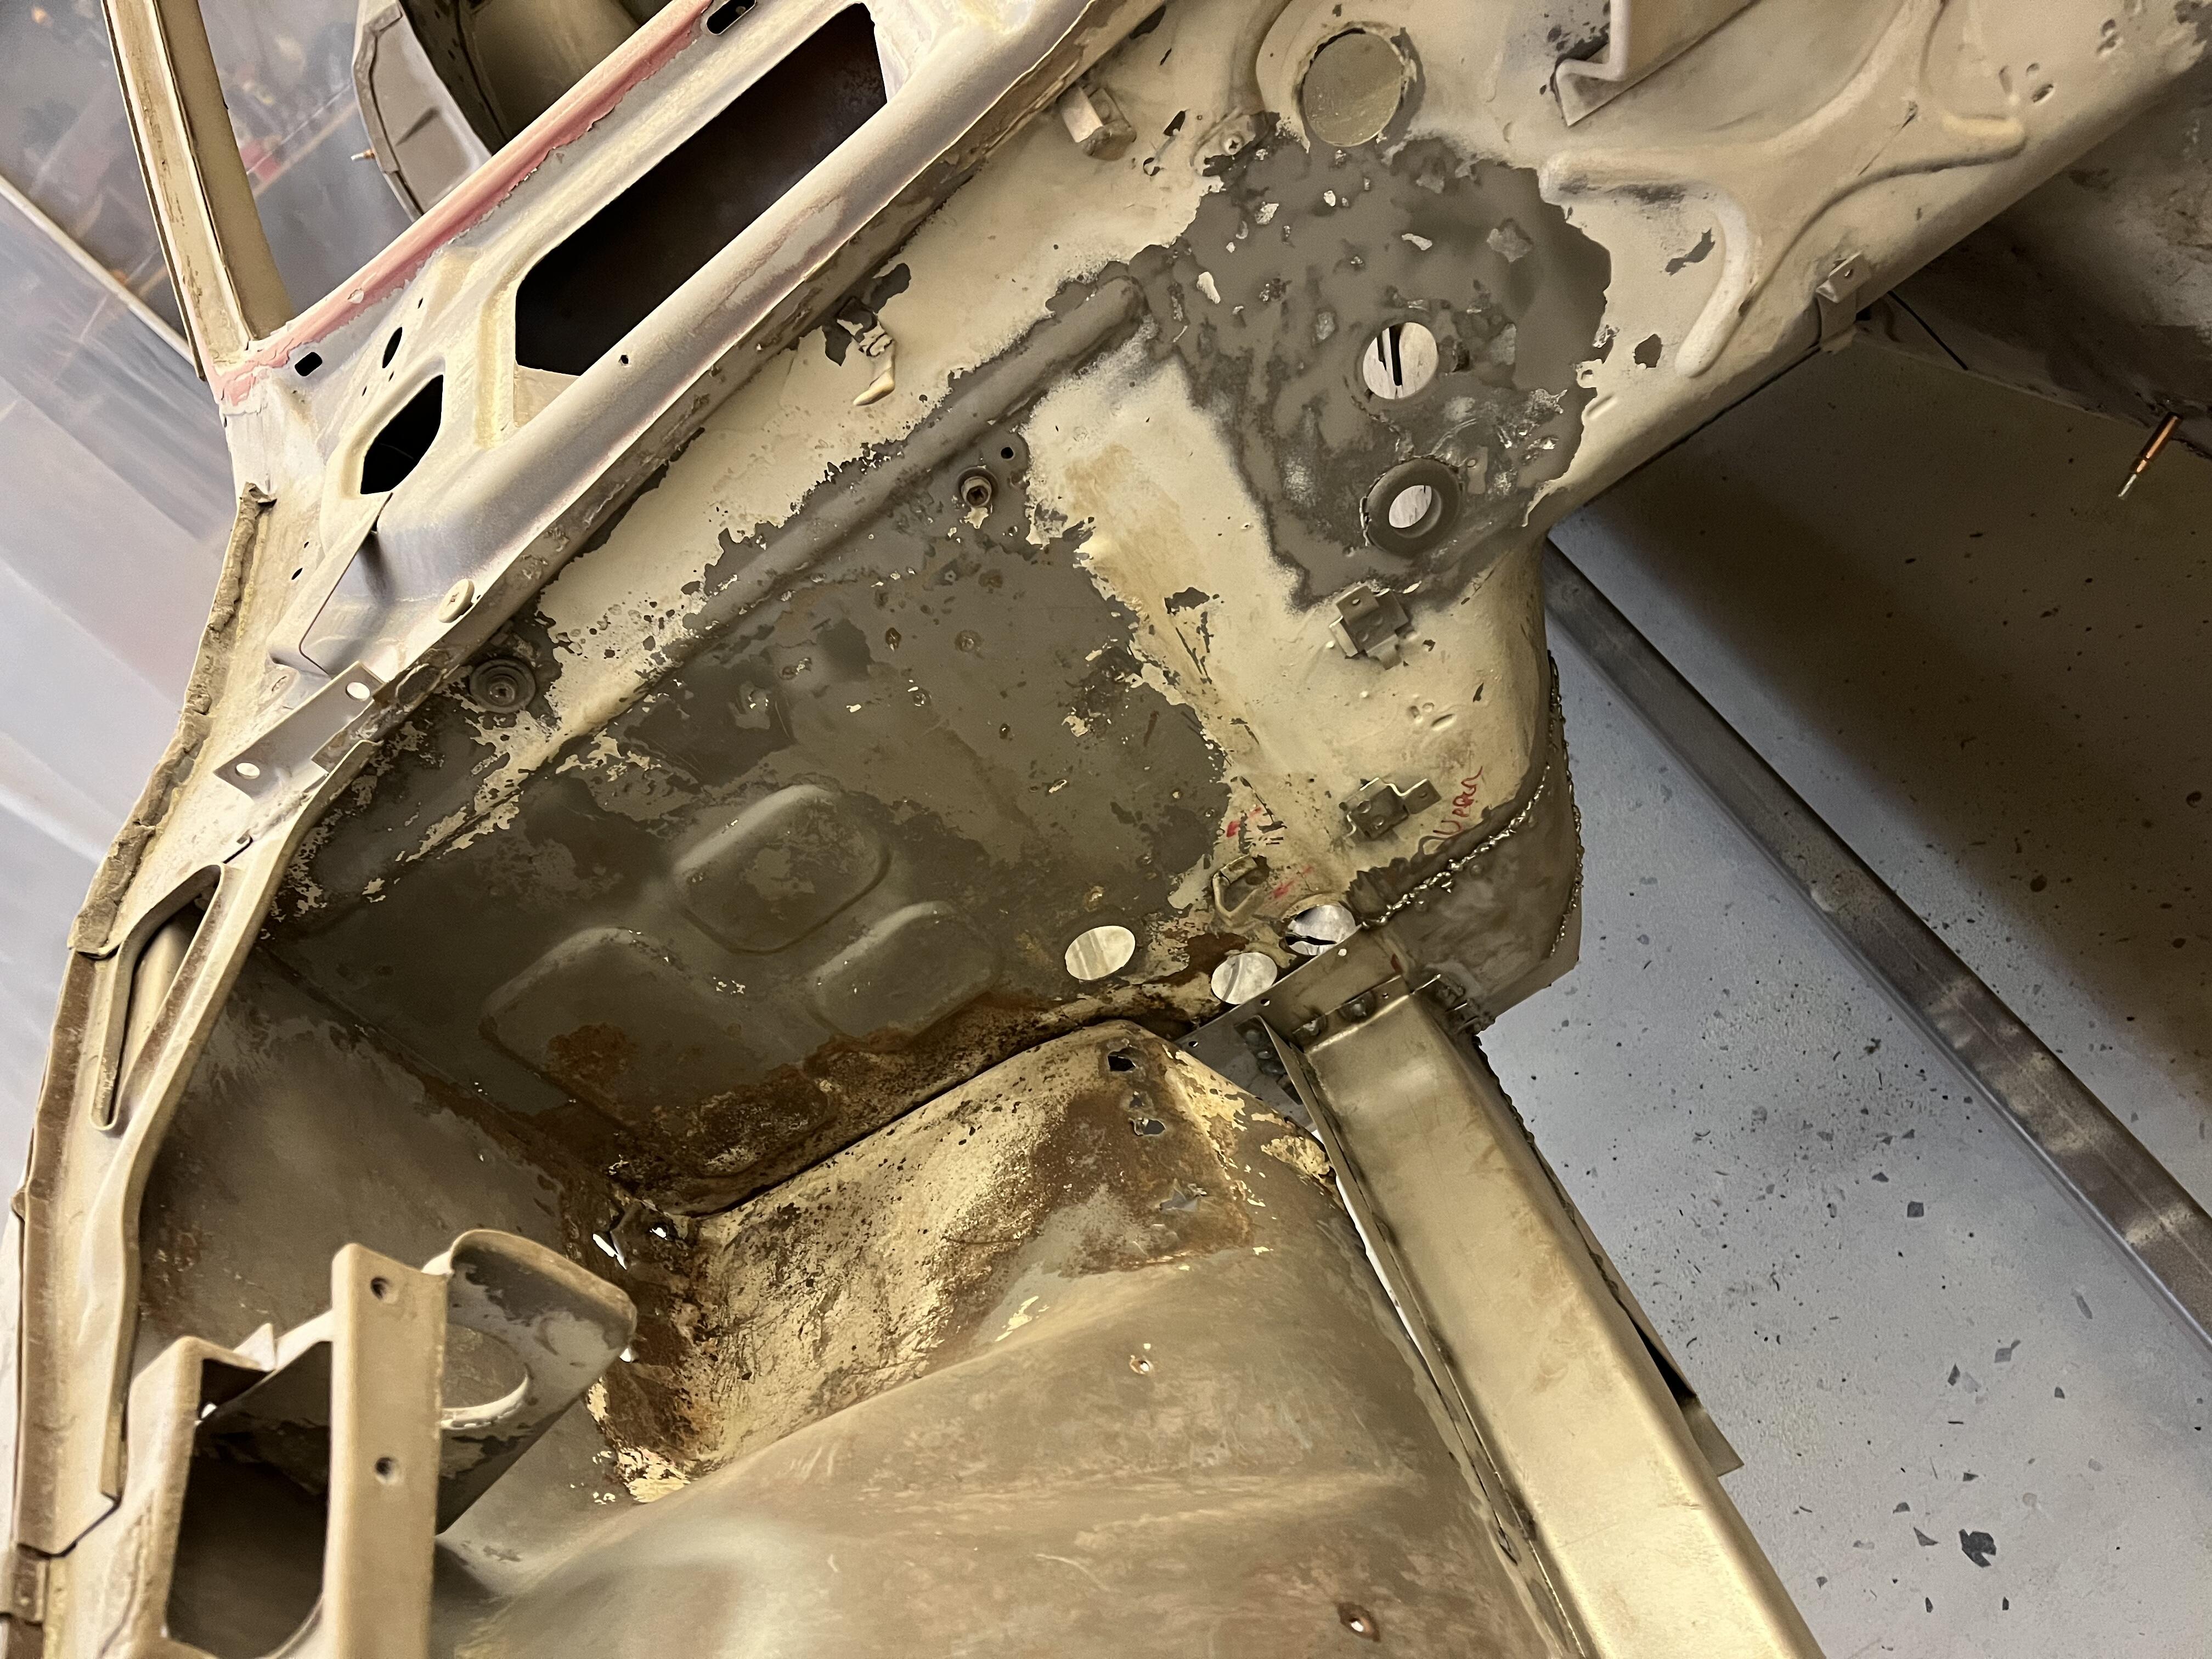
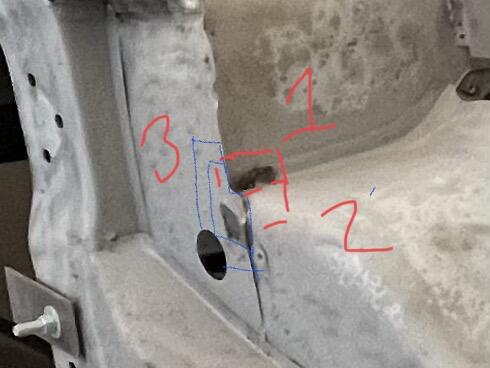
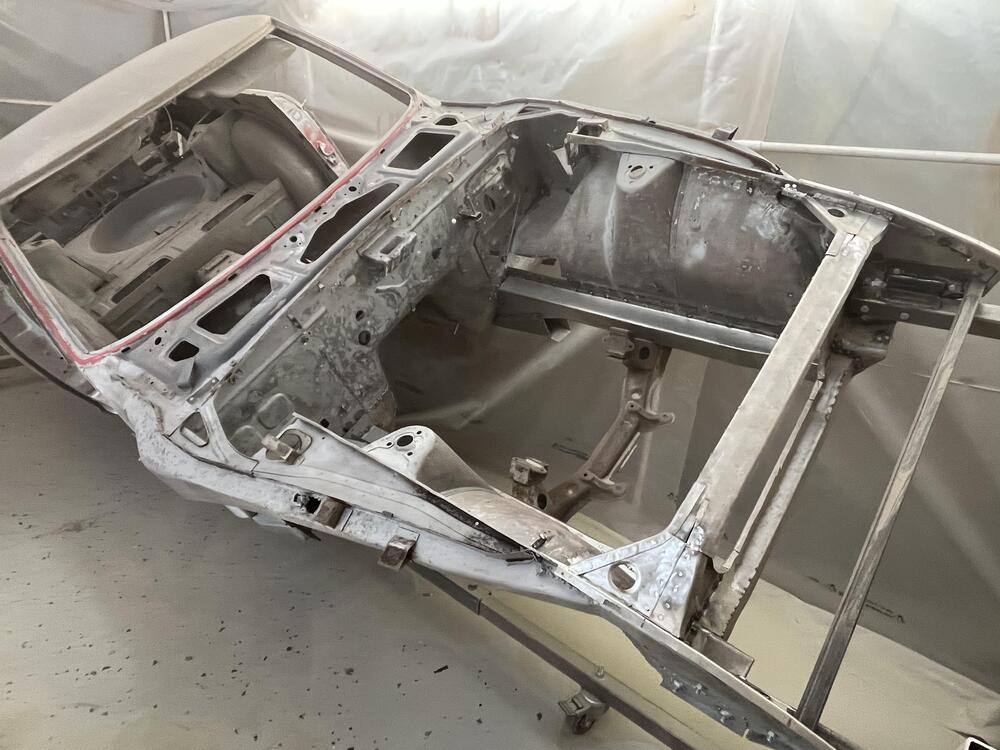
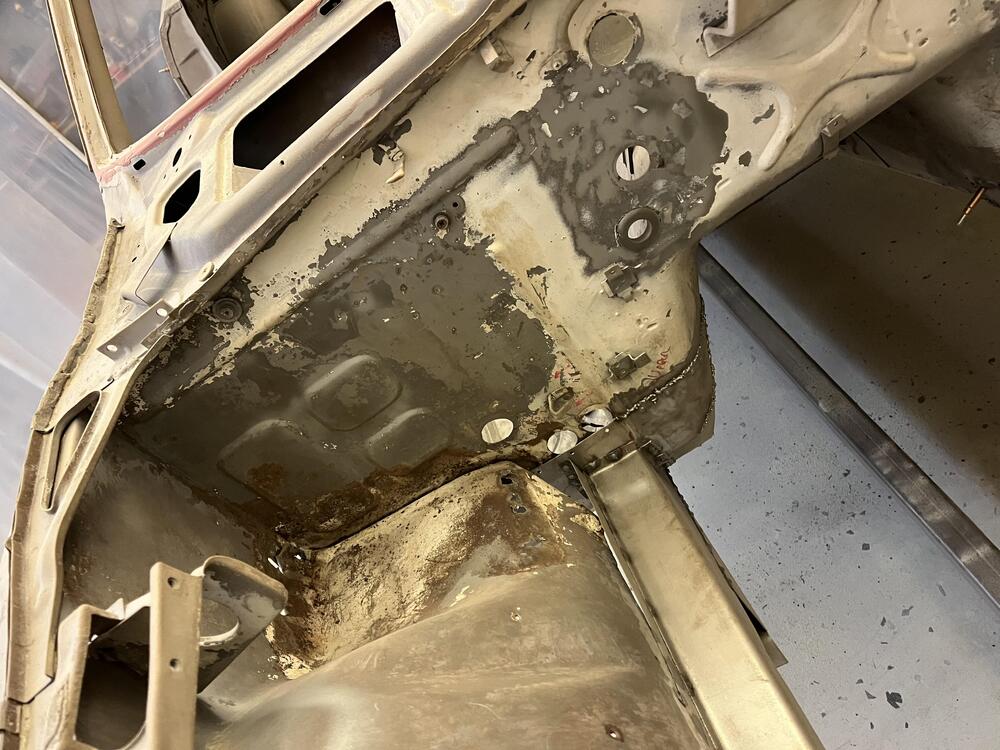
5 pointsFlipped over to the DS and made a little more progress... Still finding lots of clean metal. A little spot along the firewall is going to need some TLC (I've already got a plan LOL) The rest of the Firewall is coming along nicely...got most of the paint stripped at least... Under the battery tray is looking better than expected ....before... After...Needs more blasting but ran out of air again ....but looks pretty serviceable with some minor patchwork... So far so good....fingers crossed.... PS: and the worm gear drive on the rotiserrie? Priceless 😉 (just in case you were wondering LOL)

 5 points
 -
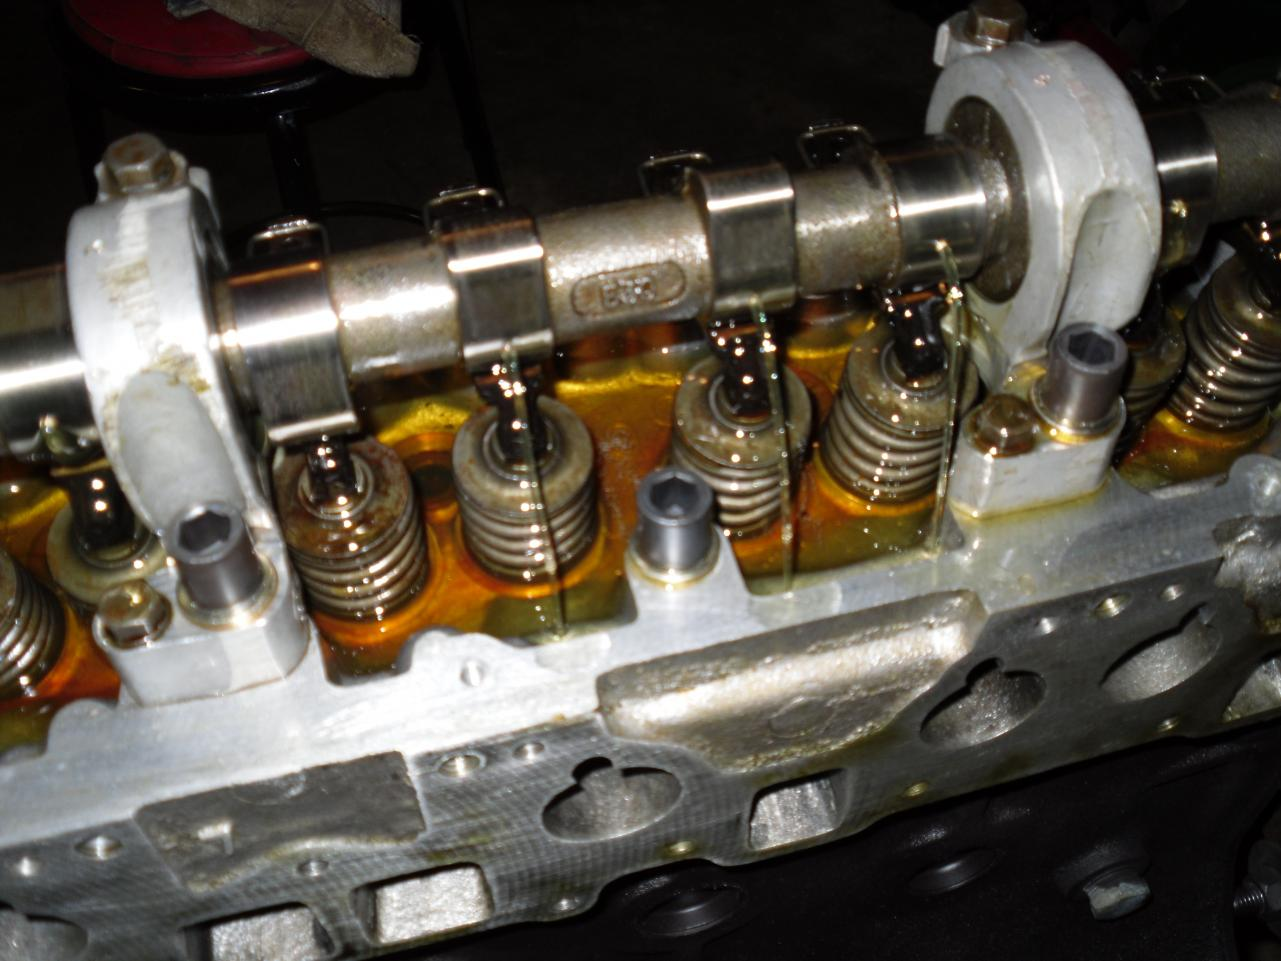
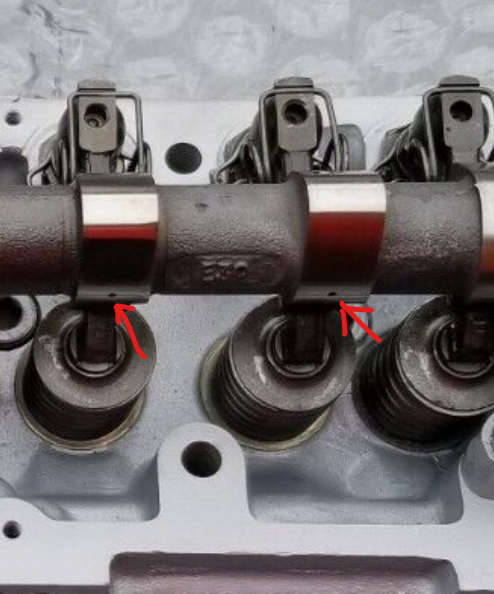
3 pointsYes there are holes in the lobes just before the lobes make contact with the rockers. If your head doesn't have a spray bar, and the cam isn't internally oiled, you would have toasted your cam already due to the lack of lubrication.
 3 points
 -
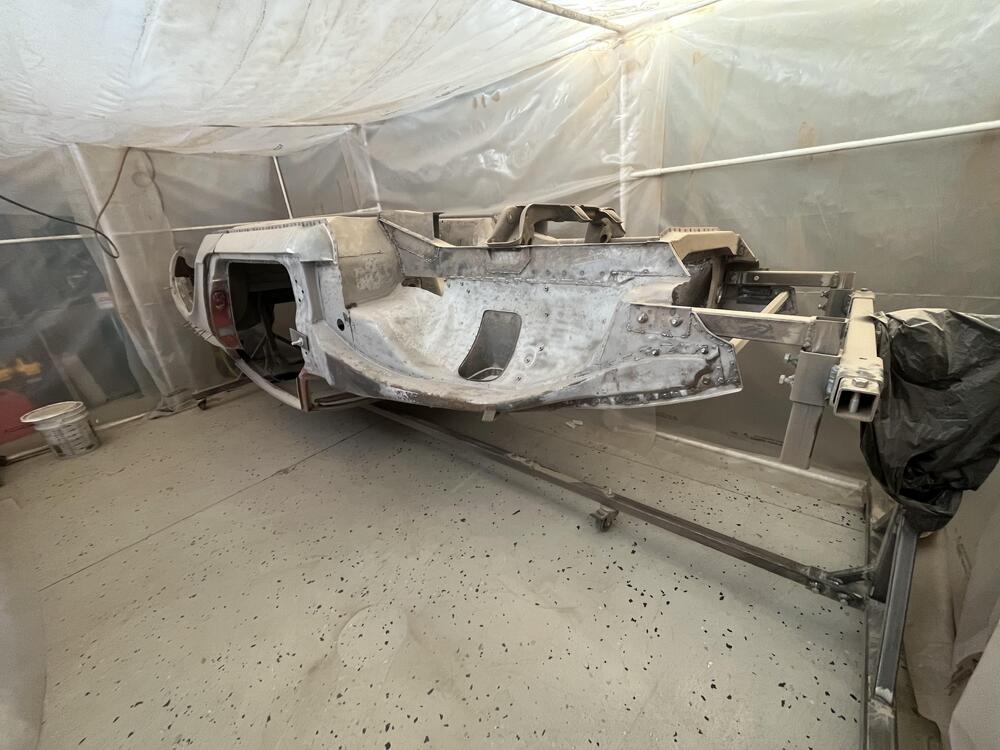
3 pointsIf the body surface was perfect, no dents, I would follow up the 2k epoxy primer with 3 coats of 2k high build primer then block until flat. The surface on this car has lots of little dents that I couldn't bang out so now I will start smoothing them out with filler and once I get the bulk of them filled and a guide coat shows me everything smooth, then I do the 3 coats of high build and start blocking again with 400 grit. 5L of epoxy was enough to do 2 coats on all exterior panels and I have 500ml left in case I burn through to the metal while sanding. 2 full days of cleaning the shop and setting up to spray and about 3 hrs to shoot.3 points
-
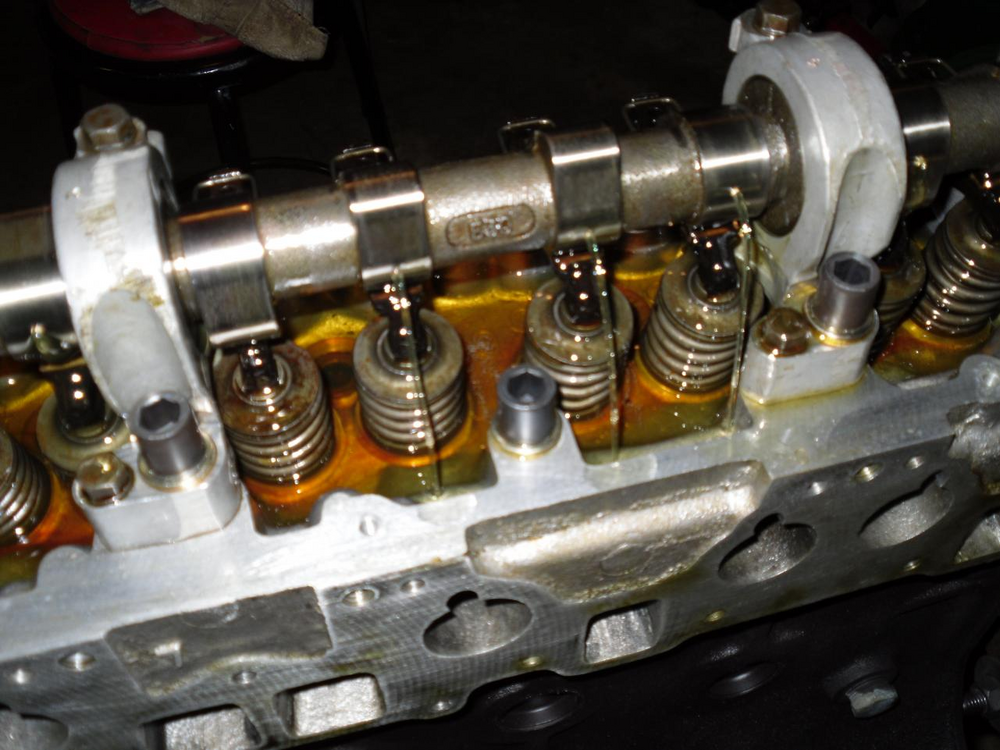
2 pointsSteve types faster than me so this is another option... I would think you could pull the coil wire off, remove the spark plugs and get someone to crank it over while you observe the cam's oiling??? I used a drill on low speed with a rod down the distributor's hole when I put an N42 head that was converted over to a oilier cam on my 2.8 motor after a rebuild while it was on an engine stand.
 2 points
 -
I used a shop vac on the return hose to suck the coolant out of the heater core. My advice would be a good set of 1/4" drive sockets with at least a 10" extesion. Take the passenger's seat out then lay cushions over the door sill and the seat's mounting brackets. Then a bottle of ibuprofen or your preference. Just changing the valve and new hoses about killed me. Another thing with the shop vac is you can "pull a vacuum" on the brass core and check for leaks. 90% of coolant in the cabin is from the valve not a busted heater core.2 points
-
1 pointActually, if you take the car out of gear (assuming it's a manual), connect a remote starter with decent sized wires (not the cheap Harbor Freight version) to the solenoid. (Here's an example of one:https://www.amazon.com/INNOVA-3630-Remote-Starter-Switch/dp/B000EVU8MK.) Take off the valve cover and crank the engine with the remote starter while looking to see if the oil is coming out of the holes. If there isn't enough oil coming through, you'll be able to tell by the grooves in the cam lobes. 😬1 point
-
1 pointI found that the board material inside of 3 ring binder/notebooks worked very well when I redid those in my track car years ago. Something like this: https://www.officedepot.com/b/binders/N-1035691 If you have some old ones laying around, that might be more appealing that sacrificing new ones1 point
-
1 pointA gallon of epoxy is normally enough to seal a car. With activator it's normally 5 quarts mixed. Looks good Grannyknot! No boom is always good!!1 point
-
1 pointLooking great - satisfying to see it with a uniform covering. Does the epoxy primer get coated with 2K, or it that all you need? Trying to remember what I used on the Fiat - that was a mix of steel aluminum & bonded fiberglass panels. I did not strip the bulk of the car to bare metal, so I'm thinking I used 2K, but that was 5 years ago, so my memory is foggy on details. That must have taken at least 4-5 hours to do the entire shell and all the take off panels, no? How much primer did it take for the 2 complete rounds? Hopefully I will paint again one day - still have to figure out where to buy an 80gal compressor that doesn't get buggered on delivery, so far I'm 2for2 on that....1 point
-
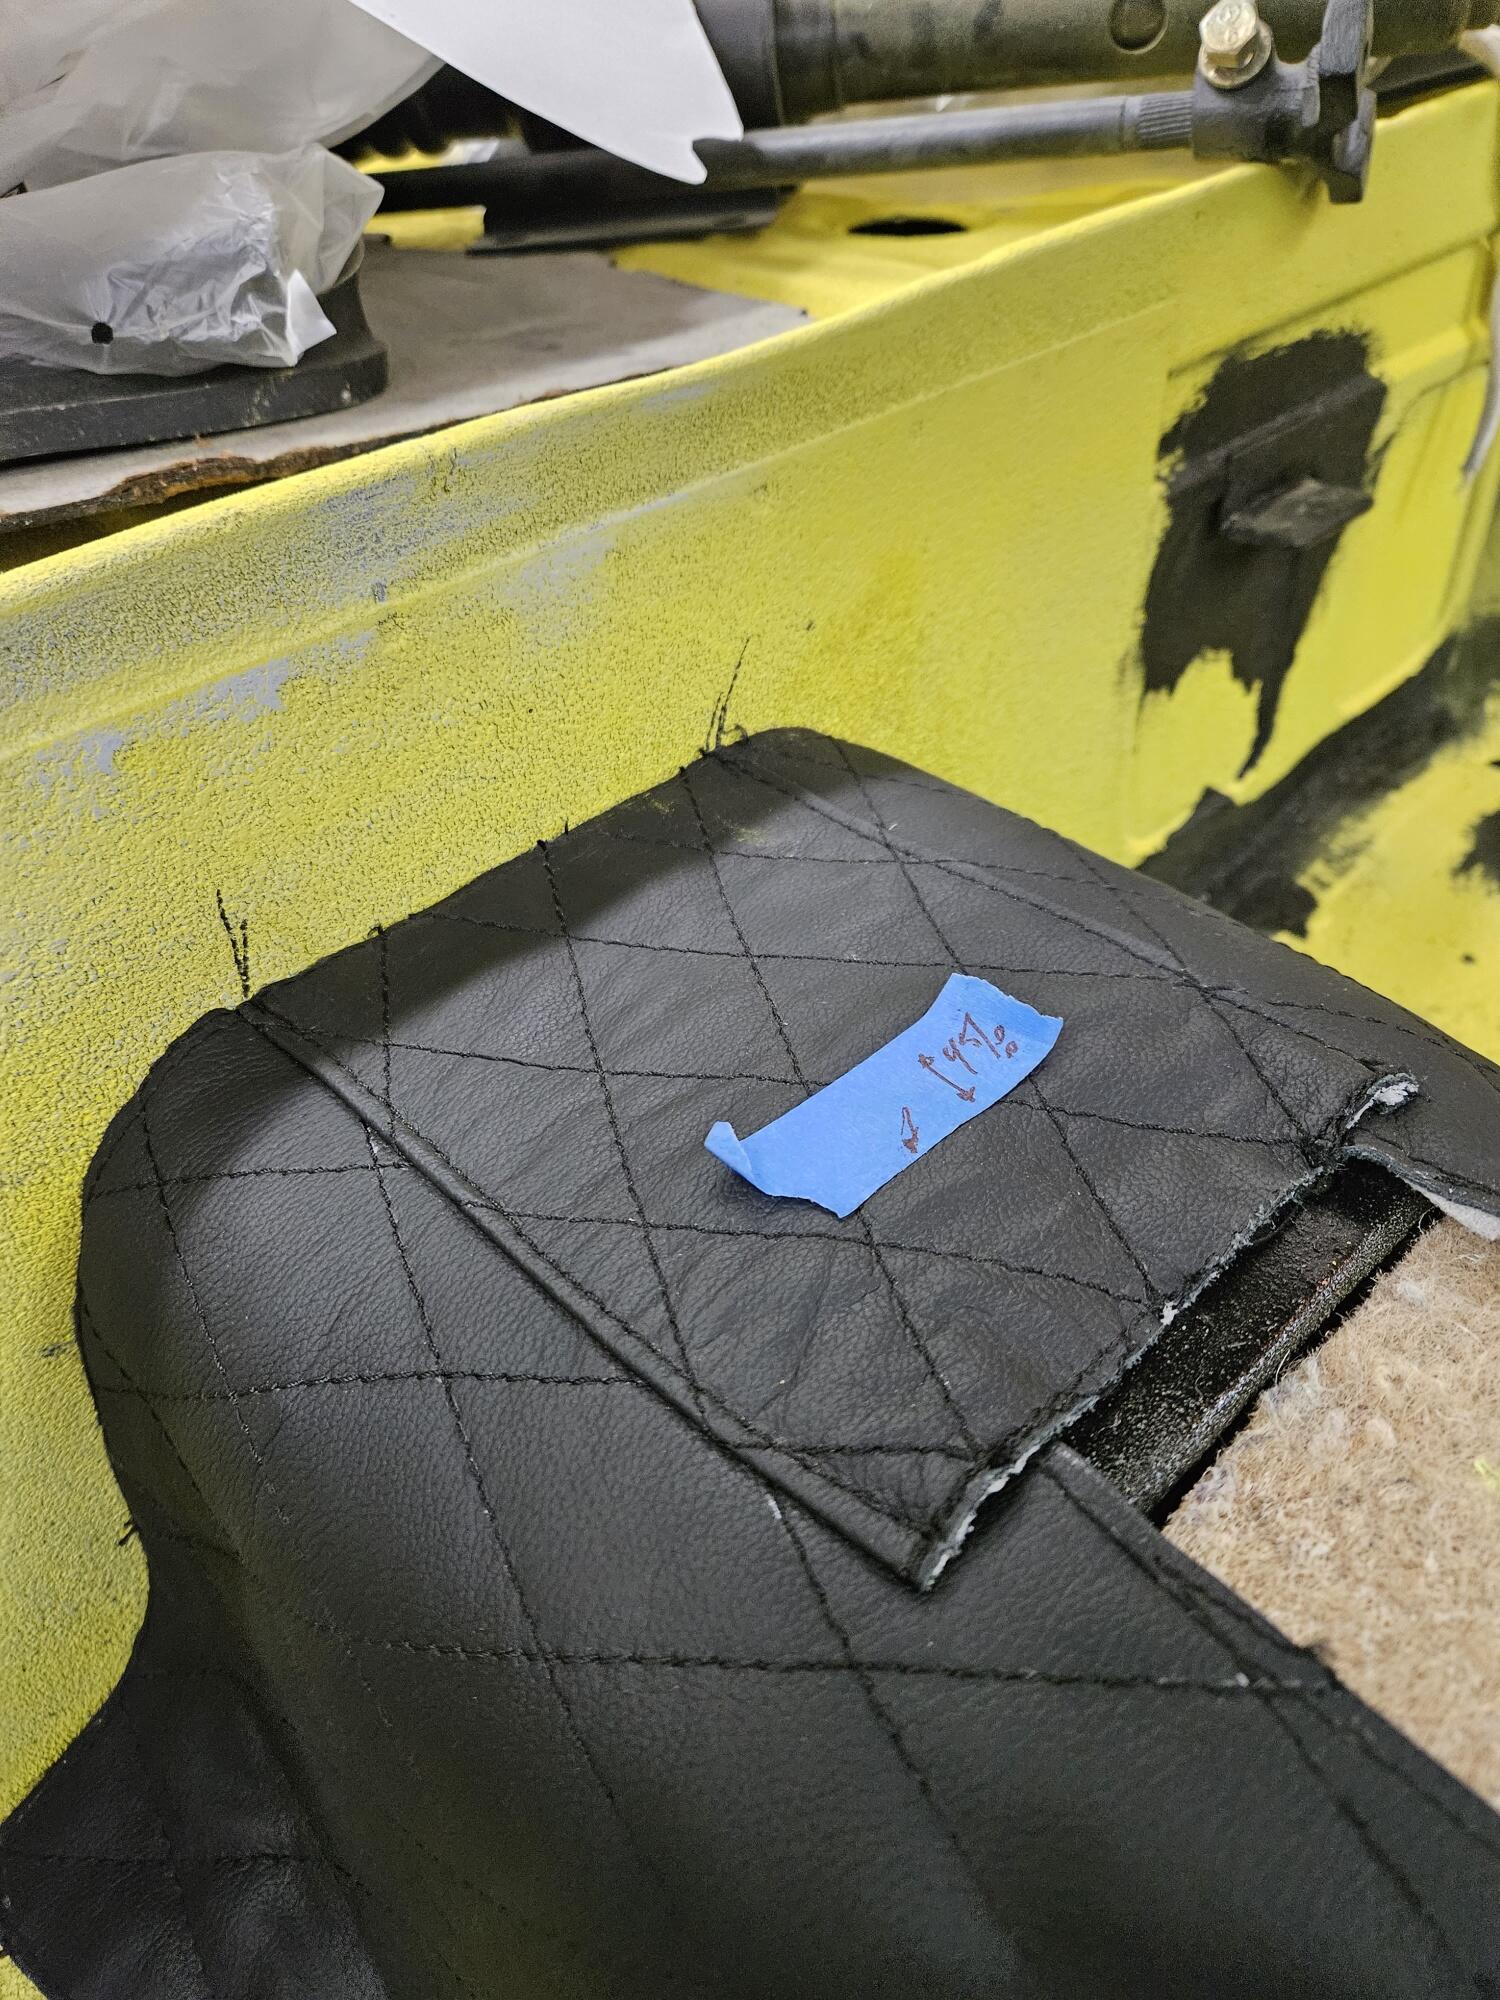
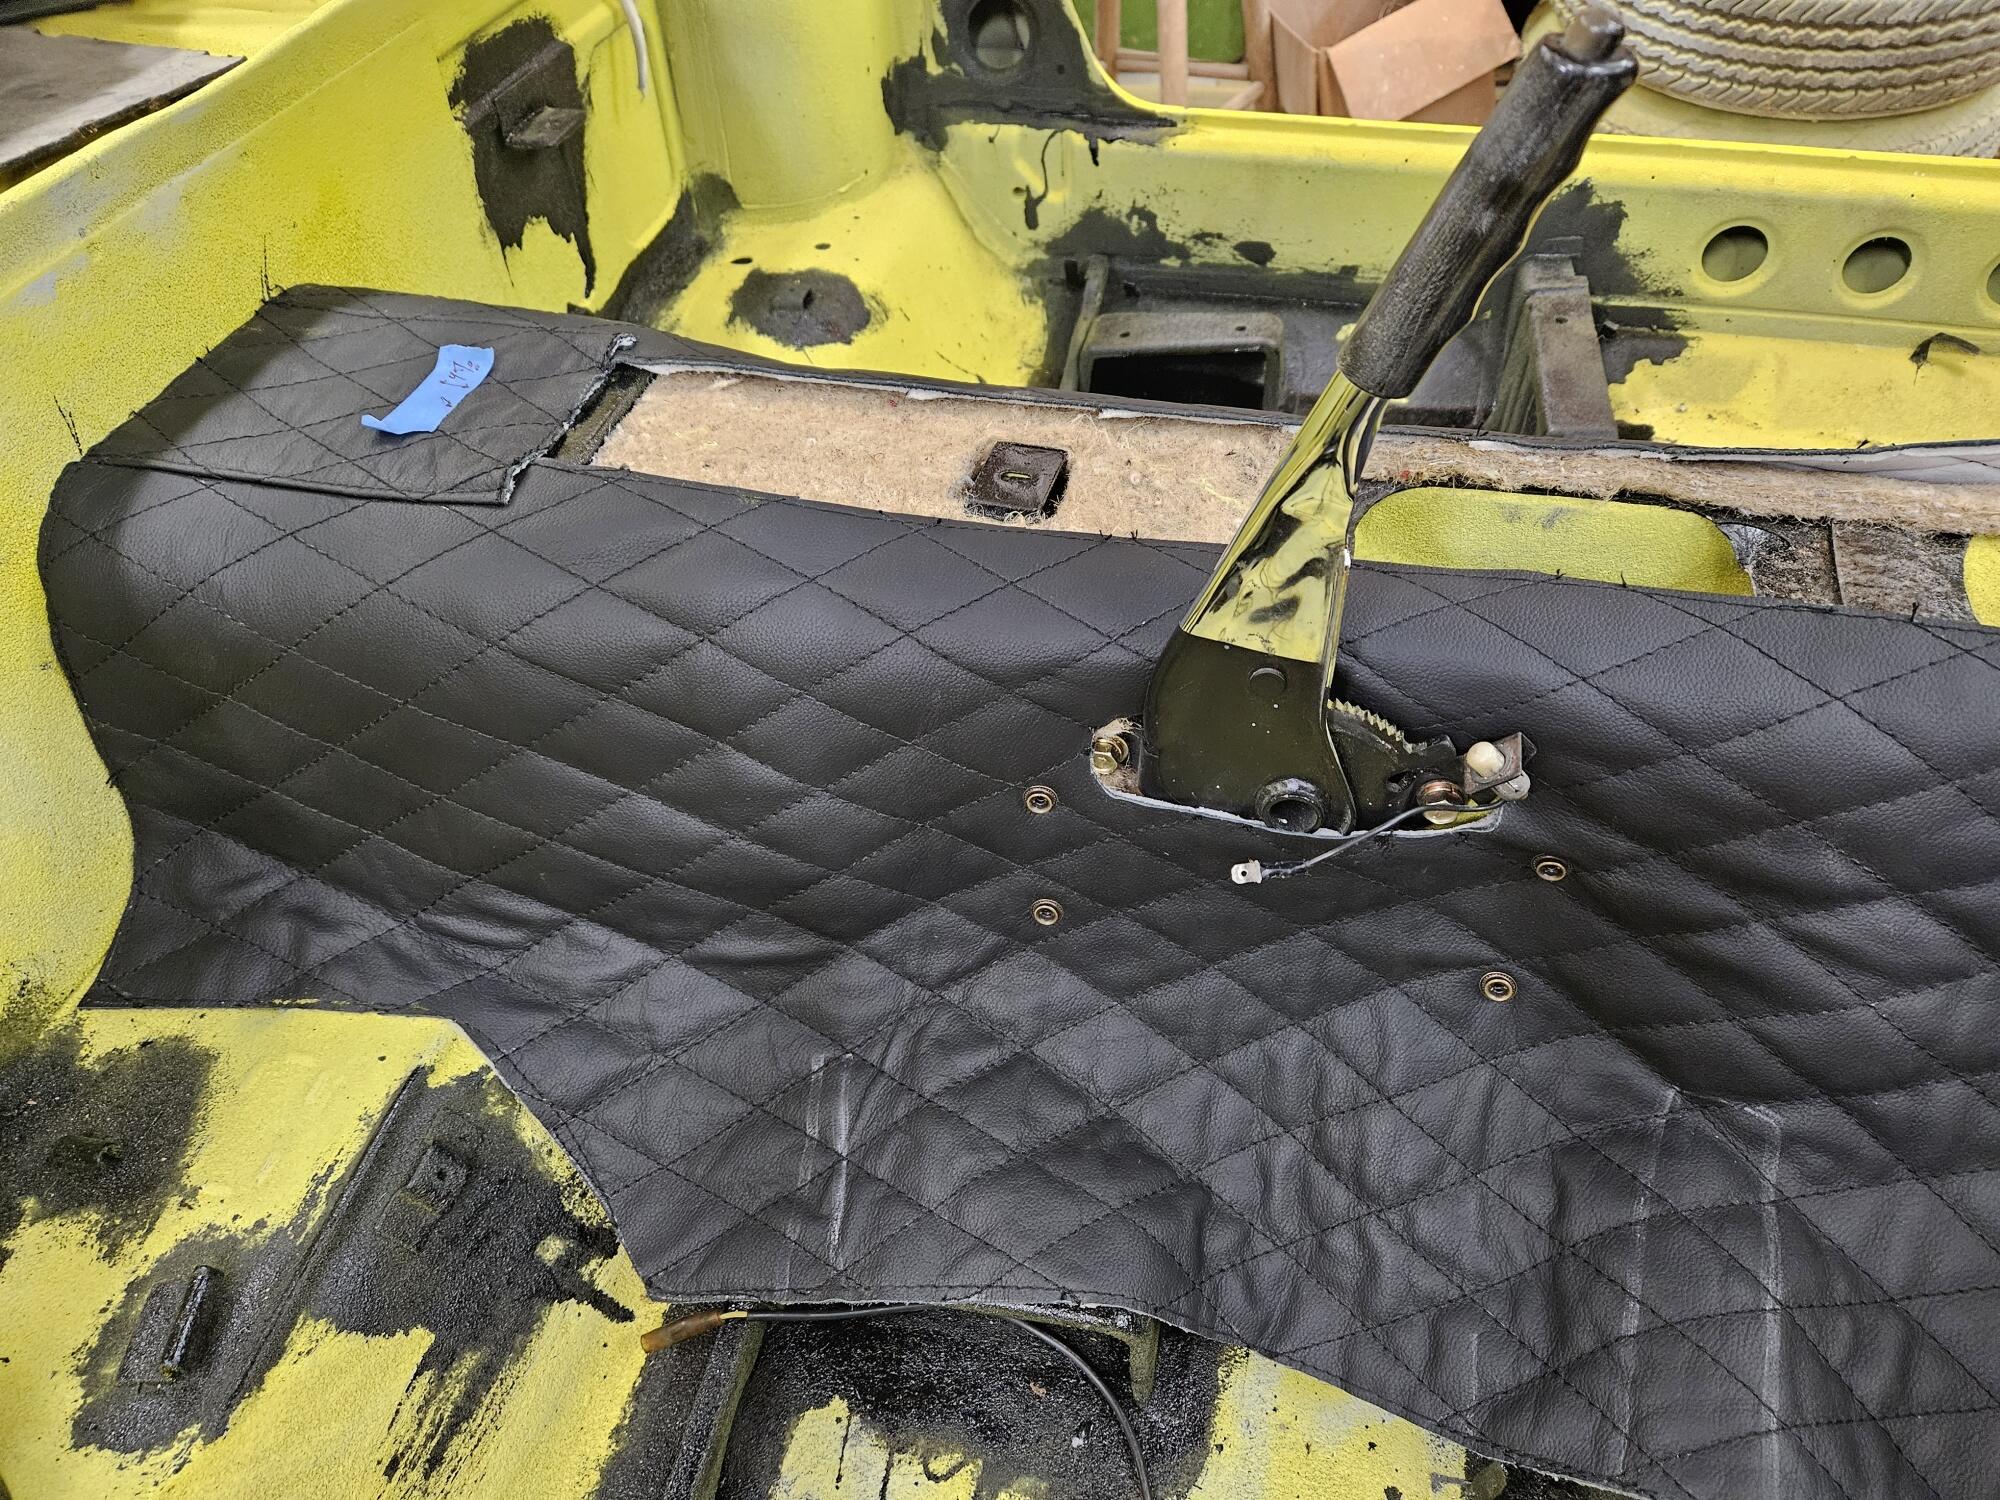
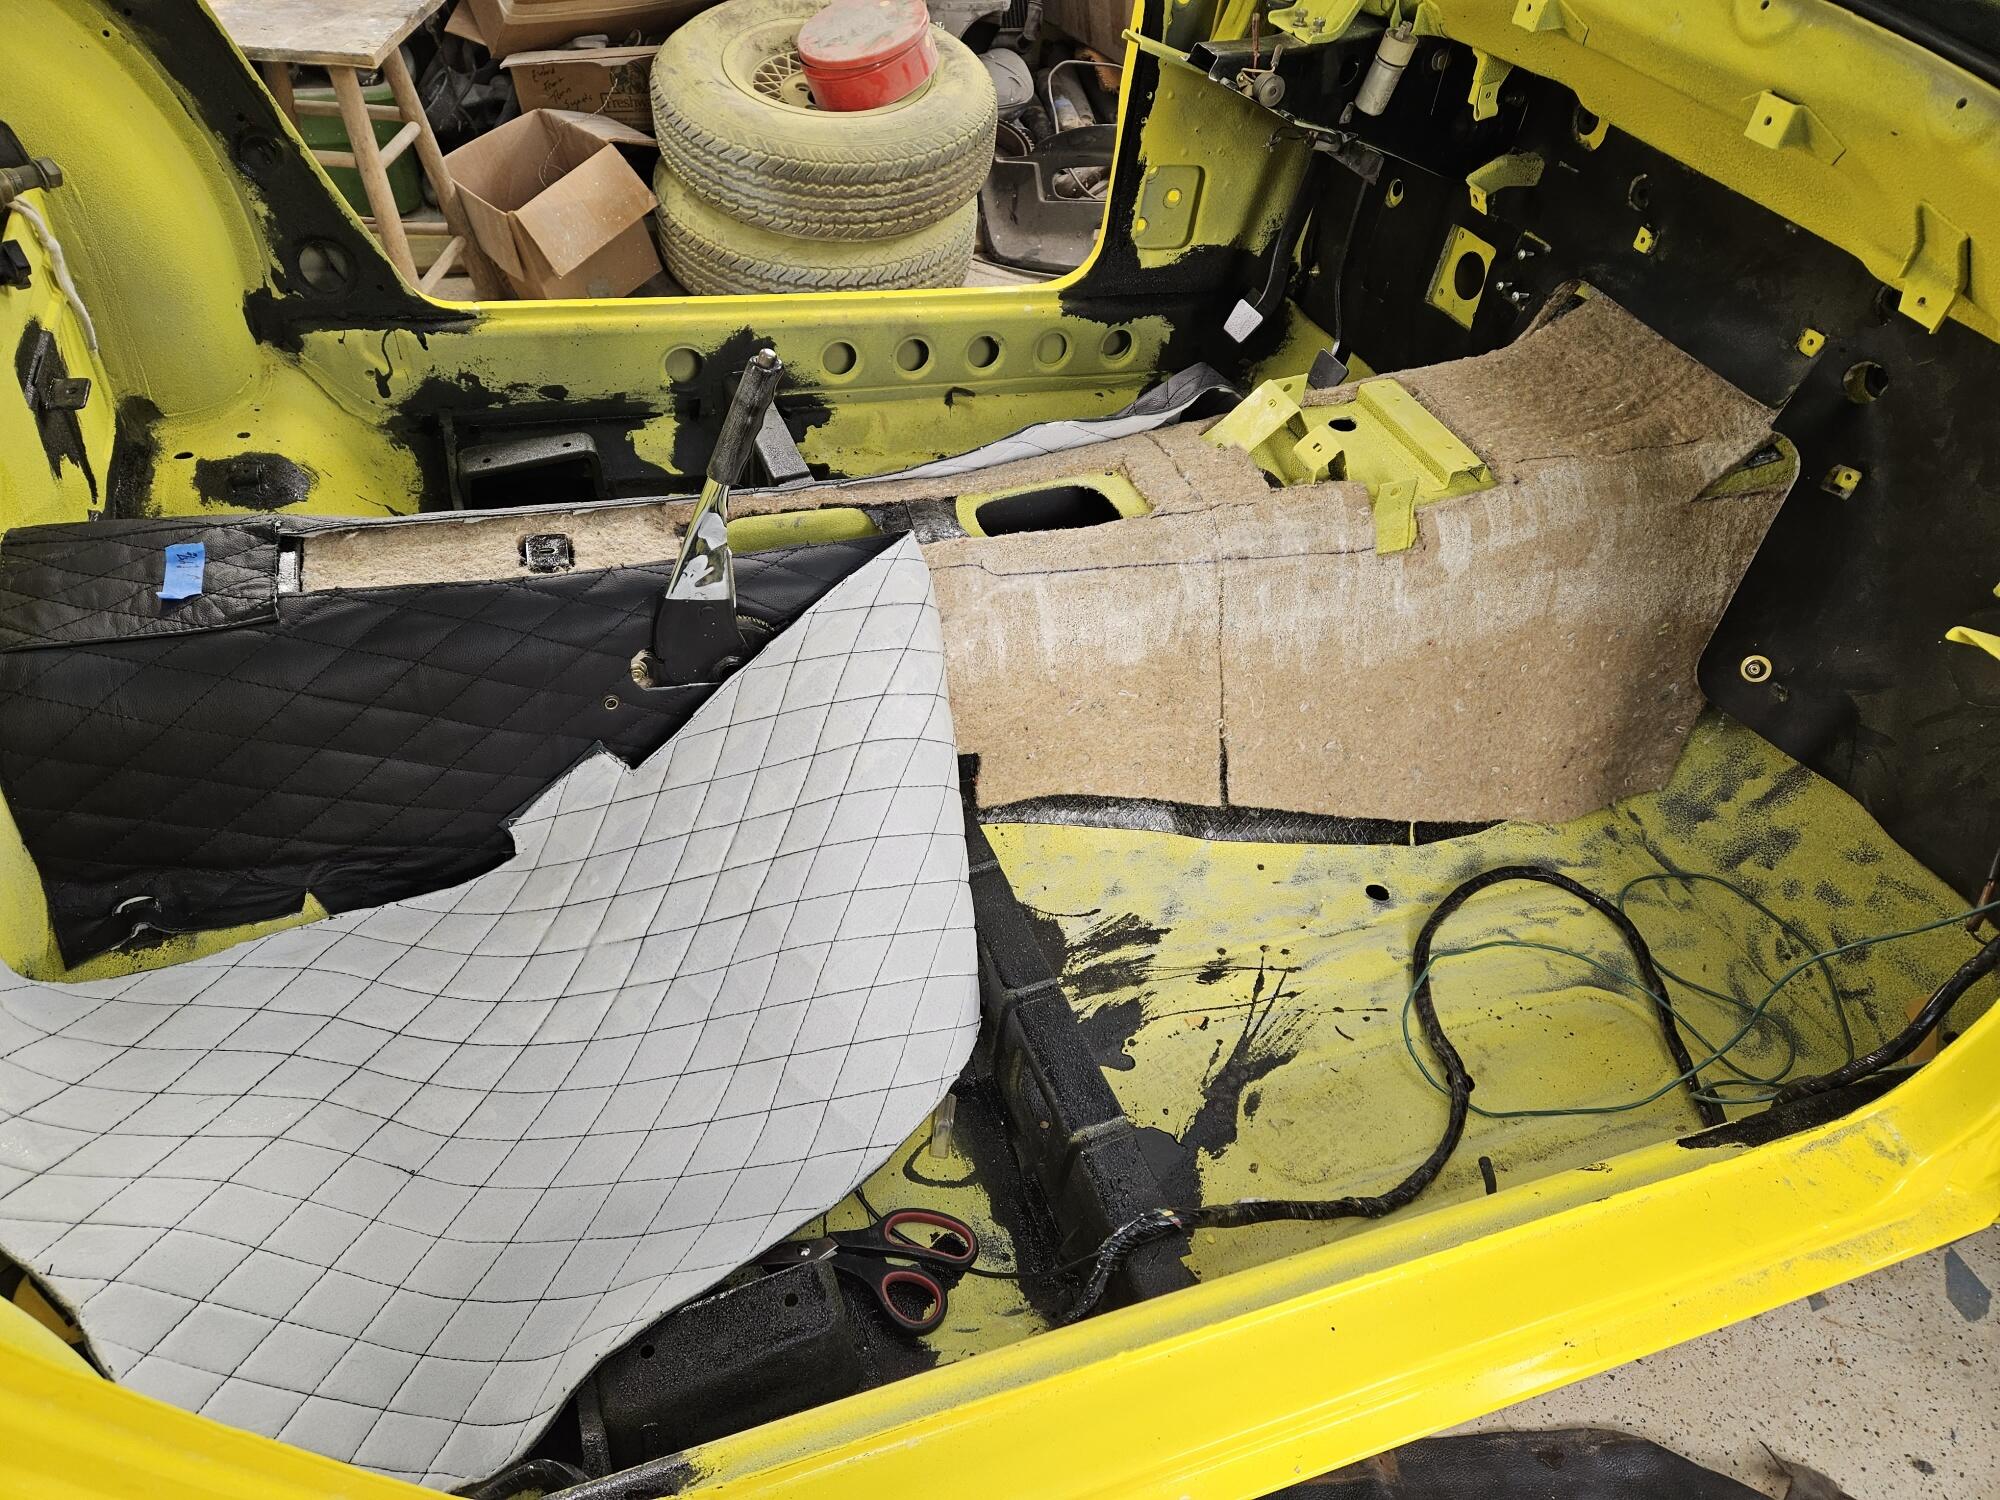
So before I started gluing, I made two sharpie marks for where the seams should meet the luggage panel Then I sprayed glue on the top edge about halfway down and put it in Today I worked on the front half. I sprayed both surfaces. I didn't let it tack too long so it was a little easier to position

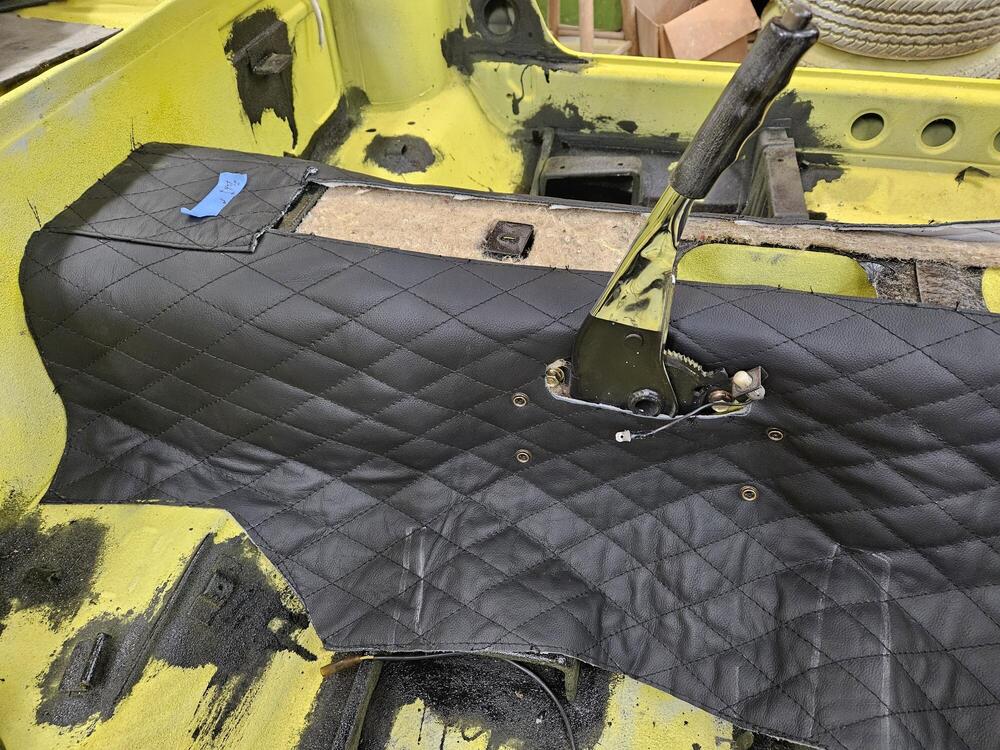
 1 point
 -
1 point
-
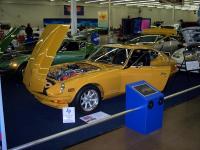
1 pointHey Steve, The ZCoT is still alive and well, your post regarding Dallas Autorama is most timely. We just wrapped up the show last weekend - ZCoT entered 6 cars in a club display. We came away with 3 Best In Class, 3 Outstanding In Class, and Best Club Display. I managed to pick up one of the Bests. As you can see, the display materials have evolved over time. We added twin 42" HDTV's this year running continuous videos of club activities. I checked out your 1998 photos but did not recognize anyone. The picture of the gold car is seriously similar to mine in the display altho it is a later model '71 - Series 2. Steve Richardson is still around. He left Courtesy last year and just affiliated with a Dodge dealer in Dallas. Jim
 1 point