
Leaderboard


 Subscriber


Popular Content
Showing content with the highest reputation on 01/15/2024 in all areas
-
Got to this today and it was much easier than anticipated. I've been procrastinating this due to worry of leakage and mess and had zero drops. What i did was drain the radiator completely with the heater valve in the open position. I contemplated draining the engine block as well but that drain plug is locked tight and in a tough spot to get leverage on without removing pipes or a lift. So at that point the plan was to "minimize" the mess by loosening the two heater hoses from the engine bay three way and supply inlet and seeing if I could drain the core from the engine bay. I was either going to use a shop vac or a handpump as suggested. i started with the return hose and what i came to find was that it came off relatively easy and only had less than a shot glass of fluid that leaked out into a drain pan i had at the ready. At that point i got some duct tape and sealed the end. moved on to the other hose expecting fluid from both the hose and the engine block but nothing at all. Sealed it as well and proceeded into the car. I had already removed the blower and the front vent box of the heater so all that was left was the 6 screws holding the box to the firewall / tunnel brace. Undid those but also had to remove the small brace that holds the dashboard to the tunnel. With that out of the way i simply slid the box out to towards the passenger side and fed the taped up hoses into the car from the engine bay. No mess no fuss! The box certainly needs all new gaskets, a new valve, and a general cleaning. there is liquid in the core I can hear sloshing around but it doesnt seem to be leaking as of yet. When i take the box apart I can inspect it better for signs of previous leaks and deal with it. All this work is probably a bit of a ways off as the primary goal is to get to the bare tunnel and firewall so i can complete my floorboard and interior work. thanks to all with the advice.5 points
-
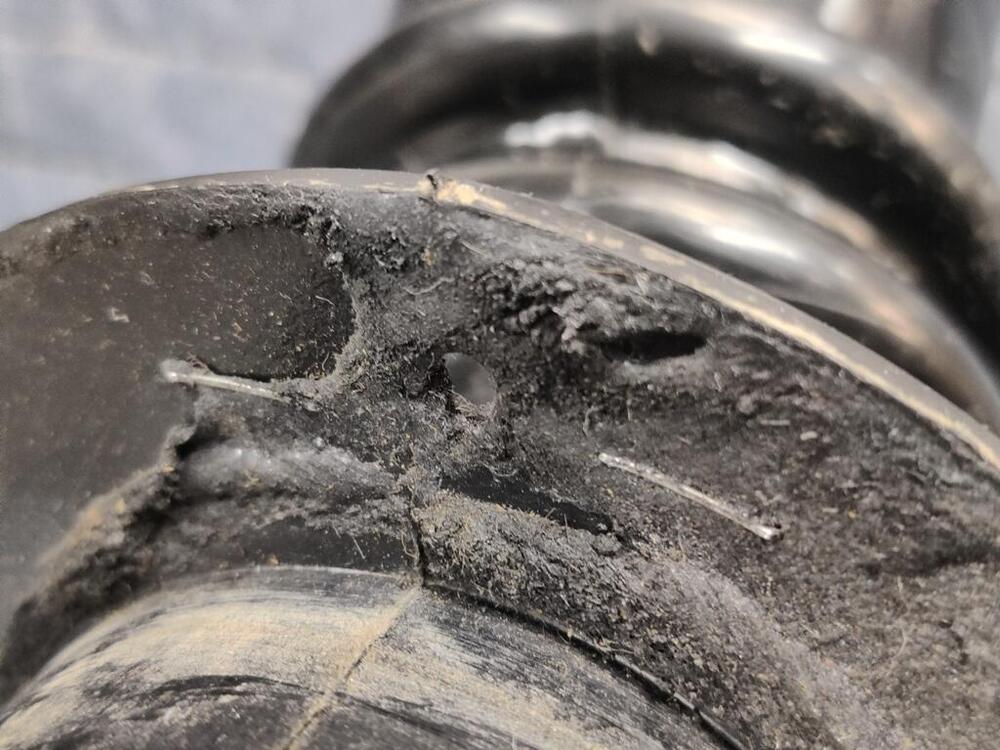
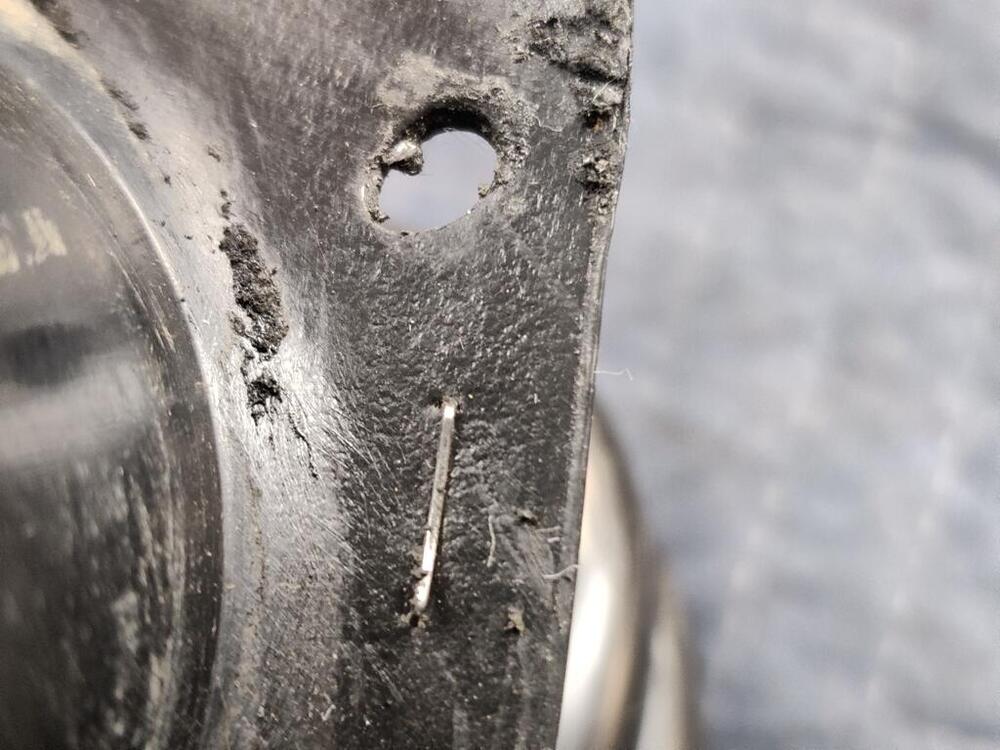
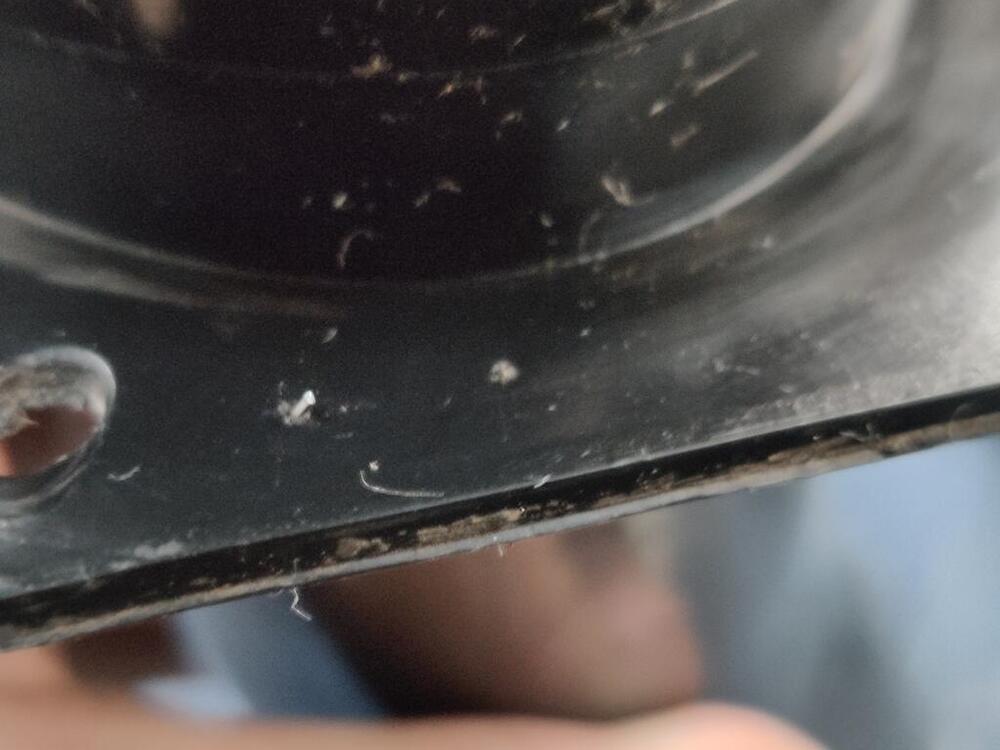
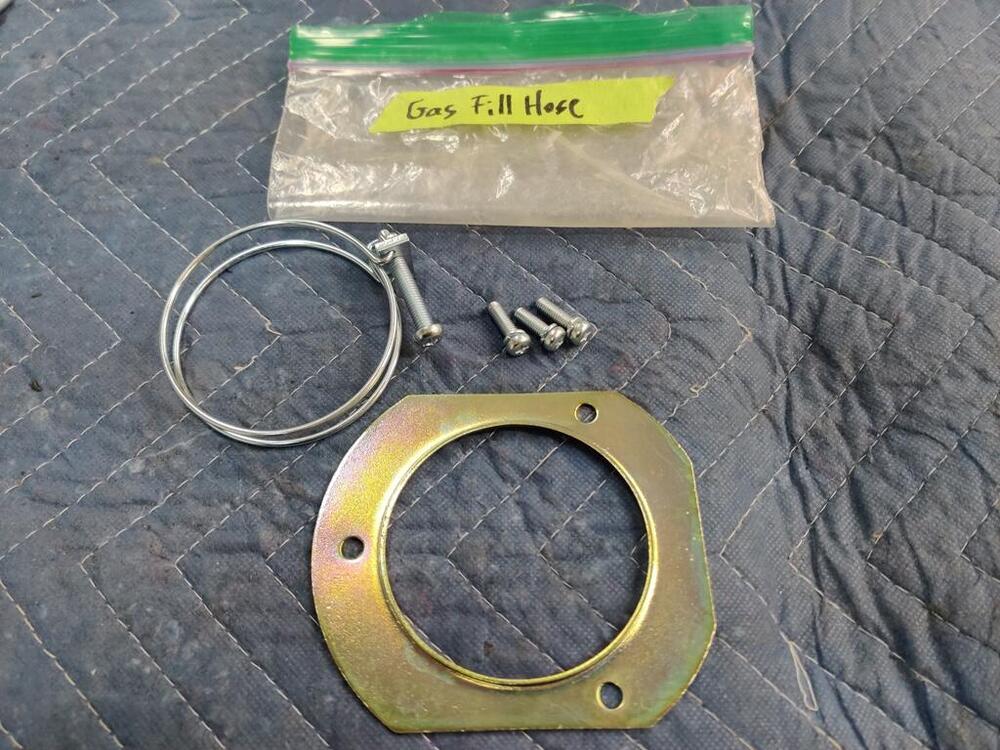
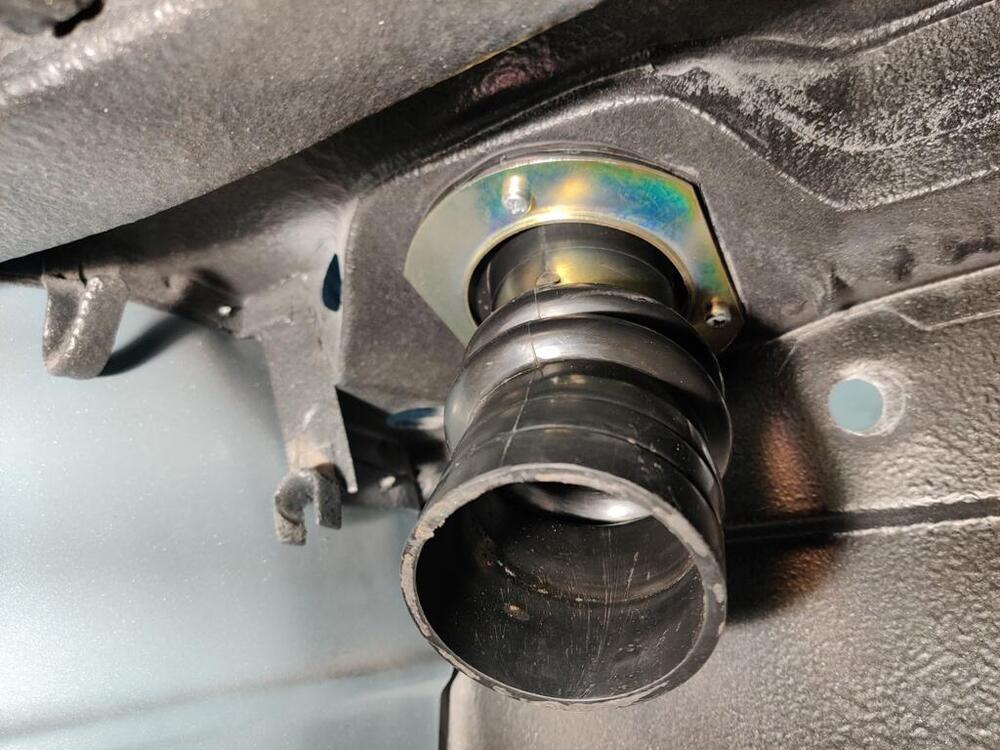
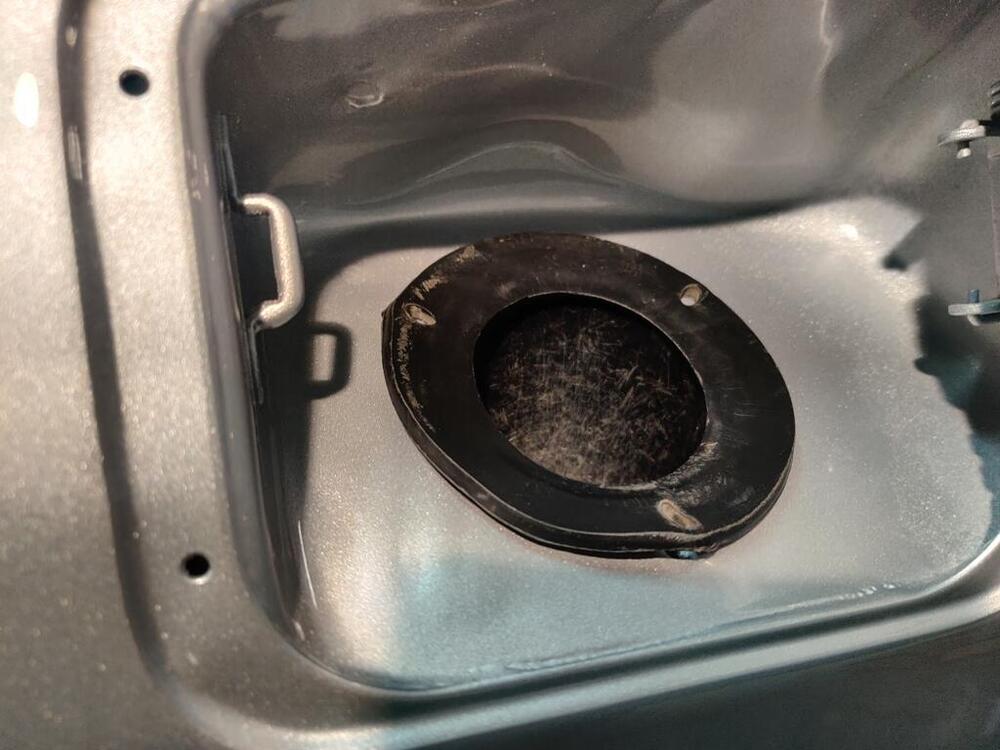
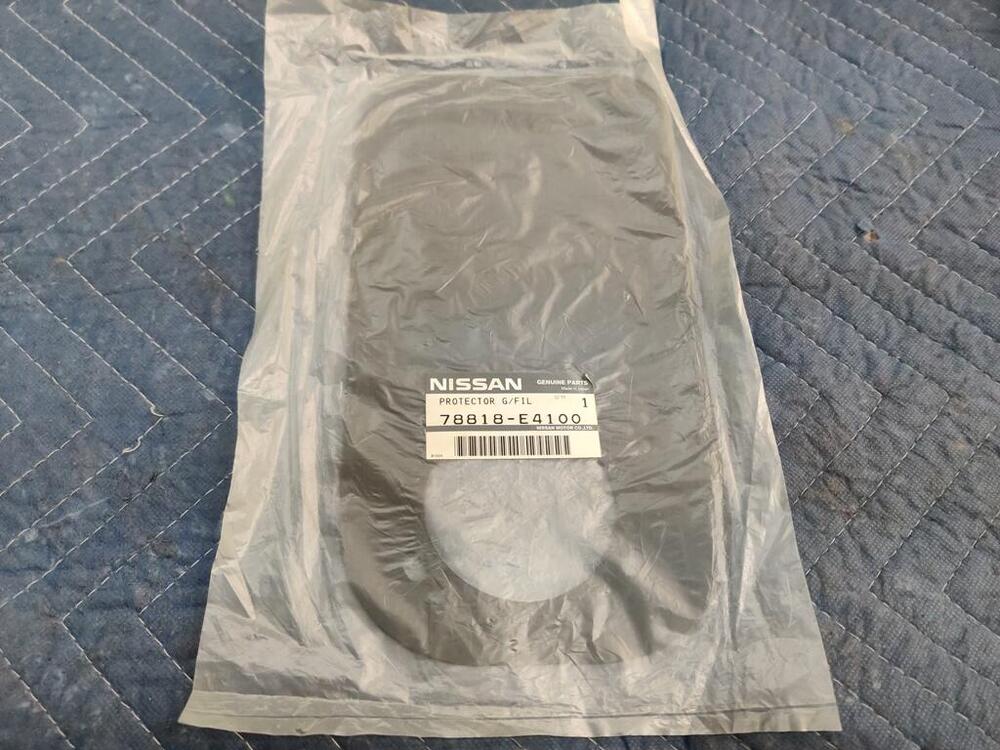
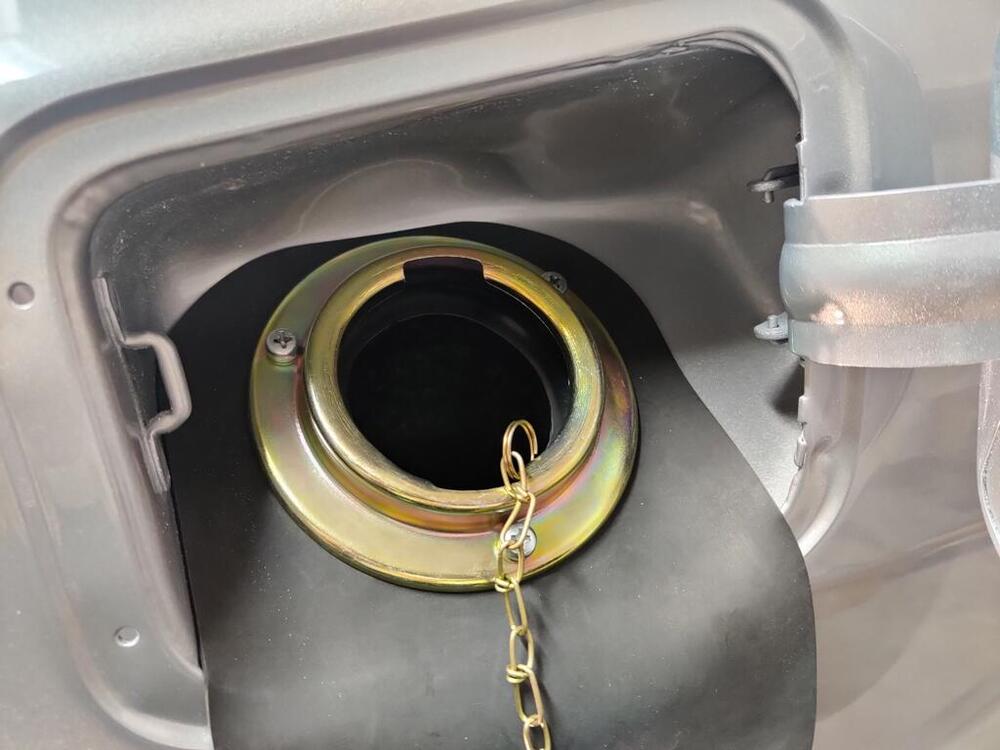
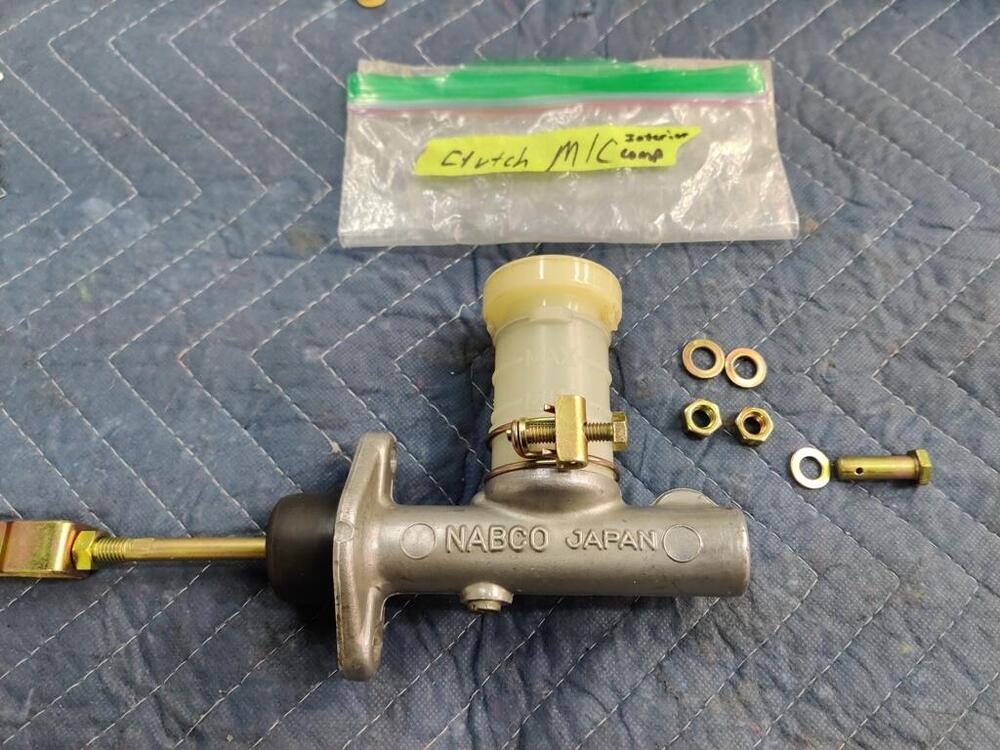
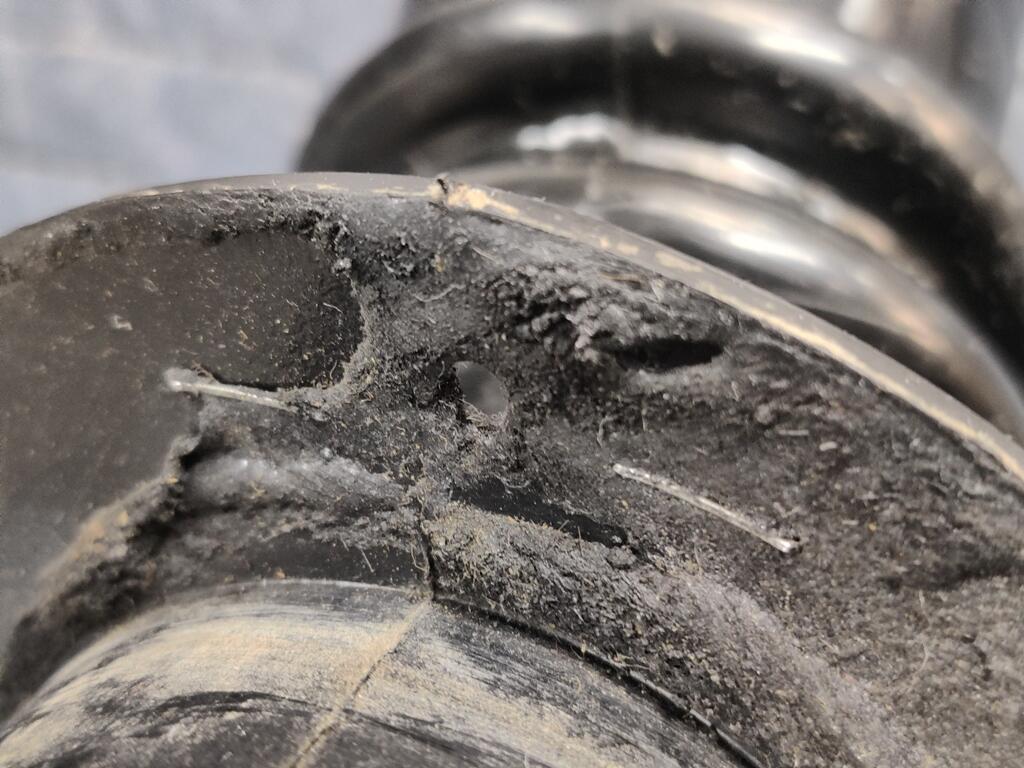
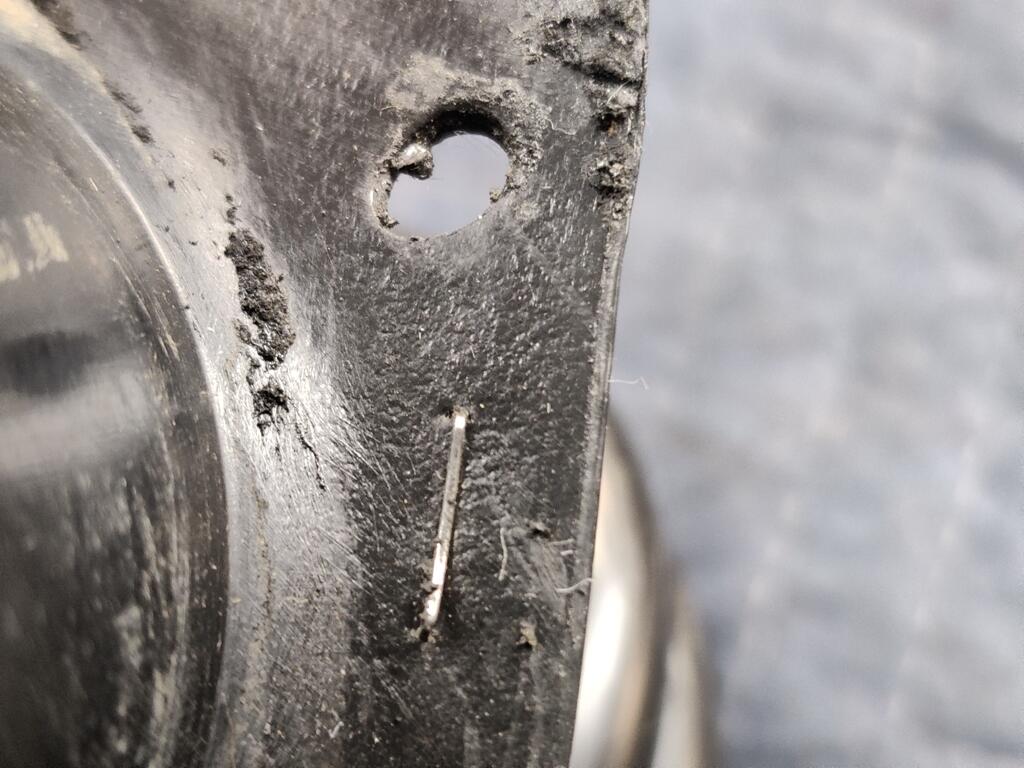
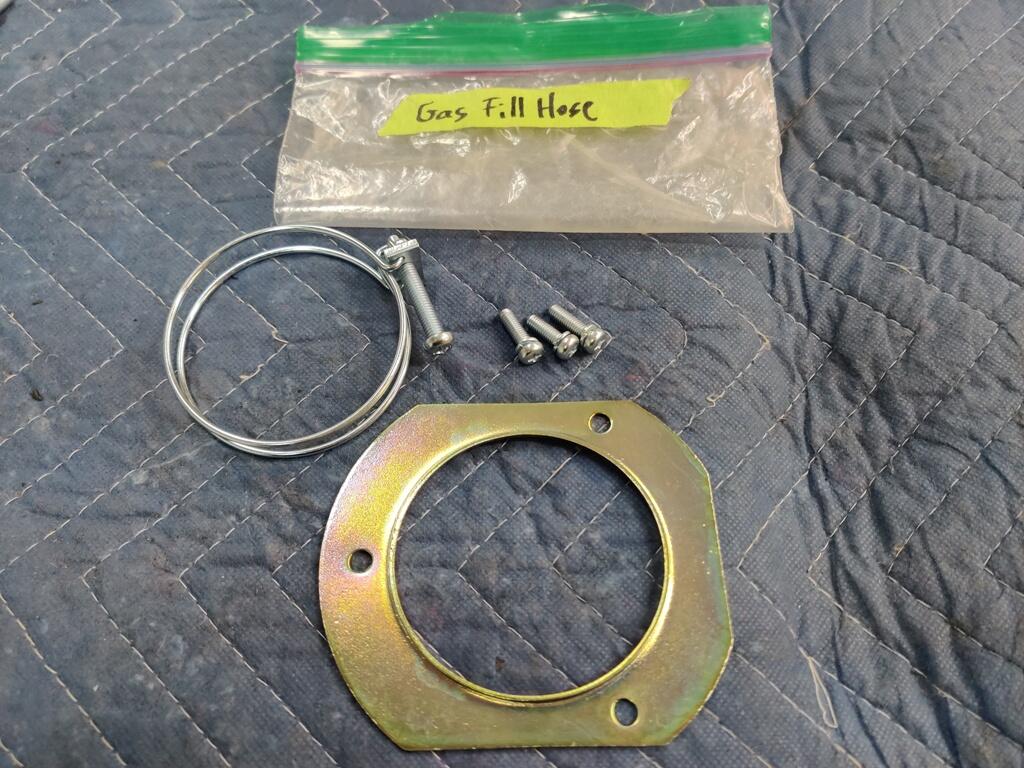
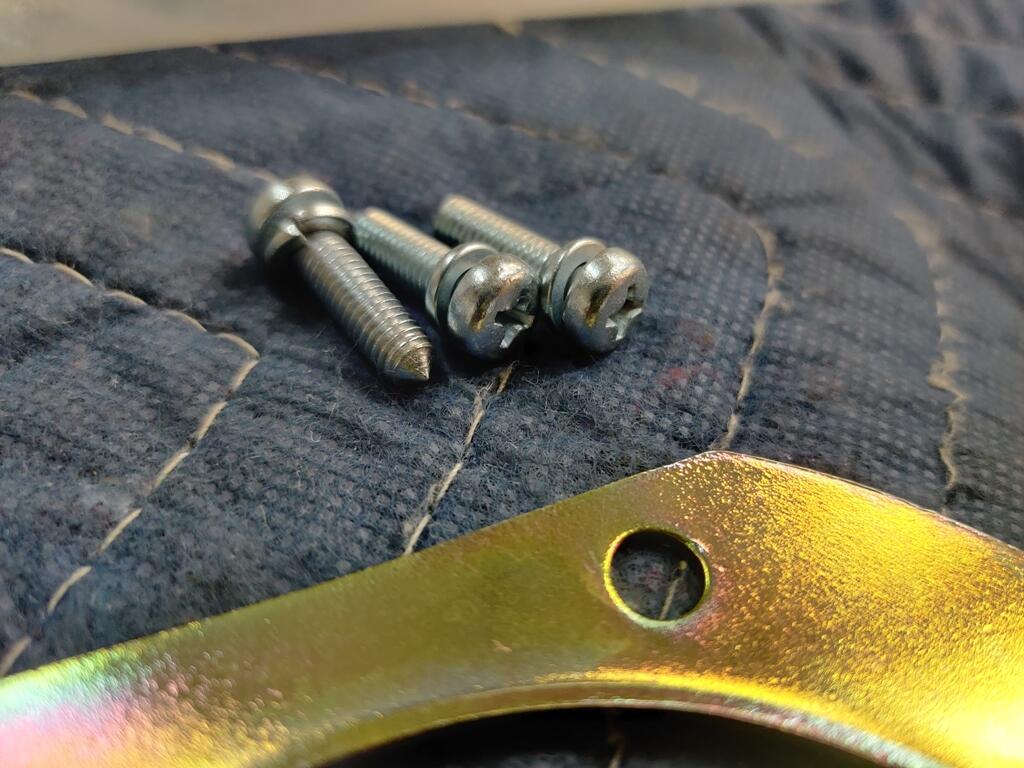
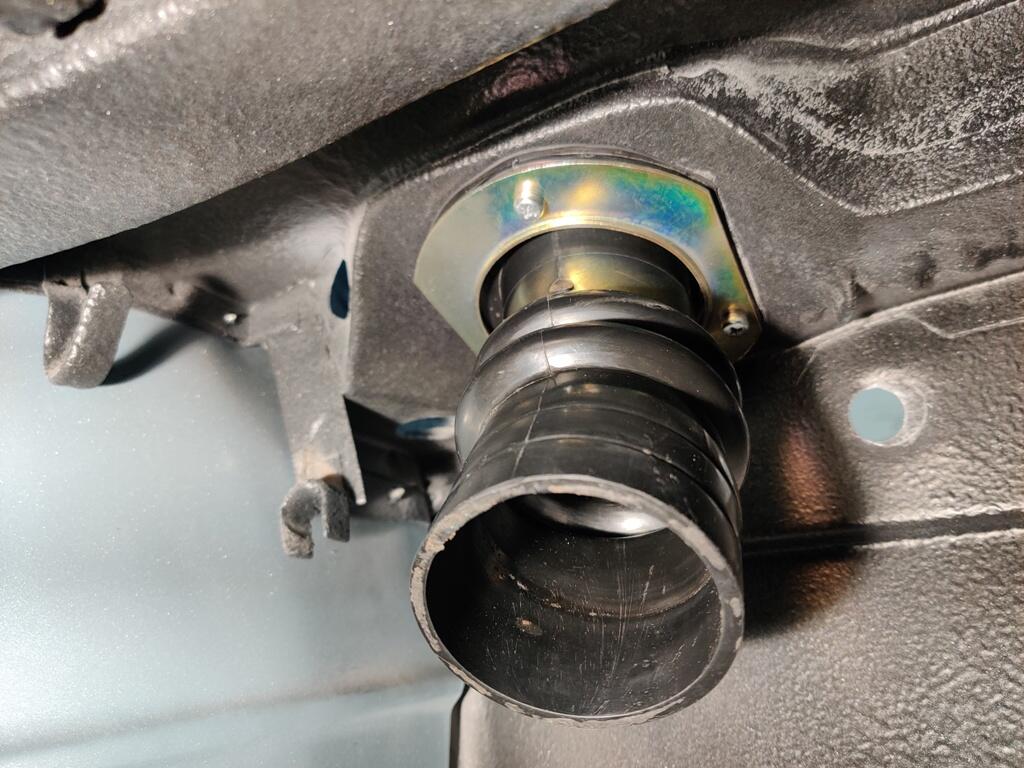
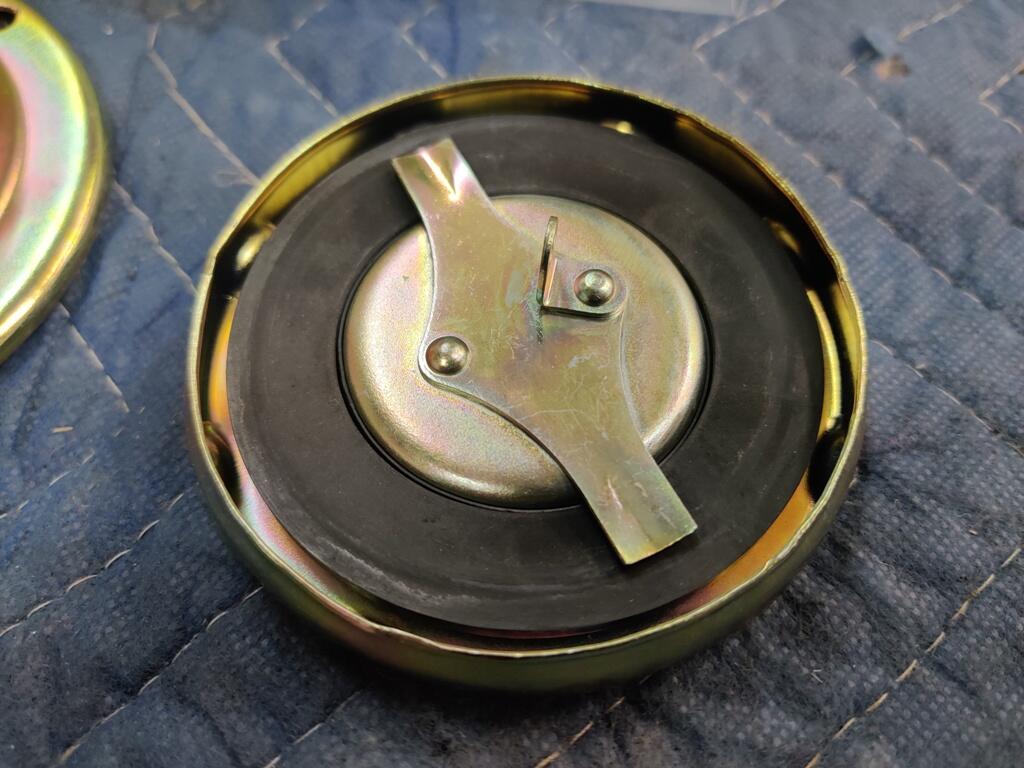
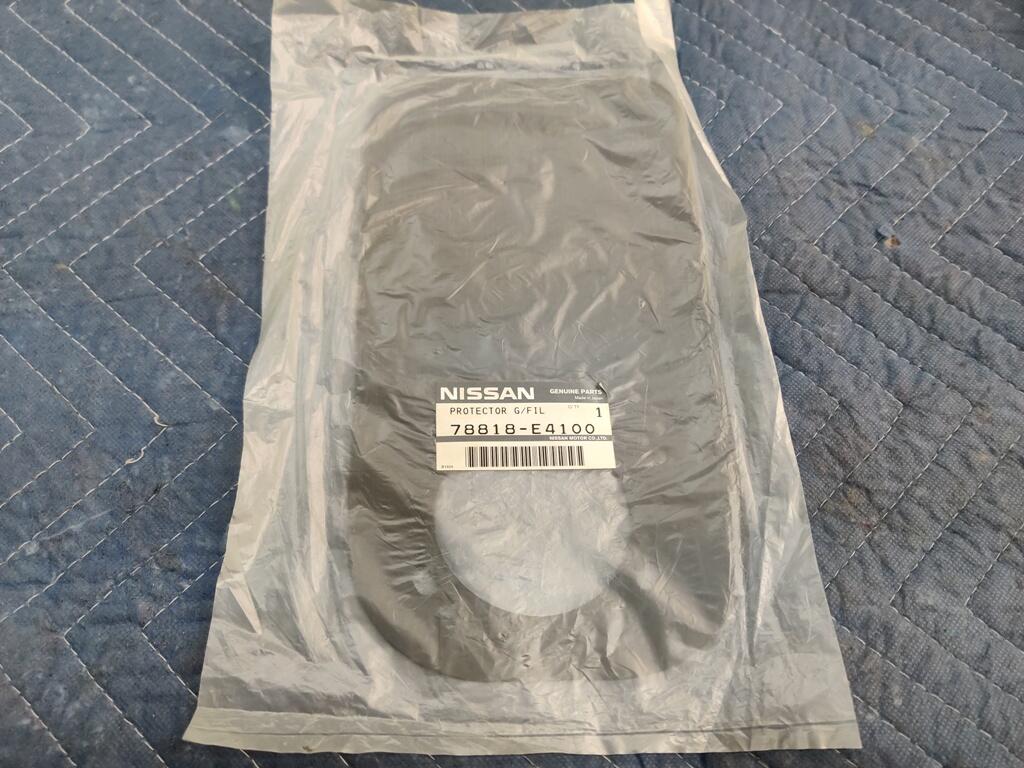
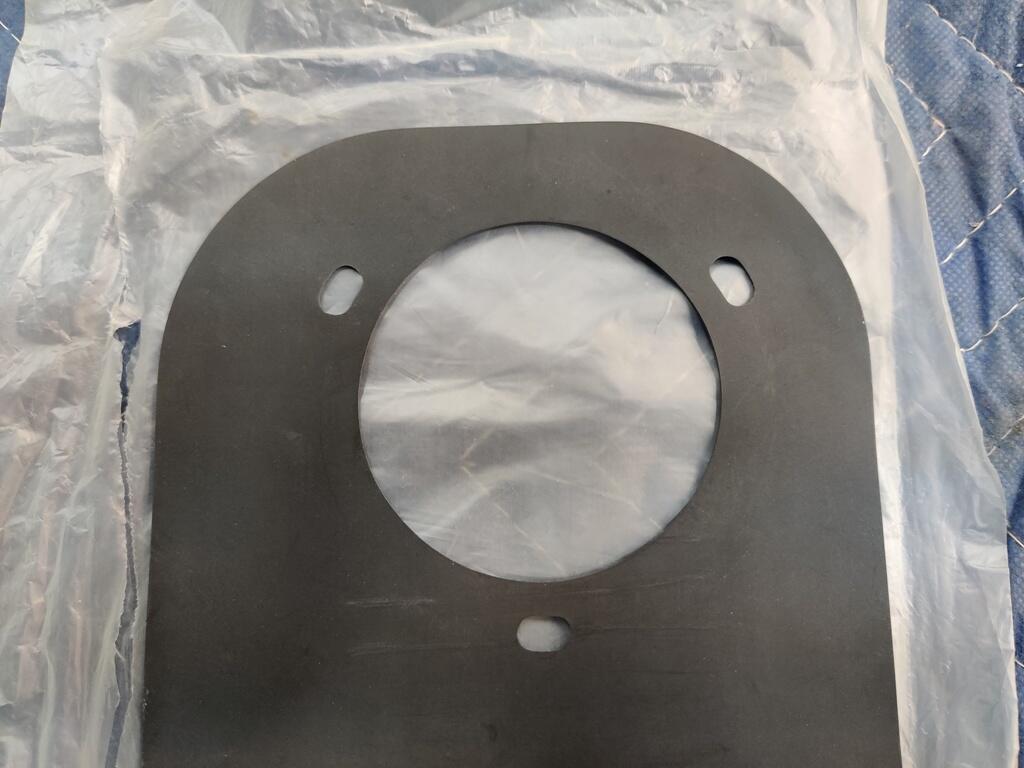
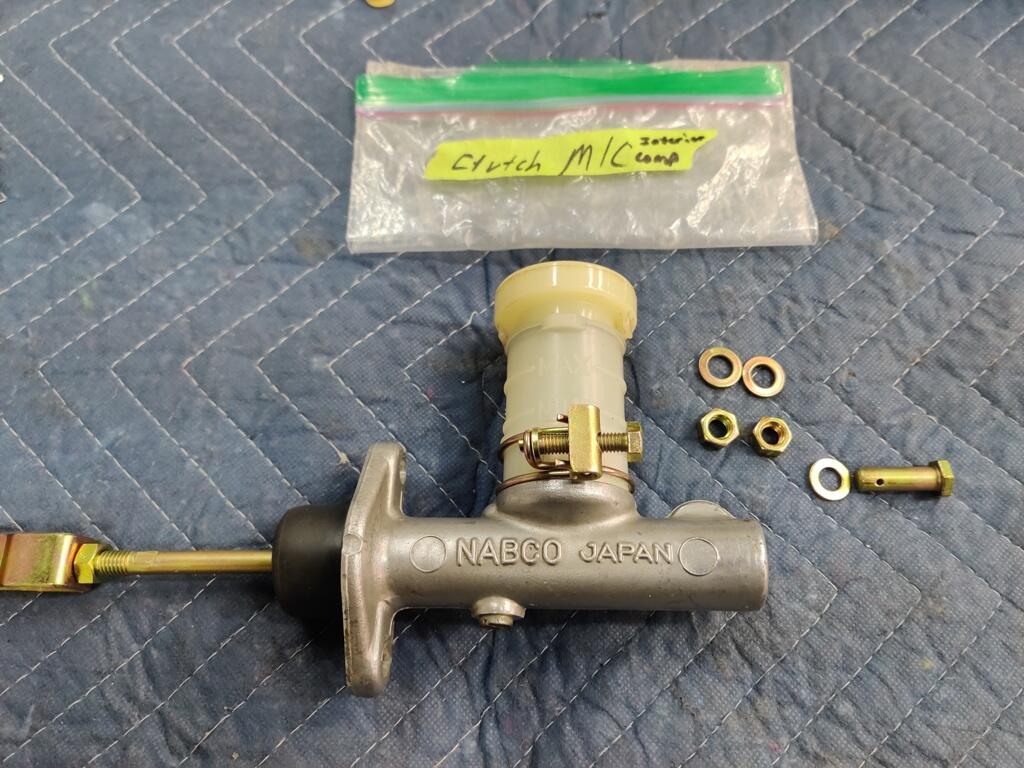
Today I put a couple more parts on the car. Because the shop is a bit cool for most of the day, I don't want to mess with gluing anything. So, I am holding off on interior related stuff for a moment. I put the clutch master cylinder on. I find it interesting that the clutch MC is Nabco when the brake MC is Tokico. Is this not original? Then I worked on cleaning up the gas tank fuel inlet hose. I found it interesting that the rubber gasket that went between the bottom of the car and the lower mounting flange was stapled in in place originally. Cleaning the grim and old rubber gasket off took quite a while. Then I had to heat it with a heat gun in order to get the lower mounting support plate onto the hose. The hose is hard and inflexible until you get some heat in it. Then, you have a limited amount of time to work with it until it freezes up rock hard again. I made a new rubber gasket (out of some thin neoprene sheet I have) and put that between the hose mounting flange and the body. The hose is 53 years old hose and as I said before, completely inflexible until you heat it. And it has shrunk a tad. So, lining up the holes and putting in the screws is extremely difficult. I had to heat and re-heat the hose carefully until I was able to get the screws into their holes. Up top, it is part 2 of hell trying get the upper hose flange through the hole in the body. Eventually, I got it - I had to reheat it about 12 times... and my hands were wearing out trying to squeeze the hose and pull the flange through. I went hoarse from screaming at it. 🤪 Then, I had to heat it again, in order to put the gas cap flange on. I found a suitable diameter object to shove into the hose to help spread it in all directions while I heated it. This counteracts the shrinkage which causes misalignment of the holes in the flange to the body. After heating it up carefully (as it is on the body) I pulled the object out and quickly put the rubber flap, flange, and screws in. Note: the original rubber flap that protects the body of the car from the dangling gas cap is cut asymmetrically. The main hole is offset to one side a bit. It is nice to have that bear of a project complete.


 3 points
 -
@MH77280Z Yes, once loose i took them fully apart to restore them. As expected they were rusted to no end. Once they are loose there is a c clip on the top of the spindle, pry it loose and the whole thing comes apart. At the bottom of the spindle is a pre-bent washer that acts sort of a spring don't try to flatten it its supposed to be that way to provide tension to the whole thing when put back together. Just make sure you put things back in the right order. Once they are apart you can blast them then remember to use some type of grease you prefer on the spindle before reassembling. I also had to source new screws and a new gasket I made myself.
 3 points
 -
Yes, it's a Z432. Not really comparable to any other S302 points
-
Done with the back of the garage for now. Patchwork platform is good enough.2 points
-
New member, first post! I fixed my windshield washers. Cleaned the reservoir, replaced the motor and all the lines, and cleaned the spray nozzles. It works now, for first time in 30+ years! In the process of yanking one of the old lines off, I stabbed myself with it. Who knew that 50 year old flexible tubing would harden enough to break skin!2 points
-
It's been $250K for a week maybe? They would have caught the typo. From what I've read this car has Nissan upgrades and there were only around 420 built. Better than stocks or gold. You can enjoy this investment.1 point
-
I’ll check, 78 model year might be a problem1 point
-
There is a lot of downloadable stuff on the site. https://www.classiczcars.com/files/ https://www.classiczcars.com/files/category/1-wiring-diagrams/1 point
-
Made a (long) slideshow YT of the Volvo pickup truck conversion1 point
-
Looks like 17312-N4700 & 17208-N4500 are available1 point
-
Interesting that the Yves folks didn't set a reserve above the selling price. Maybe they just wanted to move it on. Based on past BaT results the 199 number should have brought more. Maybe the low number obsession is waning.1 point
-
Iirc the cable used for the extension in the 240z antenna is RG59 cable (Not the 58 as this is 50 ohms impedance) This RG59 has the 75 ohms impedance! (I corrected my cabletype in the previous message.) Maybe you can look it up what the impedance should be for the radio antennacable in the paperwork on the radio's used in cars.1 point
-
You know that Nissan makes them again? just look up the part number and Nissan will deliver a new one.. Most times the tank WILL leak at the inlet as the hard hose is not gonna fit leakfree...1 point
-
Thanks for offering assistance. At this point, options are good things. I will keep updating the thread as I learn anything new and will reach back out to you if either of those routes look best.1 point
-
Either the market has really gotten soft or that was the wrong venue1 point
-
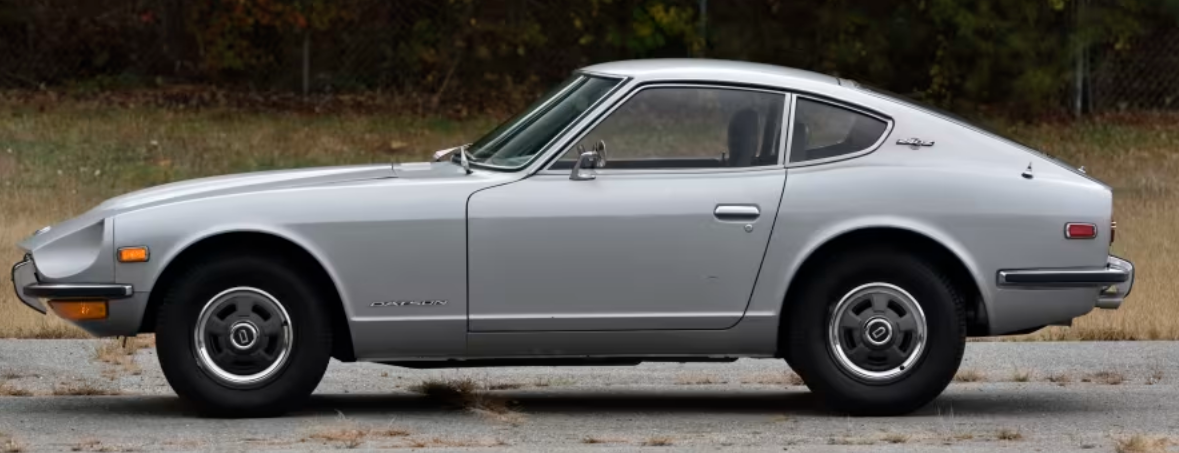
Mecum seems more like a muscle car nostalgia crowd. They should have put it on BaT. It a low miles low number car. Very clean looking, click the link. #199. It's even been restored by what looks like a pro shop. ODOMETER READS† 64,609 miles VIN / SERIAL HLS3000199 HIGHLIGHTS Early production car built in late 1969 (11/1969) Part of the St Yves Collection since 1981 Older 1980s restoration by St. Yves Motor Sales, with attention to factory details and specifications, using OEM parts when available Restored in original 901 Silver Original matching numbers DOHC 2.4L inline 6-cylinder engine 4-speed manual transmission Dual "round-top" SU carburetors Under hood work light Chrome bumpers with front and rear bumperettes
 1 point
 -
I should clarify, the warmed up gasket goes on the windshield, then the SS trim gets installed on the gasket so it looks like this. The SS trim goes in a lot easier because the gasket is still a bit loose. Then just before installing on the car, insert the trimmer filament line by rolling it into the fold where the pinch weld goes. Sometimes if the gasket isn't warm enough it will want to pull off the glass as you start working the gasket on opposite side, a second pair of hands at this point is a big help. Once the SS trim is installed there is no danger of the gasket pulling off the glass as the trim locks the gasket onto the windshield.
 1 point
 -
It is normal, the angle keeps the mounting bolt perpendicular to the curve of the bumper.1 point
-
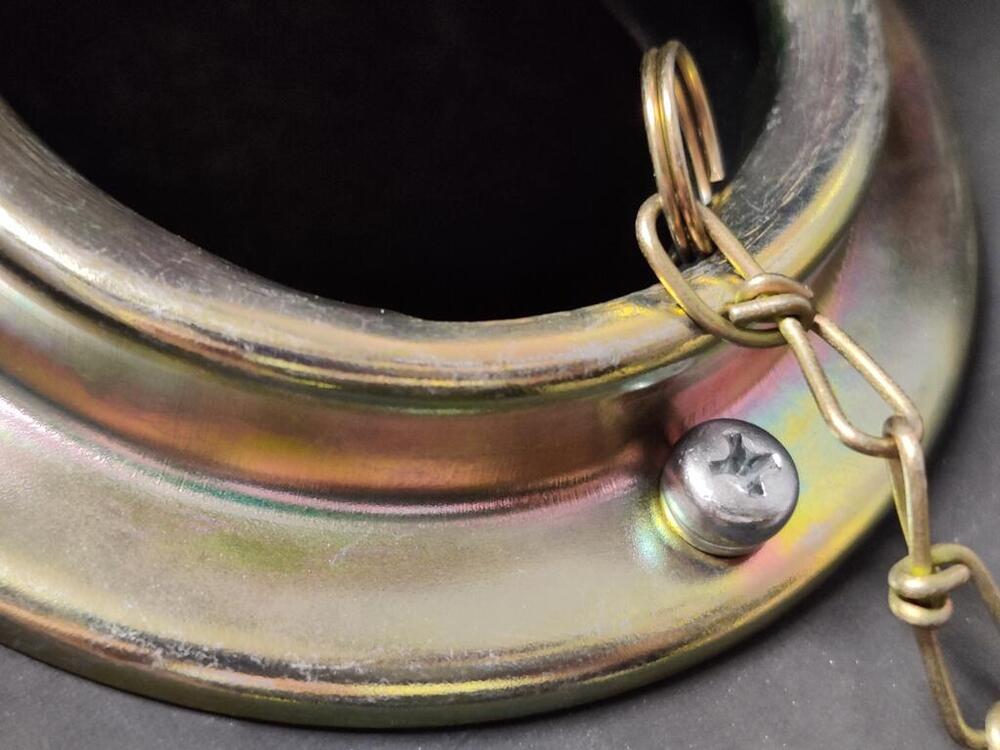
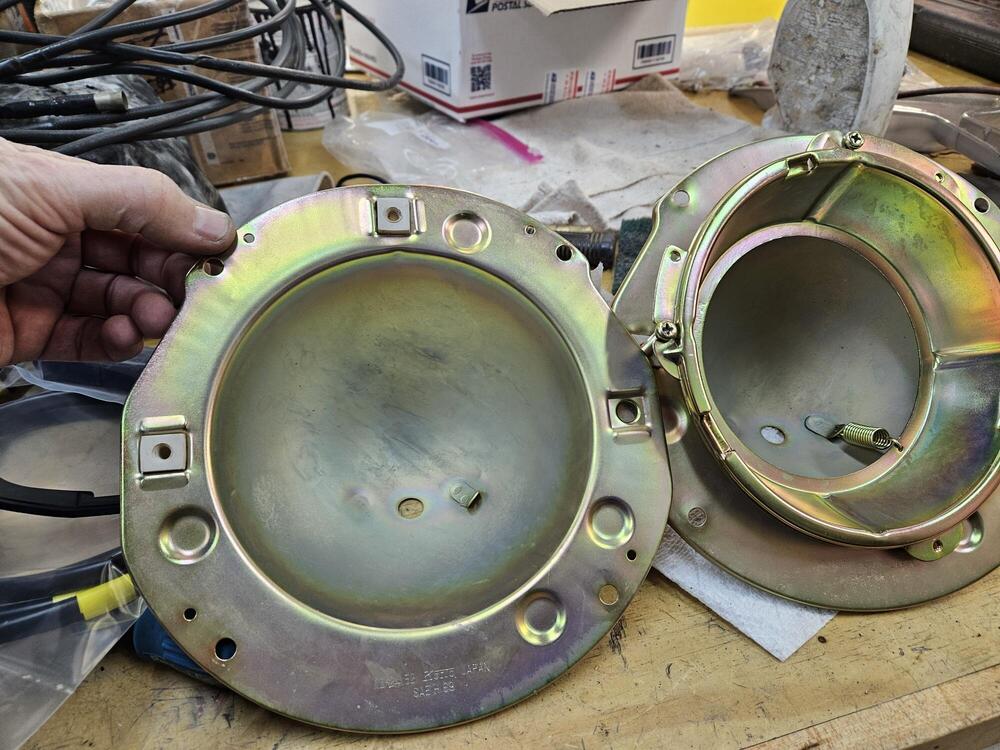
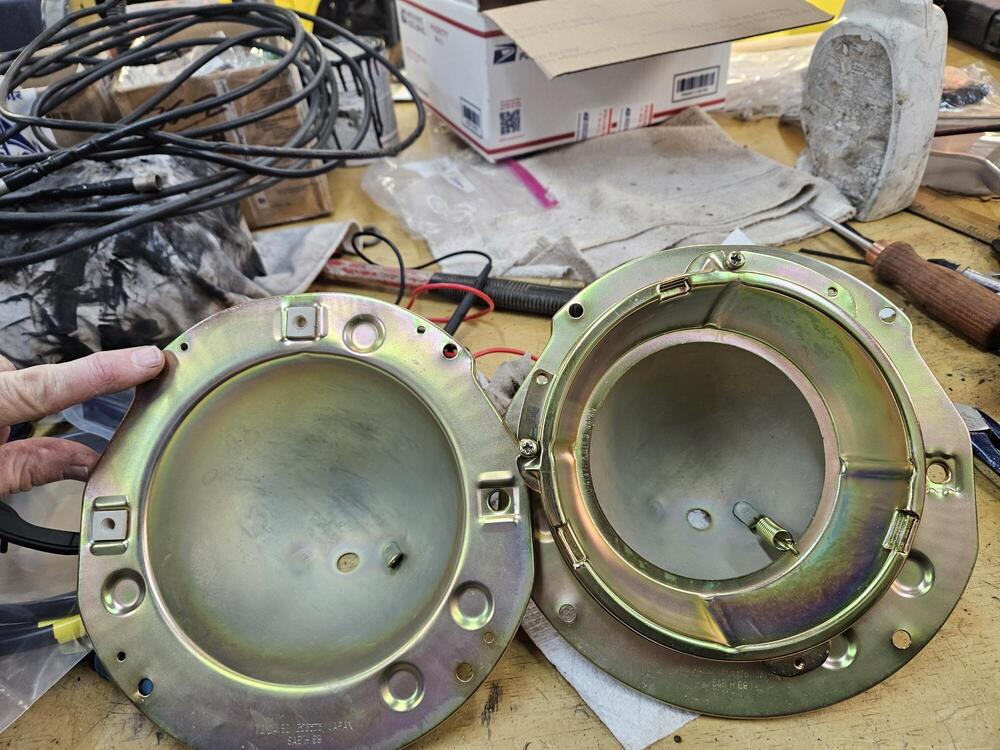
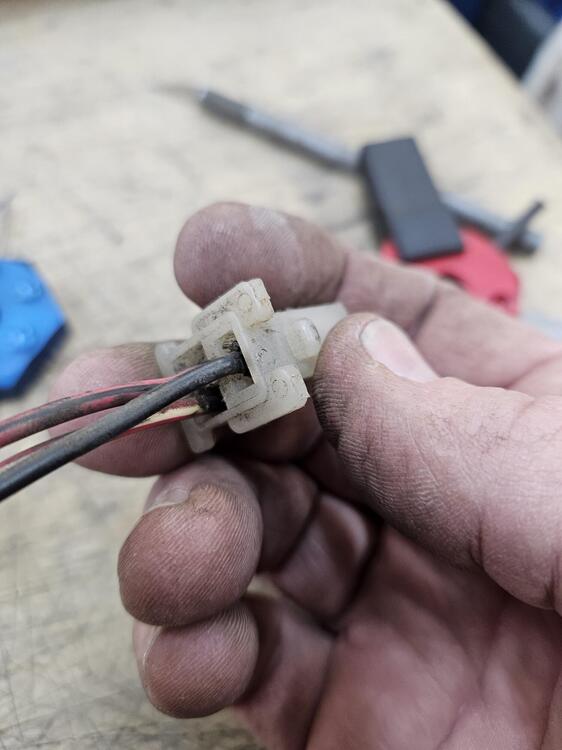
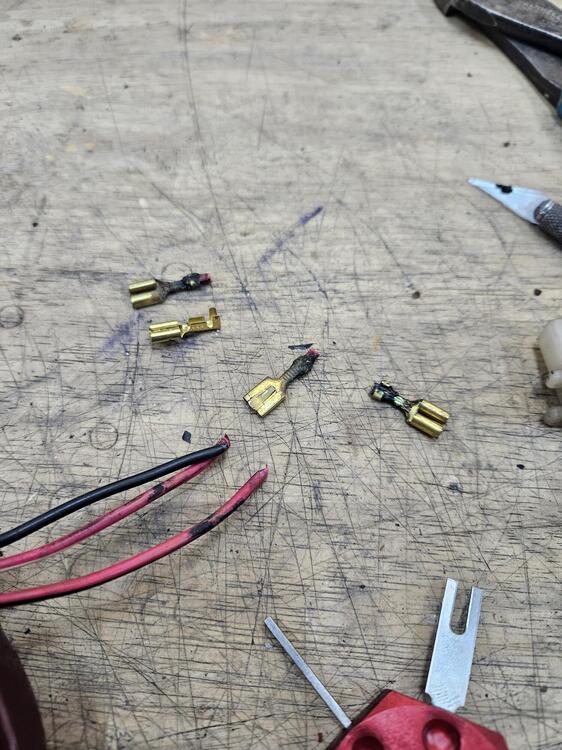
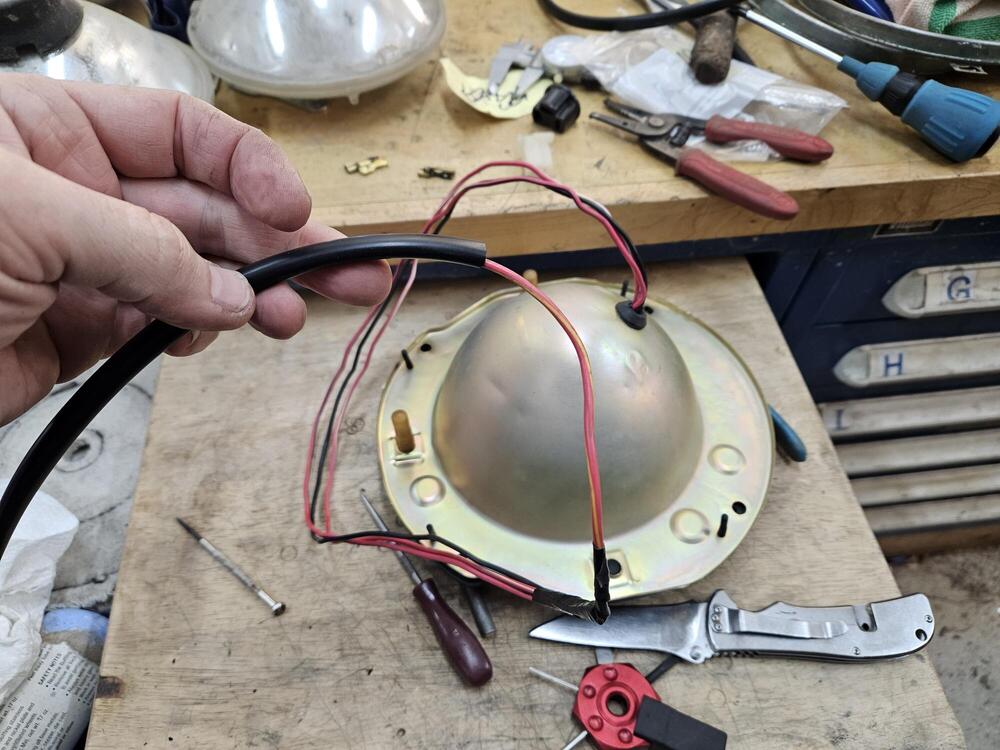
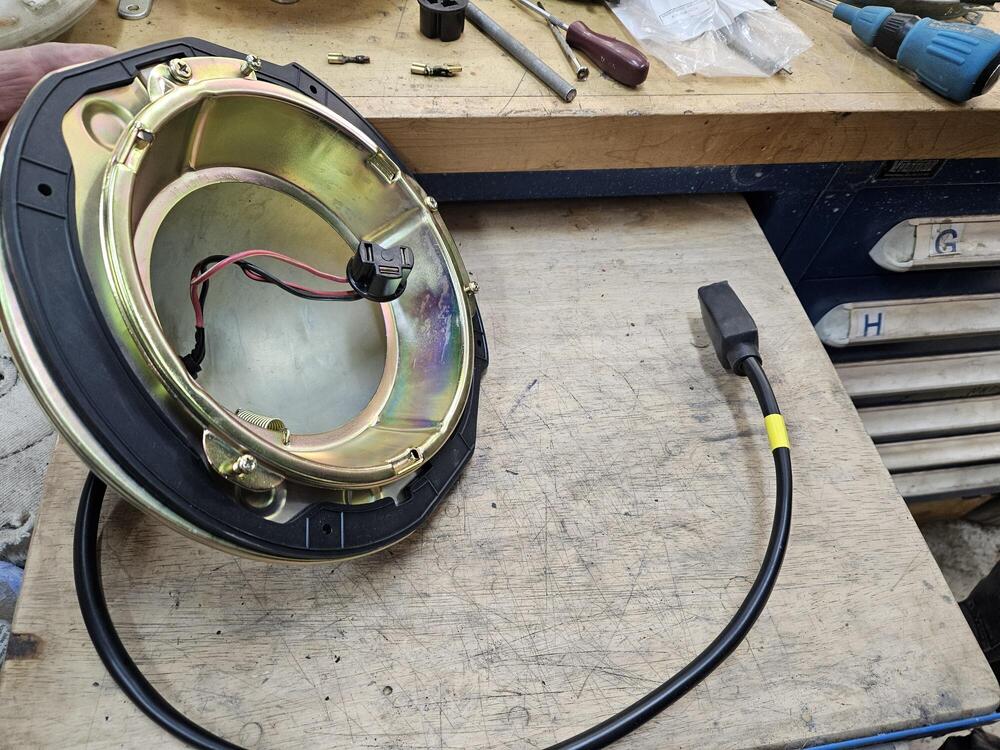
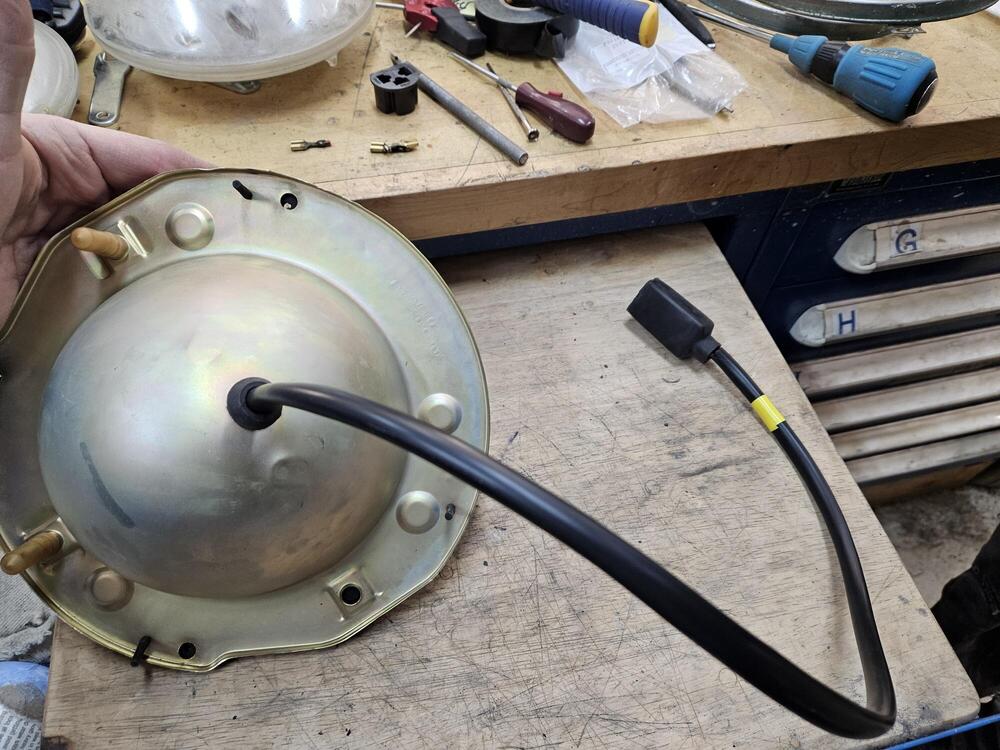
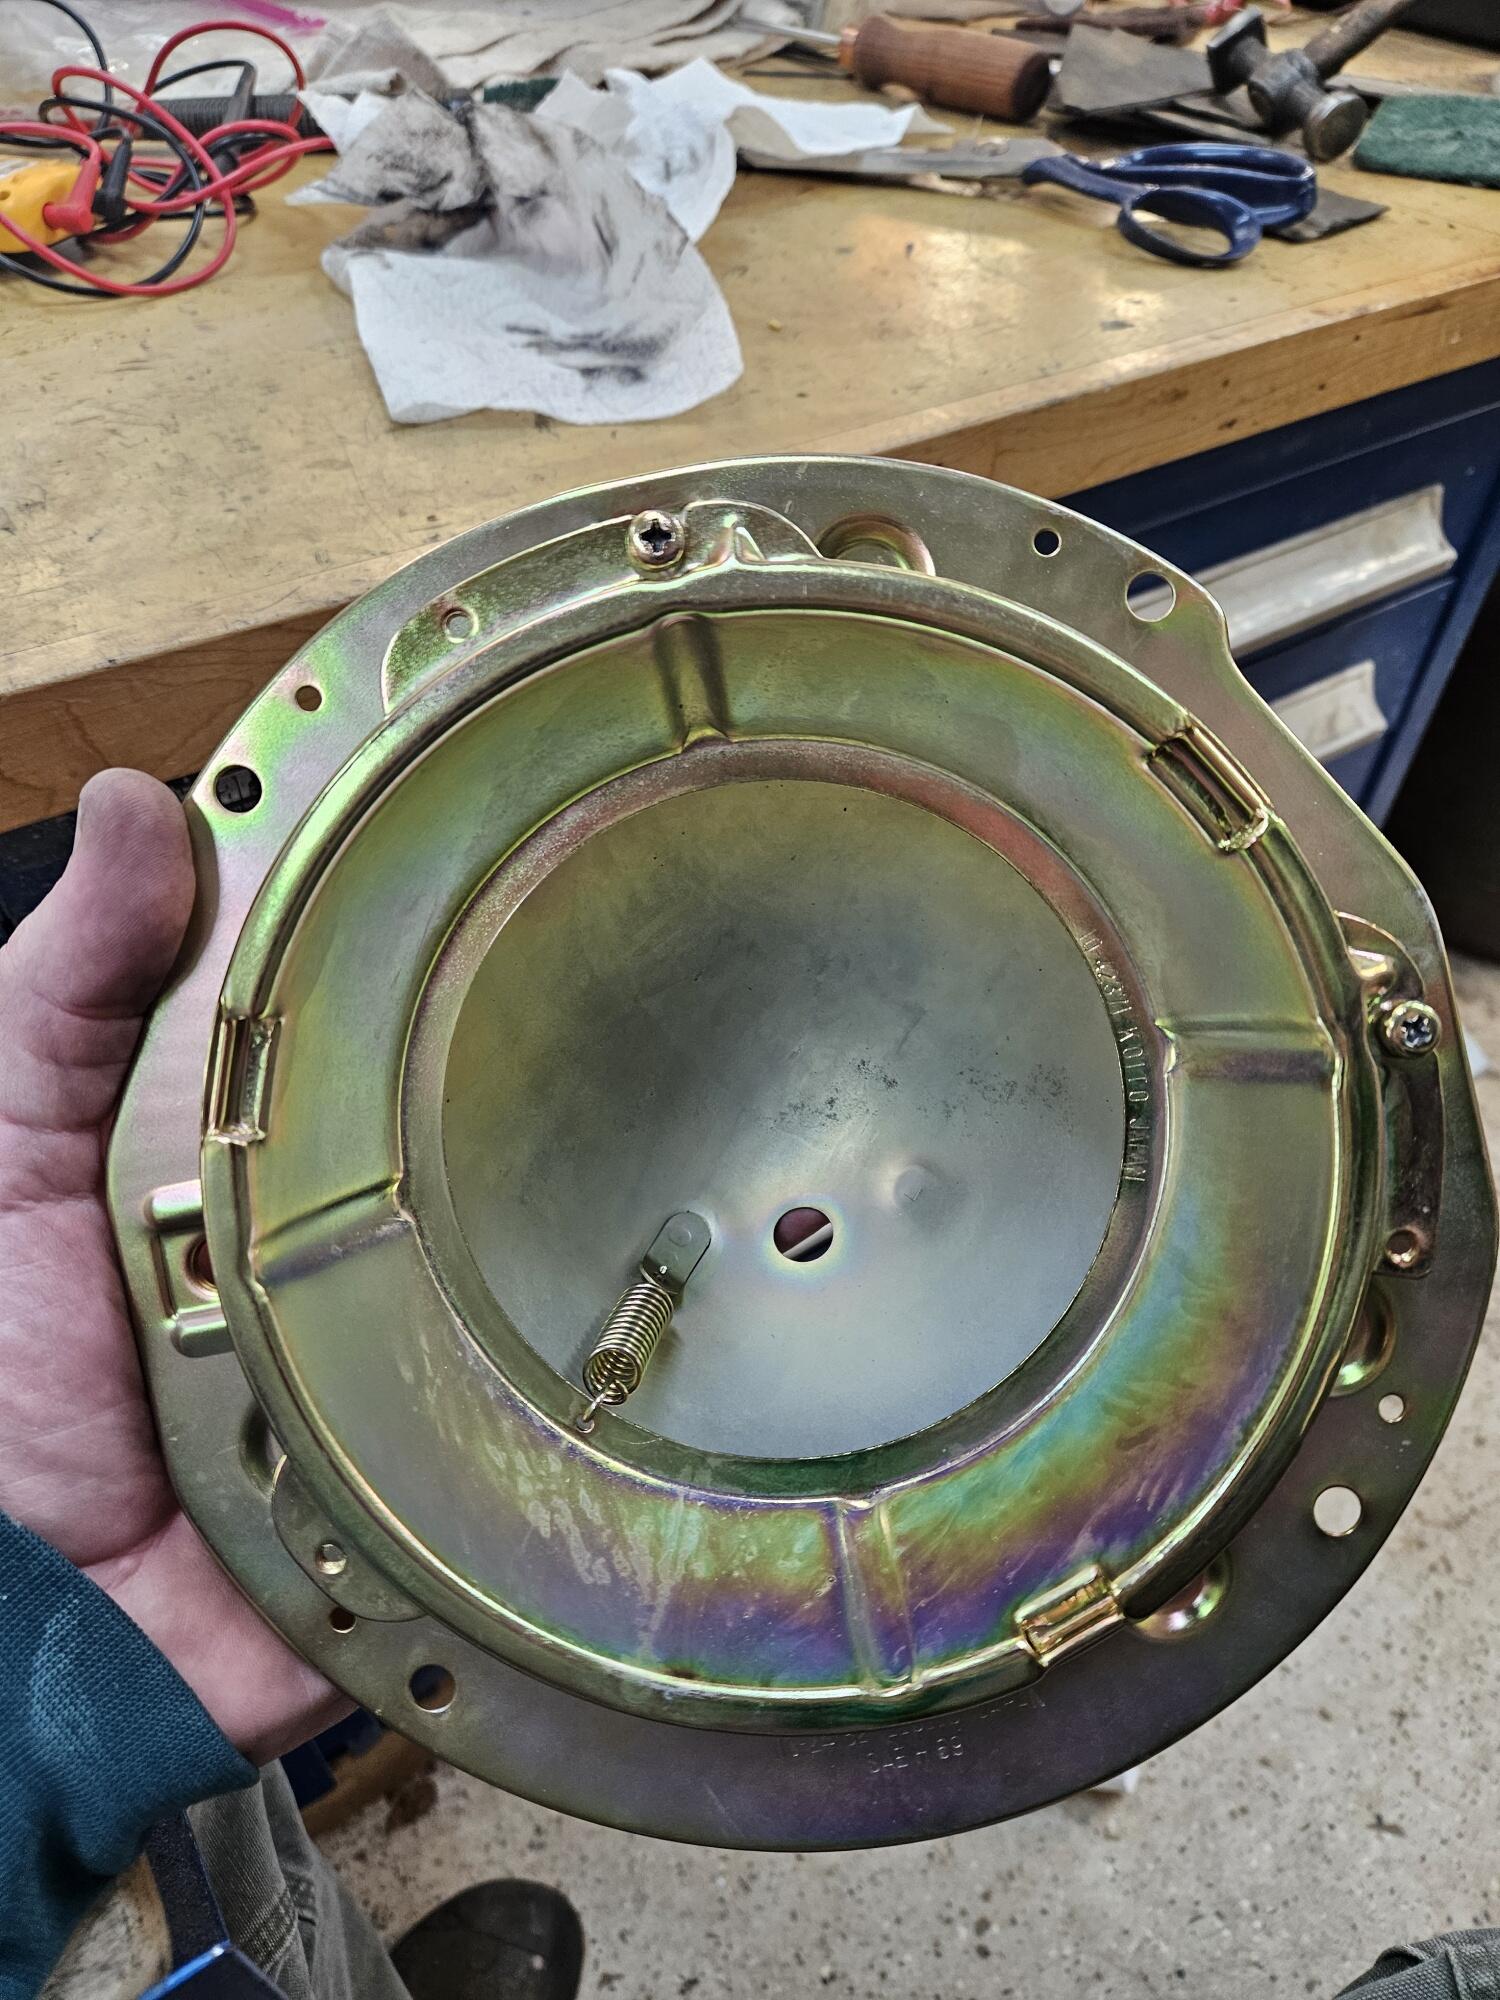
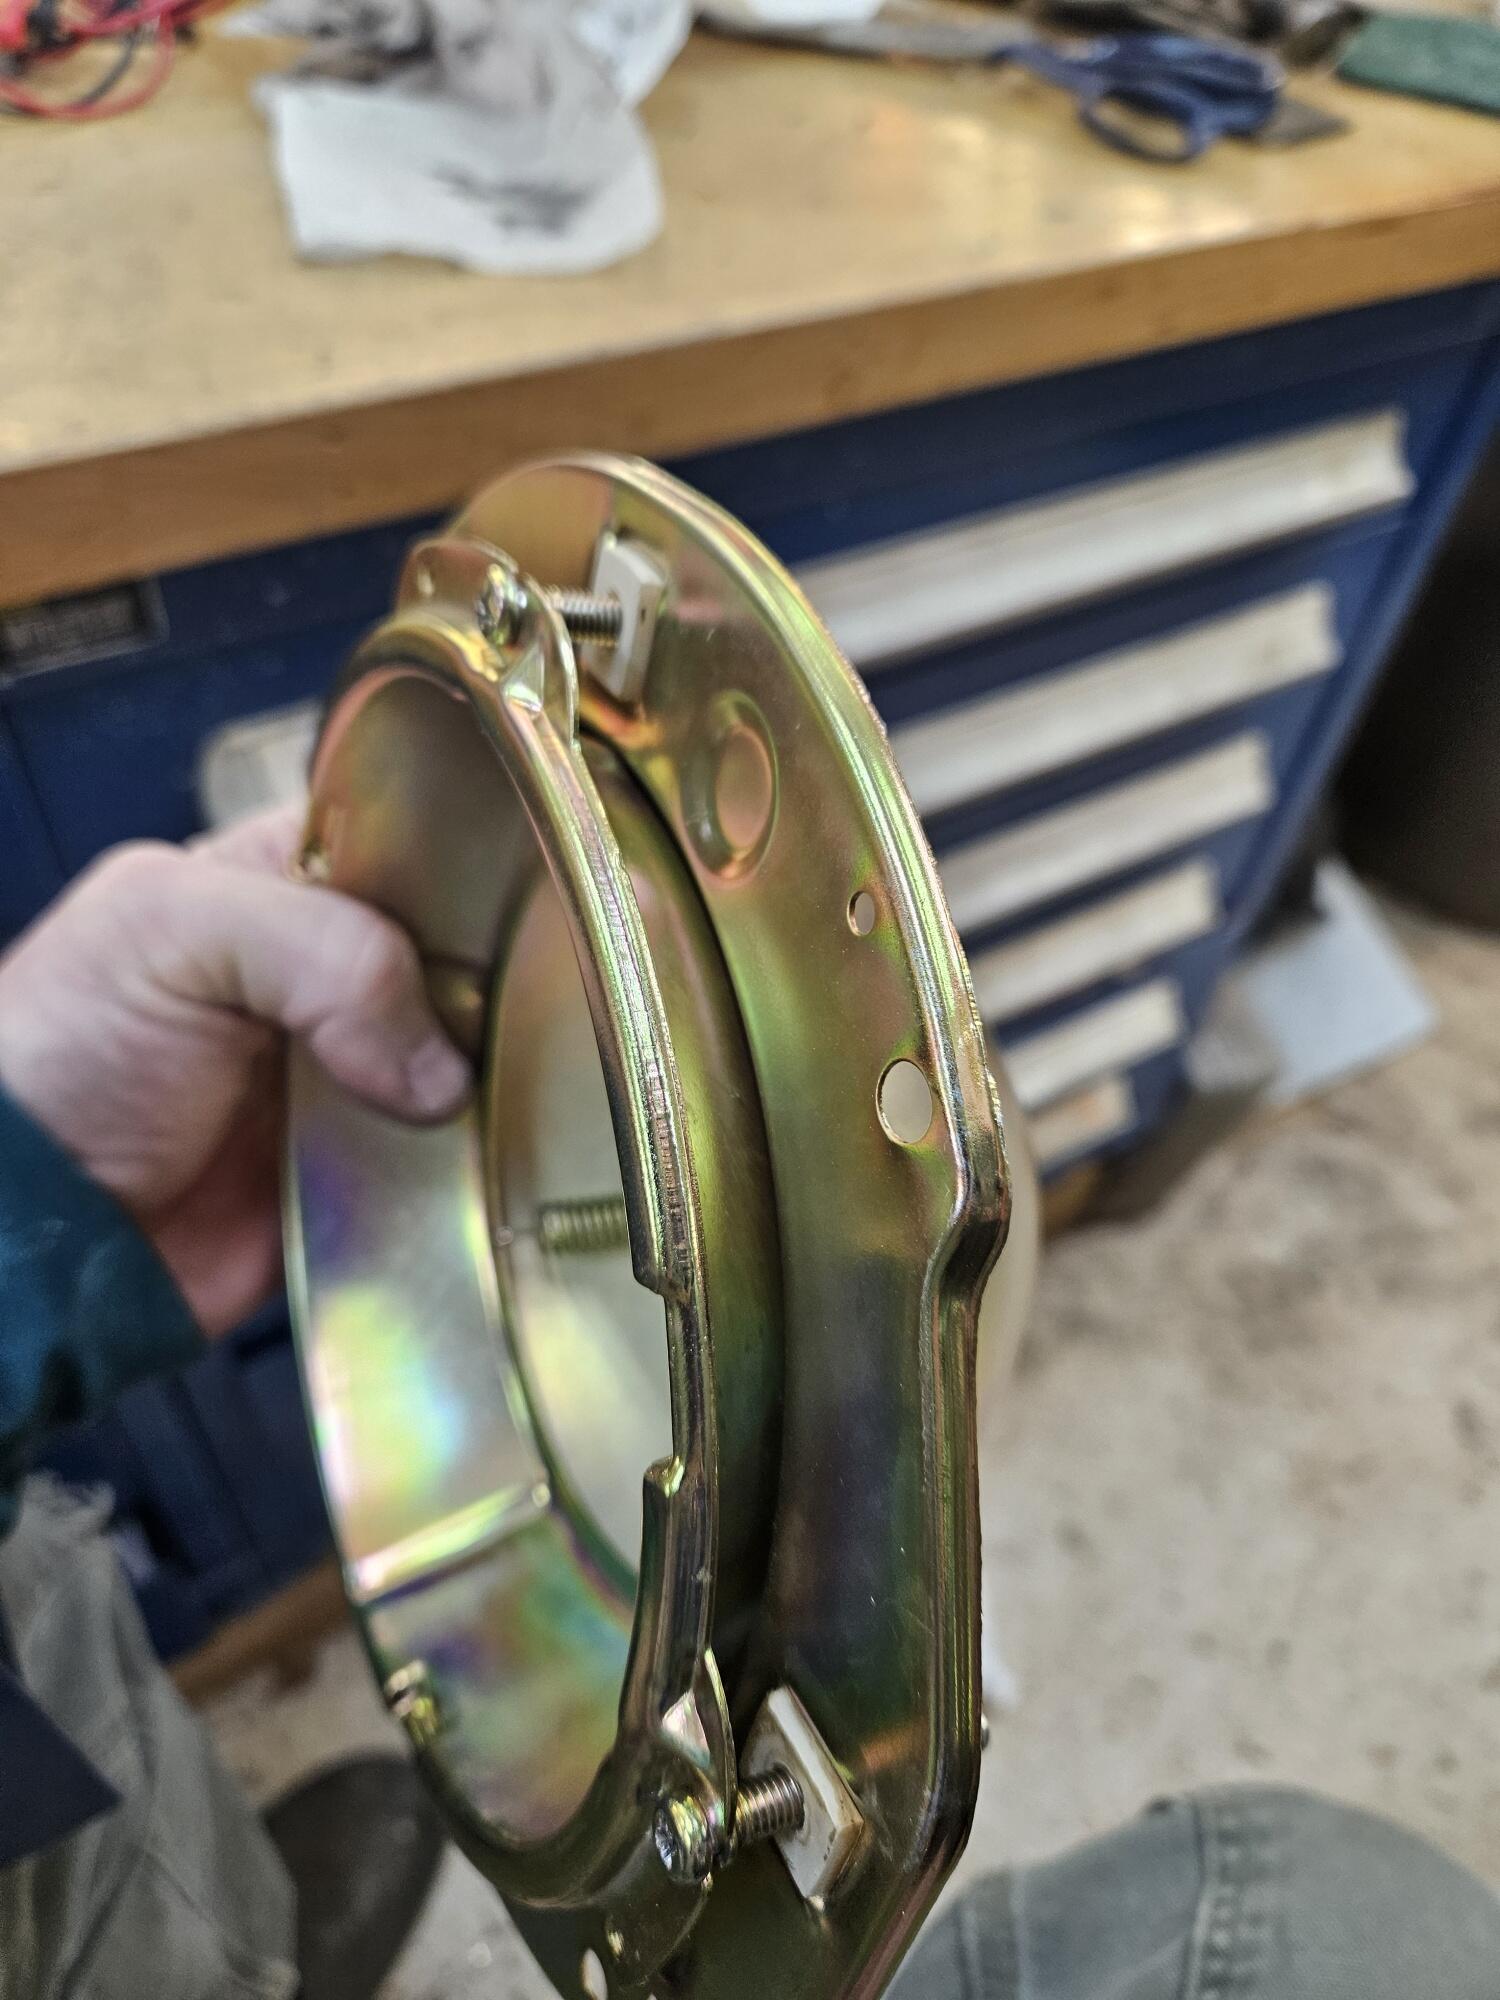
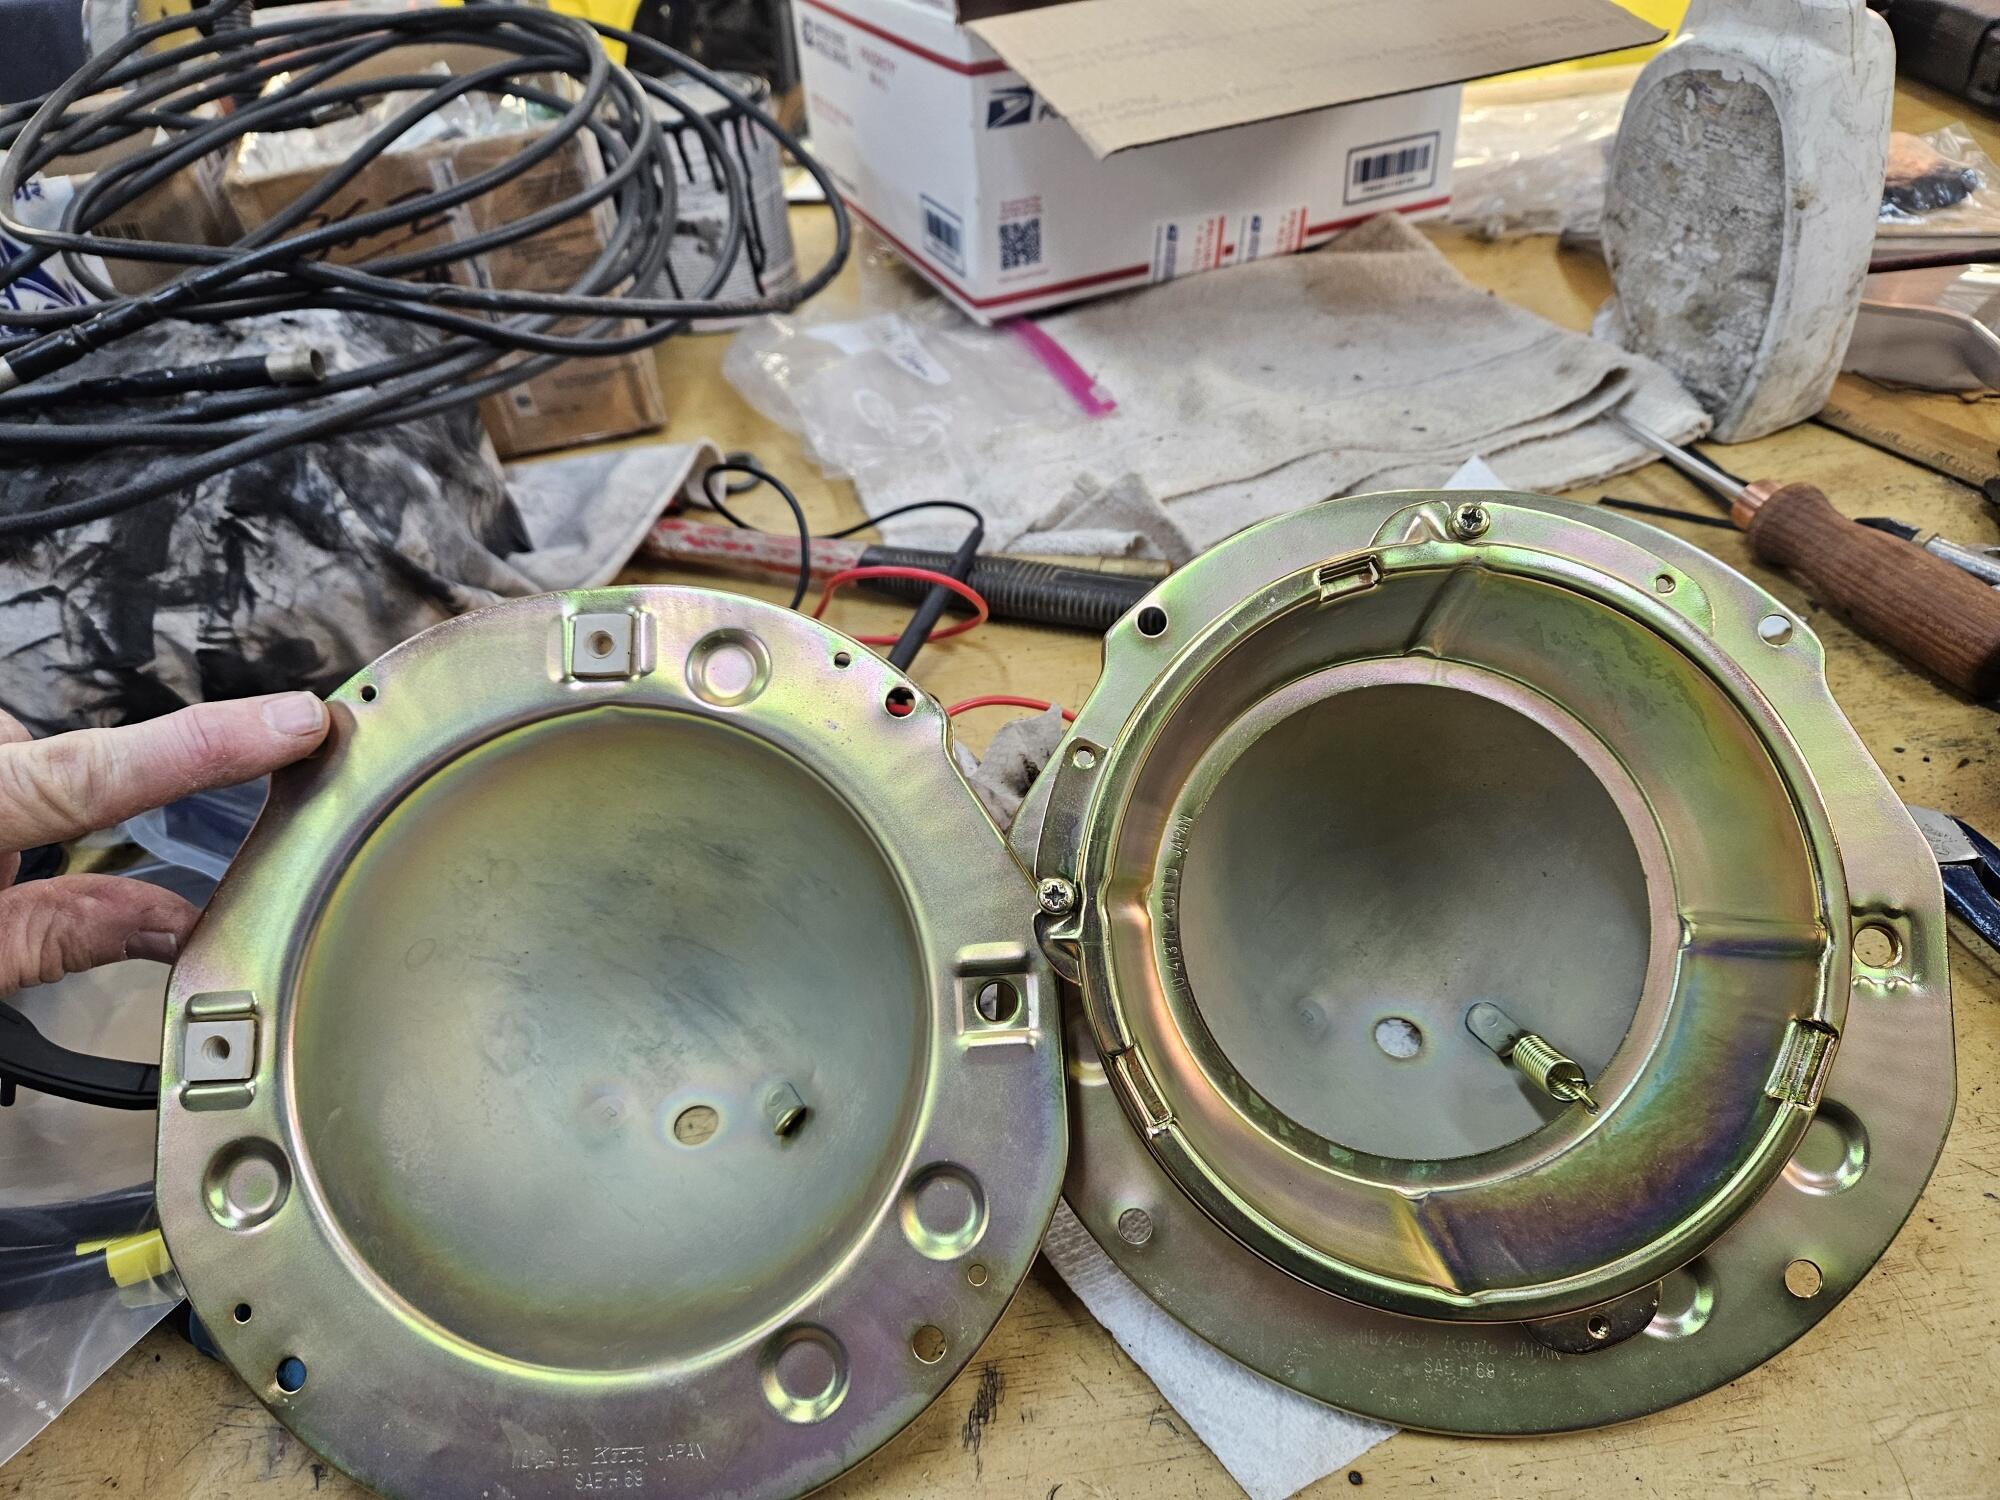
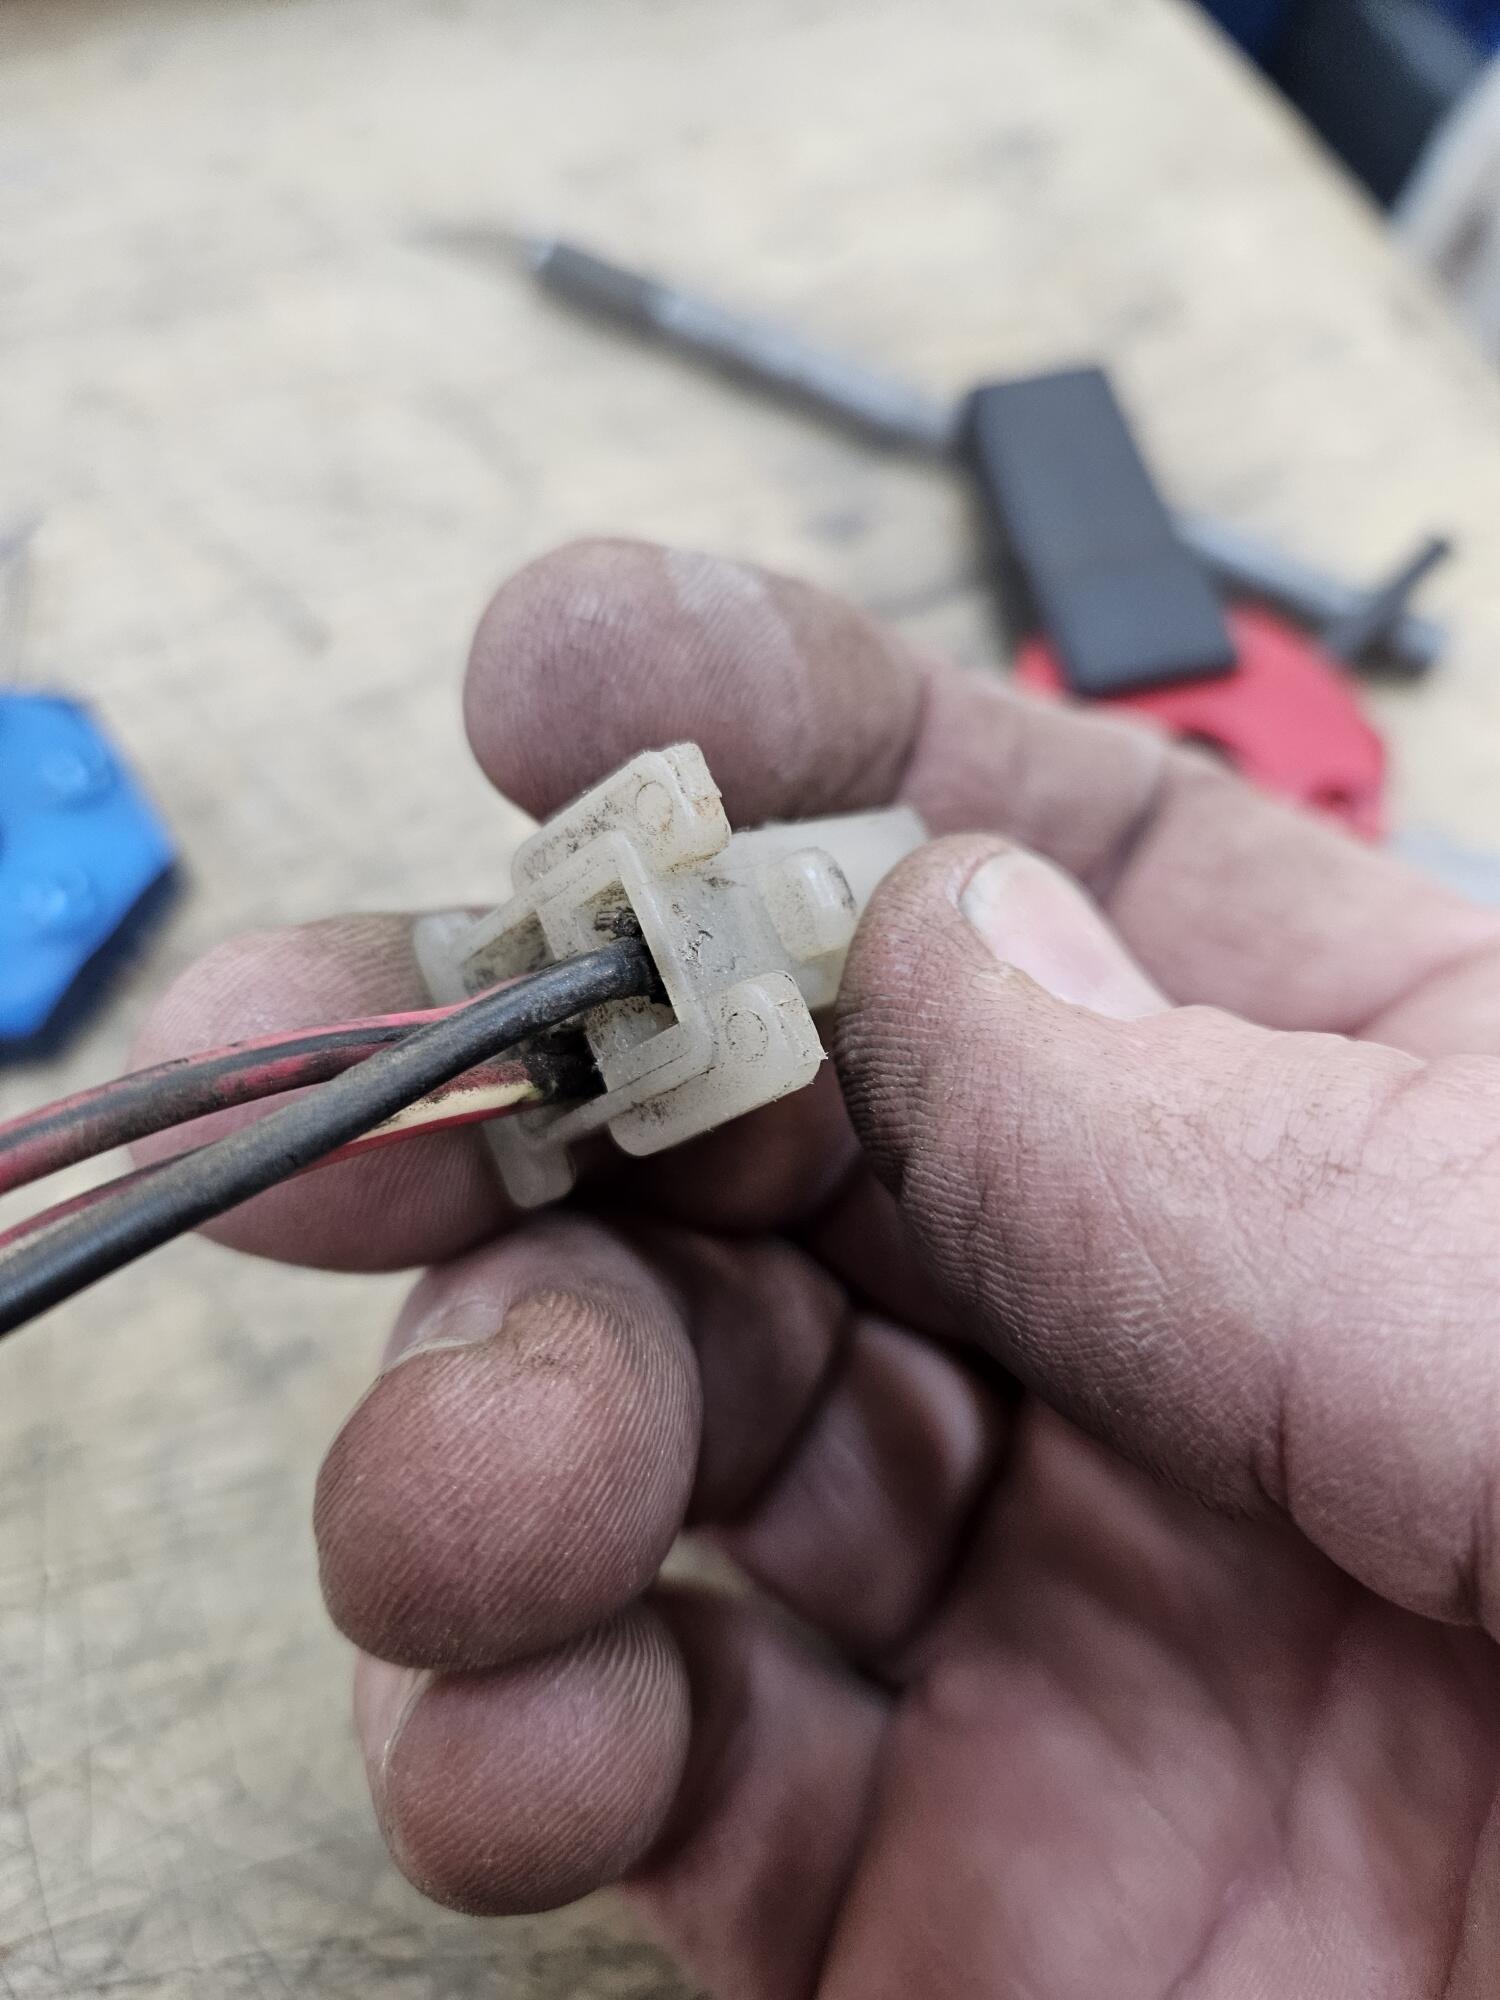
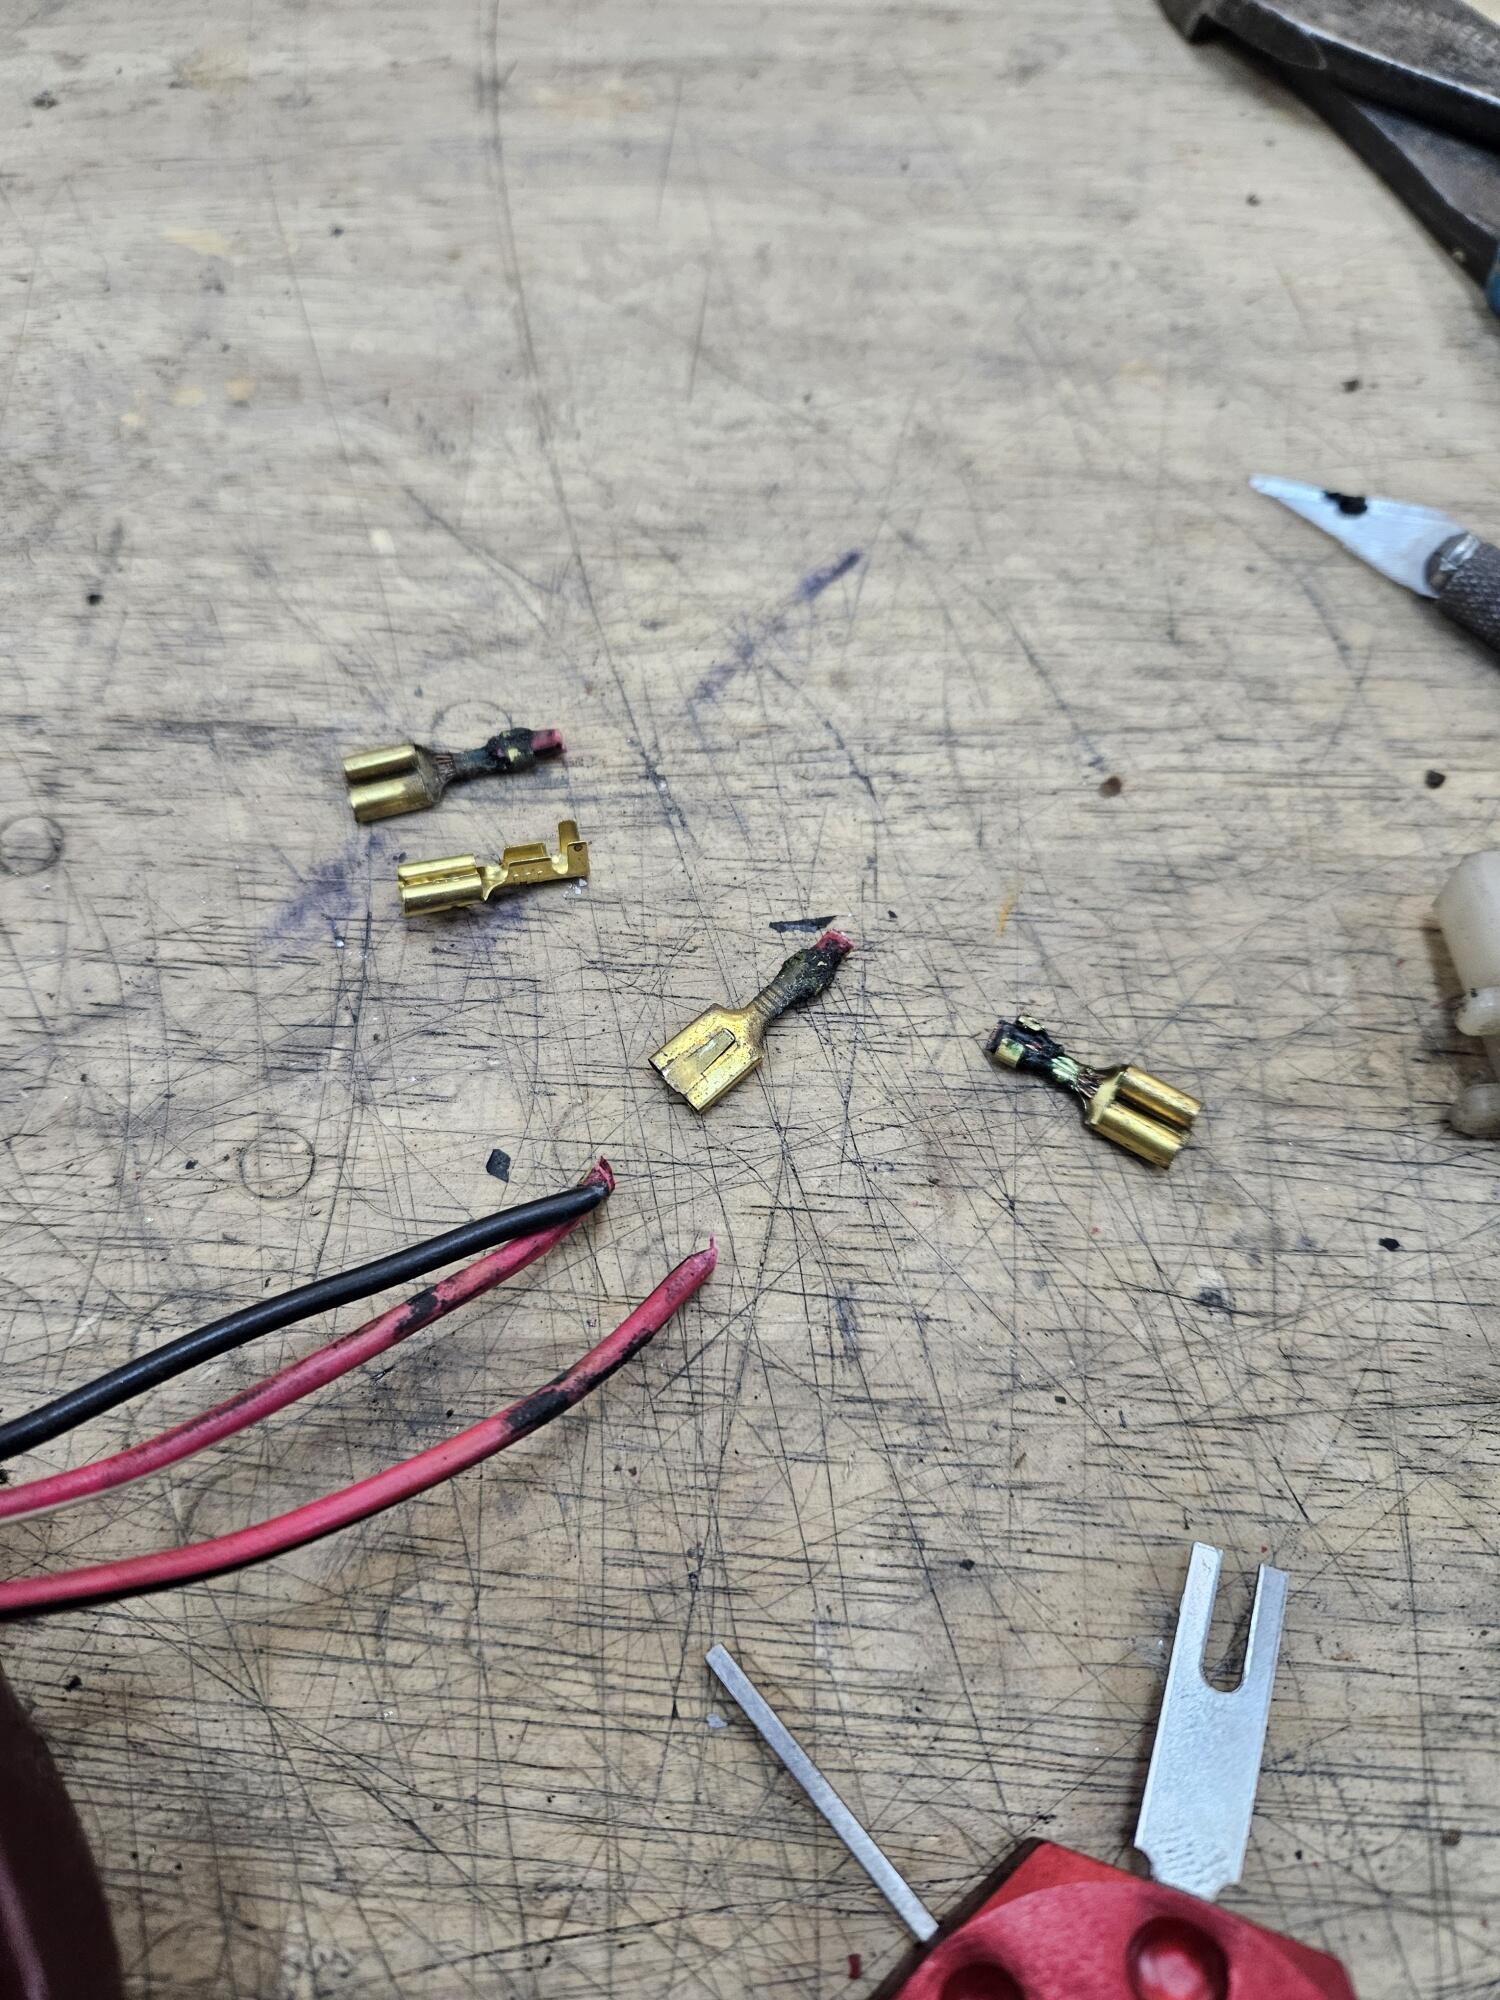
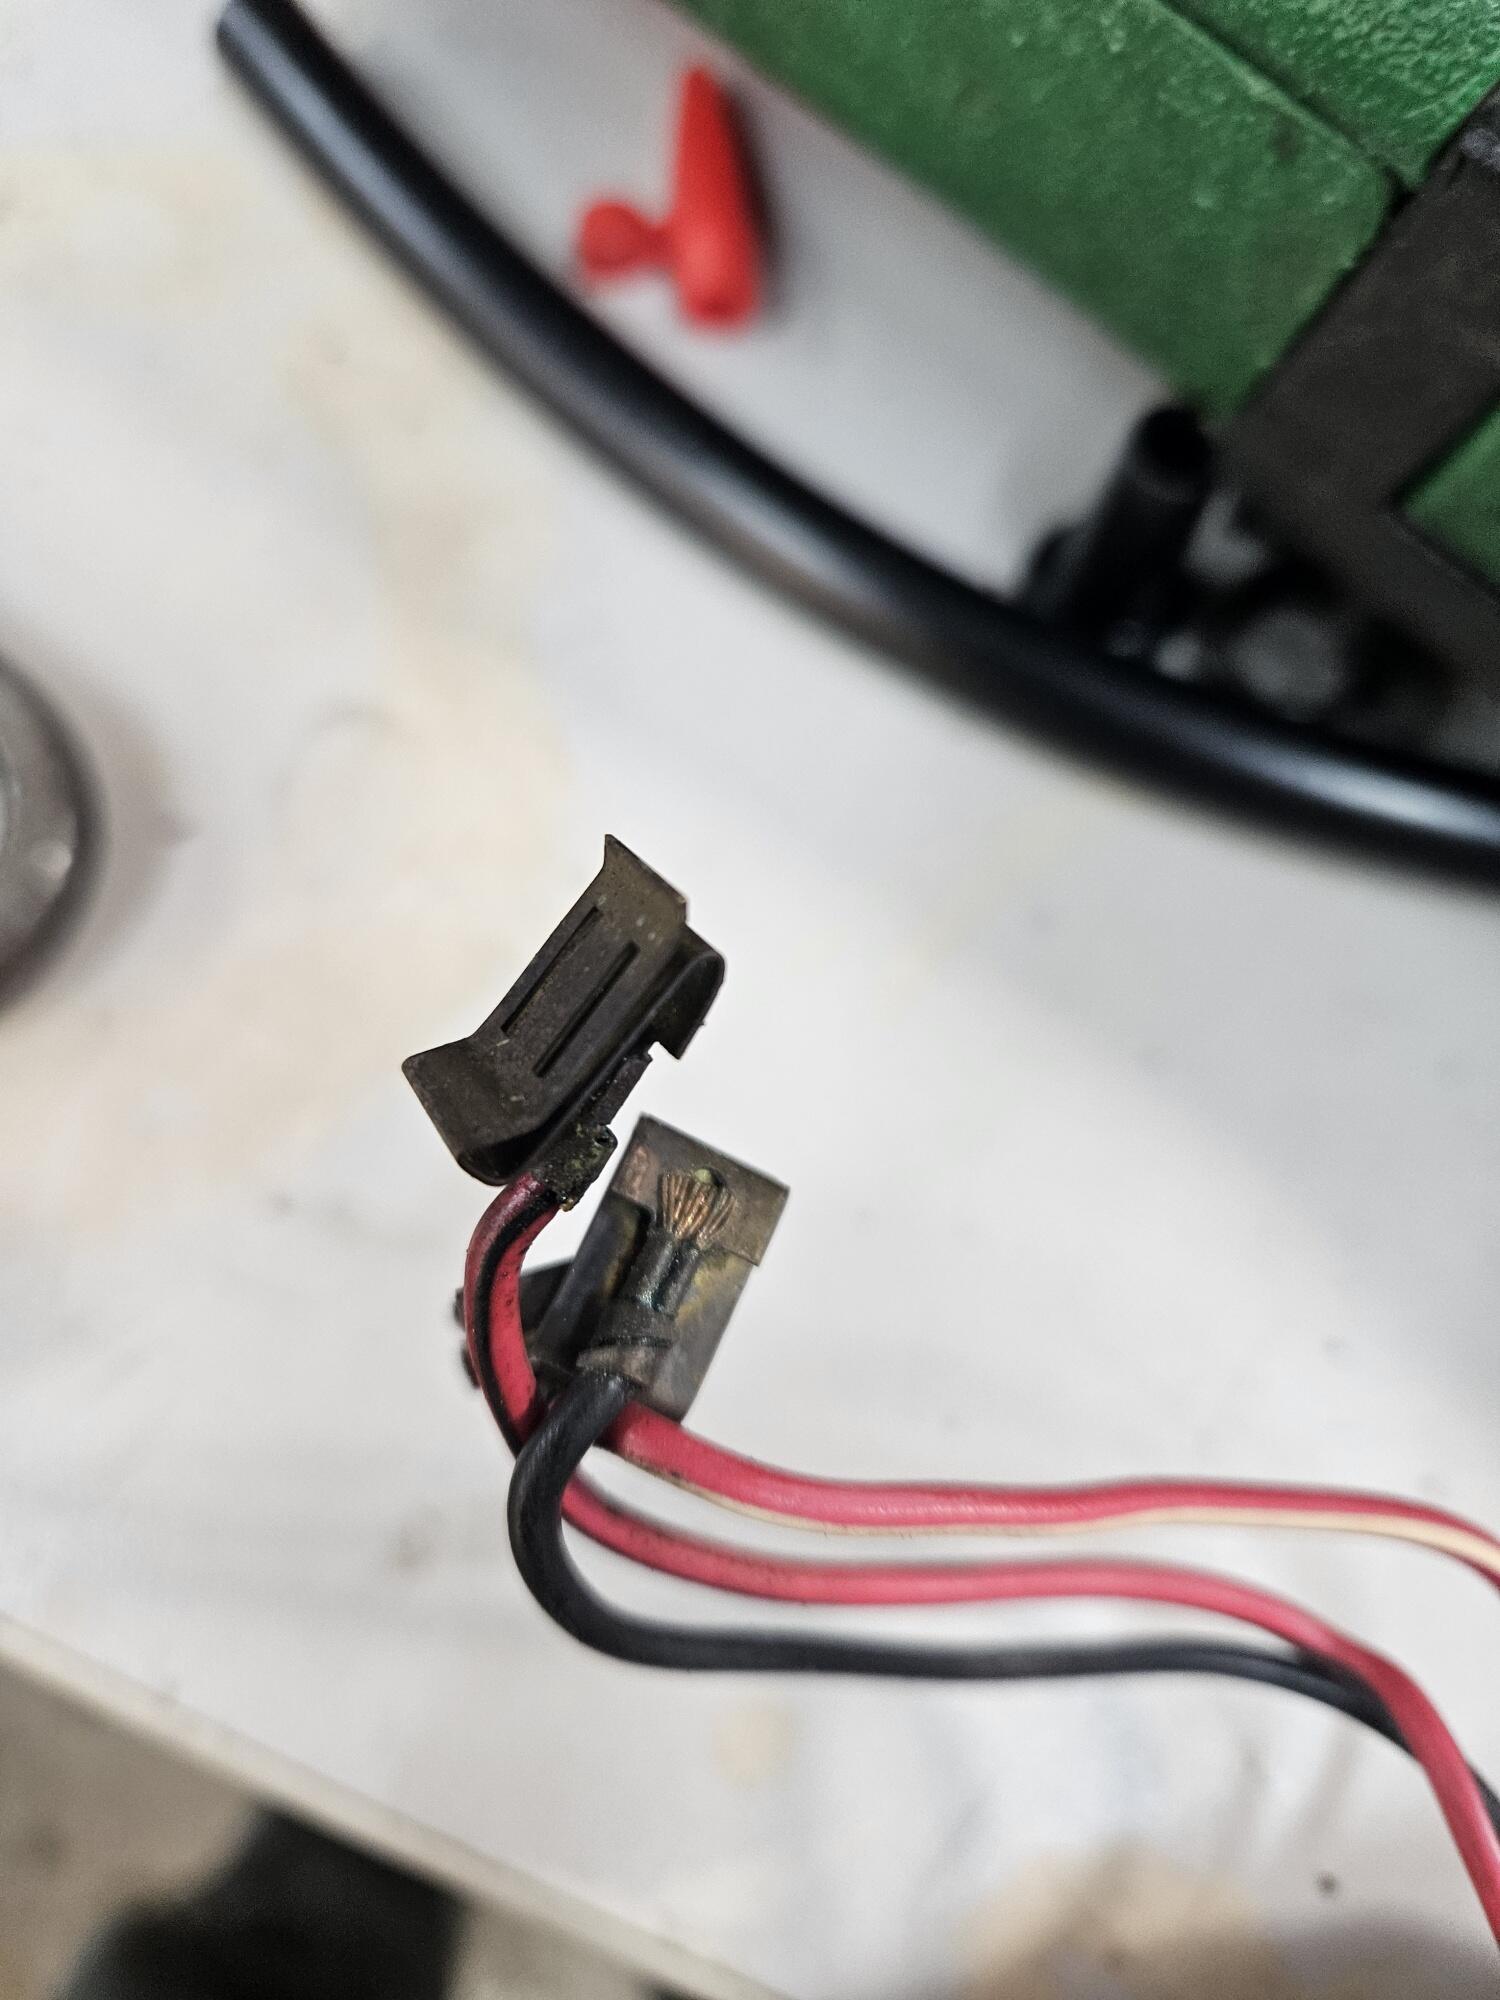
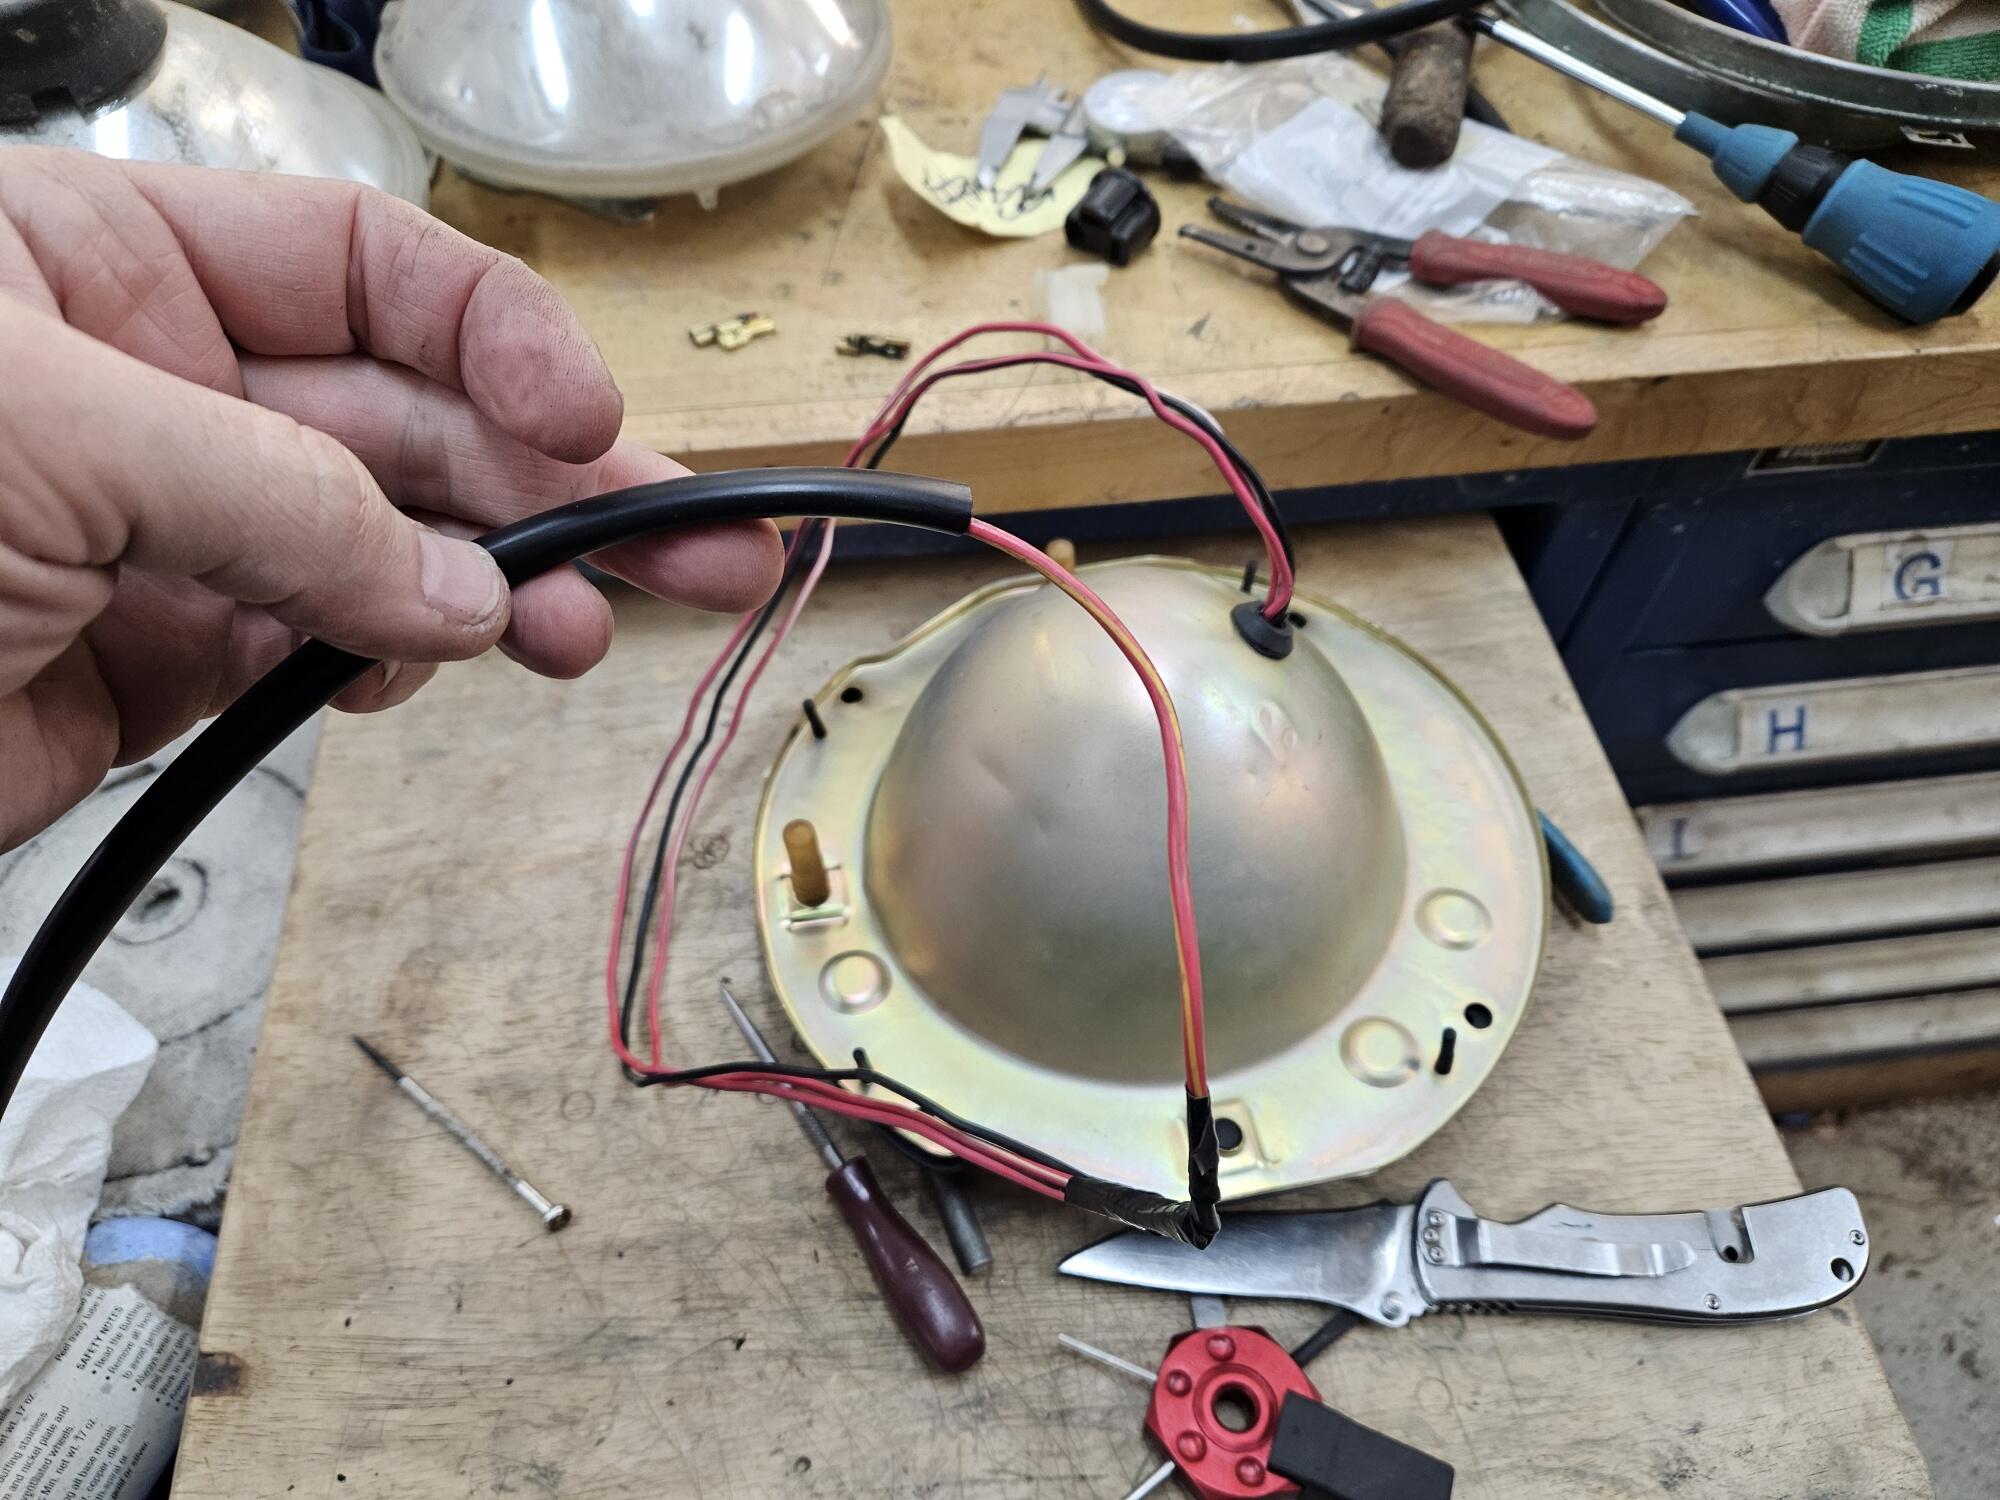
So I switched gears, patience was gone on that one So I started putting freshly plated headlights back together with Steve Nixon's parts Then I hit a snag. The buckets are different. I was trying to figure out how the headlight seals from precision went on. Then I realized that one set of buckets didn't have the 4 little holes like the one at my thumb. The seals have for posts that pull through these holes So I had to reselect my buckets so I had 2 that both had the 4 little post holes Then I tried to figure out a way to feed the wires through the new wire jacket I got from Steve. I took the terminals out of this plug but even staggering them they weren't going to go through the jacket. So I tried to uncrimp this one but that wasn't happening and then I remembered that I had some new Vintage connections terminals. So I cut them off I still couldn't get them to feed through the jacket. So I had to feed a different single wire through the jacket from the other end and use it as a pull wire to pull the wires back into the jacket I got one bucket all the way redone! I love clean new parts!!!


 1 point
 -
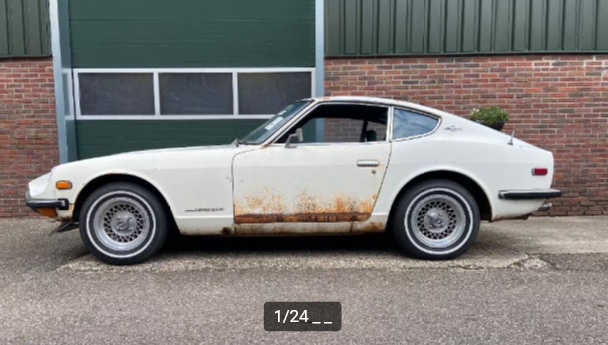
2904, matching numbers, left hand drive - easy $100,000, coming home to the States! Thank you Google Translate - Description A rare Datsun 240Z Series 1 from 1970 for restoration - With the original L24 engine and a manual gearbox - In the original color Kilimanjaro White (color code 904) in combination with a light blue interior - Very early chassis number produced in April 1970; number 2904 produced - This Datsun is registered 1970, so also extremely suitable for historic rally driving or participation in historic events - The car has all the correct features of an early Series 1 such as the ventilation openings in the tailgate, the correct fuel flap, the early emblems and logos and the correct valve cover – Car was just discovered in a shed in California; very original car that has stood still for decades - Even still has the original Datsun 240Z radio and the original seats - It has never been welded or worked on and 80% of the car still has the first original paint - The car comes from California but has some rust, especially the spare wheel well and the inside of the tailgate; another spare wheel well is included - The floors and suspension points are good and solid - The engine turns by hand and is not fixed; some history is also present – USA import; all EU taxes have been paid and the car is in our showroom in the Netherlands - Viewing by appointment only - Delivery of the car is possible - 50 additional photos of this Datsun and other Datsun Z Series can be seen on the website; www.ZsportscarZ.nl Always several Datsuns 240Z / 260Z and 280Z in stock in the Netherlands. We only sell original and untouched Datsun Z Series! www.ZsportscarZ.nl . . .
 1 point


-
-
Forum Statistics
-
Total Topics66.4k
-
Total Posts664.7k
-
-
Gallery Statistics
-
Blog Statistics
-
Total Blogs167
-
Total Entries251
-
-
Download Statistics
-
Vehicles Statistics

