Leaderboard
-

conedodger
Free Member12Points11,316Posts -

Captain Obvious
Free Member2Points9,829Posts -

=Enigma=
 Subscriber
 2Points2,461Posts
 -

Yarb
Subscriber1Points1,714Posts
Popular Content
Showing content with the highest reputation on 10/27/2024 in all areas
-
2 pointsHey fellow Z heads. It's been a long time since I logged in here much less made any posts. I thought I would check in to see who is still here from the old crew of 10+ years, actually it's been almost 20 since I first posted on this site come to think of it......and say hello to those who are new since I was last active here. SInce then I've gotten married, have 2 grandchildren, moved from Santa Cruz, CA to Auburn, CA and switched companies and focus. I haven't lost the bug but life, family and career had to take priority for a while, however I'm planning to dedicate more time to the hobby and hope to start reassembling the Z and get it back on the road in the coming months. Actually. I have both the Z and a 1967 Camaro RS/SS 396 to get back on the road and both need some electrical and mechanical work. Wish me luck and more importantly the time and dedication to get it done. I hope you're all doing well and spending plenty of quality time with your Z (and your families 😉).2 points
-
Yes, I believe a commercial setscrew type of device would work just fine. But as for the material composition... I believe that brass has a higher density than steel. So if your steel on is heavier, that would only because it's longer: https://www.engineeringtoolbox.com/metal-alloys-densities-d_50.html https://www.engineersedge.com/materials/density_of_common_engineering_materials__15896.htm As for screwing it up into the bottom of the float, that would also satisfy the failsafe of closing the valve instead of holding it open. Only reason I didn't do that is I wanted gravity to have as little effect as possible on pulling the insert out of the float. I figured that gravity would have less of a tendency to pull it out if it were stuck into the side. Not that I really expect that gravity could possibly pull it out, but put it on the side just to be sure.2 points
-
 Don't let your wife read that! https://atlanticz.ca/zclub/techtips/ aka "Blue's Tech Tips" and this forum is all I needed and I don't have any cents.1 point
 -
 1 pointI'm old. When I was a kid we could get 4 hamburgers for a dollar. Ever heard of "penny candy"? We used to buy it... Between then and now my "2 to 45 cents" is probably way wrong...😉1 point
 -
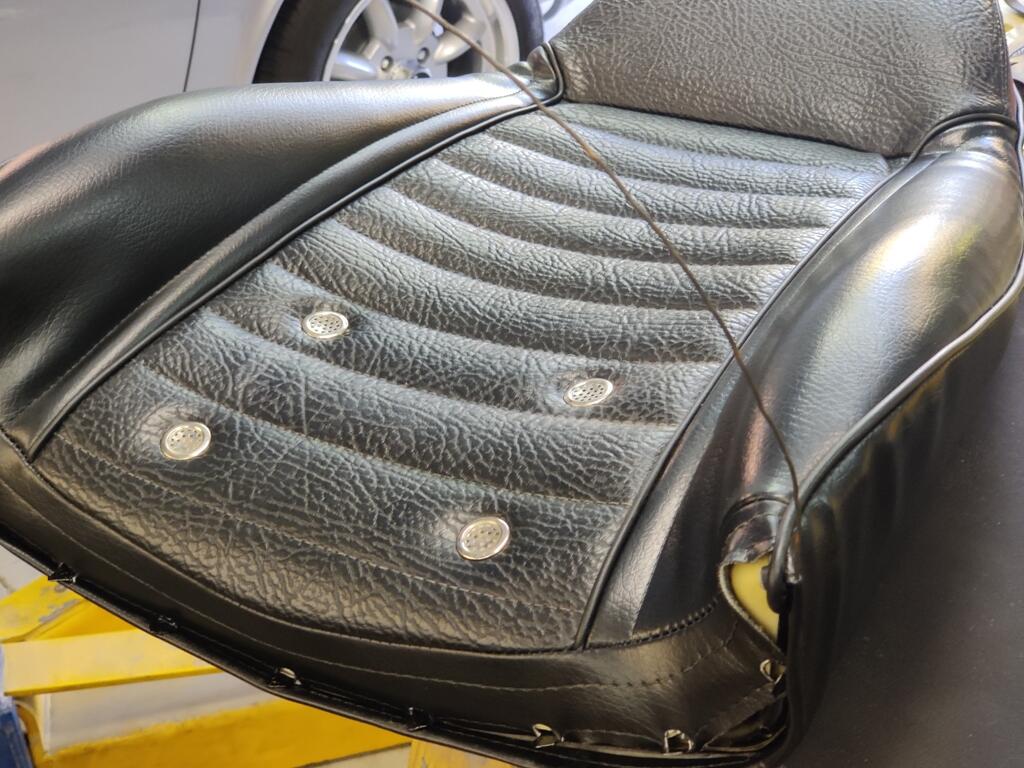
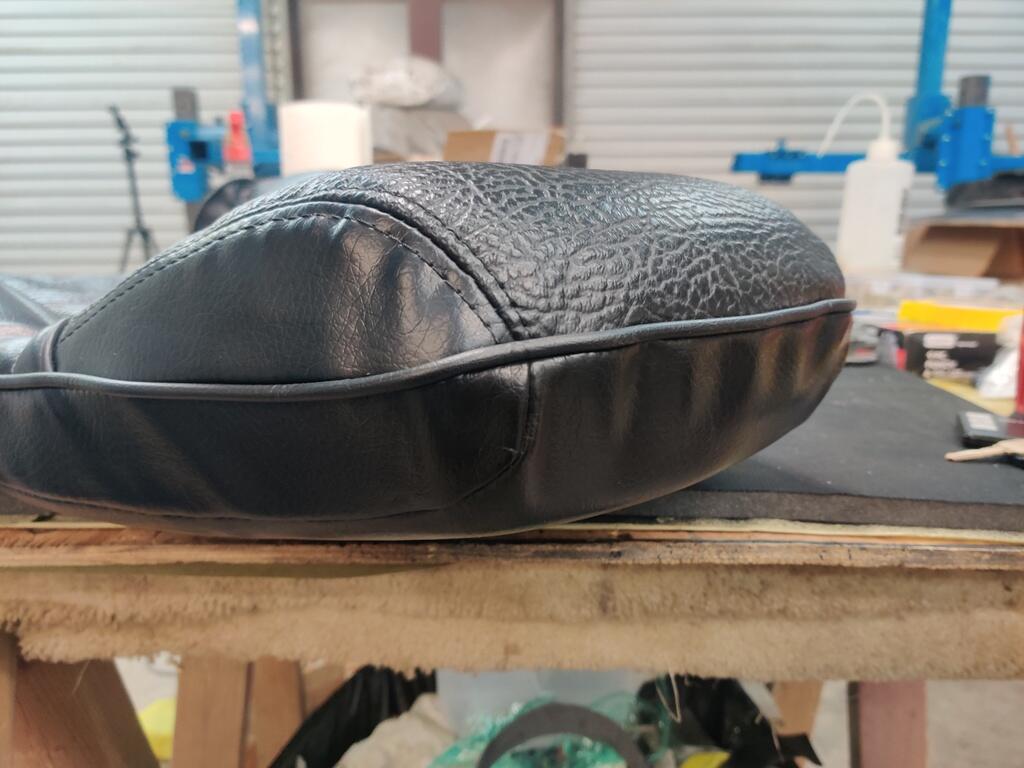
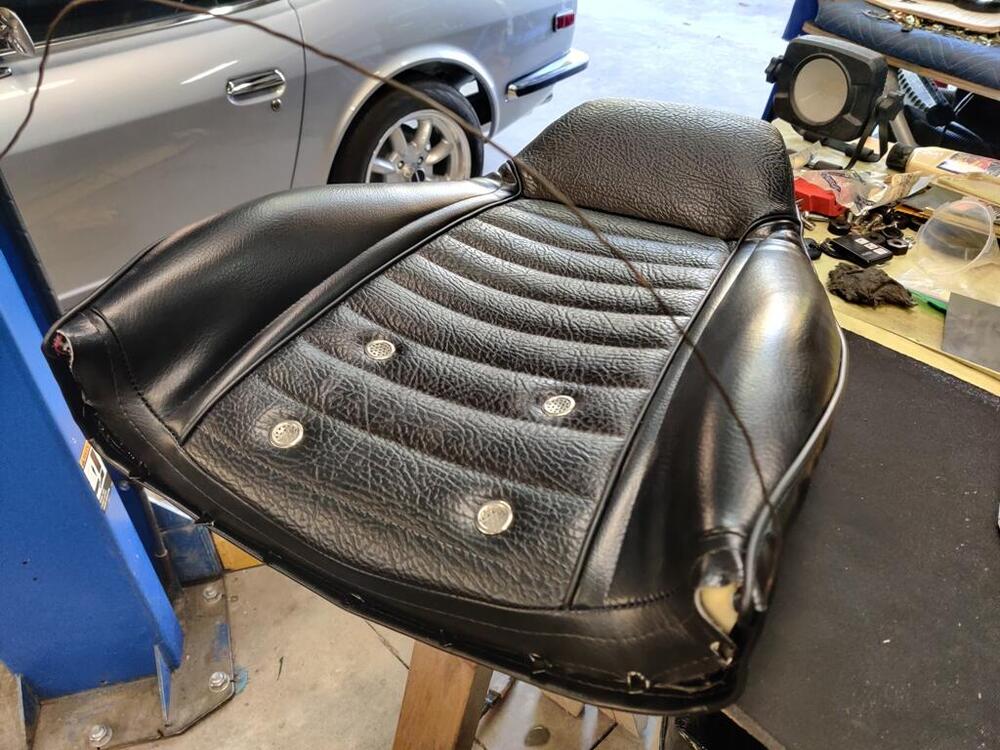
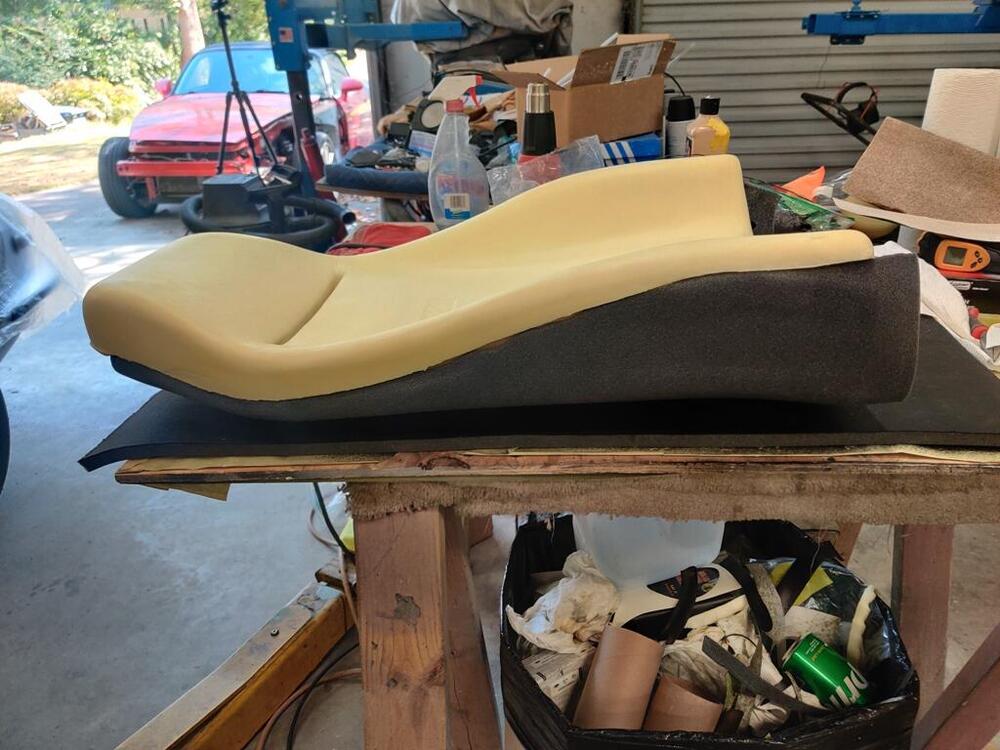
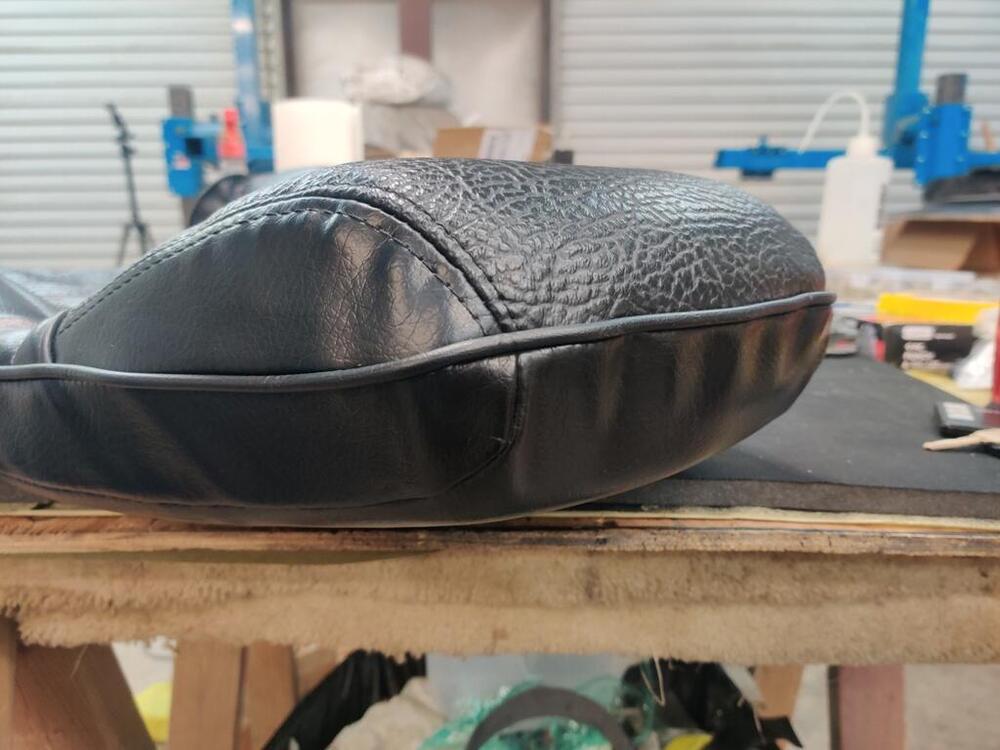
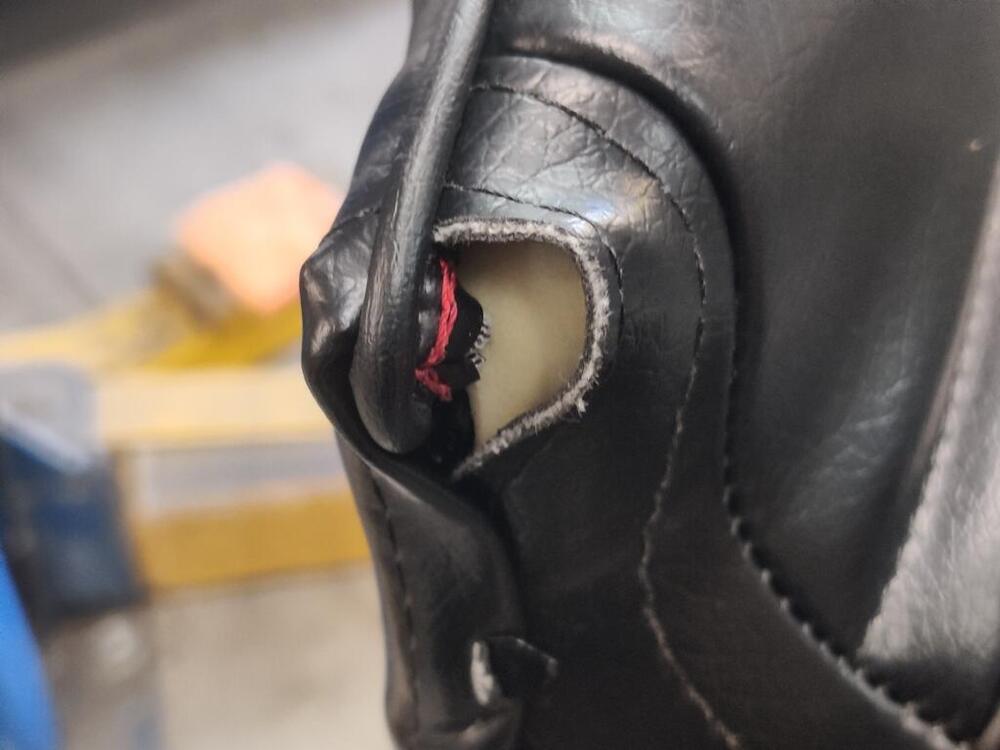
 I worked on the other seat today. Lots of setting them out in the sun to assist with making the vinyl fit. My thumbs are jacked up from all the effort to persuade the seat back vinyl on far enough to get it over the hooks! The bottom cushion is a breeze. The backs are a pain. This time I did not use any thin plastic. I honestly don't think it made a difference. Getting the seat back upholstery down low enough to get onto the hooks is difficult. Having done two seats now, I think I see another improvement that can be made with the foam. Like the bottom cushion, and removing a bit from the front most edge, the seat back cushion could be modified for a better fit. I don't have great pictures to show exactly, but the back seat foam rises above the top edge of the metal seat back by quite a bit. You can kind of see that in this first picture. The foam is molded with an indention that the frame bar fits to. The head rest portion of the foam rises up over the frame by a good inch or more. However, as you can see (if you look closely) in the second picture, when you get the upholstery pulled down to where it belongs (to get it on the hooks on the bottom of the seat back frame) the foam which extended past the top of the back seat frame is compressed substantially, so that the top is nearly in the same plane as the top of the frame. In the second pic, the seat frame is what is locating the vinyl on the back half of the head rest. And the foam on the front half is no longer sticking up higher. The vinyl on the front half of the head rest is quite tight, as is the vinyl on the back surface of the seat rest. However, there is a bit of "void" around the periphery of the back half of the head rest. With some experimentation, I believe that trimming and sculpting the top edge of the back seat foam (to lower it a bit), as well as adding some pieces of foam around the edge of the seat frame at the top and about 3-4 inches down the sides would provide a better result. And, it would make it easier to get the back upholstery onto the hooks. I thought I would show where I added some wire as well. The bottom "roll" of the seat back upholstery (the back panel) has no cord or wire. So, I inserted some annealed wire that I got from Home Depot. I just ran it into the loop and pushed it through the full distance of the loop With this in place, I made slits in the vinyl at each hook. And when I bent the hooks over, they hooked around the vinyl and this wire. Without the wire, the hooks would only be grabbing the vinyl for the width of each hook. With the wire, the hooks grab the wire running the length of the vinyl, so all of the vinyl is holding the upholstery onto the frame. With both seat backs, I ended up with this in the corners: I think I will try some needle and thread work to tidy this up.
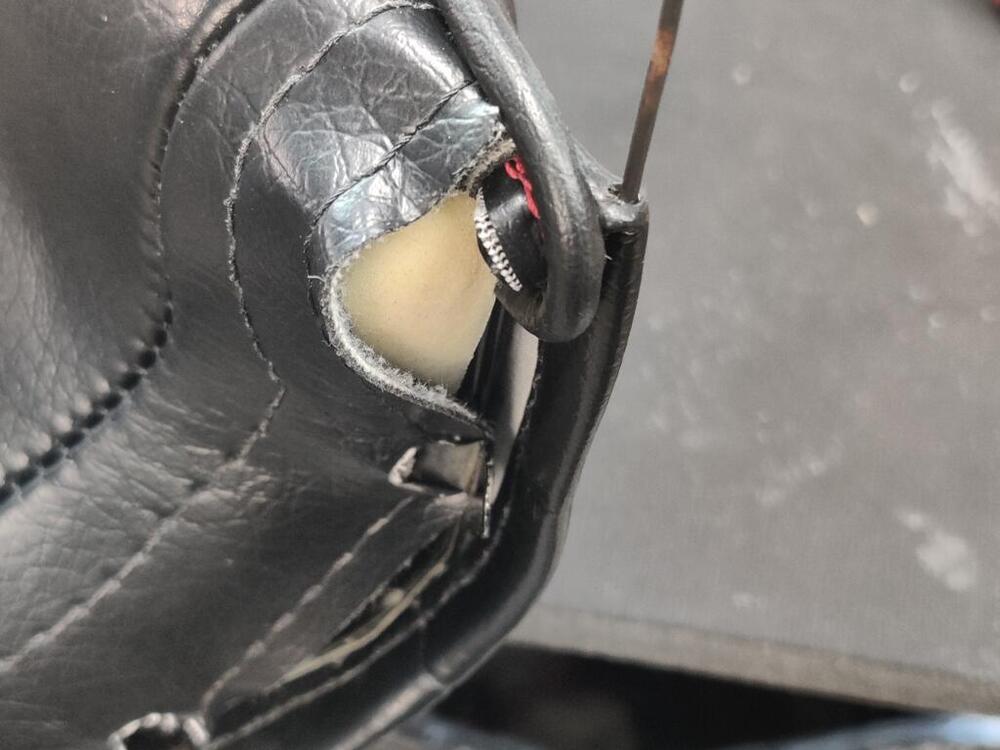

 1 point
 -
 I found your Ford doppelganger from 2021. https://www.ford-trucks.com/forums/1656335-91-f150-losing-spark-intermittently.html "There is nothing I could find on the Computer that indicated where it came from or what calibration it is for. The only thing it had was a QR code that directed me to a site called "installapart" but the site itself looked closed."1 point
 -
 You can see the site using the internet wayback machine: https://web.archive.org/web/20180307072216/http://www.installapart.com/1 point
 -
1 point