Leaderboard
-

conedodger
Free Member12Points11,316Posts -

Patcon
 Subscriber
 7Points10,929Posts
 -

AZ-240z
Free Member3Points953Posts -

xs10shl
Free Member2Points338Posts
Popular Content
Showing content with the highest reputation on 11/18/2024 in all areas
-
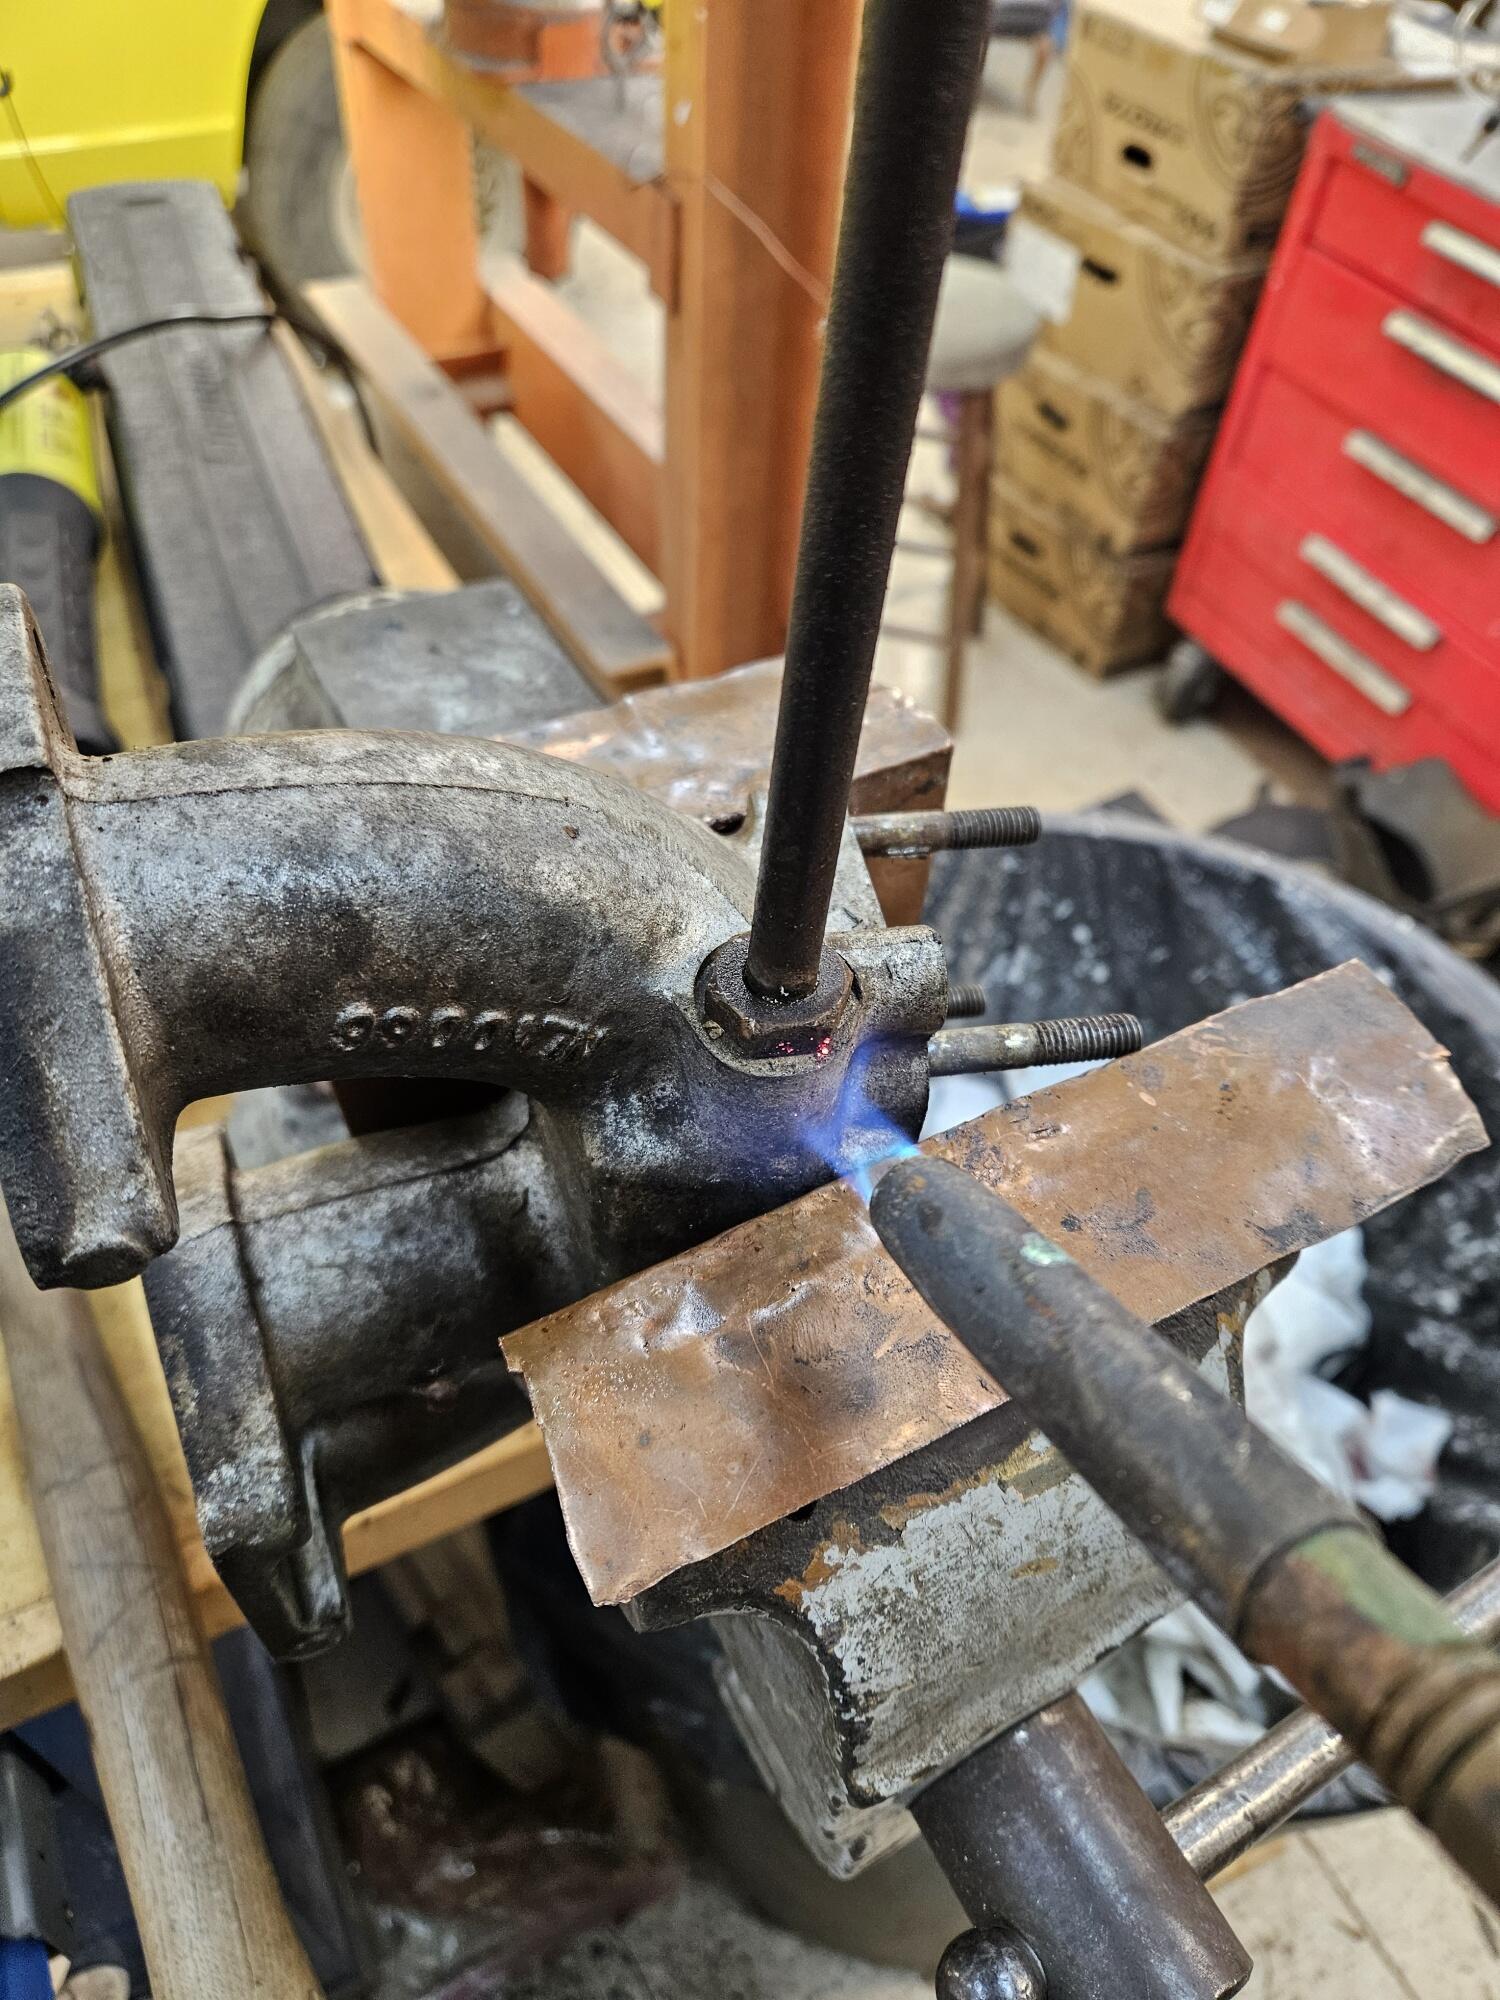
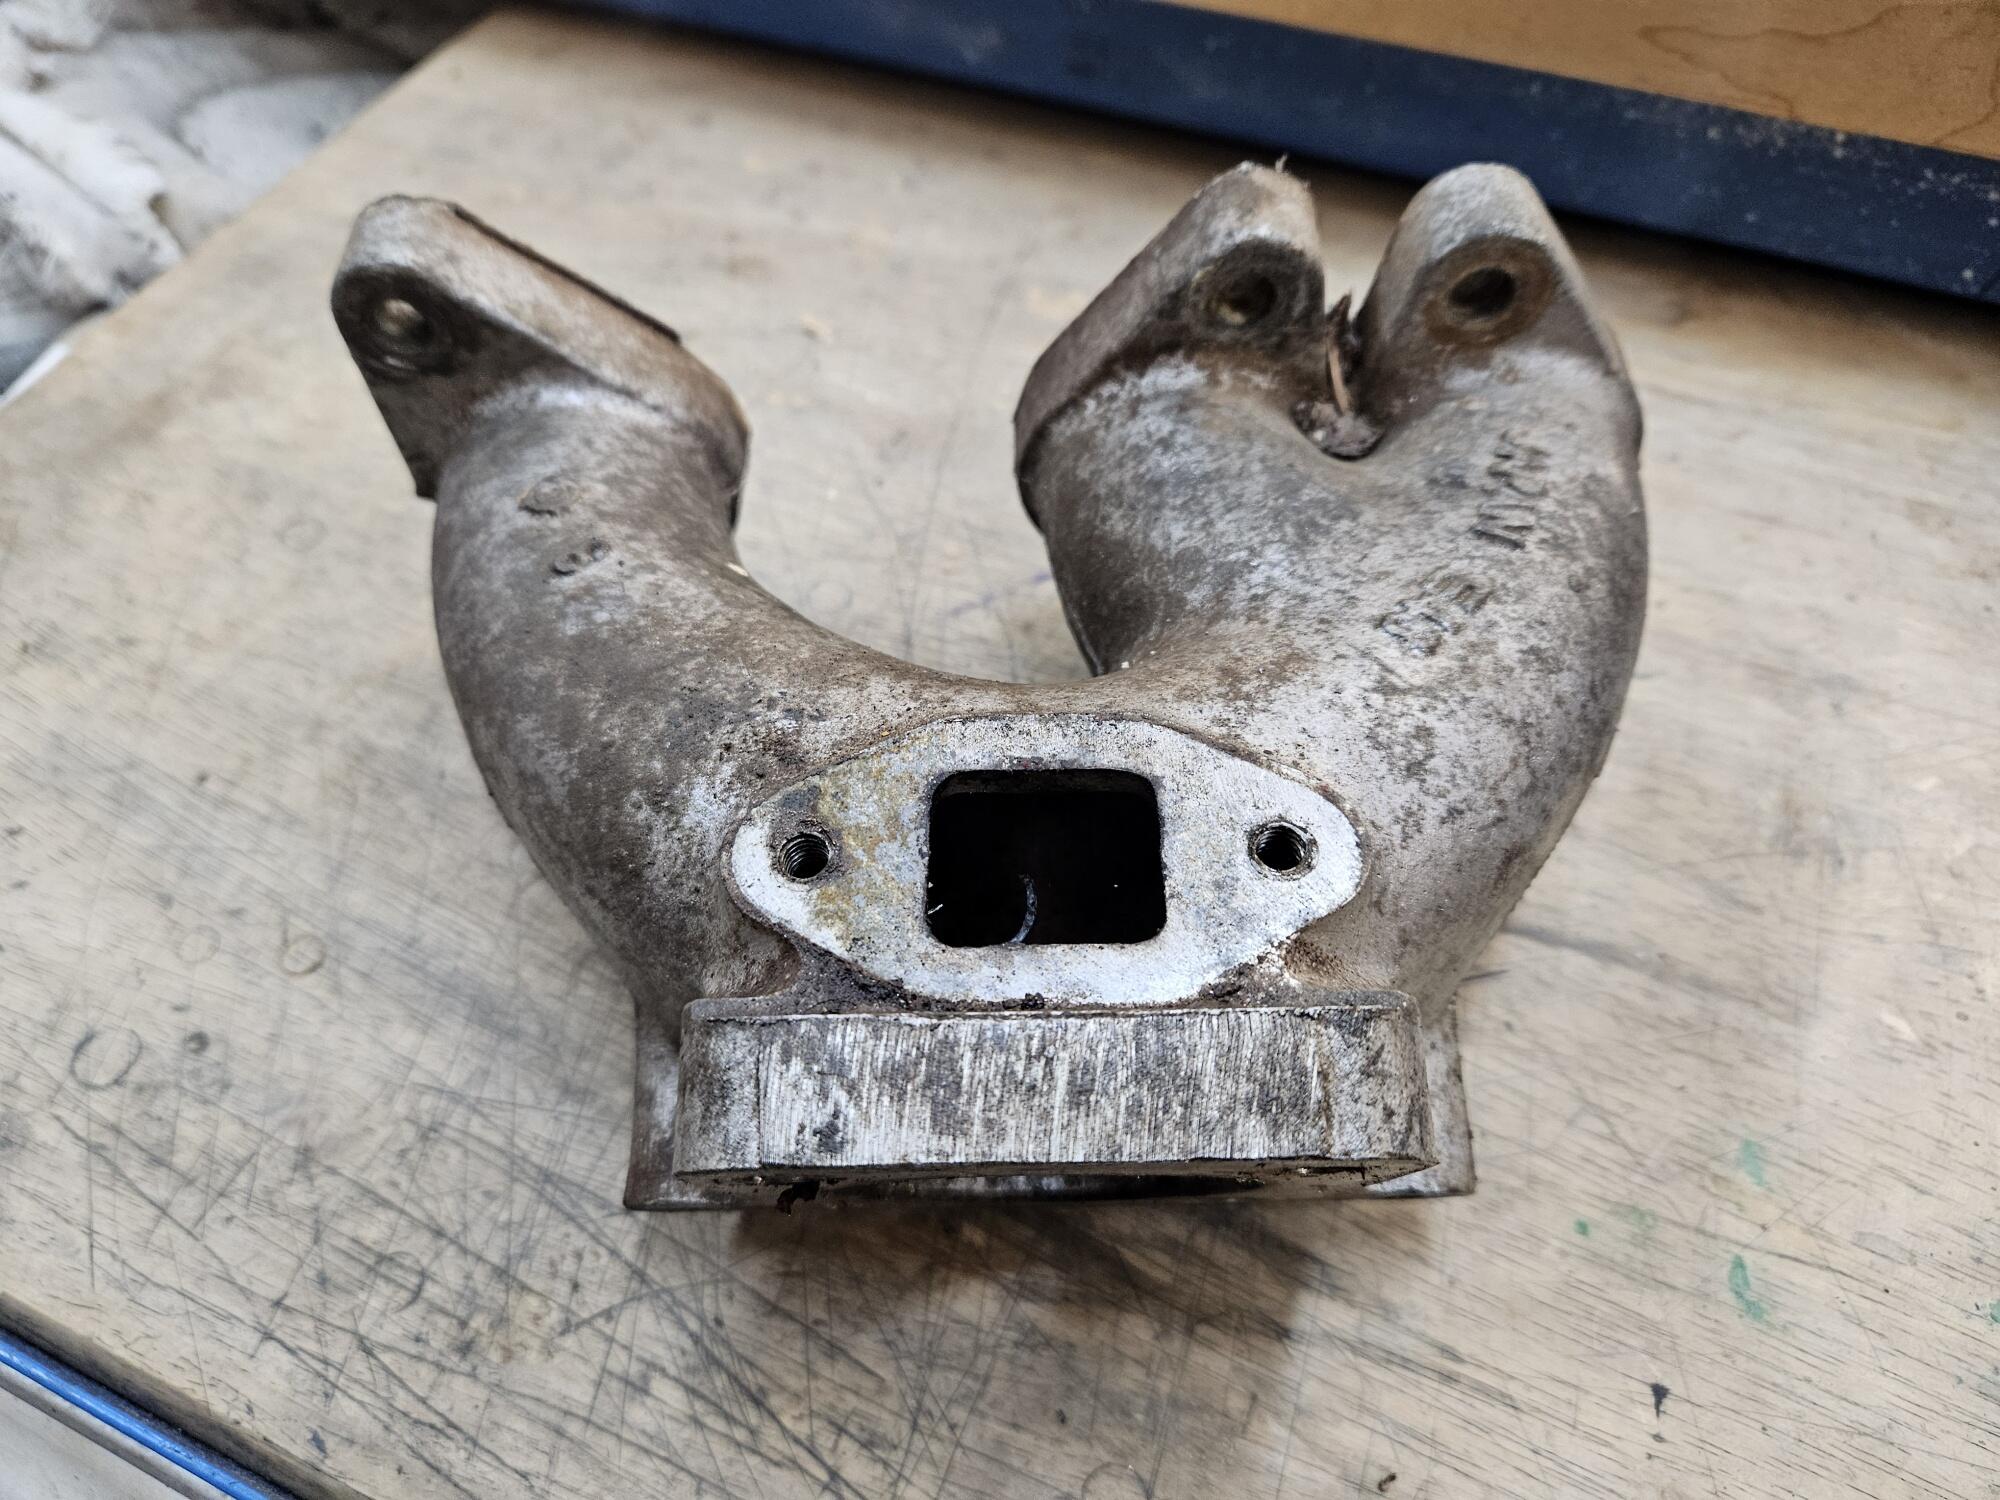
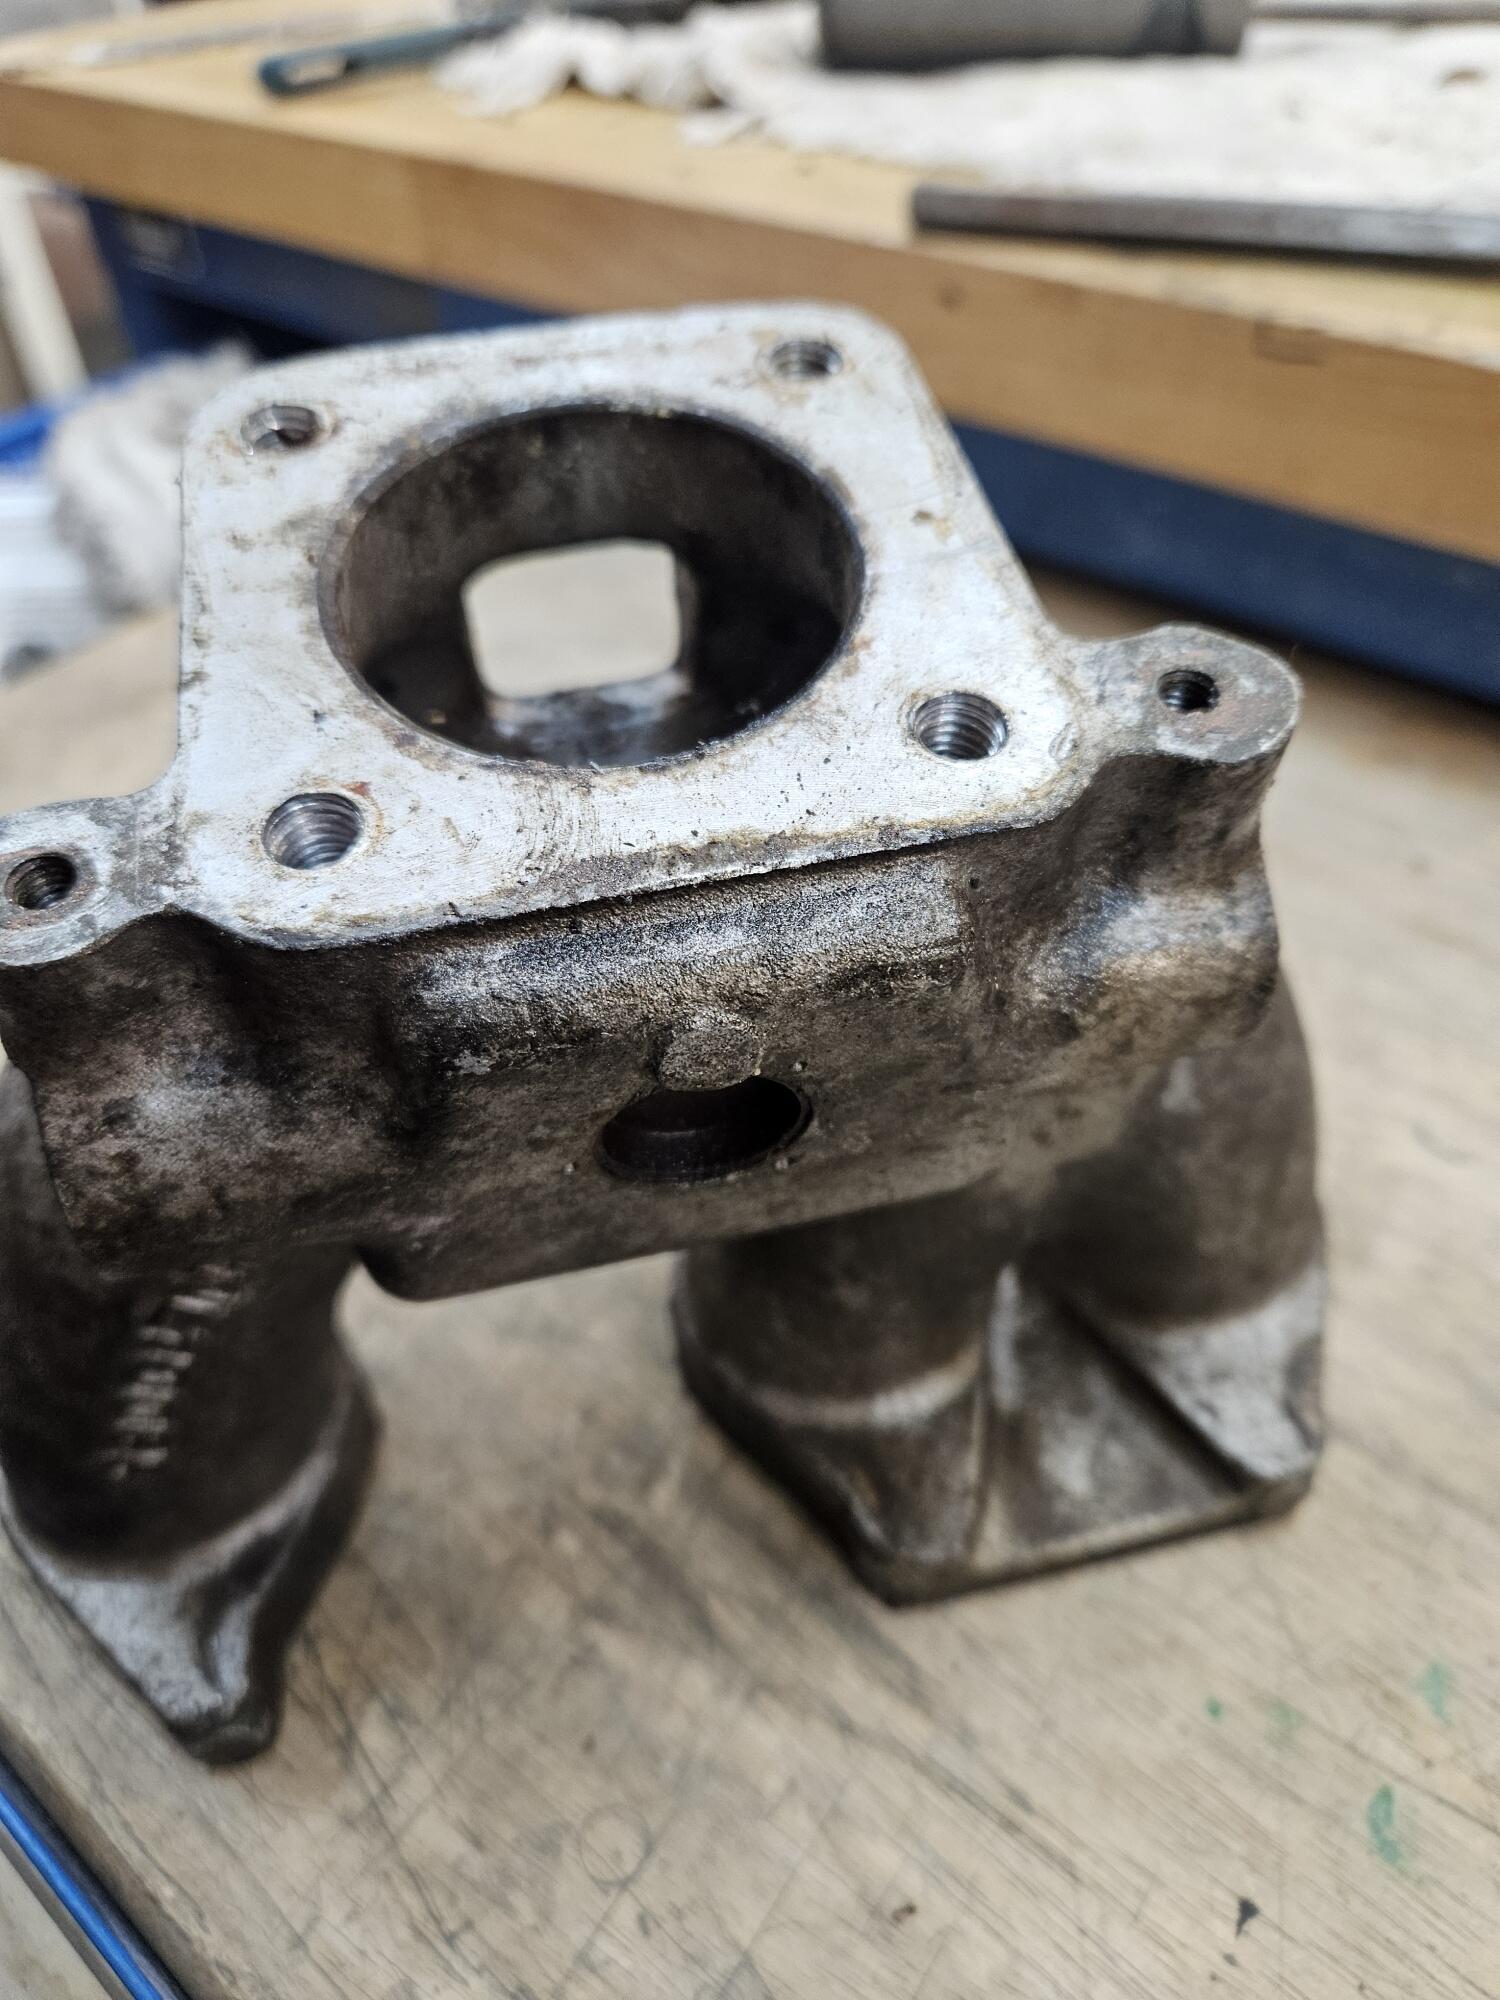
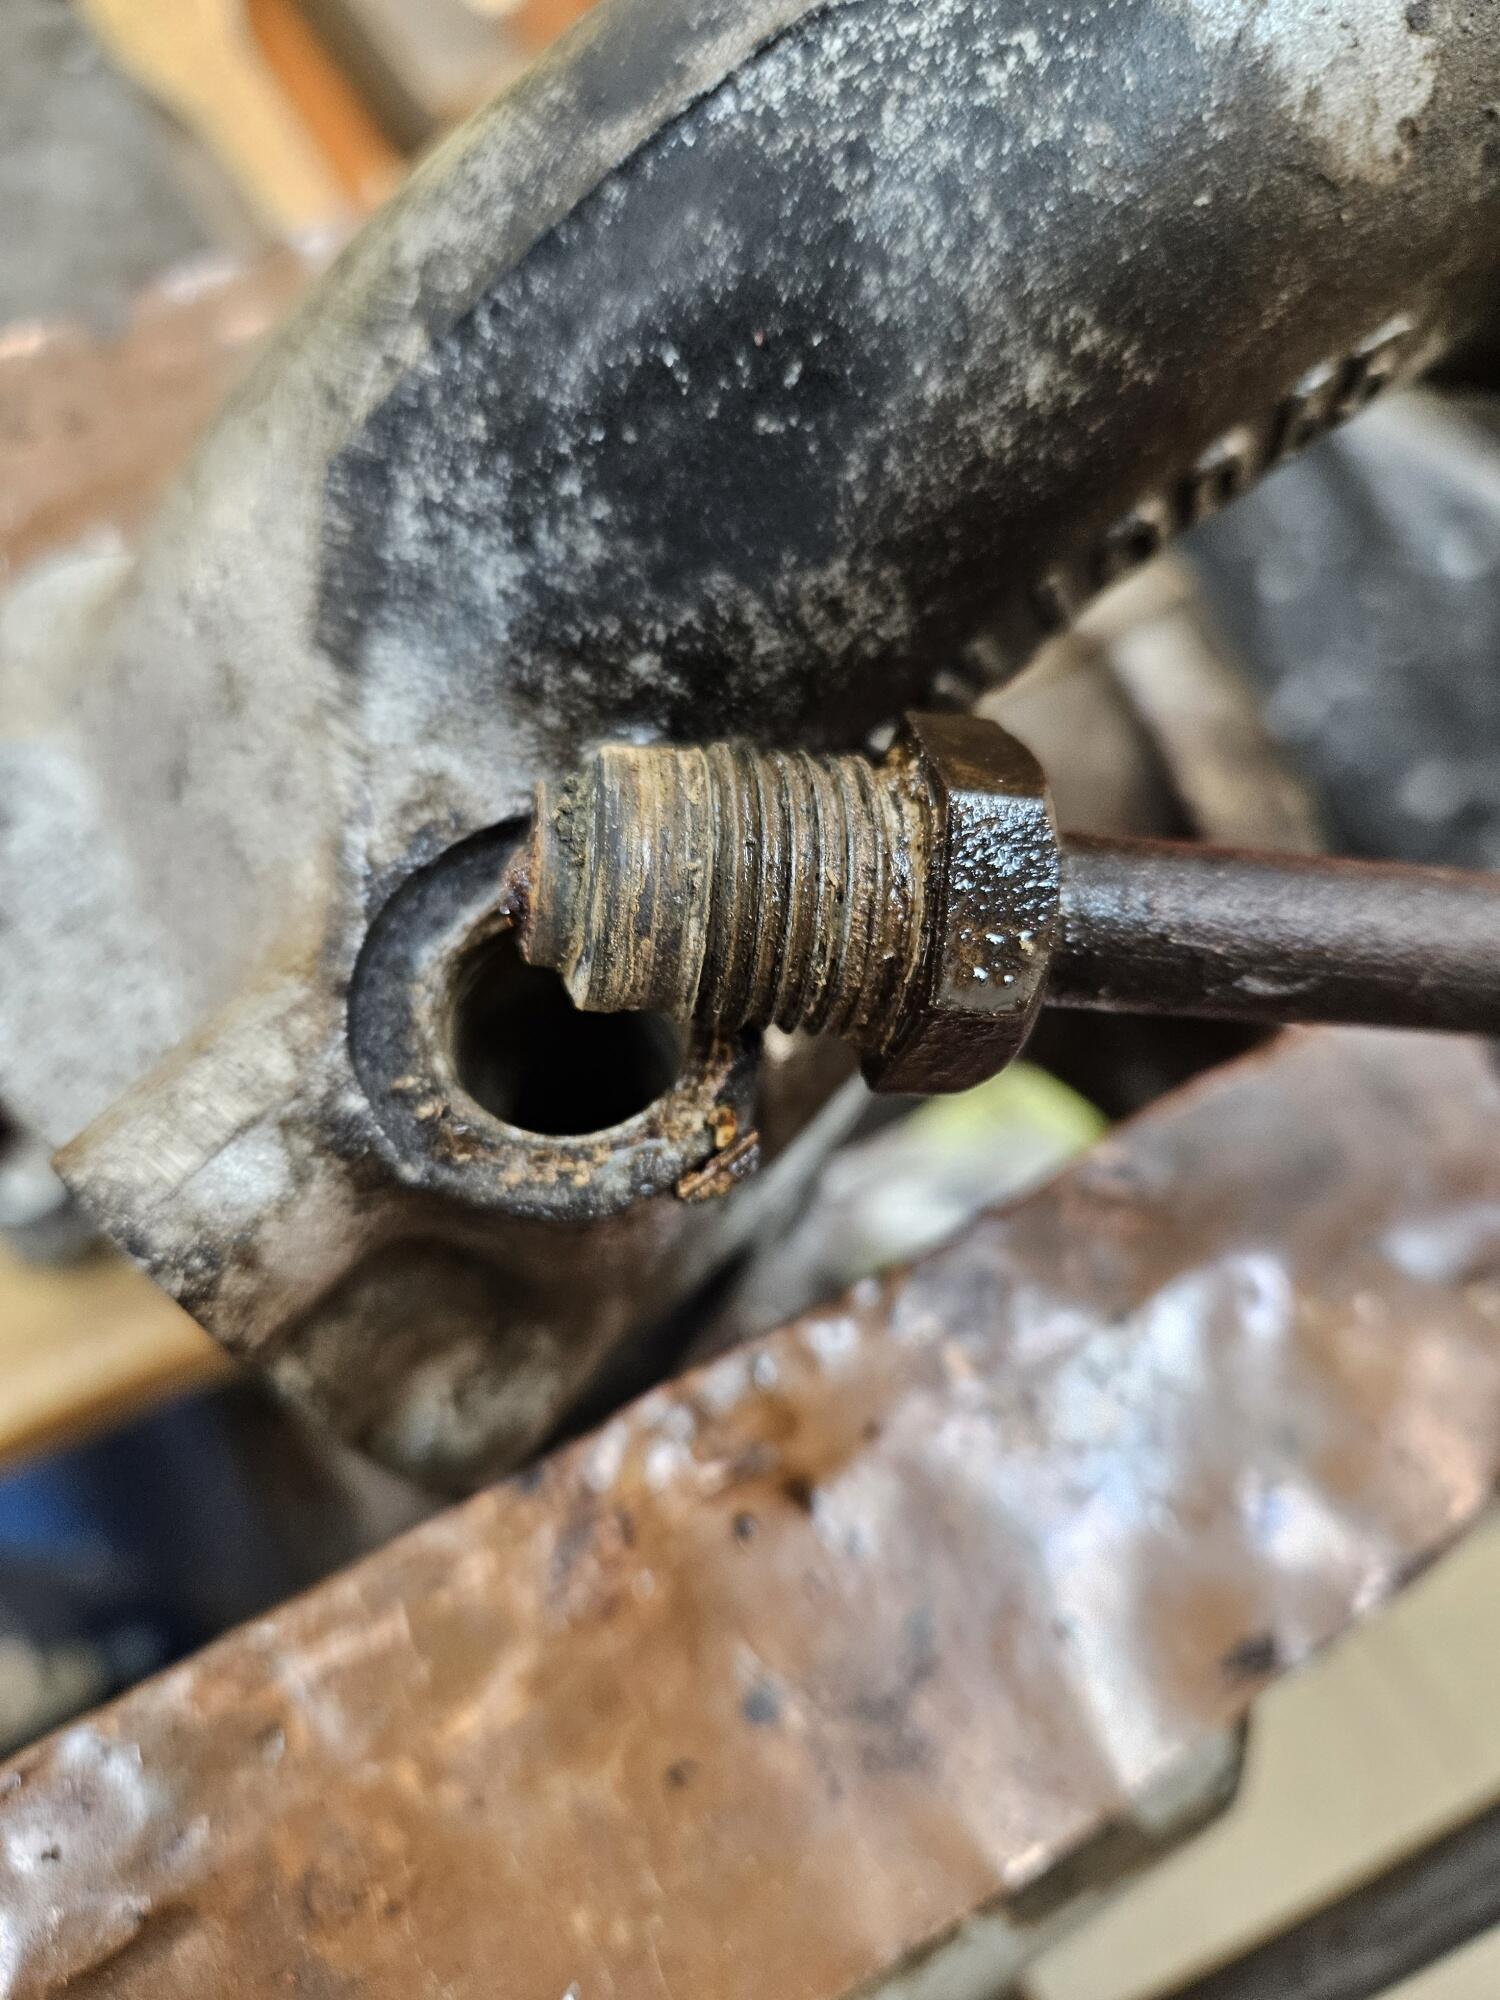
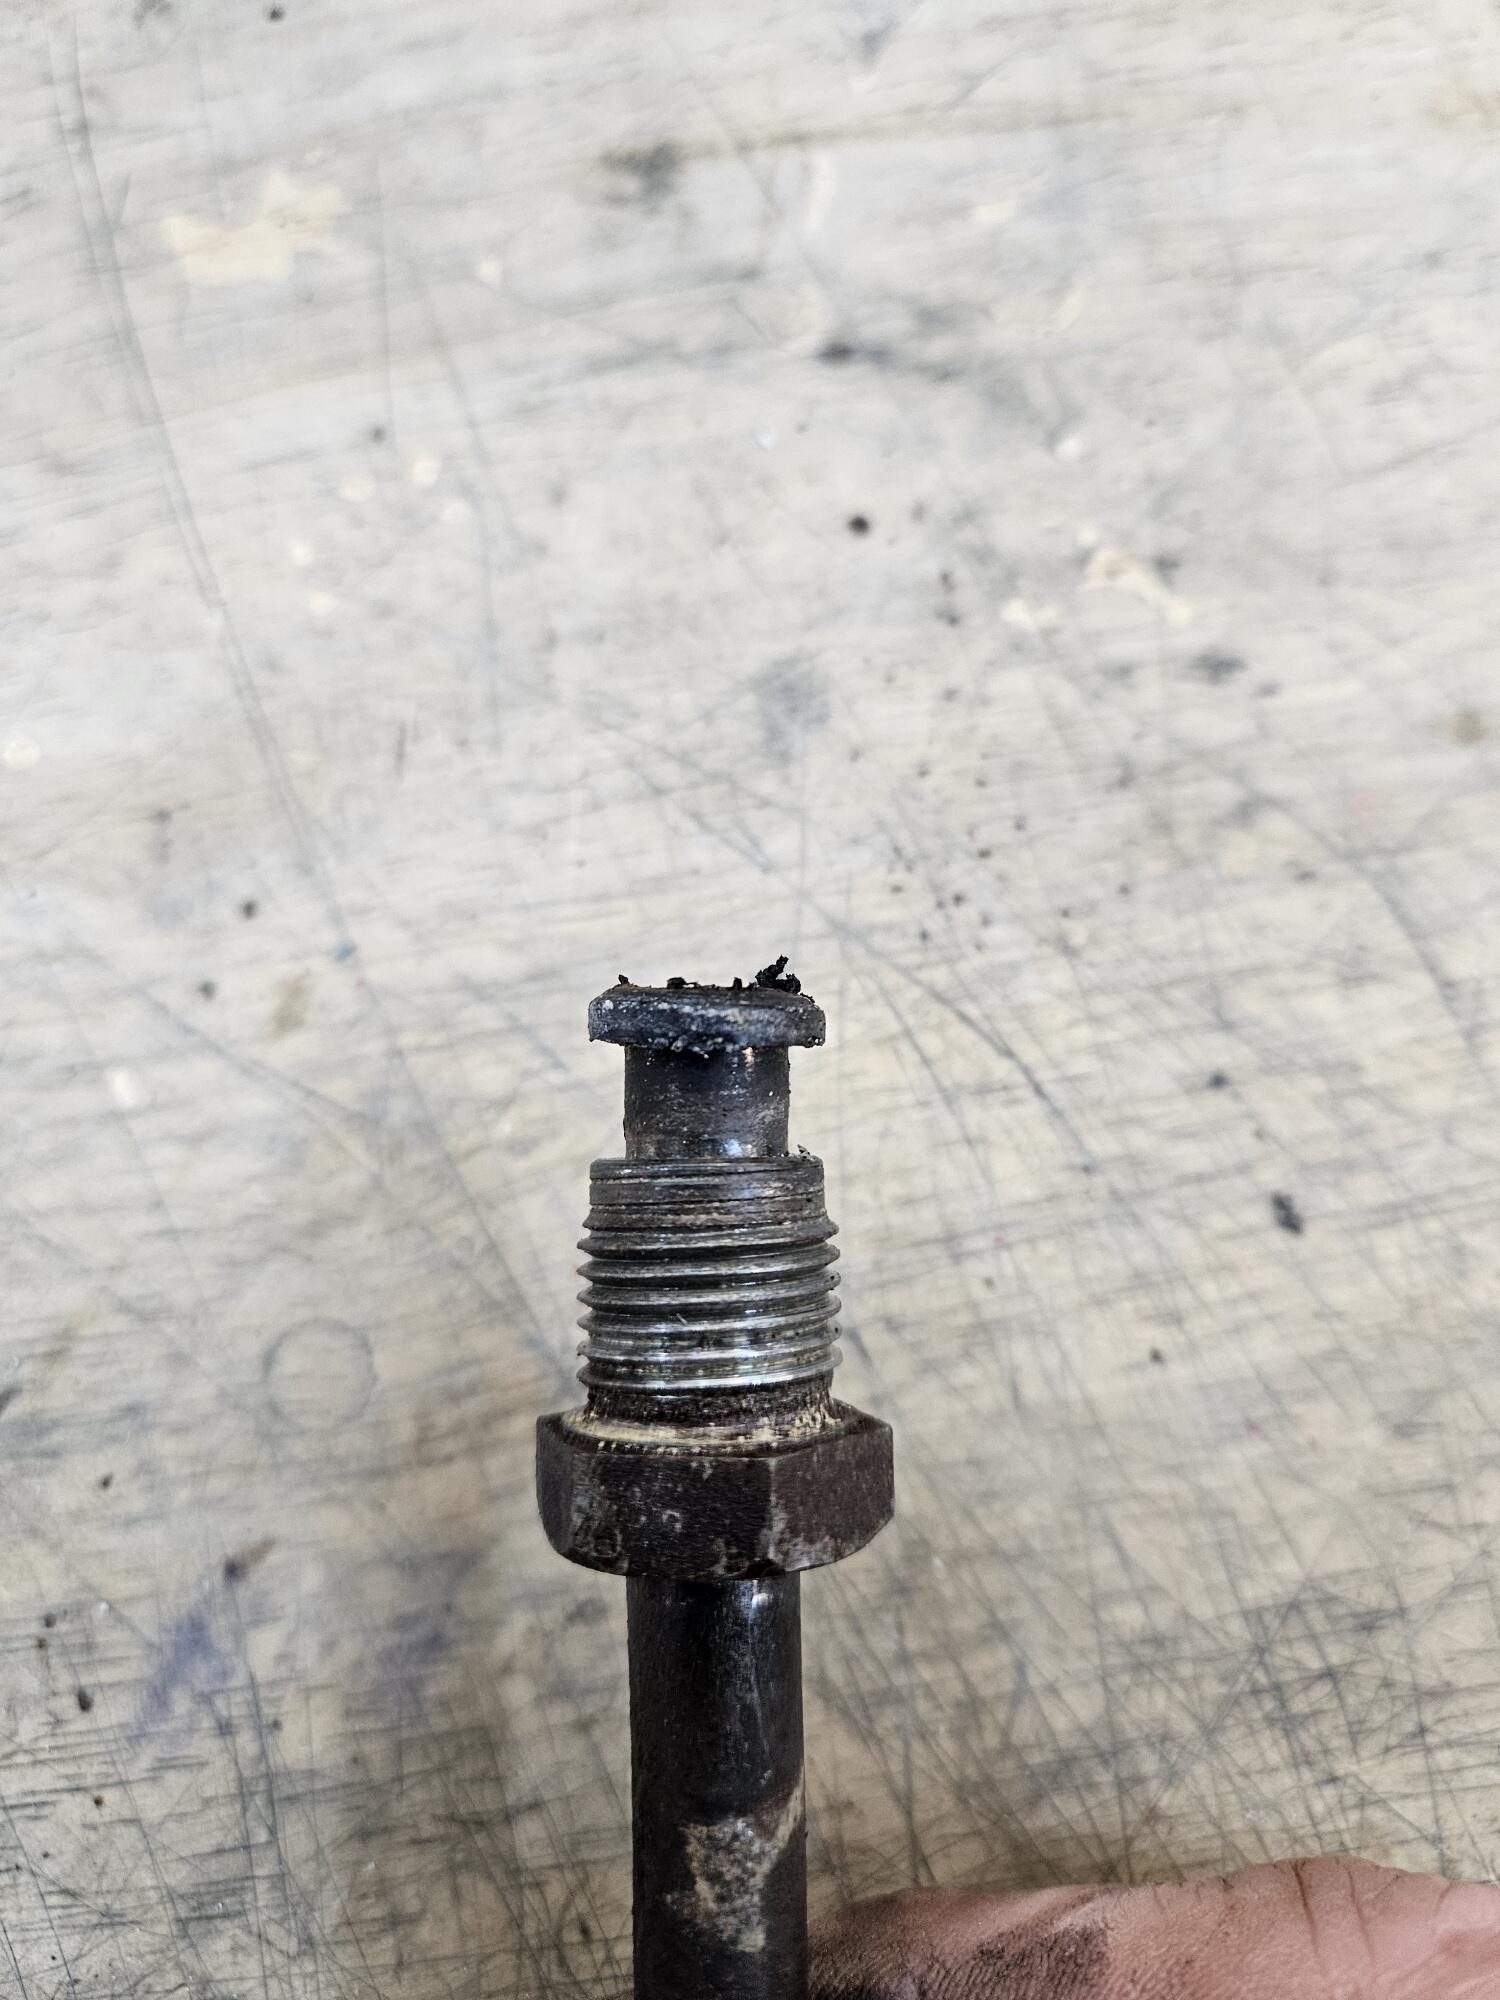
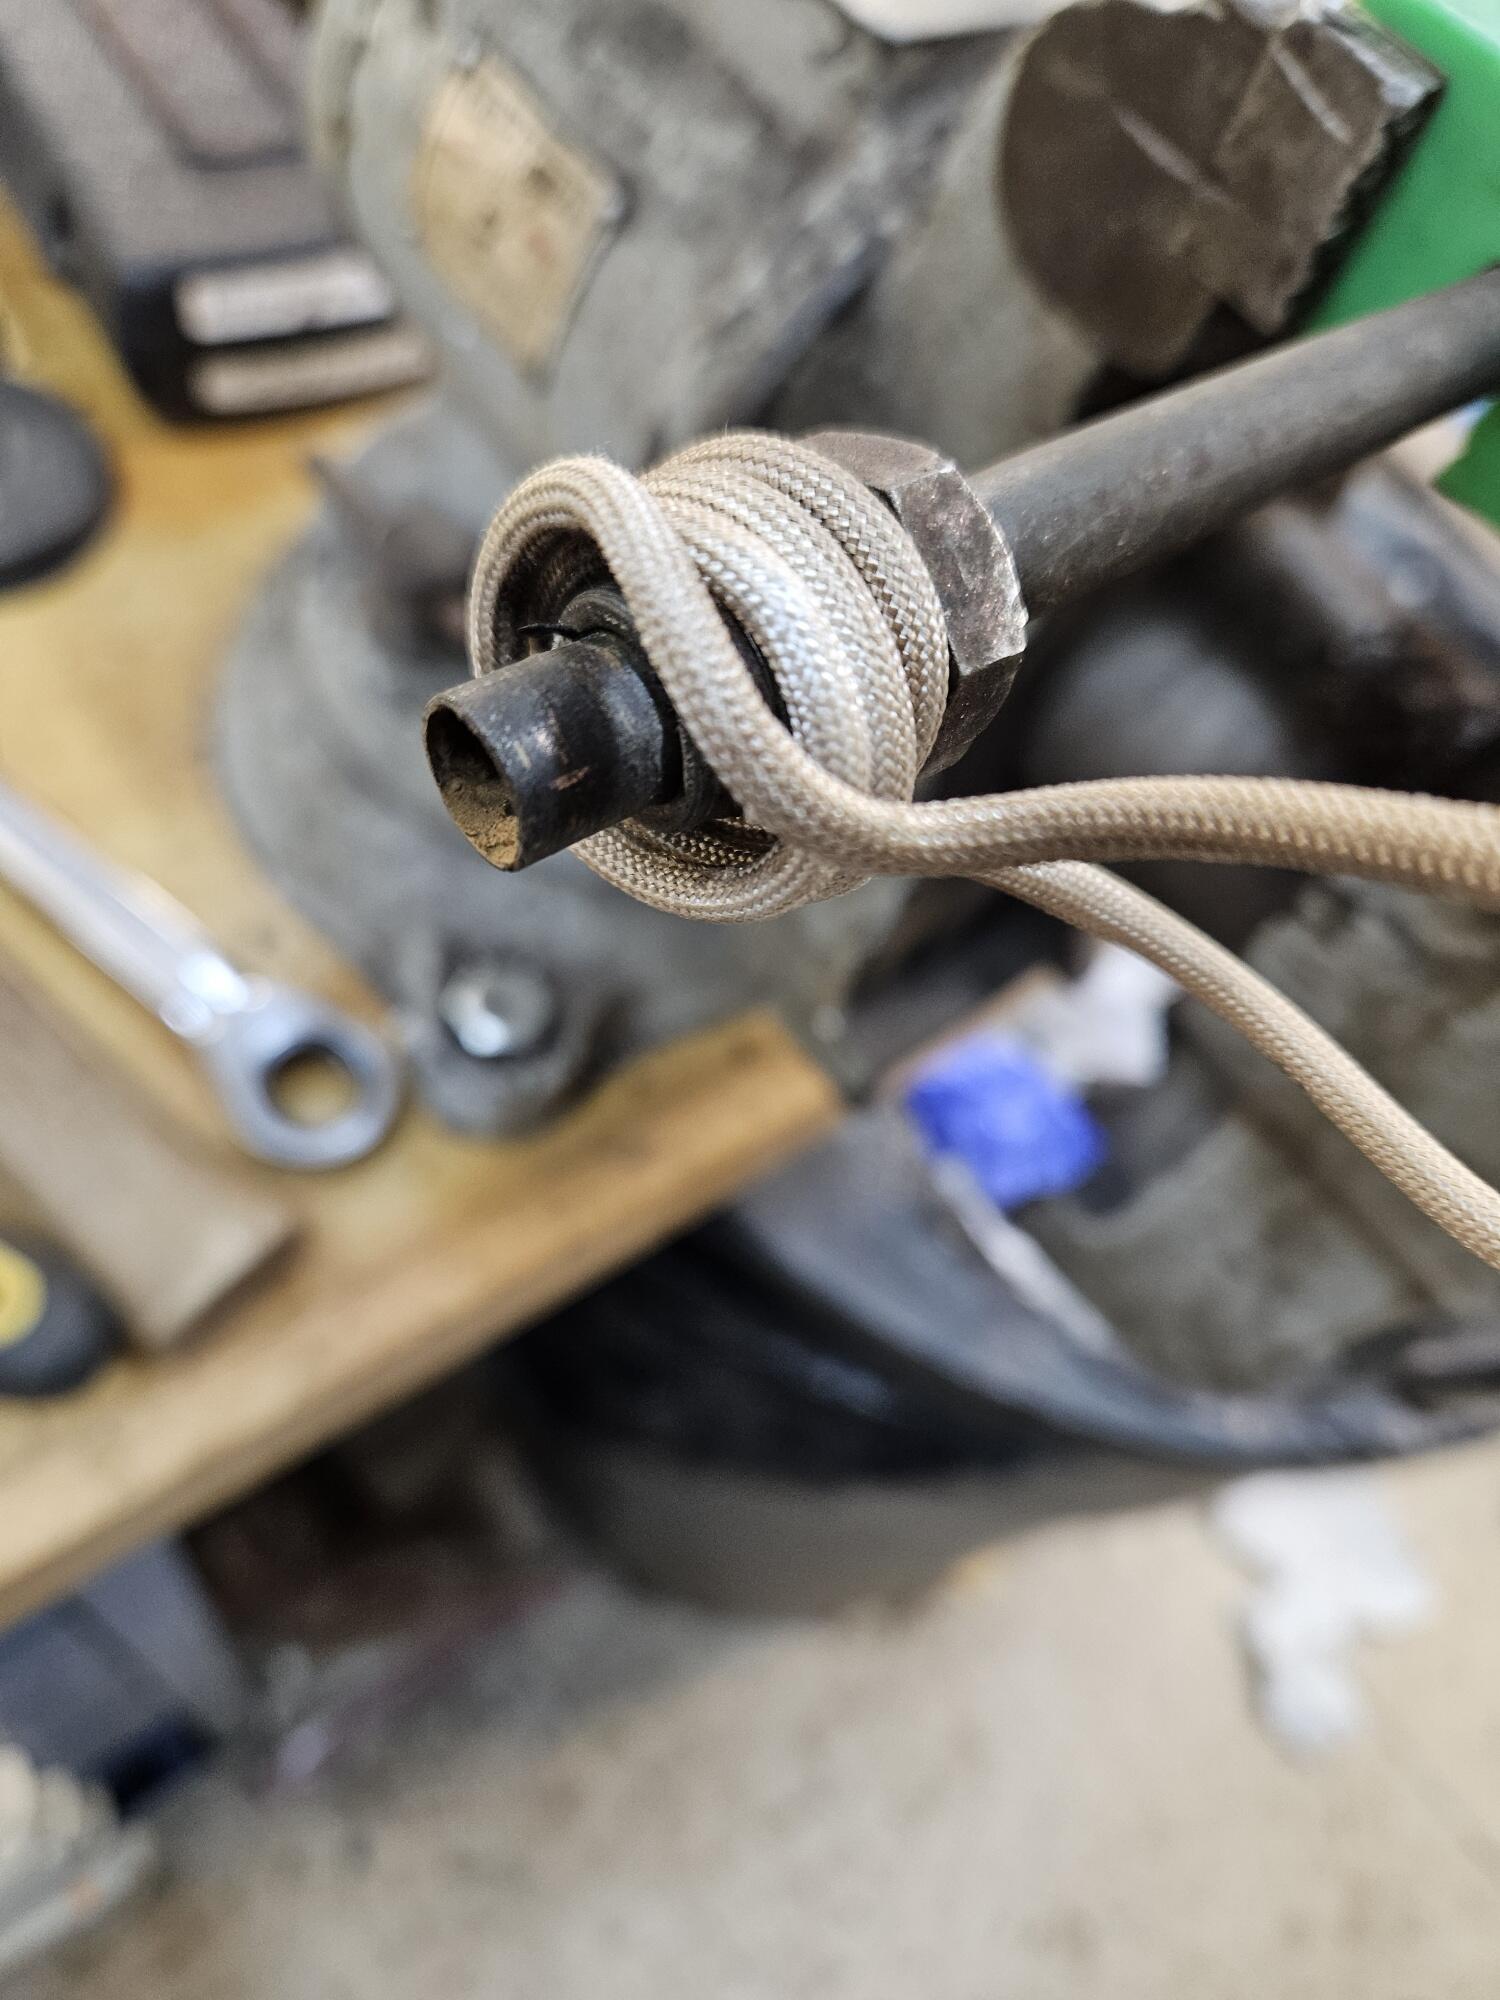
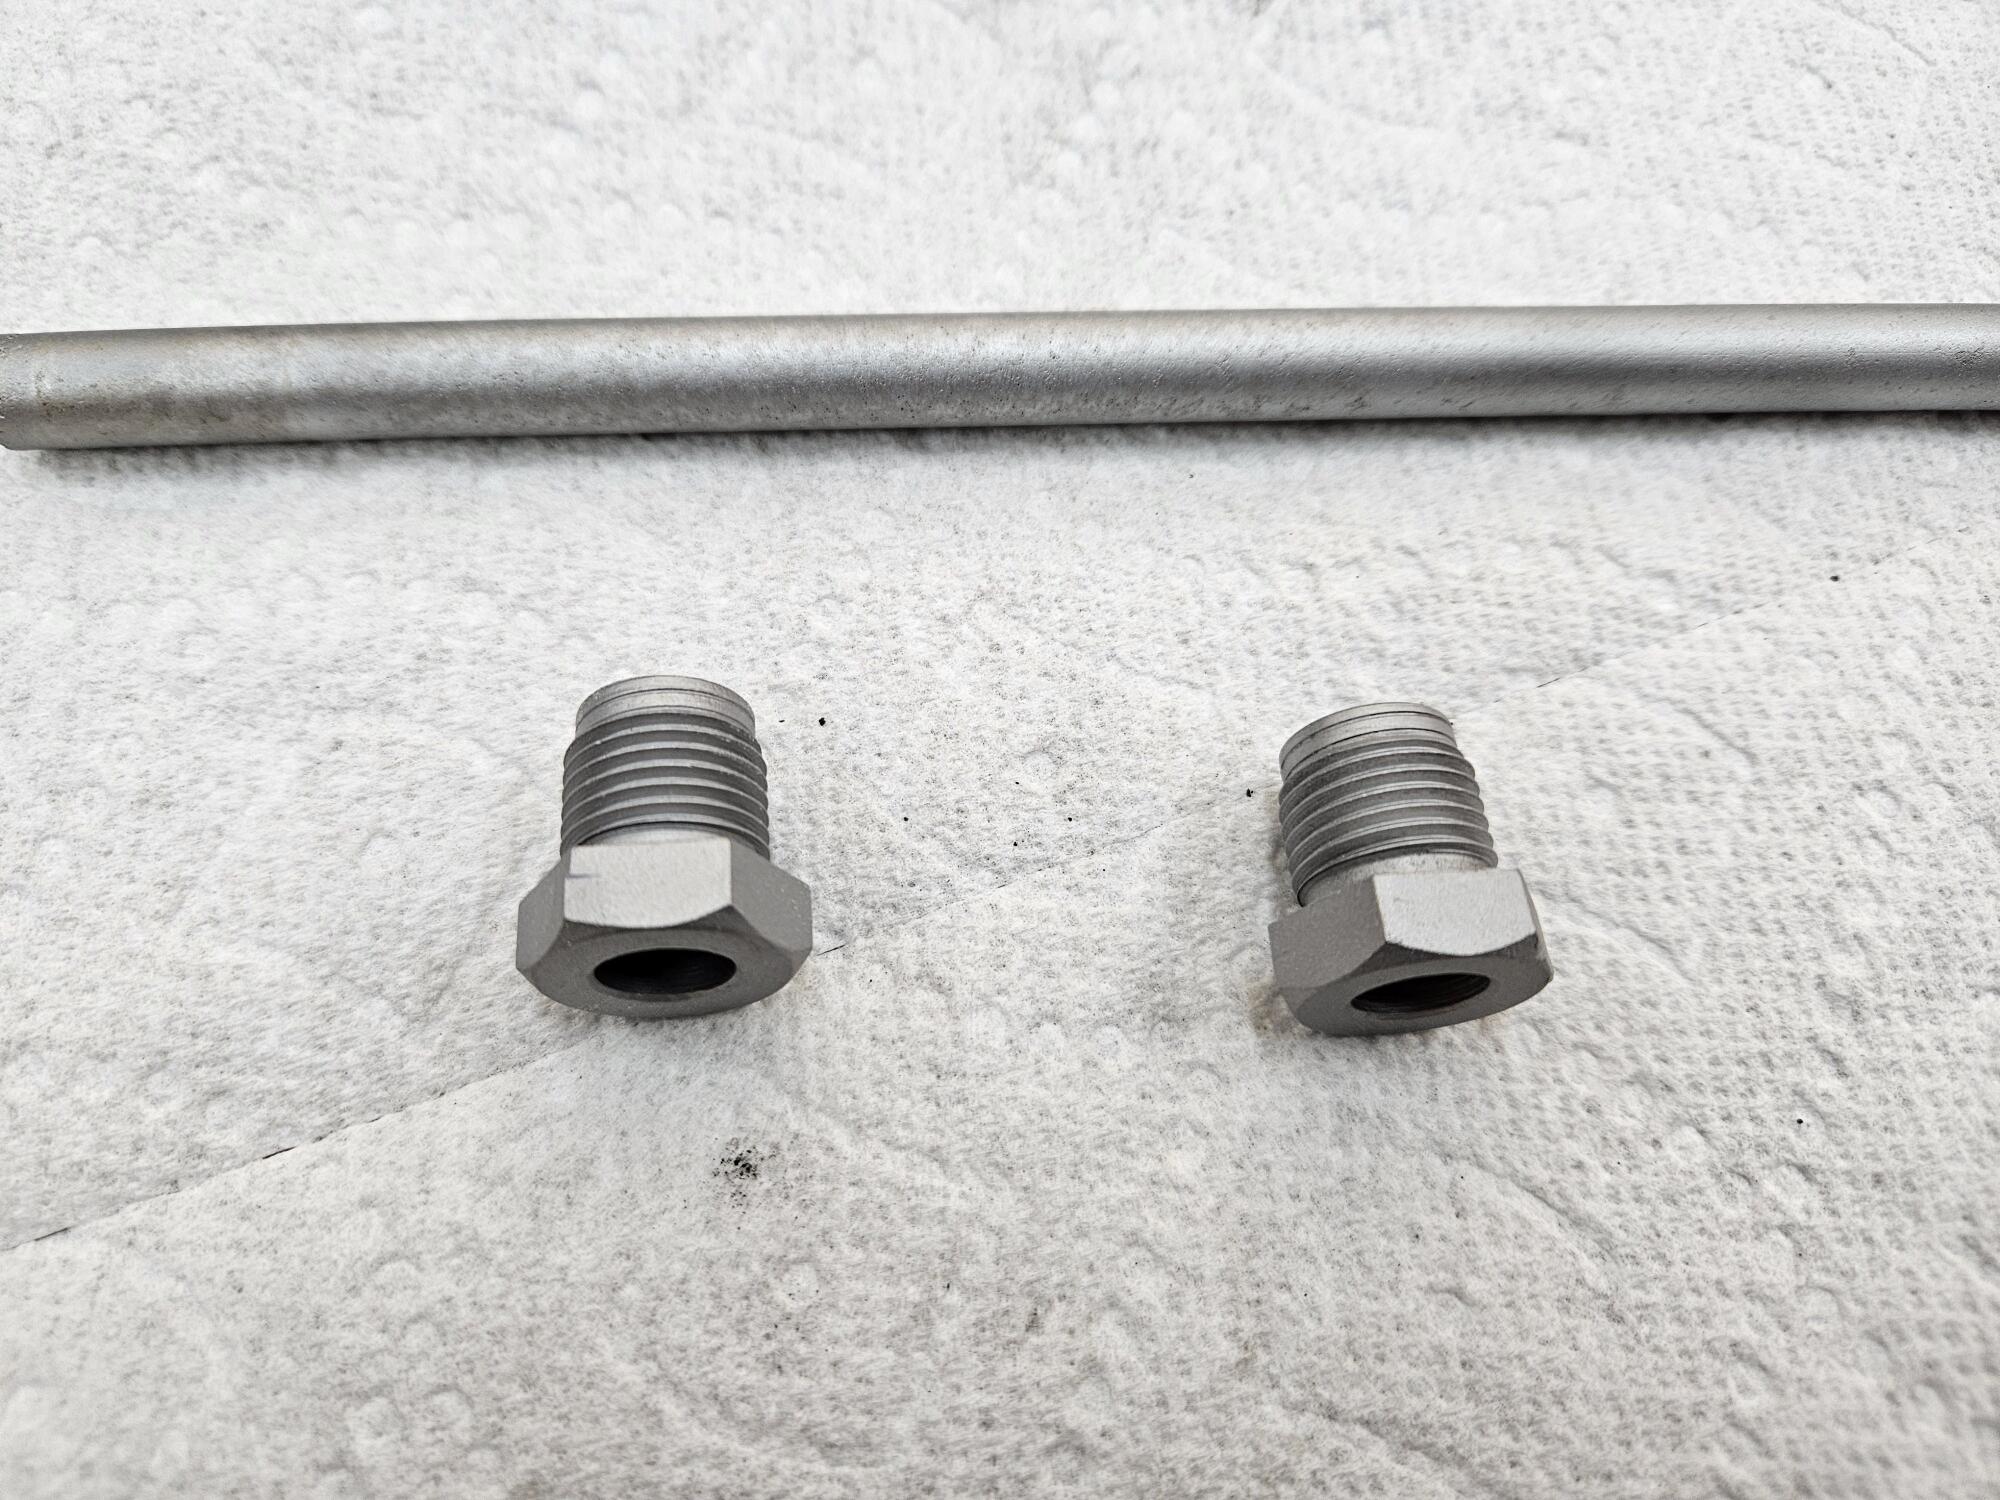
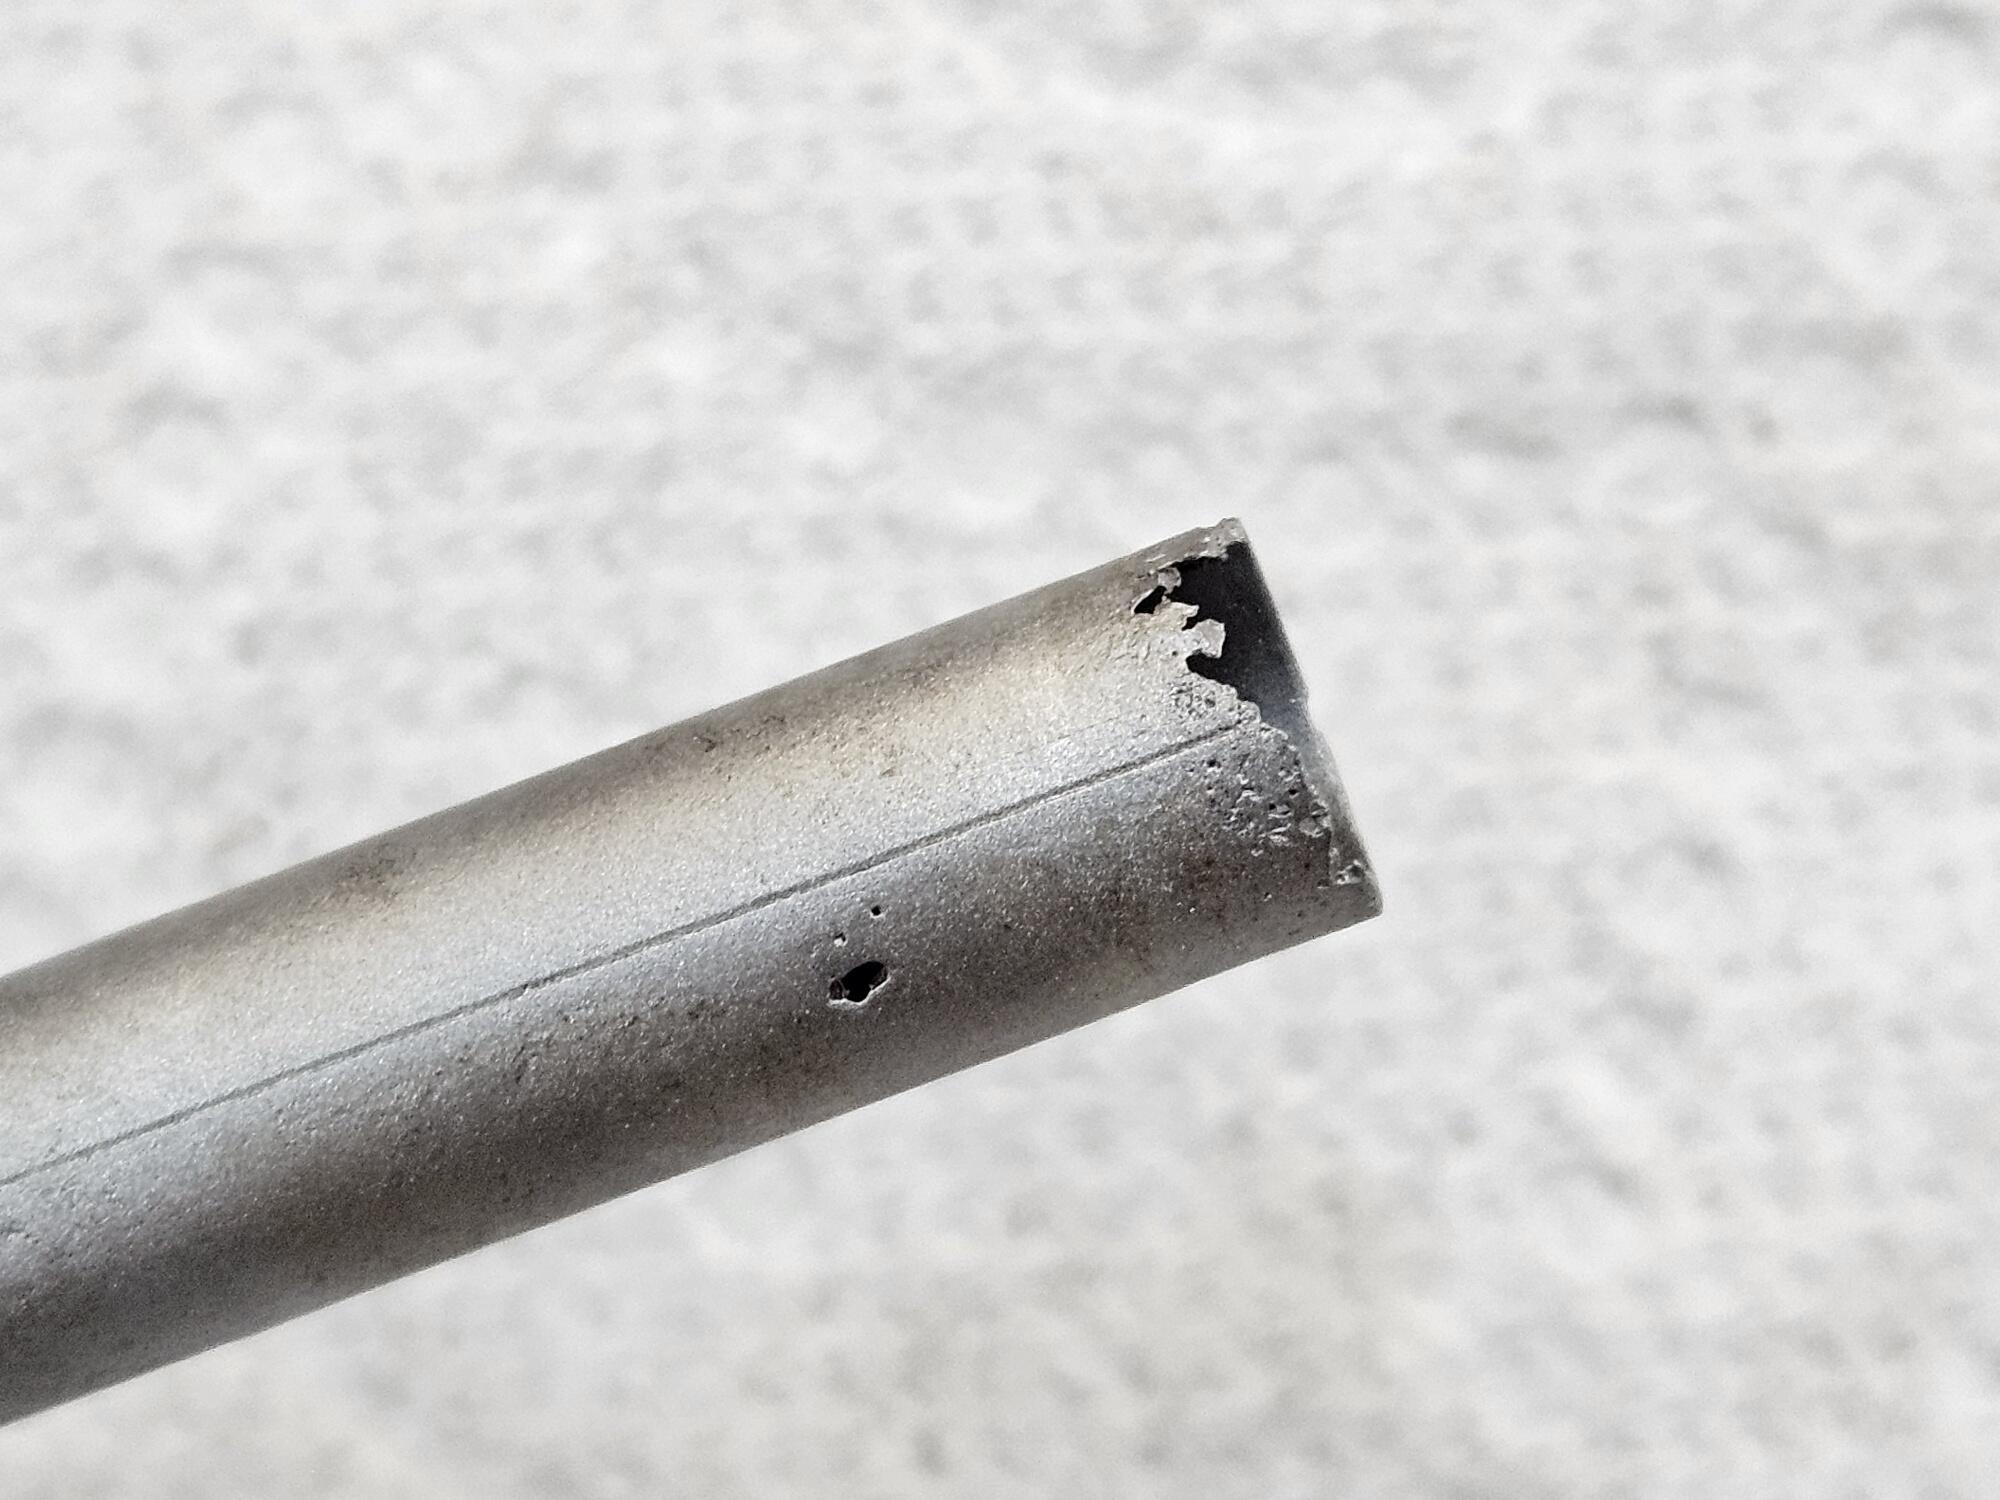
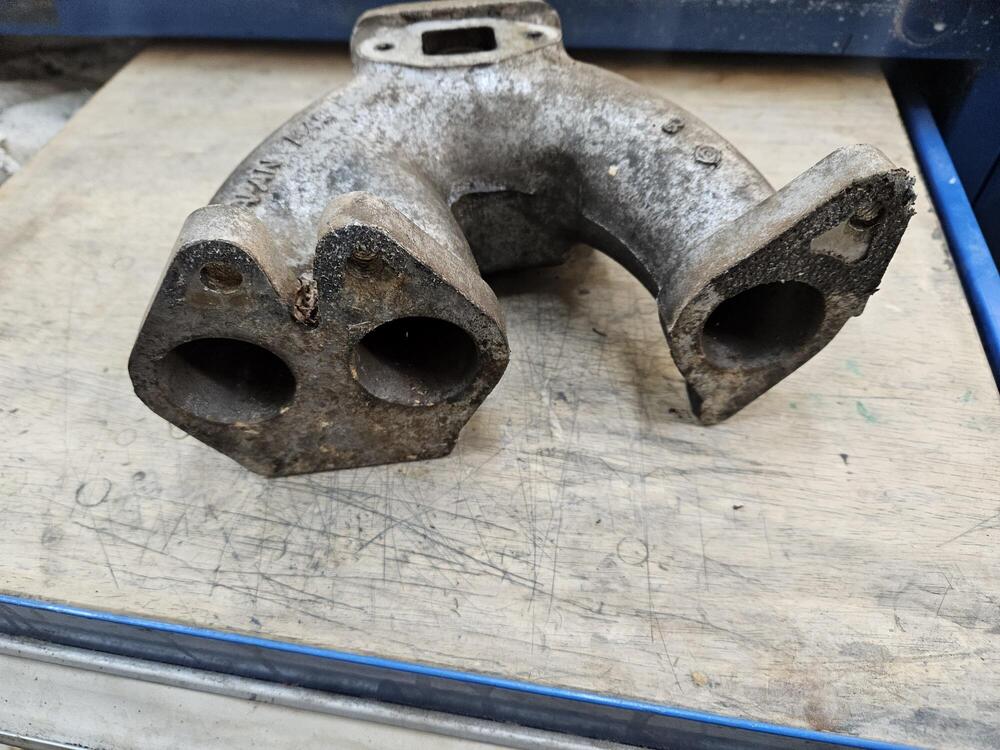
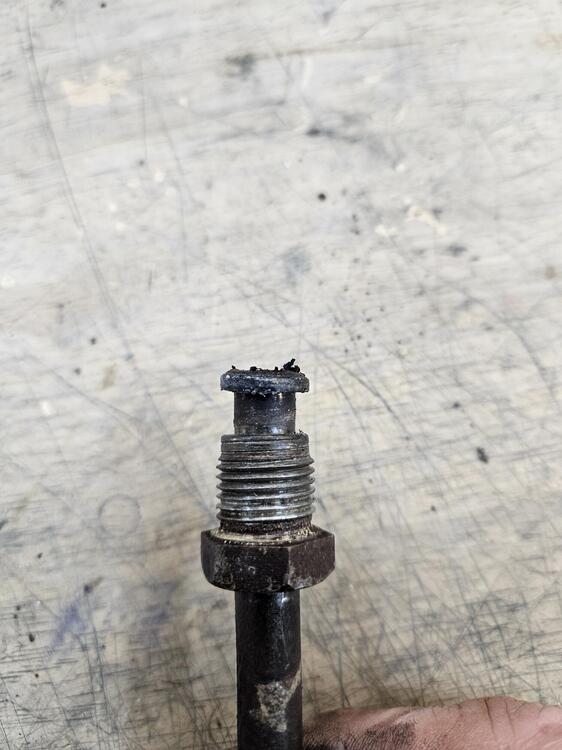
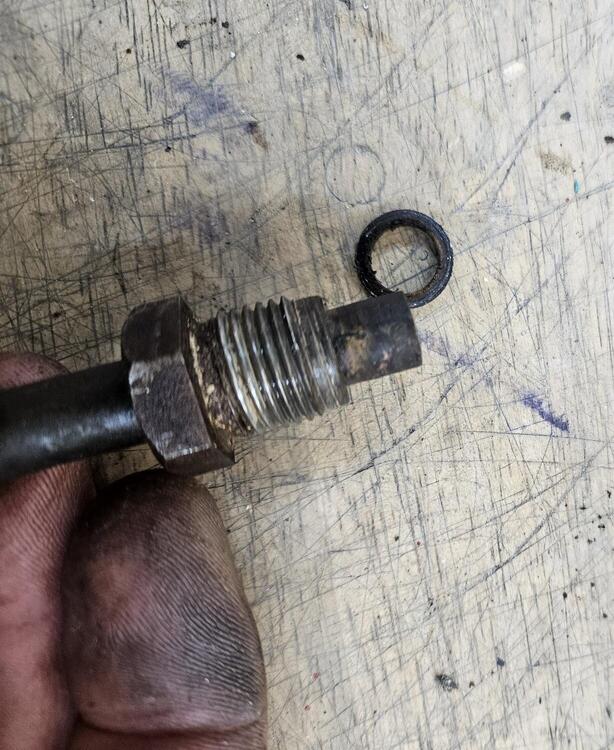
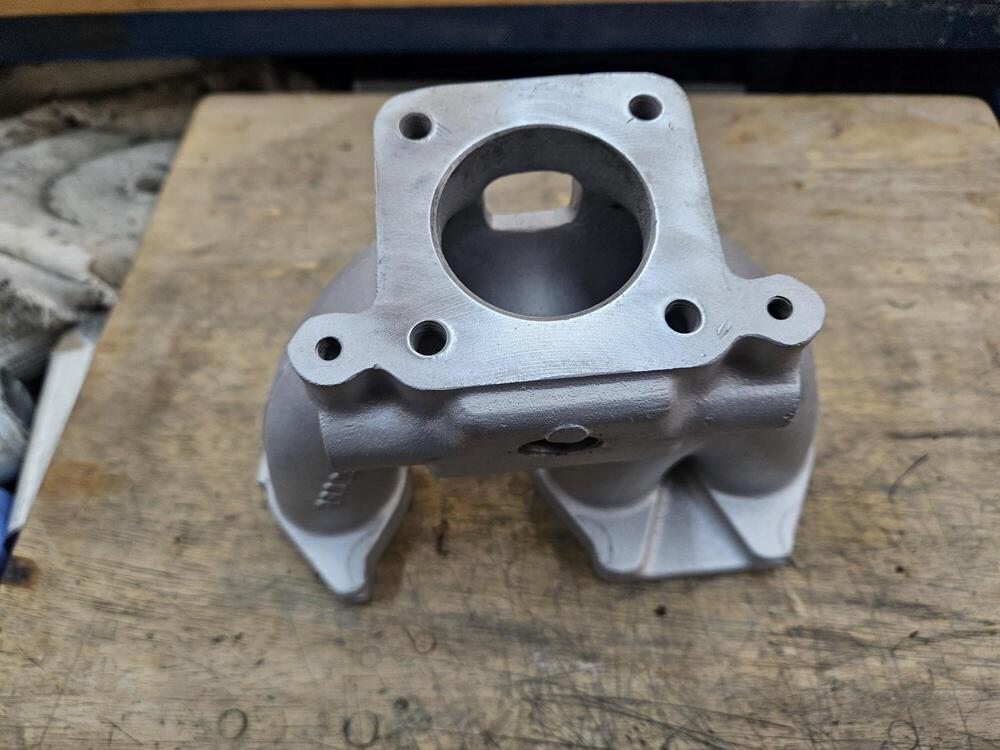
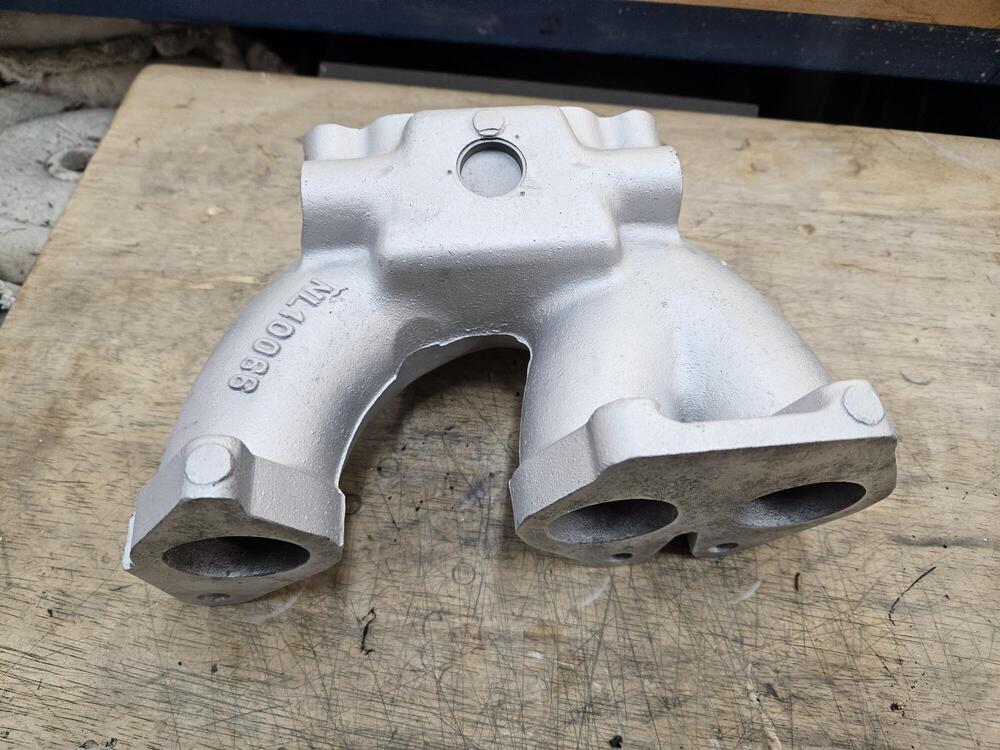
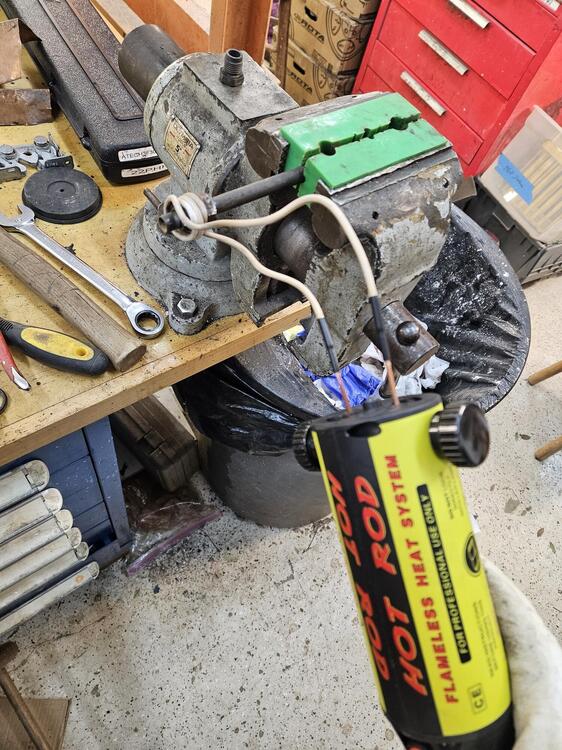
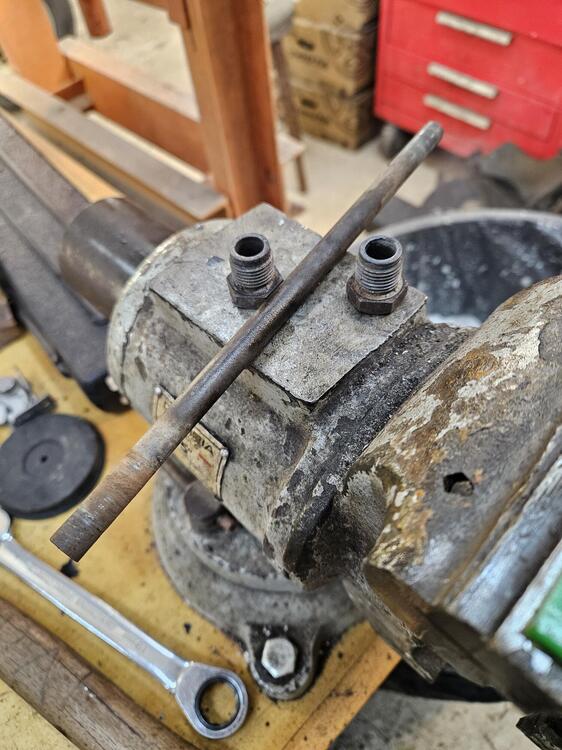
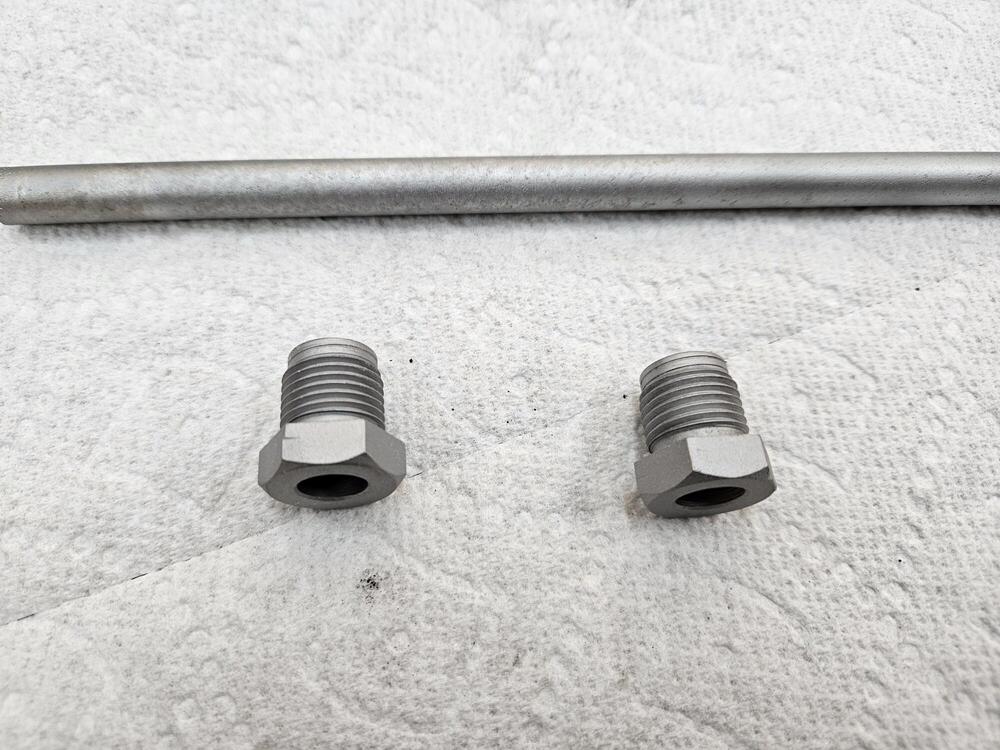
5 pointsSo I debated trying this or not. I'm glad I did though So the water tubes in the intake manifolds have been there for 50 years; steel in aluminum. They are 19mm (3/4") I don't have a flare nut wrench that large. But I took the propane torch to it and they came out! This is the end of the water tube. There is a rubber o ring that goes against a conical seat at the bottom of the hole. Then I used the induction heater to try to get the nuts off the pipe They came off which was great! That tool is really impressive in what you can get apart. Then I bead blasted these parts I'm glad that I did because the tube has a pin hole. I believe this would leak because the seal is a the bottom of the nut at the seat. This pinhole would be inside the nut. So I found a piece of tubing. I couldn't find anything on Amazon but I found some 10mm OD 8mm ID tubing on Ebay. So I have 20" of that coming. I will try to replate all of this in the next few weeks I pulled the studs out of the manifolds too. And this is what I had I degreased then and put them into the bead blasting cabinet. After the first pass, I turned the air pressure down to about 60psi and blasted them again. This is how they came out. I'm really pleased they look this good! Then I treated them with Sharkhide. Before and after


 5 points
 -
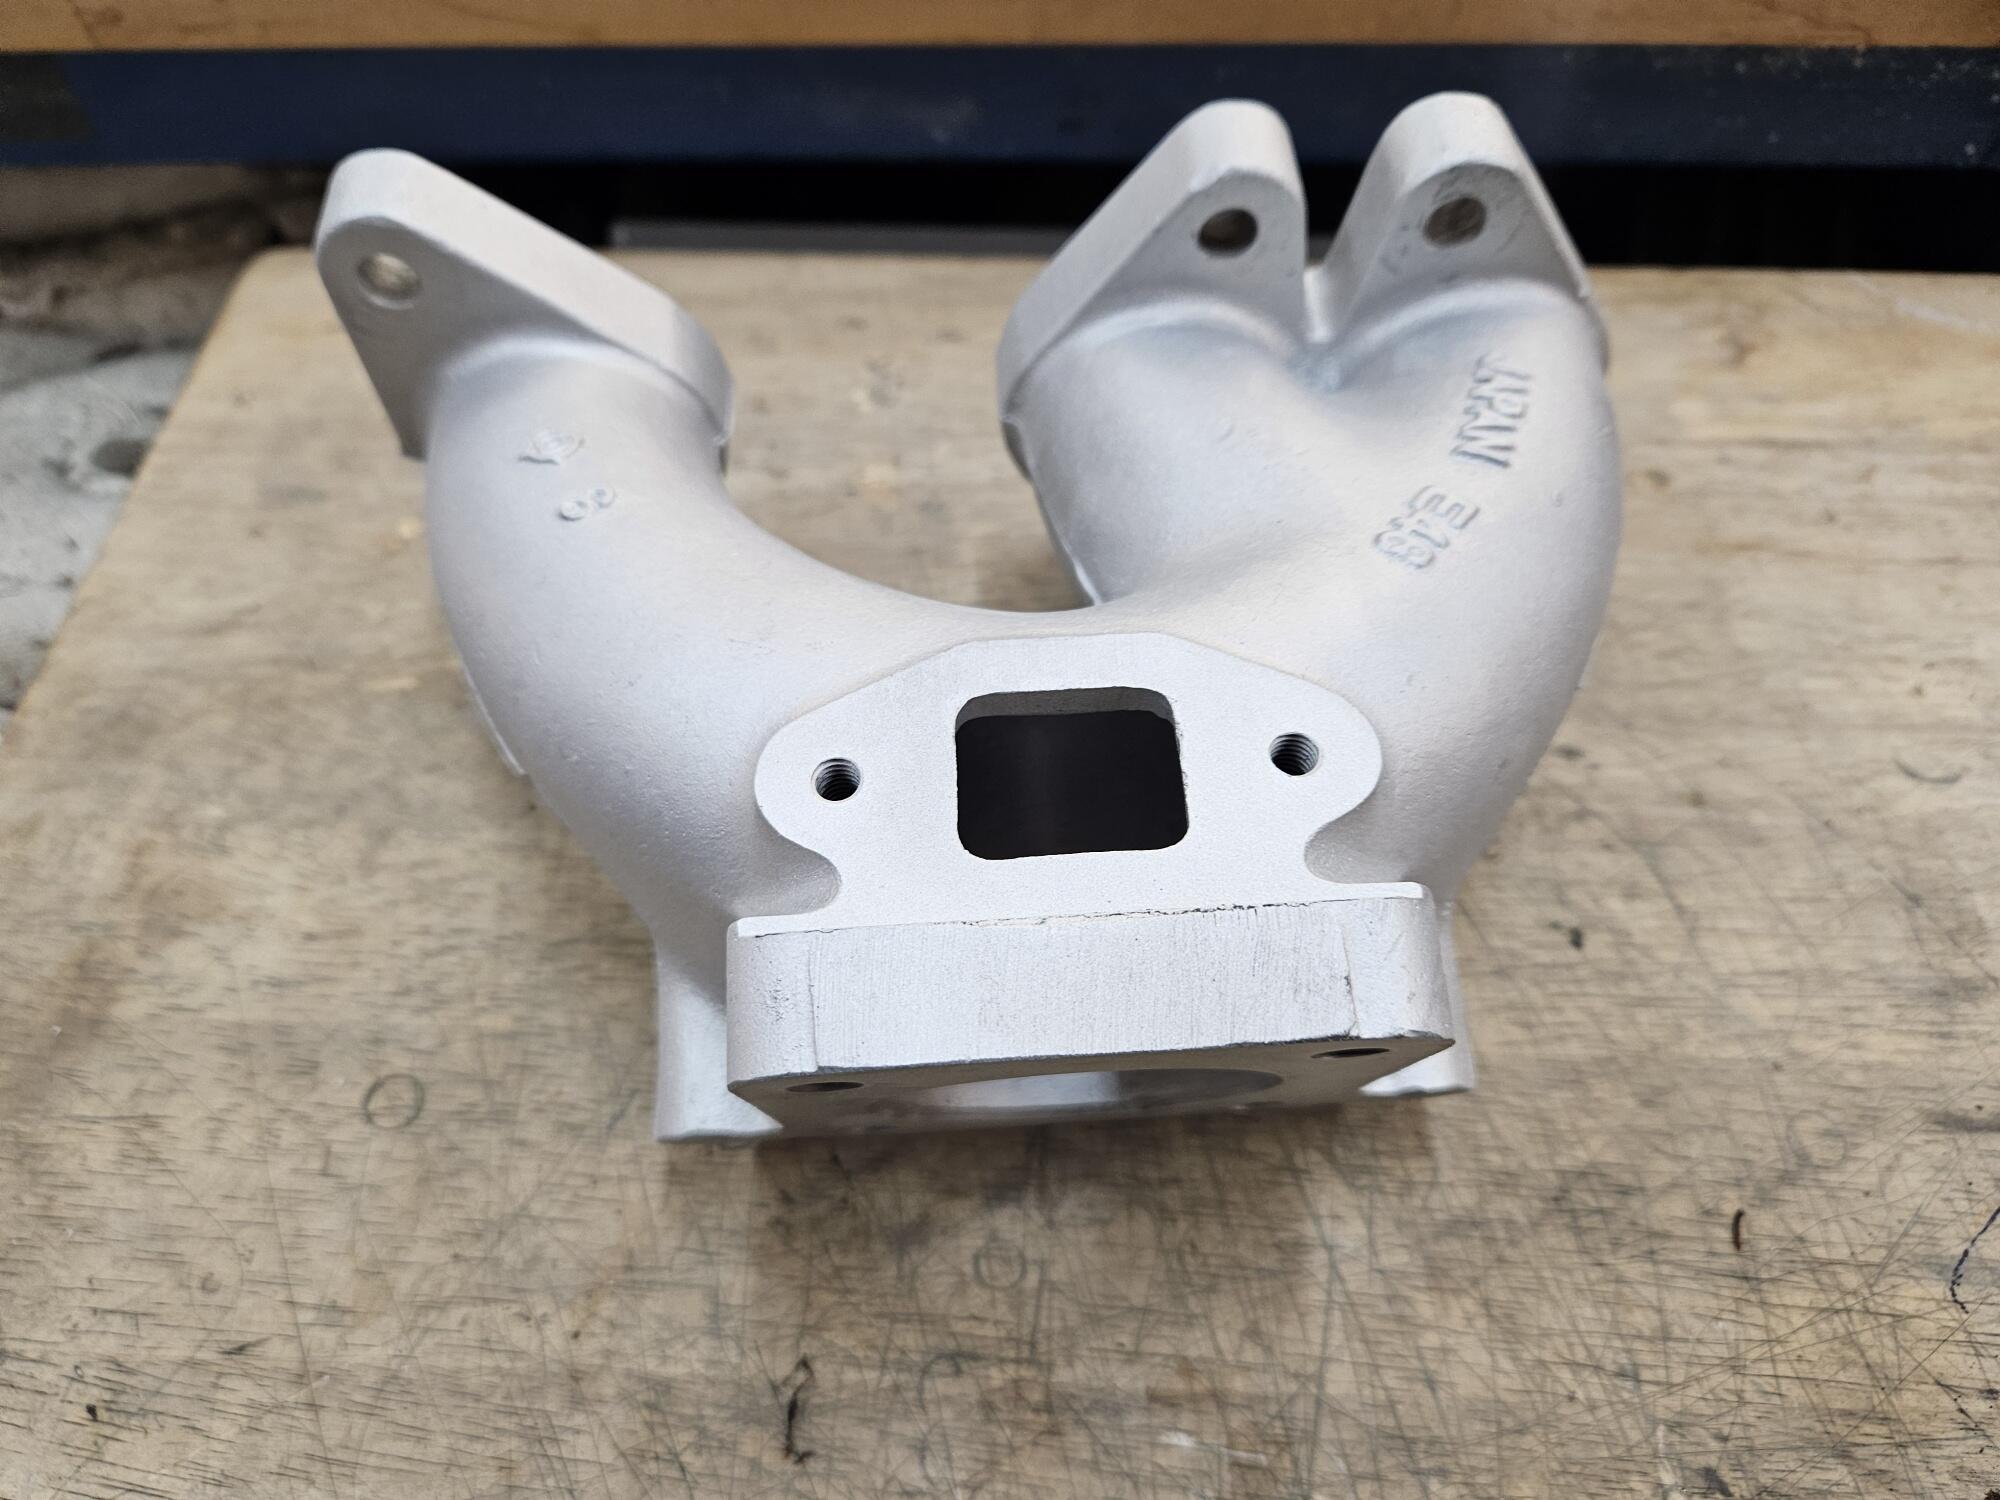
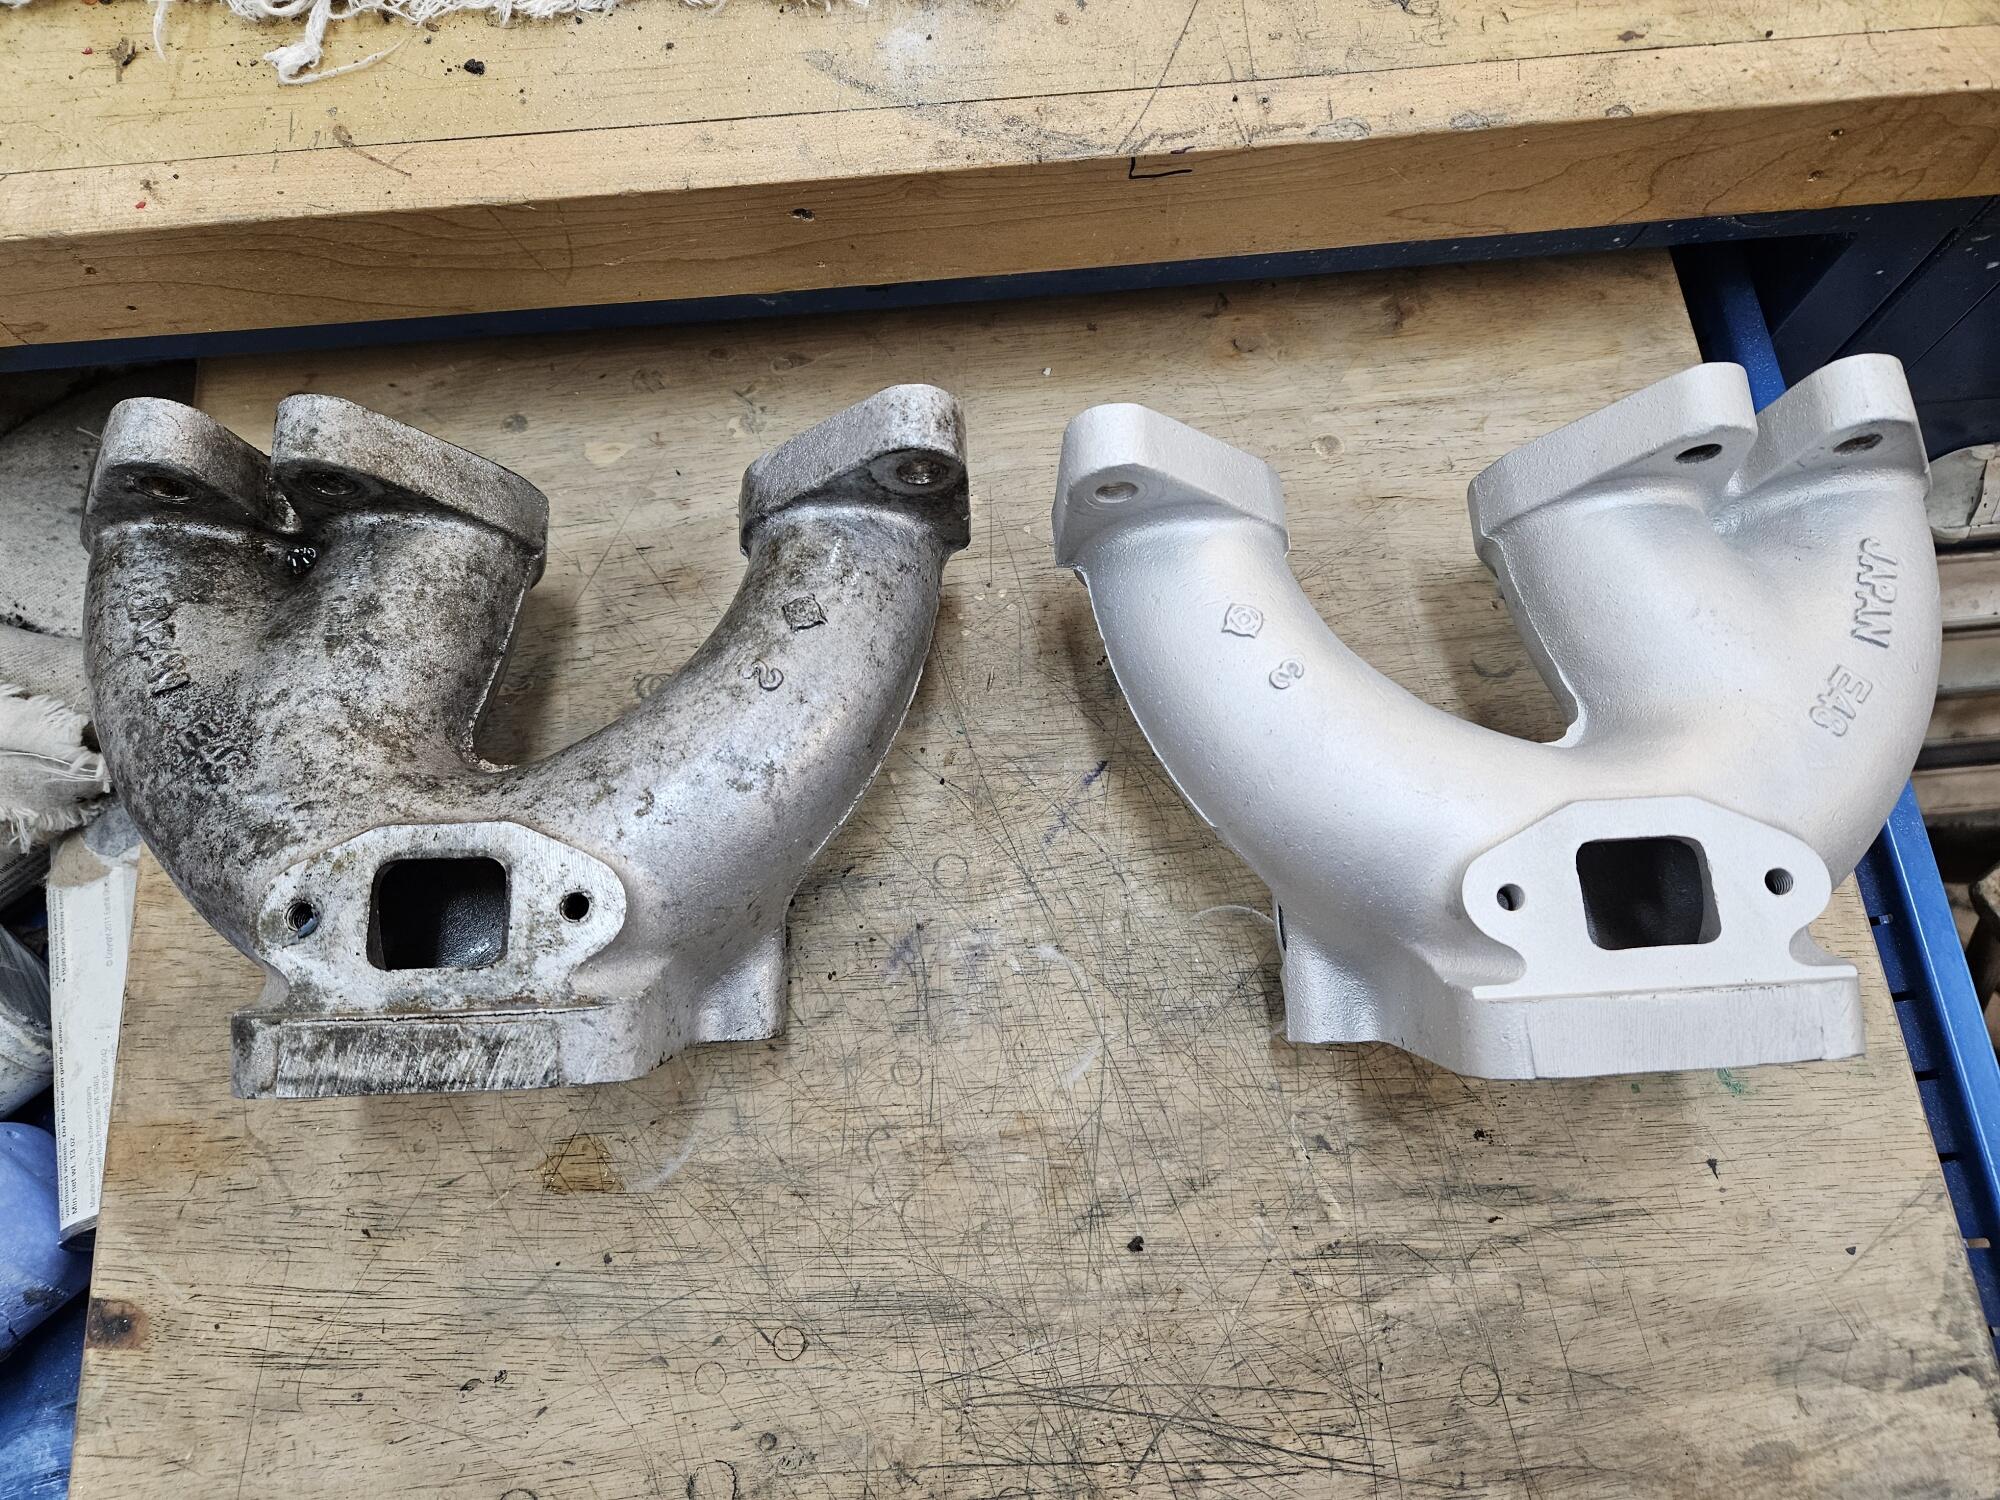
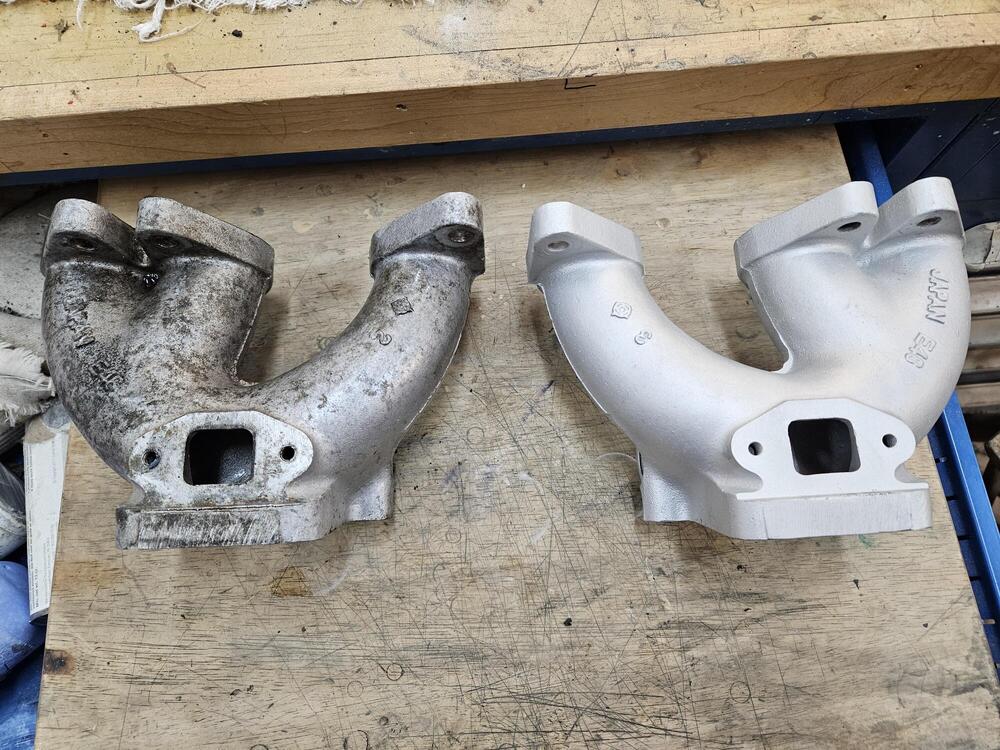
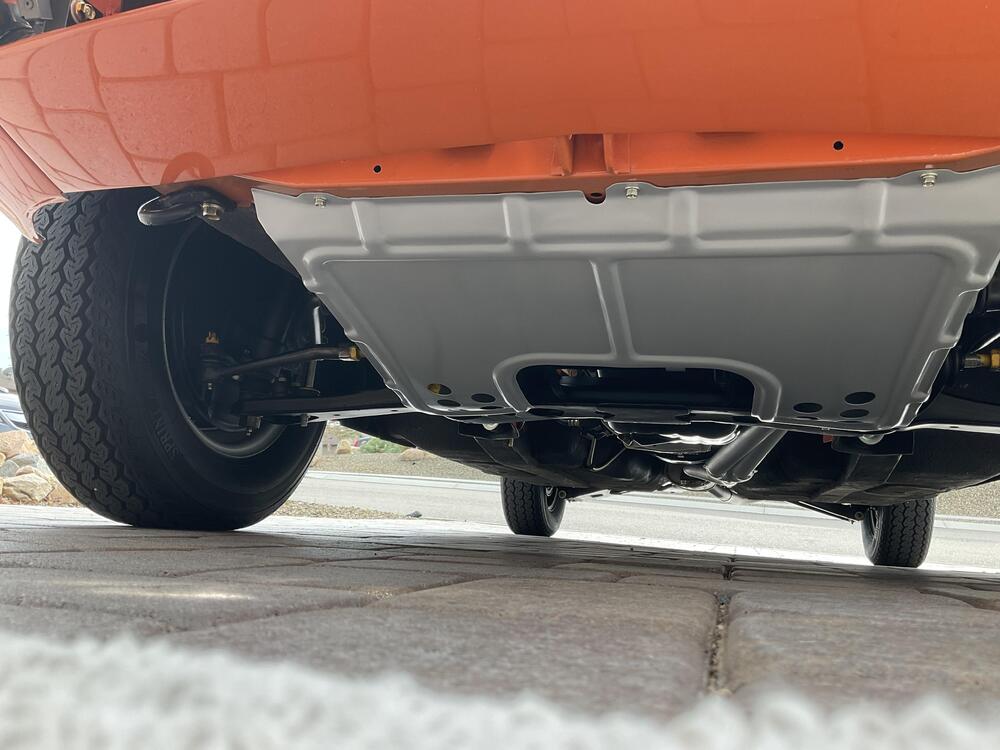
3 pointsInline, the back is OEM factory silver and in great shape so no need to repaint. The front needed repaint so had the front media blasted and put on 2 coats of 2K hot rod satin black, then 2 coats of the of the 2K clear matte, and waited 30 minutes between all coats to flash. The satin was a little too glossy so the clear matte gave it the perfect matte black finish. Spray max doesn’t make 2k “matte black”. At one time, I did have my local auto paint store mix the silver wheel paint for me to paint a splash pan. That silver nicely approximates the factory silver for the OEM original splash pan color as shown in this picture.
 3 points
 -
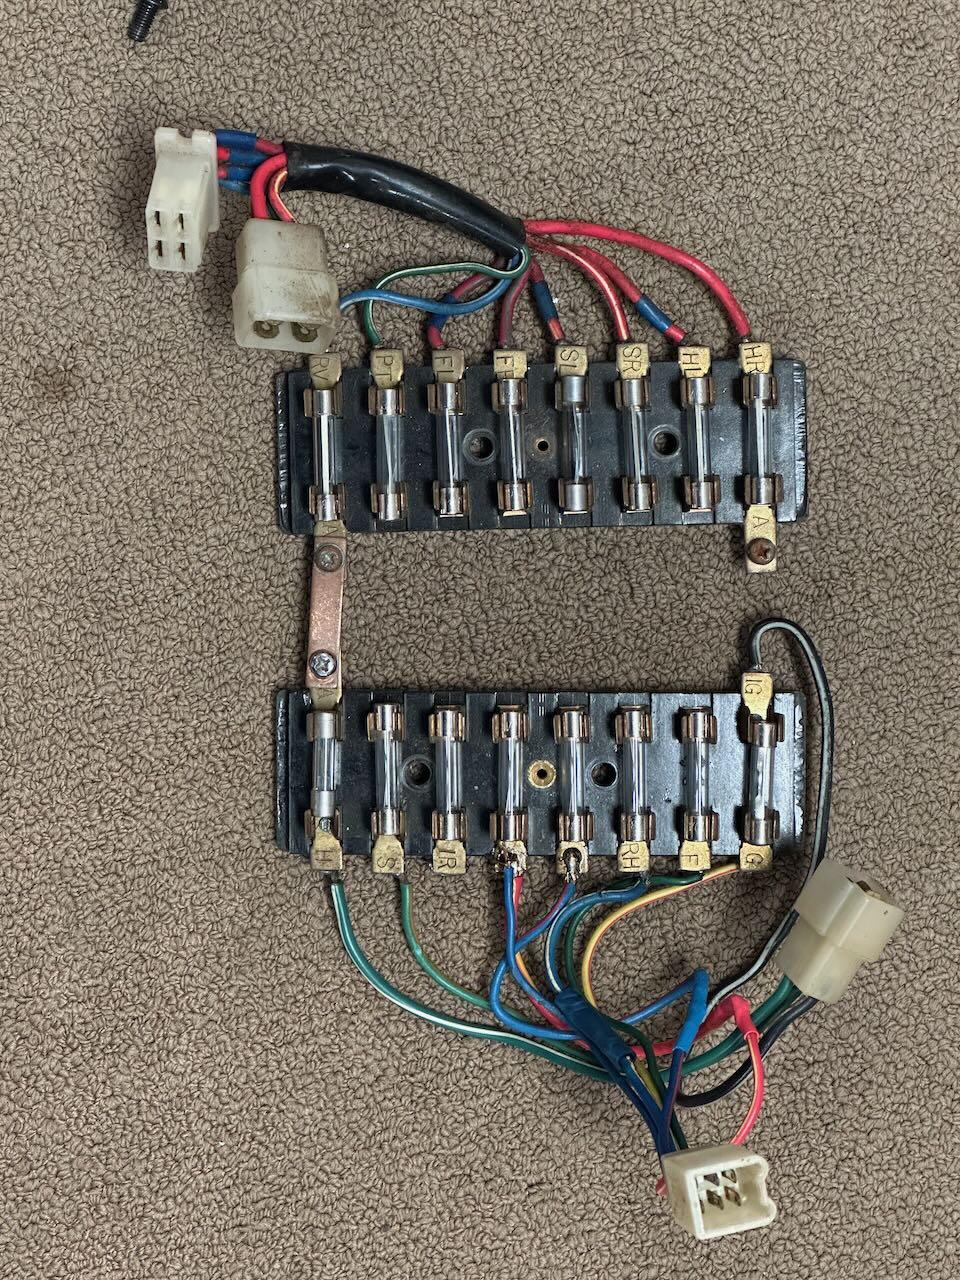
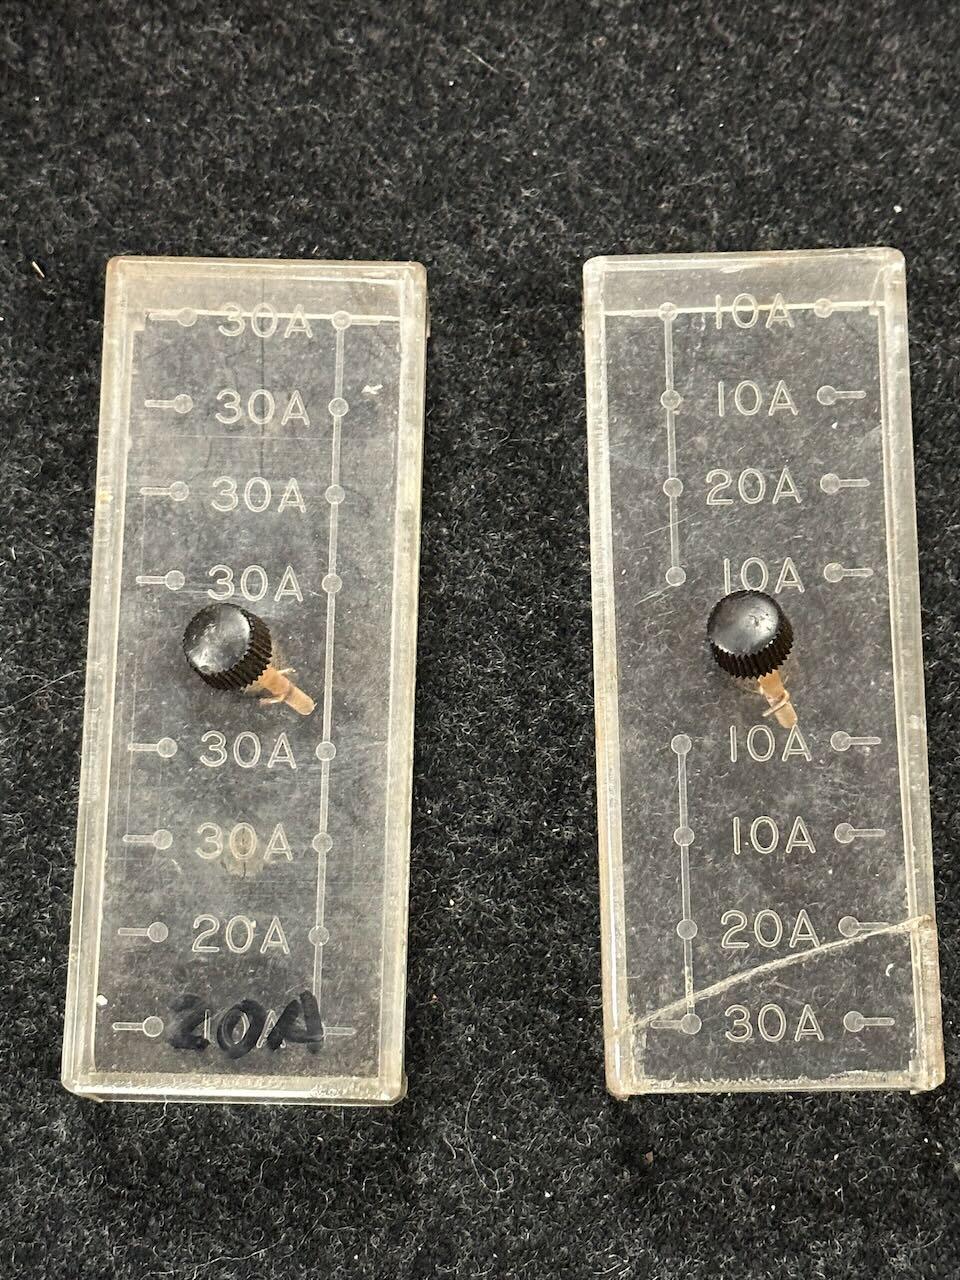
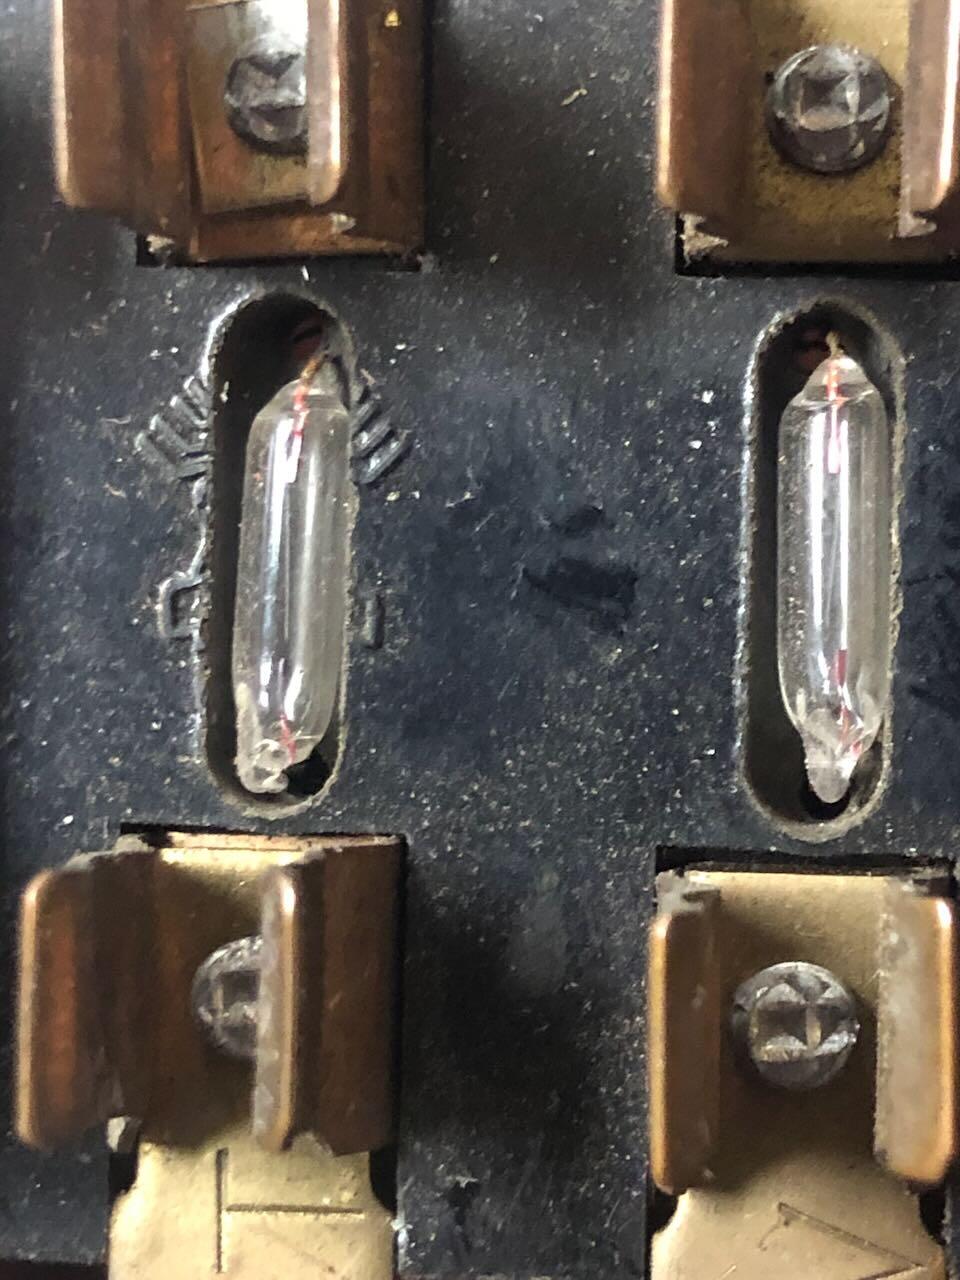
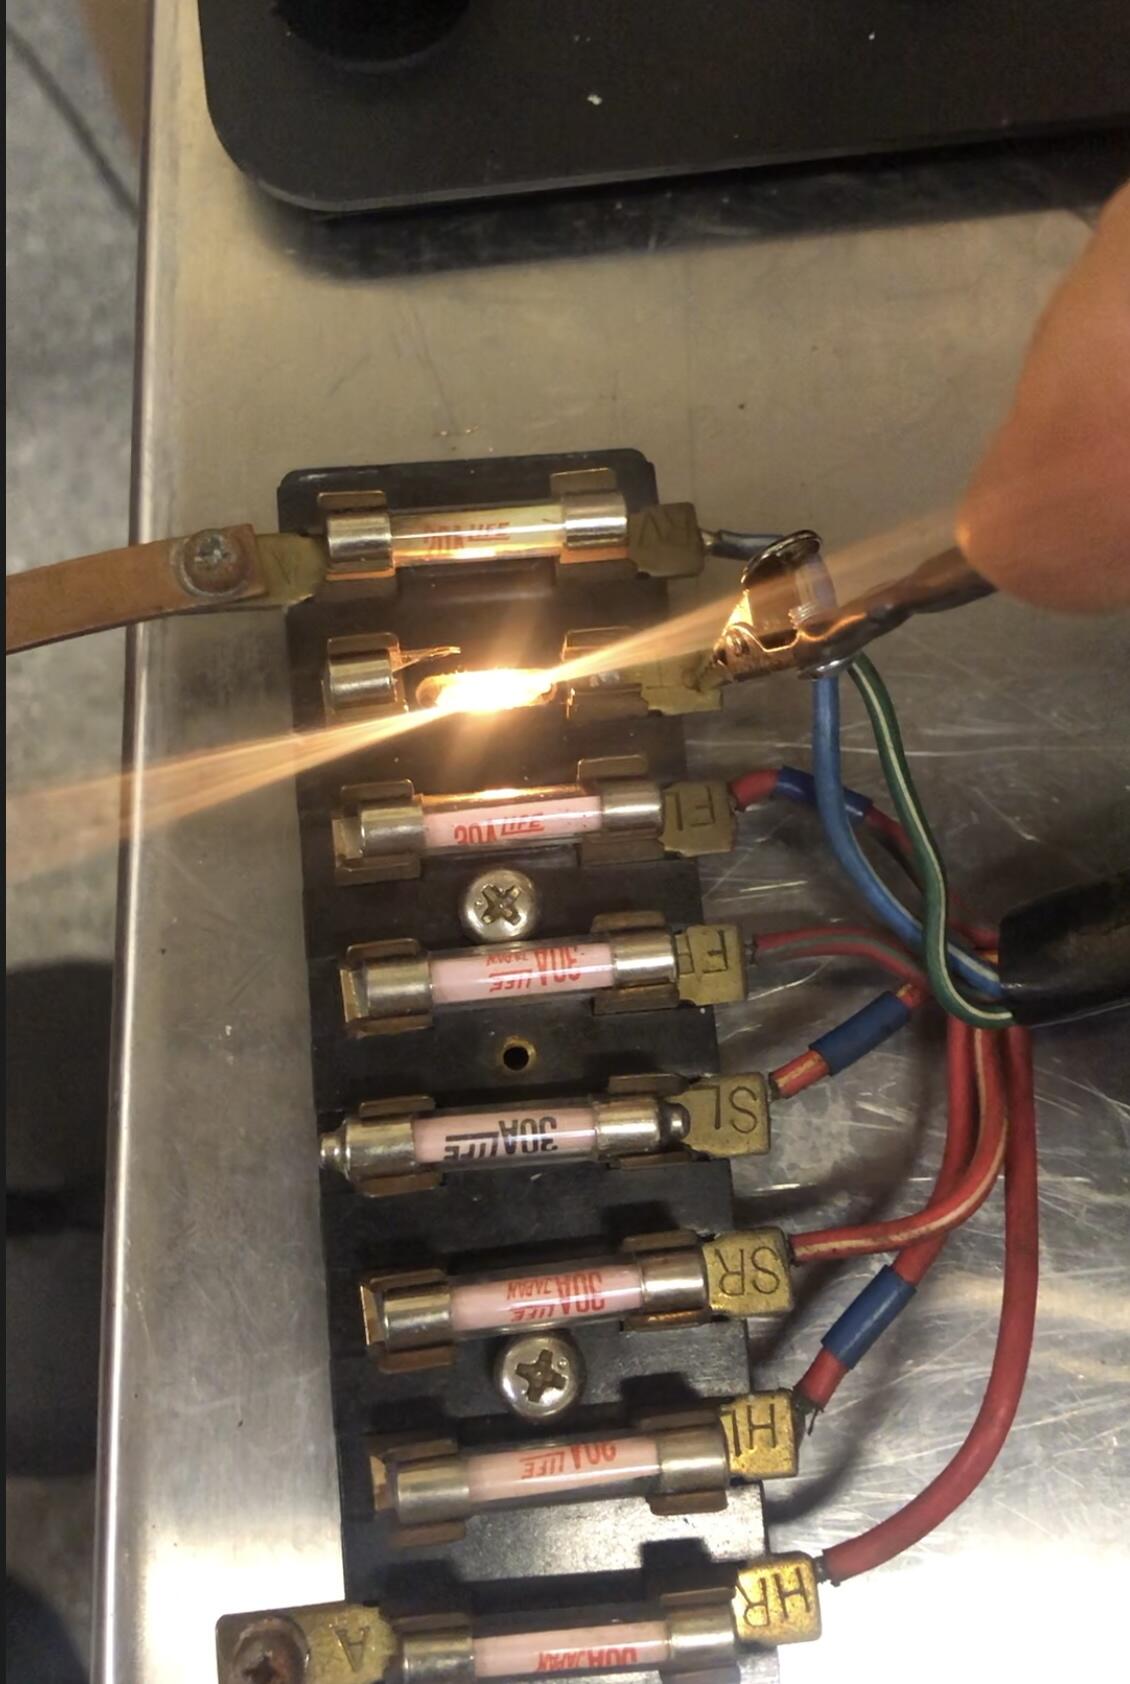
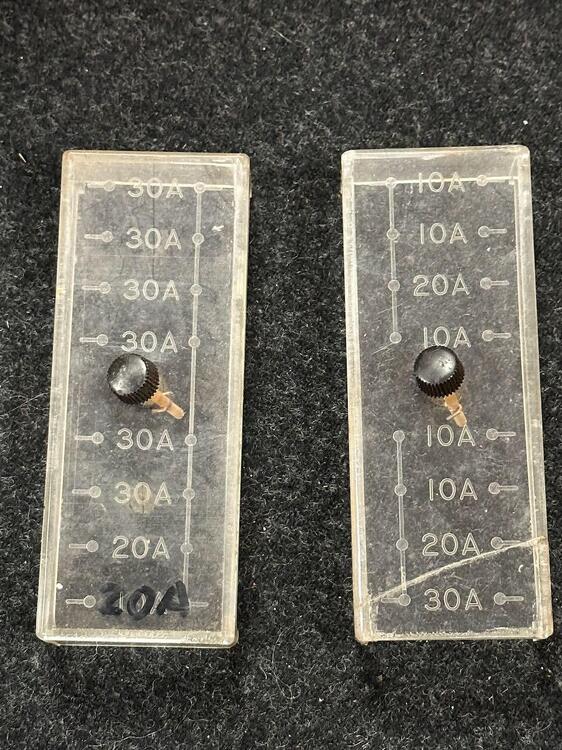
Things are moving quicker on the body front, so I've turned my attention to long-pull items which need to be ready in time for the shell's return. Tops on the list is the wiring harness, which I typically install first when a car is rebuilt. The harness itself thankfully needs limited work - it was in decent shape coming out of the car, although I suspect there are a few breaks I need to trace and take care of. I'm also planning on replacing all the connectors, as they tend to get corroded through exposure. I wont go into that process, as it's is fairly well understood by the community. The fuse boxes require a bit of TLC, however (picture 1). On my car, they are comprised of a pair of modified Niles 8-position boxes, possibly hand-made from a Niles FB87A box (or similar). Pigtail wires were soldered in place, terminating in a connector to the main harness. Some of these connectors show signs of maintenance over the many years. The lids are also showing signs of age (picture 2), so I'll put them on the 3D scan list as well. It's worth noting that someone took the time to scribe the lids with appropriate fuse sizes, which is likely unique to only a handful of early rally cars. On close examination of the boxes themselves, I found that each of the fuse locations had a pre-wired axial 12v bulb bridging the fuse terminals from the back (picture 3). Much like how a dead short blows a fuse, this outrageous modification really blew my mind - the Works team had considered the potential difficulty in tracing blown circuits and identifying shorts in dark foot wells in the dead of night. So they designed a novel solution: a blown fuse allows current to instead flow through the bulb, causing the specific fuse location to glow (picture 4). I can't speak to how well it worked in competition, but it probably only needed to work a single time during a race for the modification to be worth doing!


 2 points
 -
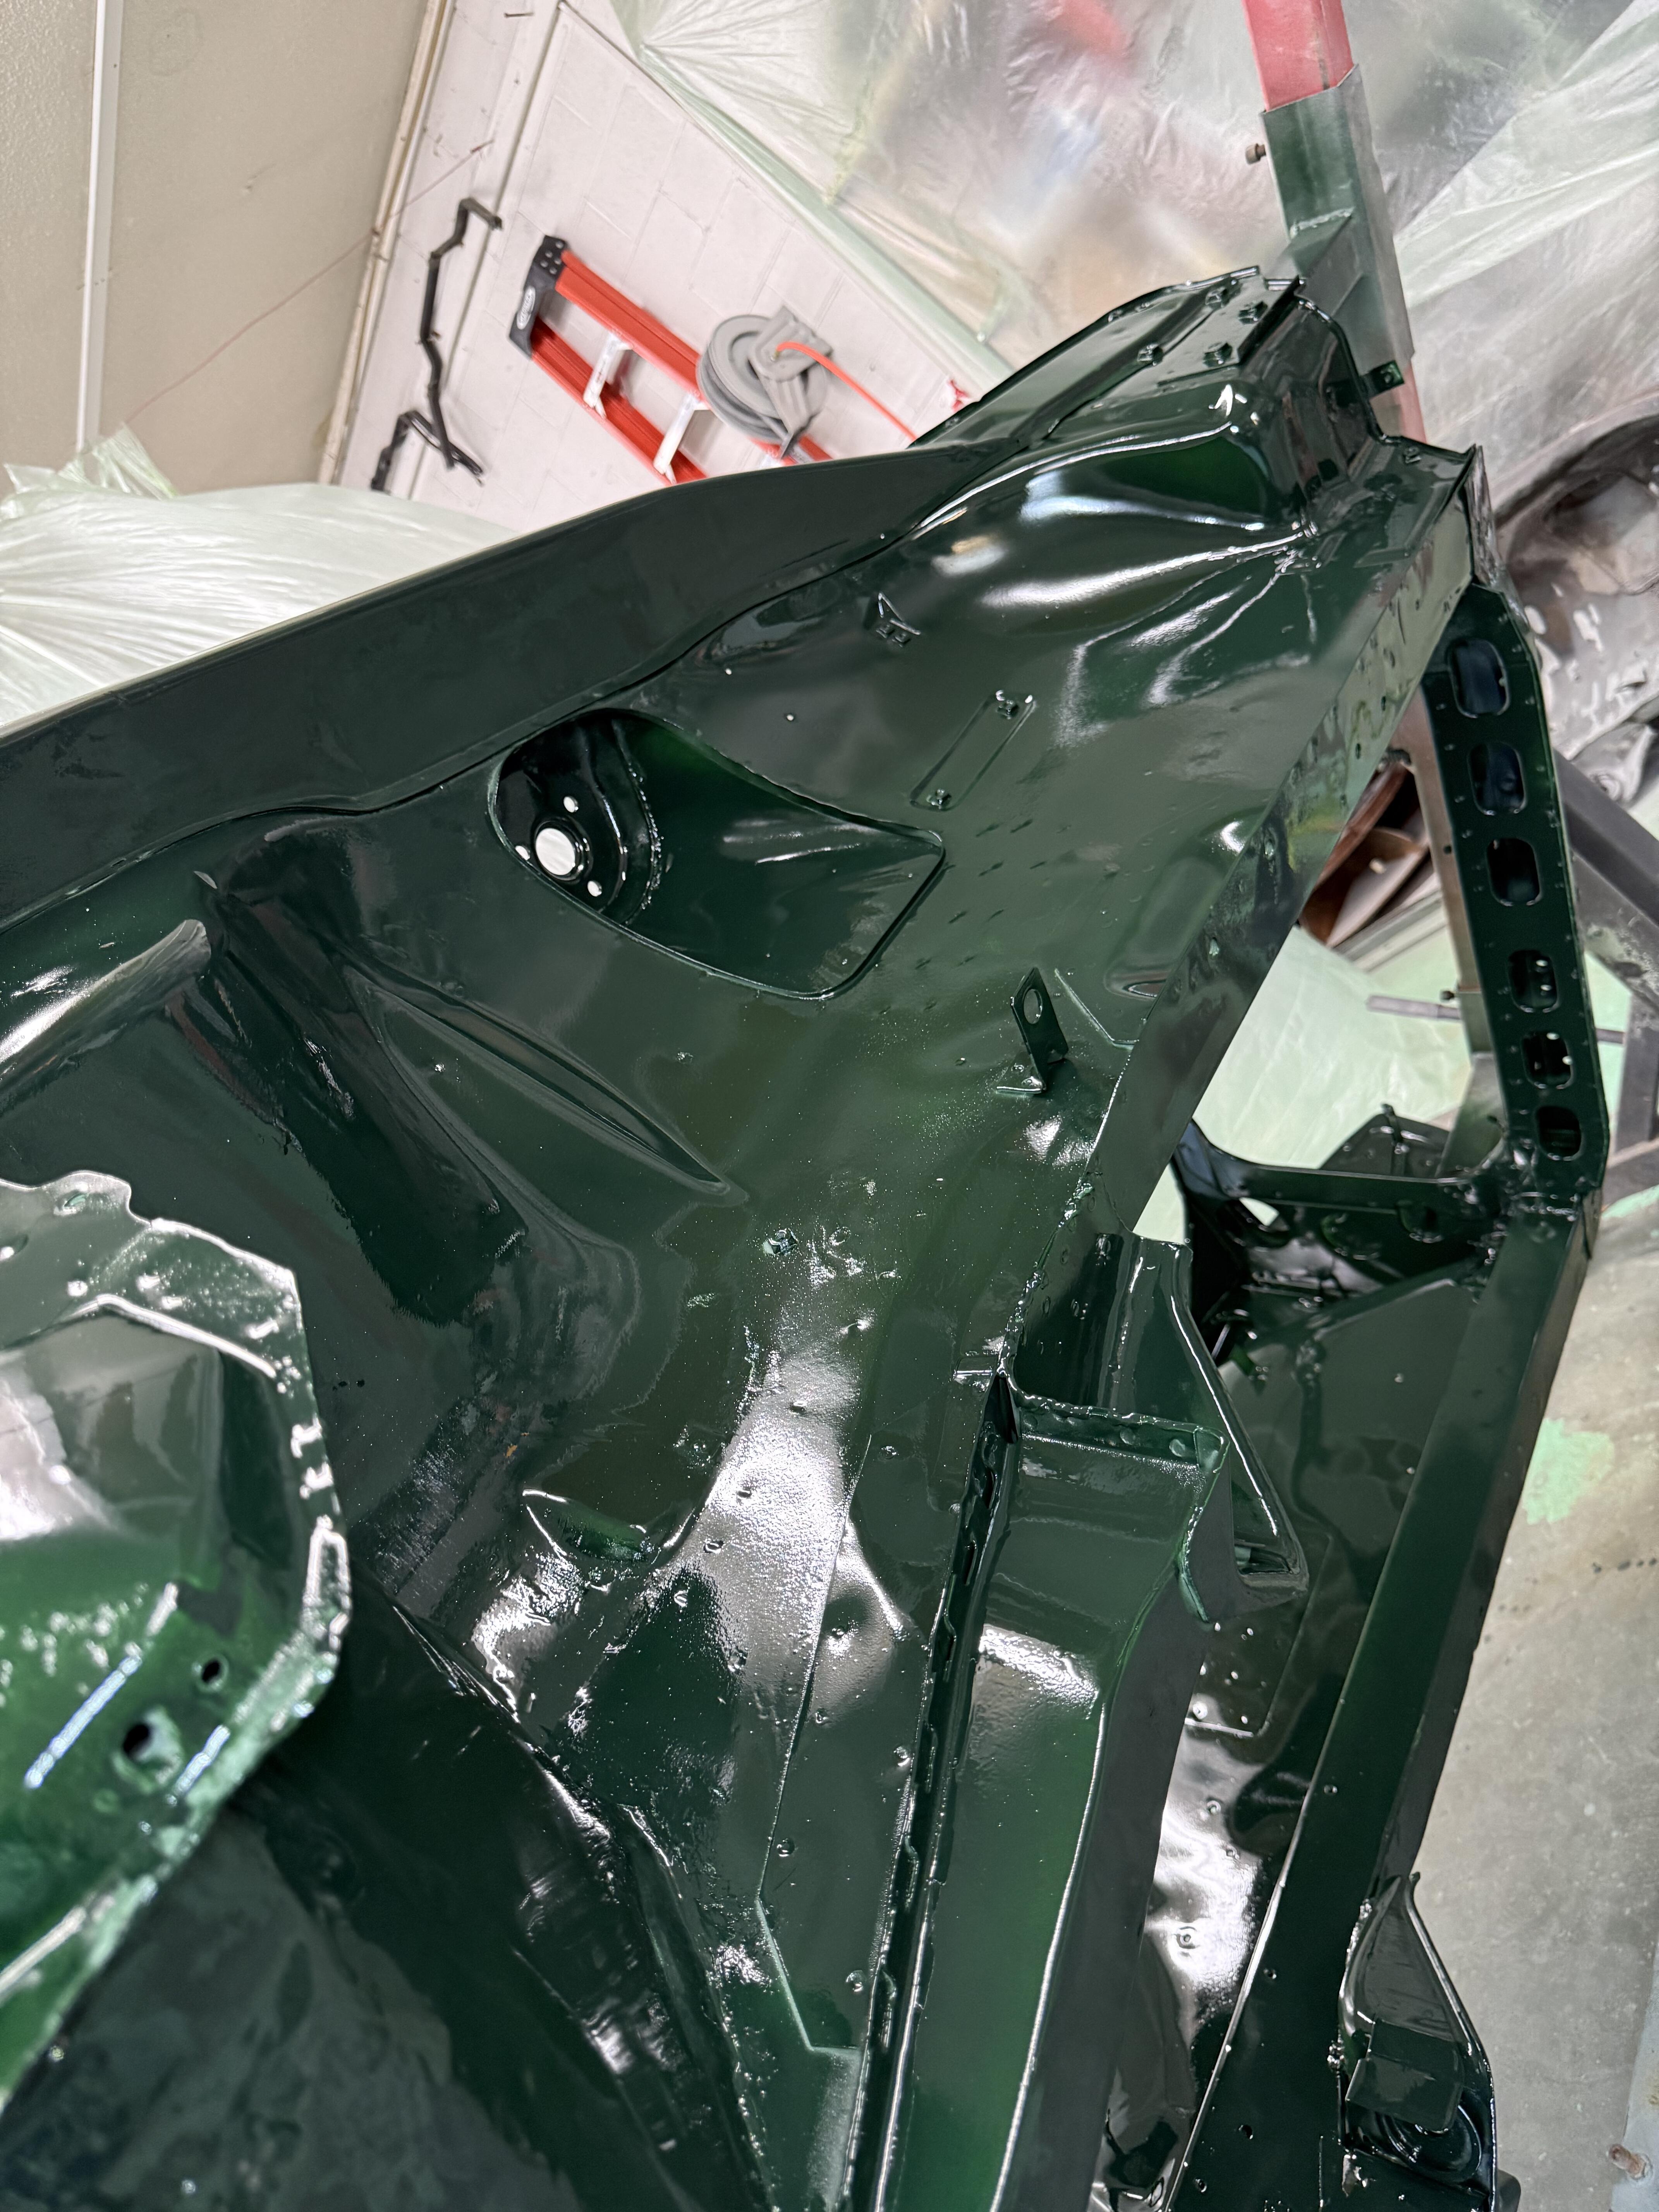
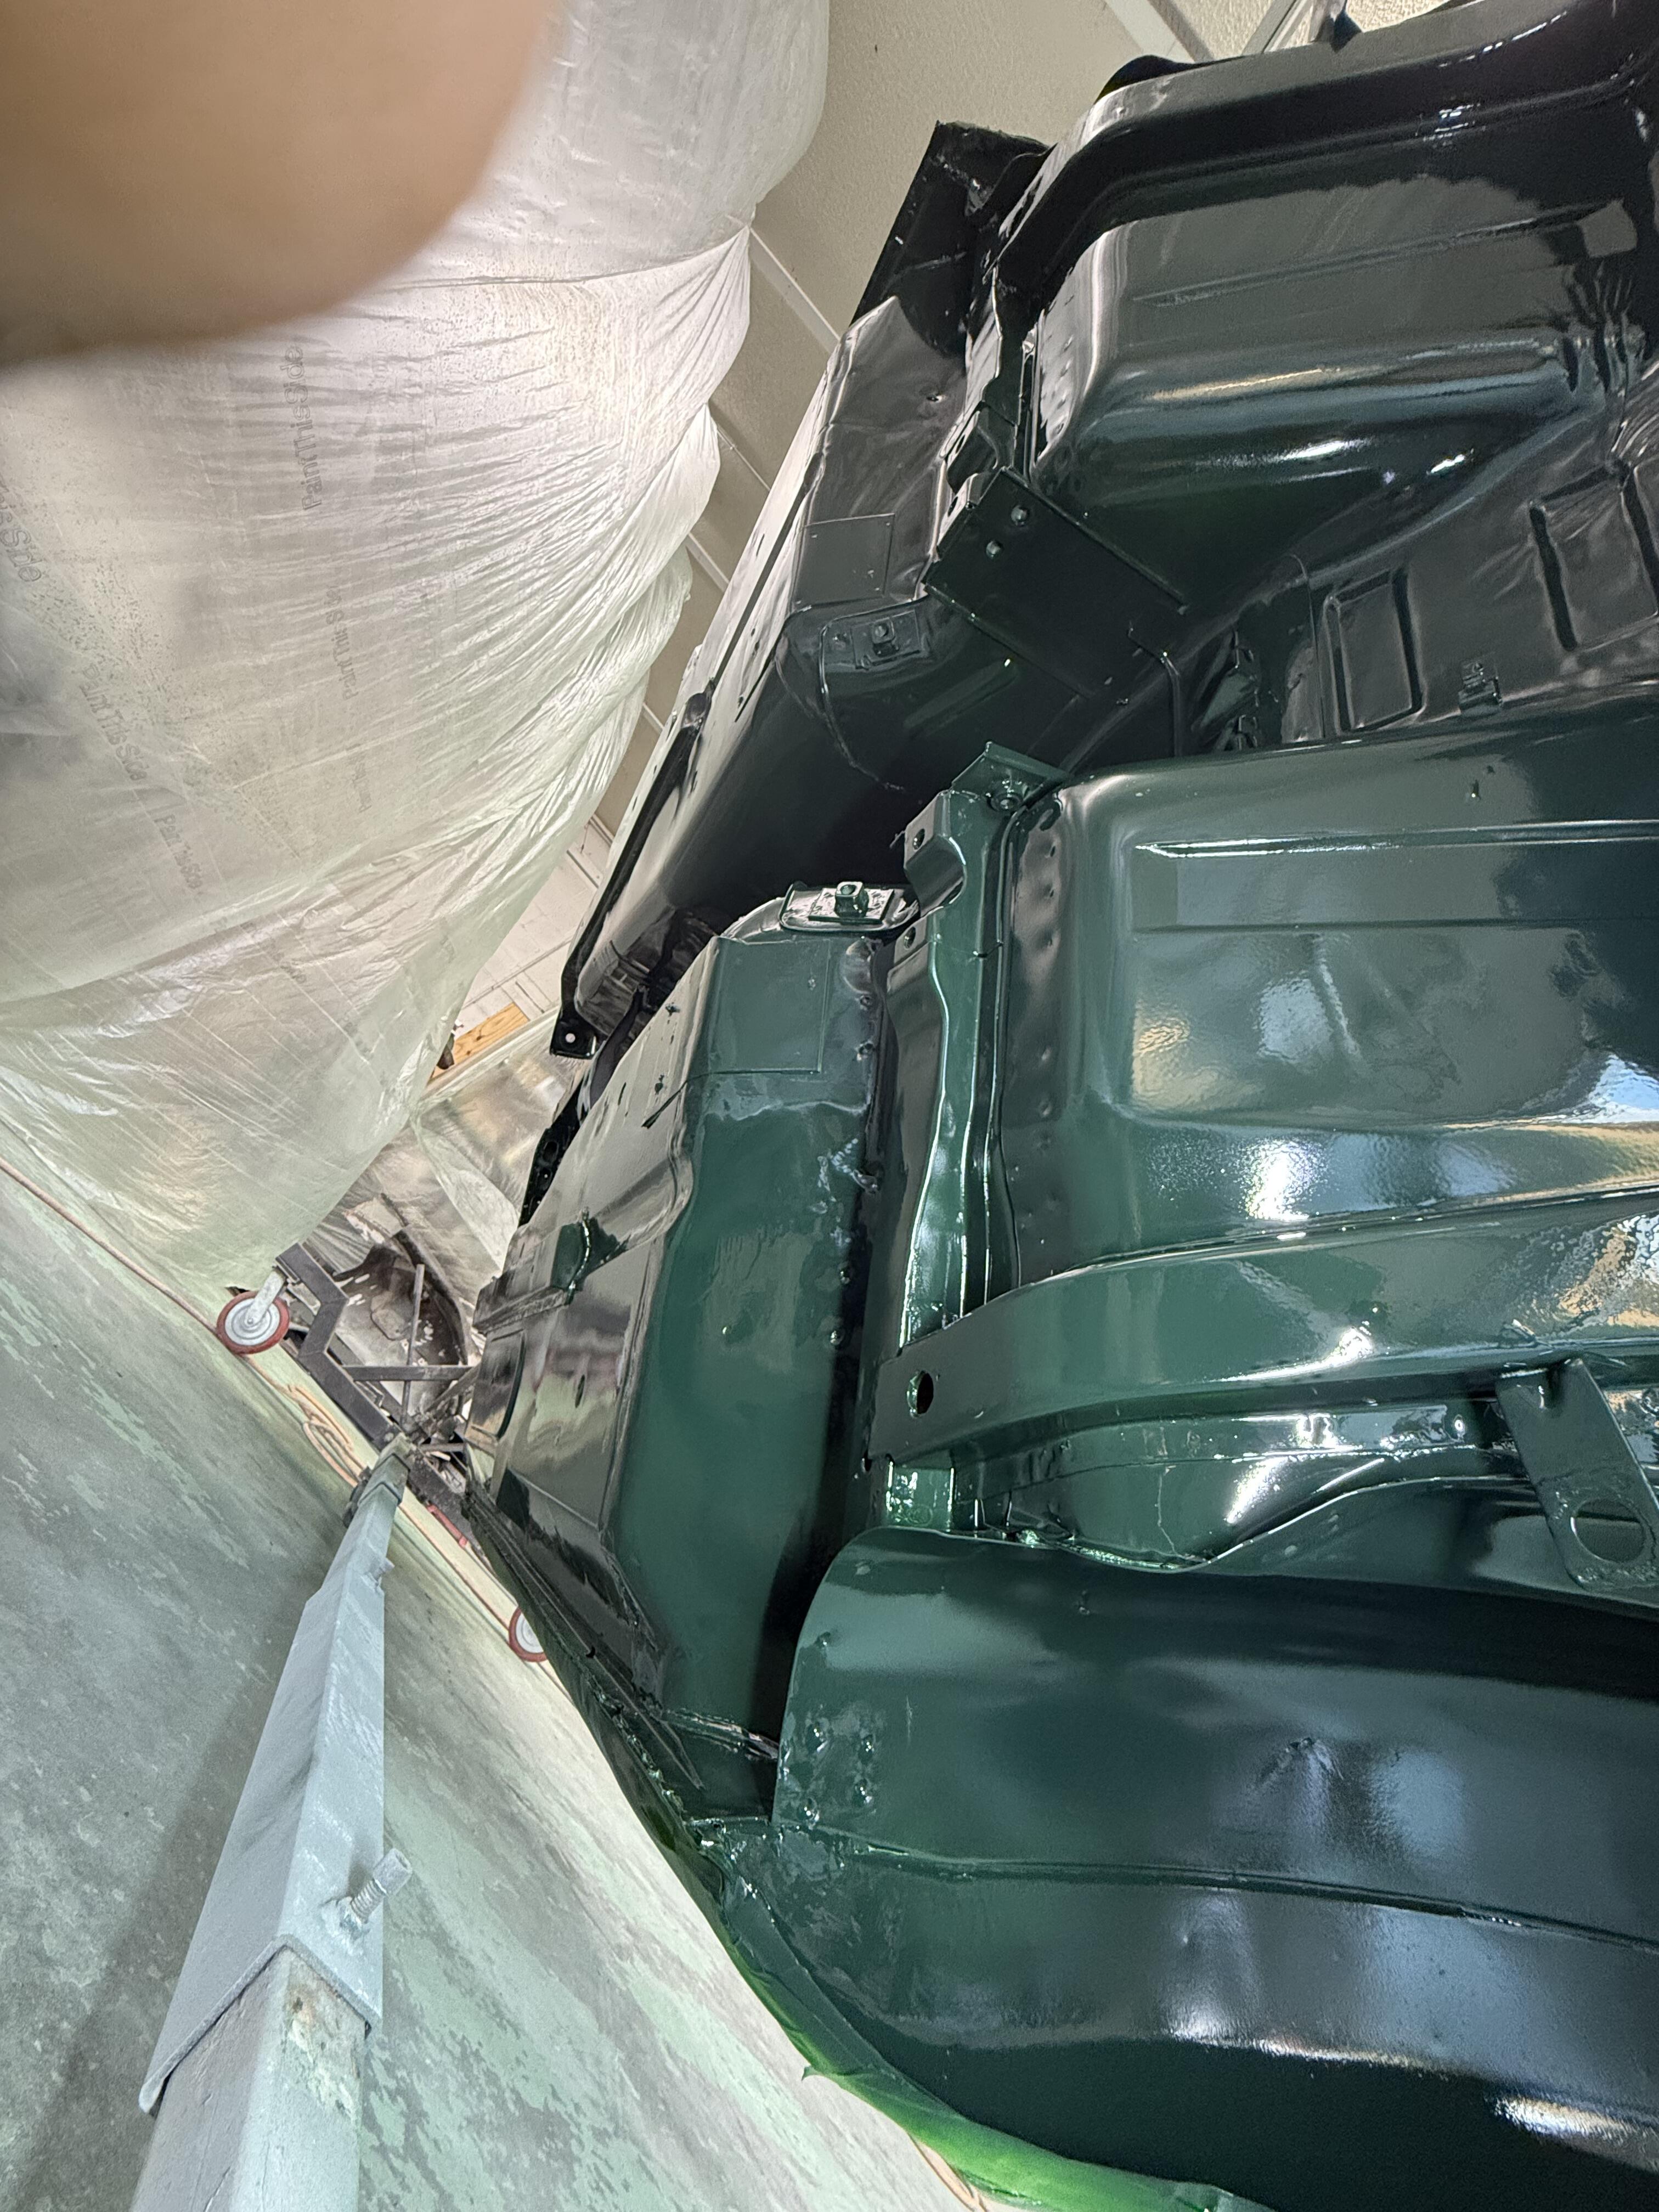
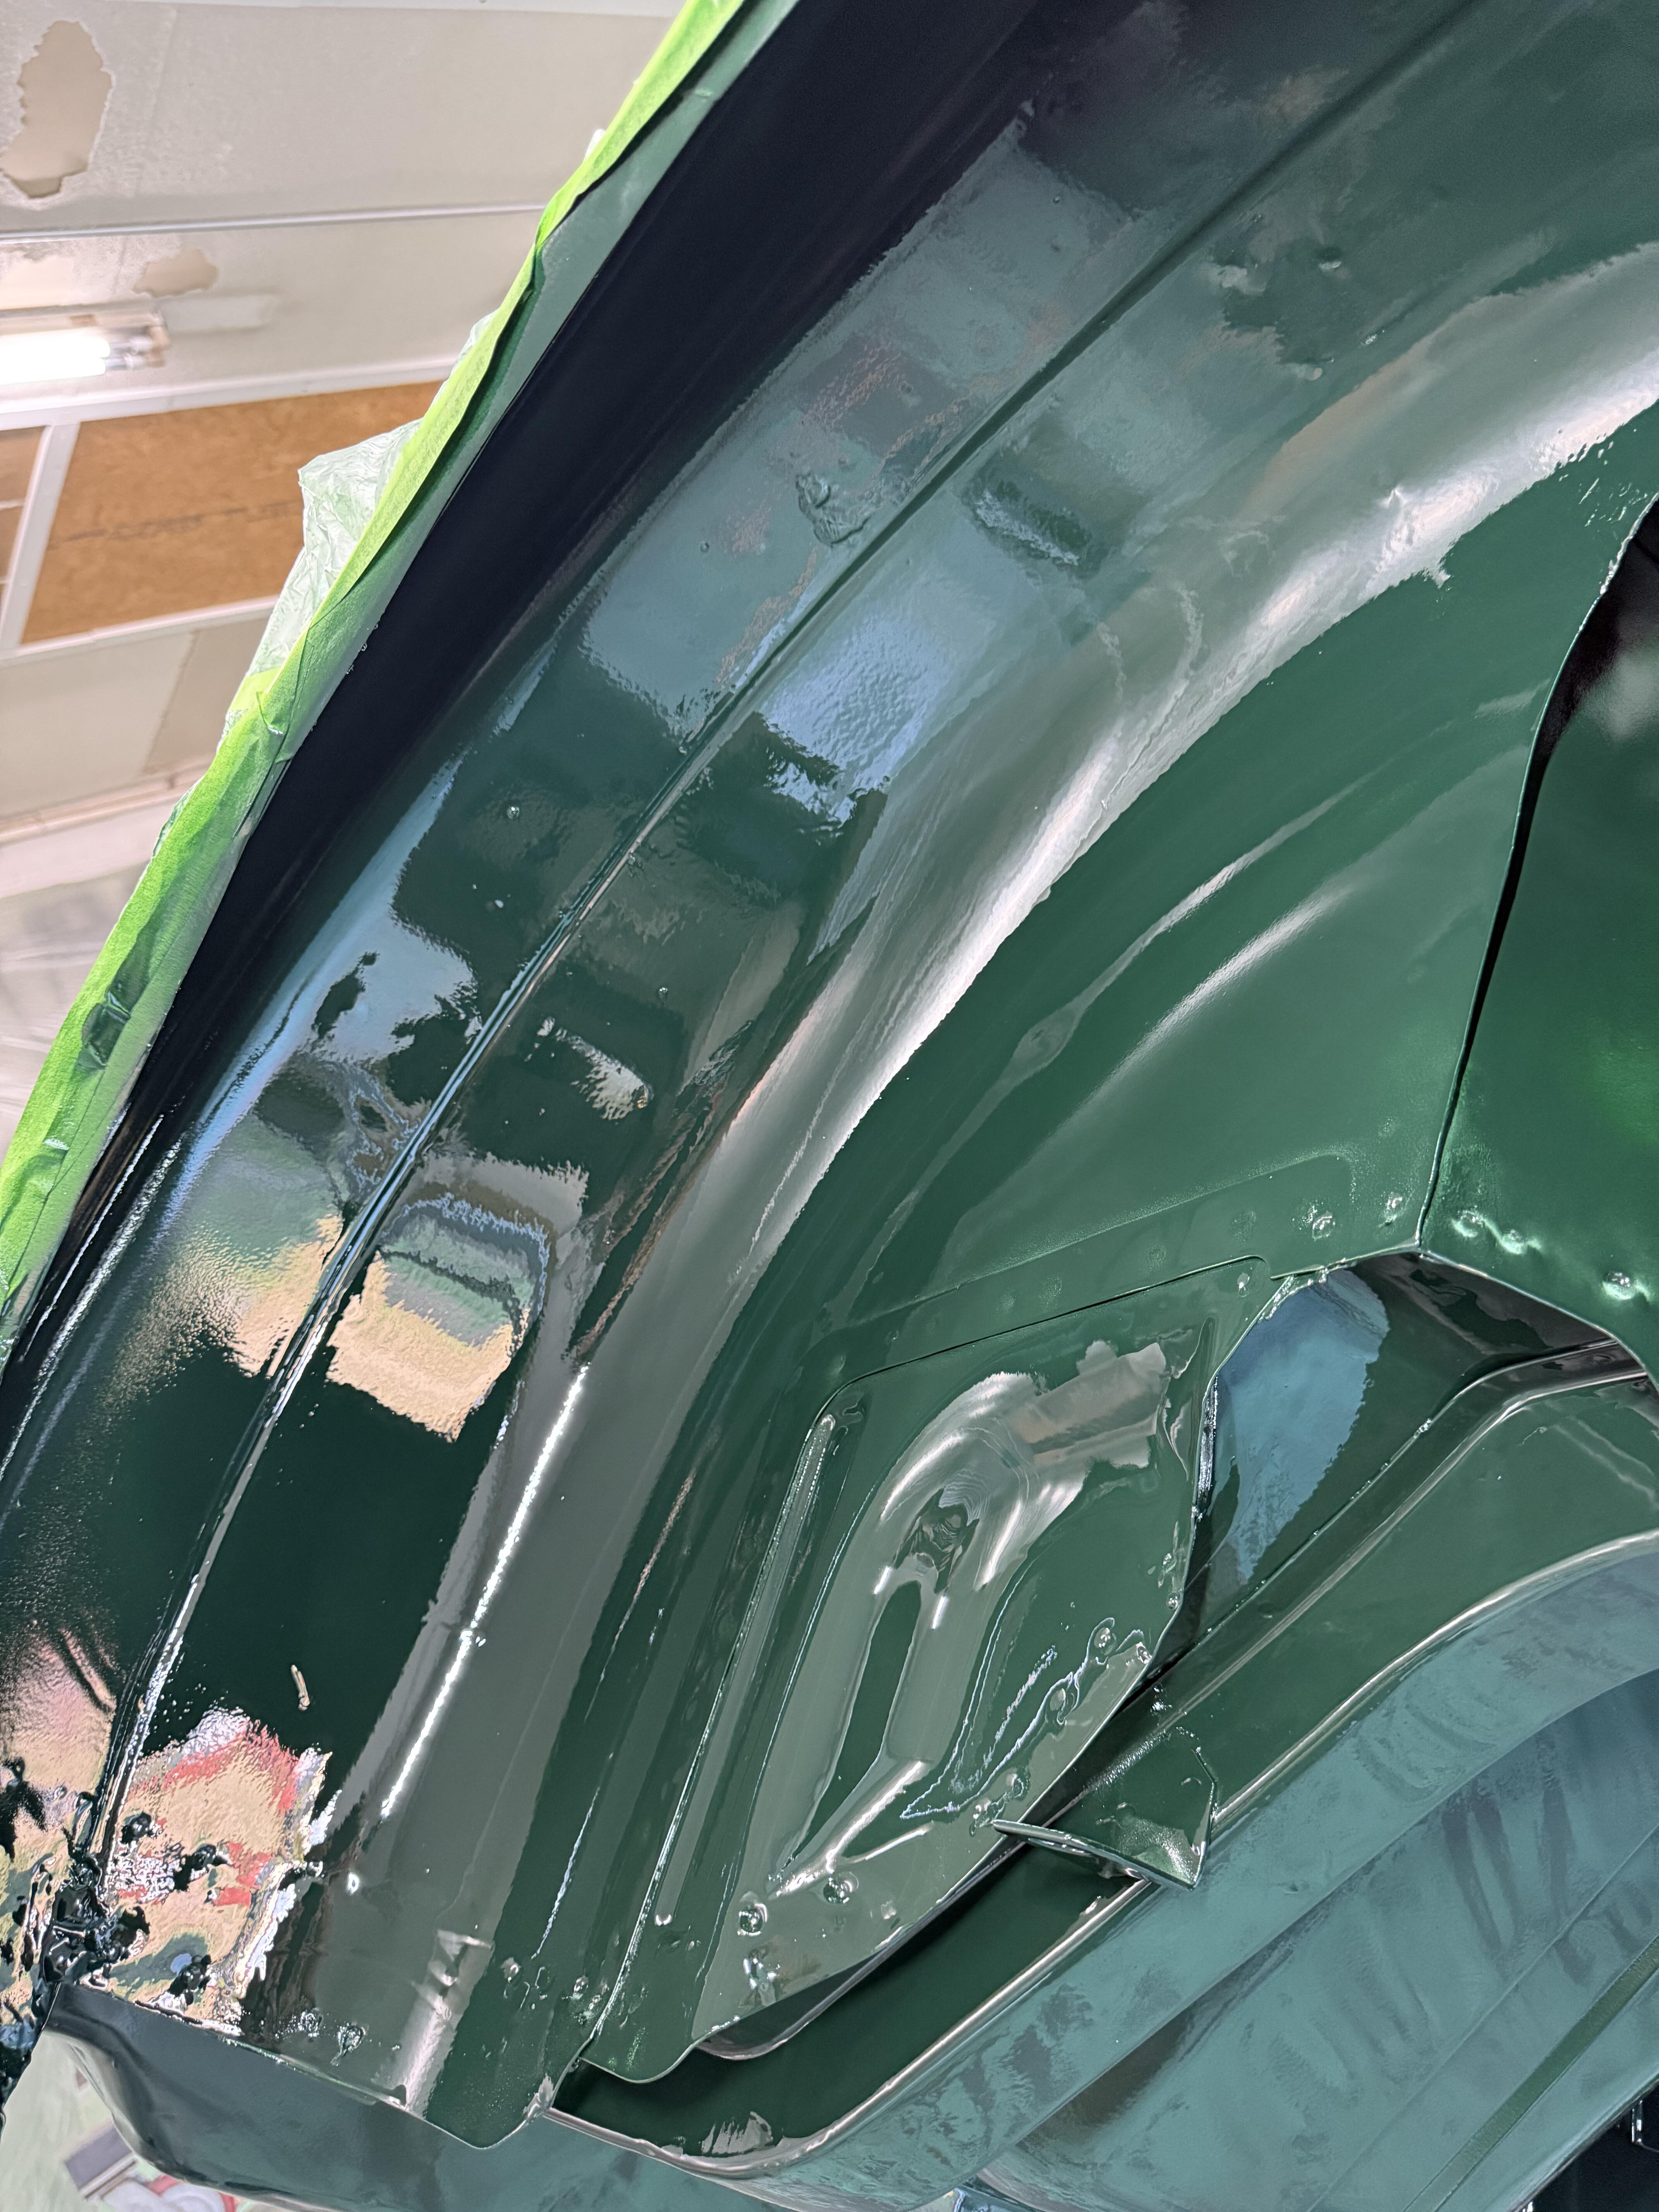
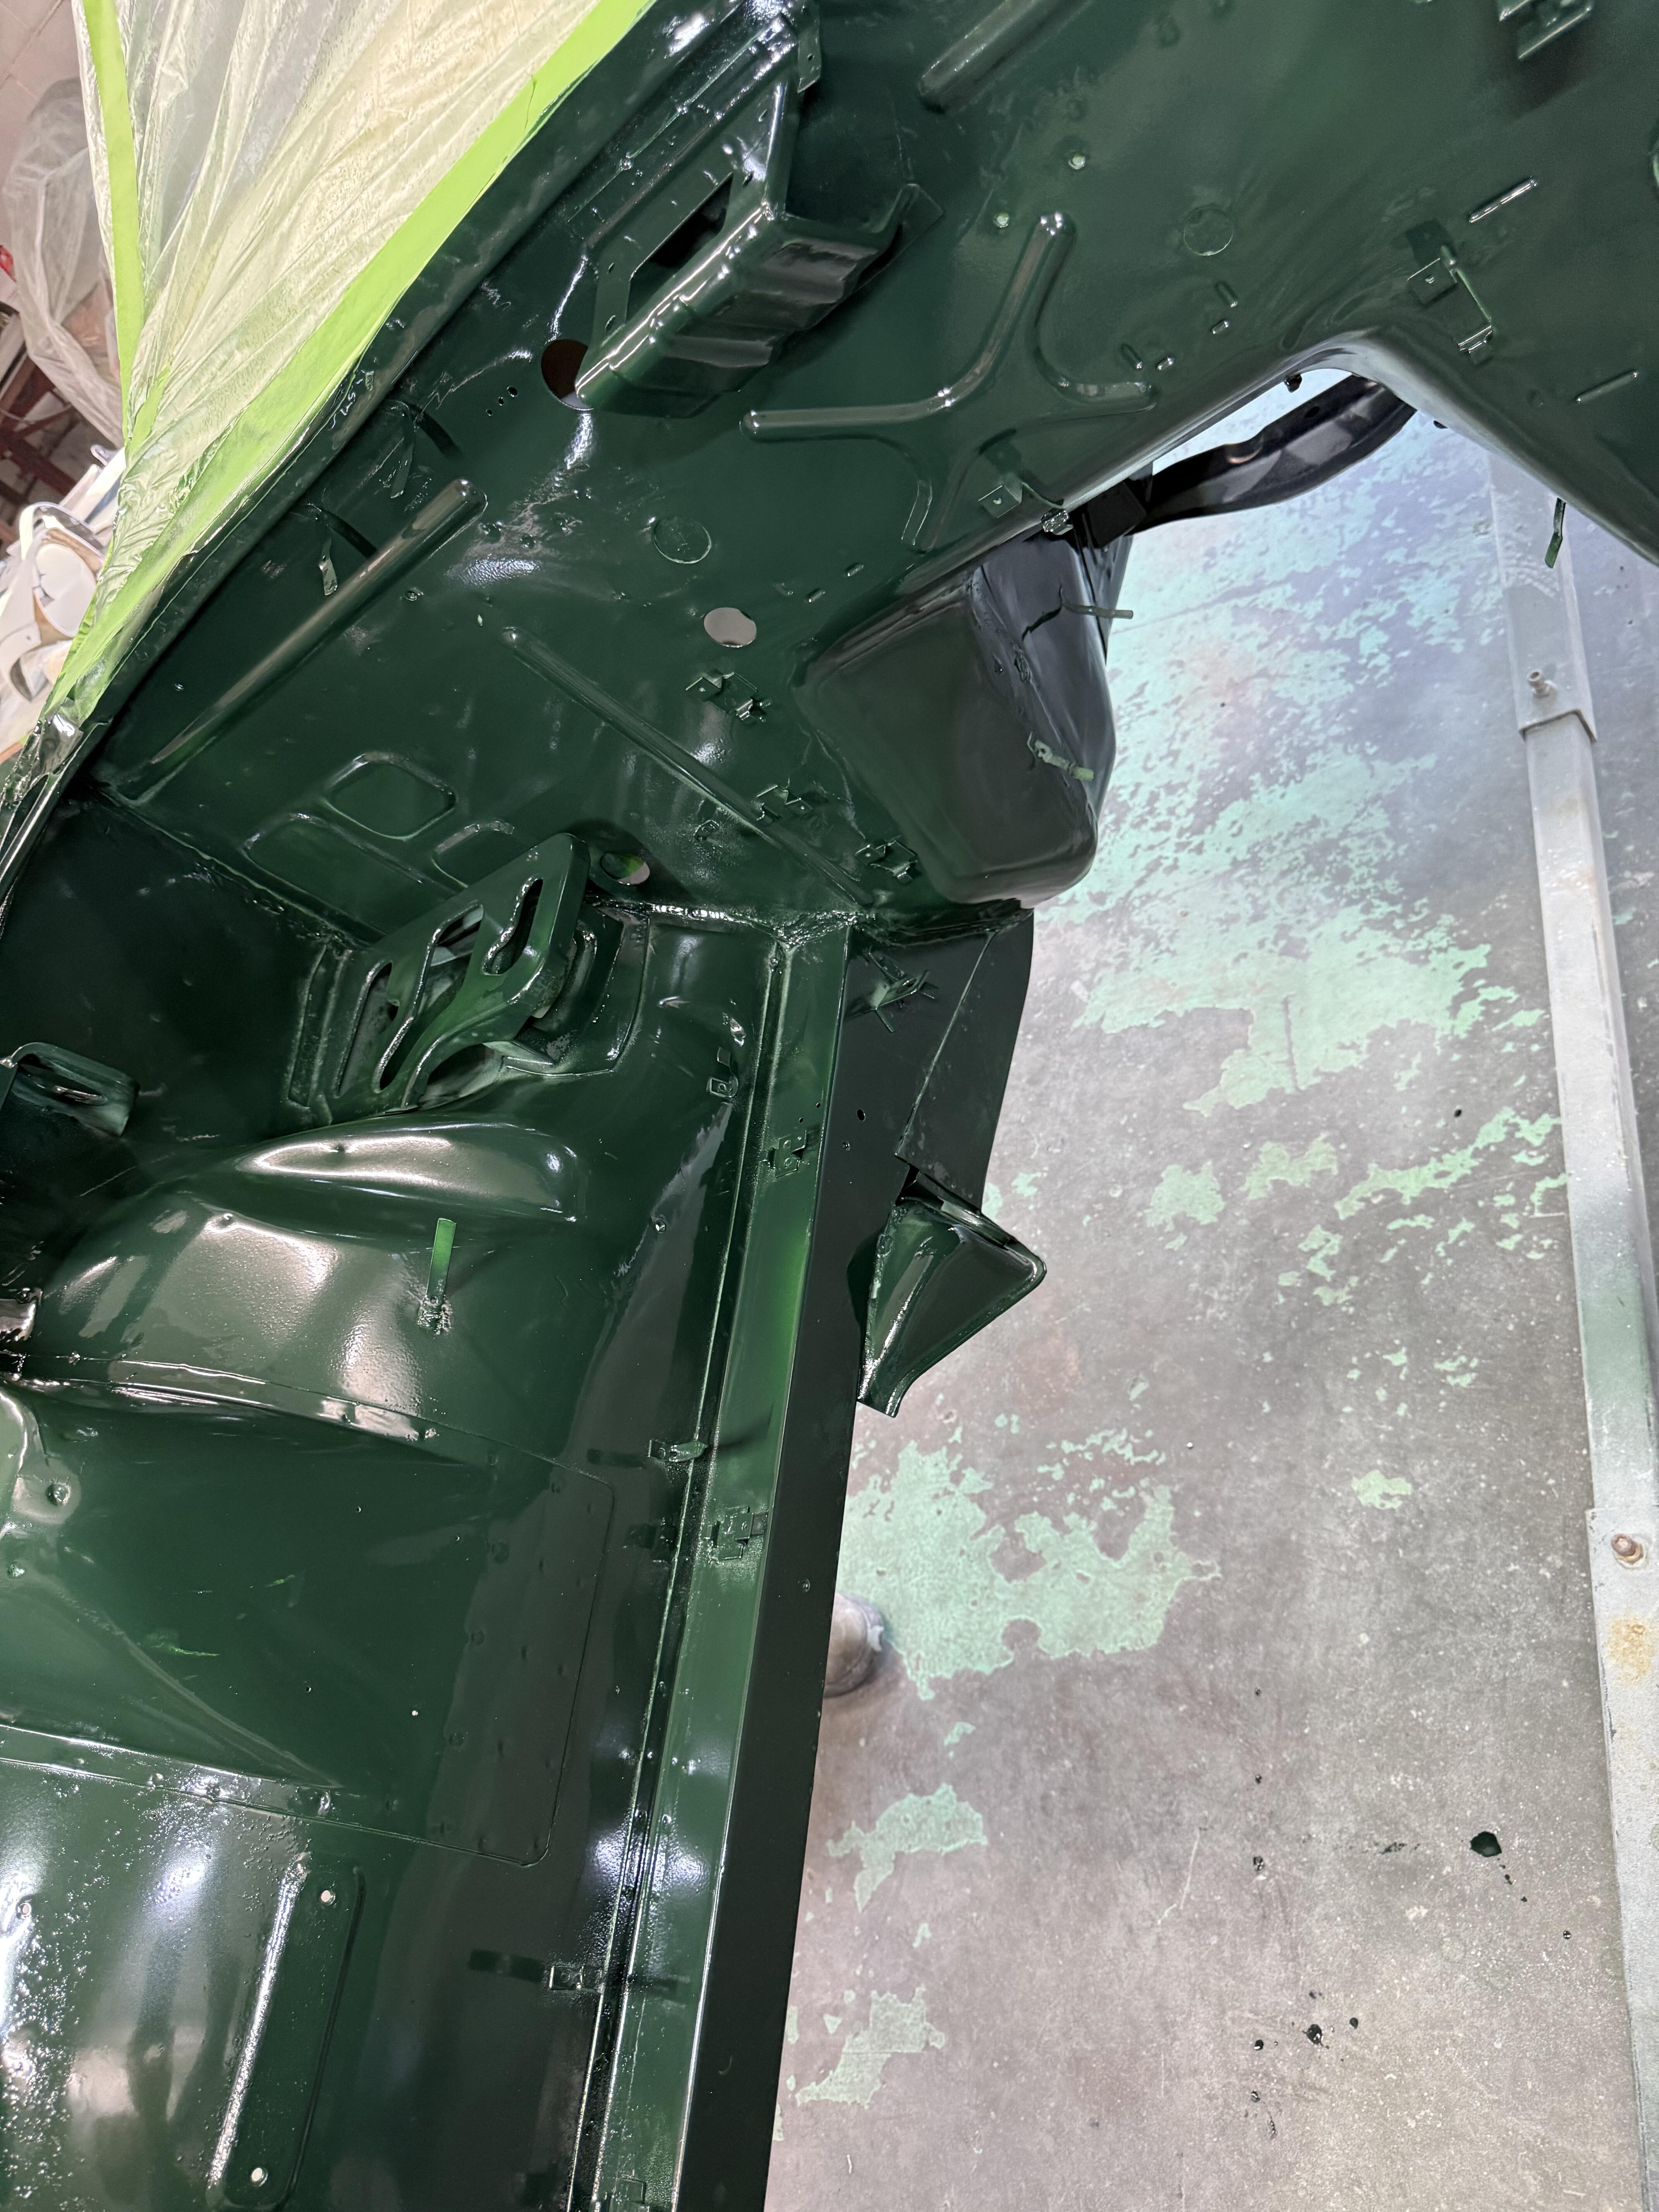
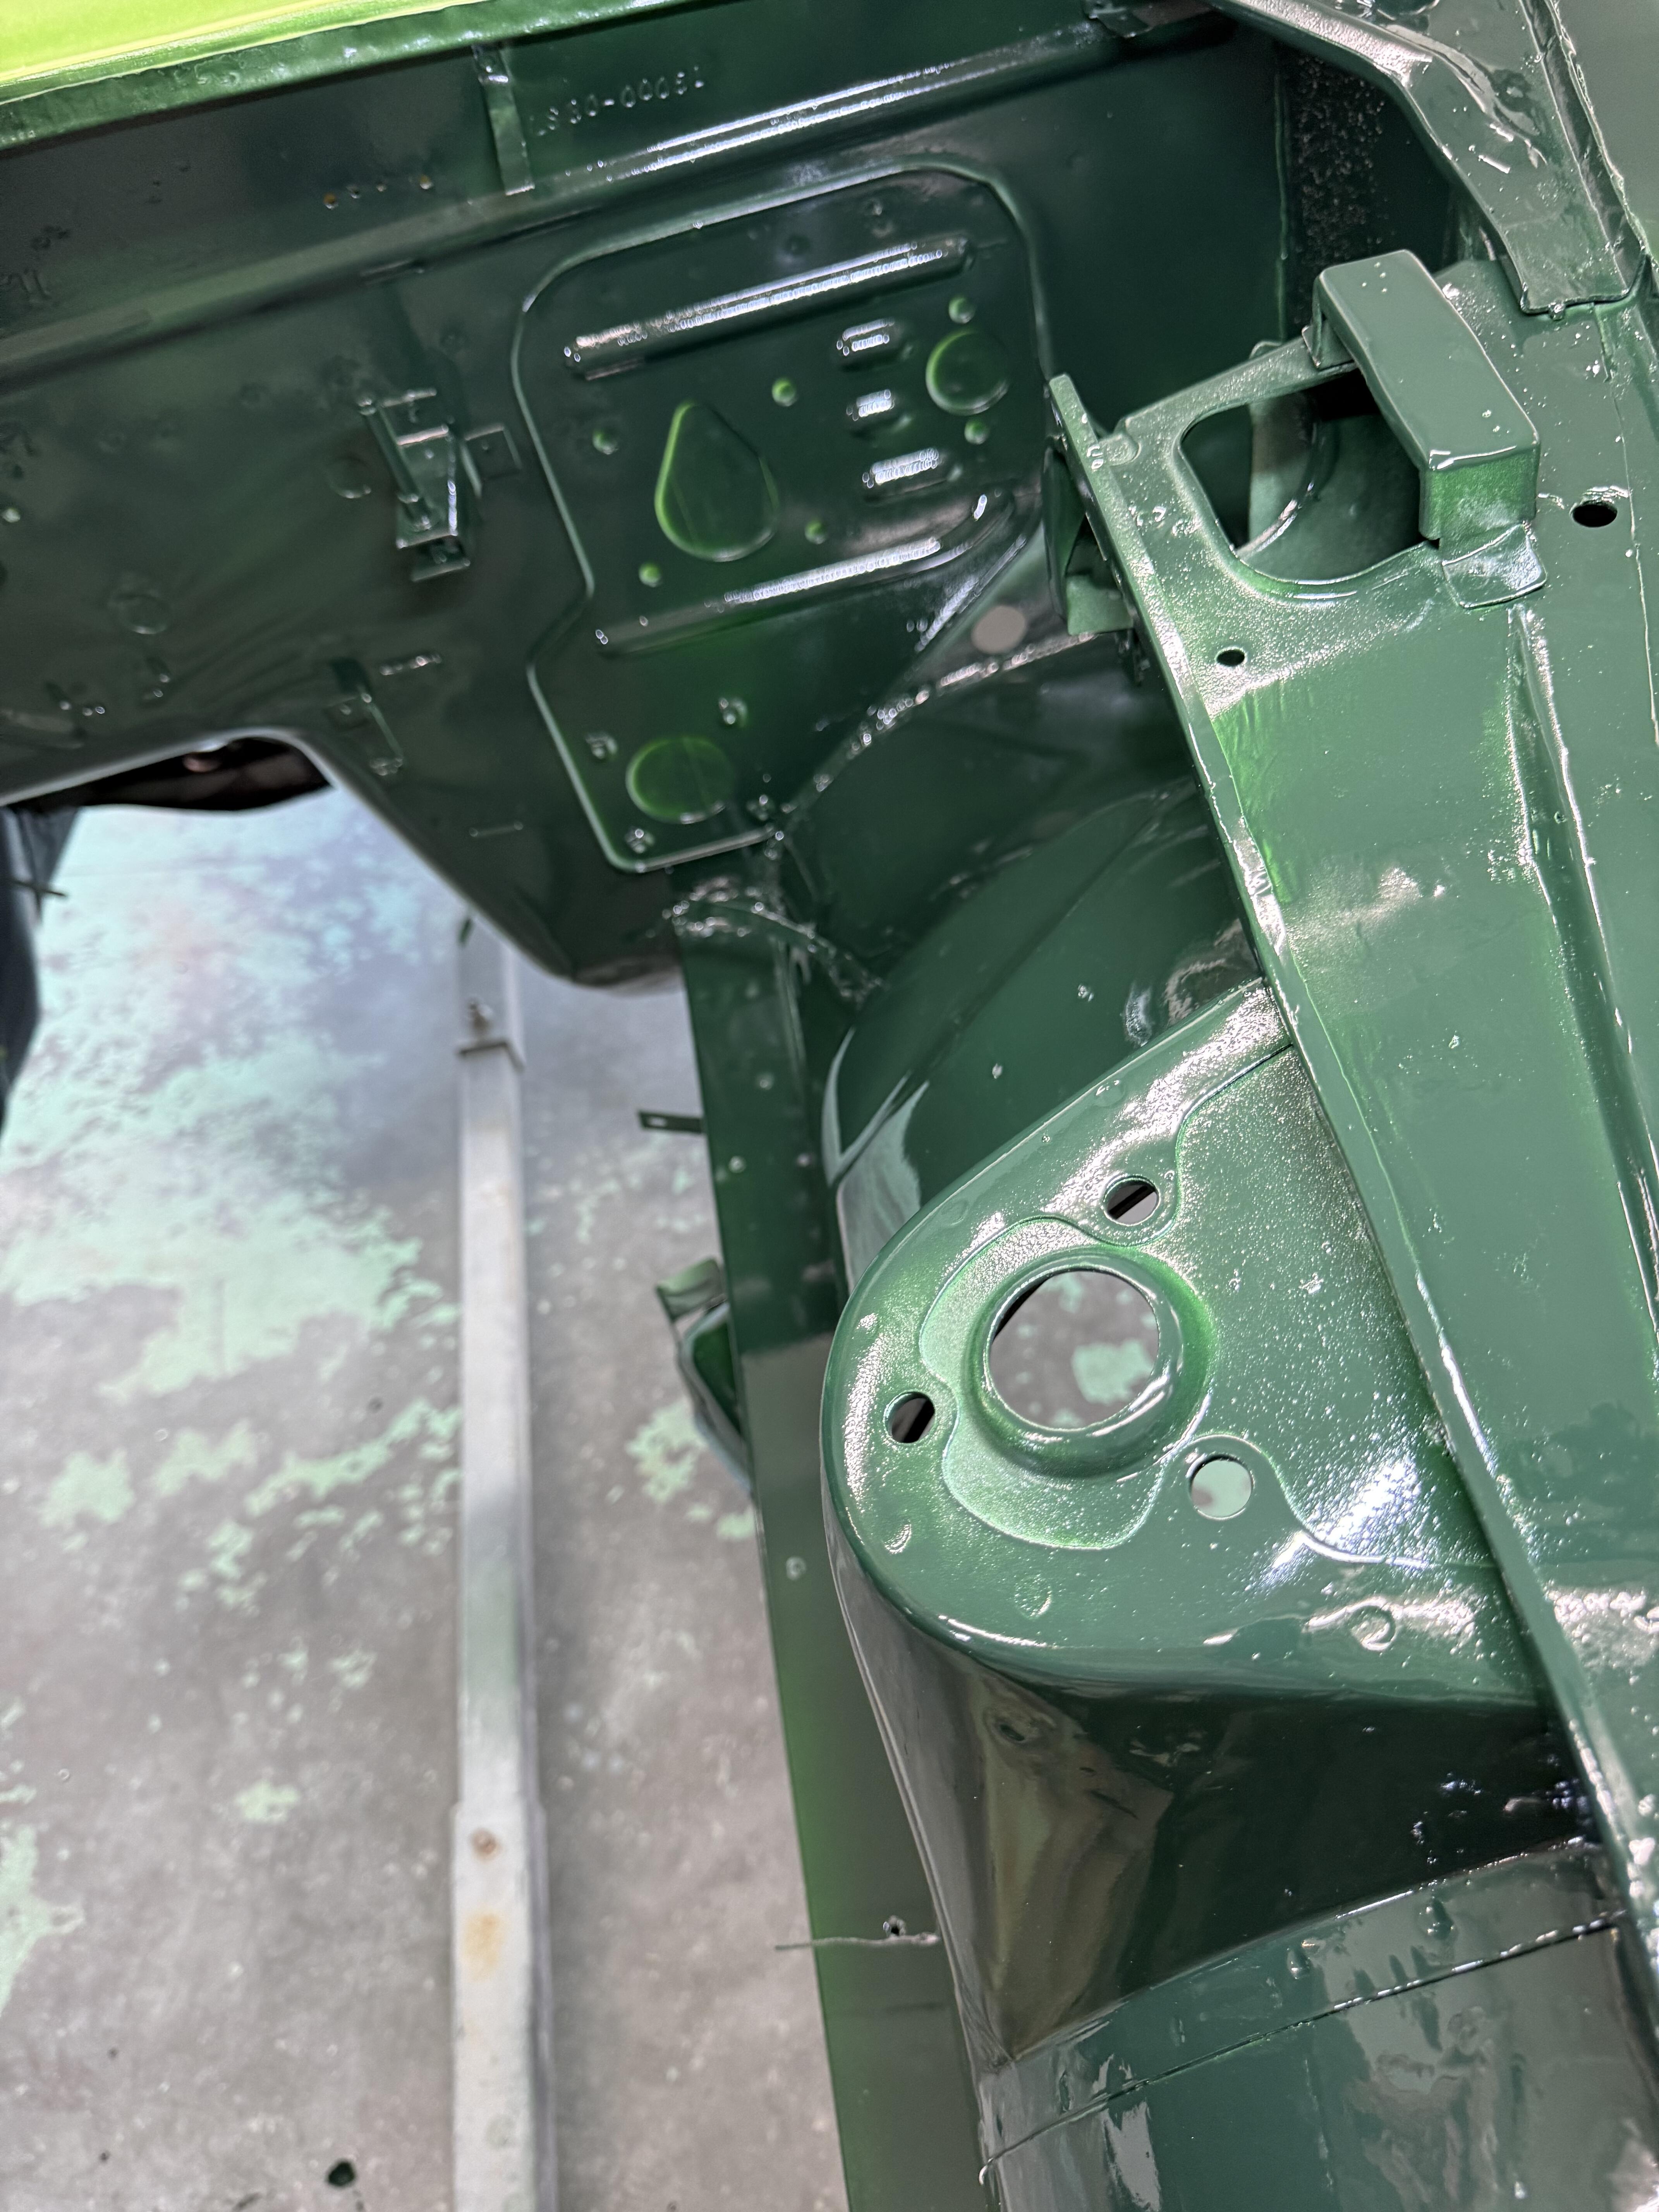
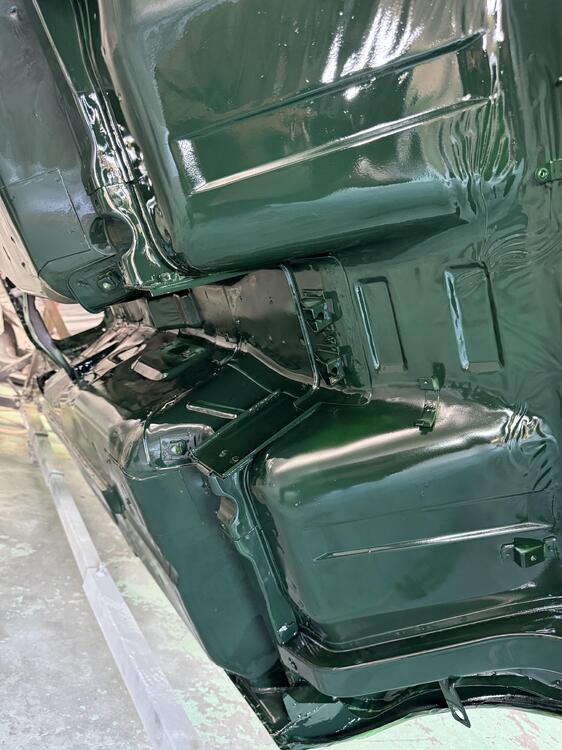
 Such a dark green in contrast with thick undercoating from before. Looks much darker then anticipated, but poor lighting I believe is causing darkness…. Have a few places to touch up, maybe another coat or two, couple of runs, couple of trashy spots in the paint to sand out and re-shoot…. Still spectacular in my book…. Not perfect by any means… but sweet to see the bottom side in color.!!


 1 point
 -
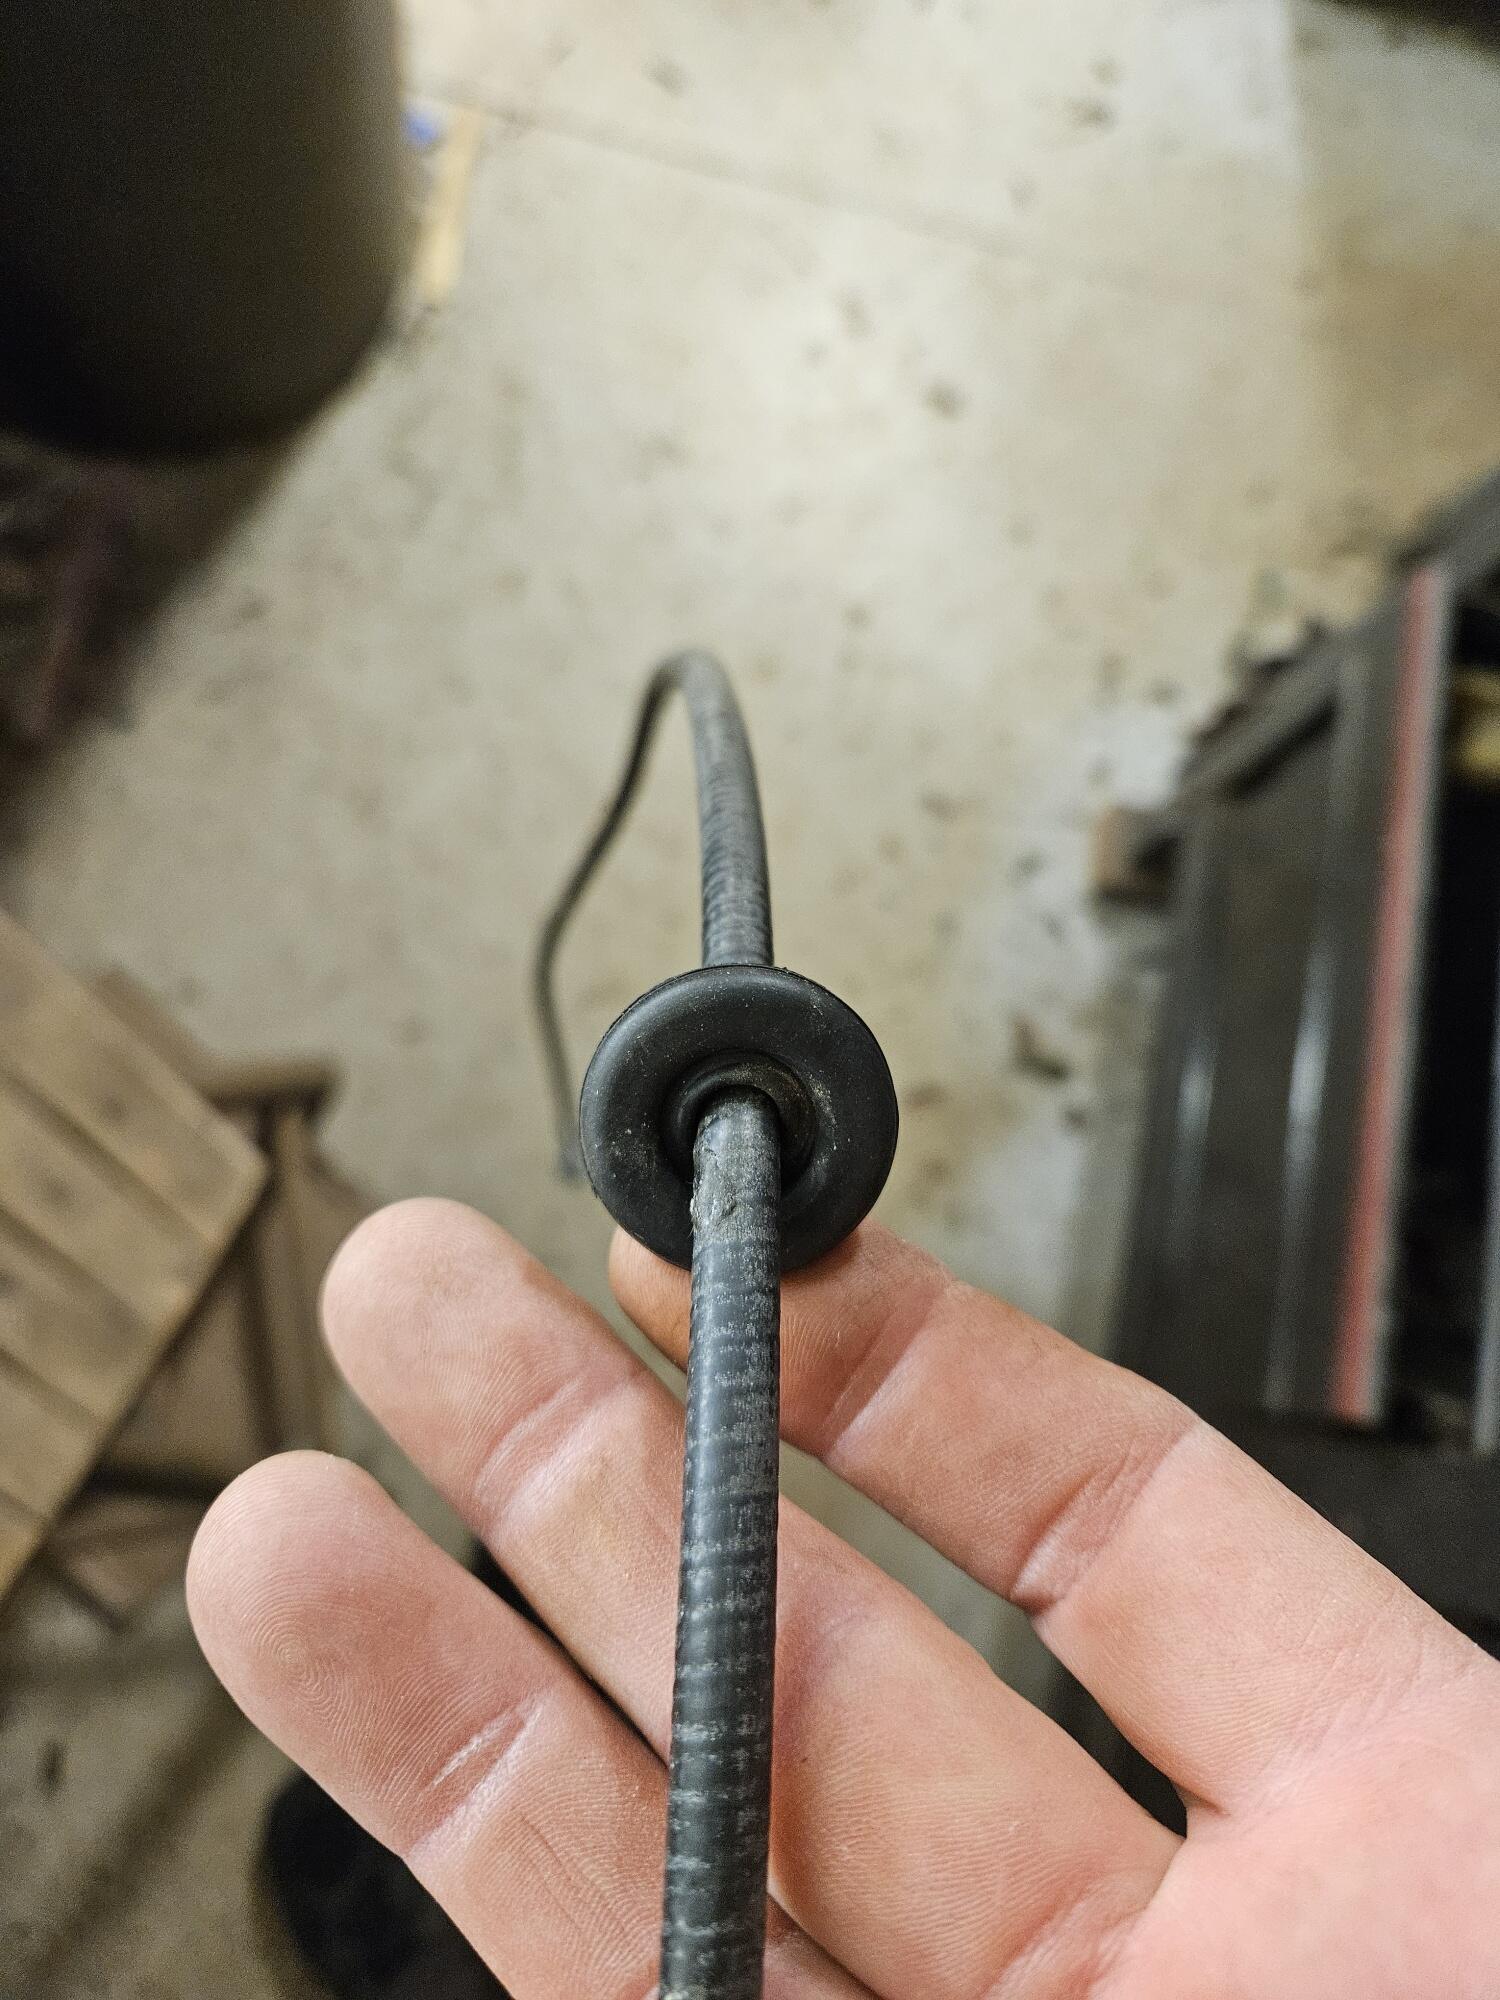
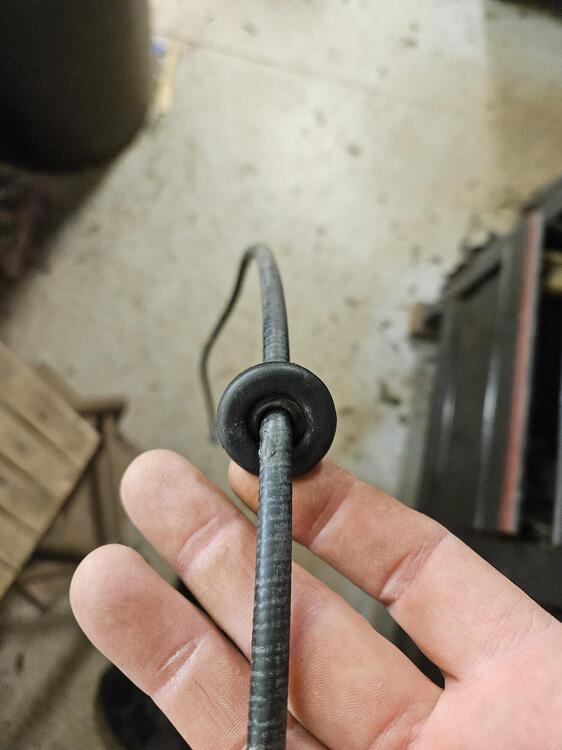
1 pointBTW if someone does decide to disassemble the speedo cable, don't be an idiot like me and forget to put the firewall grommet on before reassembly! Thankfully, the grommet will stretch over the speedo end of the cable. Although just barely
 1 point
 -
1 pointThe manifold I just took apart had a different fitting at location #20 but I don't think it would be a problem to use that same Zcardepot part in all three locations. The part I had was a straight tube, threaded on one end with two notches on the other end like a straight head screw would have. I was planning to use the same nipple in all three locations. That was my plan at least.1 point
-
 1 point