Leaderboard
-

conedodger
Free Member2Points11,316Posts -


Zed Head
Free Member1Points18,770Posts -


Mike
Administrator1Points23,018Posts -

Patcon
 Subscriber
 1Points10,914Posts
Popular Content
Showing content with the highest reputation on 11/27/2024 in all areas
-
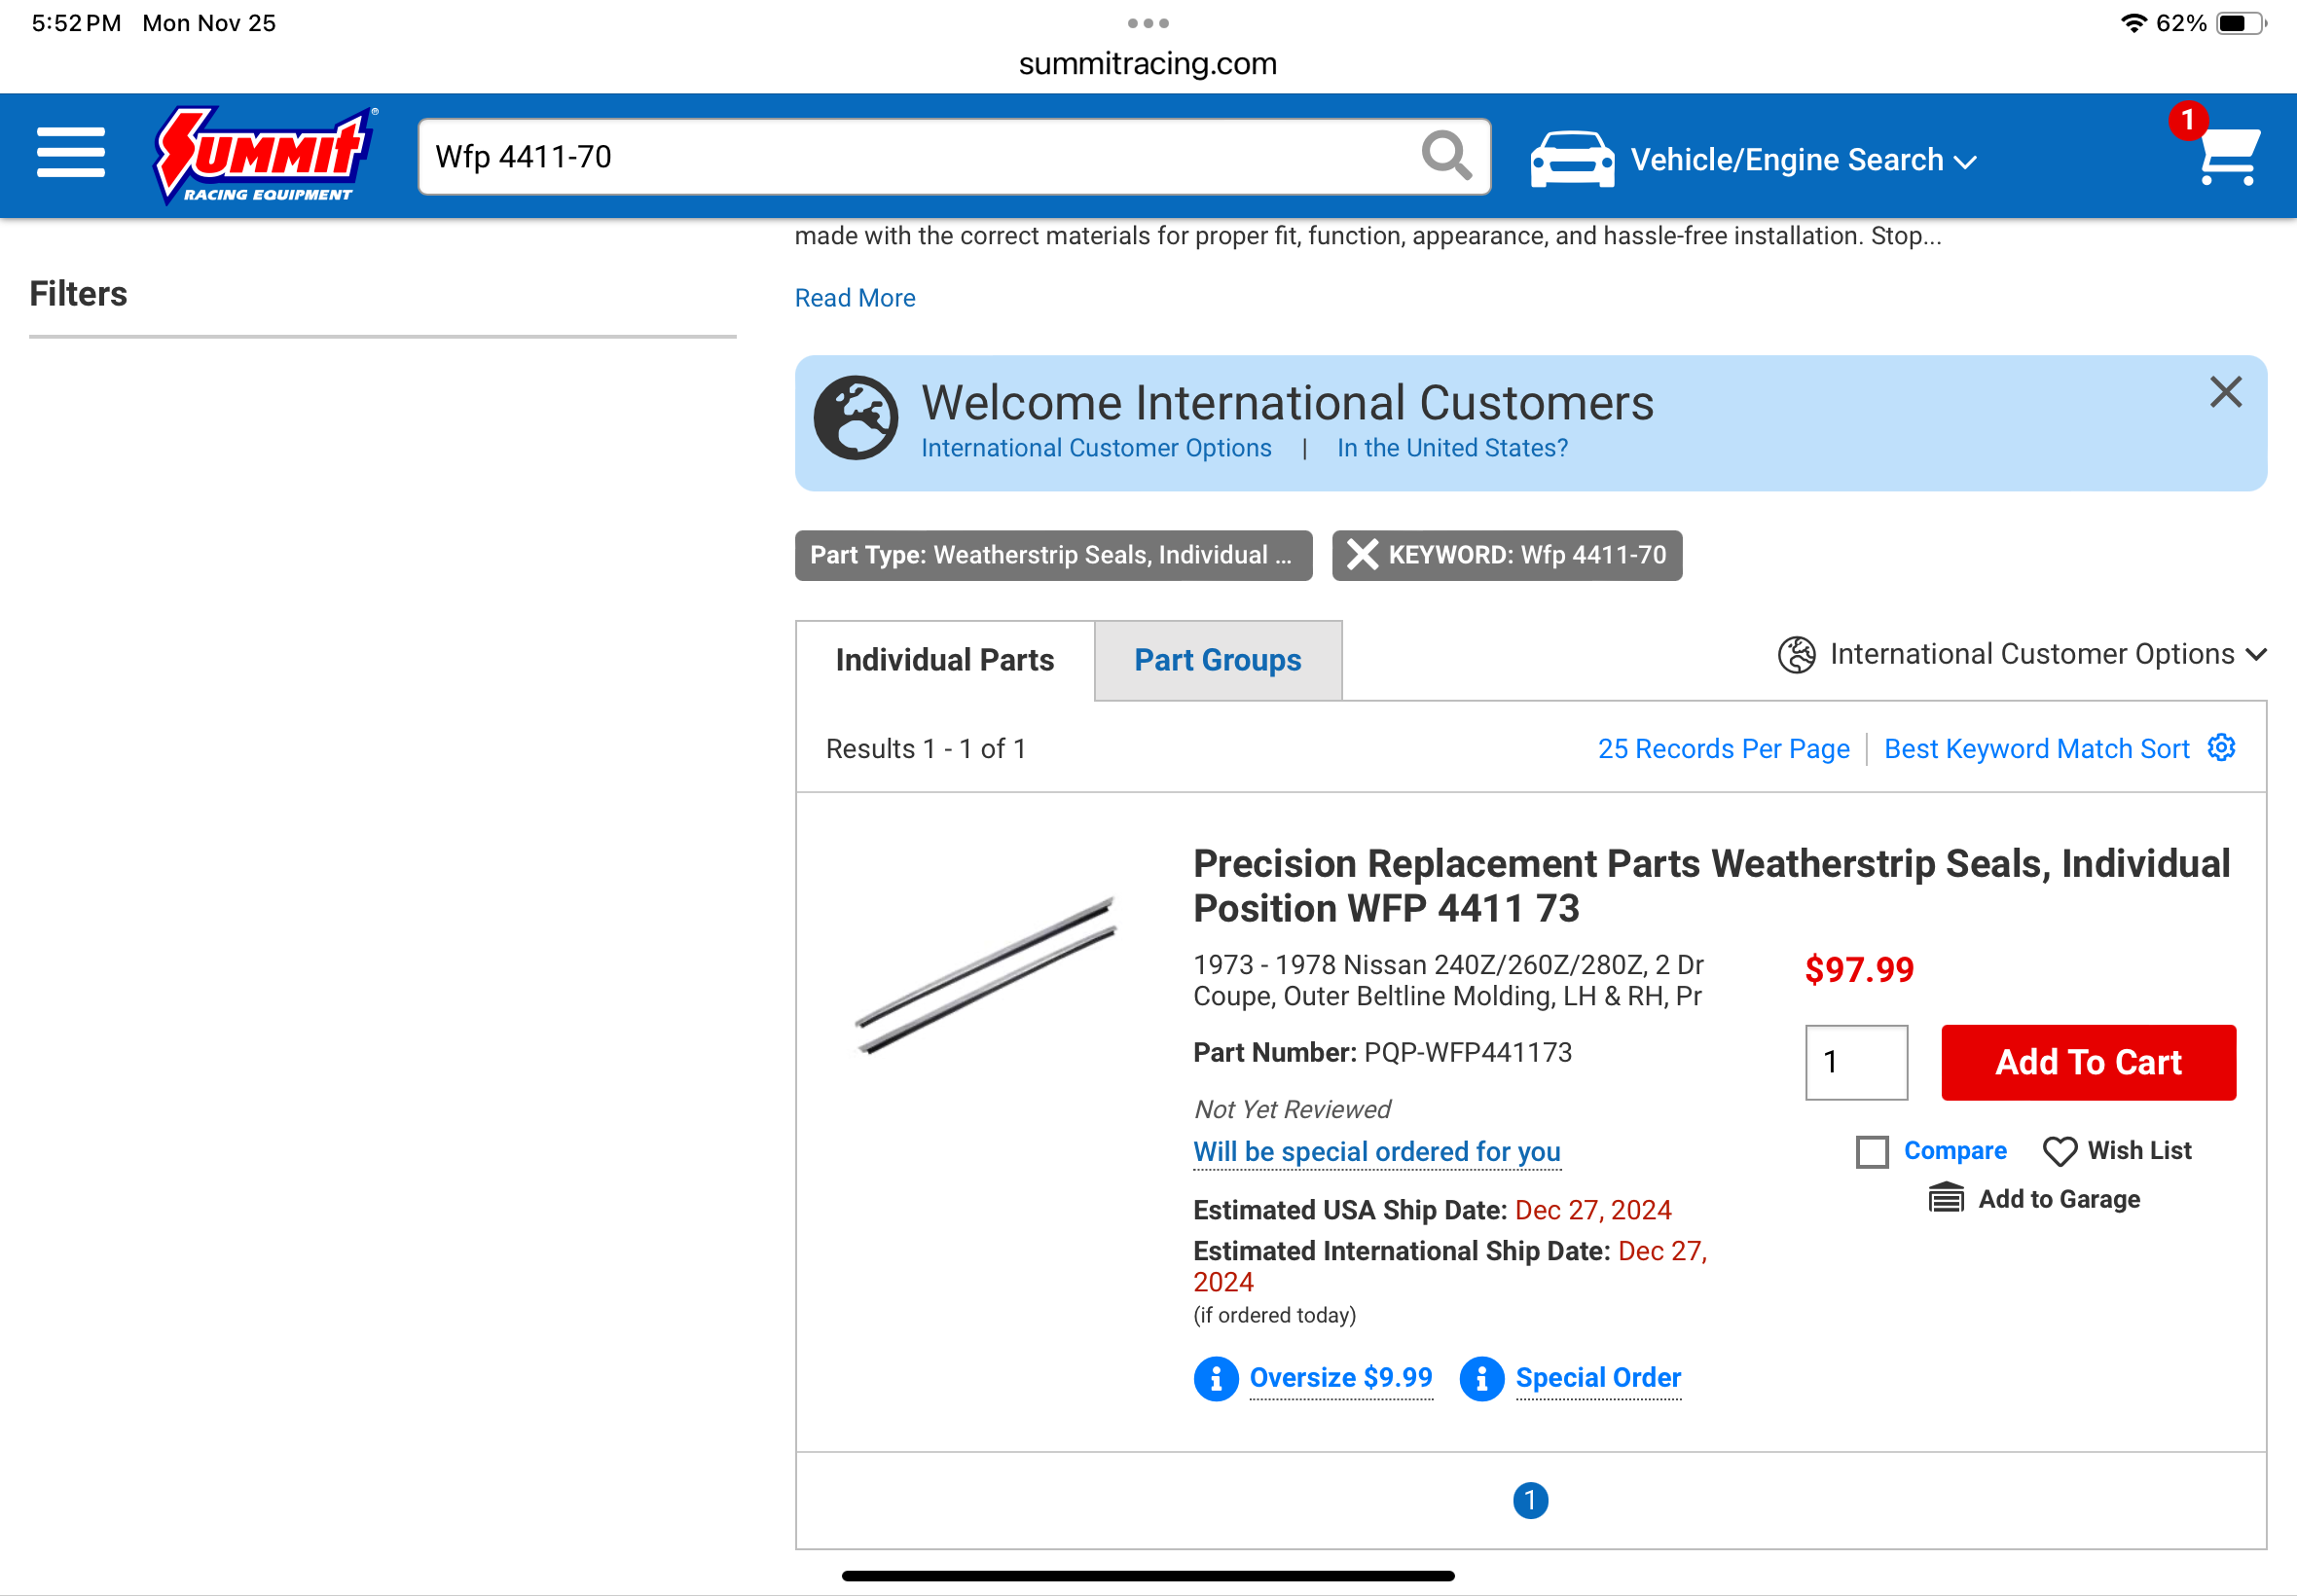
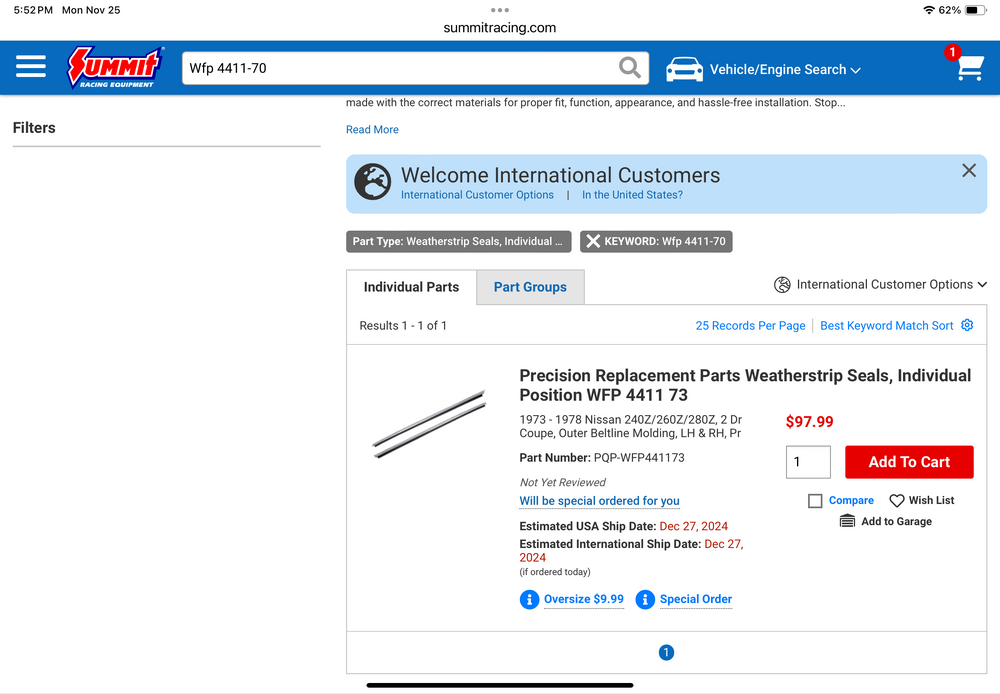
 PRP has new (to me anyway) options to rebuild or replace your door belt moldings. WFP4410-70 kit with LH and RH rubbers only. Install on your exist WFP4411-70. LH and RH complete with SS strip with new rubber 70-72 WFP4411-73. LH and RH complete with SS strip with new rubber 73-78 Not sure what the difference would be….. Summit seems to have good pricing PRP.COM is $161 for 4411-70 vs $95 at Summit
 1 point
 -
I totally agree. Although in my mind it's pretty hard to defend refusing a refund based on the pictures I have posted. Let's be clear I was fine with all of the defects up until I couldn't get the drivers door panel on. I have his door weatherstrips and they fit great. Edit: all of the pictures I posted are from the email chain we have exchanged since the beginning. Also I'm posting this as a cautionary tale as opposed to shaming him into giving me a refund. I believe that ship has sailed.1 point
-
 Skillard, Techno Toy Tuning. Haven’t seen anything from MSA.1 point
 -
 I'm answering my own question, I just got a 10% sale announcement from Z Car Depot THIS FRIDAY 11/29 TAKE 10% OFF YOUR ORDER FOR OUR ANNUAL BLACK FRIDAY SALE! DISCOUNT IS AUTOMATICALLY APPLIED AT CHECKOUT1 point
 -
I am replacing the fronts with larger Wilwood's too. If necessary I will add a proportioning valve to get the bias right. They don't really provide any instructions. So I decided Id make a thread1 point
-
 1 pointThank you Alan, your explanation gives me more understandings. I can picture when they were pressing the sheet metal. Yes I remember when we had chat with Miyazaki san. It was like we were two students listening to Miyazaki san’s class. We can’t miss every little words coming from his mouth! Kats1 point
 -
 1 pointPersonally, I like the stock cast look of the E41 tube. The ZT and home grind and polished ones just don't look right to me. IMHO. Maybe if everything was ground and polished. I bought an E41 from Germany.1 point
 -
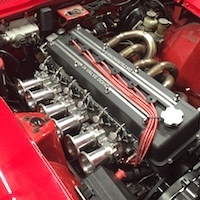
 1 pointThe new shop helper is pretty cute! The fun of new bling... I had interference on my MSA 6 2 1 ceramic headers with my thermostat housing causing an exhaust leak. A little work with a grinder on the thermostat housing corrected the problem.1 point
 -
1 pointSecurity. Usernames are published in each post. But email addresses are not. So, by moving to an email login this eliminates 50% of the information that hackers can use to try to get in. (other 50% is the password)1 point
-
1 point
-
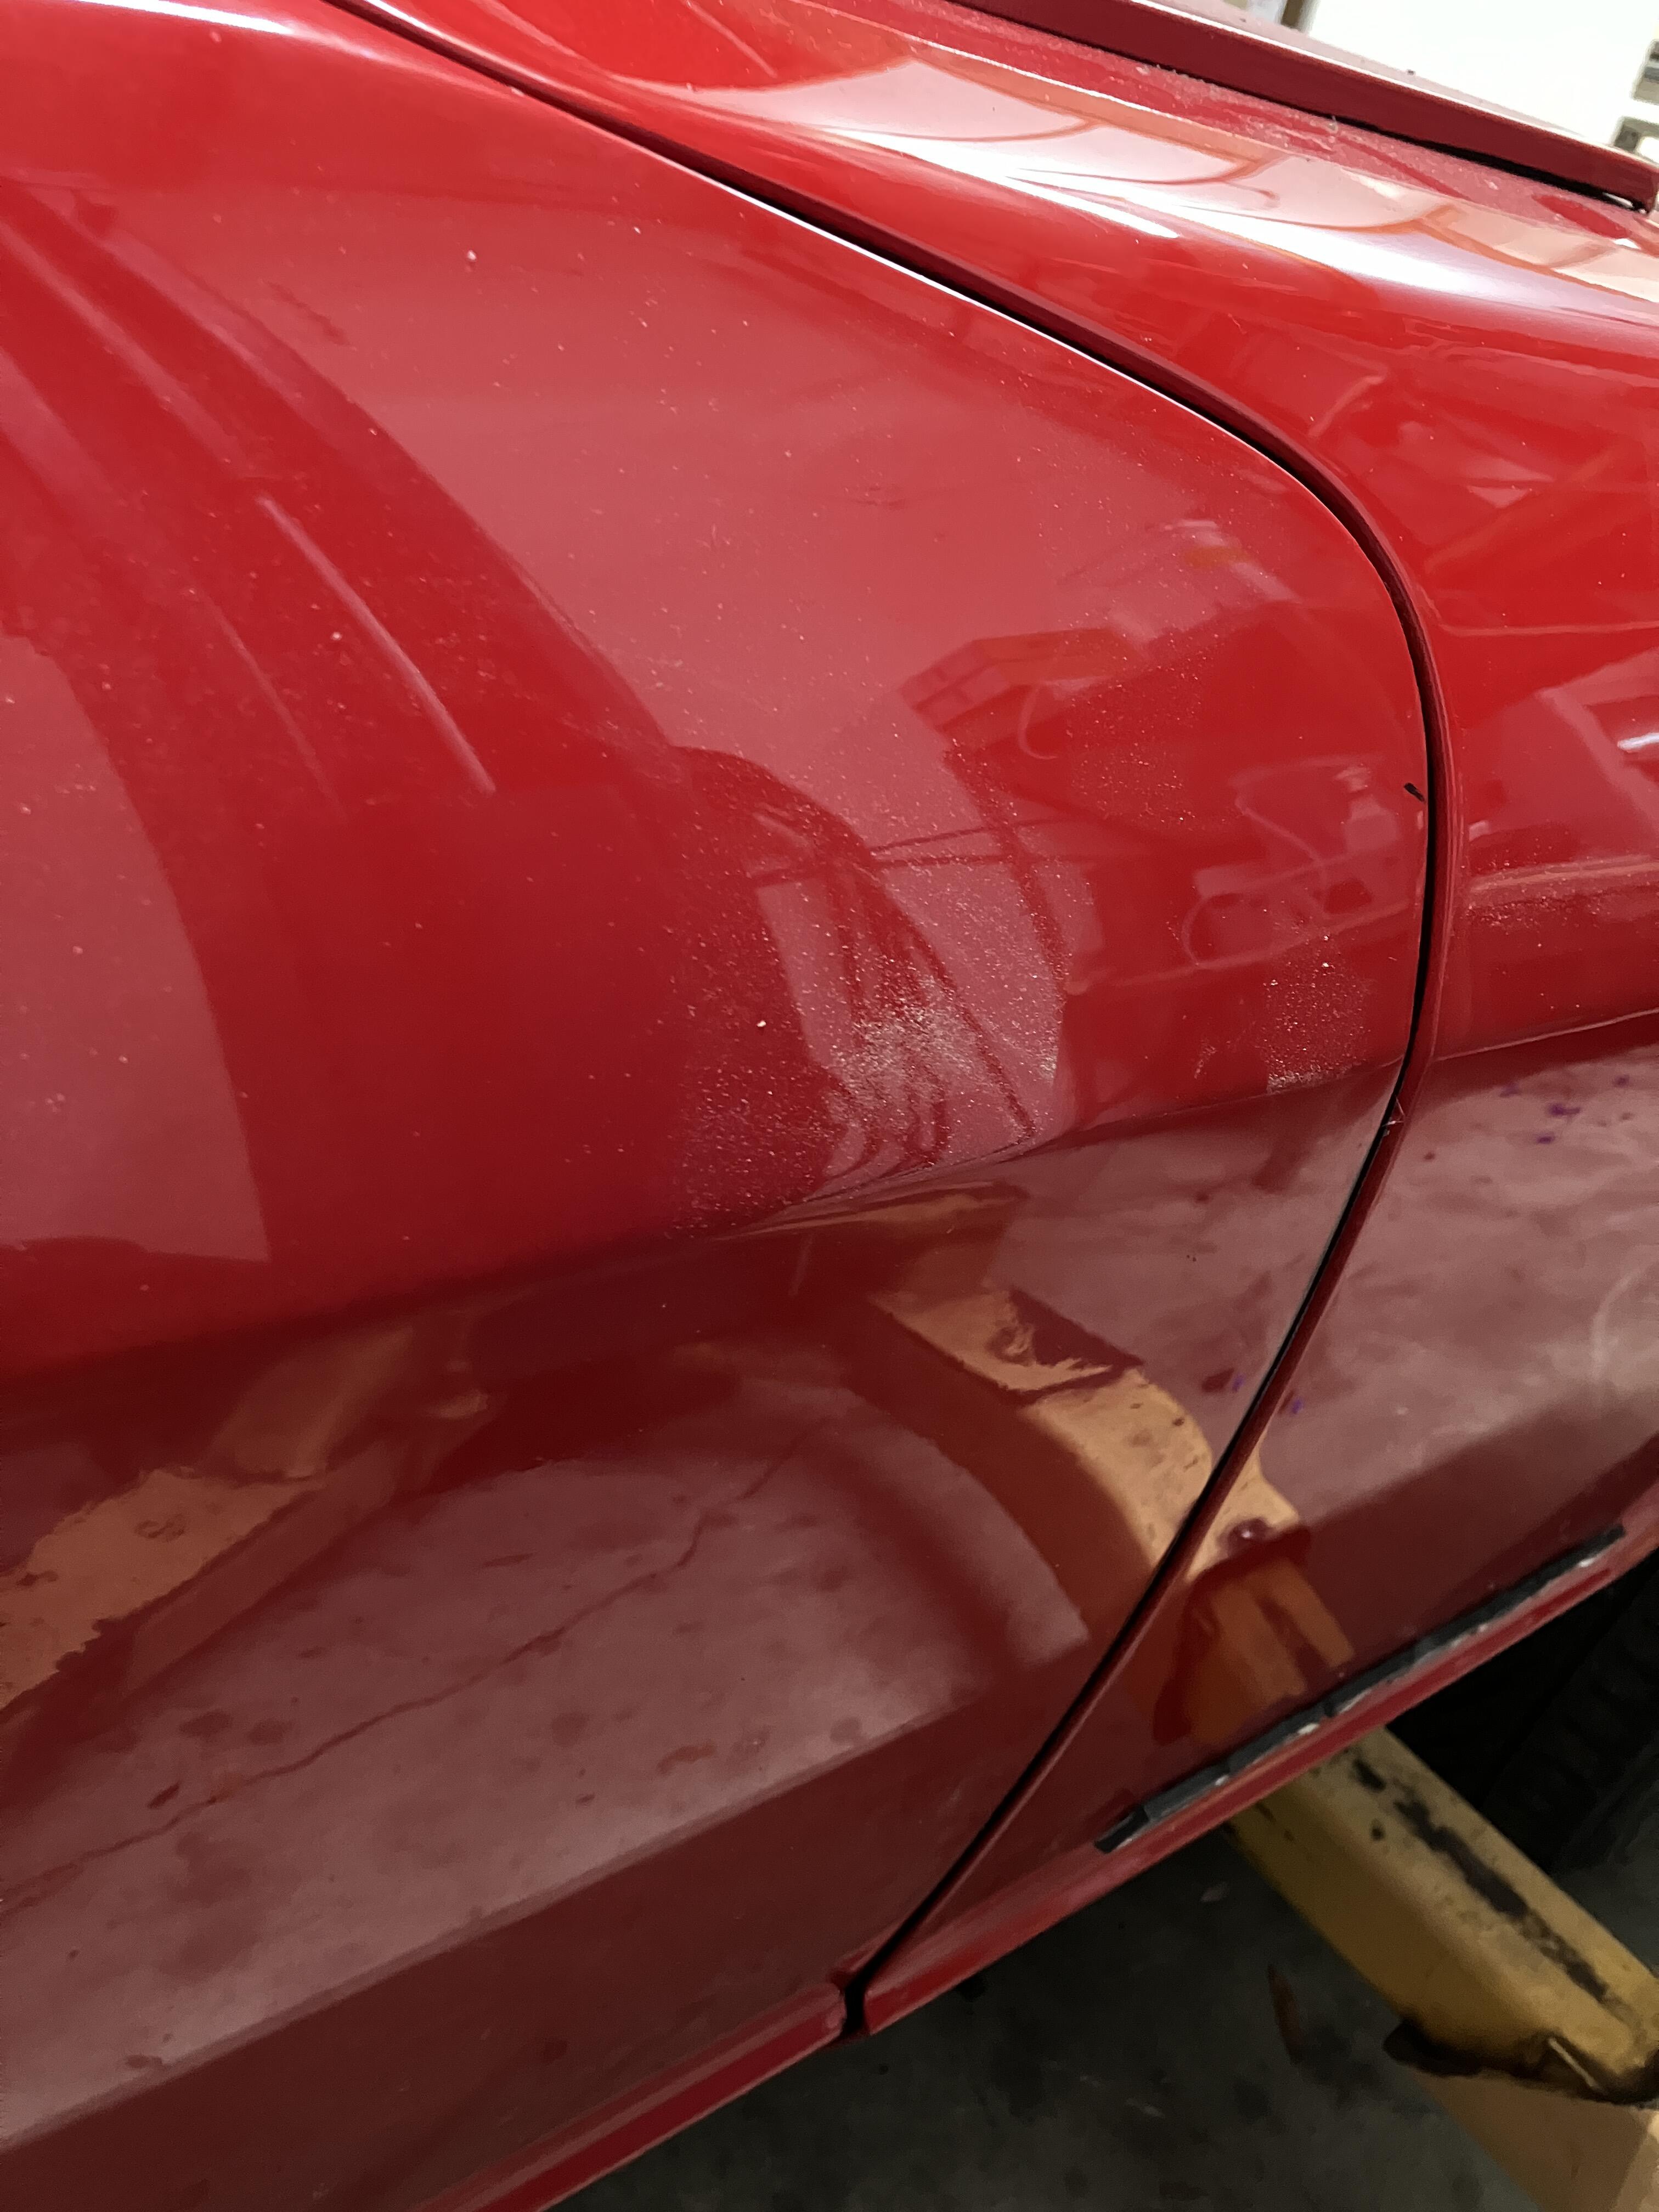
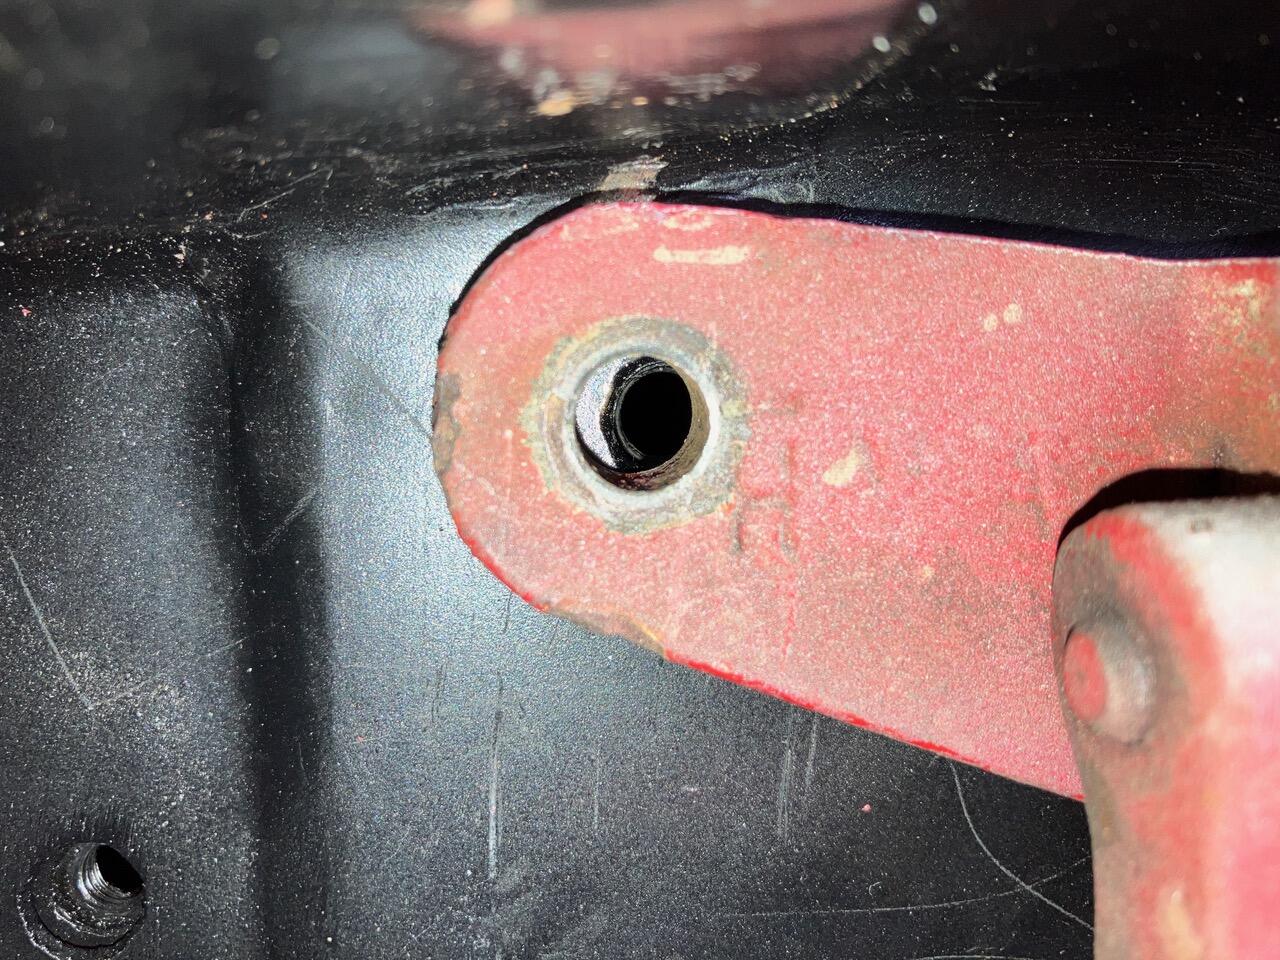
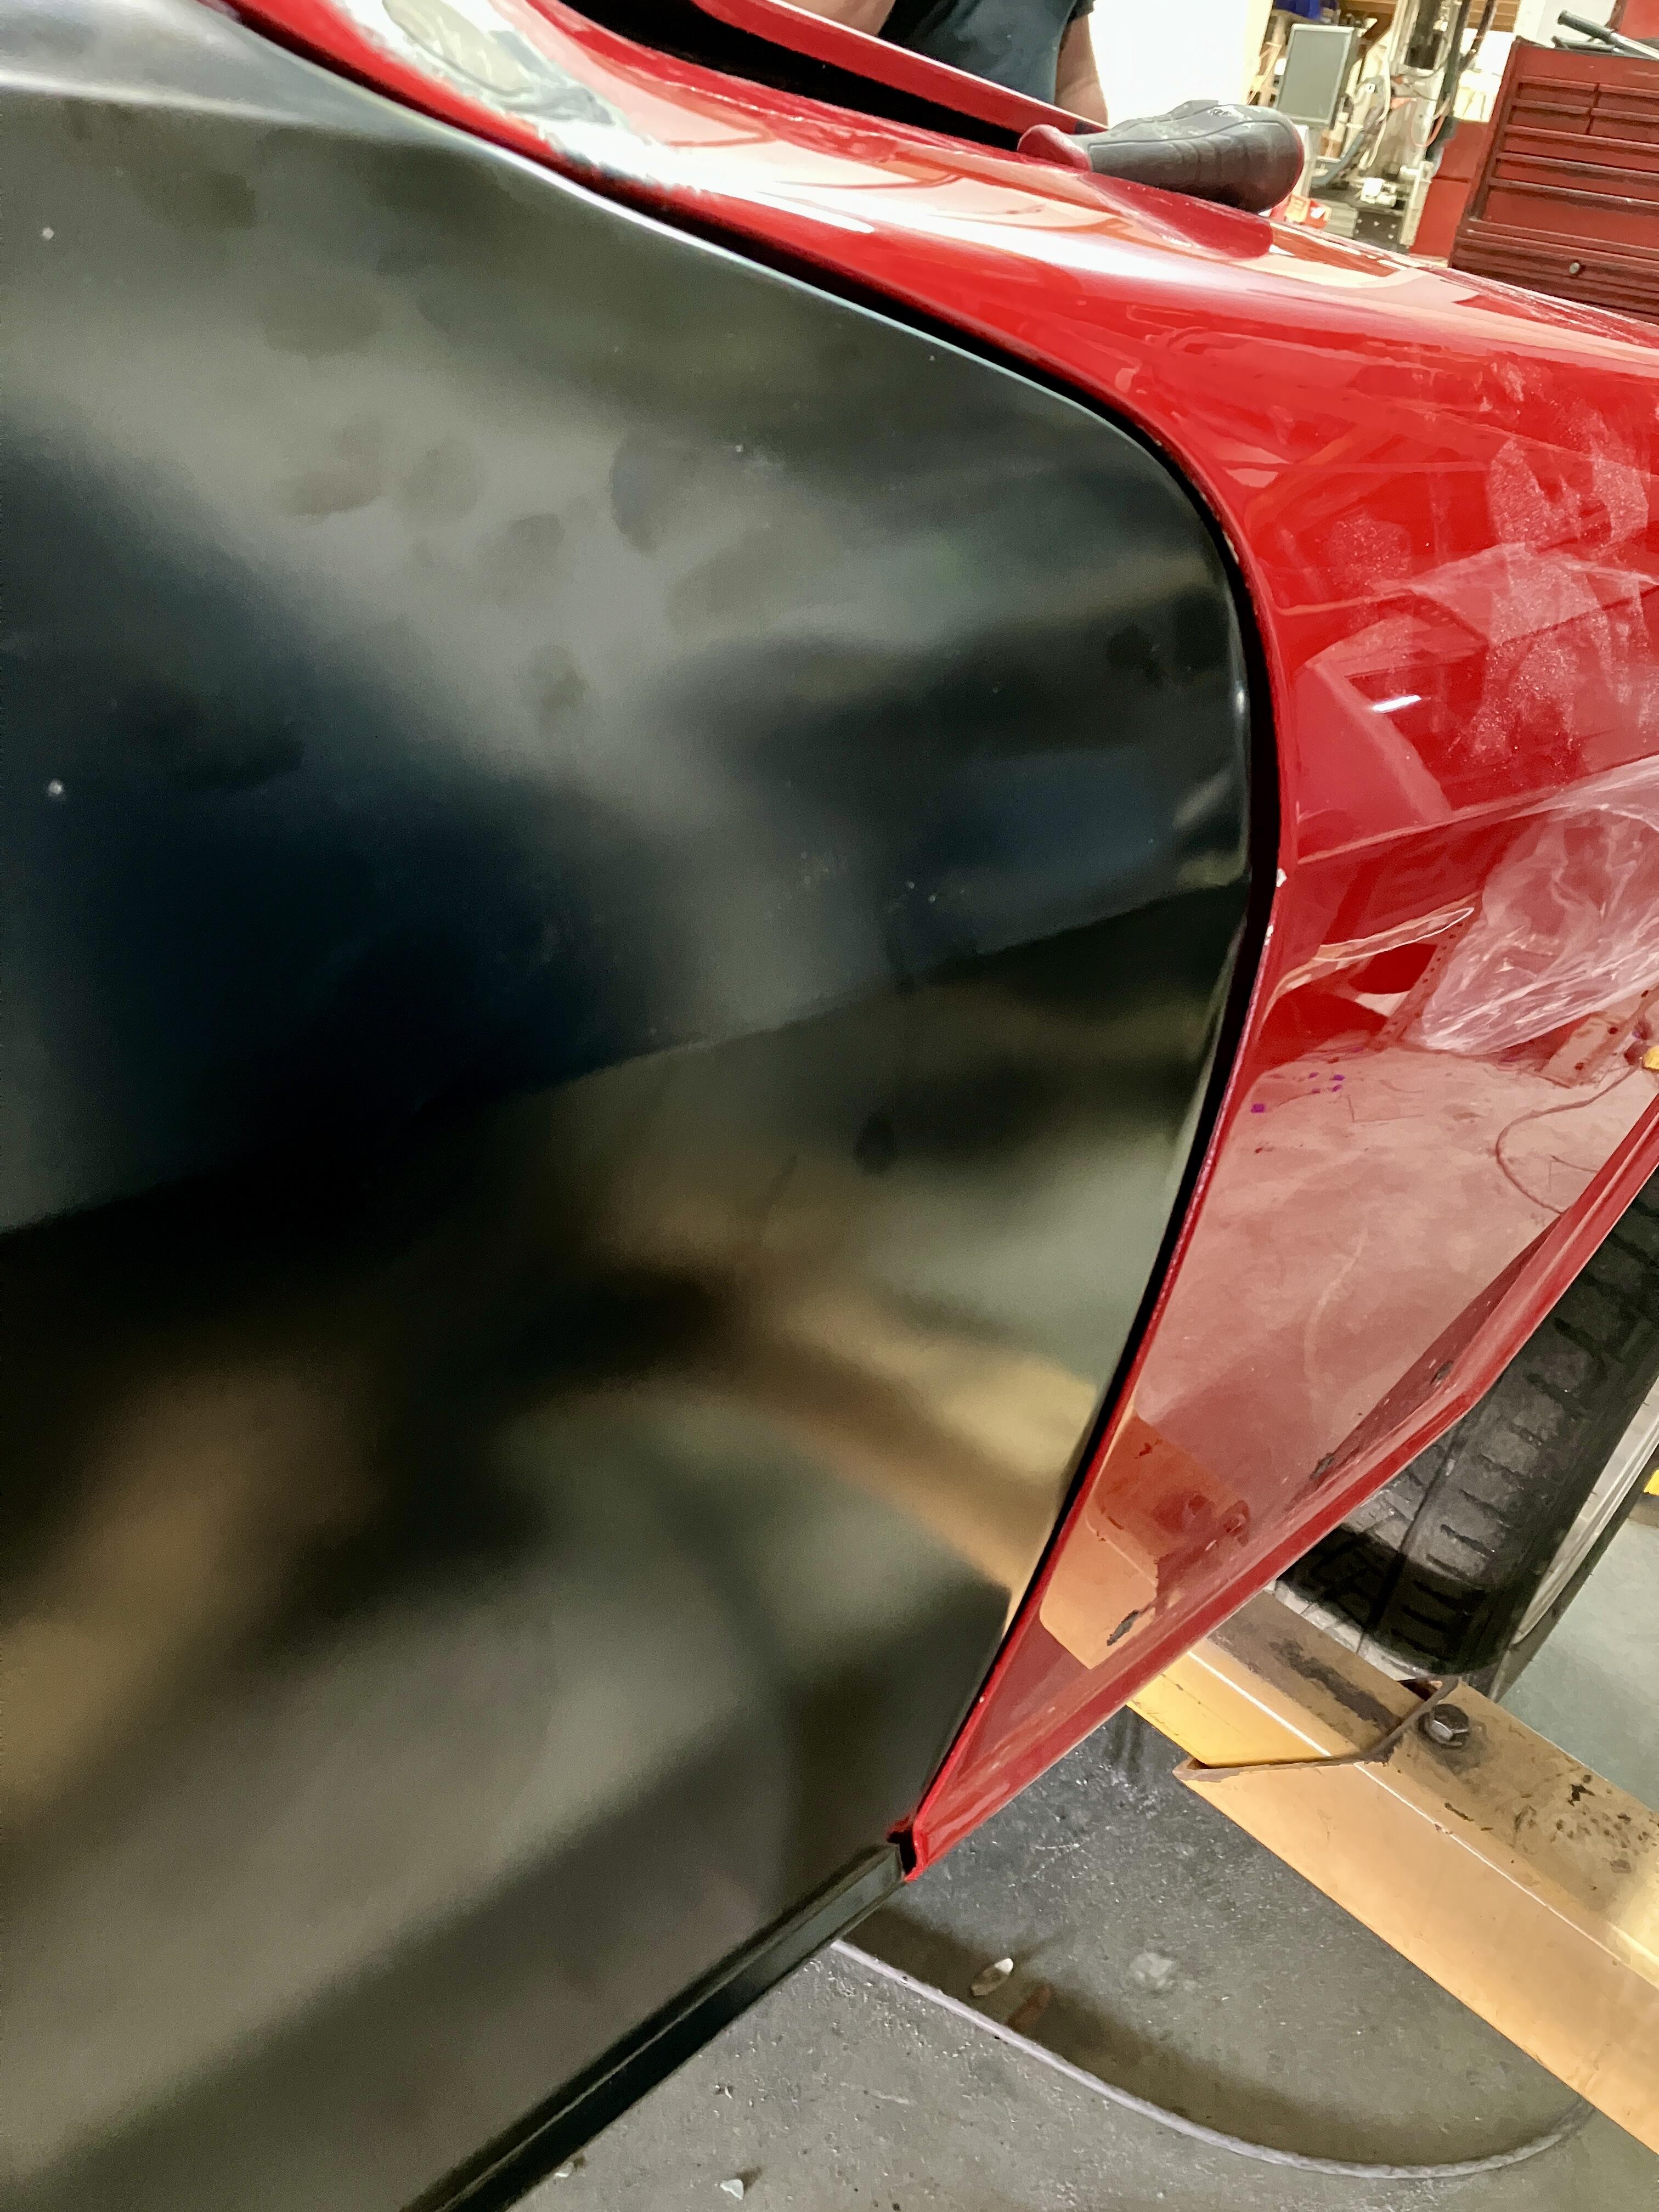
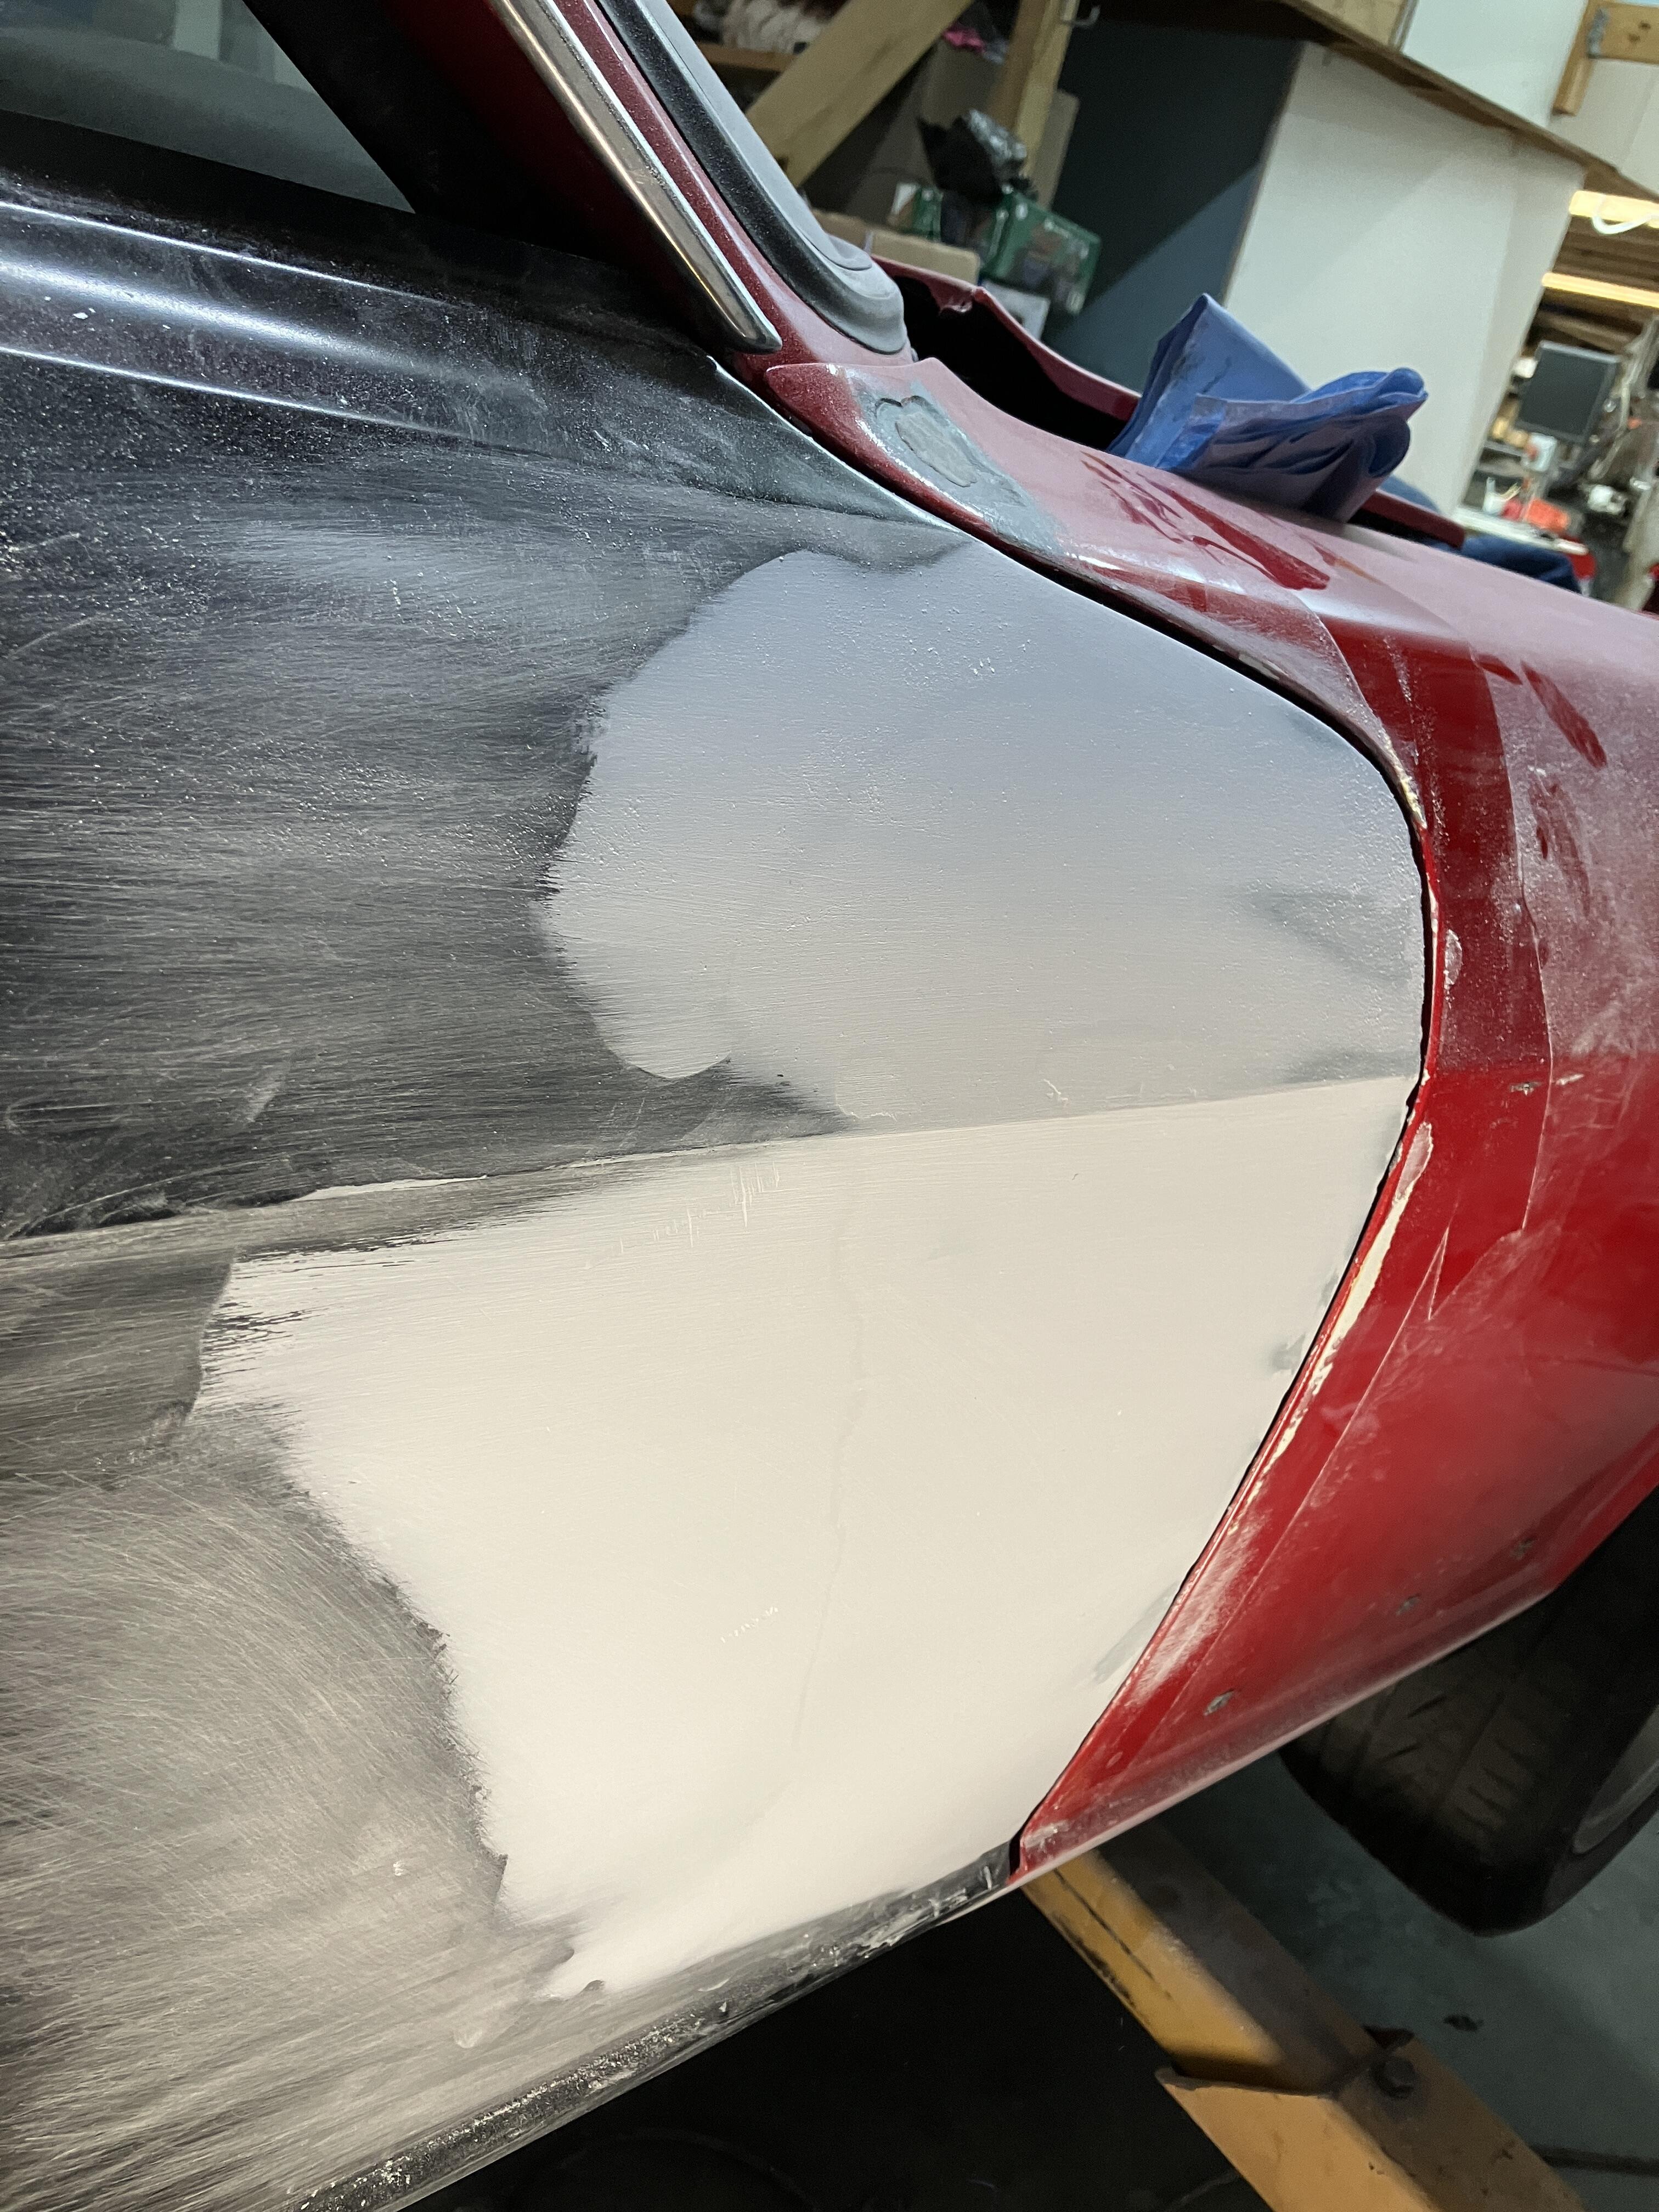
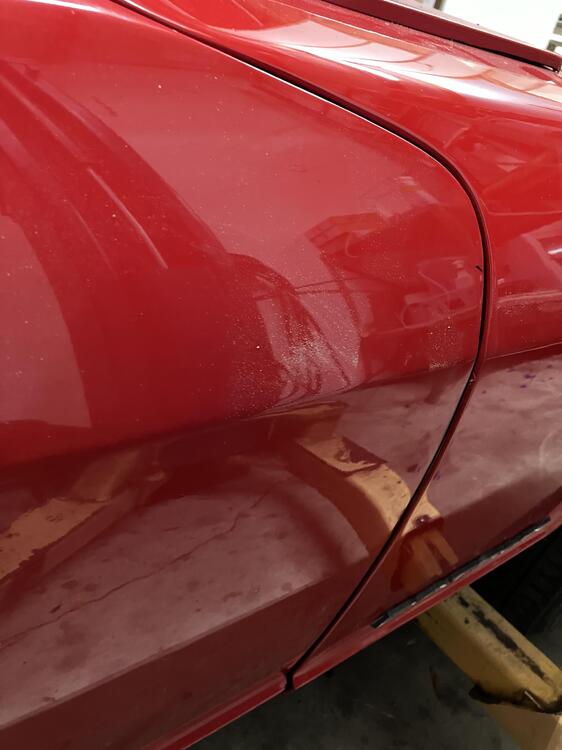
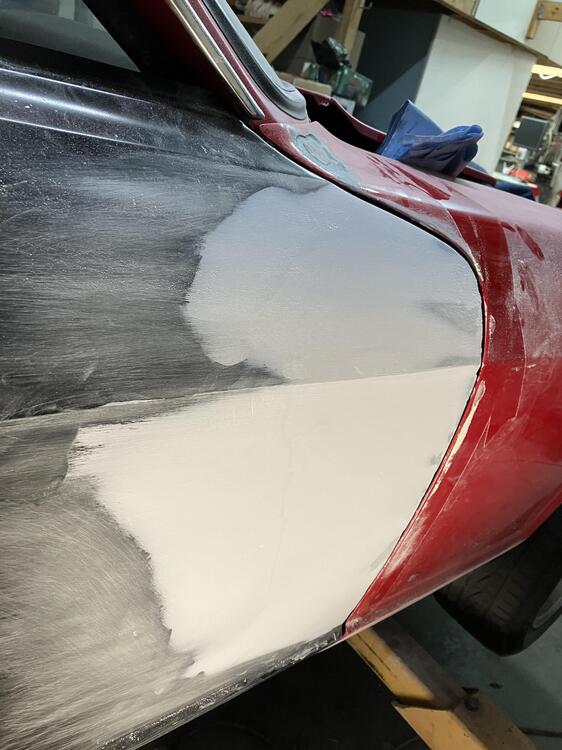
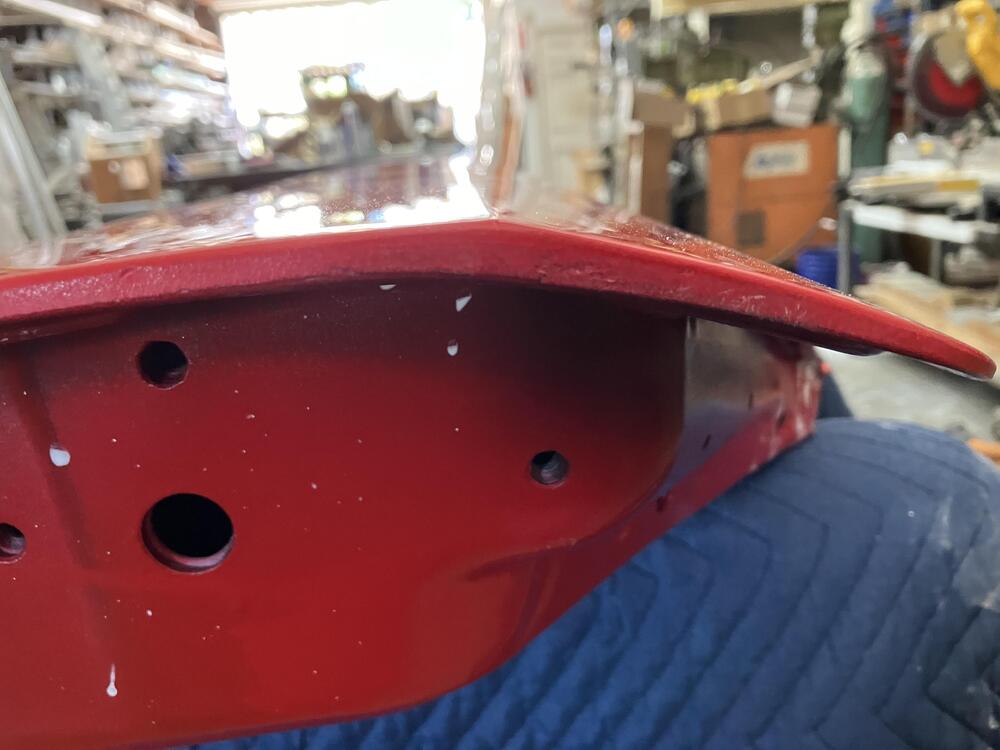
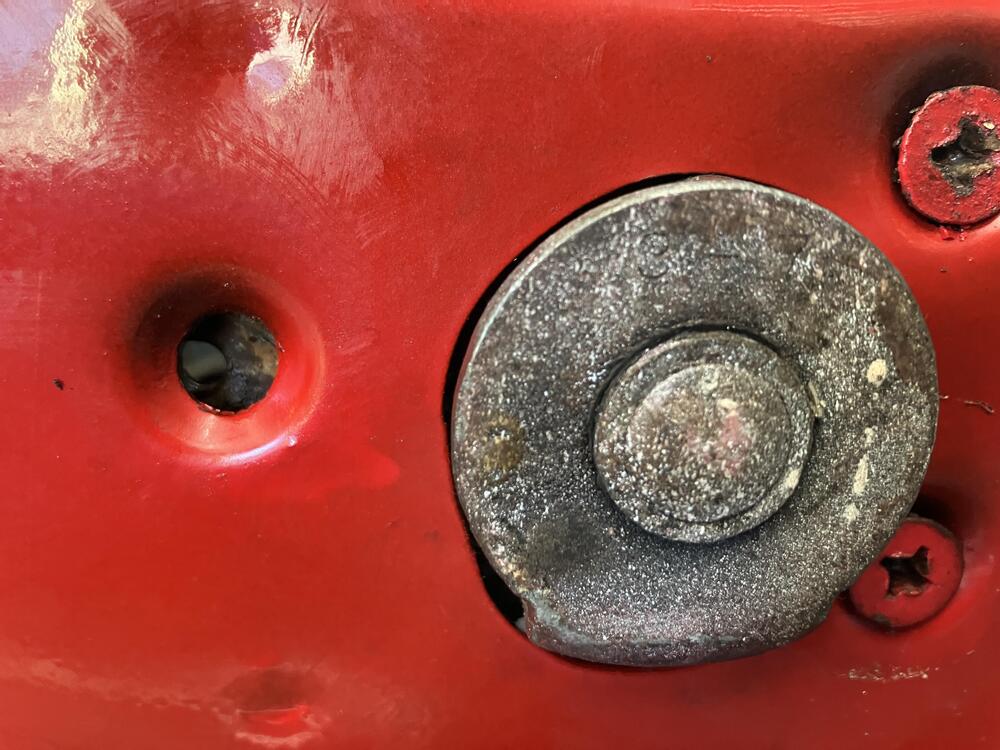
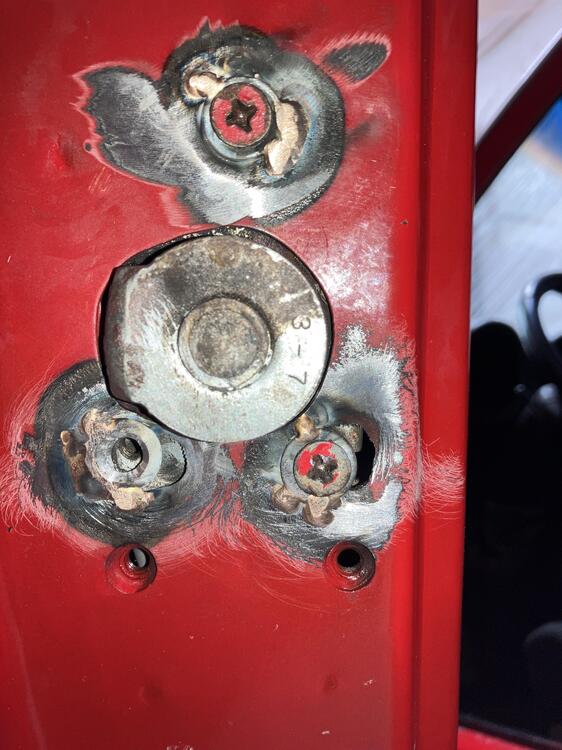
Story time:) And it’s a long one. I’m painting my 73 240 to address some rust issues especially in the doors. While searching for door skins I stumbled across the door assemblies from Resurrected Classics. For the price point and my available time window it seemed like the best way to move forward. I ordered the doors and received them promptly. They were. well packaged and looked really good. I figured I’d do a quick test fit by hanging them on the car. I used a single bolt top and bottom initially. The drivers door looked great with a slight problem where the door bottom meets the fender. Nothing a little filler wouldn’t fix. I then proceeded to fit the passengers door and was greeted with this: I literally could fit a finger in the gap. I pulled the new door and reinstalled the old one to tell me what I already knew and this is how it fit: I called Max at Resurrected to make sure I wasn’t the first person to receive the doors and he assured me he had sold multiple sets with no complaints. With this in mind I decided to make up some hinge to cowl shims to see if by some miracle it was simply a matter of adjustment. I figured I’d go ahead and mount the door properly with all of the bolts in the hinges and was greeted with this: The hole is off by literally .100”. This was troublesome firstly in the fact I couldn’t bolt it on and secondly apparently there isn’t a welding fixture to locate the nuts properly. It also showed there was little to no QC on critical mounting points. As a manufacturer as soon as I saw this my first thought was “what else is wrong with these doors”. But as a dreamer and optimist I decided to continue moving forward. I contacted Max and luckily he had someone driving south near me and he brought a new door and we swapped. I actually hung it quickly and although the fit wasn’t great it was still less work than fixing my old doors so I decided to keep moving forward. Here is the new door: So I went ahead and started the body filler work. Keep in mind this is a driver and I never would have accepted this if it wasn’t. Here is a shot after building up the area with Duraglass and then filler. It’s still rough because I finished it off the car but it will give you an idea as to how much work I had to do to fix that gap. Here is an edge shot of just how bad it was: I sent Max the pictures for his records and told him: “Not pretty and if it was a restoration it wouldn’t fly but for my daily driver that takes a beating it’s fine. The door I took off had no filler in that area and the fender has no filler in that area. The only conclusion I can come up with is there are variances in the assembly of your doors since the original one you sent me fit even worse in that area.” Fast forward a week or so and I have the passengers door assembled and mounted on the car. I have the sash sitting properly in the door frame so that when it’s closed there is no light. I’m using new weatherstrips from Max and the door closes great. The window cranks up and down with ease. Yippie now on to the drivers door. I start the assembly process and immediately run into this: The door latch screws don’t line up. Now let me tell you just how bad this is. Because the latch uses countersunk screws there is no “slotting it” to make it work. Also you have to ask yourself is it only the top screw or all the screws. I hung the door with just the 2 bottoms in and there wasn’t enough adjustment in the striker to get it to work. This is now an extremely difficult repair since you now have to relocate 3 screws with no adjustment. After a day of fiddling around I ended up using flat washers and silicone bronze tig rod and came up with a repair that I’m not at all proud of but worked amazingly well: Look at how far off the bottom holes were. The door opened and closed perfectly. I pulled the door and finished assembling it. I had a harder time than usual getting the door glass in and anyone who has done it knows it is super sketchy the whole time. I had to actually wedge the opening to get a gap large enough to get the glass rail through which I have never had to do before. I finish assembling the door. One of the door frame screw holes needs slotting but no biggie. I mount the door and I can see the light at the end of the tunnel. I grab the drivers door panel to install it and it flat out won’t sit over the door ledge. like no way. Time to get out the caliper. I measure the stock door and then in the same area measure the new door. It’s 1.5mm wider. I measure the passengers door and it’s pretty much right on the money. So the drivers door and the passengers doors are diffrent. More QC problems. I figure I’d better test the passengers door panel. I got it to pop over the ledge but it was tough. As I rolled the glass up I noticed it was putting way more pressure on it than it should. and when it got about a third of the way up it was leading well outside of the frame. I pulled the door panel to get a better look at what was happening and I noticed that one of the screws on the glass frame and part of the bracket was jammed into the crash bar when the window was all the way down. That was the point where I had enough. I’ll remind you what I said earlier: “what else is wrong with these doors” I have no idea how to solve the problem on the passengers door that doesn’t involve hours or days and I have no idea on how to get the drivers door panel to fit that doesn’t involve hours or days. It’s obvious by the pictures I posted that there is little or no quality control going on. If there was then both of the passengers doors would have fit exactly the same way. I emailed Max explaining the new issues with documentation and asked him to take the doors back and refund my money. I think this is a valid request at this point considering just how many problems I have had to overcome. Let me repeat. I can’t get the drivers door panel over the door ledge because it’s 1.5MM too wide. There is no adjusting that. Max doesn’t see it that way but he did offer me a discount on any future purchases:) Isn’t that special. I’m not telling anyone to not buy the doors but if you do I strongly recommend you assemble the doors all the way including the door panels as soon as you get them. And if you purchased a set and they are sitting in a box you my just be in for a surprise when you go to assemble. I don’t doubt there are working doors out there but I think I have more than proven that there are problems with the doors. The pictures don’t lie. I’m pretty sure I’m going to cut my losses and reskin my old doors and scrap the junk ones from Max. I hate to take a $1400.00 loss but at this point I don’t think they are salvageable without extensive unknown reworking. Nissan designed the window mechanism to rely on a proper door shell stamping to work. I’m not sure these are proper door shell stampings. Sucks but I'll get over it. Thanks for listening it helps, Derek


 0 points