Leaderboard
-

Patcon
 Subscriber
 6Points10,930Posts
 -

conedodger
Free Member5Points11,316Posts -

silverminemotors
Free Member2Points11Posts -


cgsheen1
Free Member1Points630Posts
Popular Content
Showing content with the highest reputation on 11/30/2024 in all areas
-
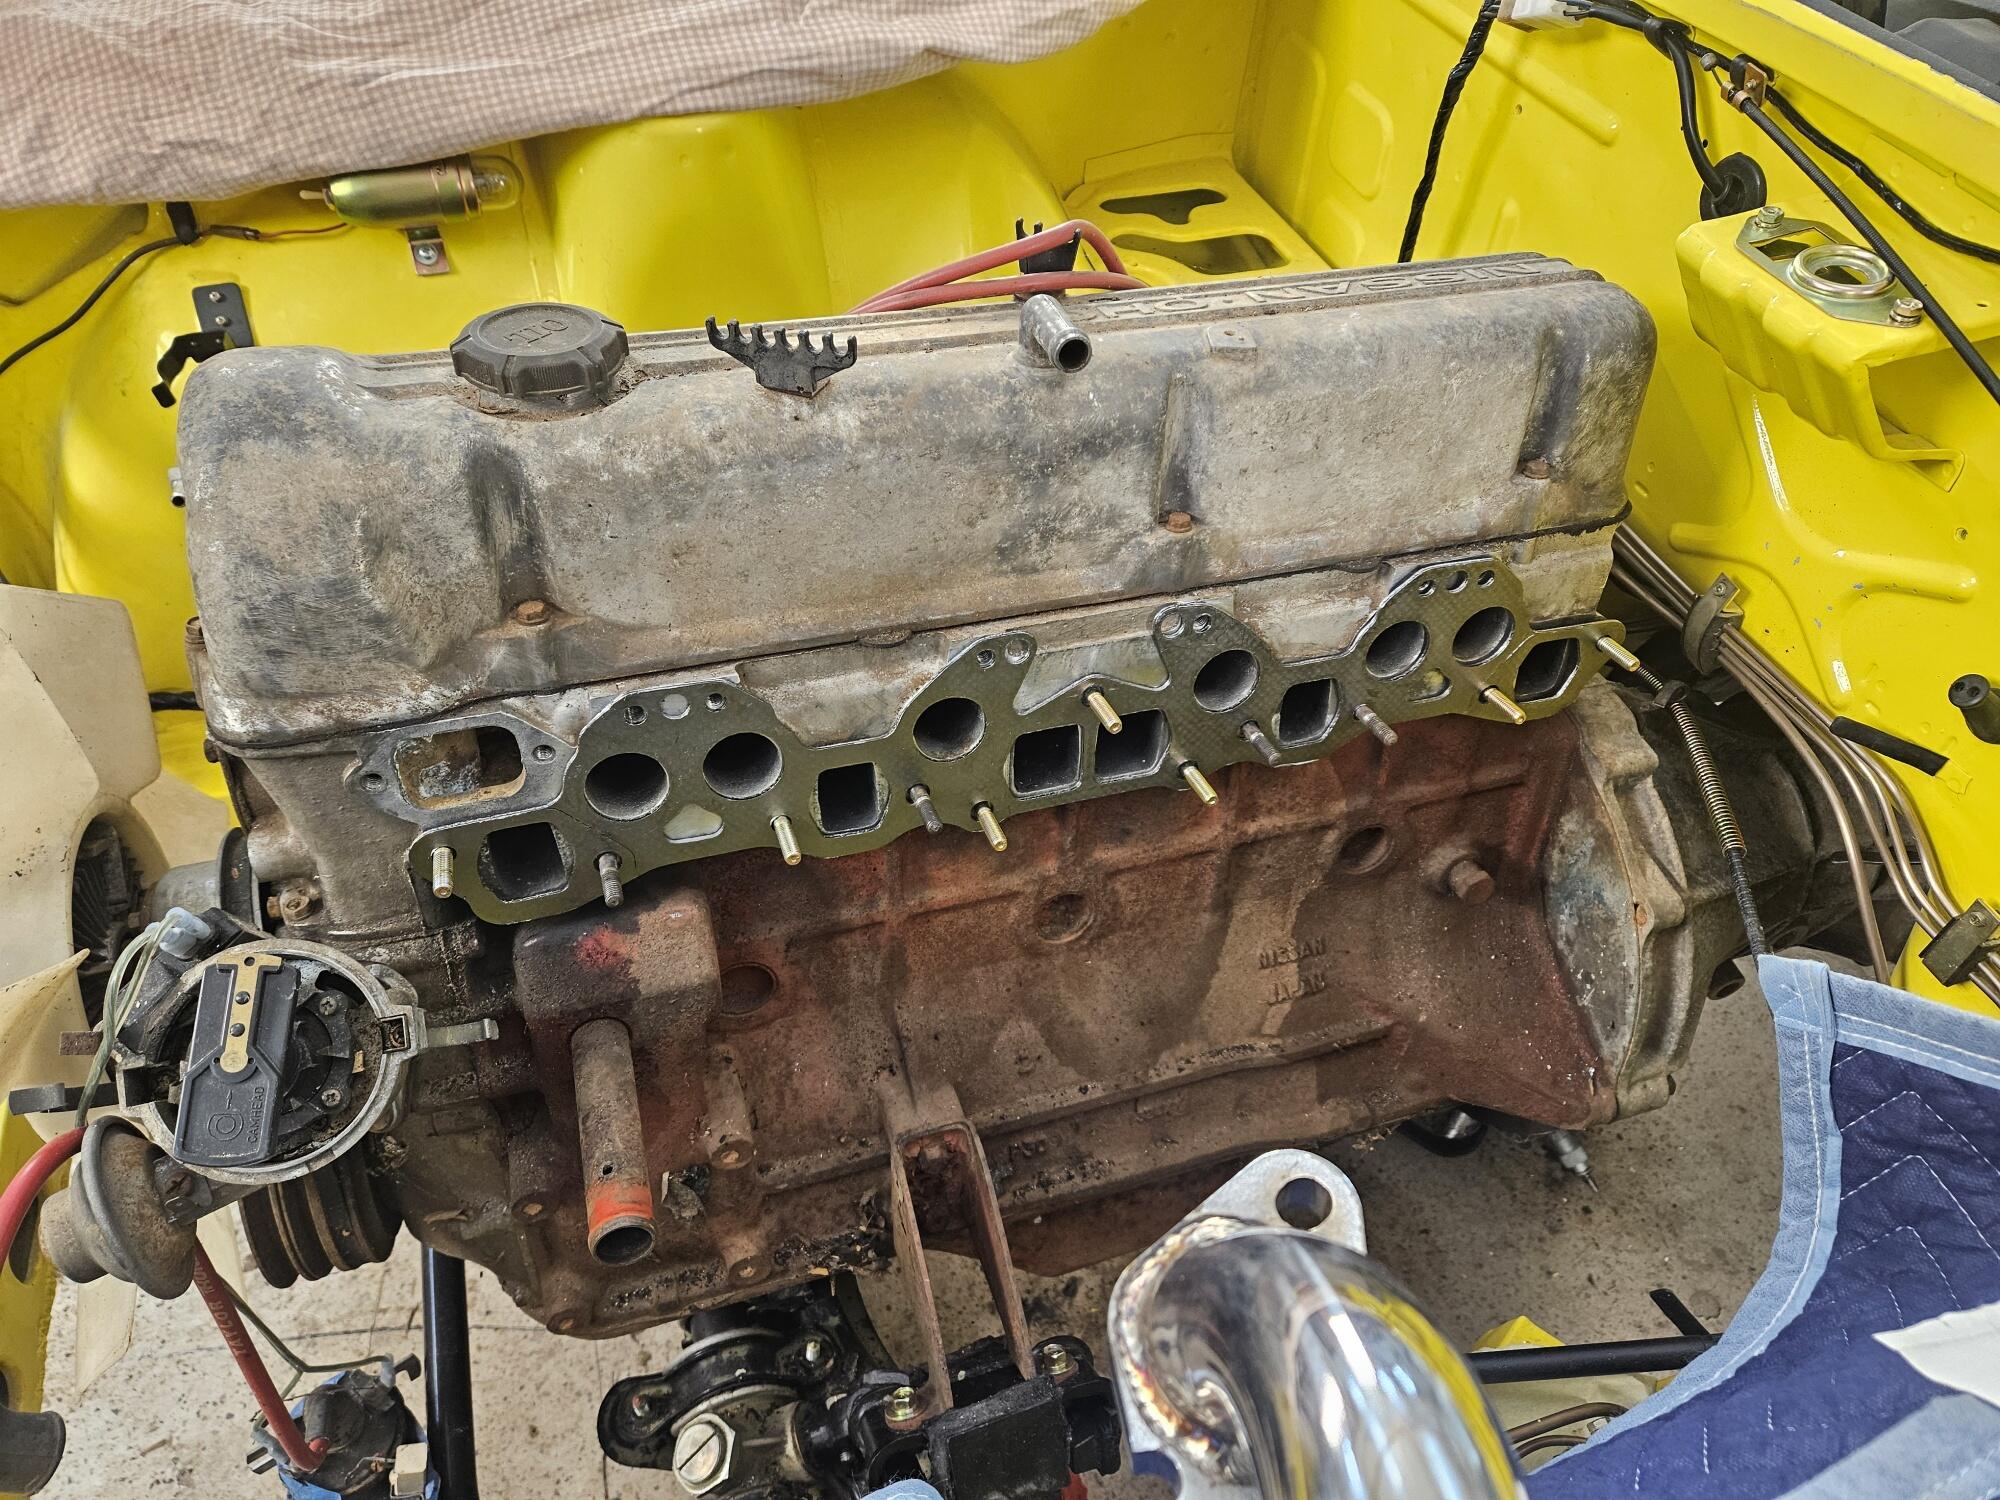
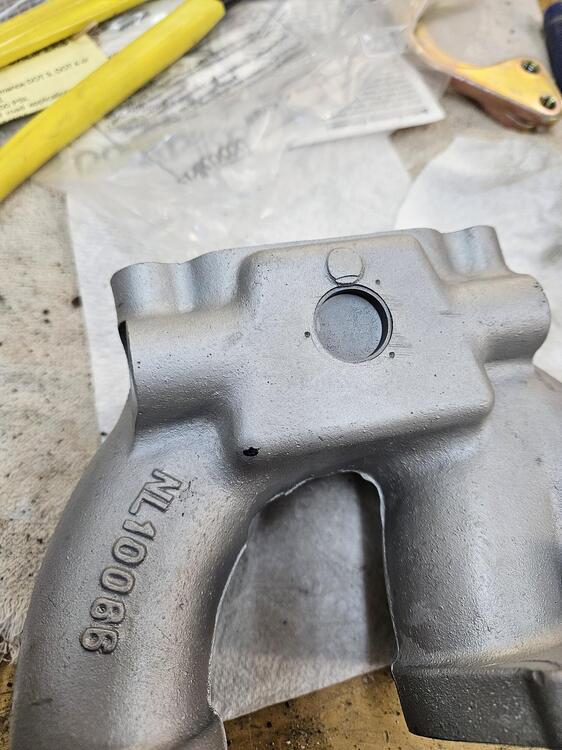
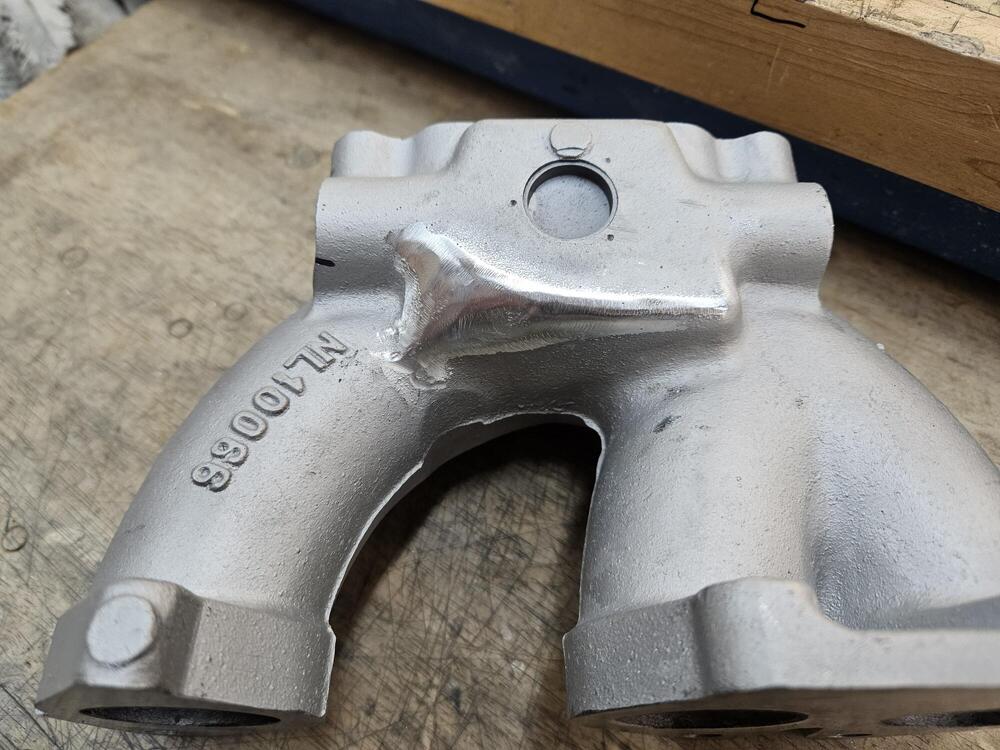
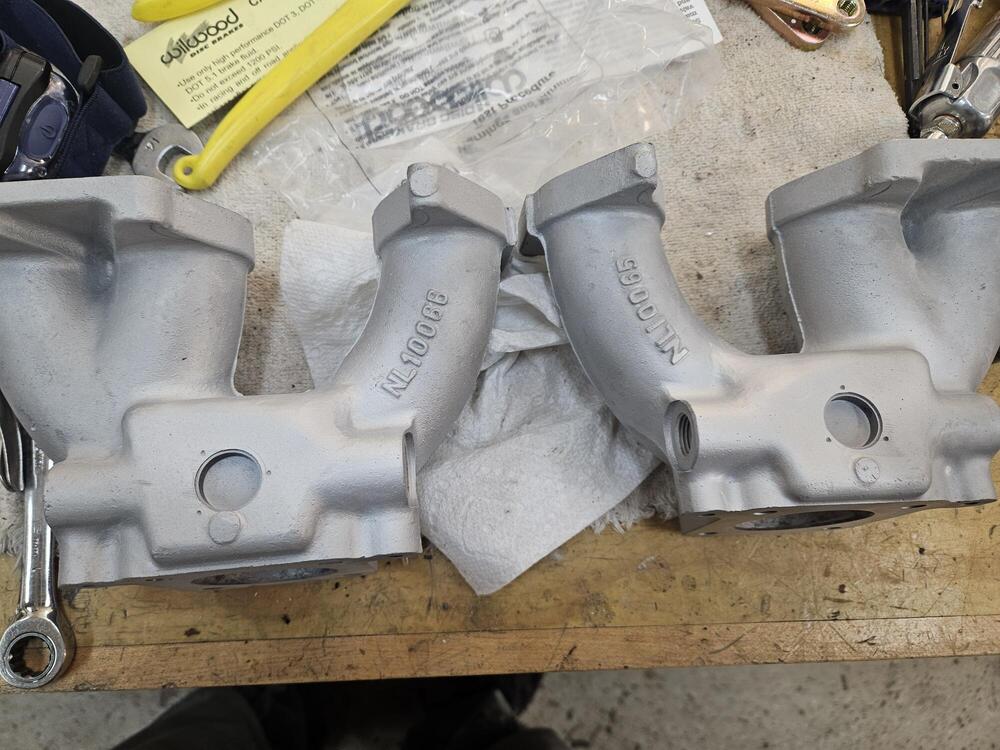
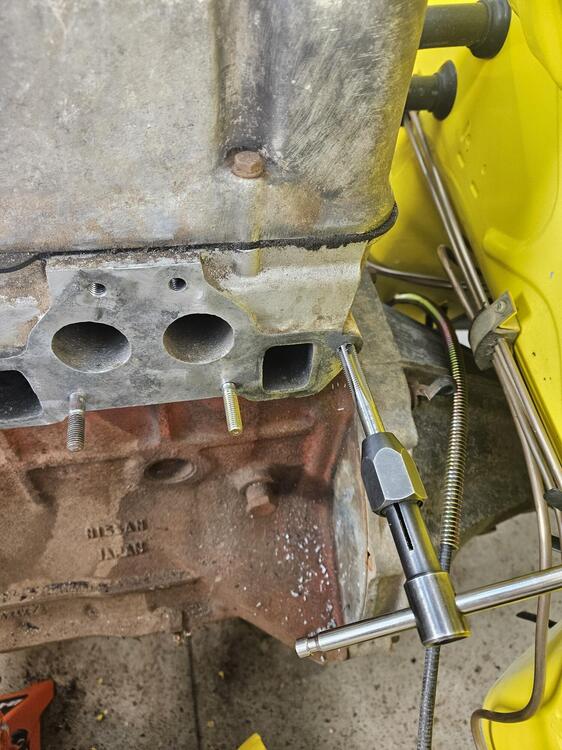
2 pointsI worked on clearancing the manifolds. Contact at the sharpie mark After grinding with a burr in a die grinder and some light polishing work Then I put them back in the bead blasting cabinet to even out the finish. I didn't cut through into the water passage. Although I don't know how thick the remaining material is... Also I tried to run a copper exhaust nut on to the #6 stud and wrung it off. Since Cody was home, I enlisted him to get the stud out. There was some incidental damage to the threads, so I helicoiled it
 2 points
 -
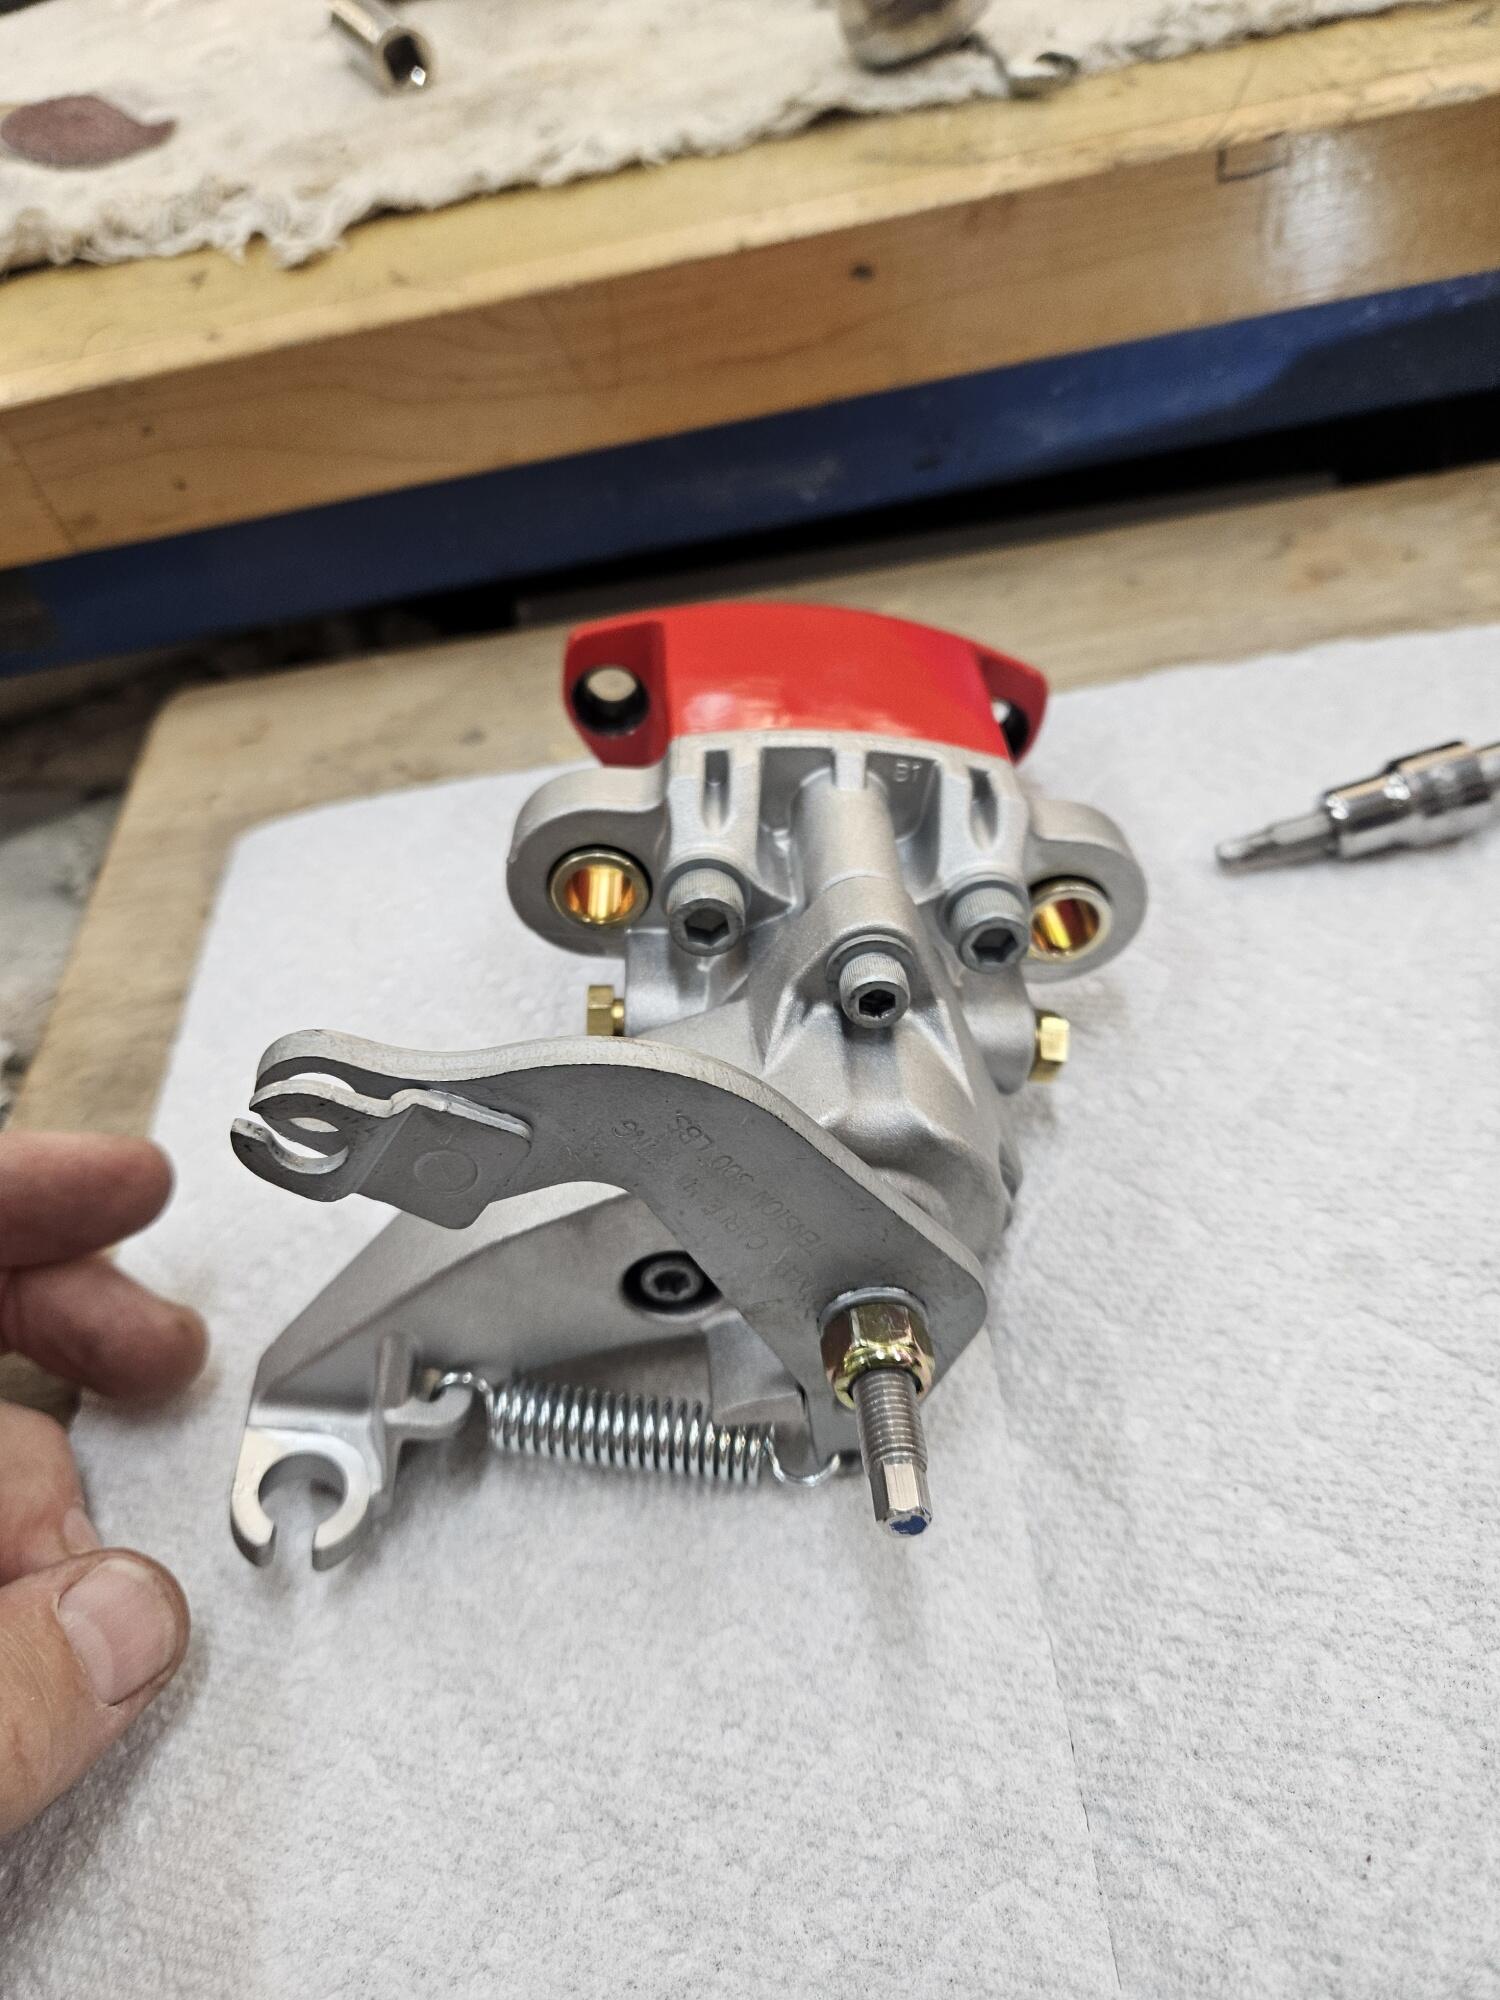
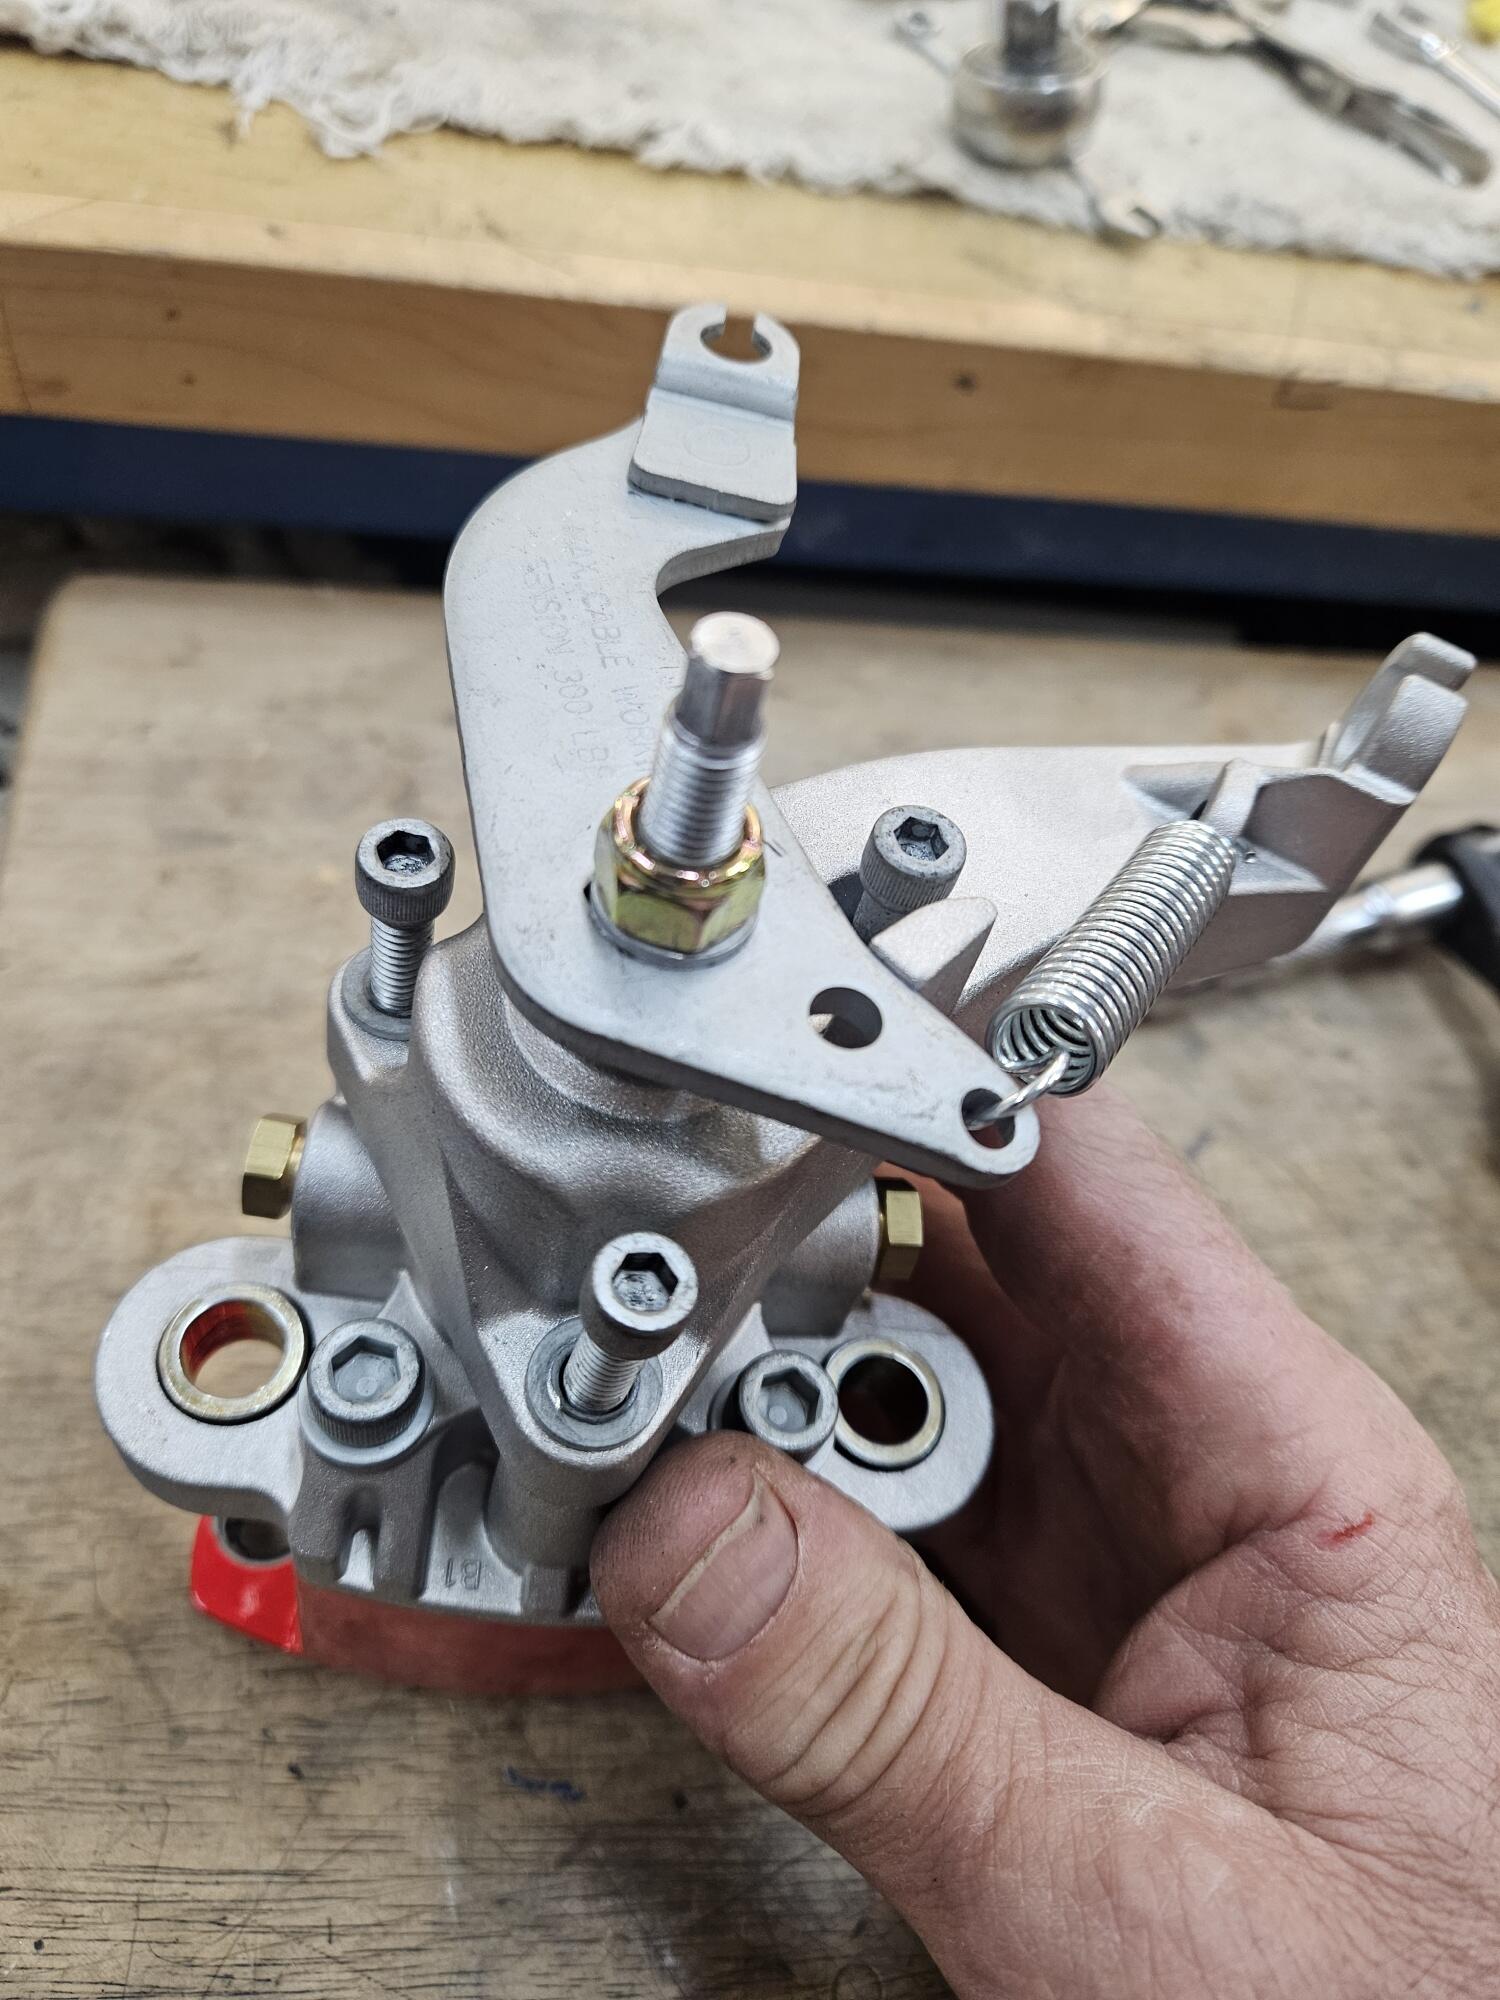
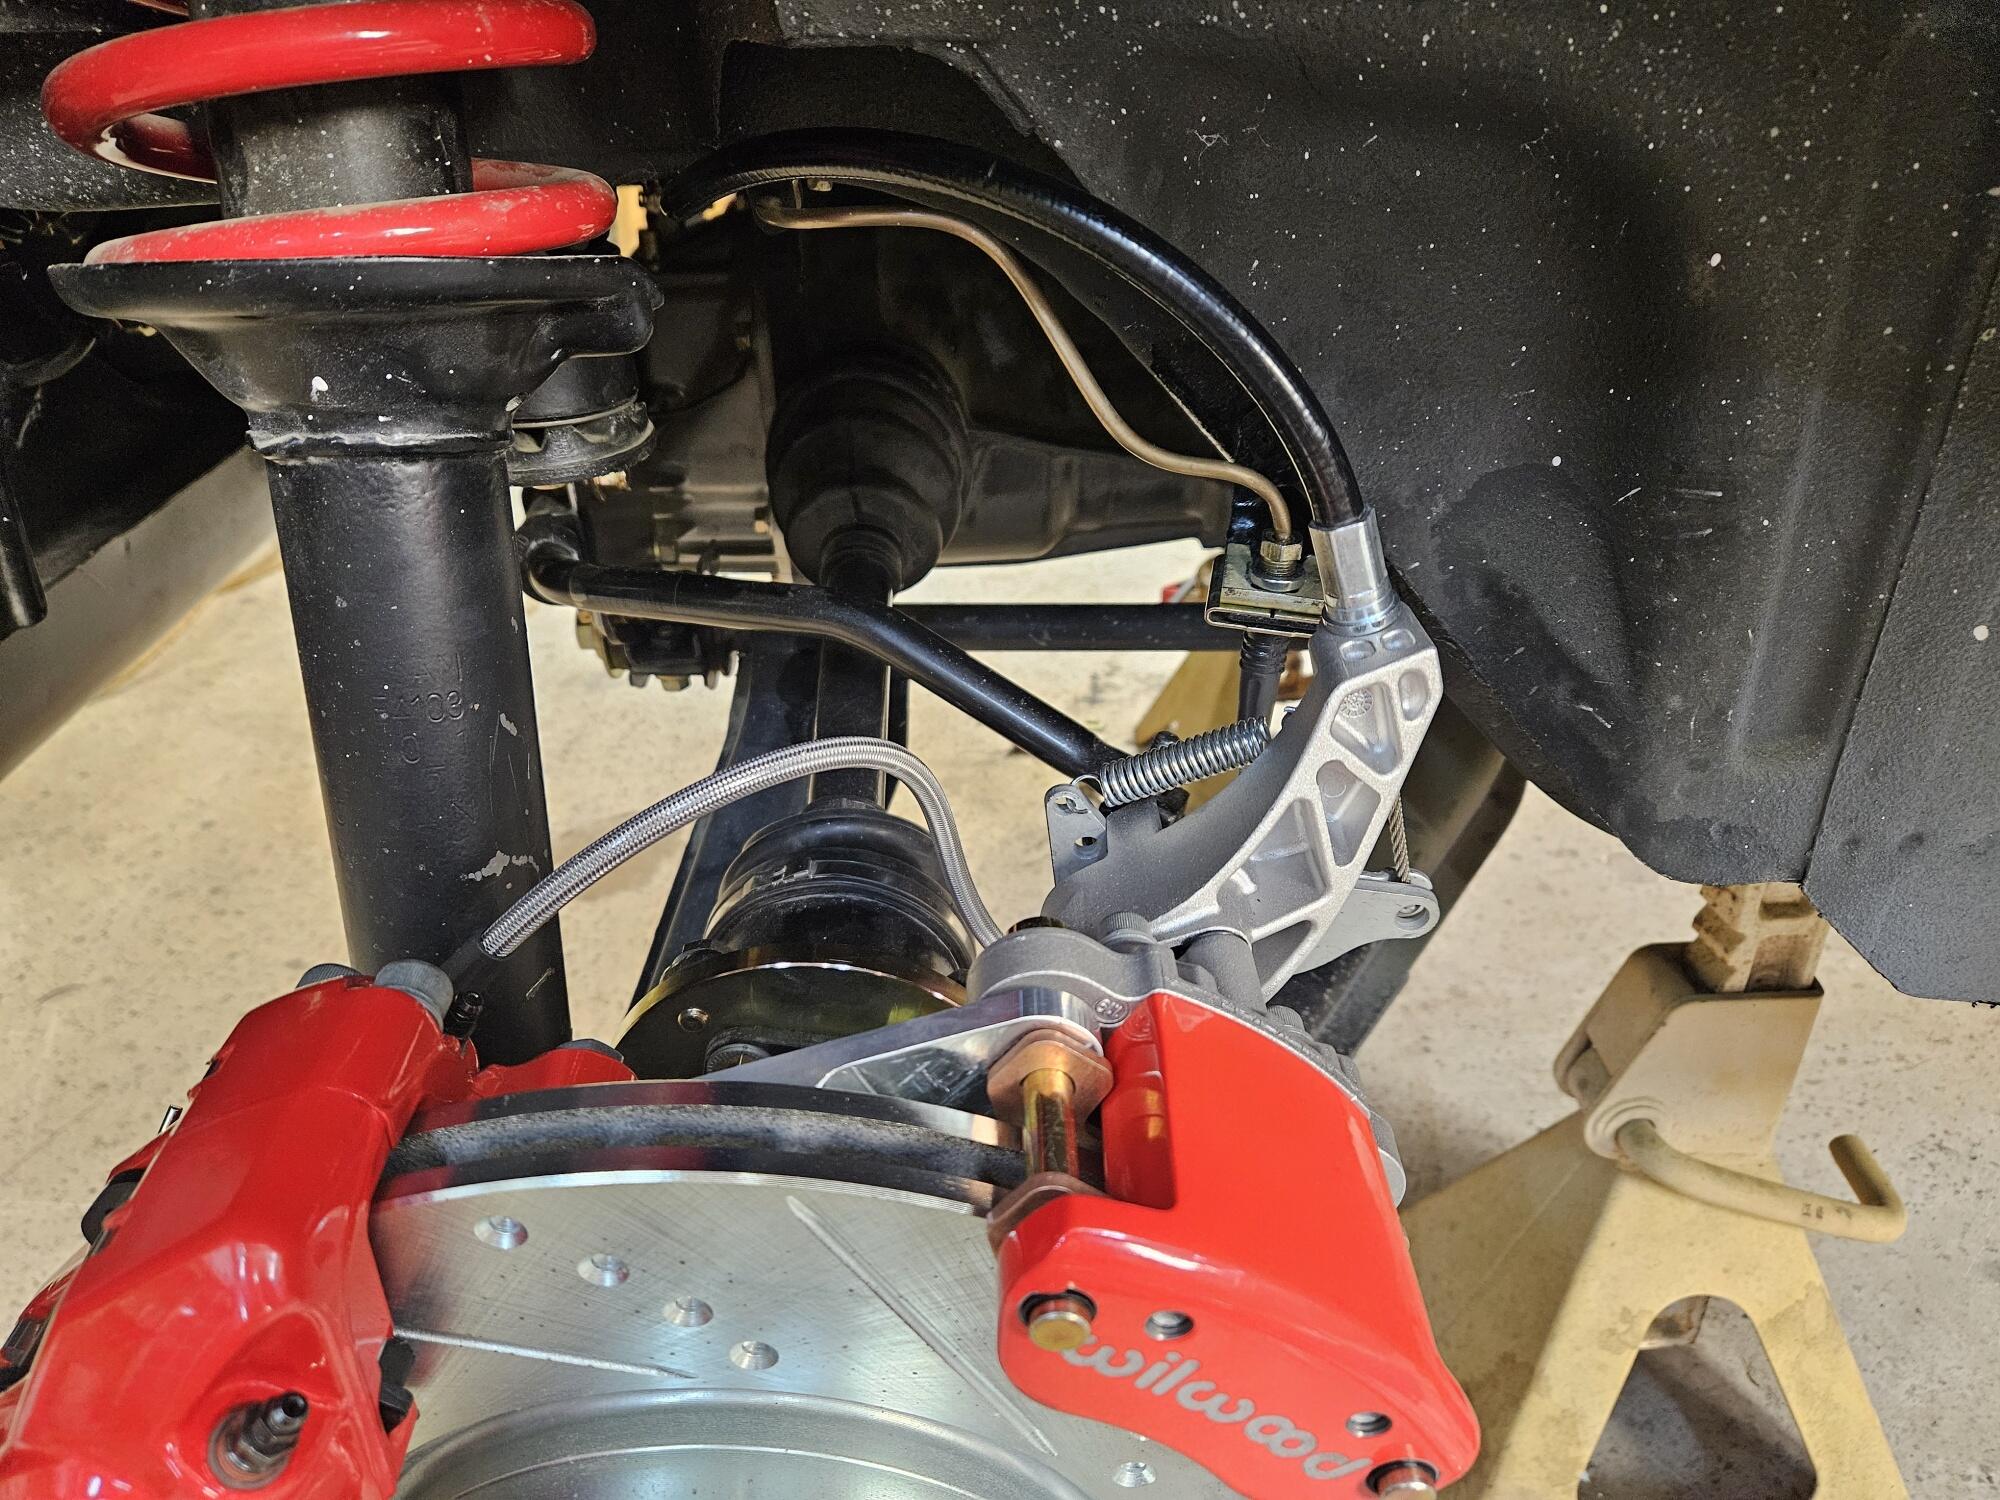
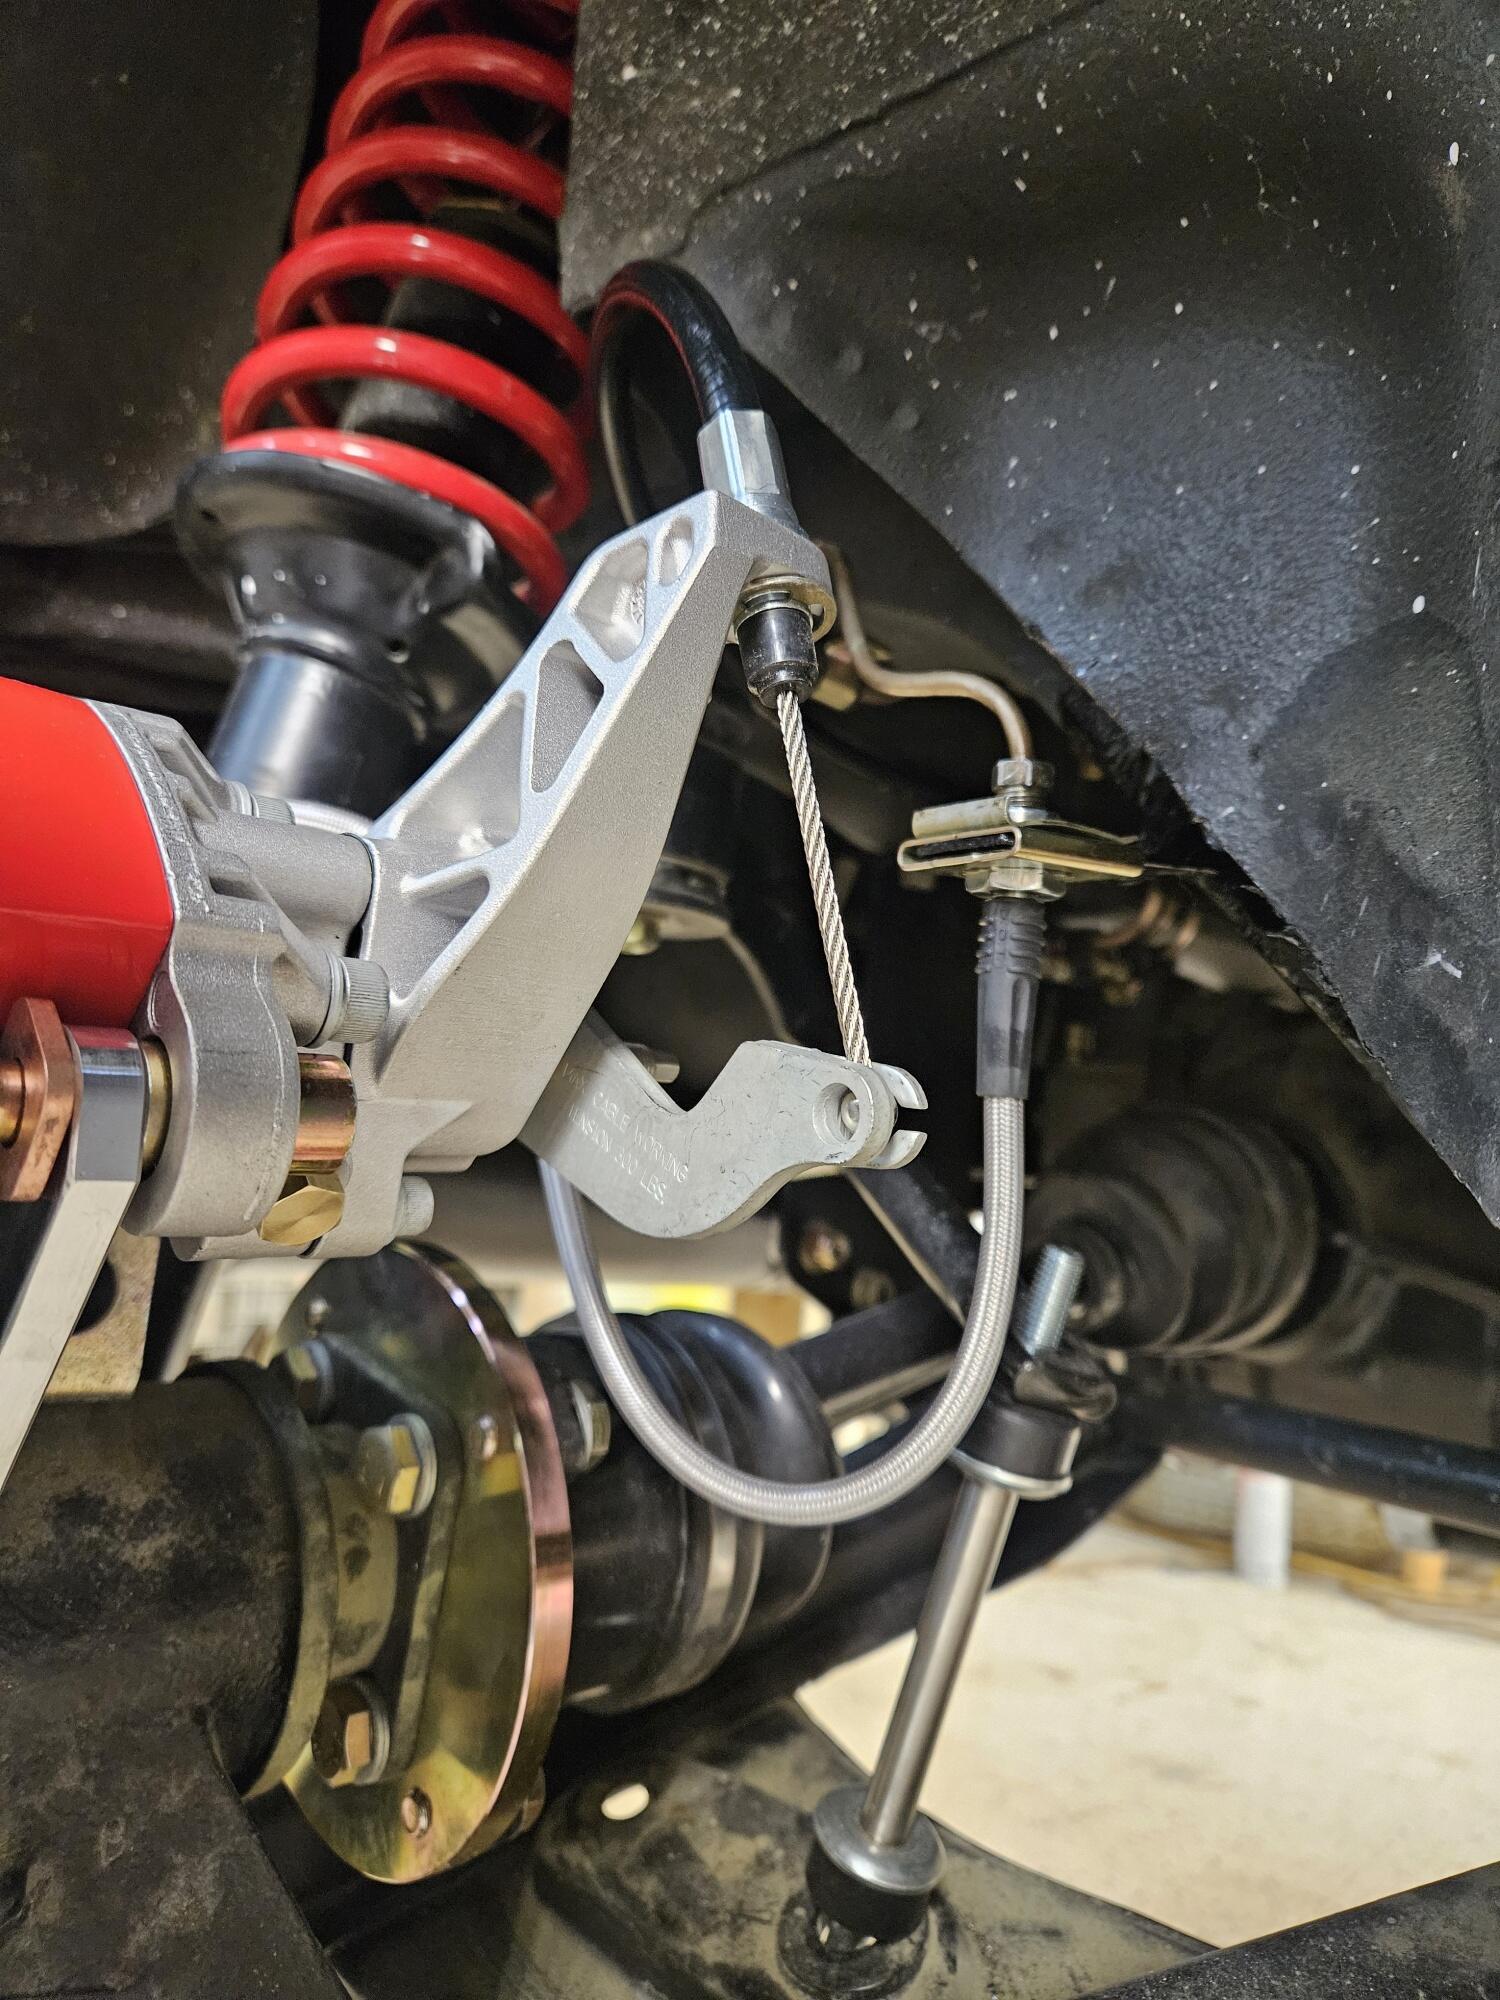
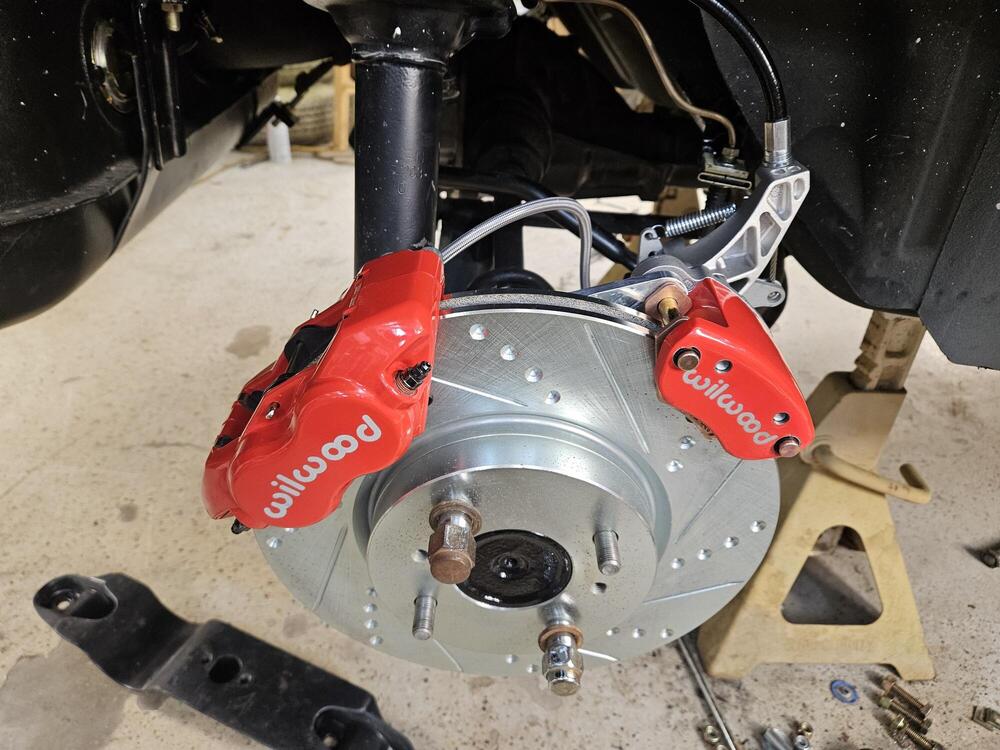
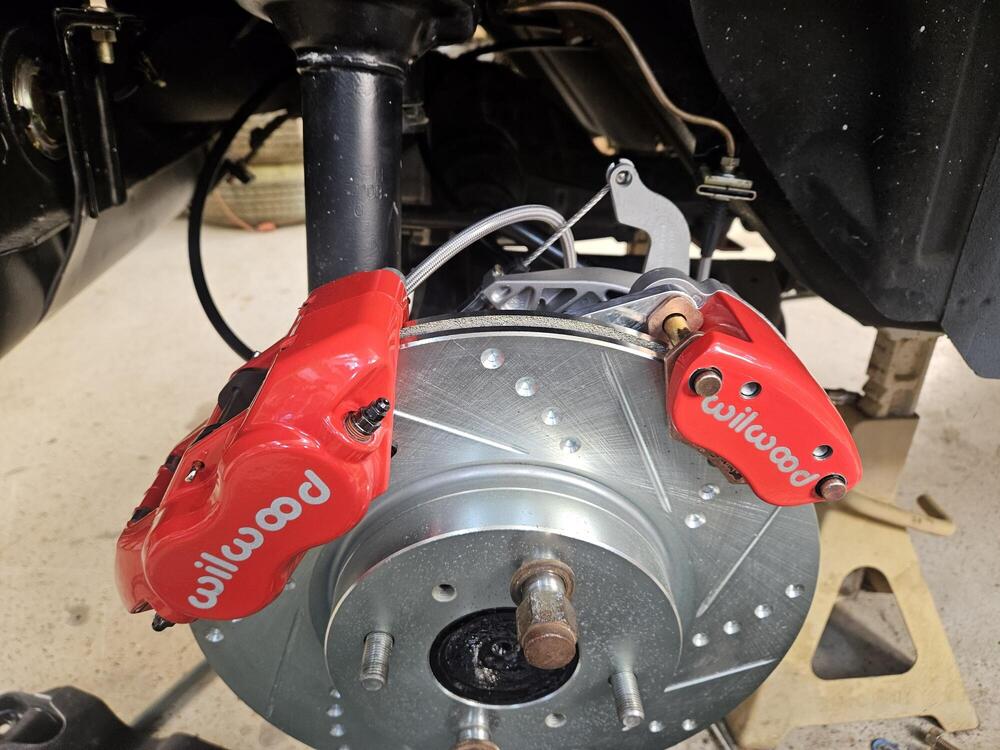
The rear brake caliper is very weak compared to the front caliper. It only has a 1.6 piston volume while the front calipers have a 4.0 piston volume. After much testing we Found out that if you delete the original proportion valve The front rear brake bias will be close to perfect. The dimple and slotted rotors do not help Performance at all. It is only for show.2 points
-
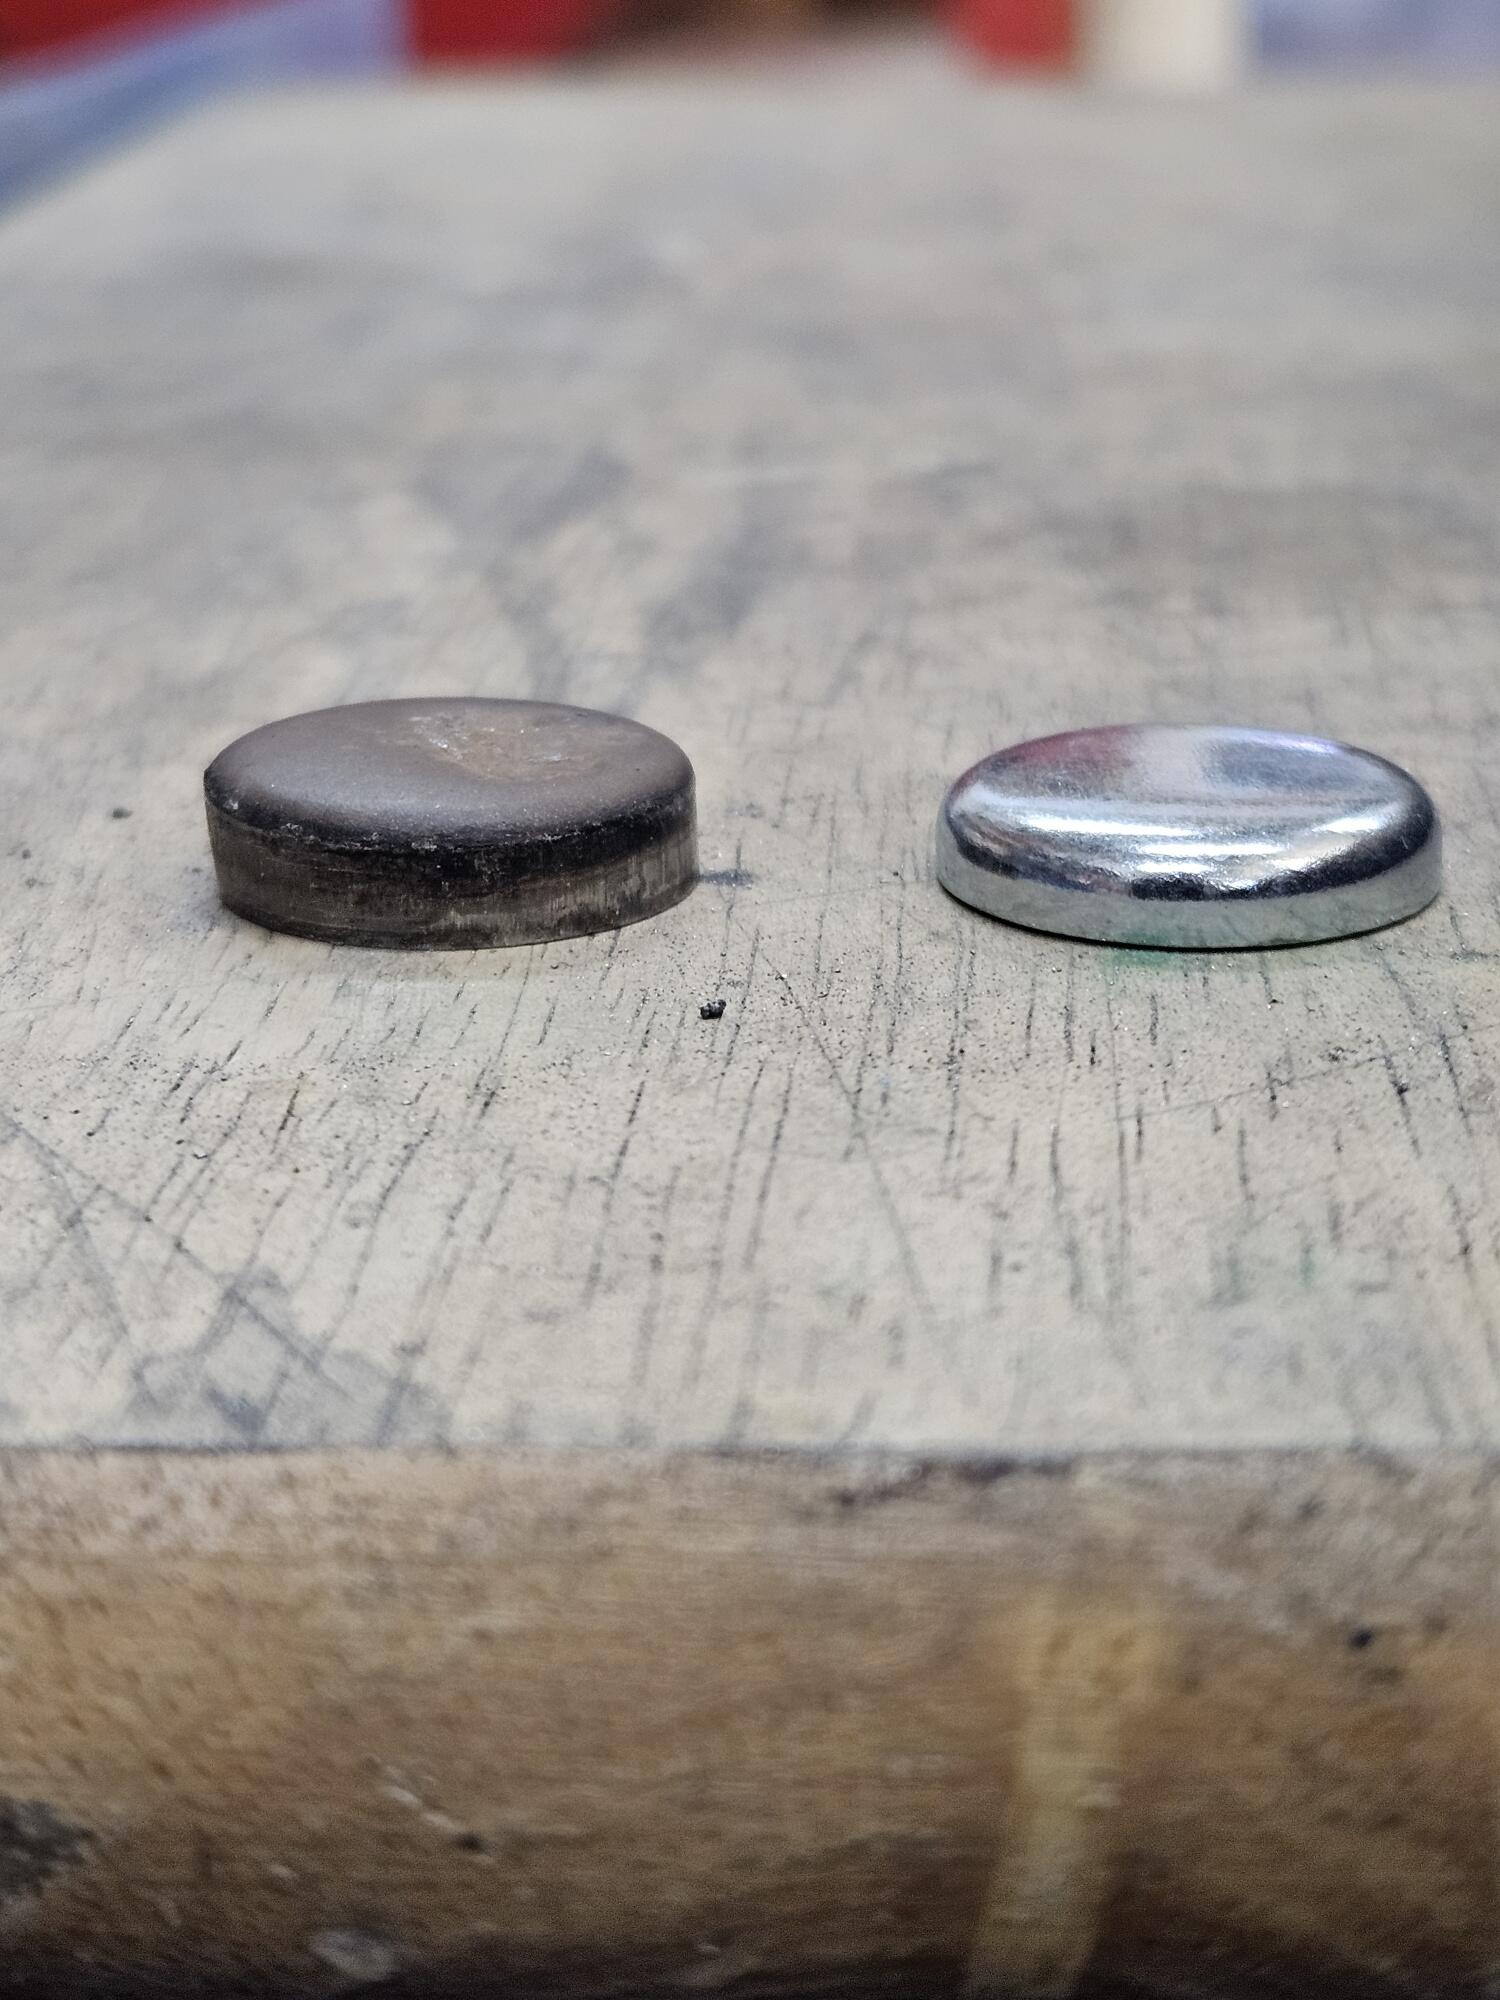
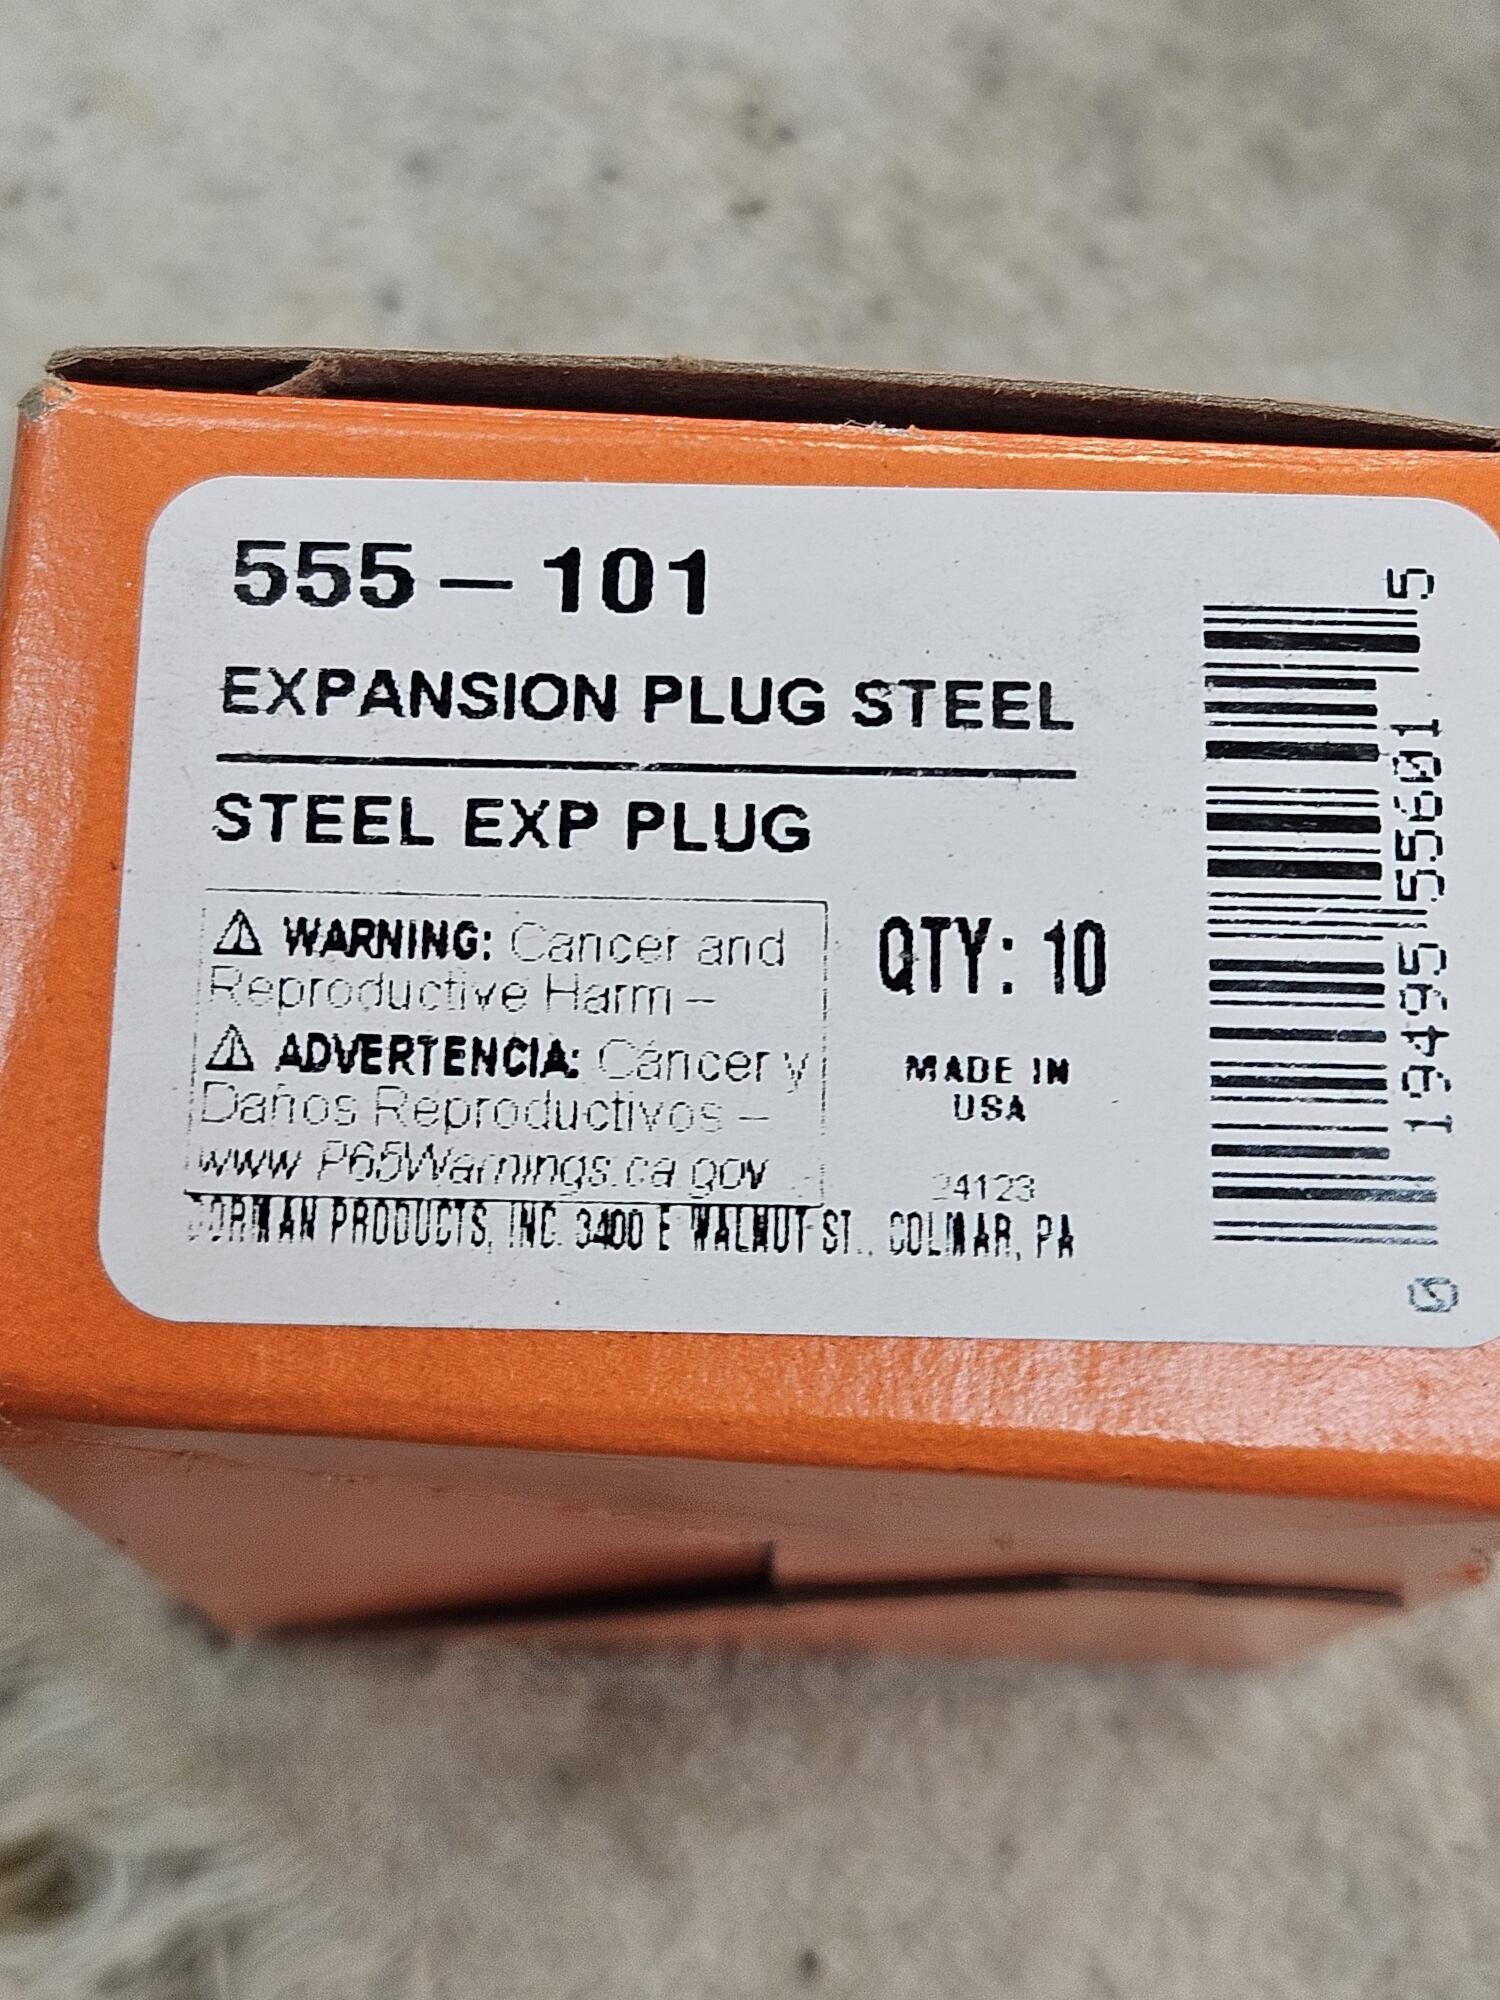
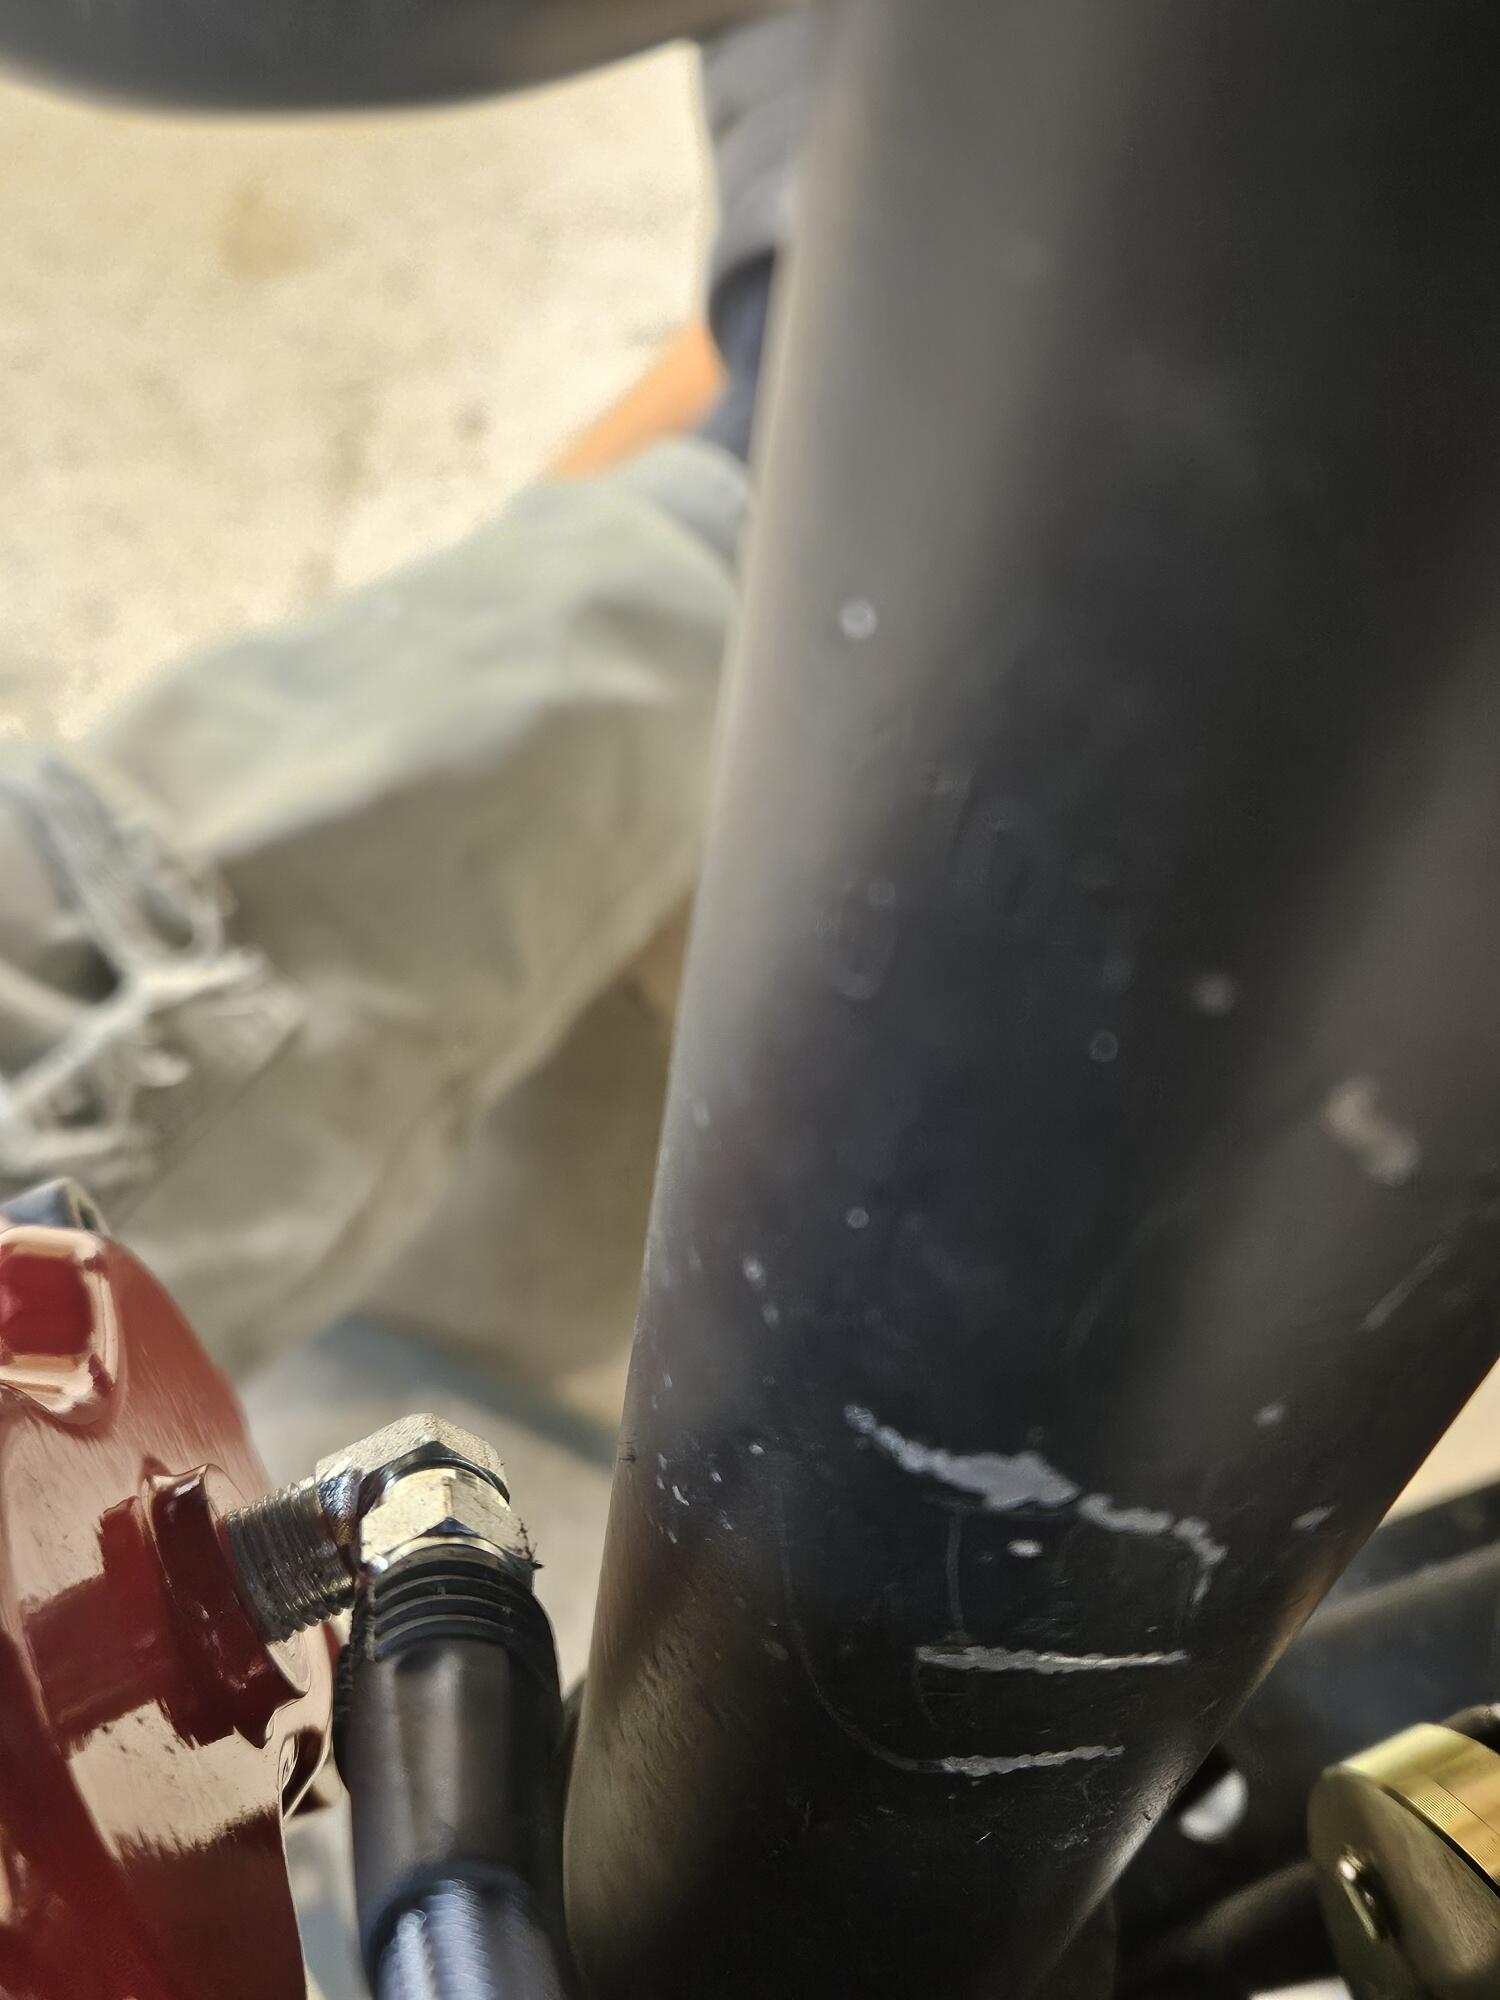
2 pointsSo I took a #3 rebar (3/8") and had to smooth it out some as a long punch. Then I knocked out the end plug. I bought a box of 20mm plugs to replace it with. Although I believe that plug is still available from Nissan The Id of the tube is about 3/4" So I will make up a piece of copper to use as a backer for the TIG welder. Next step is trimming the lumps off the tube...

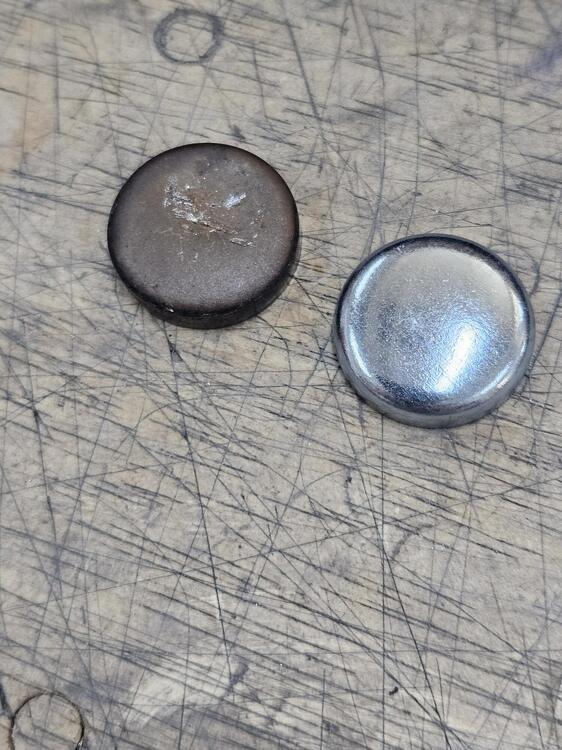
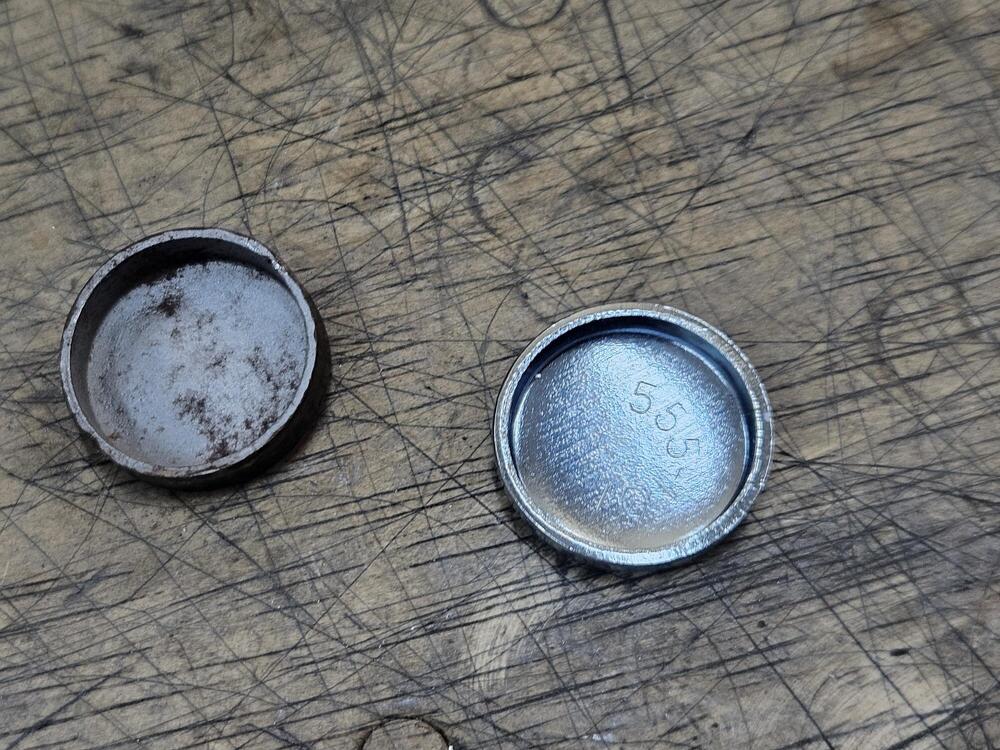

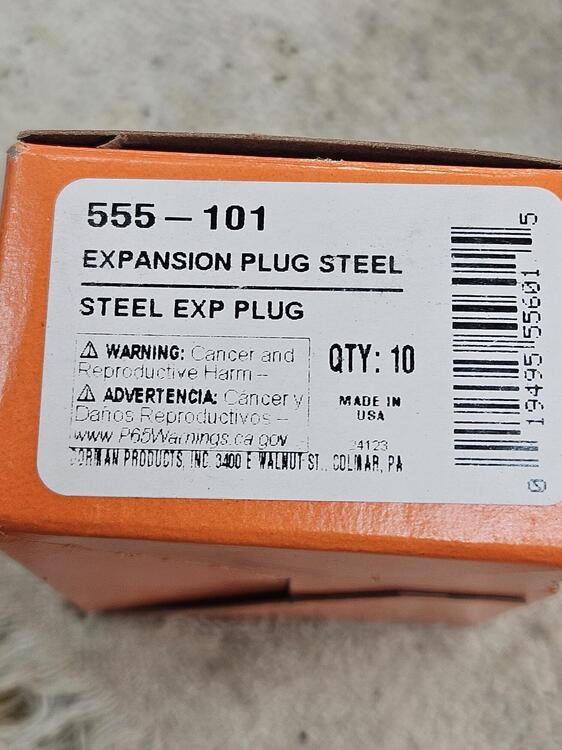 2 points
 -
Timely though. I need to do this on a driveshaft for Lily1 point
-
 Maybe not the most interesting post of the day, but just used my u-joint tool on the half shafts of the current restoration re-assembly, and it fits just fine with the extra welded lip thickness. Good for both drive shaft and u-joint as is. Oh, and use a cheap air chisel with a pointy tip to remove those stupid c-clips. No more banging on screw driver trying to get rusty ones to move.1 point
 -
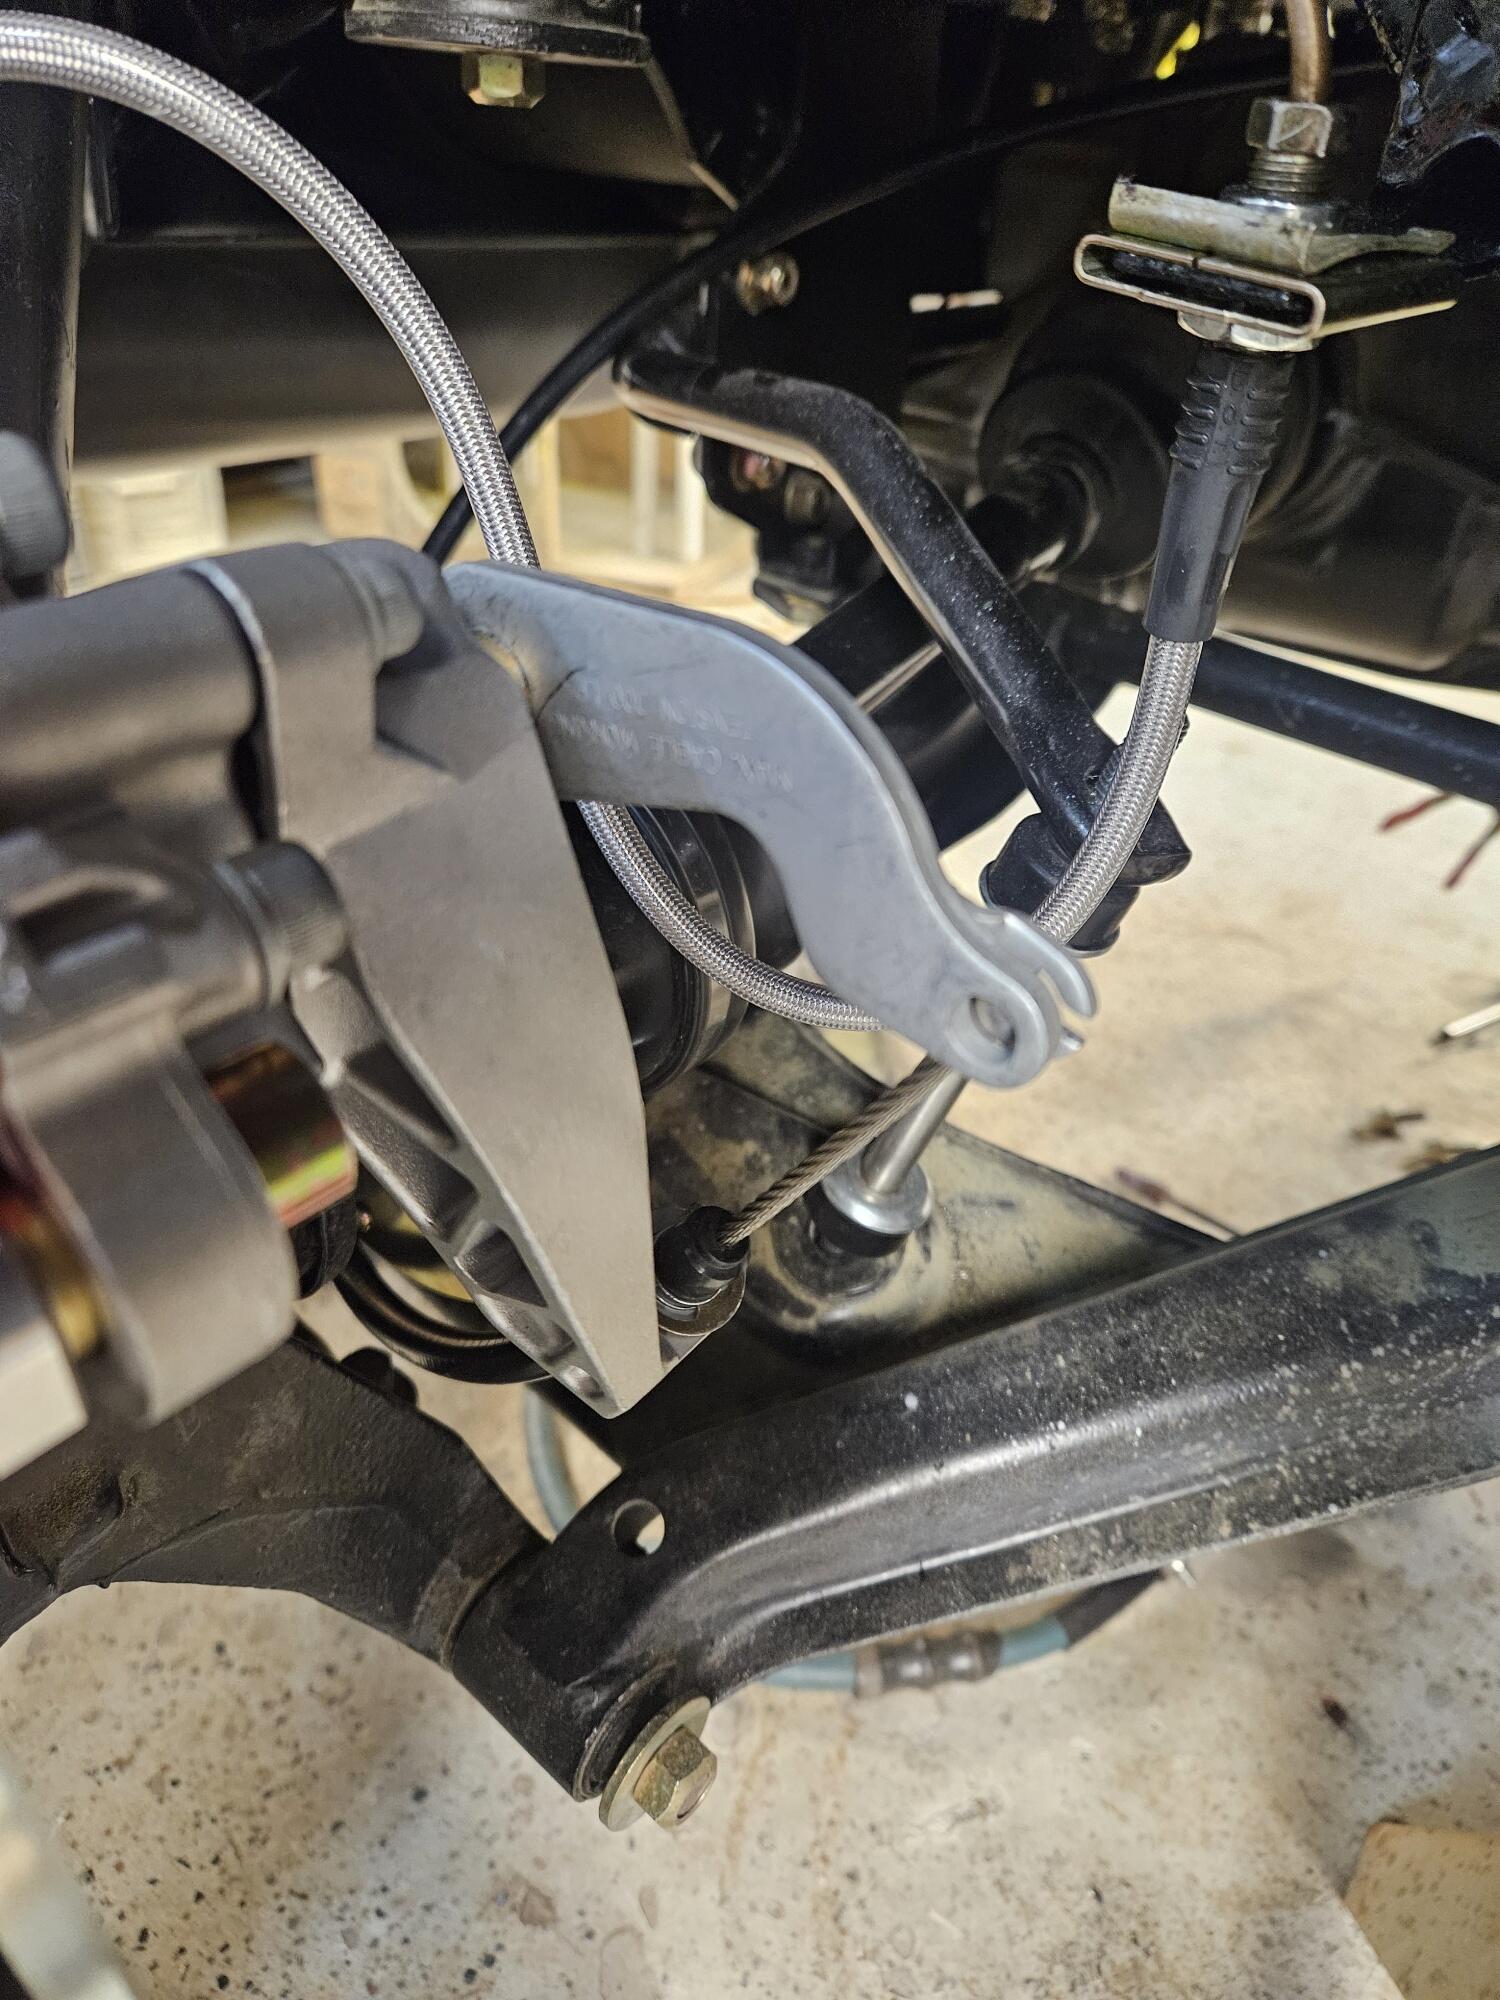
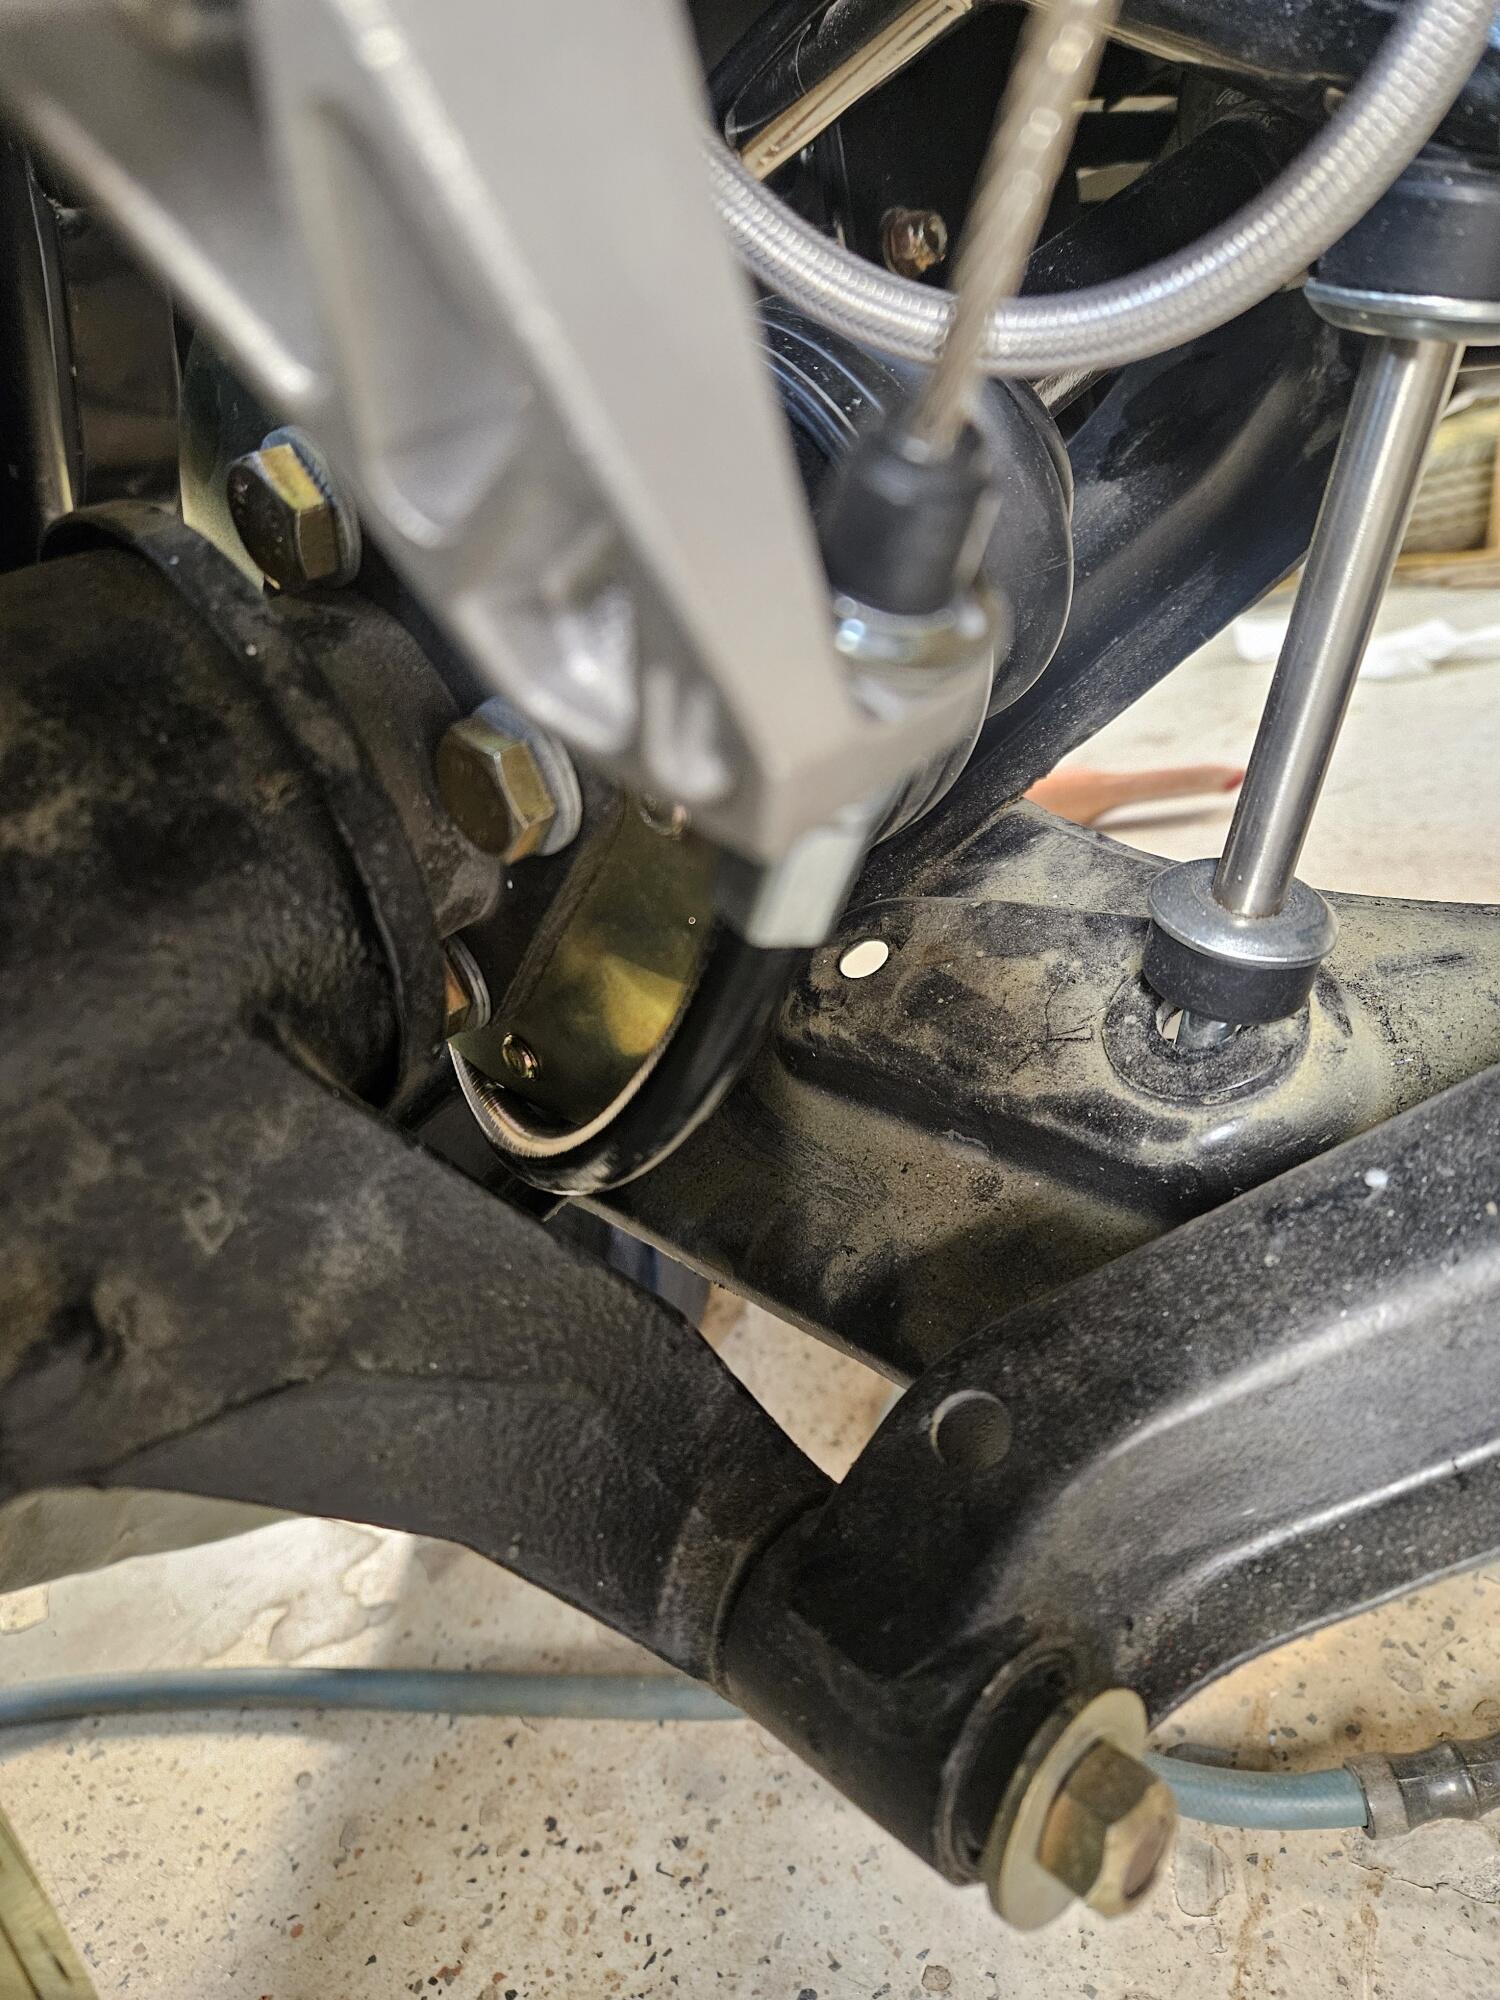
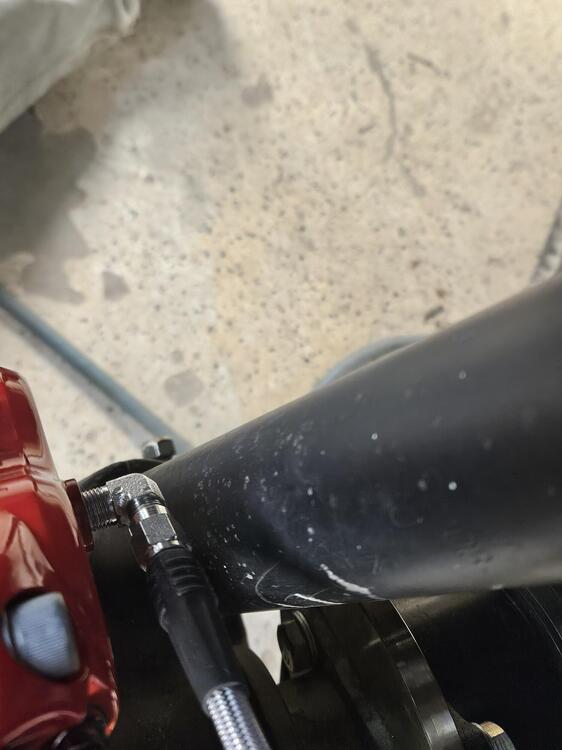
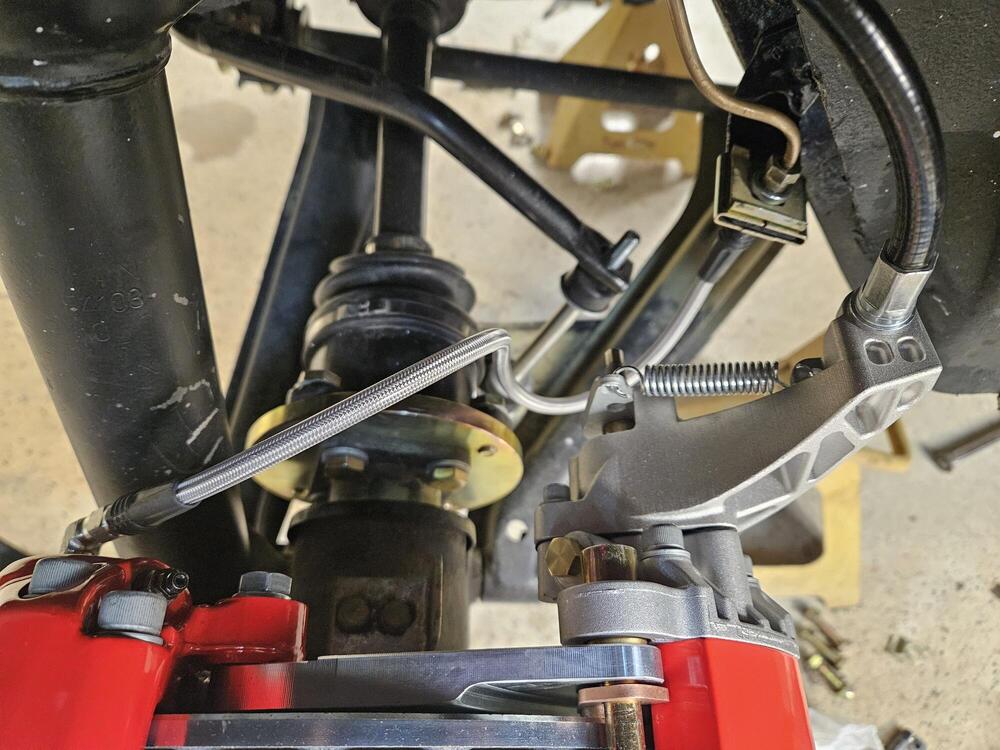
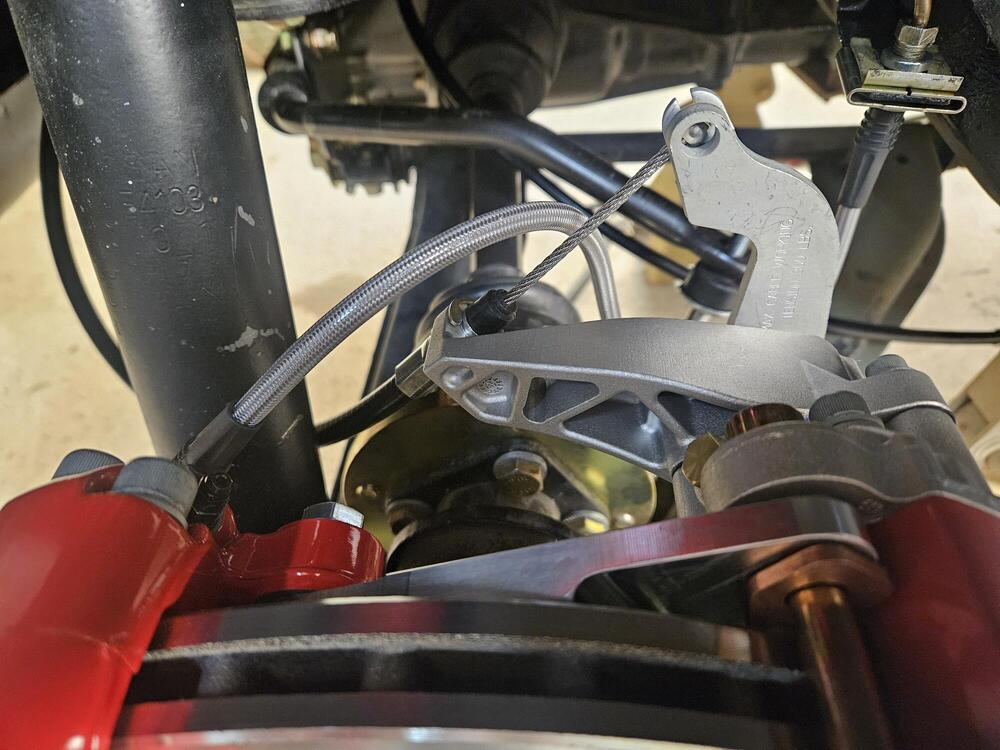
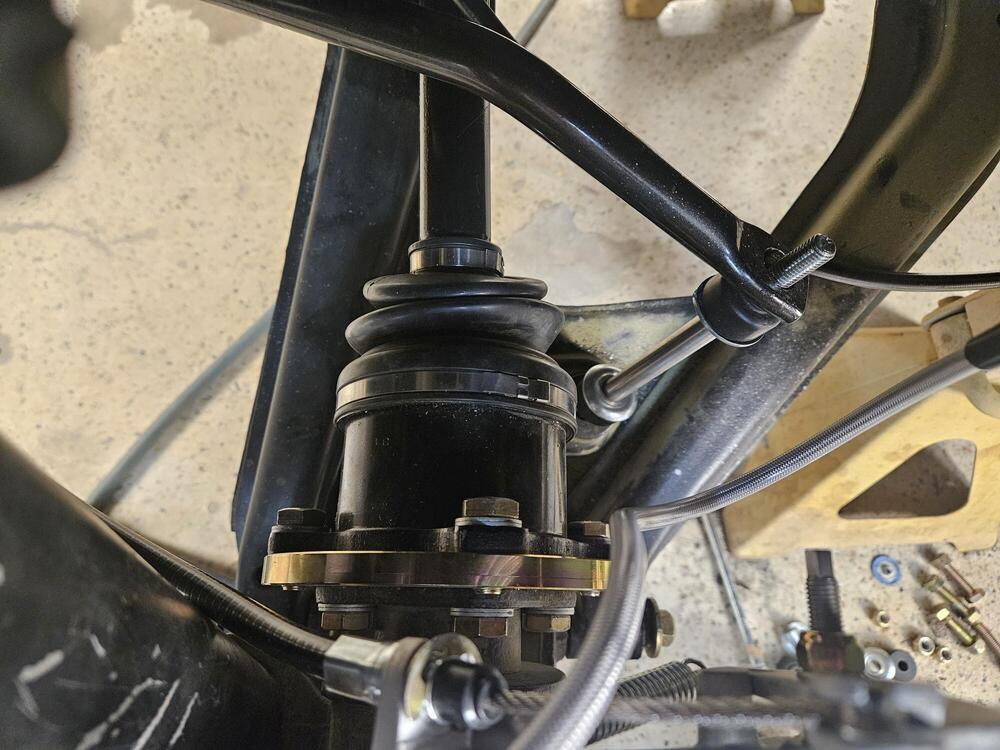
When the caliper is installed, it is very close to the strut. I didn't remember that Wheee had used a very similar setup or I would have cribbed off of what he did. He mentions in his build thread that attaching the lines to the calipers before mounting them would be best because of lack of space. The hardest part of the whole job is finding the right orientation for the parking brakes and routing the cable I started with this orientation But the cable was touching my CV axle adapter plates. It might work with the factory halfshafts... So the MC4 is indexable at 120 degree intervals If you loosen these three screws the back can be turned to another position. Be careful to get the thin rubber seal back in the right place before reattaching it. So each caliper had 3 position and the calipers are handed. So there are six possible orientations available. So then I tried this orientation I liked it pretty well until I realized this is at full droop and when the suspension gets loaded the cable is going to get pinched by the underside of the car. The cable really needs to be more horizontal... So then I set it up like this... The strut is minimally in the way, but it seems to work and disengage properly. I believe this is the same orientation that Wheee used. It is easier to get the cable into the caliper first before mounting it to the adapter plate. I am going to work on some brake line brackets to make sure the hydraulic line doesn't rub on anything. I crossed the cables under the car with the left feeding the right side, and the right feeding the left. I ran them above the differential and through the mustache bar to loop around from the rear. Hope this helps...


 1 point
 -
Remember that the FPR should maintain a 36.3 PSI difference (balance) between the fuel pressure and manifold pressure. Your manifold pressure (vacuum) is lower at idle and under low load so fuel pressure is that much lower than 36.3 PSI. (at 10 PSI of vacuum the FPR should be maintaining about 26.3 PSI on the fuel) At heavy load the manifold pressure decreases, so to balance, the fuel pressure increases. (so, at 1 or 2 PSI vacuum, the FPR should be keeping fuel pressure at 35.3 or 34.3 ish respectively) Once you go to a positive manifold pressure (boost) the FPR should add that positive value to the fuel pressure. Ask me how I know. 🤭 This may not apply but it's always something to consider. A long time ago as an apprentice plumber I learned about fluid pressure and rate of flow. Two pipes: 1/8" and 1/2" - they can have the same fluid pressure applied, but the 1/2" pipe will always be able to deliver a higher volume of fluid. This may apply IF there is an unseen obstruction inside the fuel pipe or tubing. Pressure may read at an appropriate value but the system may not be able to deliver the volume needed at certain times. The pressure will only show a decrease when the demand outstrips the ability to supply. (this happened to me as my fuel supply hardline was over 1/2 plugged with corrosion inside at a point near the firewall - difficult to diagnose and pinpoint)1 point
-
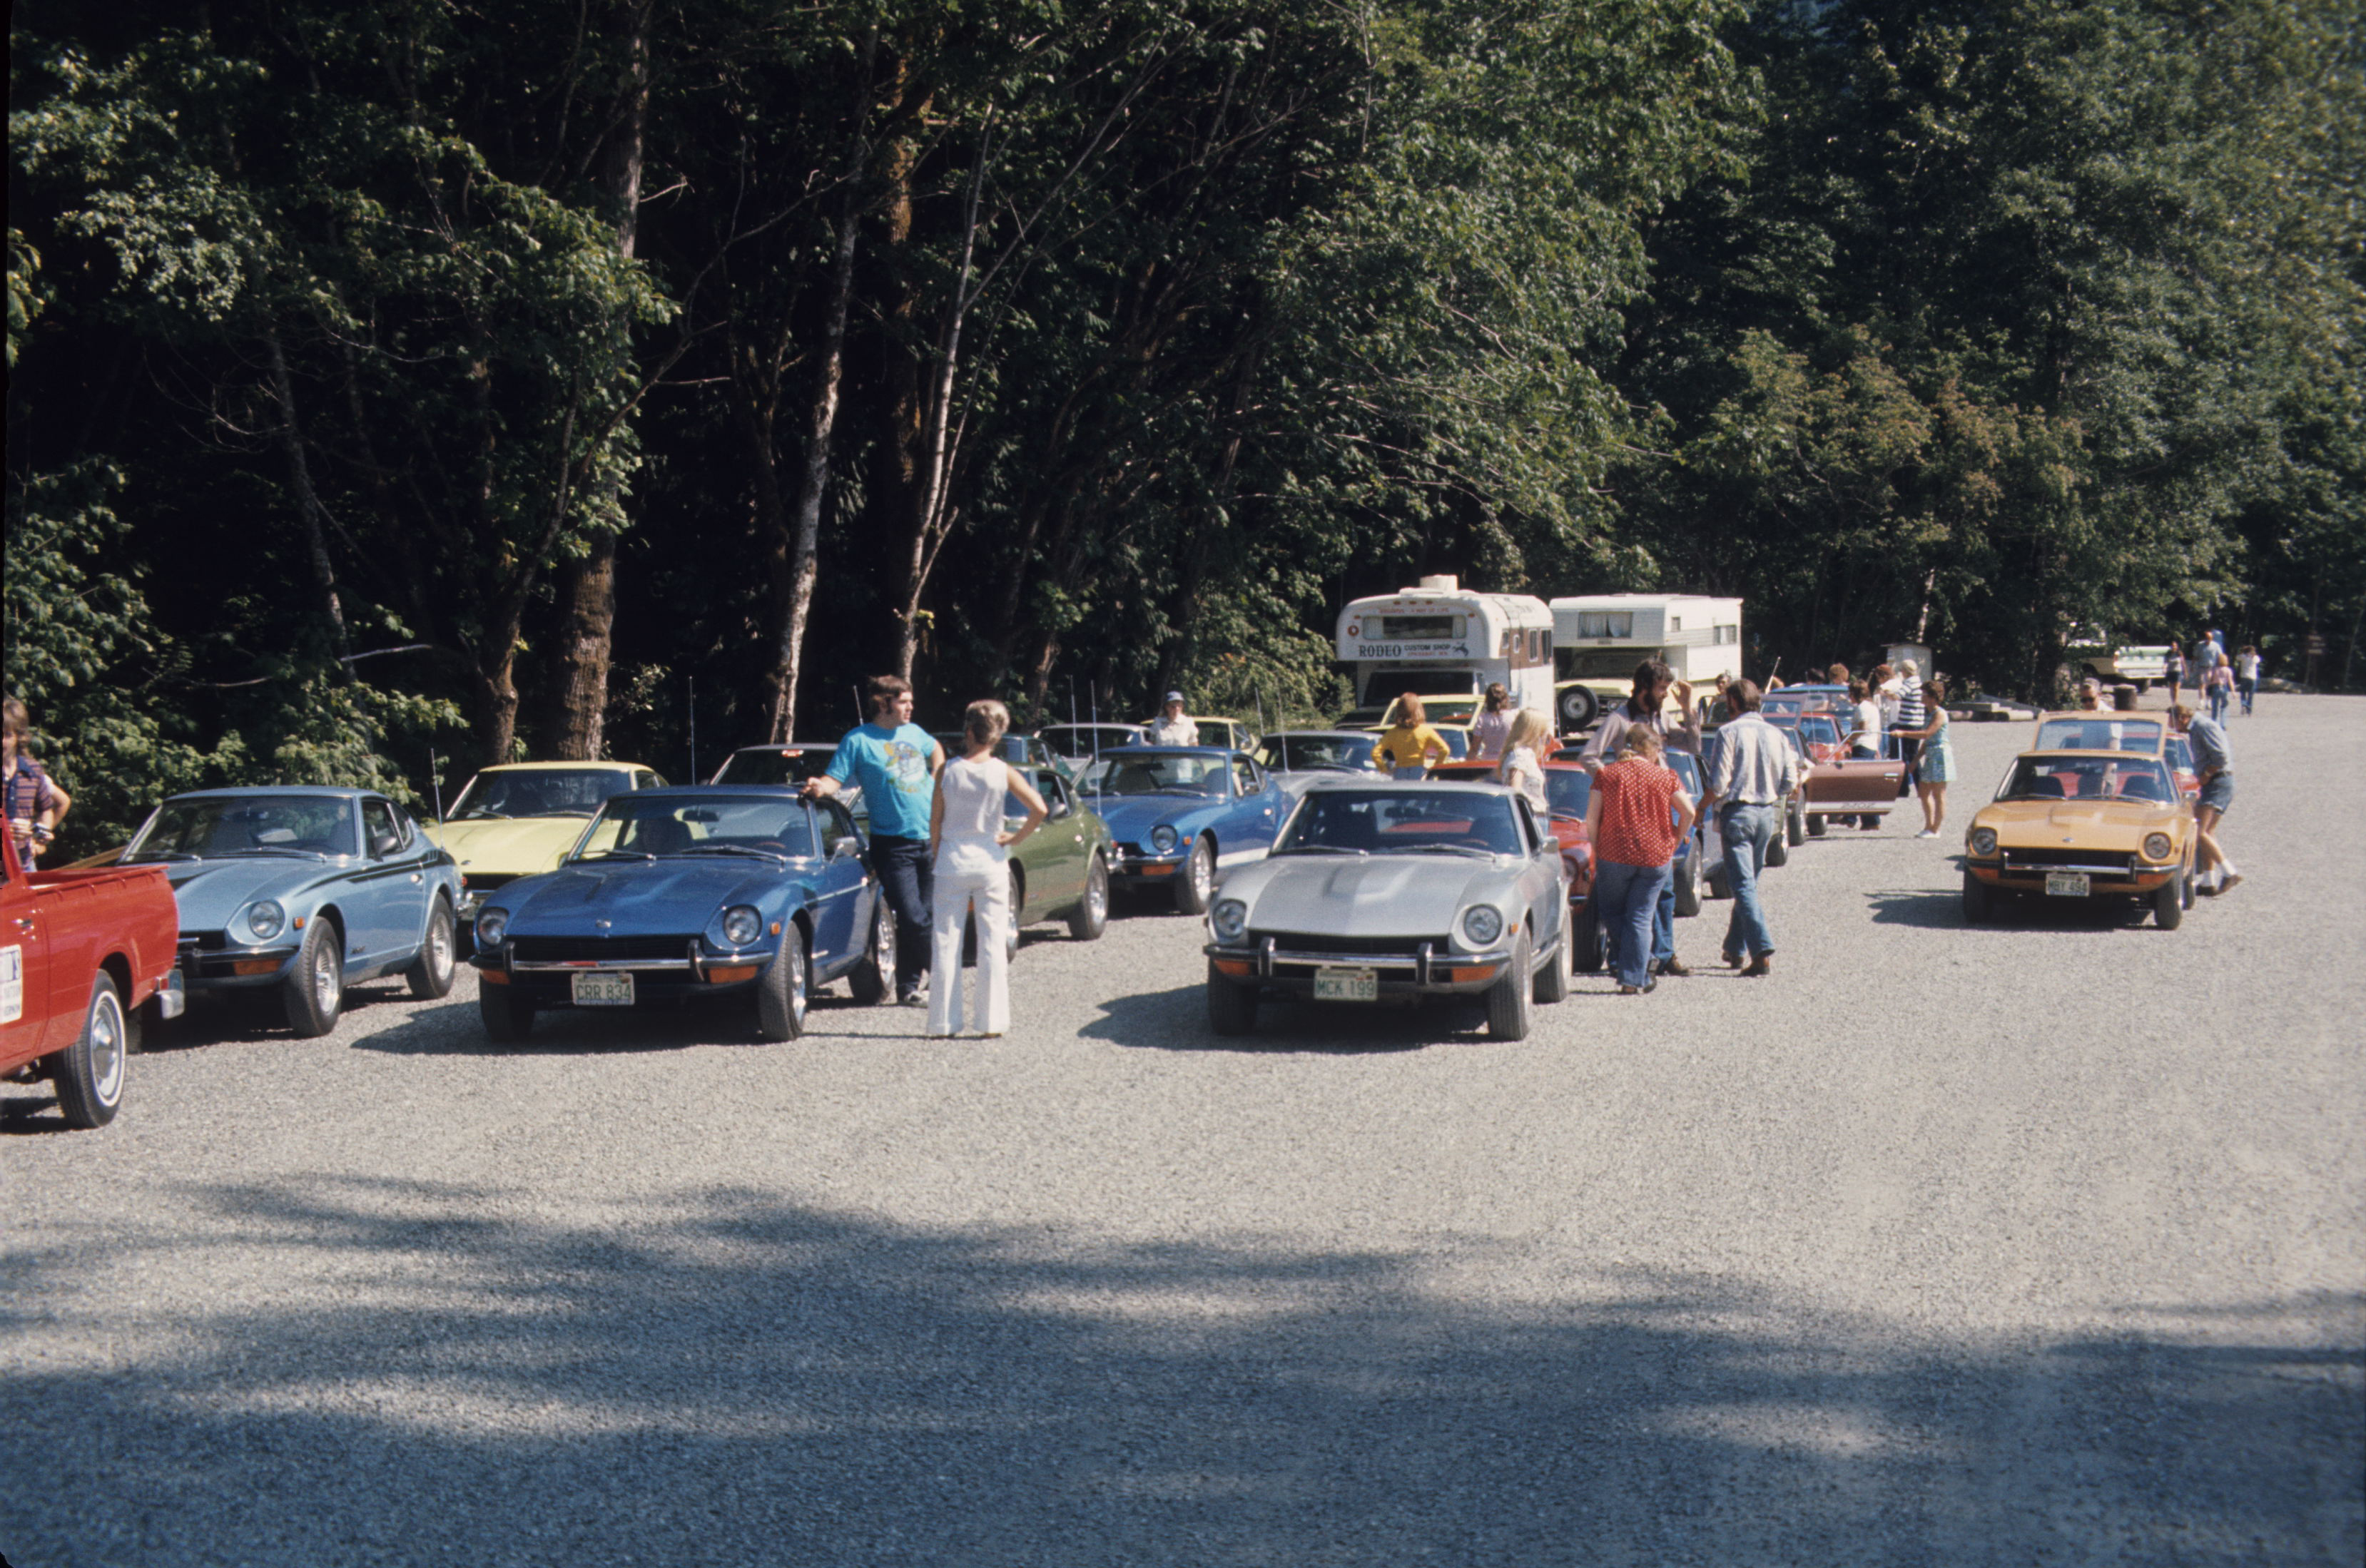
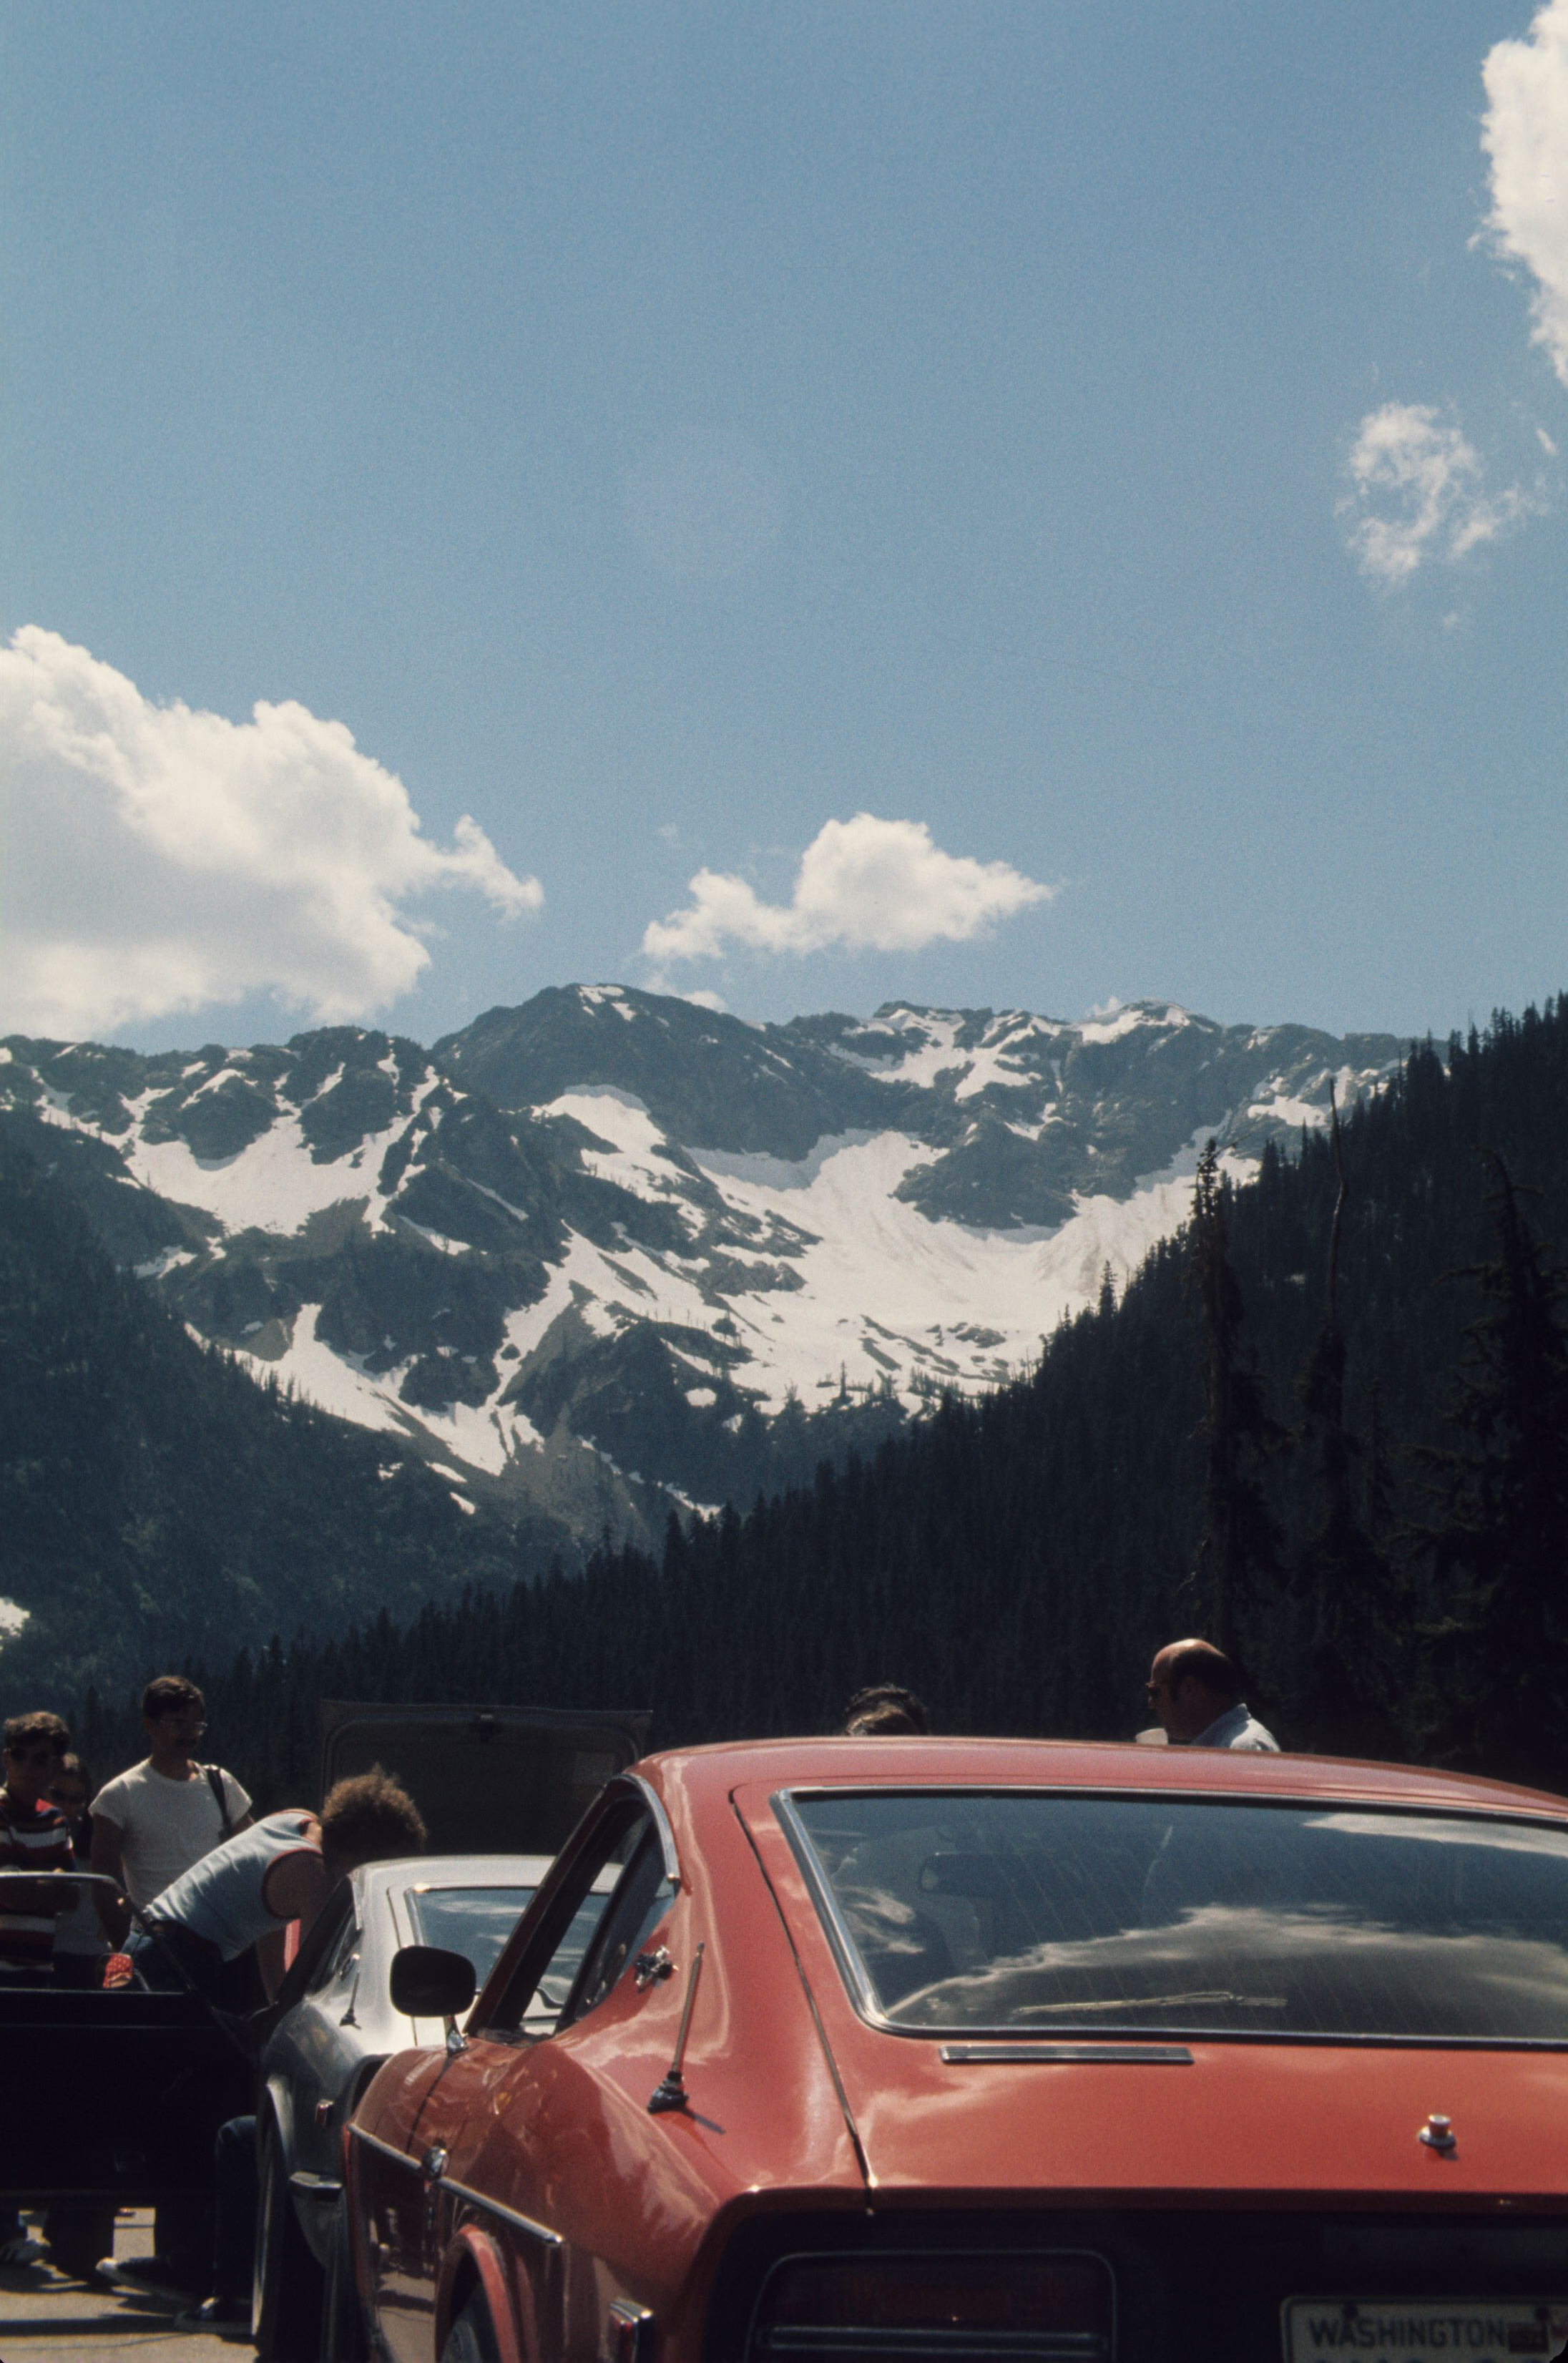
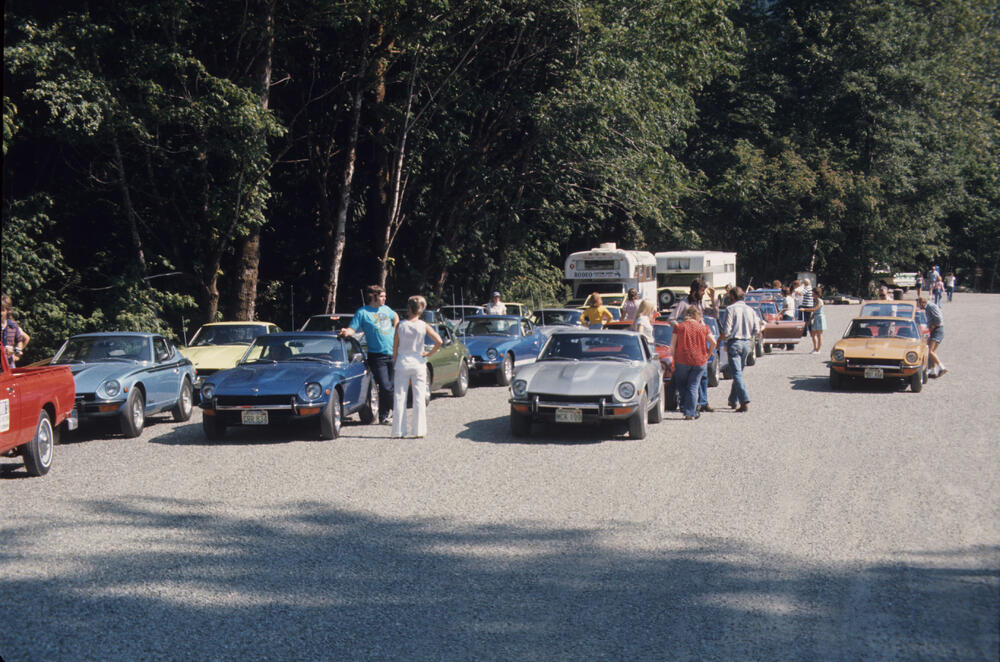
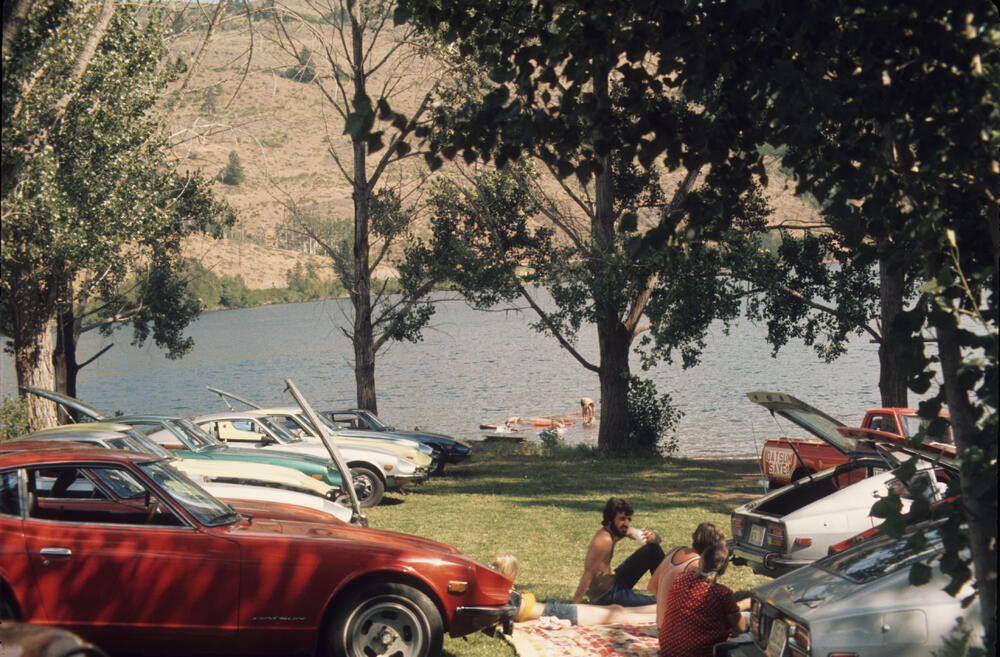
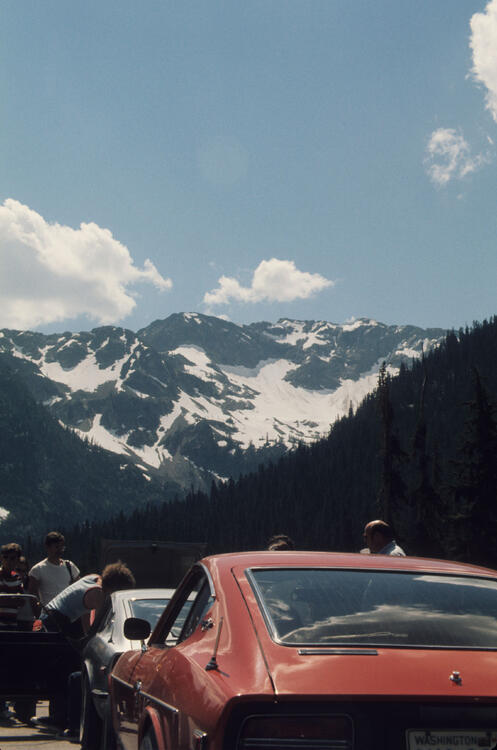
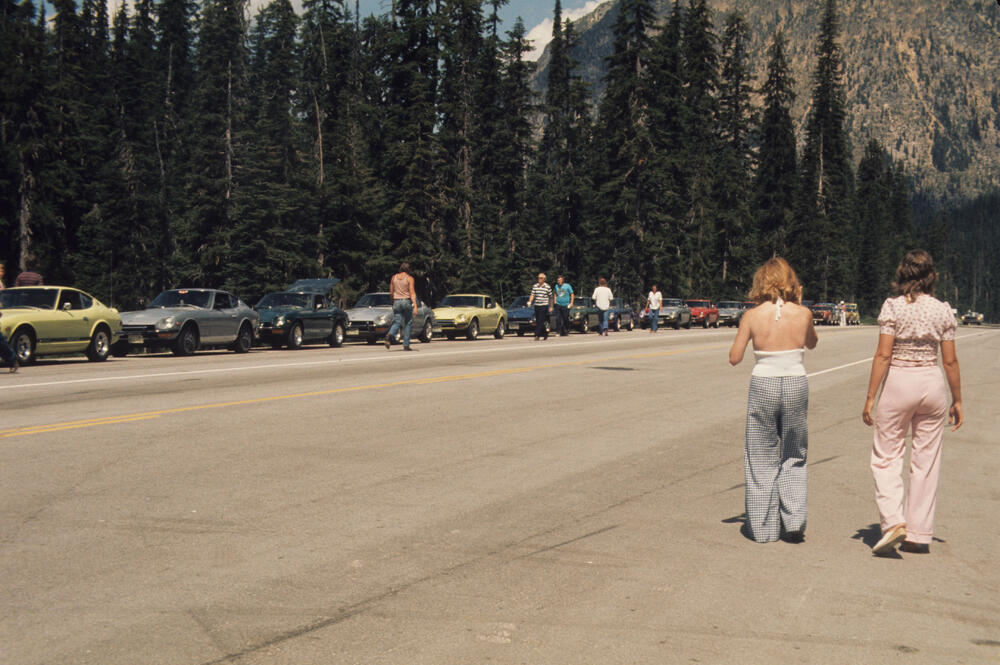
 Whidbey Island was a great place. The Navy built the NAS there because it was drier than other parts of the Puget Sound, as it was in the "rain shadow" of the Olympic Peninsula. Supposedly had more VFR flying days than NAS Miramar in San Diego because of frequent fog there. Supposedly... Bought my 240Z from the Datsun dealer in Mt. Vernon. The new owner, Jack Gubrud, sponsored fun runs for all local Z owners. Here are pix of the run he sponsored in 1974 over the North Cascade Highway to Winthrop. (I think I've posted some of these before here)
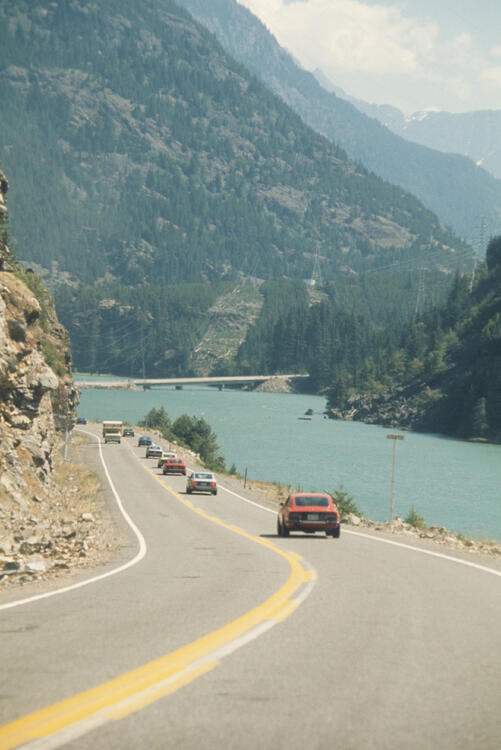
 1 point