Leaderboard
-

conedodger
Free Member7Points11,316Posts -

JDMjunkies.ch
Free Member3Points612Posts -

jfa.series1
 Subscriber
 3Points2,686Posts
 -

Patcon
Subscriber2Points10,913Posts
Popular Content
Showing content with the highest reputation on 12/13/2024 in all areas
-
I've been hunting for Datsun parts again recently and found some cool stuff that ended up with me. Yesterday i visited a nice guy. He was one of the two founders of the East switzerland Datsun Z-Club back in the days. I originally went there to pick up this beautiful two-sided Datsun sign: He told me he picked it up from a dealership in Vienna (Austria). It needs a bit of TLC. but it's definitely one of the coolest Datsun signs i have seen, with the multicoloured 3D shape, nice mounting bracket and so on. While there anyway, i bought myself a few other items that he had up for sale. This one is an original FIA approved "Datsun" Racing suit, which was previously owned and used by Guus van der Bol, a dutch racing driver. Through my contacts in NL, it was confirmed by himself, that this was indeed his old suit! How cool is that?! Here is a Photo of him at the 2008 Eifel Rallye (Germany) with his Safari Rallye Tribute Car. From what i undestand the Suit was sold together with the Car, and the Team who bought the car, then sold off the suit. The owner also had a few NOS panels and an Euro spec front bumper in mint shape, so i had to bring it home, As my original front bumpers are either heavily bent or have rusty brackets, So this one will come in handy. And after talking a bit about his past, the Club and the Z-scene in switzerland, he gifted me some stickers from the old (now defunct) Datsun east-switzerland Fairlady-Z club, and a medal, which they had made for attendees of a Z-meeting which they organized in (i think) 1986. Quite cool, and goes well with my collection of other vintage swiss z-club stickers and memorabilia: Then there is this guy who always offers me a bit of a "mixed bag" of small parts. There is usually a lot of crap with it, but then you can never have too many small bits and pieces. At some point it's always handy to have this "scrap box" full of random parts. Not all the items are usually from the S30 generation Z (he used to brake down and refurbish all kind of early Z-cars), so you have to be careful to not misunderstand the parts. But then these lots usually come with a few very hard-to-find items which have saved a "quick job" more than once and usually the lots also includes a few NOS parts, which make up for the price. The Majority of the items are NOS or near-new / excellent refurbished (replated) condition. Some are in less-good shape, tbh. But it's also good to have a reference or trial-piece on hand. After all it's always fun to puzzle around with these bits and pieces and figure out where they belong too. I don't know all of them, but meanwhile i'd say i can tell pretty quickly which part goes on which area of the car. Then i got this fuel pump bracket (more on that soon). Which i had to test-fit on the car directly. Not bolts are only temporary for testing (ie not correct ones). But i have to say - it looks damn good!. Expect a lenghty Tech-post about electric fuel pumps on this website soon. That's it for now. By the end of the month, a nice pallette full of goodies should arrive here from Japan and i hope during christmas-holidays i find some time to work on the car again.3 points
-
That might be me, I did this Rube Goldberg approach solo in my garage. I installed a couple of large hooks (bike hangers) in the base plate of the garage wall, ran a large ratchet strap from one hook, thru the hatch opening, around the window, back to the second hook - ratchet on this end. Easy on the pressure to gently pull and hold the window into position to get the screws lined up. Lube the new seal a bit to allow it slide against the body. East peasy!!!3 points
-
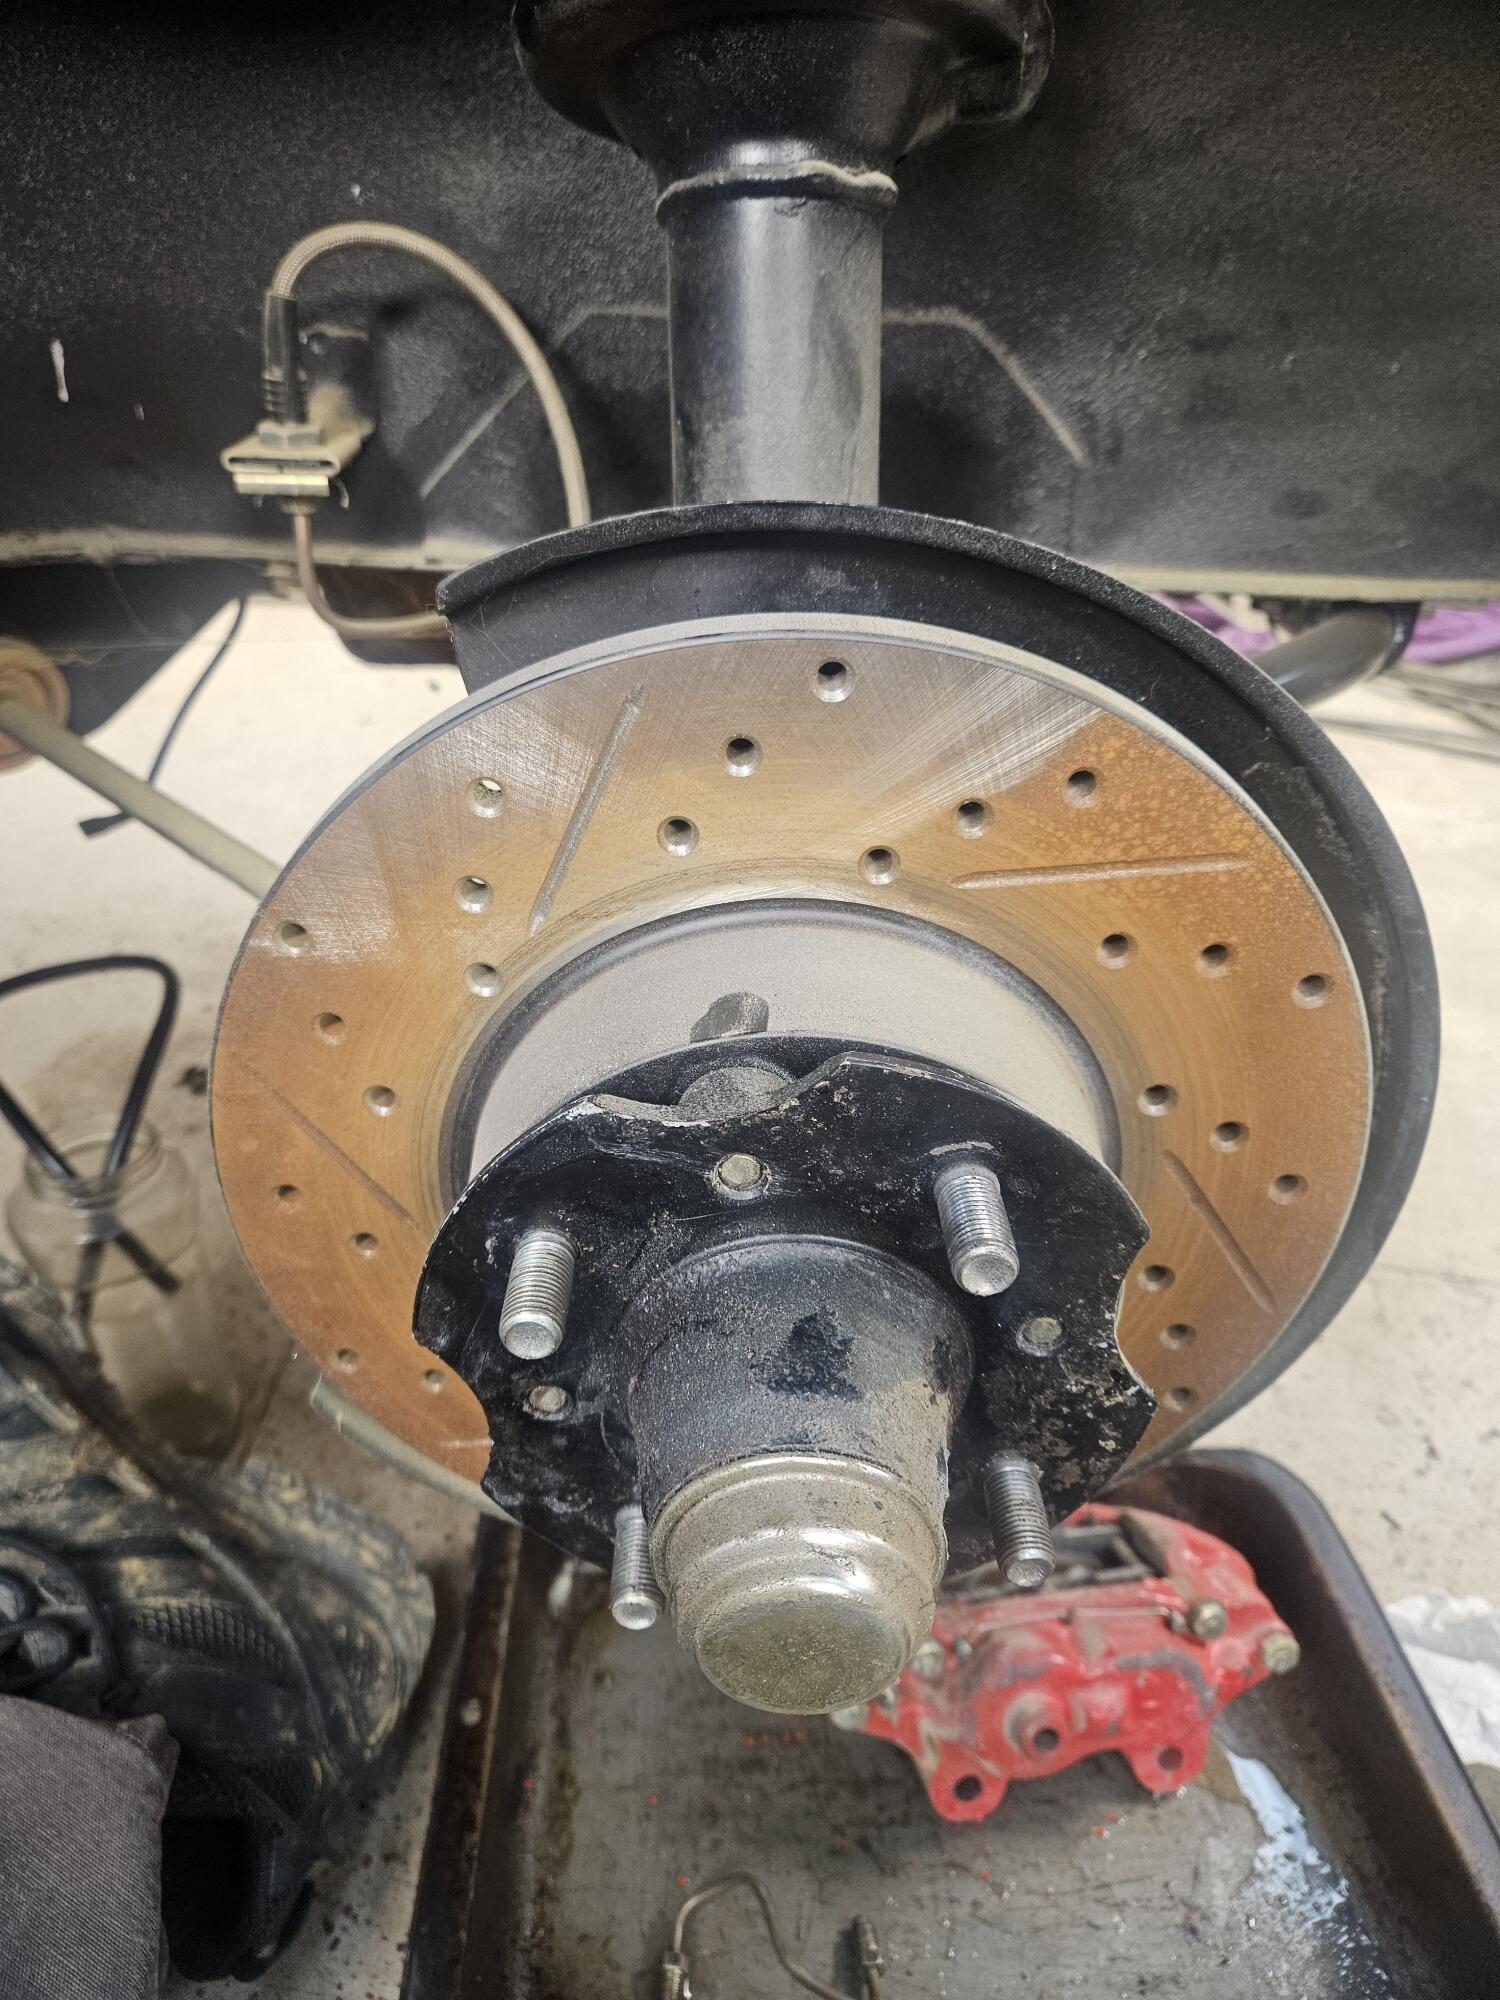
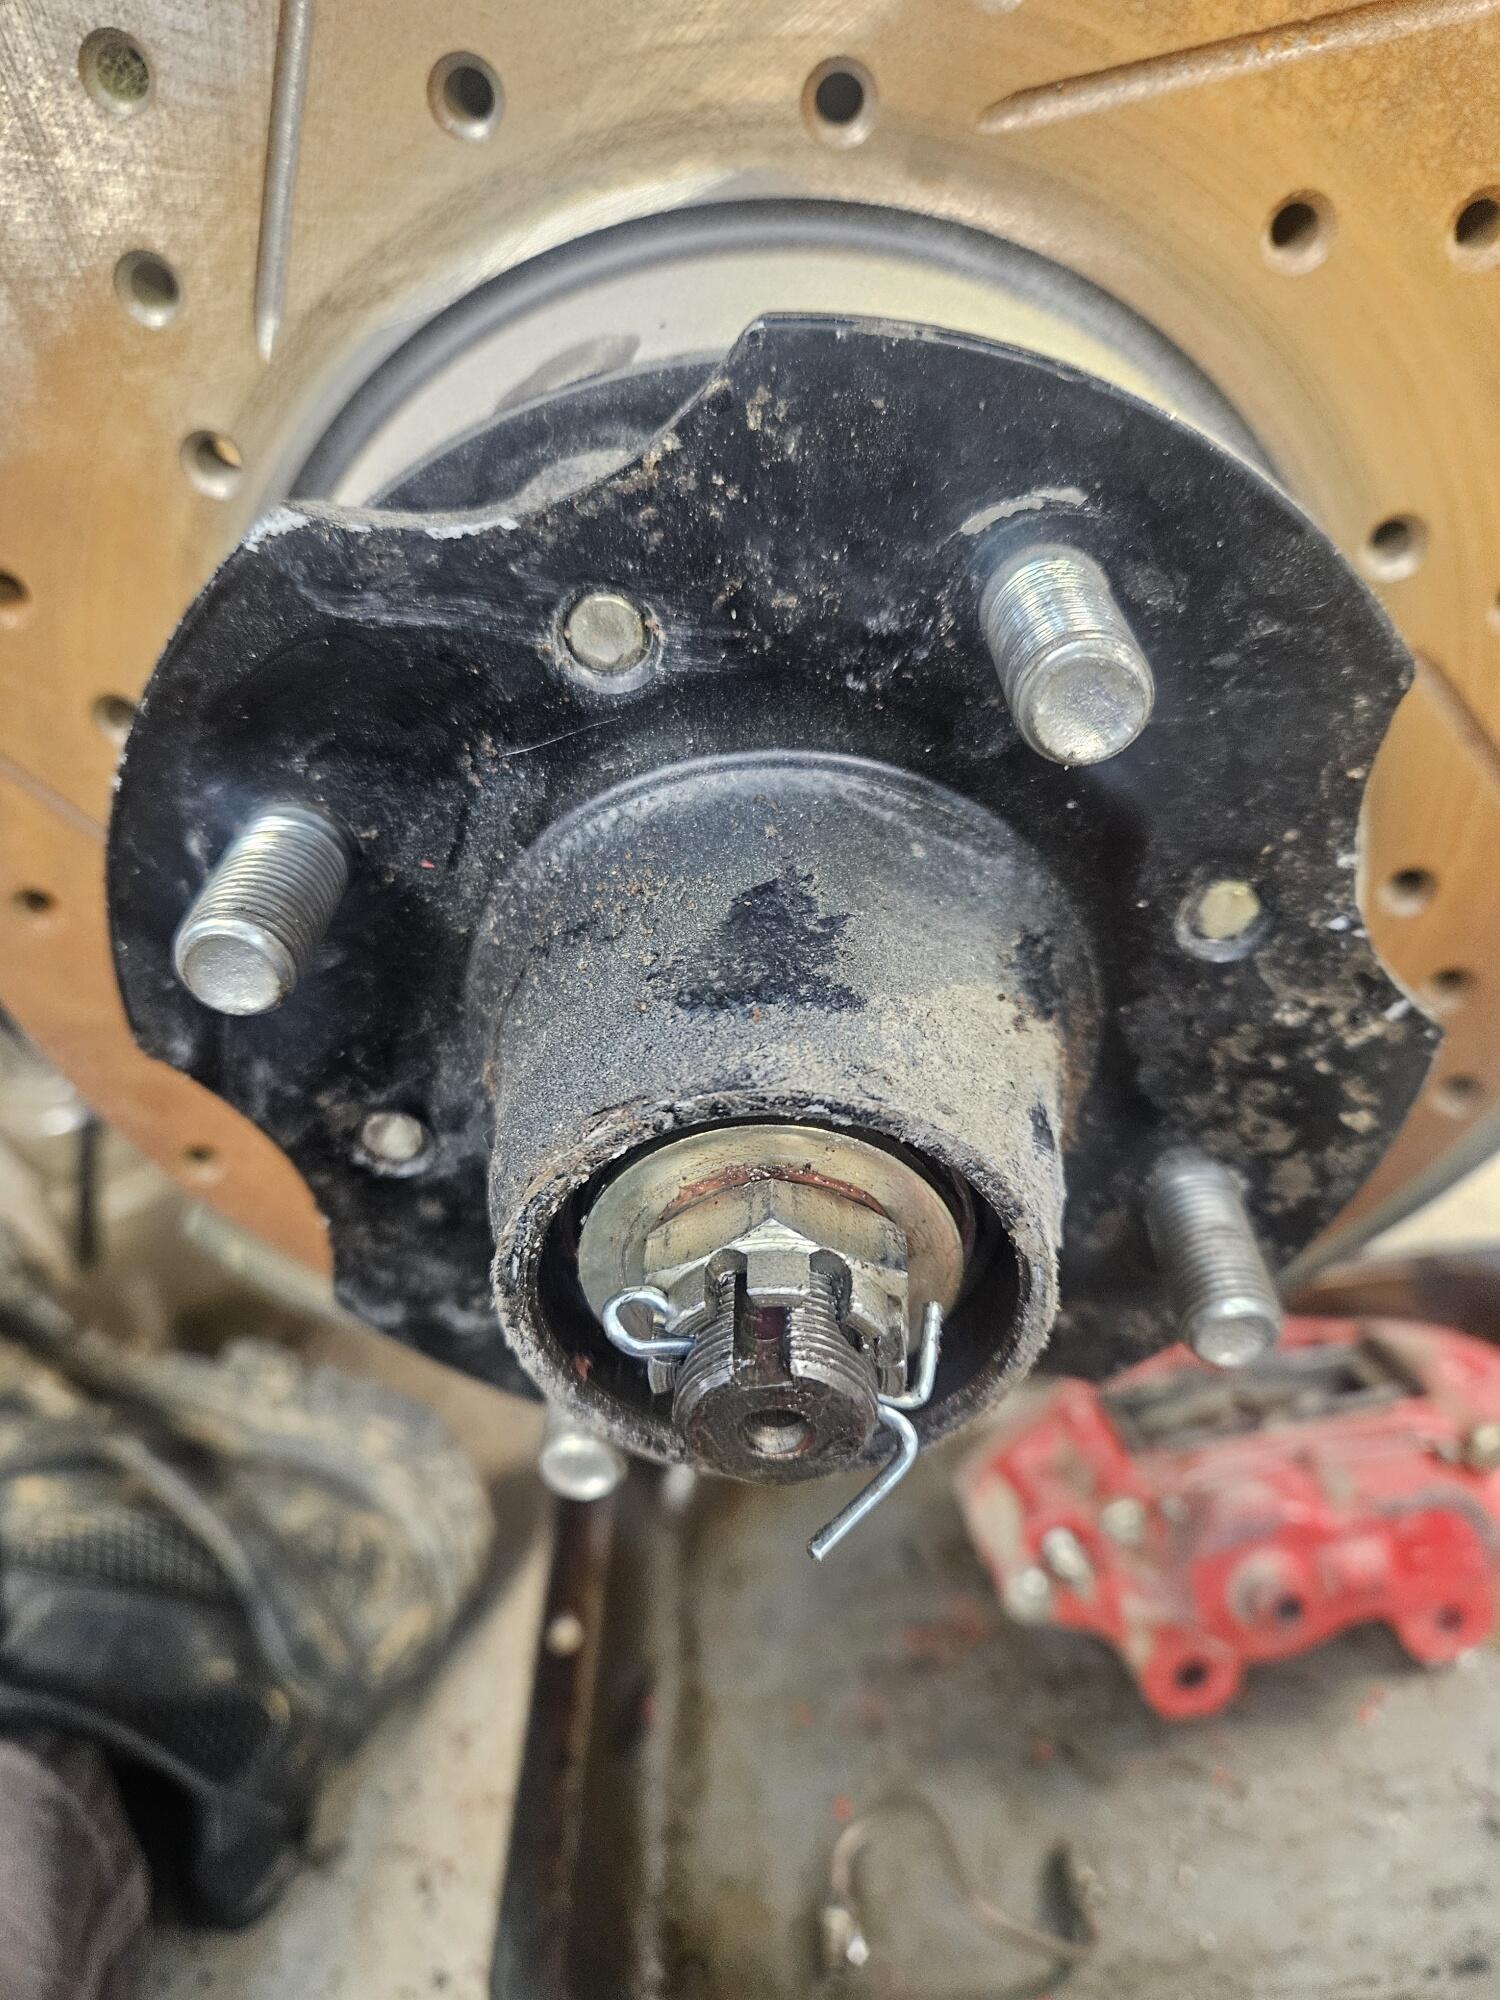
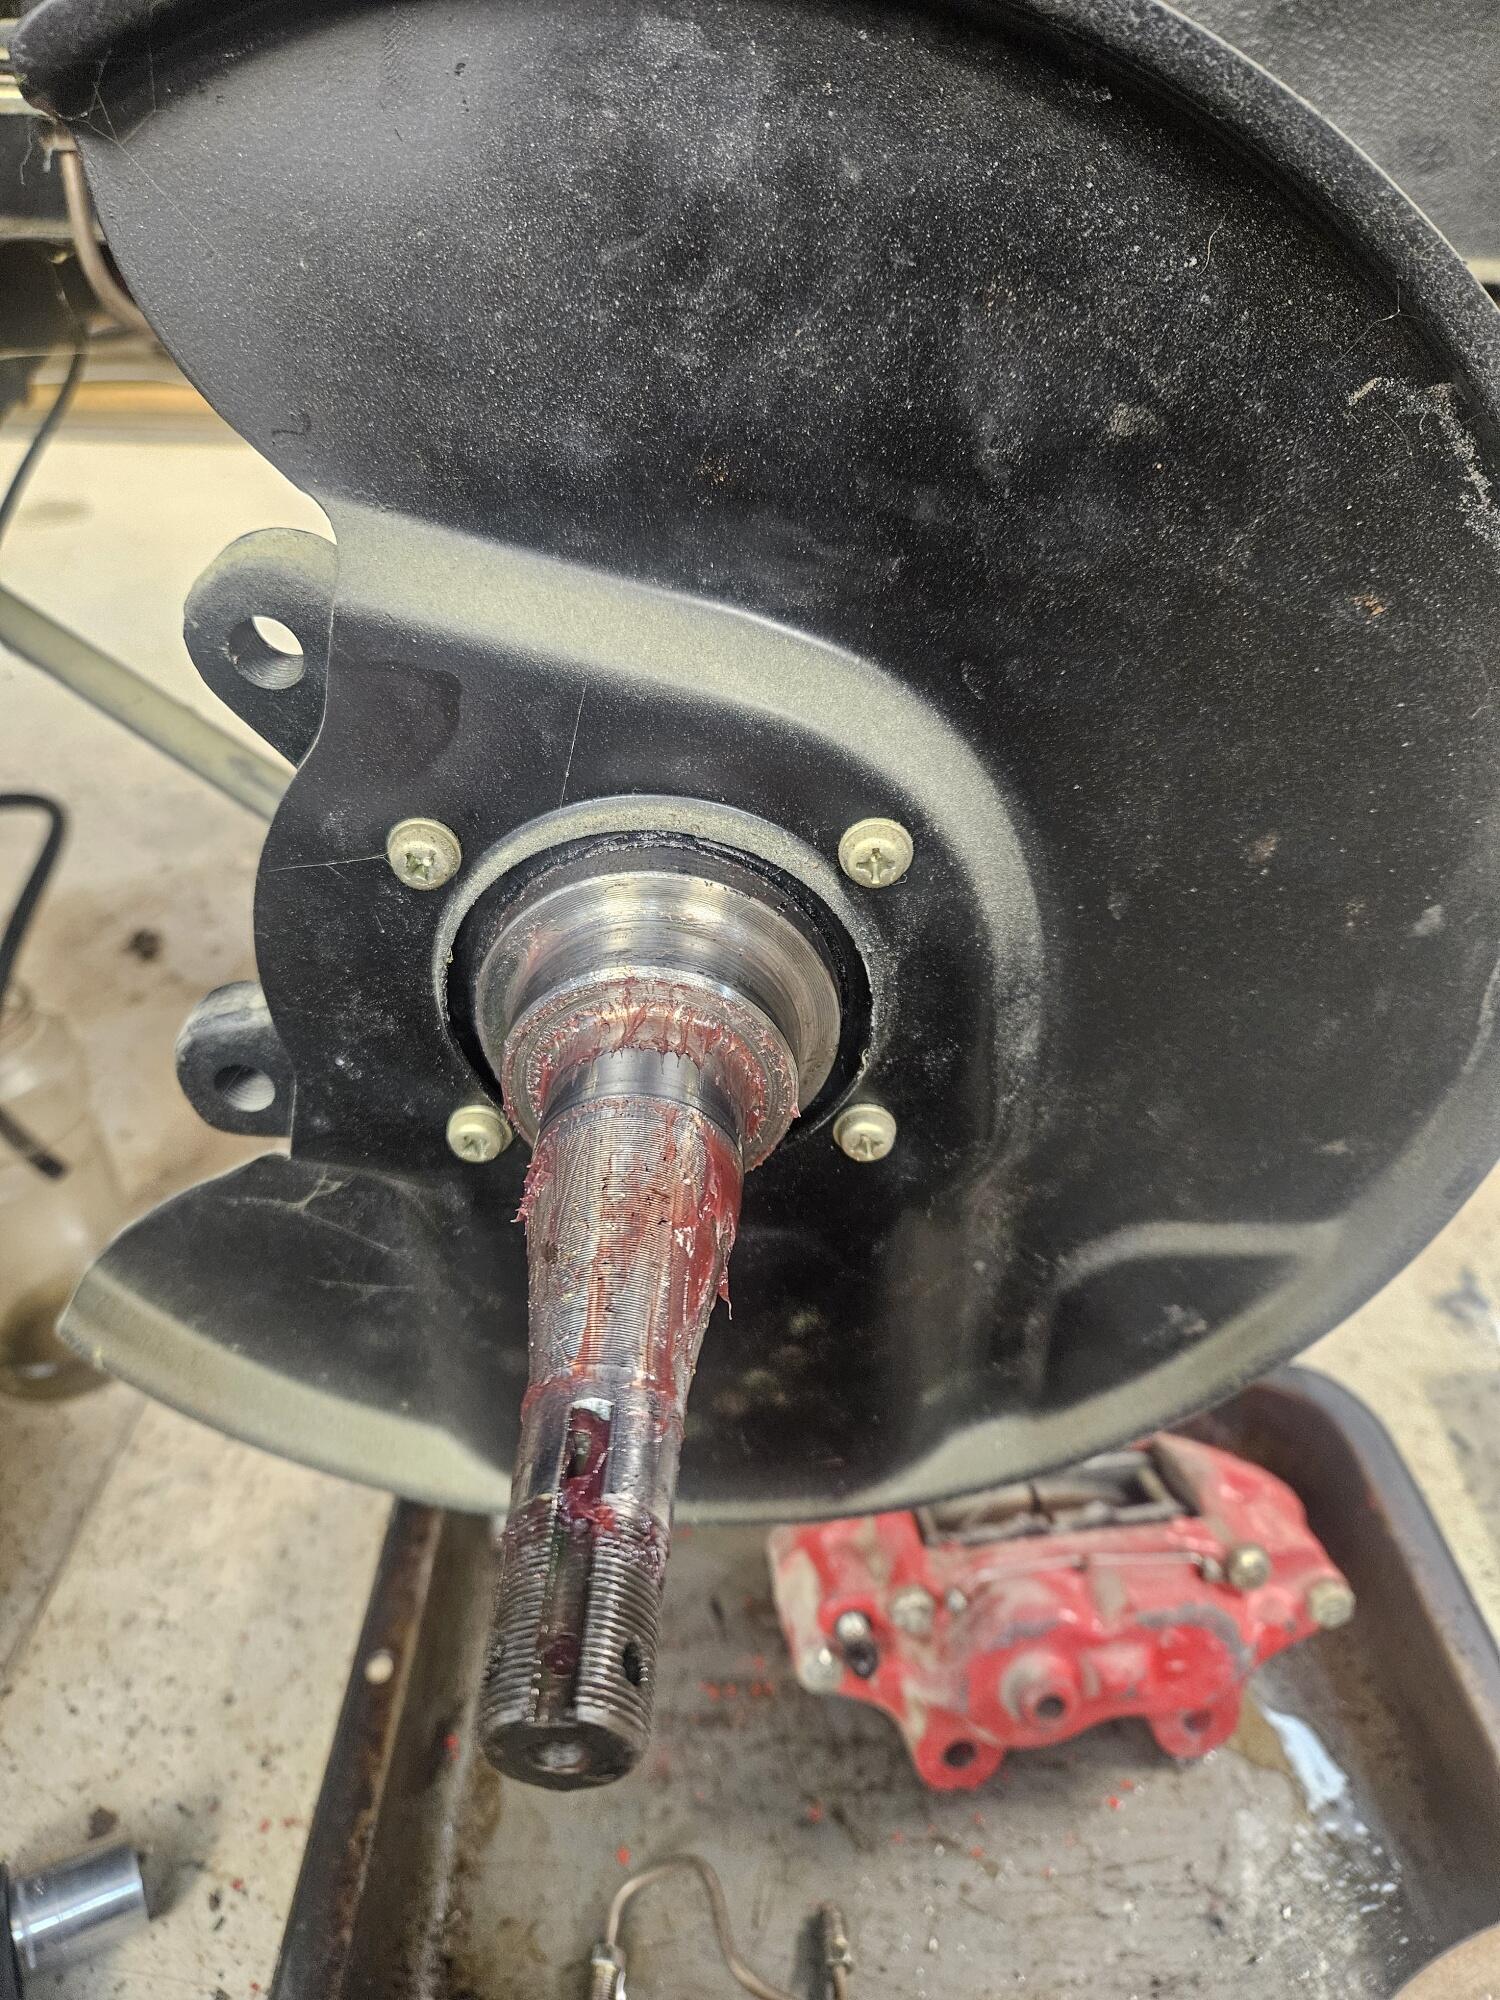
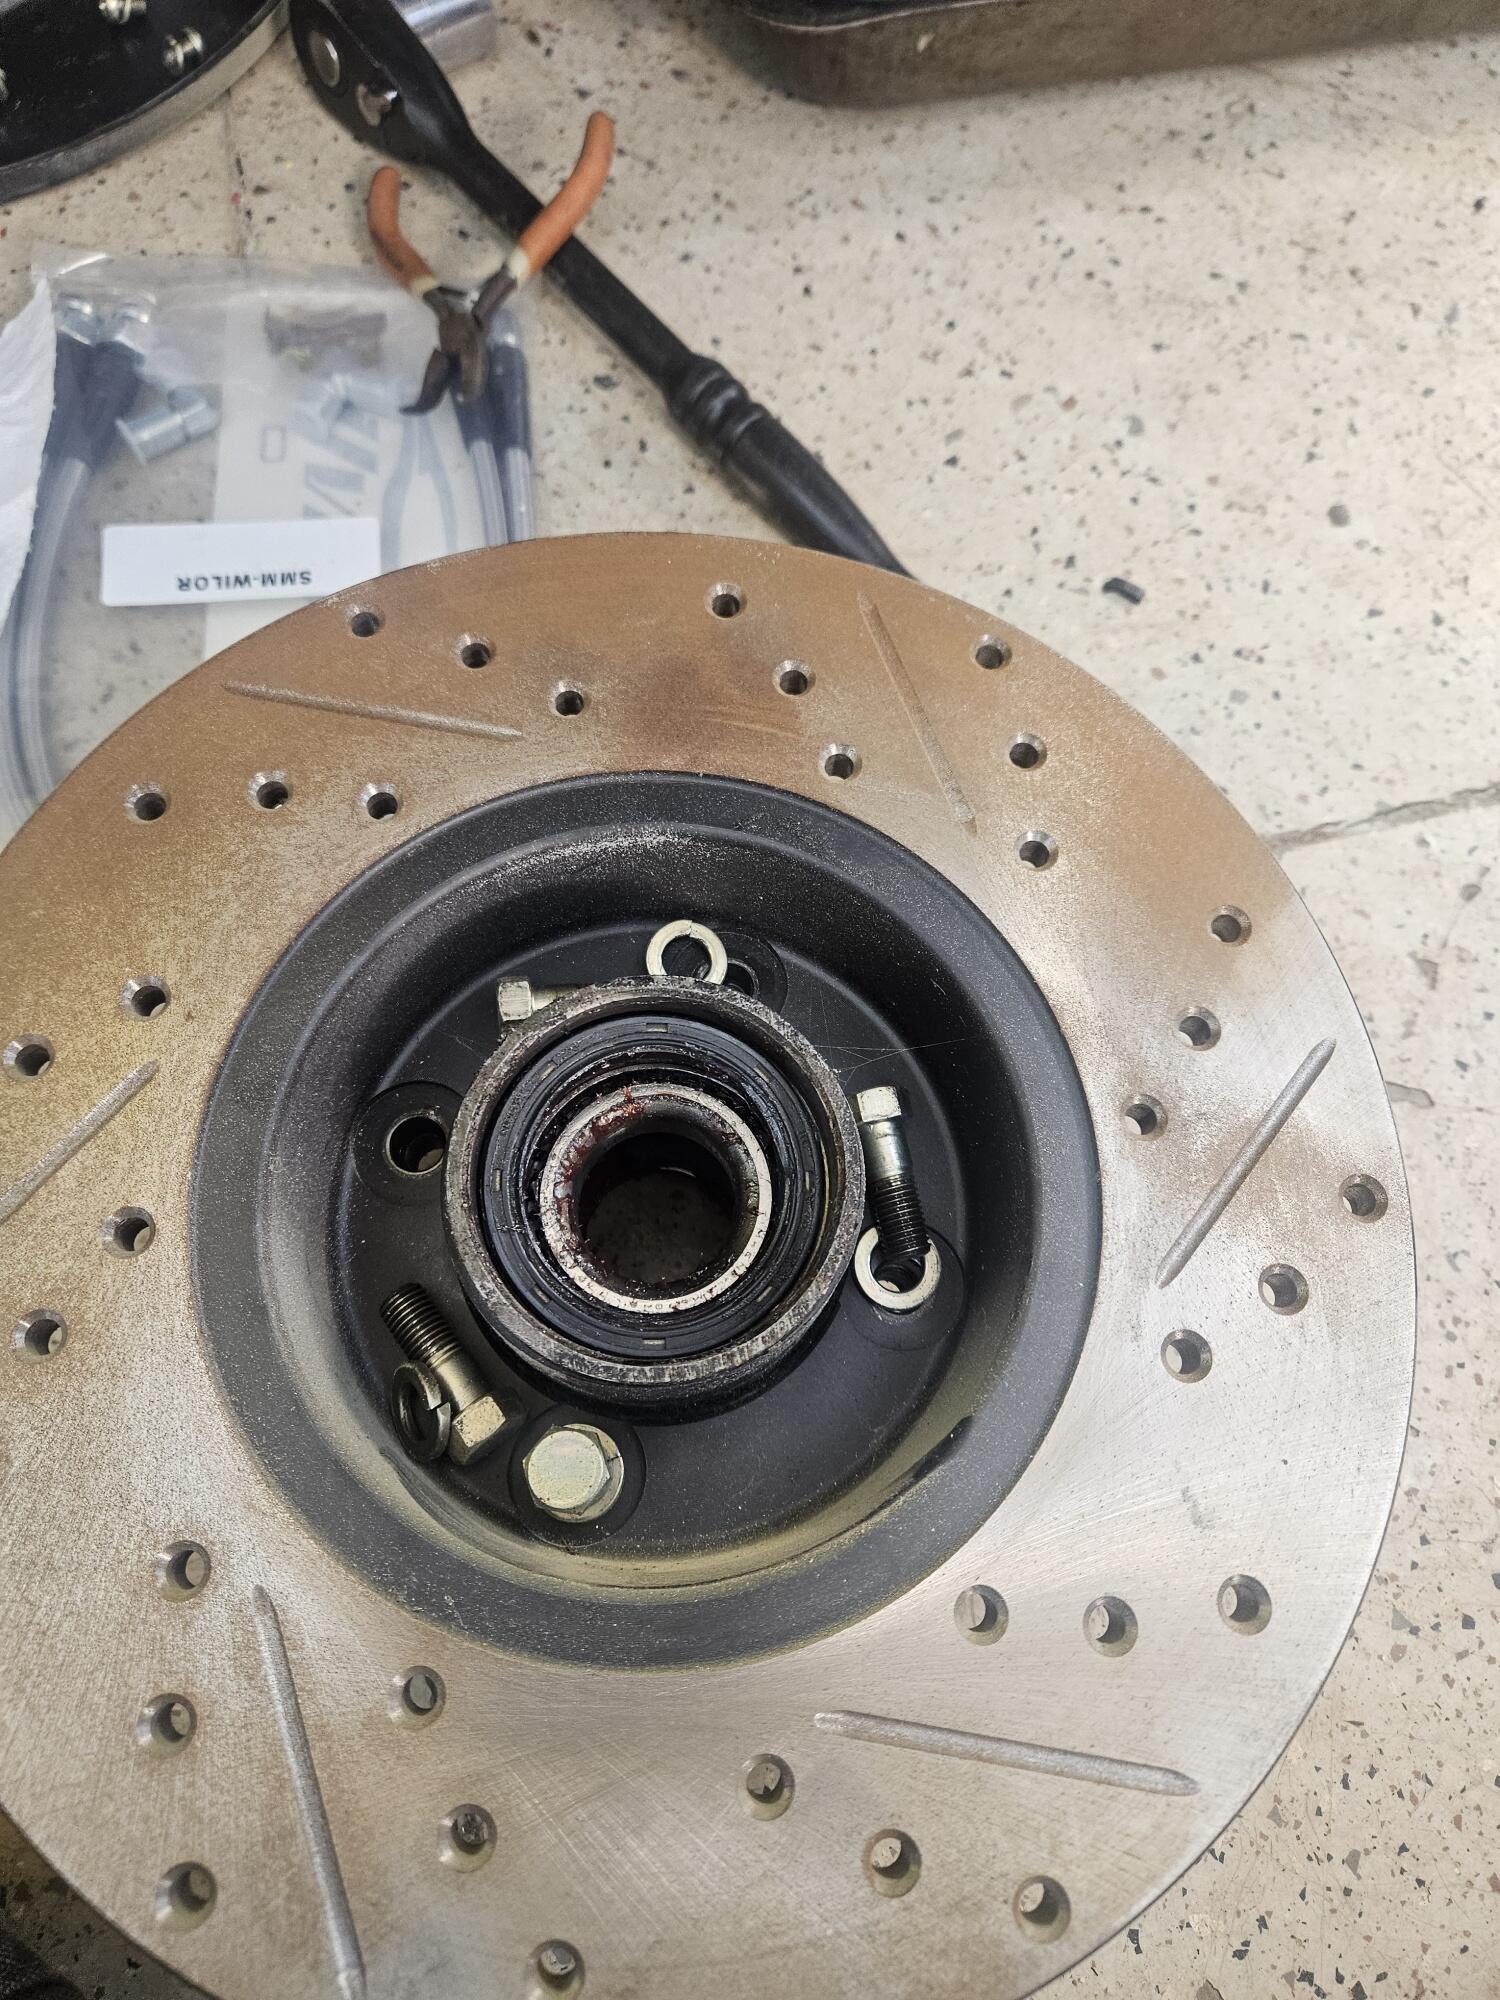
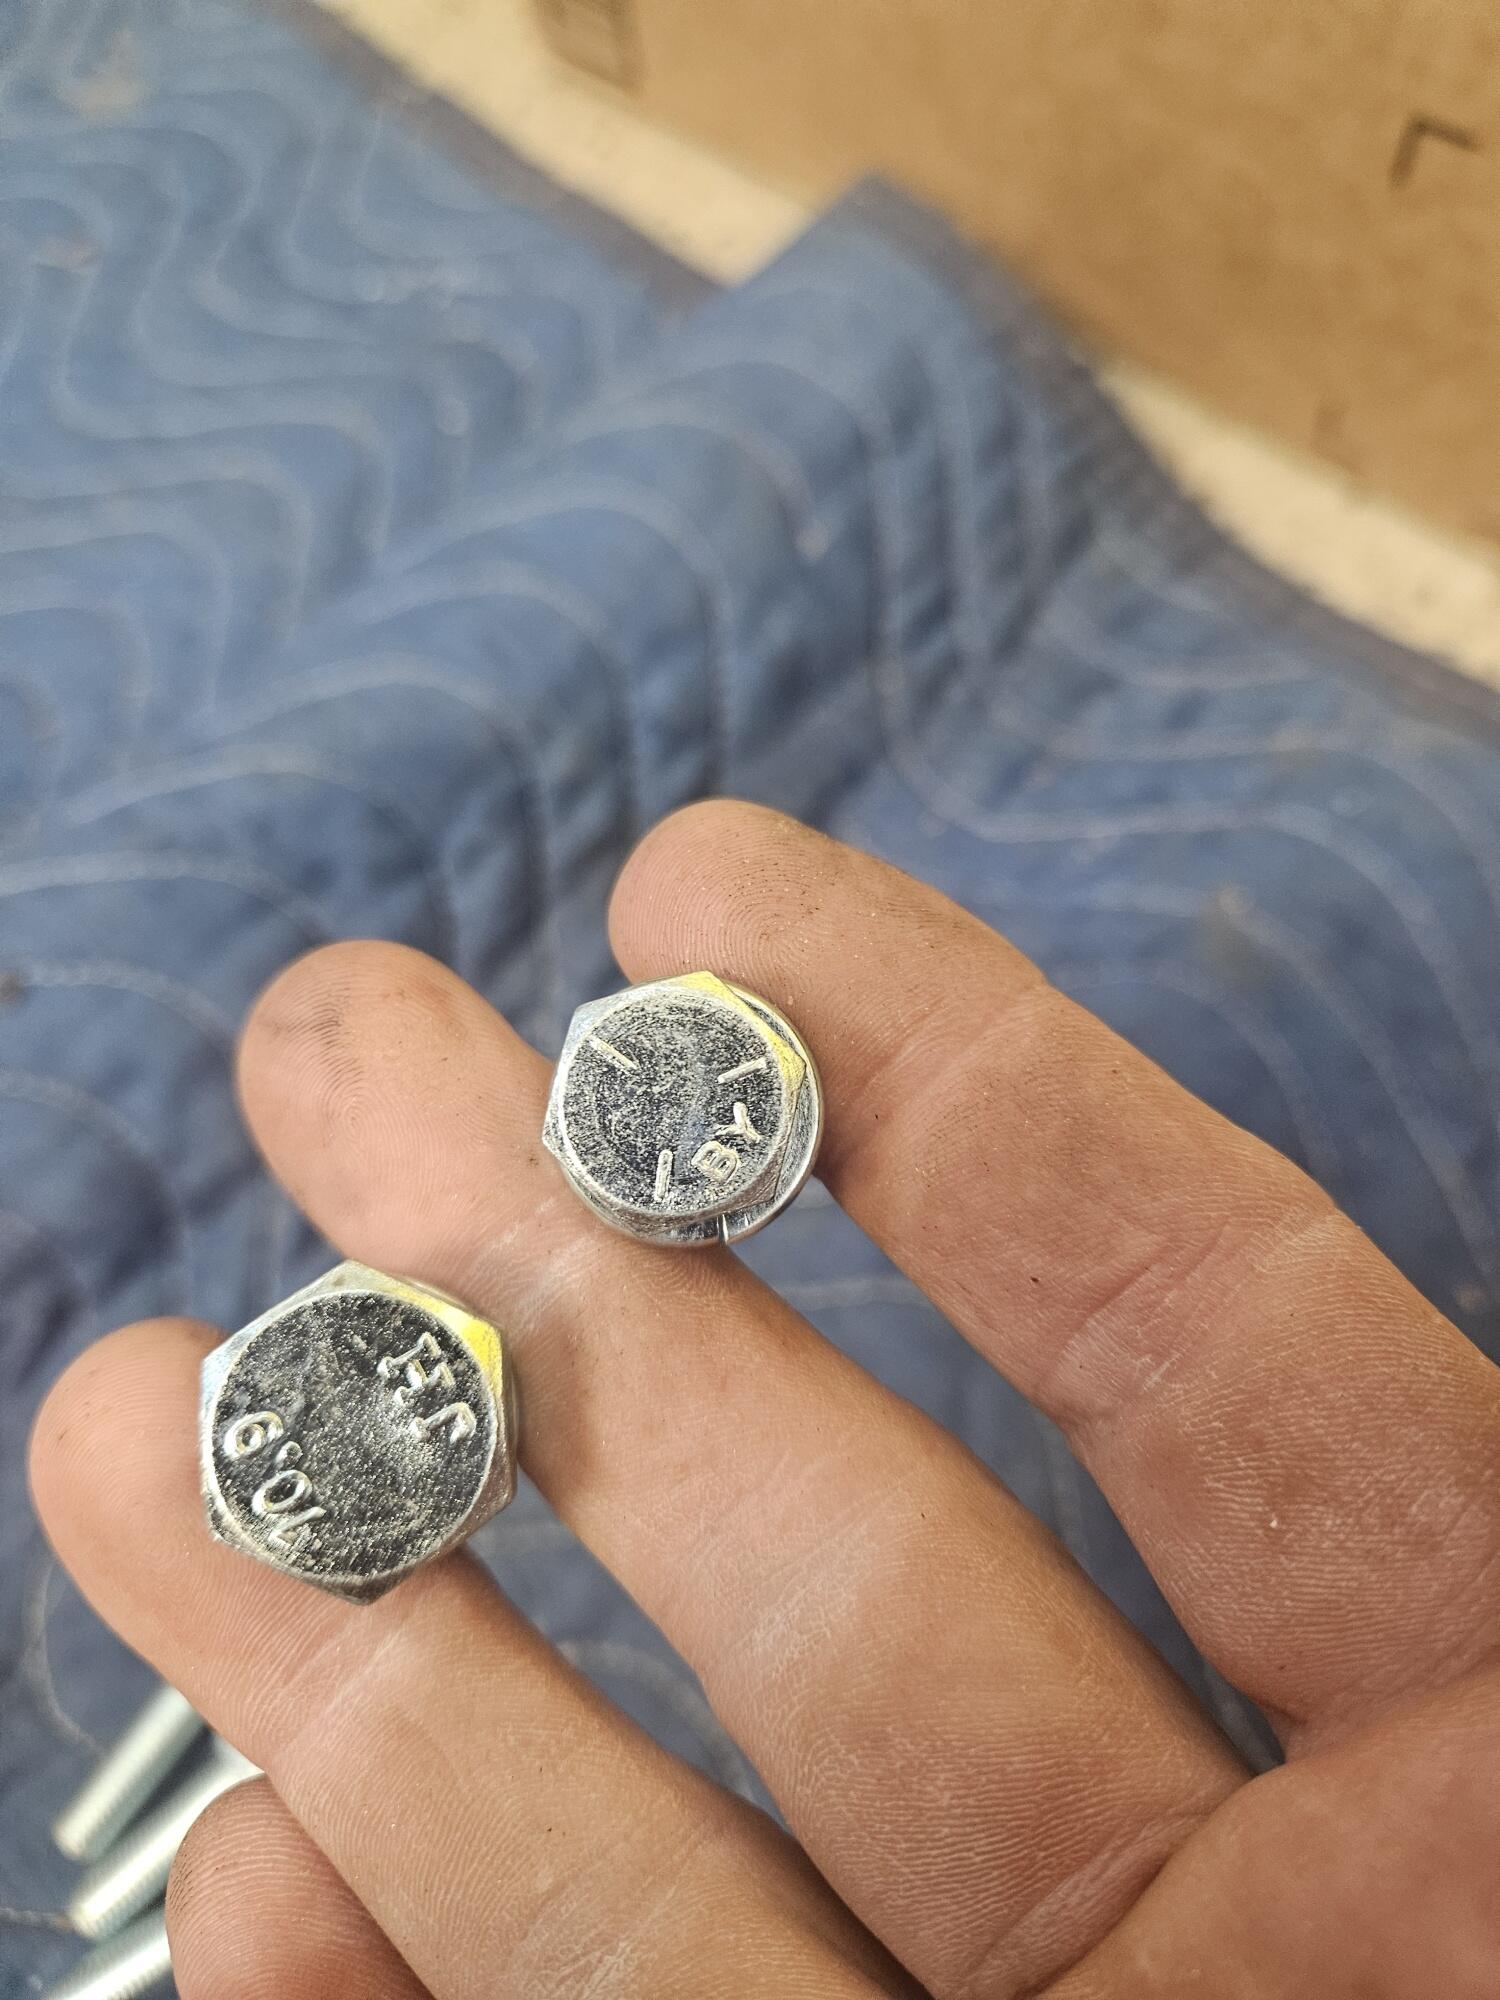
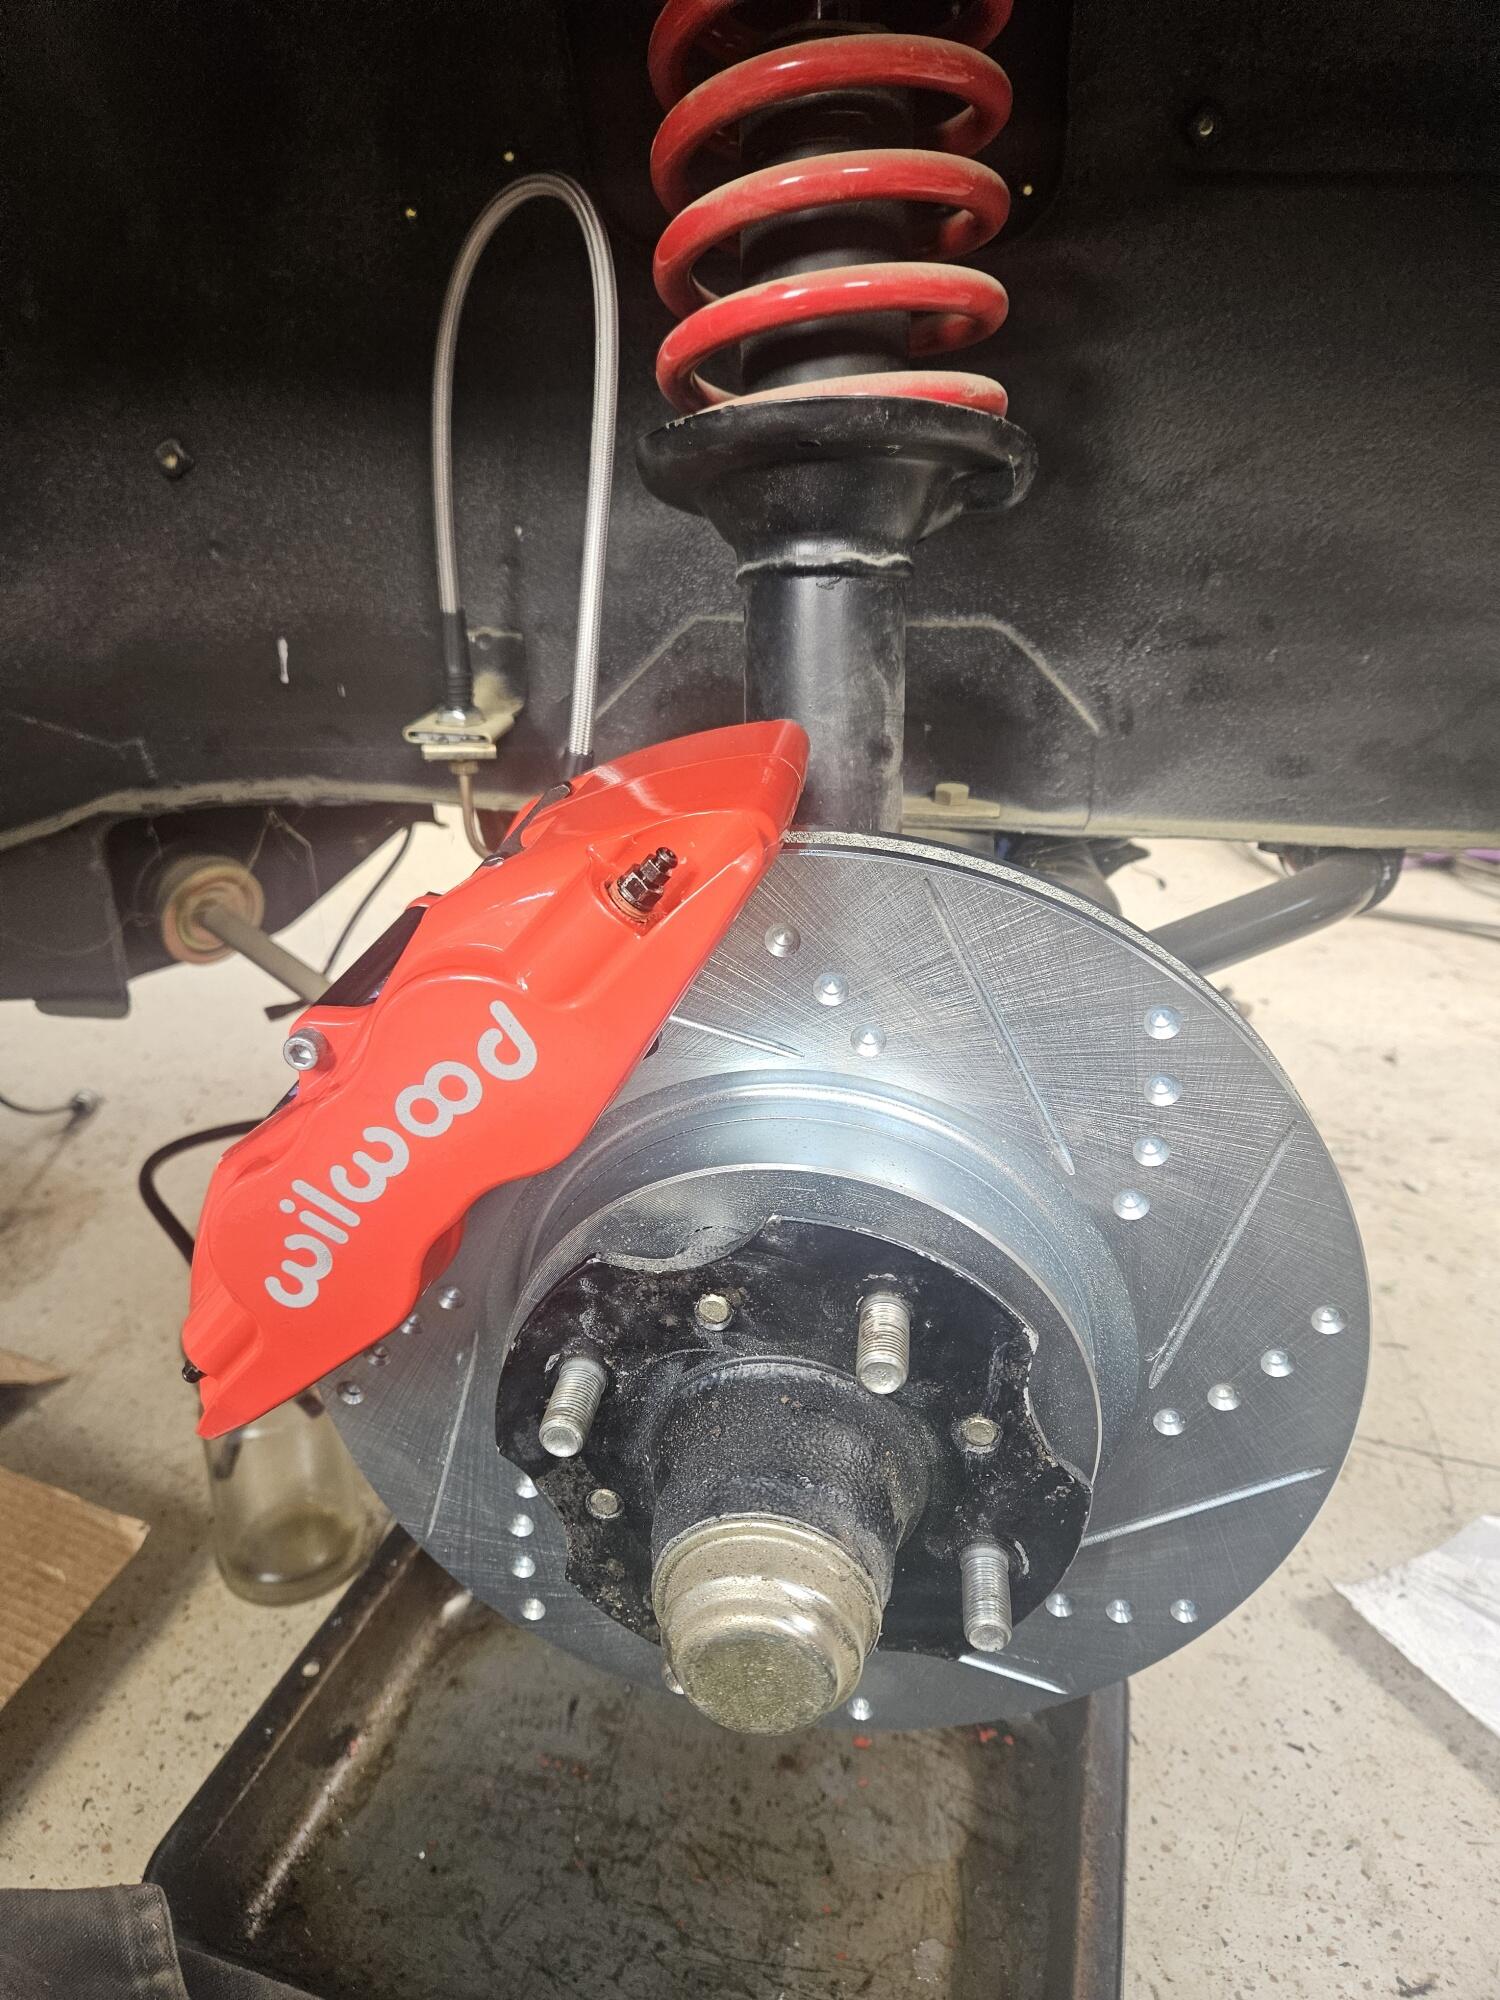
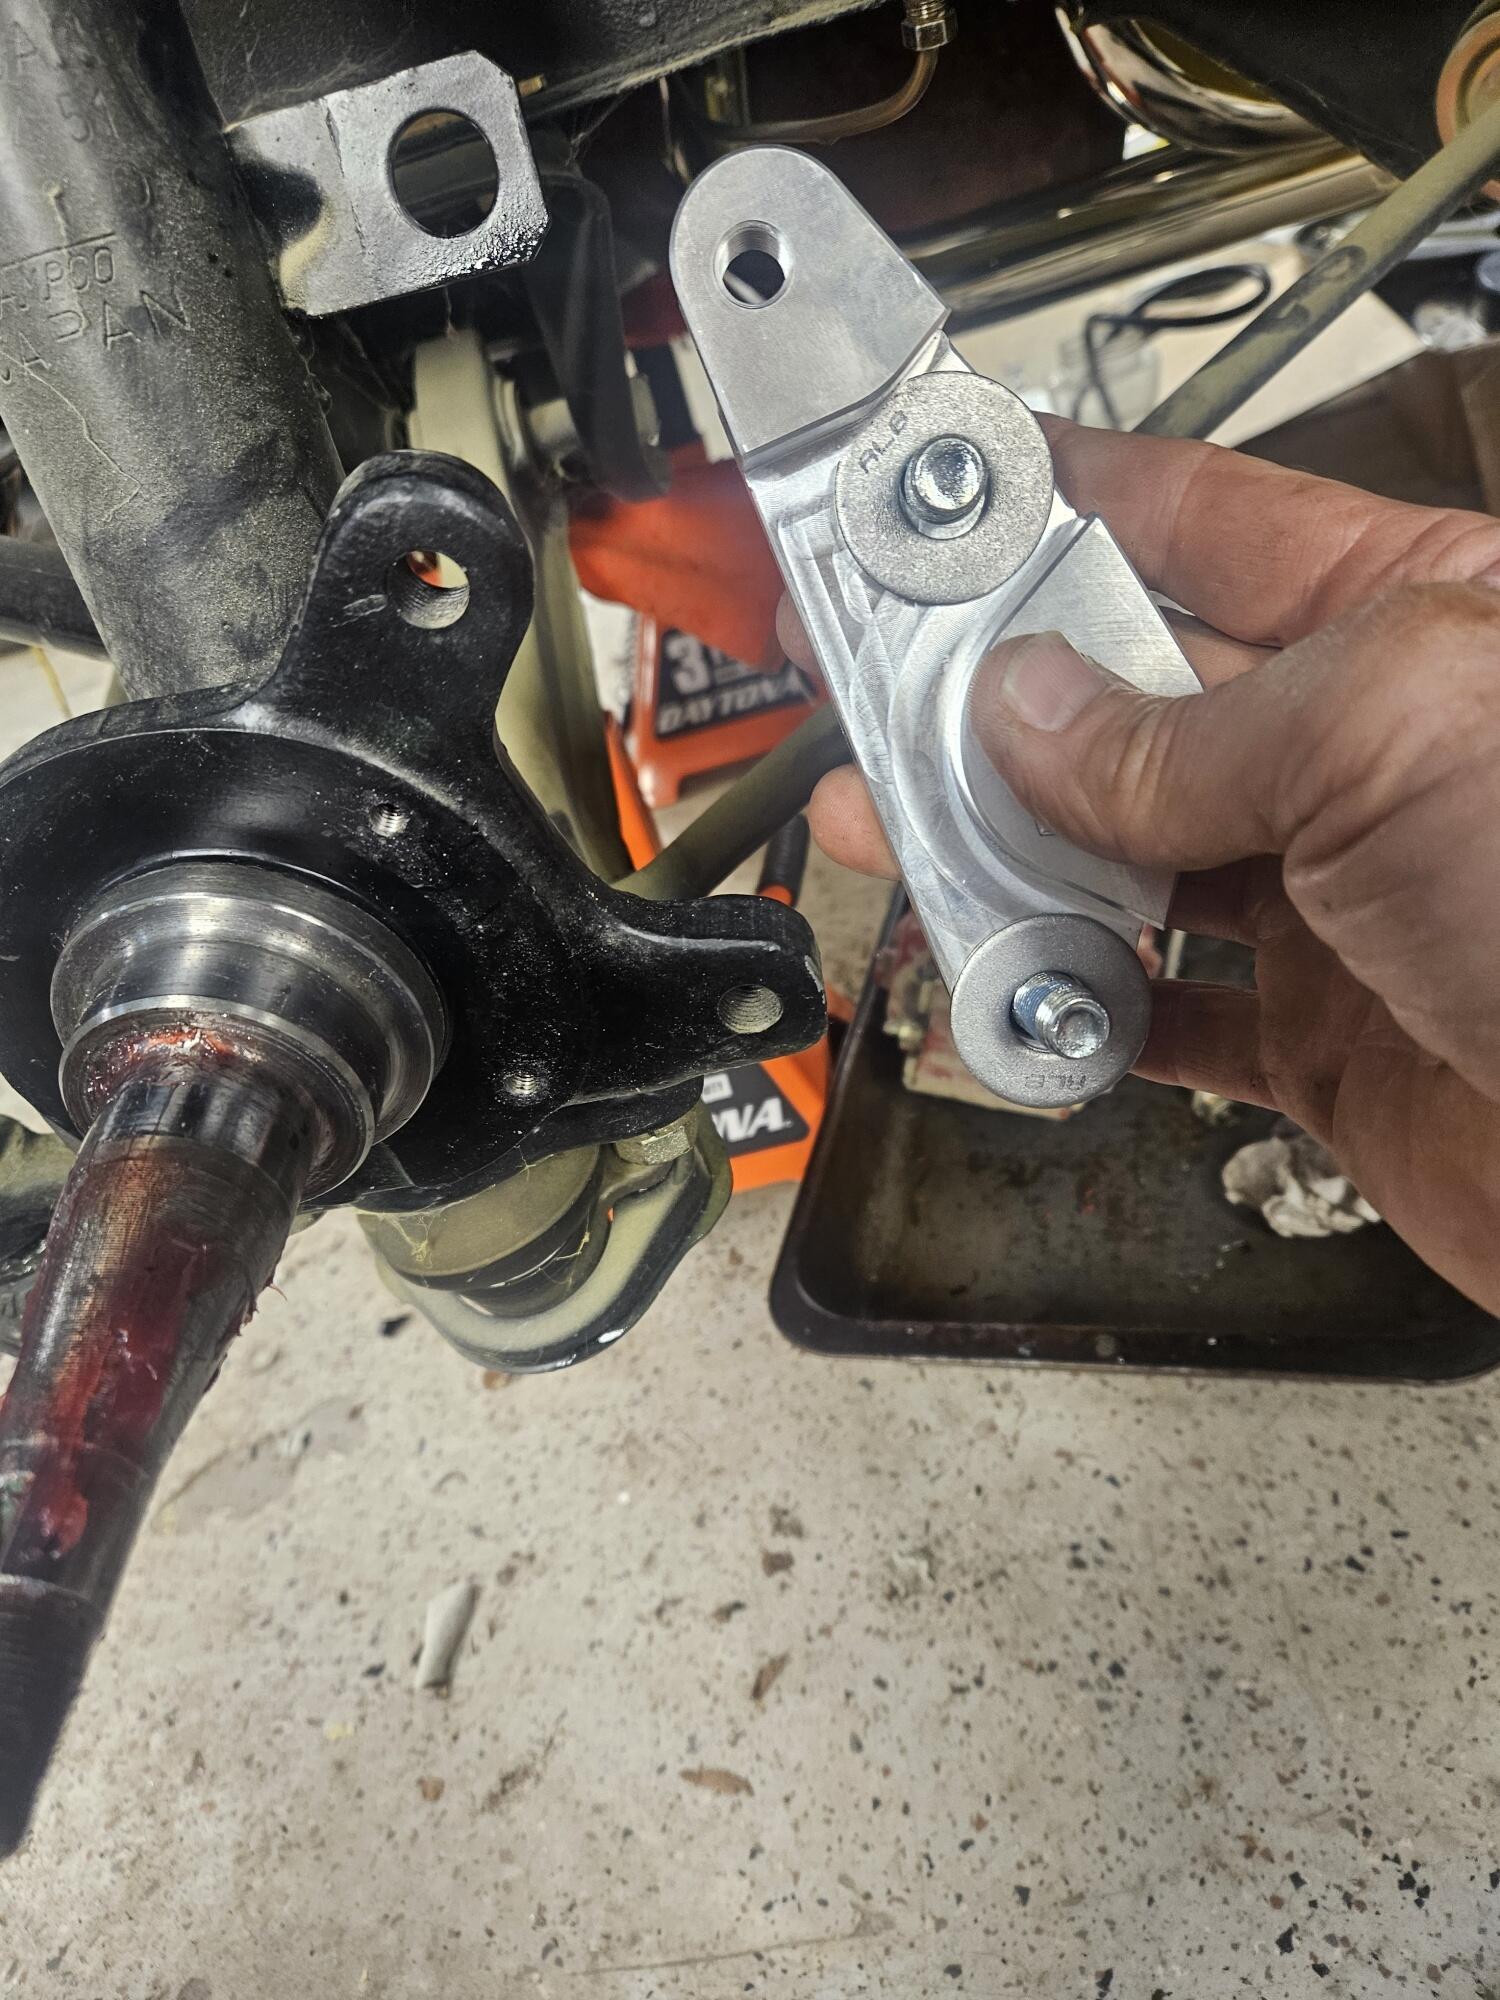
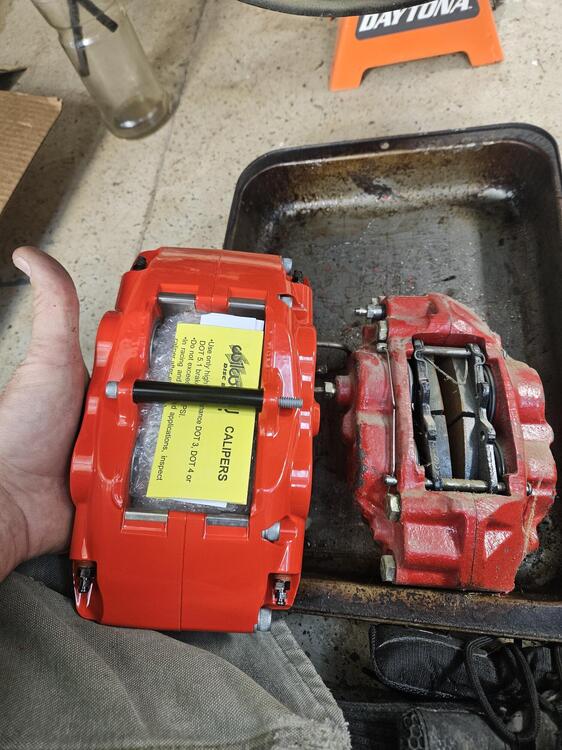
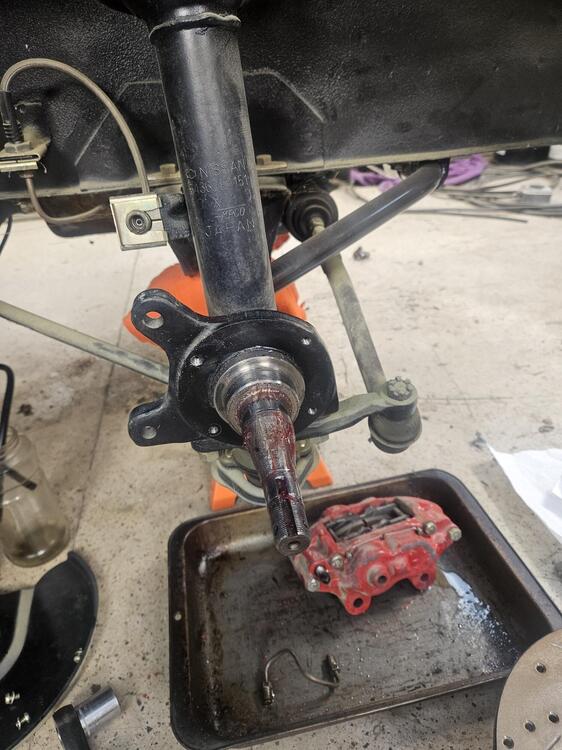
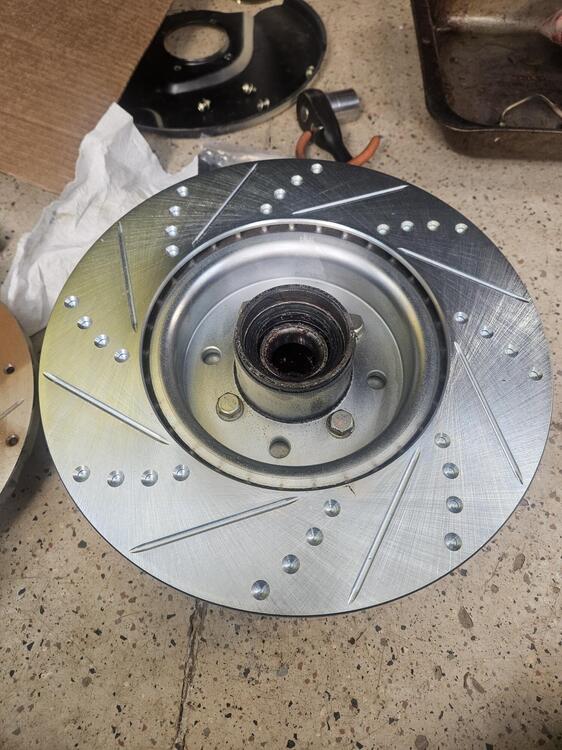
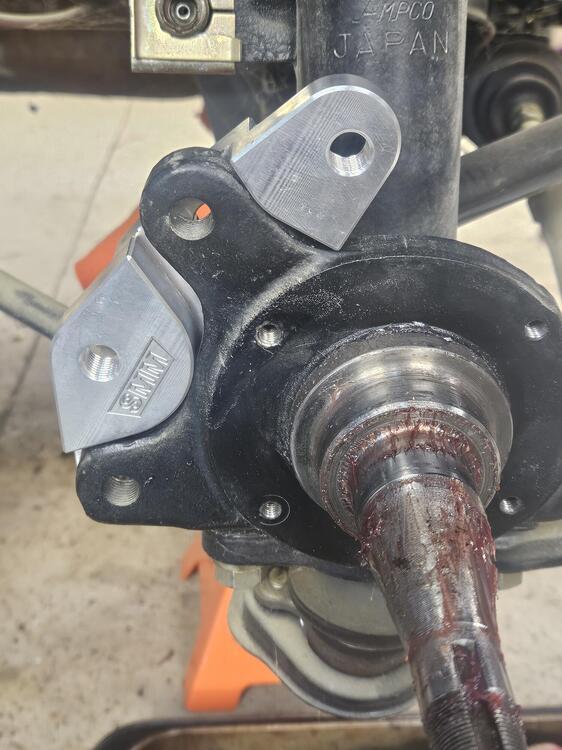
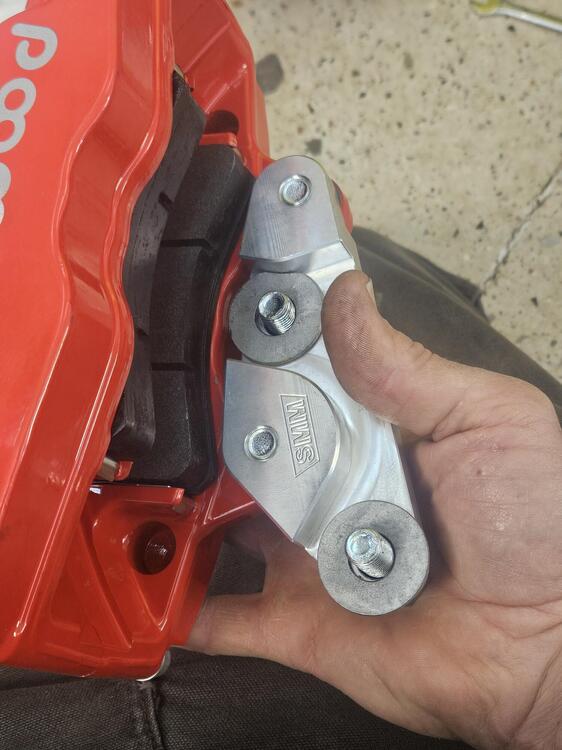
I have another thread documenting the Wilwood rear brake install I did. In this thread I am going to document the front disc install. I am using the Wilwood Dynalights. The discs are the same front and back but the swept area of the pad is different. The front discs have also been drilled to match the bolt pattern of the hub. The new front calipers are very light. All aluminum. Here it is compared to the Toyota caliper Here is the starting point for my front brakes. I did have the Toyota caliper on and the dust shields have been trimmed Hub has to come off Then the dust shield needs to come off Then remove the bolts from the hub and swap rotors A brass hammer might be helpful to get every thing lined up and seated Everything on the Wilwoods seems to be SAE so there are two different bolts in the kit. The two metric bolts for bolting the adapter to the strut ears and the two SAE bolts for attaching the caliper to the adapter plate The Silvermine logo appears to face outward on these adapters When I first bolted this side up, it bound up against the rotor. So I had to add some washers to space it back a little bit. The metric bolts have plenty of length so that wasn't an issue. I didn't have any pretty washers to use so I used these. Also I had to trim the upper washer because the OD was too large to center over the hole All together It is easier to add the washers when installing the adapter if you know you'll need to I guess you could install it with washers and you don't need them you can drop them out. It's a lot easier to drop them out than get them in and centered over the bolts. This install is on an early series one car. Your mileage might vary...


 1 point
 -
I also used a straight pick in the screw holes to help pry it into place and line up the screw holes. They can be difficult to get in properly. I would use some of the Precision sealant lube. Do not use silicone on painted surfaces. It's is very difficult to get off later if paint work needs to be done.1 point
-
 I've used two folded towels against the glass, two 2x4s on the towels, and a ratchet strap or two to push the glass in.1 point
 -
 1 pointConvenience is correct, it looks like spellchecker got a hold of the word and decided on what I meant.1 point