Leaderboard
-
Matthew Abate
Free Member2Points1,205Posts -
HusseinHolland
Free Member2Points1,031Posts -
Patcon
 Subscriber
 2Points11,185Posts
 -
RIP260Z
Free Member2Points364Posts


Popular Content
Showing content with the highest reputation on 01/31/2025 in all areas
-
The texture is what's left after the serious corrosion on the trumpets was removed, not from my work. I could have changed the trumpets out, but the other carb has a cut-away on the trumpet particular to a car model, so not something I wanted to try to replicate, therfore let someone else change. I strip the carb, thread holes cleaned with the correct size tap, everything goes in an ultra sonic bath (with plenty of soak time without ultra sonic [I have some laboratory neutral detergent]), cleaned, dried. Blasted (wet) as its easier on the surface (not with anything really abrasive), cleaned, dried, checked. Steel parts get the same treatement before yellow zinc. New genuine gasket kits and replacment parts, esp idle mixture screws replaced wether needing or not (as a groove can get worn creating inconsistent idle). Its quite a bit of work, takes time.2 points
-
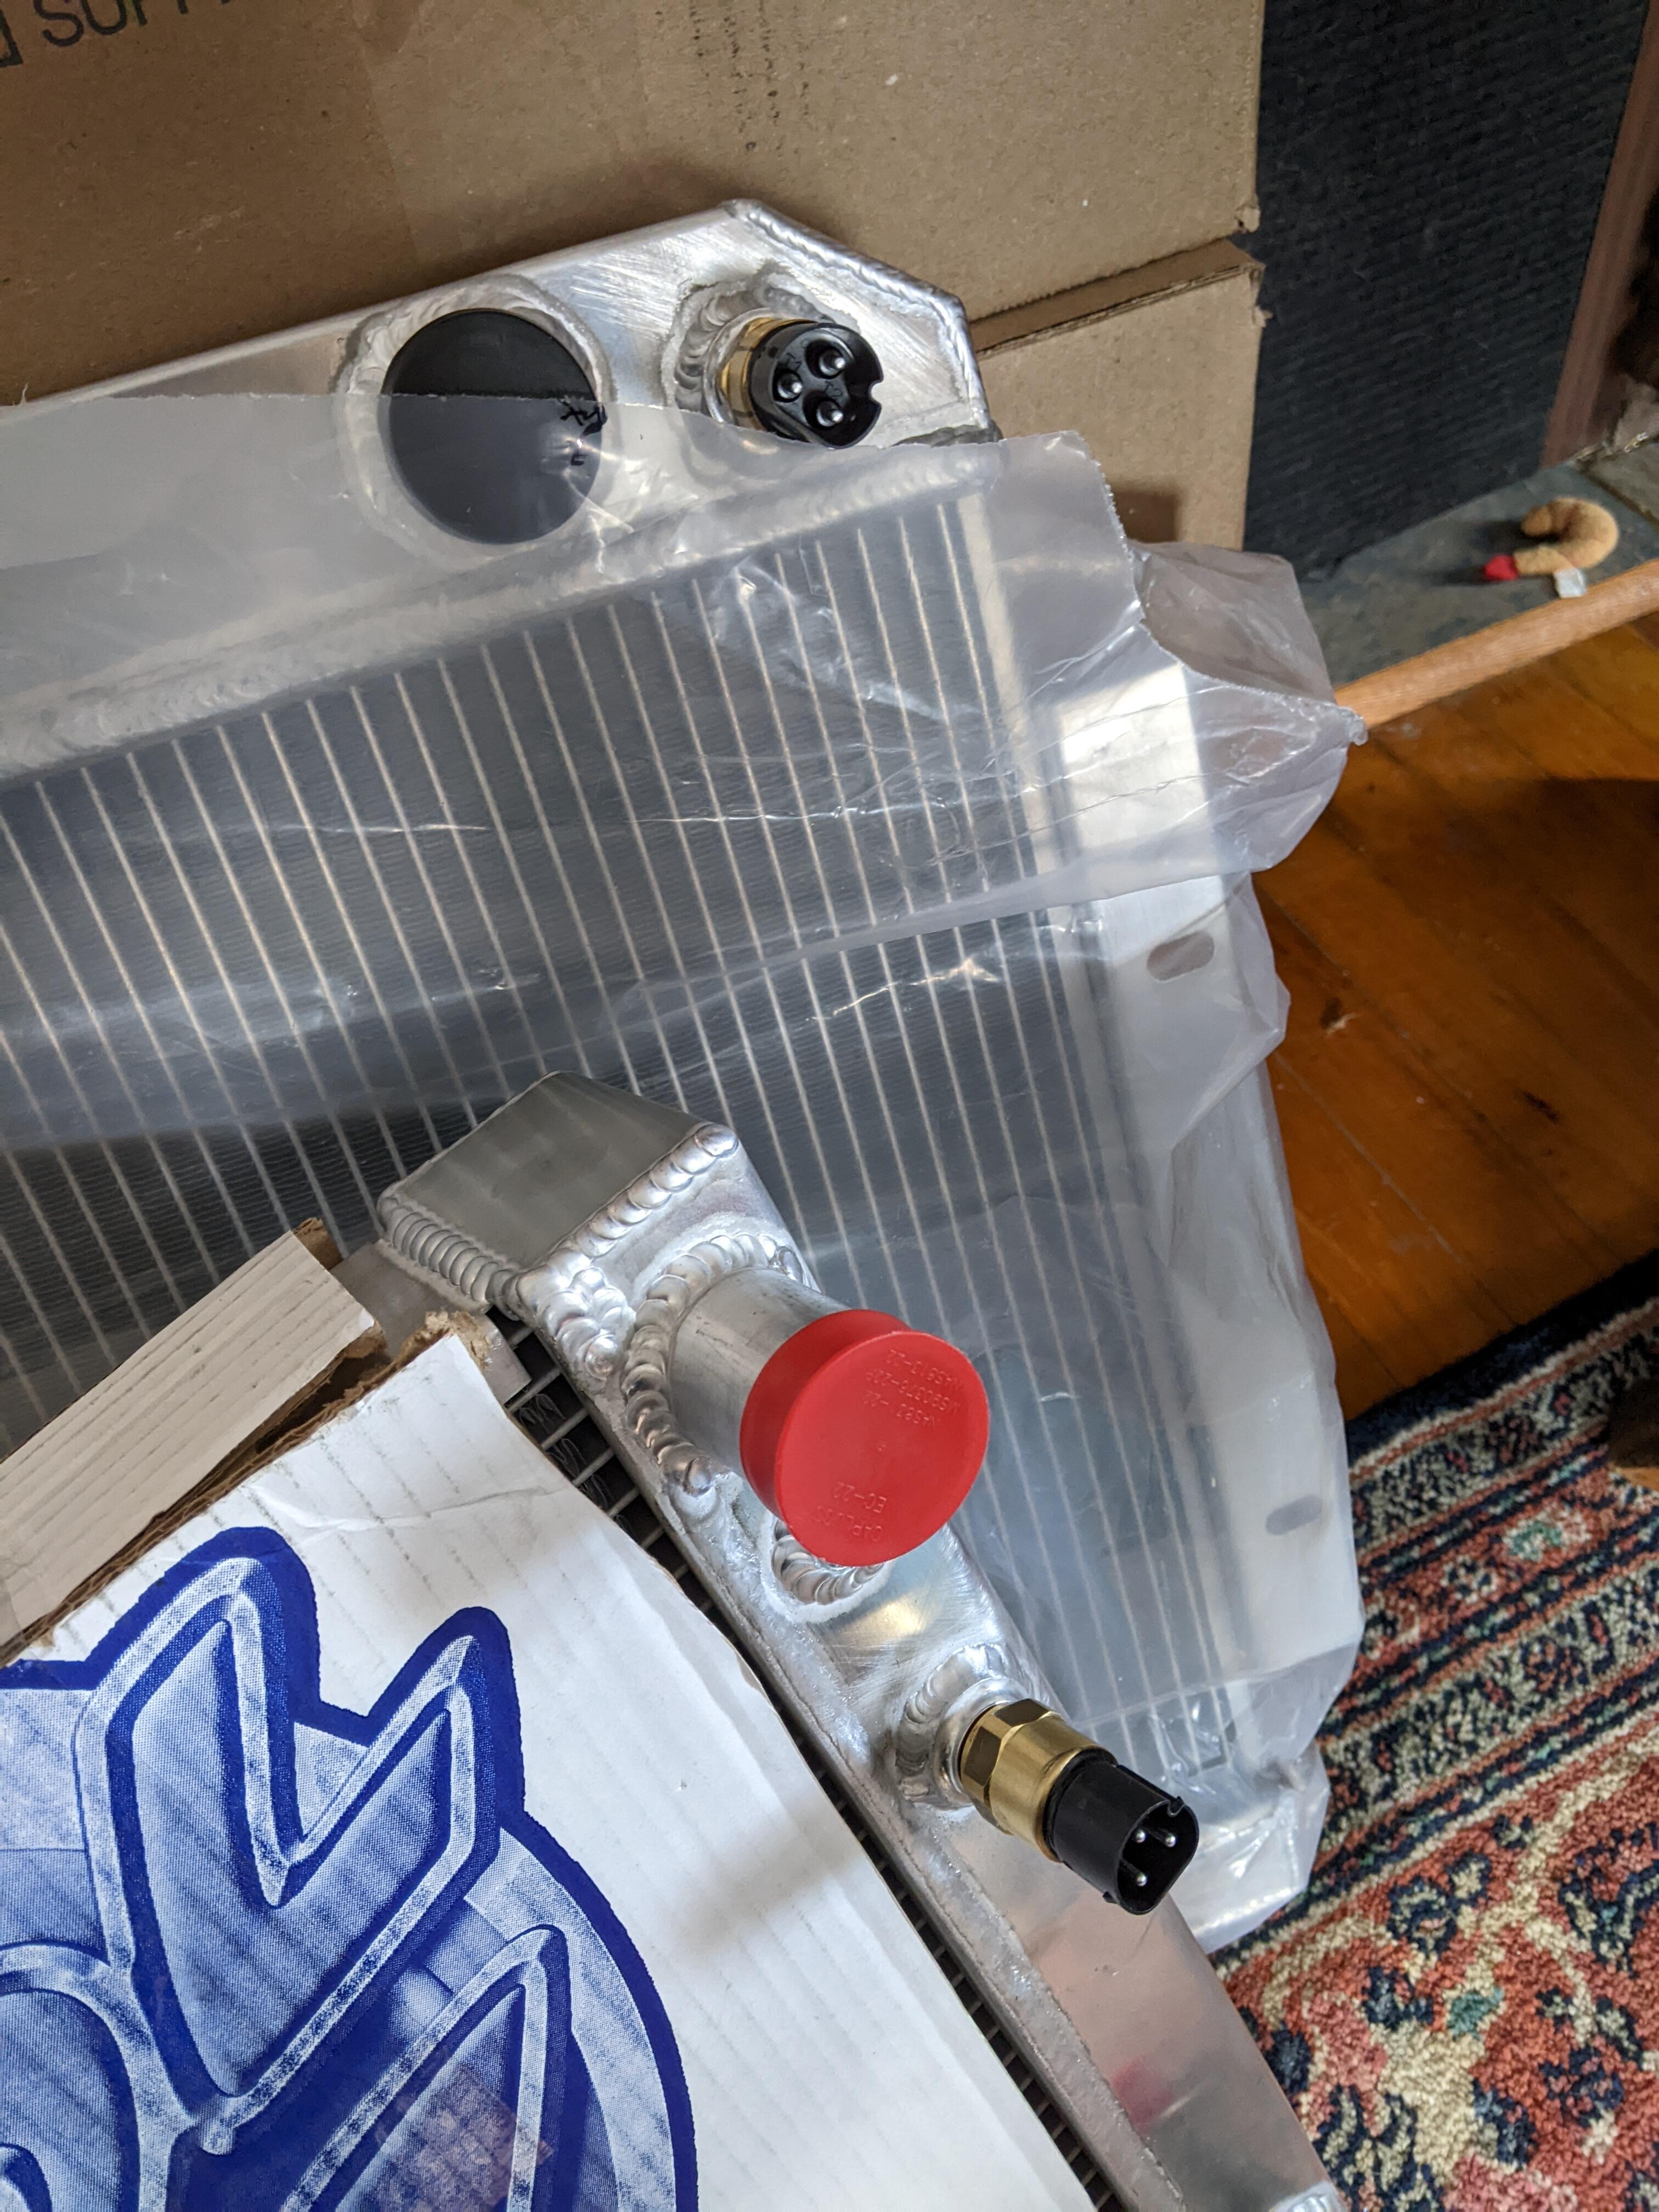
Got the 2 speed eFan sensor bungs welded into the 2 radiators intended for the V8 740, and the V6 280Z. Using the same BMW sensor I used on the X1/9 install. My aluminum welds are just not clean enough for this type of work.
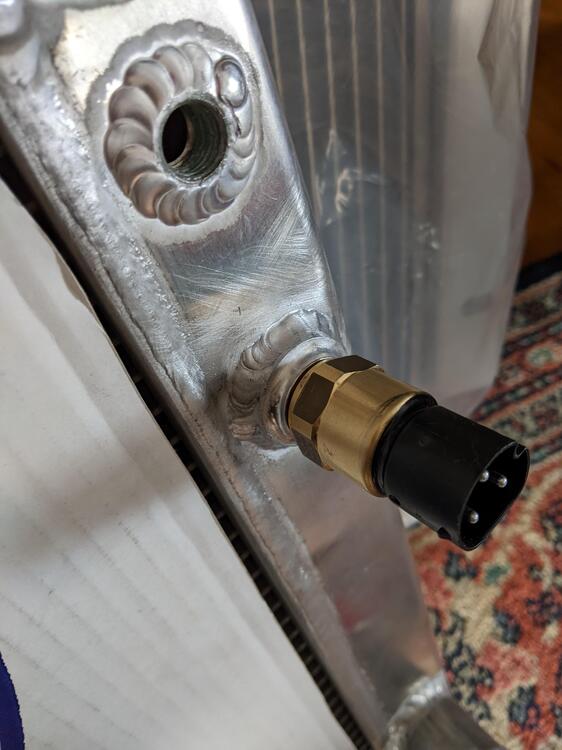
 2 points
 -
2 pointsWell, apparently there was nothing wrong. User error? I just tested everything and the only relay not clicking is the intermittent relay. I can hear the rear fuel pump running (that may need some sound proofing), the headlight relay is switching for both low and high beams. The horn relay is clicking, and the accessory relay is clicking. I have another intermittent relay, so if I’m not getting any voltage at the wiper motor plug I’m going to swap them to see if that makes a difference. I still need to check the two flashers, the choke/heater relay, and the buzzer, but I don’t have enough of the components assembled to do that yet. Otherwise it’s on to the next step of checking voltage at all of the light connectors. After that I’ll see if it starts from the key.2 points
-
You are also going to need the duct/plenum that fits behind the grill to catch water and direct it to the drain hole in the bottom of the hatch. The duct should have a short flex tube to span the end of the duct to the hatch. These are from the UK: https://www.ebay.com/itm/167065483403?_skw=240z+hatch+vents&itmmeta=01JJZ66Q30BWTMV8WR2YXXYR5R&hash=item26e5e0f88b:g:bcoAAOSwr3pnKRvn&itmprp=enc%3AAQAJAAAA8HoV3kP08IDx%2BKZ9MfhVJKm55FiopAQ%2BmVZ1ZX8nTu4WANBVgSI2wRbT%2F87JeaqQn4RJ3JIUmQIjSLV%2BS%2B5C3B%2BMGINXJ9GUPkY55%2BP0ulAoKuxp8XzGIgrgH8Zq%2Fo5TbqAAECga28ib5sLfKEo0D5q9RFCqumfRSdRkSWvgPhJuZM0gfBticYck6z4N7Q2yfNGUu27HC8PwllwQyGhf42O6aEVaLgcH4siWsi9bMDhphRQIbvNgwshcX%2BZRKOIgX5Zytv1b%2BEIu07lKbF4vaB%2BPLBn59HxH6Z2rW9R9qot0vPB%2BusOj4XKLCAOzK2BiDw%3D%3D|tkp%3ABFBM-PGa5pdl1 point
-
1 pointIt's about as difficult as changing out the spark plugs. Loosen the compressor on the bracket, push it towards the motor. Loosen the alternator on the bracket, push it towards the motor. Take the belts off. Take the belts to an auto parts store. They will measure the length and get you replacements. Put the new ones on and use something like a broom handle to pry the alternator and a/c compressor away from from the motor to tighten. I get them tight enough that they will twist about a quarter turn. Check the tightness after you've driven your car some. It's easy.1 point
-
1 pointDepending on the mechanic's expertise, I'd lean towards the mechanic with a shop. If you have a Z repair manual, it will guide you through the head removal and replacement process.1 point
-
Cleaner AL welds than mine 😉1 point
-
I would think Vapor Honing would be the way to go. It shouldn't texture the surface that way1 point