Leaderboard
-
Captain Obvious
Free Member3Points10,073Posts -
.JPG.cfcada9cf1c1b502df3f5f2f2ca3ff36.JPG)
SteveJ
Free Member2Points9,645Posts -
Richie G
Free Member1Points252Posts -
chaseincats
Free Member1Points1,035Posts


Popular Content
Showing content with the highest reputation on 02/26/2025 in all areas
-
2 pointsWell, you wouldn't have to worry about being blinded by oncoming headlights. The gauge lights will have already blinded you. Maybe not. The parking light fuse would probably blow first.2 points
-
Some of you have dealt with this little annoyance, and I have found a perfect solution. When doing a full restoration, or at least the full interior, you often have to replace the head liner and the A pillar vinyl, as well as the vinyl trim that goes across the top of the windshield where the sun visors and rear view mirror mount. While I won’t discuss the pain of installing these items, what I have found is even more of a pain, is finding the nine M5 threaded holes to put the visor and mirror mount back in. All that fresh painfully installed lovely vinyl, and 9 secret little holes you have to find to poke holes through. Get out the pokey thingy of your choice and start poking until you find them. If you put some kind of thin foam behind the vinyl like you’re supposed to, those damn holes are just a nightmare to sleuth out. Not any more! I put some nice long M5 grub screws in the nine threaded holes, THEN do the upholstery. Then finding the tips of them sticking out is easy! Make little “X” slits to expose them, grab your M3 hex key, back them out and screw in the visor and mirror mounts. Five minutes each! Easy peasy.
 1 point
 -
I Just came back from the workshop (more on that in the coming days), and realized I never posted about my recent purchases. Firstly, a set of L-series Factory Service Manuals in German language: The Lot also included a German training manual for Nissan OEM Register carbs. Mainly of the A-series and L4 Engines, but also of the L6 of the C230, etc. Not relevant to my project, so I'm going to sell it. The Lot also included the Service bulletin N0. 201 "modification of the 260Z 2+2, One which was missing in my collection of S30 bulletins yet: I also got the last piece of the puzzle to complete my Datsun Special tool wall. The Kent-moore ST-351-00000, for the front axle. I had it before, but the handle was missing, and now i found a complete one: Then I also got a bunch of Mikuni Performance Carburetor gasket rebuilt Kits Z70-1044, which should be the correct ones to rebuild my recently acquired PHH44 S5 Carbs Today I also got the US Market 1972 FSM, which should be the almost correct one for my model. I recently realized I had only a very early 1969 version and then later S30 generations ones, but never one close to my actual build. And then you can never have enough Factory documentation 🙂 The seller also had a bunch of OEM parts, so while buying anyway, I decided to throw in a set of NOS Hood bumpers in the order: I've been busy working on the car myself in the recent days, so expect more updates on the project soon.1 point
-
@Patcon, Did you turn up a good source for a suitable stainless replacement? I haven't looked, but if you've already done the work, I shouldn't have to.1 point
-
1 pointHi Jase, I suspect you are experiencing possibly two effects of your updates. The first is likely more of a "new car" ride where everything is nice and firm and no longer the 47-year old squishy. Add on that the second item which might be the age of your tires which become harder over the years. Old (and larger) tires will certainly transmit road issues thru fresh and firm bushings and shocks. Last year I swapped out my 12-year old tires (still with lots of tread) for new ones and the difference in the ride quality was significant. Jim1 point
-
1 pointNothing dramatic. Run it with the system a little under filled* for a couple minutes with the radiator cap off. Then top it off, fill up the overflow tank to "F", and put the cap on. Any remaining air should (in theory) work it's way out of the system over the next couple heat/cool cycles. I've not found the Z to be one of those cars that really needs a complicated burping process. * The reason for the underfill is if there is a big air bubble in there somewhere it will expand much more than the liquid coolant will. And if the system is full to the top, it'lcould belch out the top of the radiator.1 point
-
1 pointUpdate: I took the car out today with about 1/8 tank of gas and added the small lucas fuel additive bottle in full and the car ran great - definitely 100% of what it was before which is fantastic. I really wanted the lucas bottle liquid fairly undiluted which is why i didn't fill the tank first. After driving it for about an hour with no issues and awesome results, I filled the tank, took it around the block to make sure nothing changed and parked it in the garage - thanks for everyone's help! case closed1 point
-
1 pointYeah, I assume the mention about the oil pressure gauge by Mike was simply due to the fact that with the dash out, you wouldn't know if you had an oil pressure issue or not. But if you didn't have any sort of oil pressure issue beforehand and the only reason you were messing around with the dash was to make it easier to get to the HVAC system, then I believe the concern is unnecessary. Glad to hear it worked out so far. Remember that it may take some time for the whole coolant system to come up to pressure. Oh, and I'd approve of a picture of you driving the car without a dash installed. Slow enough to guarantee you weren't speeding of course, since you don't have a speedometer. Hahaha!1 point
-
1 point
-
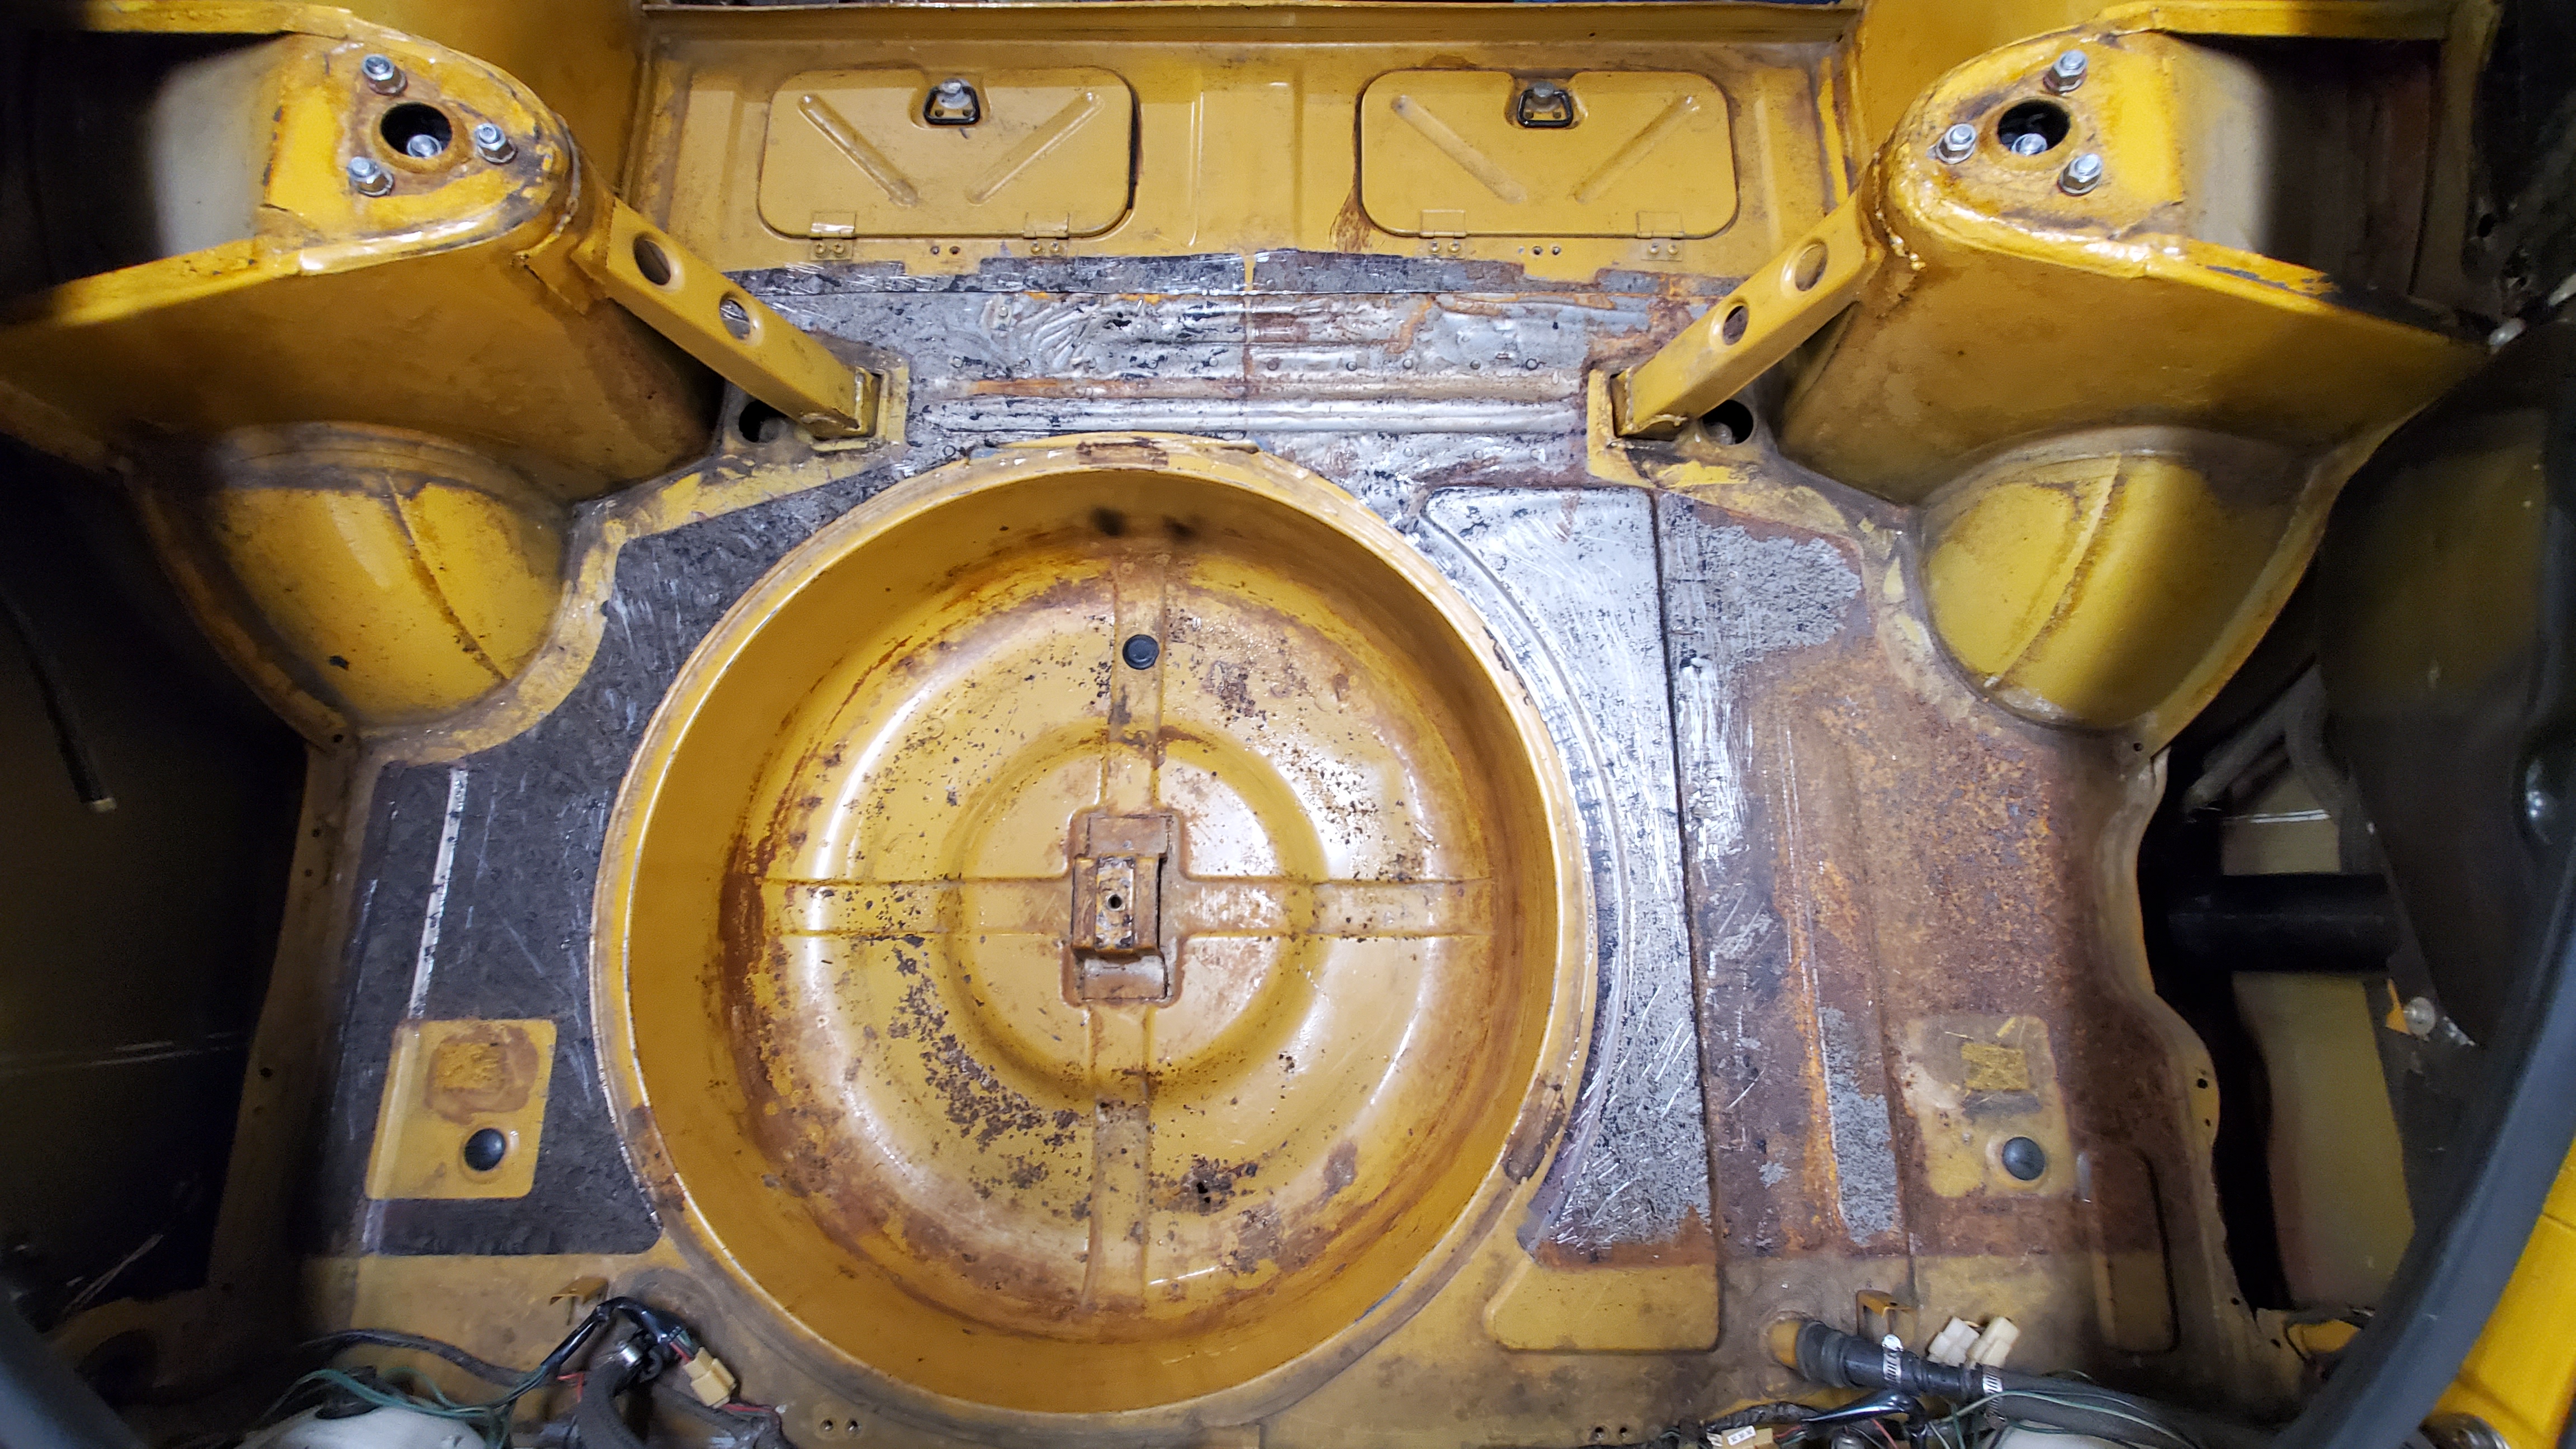
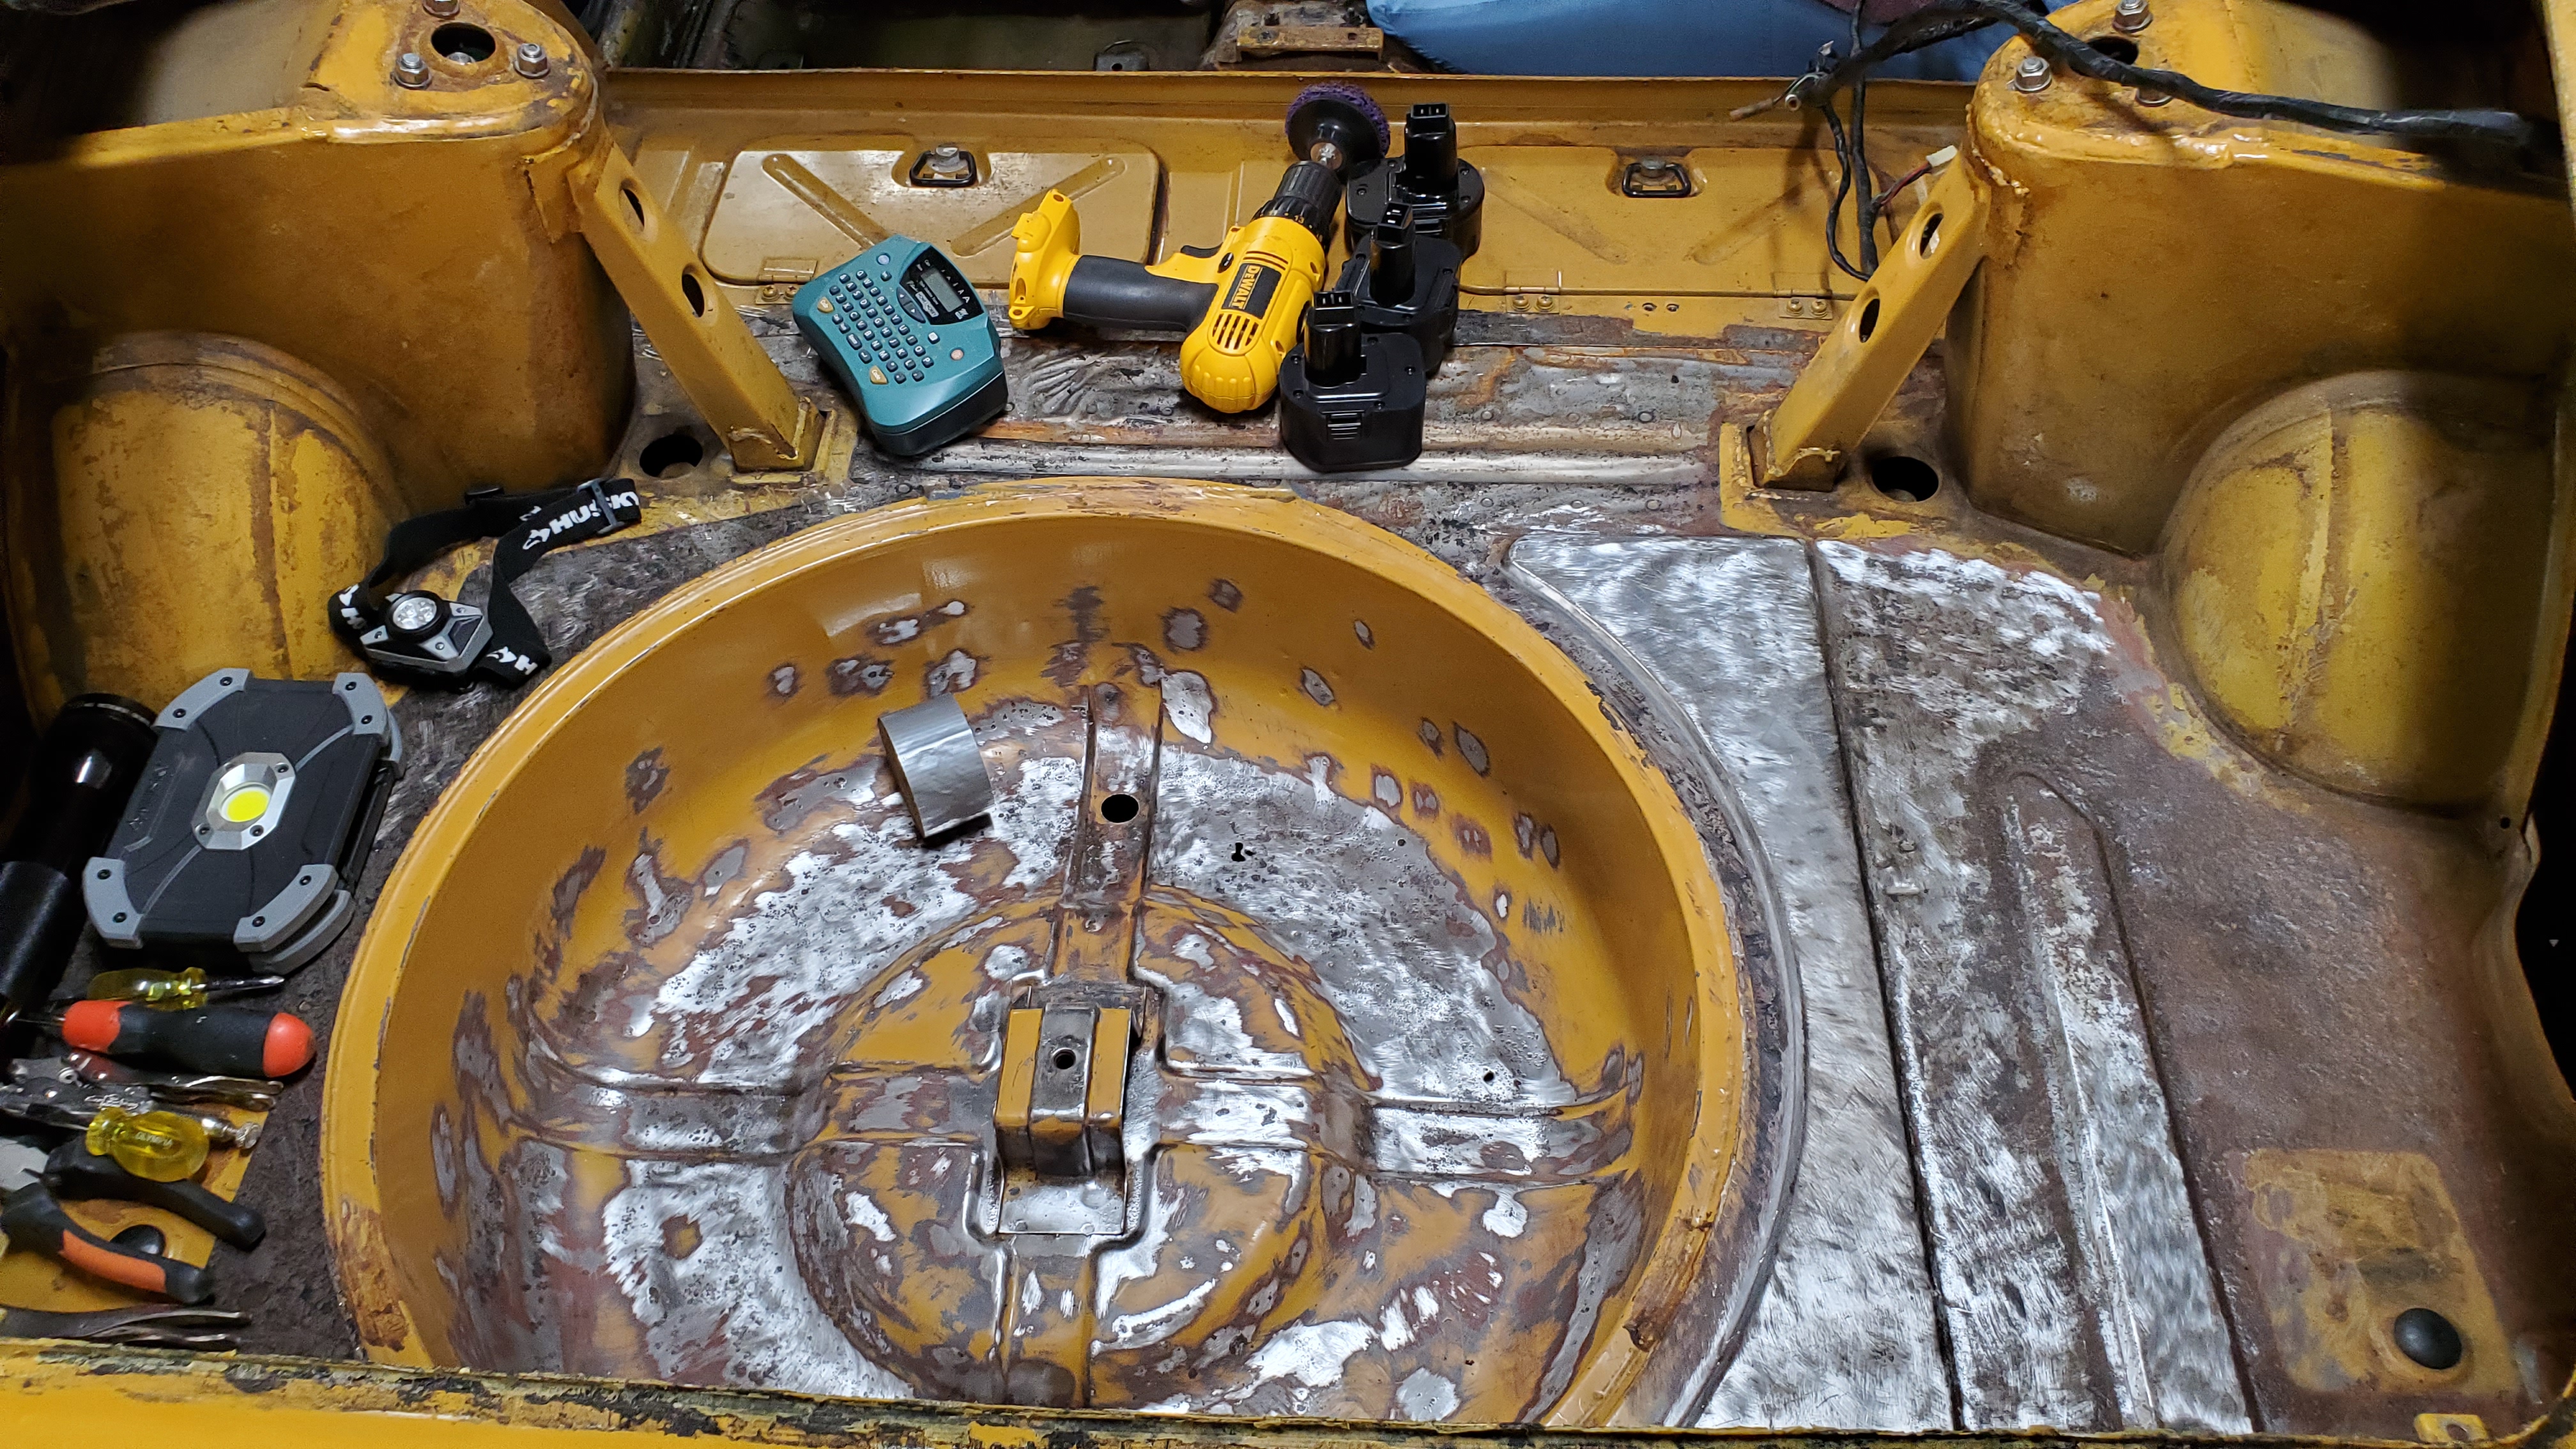
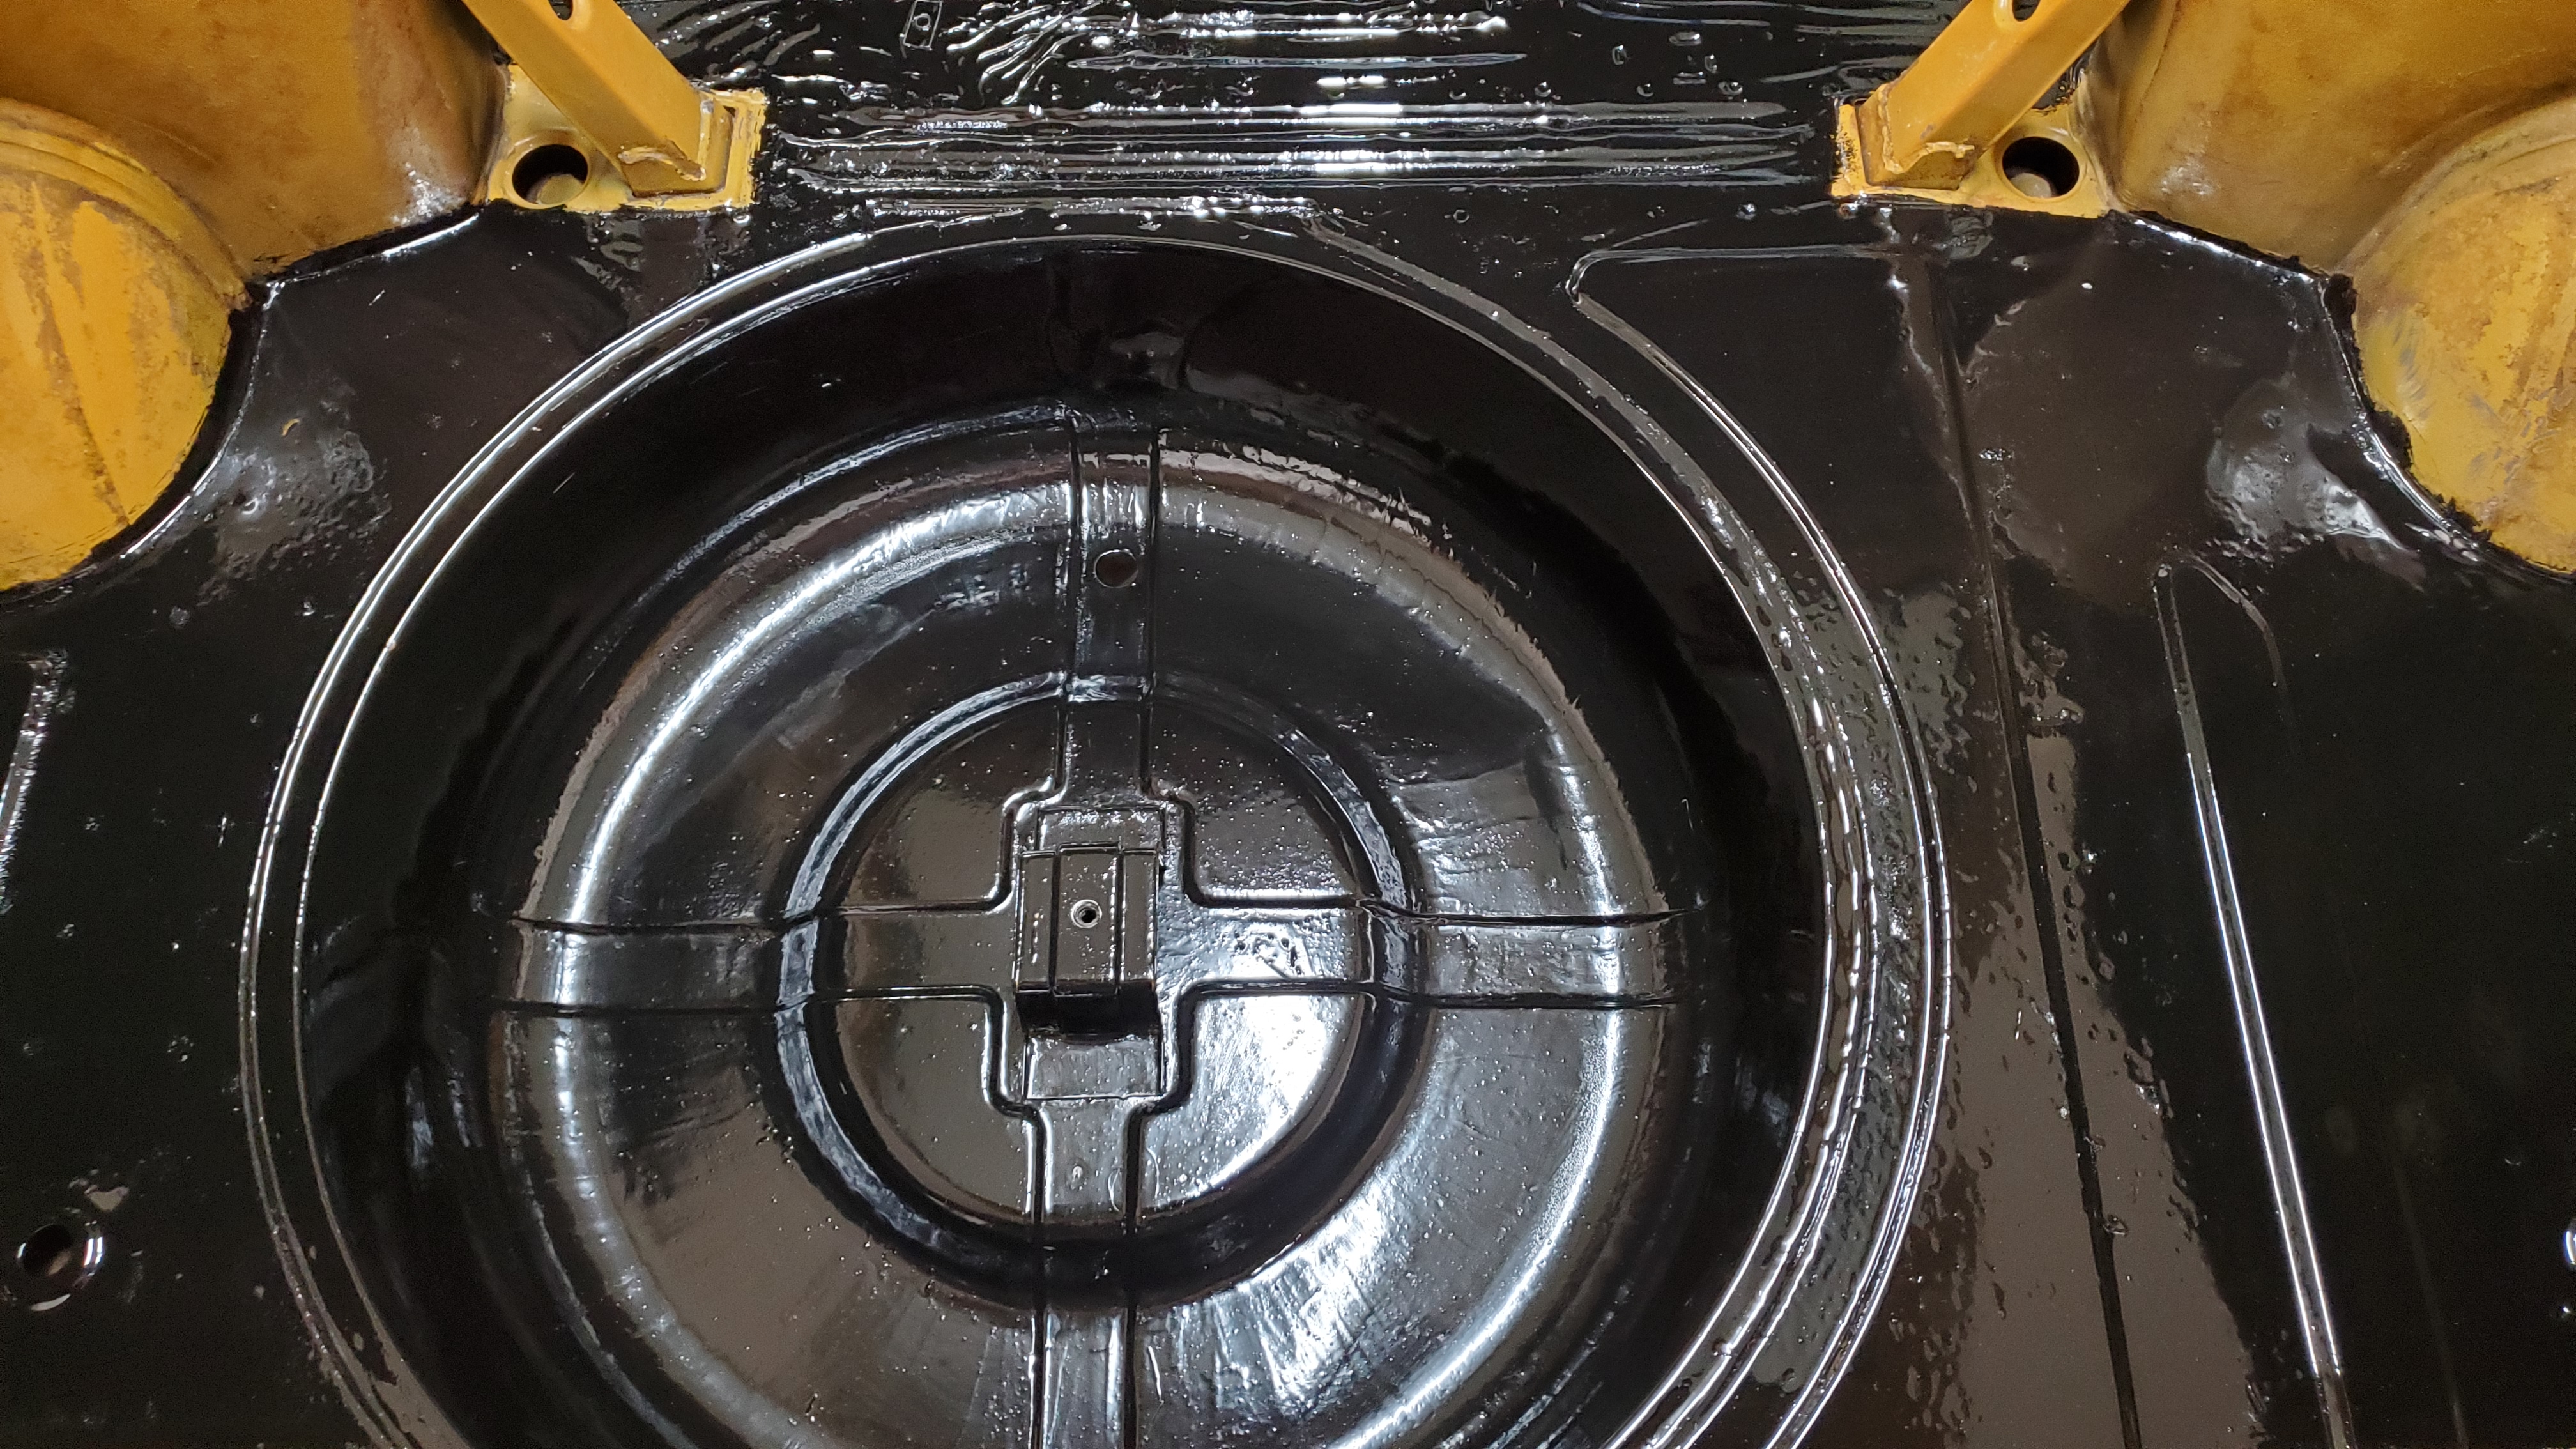
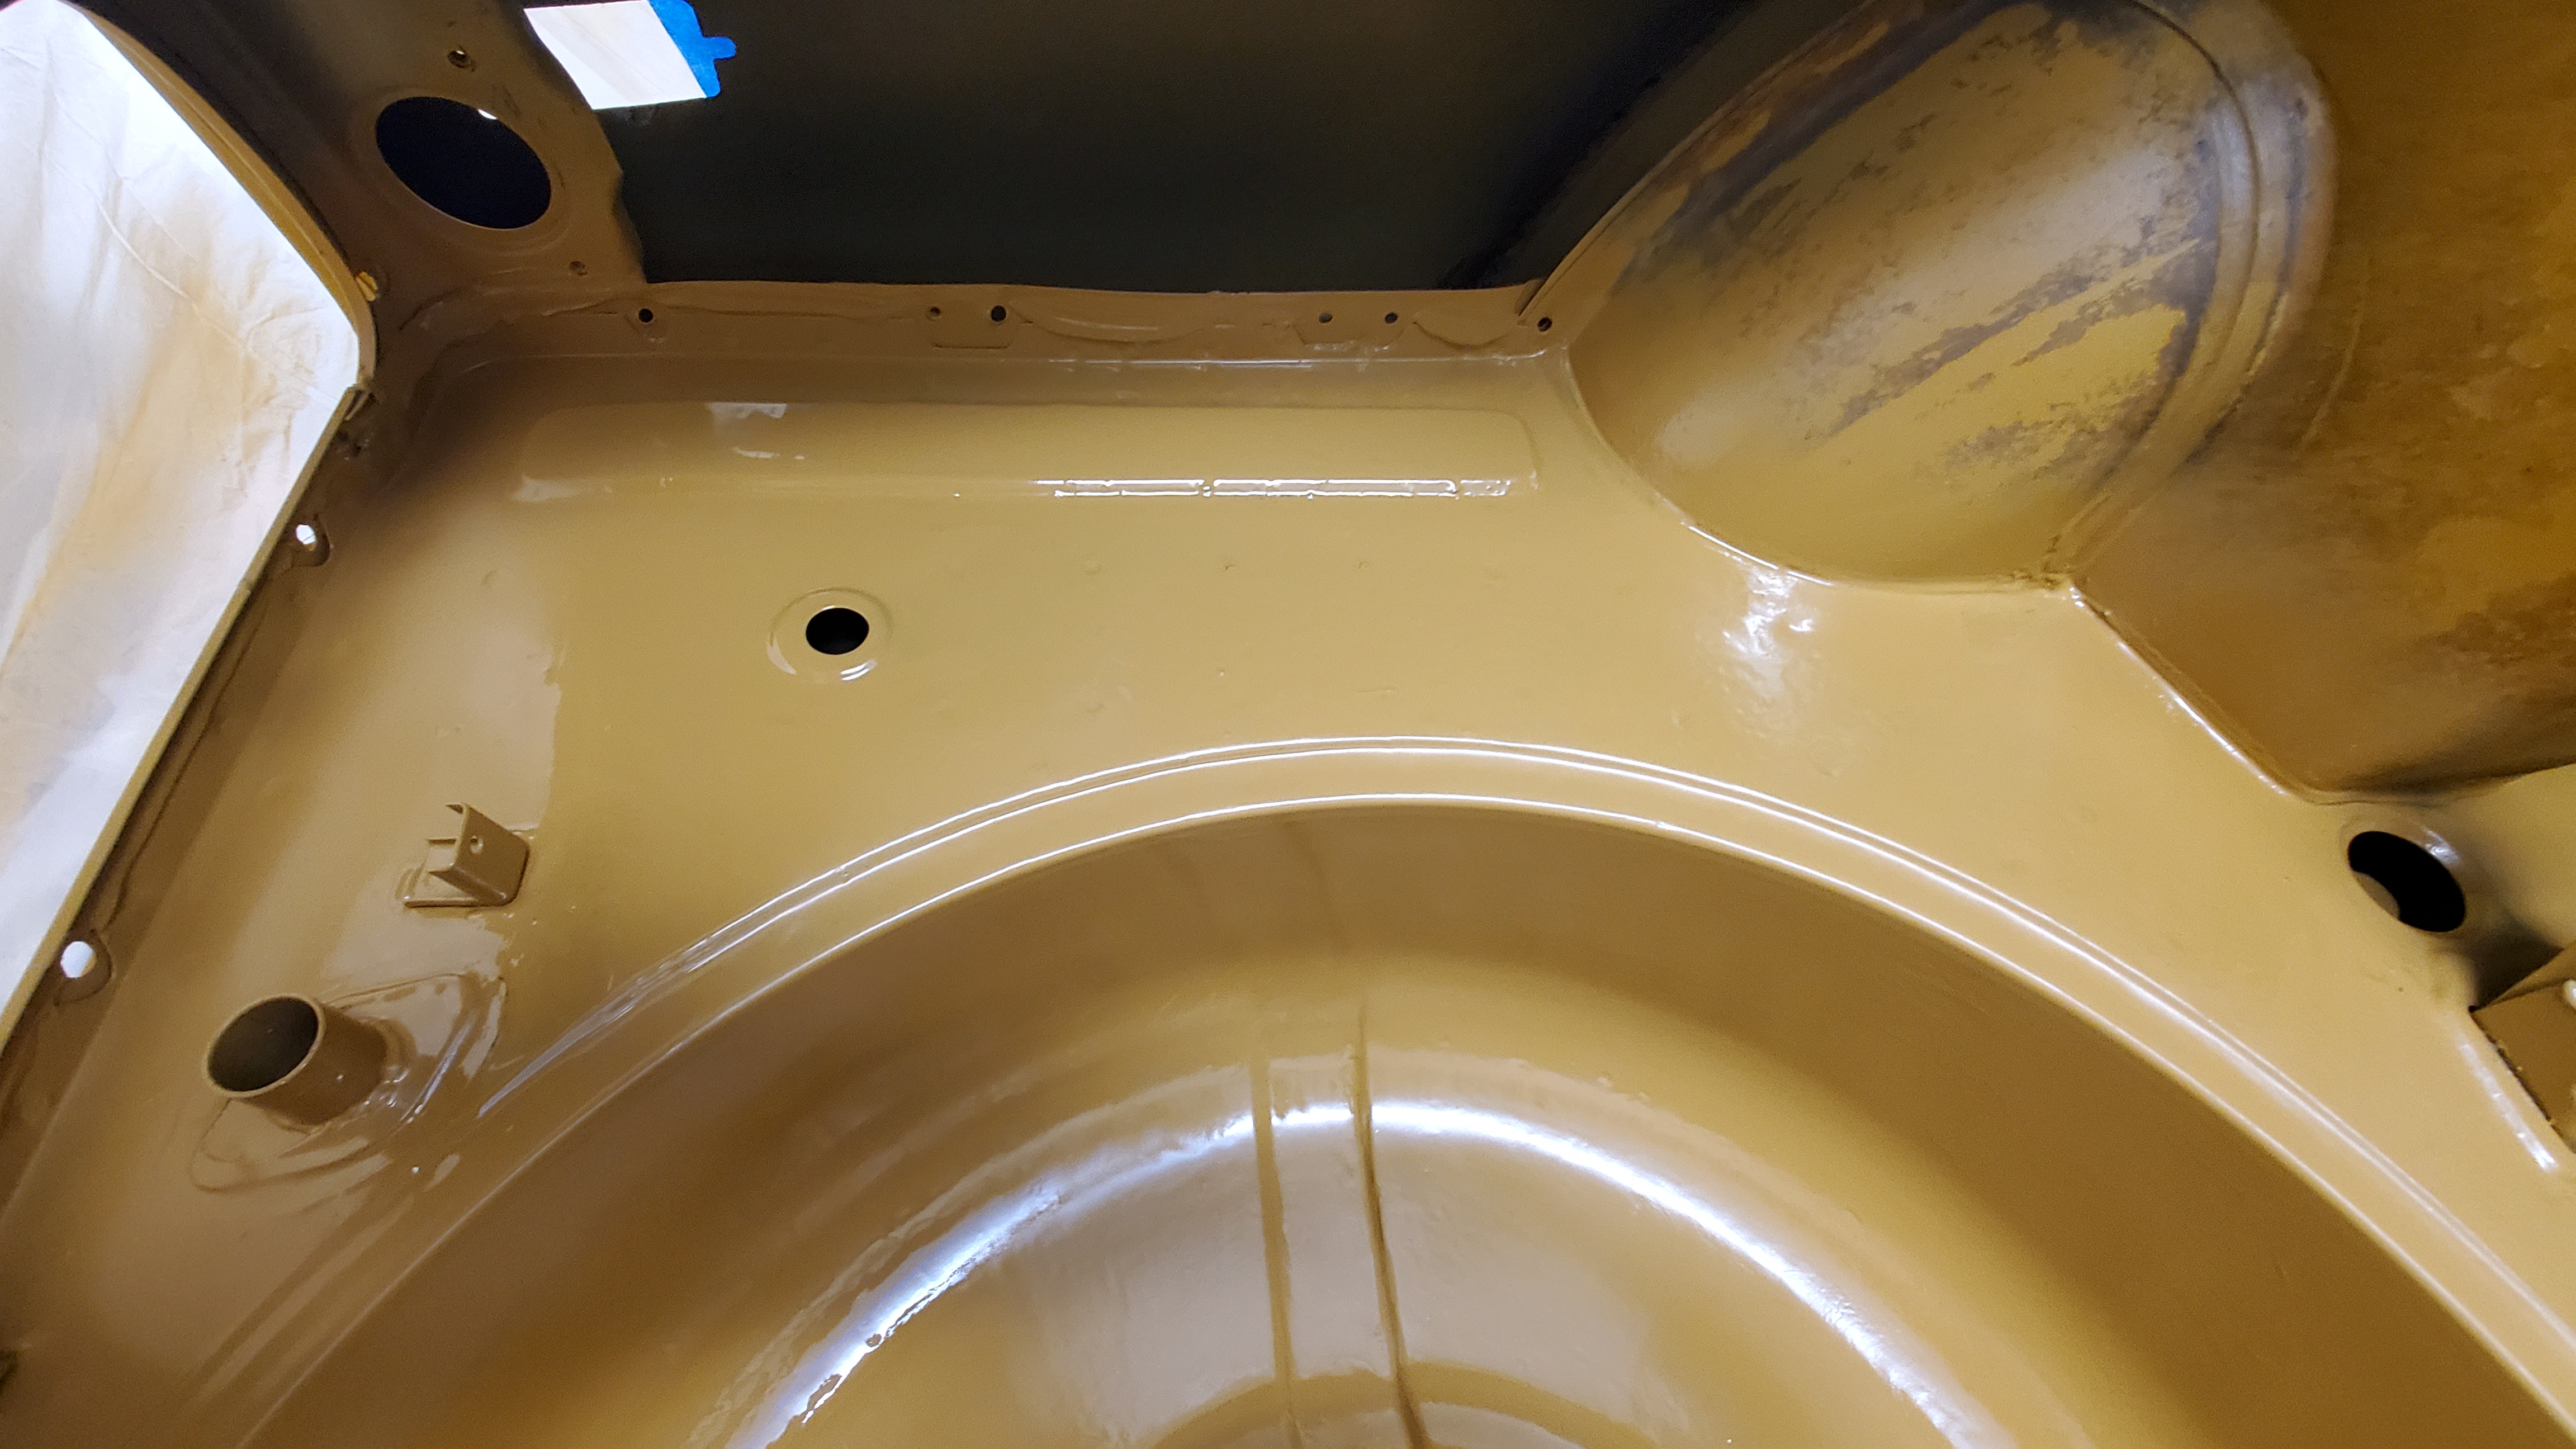
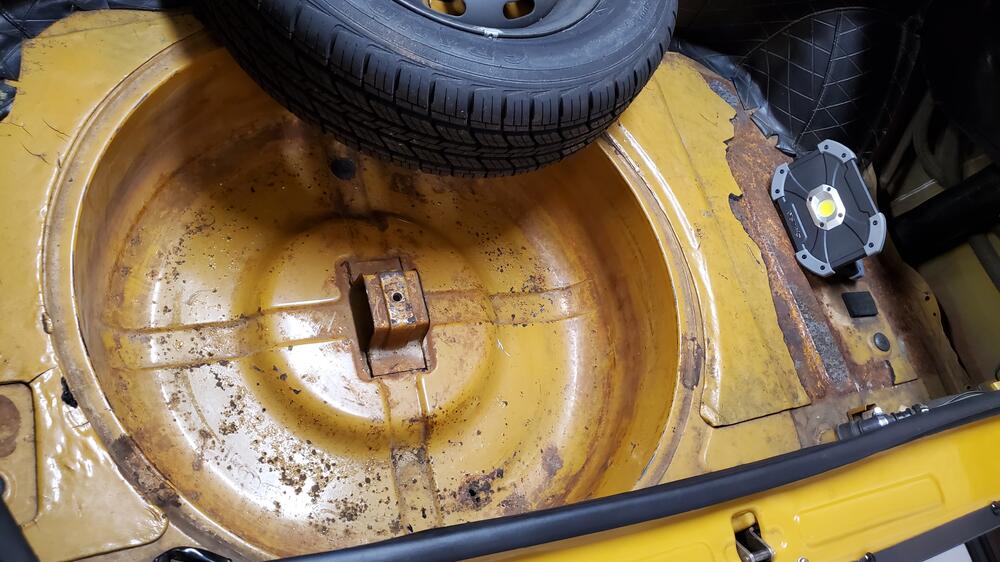
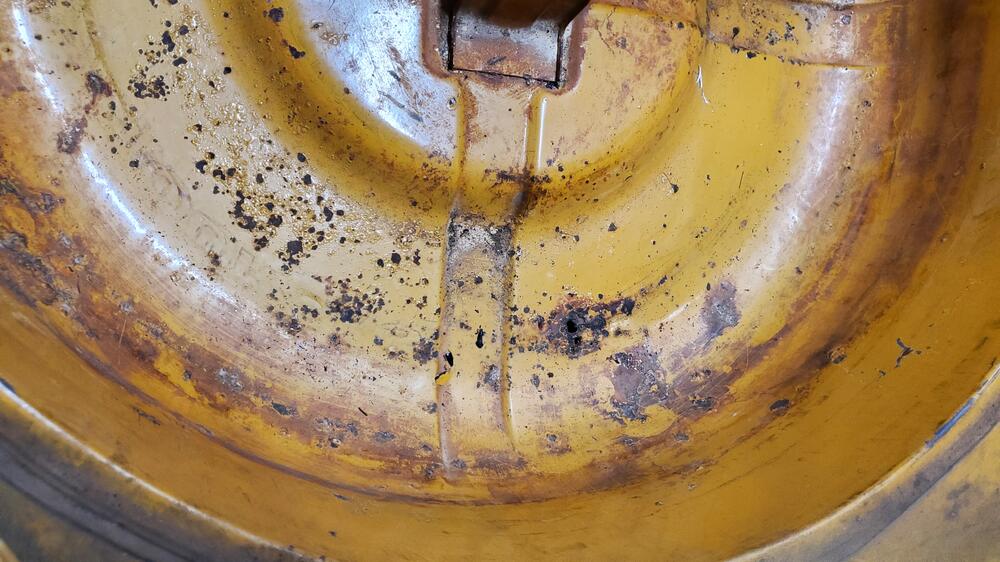
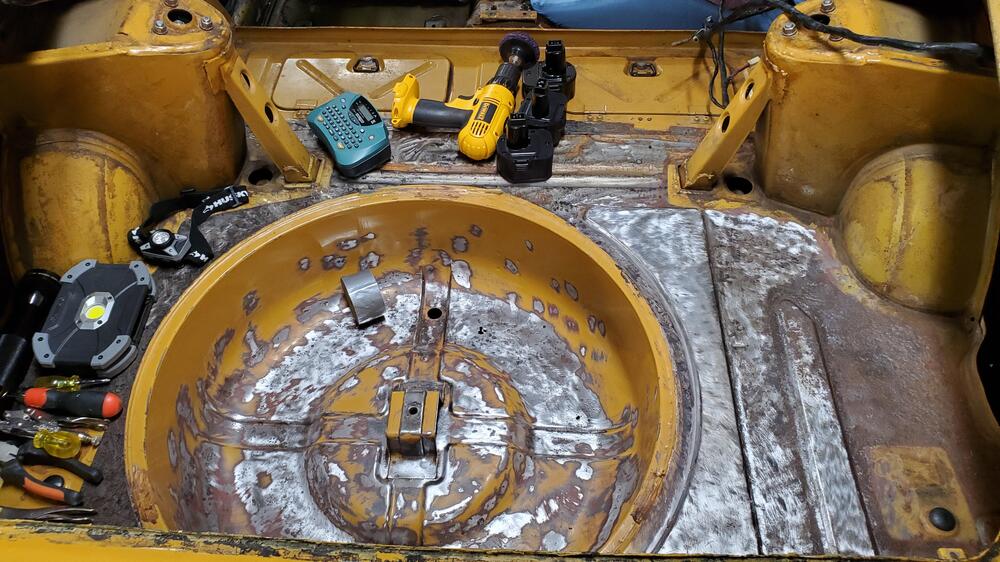
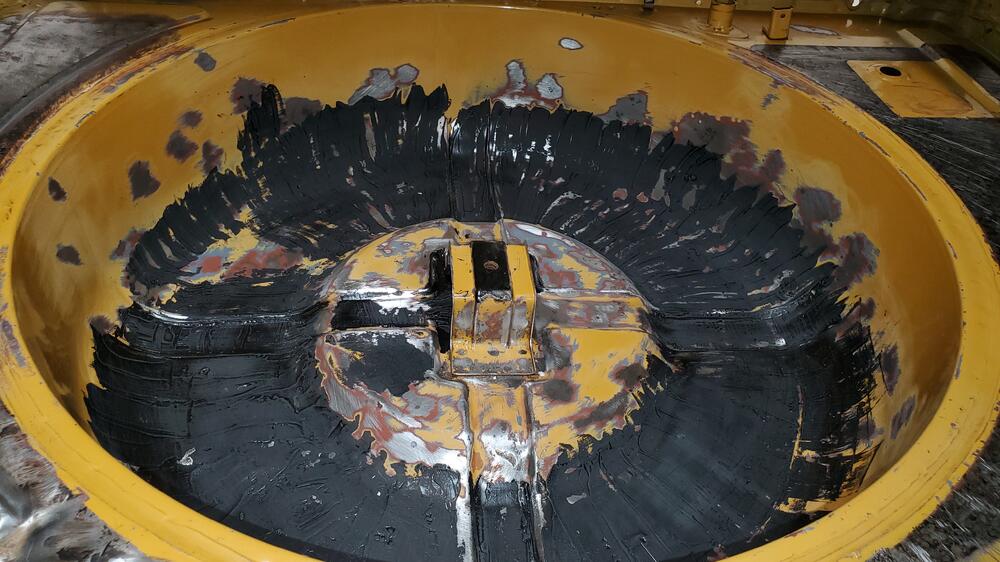
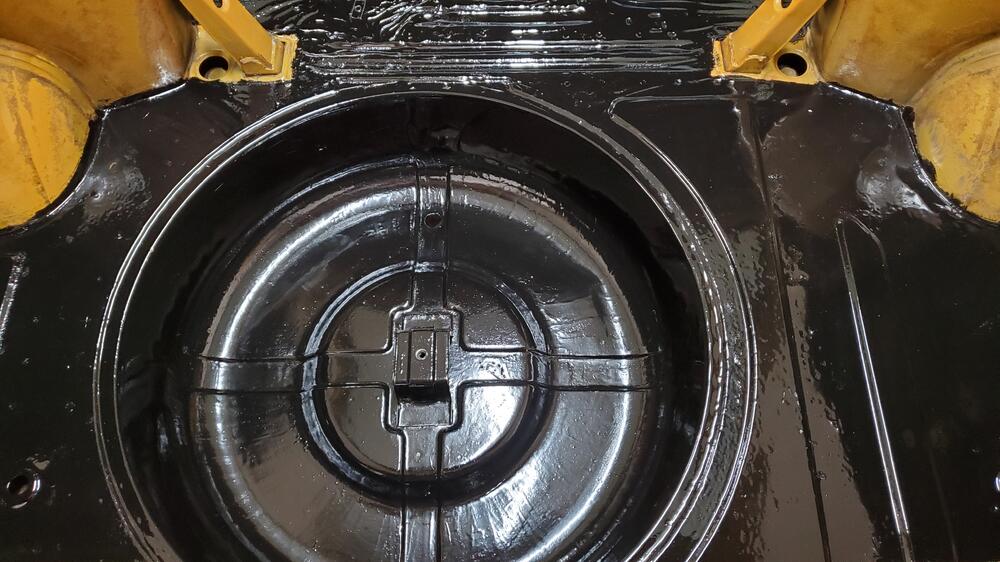
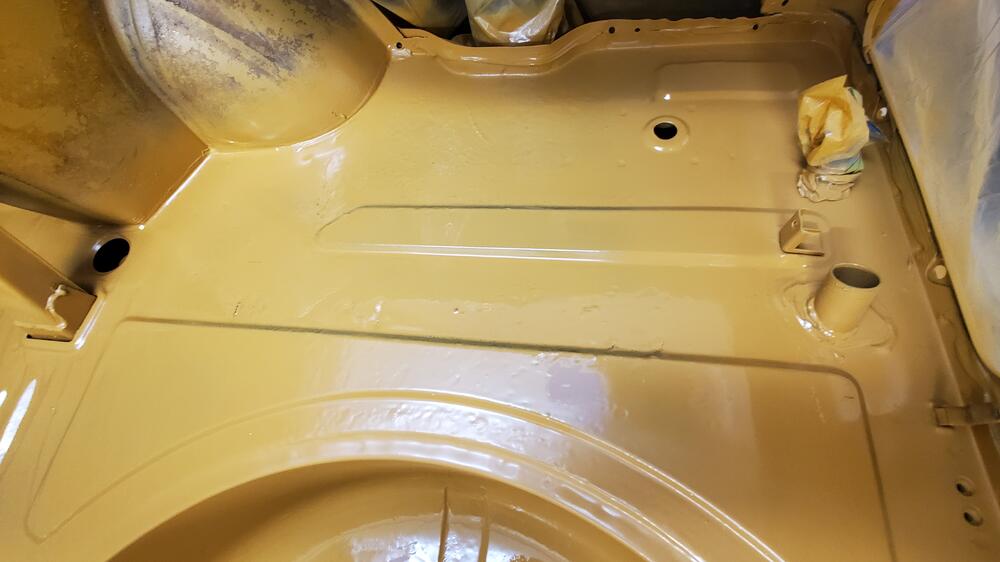
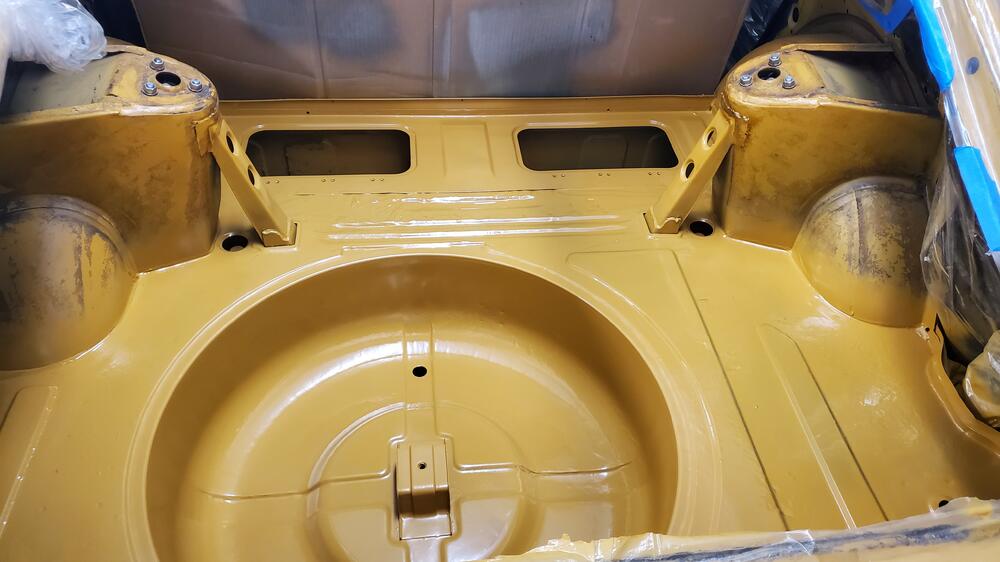
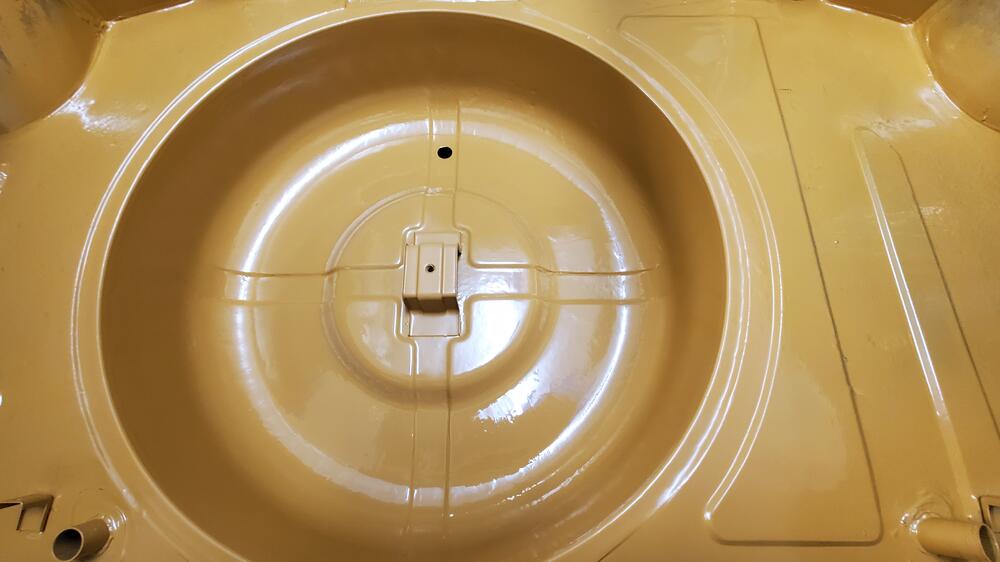
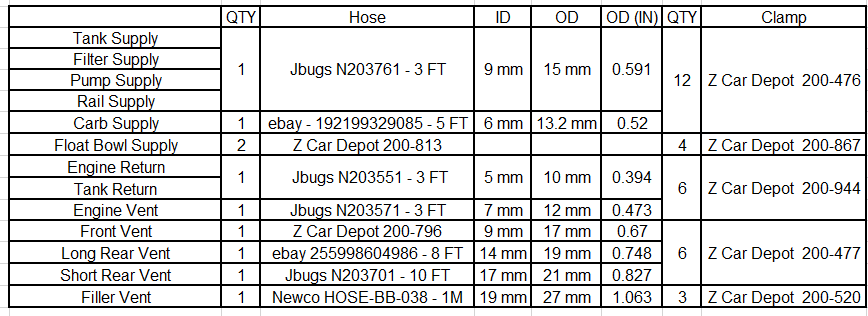
1 pointGood timing on this question as I was just going to update the group on my progress. I havent actually put any of the hoses in yet as I got distracted once I saw the condition of the old sound deadening and wheel well. I figured that all needed to be dealt with first so I stripped the entire back of the car and went to town. Once I got it all up I found that most of it was just surface rust from trapped moisture. The wheel well had some small pitted spots and a few poke through but nothing big enough to get a finger through. Everything was sound so I got some POR 15 patch and paint and ground it all down, prepped it, filled it, POR painted it, sanded it and finally finished it with one stage spray cans since I don't have a sprayer or air supply or anything resembling professional gear. Before I get to before and after pictures, back to the hoses. I found that some of the supplied information just wasn't working for me so I sourced a few different items to better fit what I needed. I had started by looking for things pre-shaped for some of the funky bends before knowing the spring door trick (which is awesome). So I had already purchased from Z Car Depot the bent hose for the front vent. Since I had that in hand the rest of the shopping list diverted a bit from recommended. The biggest issue I had was that the 17 MM recommendation for the filler vent just would not fit. I had to get a 19 MM hose which now fits perfectly. So in summary here is my shopping list and what I had purchased from a length perspective, some out of need, some out of direct measurement. I also had a need for all new clamps as the PO had a hornets nest of crap everywhere. Hope this helps people starting from scratch. Now to the fun stuff, some pics!. Before Midway Done Next up the Kilmat I chose and then I'll start dealing with putting it back together and the tank. Will update group when I do.


 1 point
 -
Wow thank you so much Mark!! We will take your sample and use it to make a new Jig to make our firewall plates. All our future customers will get the perfect angled firewall plate.1 point