


ktm
Free Member
-
Joined
-
Last visited
Everything posted by ktm
-
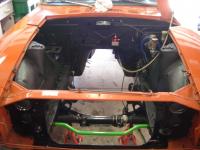
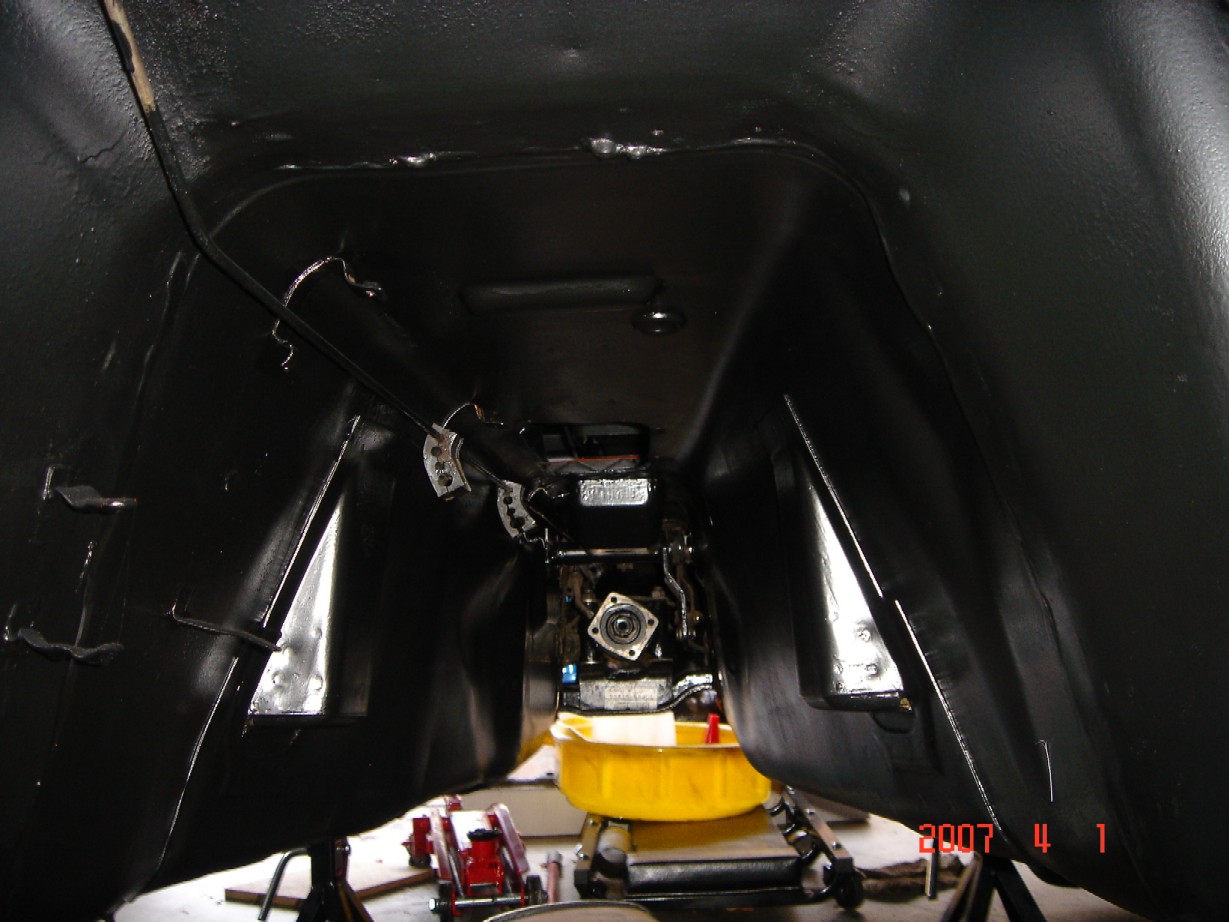
You do not have to strip to bare metal, but you do have to sand the surface a little bit to provide good adhesion. The primer is basically an adhesive component for the enamel. I did not use primer in my engine bay, but I did use it on my suspension pieces. The tranny tunnel was painted with POR15 and POR's Chassis Coat.

-
Dyno time is typically $100 an hour with a one time charge of $50 for the first strap down. The $35 deal is for 3 pulls only most likely.
-
Courtesy Nissan - www.courtesyparts.com You order the gear by its color (assuming your differential is stock).
-
....and if you did NOT have a compressor or HLVP gun? I have neither, so I do what I can with what I have. I see that the PO has a gun, so the argument of HLVP or spray can is moot. He is simply asking about the Rustoleum product.
-
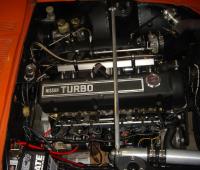
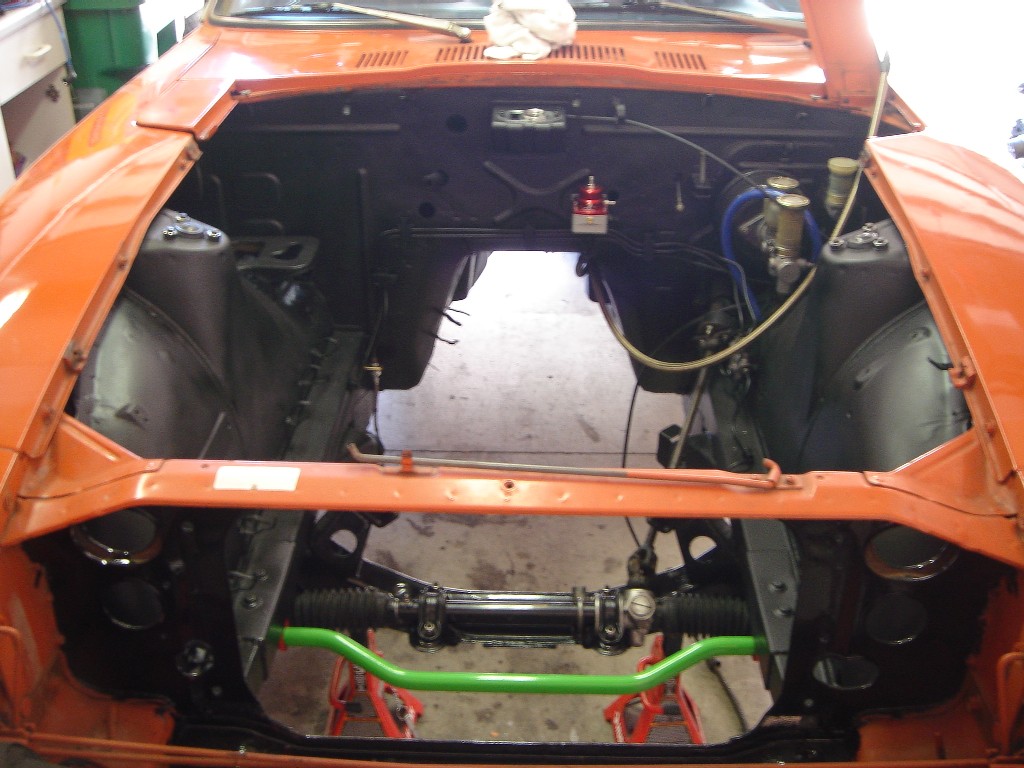
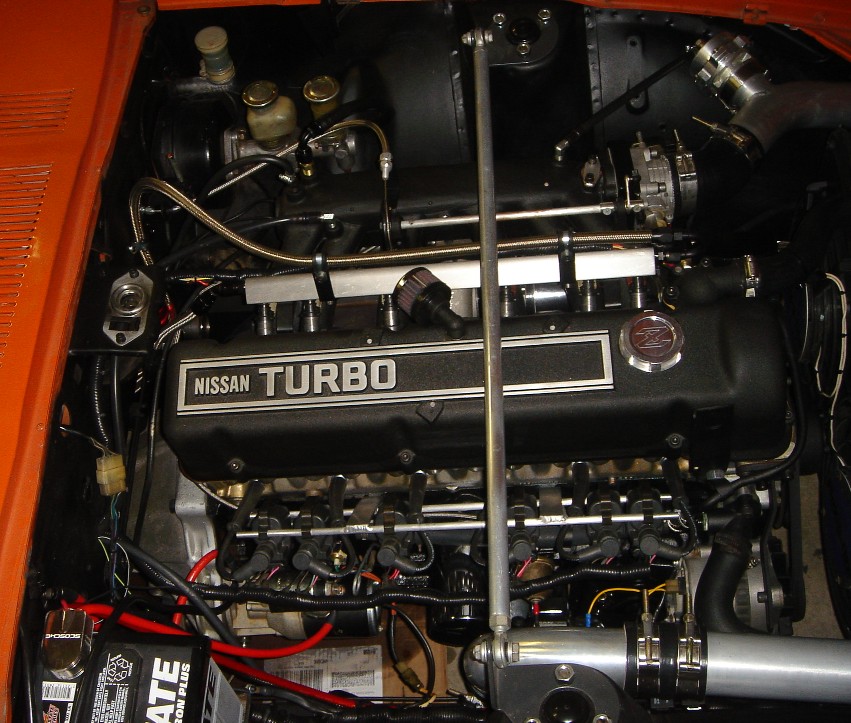
Spray cans are fine if you take your time. My entire suspension system and engine bay were rattle-canned. My IMSA spoiler and stripe down the center of the car are Duplicolor's engine paint from a rattle can. It's all about preparation.
-
I have mine painted with the textured Rustoleum. The benefit is that whenever you get scratched, brake/clutch fluid leaks, etc., it is very easy to dress the area back up. Not to mention that the black hides dirt and grime very well.
-
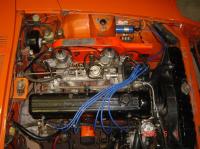
To all with SUs, do yourself a favor and get a Colormetric (?) tube. This will do more to tell you about your "AFRs" than guessing with a Unisyn and fuel adjustments. Better yet, buy an Innovate LM-1 with a wideband O2, temporarily mount the O2 sensor at the tailpipe, and tune to AFRs.
-
Go to www.club4ag.com if you want to save some money as well. They are an old-school Toyota site. Many of the older Corolla's run 4x114.3 and you see Konig's show up there for sale all the time.
-
Tkach, I was referring to wasting everyones, including yours, time if you were trying to rewire the car without a DMM. Now, for Test 3 you said that the black wire OUT of the rheostat did not measure resistance when grounding to the chassis. That is a problem. You should have measure some resistance. If I am reading Test 2 correctly, you tested another ground wire that was on the same circuit. While useful, it does not tell you the status of the circuit relative to the chassis ground. This is important. The chassis ground is how electricity is flowing. Two more tests: 1) You can make longer DMM leads by attaching wire to them. Do so if you need to for this test. Connect one lead to the RL wire at your test light. Connect the other directly to the battery negative terminal. 2) Remove the black wire from the rheostat and connect a test wire to the rheostat. Ground out the exposed wire to a bolt, not another wire, but directly to the chassis, or better yet, with a long enough wire straight to the battery. Finally, I believe your test light is in the wrong location. Are you grounding the other side of the test light or applying power to the other side in conjunction with applying power to the GW wire? Please feel free to call me at 714-415-8249. -Bo
-
Where is your test light grounding? Secondly, are you doing all this work without a multimeter? If so, run to Home Depot and buy a digital multimeter for $20. You can not rewire a car without one. You need to test for continuity whenever you complete a circuit prior to applying voltage. You do not simply make the connections and then hope it works. You test for continuity by setting the multimeter to read Ohms. Place one lead at one end of the circuit and the second lead at the other end. If you measure resistance, you have a complete circuit. If you do not measure any resistance, you do not have a complete circuit. For your dash lights, your rheostat could be bad, the ground connection (black wire) to the rheostat could be corroded, the black wire ground on the other side of the rheostat could be bad, etc. Try this with a multimeter (MM): set the MM to read ohms; place one lead on the free end of the RL wire that is hooked up to your test light; connect the other lead to black wire connection on the rheostat - if you measure a resistance, then this circuit has continuity. If not, clean the contacts of the RL-rheostat and black-rheostat. If this does not work, your rheostat is most likely bad. I had mine go out on me and I did not have dash lights. Now, put one lead on the black wire connection to the rheostat and the second lead to any expose metal/bolt on the car that is connected to the chassis. This will test the grounding circuit. If you do not measure a resistance right away, make sure it is not due to poor contact with the leads. Once you have convinced yourself that you are, indeed, not measuring any resistance, you have found a faulty circuit. You have not mentioned anywhere in your posts that you've done these kind of tests which leads me to believe you do not have an MM. If this is a case, you are wasting your time and ours.
-
Ok, now I am confused. Did you not understand that the RL wire is a ground. Your thinking is reversed. The RL wire runs from the line of gauges to the rheostat. Read post #11. I understand that you are saying the same thing but in a different manner, but it is important to think of it in the same way that the electricity is flowing. Is the RL wire still spliced into the GW wire as you originally stated? The RL wire should not be connected to the GW wire in ANY MANNER, nor should it be directly connected to ANY power source directly. The circuit is completed through the gauge lights: the GW wire, when provided power, feeds the lights, which in turn grounds out through the RL wire through the rheostat.
-
Tkach, the RL wire connects to the rheostat as does a black ground wire. By connecting the RL wire to a hot source, you are reversing the current. This is how you can blow things up. Disconnect the RL wire from the hot source and ground it out to test the lights. I do not know which end of the RL wire you have connected to a hot source. If it is the rheostat end, grounding it should illuminate the lights assuming you have power on GW. You are wiring up your car like you would a 240z. RL is the wire that carries power to the gauges which then ground out on the gauges. The RL wire first passes through the rheostat which then provides a reduce current to the gauge lights. The 280z put the rheostat on the grounding circuit.
-
Well said. I just bought a set of 16x8 +10 Rota Grids wrapped with BFGoodrich Gforce 245/50s from a member at Hybridz (yes, I know I am going to have fitment issues, 5 mm spacers plus fender rolling/shaving will be required). I am selling my Western Turbines and center caps. Why? Because as much as I like the period look, I truly need wider wheels (no traction in first or second, and I will spin third then hook). Finding tire choices for 14x8, 14x10 is damn difficult.
-
The EZ wire kit is a piece of crap. I am rewiring a fellow Z-enthusiasts car with the EZ wire kit and the documentation, as well as the wires themselves, are crap. None of the wires have stripes; they only have solid color wires. They have multiple accessories, etc. with the same color wire, so you actually have to turn the wire around until you read the circuit. Saying that commentary, I must disagree with Dave regarding the gauge grounding. The 240z gauges ground on the gauge housing, the 280z gauges ground through the RL (red-blue) wire. The RL wire goes to the rheostat from each of the dash lights, where it is then grounded. F77ZCAR-WIRING.pdf
-
I find it rather humorous that people are knocking many of the modern wheel designs that have a large positive offset (resulting in a no lip). Go and take a look at the OEM steel wheels with the hub caps. Or how about a 14x5.5 or 6 inch Mini-lite or Watanabe. Hell, even a 5.5 inch wide 5-slot mag does not have much lip at all, certainly not more than a +25 to +35 7-in. wide wheel.
-
You have three adjustments, slave, pedal stop, and pedal to MC. Adjust the pedal to MC and pedal stop a bit and that should help considerably.
-
I am glad SOMEONE said this. This will trip up most people, even those who have pulled the head numerous times.
-
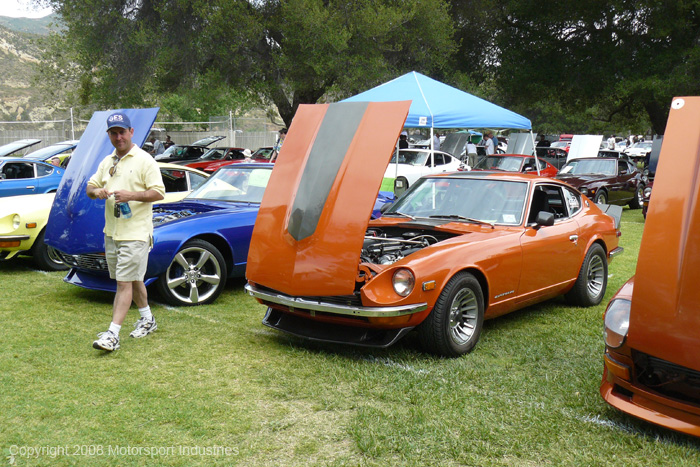
I found either my car or hints of my car 3 or 4 times. I was right next to the gentleman that had the complete Z32 swap, including the ABS system, as well as in the same row as the owner with the rear engined, electric supercharger. I had the Gnose in front of me and the Best of Show just a few cars down.
-
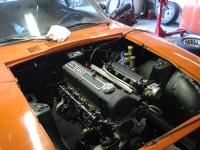
Below is a photo of my car that was taken by the roving MSA photographer. I only ever see the "leaves" of the tree after working on it for so long, that when I saw this photo I was quite surprised. I hope you enjoy it as much as I. For being a "hybrid", I strived to maintain the period look.

-
Another way to mitigate fumes is to make sure your car is properly tuned.
-
Please post the model year of the car.
-
Just get an OEM replacement. No reason to purchase a Centerforce, SPEC, ACT, etc.
I am the only one in this whole thread that understands where you are coming from. Yes, you can share the same wire and the underhood gauge should be accurate. Another way would be to install a mechanical temperature gauge in the upper radiator hose.
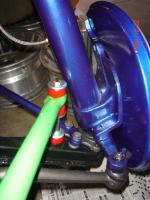
All, I would highly recommend that you do not install the polyurethane T/C rod bushings on both sides of the T/C rod. There have been quite a few reported instances (check Hybridz.org for one that just happened in the past month IIRC) of the T/C road snapping when using poly bushings on the T/C rod. A work around is to use poly on the front side and rubber on the rear. The rod needs some give in the bushing so that a bending moment is not induced in it. Another solution, and one that I am using, is the delrin T/C setup that MSA sells.


Important Information
By using this site, you agree to our Privacy Policy and Guidelines. We have placed cookies on your device to help make this website better. You can adjust your cookie settings, otherwise we'll assume you're okay to continue.