zbane
Free Member
-
Joined
-
Last visited
Everything posted by zbane
-
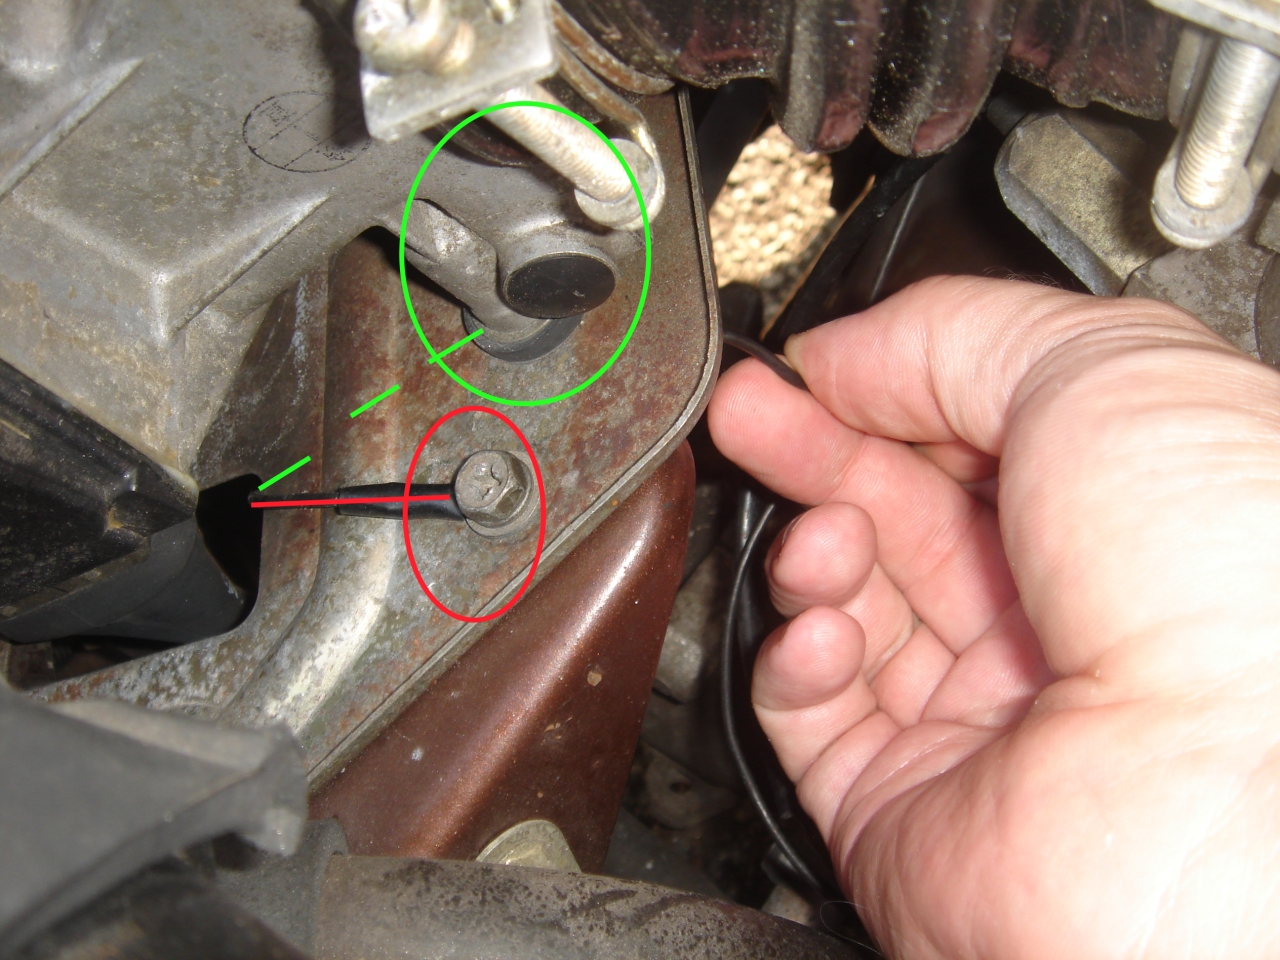
 If it is the same as on my ZX, which is should be, here is how it works. One connector is attached topside, the other underneath. The green dashed line represents under, the green circle is where it attaches. My hand is holding the slack from underneath. Hope this helps (photos usually do).
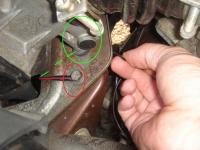
-
I would think that the shop that is willing and knowledge about Datsuns would know of a good shop for this sort of work. I would assume that you have asked them for assistance finding a shop for head work, but if not...
-
Actually, that is a fairly rare Pantera Conversion piece and if it were in good shape (which it appears to be), would be worth a good amount to the right person.
-
I remember that place being mentioned in a different thread some time ago. Don't recall if it was a Craigslist thing or epay. Most certainly a Z car purgatory. What a shame, what a waste (well, many shames and wastes).
-
If I were to guess, the fan motor relay is most likely out. The fan should come on at shutdown and run for about 15 minutes. If it's not the relay, one of the connectors at the thermostat housing may be the culprit, though I don't recall which one. As to your windshield wiper issue, the light should only come on when the spray reservoir is low or downright empty. Check, and fill, then see what happens. If the tank is full, it could be that the contacts in the tank, or underneath have corroded or gone bad. Clean as necessary.
-
Ahh, but when you make a statement like that, we want PICTURES!!! You did take your camera, didn't you?!? I bet people at the show could have quite excitedly told you where they sourced their mirrors...
-
Stephen's suggestion is a great place to start. The car has had varnish sitting in it for a couple years, and has most likely gunked up the entire system in some way or another. Have you checked what the interior of the tank is? How are all the rubber fuel lines (new or old and nasty?), fuel filter (in engine compartment), fuel strainer (in tank, on sending unit), fuel pressure regulator (on fuel rail)... Also, what is the condition of the rubber boot that goes to the throttle body? If it is cracked, it'll allow unmetered air into the system, throwing everything off. Check all these things out, let us know. Also, you might like to run a search for "Seafoam" and it's many applications. It'll help clean out some of the accumulated carbon and old oil from the head, thus smoothing out some of the rough idle problems (but not all). ...And yes, you need to get the dizzy fixed. btw- welcome to the club!
-
-
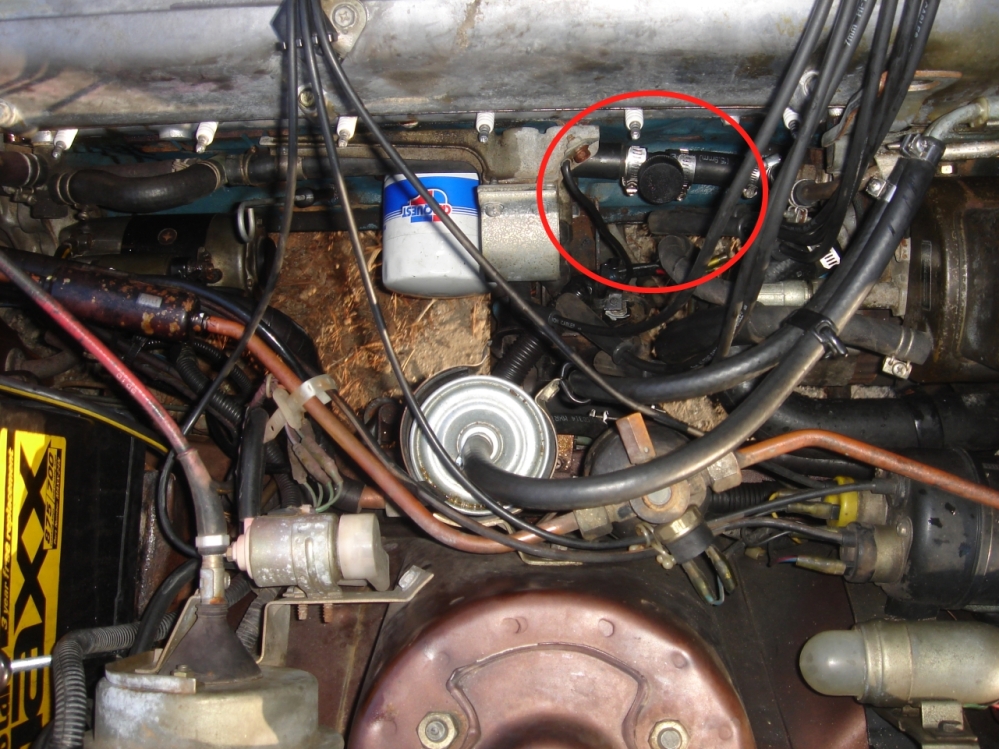
A photo should explain it a bit better.

-
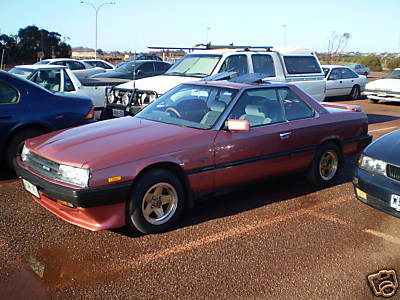
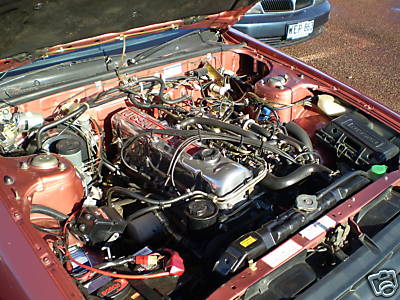
photos for posterity sake.

-
Since you have discovered an apparent blockage, I might suggest a complete drain (make sure the heater controls are set to hot so that the coolant in there can drain as well). How you do this is up to you, but I purchased a Prestone back flush kit and fit the "T" connector on the right hand side of the block behind the "J" tube between spark plugs 1 and 2. Fairly simple operation, cut out some of the old tubing, install, tighten, and follow directions. Others may have other ways to do it, but I like the kit since it allows you to top off the radiator from below the upper edge, helping force the air bubbles out.
-
When my head gasket blew, none of the coolant made its way to the crankcase (or at least not enough to be visible). I had been overheating, and had replaced everything you have, including the radiator at 1 in the morning, in the rain. :mad: Have you checked your compression? That was the final indicator in my case, as well as the car simply refusing to start...
-
Motsenbocker's Lift Off #4 worked well for me. On thick paint (I used it to strip my mirror housings) it takes a bit longer, but for what you are talking about it should work quite well, rather quickly. Safe and mild, though I would still suggest wearing some latex gloves (more to keep your hands clean than anything else). I found it at Lowe's, but I imagine any home repair place would have it or could order it. http://liftoffinc.com/
-
www.zedfindings.com zeddfind"at"kos.net
-
The Lucas Prayer (from my father who has had far too many dis-enlightening adventures with Lucas): "Let there be light!"
-
I take it your move from NY went well, always a good thing... Brian (BRE-240Z) and I are both about 4 hours away-Brian in Asheville, myself a bit further west in Cashiers.
-
Junkyard. Or, if none are around, I've got one that I could send you, or one that I could pull from a yard near me...
-
However, if WORK cannot be avoided and WEED, HERB, WINE, and/or BEER have been used in too large a quantity, simply ingest the antidote to the antidote (preferably in large quantities): Continuity Adapting Factoid Finding Equilibrium Integration Nuisance Eliminator (CAFFEINE for short).
-
What are you talking about? British Layland used only the best! After all, those fine British cars were equipped with top-of-the-line Lucas Electronics components!!! :stupid: (Any former or current British car owner of that period knows what I mean) Kidding of course, though it is interesting to see how the "sports car" design evolved differently from country to country.
-
There are places that will (for a small fee) pack and ship everything for you. If you were to include or negotiate that additional cost into what you are asking for you parts, I imagine it would work very well for you and the buyer. FWIW
-
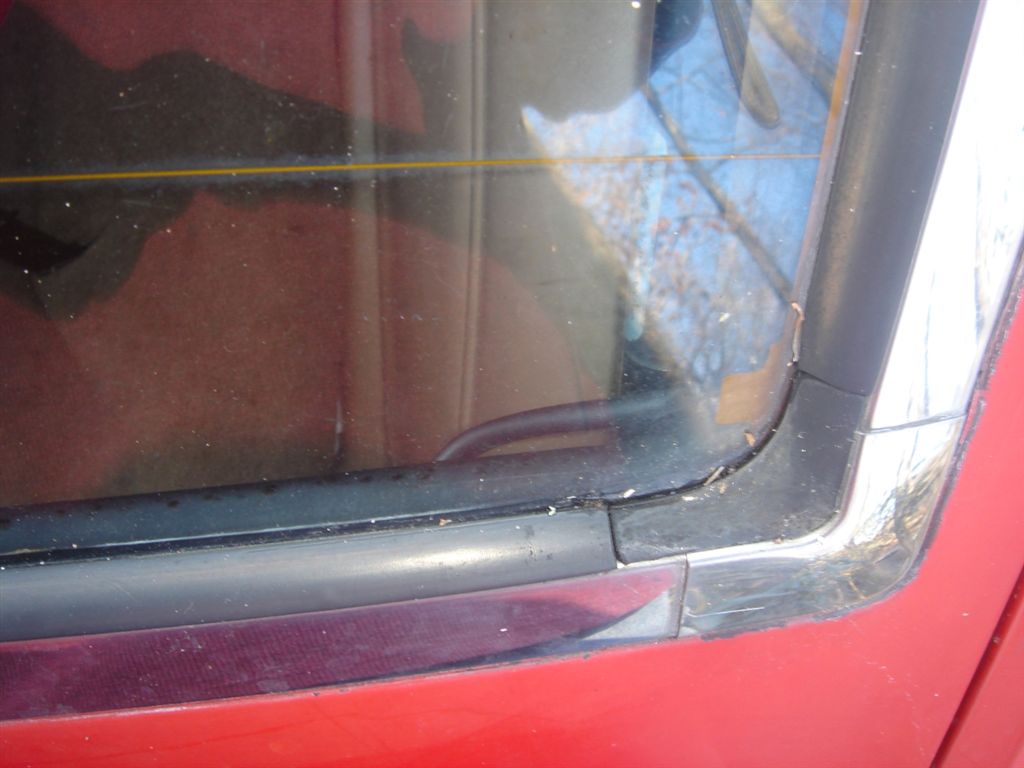
There are two things you will need to do. Start by having new weatherstripping on hand, or if yours is still in good shape you will want to refresh it with some silicon oil or similar stuff because you don't want it to crack as you remove the trim or glass. If possible, wait to do all this until you have a nice warm day, or heat the rubber with hot water before starting to help keep it flexible. Starting at the corner, get a slim yet sturdy flat blade and gently maneuver it under the metal to metal seam along the bottom edge (if I recall correctly). Once it is under there a bit (doesn't need to be much, but a bit more is better), twist the lower edge of your flat edge upward. This should get the corner trim loose, though it might take a little convincing. The vertical connection slides off. Do this at all the corners (I'm not sure which edge "locks" the trim on along the top-some careful exploration will show the way). Once the corners are off, apply your flat edge between the trim and rubber and carefully work it loose. And for those that follow, please take photos as you go along to post and share, along with any observations, comments, suggestions, etc...

-
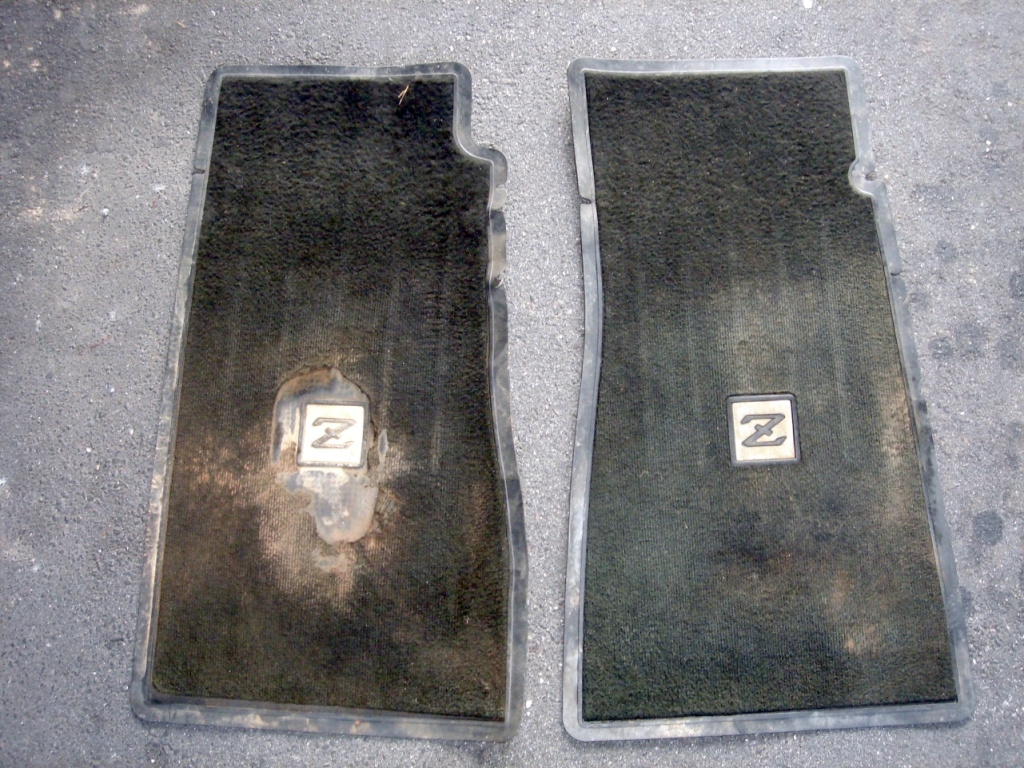
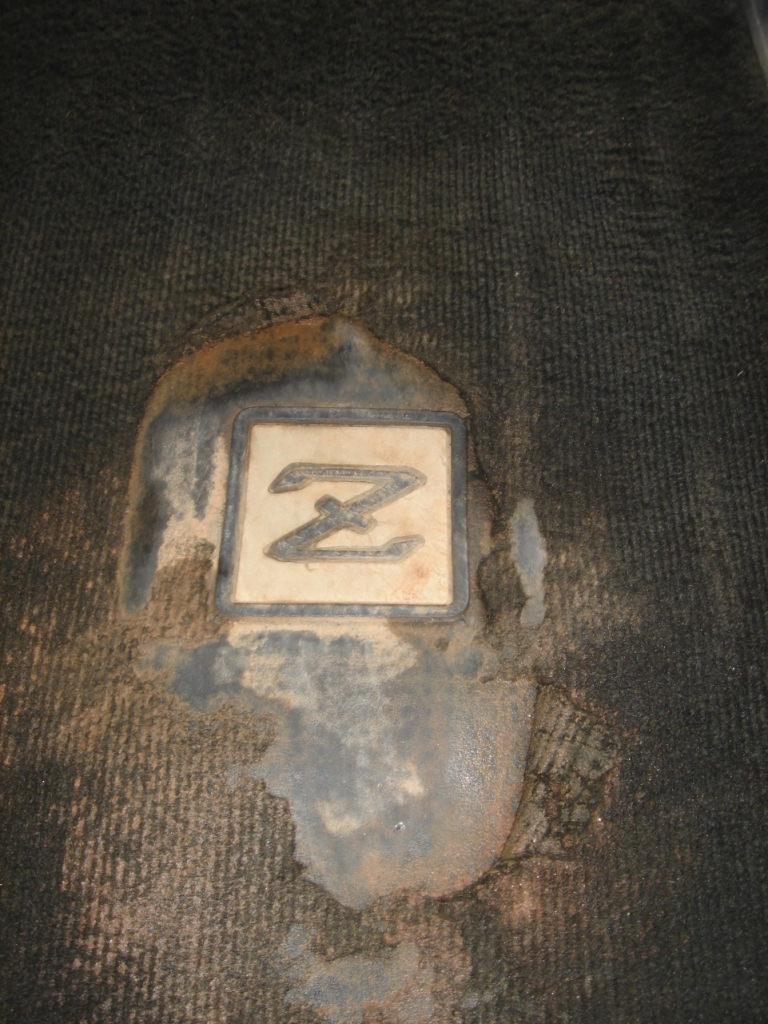
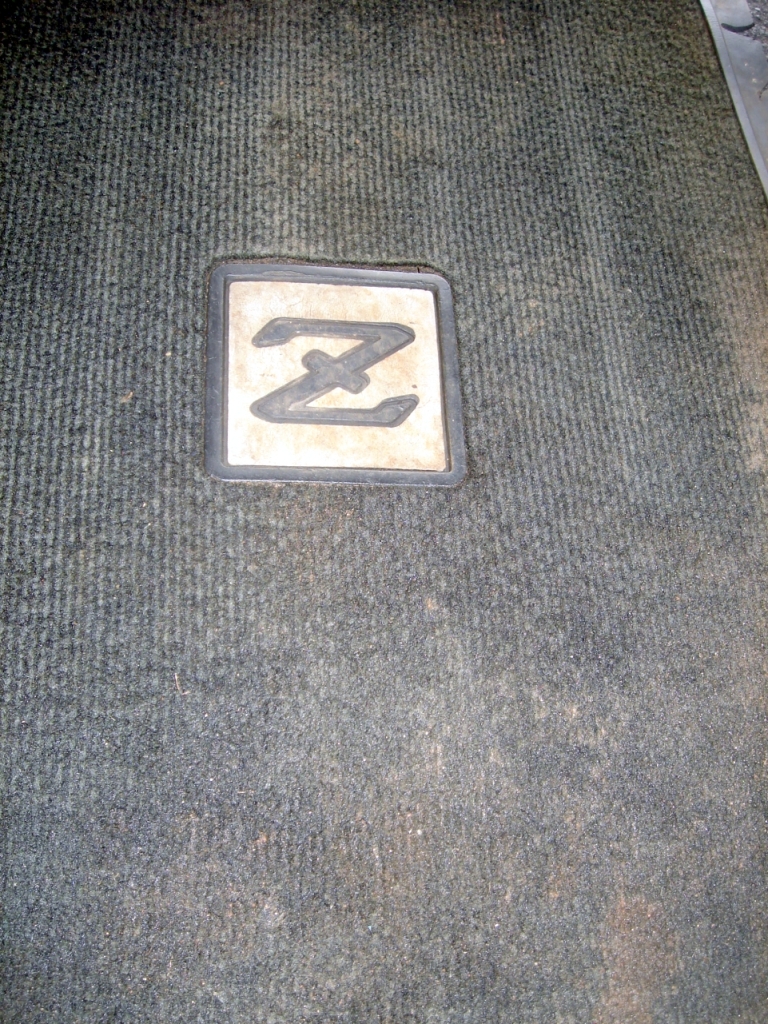
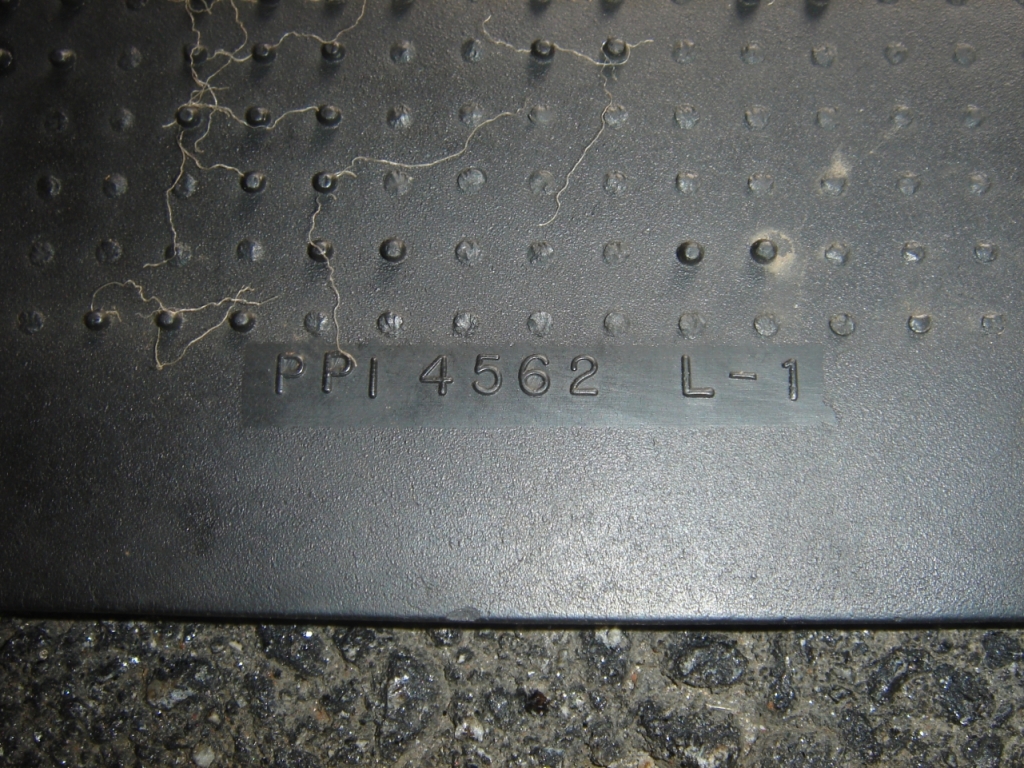
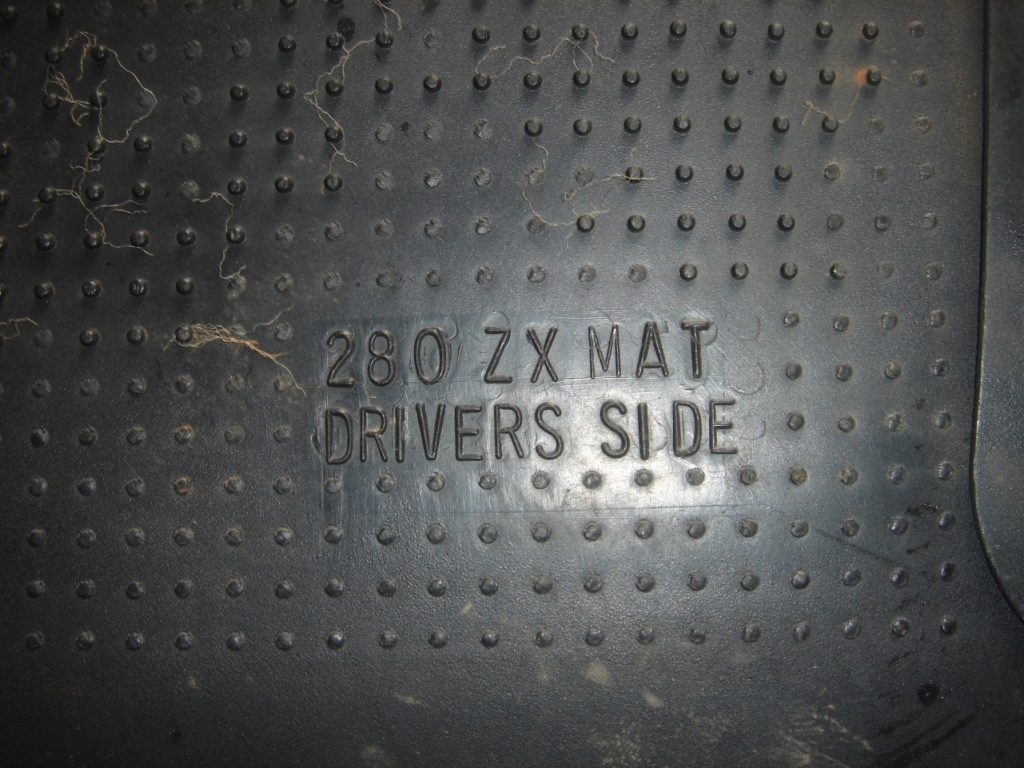
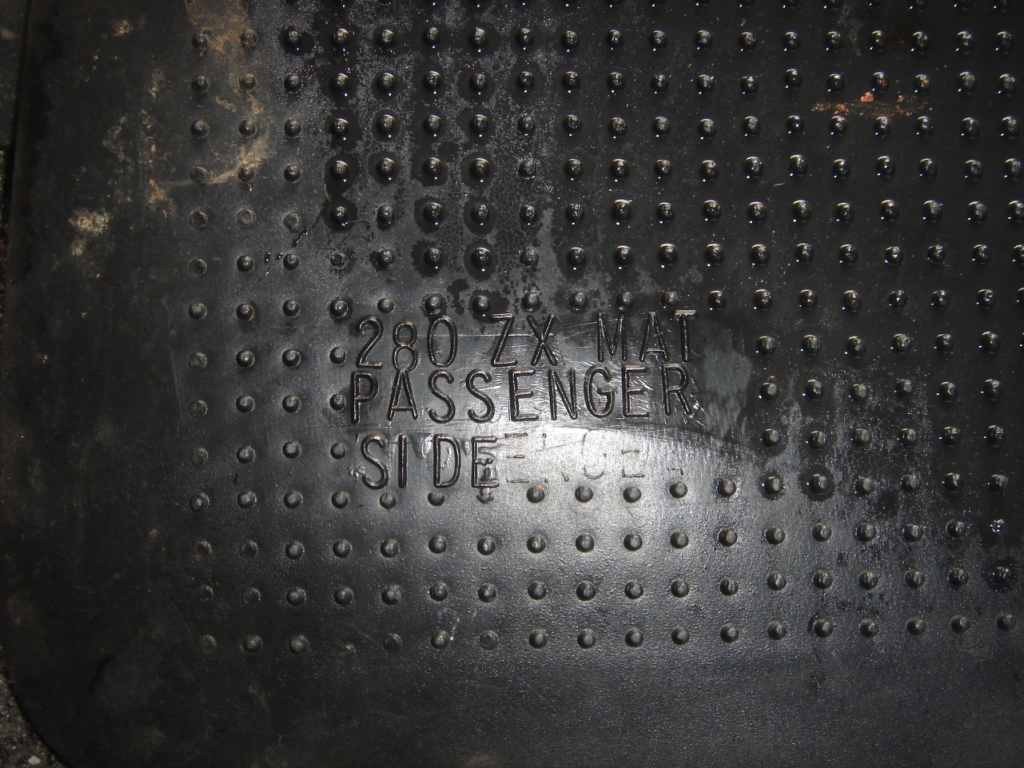
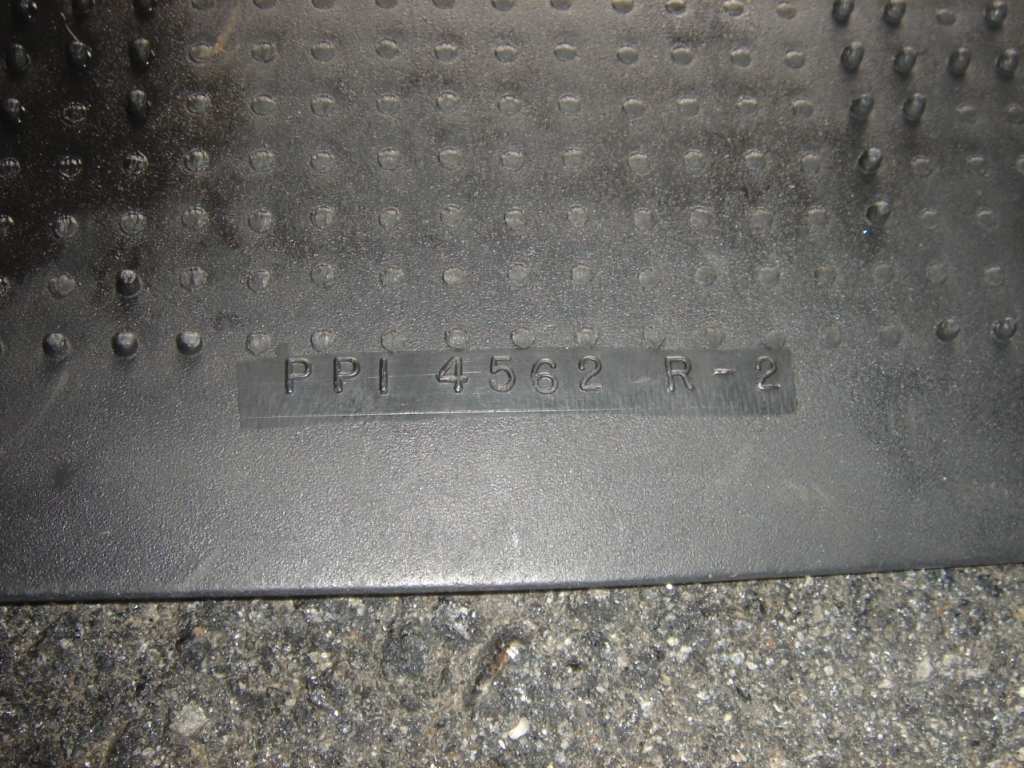
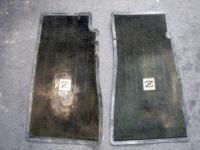
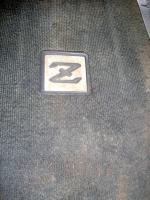
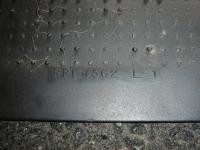
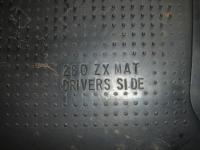
I dropped by the local p&p to get a new to me rearview mirror and found this nice-ish set of floormats. They are designated 280zx driver/passenger mats, and I am looking forward to using them. However, the driver's side one is obviously looking rather worse for wear and I was wondering if anyone had any ideas as to how to repair the damage. I was thinking of carefully removing the carpet and sourcing some new loop from a carpet place, but don't know just how well that would work. Any suggestions would be great! Also, any information about these would be interesting to know (i.e. dealership addons, aftermarket, etc.).


-
Some people are like Slinkies: Not really good for anything, but they bring a smile to your face when pushed down the stairs...
-
What is a murder, but an extroverted suicide? -Monty Python
-
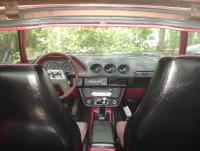
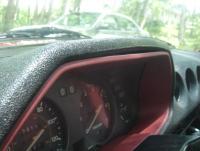
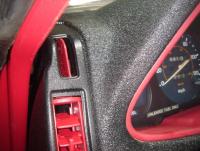
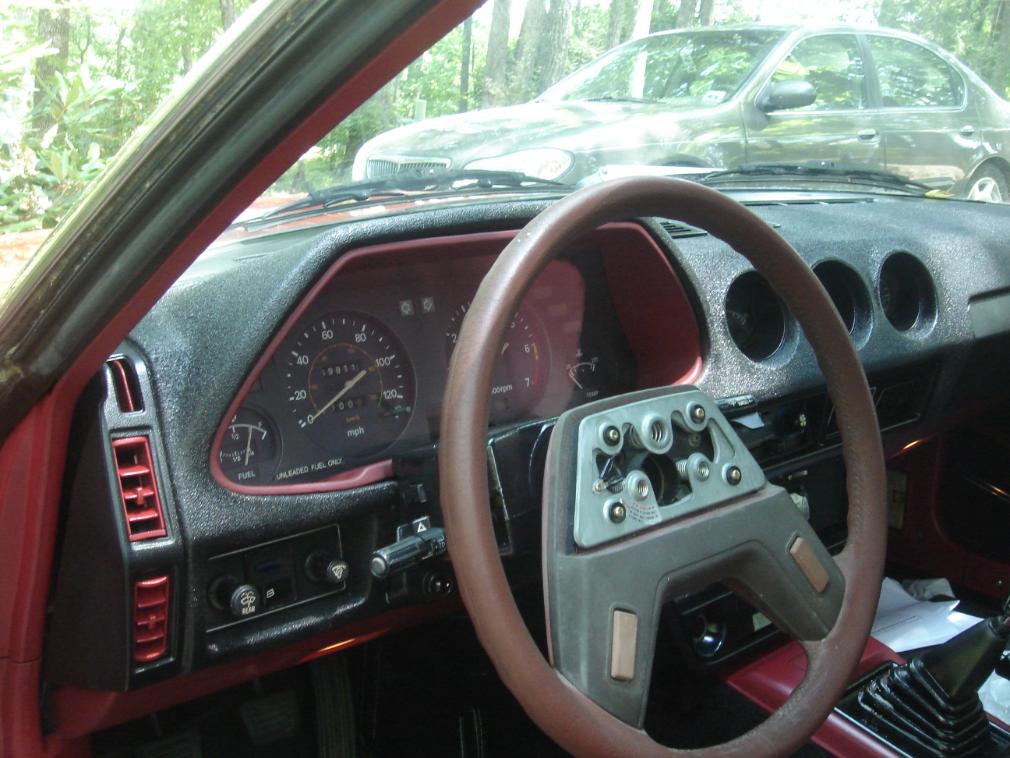
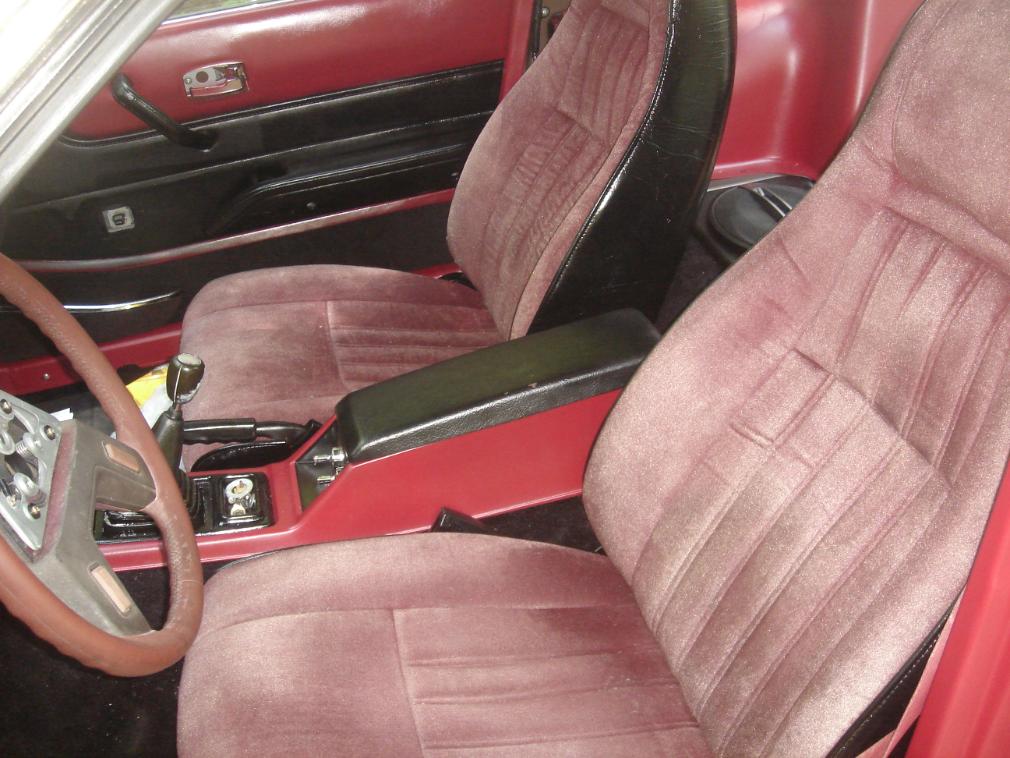
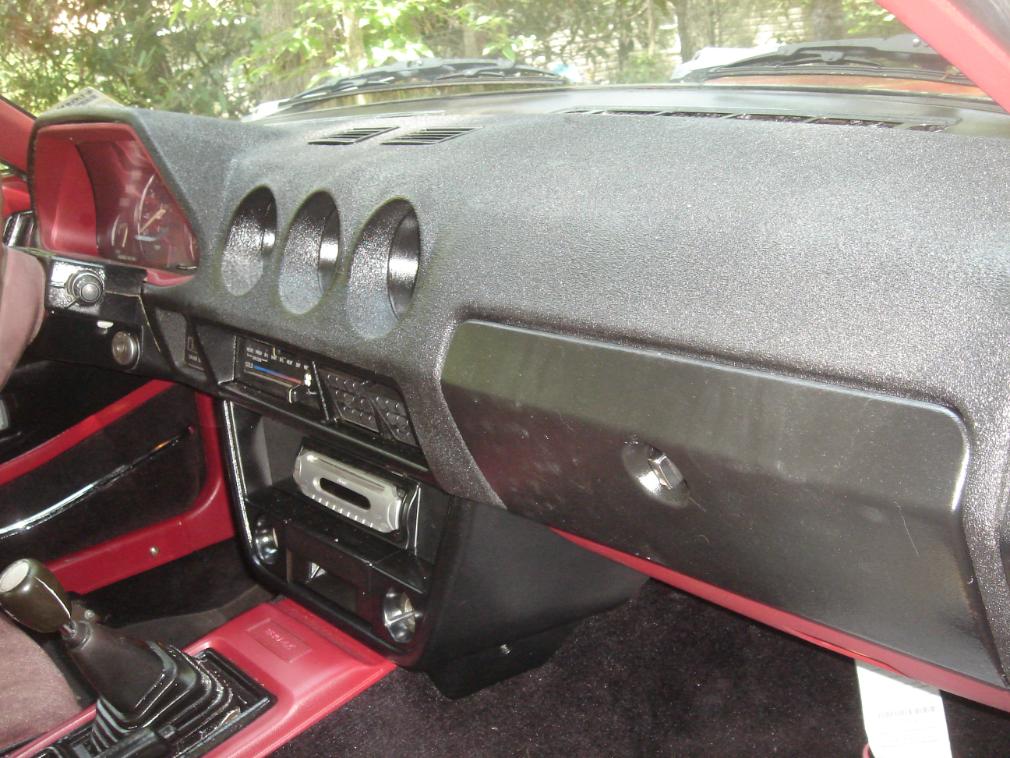
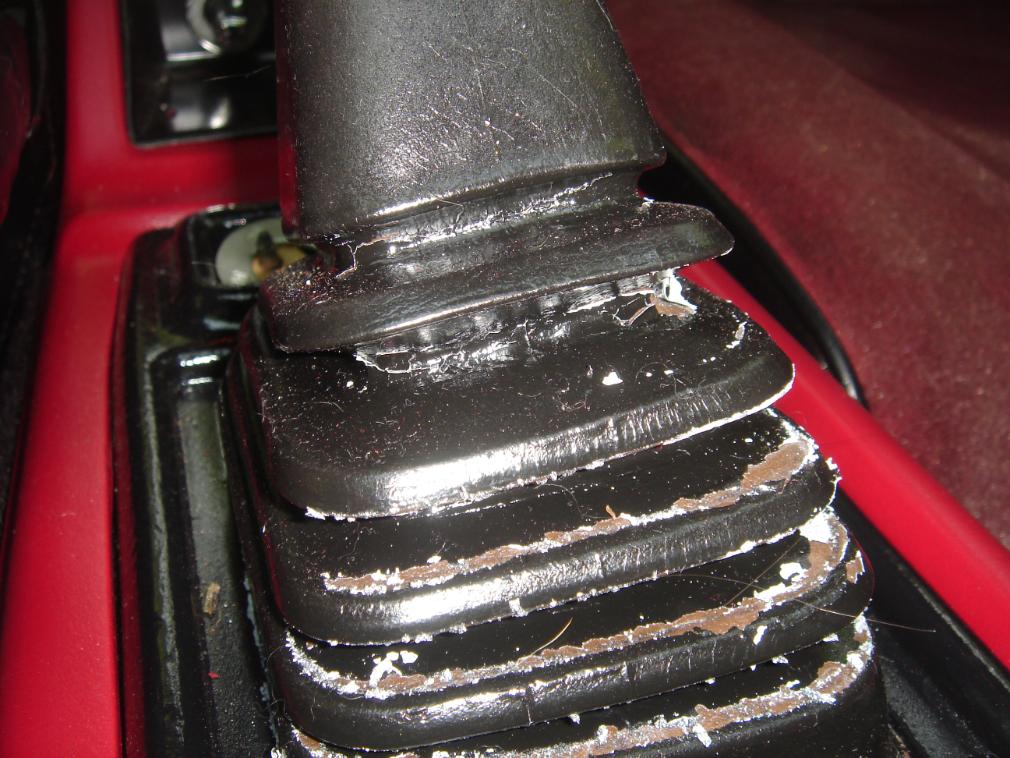
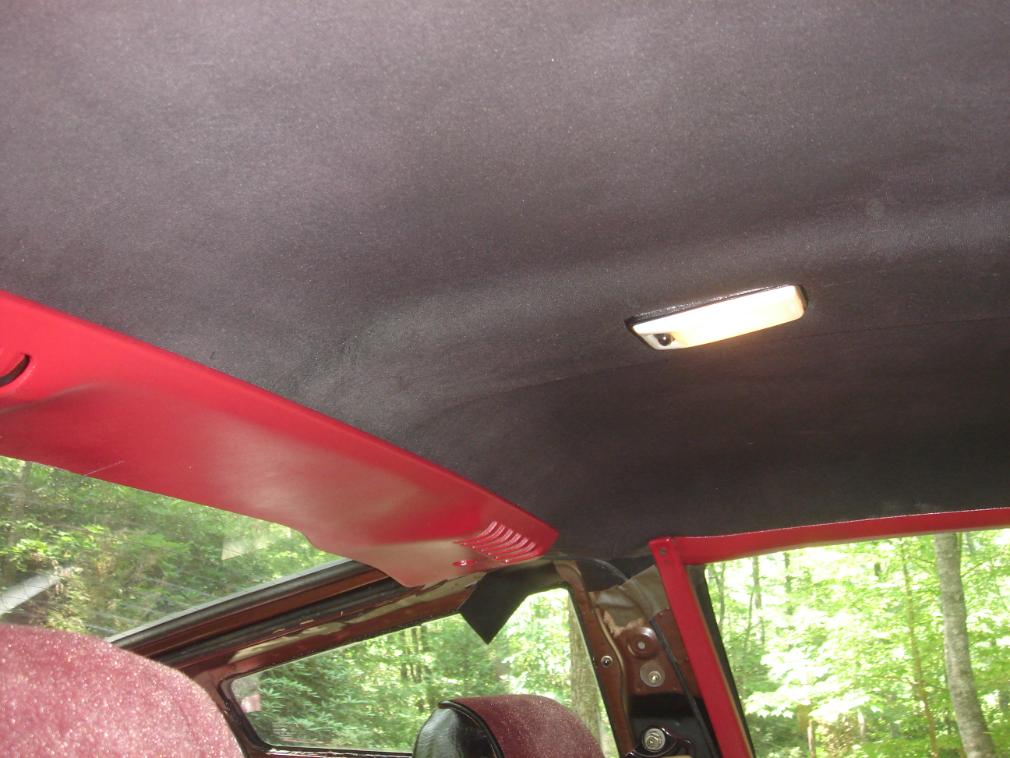
It's been a long time coming, but I've finally gotten most of the interior done. Not all of it turned out as I had hoped, and when the can says "bonds permanently to plastic" you had best not believe it, not even for one second. I had some problems refinishing my dash as others have done (it kept cracking and cracking and cracking) so I ended up stripping everything off (it cracked for the last time right after I got the final layer of paint on :mad:). So I decided not to mess around anymore with trying to keep it as original looking as possible, so I cut out the cracks, applied 5 minute epoxy, sanded down, primed, sanded, reprimed, and shot with 3m rubberized undercoating (it flexes/stretches a bit). Followed with several light coats of black enamel. Word of caution for anyone who might try this: Reinstall all of your gauges before shooting the coating. Mark where everything fits, remove the gauges, and mask the areas where the gauges will go so that you may reinstall without having to trim down the excess-the stuff does build up enough to be a pain in the rear. The shift boot looked great until it was actually put into use. That special paint for rubber surfaces just doesn't cut it if those surfaces are actually meant to move. I had been thinking of getting my hands on a true leather boot, so if I can't solve this issue, I will simply end up doing that. Still have more to do (reassemble the steering wheel-the one in the photos is my spare, rear window surrounds, new rear deck pad, etc.), but that will happen as it happens.