zKars
 Subscriber
-
Joined
-
Last visited
-
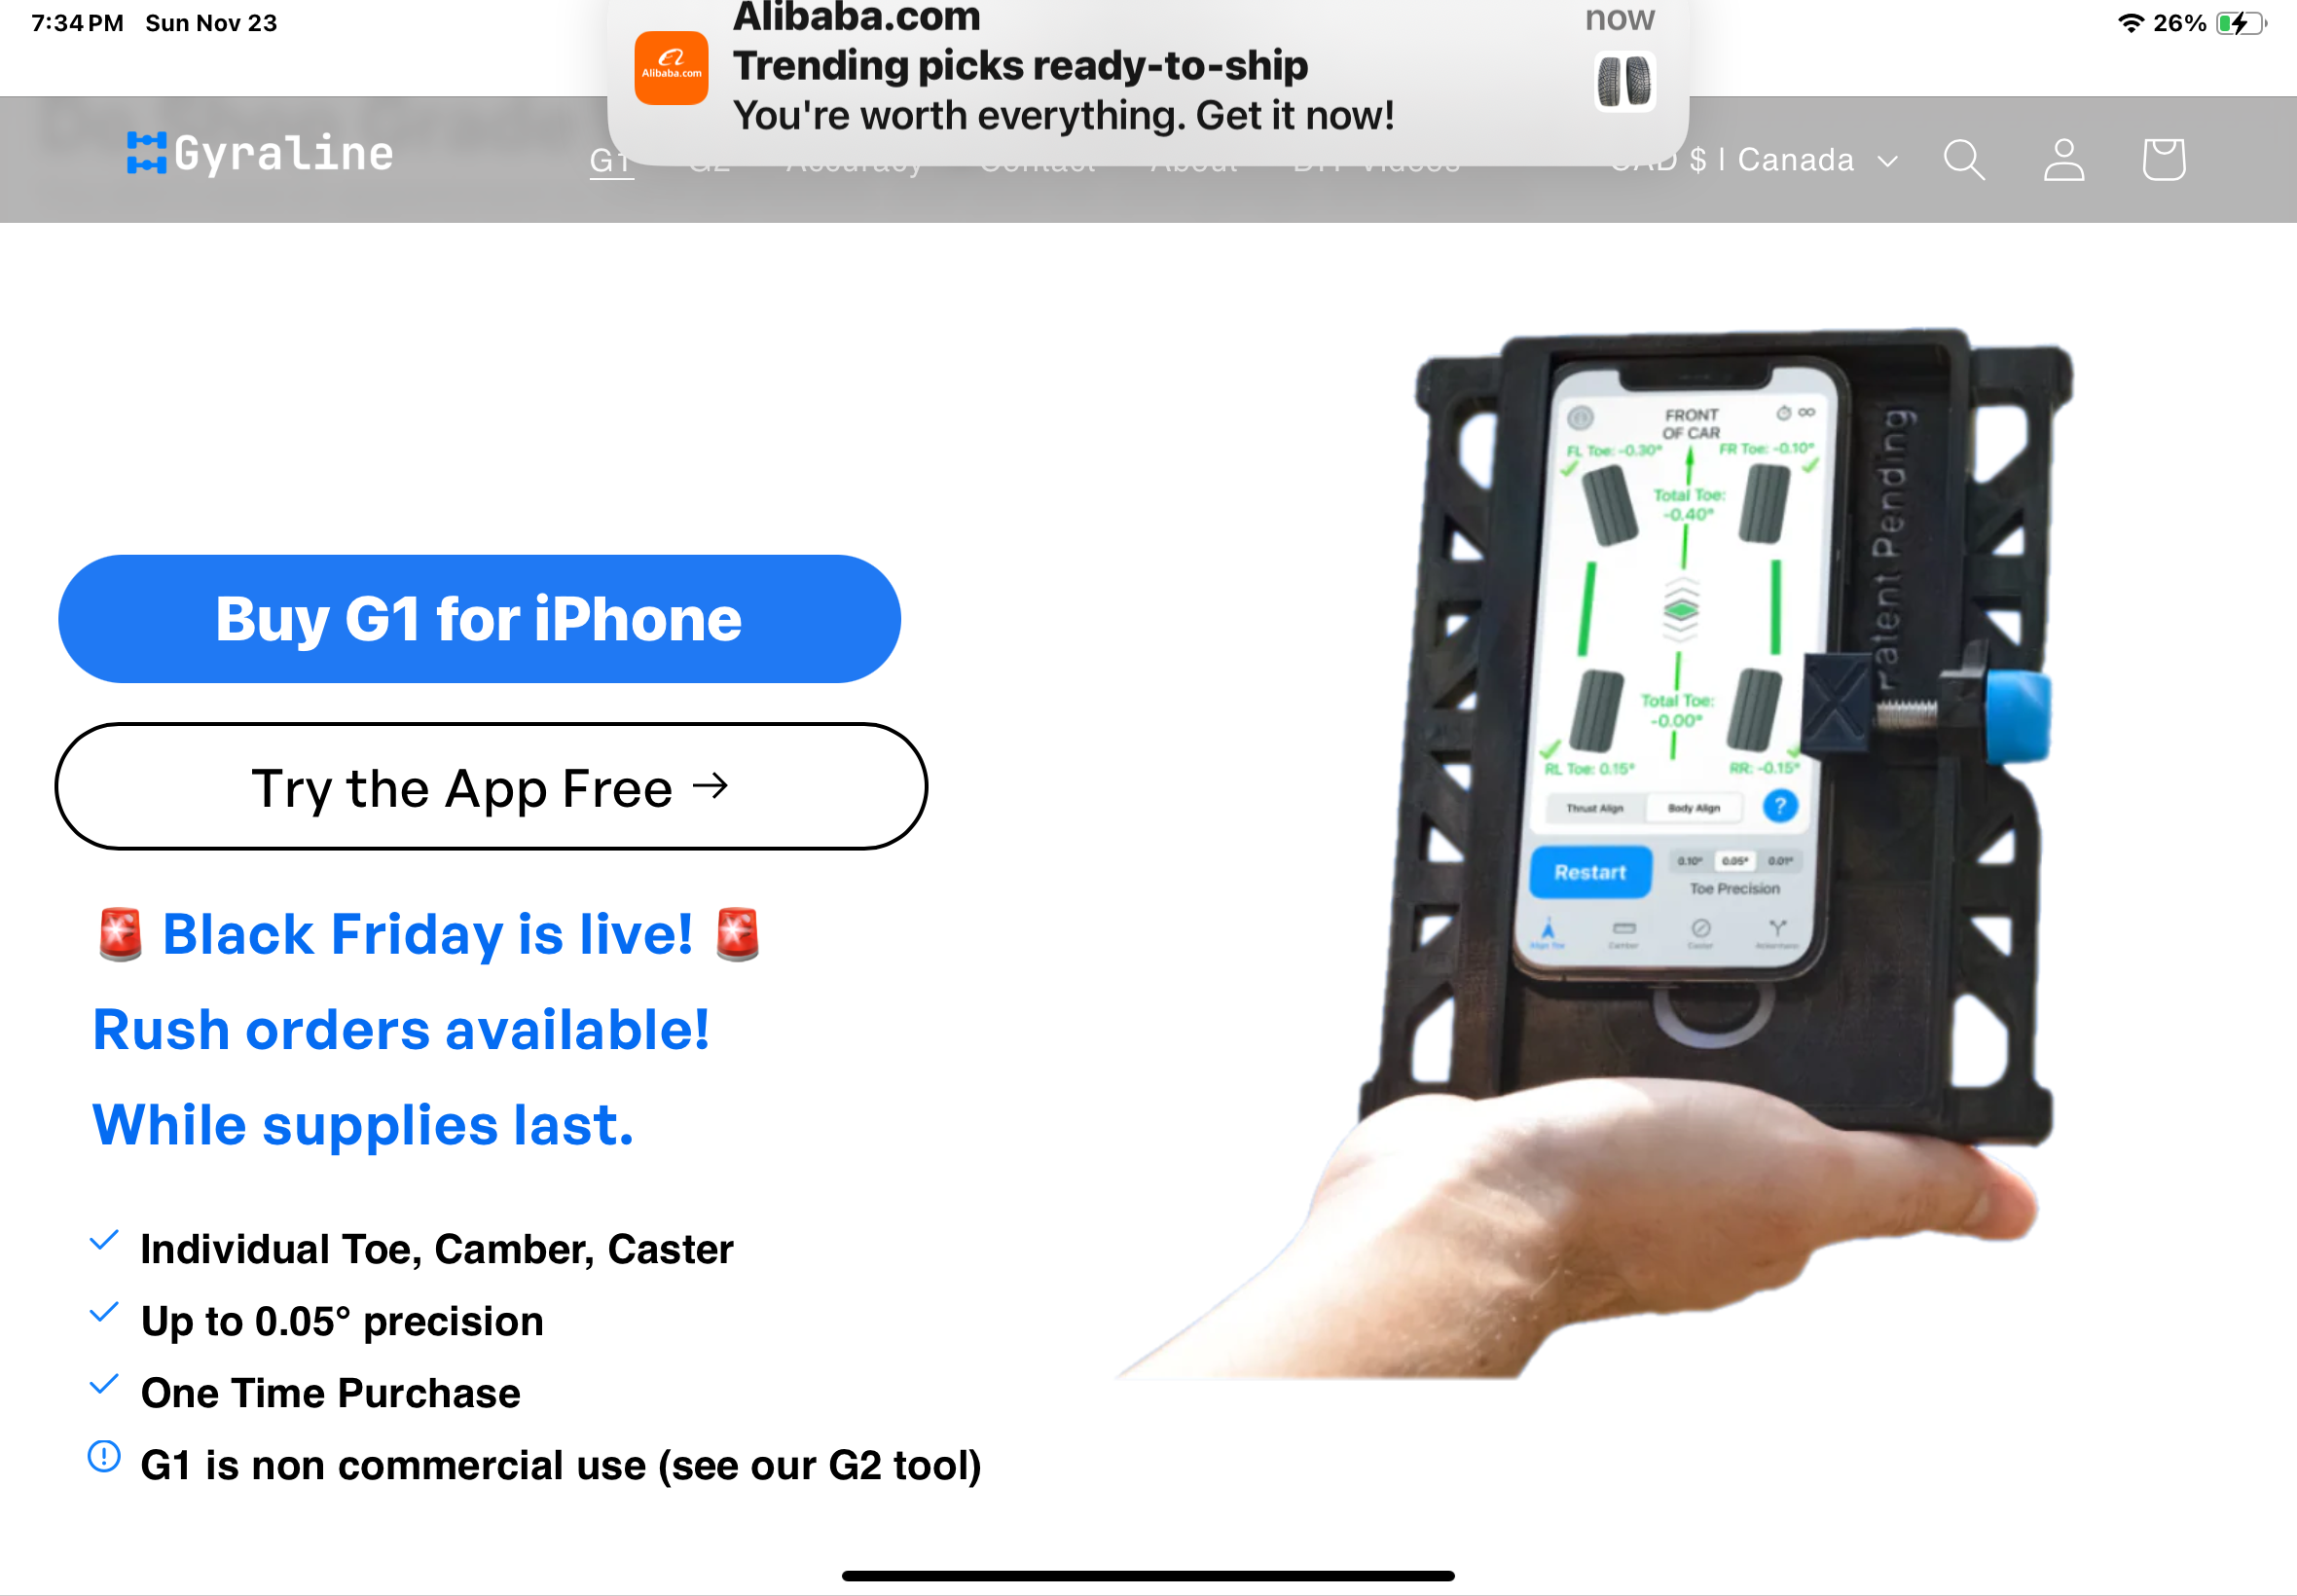
 Well, it should be no surprise really, but we are all (well most of us) carrying a little device that is more spatially aware than we ever dreamed. The humble iPhone has considerable power to know where it in space, what is level and what is plumb, which way is north and how far away you are from the sales at Best Buy…. Built in apps already expose those powers. Check out Level and Measure. I’m not going to go to great lengths to describe what I found, I’m just going to leave a web link here to an company that has developed an app and some simple hardware that I think is incredibly good at what it does. Read their story and see what you think. It’s called: Gyraline https://gyraline.com/products/the-case It consists of a little flat 3D printed plate that you mount your iPhone into. The plate has nubbins that let you place it against your wheel’s rim lip in a dependable way so you can align your phone to the rim correctly. Fire up the app, place the phone in a few key spots, push buttons, BOOM. Out spits your alignment. I will say I have their version 1, been using it for about a year, and that it works. I can get a toe in and camber measurement in literally 1 minute. All four wheels. Yeah…… I’ve compared it to “Real” alignments and it’s very very close. I just had my Mazda cx70 done at the dealership and I plan on comparing it to what they said as well. Anyway, read, study, you decide. The thing is not cheap, they know what they have. They are challenging the big guys with their marketing materials. No more string for me…..
-
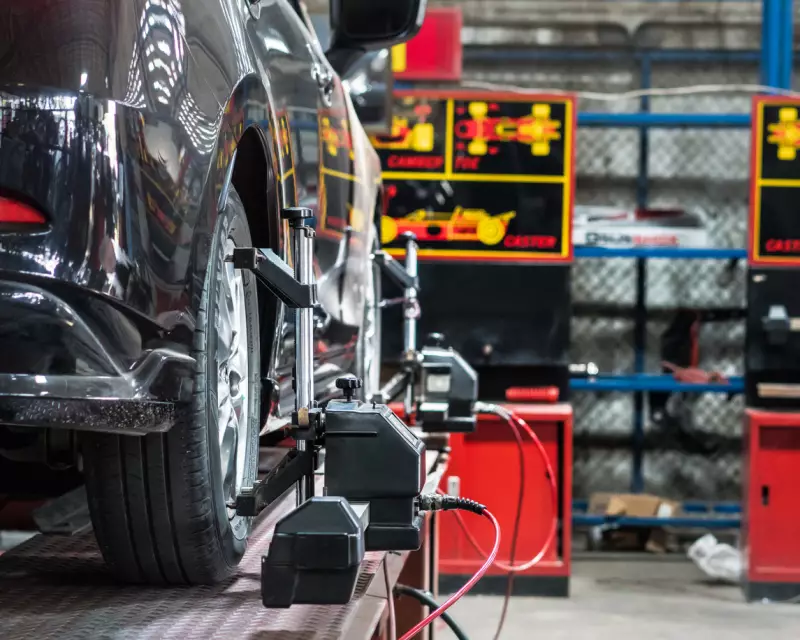
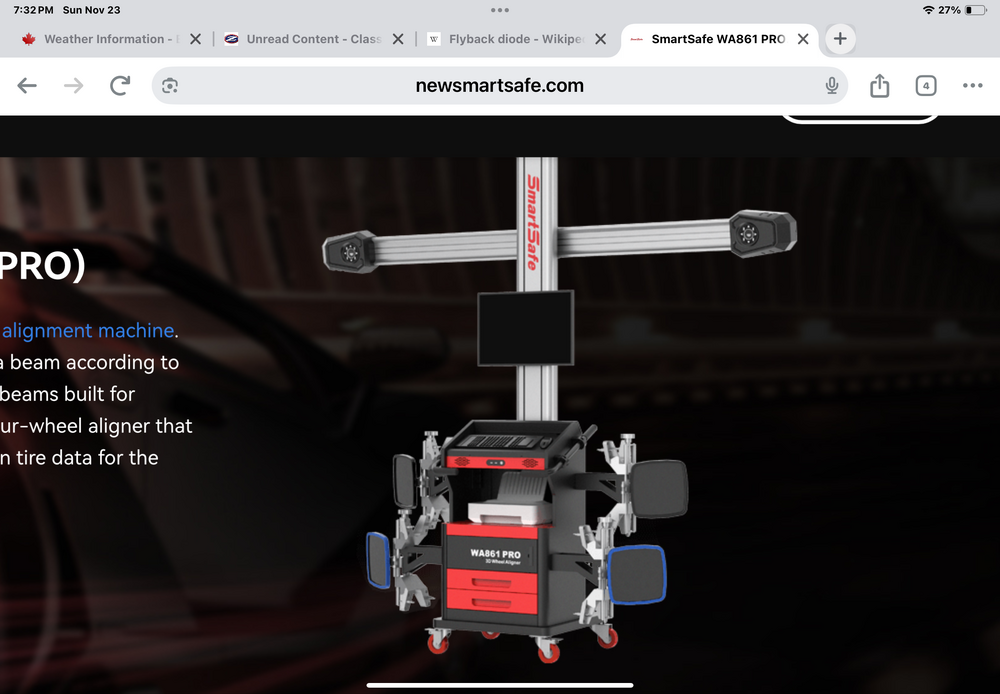
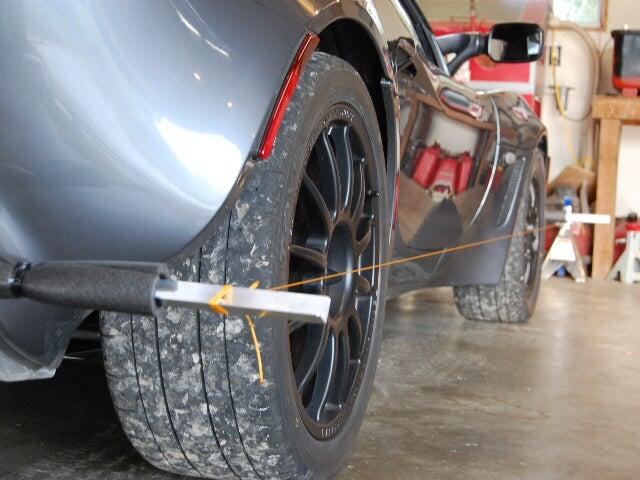
Wheel alignments. Never has there been such anguish in my car world surrounding a technical topic as with wheel alignments and how to do them “at home”. Strings, tape measures, levels, gadgets, do-dad’s, fads, etc etc. Check the aftermarket for all the gadgets you can buy. Nearly infinite. Never has there been such a technology gap between the professional whole-bay devouring laser powered machines you’ve seen at the dealers and auto shops and the home guy with a couple of sticks, a dirty string and a tape measure trying to get his toe-in vaguely correct. Well, I may have discovered a truly better way to do this. Read on.
-
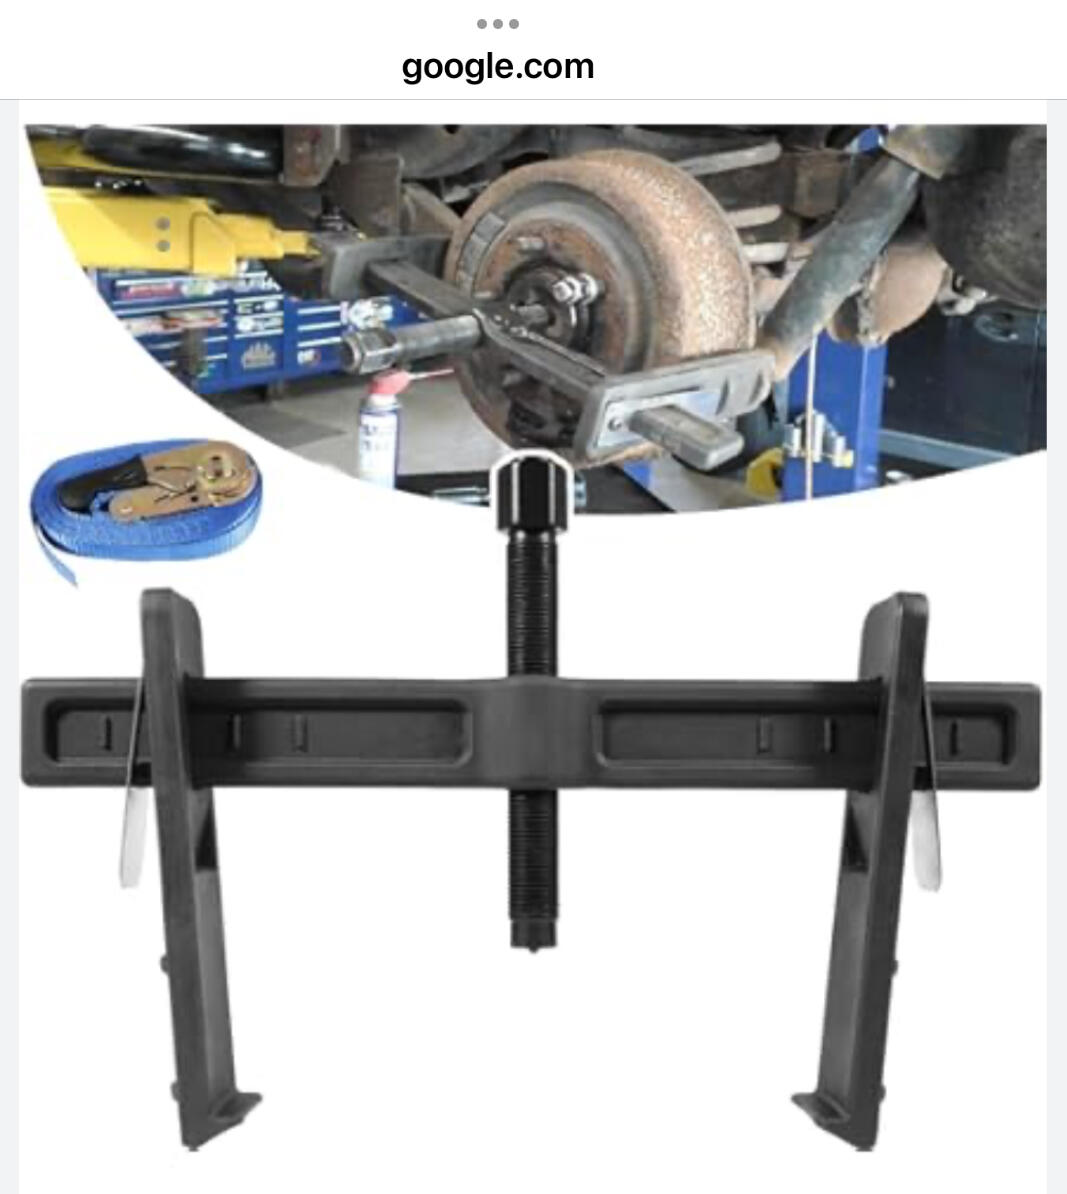
Had to resort to the old drum puller once. Came off with a very loud bang. Putting on a couple of lug nuts loosely prevents it from exploding into your lap

-
Story #2 continued While I was at UPS, those lovely people suggested I try DHL. They “suggested” that DHL seems to be able to get anything to the US with less “questions” and “risks” but the costs would be likely double, Like $400…. So after frank conversations with the buyer, we agreed to go that route. Without saying too much, the DHL experience was easier. Their online shipping app still requires a detailed item description so they know what it is, but the only concern the guy at the drop off center had was that it didn’t contain any fluids or oil. It’s on its way for $418CAD….. And also worth mentioning, the cost story is not complete. For UPS and DHL, and I believe FEDEX as well, the receiver is on the hook for the Duty/Tariff/tax costs before they will release it to the receiver, rather than the shipper like Canada Post, and we don’t know what those costs are. Yet. Will get there in about 3 days. Hopefully he will share those numbers. Conclusion about this experience? Again, unless the need to buy my items is critical, and the buyer has deep deep pockets, I can’t see most US buyers actually buying anything from me.
-
Story #2. Big heavy Datsun part. So after story #1, Postal shipping is now dead to me for US customers. As luck would have it, I have an E30 head that a new friend in the US “NEEDS DESPERATELY” for a fair lady restoration. You may have seen the thread here recently. Ok, 60 lbs, big box, 2 ft + long, 9x9”, what to do. Decide to try UPS. On line estimate suggested ~$200 shipping to Ohio. Take box to local UPS Store. Beg for help, plead ignorance An hour later, paper work fill out by hand, much trouble describing the item and finding it correct HS code in the system to describe it properly, having to provide PROOF that the receiver is a US citizen (imagine him having to provide personal documents to a foreigner standing in a foreign shipping business!!!! No f‘ing way!) and FINALLY, being told that If I can’t provide commercial invoices that prove the source and valve of this item that i risk the item being ABANDONED if I try to ship and the US gov doesn’t agree with my valuation or paper work, I walked out without shipping it.
-
Story One. Shipping a personal gift to family friends in the US. I almost ALWAYS ship postal. Always cheapest, minimal or zero duty or brokerage charges (especially US to Canada shipping) Well, effective sometime in September I believe, there is a duty and taxes pre-shipping cost calculator application that has now inserted itself into the Canada Post shipping process. In a nut shell, shipping anything to the US requires you sign up with a company called ZONOS. This app sits between my Canada post shipping app where I make labels and pay for them, and my printer. I’ll explain. As I make the label, I (as always) I have to describe each items that I’m shipping. Now ZONOS gets in there and determines what specific trade type item each thing is and assigns a duty / tariff / tax amount to charge you. After you clear this hurdle it lets you pay for the shipping and lets you print the label. Now the fun part. First let me say, for Canada Post at least, THE SHIPPER (ME) MUST PAY THE DUTY/TARIFF/TAX, not the receiver in the US. So fine, I need to pass that cost on to the receiver by raising my shipping price. So I have to know what that cost is, right? Well I will know it, but not until I receive my monthly invoice from Zonos. NOT AT THE TIME OF SHIPPING!!! So, am I supposed to say “look, shipping is X$X today, but at the end of the month, I will ask for YY$$ more when I see your duty/tariff costs blah blah blah”. Oh I can’t ship that precious part you need for your restoration for 3 weeks while I wait to see how much that YY$ is and you send that $$. Oh and BTW, that YY$$ is going to be 500 times more than the 2$ part I’m shipping you. Are you a happy customer yet? What’s that, you don’t want that part anymore? Surprise!!!!: So back to specifics. We shipping a couple of hand made baby blankets and a bag of chips (don’t ask) to a family friend in US. Described it as a gift. Shipping costs were $25 bucks I think, but at the end of the month the Zonos invoices added $34 to MY visa. Sorry no more postal shipping to the USA
-
So. I have been honored to help many of you here with your projects by shipping parts to you that I’ve accumulated over the years. I’m not a business, I don’t do it to feed my family, I do it help friends with their projects and to maintain my social circles. Recently, and I know I’m not alone, I and my customers have been faced with a massive increase in costs and effort shipping items to the US. I’m about to consider abandoning this service as it appears to no longer be practical. I can’t imagine what devastation is happening to Canadian small businesses who’s customer base is US based. I’ve heard rumbling on FB forums from others about crazy costs shipping both into and out of the US. I’d like to use this venue as a place to share our shipping stories and perhaps what worked better for you, or what services or techniques to avoid. So, to begin, I’ll share two stories that I’ve recently had, to help to both illustrate the difficulties and demonstrate solutions.
-
I happen to have a complete E30 head that I have never been able to sell, quite a niche market for sure. I’m in Western Canada, send me a PM if you want to discuss getting it to you.
-
I have recently fallen in love (metaphorically) with a smoke machine lately. Very good at finding leaks. Used it on gas tanks…. Mine has an internal compressor that build lots of psi in the system of choice. Reasonable affordable. Uses mineral oil. Bit hard to see small amounts of leaking smoke, have to use a bright light and lots of different viewing angles, it doesn’t make the huge volumes of dense smoke I expected, but still very effective. I also envisioned using a thermal imaging camera at the same time to show a visual map of the leak location, will report on that some day.
-
-
They are black M4 x.7 yes. Oval head is what I believe they are called, not flat, slightly curved face. Phillips or JIS equivalent driver. Fairly long, like 25mm?
-
It is just a hole, normally has a rubber plug in it. I have used it to mount seat belt retractors with proper re-enforcement underneath where it exits through a frame box member.
-
E31 is “right” for your 71. N42’s were from 75 onward. E88’s were 72-74
-
-
I snagged one of the earlier Nismo Safari Z Seiko’s back in 2023. They were a bargain at $299. I’d completely forgotten about it until a friend mentioned this new series and asked if I seen the news about it. Maybe it will be worth $399 at some point….. duPont REGISTRY NewsNissan x Seiko Debut The NISMO Safari Z Watch At SEMA, Li...When it comes to honoring motorsport history, Nissan knows how to do it in style. At the 2023 SEMA show, the JDM legend took the wraps off the new Nissan