zKars
Supporting Member
-
Joined
-
Last visited
Everything posted by zKars
-
Brett: Go to www.hybridz.org to further research turbo L28. You will find all that you seek. Study hard with searches first. Since this topic has been covered umteen times on that forum in minute detail from every possible angle, there is much to learn, and it will take time and patience to sift the wheat from the chaff, although there is remarkably little chaff there, just many many varieties of wheat!!. Once educated on the basics, you can ask more pointed questions about your specific requirements. Good luck. Jim
-
Spreading rumors serves no useful purpose. I found this in 10 seconds with google from a somewhat more reliable source. http://latimesblogs.latimes.com/lanow/2010/04/california-sees-increase-in-earthquake-sesimologists-fight-twitter-rumors.html Don't you love the information age....
-
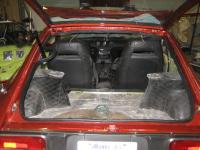
73Zman Well, that's a fine mess you have there. First the fuel lines. There are 3 hard lines coming from the gas tank to the engine bay, and they are 3 different sizes so easy to keep straight. 5/16 is the main feed, 3/16 is the return, and the 1/4 is vent line. You should feed the carbs with the 5/16 line. What fuel pump are you running? Is the electric in the rear hooked up as well as the stock mechanical up front? The gas leak when filling is most likely the big filler hose itself, at least that's the most common issue, but could be any of the vent lines as well. Just age, brittle and leaky will do it. Gas tank and all hoses has to come out for inspection and replacement. Now the fun part, fixing all this. There is a thread here about eliminating the vent/recovery tank that is buried in the passenger side rear of the cabin behind the interior trim at the very back. In that thread you will find a full description of the tank vents and hoses, and how to take it all apart and eliminate many of the vent hoses. The vent lines are largely NLA, so folks have found ways around this naturally. This is the thread you will need to read http://www.classiczcars.com/forums/showthread.php?t=19034&highlight=removing+evap
-
It will be fine. Tell him to handle it VERY carefully, it may become a cracked dash by the time it gets to you. Use your wiring harness and gauges etc, just use the dash frame and pad from the donor. Jim
-
Darrel No Yankee can out drink a Canuck! You're on! That's one,...... two....... Jim
-
HA! he called me too after he actually looked for stock. Seems they only have ONE actual WS left in the US. More from Korea will be here May 26! So much for a this marvelous idea. Well, its just delayed a little. Patience Grasshopper.... Yes, Arne, I'de love to be a fly on the wall when the Kia Engineers wonder what the HELL is going on over in North America!
-
Alrighty then. Just got off the phone with Brian at kiaparts.com ( 877-313-4139). Real helpful guy. Anxious to expand his on-line business. Doesn't normally deal with out of country requests, but after I explained the potential market, he got REAL helpful. I just ordered 12 gaskets, $40.93 each. (BTW, over the counter price is $63). This is the bottom line, no discounts for higher volumes. It will take a week to get the stock, then 10 days to get to me. Geezer, you might want to contact him directly now that we know he is Canada friendly, can't see it making $$ sense for you to have me ship a set to you after they get to me. Dan, I'm including your set in the 12. Either one of us can use it as excuse to get in the Z and drive to meet up this spring. I'll let you know when they are in. Rest of the 12 are spoken for. Lots of angry door slammers in this neck of the woods. By the way, my request for pricing and info from www.kiaglobalparts.com has so far been ignored. Jim
-
240 hatches do not have the two M6x1 threaded mounting holes on the passenger side of the hatch for the support strut either. Depends on whether your driver side one is in good enough shape to hold up the hatch. Might have to drill and use use two LARGE sheet metal screws to attach it. Use the drivers side for a location pattern. Other than that, its good to go. Jim
-
Carl: I vote for a natural, sustainable, eco-friendly material like leather for your hinge material (if you discount the part about dead cows). Get some that is thick enough and slit it half through the thickness to make it bend in a specific line (slit down, never see it). Rivet the leather strip to the door, and punch holes to match the three screw positions that mount it to the dash opening. Guaranteed 2 million bend cycles and a nice expensive aroma of leather when you open the door. Select the leather to match your seat material, or explain to your significant other that you now need leather seats to match (not that you'de ever do that to #333). I might have a glove box door hinge I could part with if you decide the dead cow thing was too much. Jim
-
Same part number for both doors. Just flip it over. Jim
-
So it turns out kiaparts.com is run out of Hanson Kia in the Olympic Automall in Washington. Now why would this be of any interest? Because Olympia Nissan is across the street. "So what?" you ask. Olympia Nissan just happens to be the front for an old friend nissanparts.cc..... Say, I wonder if Lisa would run across the street at lunch and get Kia weatherstrip for us at a great big dealer to dealer discount, then ship it to us with a little 2-3% premium for her trouble??? Viva NAFTA! Jim
-
I have written globalkiaparts.com and asked for shipping costs to Western Canada and if they would be willing to do volume discounts. I'll let you know. Today they list the cost at $41.94 each, and they certainly appear to ship to Canada. I'll do the same for kiaparts.com Jim
-
About the only downside so far is finding a Kia dealer that will give me a decent price. Price of the two I bought so far is $100 each here in Calgary. Bit pricey for sure, but still worth it. What is the US experience for dealer pricing for new? Perhaps if I ordered 10, no, make that 12 or 15 (need 3 per Z) I'de get a decent price. Anyone else nearby want a set? or two or five? Jim
-
Seems to me the issue is with the new bulbs being slightly too long so that it hits the end of the green lense thingy and they do not seat completely, leaving a little tension on the base. With vibration, they come loose as they are never really tight to start with. 280's have a different and tighter socket arrangement that is much better as Steven points out, and it doesn't depend electrically on the fit. Compare old to new for length. I remember this issue as well. Jim
-
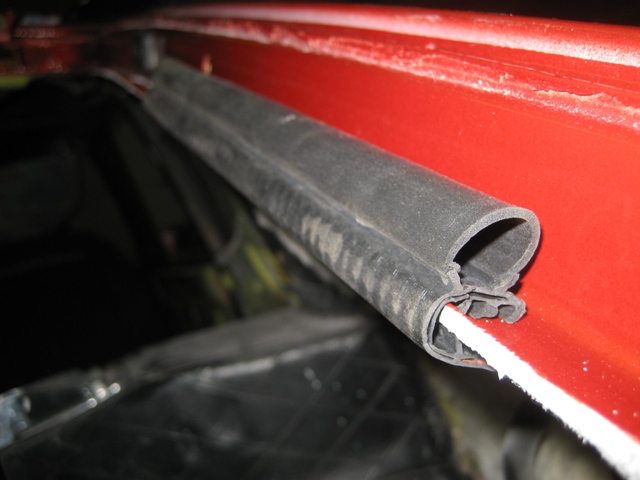
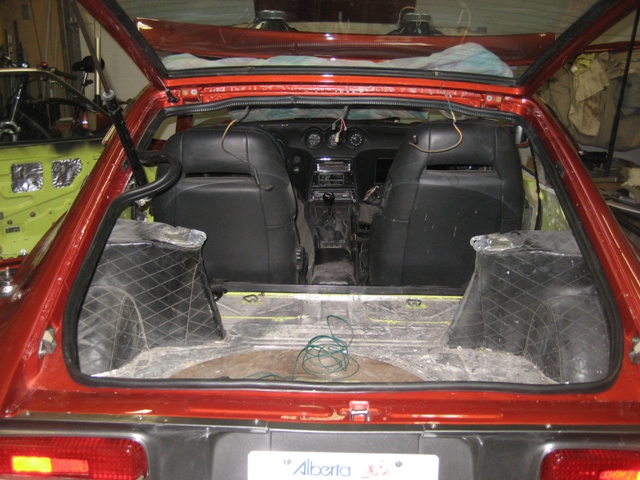
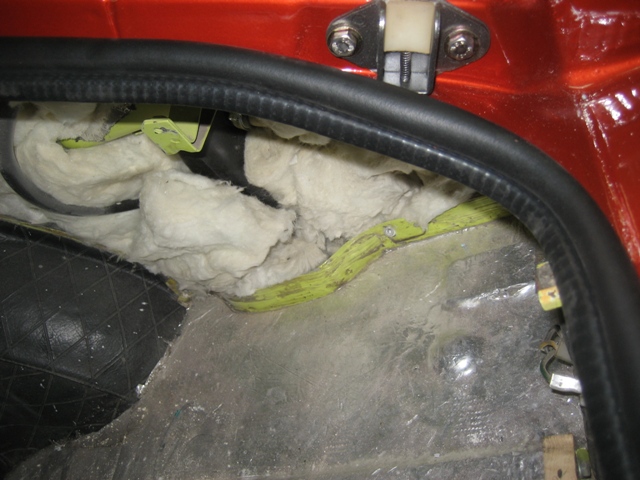
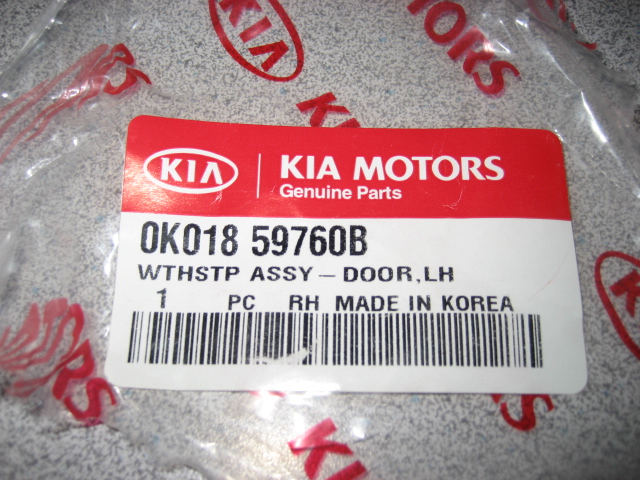
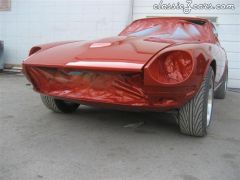
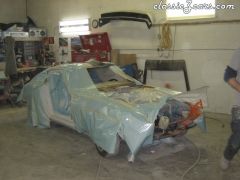
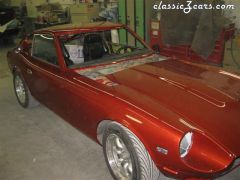
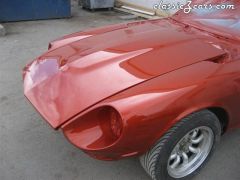
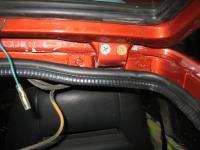
I finally got around to trying the Kia weatherstrip on the doors while assembly the old girl after her fresh paint. It is likely THE best thing I have ever used for weatherstrip. Slips right on, nice and snug, even before pinching it. Fitting the corners is easy, just push it snug. There are no pre-formed corners, so it goes on with no issue no matter where you start it. There is one section of the weather strip that has about 6 inches of stuffing inside the bulb, its marked with a white dot. I put that in the corner. Could be anywhere, but that gave it extra body as I "made" it fit the corner. Now the real payoff. I'm also doing the hatch weatherstrip too so I couldn't resist trying the Kia strip on it. Not gonna fit, right? Read on. First I took a 6 inch section that I had cut out of the door and pressed it on the hatch lip. Even though that lip has that 1/8" or so turned up lip, it fit right over! The slot is plenty wide. I closed the hatch and looked from the inside to check the fit. The bulb compresses perfectly about 3/4 of its thickness. (pic below). Now you know I had to try the whole hatch lip. With the hatch on the car! Try this with the "real" weather strip that has to be glued! Only crazy people try that! I had only done the passenger side at this point, so I had the un-cut driver side (not that they're any different) to try out. No way its large enough for the whole hatch but I started anyway, had to see how it fit around the top part by the hinge! Well, after getting it almost all the way around, I realized it IS long enough for the entire hatch PLUS about a foot! I left it long around the strut, and closed the hatch. Perfect! Closes just about as easy with the weatherstrip as without! And no nasty hatch sticky-uppy! Picks of the fit below. Now the only remaining issue I can think of is water sealing. Wouldn't surprise me if it sealed just fine without glue, but we'll see. Make sure you have the outer weatherstrip in place properly glued on to deflect all the water down the drip channel to the back. So there. I'm calling the Precision aftermarket weatherstrip, that too thick, makes our doors stick out, slamming until the glass breaks, crap officially DEAD! Go get yourself some! Part number attached. Jim


-
Almost all the parts are SU, but three (at least) of them are not. The two rectangular rubber blocks with the two M5 screws go on the edge of the hatch opening (not the hatch , on the sides of the body where the hatch goes) as spacers. The electrical contacts/points (between the domes) go in the distributor. And I'm willing to say at least one of the washers does not belong with the carbs (pure guess, just chance). Jim
-
-
-
-
-
-
Rusty or dirty or pitted yoke on the drive shaft at the seal lip. Ate it up. Polish yoke, and position the new seal at a slightly different spot in its bore to put the new lip at a different spot on the yoke. Not much else to go wrong other then the inner surface of the seal seat have crap left there after removing the old one and not cleaning it properly. All very repairable by this shop, just make sure they do it right. Jim
-
I'm in the same boat. Fresh paint, hate the look of mud flaps, didn't put "gravel guard" under the paint, don't care for the look either, now what? I'm thinking 3m clear film. Easy to replace. Thoughts? Jim
-
Lots of seats can "fit", but relatively few have the right shape to allow them to fit back far enough due to interference with either the wheel well, or whether the upright part of the new seat is above the raised area behind the seat, allowing it to go all the way back while the bum cushion is still in front of that area. Optimal mounting height is determined by whether you can build thin enough (and safe enough, see John's comments above) adapter bracketing between the existing floor rails and the new seats, or if you have to remove or modify the existing floor rails to allow you to mount the seat low enough for your comfort if you are in the 5'10" and up group. With a 72, at least you don't have the drivers side "hump" in the tunnel that 280's do either for cat or resonator clearance, which further limits which seats are narrow enough. There have lots of topics about this, do a bit of hunting and searching and you'll see what others have done and what seats are common upgrades. Jim
-
If it takes another opinion, I concur with what Mr Camo and palosfv3 are saying. Two cars, no doubt, and what is left is not safe or practical to restore. Unless you have some immense emotional attachment to this pile of steel and iron oxide, and complete confidence in the person repairing the rust and structural damage, I would never in a million years spend the time and money required to make this car safe again. Please please think carefully before continuing. Jim