zKars
 Subscriber
-
Posts
3,742 -
Joined
-
Last visited
-
Days Won
107
Content Type
Profiles
Knowledge Base
Zcar Wiki
Forums
Gallery
Events
Downloads
Store
Blogs
Collections
Classifieds
Everything posted by zKars
-
https://www.classiccarperformance.com/collections/britishstarters-com/products/datsun-240z-260z-280z-high-torque-starter https://www.dbelectrical.com/products/new-starter-for-massey-ferguson-mf1010-mf1020-mf1030-mf1035-tractor-3435016m91.html I think I have one of these in the shed. Both are supposed to be “new” ??
-
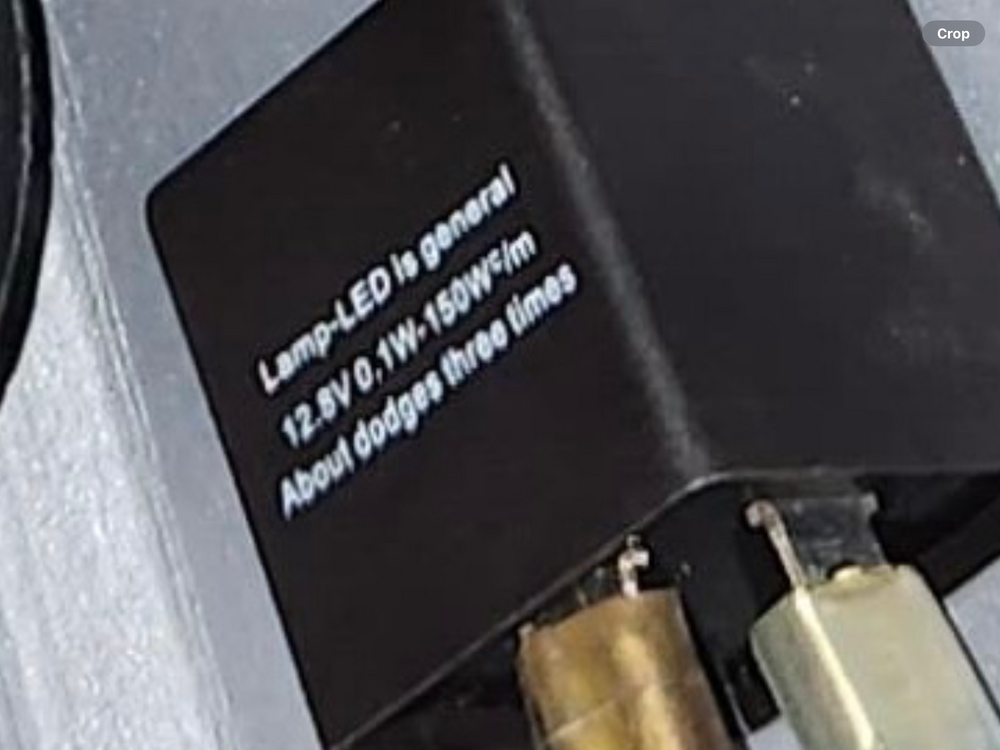
Love the flasher labeling Apparently only works when flying over Dodge vehicles several times. No problem.
-
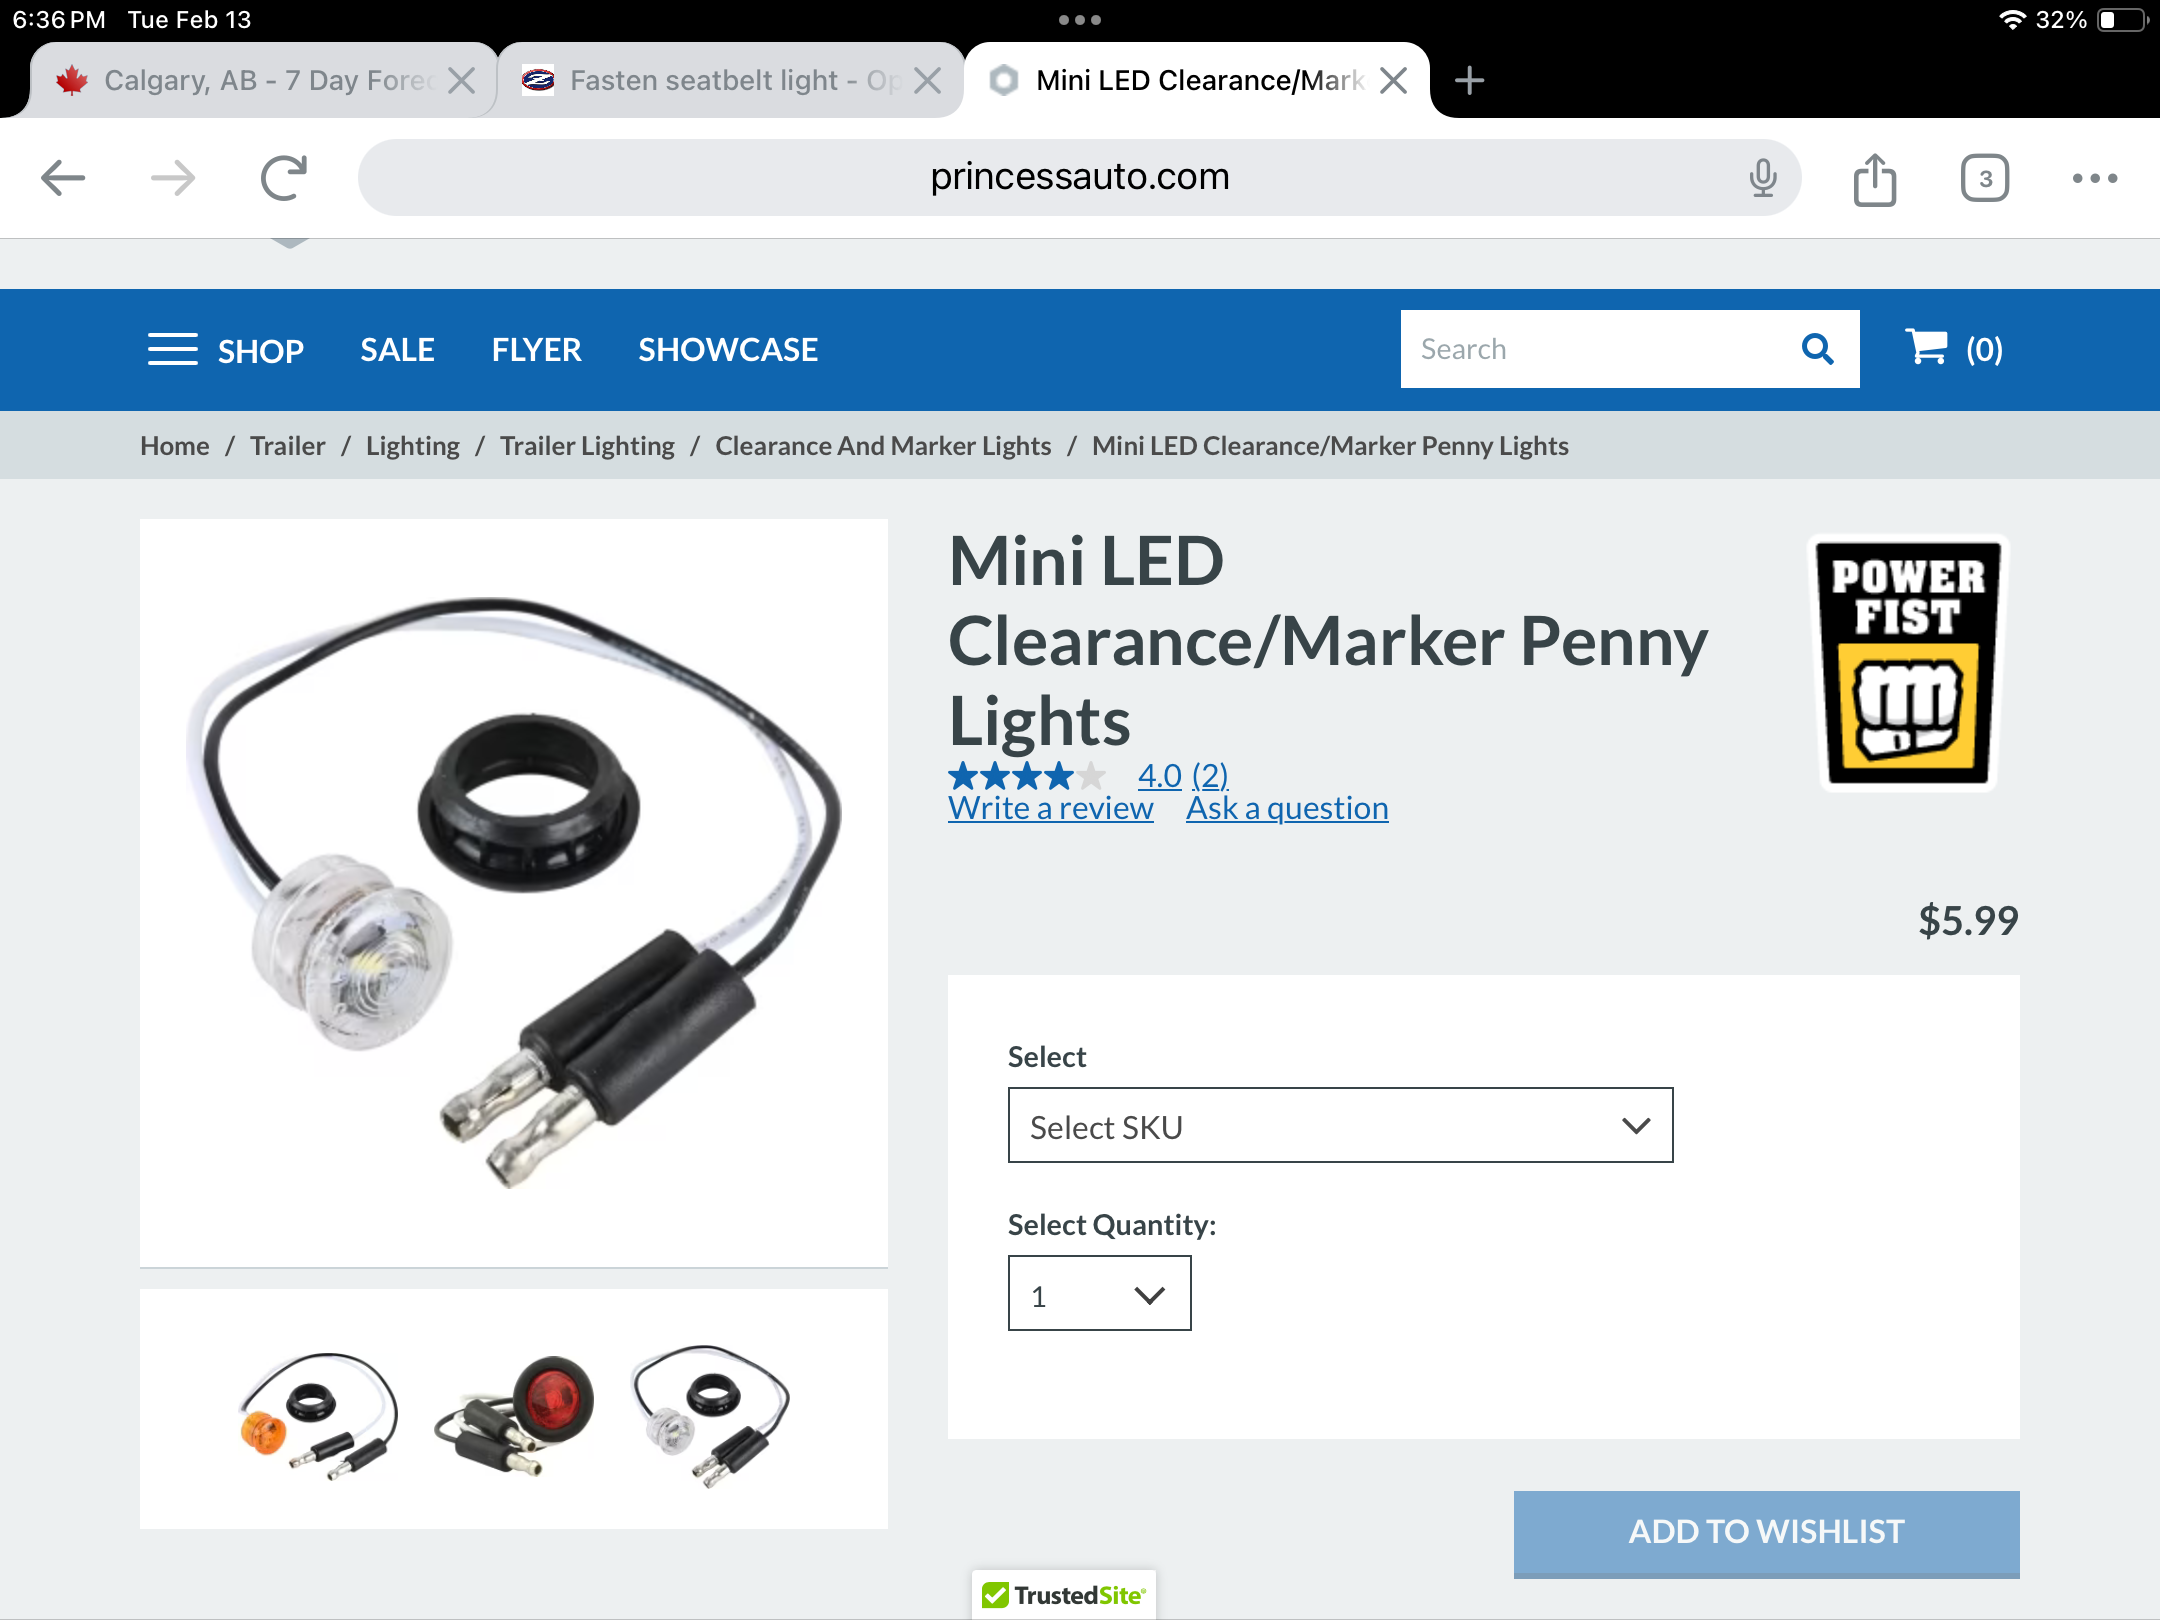
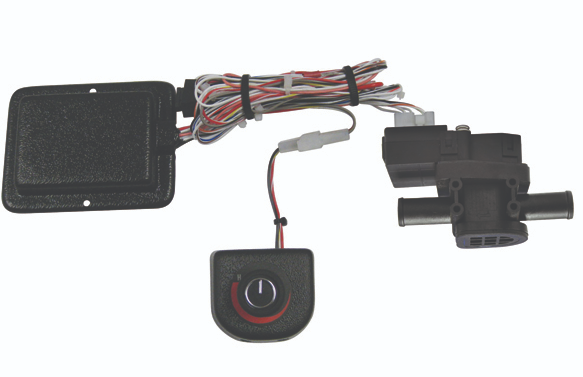
I have been using the wiring for the courtesy light (look for the blue tape) to install under dash (or footwell lights if you prefer), in every Z or 510 for some time now. Great addition and always appreciated by customers. Give the cars a nice easy modern touch. That silly dome light look pretty pathetic without them. I use some little round LED’s I got from Princess Auto (harbor freight to you US of A’ers). Pic below. About 3/4”, just zip tie it or glue it something under the dash. Couple of matching vintageconnection bullet connectors and viola.

-

EFI In-Tank Pumps and Welding Stock Gas Tanks. A Volatile Discussion.
zKars replied to zKars's topic in Fuel Injection
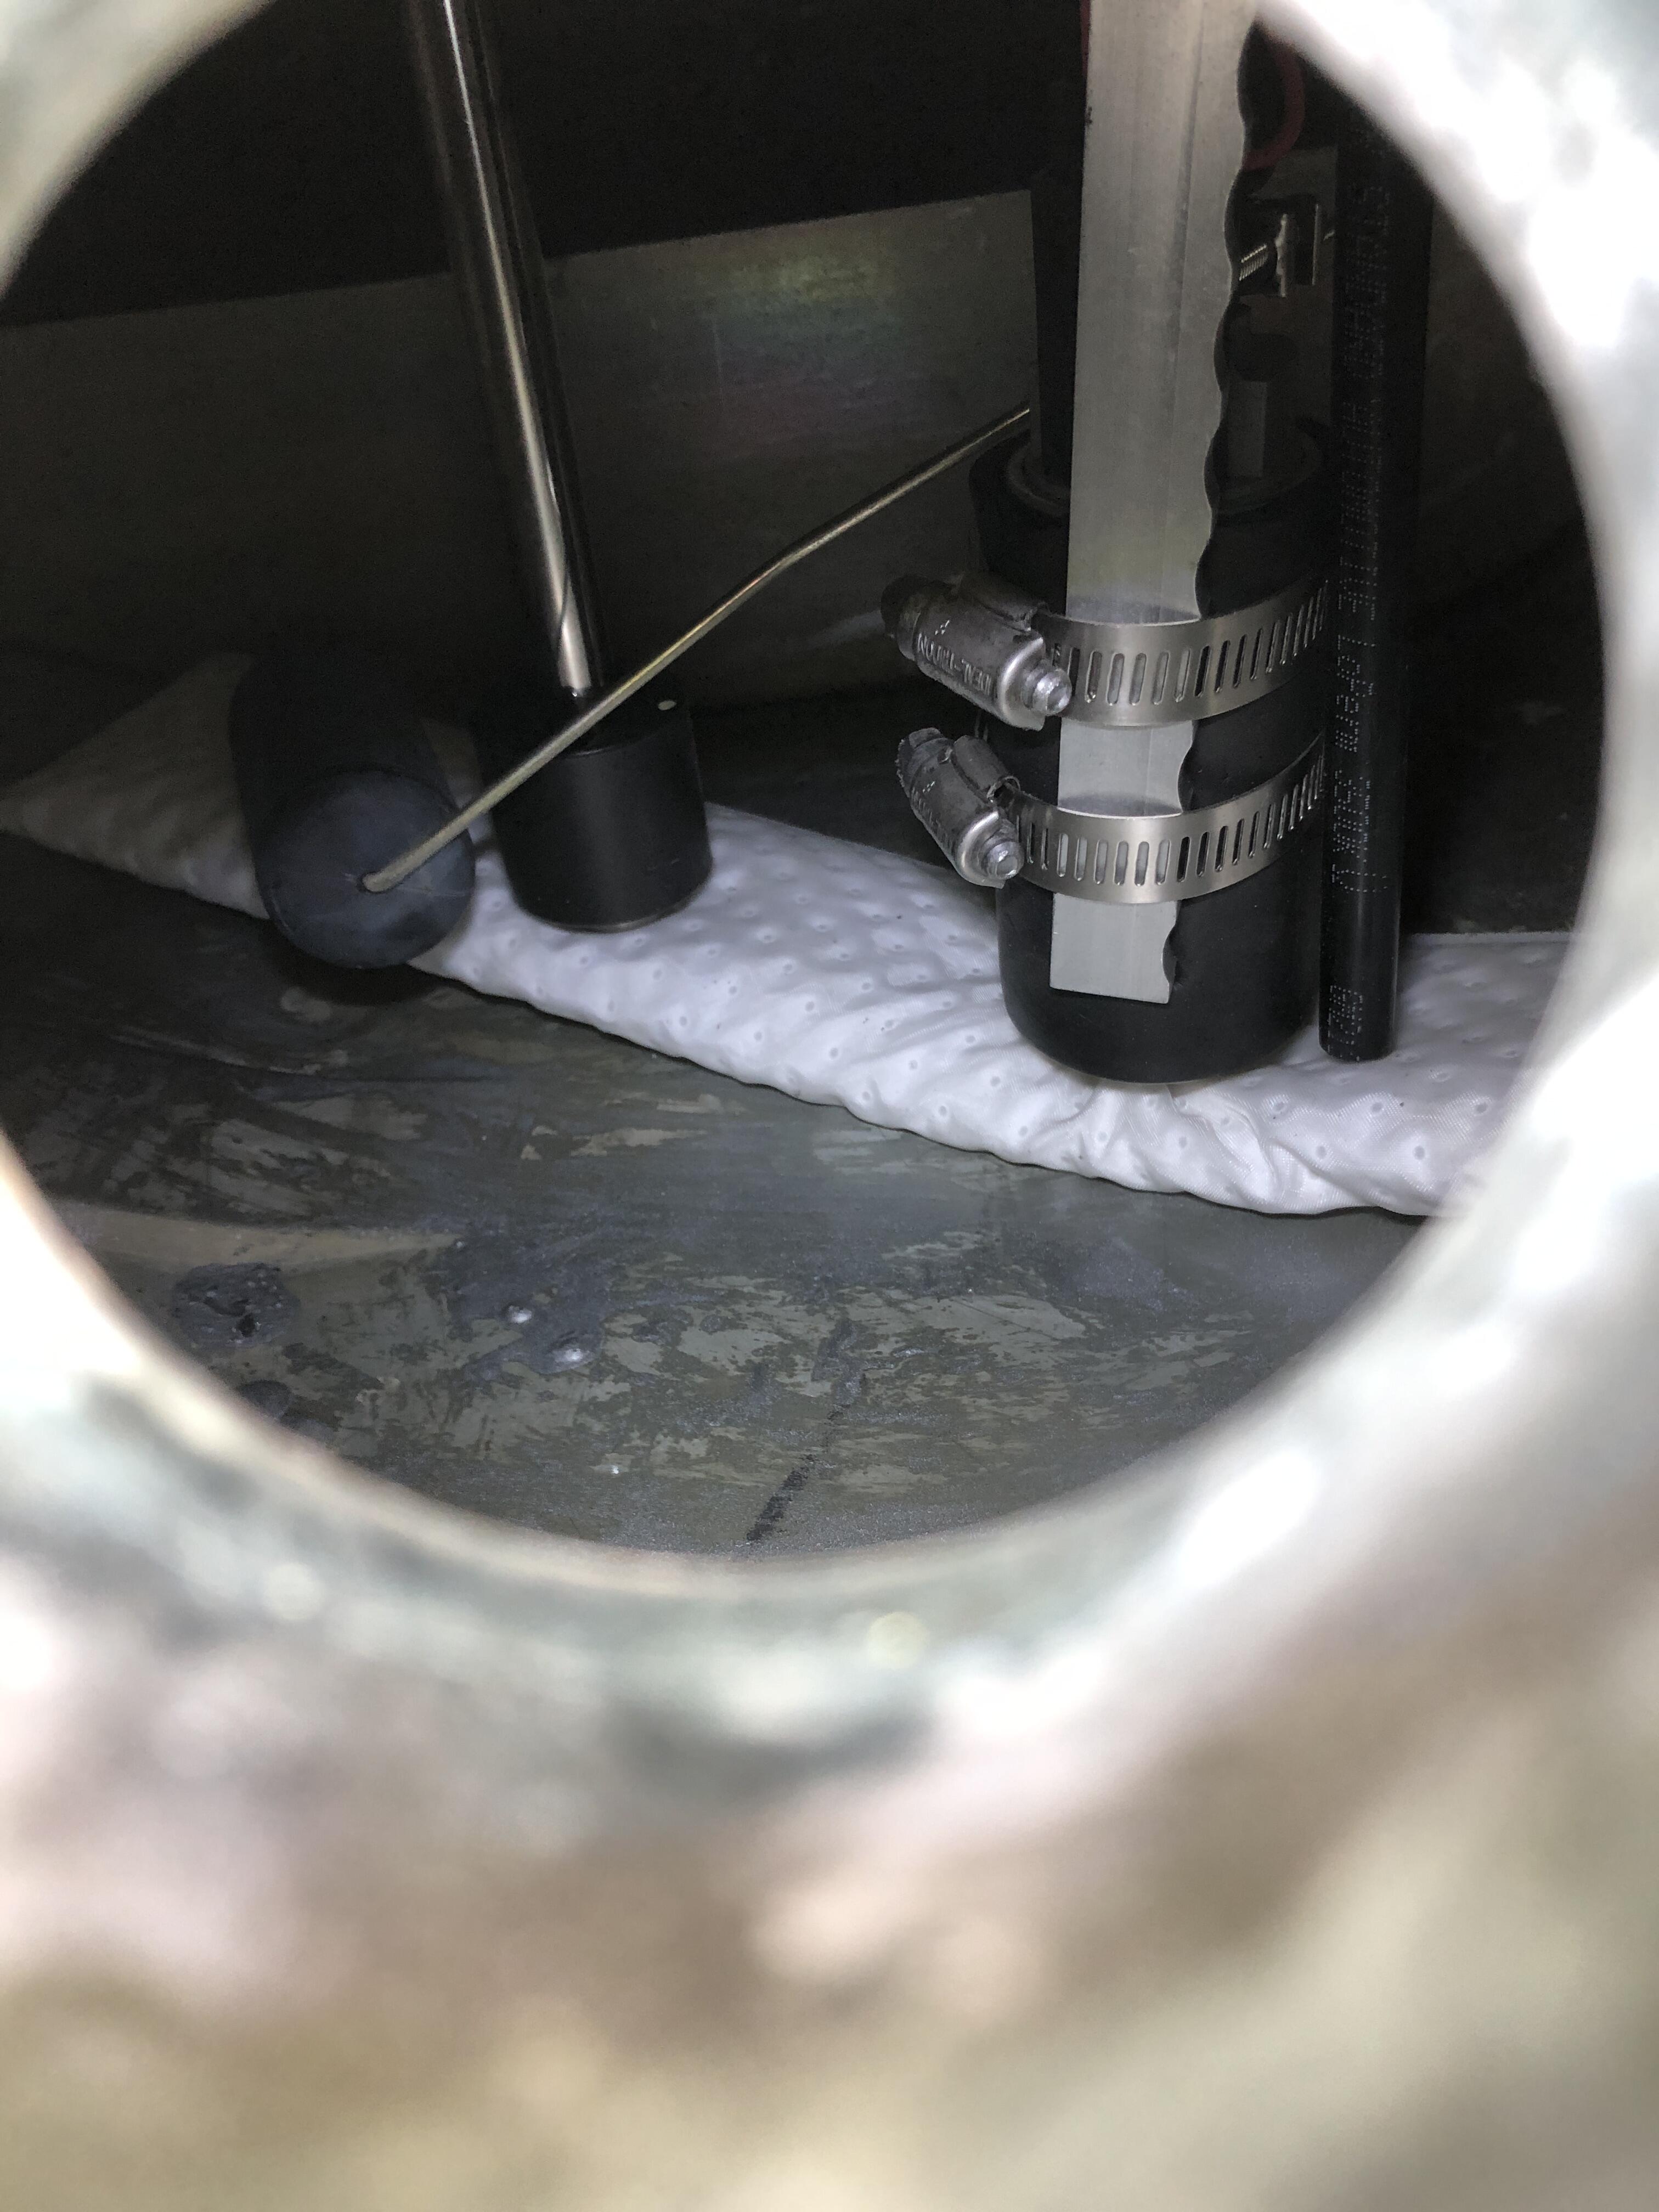
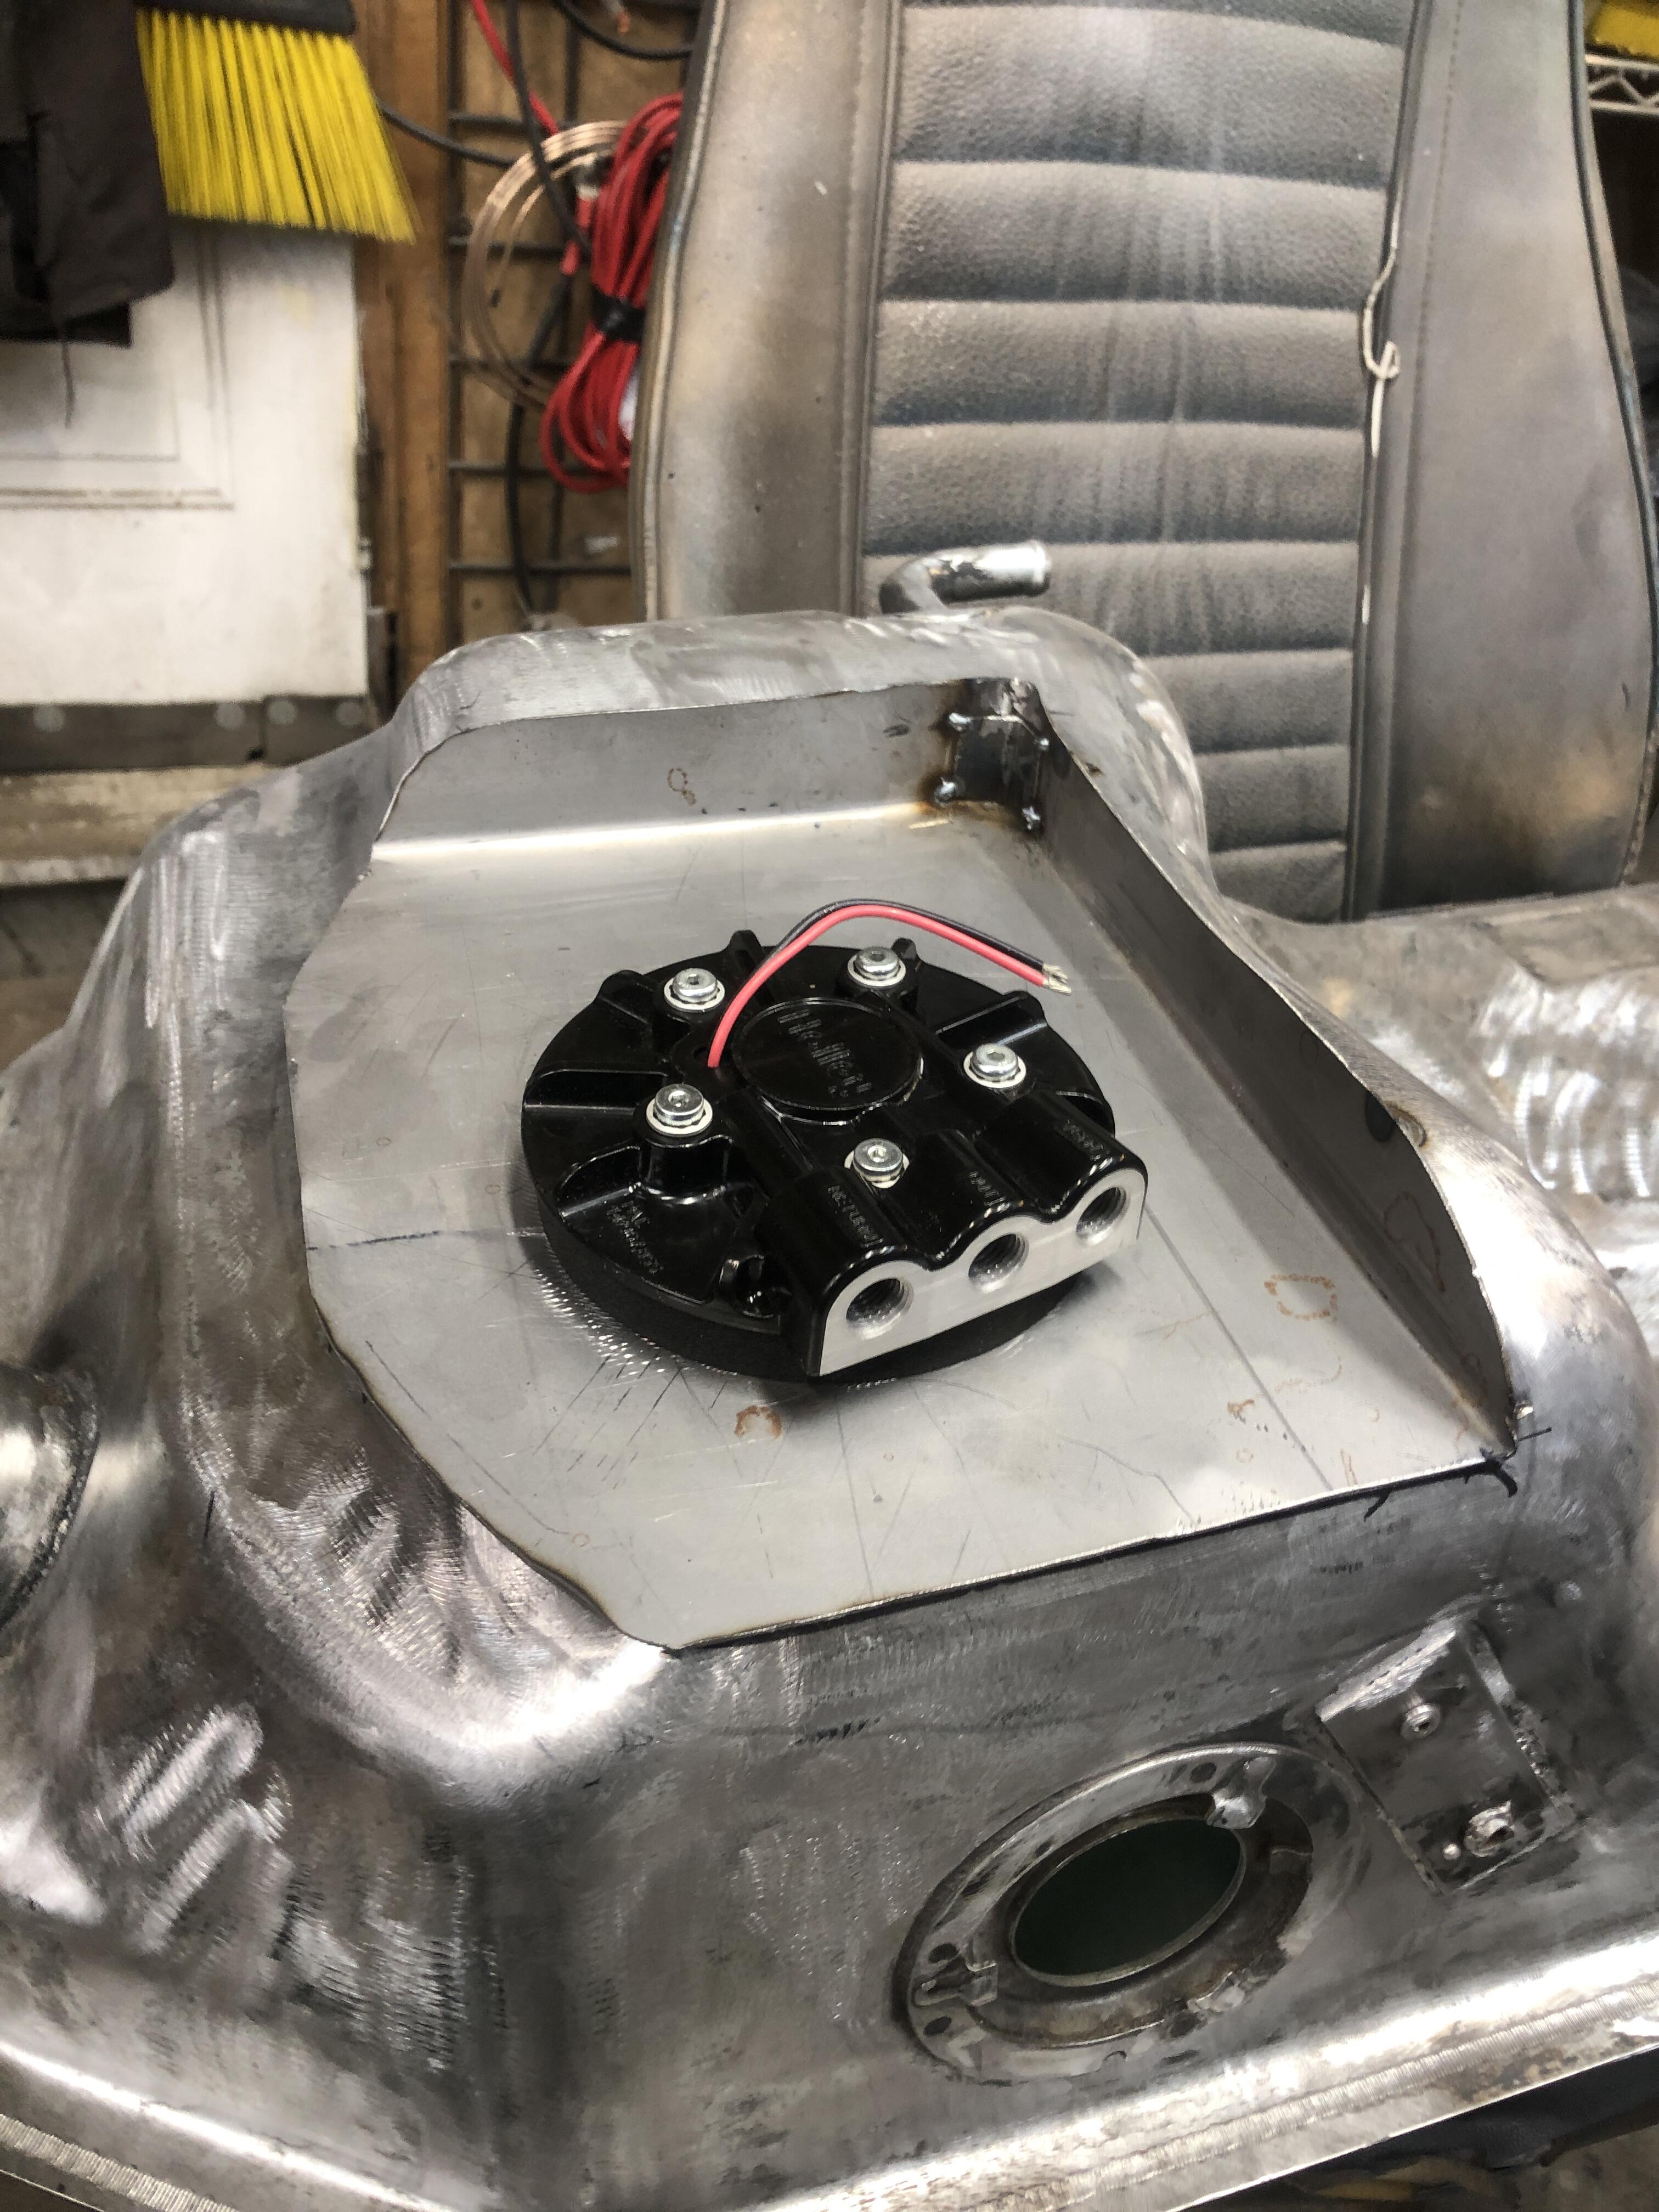
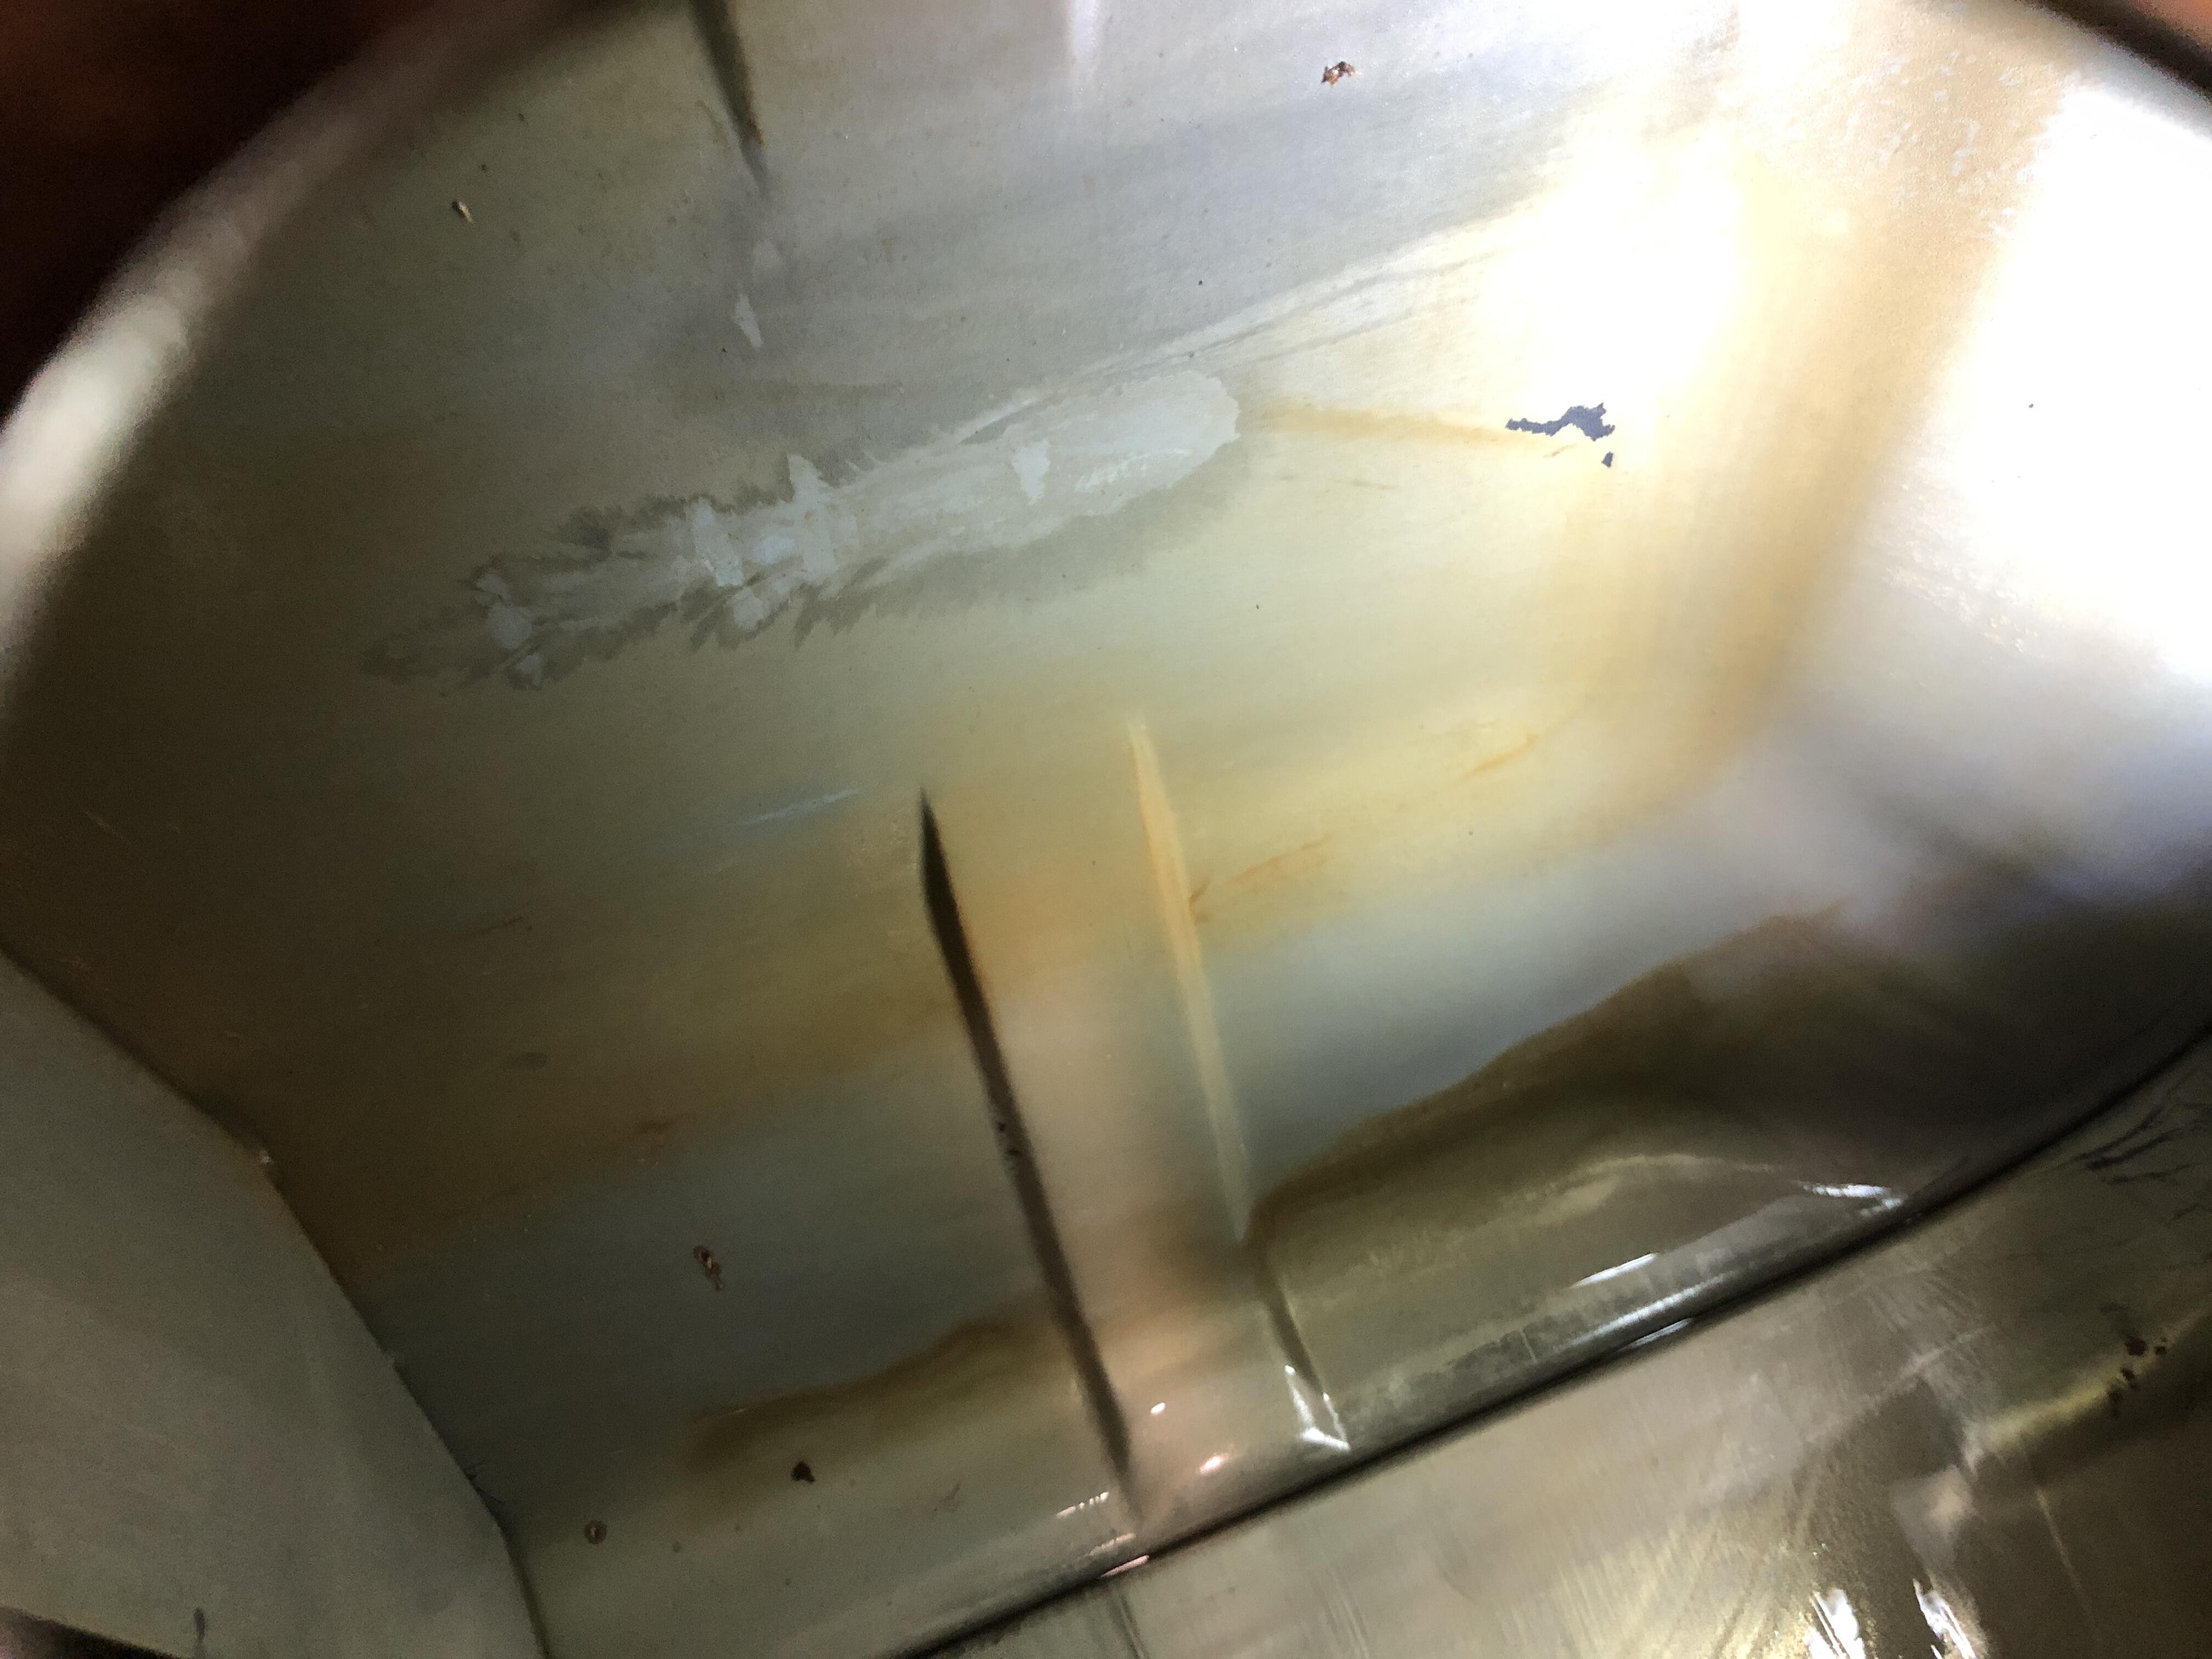
Okey Dokey, got the tank mods done and the pump and level senders installed. After careful welding and grinding, I covered the weld inside and out with POR gas tank sealer paint. Bit fun getting your hand in the pump hole with a wire brush and/or scotchbrite to clean the backside of the weld and surrounding tank area real pretty but I managed it. Even managed to get the stock sender arm bent to clear all the new tank occupants. Just took a small kink near the end to get it around the stalk of the new fancy sender. Figure this way you can use a stock gauge if you want to at some point, or if I’m not happy with the Amazon sender for whatever reason. AND it fills the sender hole in the tank. The resistance range is 15 to 61 ohm given the restricted movement range, vs 10-90 stock. Float hits the lower ceiling now, and sits on the fancy hydromat on the bottom. Oh well. Notice also the nice waterproof Deutsch DT connector. I’m very happy with this setup. Just have make short hoses to bring the connection point down in front of the tank. Can’t put them together with the hoses going upfront and the filter with the tank in place. There is one more detail yet to be added, but will have to wait until I have a chassis to mount to the tank. This dropped area means I am missing one of the four points of contact with the hatch floor above. If the tank won’t snug up and sit nice with the straps, I’ll have to add a little leg from somewhere in the SW corner (in this picture) of the lowered area, up to the ceiling above to form that fourth leg.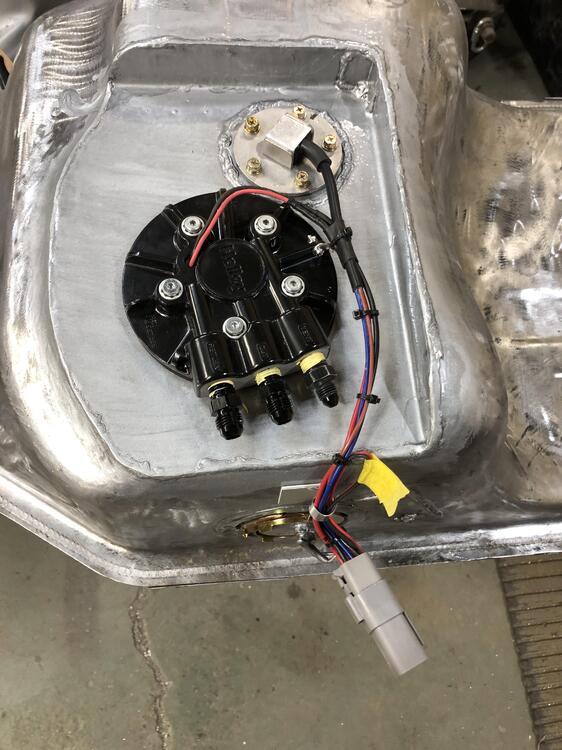

-
EFI In-Tank Pumps and Welding Stock Gas Tanks. A Volatile Discussion.
zKars replied to zKars's topic in Fuel Injection
Nothing fancy, in fact just a pretty stock L28. Reliability and drive it anywhere anytime is the objecive. I had seen the sonic based level sensors, makes sense there would be a laser one as well. -
EFI In-Tank Pumps and Welding Stock Gas Tanks. A Volatile Discussion.
zKars replied to zKars's topic in Fuel Injection
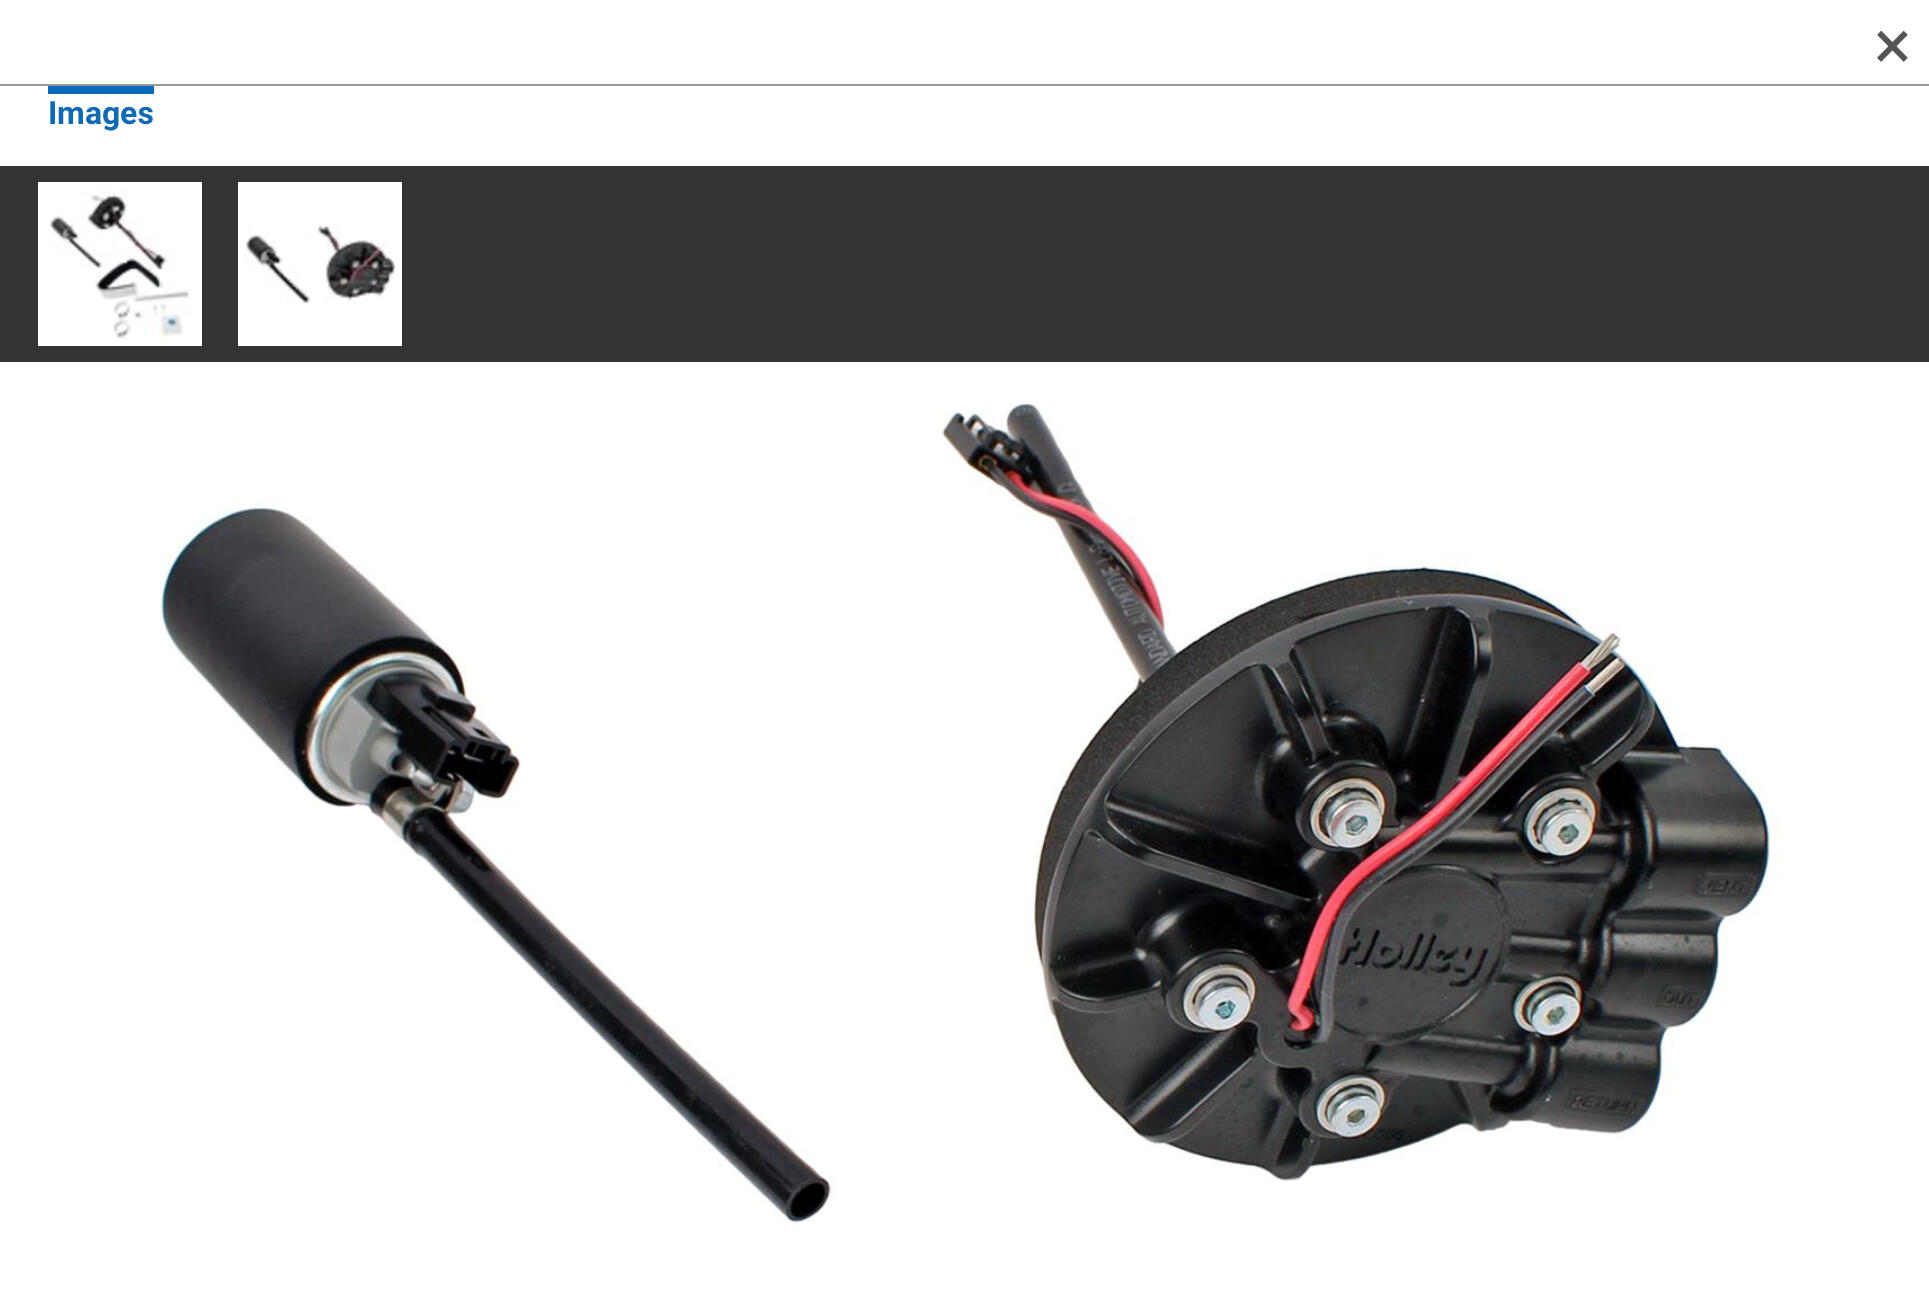
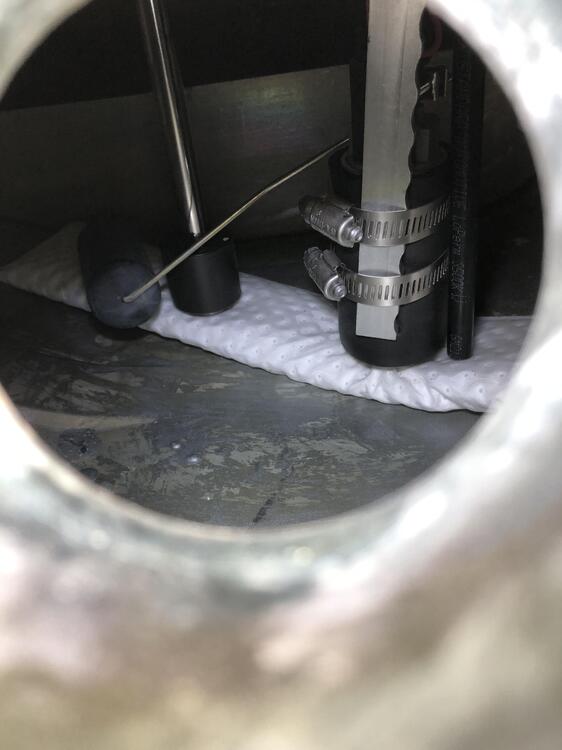
Yes the fancy long skinny sock is a Holley ”hydramat” fuel sucker sponge thingy. This is my strategy to make it slosh and low fuel proof for the EFI application. I don’t intend to use the stock float and sender, I have a top mounted aftermarket unit to install next to the pump. I think you would have to create a new arm shape for the stock float to meander around the new pump and sender hardware, but it could work just fine I think. -
EFI In-Tank Pumps and Welding Stock Gas Tanks. A Volatile Discussion.
zKars replied to zKars's topic in Fuel Injection
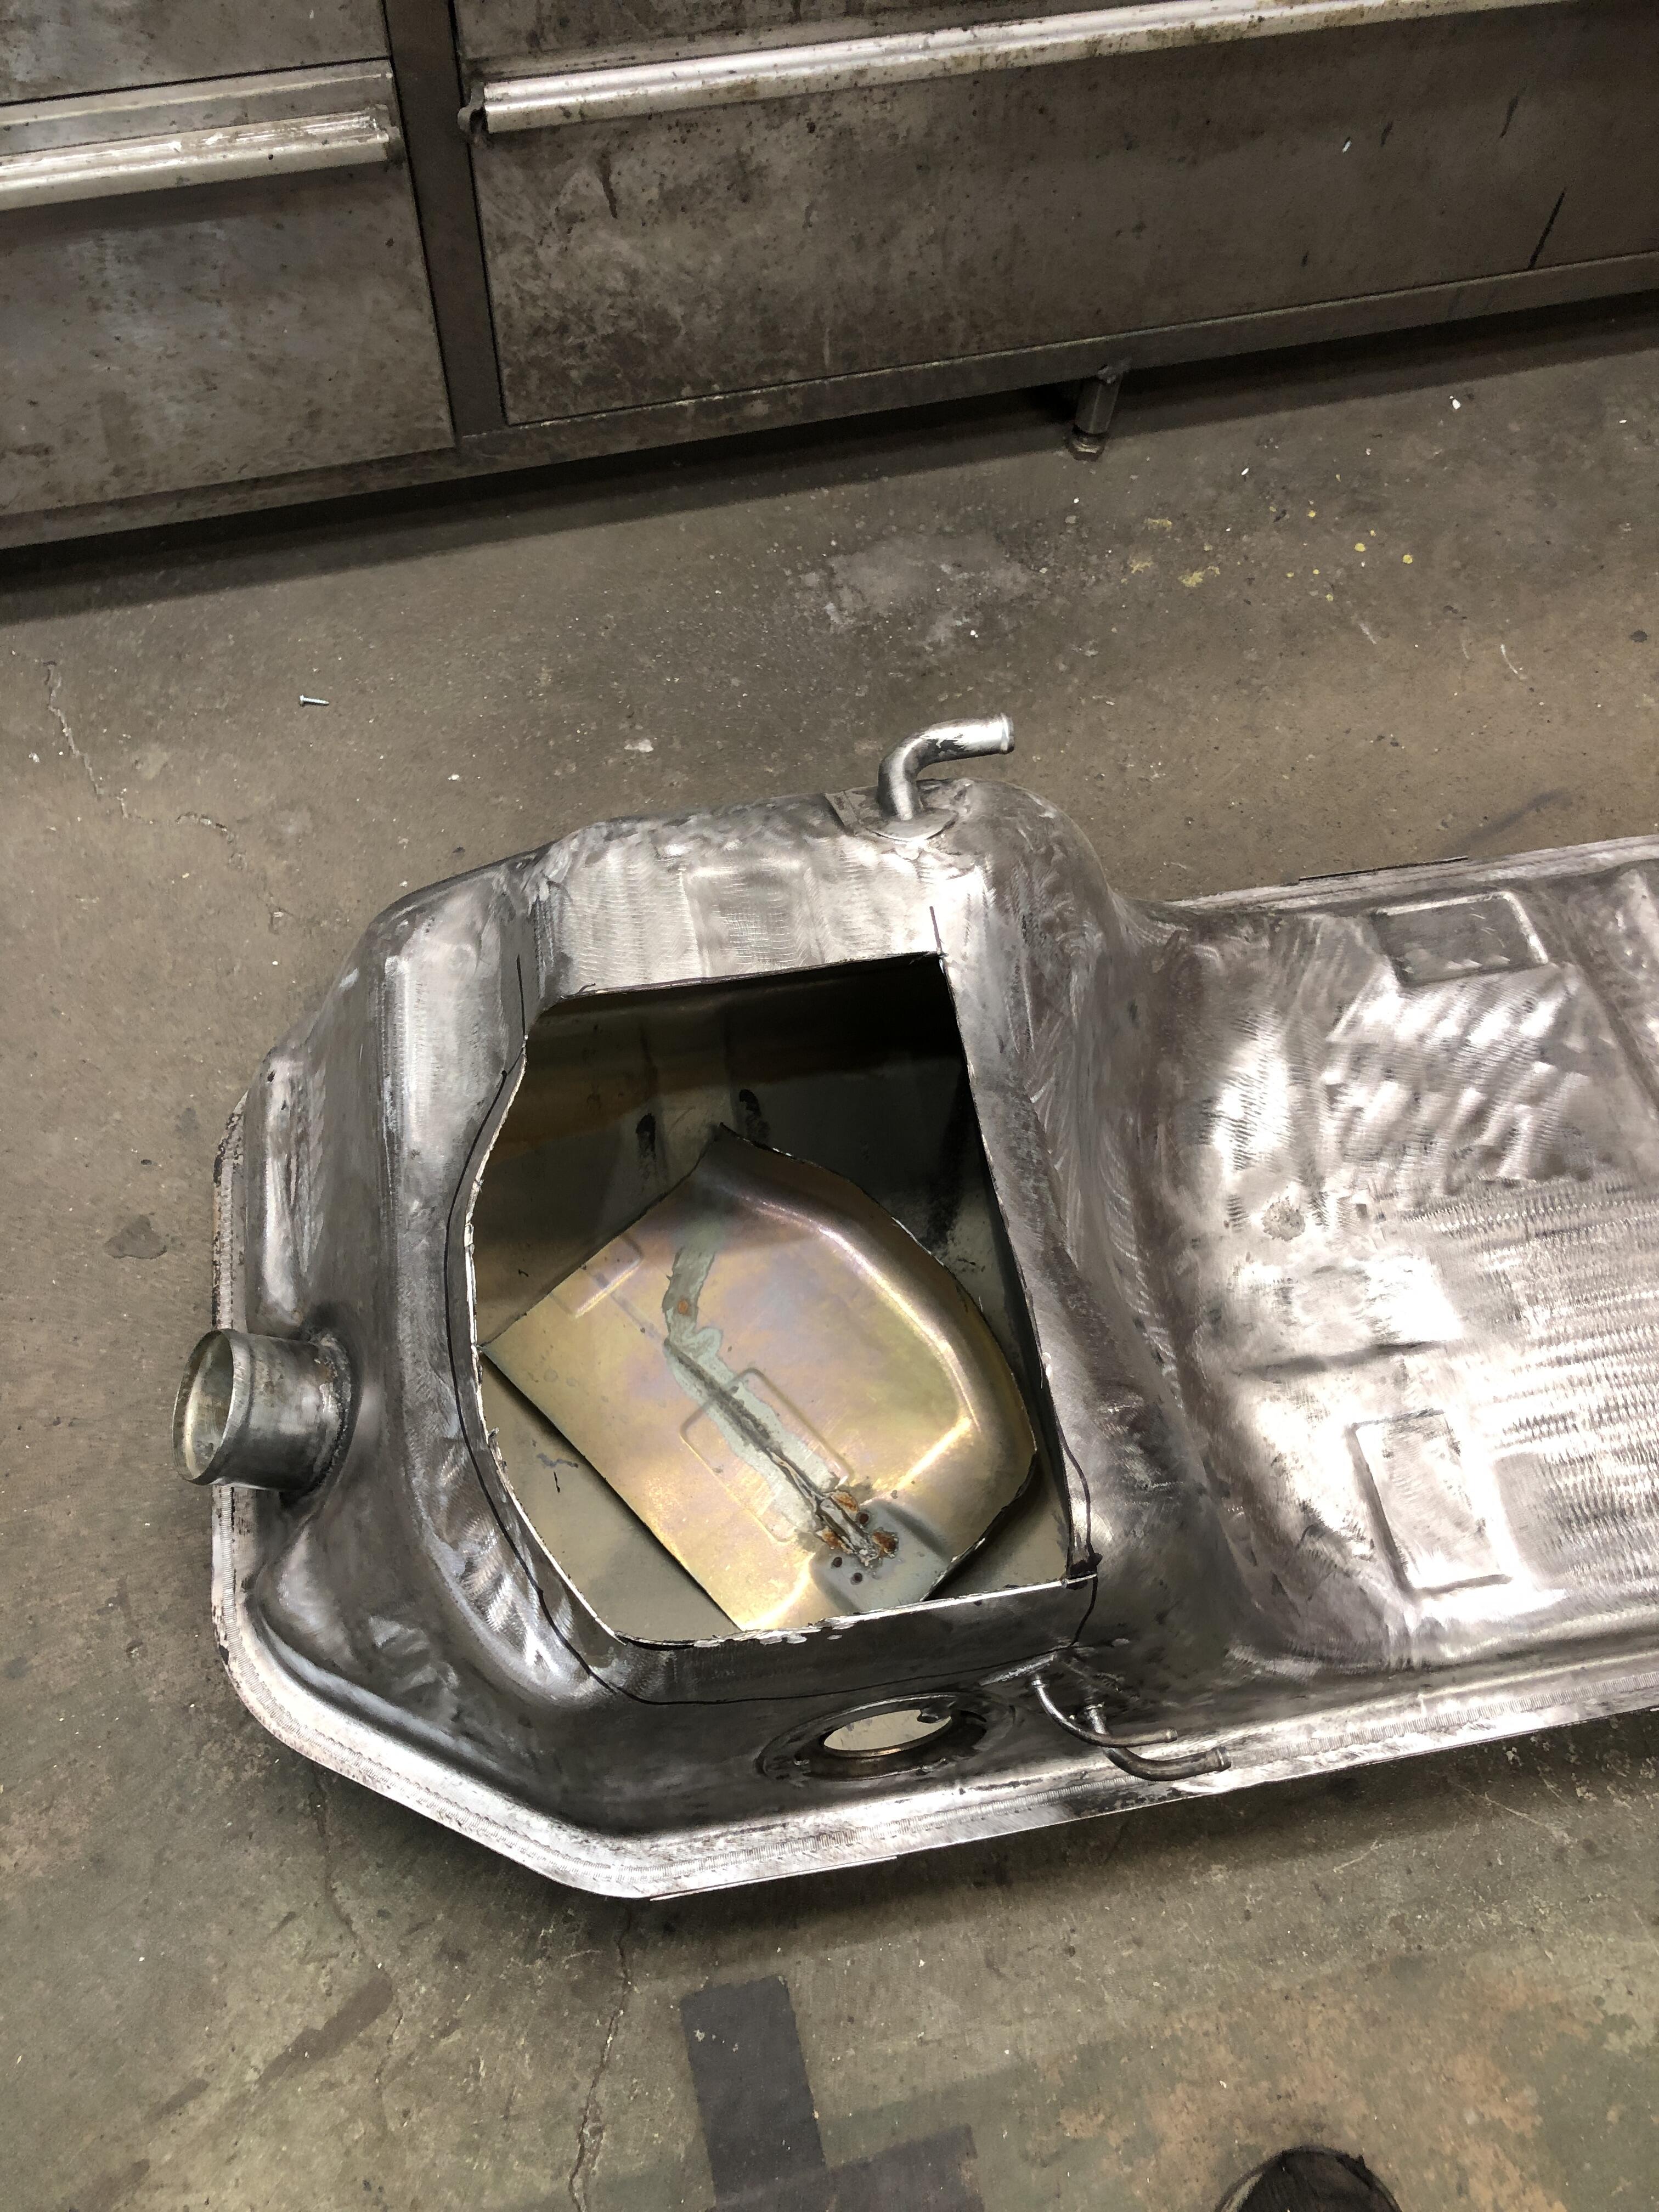
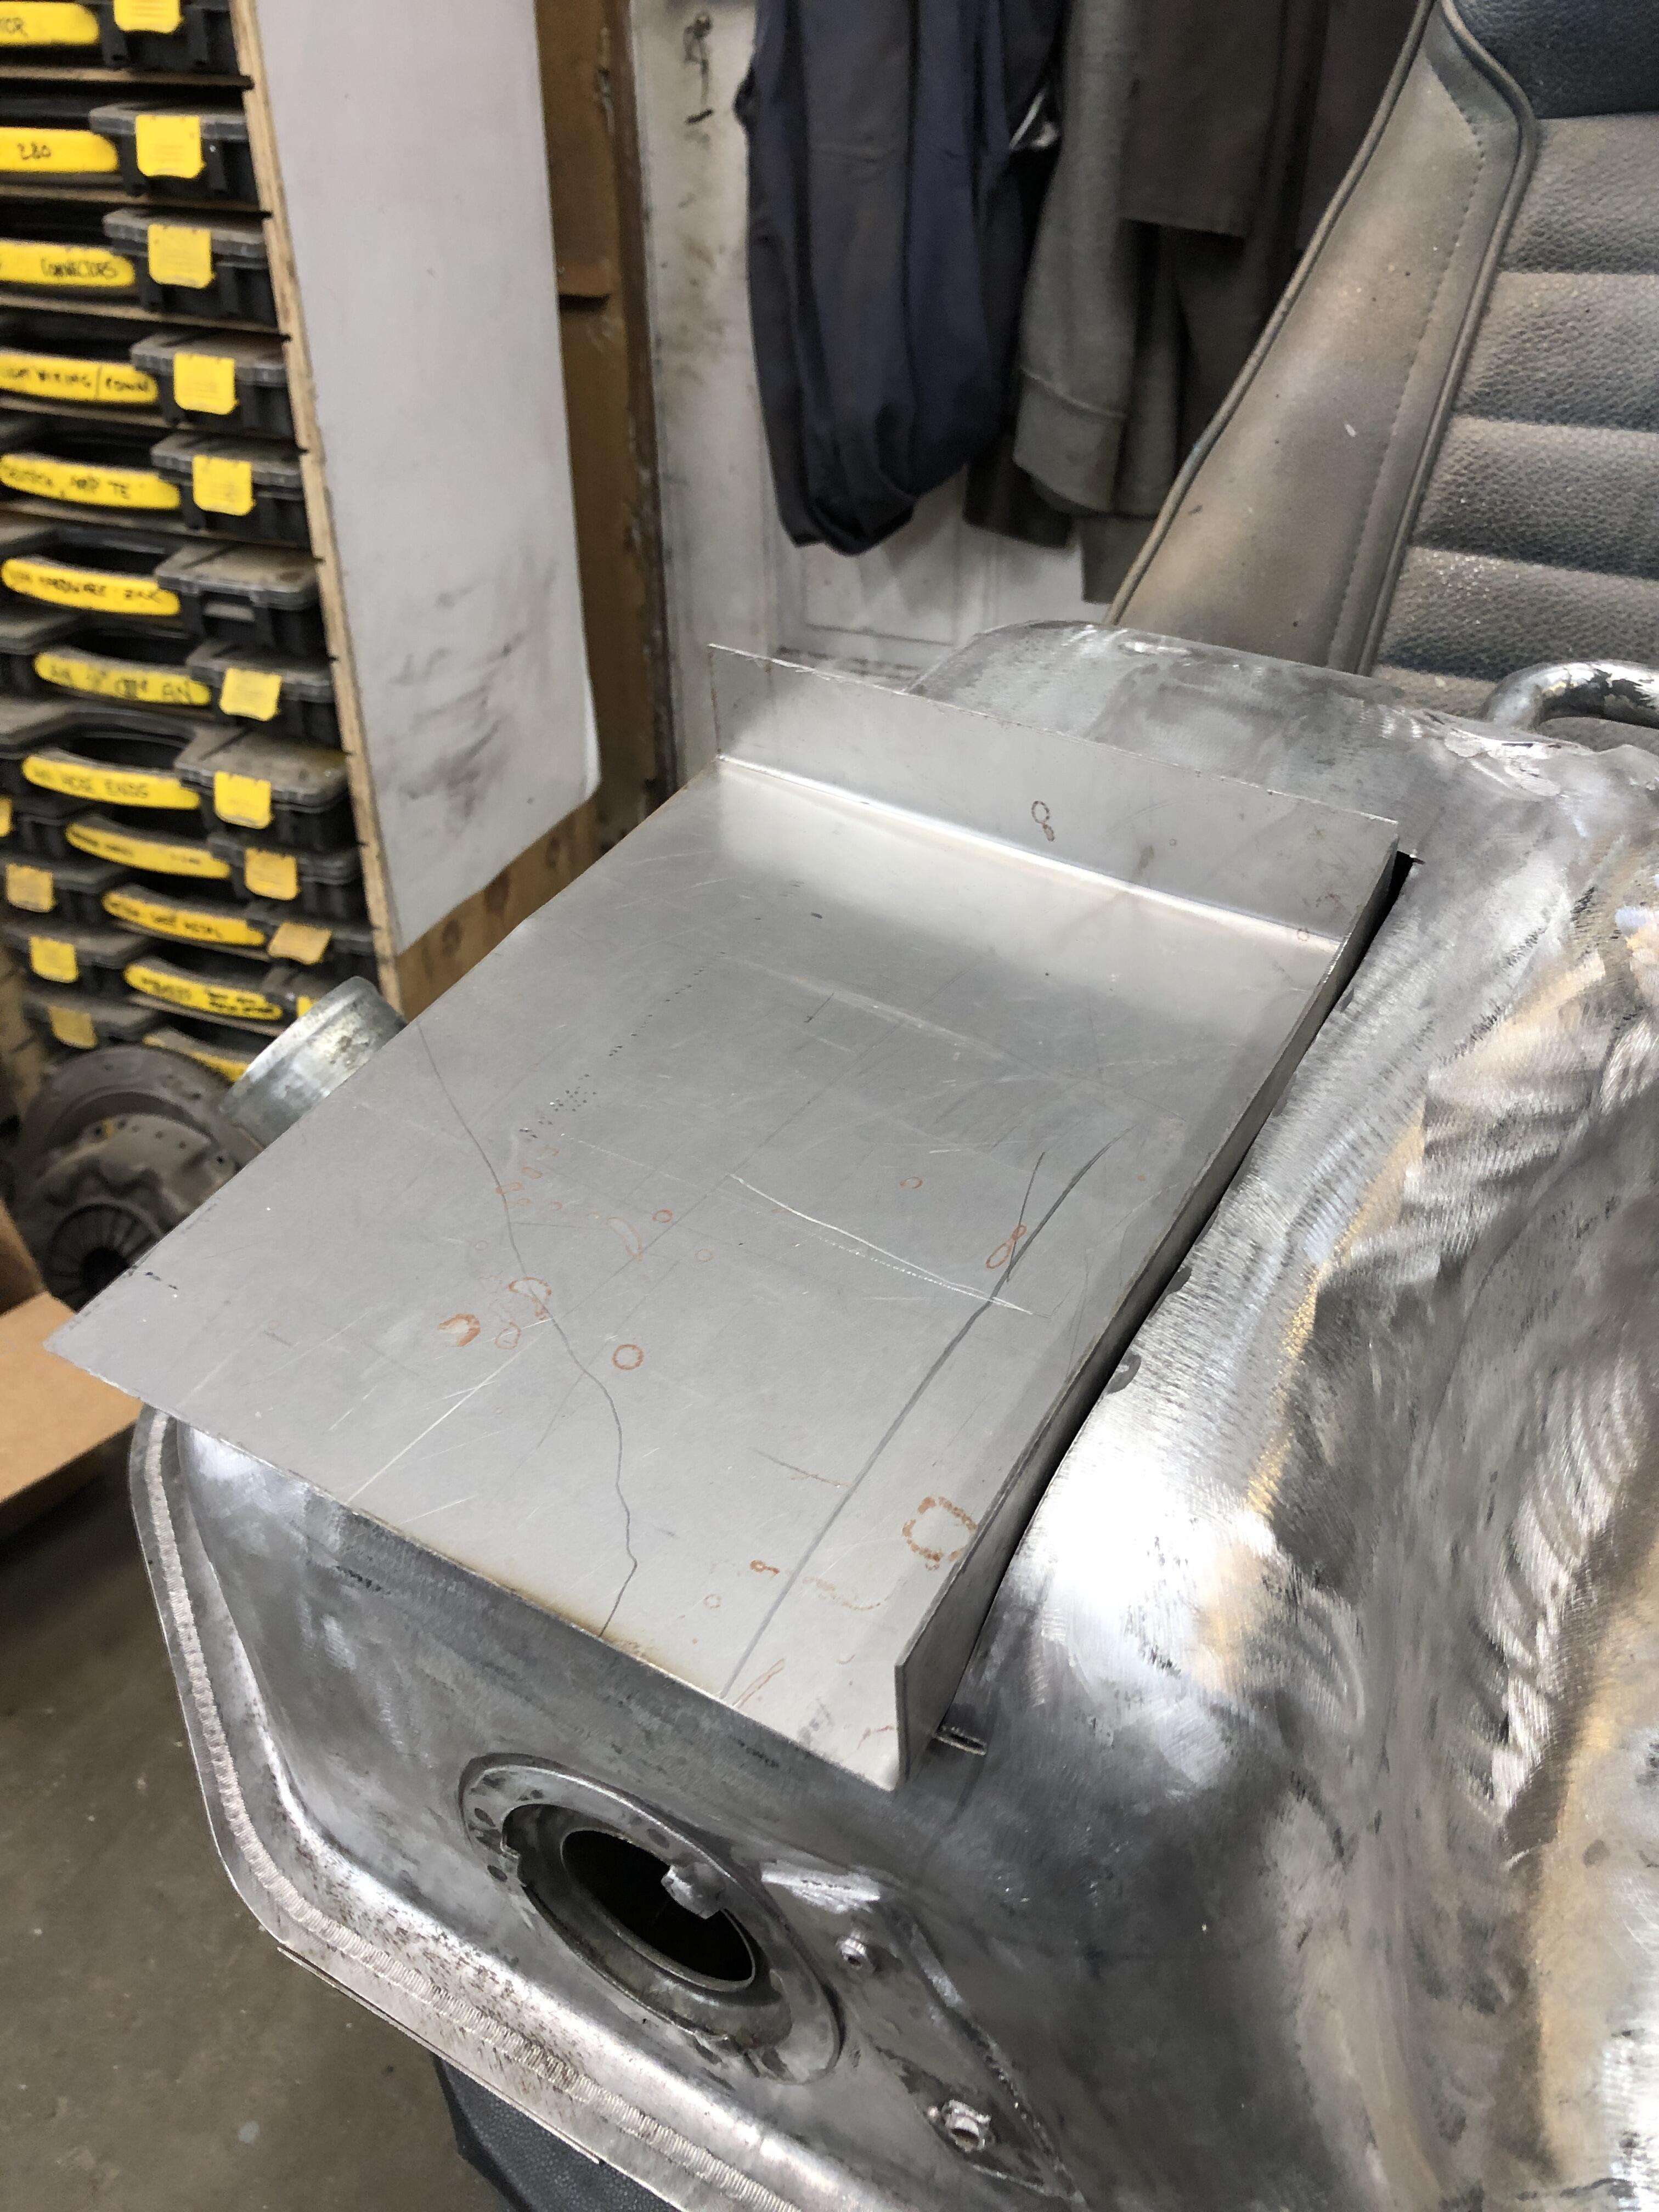
Progress on the EFI pump conversion this week, after a busy holiday season that saw more kitchen renovation than I cared to do. Decided to create a 1.25” deep flat recess to mount the Holley 12-168 pump and hanger and the new level sender. The opening is roughly 8 inches wide and 10 inches long. The tray I built is 8.1x10.2 and has 1.5” bent up edges. Much grinding and fitting and hammering to get close fits all around. More pics tomorrow after I finish welding and mounting stuff


-
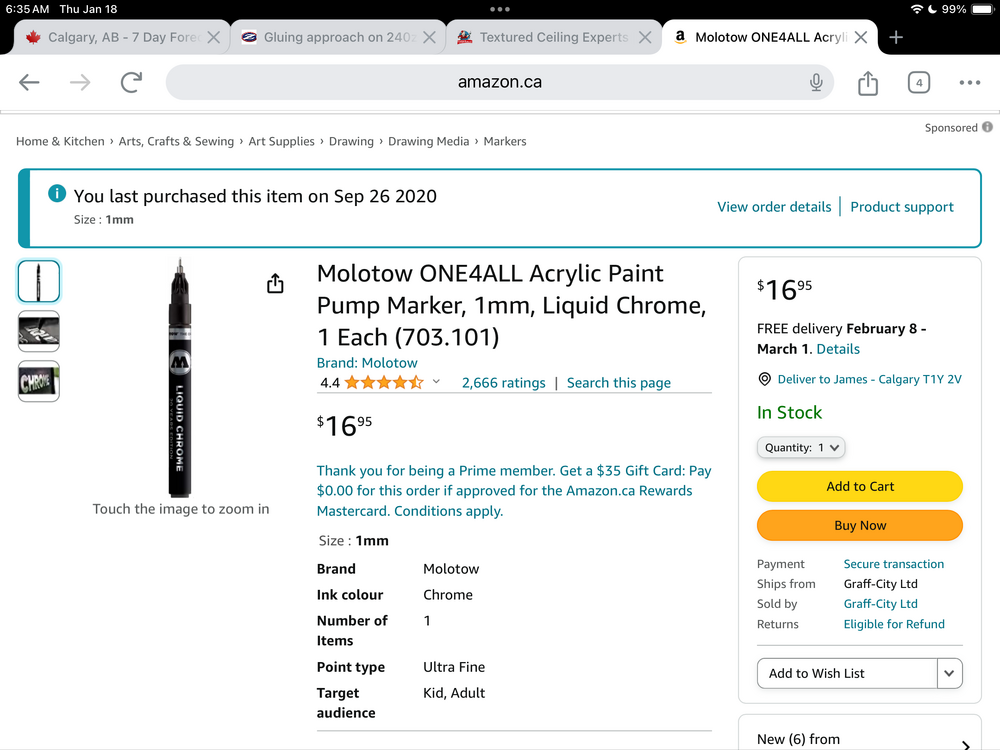
I like these chrome ink pens that I got from Amazon. I got a 1mm and 4mm. The ink lasts well, I’ve had them for a couple of years and they keep working every time I go to use them.
-
I have at least two. One is in a spare dash, but the market for a cracked dash has gone to pot, so someone might as well use the harness. Happy to ship it whereever you might be. Send me a personal message when you get a chance
-
EFI In-Tank Pumps and Welding Stock Gas Tanks. A Volatile Discussion.
zKars replied to zKars's topic in Fuel Injection
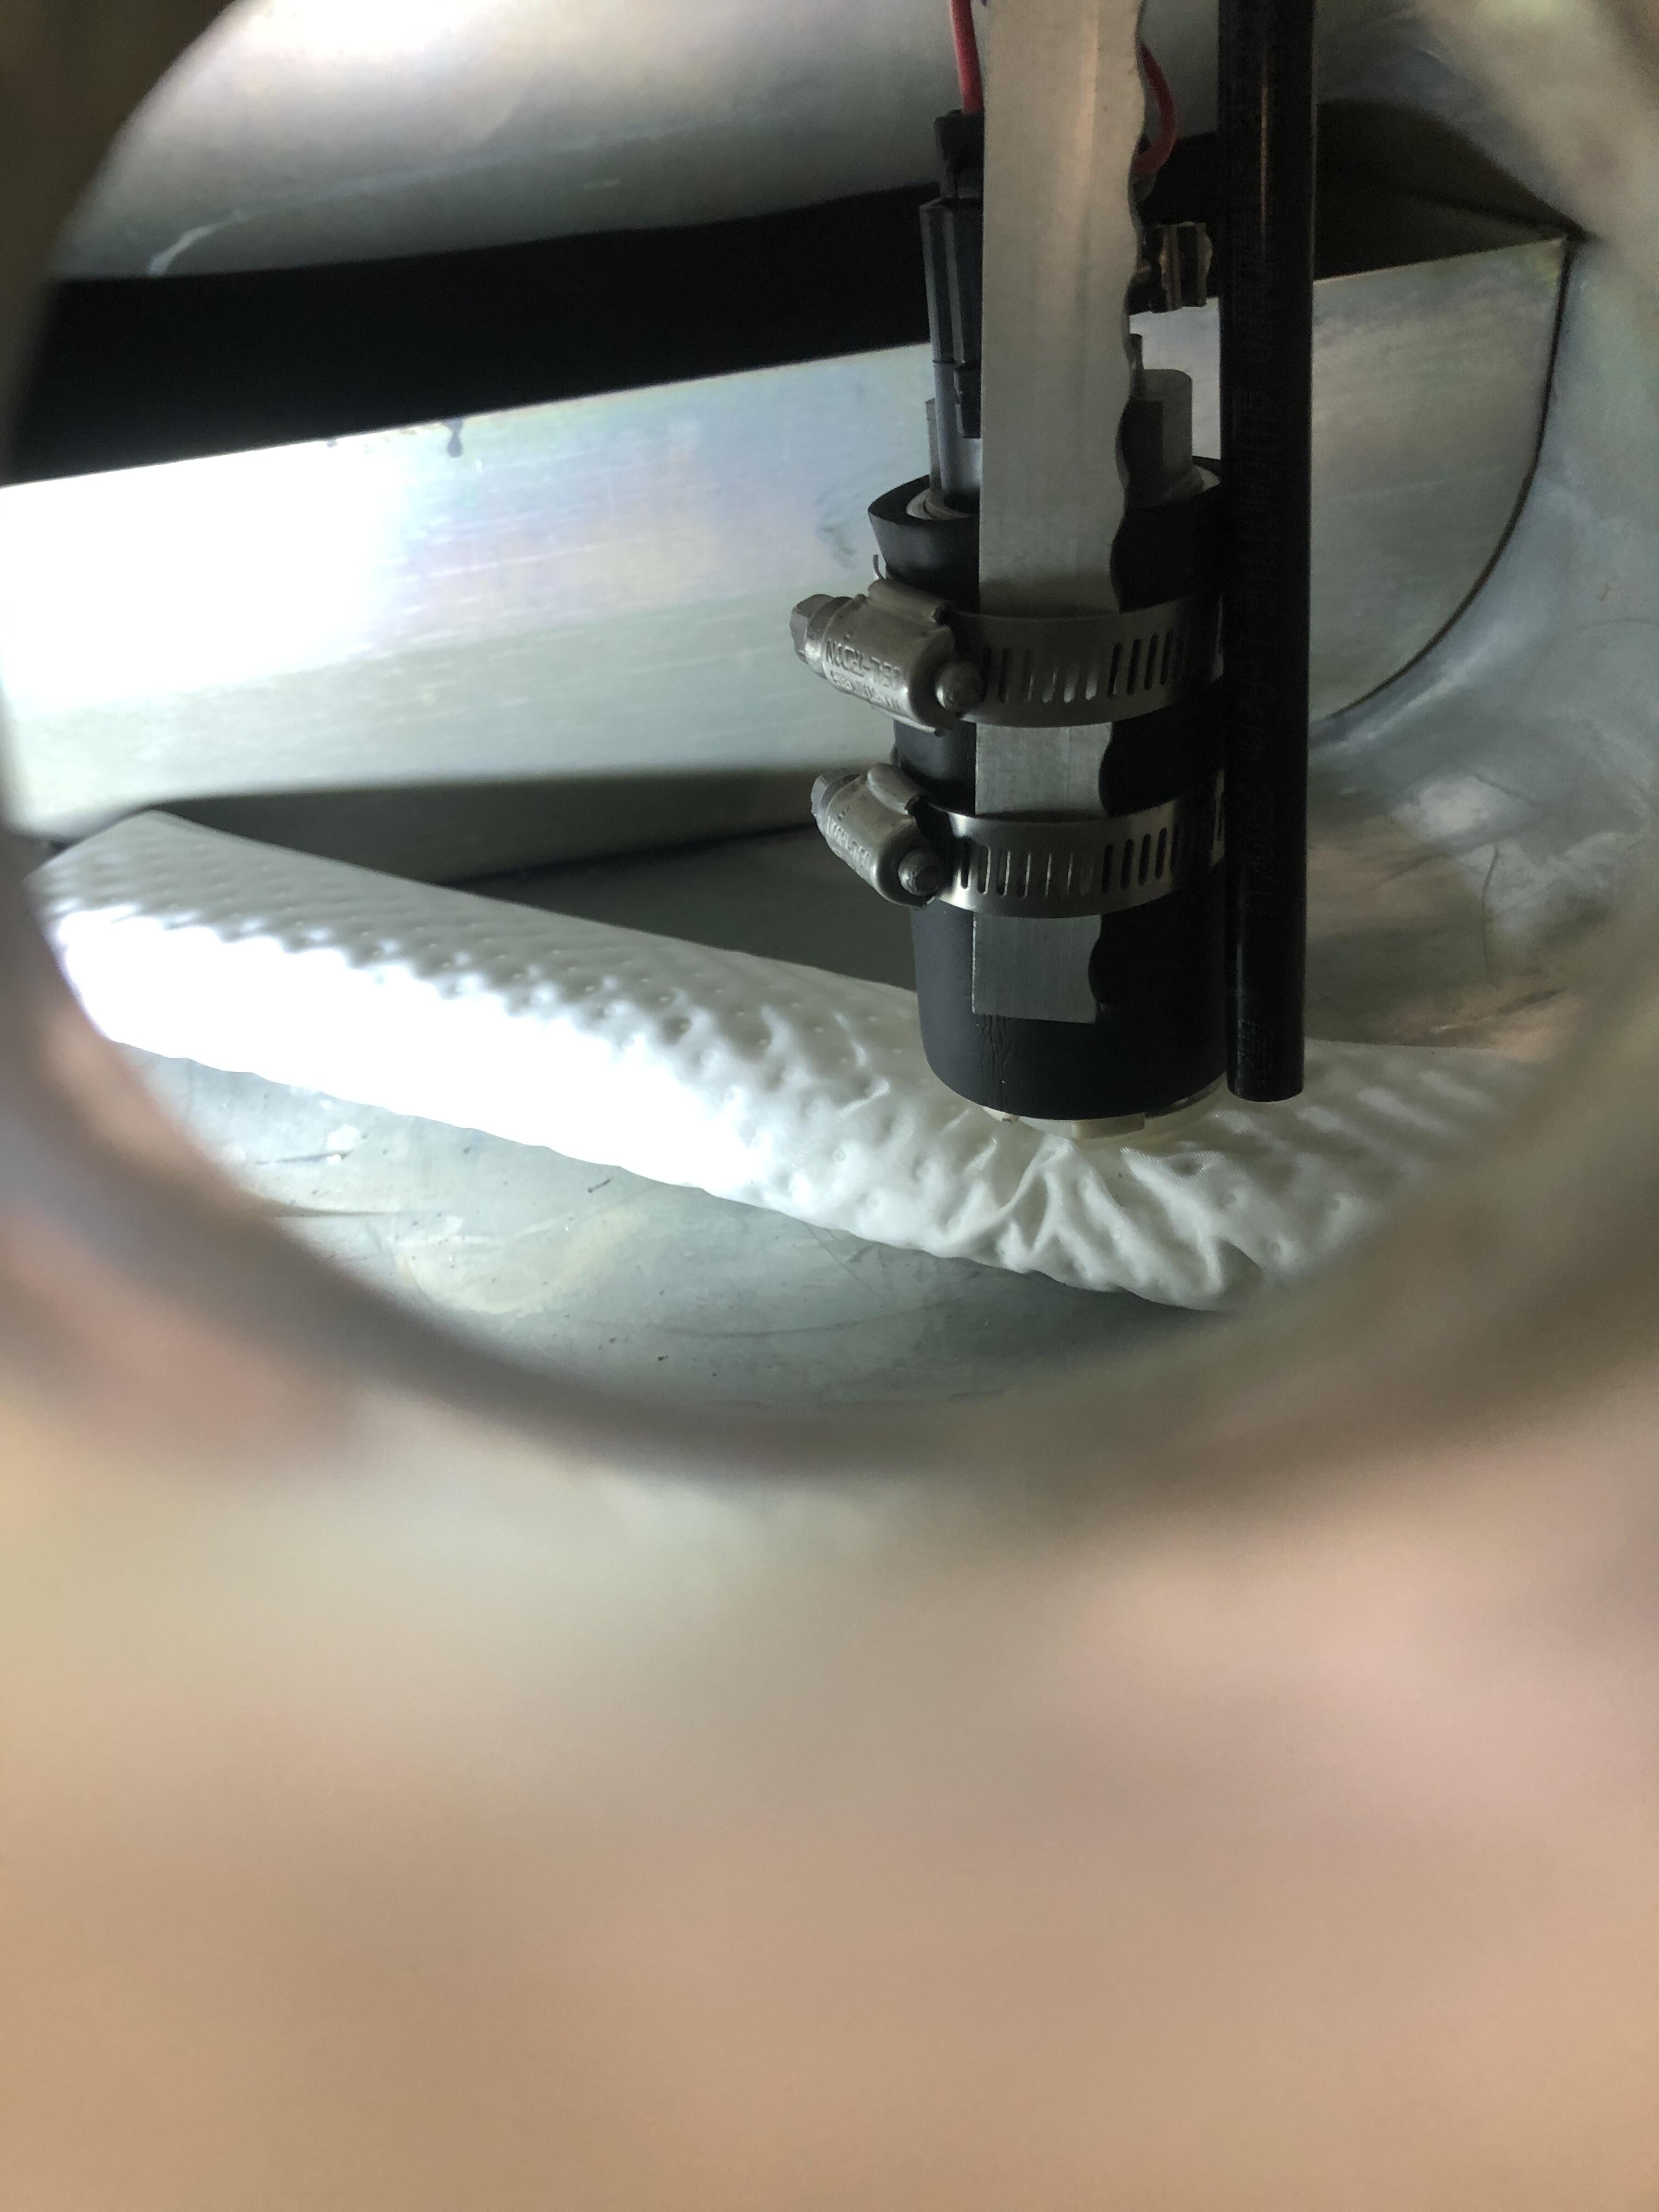
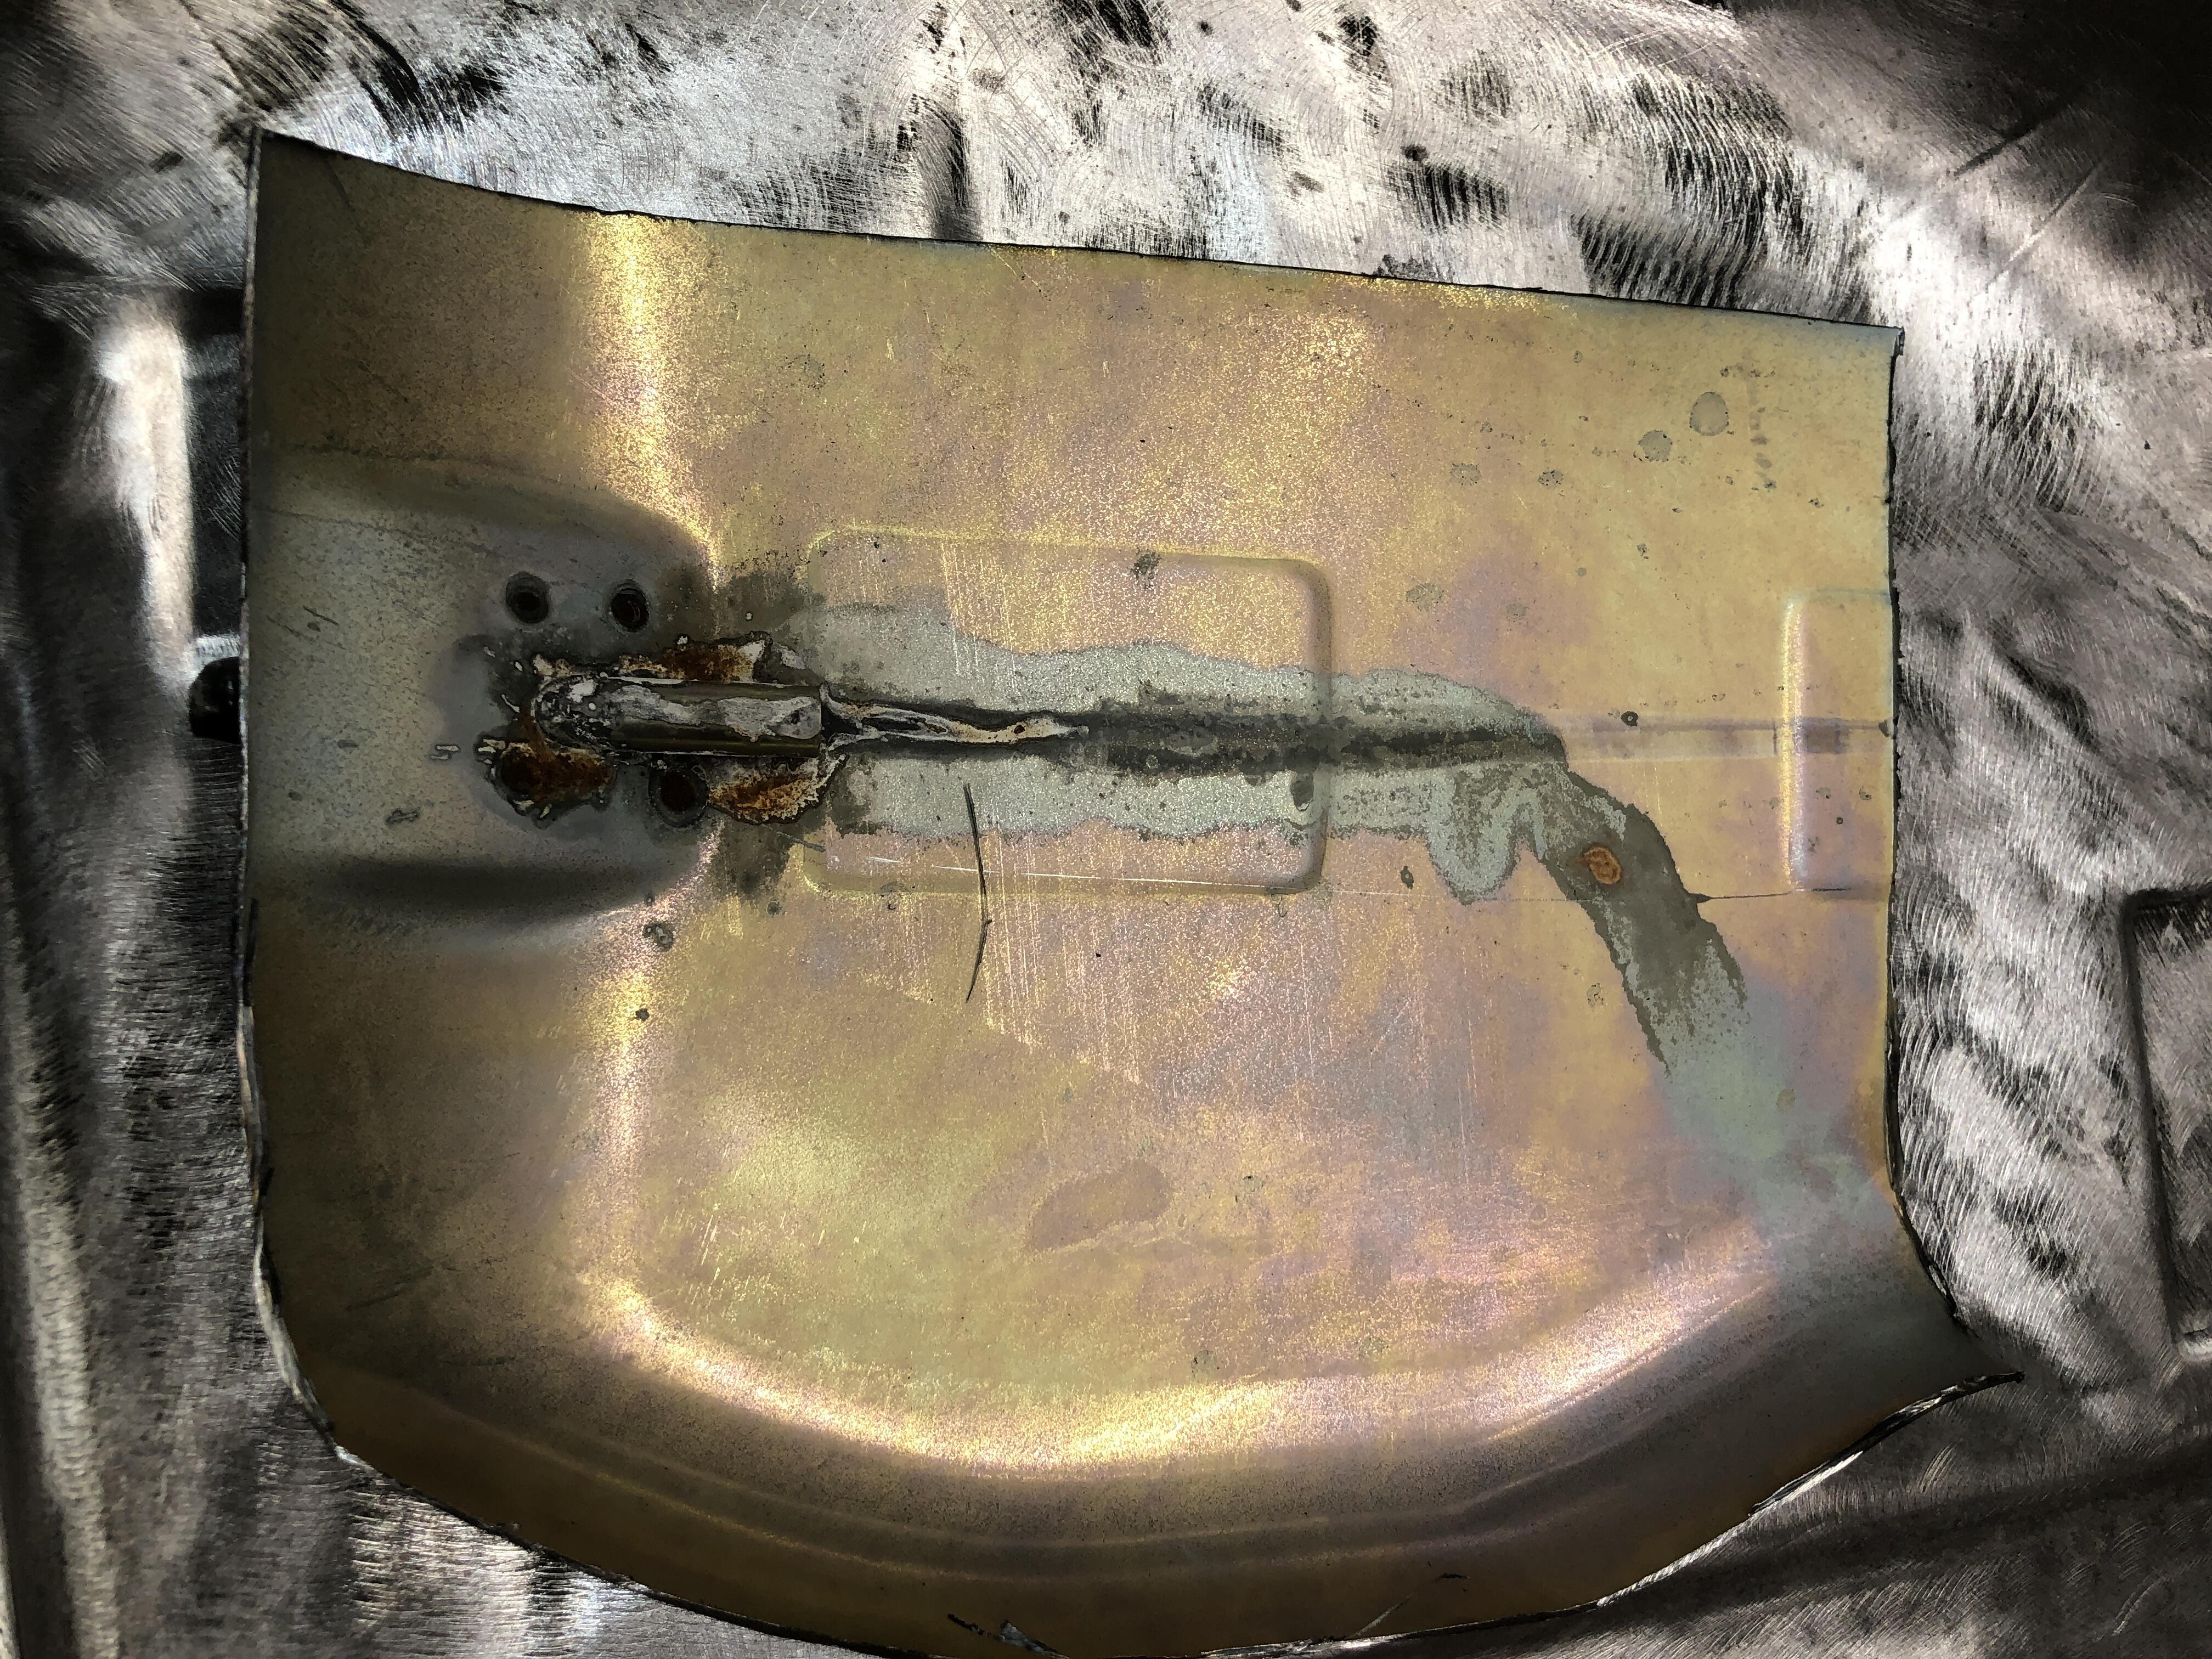
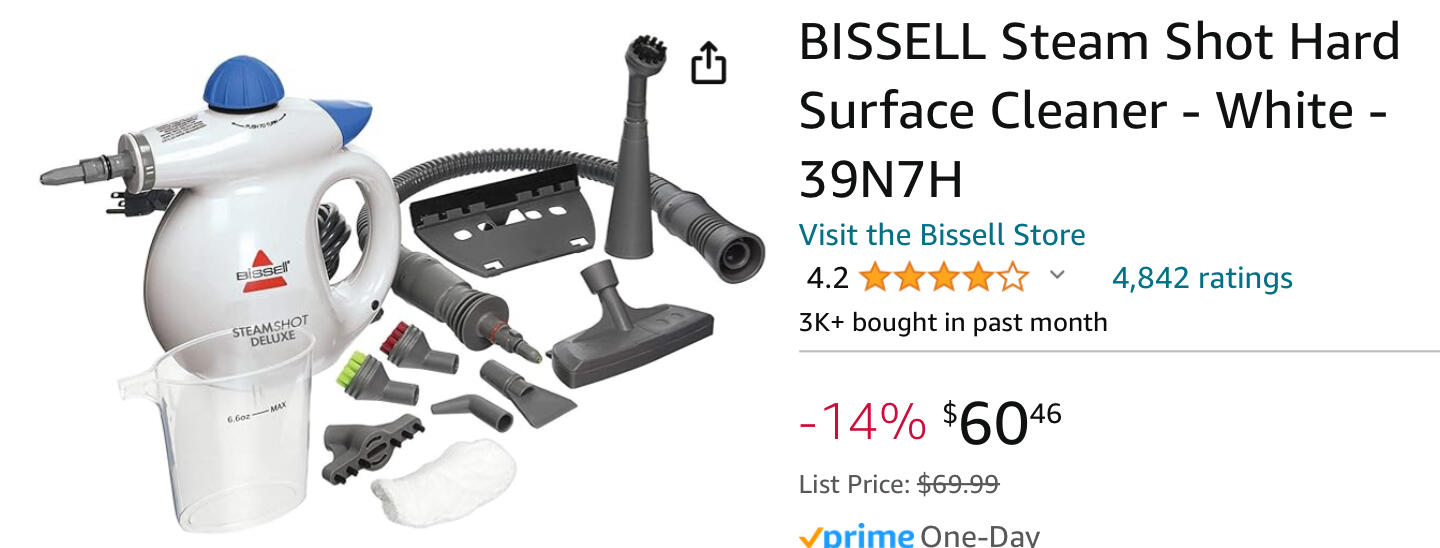
Well I took the first step. I bought a little household Bissell steamer and steamed the heck out of the tank. Put about an hours worth of steam through it. Tank is now fume free. Did it outside on a ~+5C sunny day here. Nice cloud of steam coming out all the ports. Rotated around which hole I stuffed the steam hose into during the hour and rotated the tank around. That steam was immensely smelly but now the tank is odorless and spotless (not that it had much in the way of spots to start with). I happily silver soldered up the stock fuel outlet tube that was rotating freely(and leaking) with nice MAP torch with no fear. And yes I even stuffed the open flame in the filler tube just to prove it was fume free. Granted I’m abandoning the stock feed and return fittings, should really just solder them shut. Guess I could use the return as a vent. We’ll see.
-
EFI In-Tank Pumps and Welding Stock Gas Tanks. A Volatile Discussion.
zKars replied to zKars's topic in Fuel Injection
Here is how lucky I am regarding tank internal cleanliness. This one is spotless. Going to steam it tonight and see what I smell when done. Then I'll put it out in the yard with a spark plug dangling in there with a long wire and a coil and a battery....
-
EFI In-Tank Pumps and Welding Stock Gas Tanks. A Volatile Discussion.
zKars replied to zKars's topic in Fuel Injection
Yeah, see? That’s what I’m talking about. Nice work Granny. MIG is fine especially if you seal it well. A pass with the TIG torch on the MIG bead can also help to homogenize the weld and remove pin holes. Maybe not quite so deep, the Holley in tank pump I’m using is maybe 3/4” or an inch high above the top. This will also allow me to bias the location away from the stock sender so I can retain it. When you put these things on top of the stock tank, the only flat spot up there puts the guts of the pump hanger perilously close to the sender arm….
-
EFI In-Tank Pumps and Welding Stock Gas Tanks. A Volatile Discussion.
zKars replied to zKars's topic in Fuel Injection
Great advice. Thank you! I did find a video where they used steam. Heat accelerates the evap and water does as you mentioned above. Maybe this is what “boiling the tank” is meant as in a rad shop. It will be a bit before I get to this, but will attempt to remember to post pictures when I do it. -
EFI In-Tank Pumps and Welding Stock Gas Tanks. A Volatile Discussion.
zKars replied to zKars's topic in Fuel Injection
I have taken past fuel tanks in for cleaning and repair and they "boil" the tank first, whatever that means. Well in my area, there is only one shop that does this anymore and the cost is really silly. So let the crazy ideas flow. How would you do it? Fill it with water while you're welding? Maybe. heavy, awkward..... Air it out with hot air in one end and out the other for 3 weeks on a hair dryer? Just light off the fumes and get it over with? Buy a gallon or 2 or 3 of methyl hydrate or Lacquer Thinner and rinse it out? Got lots of inert gas in bottles for welding so fill it with Argon? Cutting into it going to make sparks too.... Been sitting outside "Airing" out for 6 weeks already. Can barely smell anything.... Any other bright ideas? -
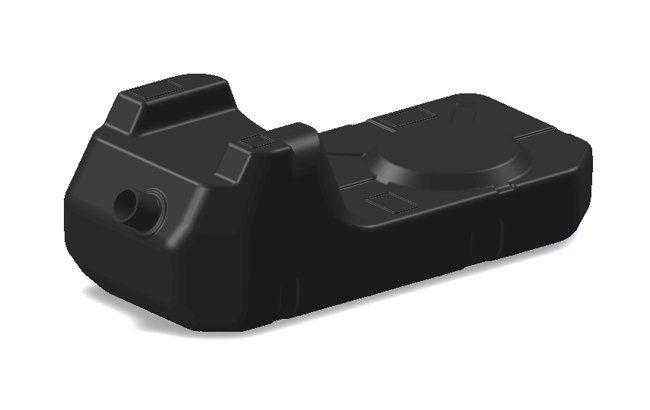
Ok, I have a 71 240 that I'm converting EFI. This means using an EFI fuel pump. My usual MO here is to retro-fit an in-tank pump. Quiet, secure, self filtering, blah blah blah. Done it to my old 73 years ago and to a couple of my 510's since. Easy peasy as they say. Well the 510's are easy. Lots of room above the tank. Not so much on Z's. If you want to mount the pump in the top of the tank, there is no or very little room between the floor and tank top, and you have to cut a wee hole in your deck then come up with a way to cover it. Then put up with a lump back there for ever more. Not perfect. Well until Vintage Tanks just announced a new product. https://www.vintagetanksolutions.com/product/1970-1976-datsun-240z-260z-280z-poly-fuel-tank-for-in-tank-retrofit-fuel-modules This is the "right" way to do for sure. They provide you a recessed area to mount the pump and sender flange. and its still 16 US gal. Slick. The bad news of course is the cost. $800 USD plus shipping exchange, duty etc. Usually works out to double that in CAD by the time it gets to me. Ouch.... Customer project or not. SO..... This crazy Canuck wants to to make a recessed area on the top of the stock tank to accomplish the same thing. Just a little fabbin' and cuttin' and weldin' and BOOMin' and screamin' and scrapping Canuck body parts off the shop wall. Right? Though shall not weld a fuel tank, pretty basic knowledge. Surely there is a safe way.
-
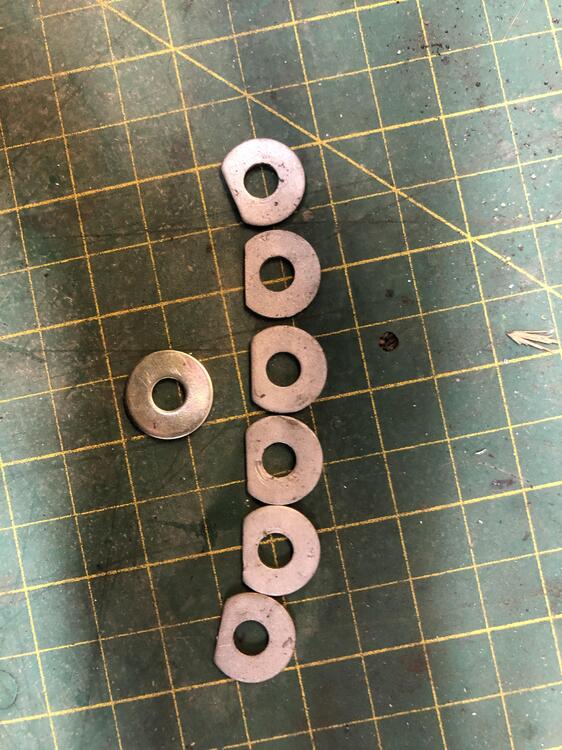
This is my non-impressive collect ATM. But the good news is that I have a very very close replacement washer source. These are 17.6 mm OD with a 6.4mm ID. (The web site says 18mm OD, but they are lying, I mean nominal…..) They are nice and thin as well. Of course you have to create the flat spot yourself, then get them replated, but when you have to get it right, you have to get it right, right? https://belmetric.com/hv-140-steel-general-purpose-din-9021-fender-washer/?sku=WFE6X18YLW
-
Heat is the treat. Not too much.
-
Similar experience with both. Won't be doing that again with Datsun garage for sure.....
-
Rubber hammer and appropriate sacrifices to the deity of your choice. Hmmmm, start at the bend I think and work either way. Just remember you are attaching it over the top lip first, then snapping it on over the bottom as you go along banging it with the rubber mallet. Oh yeah, and remove all the extra paint that may have been applied to this area on a repaint first. Needs to be stock paint thickness......
-
just zoom in on your picture, 37:11, right there to the left of the 3 9 4 stuff. Standard US S30 R180 ratio for the 240 years, 3.36 to 1 I should be on CSI Calgary

-
Or just count the teeth...... All the ring gears I've seen have the two tooth counts with a : between them stamped into that crown gear, like 39:10 which would be 3.9 to 1 ratio. Keep looking.
-
MH77280Z cleaned me out sorry.
-
Or go all the way with a Vintage Air servo controlled heater control valve and adjust idle with a dial on the dash! https://www.vintageair.com/custom/product-pop.php?pn=50507-VUA
-
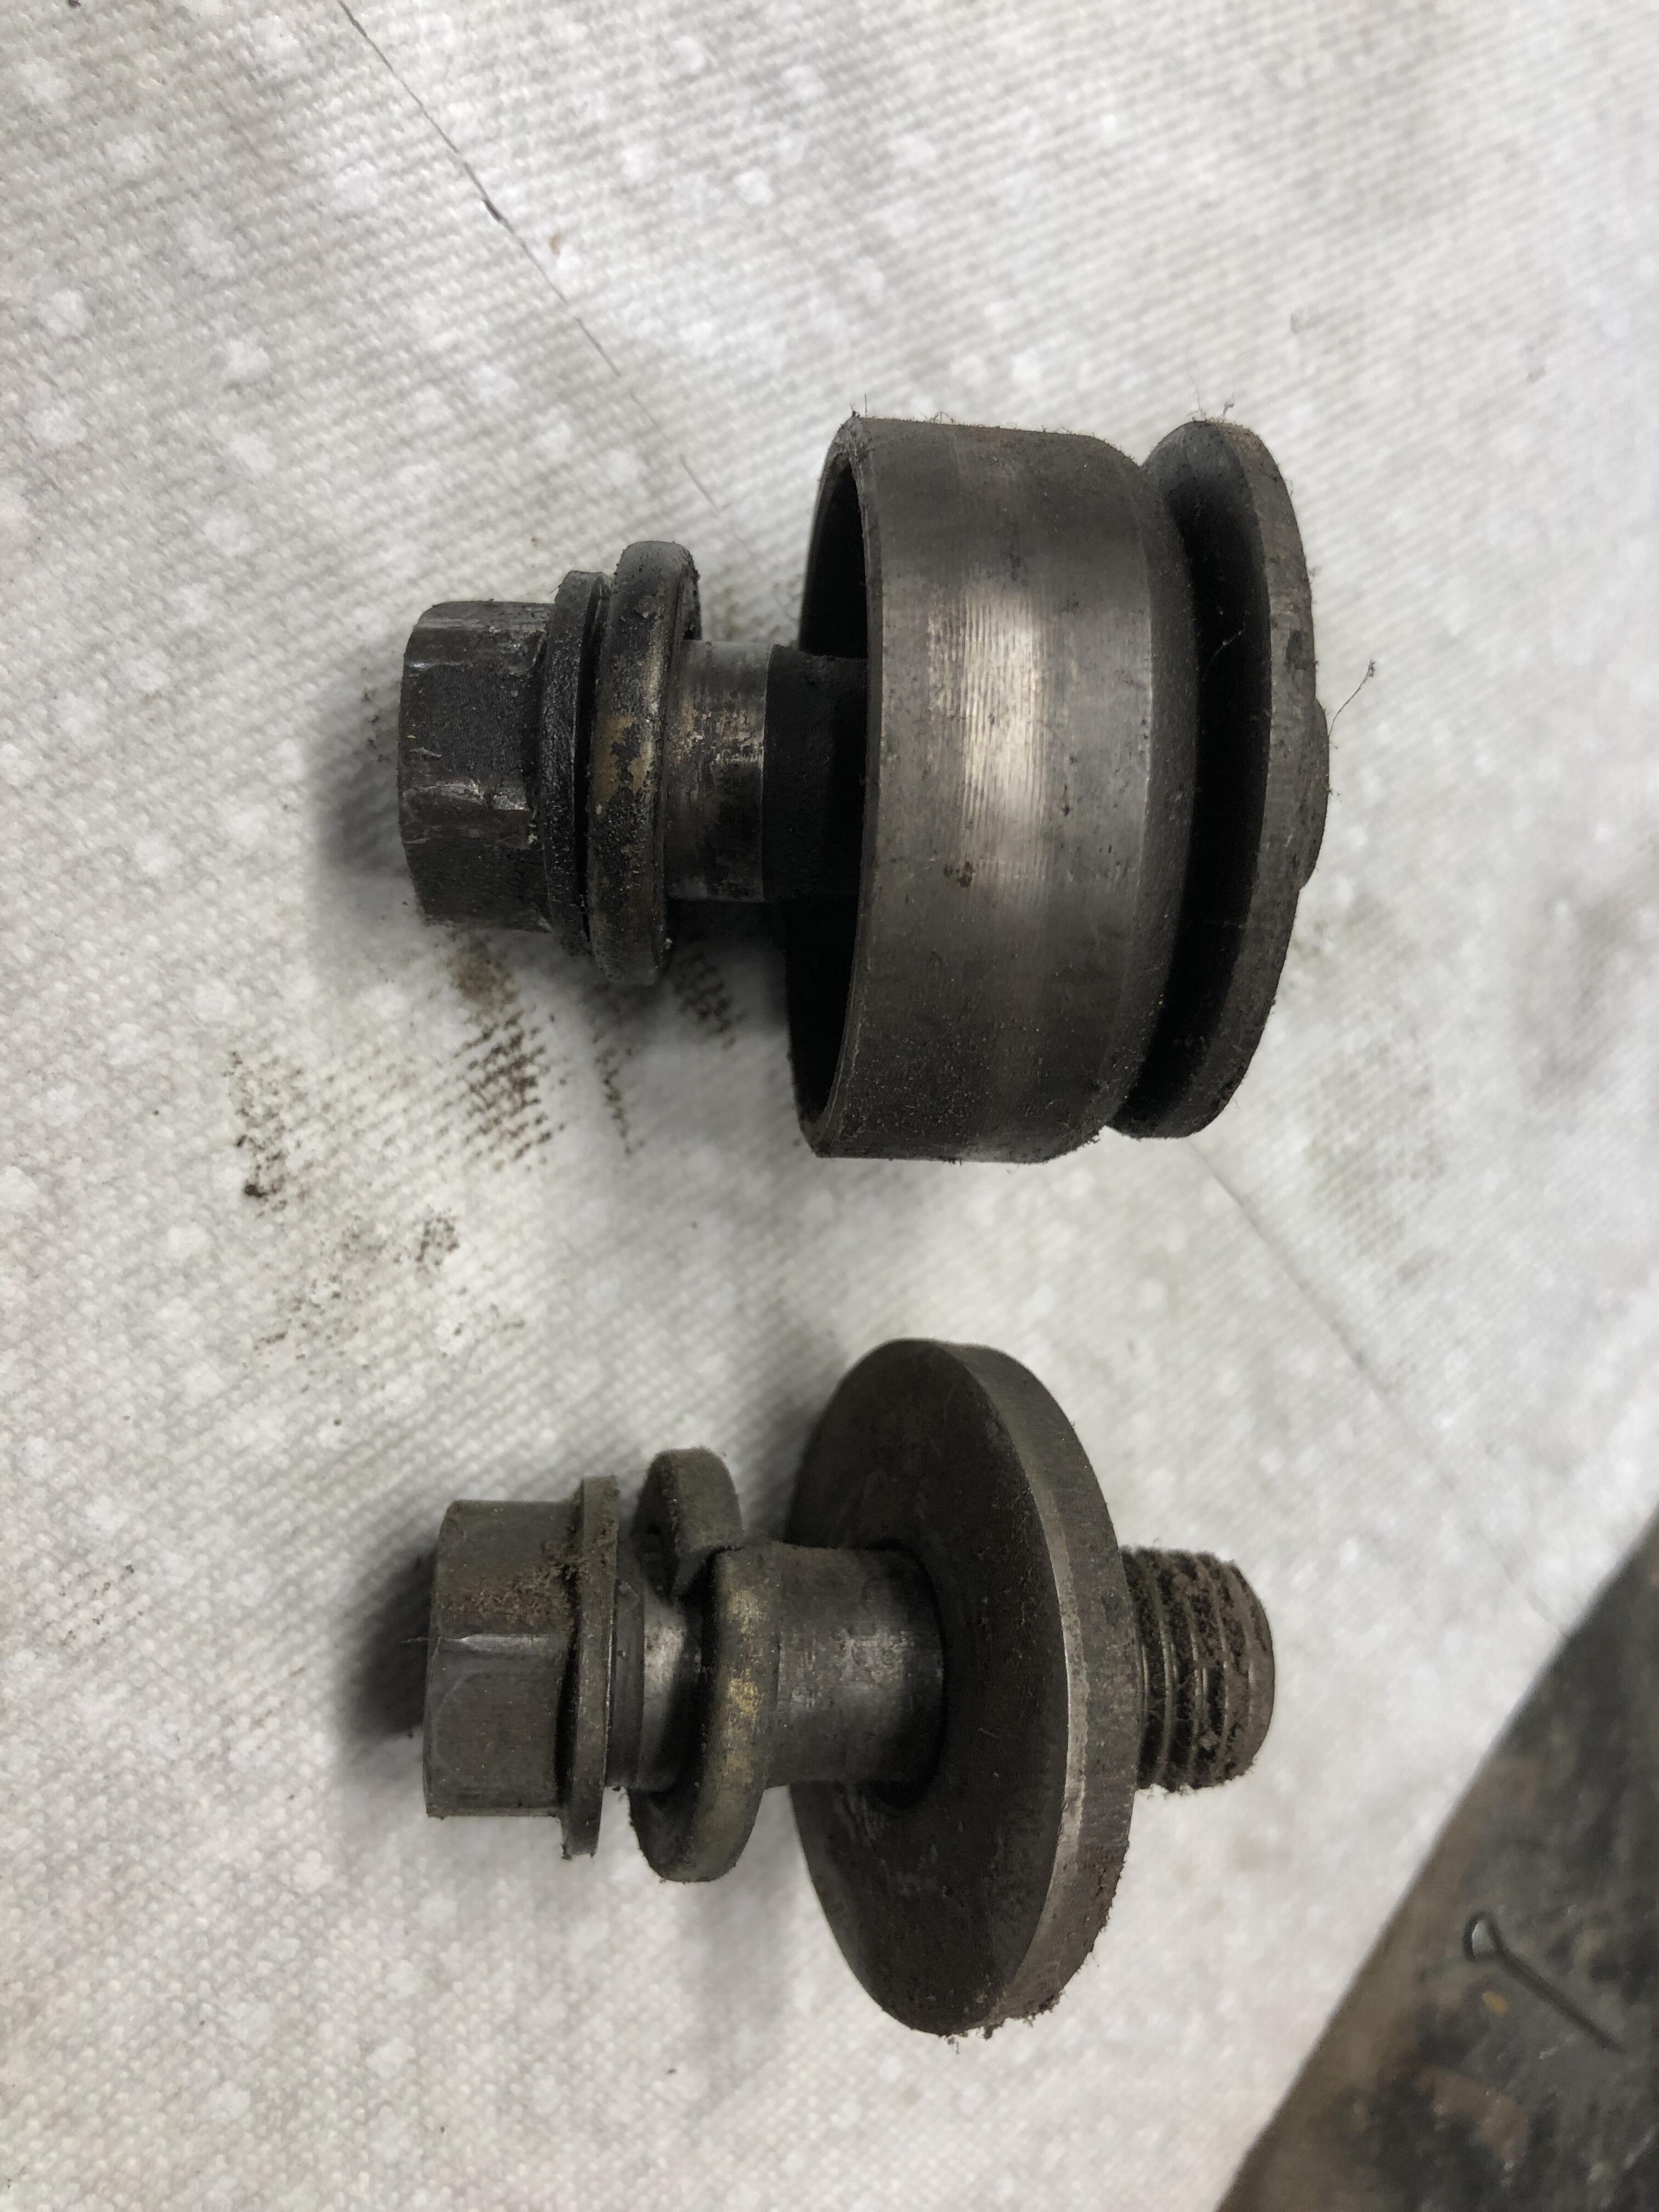
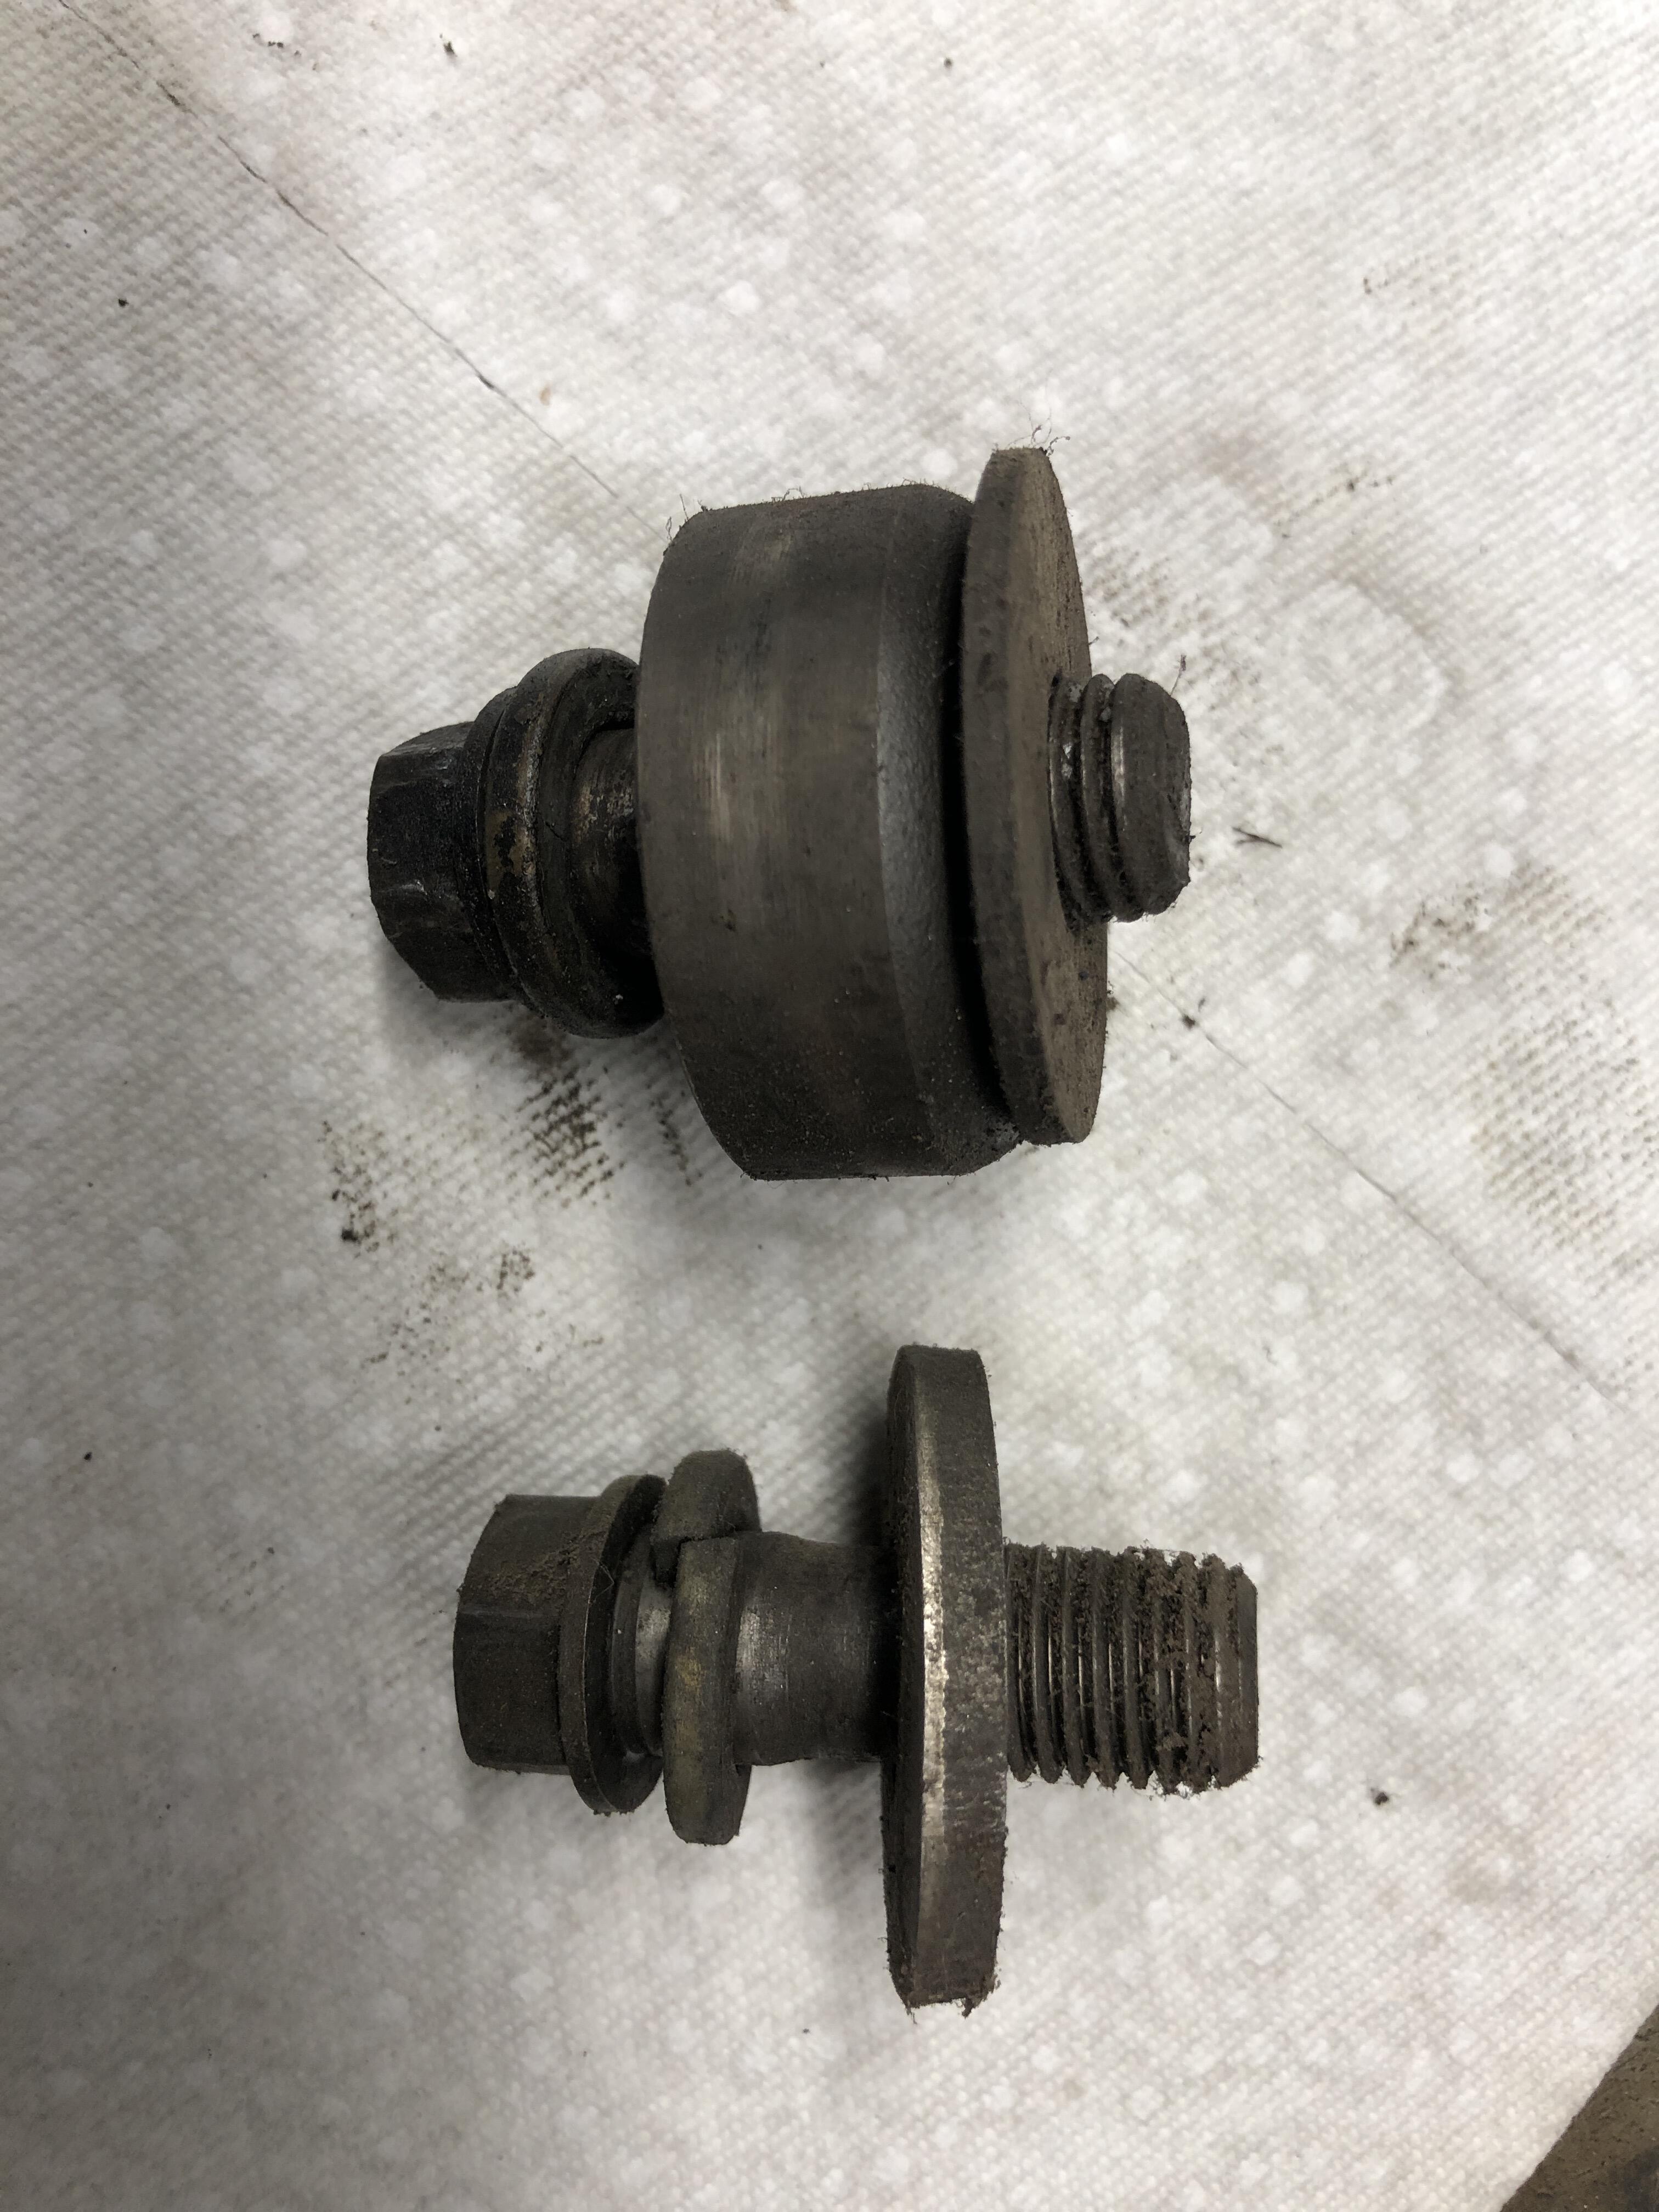
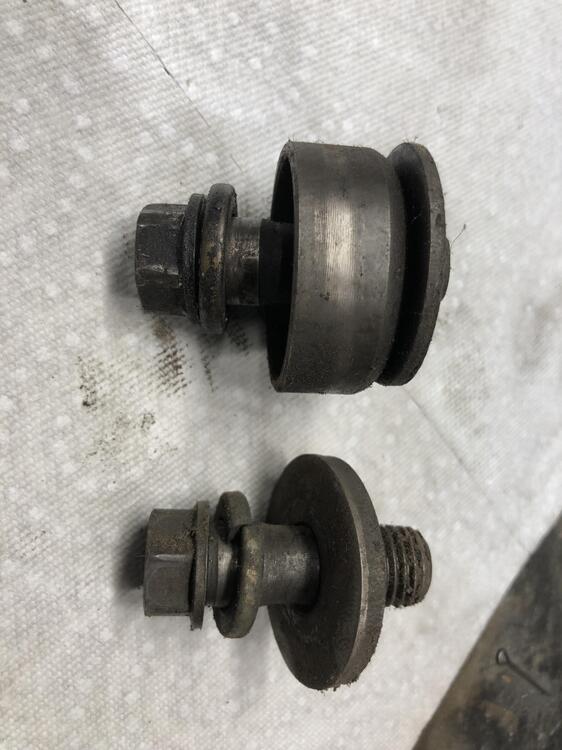
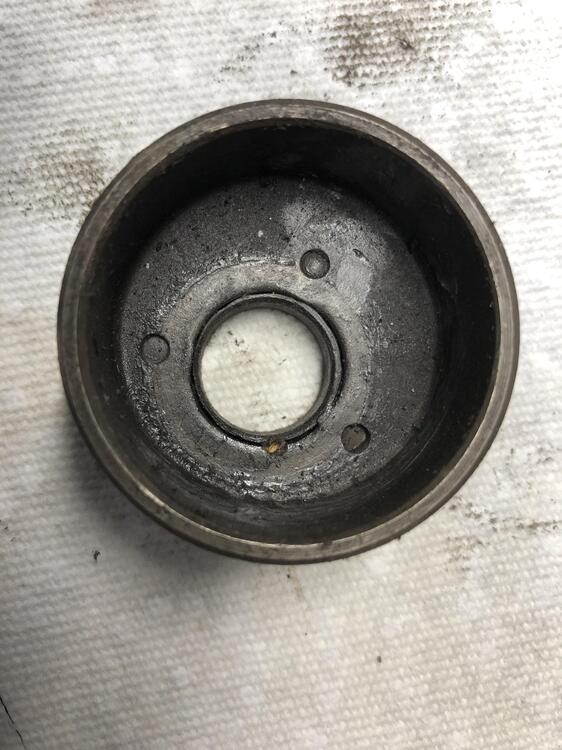
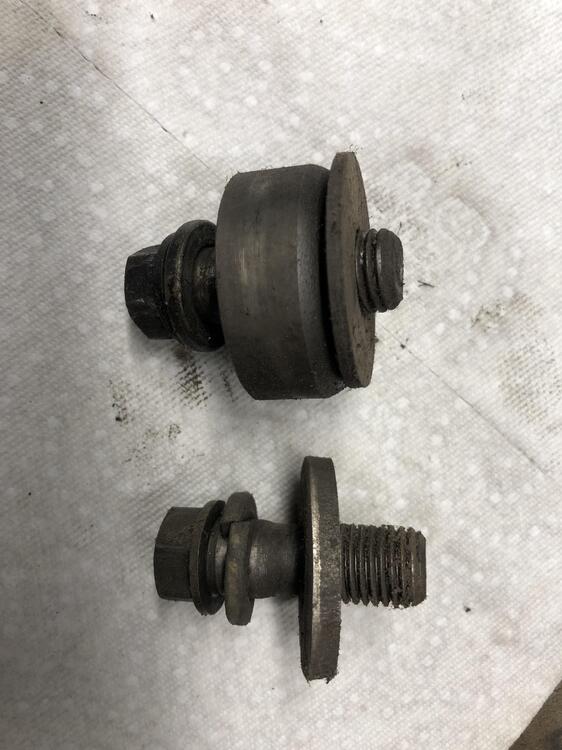
The eccentric and its backing washer are very firmly attached to each other with 3 spot welds. Even if you did separate them, the backing washer is thin making the bolt (maybe) go too deep and bottom (pure conjecture). The later cams that came in no-pump heads with no eccentrics had a much thicker washer = to the eccentric + its washer. Leaving sleeping dogs lie. Lye? Lay?
-
My supply of, and experience removing, shows that many had none, some had a few, and in one case, it had six! I'm wondering if the factory applied them as needed rather than putting them in every one. Or they started adding more as the production progressed and issues were reported. My experience in replacing them suggests that they snap on very very tightly, rarely have I had an issue having them stay on after installing them. Mostly when too much paint was applied to the gutter pinch weld.... And once I discovered how to dislodge them without twisting them off so they do go back on easily without an induced kink or twist, life got much better.