zKars
 Subscriber
-
Joined
-
Last visited
Everything posted by zKars
-
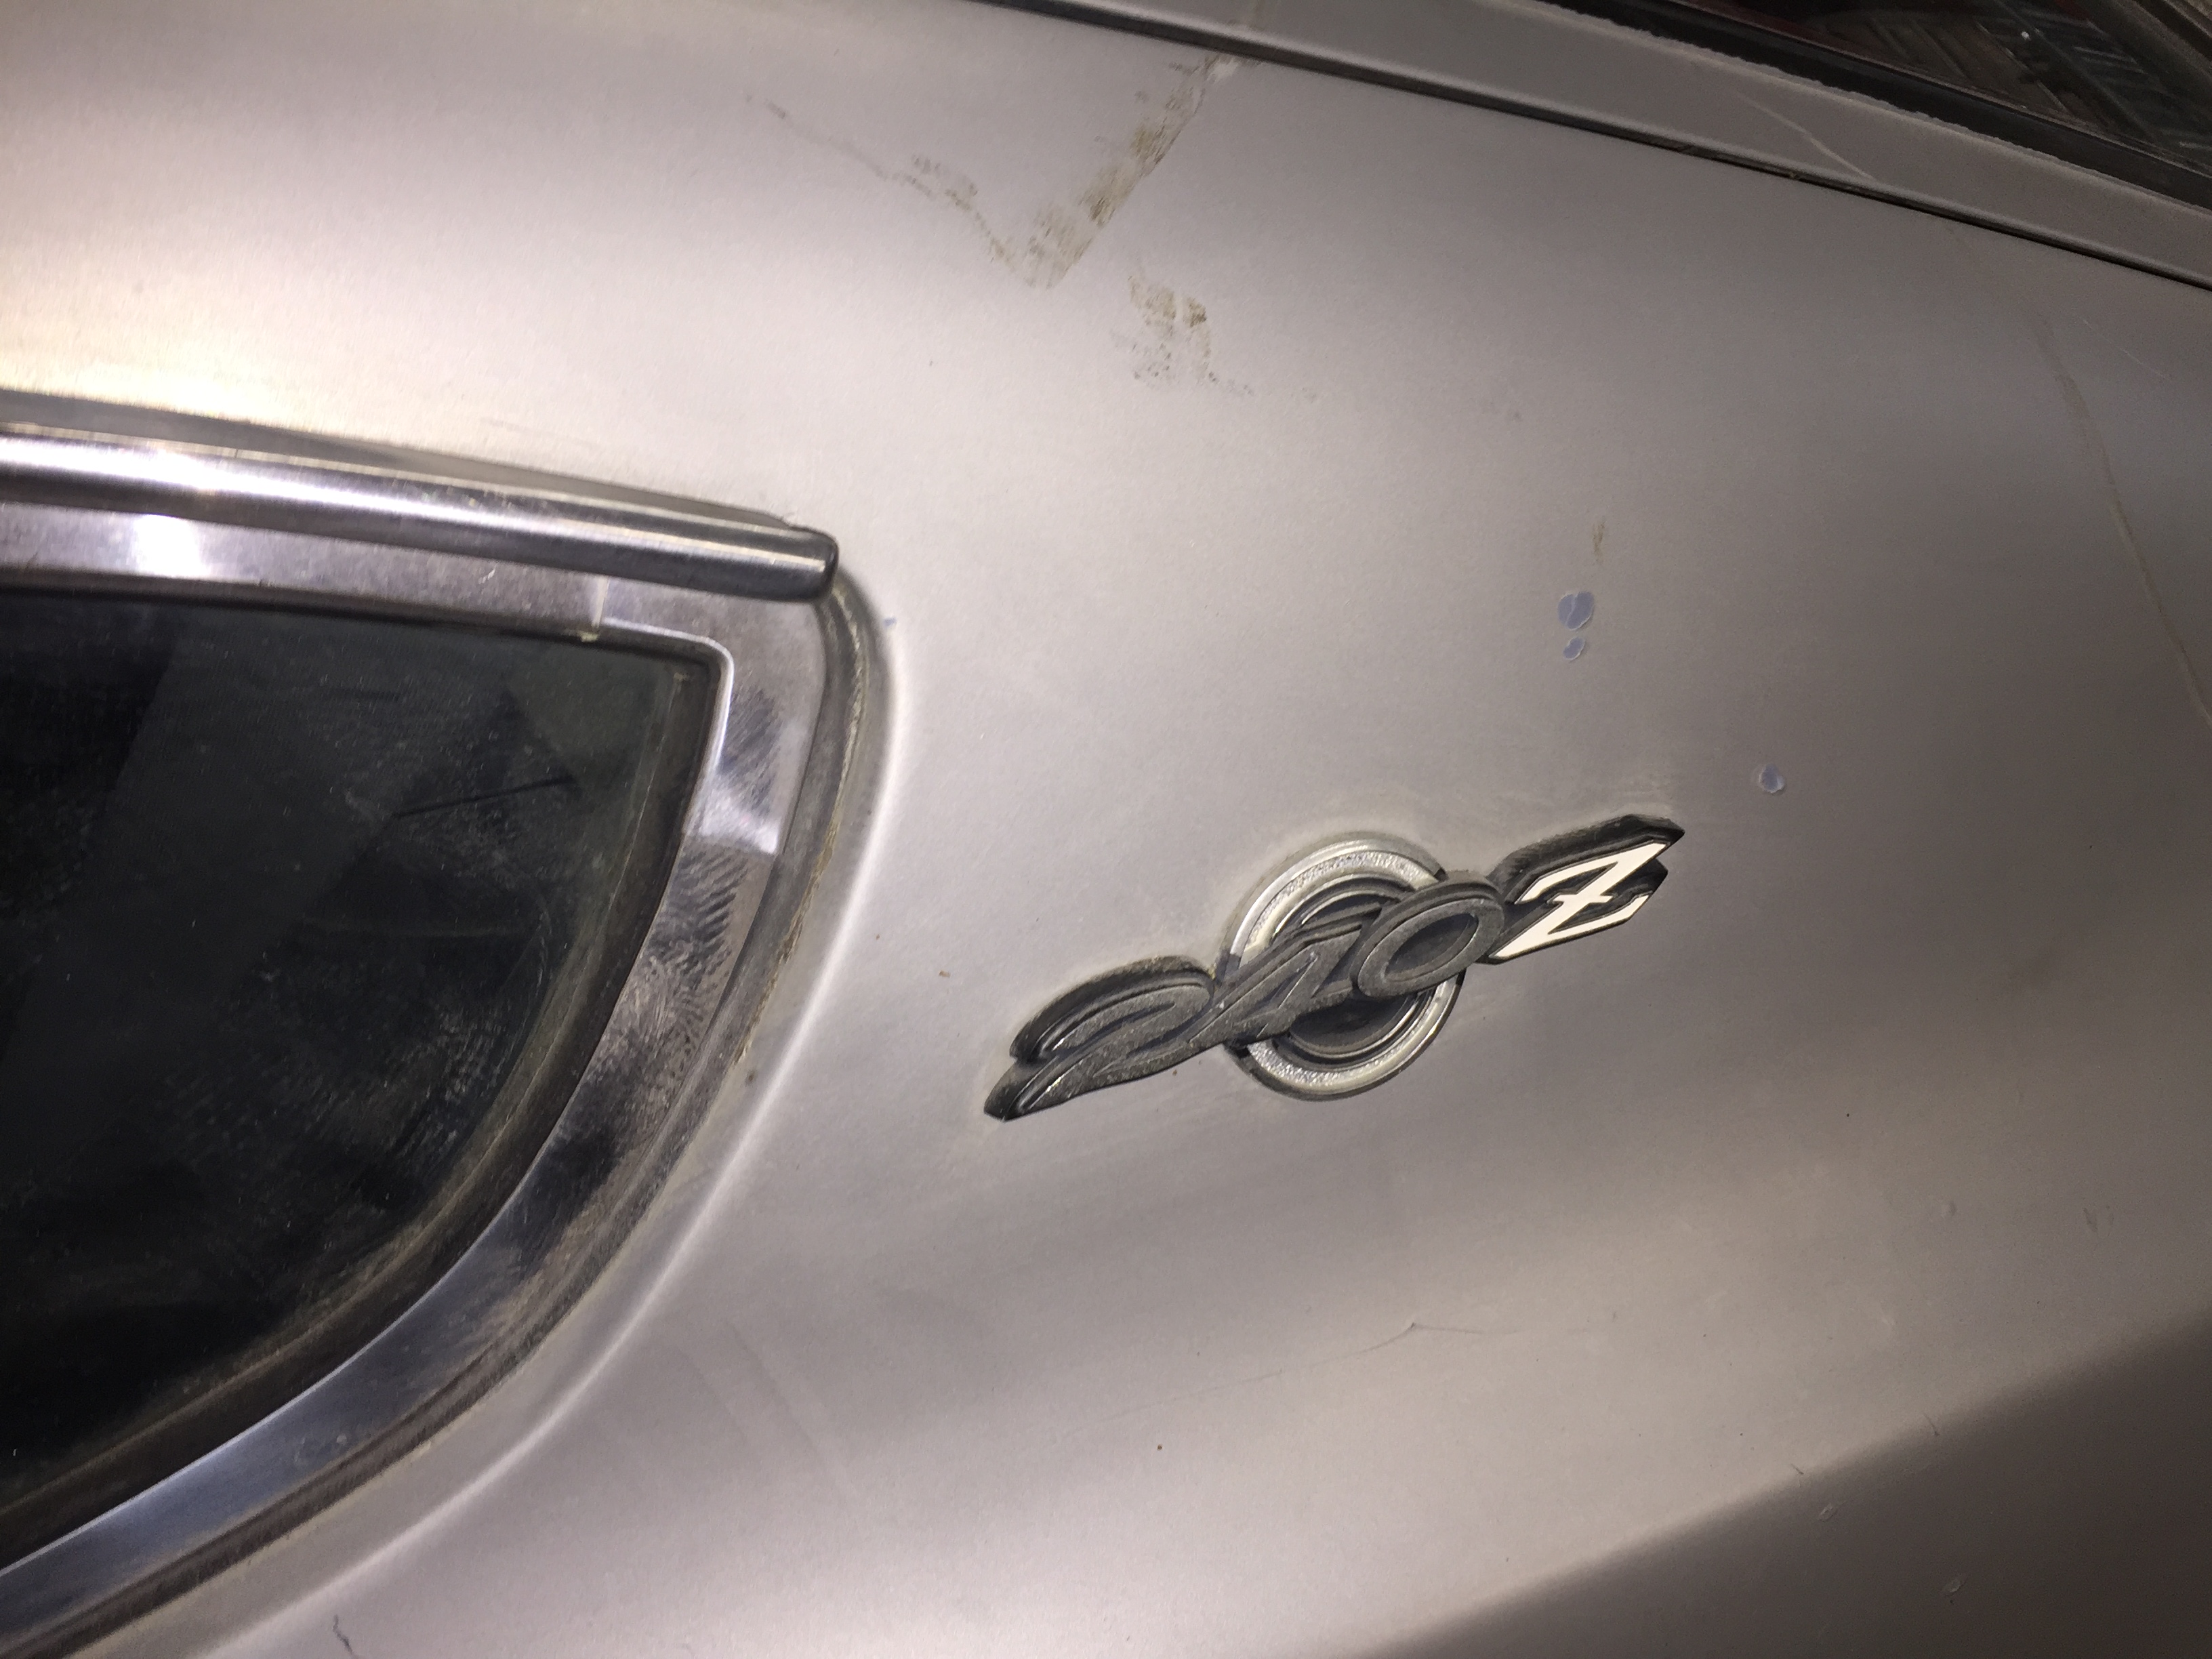
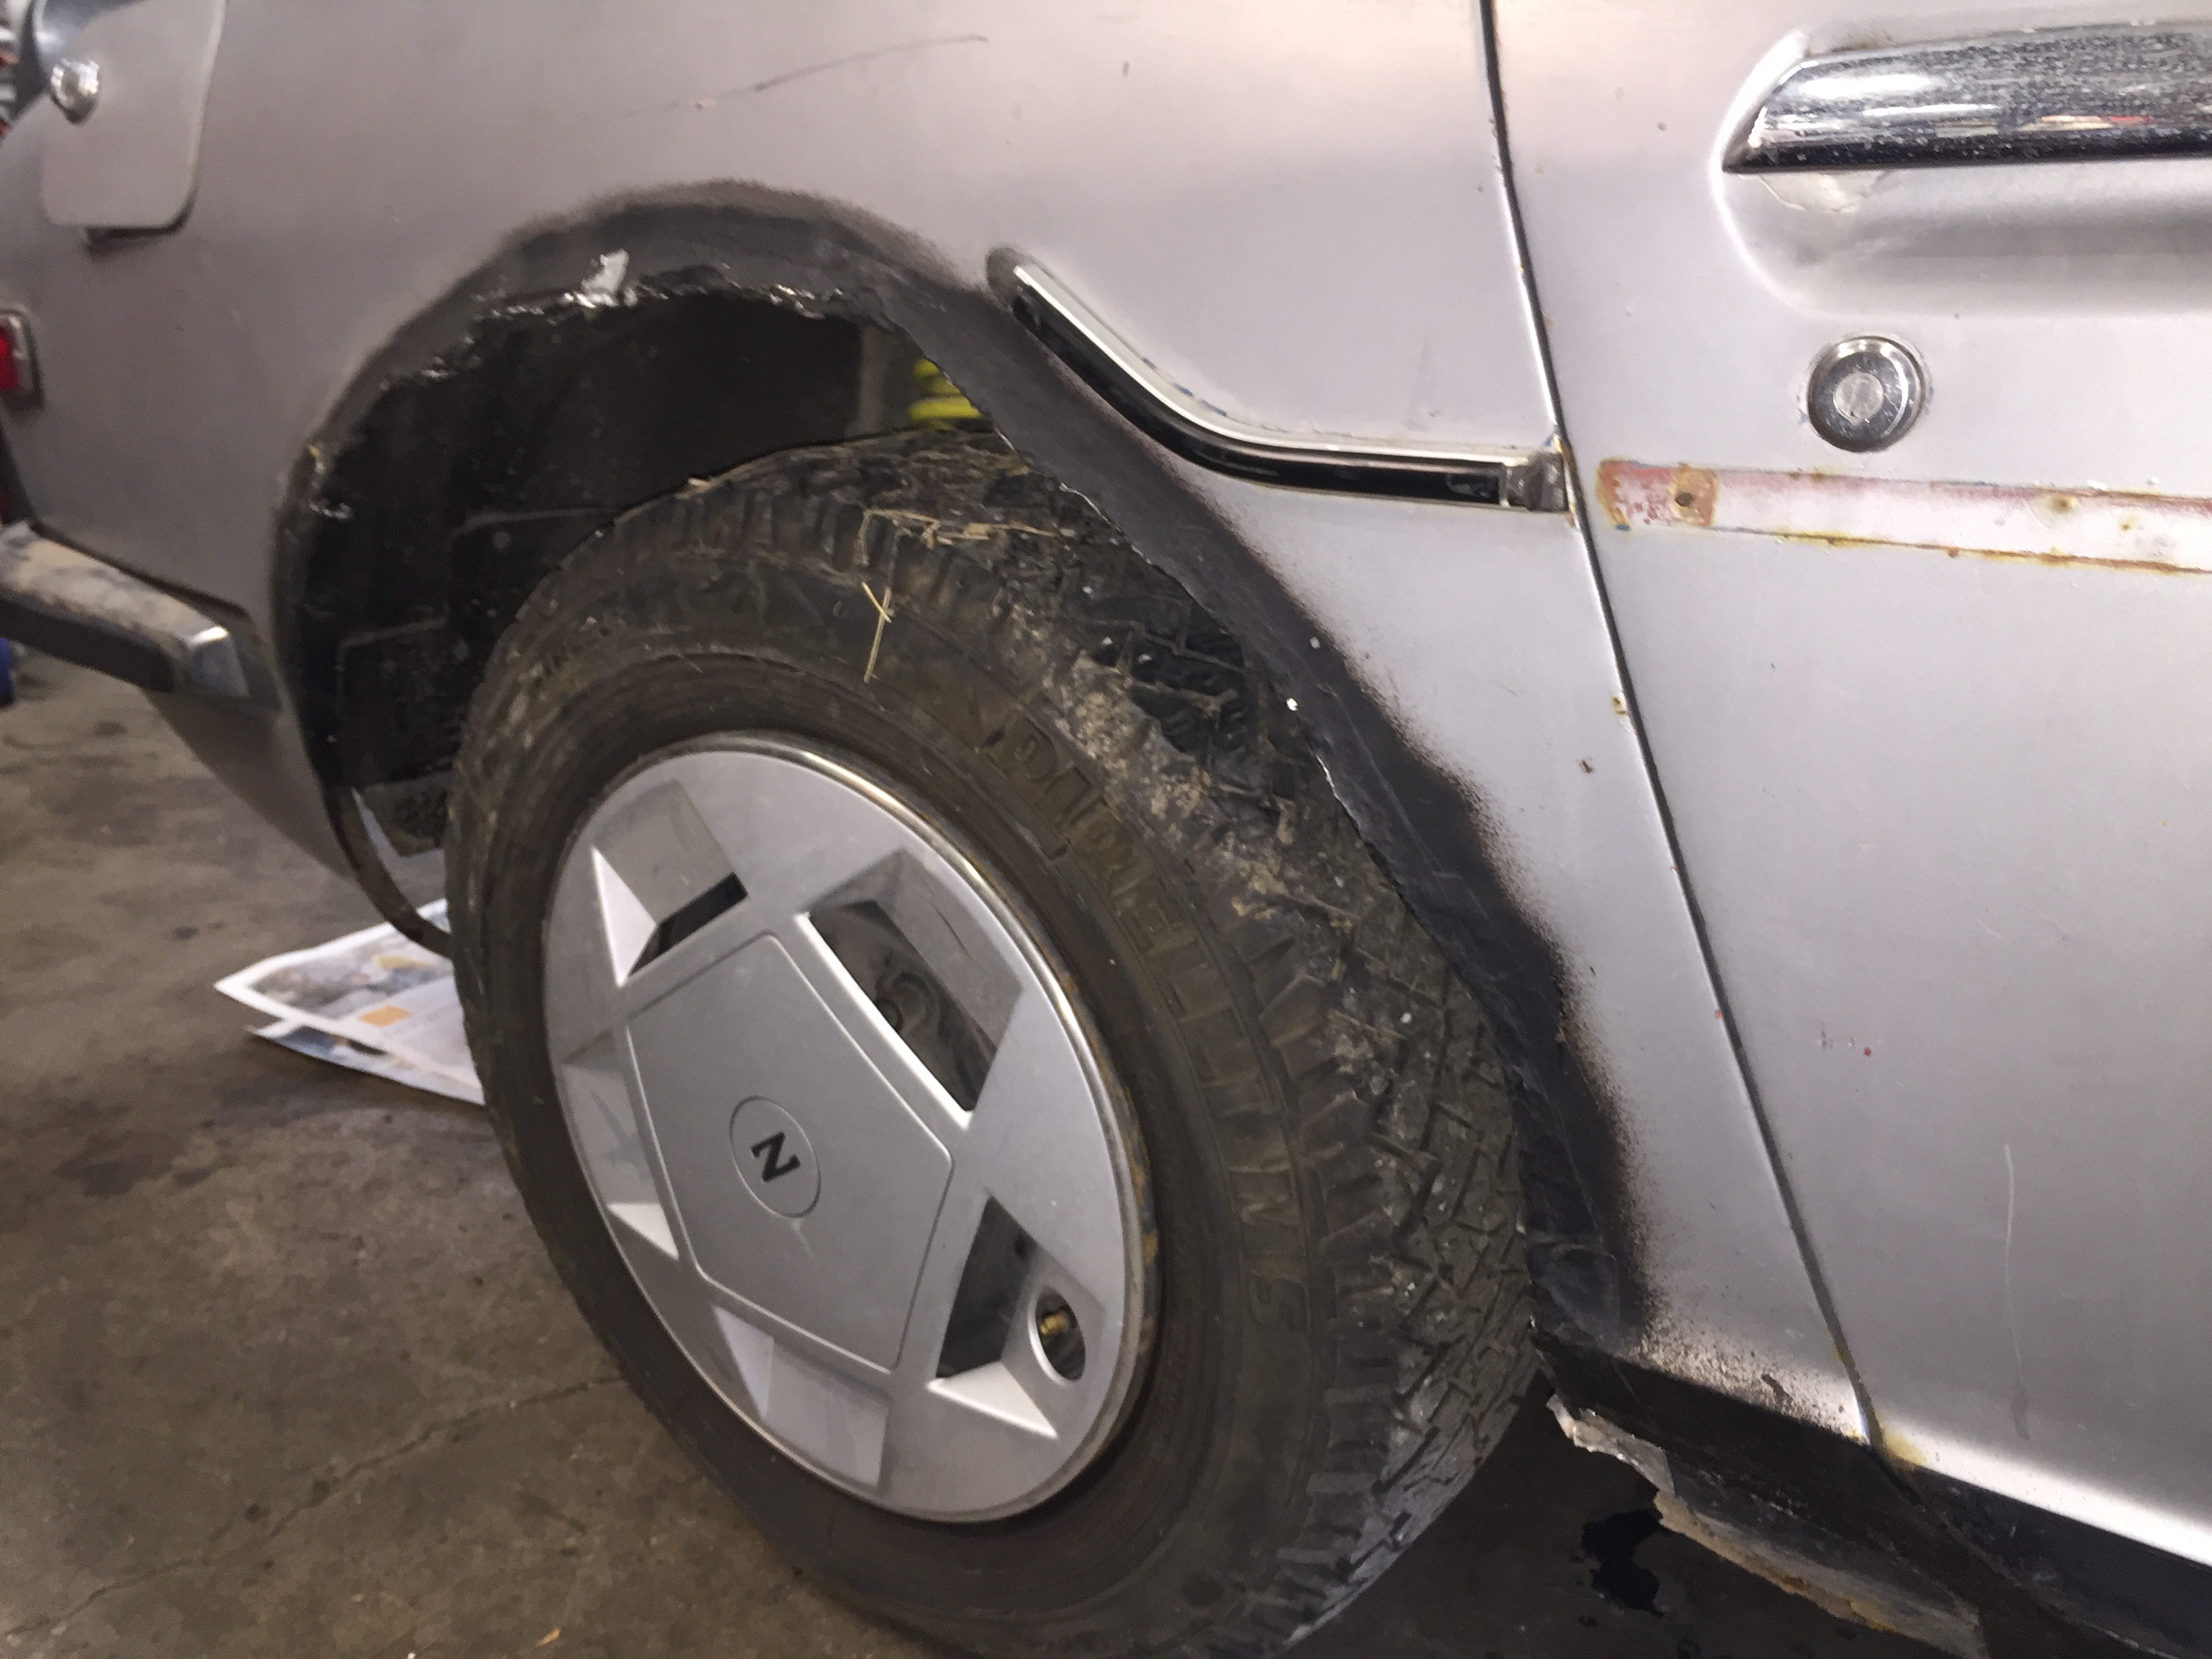
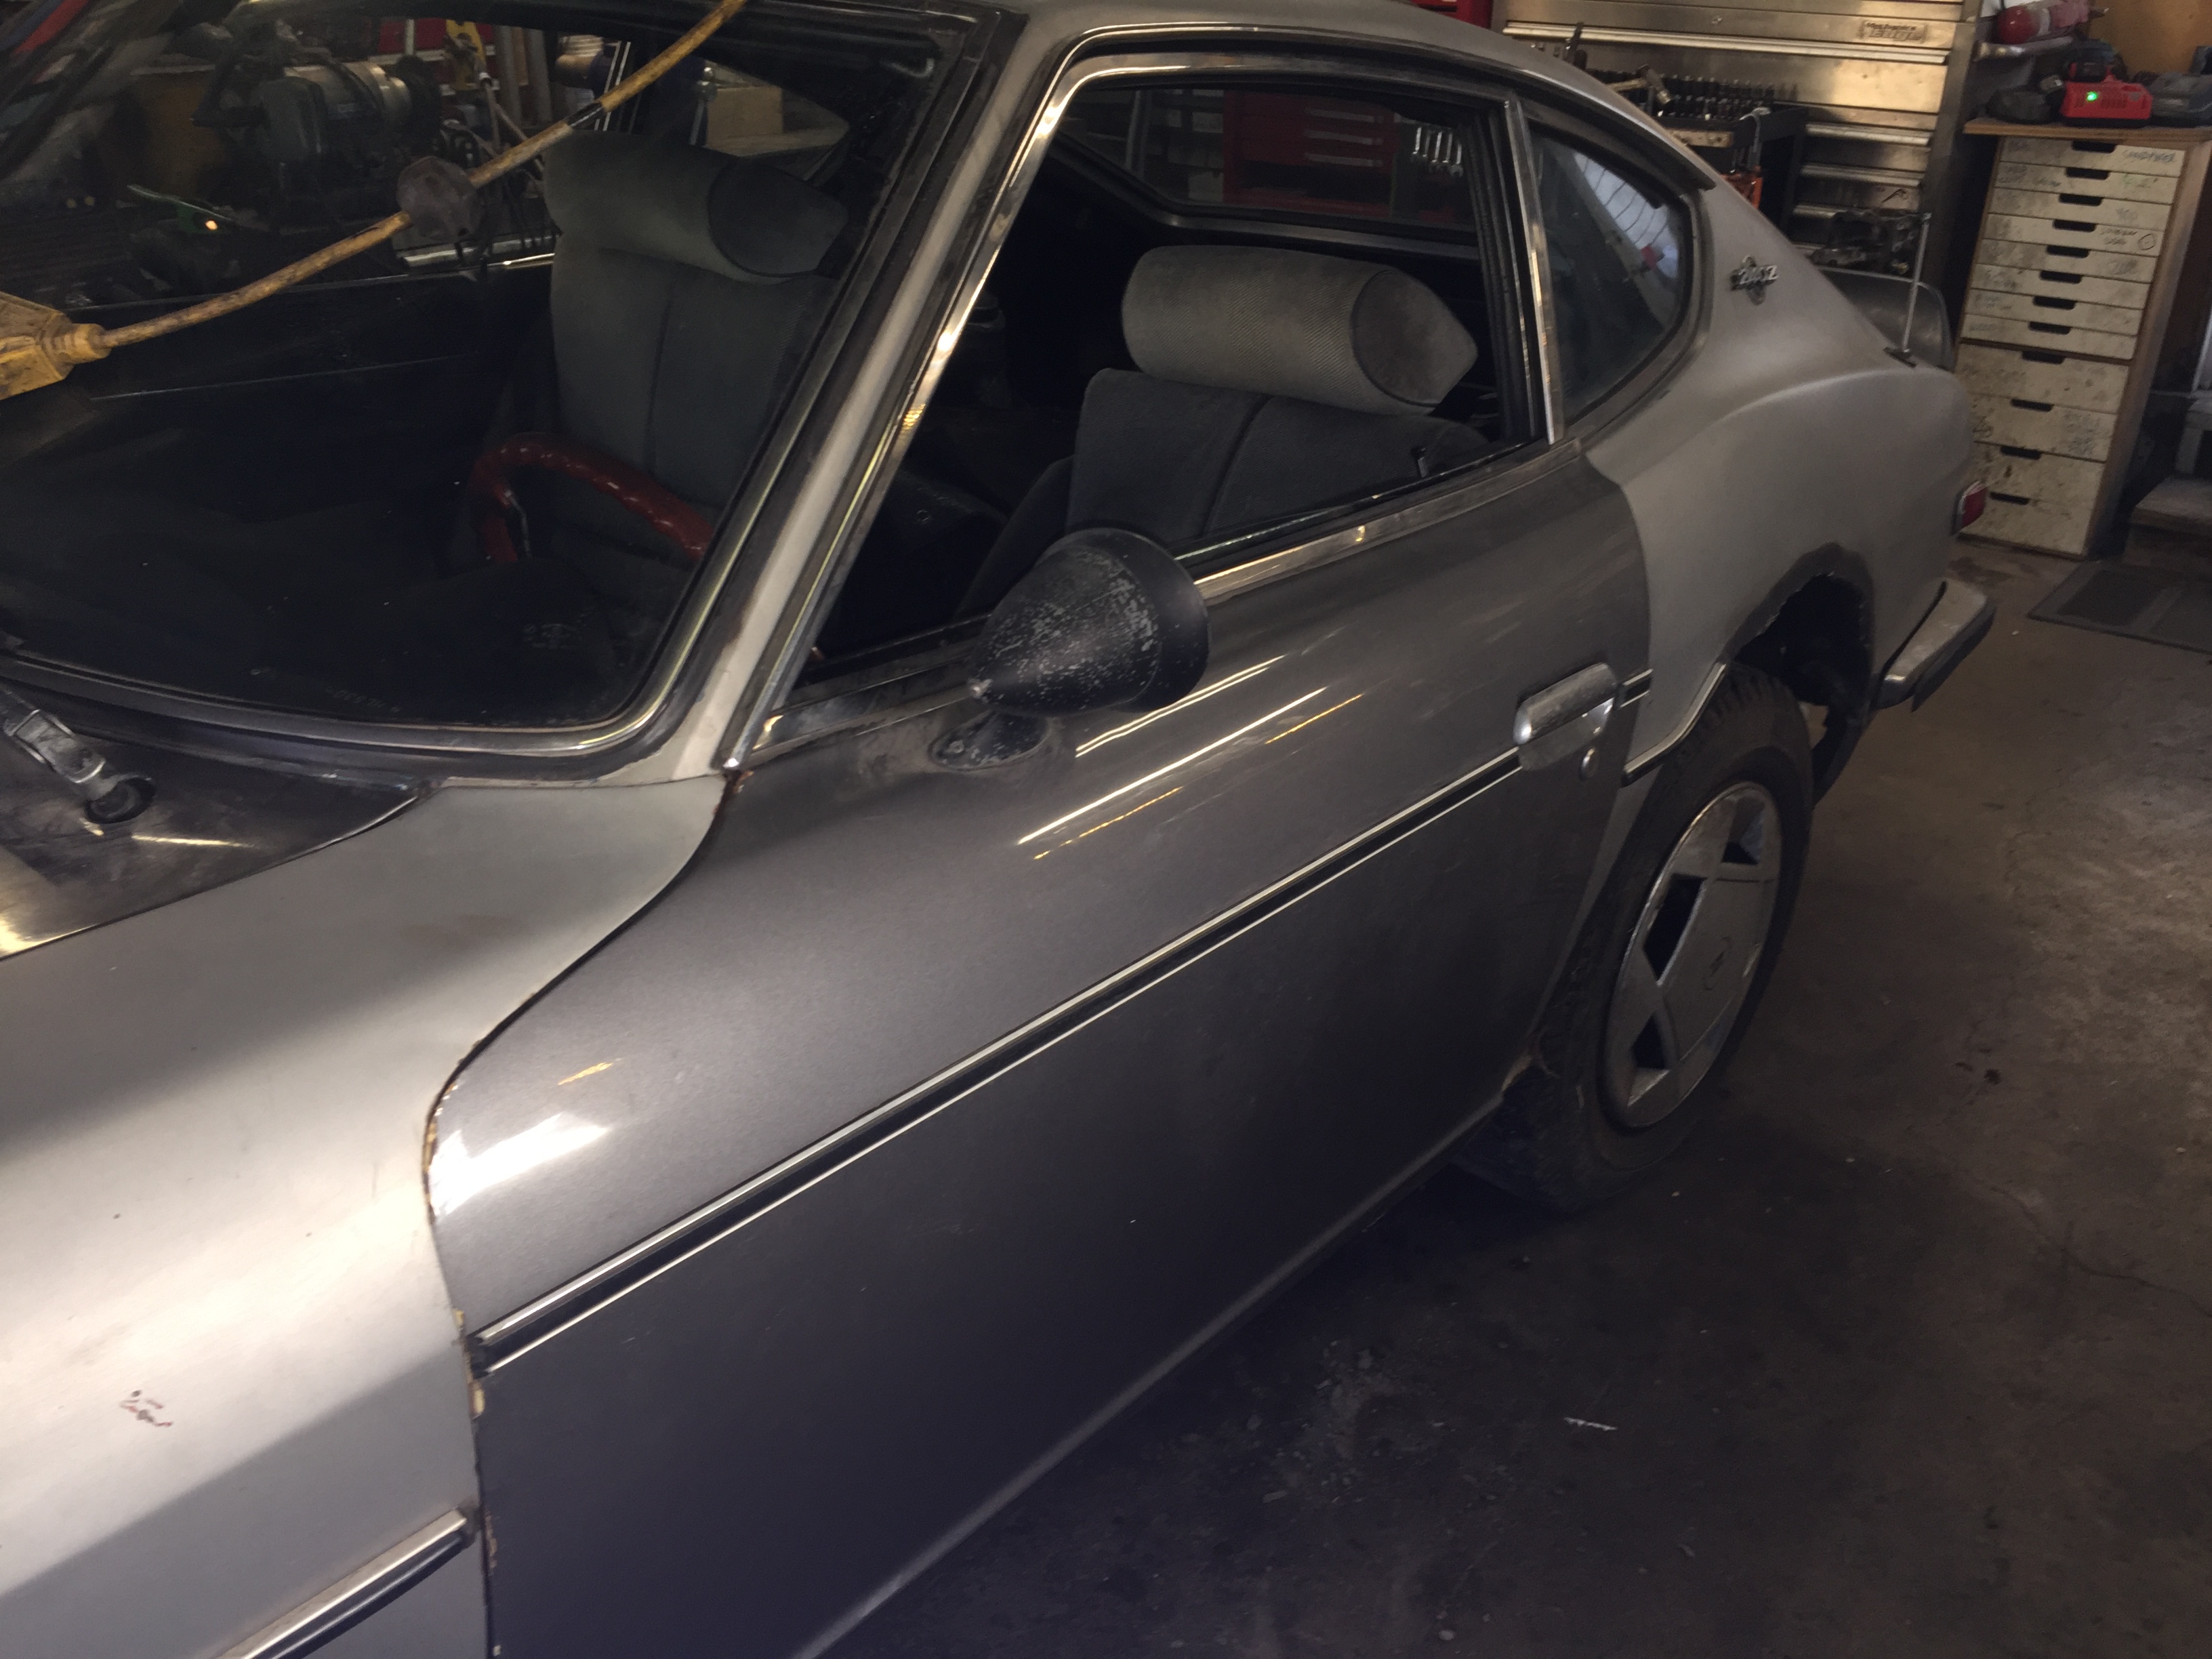
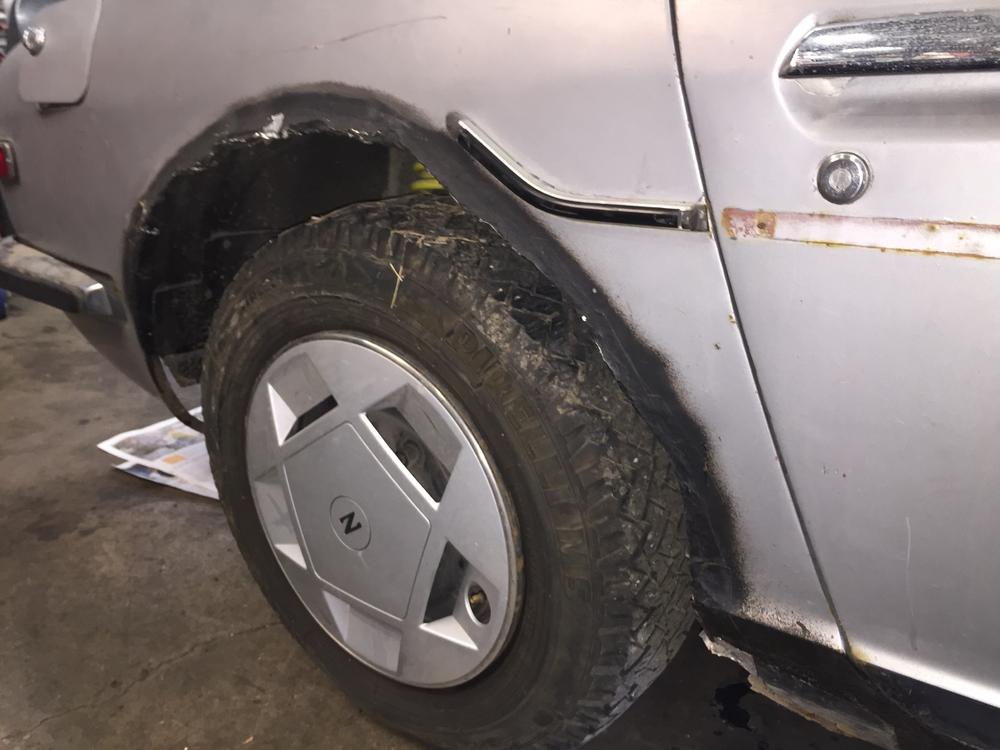
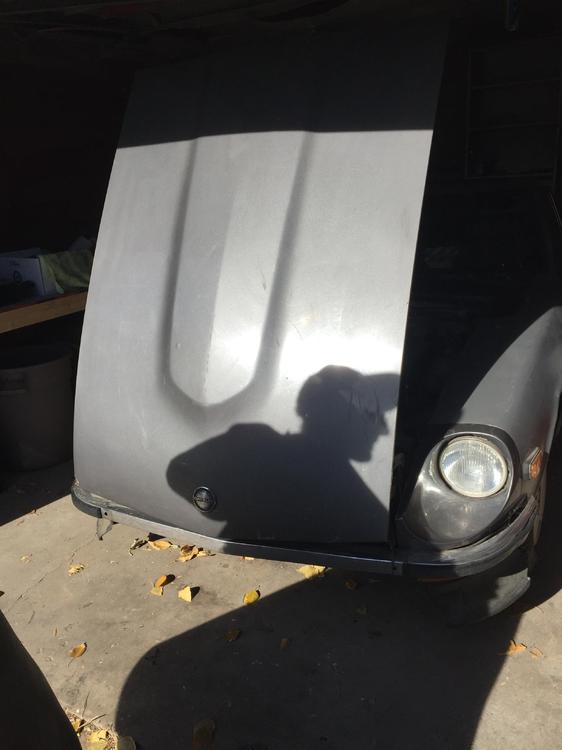
 The Bad Rust. Dog legs, battery tray, rear arches, front of floor pans, nothing really serious. Wheels and tires are from an early 300 zx. Nice + offser... not. Winter tires! Seats from some 80's sporty thing. The dash is from a 71, VIN 25xxx. Wheel has spokes with holes. Thus no idea what the chassis mileage is, but at least 100K. The clutch pin is about 1/2 the diameter it used to be. The hood, inspection doors, cowl, head light sugar scoops, are all not original. Likely from the 71.
 -
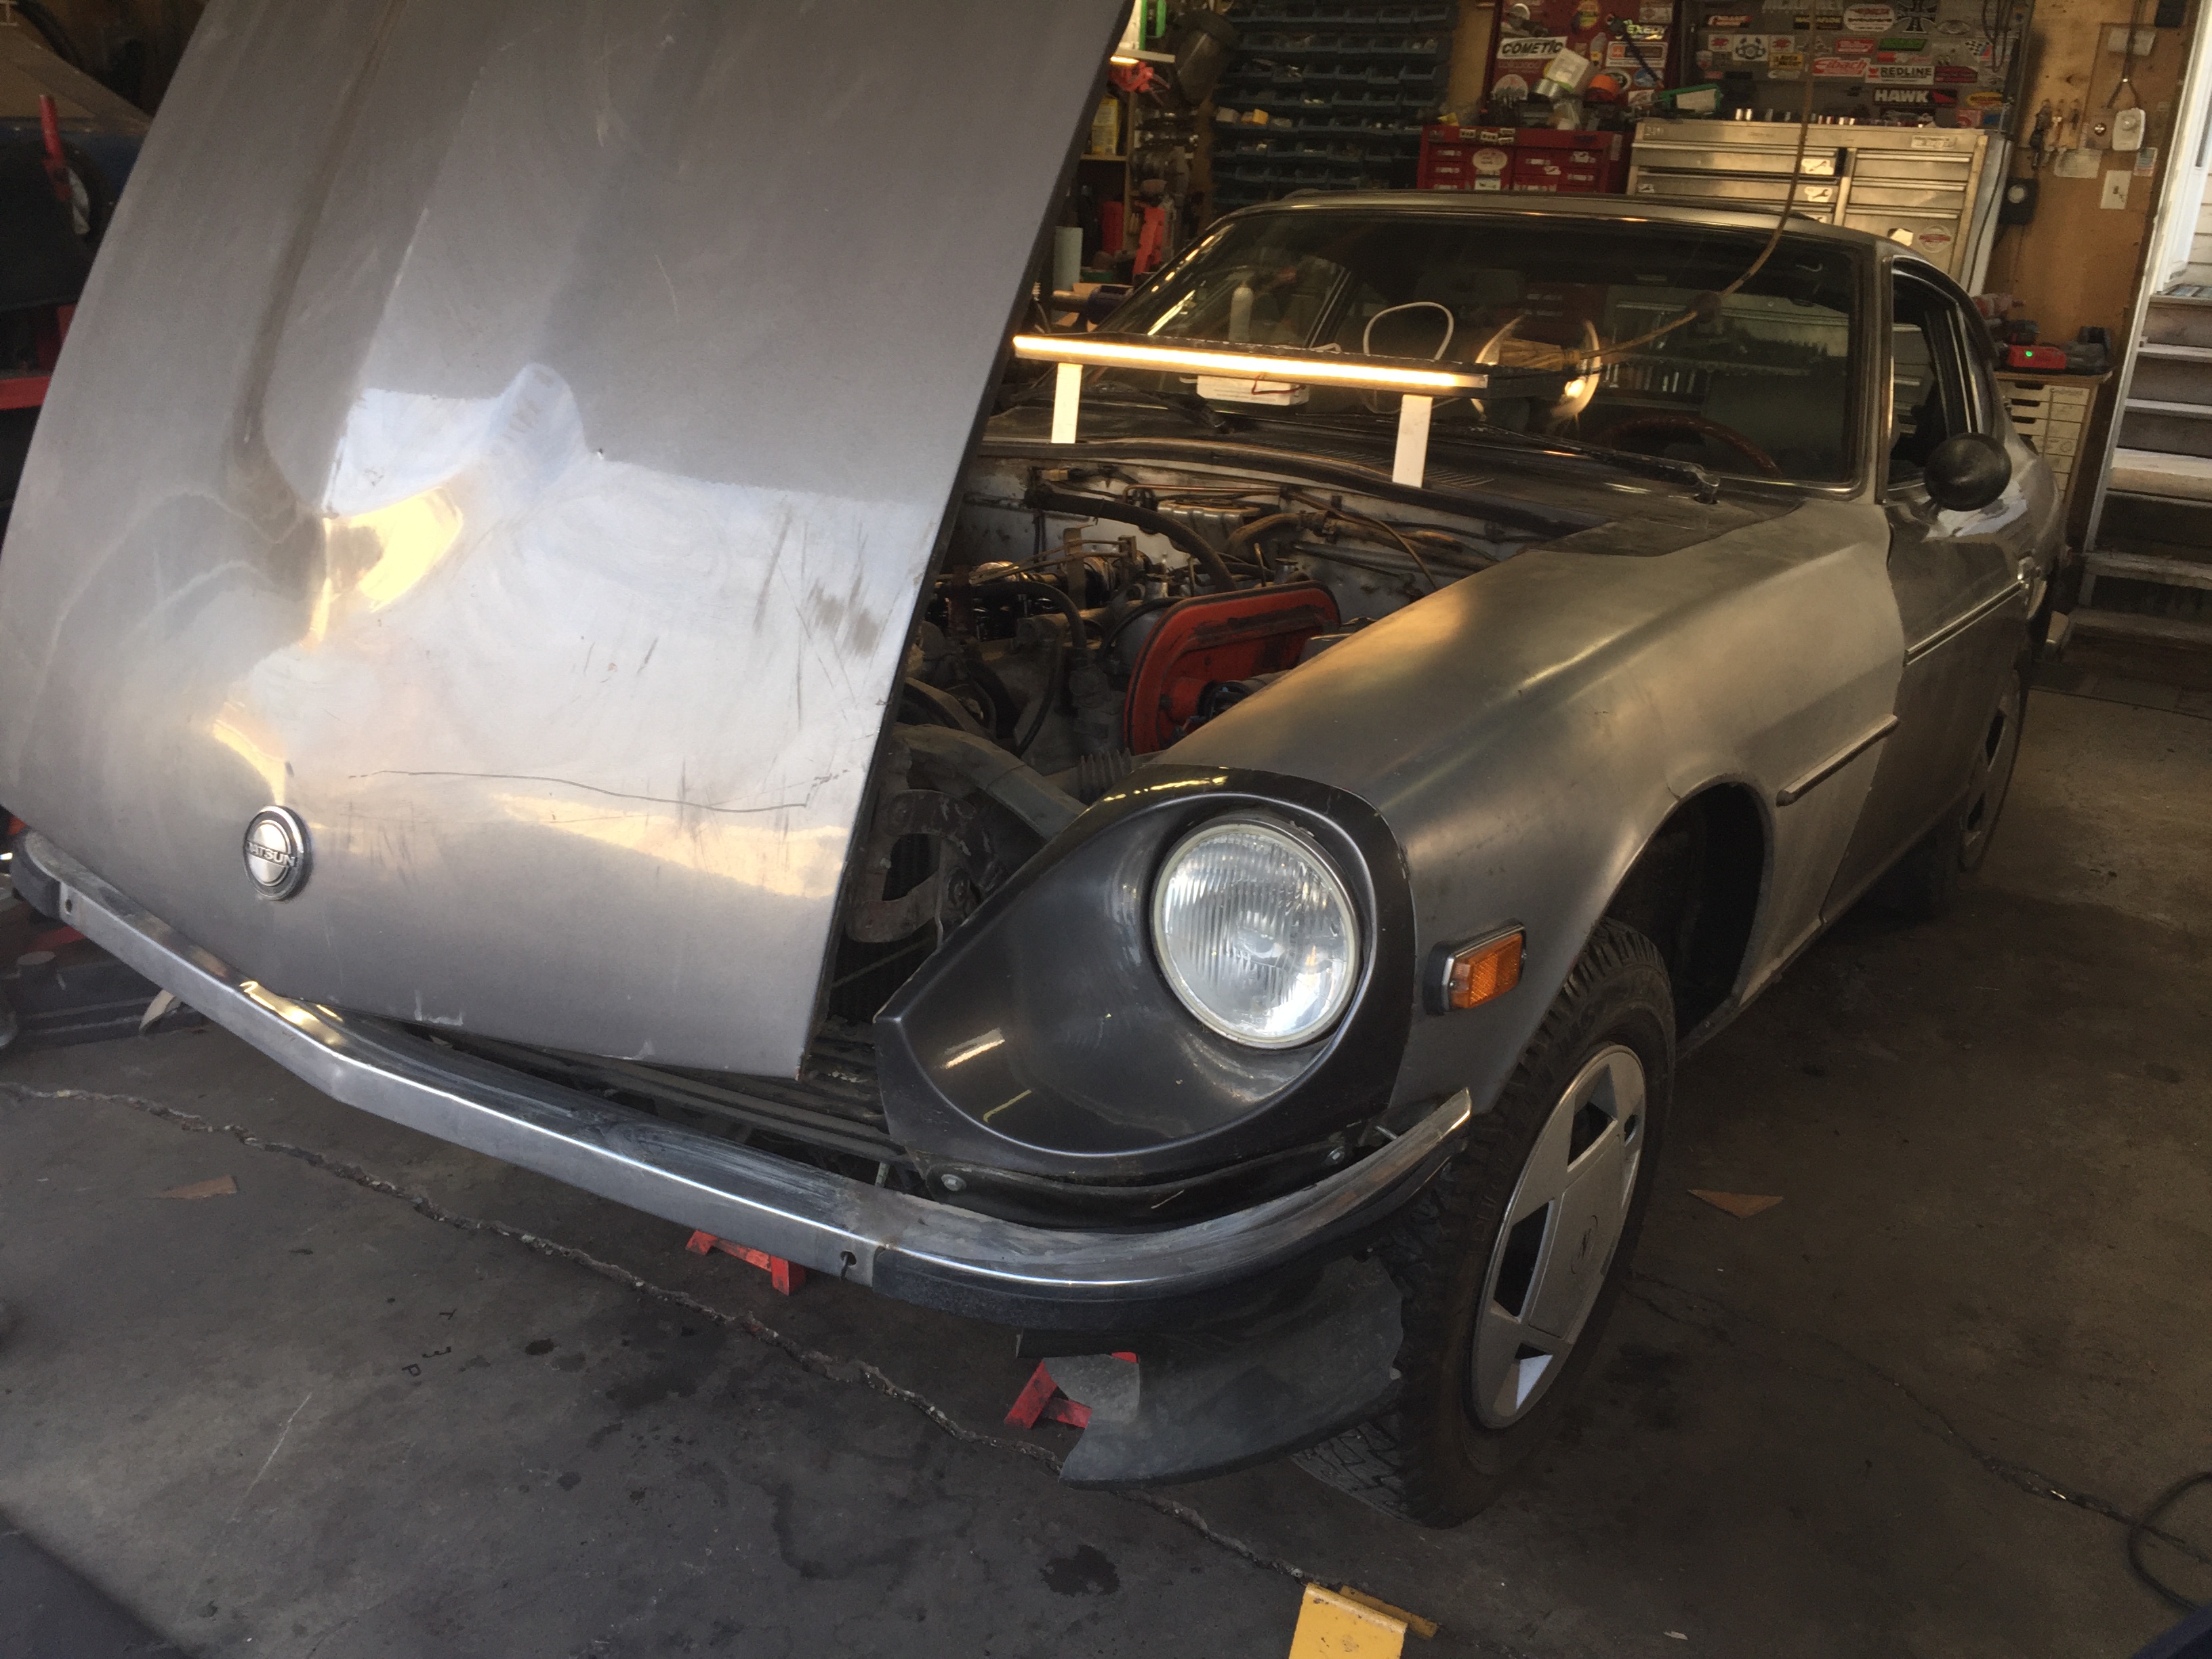
The good, the bad and the ugly. First the good. Series 1, (Sorry), Canadian import, no air pump, no air injection holes in the exhaust manifold, super smooth balance tube. Single groove harmonic balancer Been stored inside for 26 years. Not started. Not heated. Fired right up with only simple fuel system and electrical system clean up. Runs stronger than my damn stroker. Well, not quite... Engine number match engine bay tag Spare is original 4.5 rim with a lighty used original spare.
-
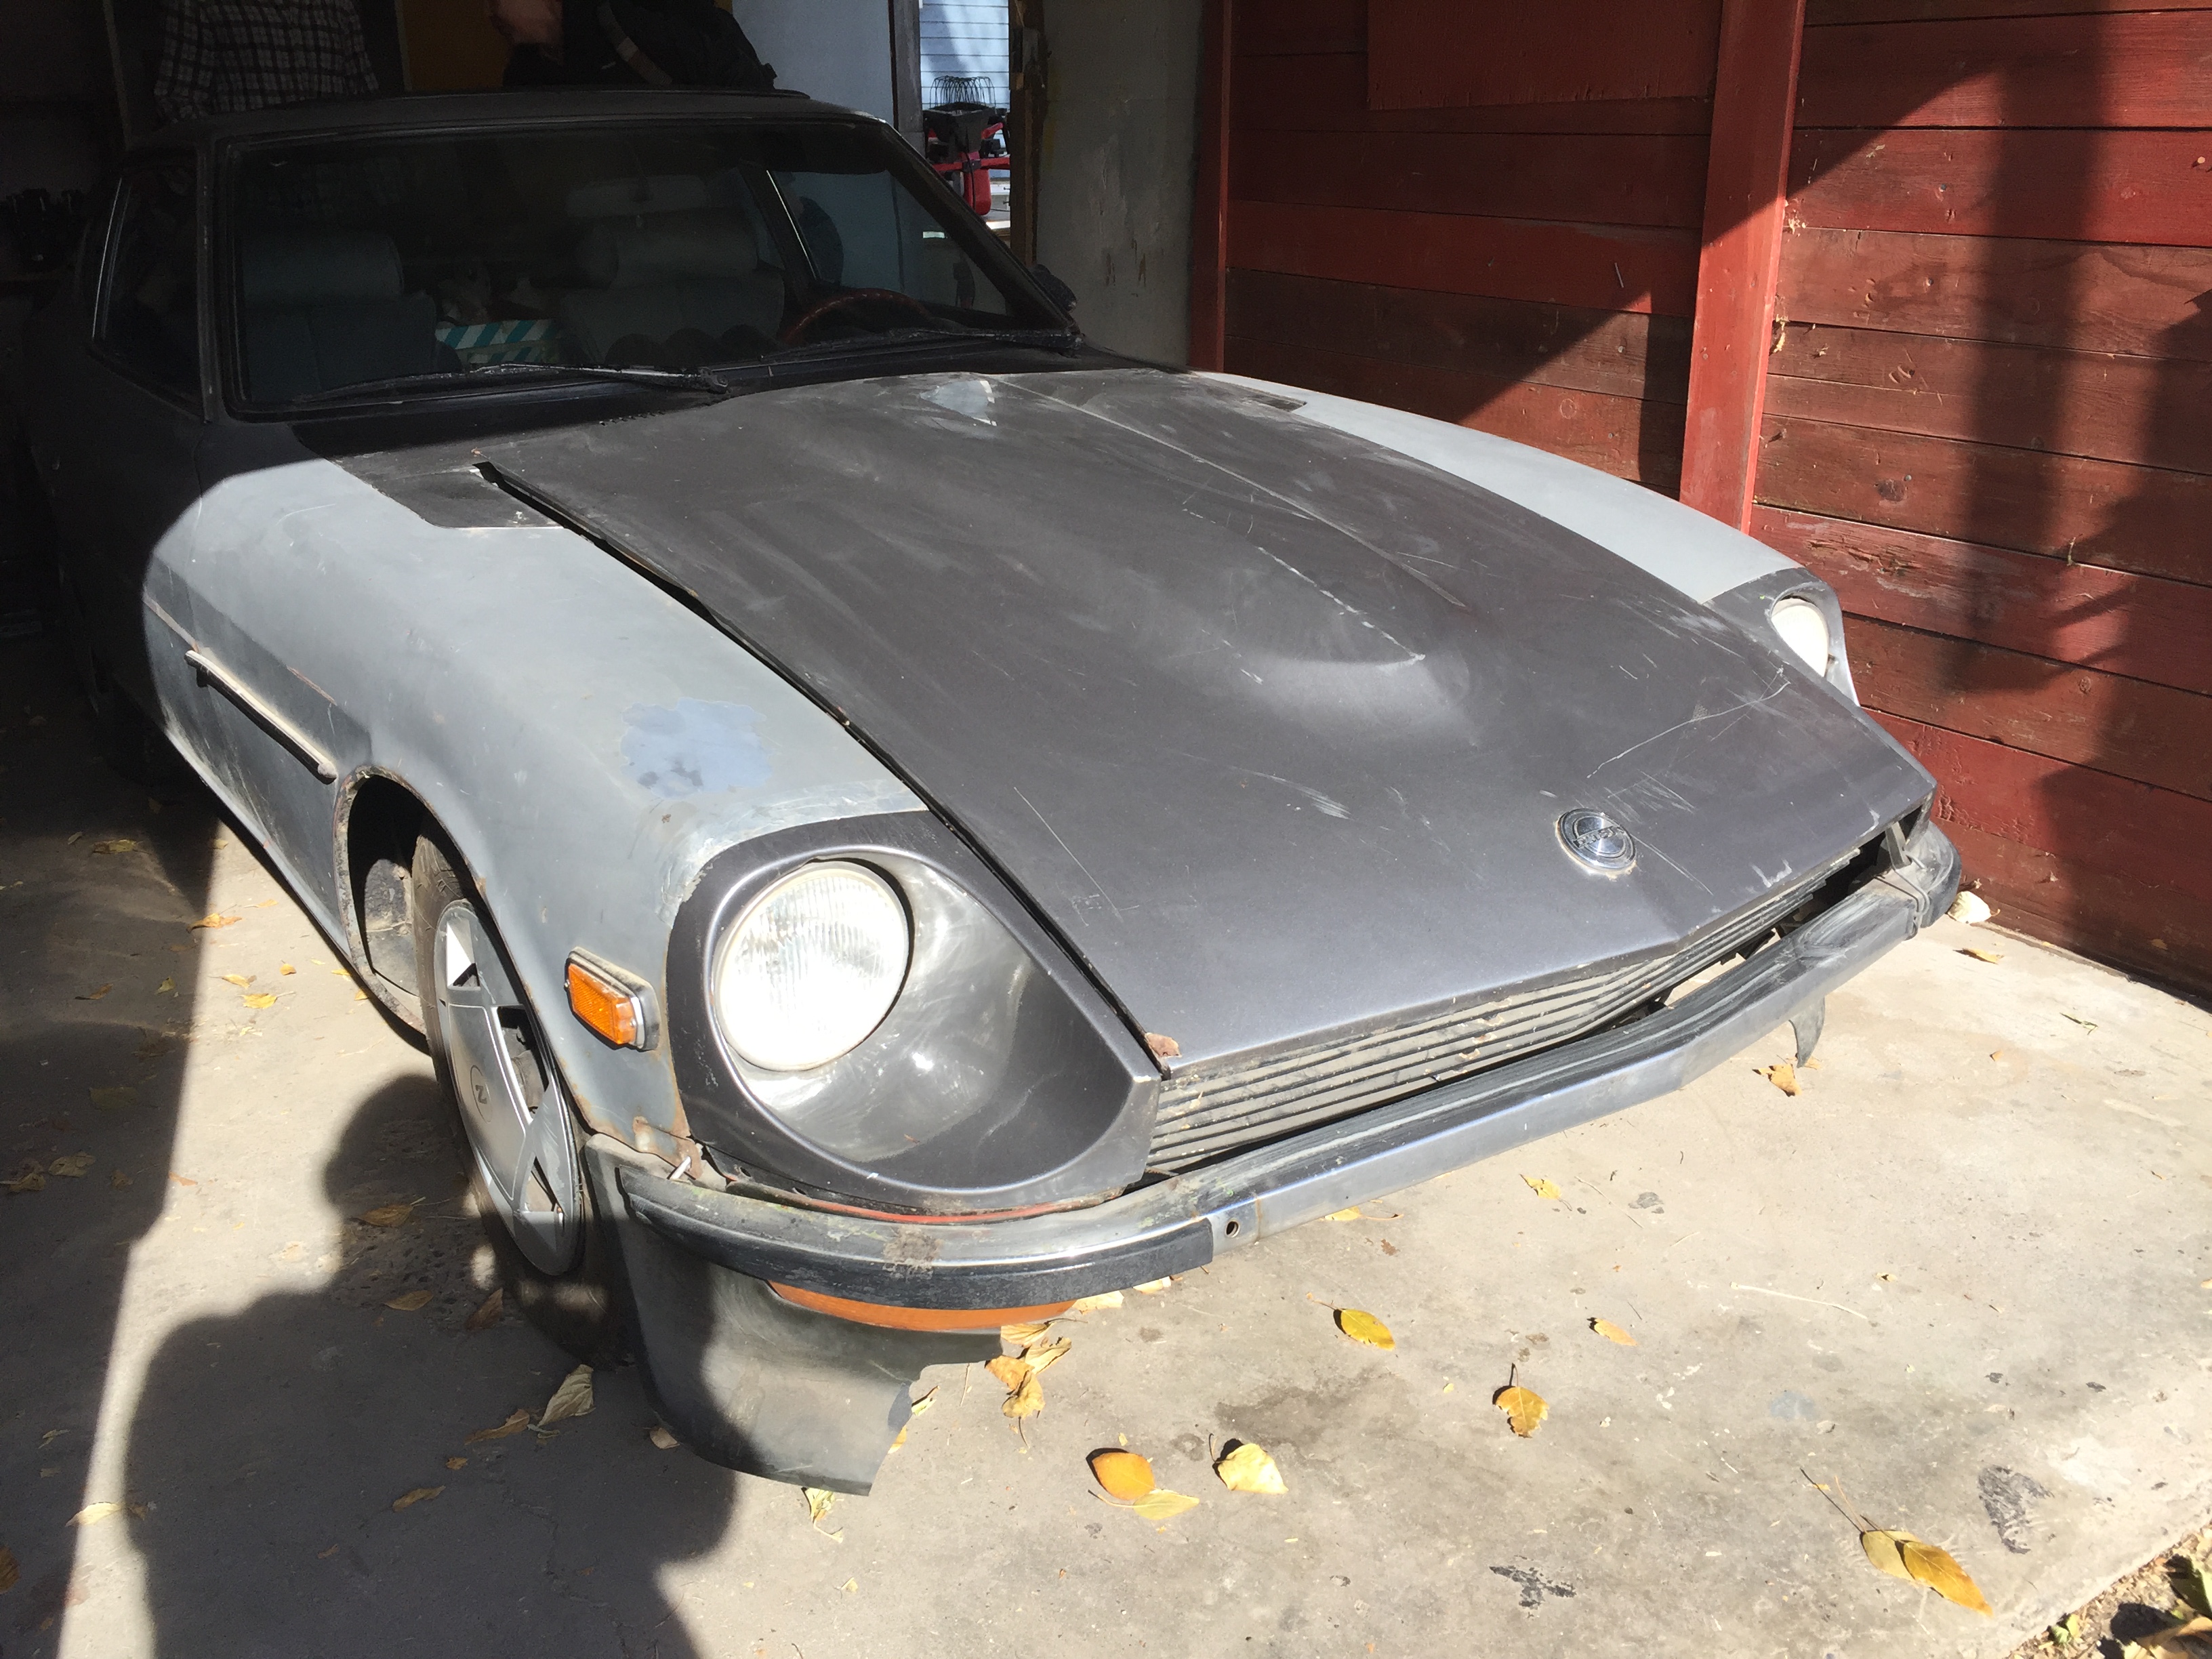
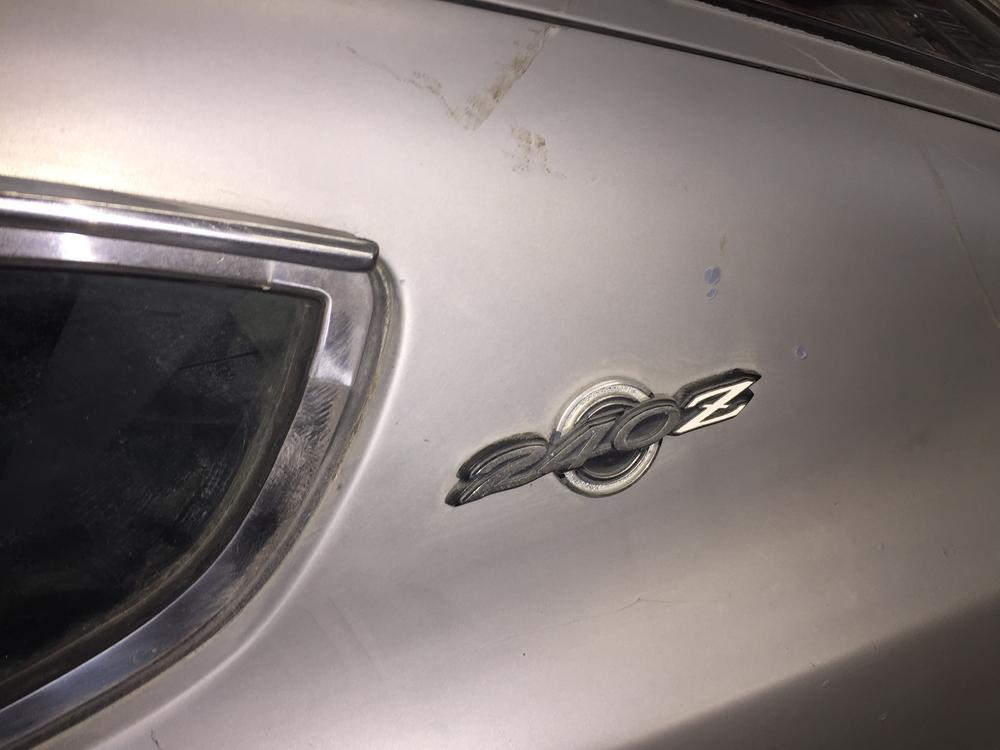
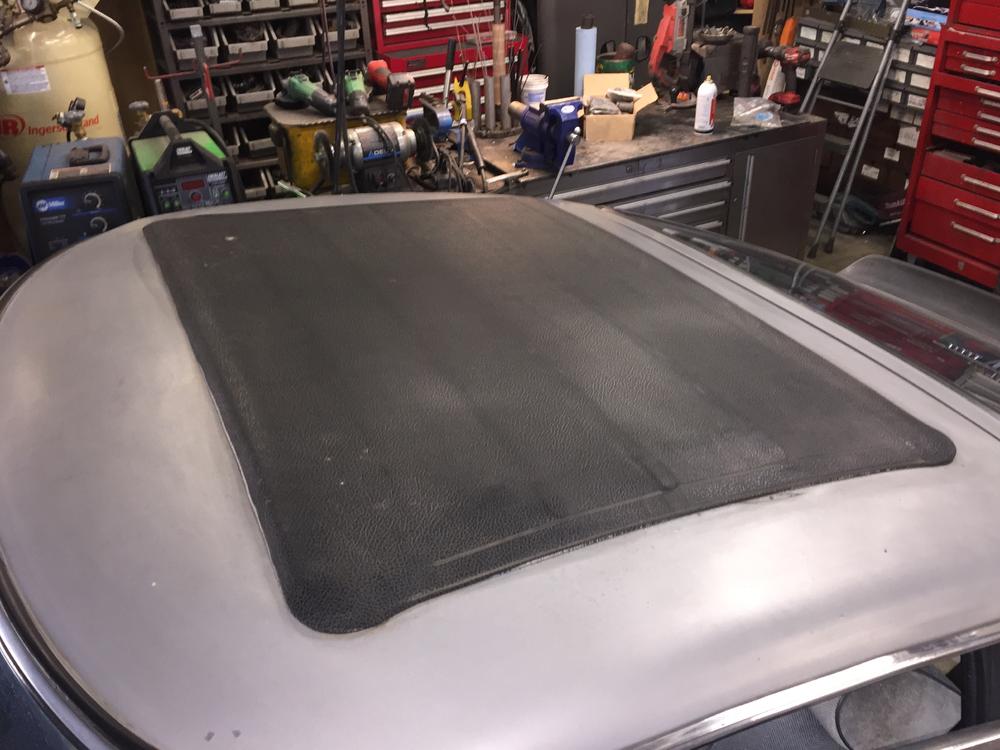
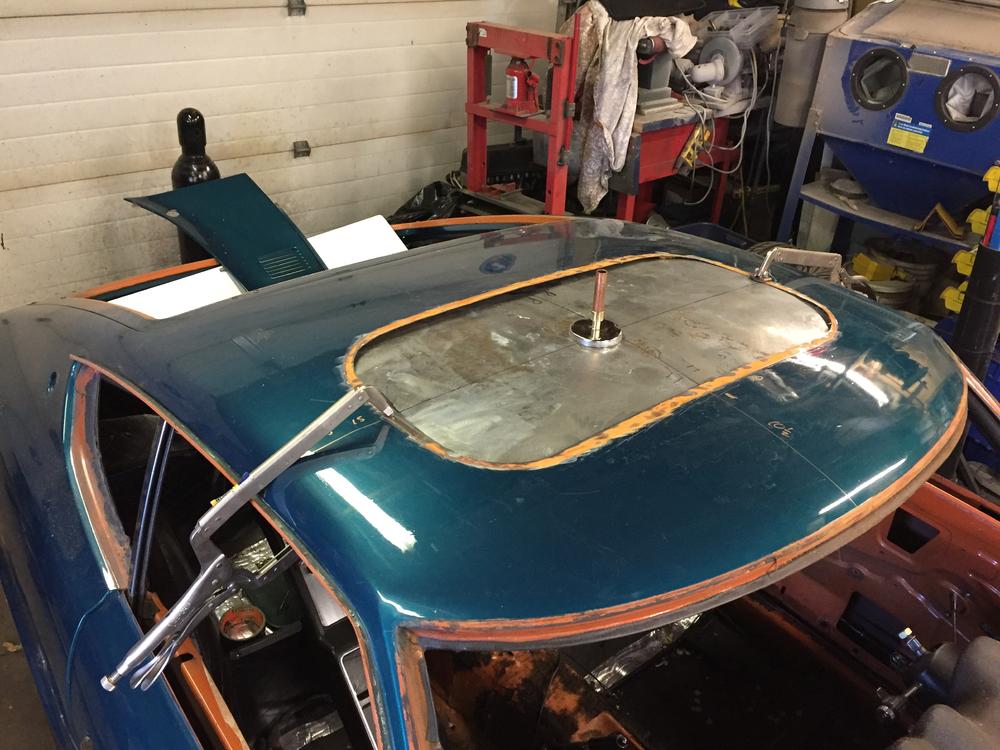
I swore I was done with big restorations for.a couple of years. I was even going to simplify things around here and get rid of one long term project (remember the 73 I have, I mean, had, for sale? Yeah that one). Well along the way of selling the Z, one of the potential buyers says to me, "I'm interested in talking to you about buying your Z, but want to mention I have an older Z that I've been sitting on for a few years. Maybe you'd be interested in looking at it?" So I ask a couple of important questions like "What's older mean?" And "whats the VIN". Took hime a while to go to it, an read the VIN's. One he says reads 25401 or something and the other says 03798. Ok, now you got my interest. Ok, I bet you already know where this story is going. Yes I went to see it, yes it followed me home. The VIN is 3798, 5/70 build date. Rusty old dog, few things missing, but hey, it has a cool sun roof! (See other recent thread about SEMA and Sun Roofs and being cool).


-
You may remember my recent thread discussing a sun roof repair / patch method that I was proud of. Well, It seems I've wasted my time. It turns out Sun Roofs are back in style and cool again. Looks what's all the rage at SEMA this year. And guess what my new project car has? STYLE, that's what it has, STYLE, not a dreaded, hated sun roof. It's in great shape (the sun roof, not the Z) works fine and the roof is stiff as anything around it. Real happy I don't have to repeat the whole cut and patch on this car. How could I DARE to spoil such a special vintage, highly coveted (well it will be once the SEMA Car pictures are spread far and wide, right?) feature. BTW, thanks to Datsun Dave for making me aware of this break through styling development

-
-
Ok, I give up. A guy can only take so much. I've heard everything from "too many changes, what if something goes wrong" to "there is too much undercoating and sound deadening, so I can't tell what rust might be hiding" and everything in between. So, I'm keeping it. None of you get to experience its greatness. In fact I'm going to drive my overly complicated, too modified rust bucket like I've never driven it before on this last nice day of Fall. I may even get some winter tires and alternate between the 510 and the Z all damn winter. Because I can. Bitter? yeah, slightly. I'll get over it.
-
Aside from the obvious size discrepancy, is that light I see beside the cable where it passes through the grommet? Doesn't the grommet throat seal to the cable OD? I mean, why have a grommet at all with that?
-
Just another dealer "value added" improvement. Datsun supplied no embellishments, only purpose built options and performance improvements. There are a couple of threads here about modern suppliers of these strips. You can get a near perfect replacement if your rubber parts have shrunk. These things happen with age you know.
-
Heck for beer and wizz bomb fun I'll learn to like bikes! Yes I'm planning on coming. Only been doing the even years so far, don't want to break with tradition. Hold down handles had rubber trim????? Yup, never seen one with it.
-
These guys have one for sure. HUGE selection. Just do a little measuring and find a match. https://www.liftsupportsdepot.com/
-
Give me a picture of the other side. 240, I think... If that's just plain tin, I think it's 280. If it has a rubber donut-y thing its early 240
-
Perfectly normal. Would have to ask the designer to understand why.
-
Some crazy western Canadian Datsun hoarder I know well may have a couple of good condition stock heater cores that could be had for WAY less then $500 if that works better for you. Just let me know at z240@shaw.ca
-
One more trick I forgot to mention. I put a thin (1/16") layer of bondo on the inside of donor roof BEFORE I cut out the patch section. I wanted to support the shape and make it stiffer while I handled and mounted it. Made a huge difference to stiffness. I used about a 3/16" notched trowel that you use to apply tile adhesive evenly to get a nice even coat of bondo, and just knocked it flat with a wide putty knife to spread it out. Some people call me thin skinned....
-
Screws are out, more adhesive goo stuffed into the holes. Clearly welding the holds shut is silly. I will be entrusting the roof shaping to a real body man. That thing is no place to learn sanding technique. I dont do my own drywall either....
-
Adhesive hole fill is what I'll do. I'm using the MSA head liner, which has darn near a 1/2 thick foam backing. Should hide the bump. Black is the color so even if it's vaguely visible, no one will notice. I could scoop out a 1/16" of foam over the patch if I get creative. Pretty creative foam cutter there. Got plans for it handy?
-
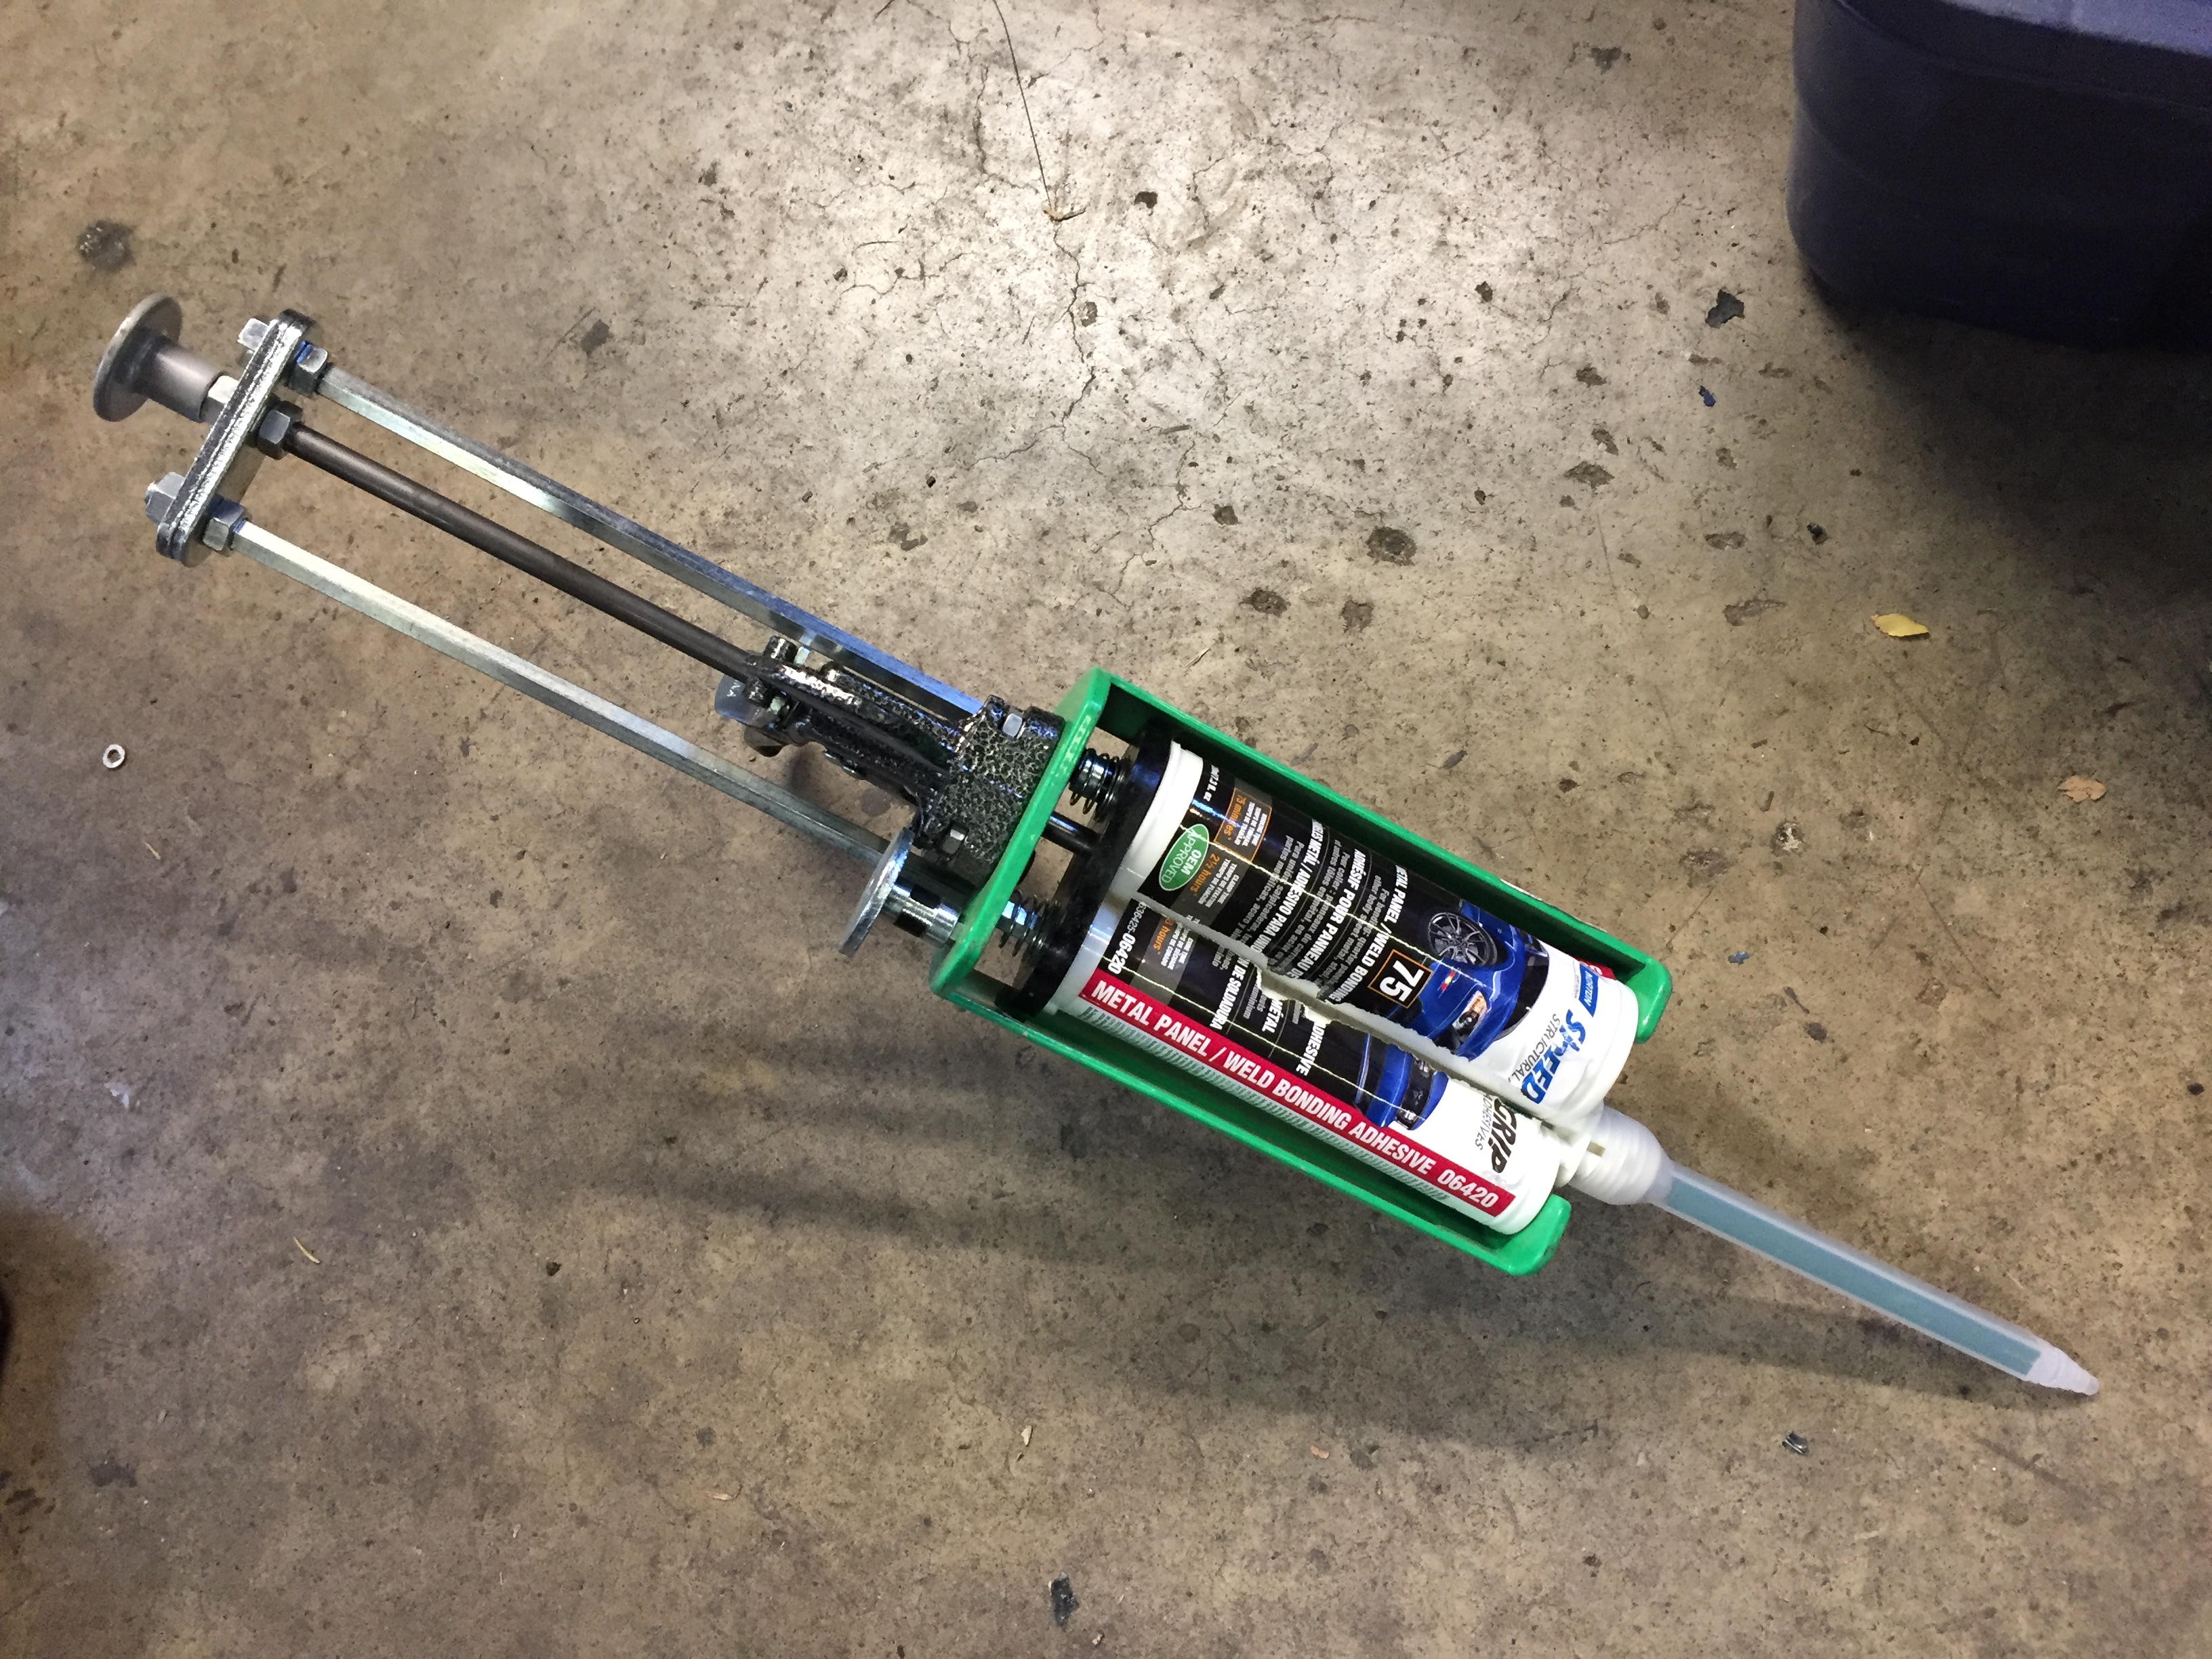
It took me a while to begin to trust these structural adhesives over welding, but I'm convinced. OEM's are using them all over the place. I will have to create a test piece and see what welding heat does after a plug weld.
-
Ok, time to crowd source an opinion. Just what should I do with those screws when the glue hardens? Remove them and fill with more goo, grind off the heads and tails and leave them in place, or weld up the holes after removal? Or? Each option has advantages and problems. Ideas?
-
Now I feel really old. Where did you dig up "Mr Chips" from? That's so old it has a beard!
-
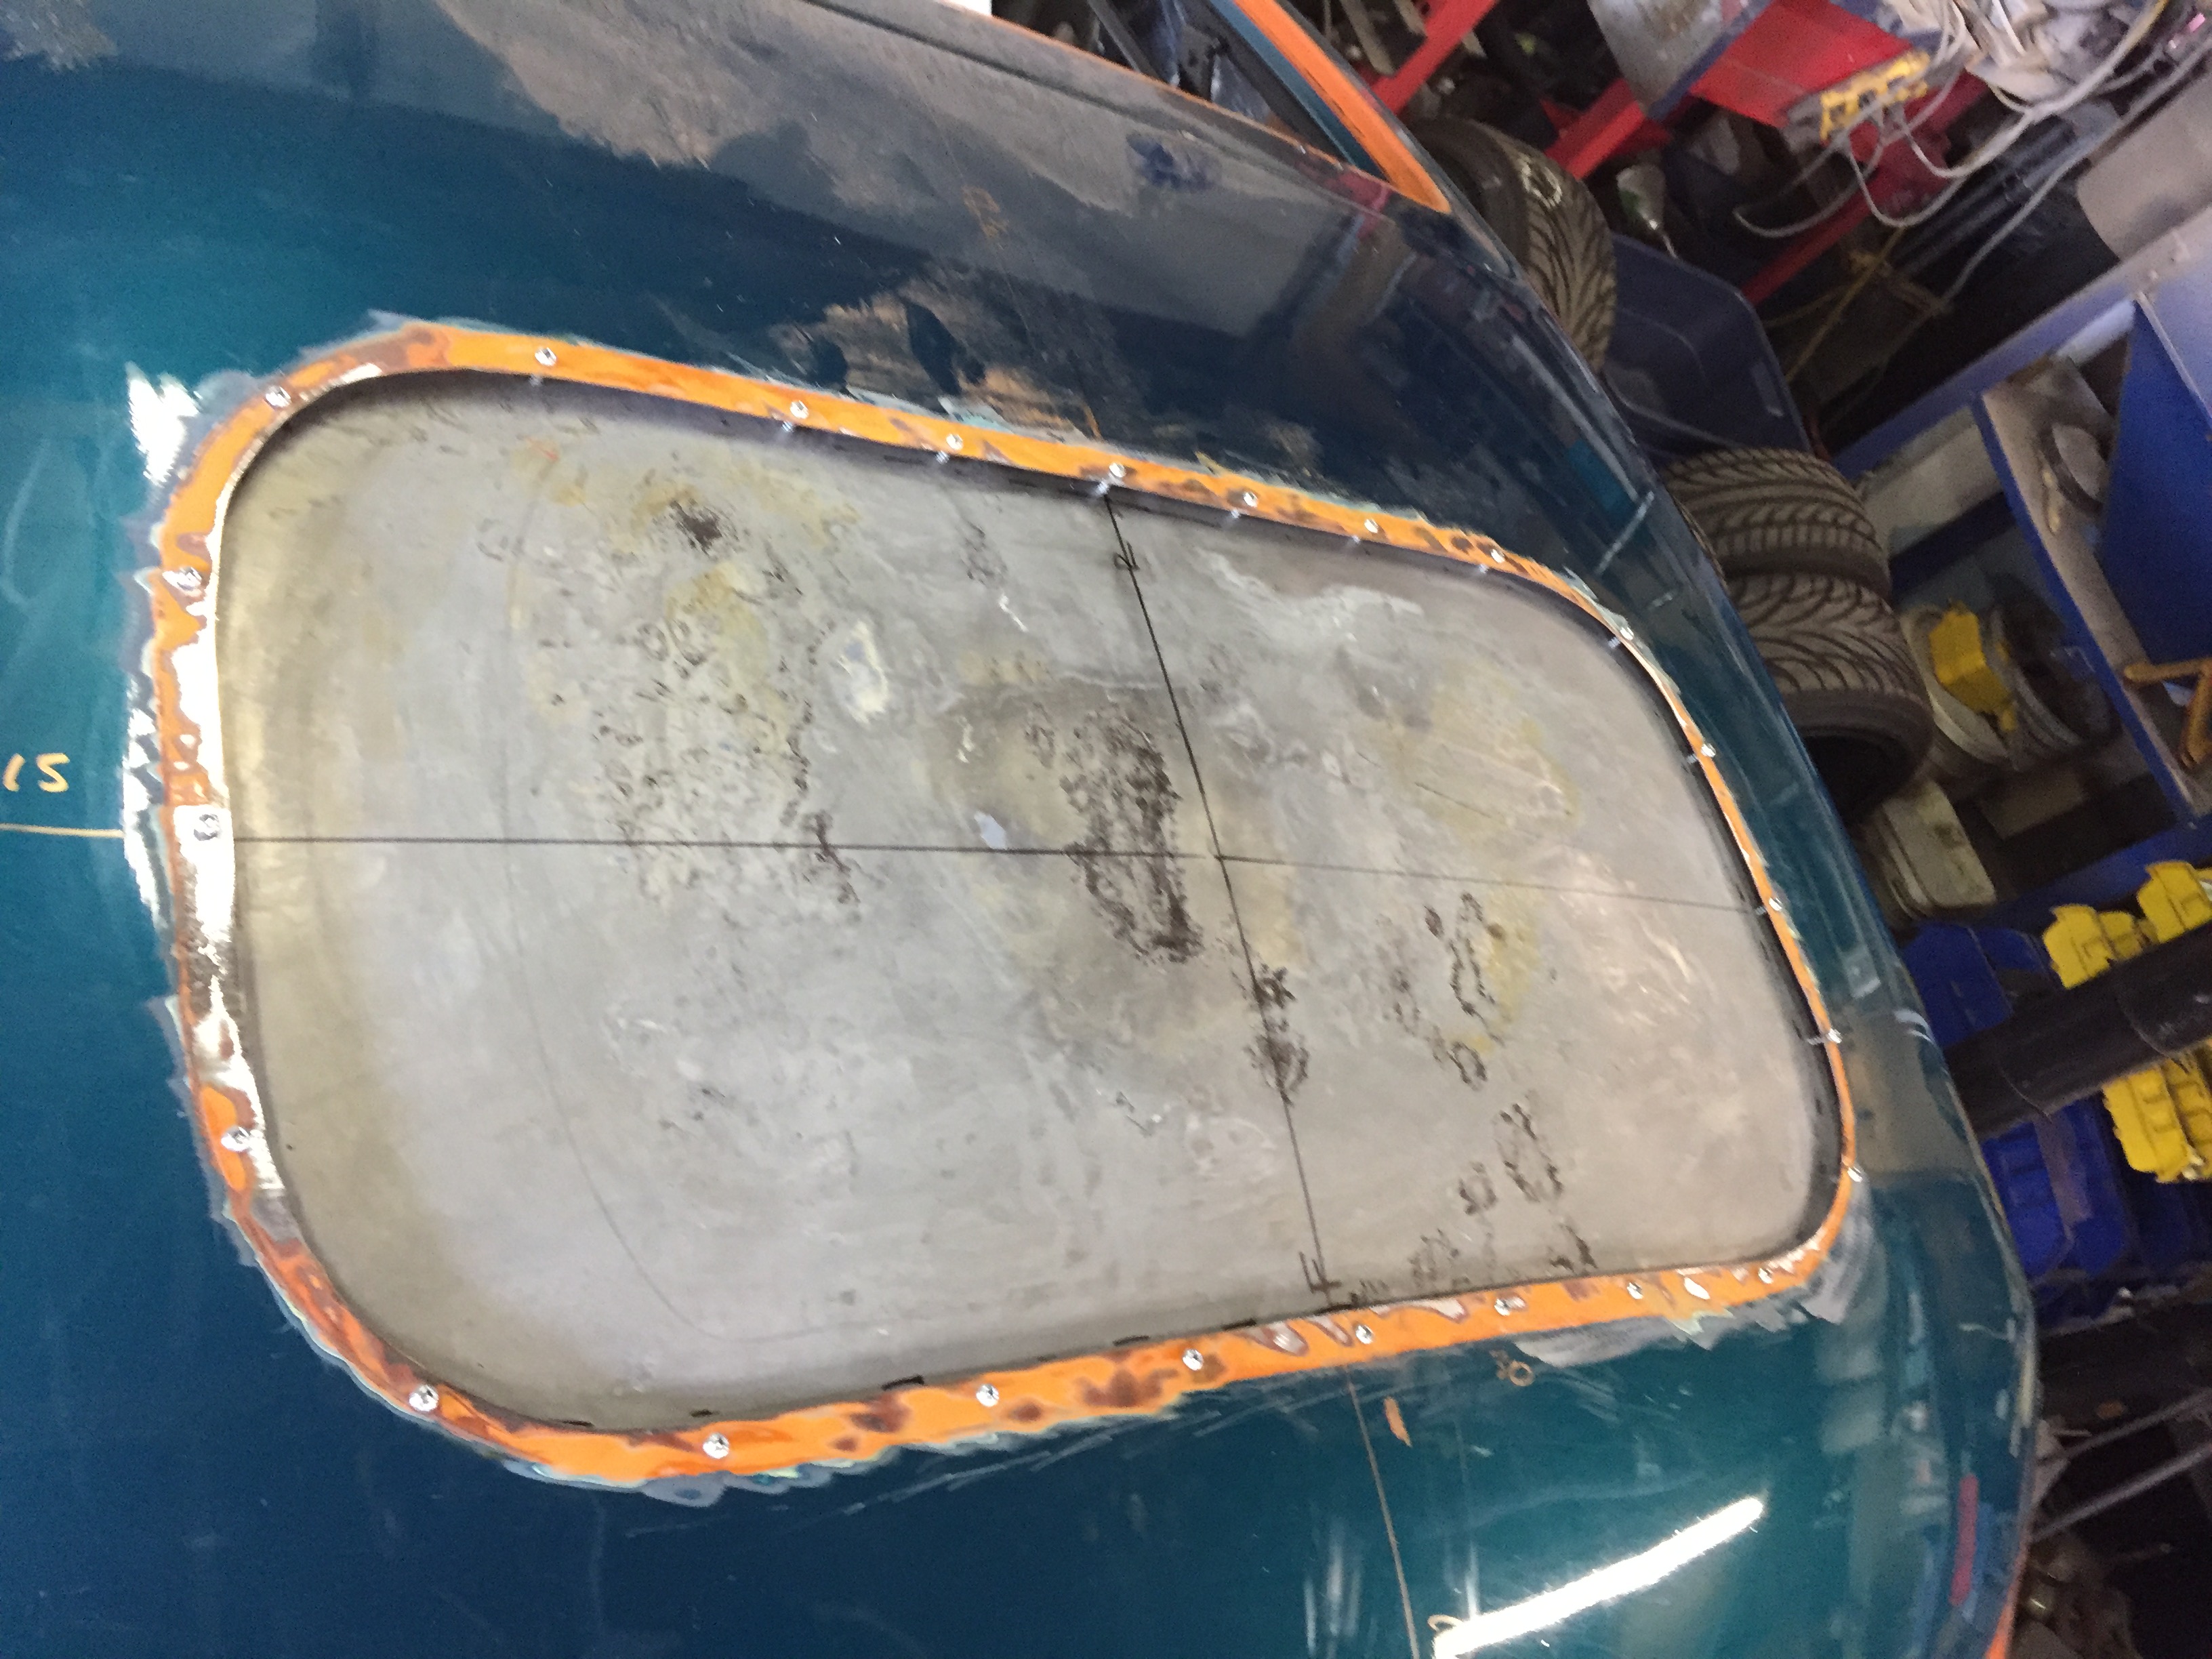
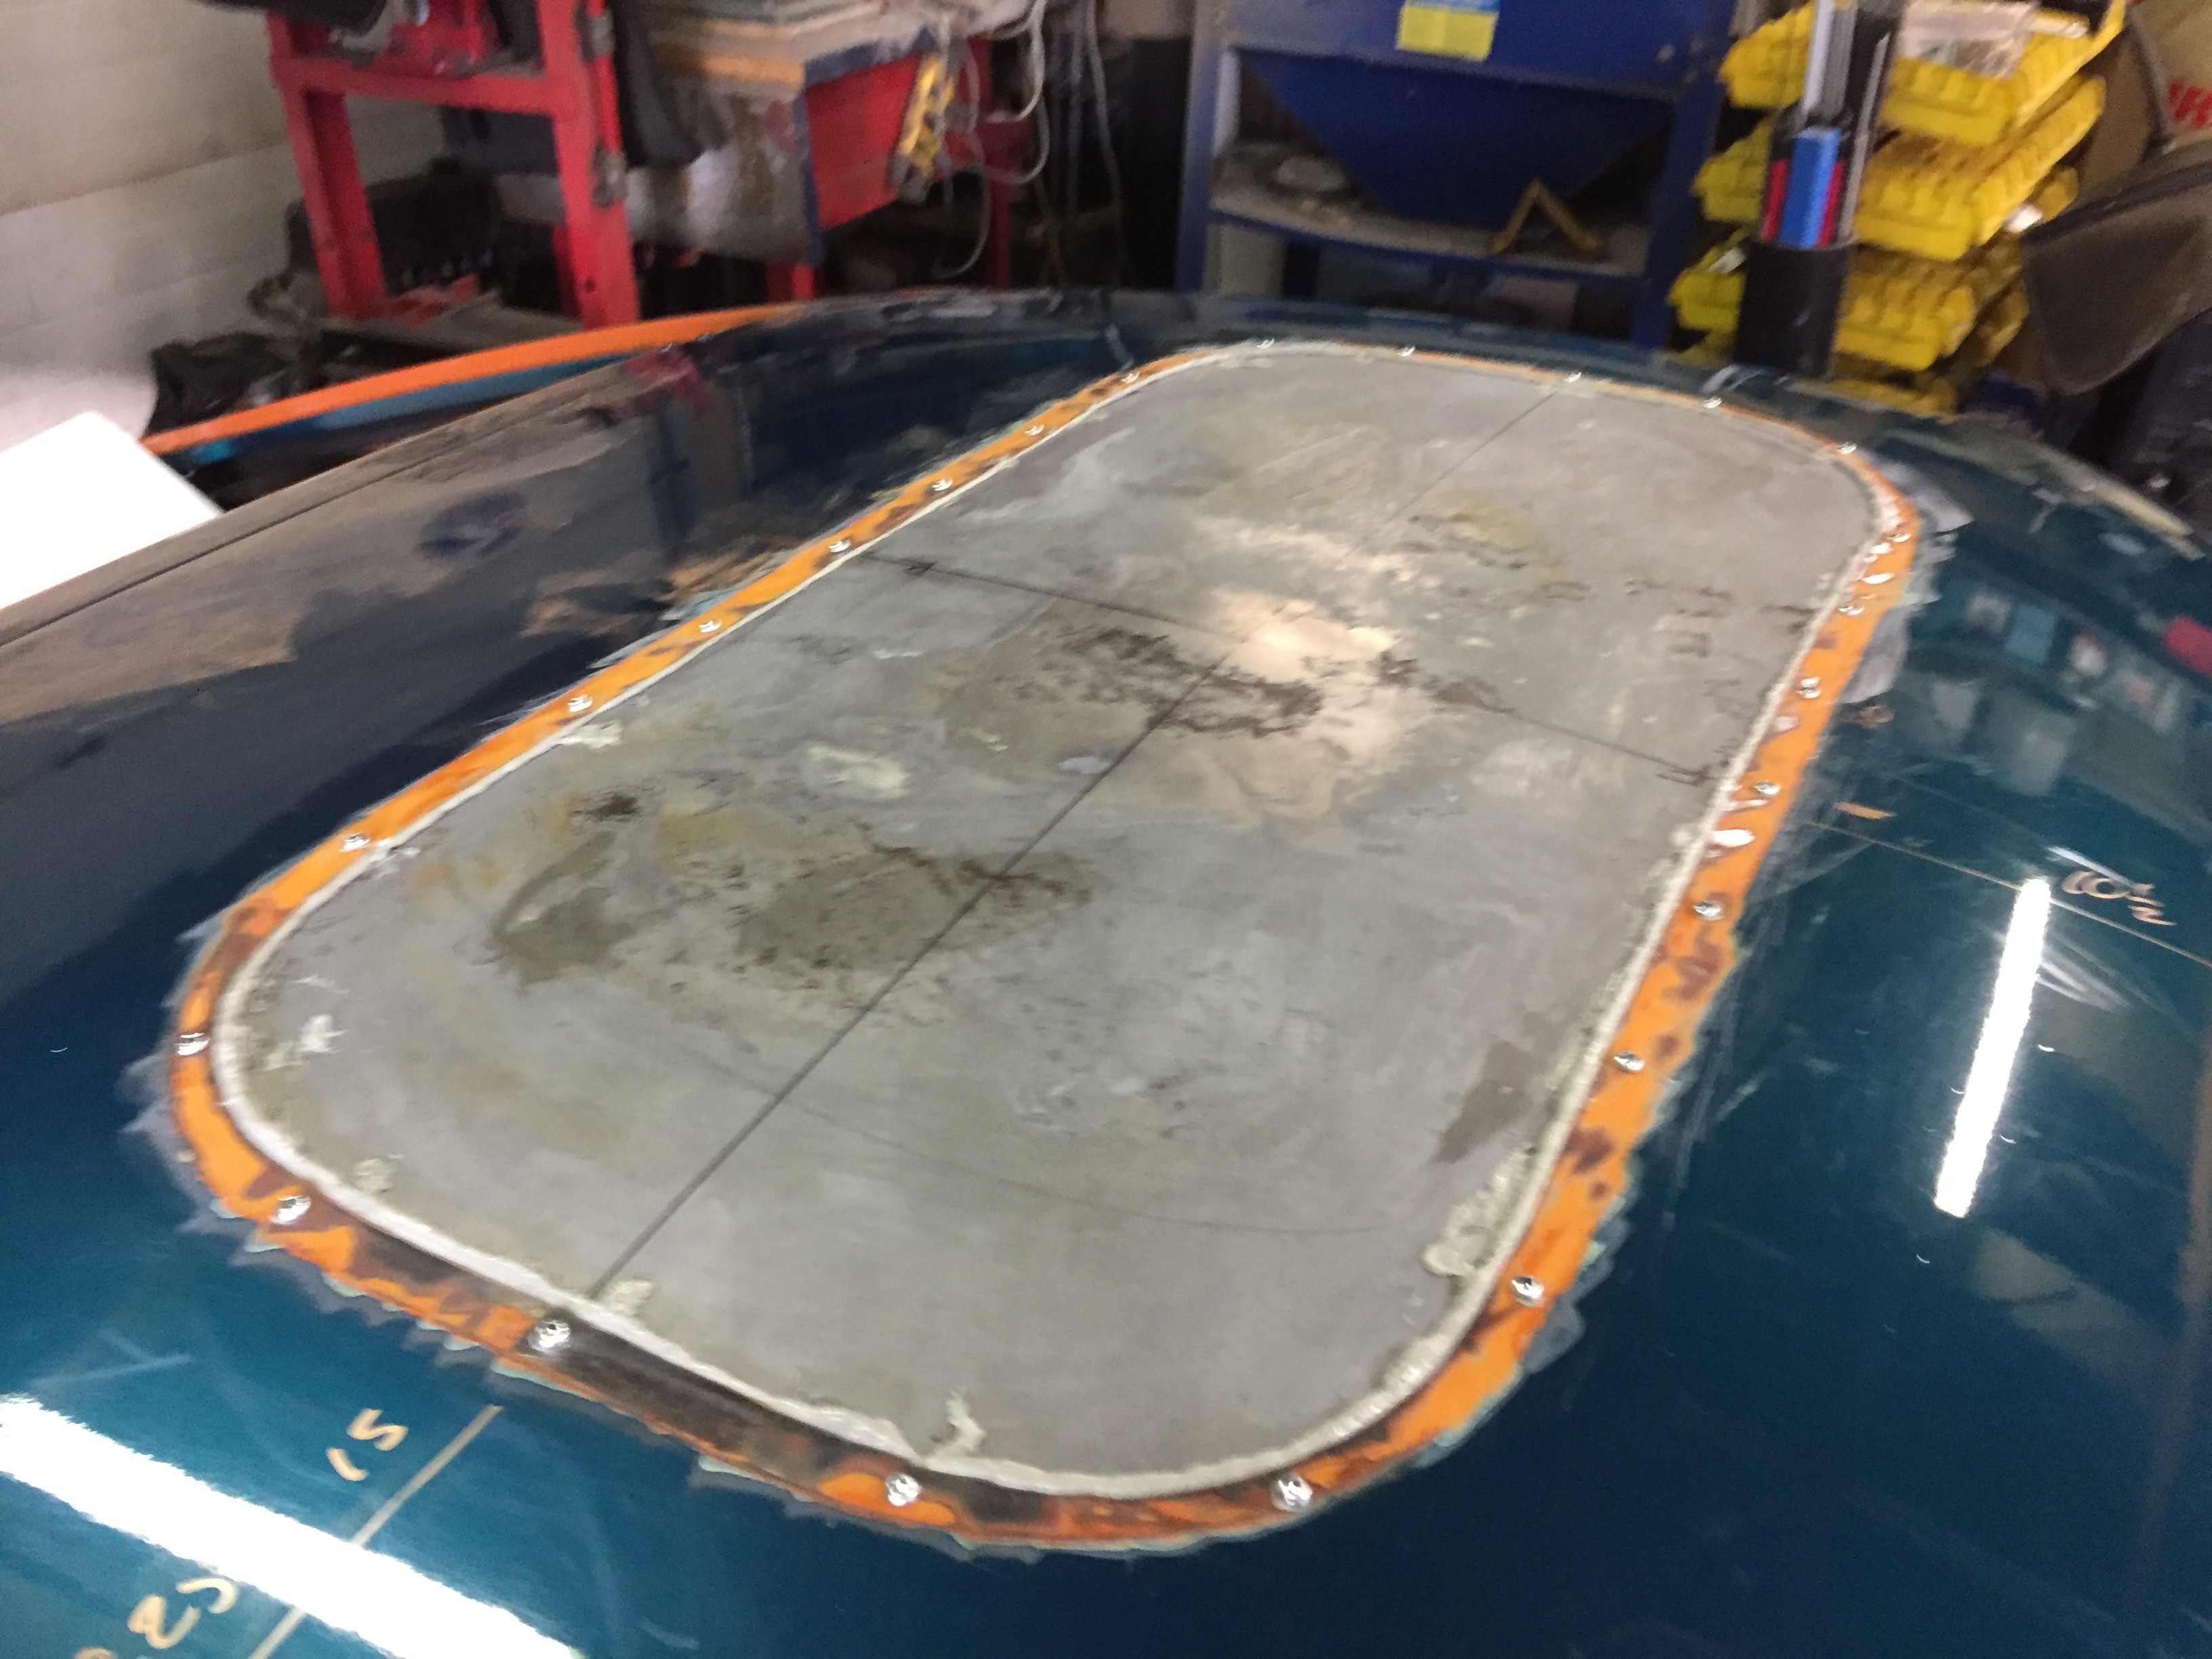
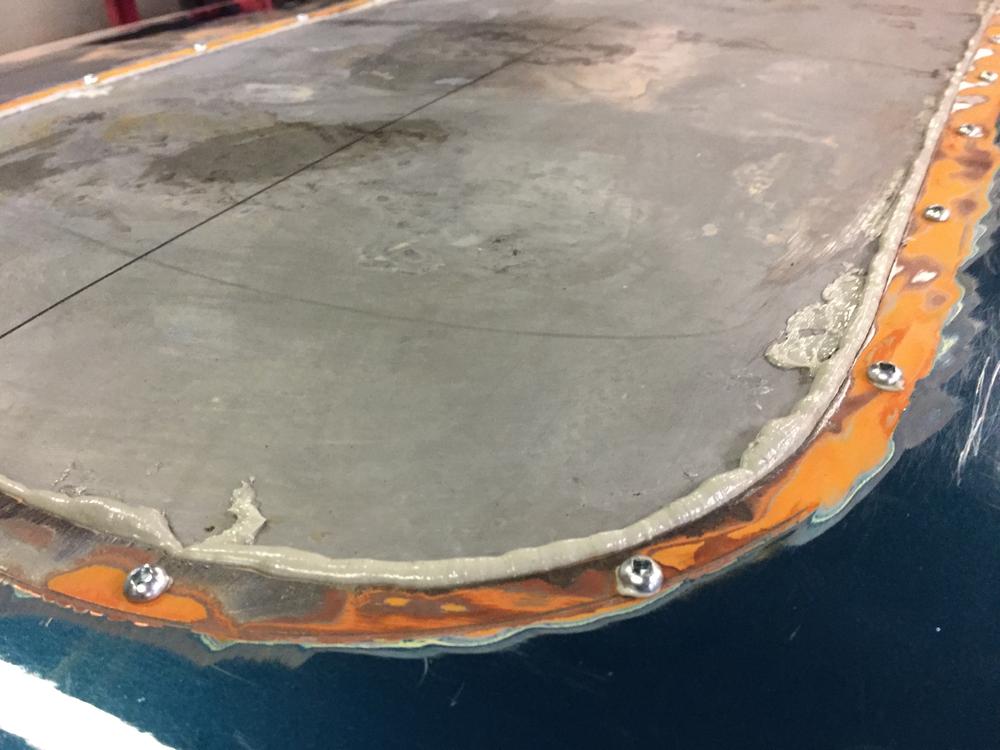
Well that went well. Love that body epoxy/urethane bonding stuff. Cut the new roof patch panel (after very careful measuring to get the right section and section) 1" larger than the opening, clamp it in place, drill 24, 1/8" holes and put 3/4" sheet metal screws in to secure. At this point the whole roof should feel nice and taut. Remove screws one at a time, and drill each top original roof hole to 11/64 so the screw won't bite in the roof hole, then put the screws back just biting 1-2 threads in the patch panel so the new patch panel leaves a lovely 1/4 or 3/8 gap all around. Squeeze in a nice bead of the adhesive into that gap (about a 1/4 bead or so, too much is fine), and tighten the screws in sequence to pull the two together. Not too tight. Squish goes the glue, look for squeeze out all the way around (inside too!) . Clean up the excess. Wait 8 hours. Add a very thin coat of bondo to fill the low spot where the roof patch is located, exactly the thickness of the roof. Sand and prime. Enjoy a nice tight and proper shaped roof. Don't forget proper prep, coating bare metal with primer or zinc phosphate treatment. Don't leave Have done this with welding, but between the hours and trouble of slowing welding that patch in to prevent heat distortion, I can tell you this method is very strong and much simpler. Not as good as replacing the entire roof, but as long as the tension and shape is retained, then my method is a reasonable alternative. Here is a few pics of the process. Screws in, just catching the patch, nice gap to fill with goo Side view of the gap being closed at the left, still open at the right All screws snug, nice even bead of squeeze out. Full view. You can poke the patch all over with your finger and the roof and it all feels tight. Low angle viewing from all angles shows me the overall shape of roof is totally right. Nothing funky. Just have to be really meticulous when laying out the patch to get the exact same piece from the doner and positioned perfectly. The car is a 72, the roof patch is from a 78.


-
While I'm thinking about it, back to that sun roof repair.

-
Powerwrap. Interesting stuff. At Home Despot Canada a lousy 2"x 30" package is $16! Would cost $300 to do your floors one layer thick. Another product from a different industry applied to DIY and home Improvement. I think that's just Fiberglass medical cast material repackaged (and price jacked up). Remember the TV ad for the miracle "new" water proofing spray? They huckster puts a screen door in the bottom of his boat and sprays this black gooey crap over it then rows the boat across some pond? Well we know that stuff as good old vehicle undercoating. Been around for years. Put a new label on it, double or triple the price, sell it to home owners. Now what else do we use every day that could be used in another part of our lives to make it easier? Come on now, use your imaginations. Keep it clean.
-
Just buy the later ones. Only difference is the angle of the inlet fitting that will require you to bend the hard line or make/buy a new 12" chunk of premade Copper/nickle brake line and bend it to your will using only your baby finger tips
-
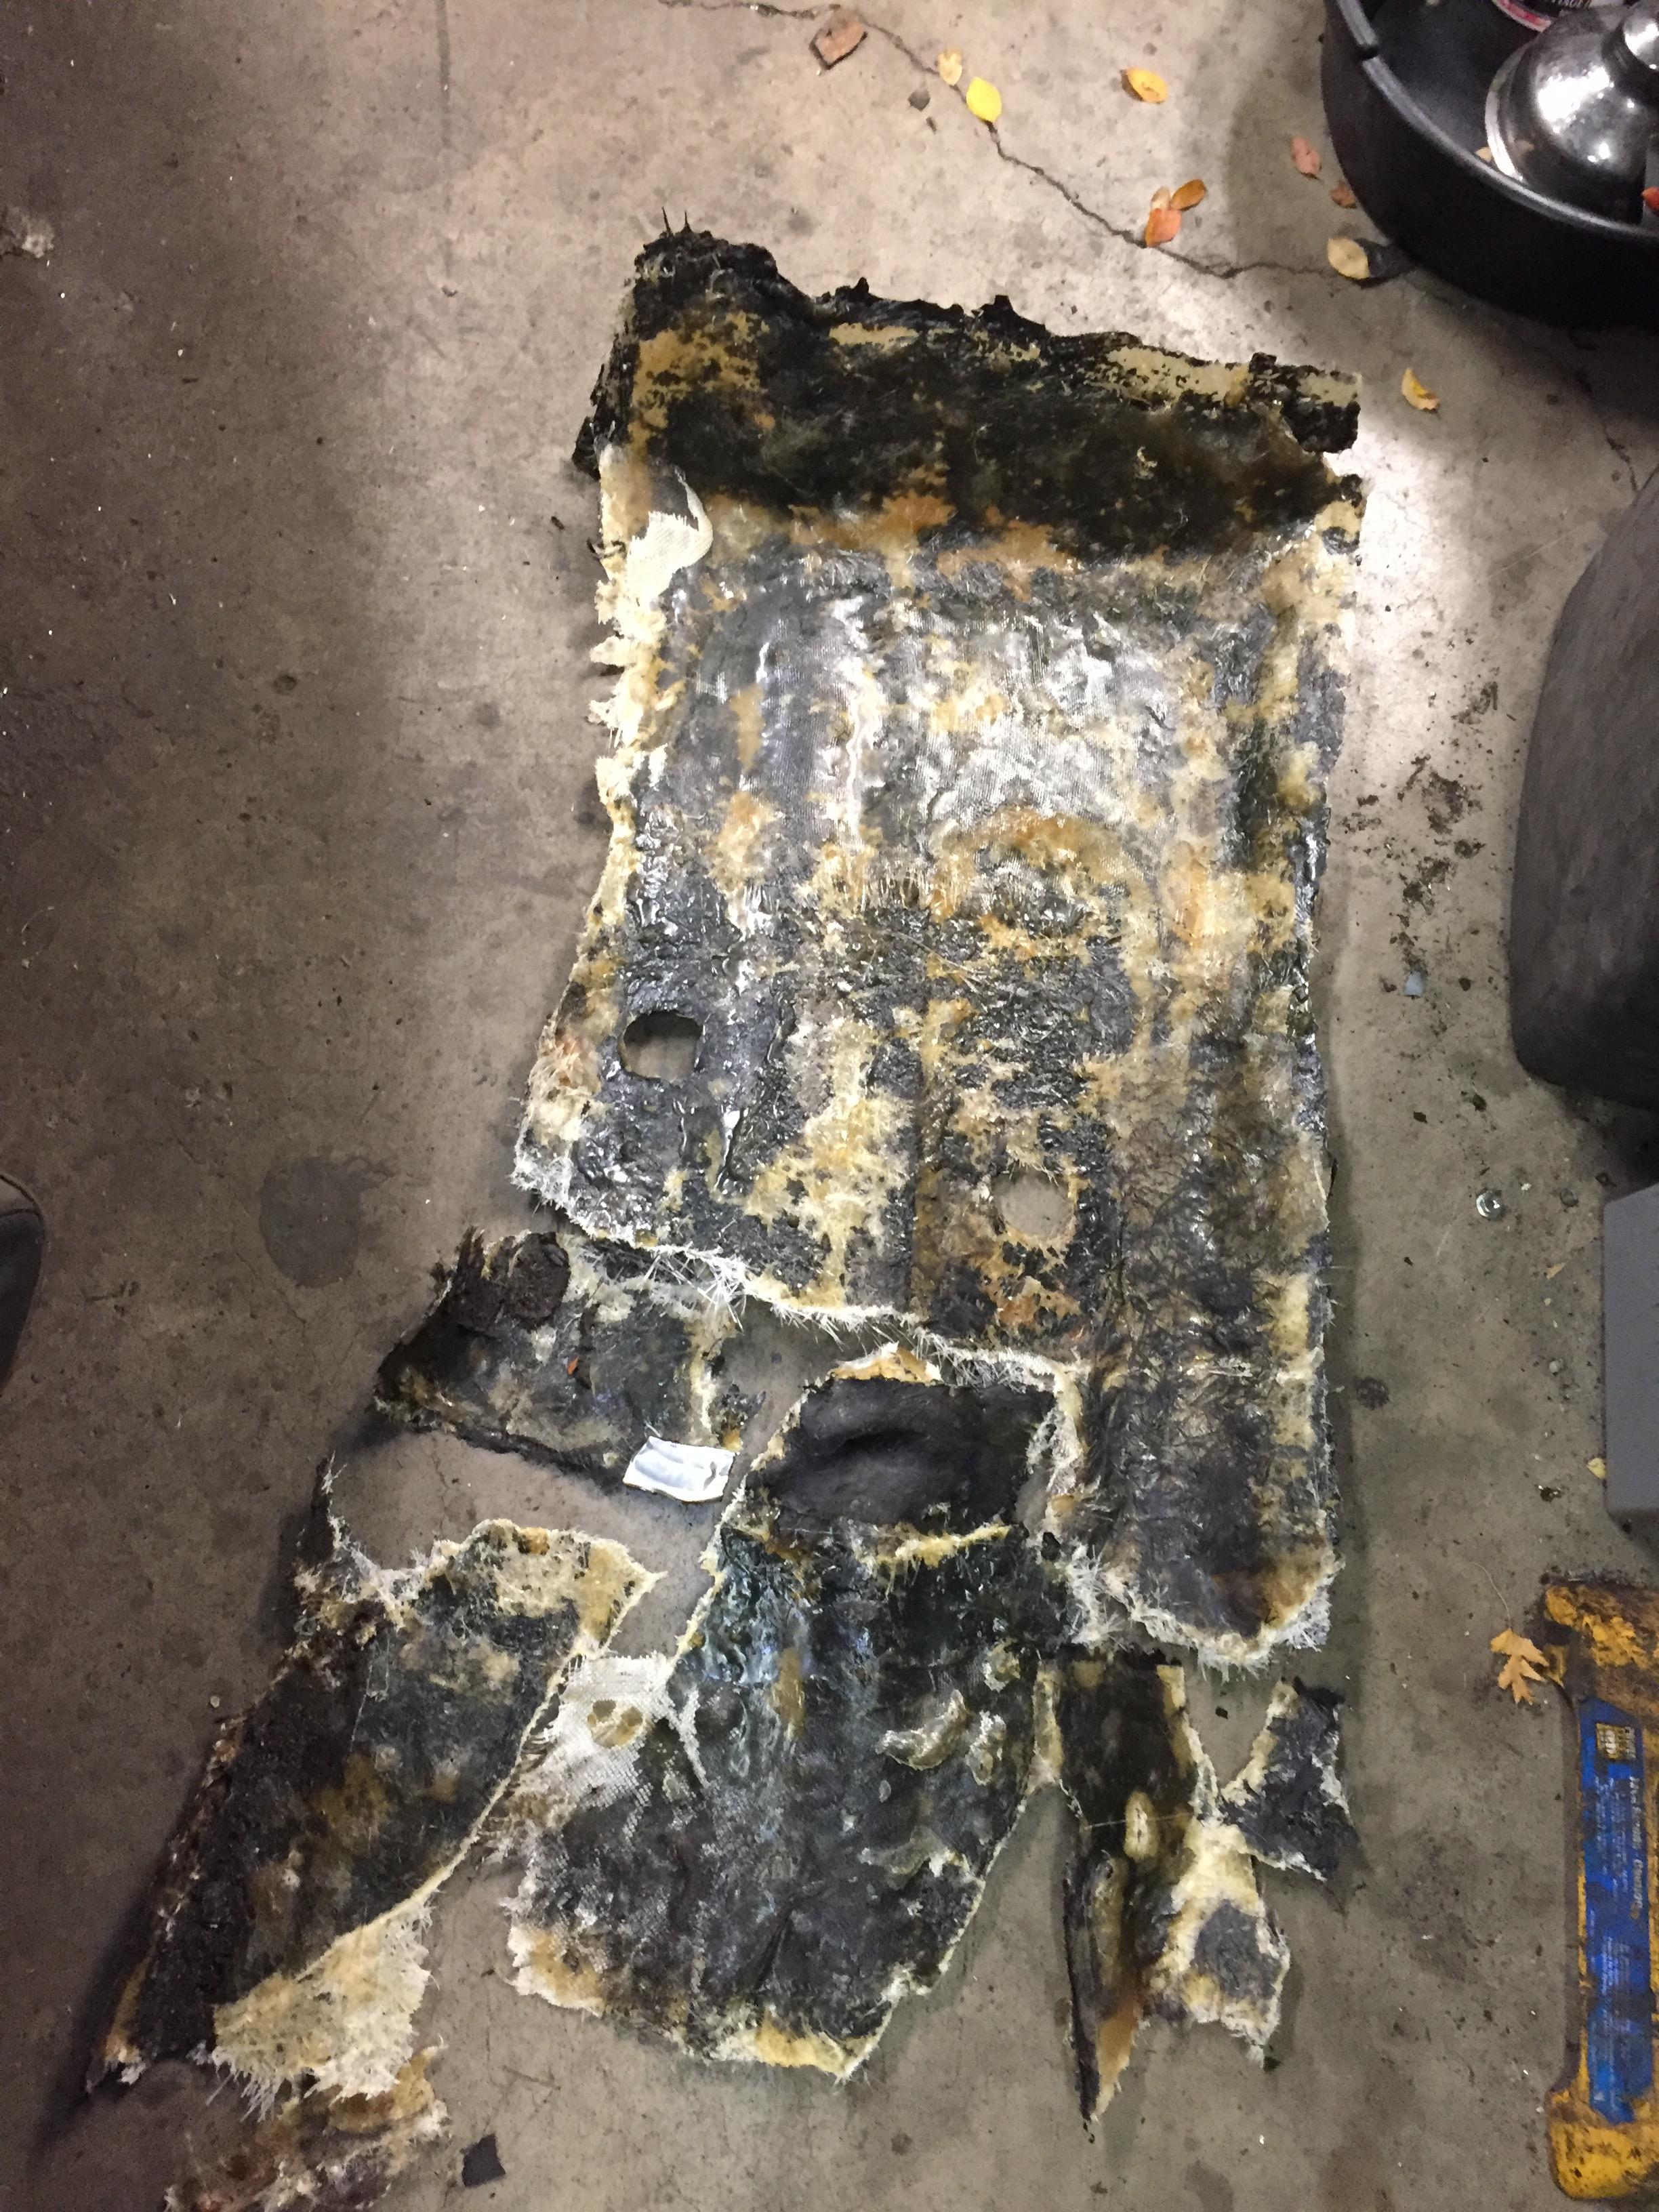
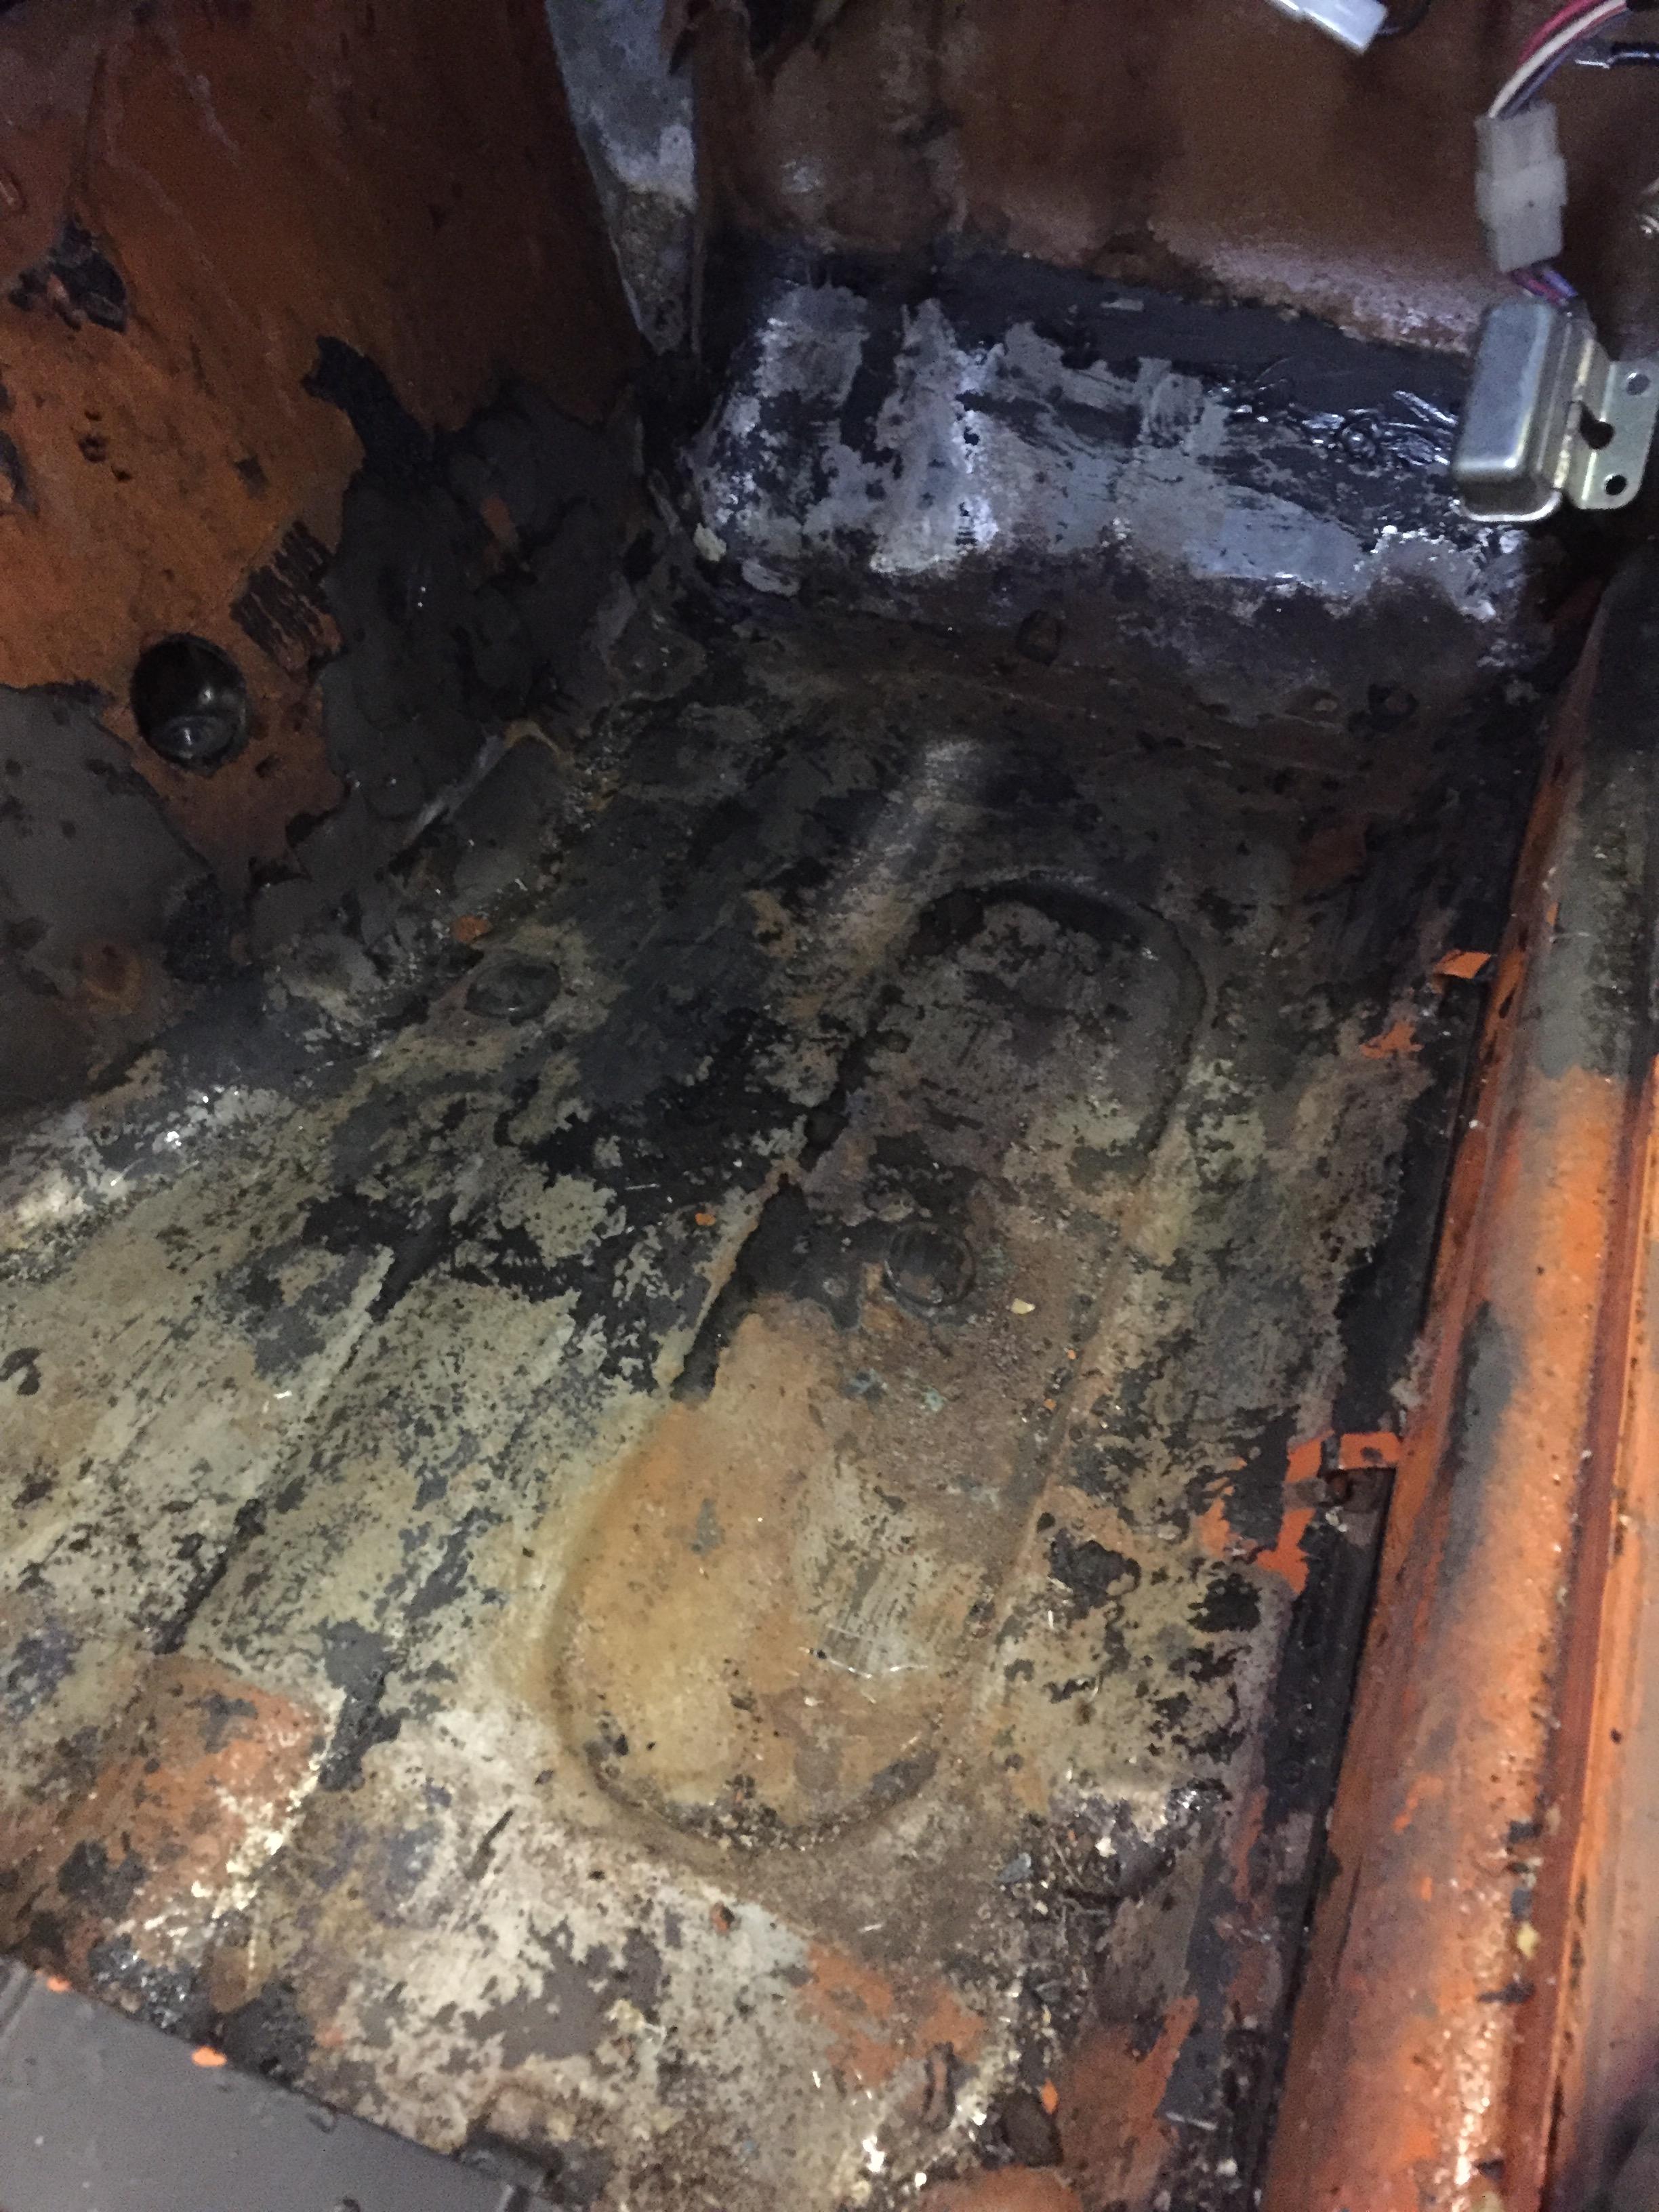
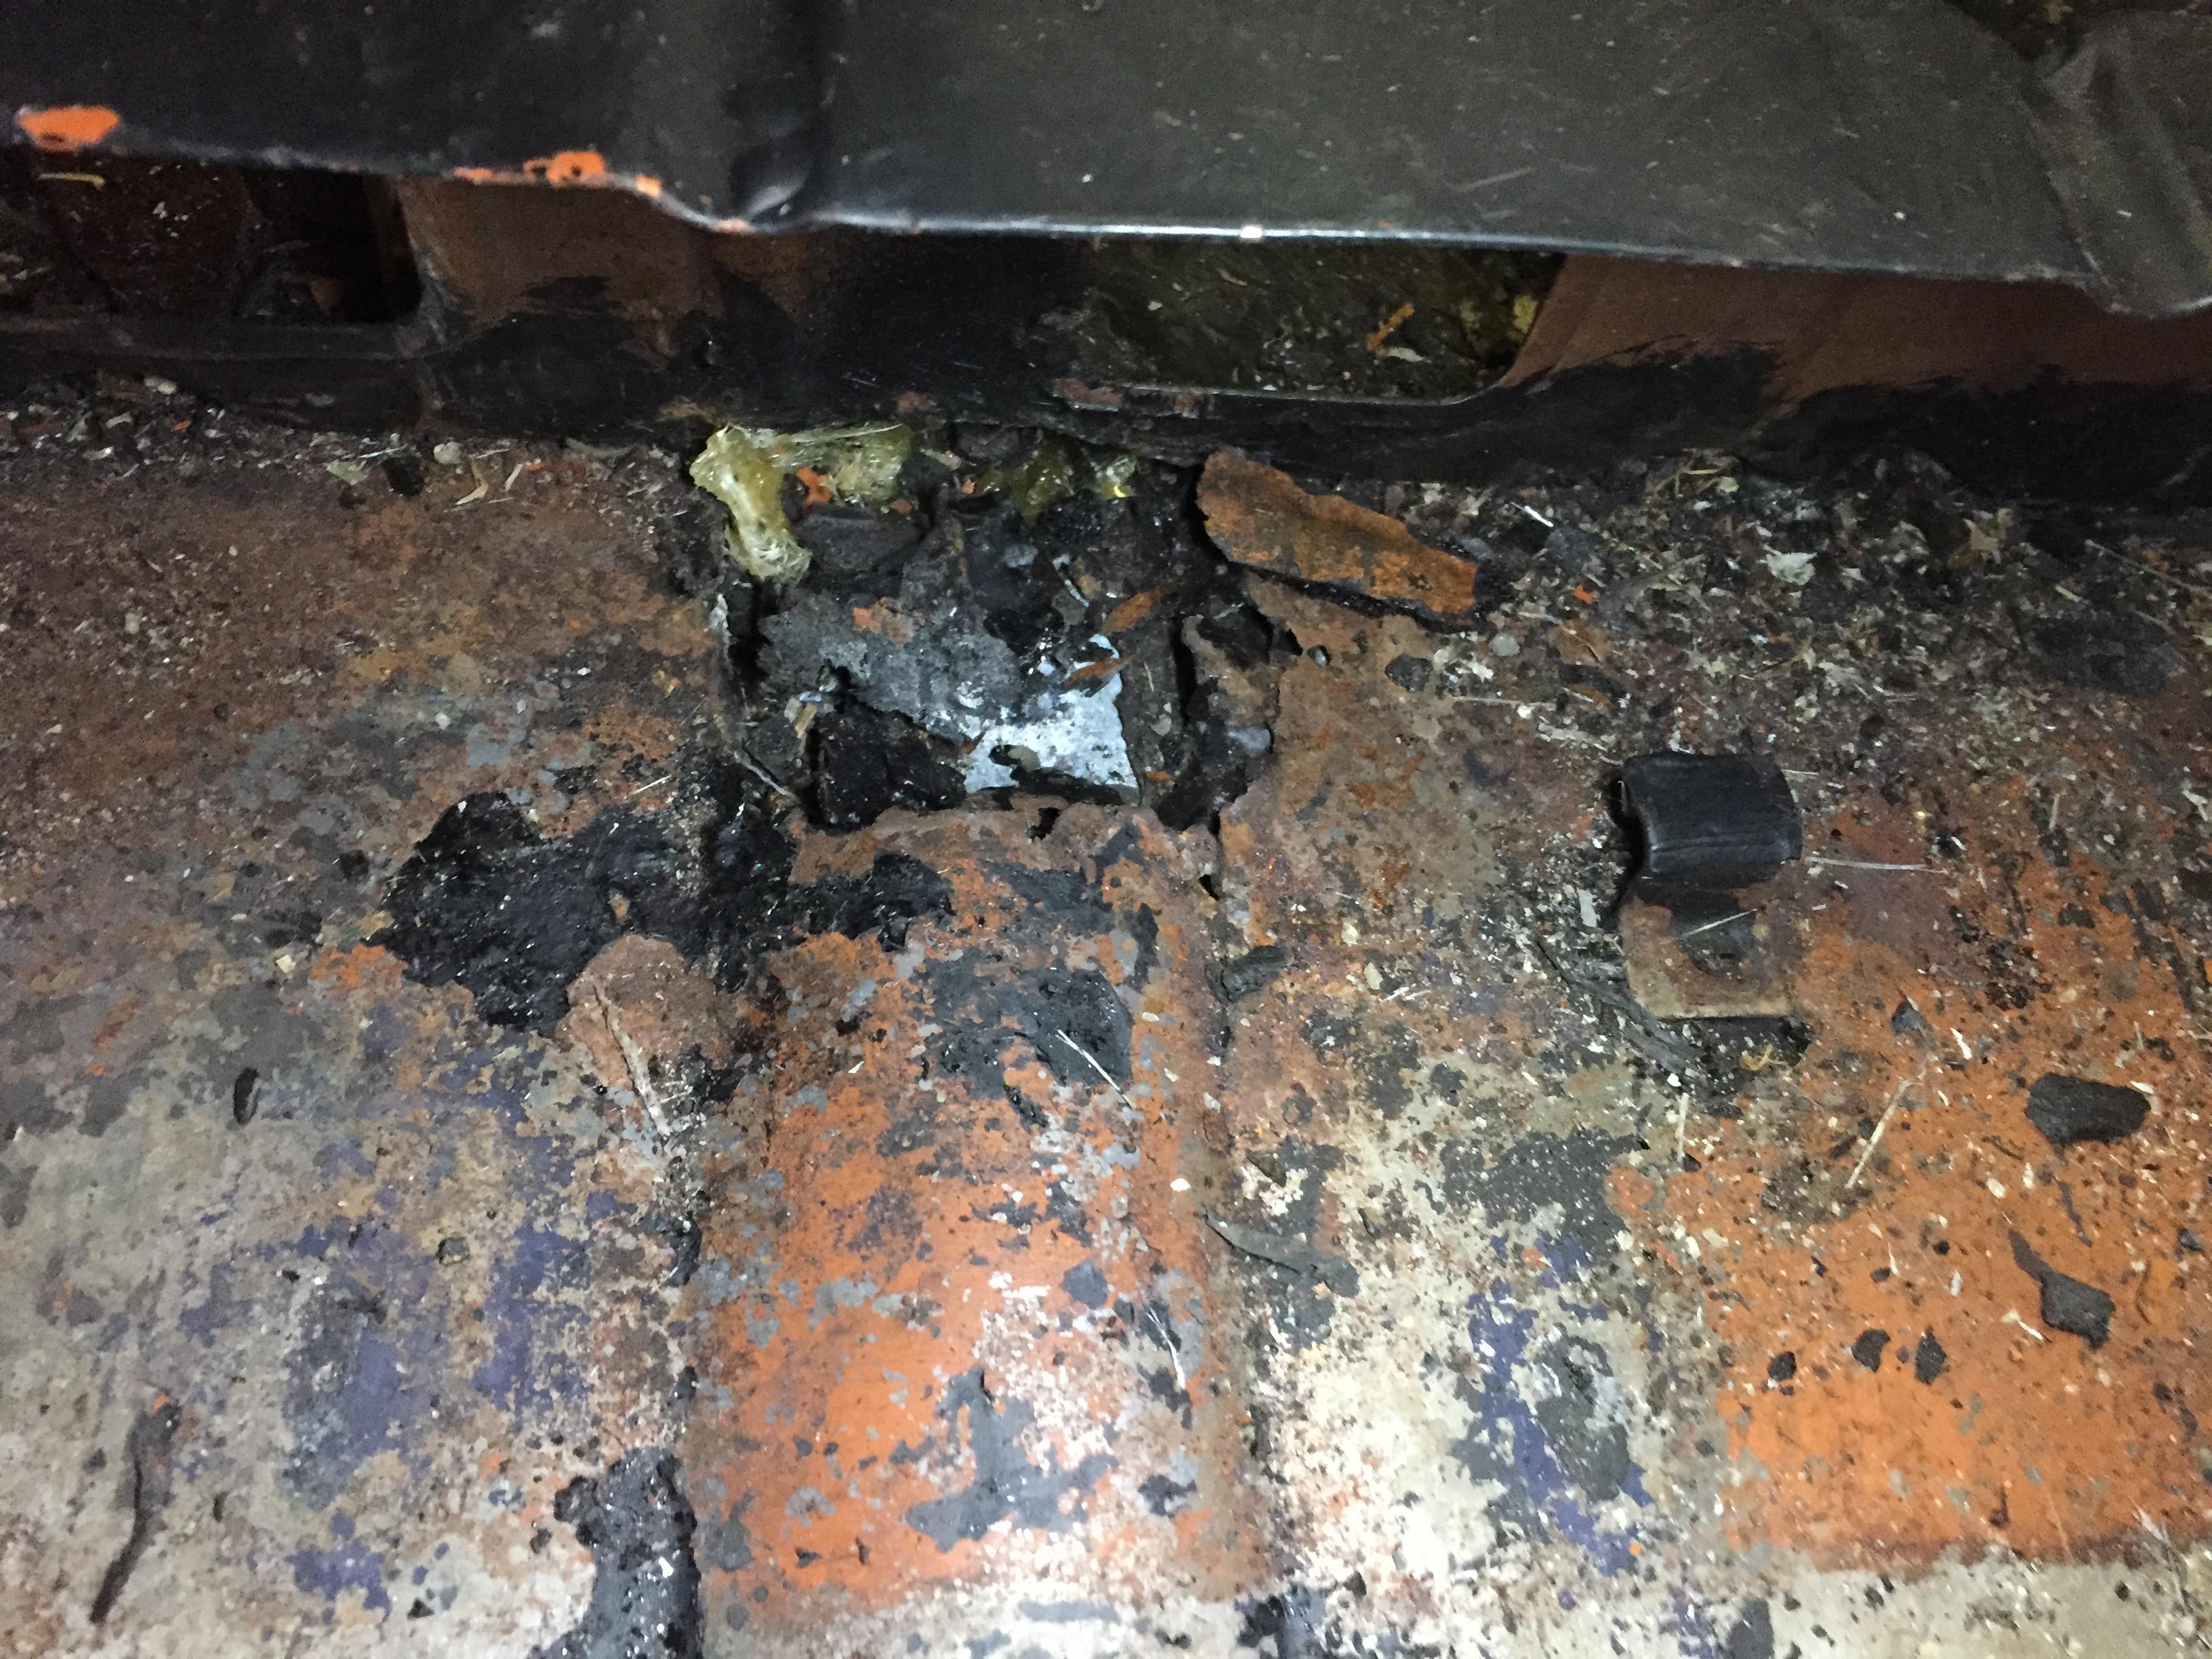
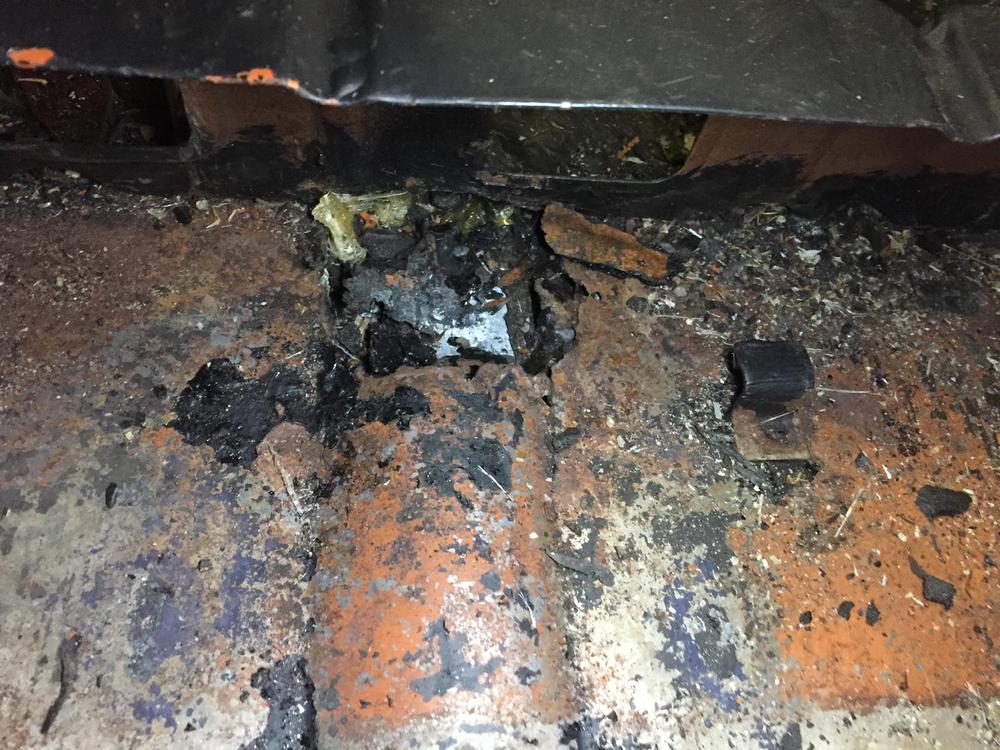
Something this rare and un-exected needs to be shared. Going up the hill to happiness: Working on stripping down a friends 72 to send it to the paint shop. Car is really nice everywhere, no reason to expect much rust. Engine bay, frame rails from the outside, battery tray, dog legs, all clean. Going down the hill to hell. Finally get to tearing out the interior, floor mats, padding, then some kind of PO applied black tar like sheeting, seems like half sound deadening, half dampener, and when I pull that up, what do I find? Fibreglass! GD Fibreglass applied edge to edge, front to back, covering the entire floor. Both sides/. Oh wonderful, I know EXACTLY what this covering..... And how the hell do you remove 4 square feet of fibreglass? Grind, dust, huge mess, that's how. Going back up the hill of happiness again. First I dig around the fibreglass edges that curl up the sides, seeing if I can lift some of it and get a look at the mess underneath. Hummm, edges lift pretty easy, little pounding, little prying. Well long story short, I got the entire passenger floor cover off in about 6 pieces in 15 minutes. Thank god they didn't clean the floor properly before laying that 'glass. And loe and behold, what catastophe were they hiding under all that fibreglass? Damn near nothing but clean metal!!!!! Except for one hole at the end of the frame rail and a couple of holes up at the firewall seam. Nothing a little newspaper and duct tape can't hide! I mean, fix, yeah, fix.... I cannot believe my eyes, or my luck. Here's hoping the driver side is not much worse. Now that I'm pushing my luck, I hope the sun roof hole plugging goes as well.


-
I love your LCA adjustment solution. Just don't forget the crush sleeve that just fits snug on that bolt on the inside of the K-member so it has something to lock on.