zKars
 Subscriber
-
Posts
3,743 -
Joined
-
Last visited
-
Days Won
107
Content Type
Profiles
Knowledge Base
Zcar Wiki
Forums
Gallery
Events
Downloads
Store
Blogs
Collections
Classifieds
Everything posted by zKars
-

Throttle Cable Upgrade - All The Way To The Pedal?
zKars replied to Captain Obvious's topic in Open Discussions
Just for clarification, you have a throttle cable setup? if so my first guess is the the cable doesn't have enough free play. With your foot off the pedal, the cable should have some slack. You should have to push the pedal just a little to begin tugging on the cable. Or the return spring is not strong enough, or you have some binding. -
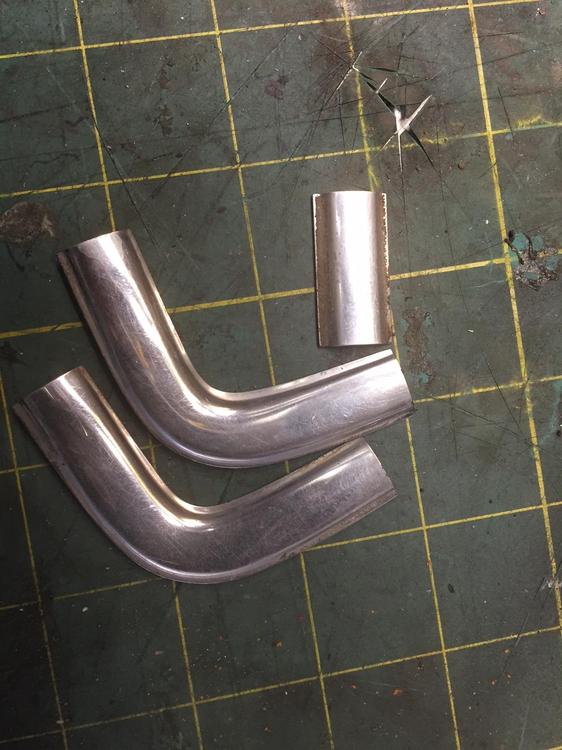
I might suggest leaving the collar up from the cast base by 1/4-3/8 or so and welding it to the tube rather than the cast base. I think the weld will be stronger. Depends on your welding skills I suppose.
-
Throttle Cable Upgrade - All The Way To The Pedal?
zKars replied to Captain Obvious's topic in Open Discussions
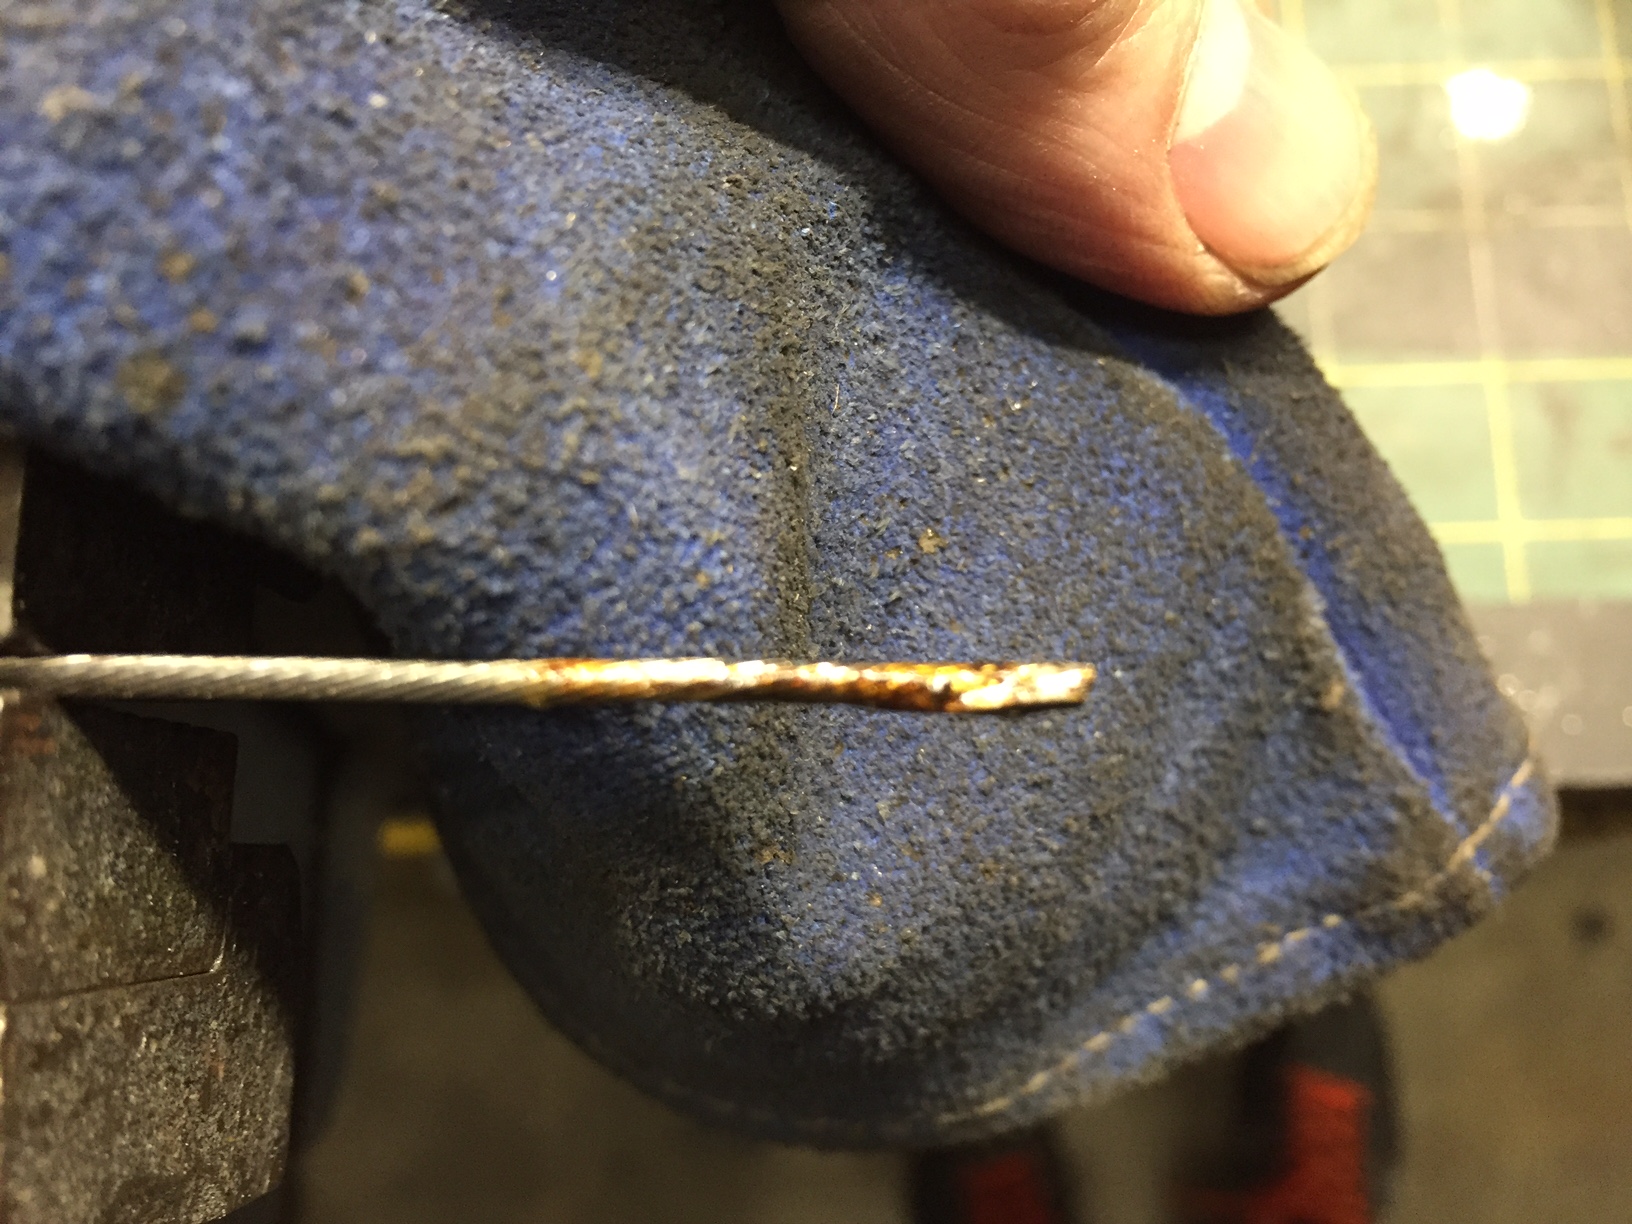
I haven't tried it without tinning the cable end. When i think about it though, I think if you splayed the cable strands a bit or at least roughed them up so that the solder in the ball end can trap the cable well, it might be just fine. Maybe the natural irregularity of the stranded cable is enough too. I shall conduct a few torture tests today doing nothing to the cable, and with a bit of cable end abuse. Maybe use the silver solder too, as I think it is harder then run of the mill electronics solder. Should be harder to pull out. -
Throttle Cable Upgrade - All The Way To The Pedal?
zKars replied to Captain Obvious's topic in Open Discussions
End of travel = your pedal stop. Must be set after any throttle adjustment. Must not bend thy throttle blades nor leave HP on the table. Cable travel is determined by how far the tip of the pedal moves away from the firewall as you press the pedal. This is then converted to rotation at the carb trottle blades by some form of an arm that protrudes from the throttle rod. It is the distance from the center of that rod out along that attached arm that determines how the fixed cable travel is converted to the correct rotation angle. The shorter that arm, the more rotation you get for a given cable length pull. Takes a little trial and error. That is why most of these arms have multiple holes along its length. And FINALLY someone asks for my secret source of those sweet metal metric ball ends. i hate to reveal my sources but.... https://www.midwestcontrol.com/part.php?id=3261 And while I'm spilling the beans, here... http://www.speedwaymotors.com/Aluminum-Throttle-Linkage-Arms,1911.html?OriginalQuery=91018400 -
Throttle Cable Upgrade - All The Way To The Pedal?
zKars replied to Captain Obvious's topic in Open Discussions
Ah yes the missing detail. You have to pull the cable out to install this fitting. The "other" end is bare, so you can thread it back through the fitting once you have it installed. Once threaded through, the bare end gets set screw-trapped into the Lokar fitting that has another ball socket end (theirs) that gets attached to whatever carb side arm arrangement you have.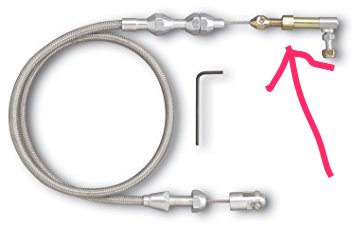
-
Throttle Cable Upgrade - All The Way To The Pedal?
zKars replied to Captain Obvious's topic in Open Discussions
Bit more detail on the firewall solution I make. I manufacture (actually wrangle up some aluminum round stock on my lathe) a very simple little stepped 1.25 OD ring that fits into either the 7/8" 240 or 1" 280z firewall hole. It is threaded to the 5/16"-24 thread that the Lokar cable fittings use. Then a fender washer and thin jamb nut for the inside to secure it. Put a little ring of dum dum putty behind the aluminum ring to seal it to the fire wall. Toughest part is getting up with a wrench to tighten that jamb nut. Takes a partner on the outside holding it all in place and a backup 1/2 wrench on the outside nut. Here is the cable sheath set in the back of Lokar fitting. I'd cut some/all of that extra thread off to get the whole thing closer to the fire wall. Seems like something folks might want. Cable with ball socket soldered on, fancy firewall Ring thing, couple of nuts and washers. Let me know if you want one.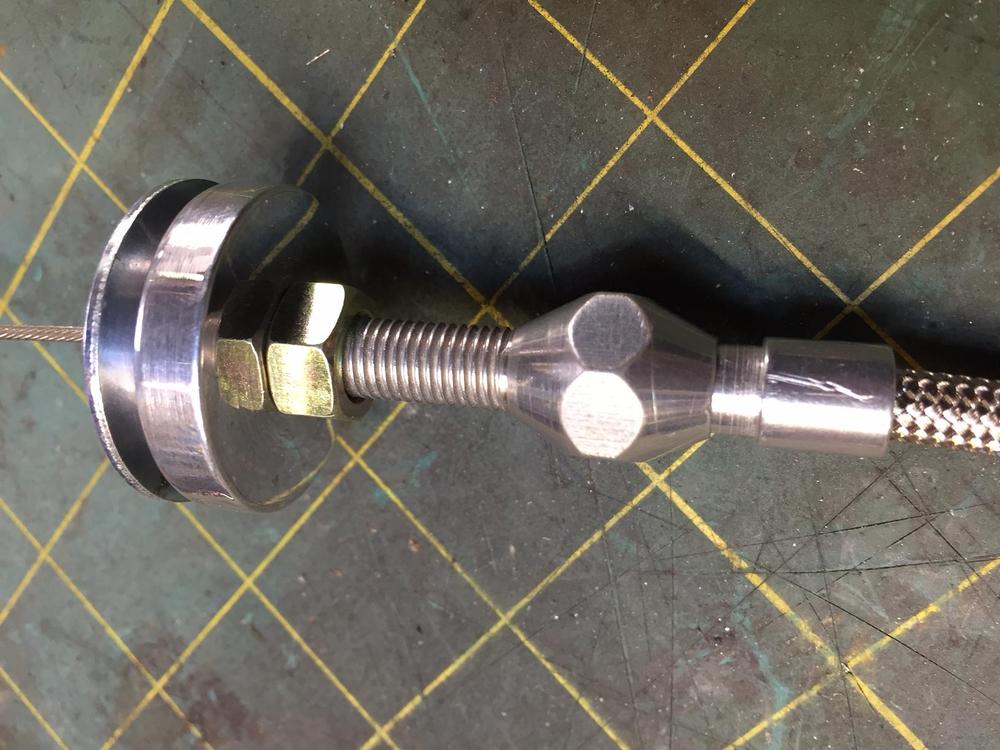

-
Good to know you've done your homework on the options. In my opinion is it un-necessary to involve or attempt to modify any aspect of the existing wiring. It has been well shown now with many hundreds of installations that accessing the head light circuit at the head light connectors is the "best" solution. No need to touch wiring or decipher schematics for any other part of the system short of a simple cleaning of the headlight switch contacts inside the combo switch assembly. Just seems like trying to get that generic harness to work is more trouble than it's worth? Yes, for the 280, this presents a problem due to lack of connector options. I've been working on a solution on and off for this and have a proto type, but time constraints have prevented me from acting on this. Maybe this winter. Just because the shells are availble doesn't mean secure connections cannot be made by "other" means...
-
Who's going to break the bad news to this poor gentleman.... Ok, me. THat generic head light relay harness requires to you to get access to the inside of the headlight housings to plug those connectors in between the bulb and harness connector. this requires you cut holes in the housings insde the wheel well which then exposes the inside of the houses to road dirt and water. There is a infinitely better solution to your head light harness relay system that most here are keenly aware of. Search for Dave Irwin or Zsondabrain user name. His solution is not perfect for 280's however, it is intended for 240's. They have different headlight connectors in front of the rad, and so far we haven't found new shells to build the relay harness with to make it plug and play for the 280's. Will take some splicing.
-
Throttle Cable Upgrade - All The Way To The Pedal?
zKars replied to Captain Obvious's topic in Open Discussions
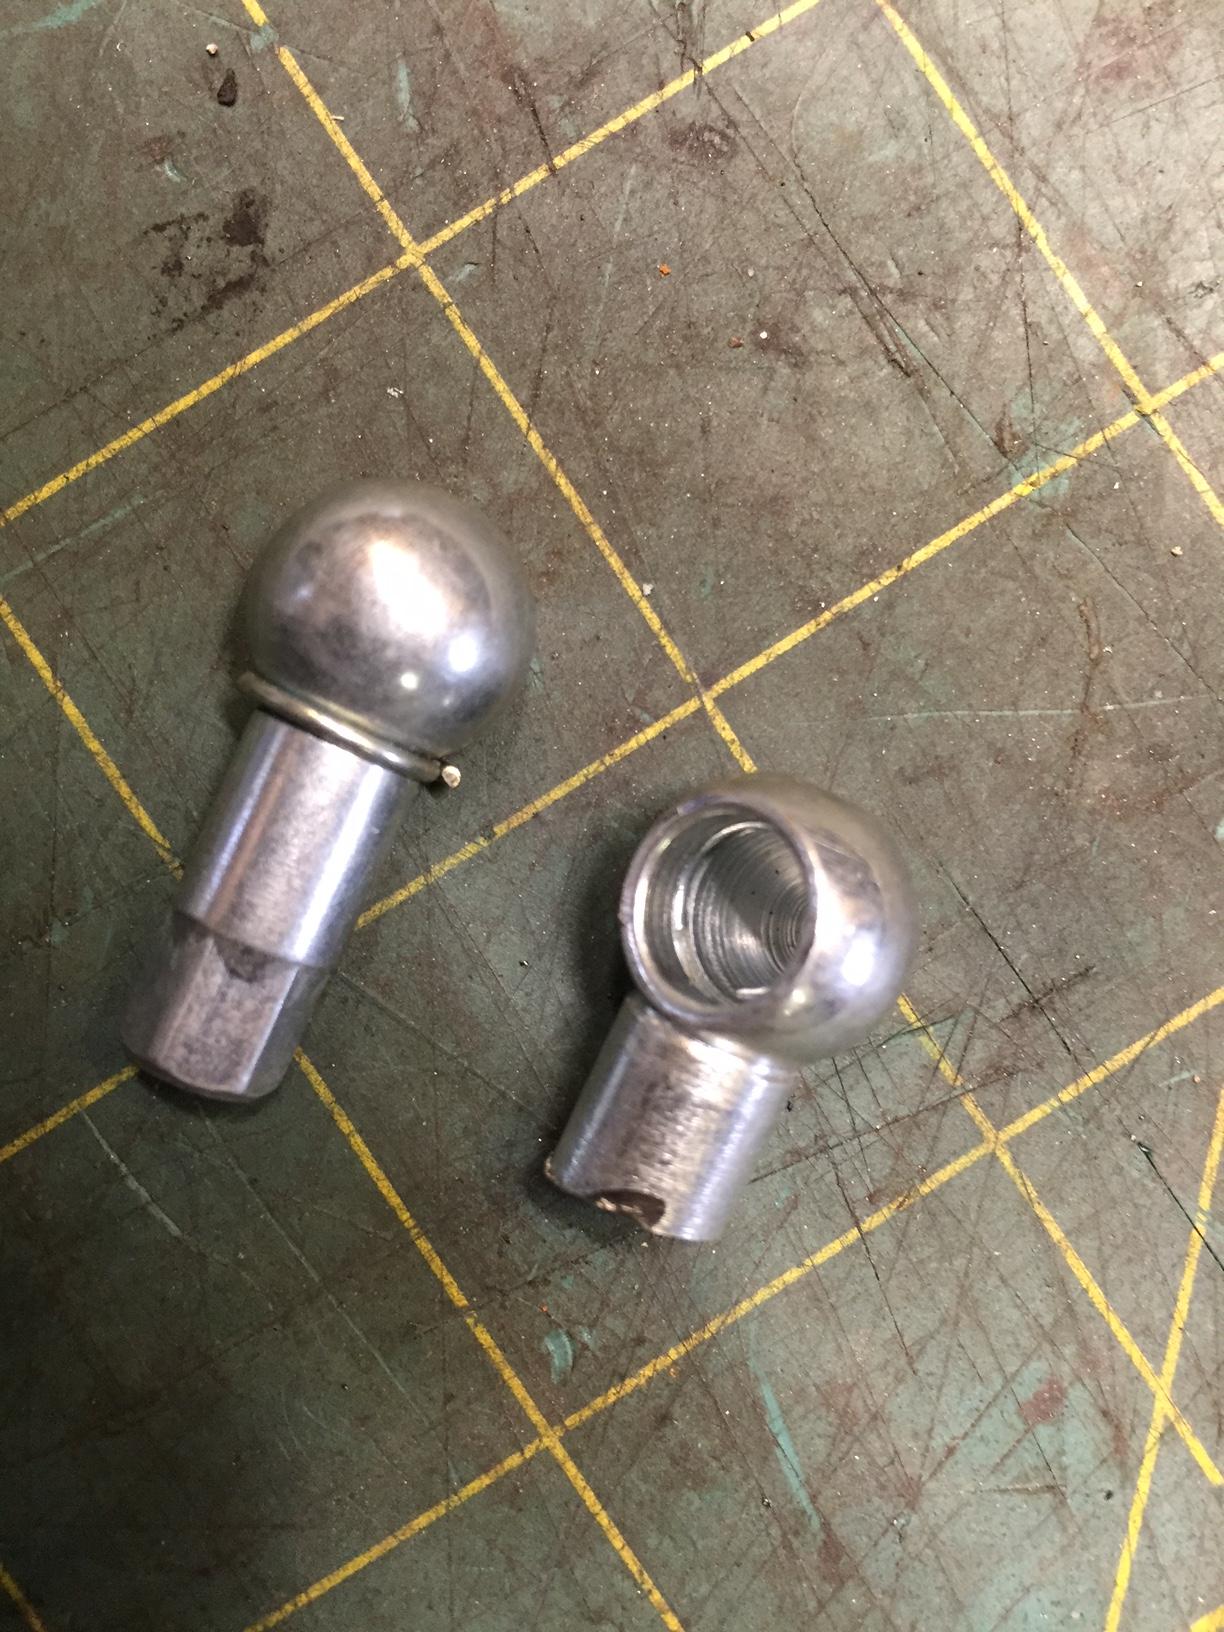
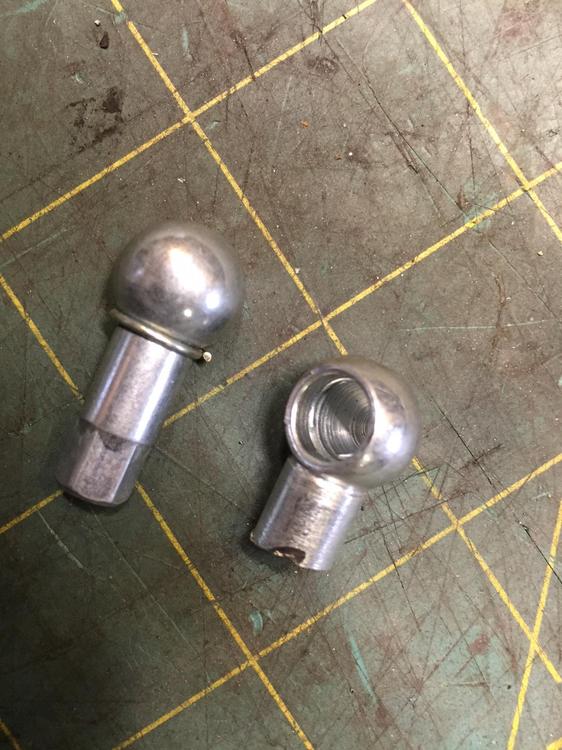
Here is a couple of pics of the ball socket I just soldered on to a Lokar cable. I have two kinds of M8 ball sockets, one has a external spring, the other internal. Your choice. I might be tempted to use the external spring as it easier to get the ball on the pedal stud, then apply the spring. Either way, cut the base length down to minimize ball length. I left .375-ish I think. The apply solder to the bare clean wire end. I use standard electronic resin core solder. I've also used a silver bearing solder. The trick is two parts. First, used a solder flux paste. Second, use a soldering iron, not a flame. The flame creates too much oxidation and the solder will never "take". Still this step seems tough to get to work all the time. Lots of paste, hot iron, apply solder fast and plentiful and pray to an appropriate deity I suppose. Now put the ball socket in a vice and use a small flame torch to heat and fill the void with solder. Flame is fine here, the steel soaks this stuff up. Now get the tinned cable end, and flame melt the solder in the ball socket, stick the wire in to the bottom. Keep the heat on for a few seconds so the solder in the wire melts. Remove the heat and hold the wire steady and in the middle until it solidifies. Done! I have tested this with a vice grip on the ball socket and wire held in the vise and I cannot separate them except if I then pound on the vise grip with a alb hammer. The cable breaks before the cable is pulled out the solder. I have many many miles on mine and other Datsun's 'round here with this setup. About all that can go wrong is if the cable at either end rubs the centre inside lining and gets key seated. Make SURE the cable enters and exits in a straight line. Bend the top of the pedal to ensure alignment if necessary. Some silicon lube of your choice is like a good idea too.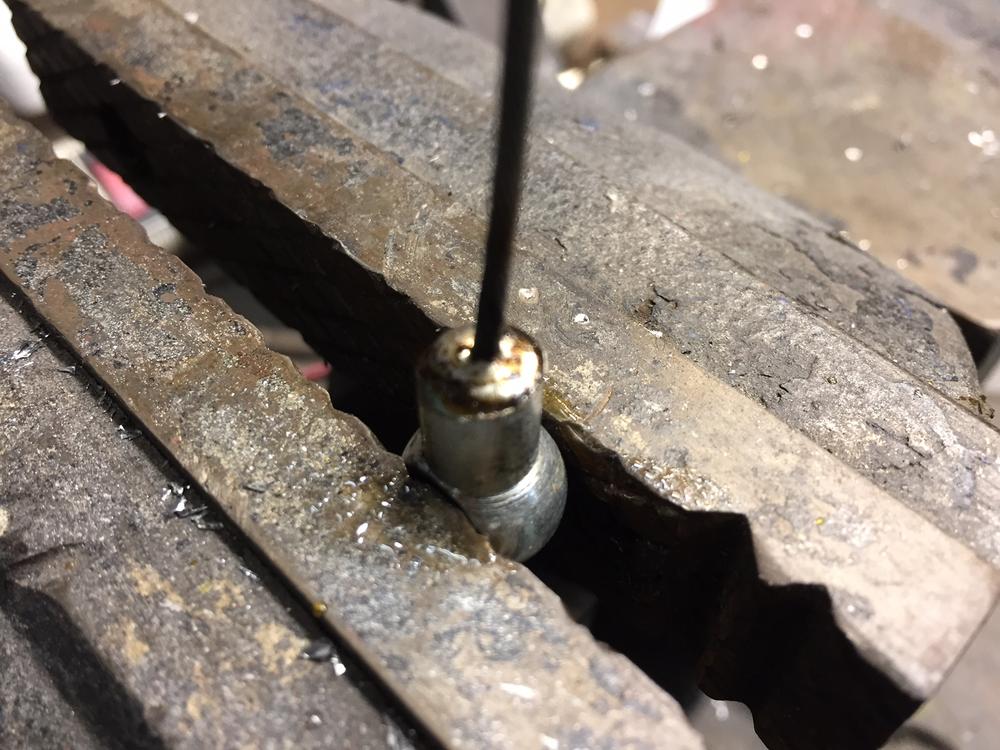

-
Throttle Cable Upgrade - All The Way To The Pedal?
zKars replied to Captain Obvious's topic in Open Discussions
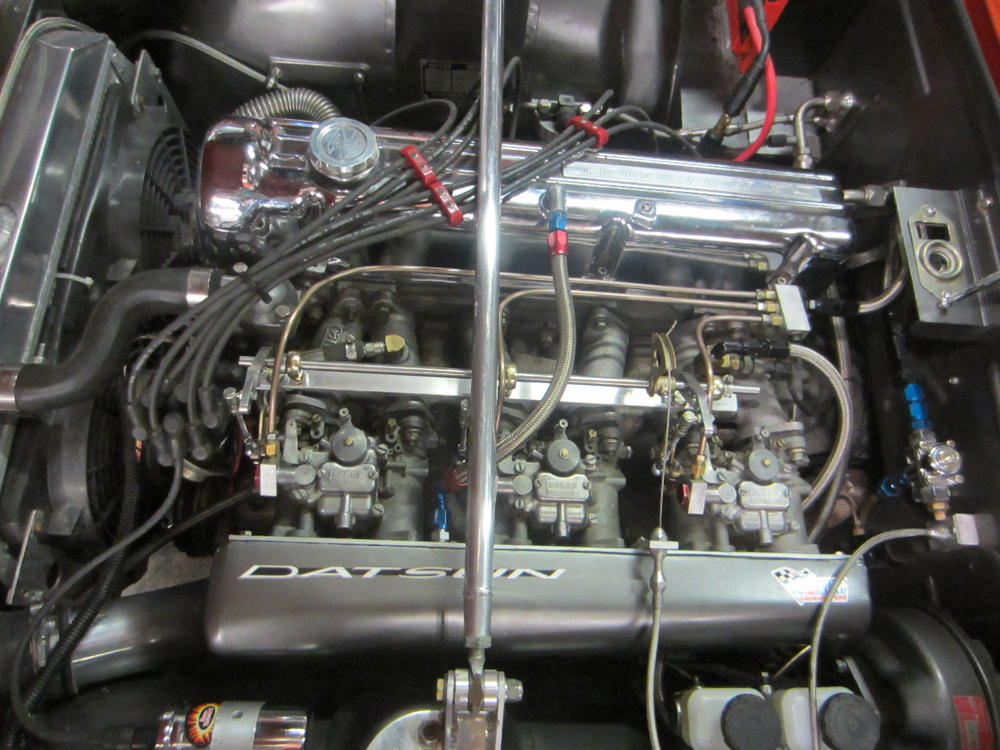
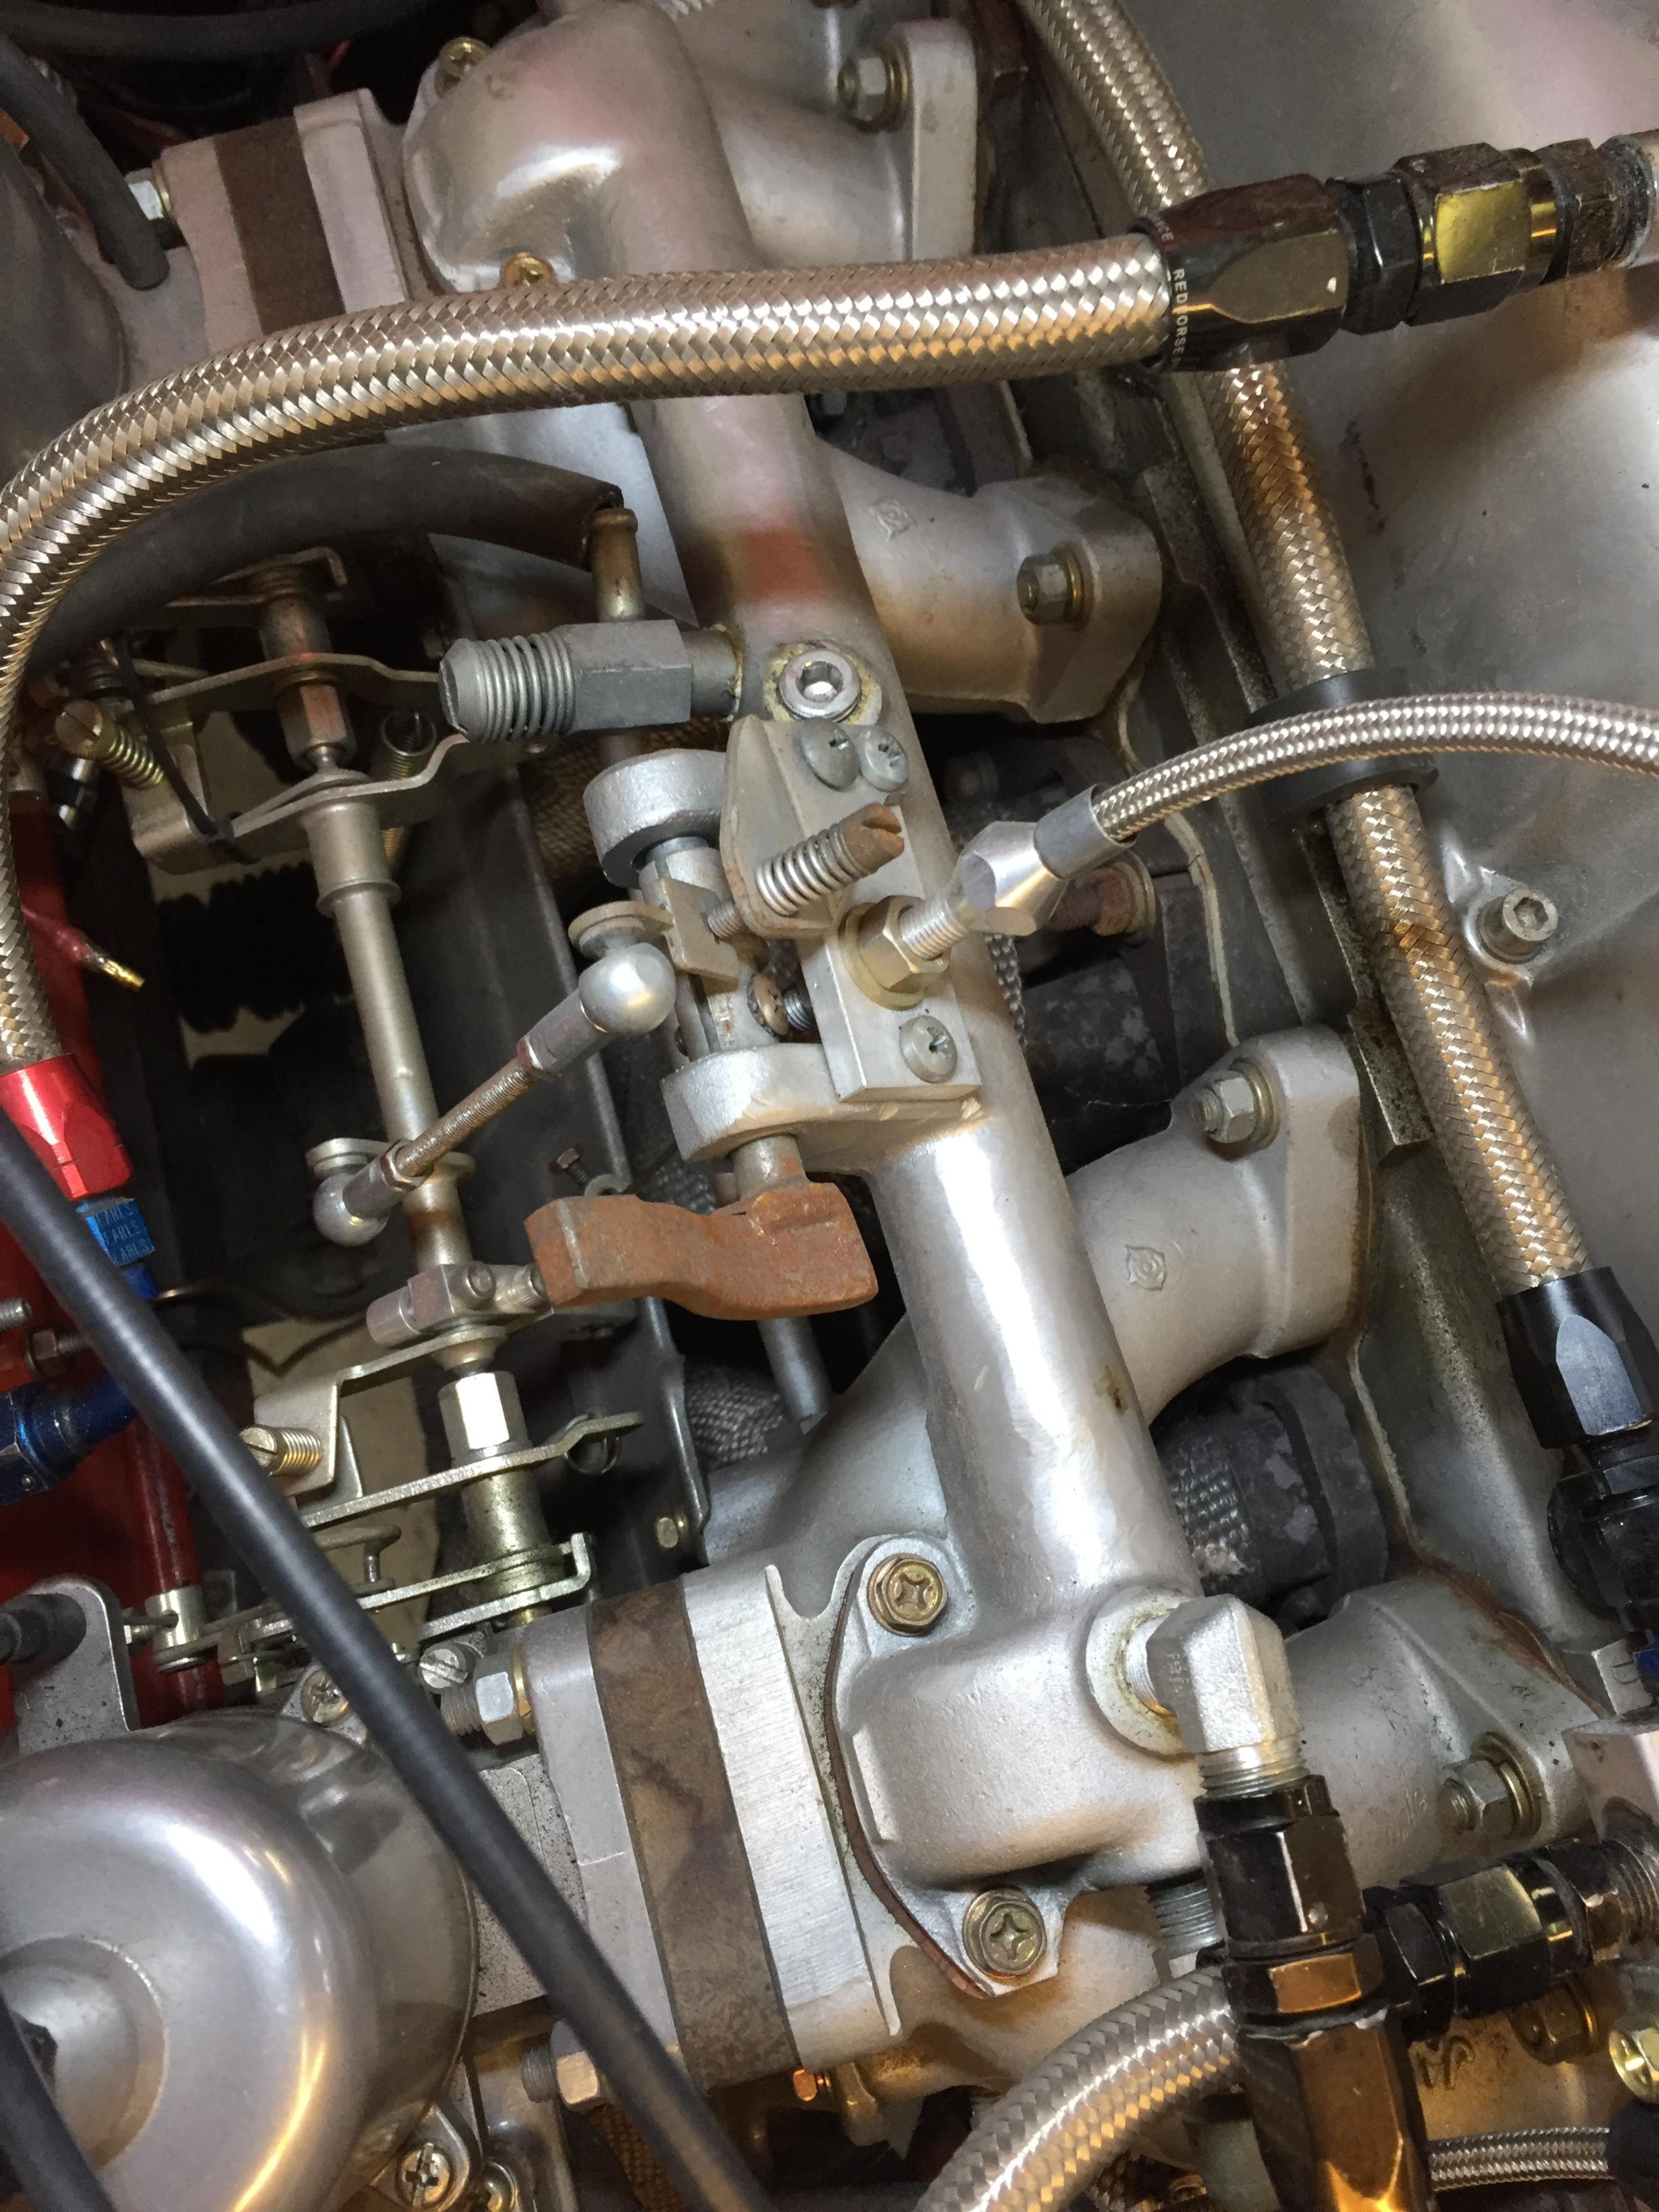
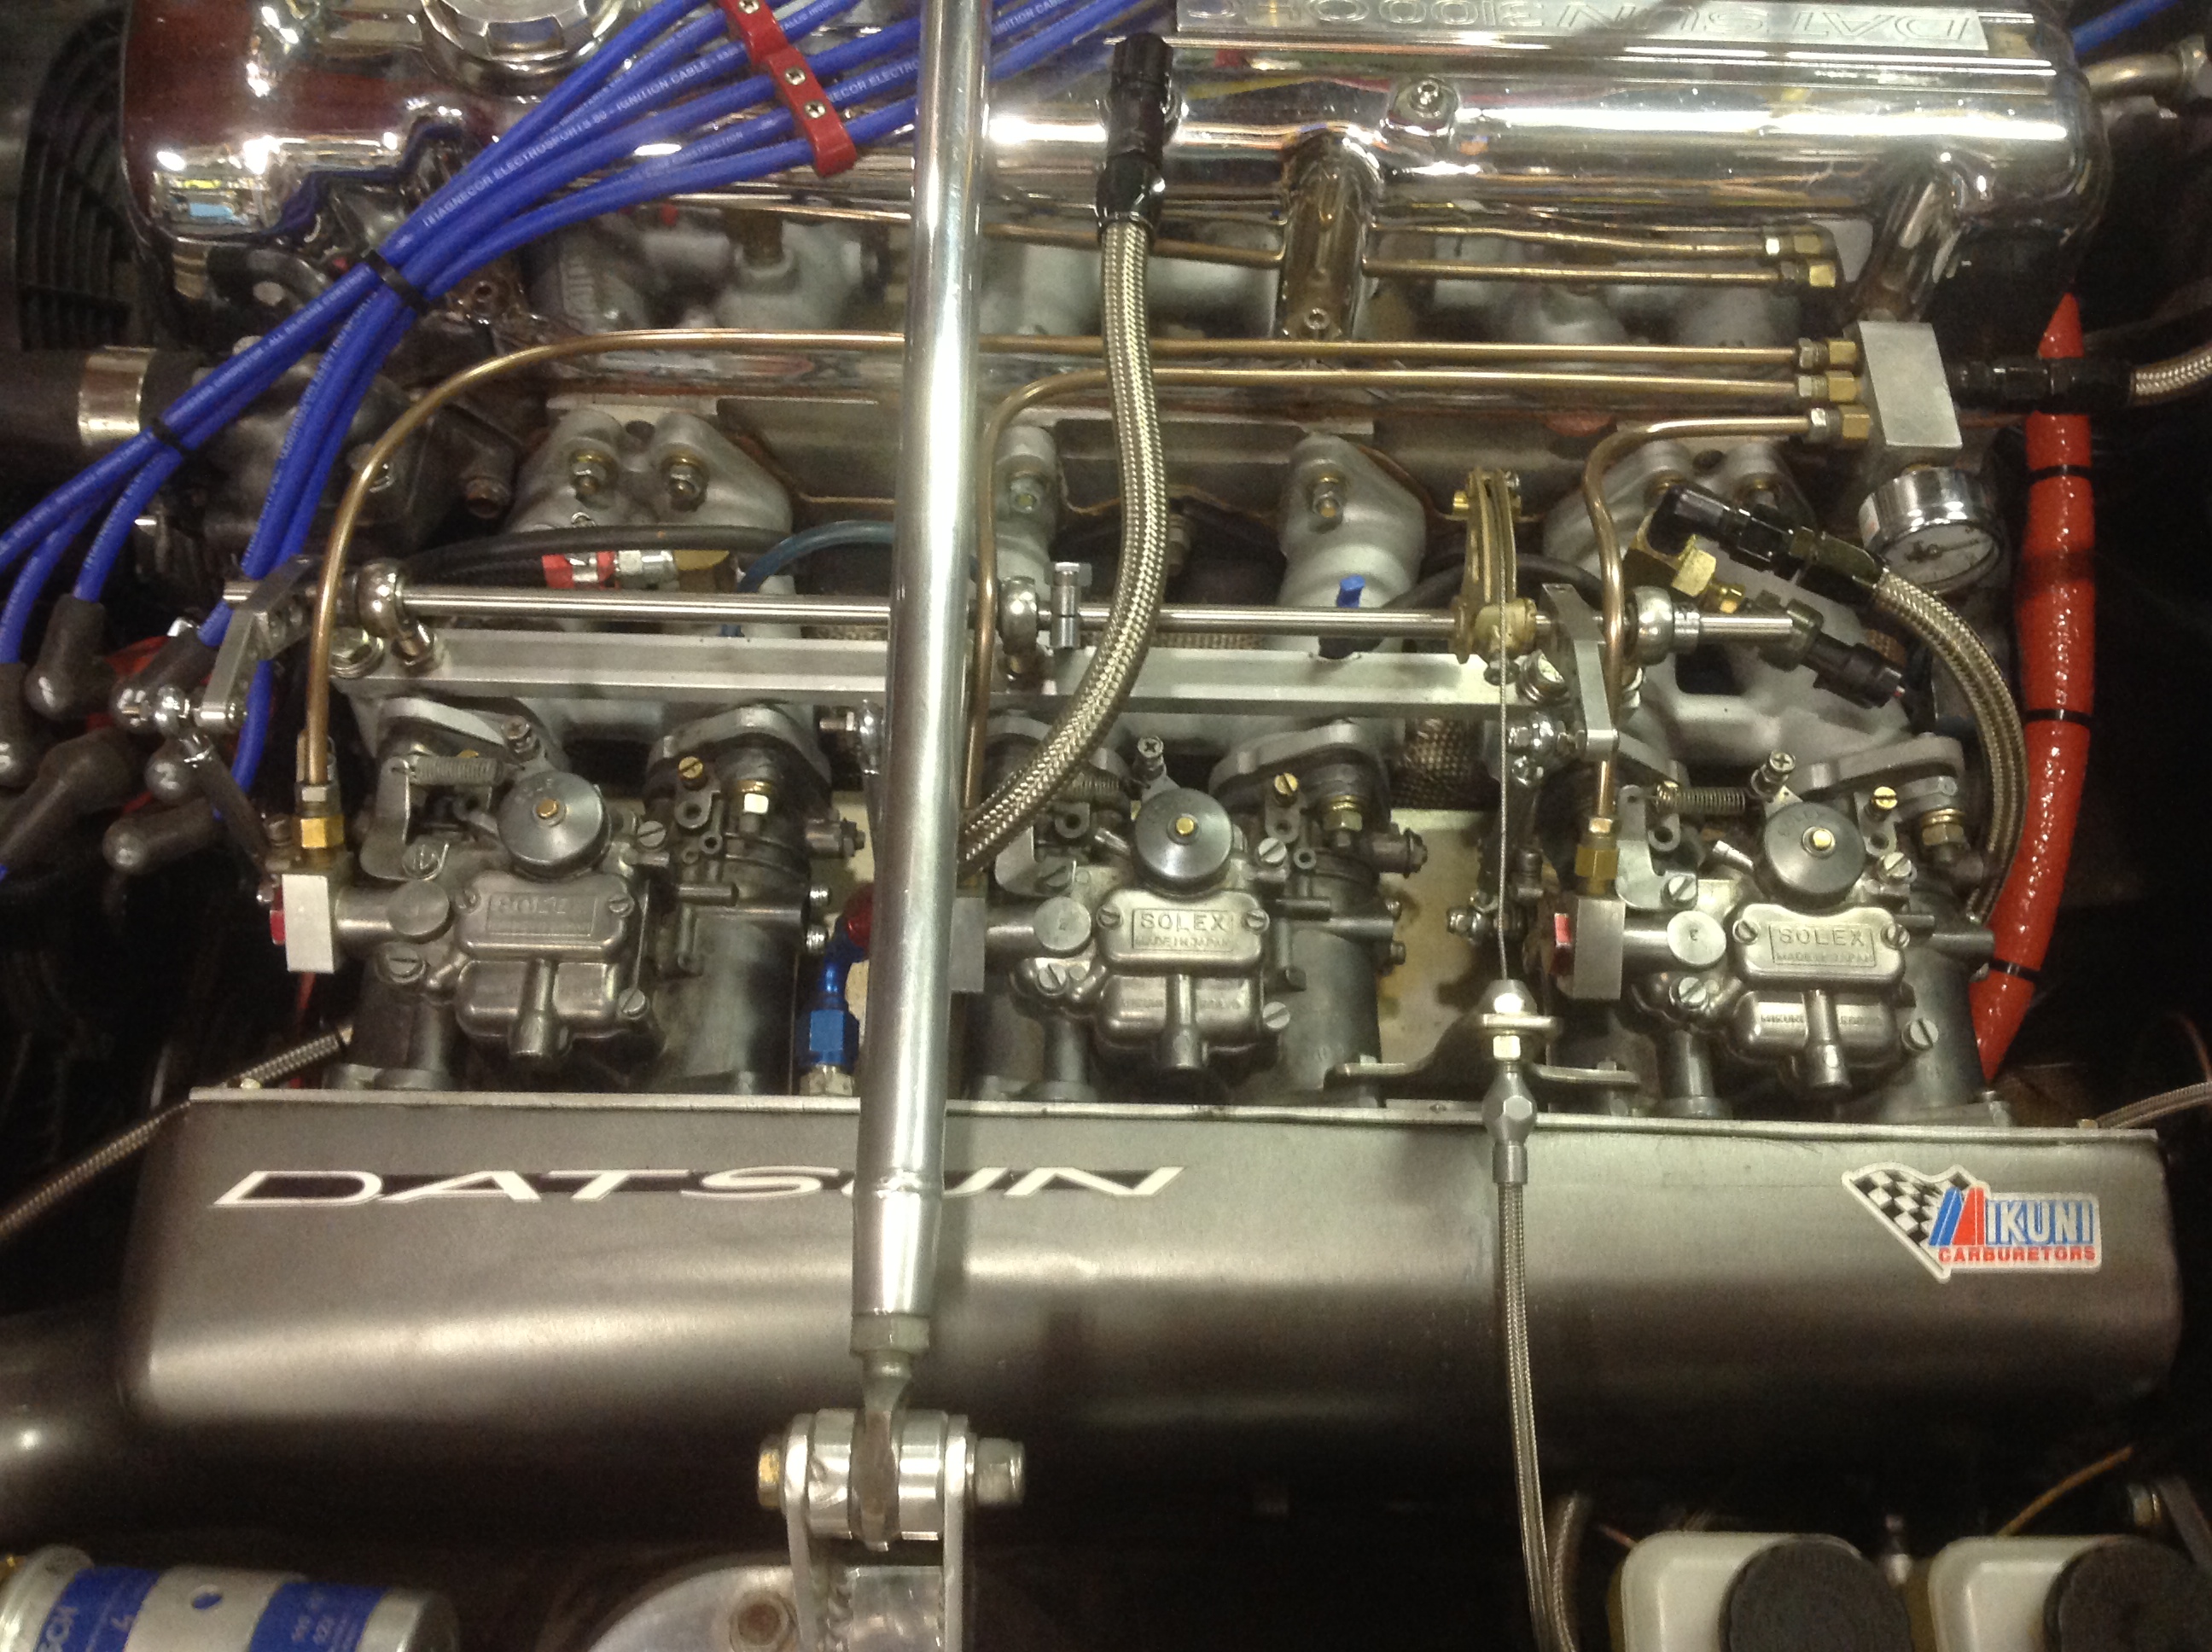
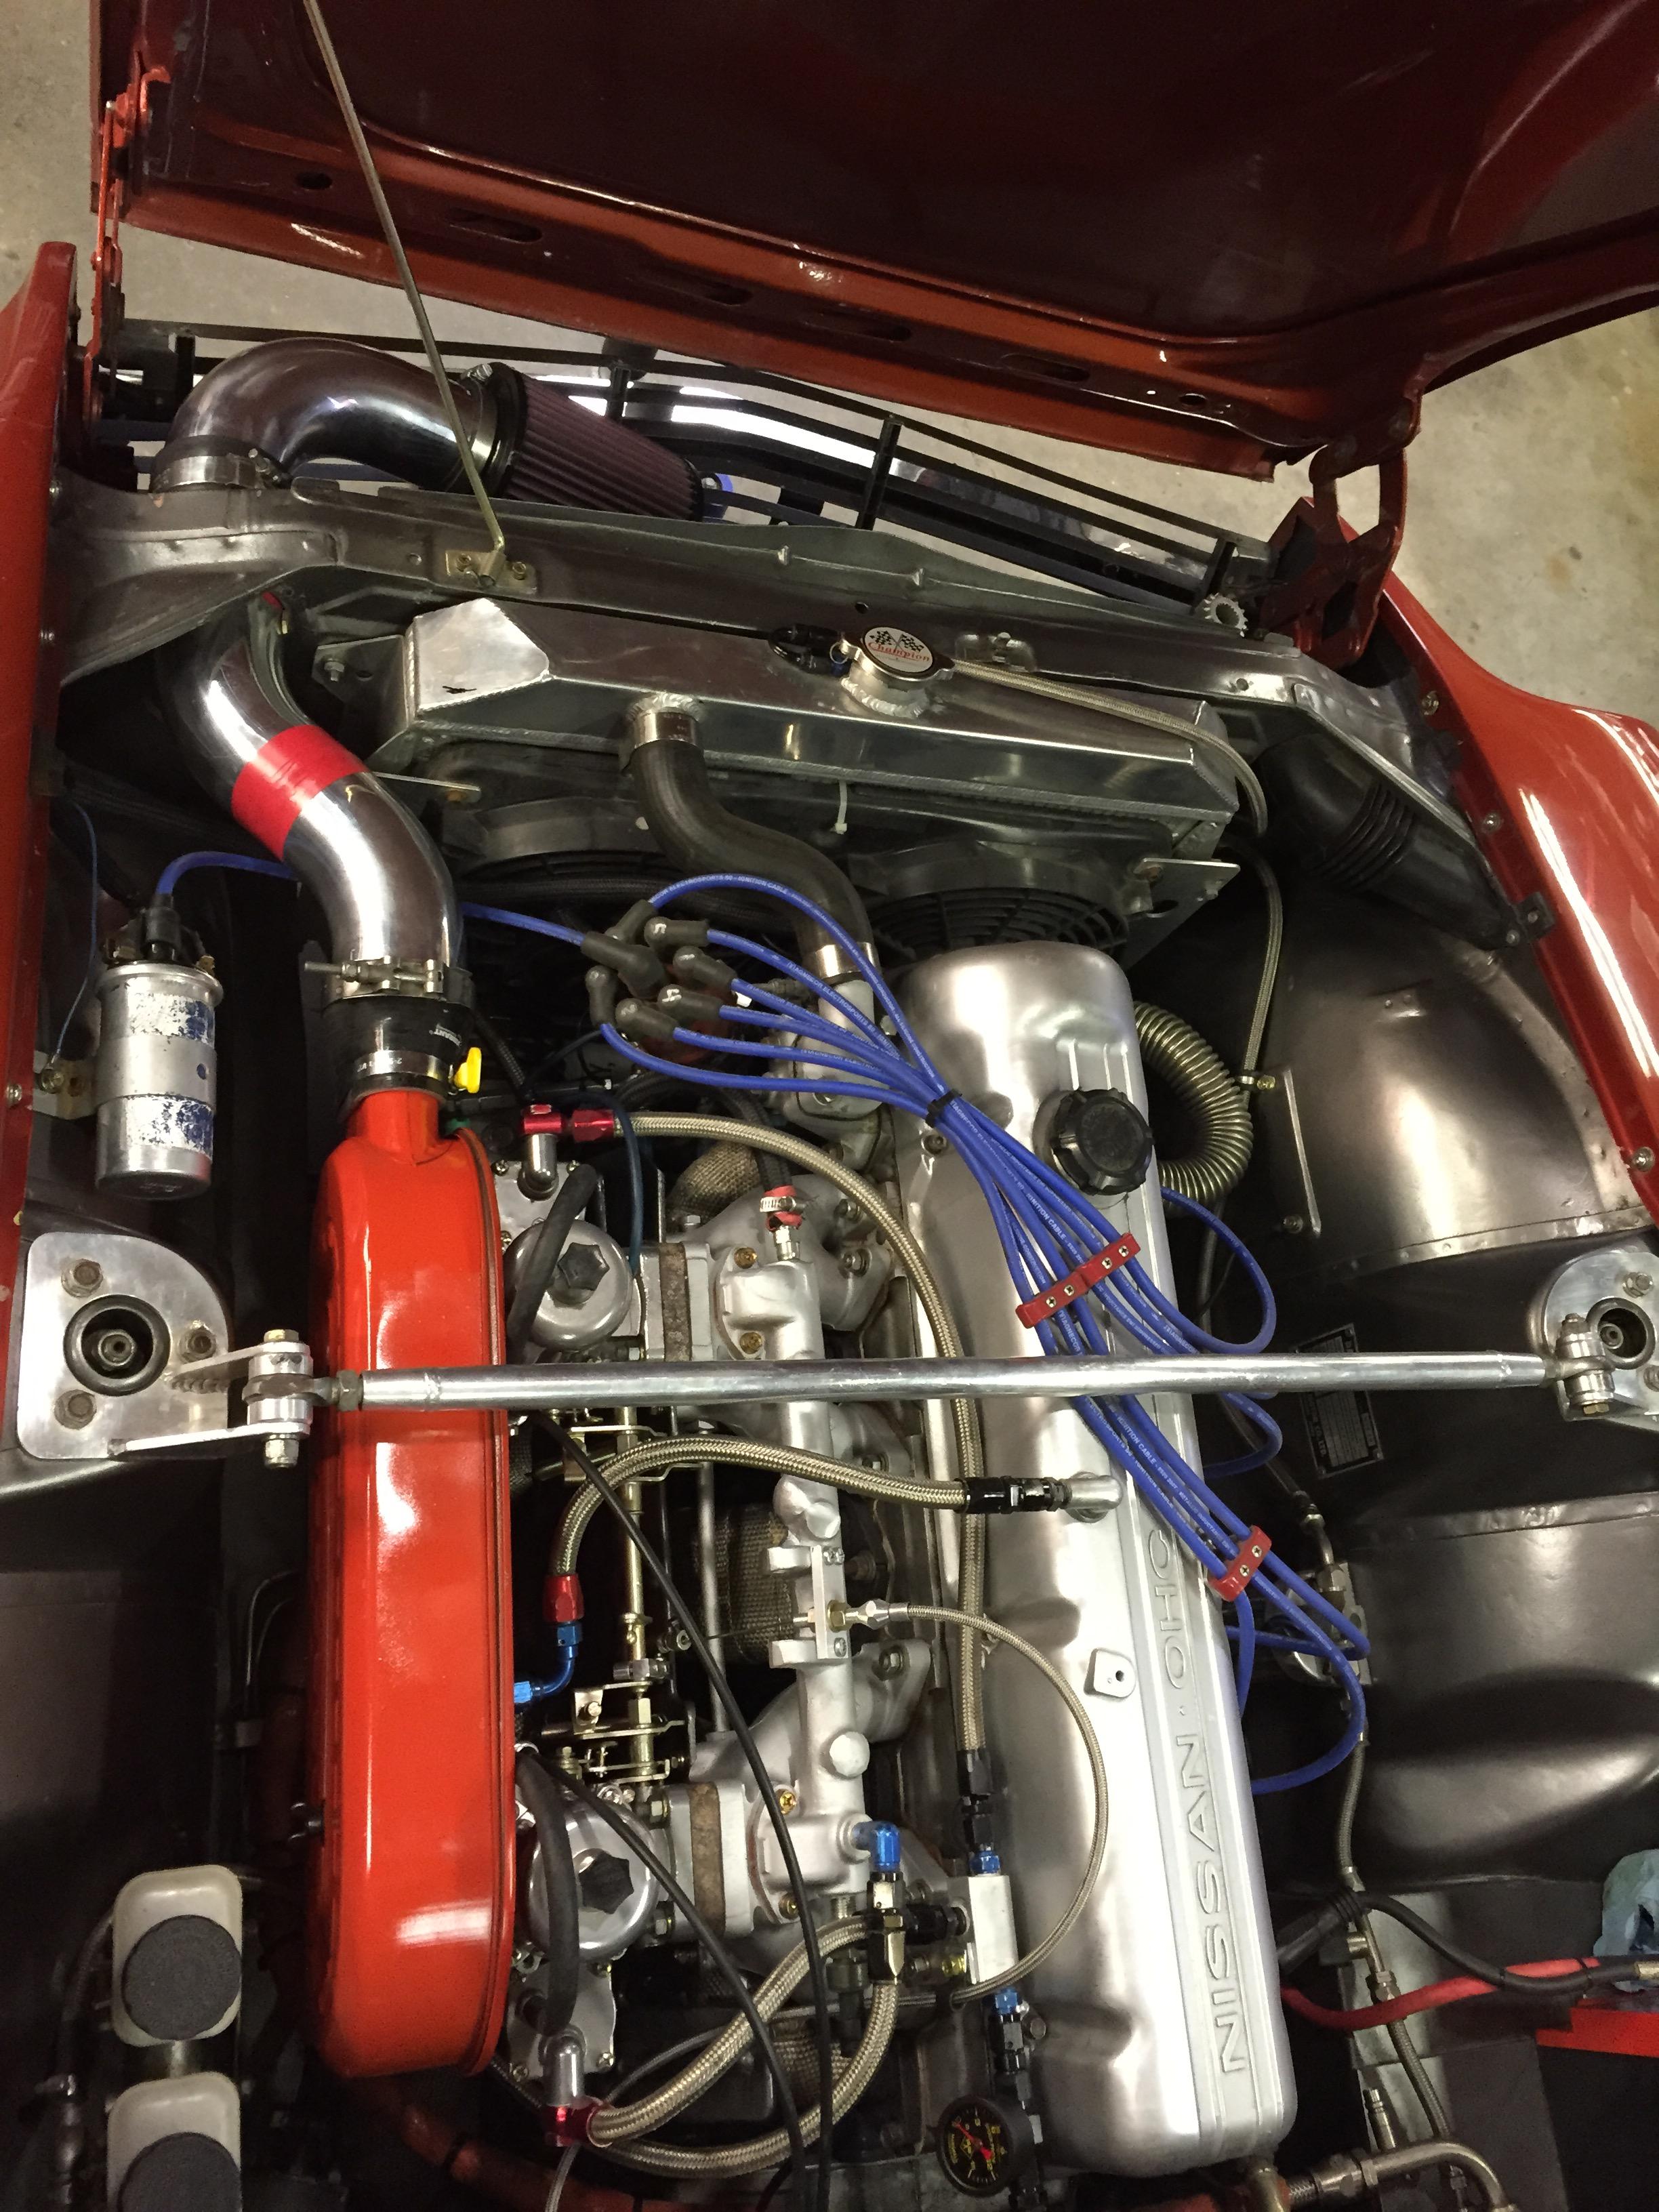
I do a pretty nifty throttle cable setup to the pedal. Both for SU's and triple whatever. I use the lokar kit as a starting point, and solder on a 8mm ball socket to bare cable end that snaps right on the pedal ball. Simple washer based system at the fire wall to fasten the cable sheath nut there. Trick here is the pedal ball is close to the fire wall when the pedal is at the "off" position, so you can't use the long ball cable end that comes with the Lokar kit, hence the short soldered on ball socket. The carb end has a couple of options depending on your setup. Needs a brackat somewhere to hold the cable sheath at that end. I don't have an handy pictures that show it all too clearly, but here is the SU based one, at least the SU end. It uses a commercially available arm that conveniently attaches/clamps to the carb center linkage rod. Not the best shot of here, the second pic shows the end of the rod clamp. When the 44's were on her. Nothing shocking here at the carb end. I have to make up another set for a buddy, I'll try to take pics of the pedal end and the washer arrangement I make for the fire wall.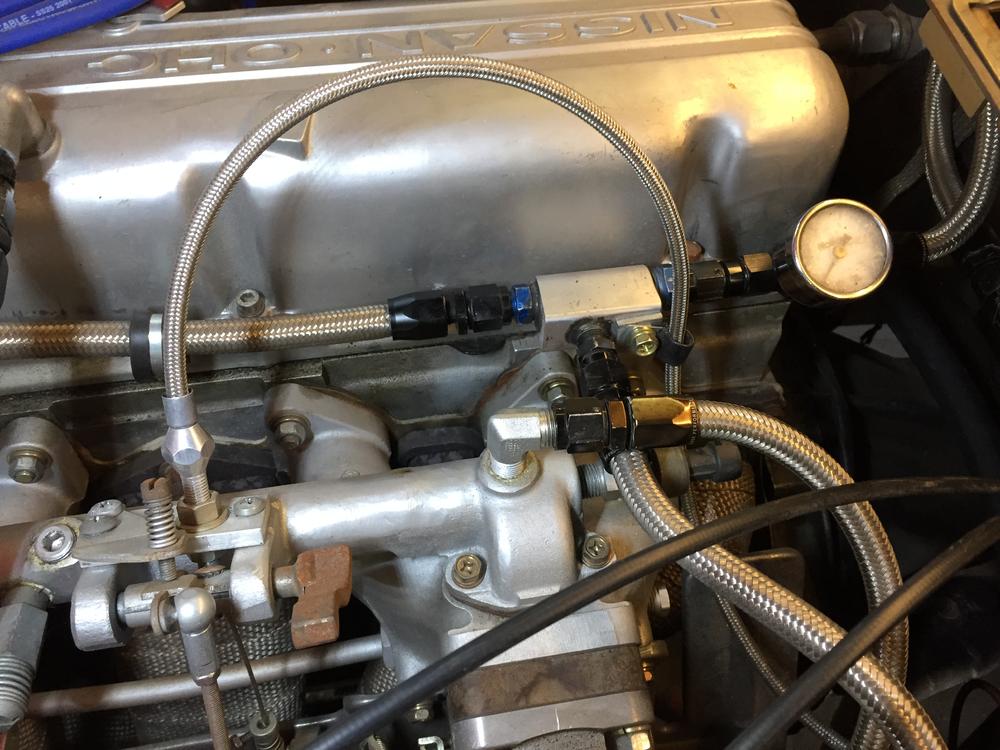


-
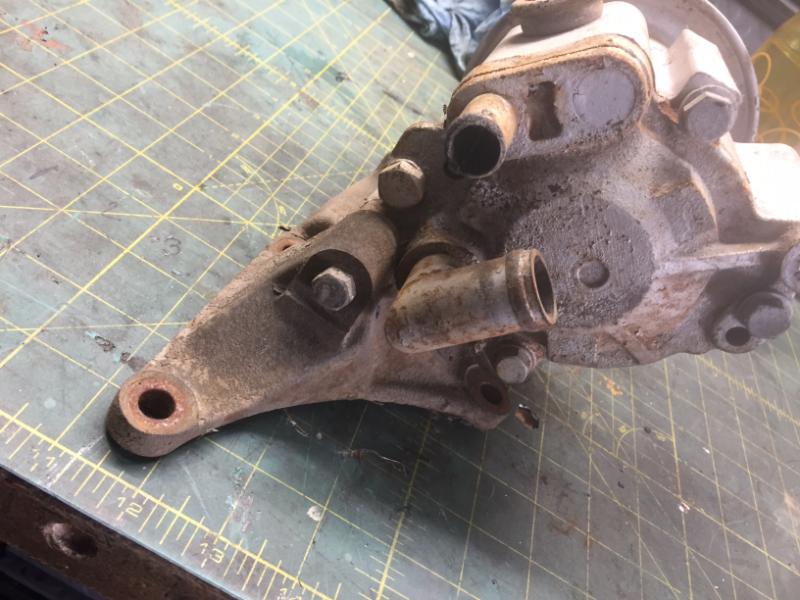
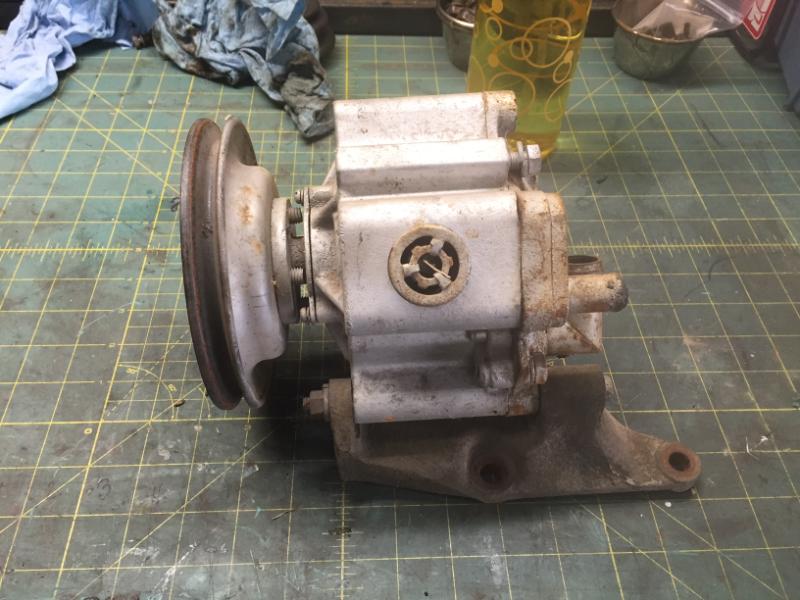
okay, I found an air pump, with the base and the long pivot bolt. The other bolts for the 3 bracket to block holes should just be 25 or 30mm long M10x1.5 bolts. All holes appear to be the same thickness, why the thought that there are different bolts for this? Am I missing something? The air pump is available to anyone just aching to have one. Let me know. Yes it turns and pushes air...
-
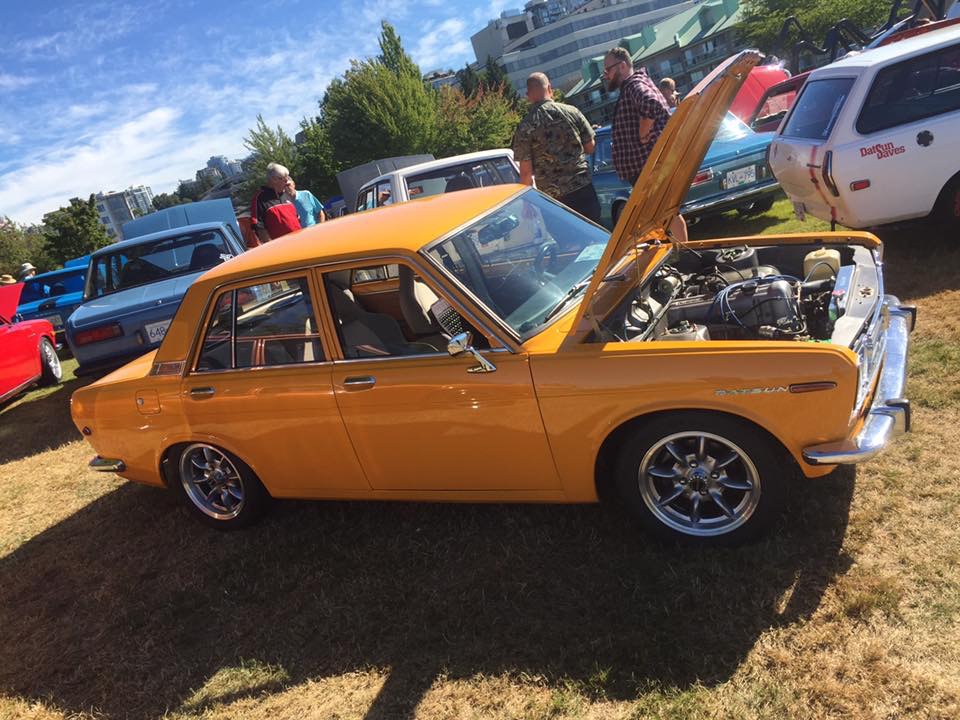
I'm in Calgary! Were you at the Waterfront park All Jap Classic show last Sunday in North Van? I was there with my 510. I have buckets and trays of pretty much any hardware you need. I also have the SS window trim corners. I'll have to do a bit of research to find out the pump bracket hardware but I'm pretty sure I have at least one set. The only hard one is that extra long M6 bolt. I have one somewhere.... Maybe send me an email to z240@shaw.ca and we'll take the details offline
-
Oh where for art though in Canada sir M3333hp? I have, as indicated a "few" miscellaneous bits of datsun hardware...
-
What are your concerns? There is no huge surprises. The mik's at least are set up so you have to pull toward the firewall. With Webers you have to loop a long cable to the front of the carbs to pull toward the rad. Hardest part might be where to mount the knob bracket under the dash, or how to hold the sheath at the carbs, ie make a bracket.. Or get a 240z cable and lever, mod your console to accept it, Wait, didn't 260's have choke cables? They have carbs right?
-
I'm going to put this in here as an alternative to rebuilding your current rack. There seems to be a new rack supplier on e-bay now http://www.ebay.com/itm/322392168570 Someone on Hybridz has purchased and installed it with good results so far. http://forums.hybridz.org/topic/127702-looking-for-new-steering-rack-feedback/?hl=322392168570
-
The only thing that is "correct" is putting the wheel on with the rack centered in its travel before installing the steering wheel "straight". Who knows who's had the column out, or the steering shaft out and put it back in who-knows-where alignment with that factory punch mark.
-
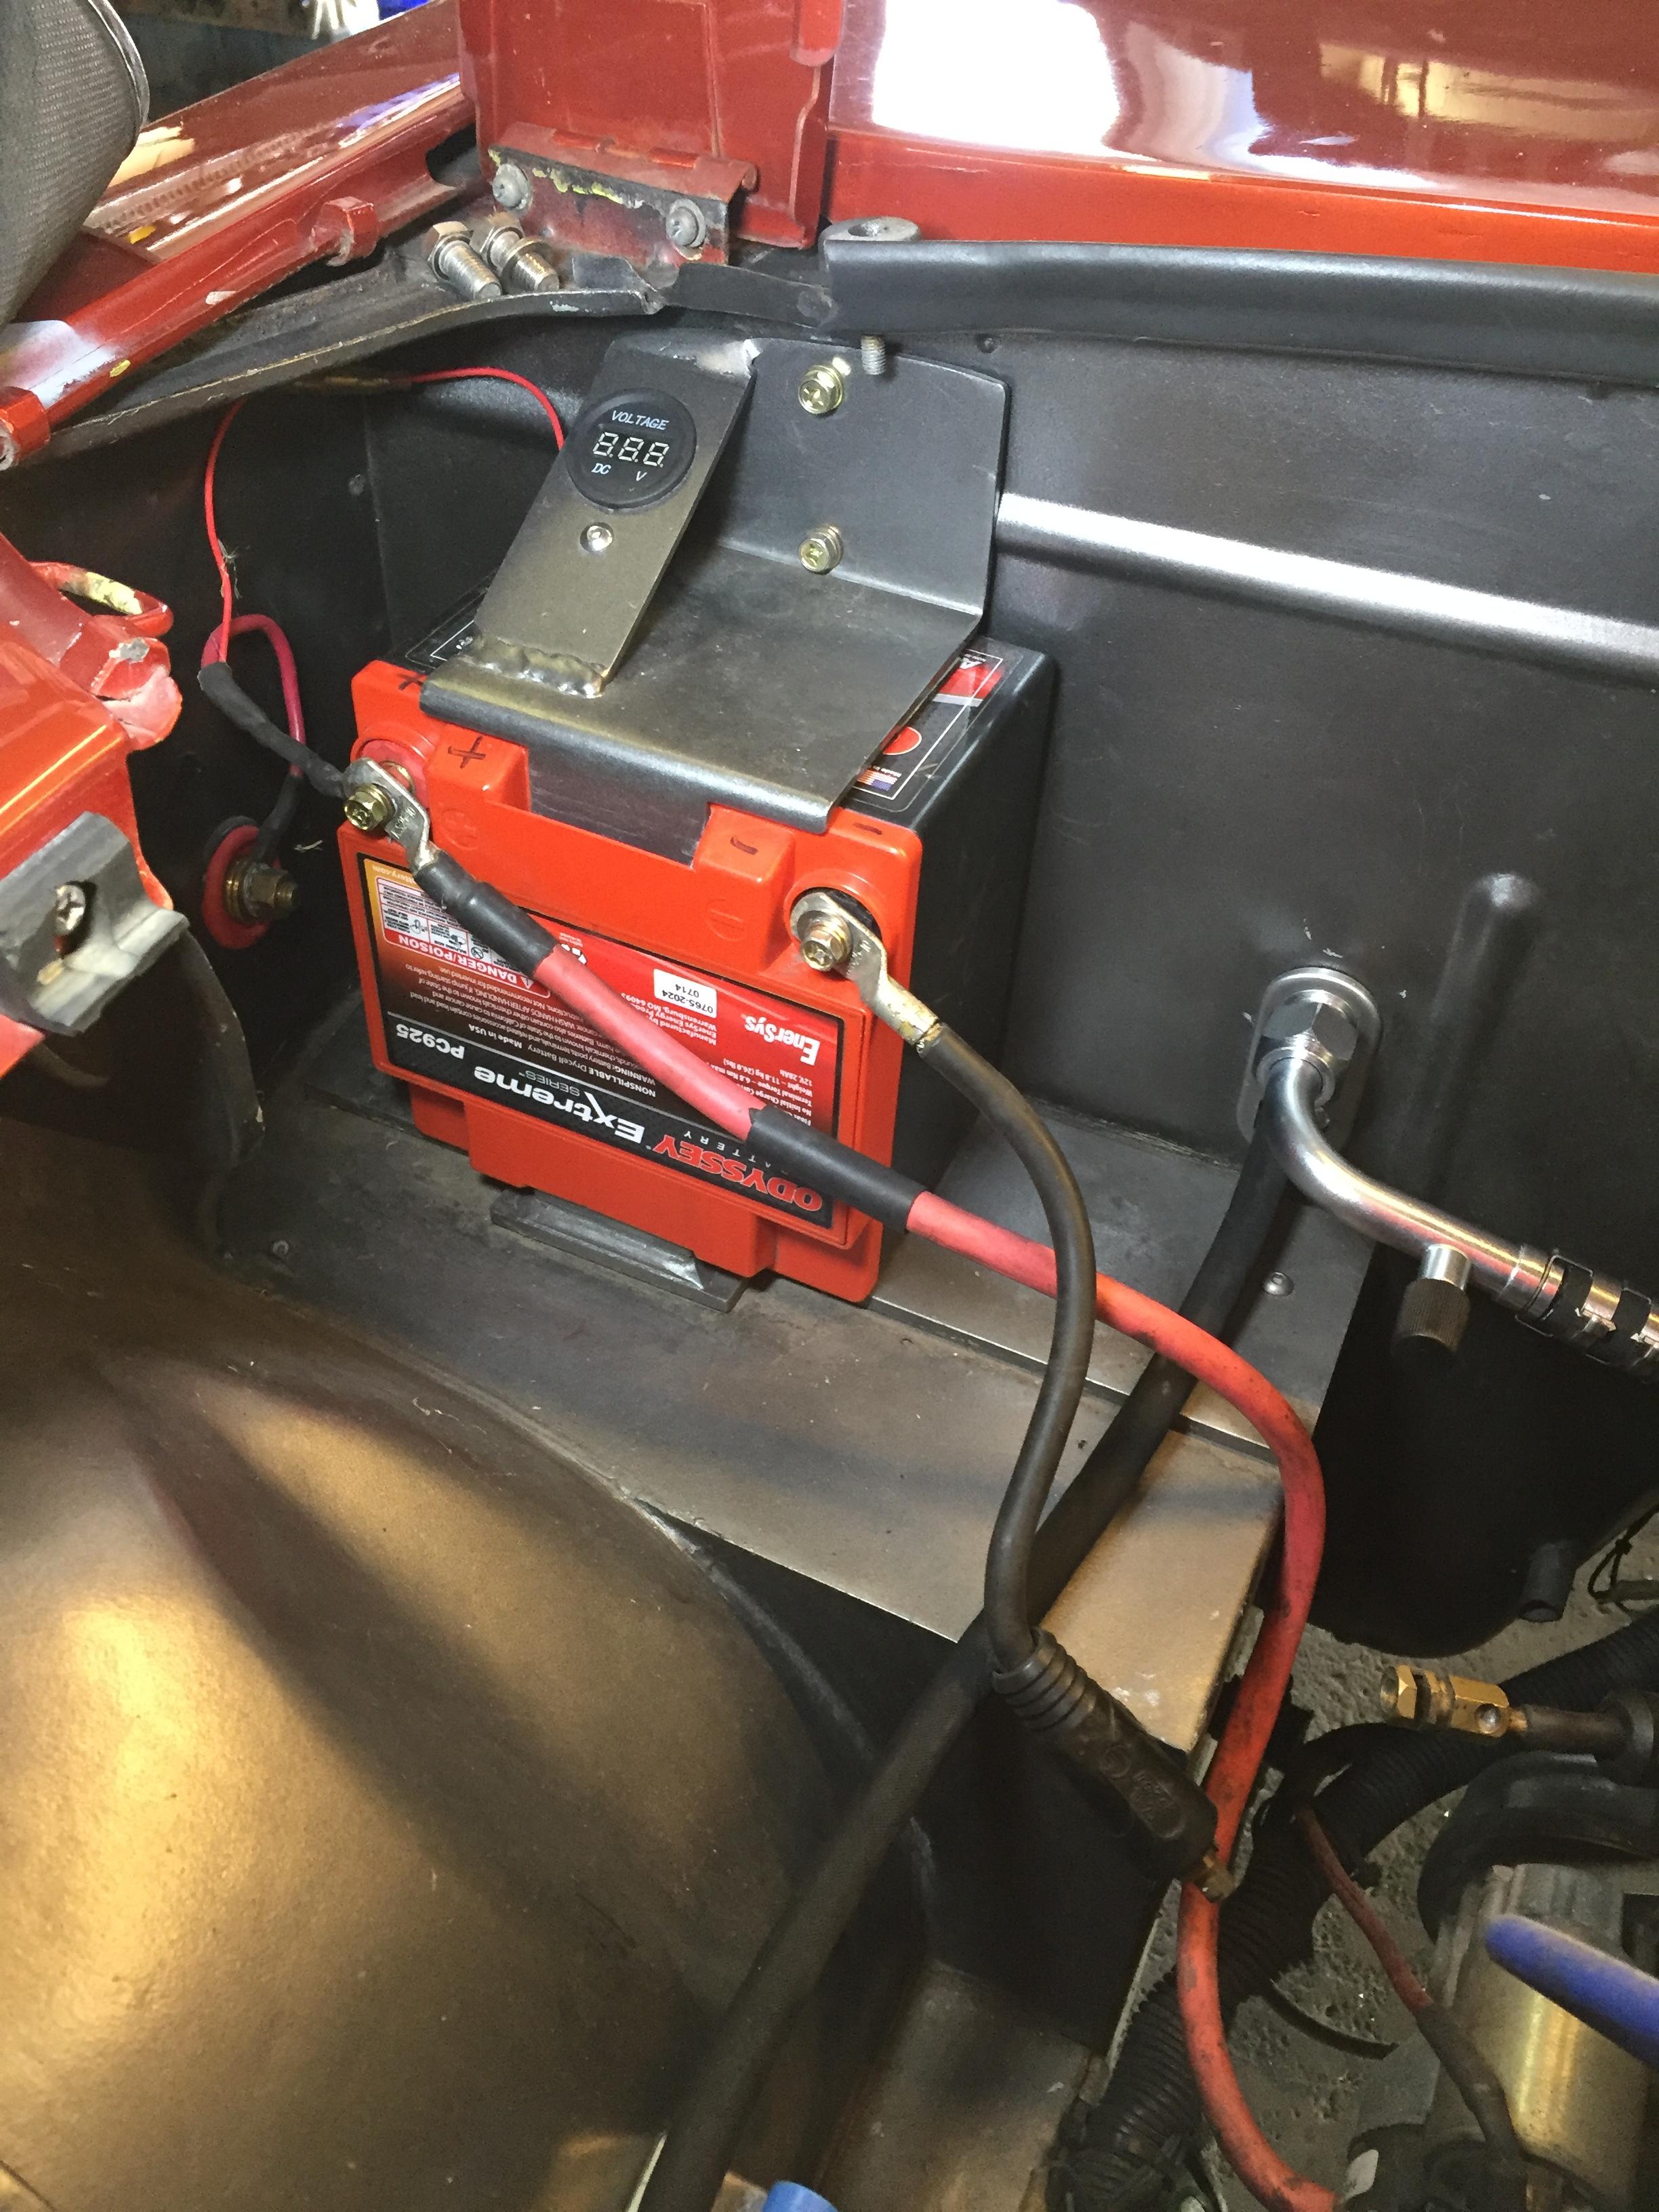
Thanks! I like it. Battery is half the size and weight of a standard Group 24 beast. Twice the price too. Lots of cranking power for vapour locked starts. Probably not good enough for winter cranking, but who's crazy enough to do that? Shirley? Best part is the no-leak, never rot your tray part. That and the new tray!
-
I finally fixed the A/C leaks in the fancy a$$ stainless steel line fittings at the fire wall fitting in my Z. Replaced the firewall pass through fitting that got damaged. The sharp 90 in the #10 fitting put a lot of stress on the o-ring connection and with multiple on-offs it finally scratched the sealing surface. The Stainless braided hose ends are very heavy as is the hose. I made new hoses using the EZ-Clip system which I am officially in love with. I supported the new hose at the heater hose fitting as it passes by. You can see the new hoses as they are attached at the pass through fitting. Actually I passed the #6 hose (bottom) right through and didn't use another pair of connections there. Two less places to leak. Now the new owner will be kept nice and cool. New owner.... You out there? Anybody? Used it exclusively the EZ Clip stuff on the 510 A/C. Simple, tight radius, light, do it your self crimps. Been working flawlessly for months now. It is pricey, don't buy it through Vintage Air or their dealers, buy it through a local AC or hose supply house. We have three different outfits in Calgary that stock it, it's not rare. New-Line hose, Greggs distributing and Ability Hose all have it. This is the SS hose and fittings that I've collected over several AC jobs. All for sale!


-
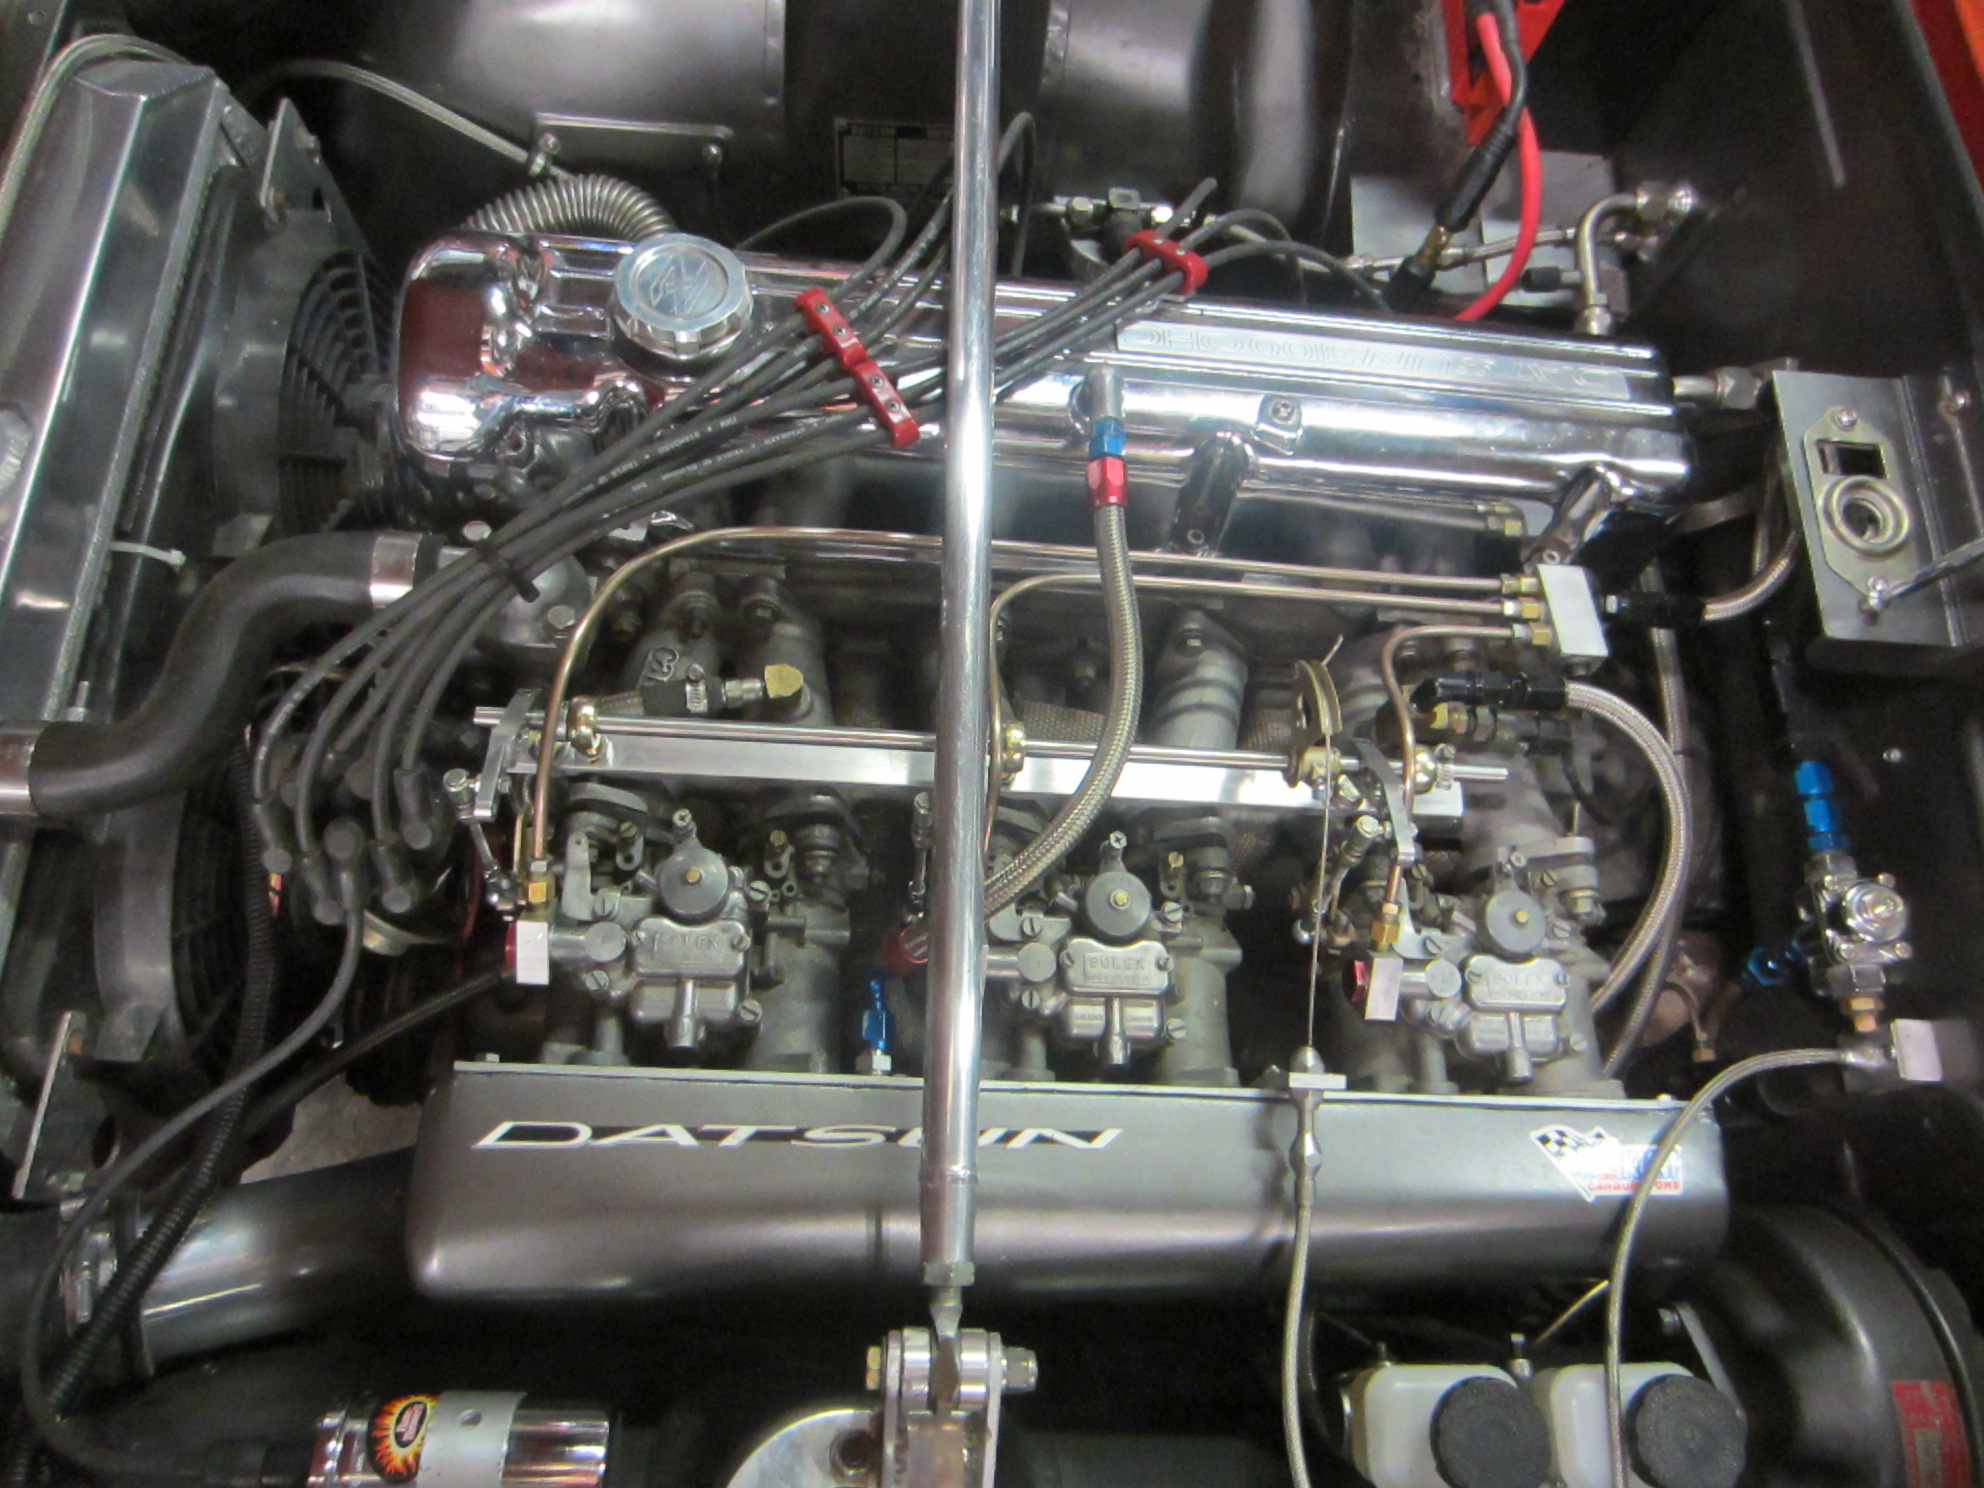
Yes, they are antiques. Better on a roadster or something right? They are in great shape and run very well. The SU vs Mikuni's is an interest comparison. Without doubt the 44's do better at wide open throttle and nearer the top end. But since I spend, oh I don't know, 99% of the time just driving around town in a spirited fashion, the SU's feel pretty much equal. Oh yeah, they are easy to start, get better mileage, overall drivability is better.
-
Thanks! Nothing like nice cool air in the face. The 280 outlets can be closed as well, unlike the 240 eye balls. And they are small enough to fit. The Speedhut gauges are multi-gauge so I'm not losing any instrumentation. Speedo/Tach, and oil/water/volt/fuel in the other.
-
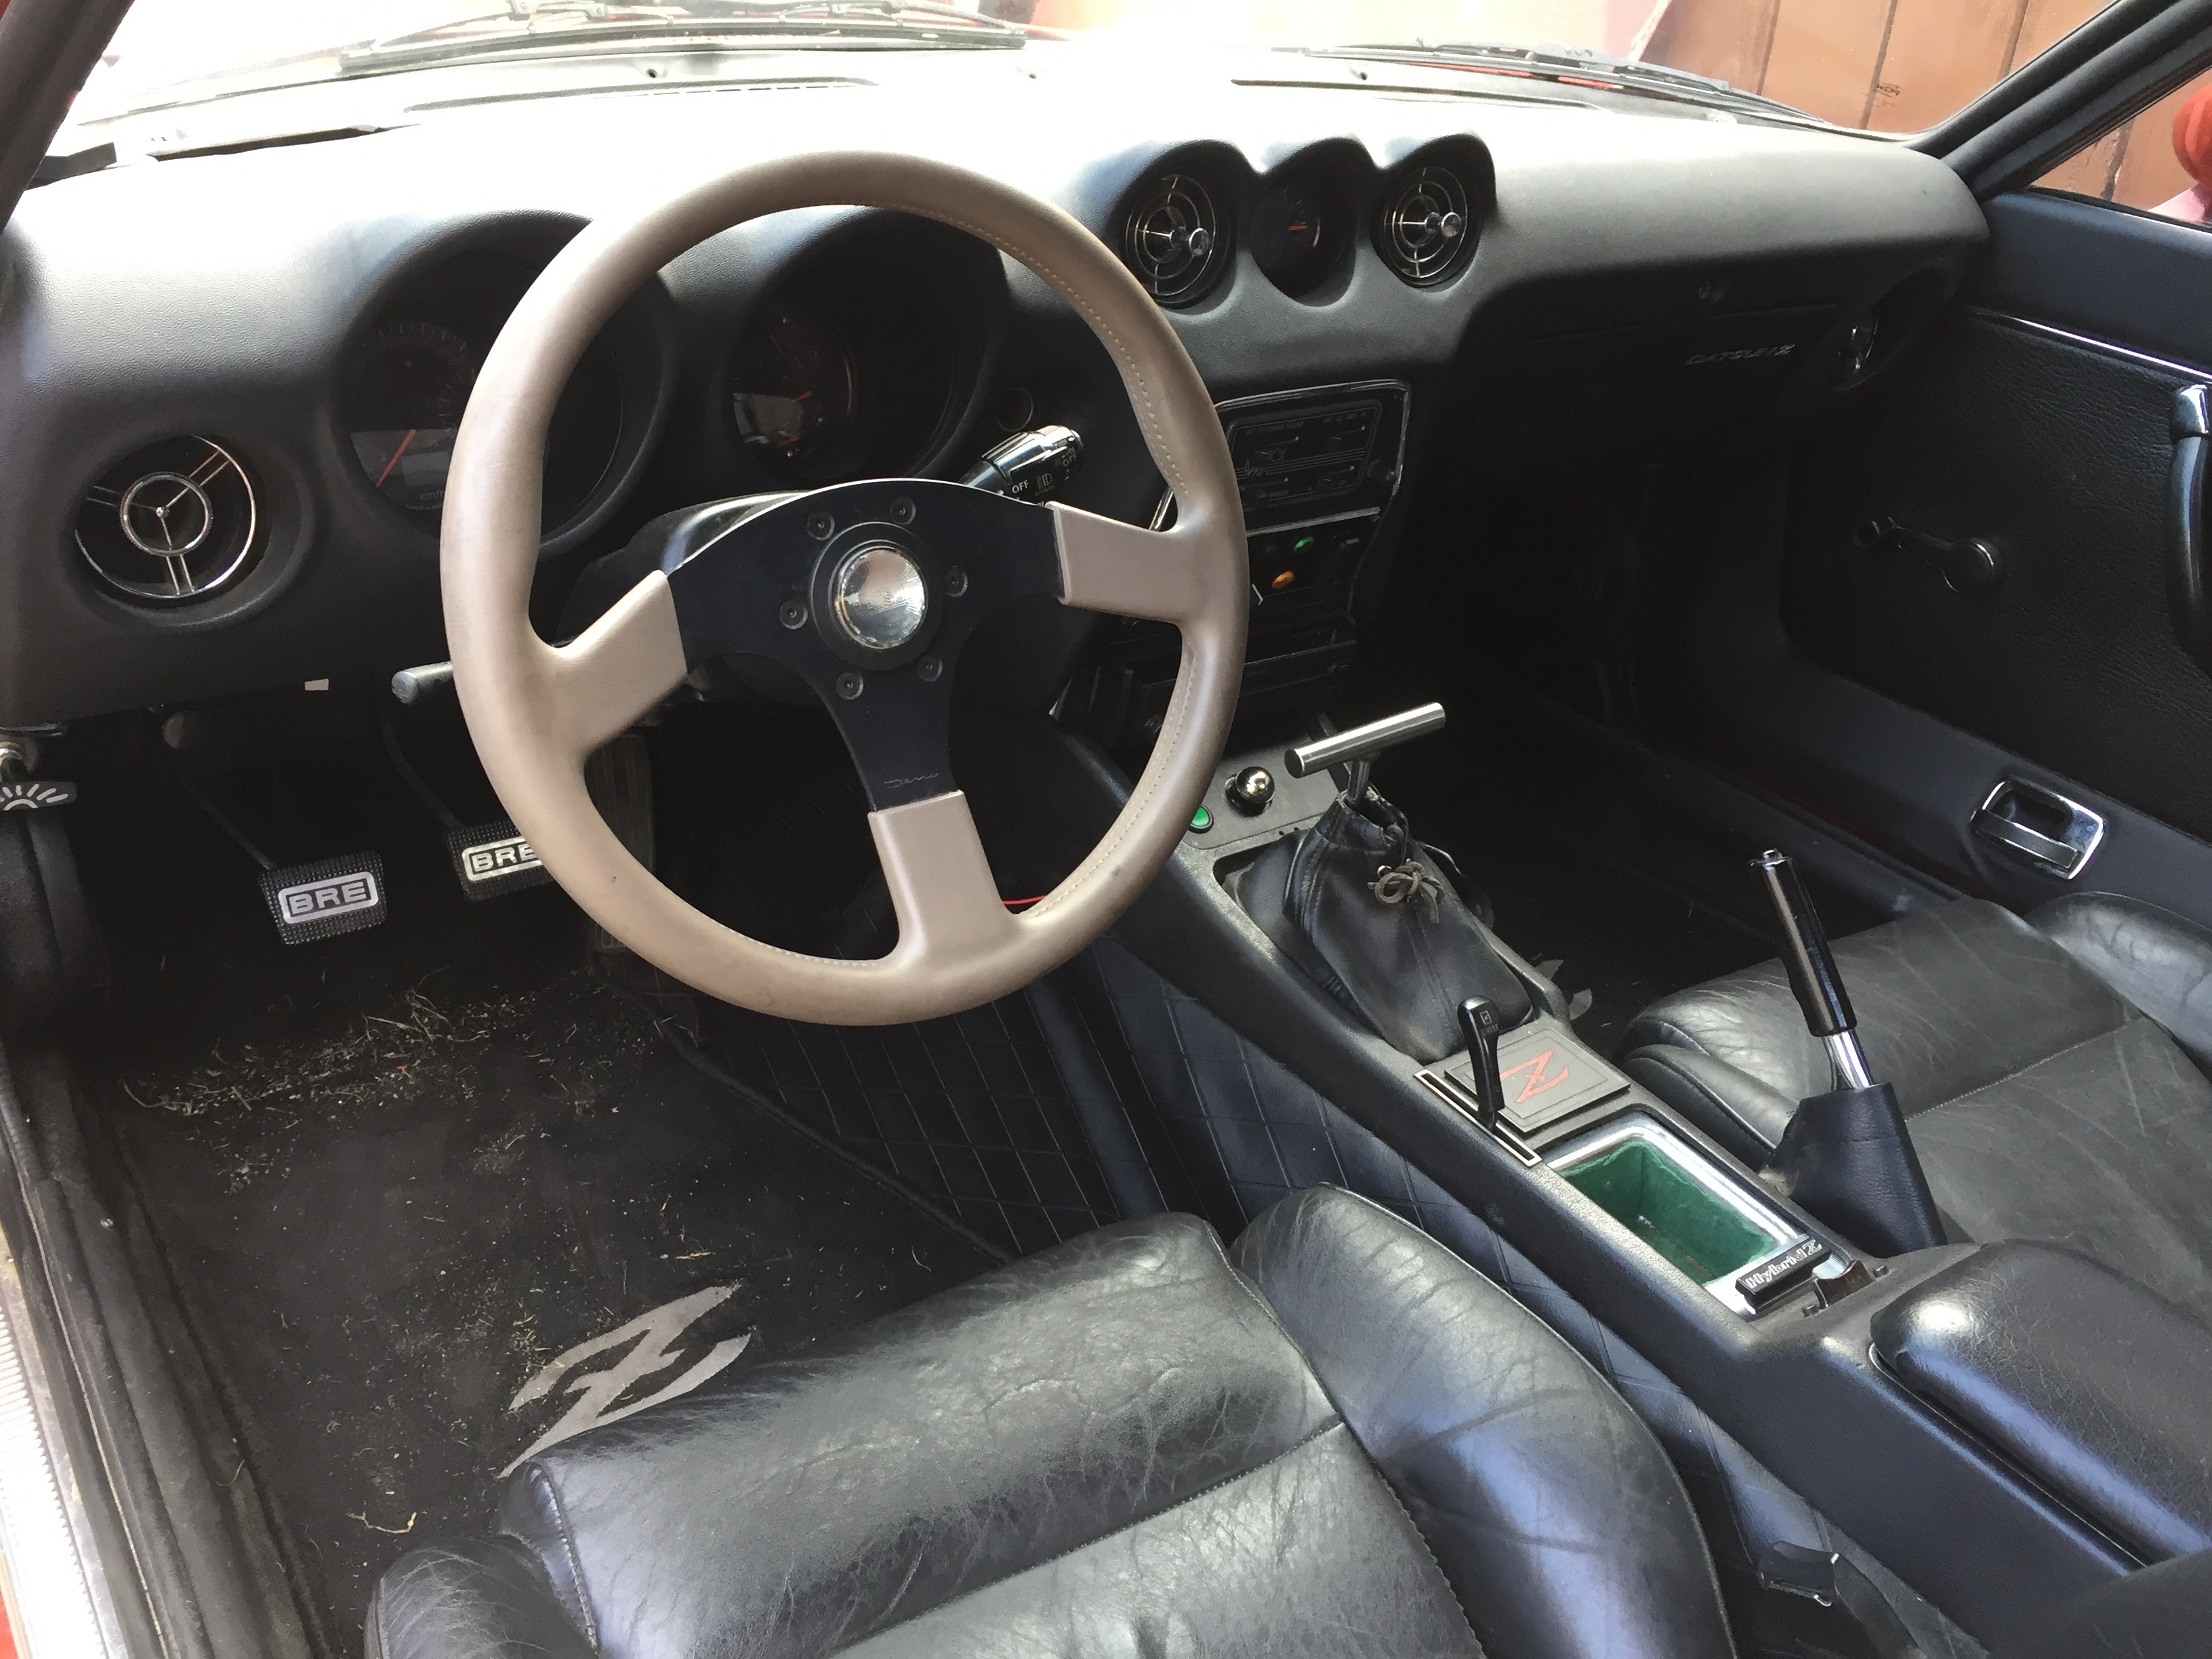
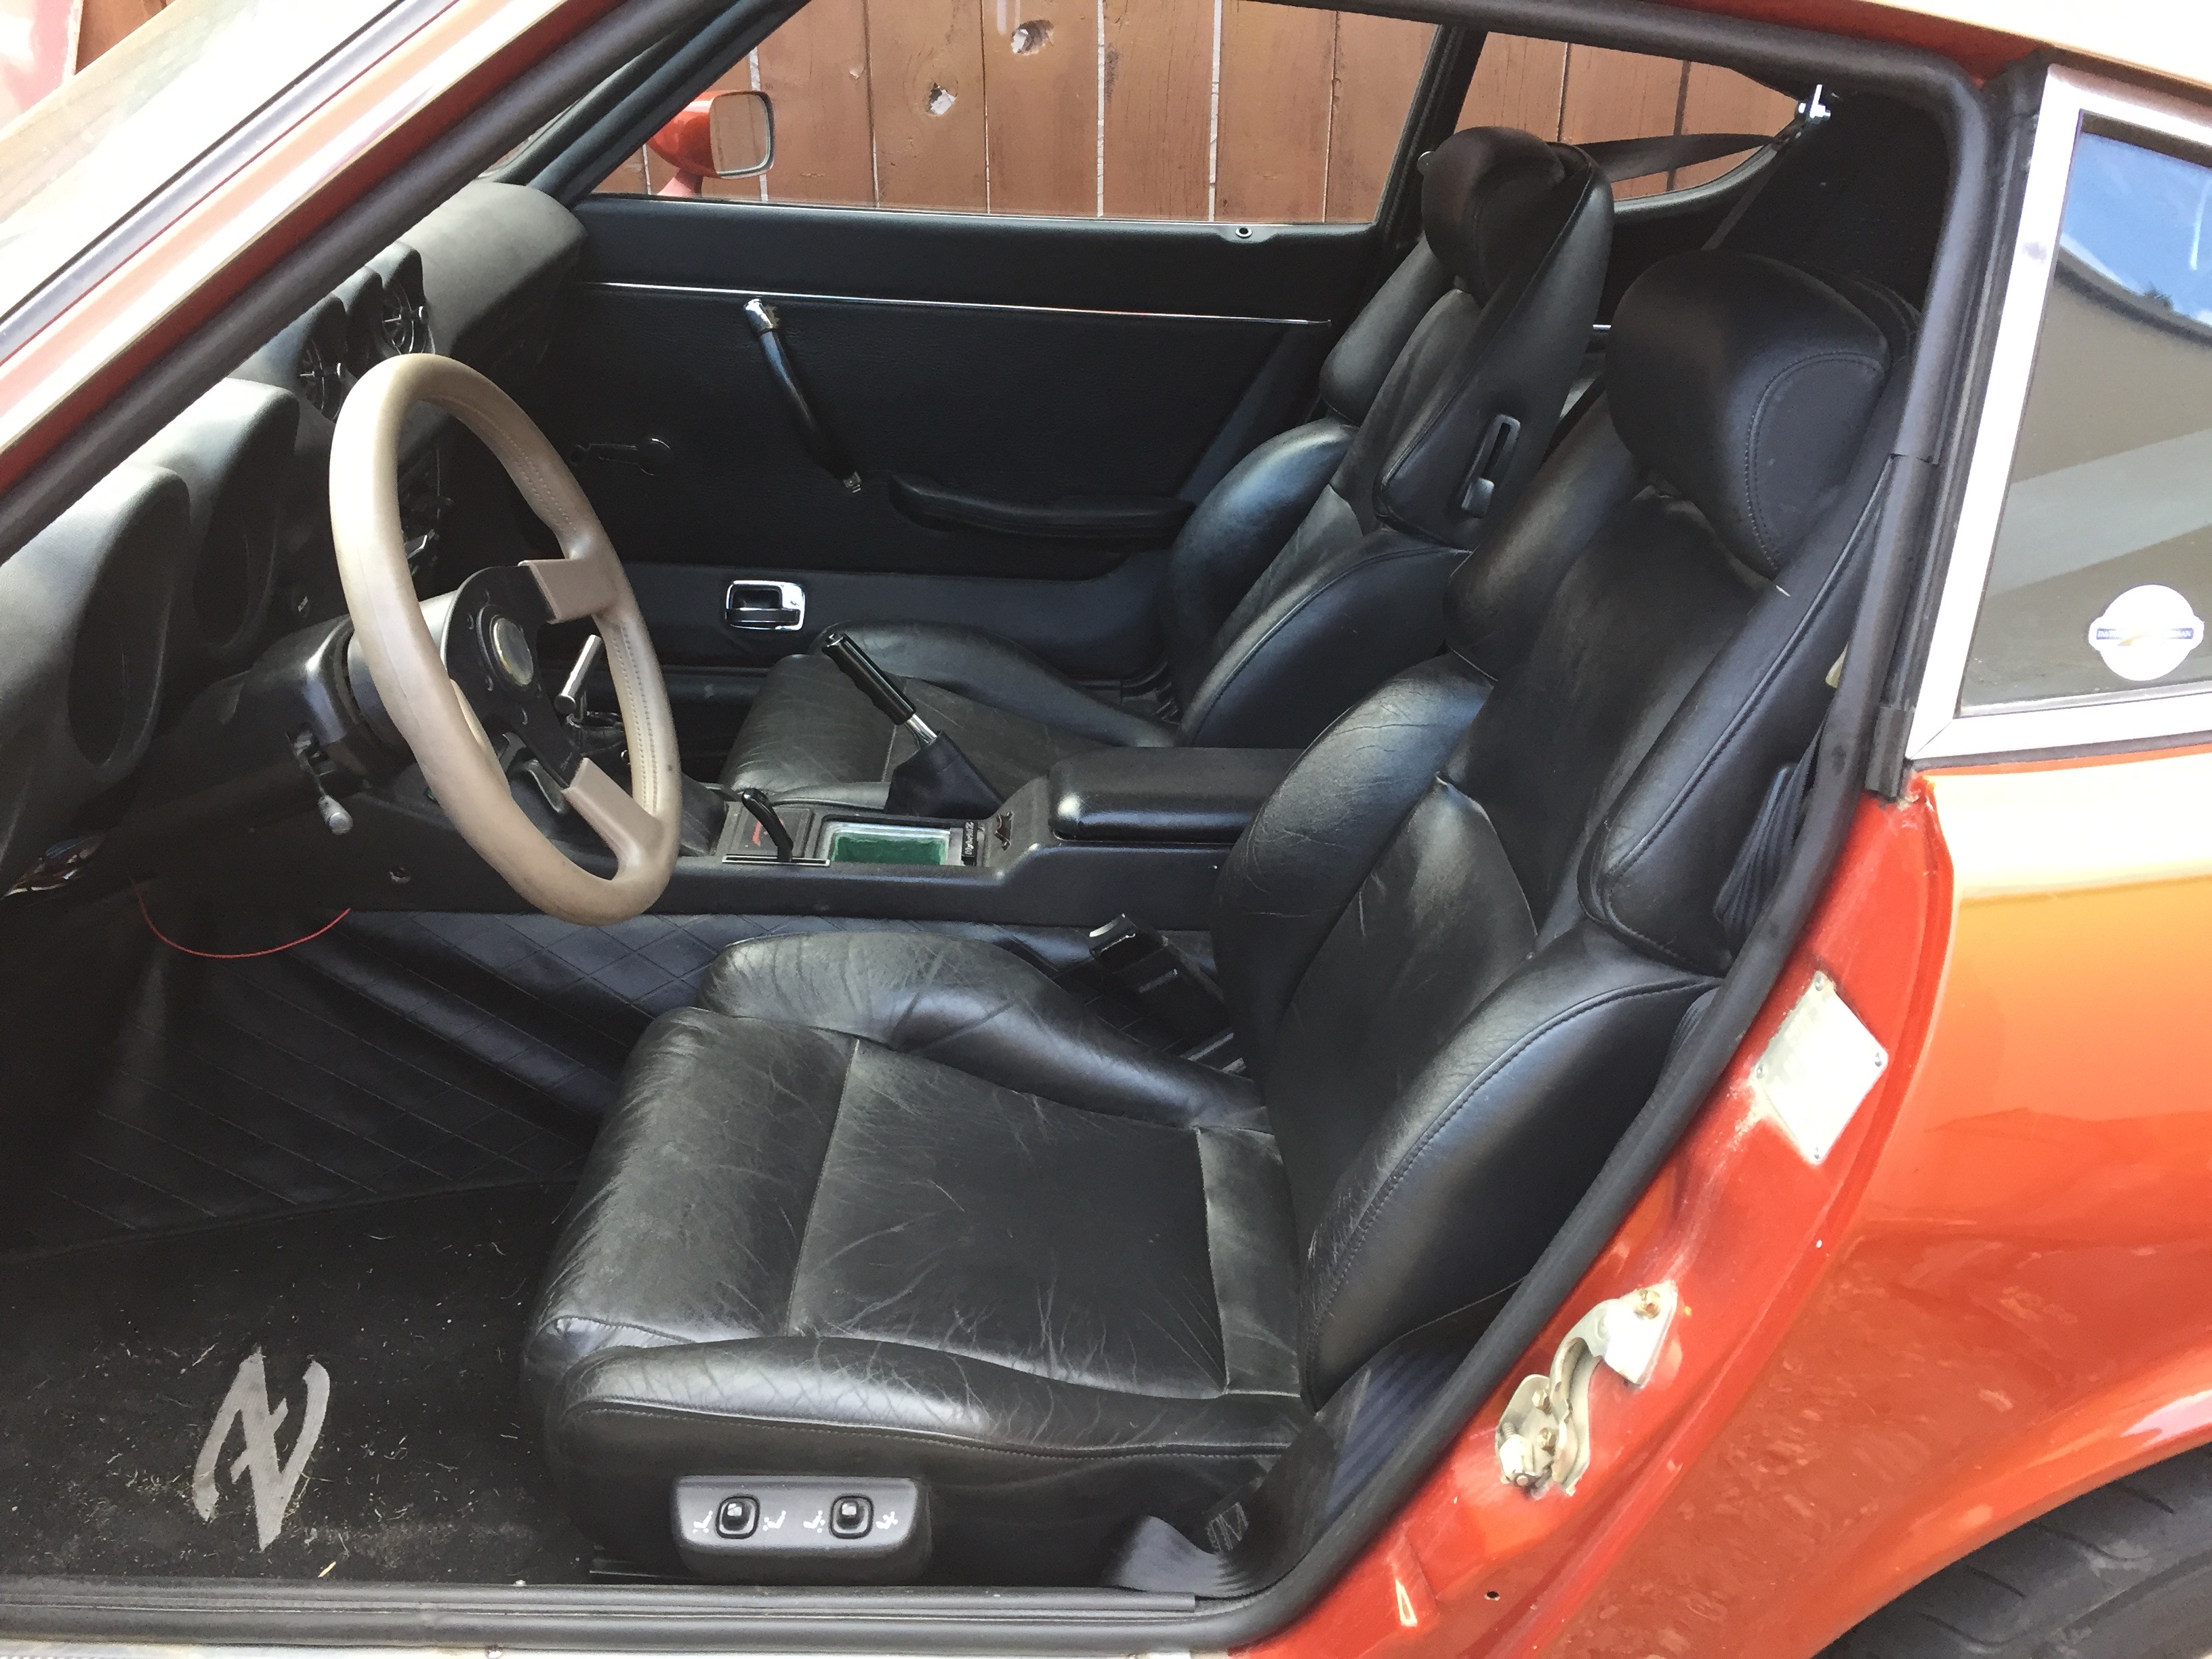
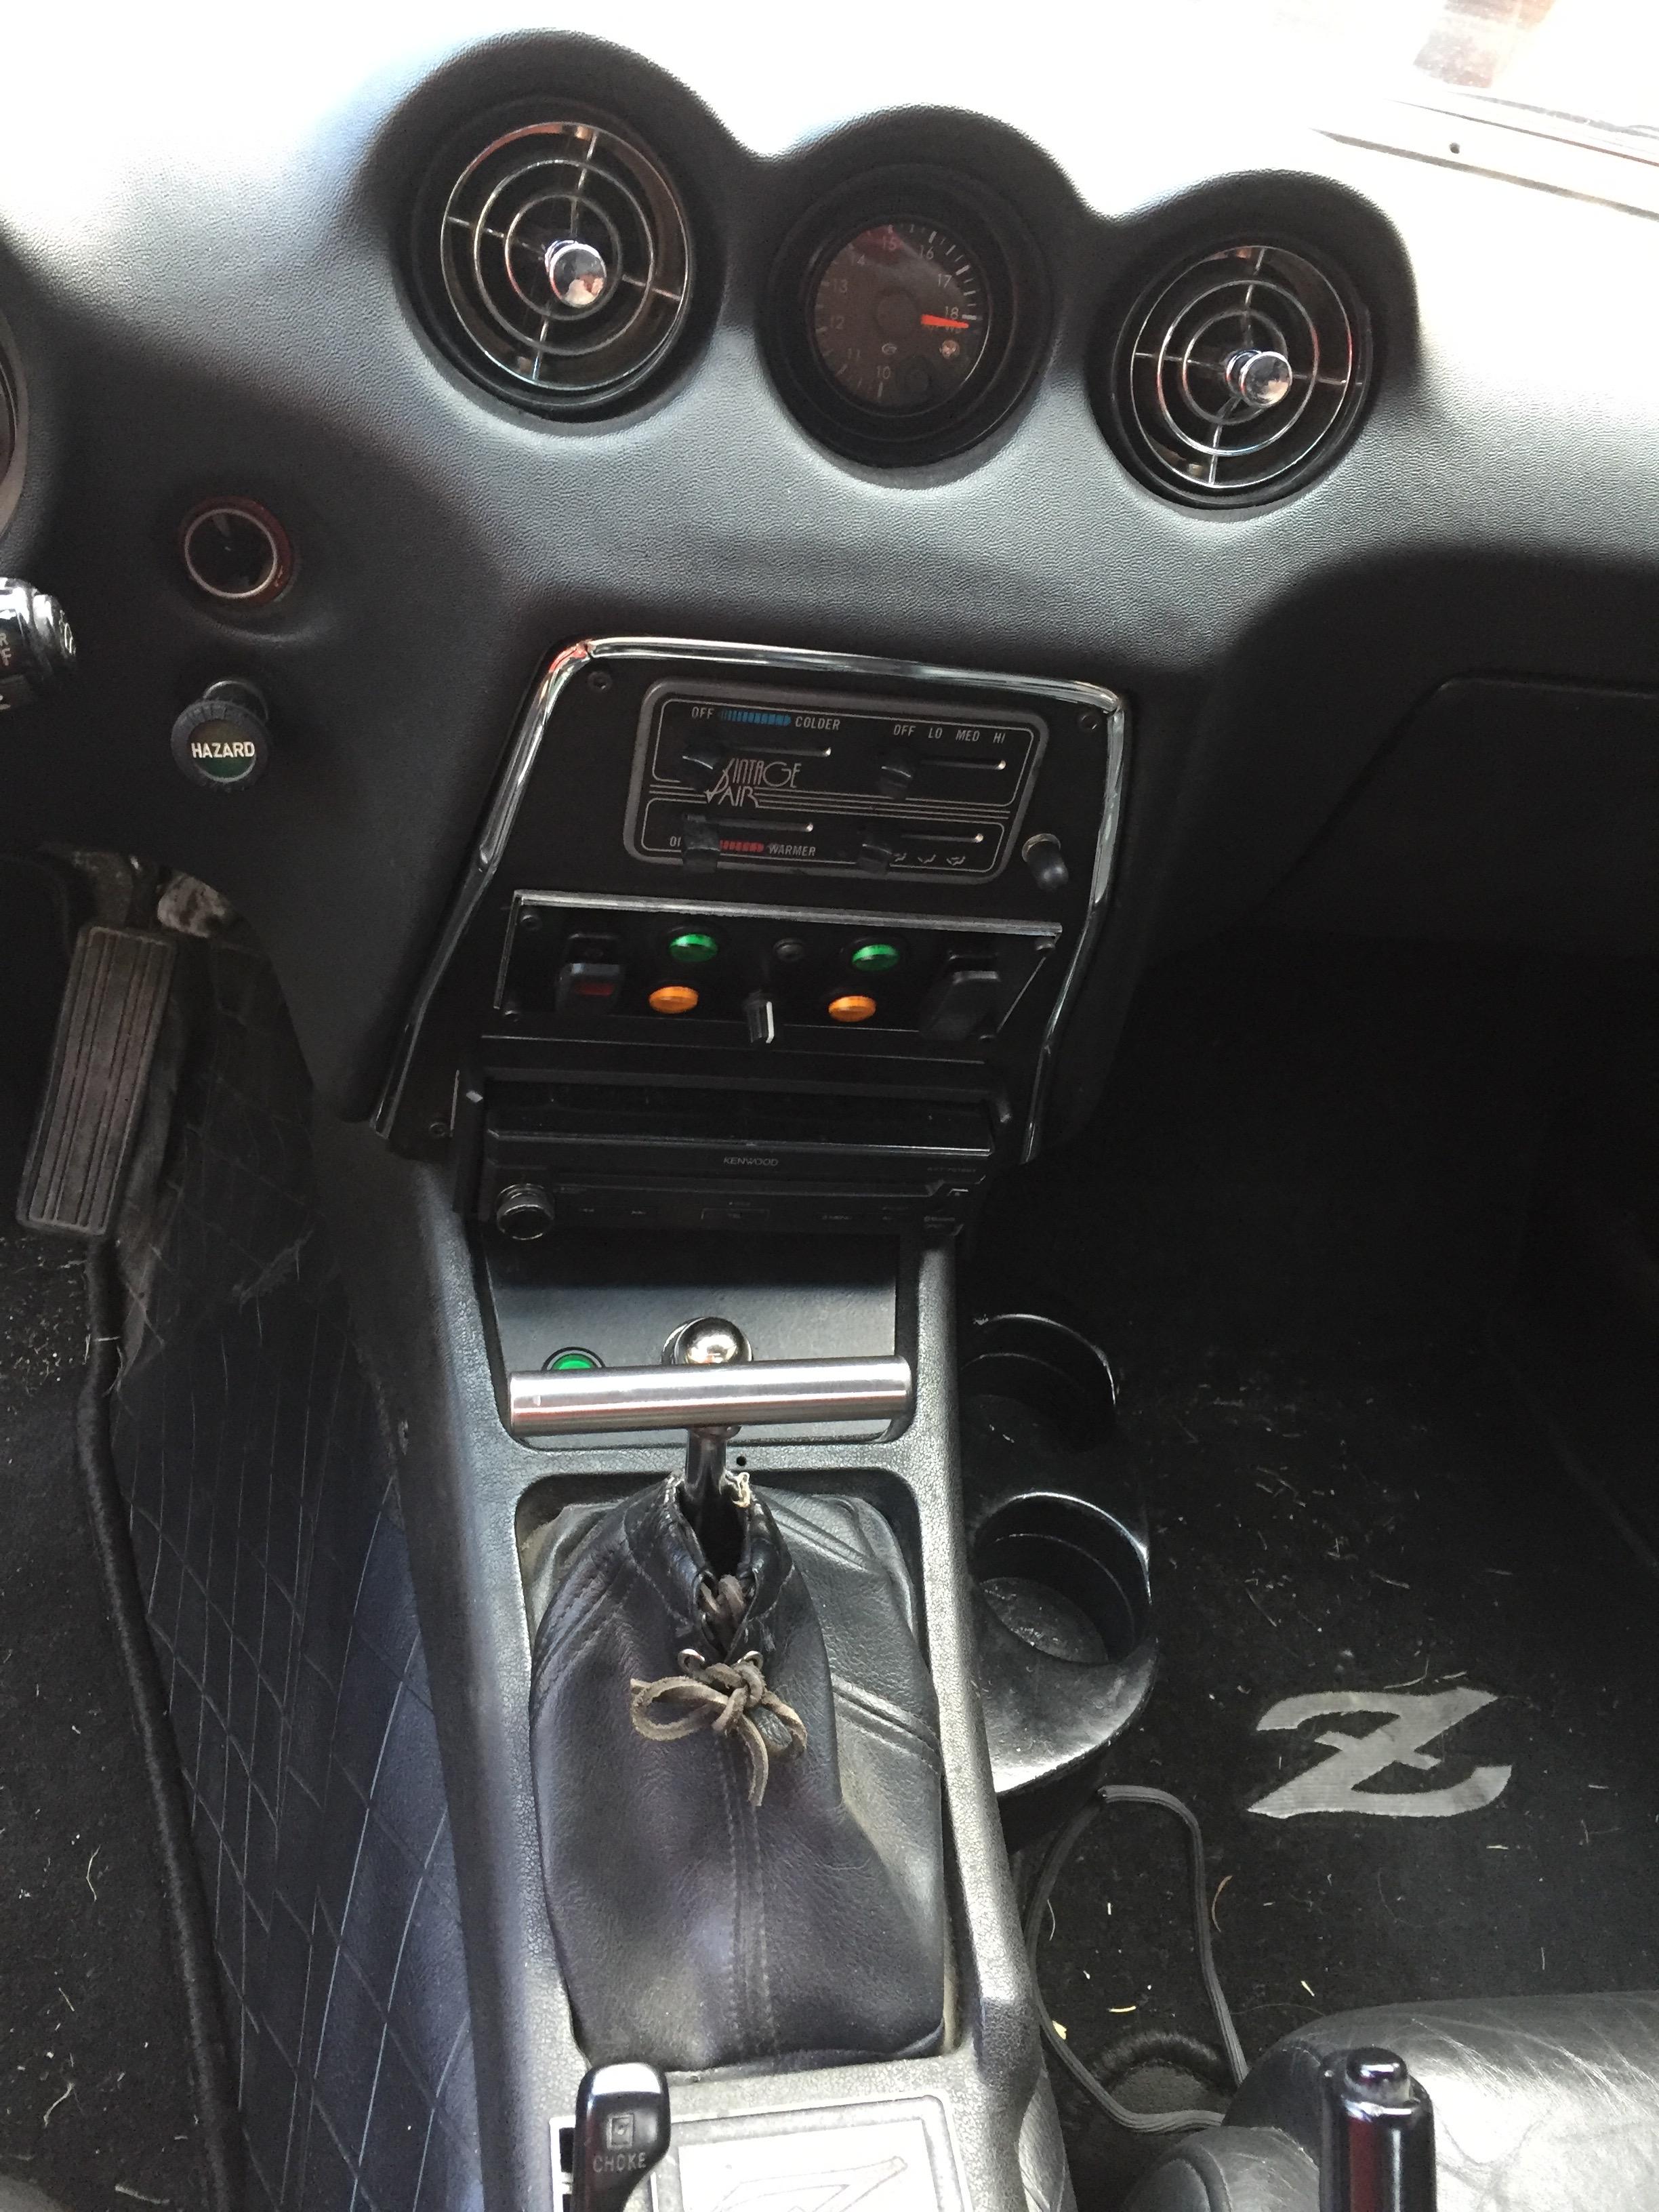
Ok, here are some interior pictures. Overall Dash and console view. The steering wheel is actually from my 510 project, I decided the nice one in the Z was better and pilphered it. It's so ugly in there, have to get the black SEM dye out.... Seats from 90's Z32, power drivers side. Comfy. Yes those are NOS door cards. The center stack is all custom. Vintage air controls up top, generic controls in the middle (hazard, rear defrost, other), and the slide out pop up double DIN touch screen stereo with Satellite radio and backup camera. When it's up it hides the center controls but not the HVAC controls. THAT was fun to install..... Top is a pair of AC outlets (280Z) and the AFR gauge in the middle.


-
I know I should do WAY more advertizing but this is simply a first attempt to say "its for sale" to this very unique group. It's never been dyno'ed, but my butt dyno says 250/275 HP/Torque. And I should share the sound of this thing, it;s intoxicating and you can barely hear the intake noise with that dang air box.
-
I know all you guys have your project cars already and aren't likley to dump them to buy this one, I just wanted to give you-all the chance to have a shot first. Maybe you know someone, maybe there is a lurker just waiting for a car to pop up. I'll advertise it to the local Datsun heads here next by word of mouth and see what happens. Then maybe BAT.
-
Bingo! It just feels so, GOOD!!!!!
-
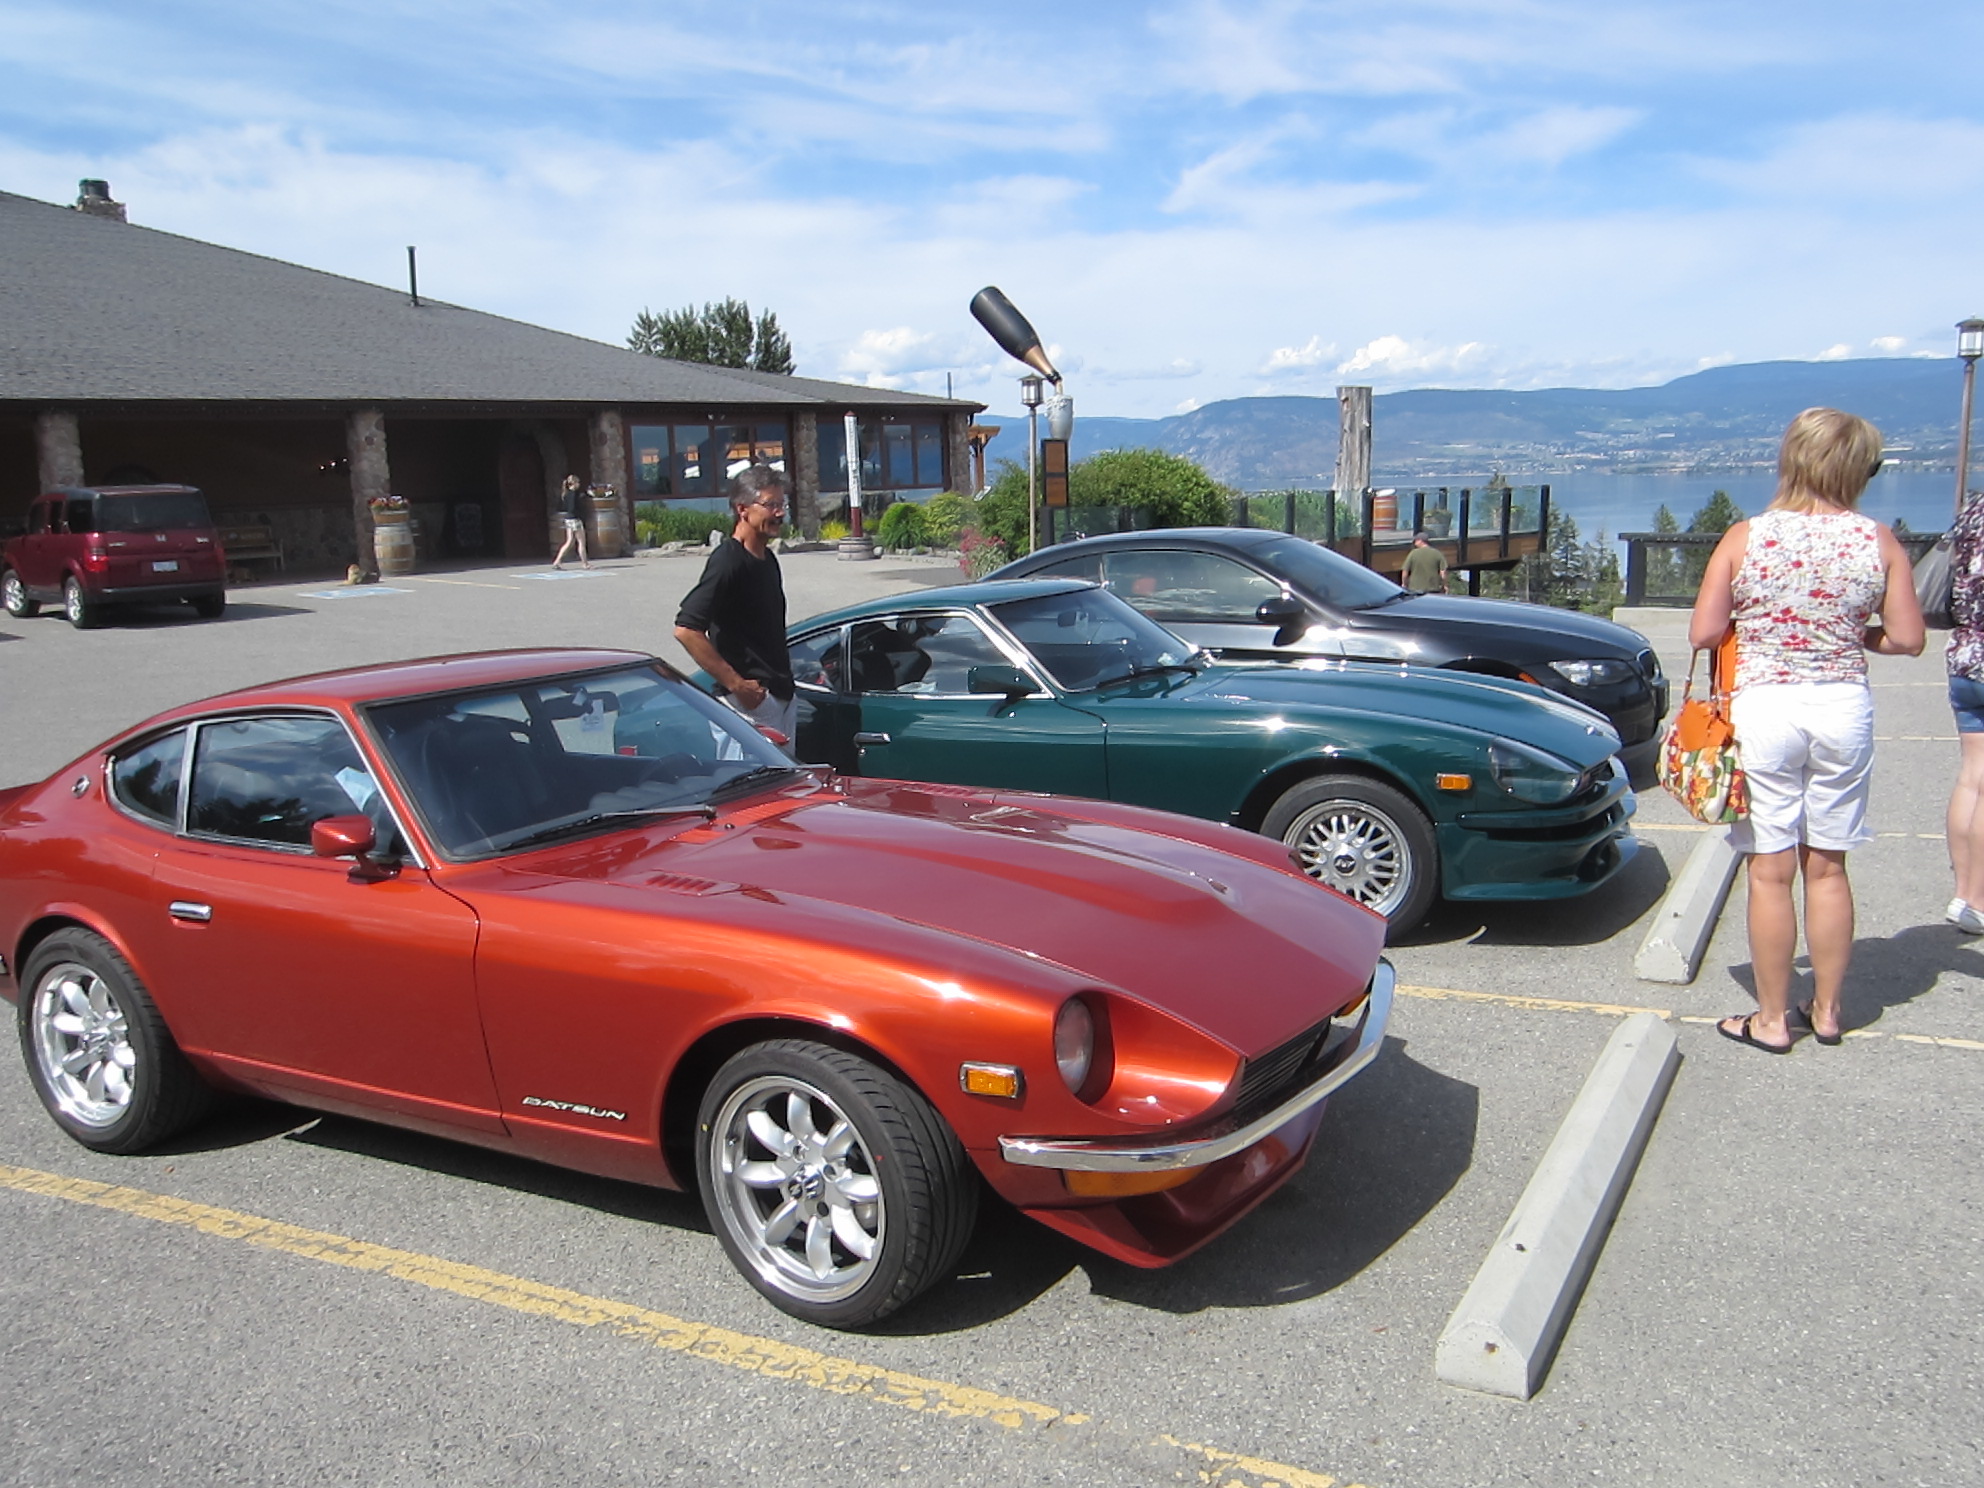
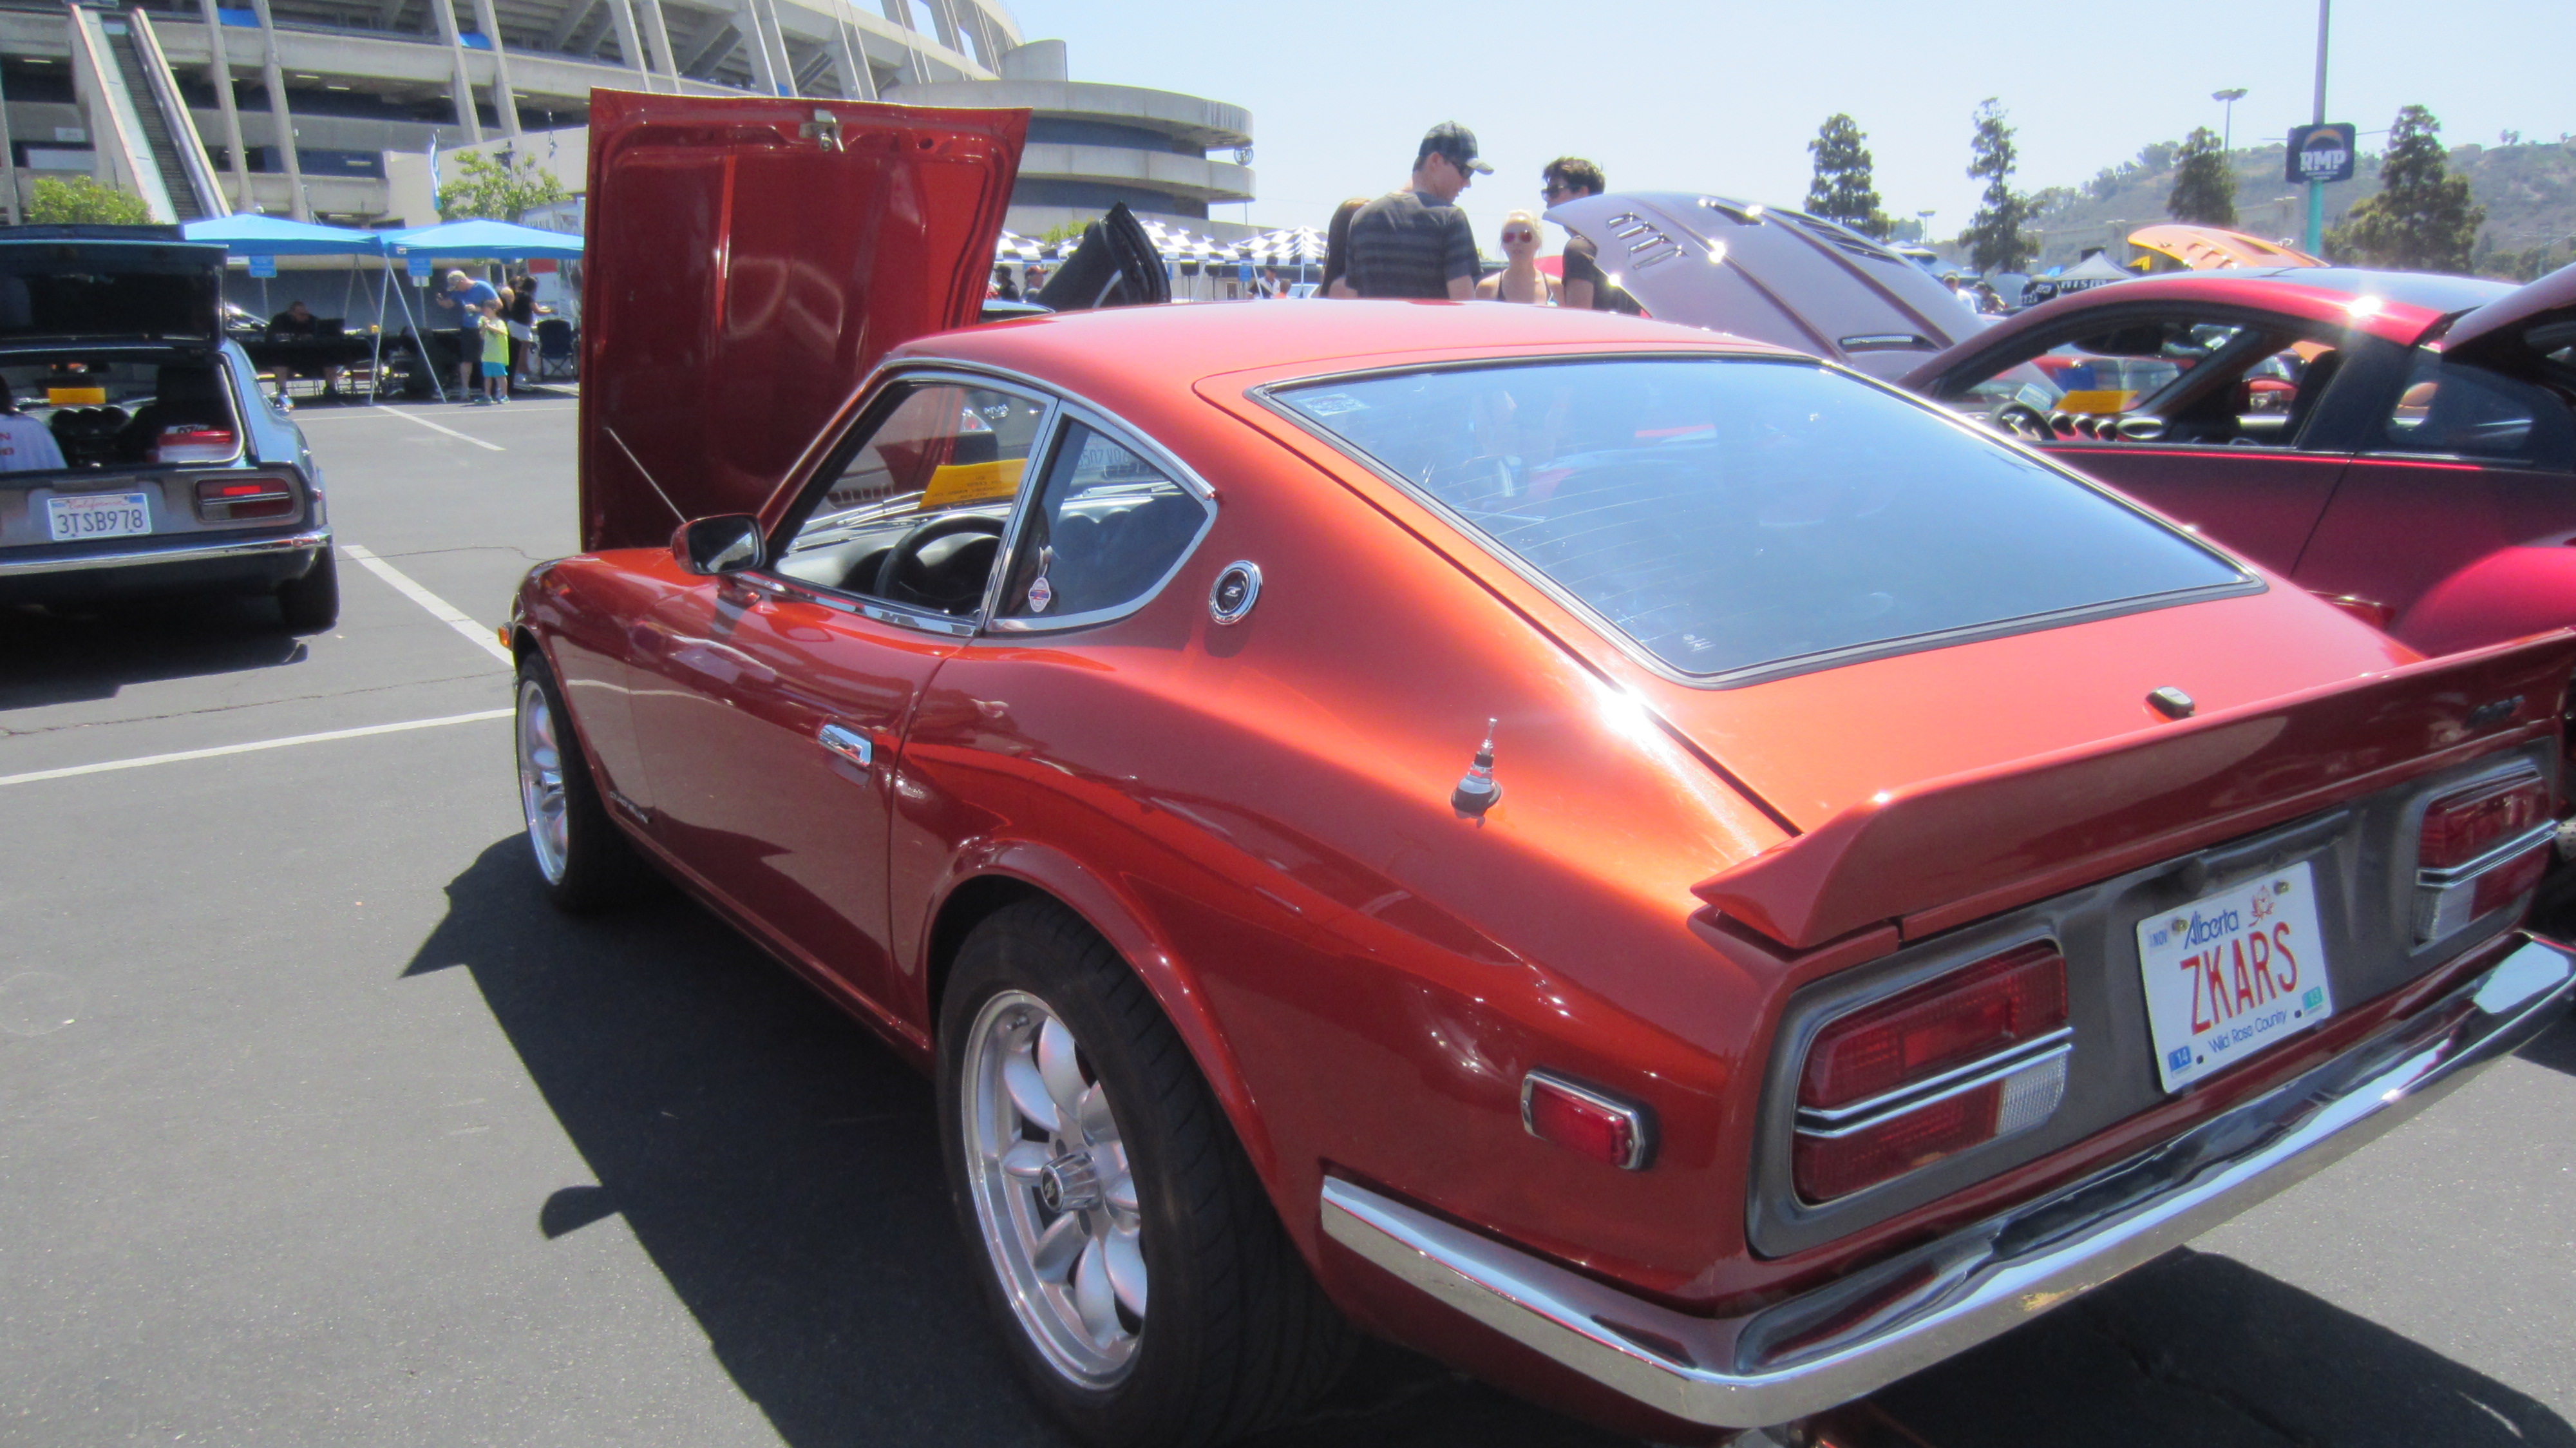
Few other pictures I dug up. With the current SU setup With the previous Triple 44's in place and my custom air box. Very drivable this way, just not as "nice" as with the SU's. You know what I'm talking about, such as 30 MPG vs 15MPG... Here we are in San Diego ZCON 2014. See, I do drive it. And not just to the grocery store.