zKars
 Subscriber
-
Joined
-
Last visited
Everything posted by zKars
-
 The cross member can be installed either way, but the correct way puts the larger exhaust semi-circular cutout on the left side where the exhaust runs. Motorman7's picture shows the correct orientation
 -
-
Good question. There is a central metal tube/sleeve inside the rubbers that the large washers get squeezed together until the washers bottom out on that sleeve. Once tight, the bushing pair are automatically centered on the frame by virtue of both bushings being made of the same stiffness. As you drive, that rod is in compression (accel) or tension (braking) which deforms them somewhat. Having a poly bushing on the front and a rubber bushing on the back implies that the static position is NOT centered affecting caster somewhat. Take a look at the rubber bushing before and after torque up and see just how much it crushes. One note that I brought up before here, the torque spec for the nut on the end is to obtained ONLY once the washers lock up on the central sleeve. There are situations where you might reach the torque spec BEFORE that happens, like dirty threads, very stiff bushings or TC rod not at a neutral position forcing the bushings into an awkward position. We had a big thread elsewhere about this where folks were using two nuts to lock them up as they were coming loose. Using a new locknut is important, as well as ensuring you have sleeve clamp down.
-
I'd like to hear you-all's experiences with the optical quality after tint film once applied to glass with the usual (and well earned) "patina" of scratches, pittings, etc. The defroster grids are raised off the glass, does this cause obvious line-distortions or is it pretty good? Side windows? How do the scratches and dings look, ie are they hidden or accentuated? I'm trying to decide if this something I want to do this summer.
-
The stock bushings are mounted with the flat (thin) side against the frame pocket, and the washers are counter-intuitively (I think) positioned with the convex curved face (sticky-outy) toward the curved (thicker) side of the bushings like this: )B-|-B( Brackets are washers, B are the rubber bushings and | is the frame pocket. The right hand B( gives you the correct bushing roundness vs washer convex-ness orientation. This gives you more bushing washer freedom to move and surprisingly gives you more threads sticking out when you try to get the nut on the end of the rod!
-
There are two other ground points. Talking 240's here. 280's have EFI related grounds as well. The second is under the gas tank at the right rear of the chassis just inside the rear valence. It threads into the side of a frame member back there. Gas tank has to come out to get to it. The third is to the left of the battery on the firewall. There is a 6mm threaded hole. Not the one directly above the battery where the frame attaches, about 2-3 inches left of the top of the battery. It was designed to have a lug from the main '-' battery cable connect there before it goes down to terminate on a starter mounting bolt. This provides the engine block to body ground. Often lost when the old stock cables are replaced with generic ones. If you don't have one, create a 8 or 10 gauge wire to connect that firewall point to some engine block bolt. Maybe mention the black ring terminal ground connection on the back of the alternator as well? Important for proper voltage reg and alternator reference.
-
Devastating news for his family. He will be missed by many. Seems he passed doing what he loved. Sometimes I hate this place as it allows me to only touch a few of the good souls that live "here" without really knowing them. John was one of those. We were just bantering about Datsun development and values over on hybridz with great respect about differing opinions. I smiled again as I knew he enjoyed (tolerated?) my ribbing even though we've never met. Now if we can all use this terrible event to help us remember what's really important....
-
Interesting idea. I've never done this, but I'm pretty sure the rubber end/fillers would be pushed into the body forcing you to remove them or the least trim them. This would leave the ugly bumper with no end trim. Not sure how this would be better then going with skinny bumpers. Something about not being able make a silk purse out of a sows ear....
-
-
Just checking which little brace you're referring to. Do you mean the strip that crosses the entire floor pan and connects to the back of the rear mount pads and ties them to the floor? I had no idea that was not there in the early cars! I have 8570 here right now, it has it. No surprise they wanted to ad more strength to these mounts though. The 280's seat mounts were 2-3 times stronger than the 240 mounts.
-
The complexity of adding all those pieces to just raise the RPM to the "high" sync level during an infrequent service, makes me think there just HAD to be more to it. But it's clearly stated in the FSM and maybe even on the air cleaner housing that this is just for this one test. Now I have to admit to using it as a idle setting device.. Since there is an interaction between the two on-carb idle setting screws and the inter-carb sync screw, that makes you go round-and-round tweaking all three to get both the sync and idle right. Then you put the air cleaner on and later decide the idle is too high. Here we go again.... Bahhh.. So back the two carb idle screws off, and use the high idle screw to get idle, balance flow using only the inter-carb link screw, then set the idle where you like. and tweek it later without affecting the idle Feel free to call me lazy. I prefer to think I'm giving a piece of generally un-used and un-appreciated equipment a moment in the spotlight. If it had a thumb it would be under its nose, saying, "I can hold idle just as well as the two of you, all by myself!"
-
It will be interesting to see where the price goes. Watching carefully. Good luck with the sale!
-
cool...
-
Whoa whoa whoa. Chickenman, you're sipping too much happy juice again! Those fuel lines under the floor pan on the right (passenger) side like in the pictures above all ALL 280Z !! Never ever seen a 240 with them anywhere but way up in the tunnel running to the right side of the shifter hole like the red car picture above, and I've been intiment everything from VIN 137 to 175,000. That black picture is clearly the seedy underbelly of a 280, see how far back the frame rails run under the floor pans? Sent from my iPad using Classic Zcar Club
-
Oh! Well that's easy. Send me a note to z240@shaw.ca and I'll get a set in a box for you and send some pics!
-
Is it just the bolts you are after or all the plates as well? They are just M10x1.25 as noted, maybe 30mm long. Grade 10.9 JIS for sure. Belmetric would have them. I wouldn't feel bad using SAE 3/8 Gr8 NF hardware either. At the local "Bolt supply house" the Gr8 fine hardware is all CAD plated and purdy too! Bonus. I have spares of the top/bottom plates if you need a set.
-
Carbs and linkage sold to local buyer.. thanks
-
Interesting. Chances are something is worn. If you need a knob or switch let me know.
-
No washers ever seen, even on a couple of early E31 heads. Part 21 is also marked as the head bolt washers. Head bolts are 10mm, cam tower bolts are 8, so no way they would work. Must be a drawing error.
-
They are 20 x 1.5 thread pitch. Same on 70-83 stub axles regardless of splines.
-
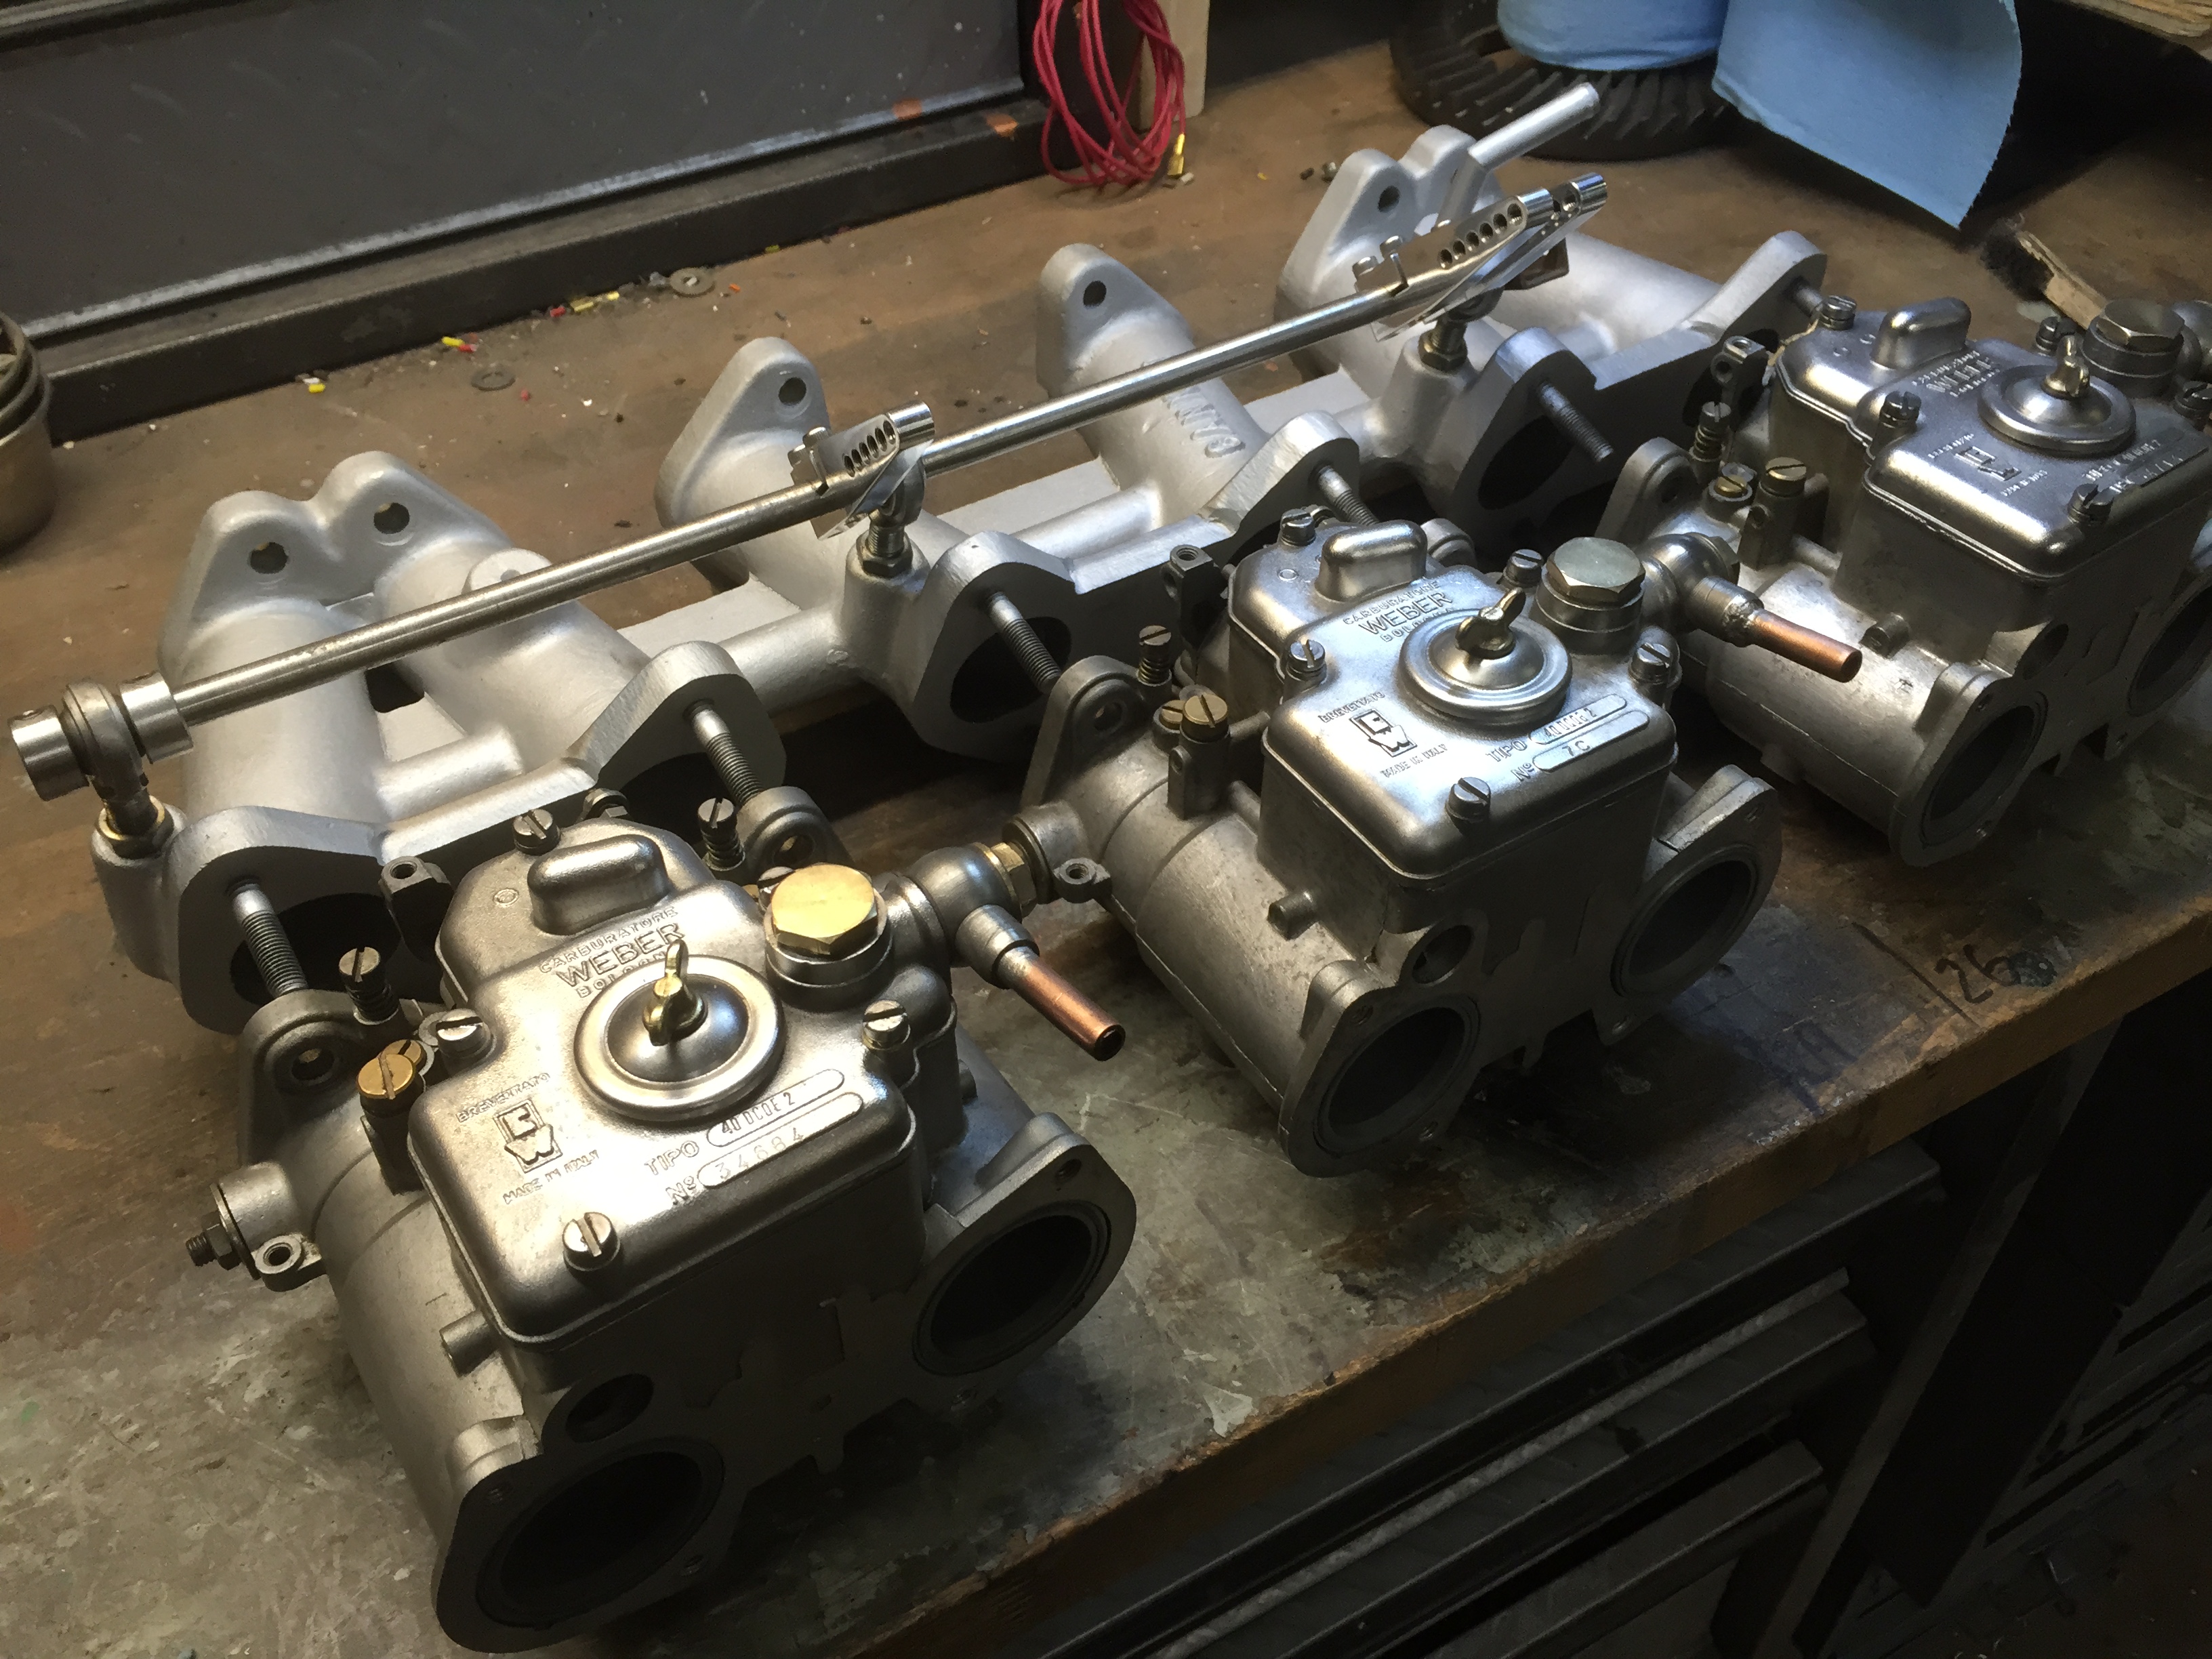
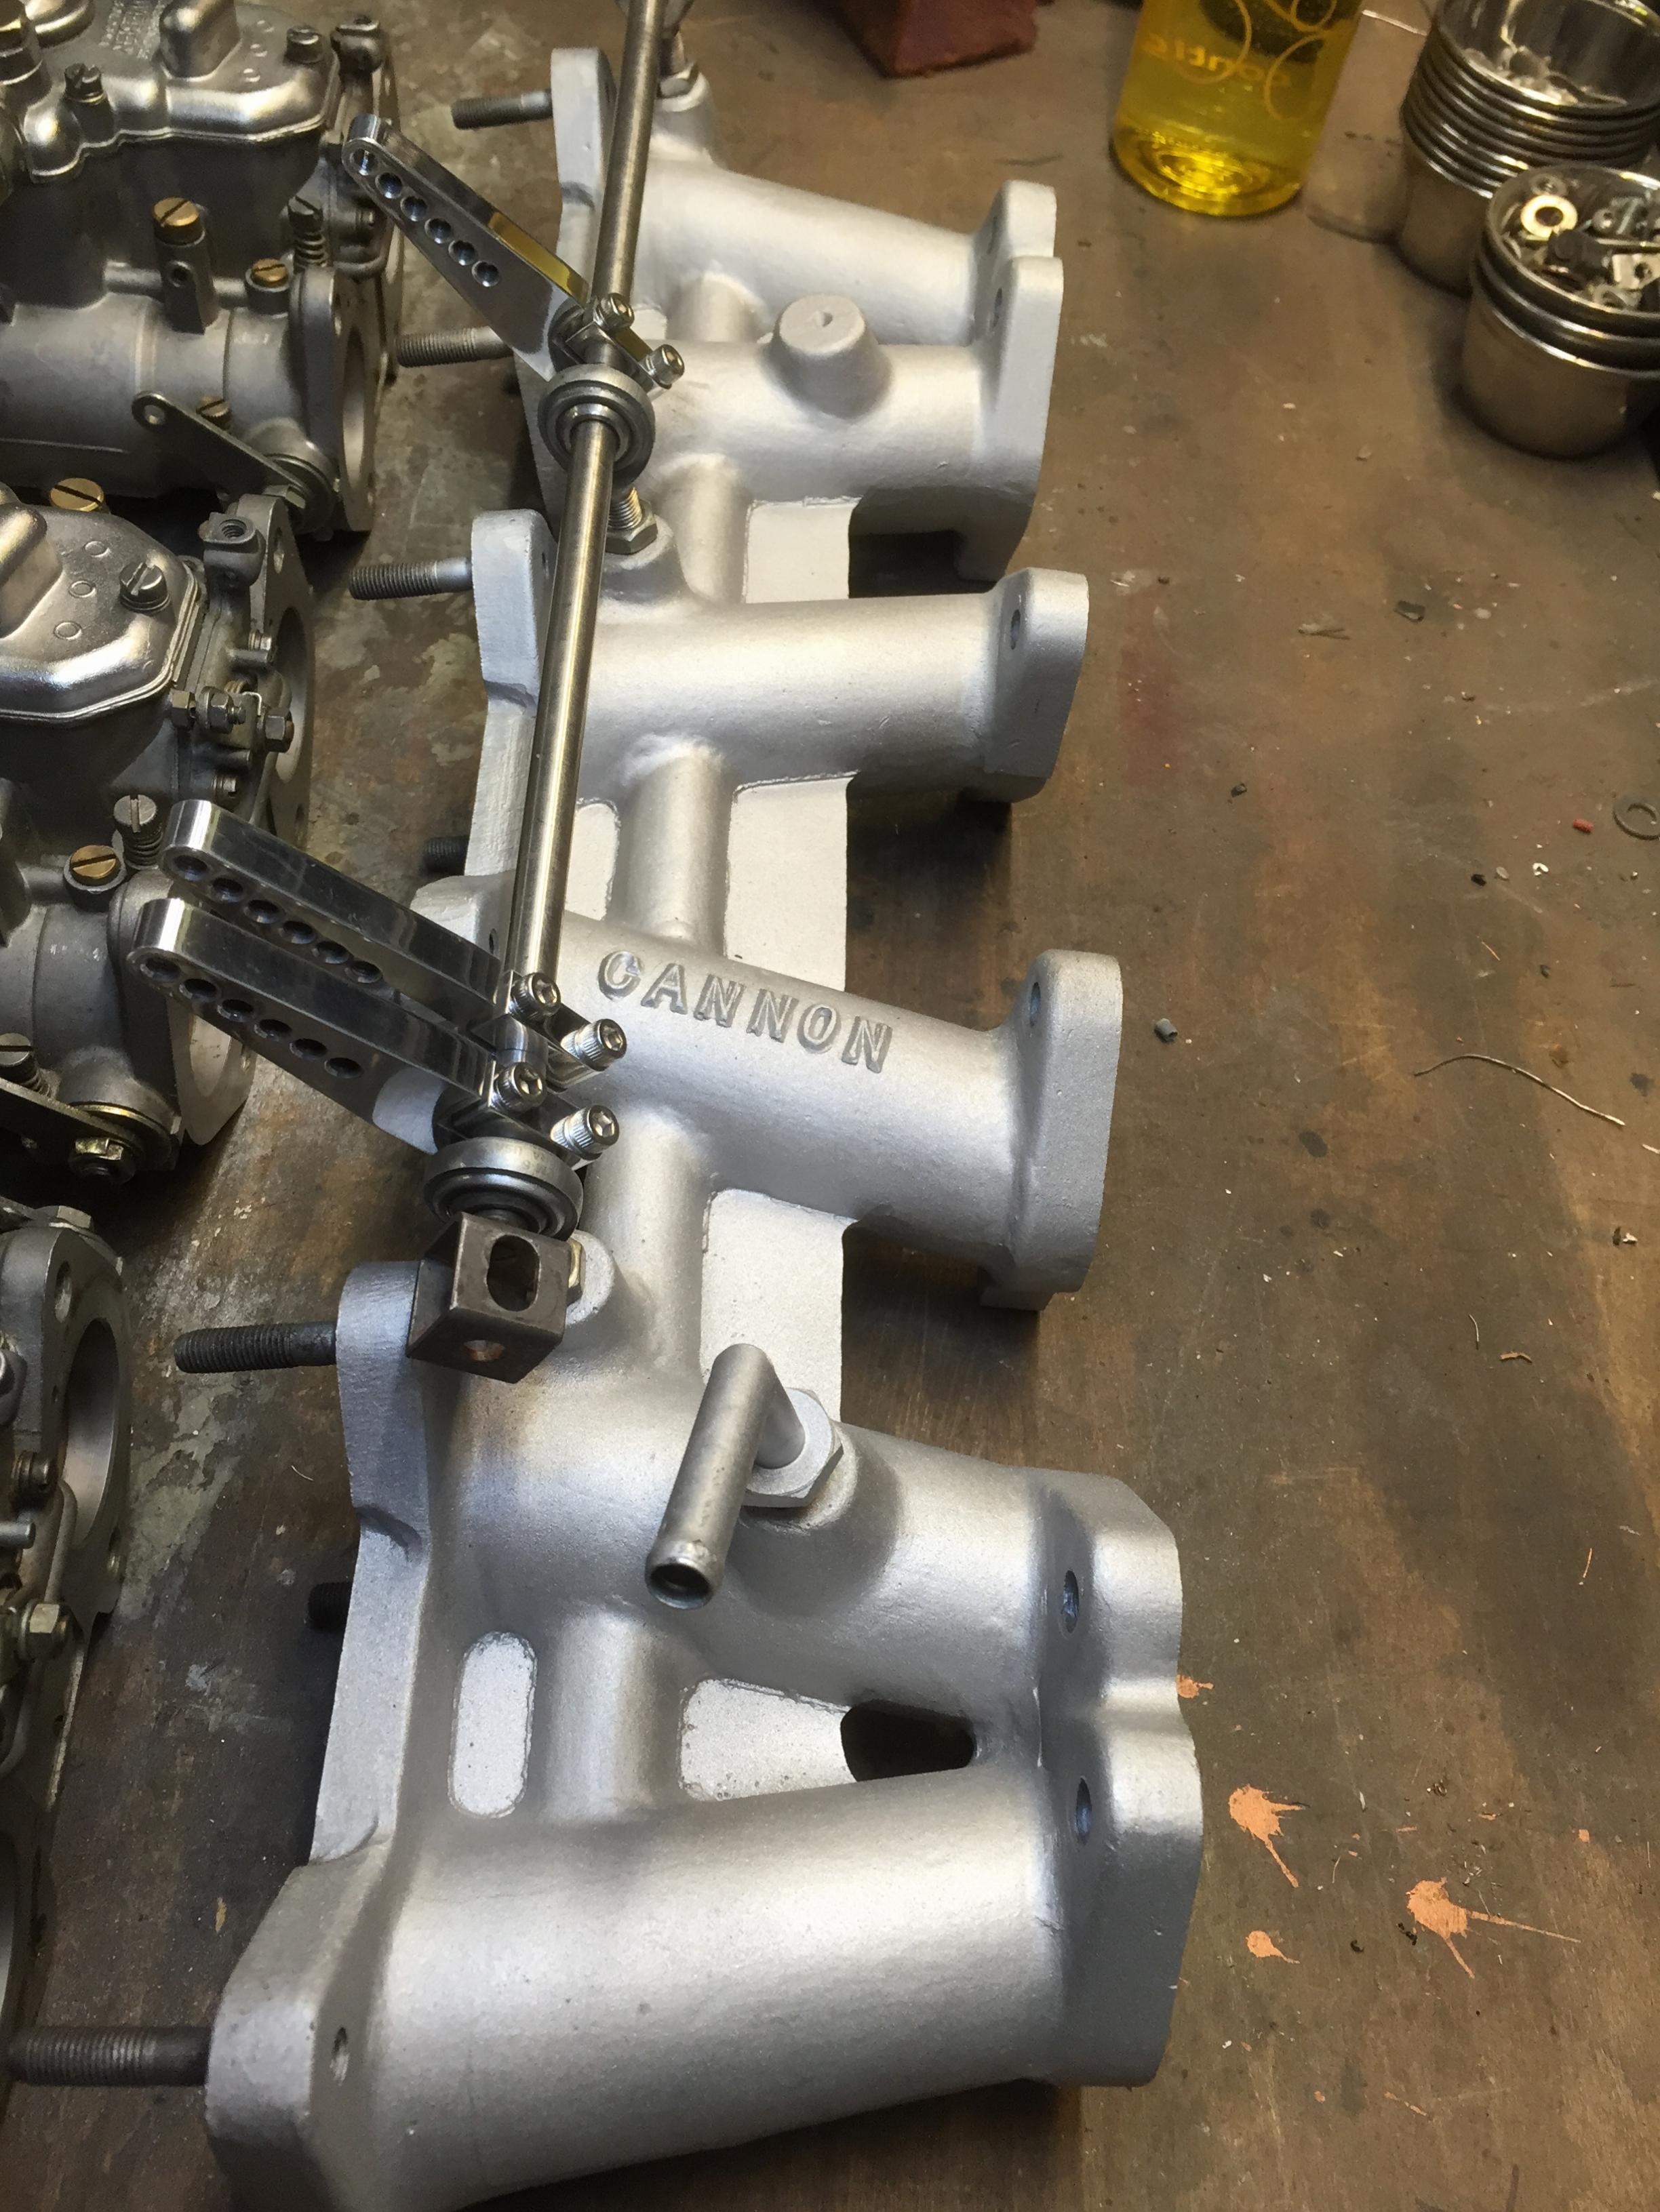
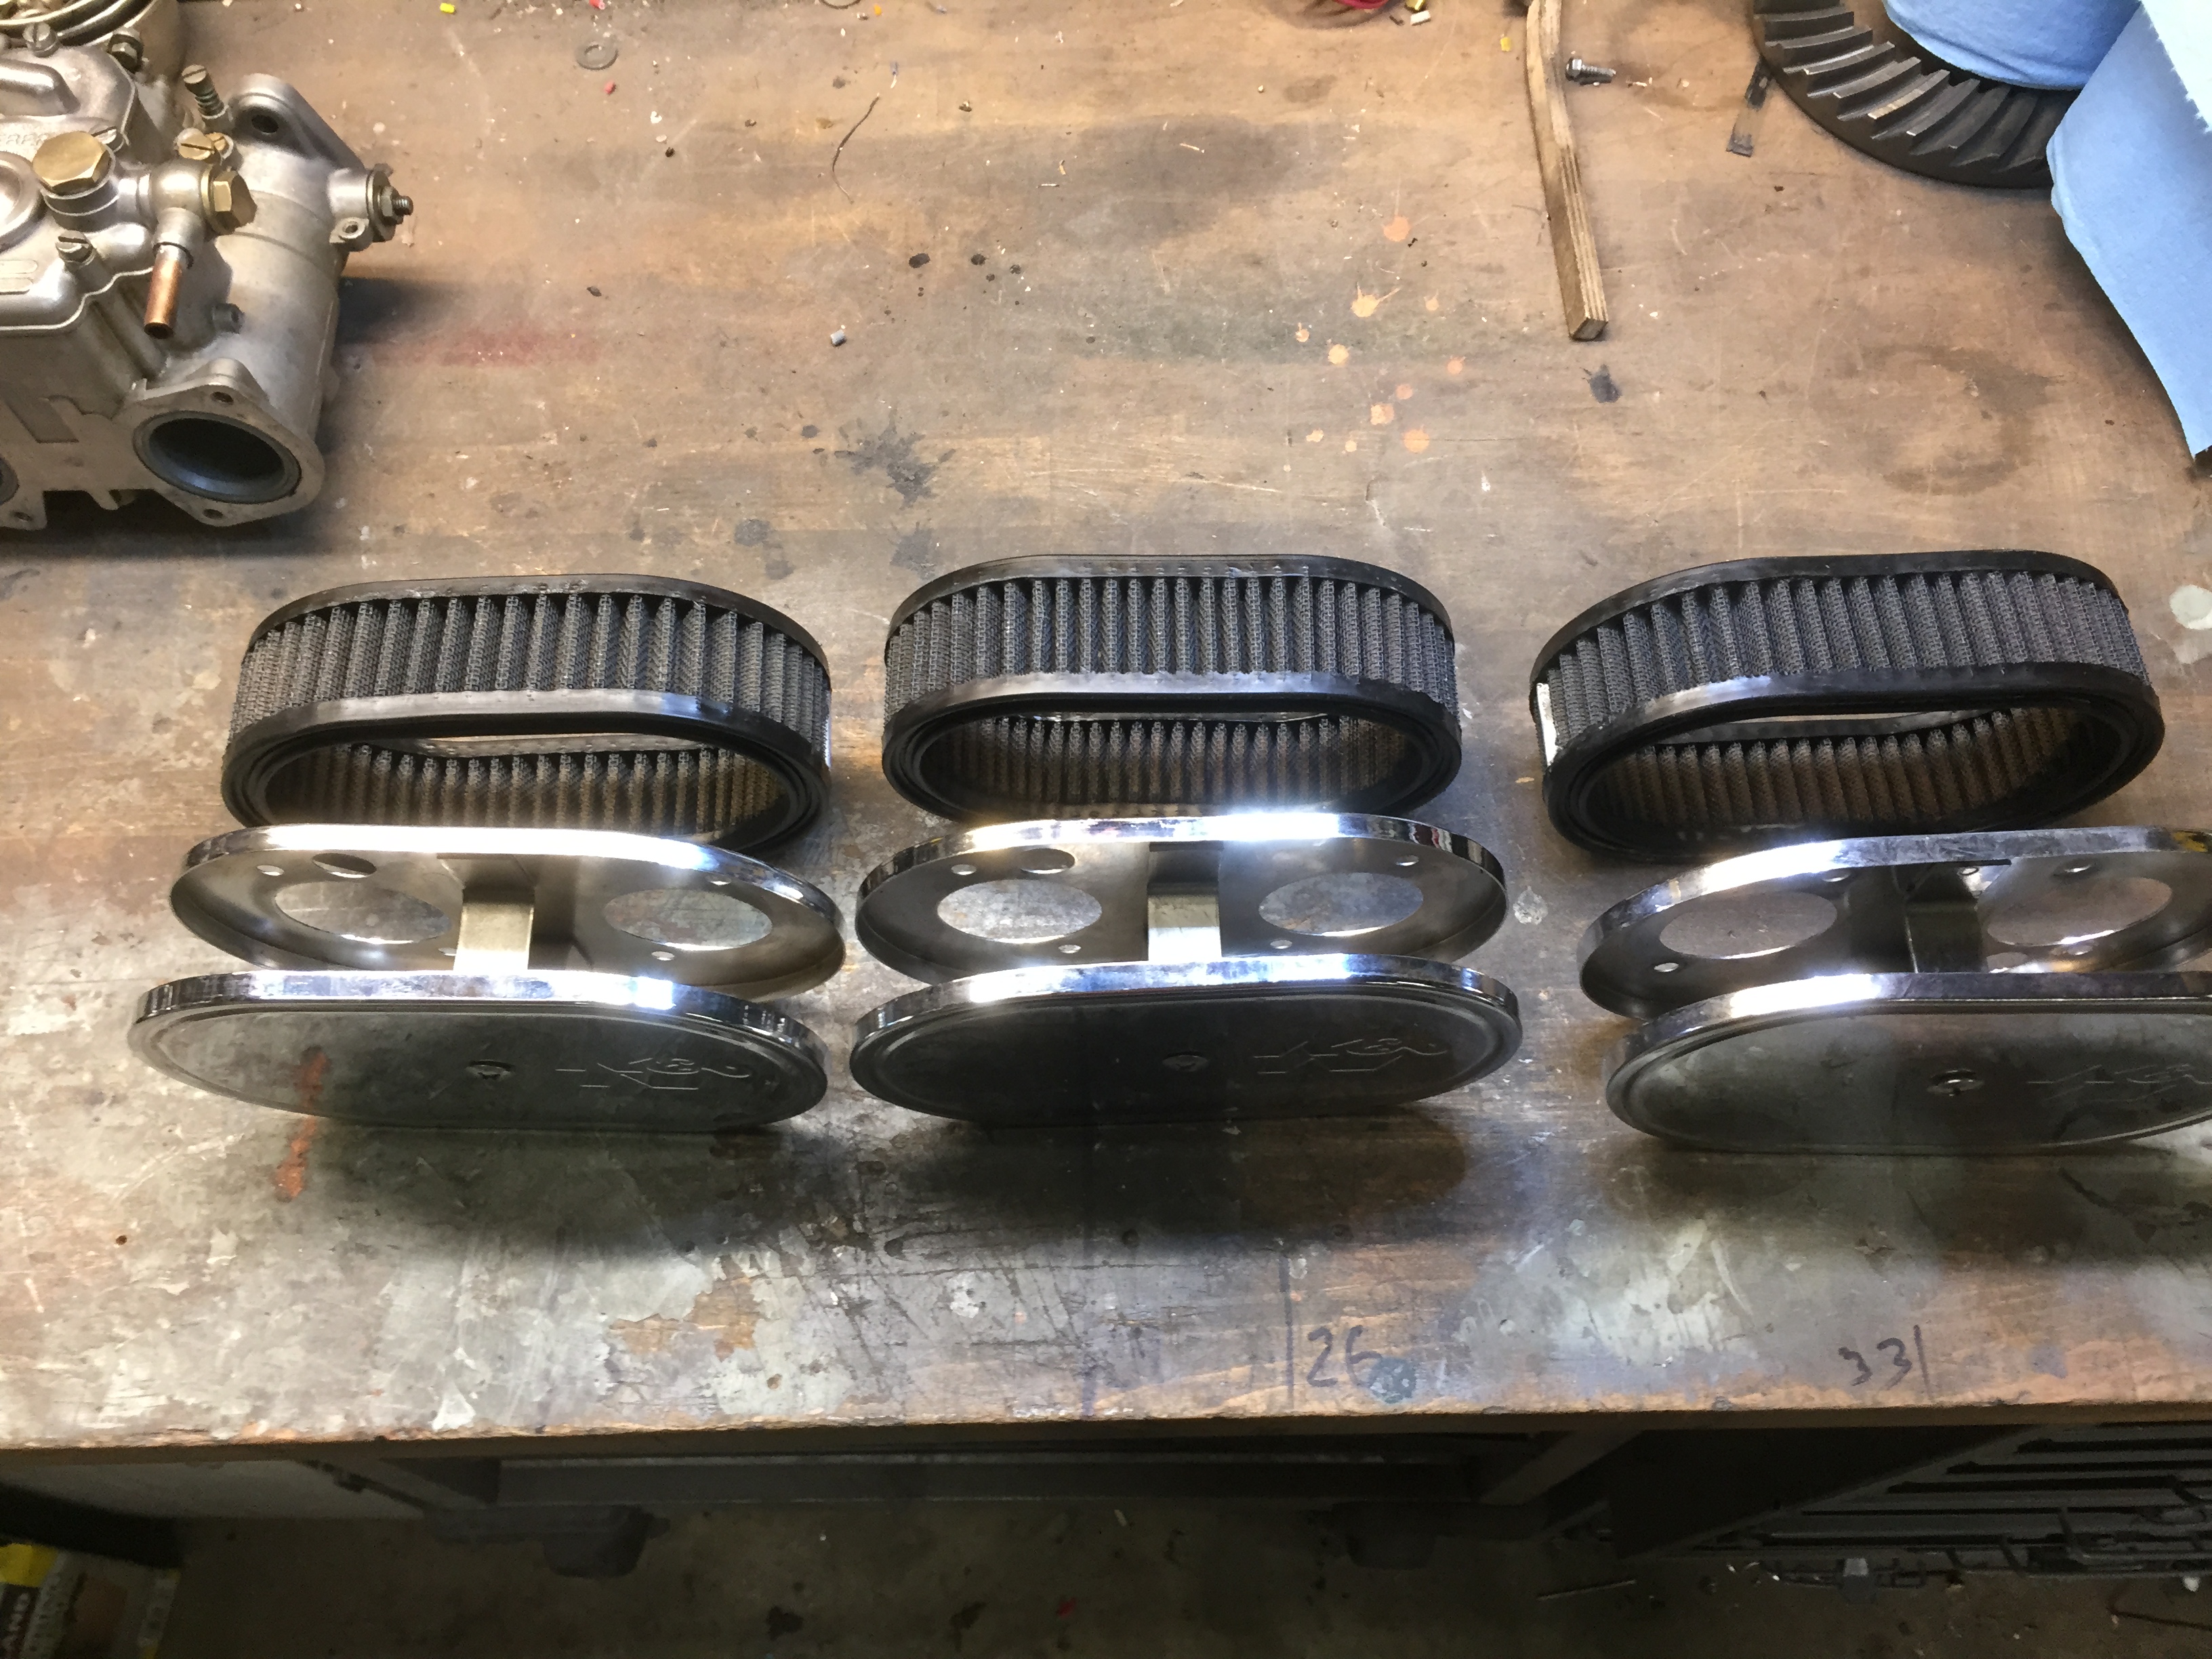
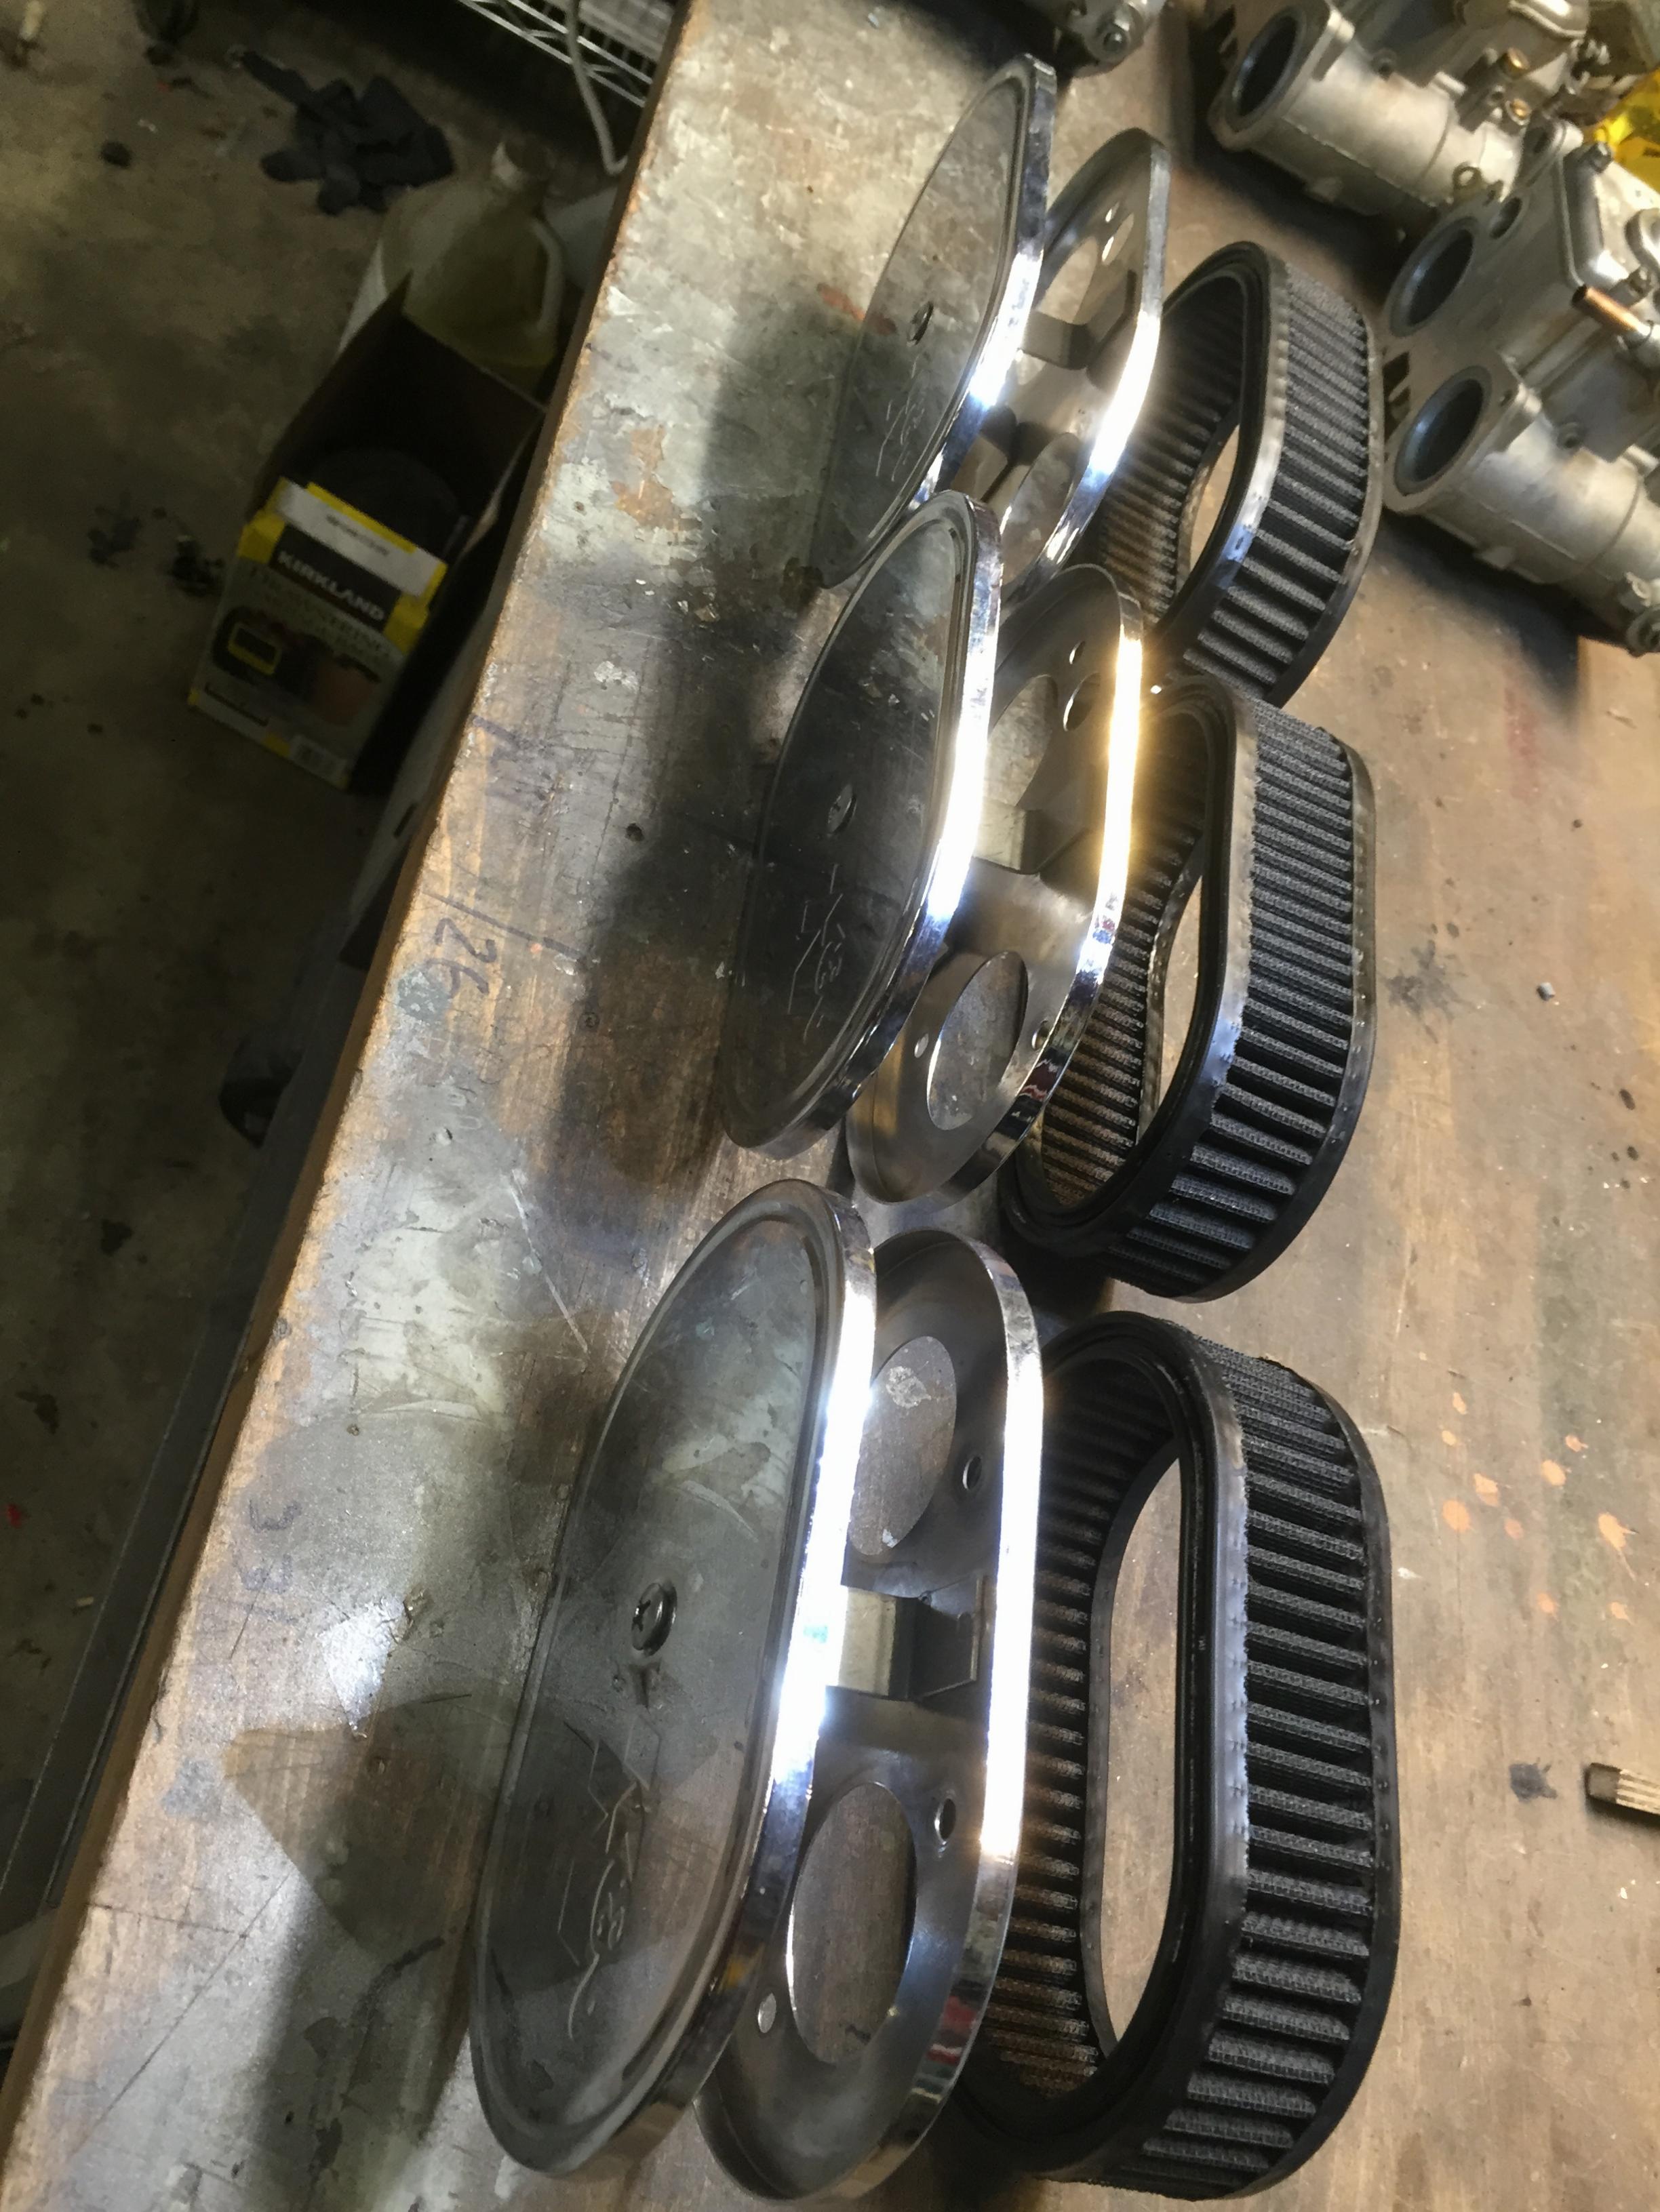
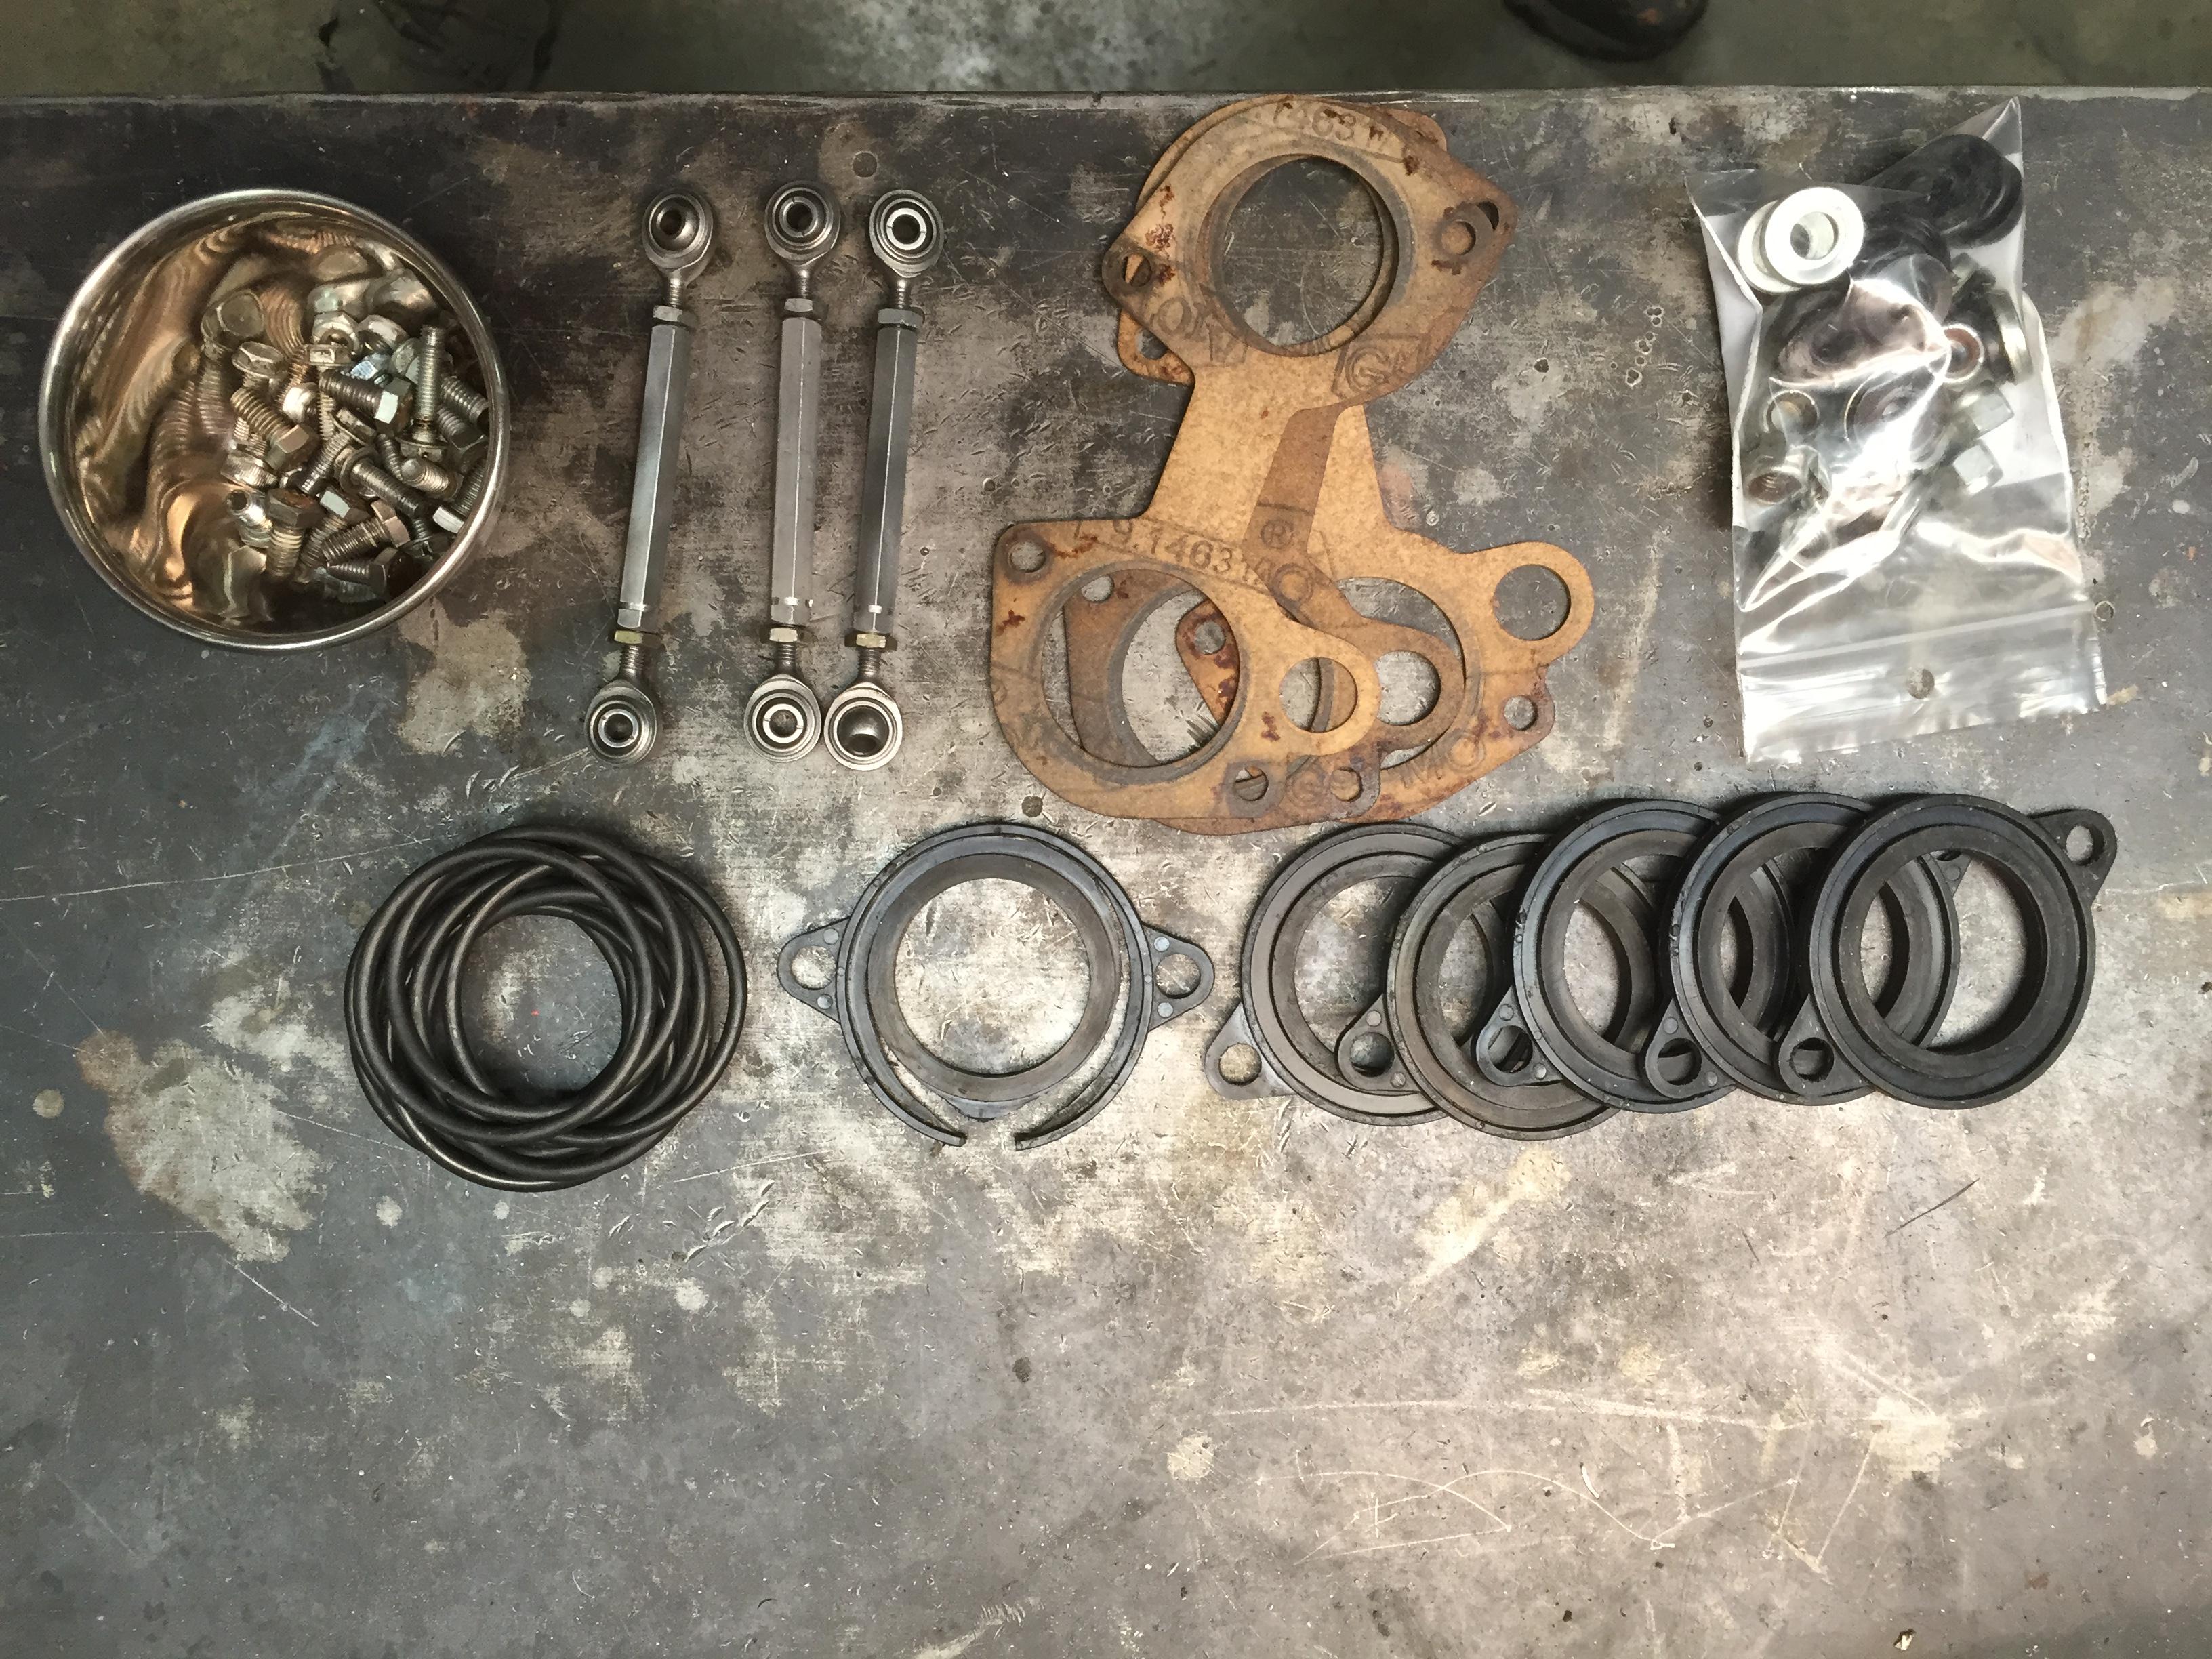
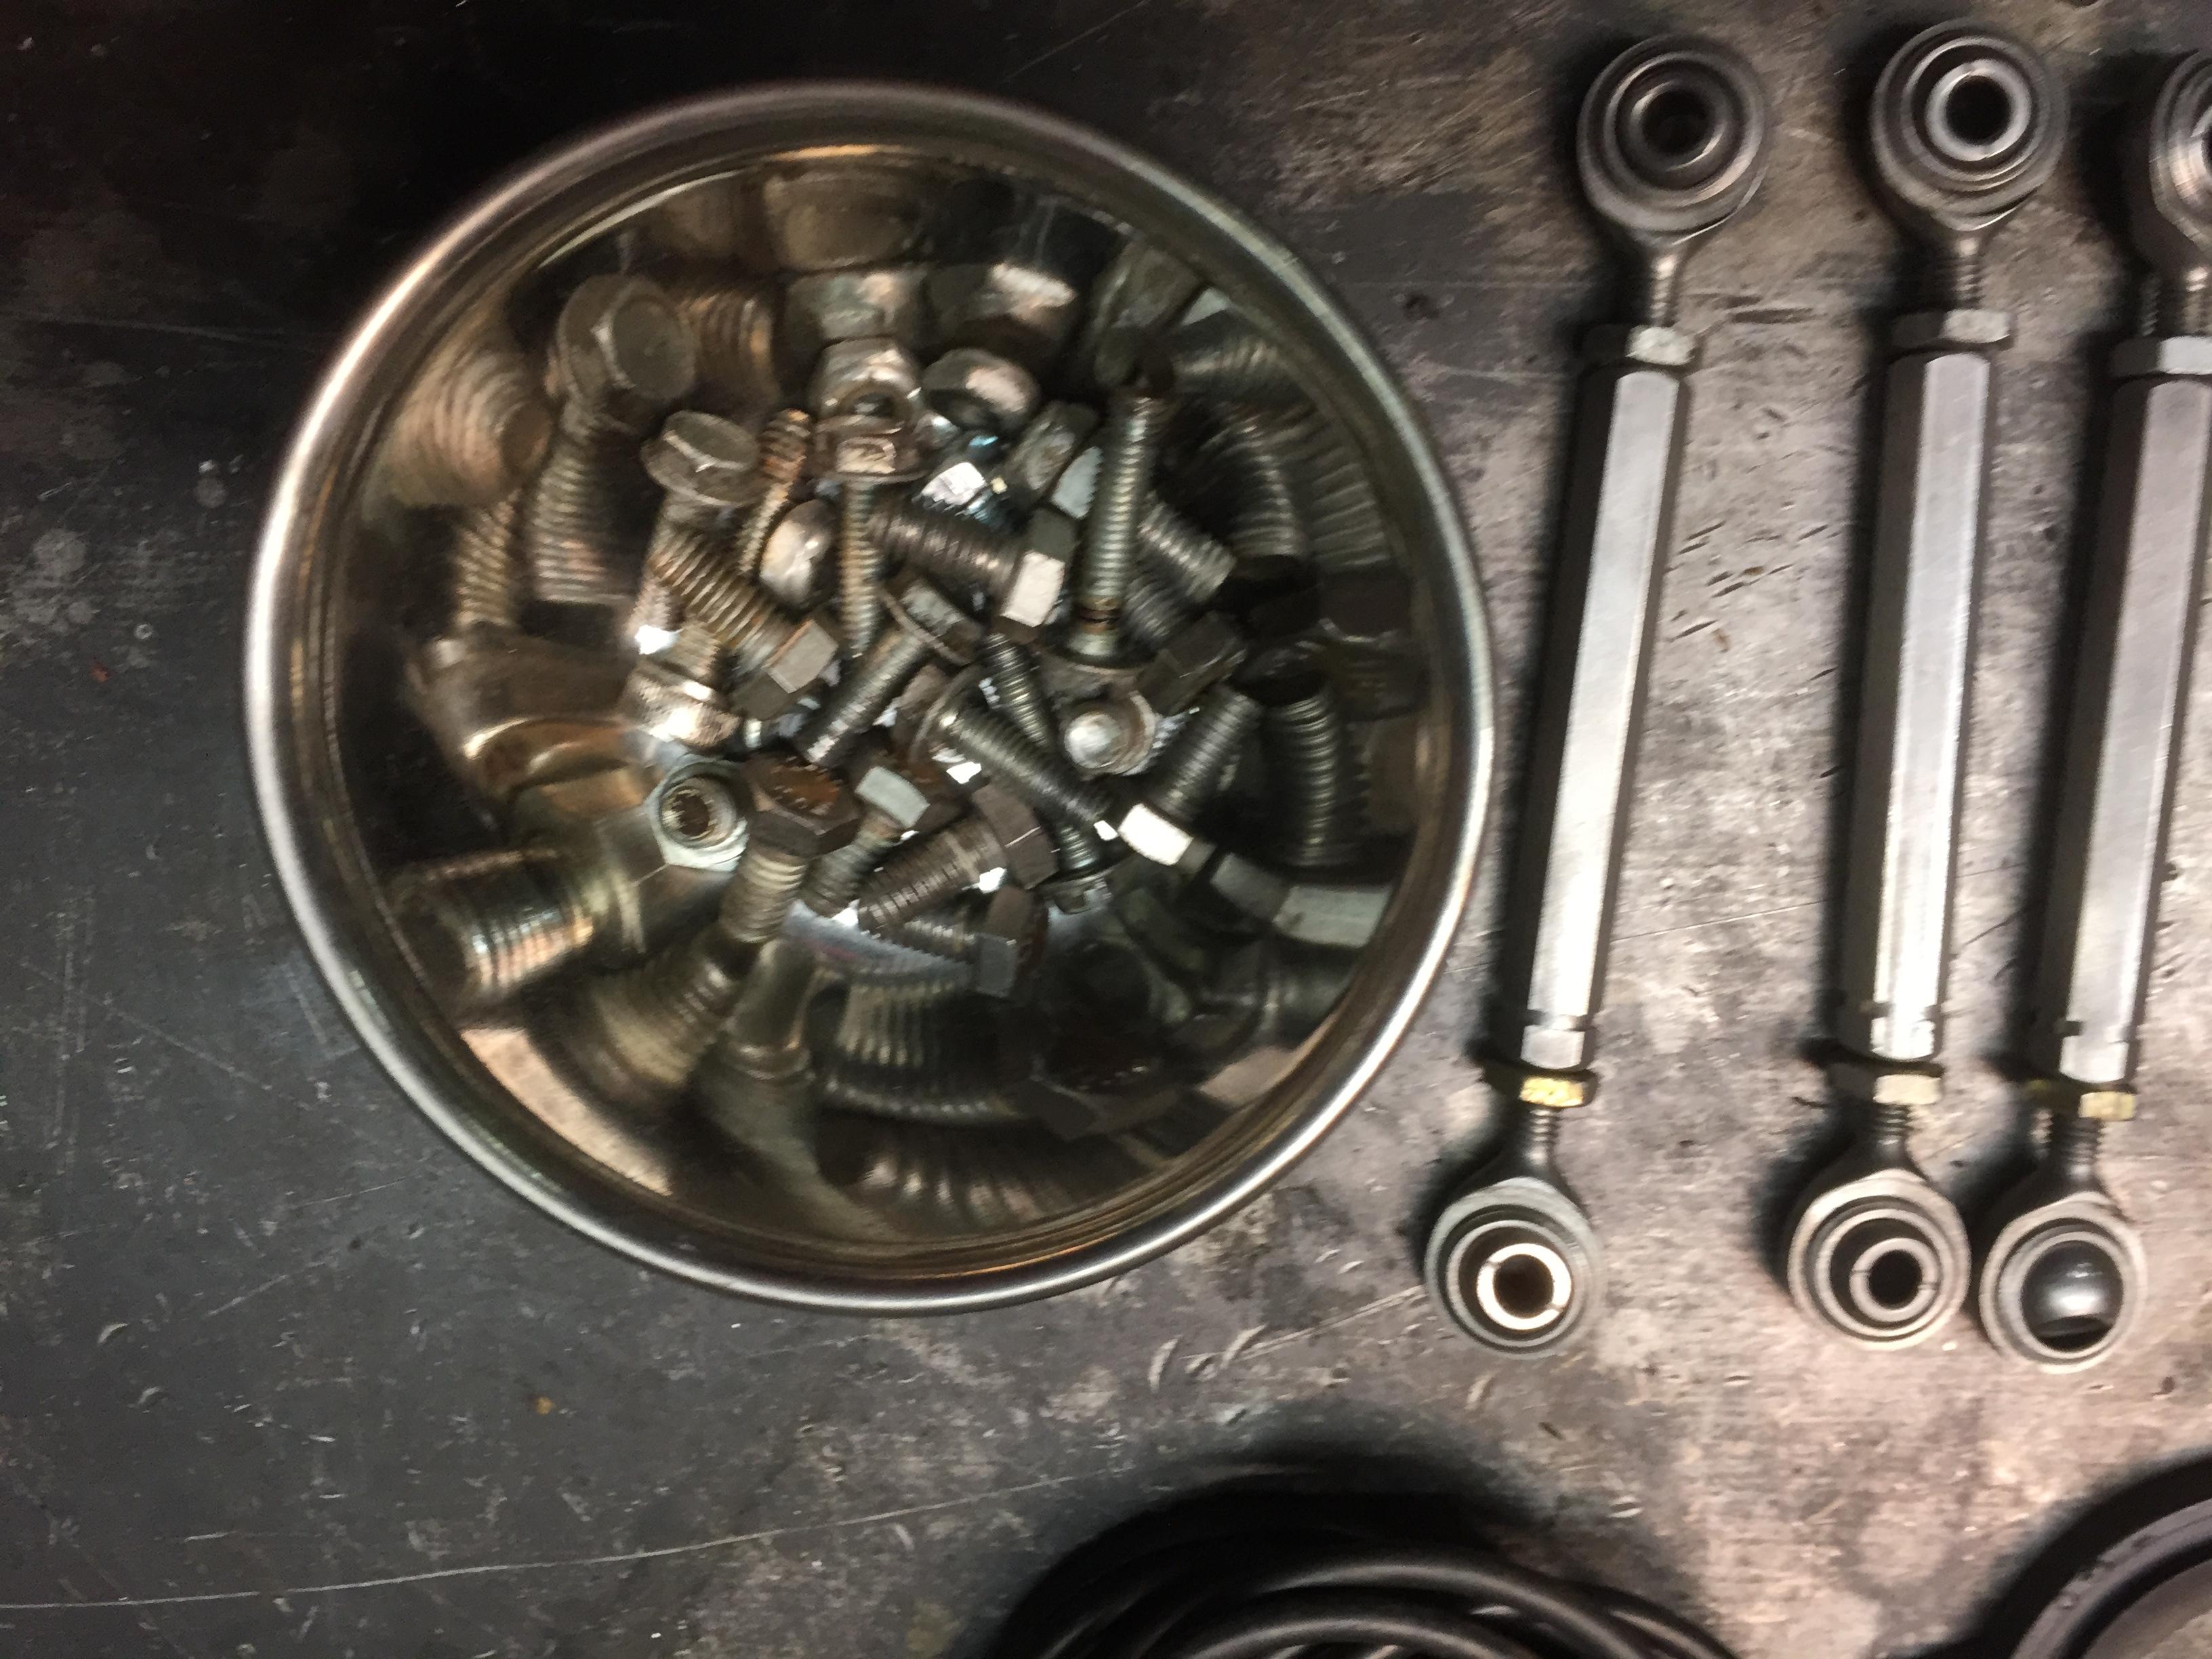
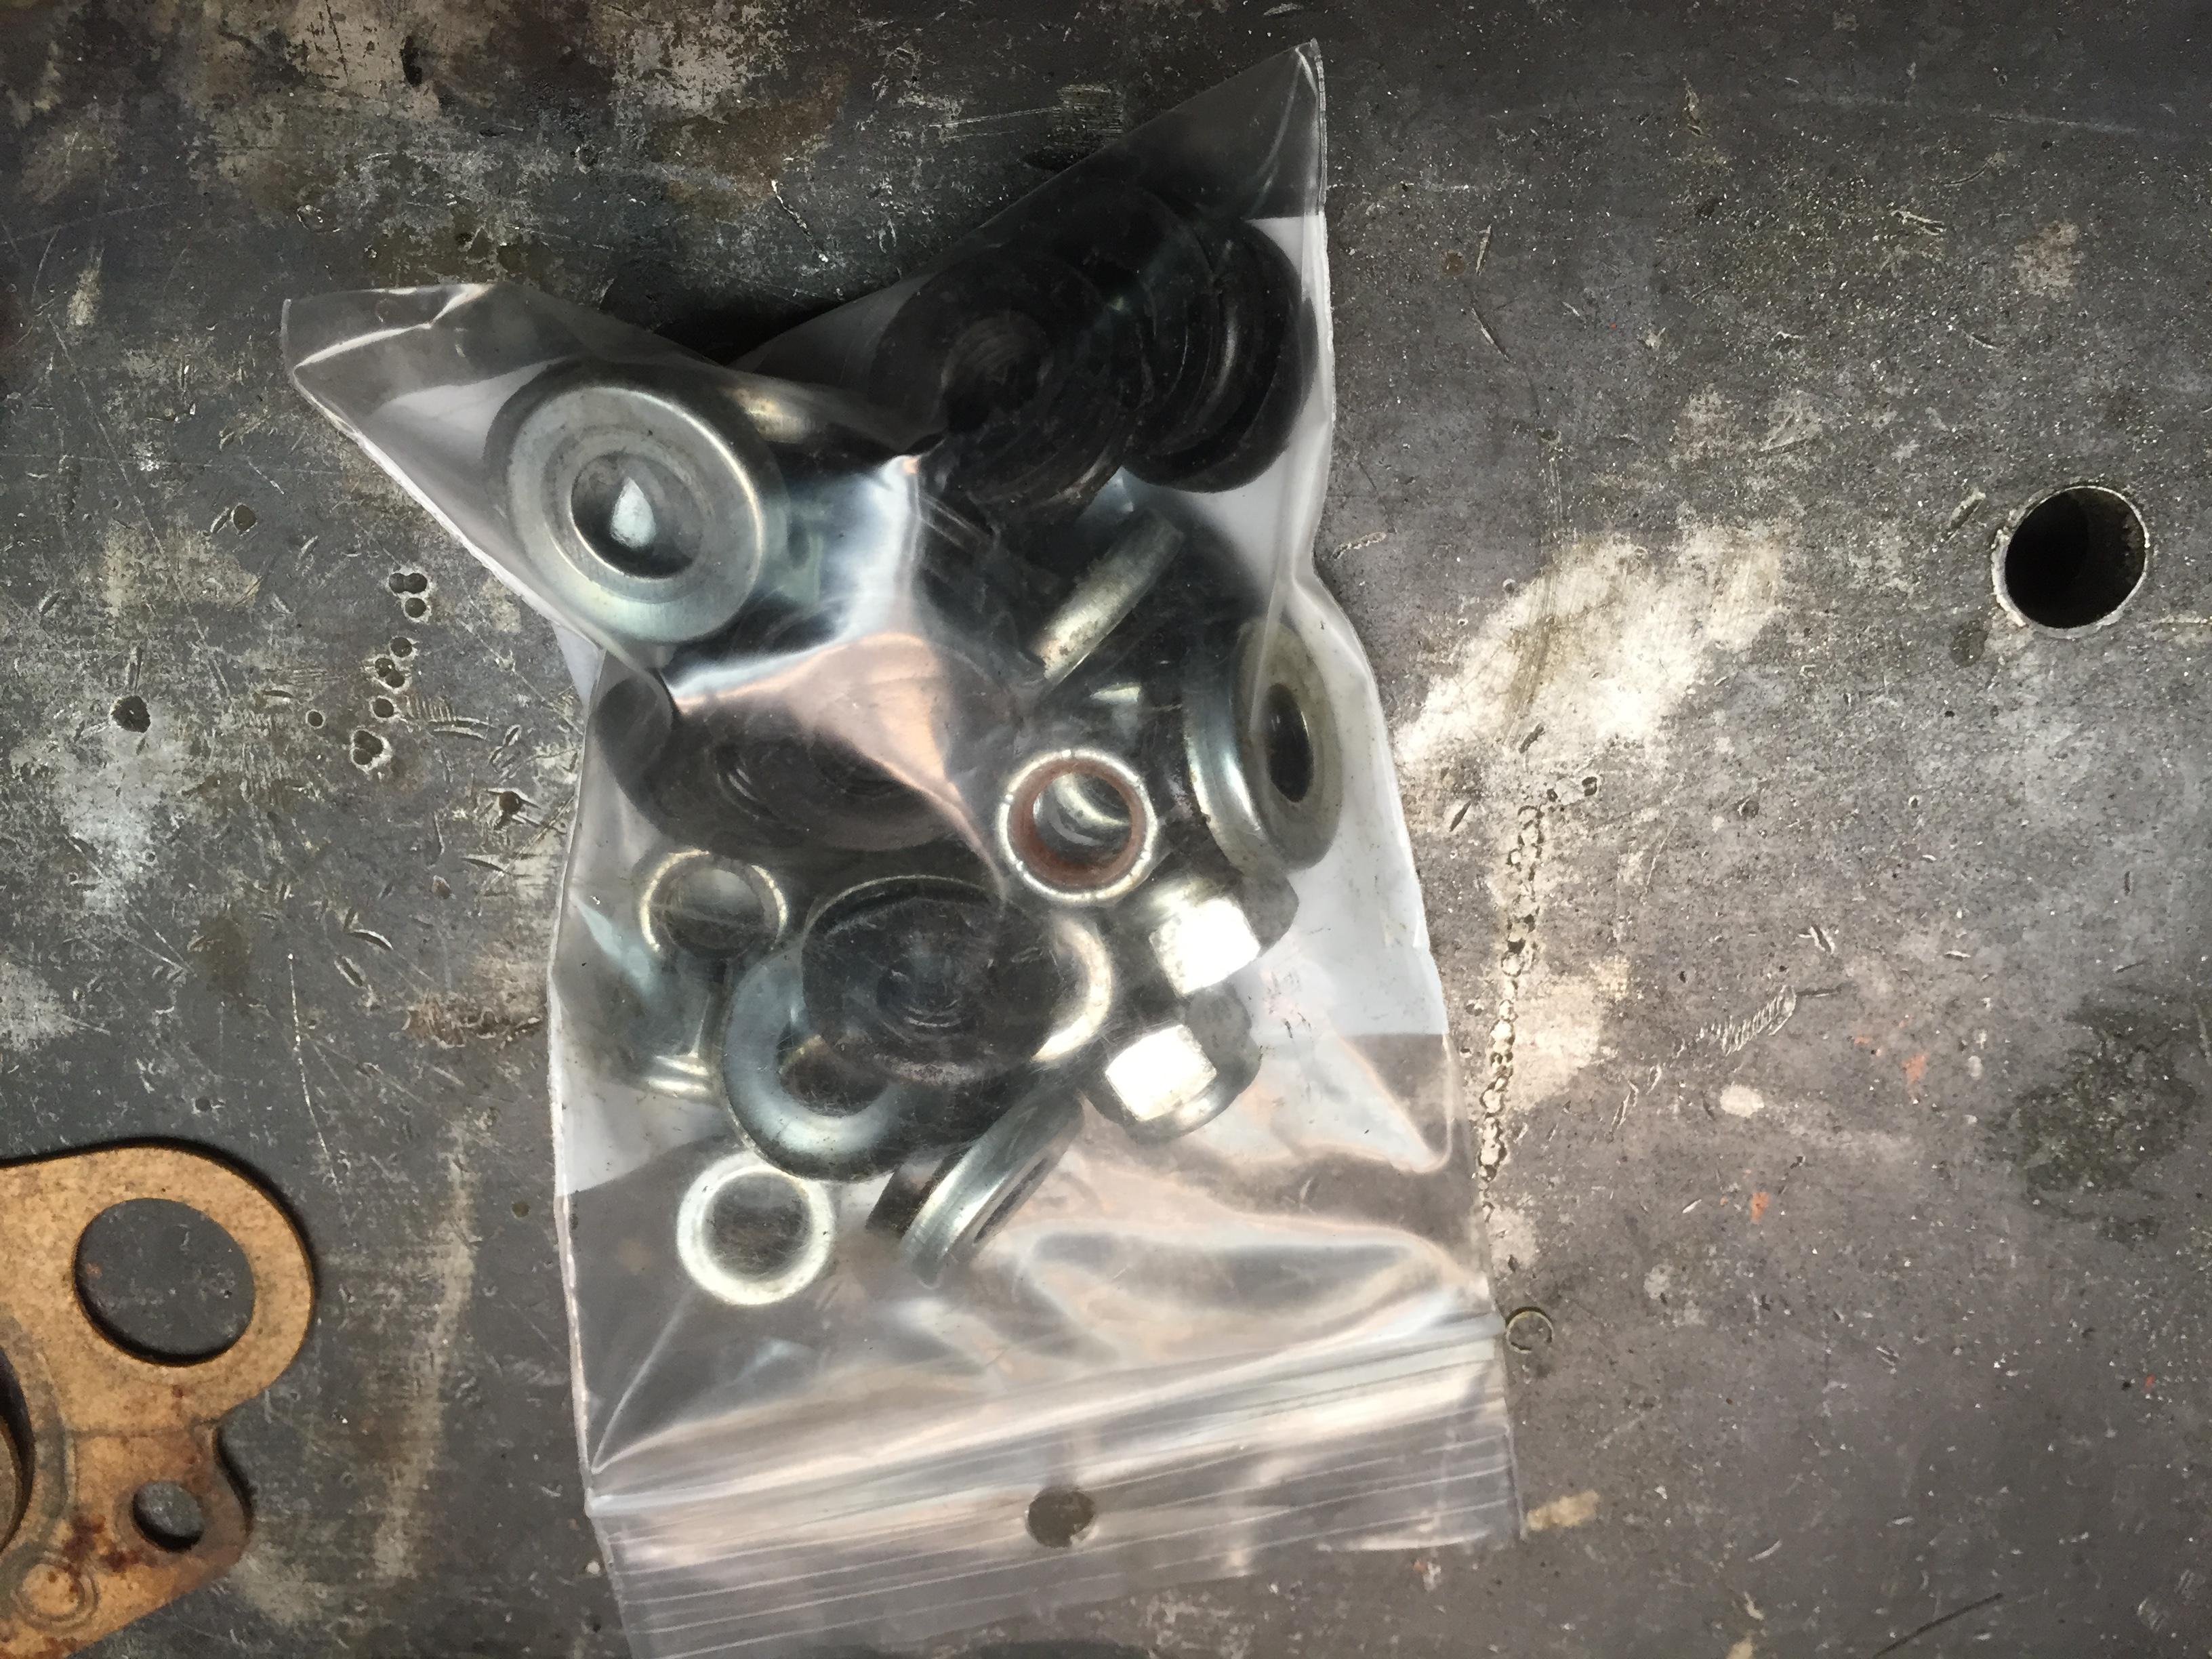
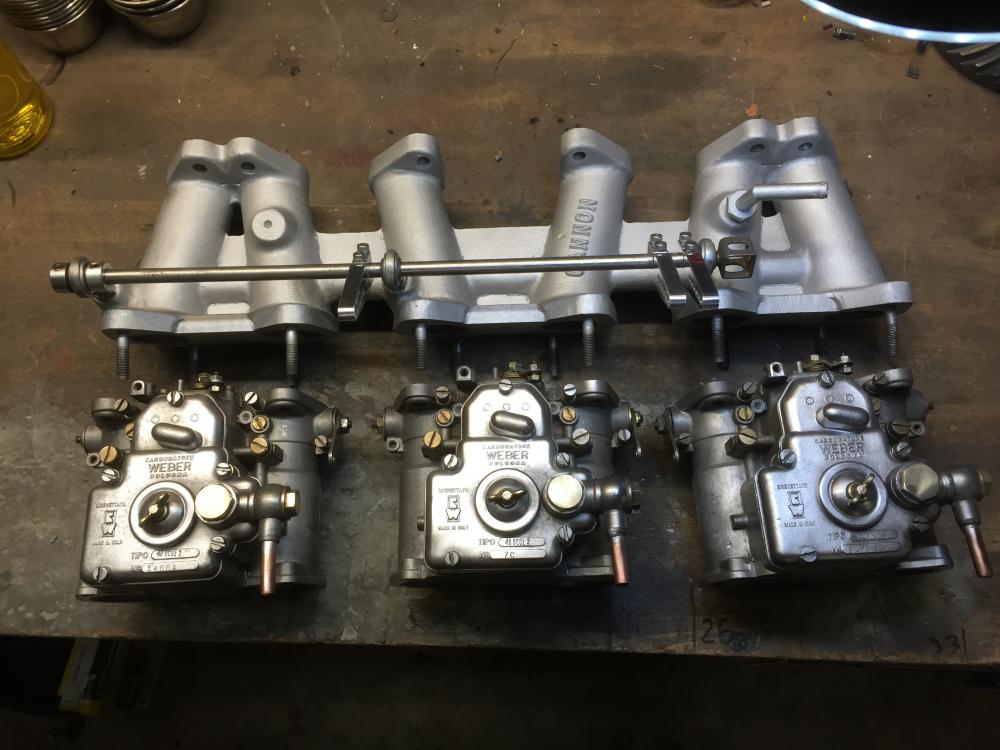
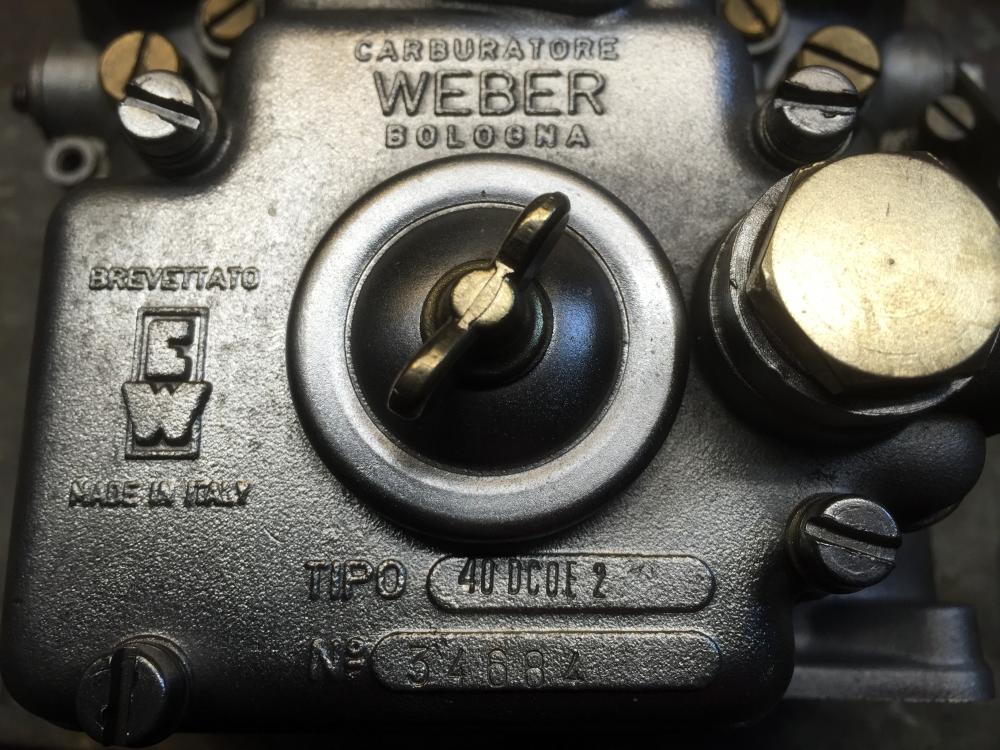
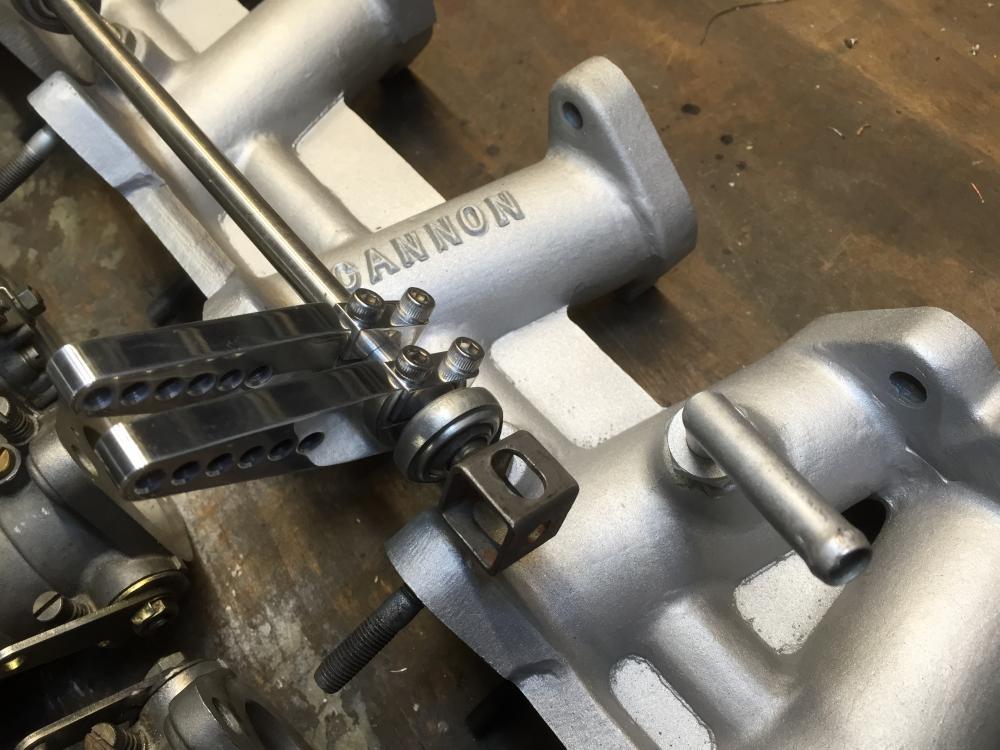
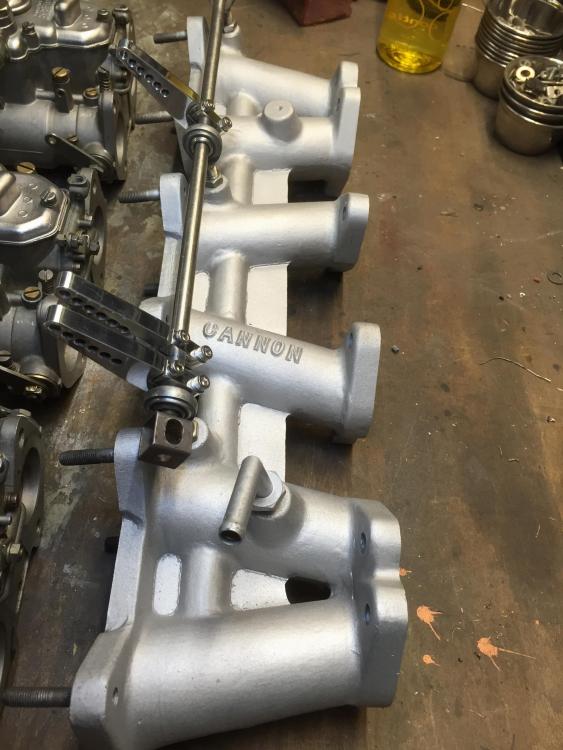
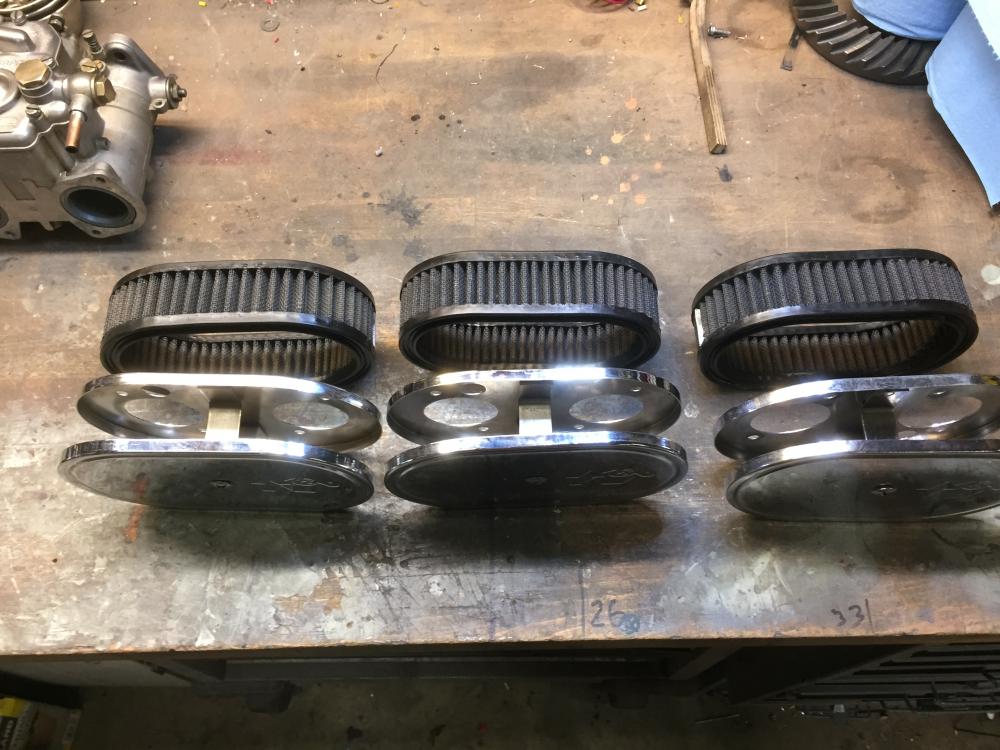
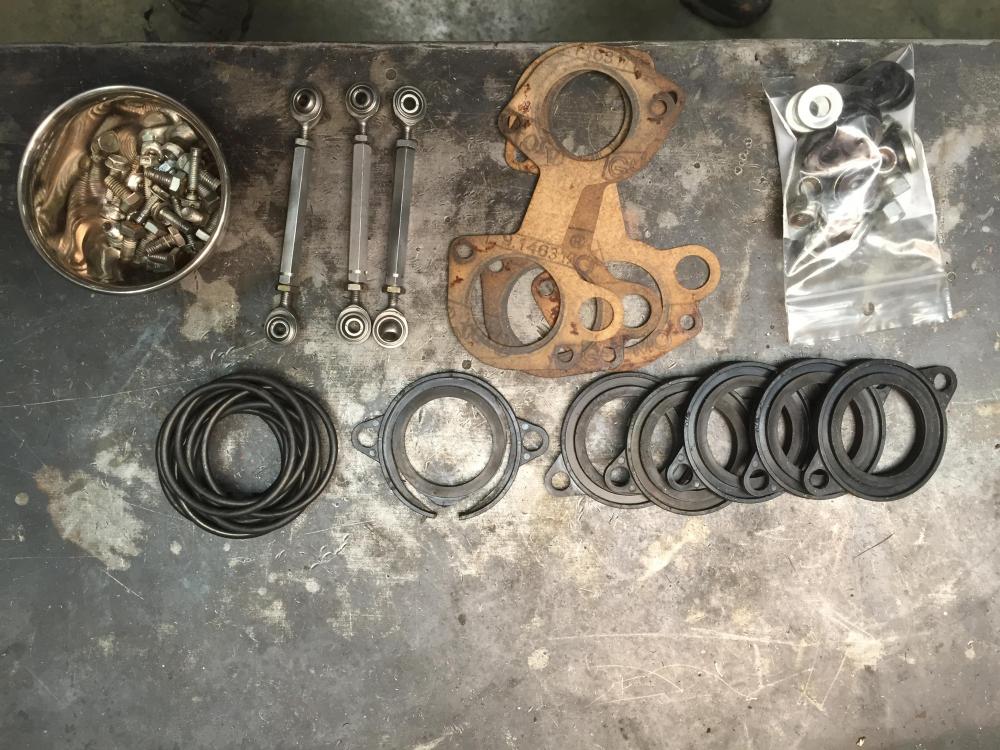
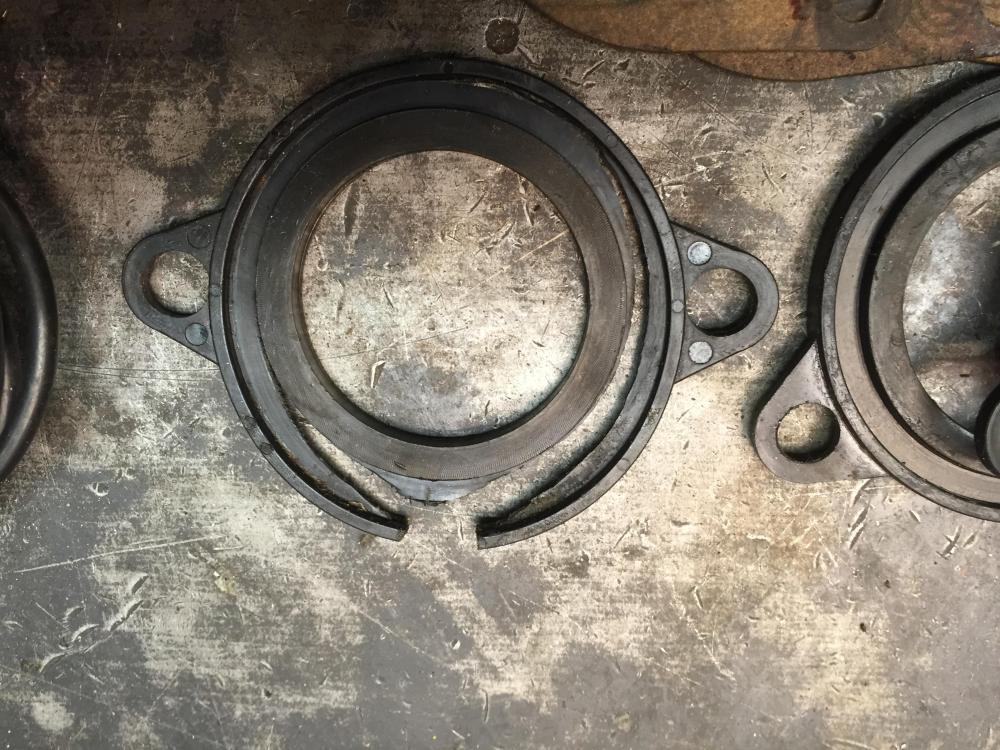
I have a nice set of 40 DCOE triple webers with a Cannon manifold and linkage for sale. Available after another successful SU conversion. Very clean inside and out, very low mileage. Manifold freshly blasted, cleaned and painted. Linkage arms replaced with great quality arms from Speedway motors. All hardware. Only problem is one broken mounting insulator (see pic) that will need to be replaced. All hardware, every nut bolt screw and insulator oring. Jetting : Chokes 4.5, Mains 135, Air 180, Aux 50F11, Em. tubes F11, Pump jet is 60. Chokes are snap in style. No air horns required or included. Oh yeah, and three thin K&N air filters as well. Freshly cleaned and oiled with genuine K&N products by yours truly. Chrome is great! Asking $1000. Shipping to be paid by buyer. Let me know if you have any questions.


-
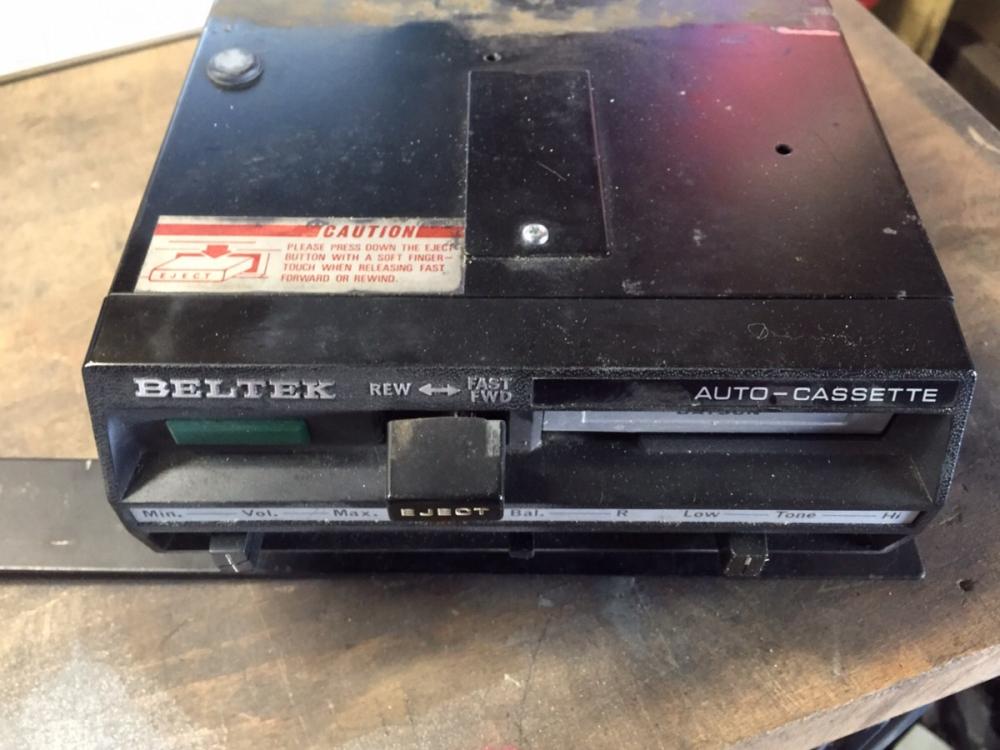
Well I can't test my new cassette deck unless someone brings me a cassette (no Kiddy tapes please), so I've got time to chime in on this.. Please everyone remember that float bowl levels while the engine is RUNNING is what is important. The static level while the engine is off is determined by when the float valve decides to close as the bowl fills. In the running case, there is a steady or perhaps some open/close cycling of the float valve as fuel is drawn out the bottom and comes in the top to meet demand of what's leaving. The fuel level in the jet tube is always at the top of the bridge during running, that's how fuel gets to the air rushing in. Or the other way, the pressure drop due to air rushing over the bridge draws the fuel into the air stream from the jet tube. HOW MUCH fuel the engine gets is just the position of the needle in the jet. So in my humble opinion, while running, The bowl level just needs to be such that enough fuel is available to keep supplying the demand of the current pressure drop.. It's exact level, or matching level in both bowls isn't really that important. As long as the flowrate into the bowl is always higher than the rate exiting, the car runs just fine. Now I'd love to be proven wrong. Someone set the floats perfect to spec, go drive and record AFR's across some operating range and note performance, then set the front float down 2mm and back one up 2mm and see if anything changes. The only thing that changes is the small difference in back pressure generated from the height difference of the column of fuel in the jet tube verses the bowl level. If both level differences in each carb aren't the 'same', then there is a teeny weeny flowrate difference as fuel flows up the jet tube. Is this difference enough to affect performance? I doubt it. But then again I only know how to calculate flowrates in oil wells...... Lets see, about 8.5 kpa pressure change per meter of height for gas, so a 2mm difference is about .00004 kpa, so... ARGHHHH I'm retired.... I'm not doing this
-
No polarity. Either way is just fine.
-
Carefull soldering new wires back on! I melted the innards of a couple trying too hard. Super clean the tabs, bit of flux, hot iron for just as long as need to get a dot of solder to stick. Cool and do the other. Tin wires, then quickly melt the tinned wire to each terminal. The original wires are squeezed into a slot in those tabs with no solder for this reason I think. New ones are on rockauto pretty cheap anyway I think
-
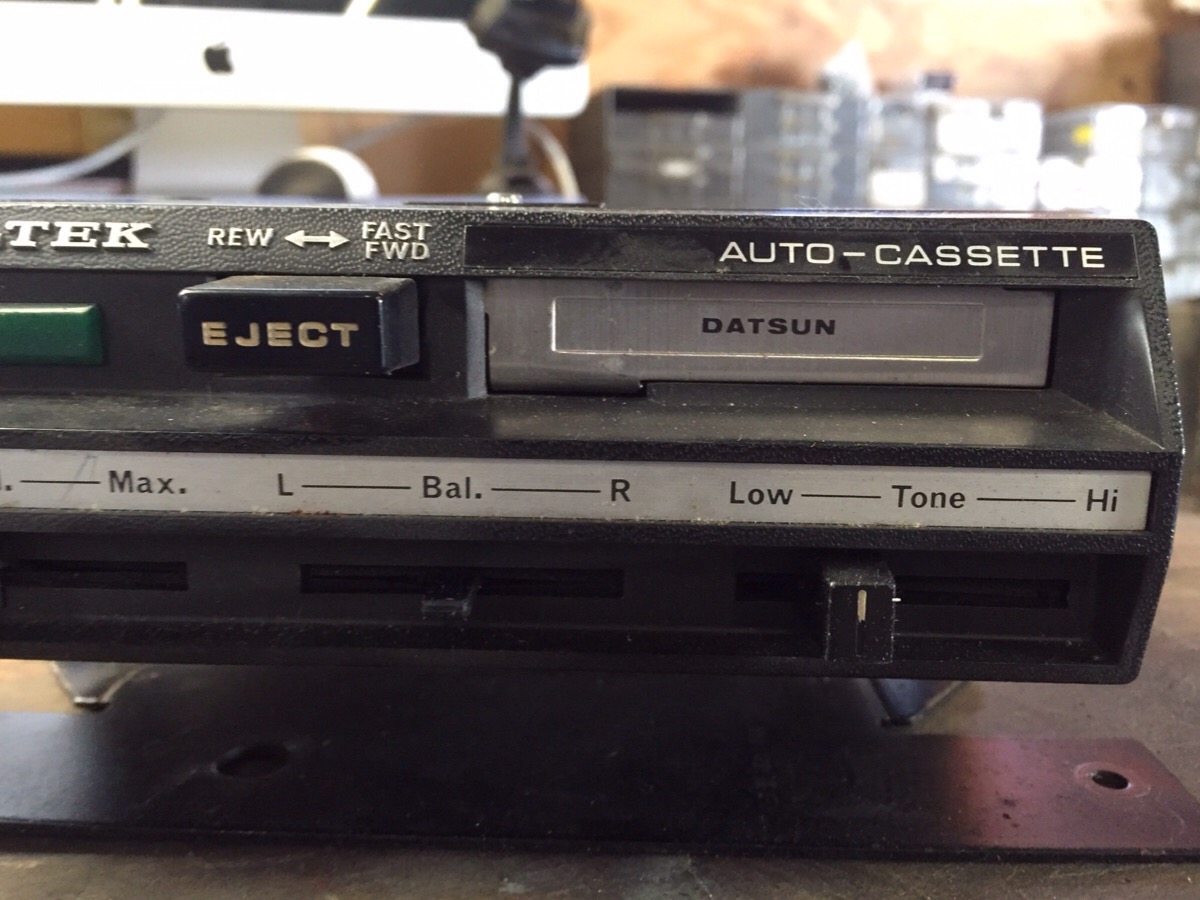
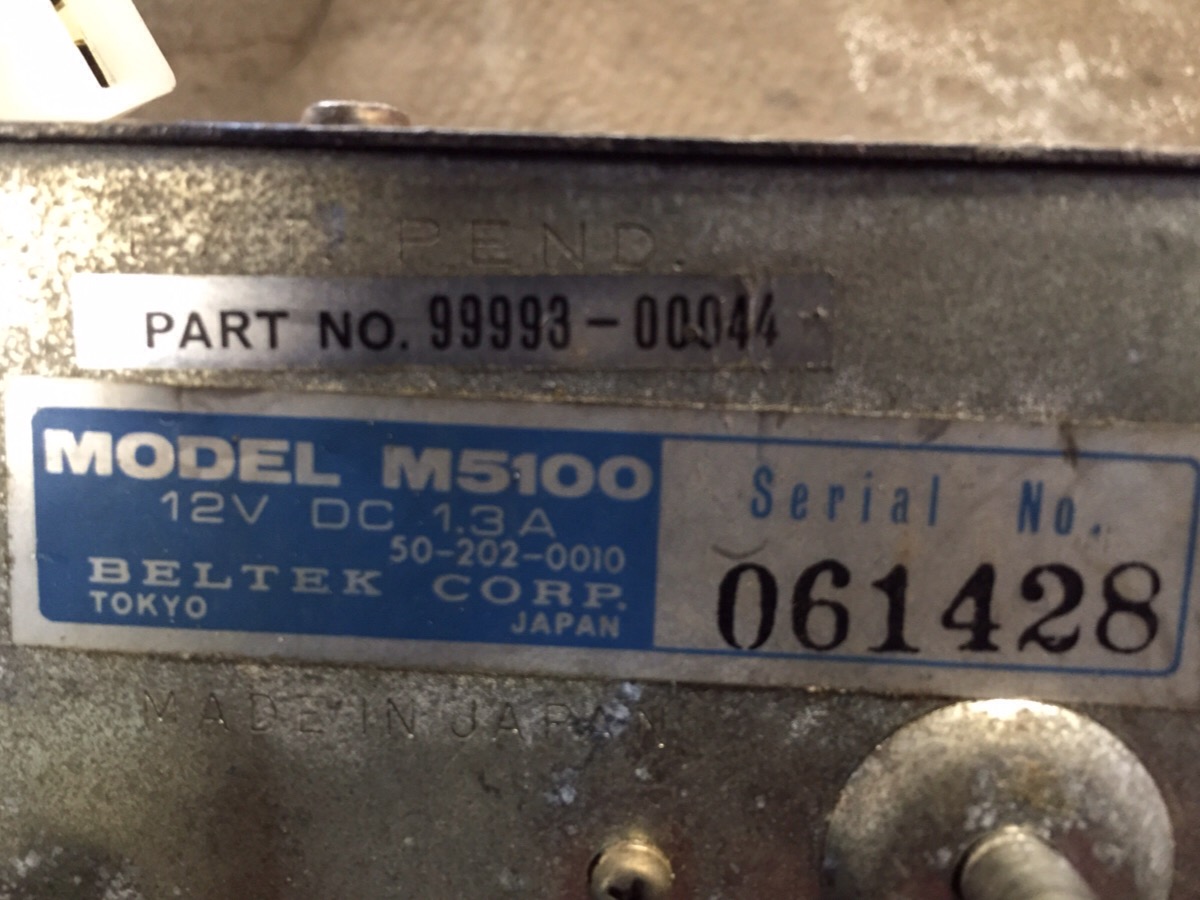
I recently traded a pretty nice dash from a 73 240z (and other goodies) in exchange for a nice L28 engine I had laying around. A local friend is building up his 73 and had several items he scavenged over the past few years he no longer needed, so naturally they had to come live at my house. He jokingly mentioned there was a cassette player in the glove box. Yeah, some POS I'm sure.... I didn't actually look at it for several days. Just popped the glove box today, Nearly dropped my drawers! It even has a Datsun part number!! 99993 00044 Don't know if it works yet. Have to find a cassette somewhere! WHY did I throw them all out 10 years ago! Arggggghhhhh