zKars
 Subscriber
-
Posts
3,742 -
Joined
-
Last visited
-
Days Won
107
Content Type
Profiles
Knowledge Base
Zcar Wiki
Forums
Gallery
Events
Downloads
Store
Blogs
Collections
Classifieds
Everything posted by zKars
-
Bit late now, but a trick is to not install the new seal all the way flush so the seal lip rides on a new un-marked part of the crank snout. Use in a pinch, not the world’s best solution. I fully agree you are doing the right thing with this extreme case to use a speedy sleeve.
-
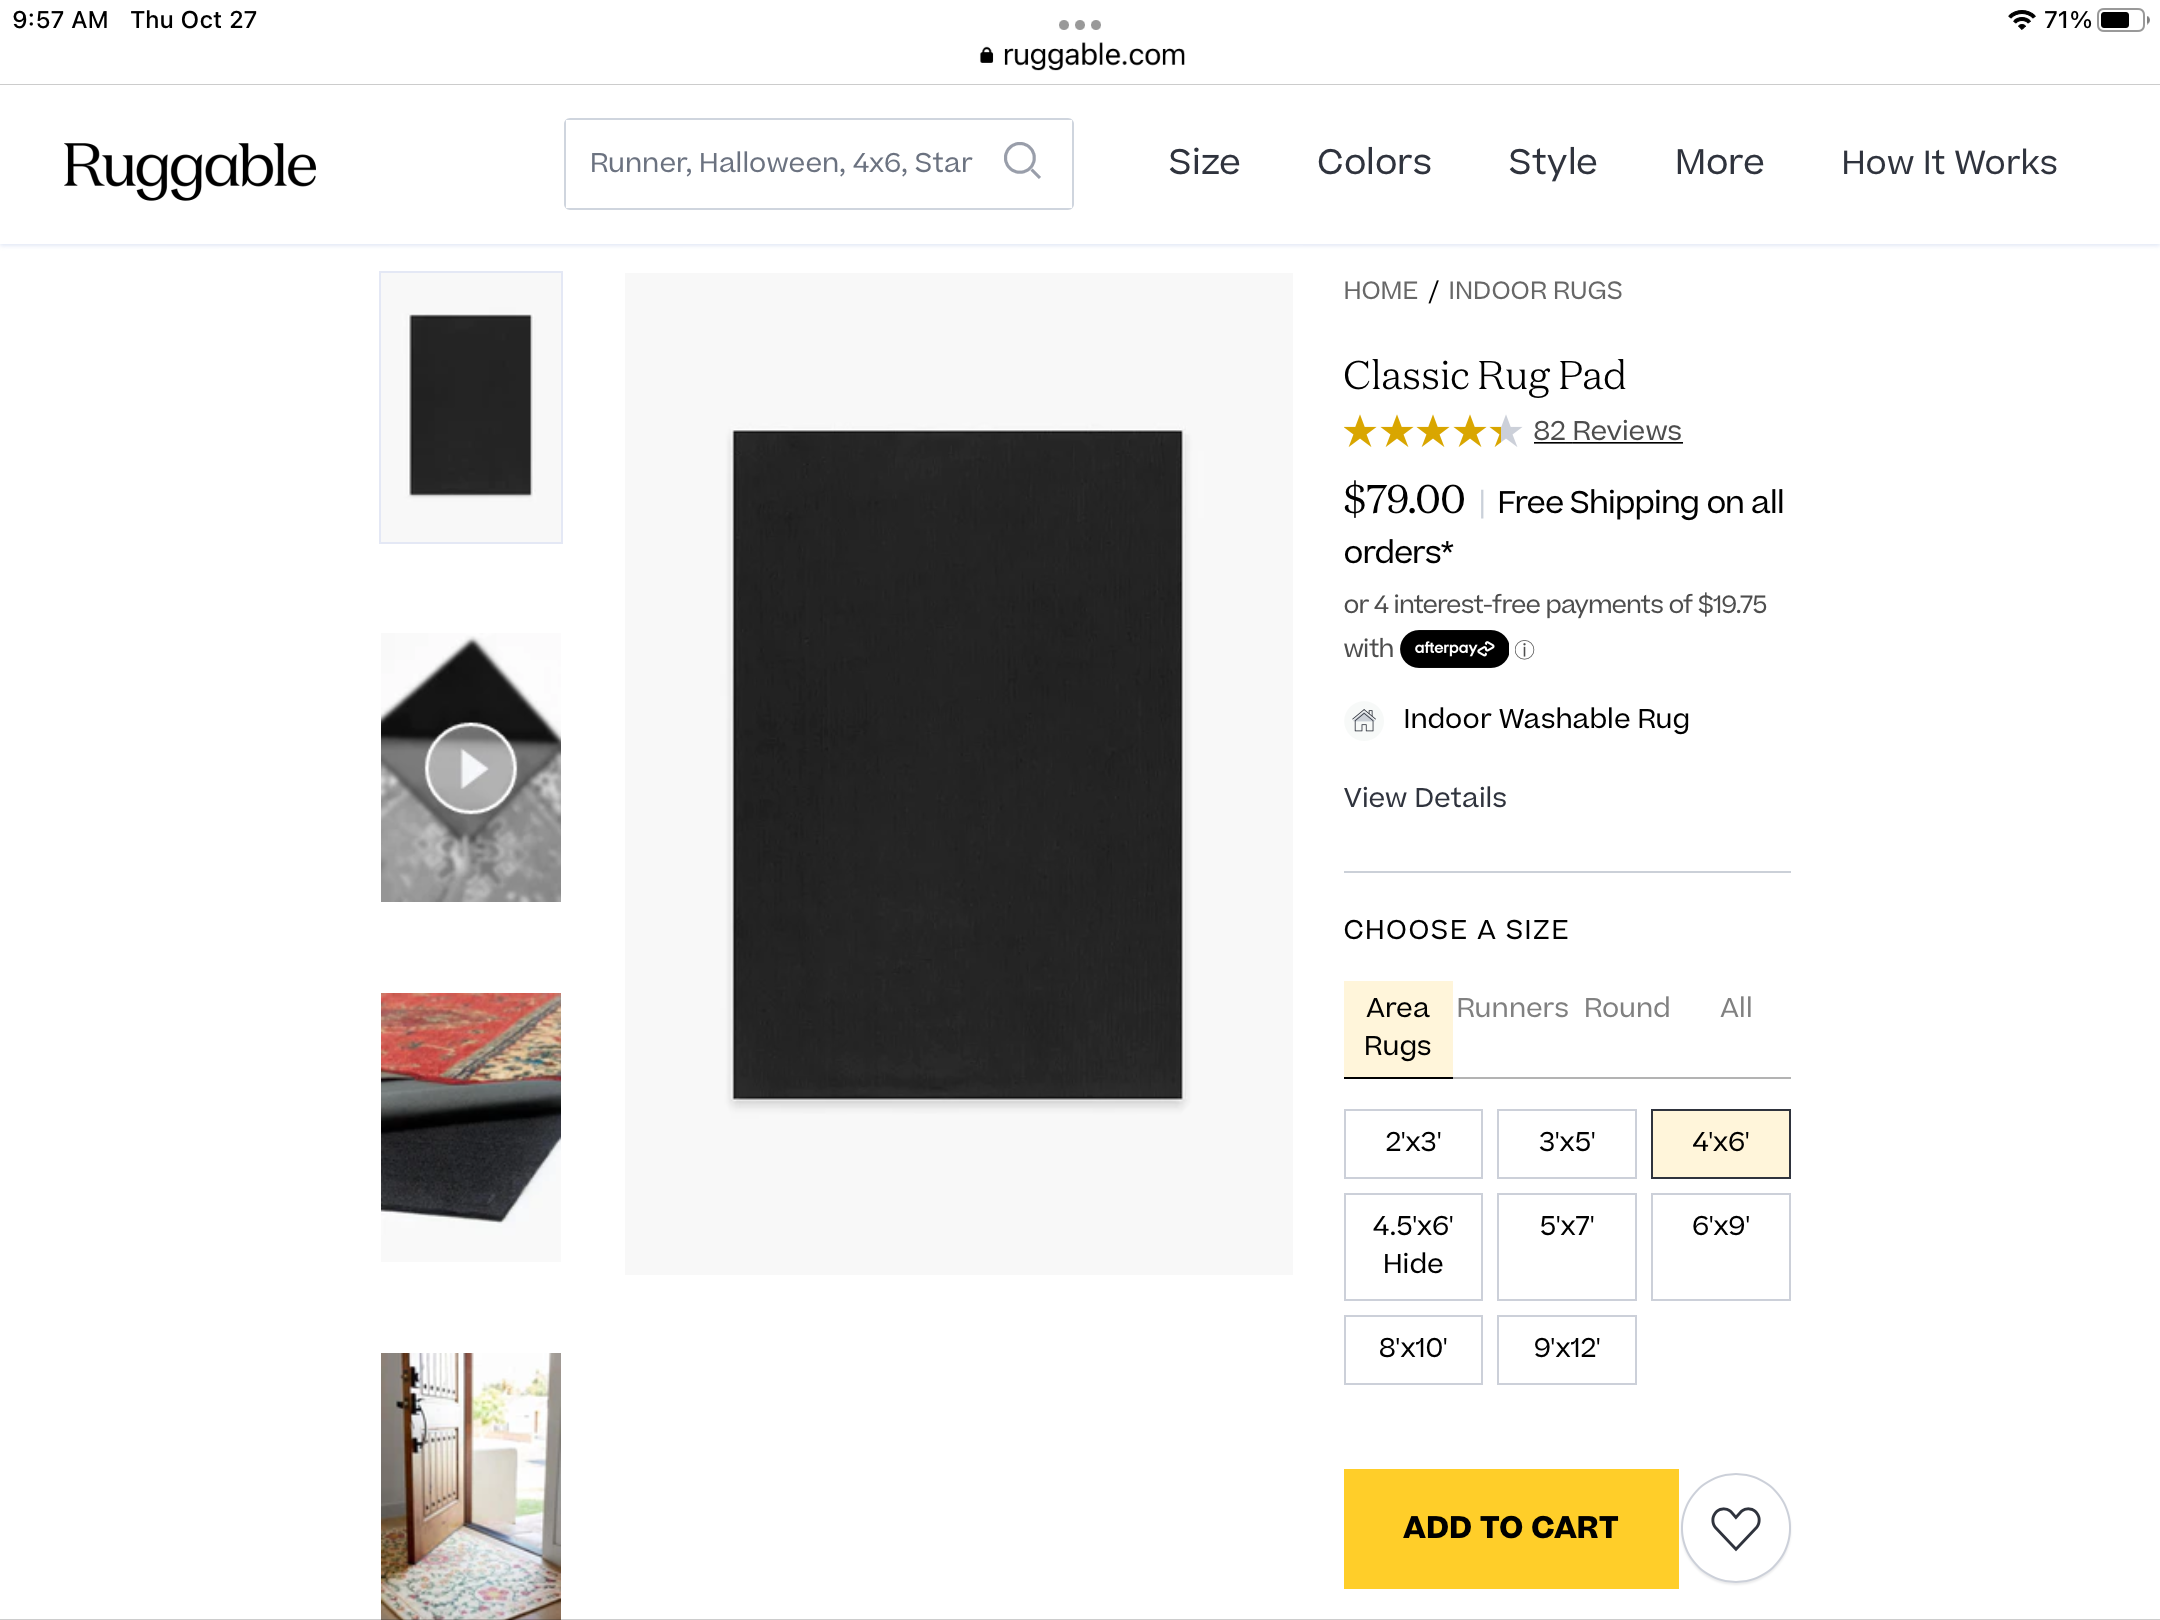
Here is a link to the product. https://ruggable.com/products/classic-rug-pad?size=4x6 It ain’t cheap, the 4x6 size ($79 USD) is good for the front and behind/under the seats, but you need another one for the hatch area if wanted to use it there to. Anyway, great product that both grabs the floor and the rug at the same time.

-
Recently we purchased some household area rugs from “Ruggable”. Most of their products are designed to be used on smooth hard surfaces, so they have come up with an underlay (they call it the “Pad”) that is rubberized and sticky on the back that prevents slipping on the hard floor, and has what can only be described as hook side “velcro” on the top side that sticks to the underside of their rugs, effectively locking the rug to the floor. It’s very thin, about and 1/8” (3mm). When I started working with it to lay down our new rug, I found it very frustrating to get the large rug to both keep this fancy underlay aligned with the floor AND the rug smoothly stuck down to the velcro like underlay. Smoothing out wrinkles moved the underlay and vise versa. Making it worse, the rug was large and I needed two sheets of the underlay, which had to be tightly aligned to each other. Sometime during this fight, I began thinking, “this stuff is astoundingly good at its job to the point of frustration” but it also struck me that it might be the answer to a problem I have with keeping rugs in place in the Datsun! I don’t think I’m the only one with annoyingly migrating rugs. I’ve tried spray gluing down the underlay, then glueing the rug to the underlay, but it always works loose. It’s clear why the stock top rug had those welded in hooks on the floor under the seat front and slots in the rugs to hold them in place. So I tried using this Ruggable sticky pad stuff and so far, I’m amazed at how well it works. I use it between the foil faced sound deadening I used and the top rug (with or without its sound deadening cushion) . I do spray glue the back of the rubber pad to make it stay in place to the foil, but I’m not sure I have to. The velcro upper faces sticks fantastic to the back of the rug.
-
240 hubs have 4 scallops on the front and 280 rotors have a completely smooth round shape. They take completely different rotors as well that have a very different offset. That said, the correct hub and rotor combo for either will put the disk at the same position since they both use the same caliper. You could have a 240 set on one side and a 280 set on the other and be just fine. You just can’t mix hubs and rotors. More likely you need to retract the pistons in the caliper all the way and then re-install. It will self center. Also a great reference discussing the differences http://240260280.com/Tech/General/Front Axle & Suspension/Wheel Bearing/index.html

-
The rubber pads are 3x1.75” and 1/4 thick. There are matching indents in the tanks to show you exactly where they go. I do have some pads in the stash that are much thicker at 3/4” but I’m no help at telling you which model they are from. I do have a couple of 4-pad groups taped together that are all the 1/4” thick ones so that is the likely correct set for the 240 and early 280 tanks (75-76) that are the same form factor.
-

Factory undercoating removal-78 280Z resurrection project
zKars replied to One Way's topic in Body & Paint
I have resorted to the use of lacquer thinner for the final wash after mechanical removal of undercoating, and it works very very well. However, it’s as dangerous as gasoline in-terms of the its flammability. I ONLY use it with the doors wide open and a breeze blowing through. AND with full face organic rated breathing protection. Bit chilly around here in January…… Diesel fuel is cheaper and safer and just as effective, though messier and involves disposal of rags that don’t dry out through evaporation. Let’s be careful out there and do our best to ensure we can continue to do this hobby for as long as possible with the least side affects. /end fatherly rant….. -
https://www.centercapsdirect.com/ Is one choice.
-
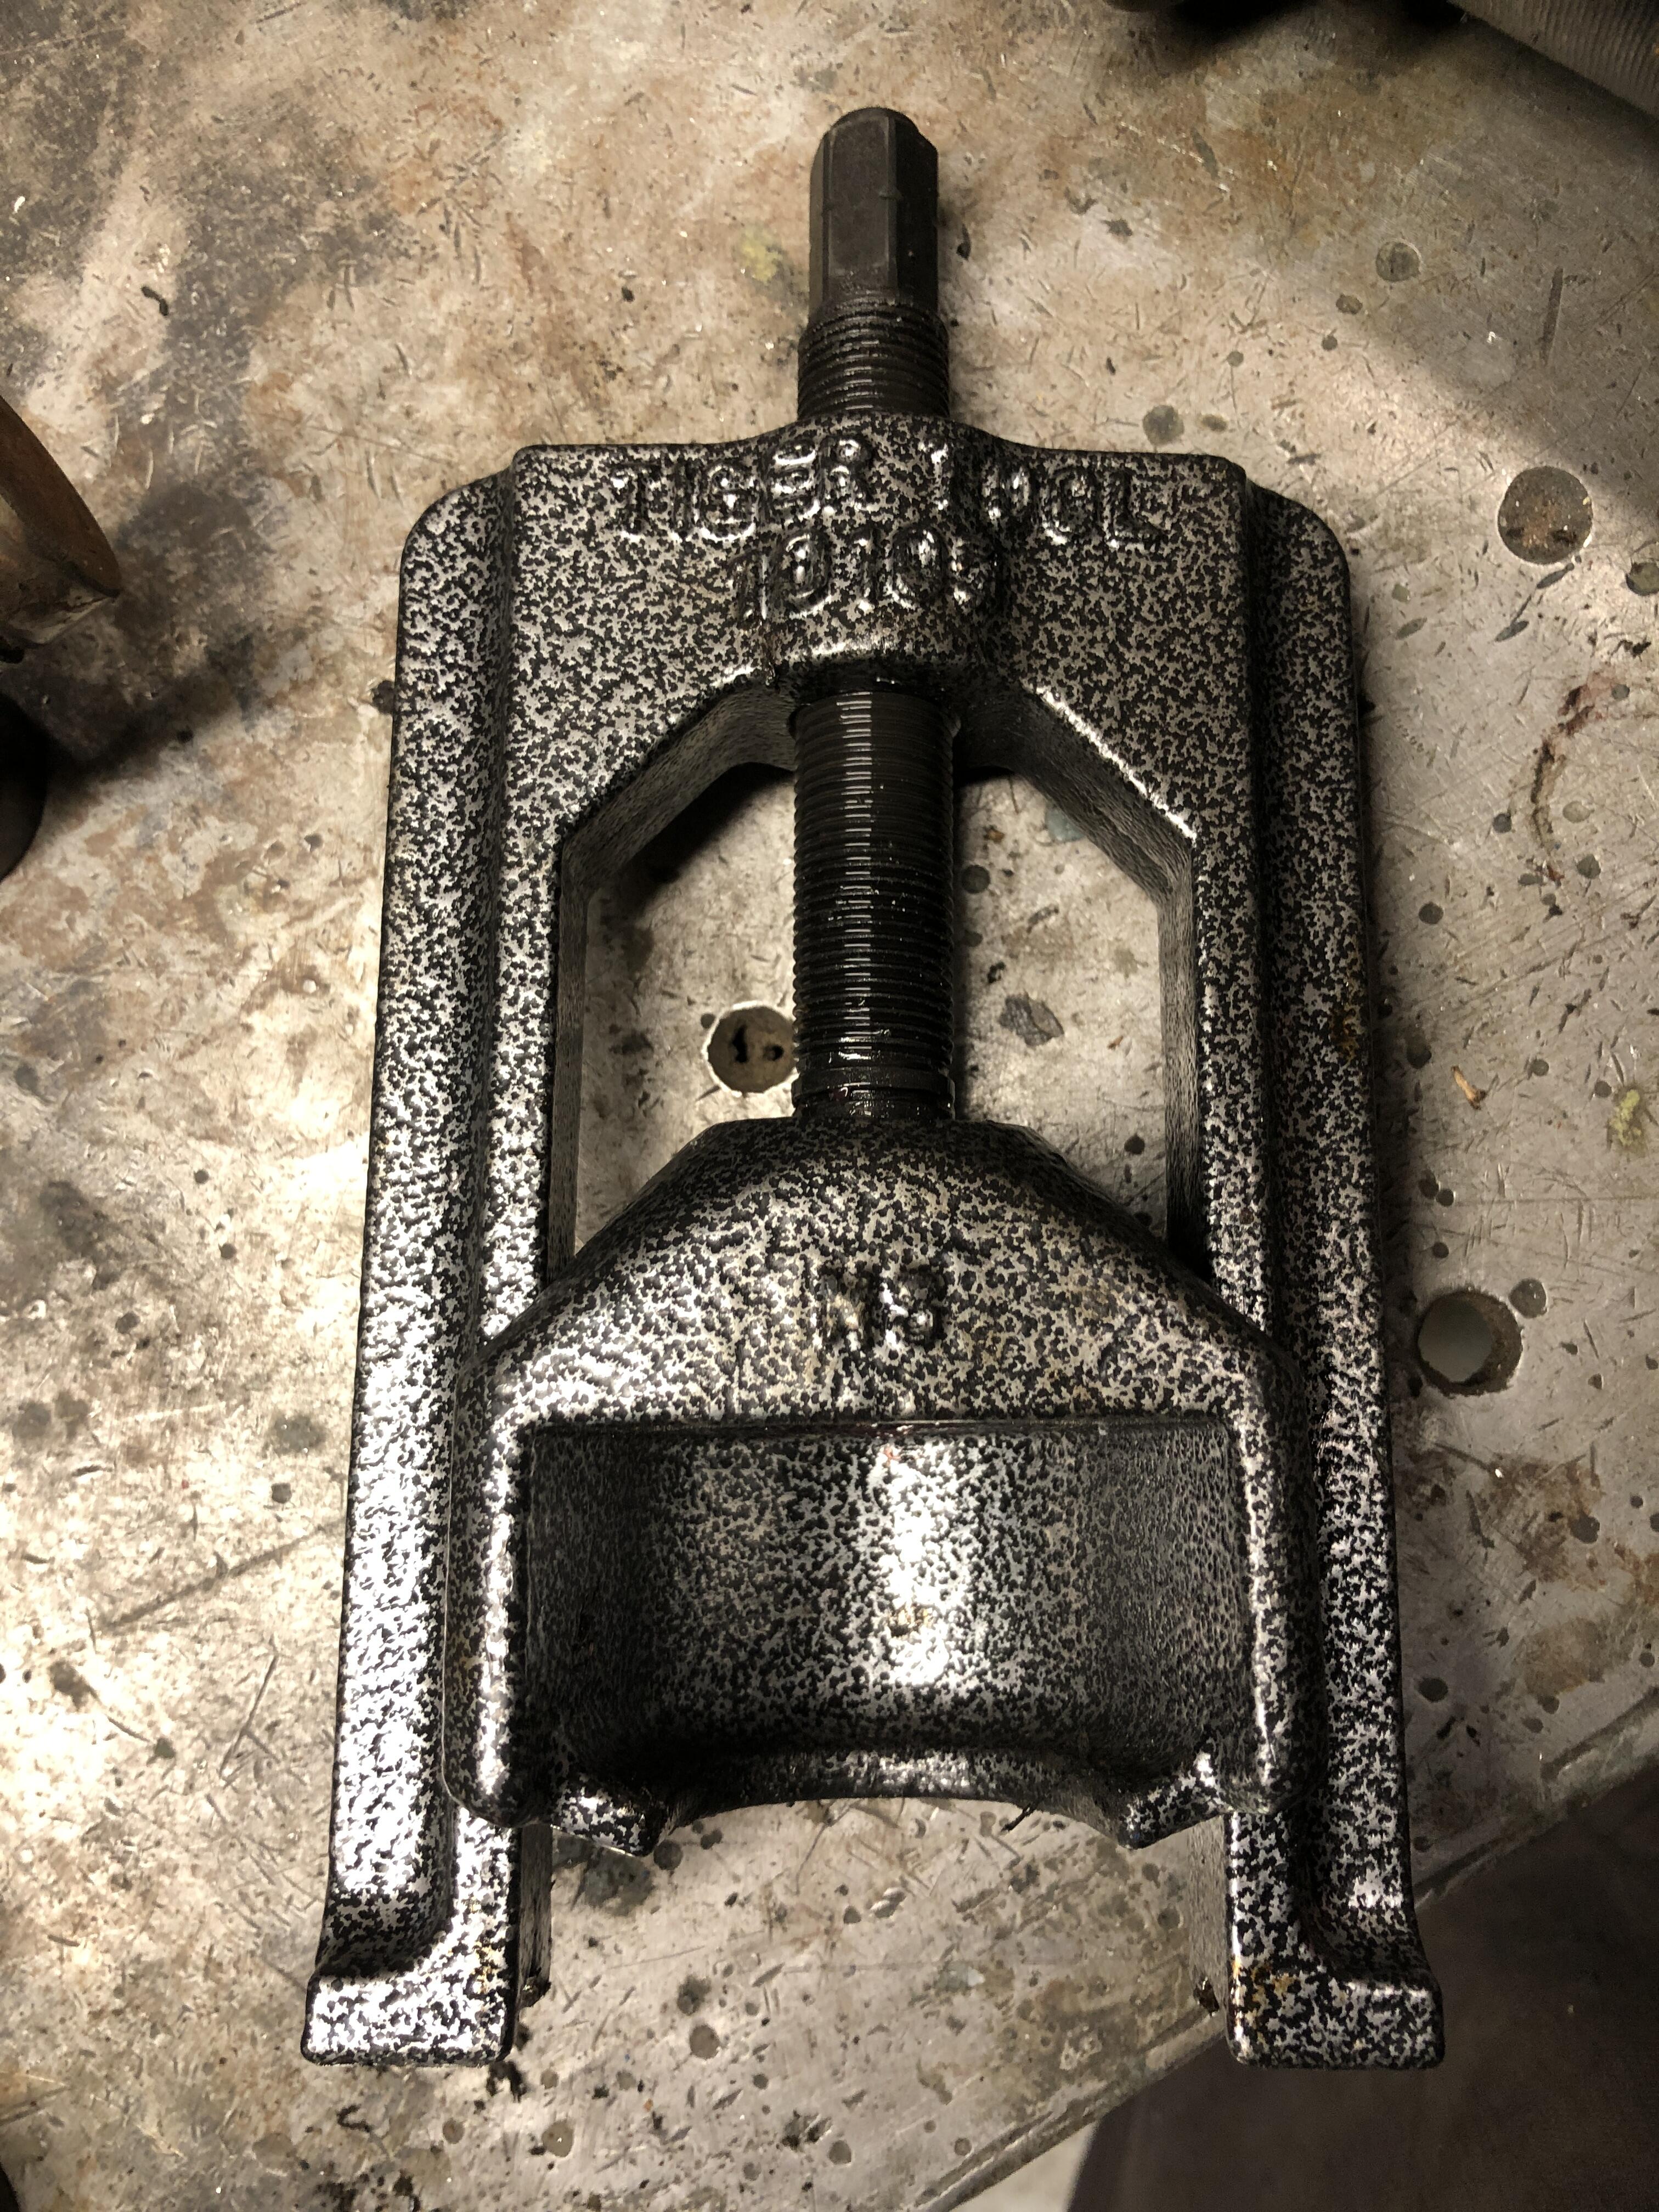
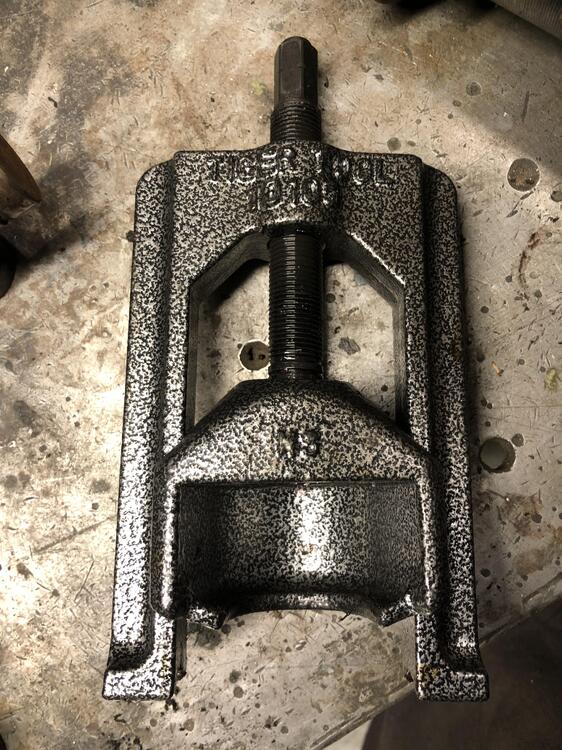
Just because, be warned, there are copies of this tool on Amazon for less. And surprisingly for more as well! Don't do it.
-
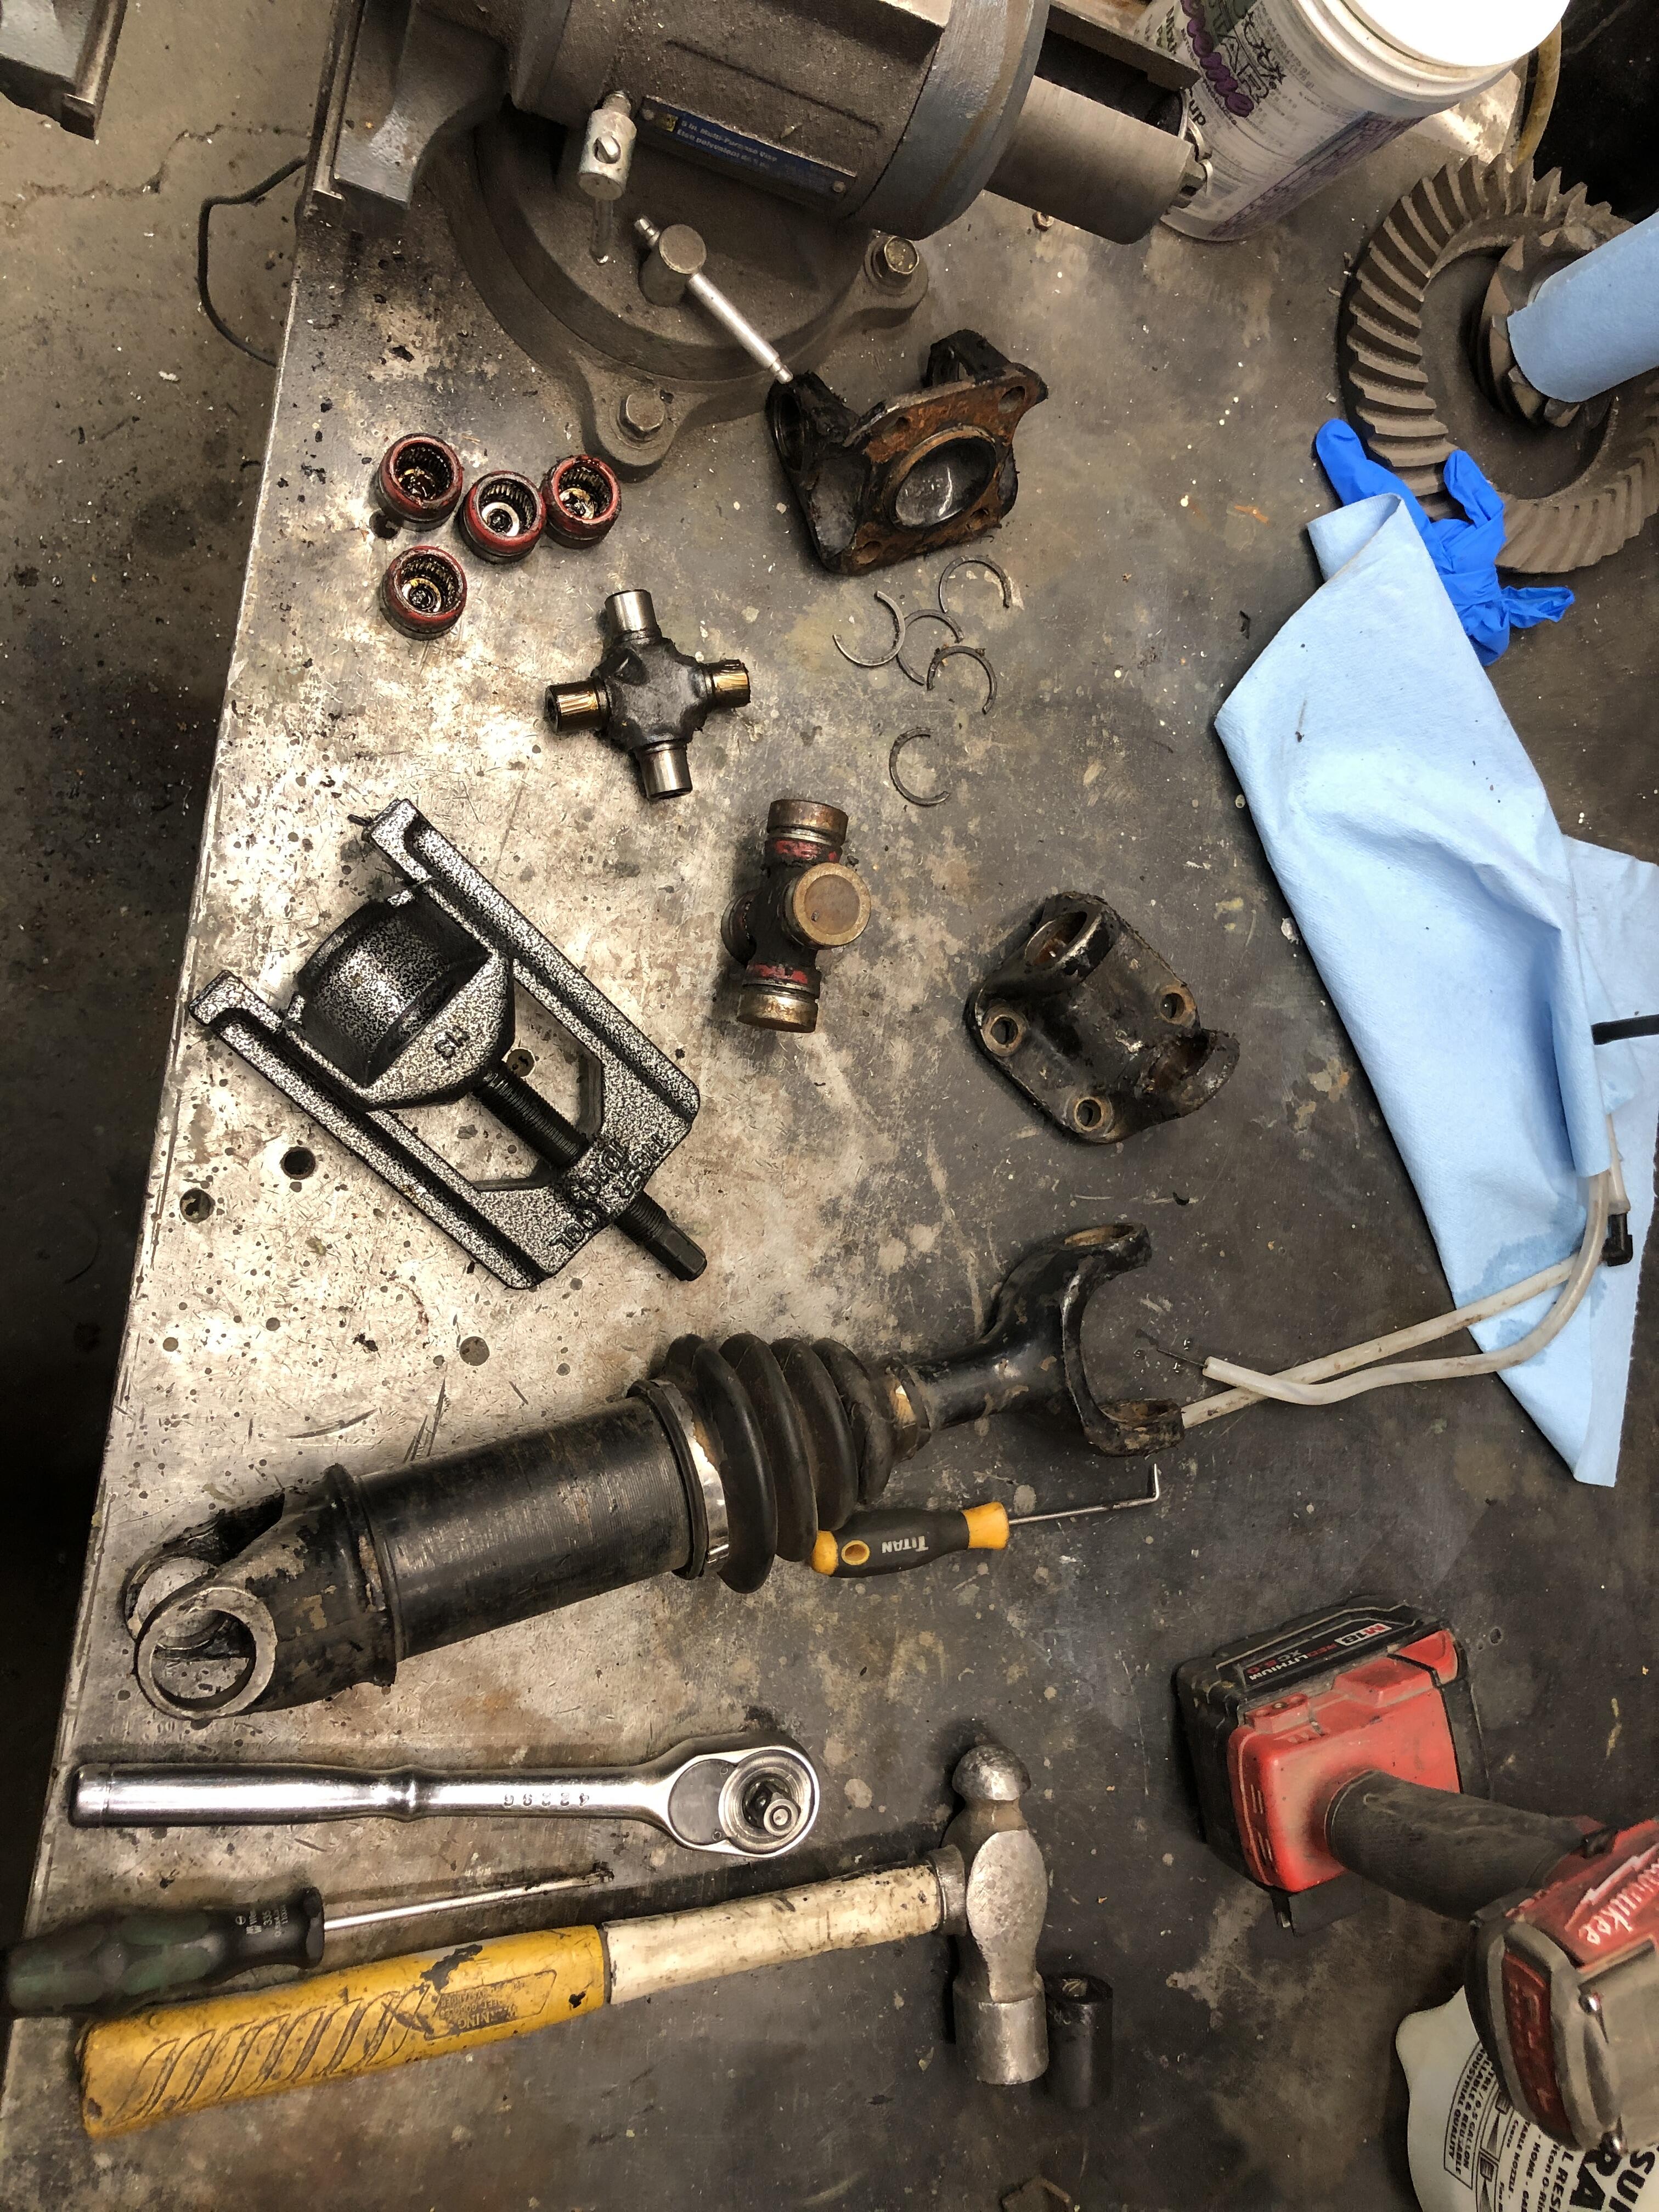
I took this half shaft apart in 15 minutes. That's using it for the first time. No hammer. No sockets, didn't even need the vice. It was nice to hold it, but not necessary. This particular one was 'easy", the u-joints where replaced in it sometime in the near past, the C-clips weren't rusty etc. popped right out. I guarantee you will spend more time picking and beating on the c-clips to get them out than removing the u-joints. Fits our yokes perfectly. Not too big, not too small. Goldilocks just right. https://tigertool.ca/products/ujoint-puller?variant=35217197400214 It comes in three sizes. This is the baby one. The two bigger ones will do any u-joint you encounter. And maybe the best part? Price! Amazon.ca has it for $129 CAD (delivered if you're a prime member). They are made in Canada, in British Columbia. Designed to be used with an impact gun, built to last, no BS. This. thing. works. And will for a long long time. I think I shall turn my pile of filthy worn out half shafts into a pile of lovely fresh and ready to go ones. No more "Now which one is decent to use....."

-
I rarely endorse tools, but in this case, I feel I have to share one I recently found and used that I am very glad to have found. U-joint replacement, especially the half shafts have always been a test of wills for me. Yes I can do them, no it's never pleasant. Find the right sockets to beat on, fight with supporting them while you beat on them, discovering the sockets you used are now bent and don't snap on the ratchet handle anymore. Dirty ugly fight. Hate it. No more. Behold the "Tiger Tool 10105" U-Joint service tool.
-
Never seen a non-aluminum bell housing on an L series transmission.
-
Aha! I think I have it! The location of that switch hole tells me that’s a 4 speed bell housing, assuming the right of the picture is toward the engine (front). I see the ramp and flat spot on the rod in the first video, and they are forward of the hole. If the hole were ahead 1.25 I think, it would be in the right spot. Now as to why that trans has a four speed bell housing, this is normally done when the five speed came from a later Datsun truck/car with the engine vertical, so the bell housing clocking is wrong, so you have to get a Z bell housing and what do you have on hand but a 4 speed…. Didn’t I just do a thread on how I modify that shift rod to move the ramp in line with the 4 speed hole? Just grind down the rod and make a new ramp further back in line with the rev switch. Simple, right….
-
Trying to think of things that would allow the 5/R shift rod to be out of its normal position but still have both gears working correctly. Nothing comes to mind other than the rob being bent
-
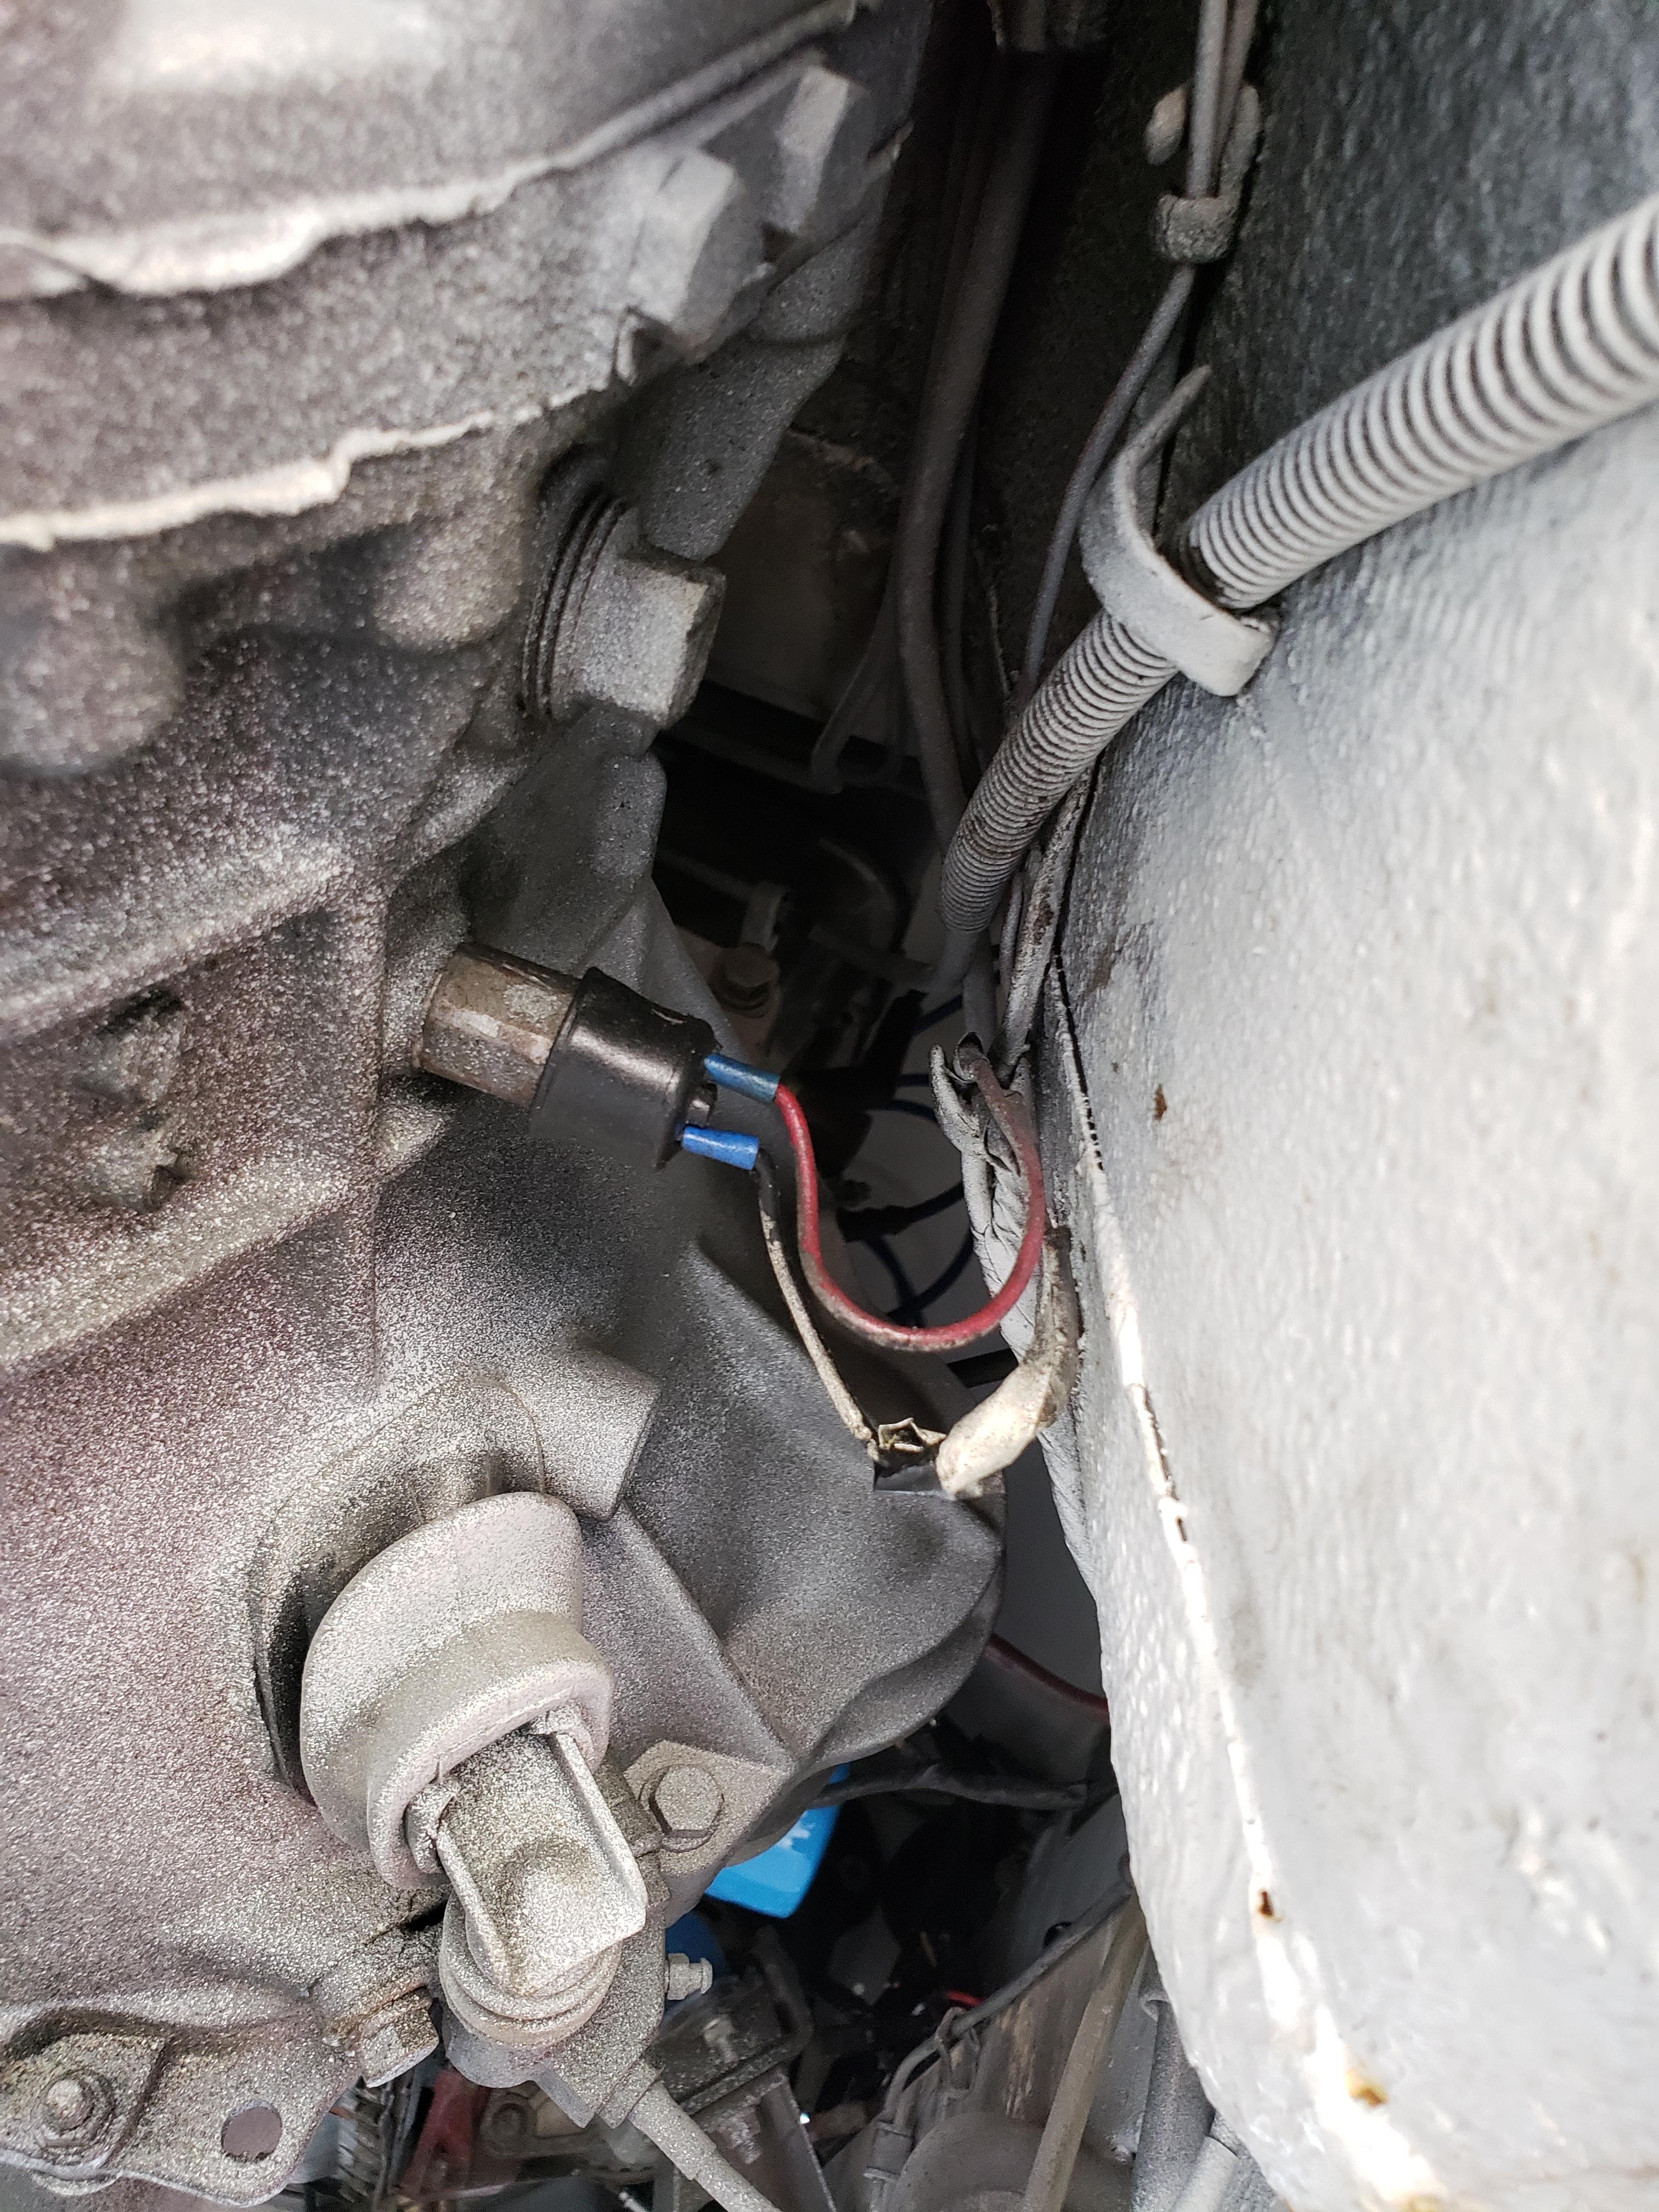
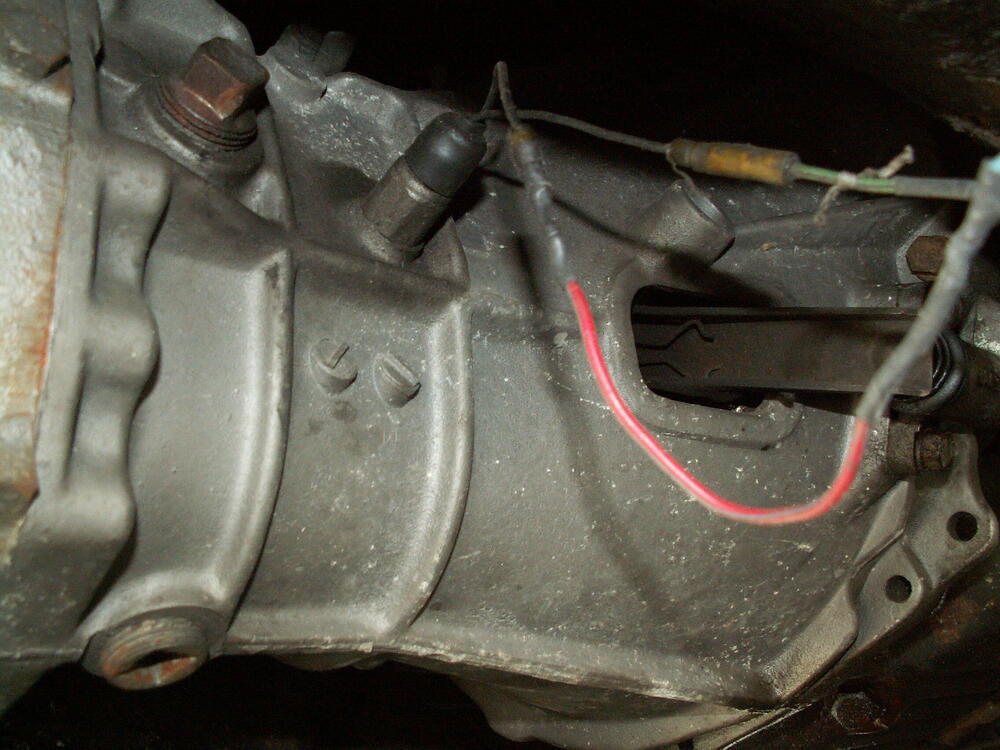
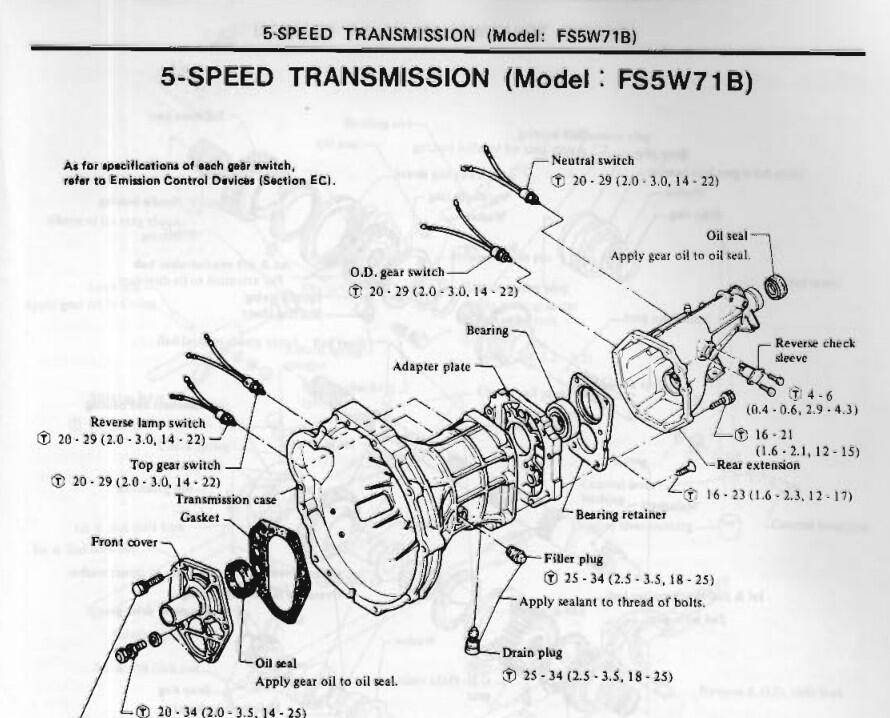
If you two locations for switches on the right side, in front of the fill plug and behind the slave, then the front one is the reverse switch. This picture shows the “usual” location” of reverse switch on a zx 5 speed. A Z 4 speed would be the same except further back in the space between the fill plug and the spot where the switch is in this picture. The FSM picture shows where the rev and 5th gear (top gear) switches would be
-
Actually you might have a point. Let me find a better picture
-
Now it all comes clear. The reverse switch is just behind the clutch slave cylinder. Right side. Various trannies have 5th gear and neutral switches as well. All reverse switches are in the same place

-
Might be down to a switch with the “right” plunger length and the point at which switch turns “on” as you depress the switch. Take one of your functioning switches and start filing off a bit of the tip so it’s shorter. Keep removing a bit at a time until it works?
-
The square headed plug is the fill plug. Should only be one place to put the rev switch forward of that in the bell housing. I’d be tempted to buy a new switch and try that
-
IT’s just the ramp machined into shift rod. It would have to be bent pretty badly to keep the switch “on” all the time. I would expect shifting performance to be “different”. If the roll pins were loose/out, you could not shift. If shifting into reverse and 5th works fine, then it’s unlikely that its in the transmission. So you can take the switch out and move the tip by hand and the lights work correctly? If so, then I guess the shift rod must be bent. I’m baffled. Now all this said, I have a customer with a similar problem…. Hmm…. No his won’t come on. Crazy And did you know they make special pin punches for roll pins? Just got some last week. And those roll pins above are in no danger of going anywhere…
-
"BUMP" just couldn't resist! I just modified a 76 filler neck for a customer and sold him a locking cap. First one since 2016. Still have a few locking caps left. Let me know if you'd like one. $45 per locking cap. You do the work to mod your filler ring.
-
A good contact in Vancouver area is Byron Meston. I know him personally. Although a dedicated 510 guy, he is well connected to the various Datsun communities in the area and is renown for his willingness to help those in need (as needy as all Datsun people seem to be!) 😉
-
I’ve found pretty much the same issue with about a dozen non-working horns now, and it relates to corrosion in the power connection terminal where it passes through the body of the horn. You can clean both sides of it thoroughly inside and out, even by sand blasting, and it will look like a million bucks but will not pass current. The corrosion between the touching mating surfaces of the metal bits that make up this insulated pass through connection are severe enough to insulate. I have had to grind the head off the rivet and separate and clean ALL the metal contact surfaces to get it to work again. The rest of the horn internal parts are rarely the issue.
-
Interesting solution. Can’t quite make out the pattern. I might suggest going to a big vehicle upholstery shop in your area and having them look through their sample books and suppliers for various vinyl patterns. I couldn’t believe the number of options they showed me when I did this years ago.
-
AGC fuses are 0.25" diameter. ATO fuse blades are 0.025" thick. Buy 0.25" OD brass tubing at hobby shop, slit it the long way with a 0.020 slit, cut into AGC fuse minus 0.1" lengths Press the fuse blades into the slit of the little itty bitty tubie thingy. Should be tight press fit. Make slit smaller if 0.020 is too loose. Repeat for other blade. Ensure space between tubes and total width = AGC fuse width. Put in AGC fuse holder. Capn Obvious will make us little plastic rods with spacers on his little itty bit lathe to go between the two tubie slitty thingys. Done. $1.00 each. Now where to by 0.020 slitting dremel cutting wheel or equiv..... Also thought of just a generic 0.25 roll pin that already has a slit by its very nature and kinda springy in the same way. Probability of the slot being the right width is small, but if it's too small, we can fix that. Or if too big squish it in a vise until its the right size. Looking at some roll pin spec tables, NOBODY seems to list the slit width. Just because when you use them for roll pins nobody cares how wide the slot is, jeezzzz...... Come on.... Don't make me go buy the Princess Auto/Harbor Freight variety pack, please....
-
I was thinking they are spring Stainless steel formed in a press of some sort. Would need some tension to retain the fuse blades. Just dreaming mostly. Waiting for Captain Obvious to chime in…..