zKars
 Subscriber
-
Posts
3,743 -
Joined
-
Last visited
-
Days Won
107
Content Type
Profiles
Knowledge Base
Zcar Wiki
Forums
Gallery
Events
Downloads
Store
Blogs
Collections
Classifieds
Everything posted by zKars
-
It would have been more usefull had I posted the F/R lengths, but I don't know them off hand.... Not in a place I can measure them right now..
-
The stock rubber lines are longer on the rear than on the fronts, maybe you got a set of fronts by accident.
-
Hmmmm, +50 F here in the great white north. My igloo is melting! Sorry to rub this in.
-

Did '73 240z's ever come from the factory with round tops?
zKars replied to Locke's topic in Carburetor Central
Ask member @Zupabout restoring a '73 with flat tops "properly". Carefully sole search your desire to have a totally original '73 restoration before continuing. The issue used to be the difficultly of restoring the flat tops to original like new condition, but rebuild kits have recently been found and returned to the market making it "possible". Tuned and in-spec these carbs are 'better" than round tops !! (sorry, couldn't resist... please don't fill this guys thread with rebuttles... ) PS, if you need some, I might have kept a few.... -
Great write up David. I'll mention here that the hardline length is nearly exactly 53 inches from flare to flare. In case you need to make one. I just measured a stock one I pulled from a 73. Since the auto cars don't have the spot welded on bracket on the frame rail where it meets the softline over to the slave, there some "error" there that you can compensate for pretty easily if you don't get it exactly the right shape on the way over. The clutch pedal stop absence is a little considered but very good point. Seems like a poor idea to force the master to hit it's internal stops. Life shortener? That said, I don't know if anyone has ever reported a problem related directly to this.
-
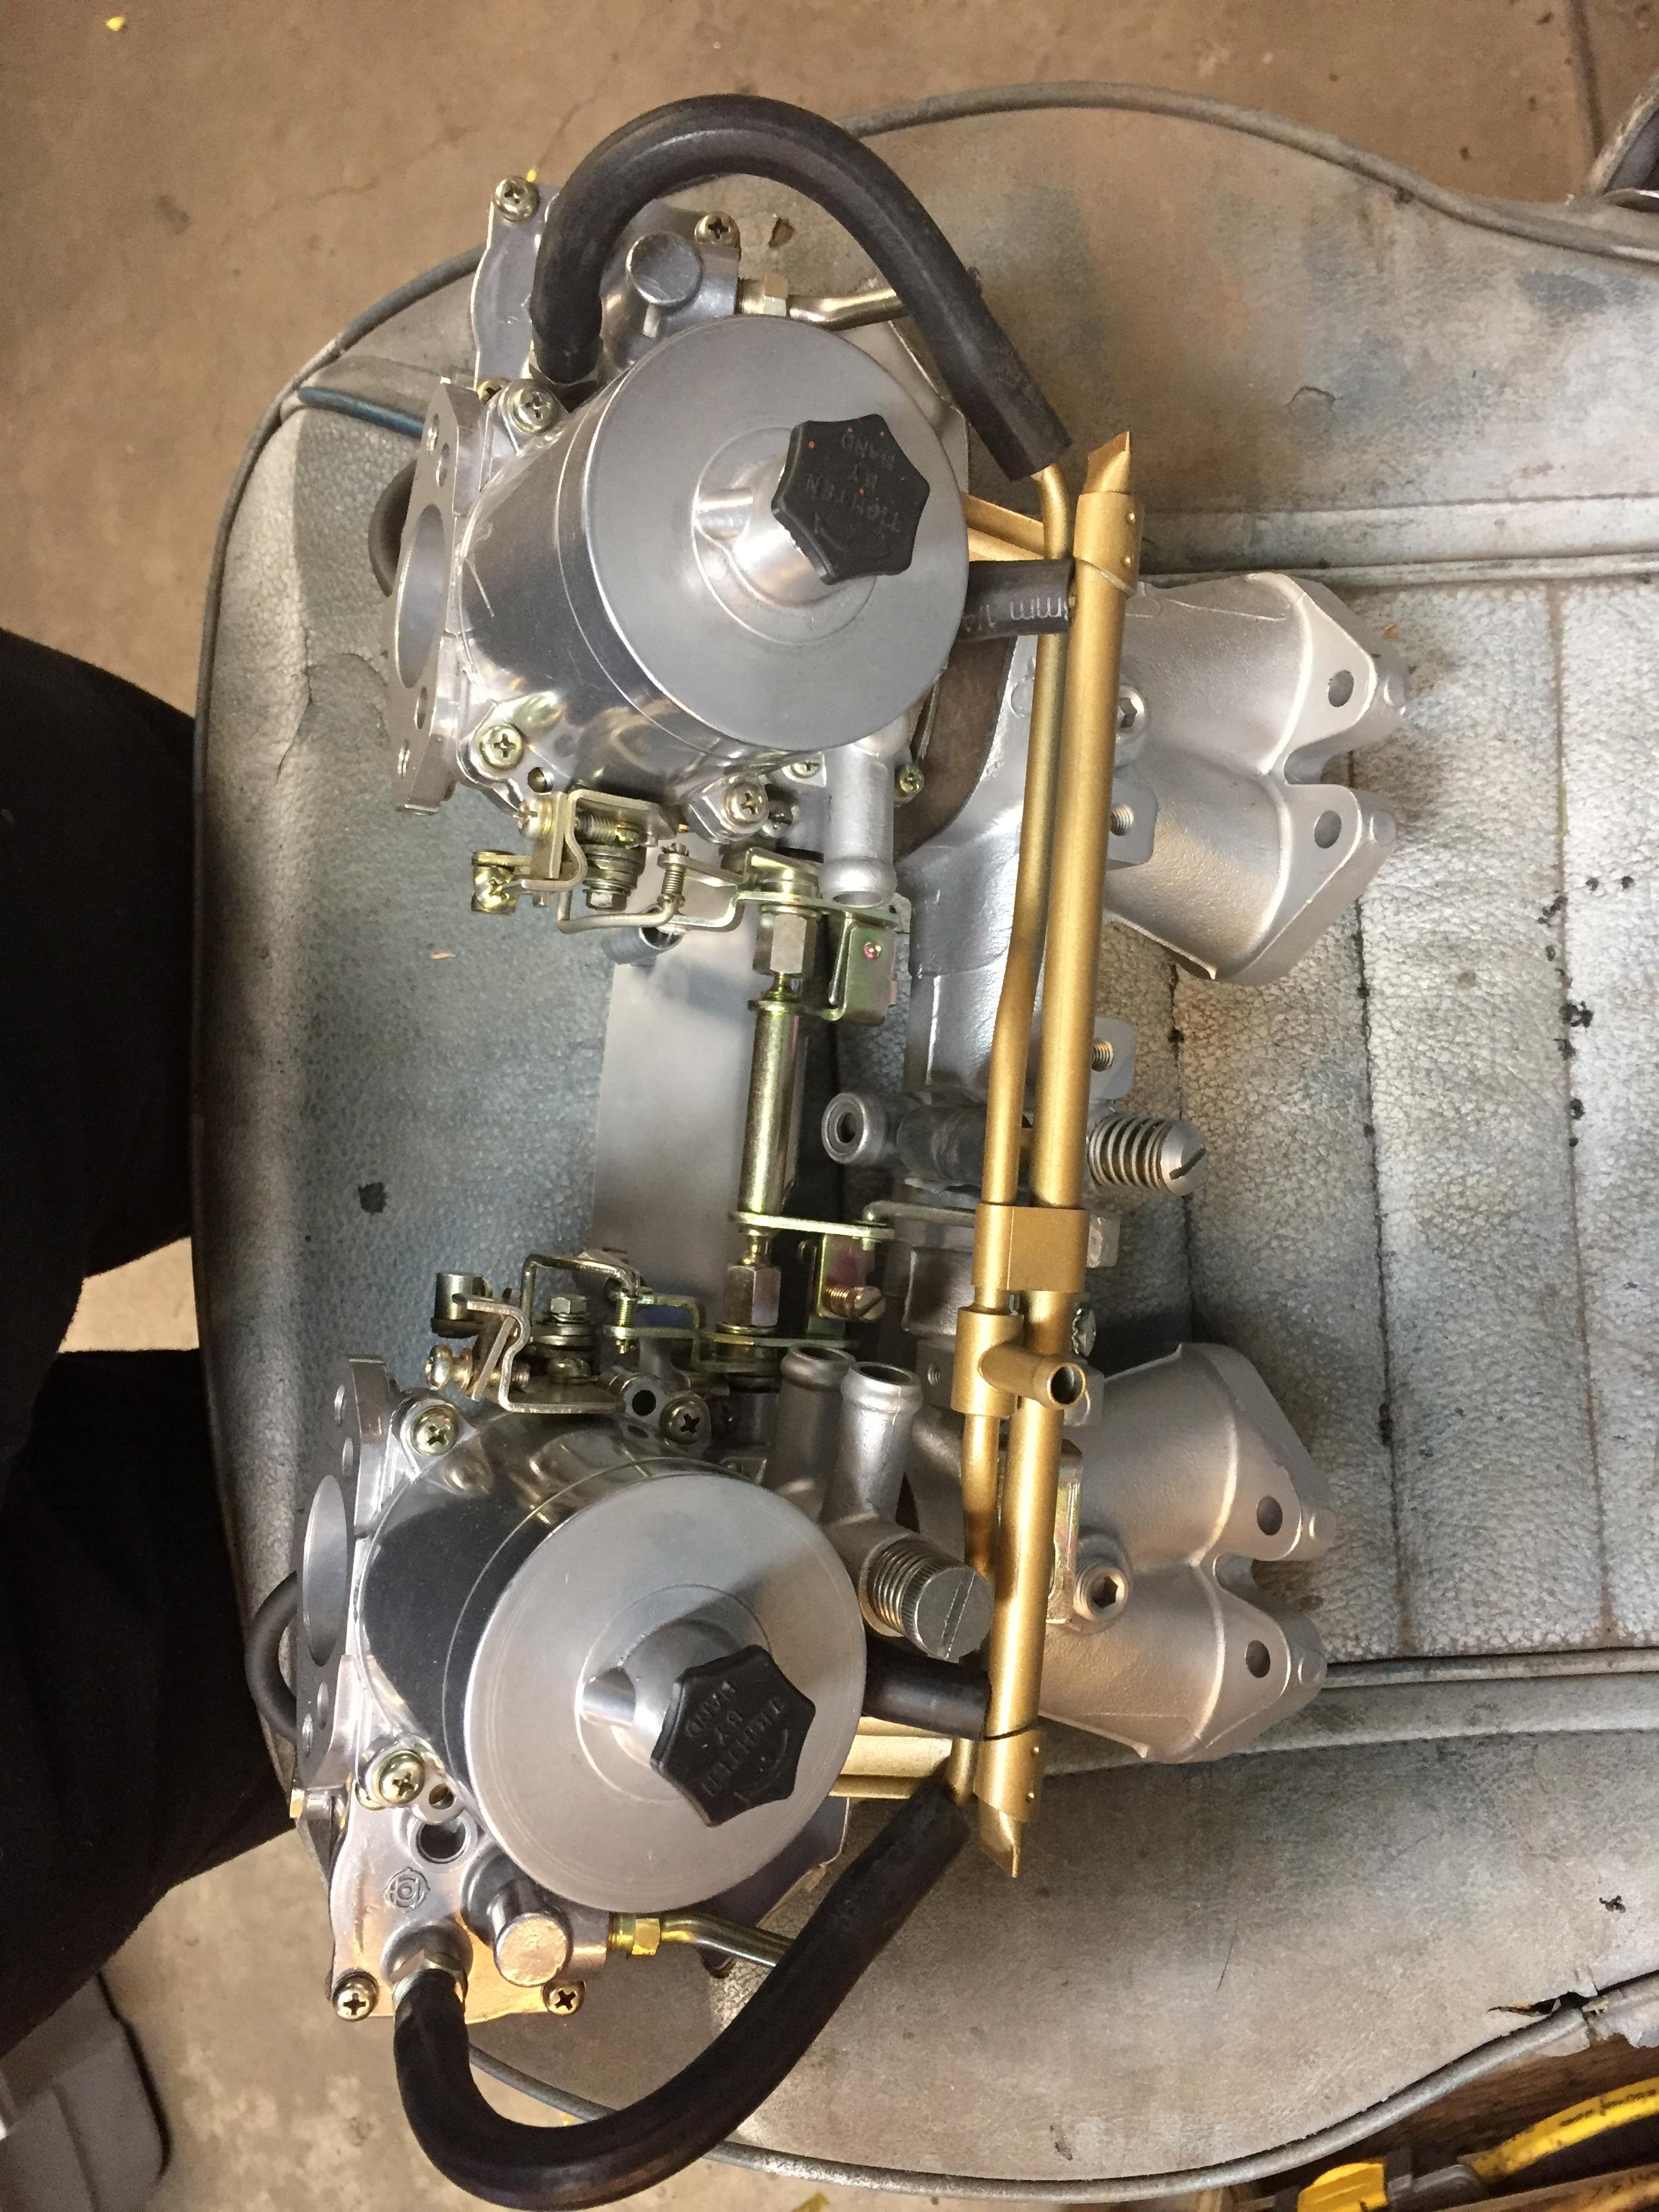
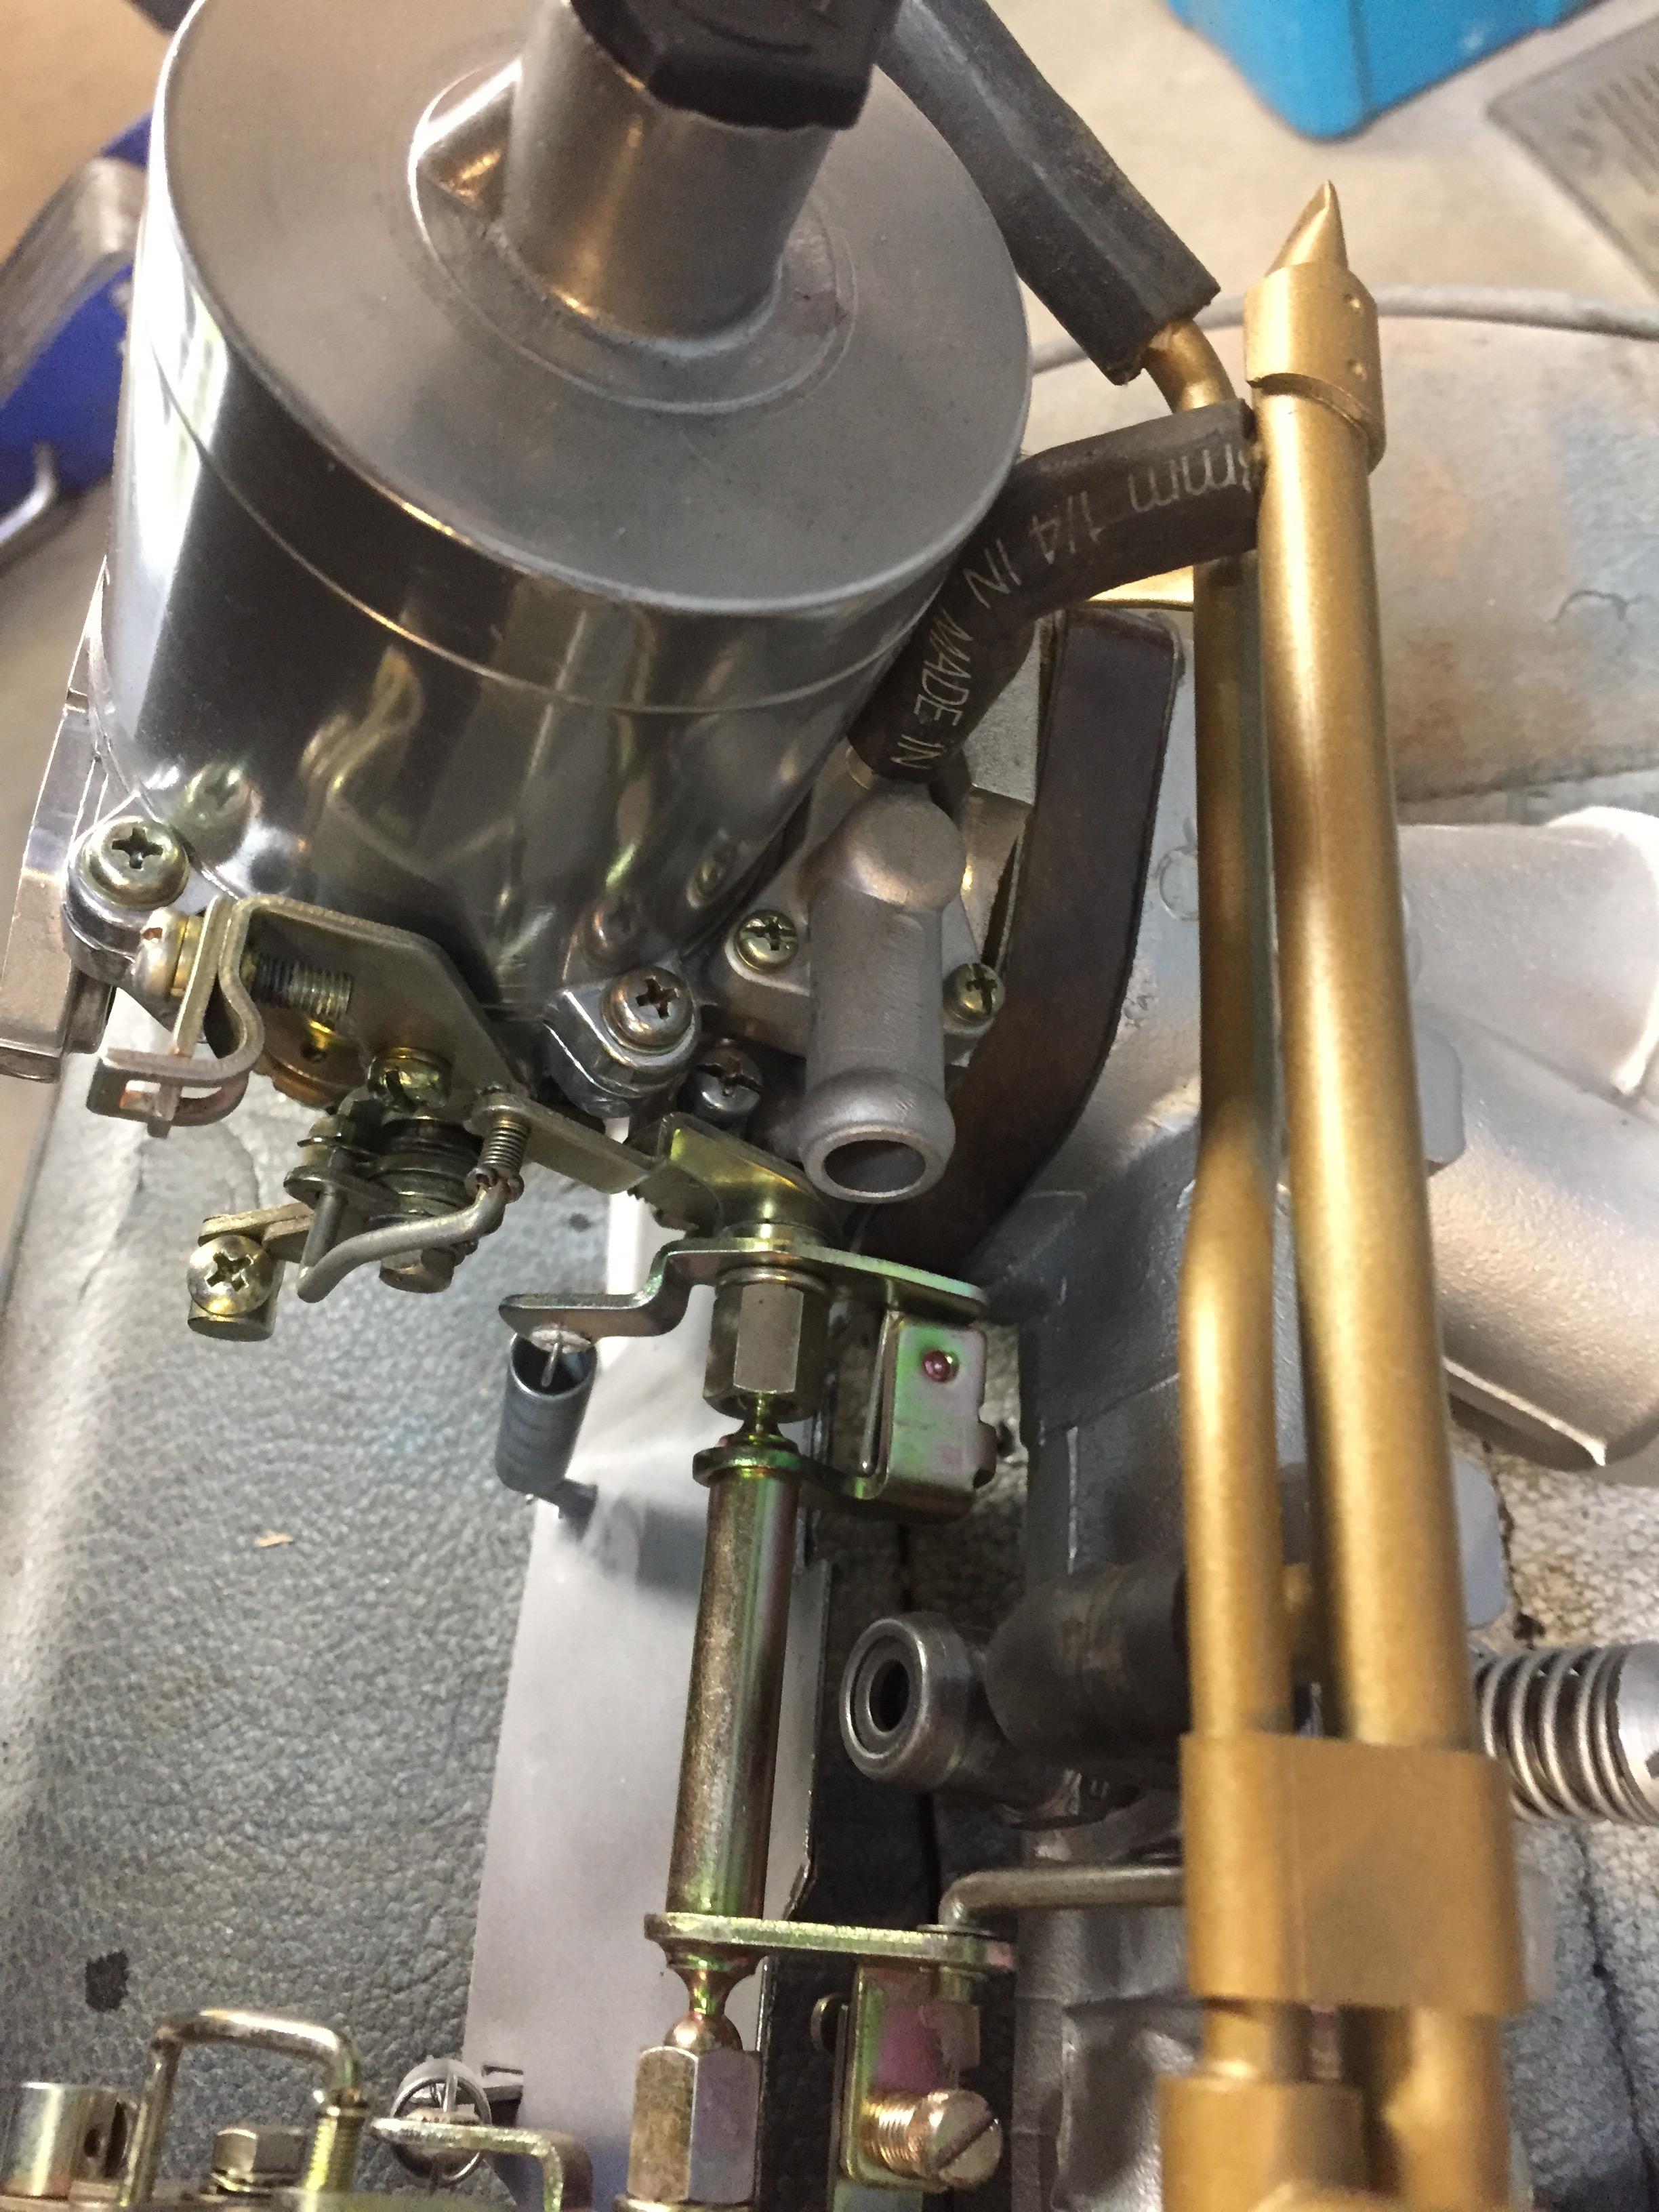
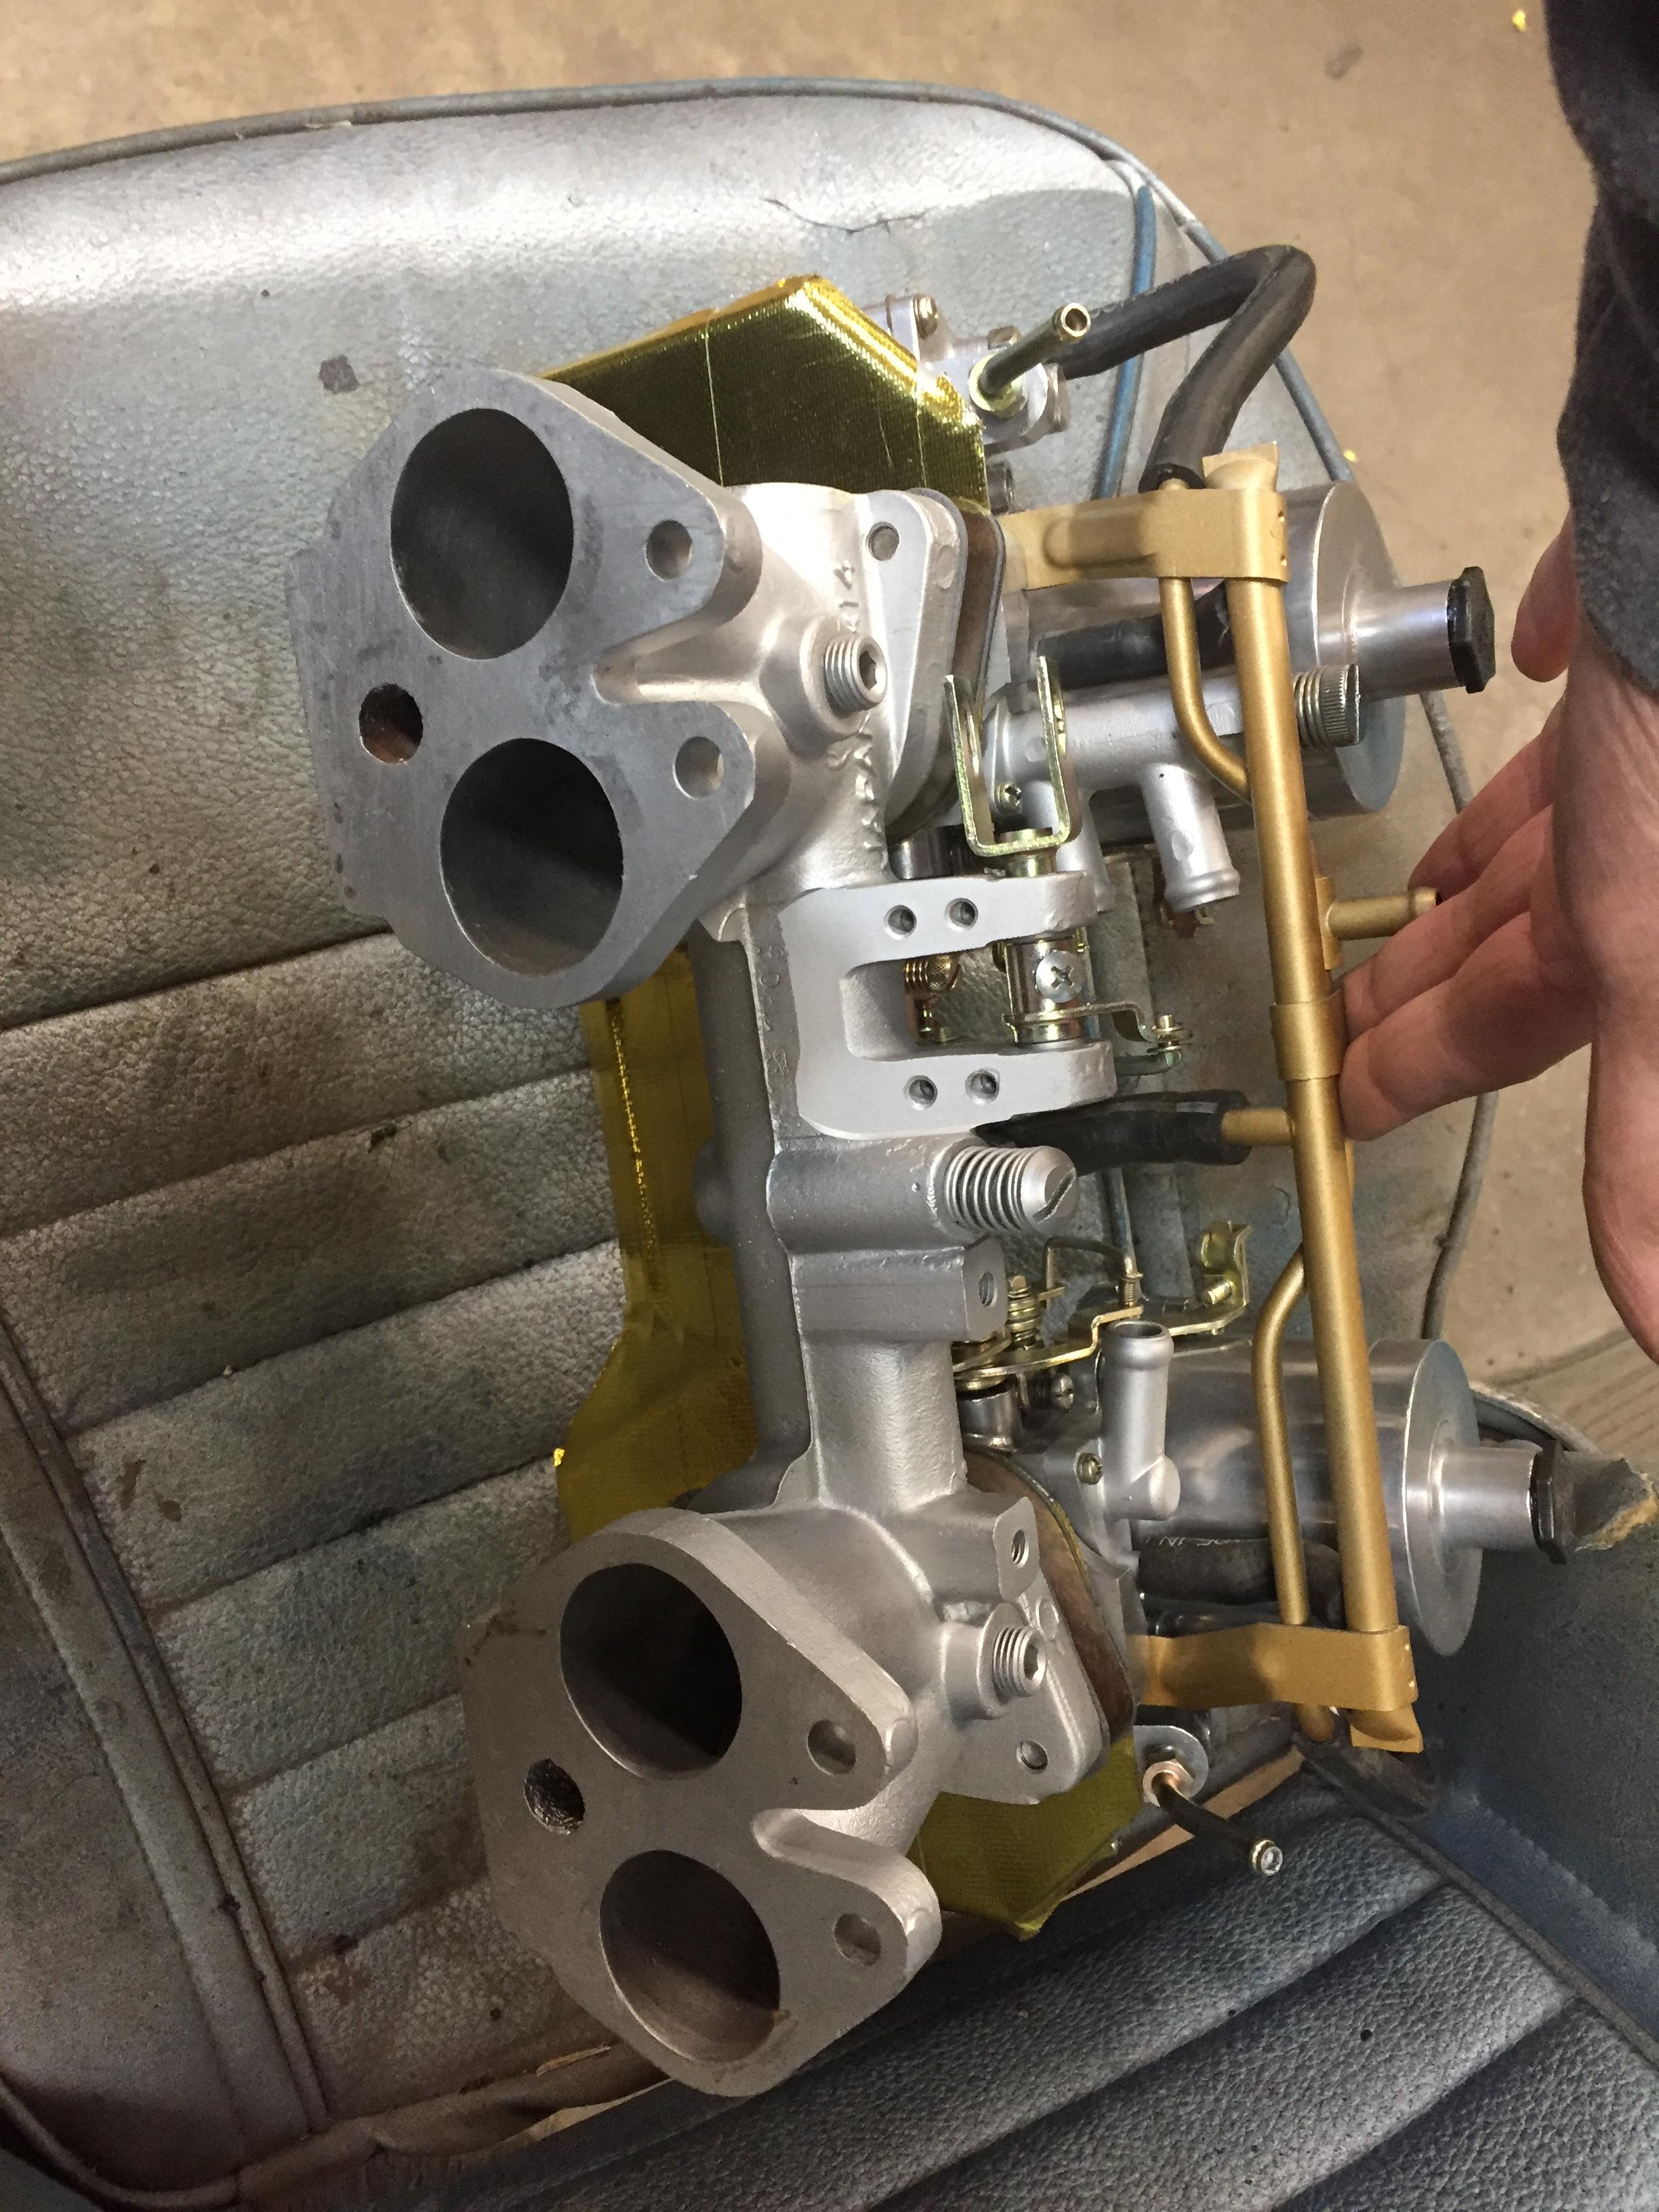
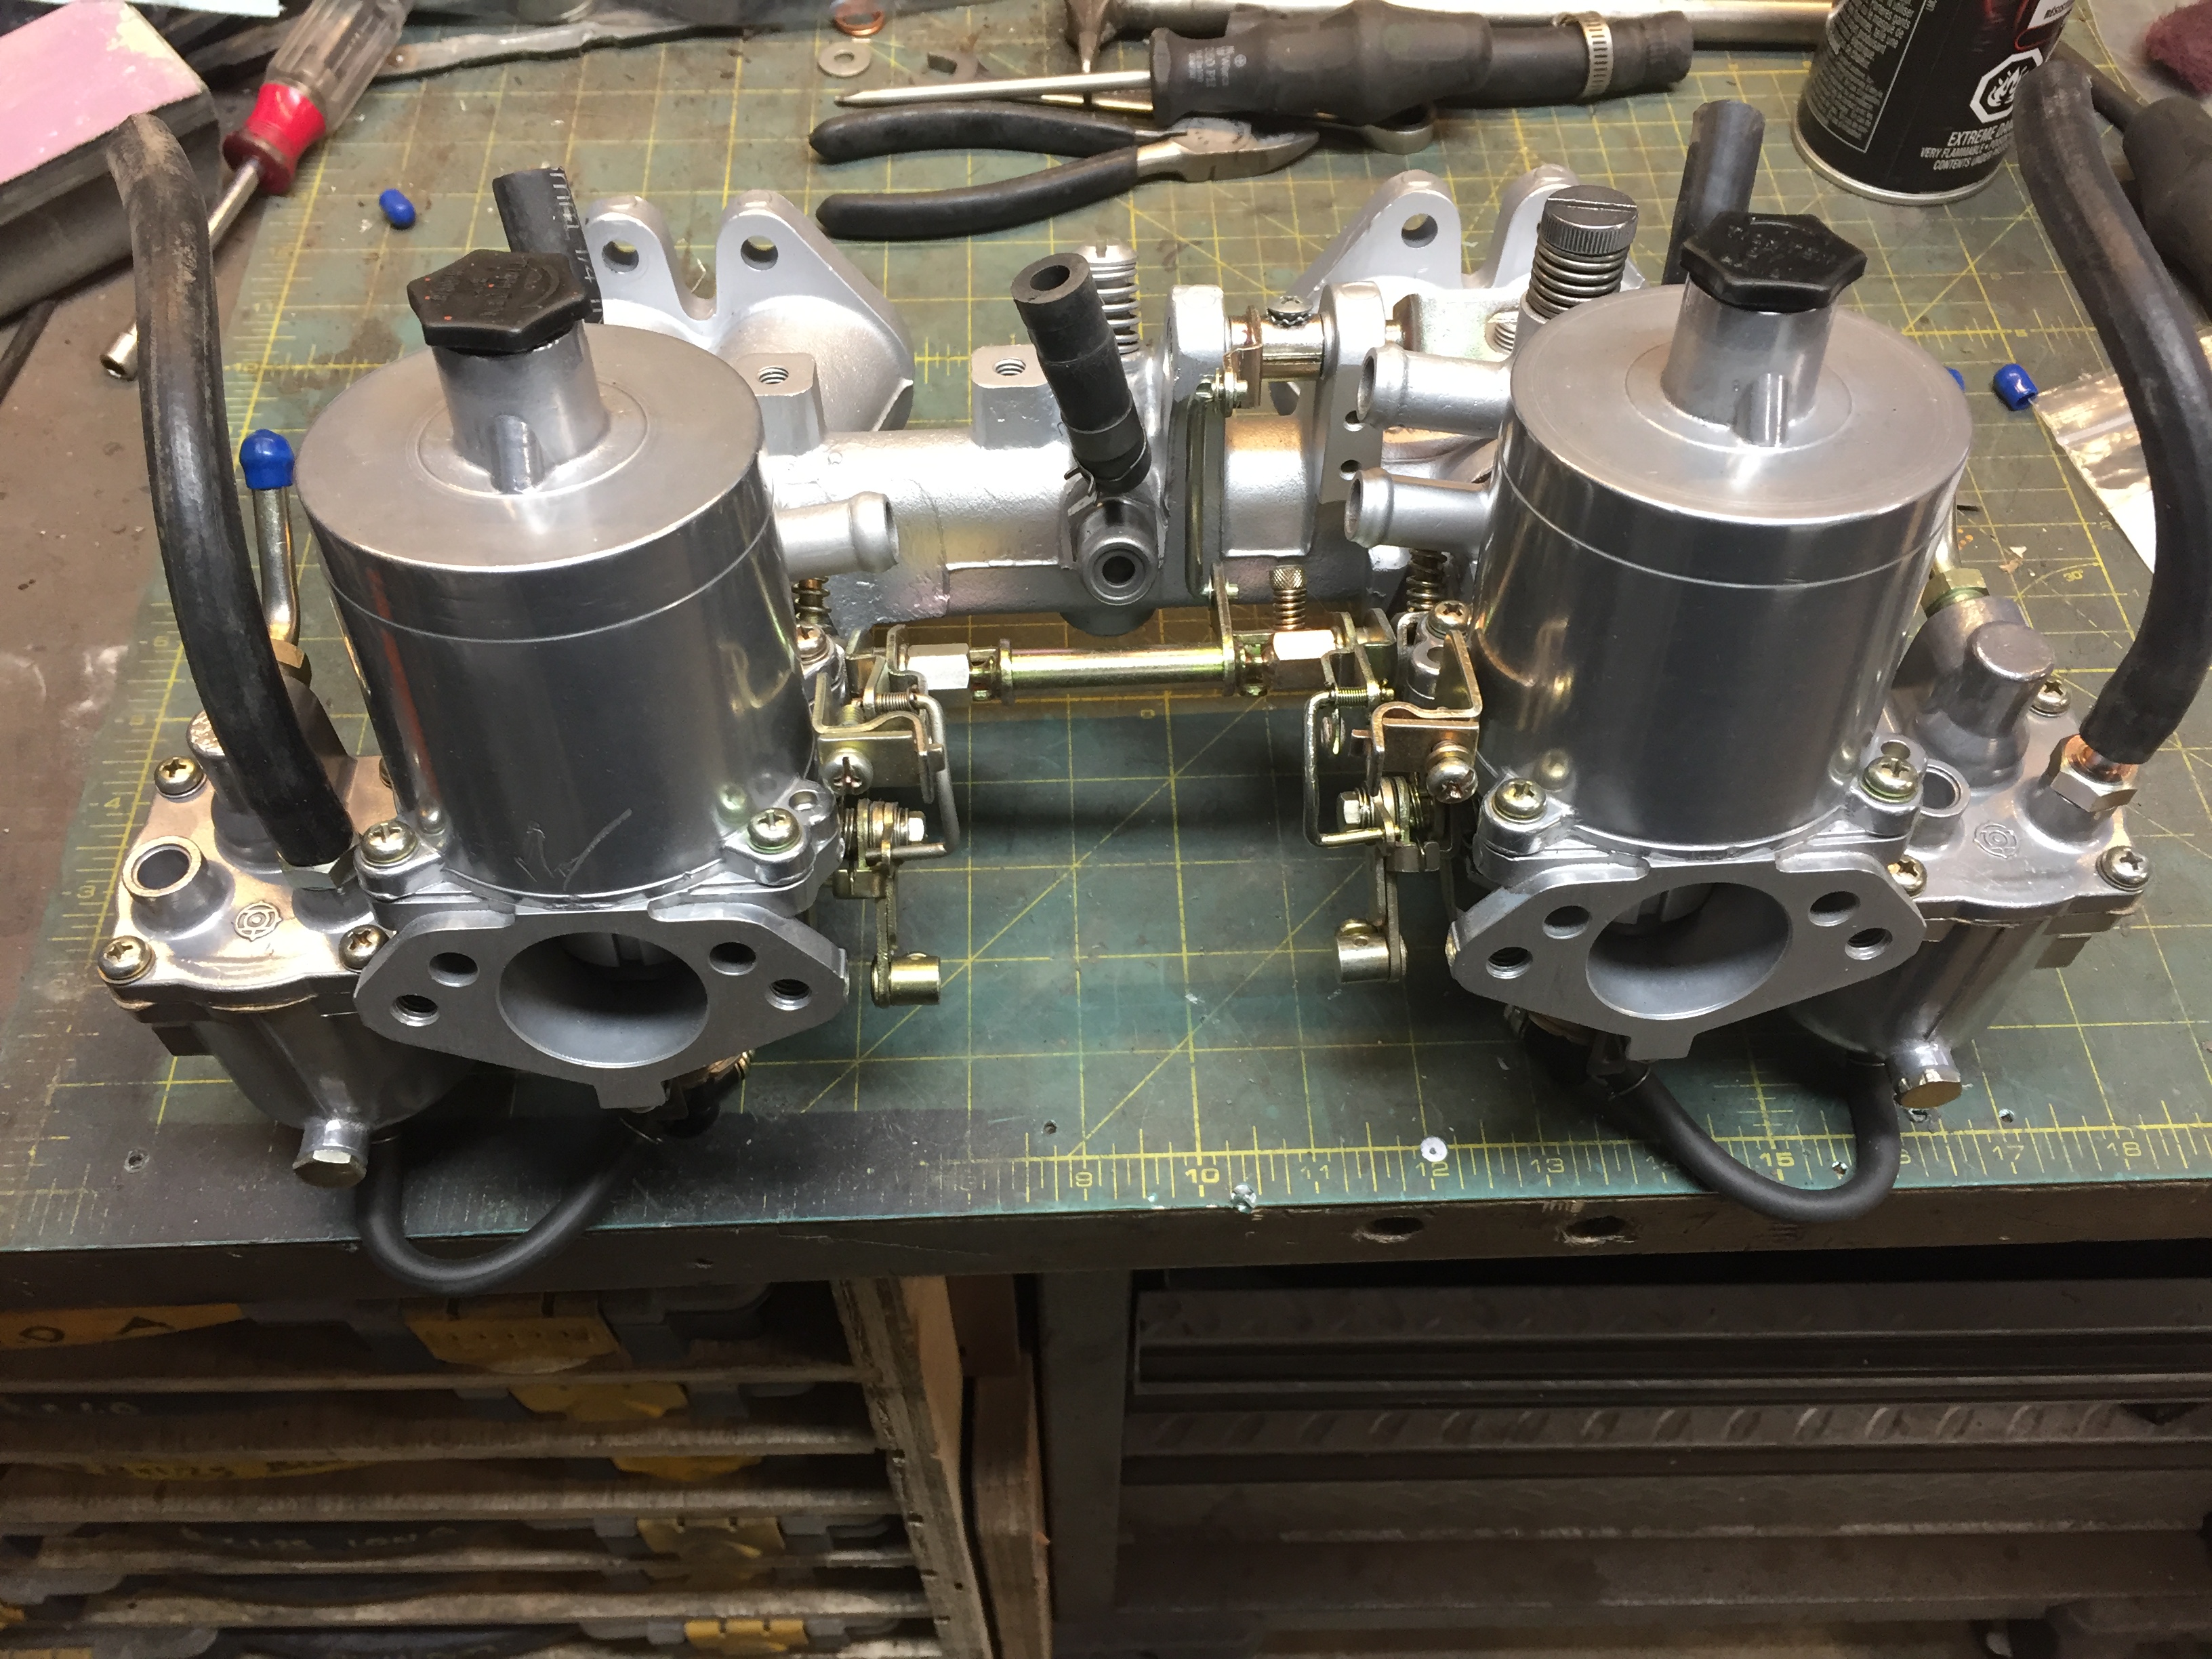
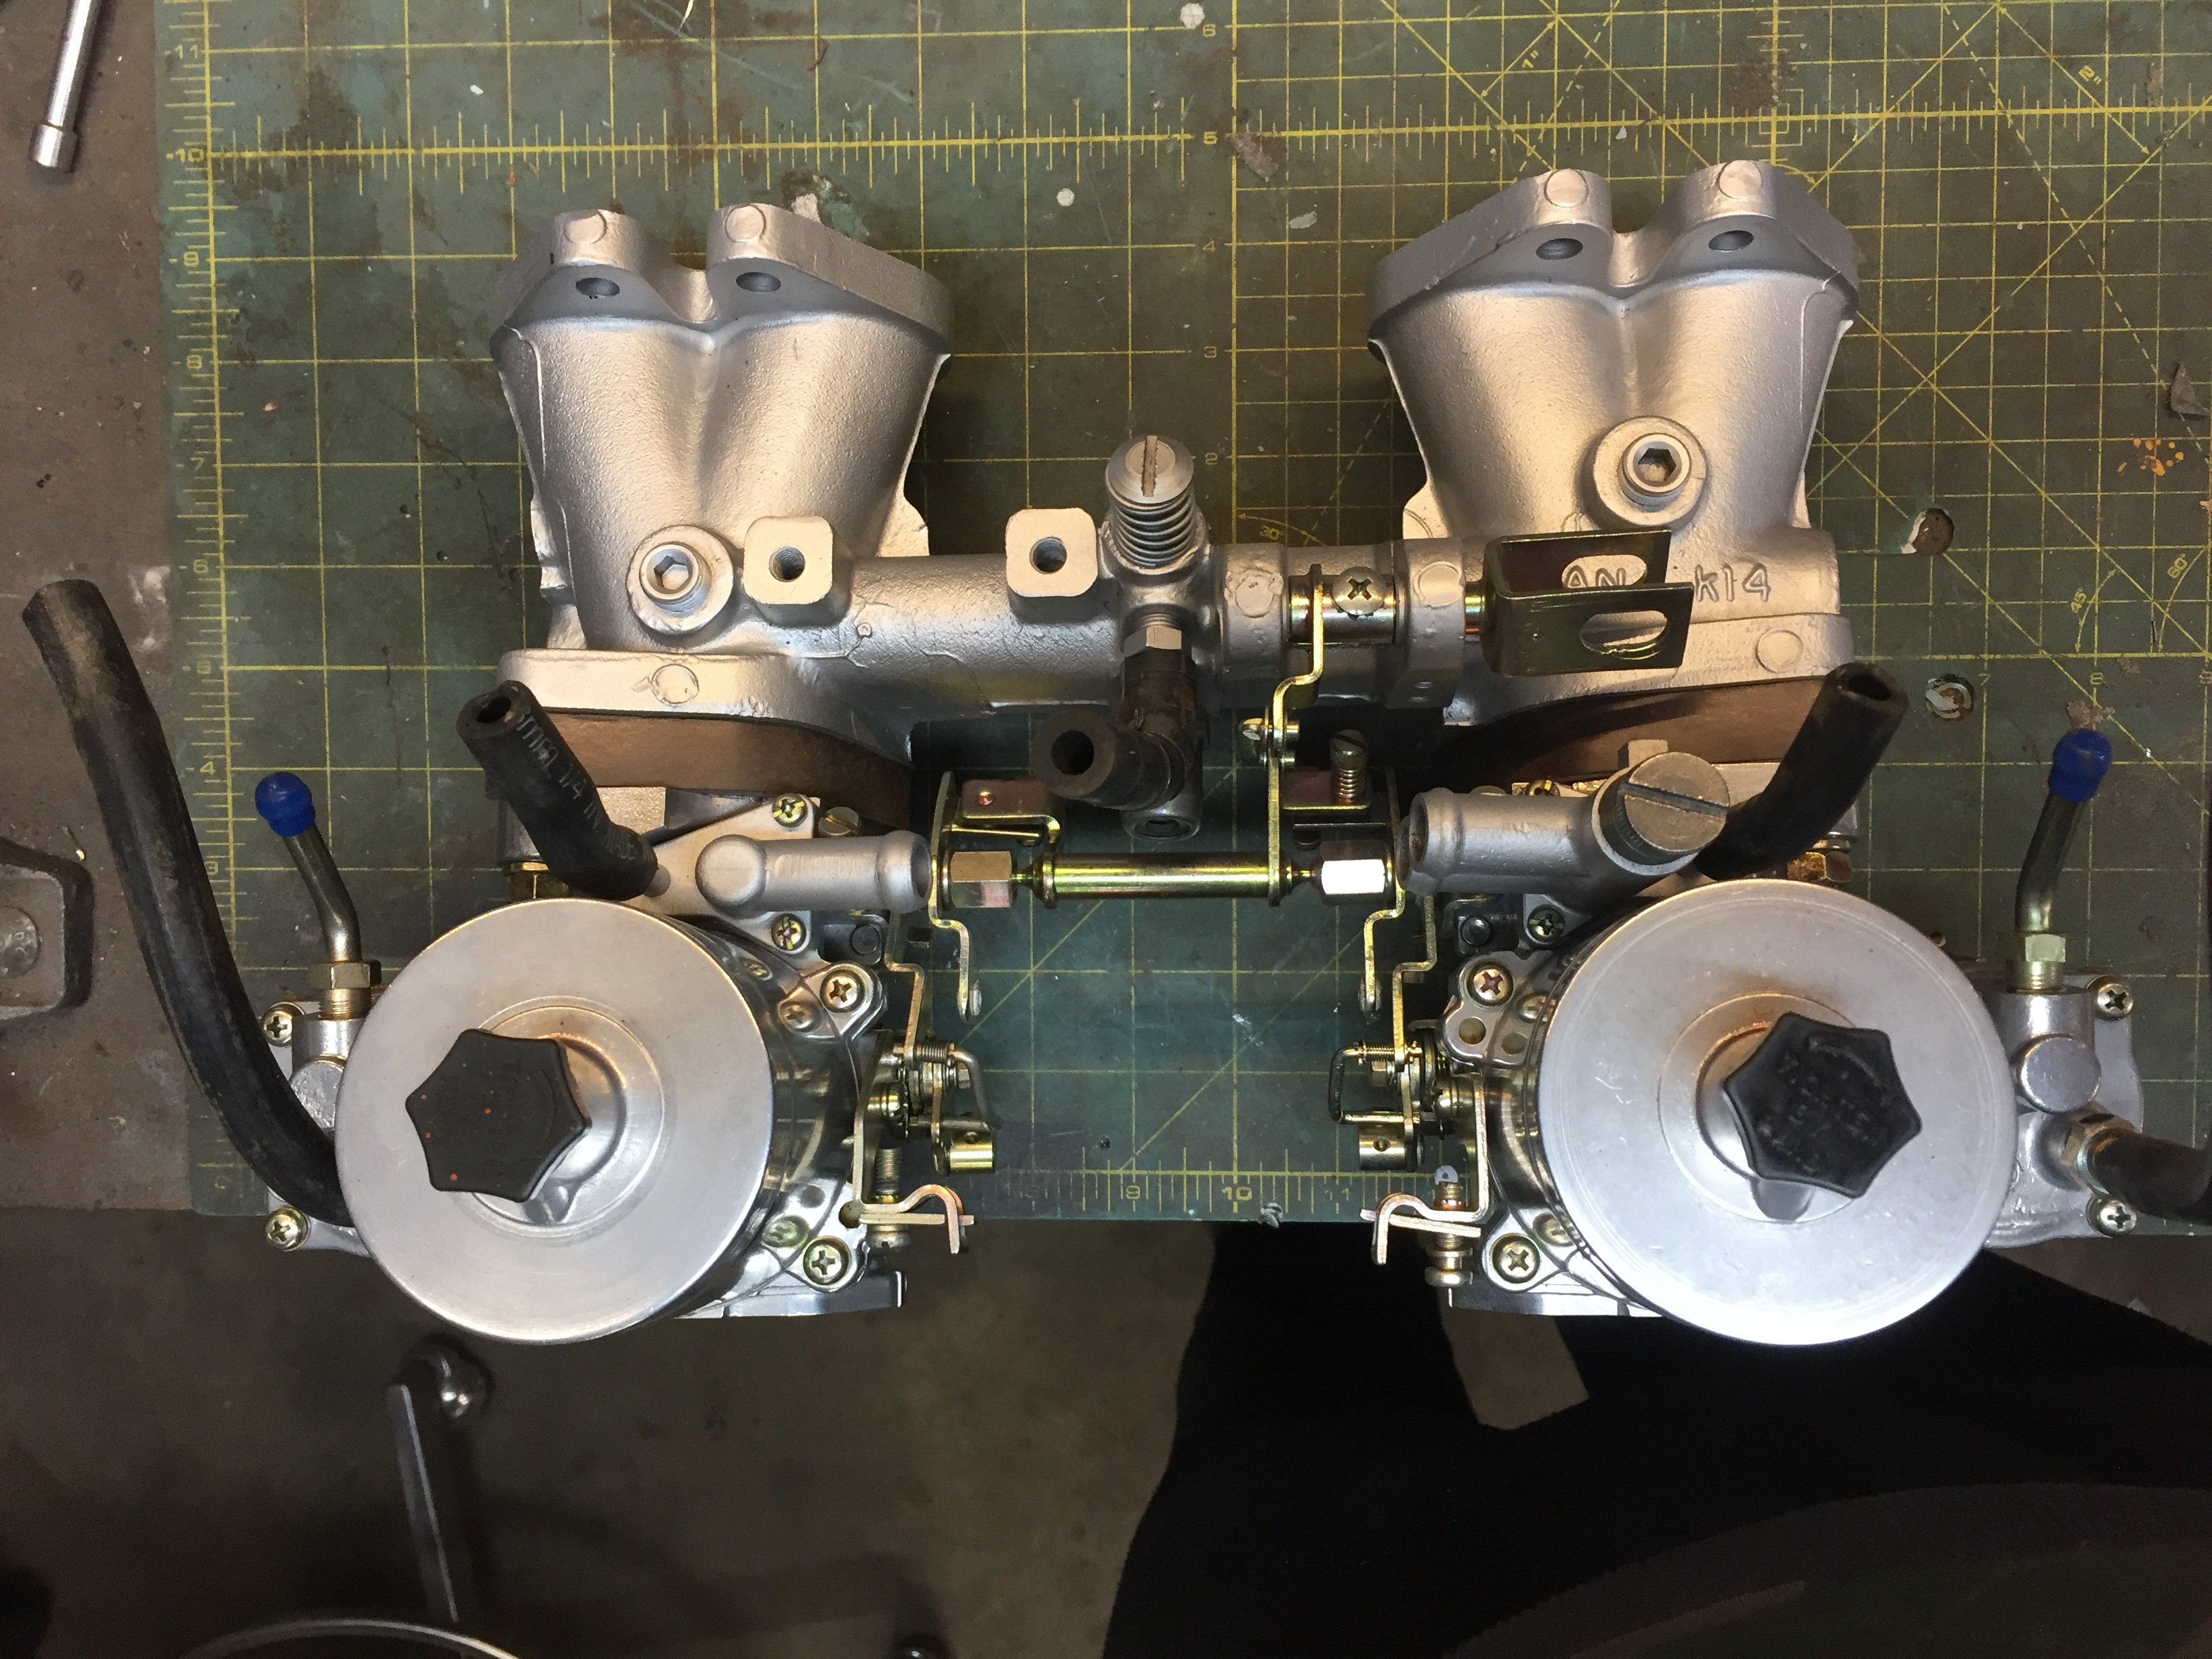
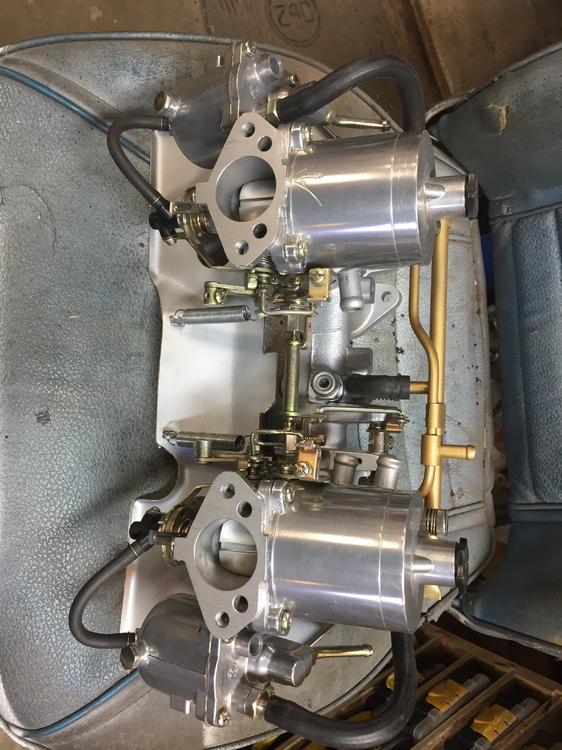
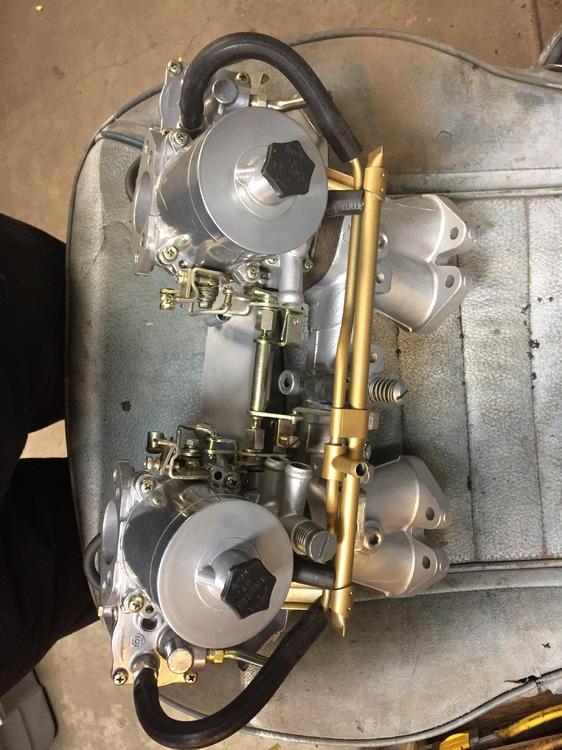
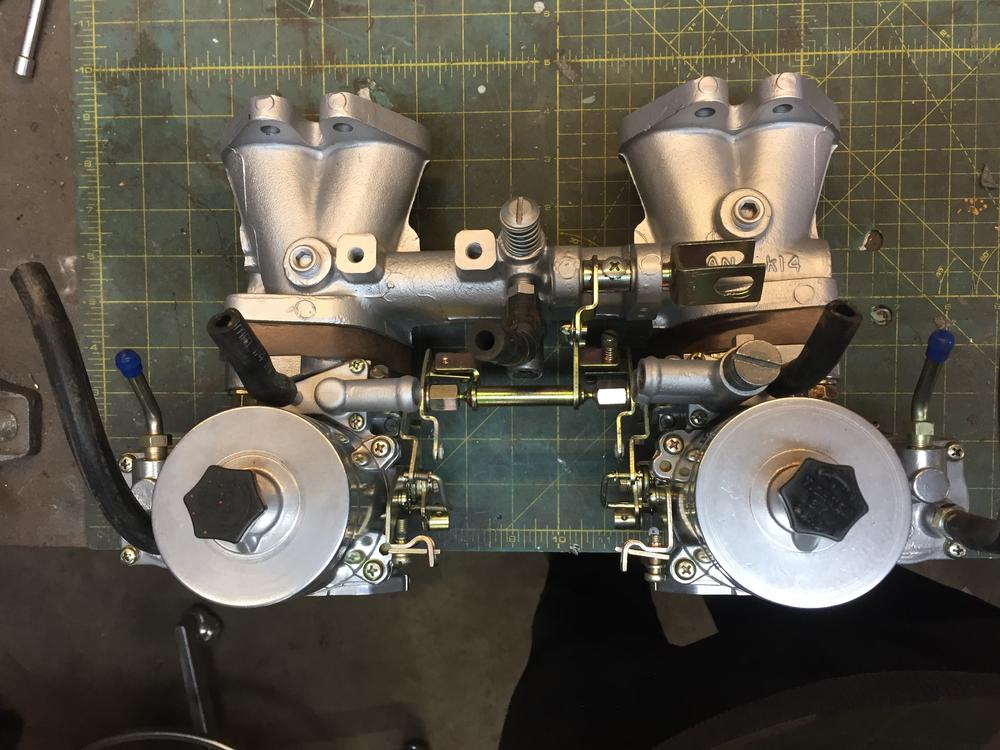
Here are a few more pics of the air manifolds that connect the idle speed and idle mix plumbing. The bowl vents also have their own tube on the manifold. They join and come to the outlet that is sticking straight up. You need to connect that to the air cleaner to put the correct reference pressure above the fuel in the bowl. The large (9/16) ports that point toward each other are the idle mix that are not hooked up yet. A fresh air line, again from the air cleaner, feeds the upper large port, which then goes past the orifice screw, then down to that carb and over to the other. The smaller inlets are the idle speed bypass that are connected to the tube manifold, then runs into another adjustable orifice screw that feeds into the balance tube.


-
These carbs are quite advanced, carb wise. They have two "new" circuits compared to what we Z folks know about our "Round top SU's";one for idle speed control, and one for idle mixture adjustment. I guess technically they're overall design to improve mixtures throughout the operational range,, which affects the cars overall contribution to "smog", but none of this "stuff" detracts from performance. Quite the opposite. . These carbs have holes drilled into the throats in a very specific spot that connect the thoat to the outside world. AFTER the bridge where fuel is added, but BEFORE the throttle plates. Why? Well first, to provide an idle bypass circuit. Instead of opening the throttle plates to let some air/fuel into the engine to set idle speed, we leave the throttle plates closed, and provide a separate path, with an adjustable orfice screw, into the intake manifold to control idle speed. Gee doesn't the later and "better" EFI systems use this technique? Yup.. Who did it first? Well.... Further we can another feature where we can control the idle mixture. How? By adding additional air into the new idle mixture path. This will only lean out that mixture, so to control the AFR of this idle mixture we must design the needle diameters in the idle range to be "rich" then adjust it to what we want by adding air. Slick, huh? So yes, I will be hooking up these circuits on the 510. Maybe even add a idle air control valve so I get fast idle that decreases as the car warms up just like EFI. Imagine that. It will be about as close to EFI as carbs can come. BTW, those crappy flat top 73/74 boat anchors that are the butt of our collective scorn, do these same cool tricks, plus more.... (I always cheer for the underdog )
-
I'm working on a set of SSS 38mm carbs from Z Therapy for my 510 project. These even have air bypass idle control and idle mixture control. Pretty advanced for the day. The flat tops in this case have no resemblance to the 73-74 Z carbs. Other than the air by pass hardware, they are just round tops with, well, flat tops....


-
The difference in actual safety to the occupants with any of the S30 doors, is SO much less than any comparable, modern door, that it is not worth worrying about if you have the "best" doors or not. Any car of this vintage requires that do all you can to actively practice defensive driving techniques at all times to avoid any form of accident in the first place.
-
I believe there is wiring that goes to the console auto shifter mechanism as a "park" or "Neutral" indicator switch of some sort? Or lighting in the shifter housing so you can see where it's set at night? Or to the kick down solenoid? You can tell I've had a lot of auto Z's....
-
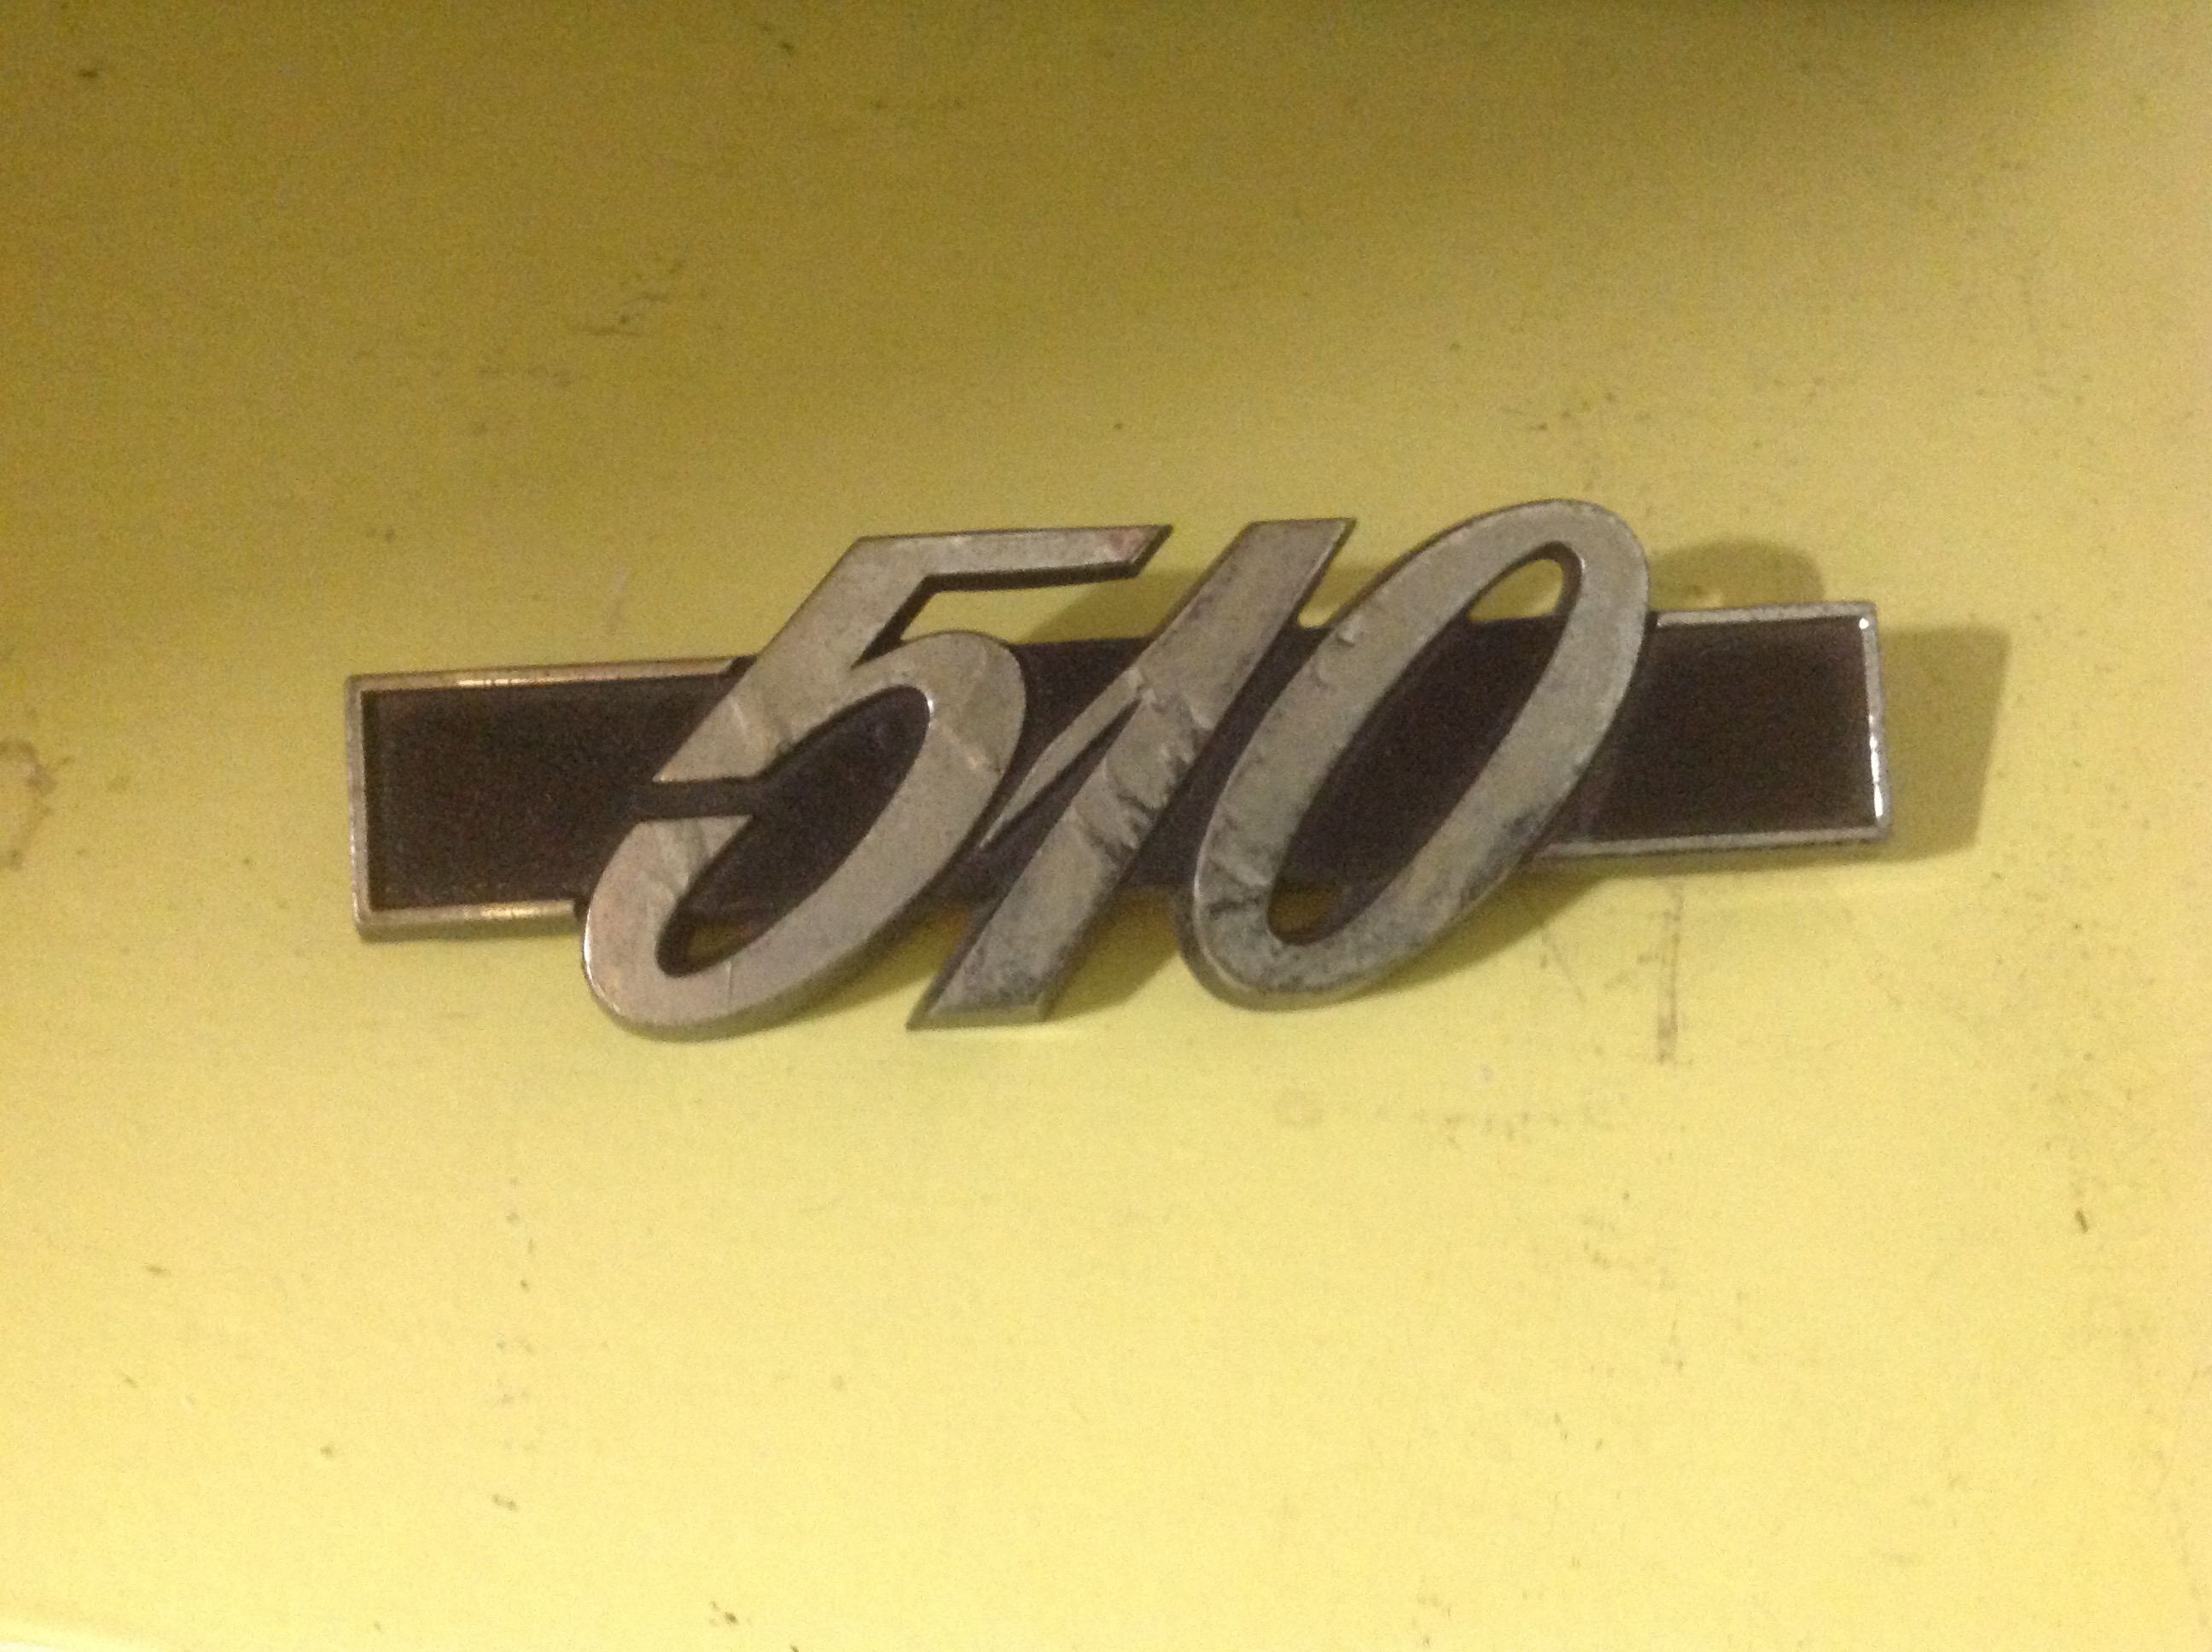
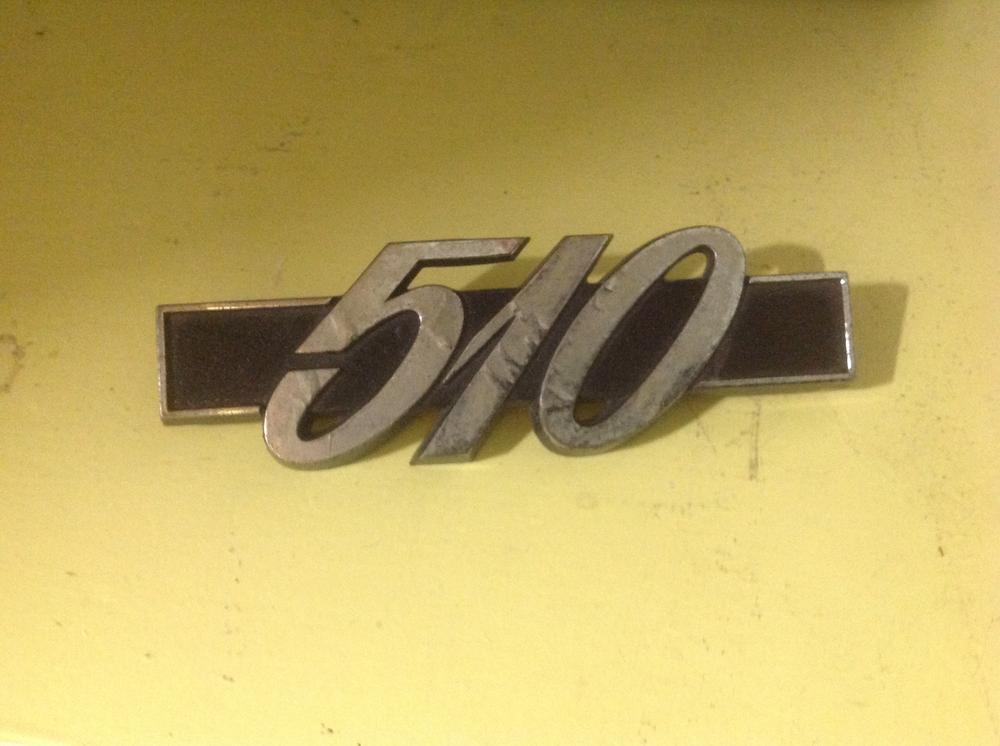
Not a lot of 510 emblem selection here. Just one chrome peeling nasty one.
-
You're looking for the "DATSUN" script that goes on the trunk, right side? Can you send me a picture of it? THere are some differences in the years.
-
Always to nice see a DIY solution. Great work. You know, that spring really really looks like an inner valve spring.... hmmmm....
-
And I finally realized there really are two different types! Given the crap I've seen in the early ones, I'm hoping the later ones better sealed.
-
Both springs appear identical. Proportioning valves are down stream of this device, which compares the output of the two master cylinder circuits.
-
The doctor says you need a new windshield seal. With it in that state you will putting a lot of sealant in with no real hope of fixing the leak. Everytime you try to lift the seal to make room for the tip, it will crack and make more leaks. It is easy to get the old glass out without breaking it. New Precision windshield gasket is $50.
-
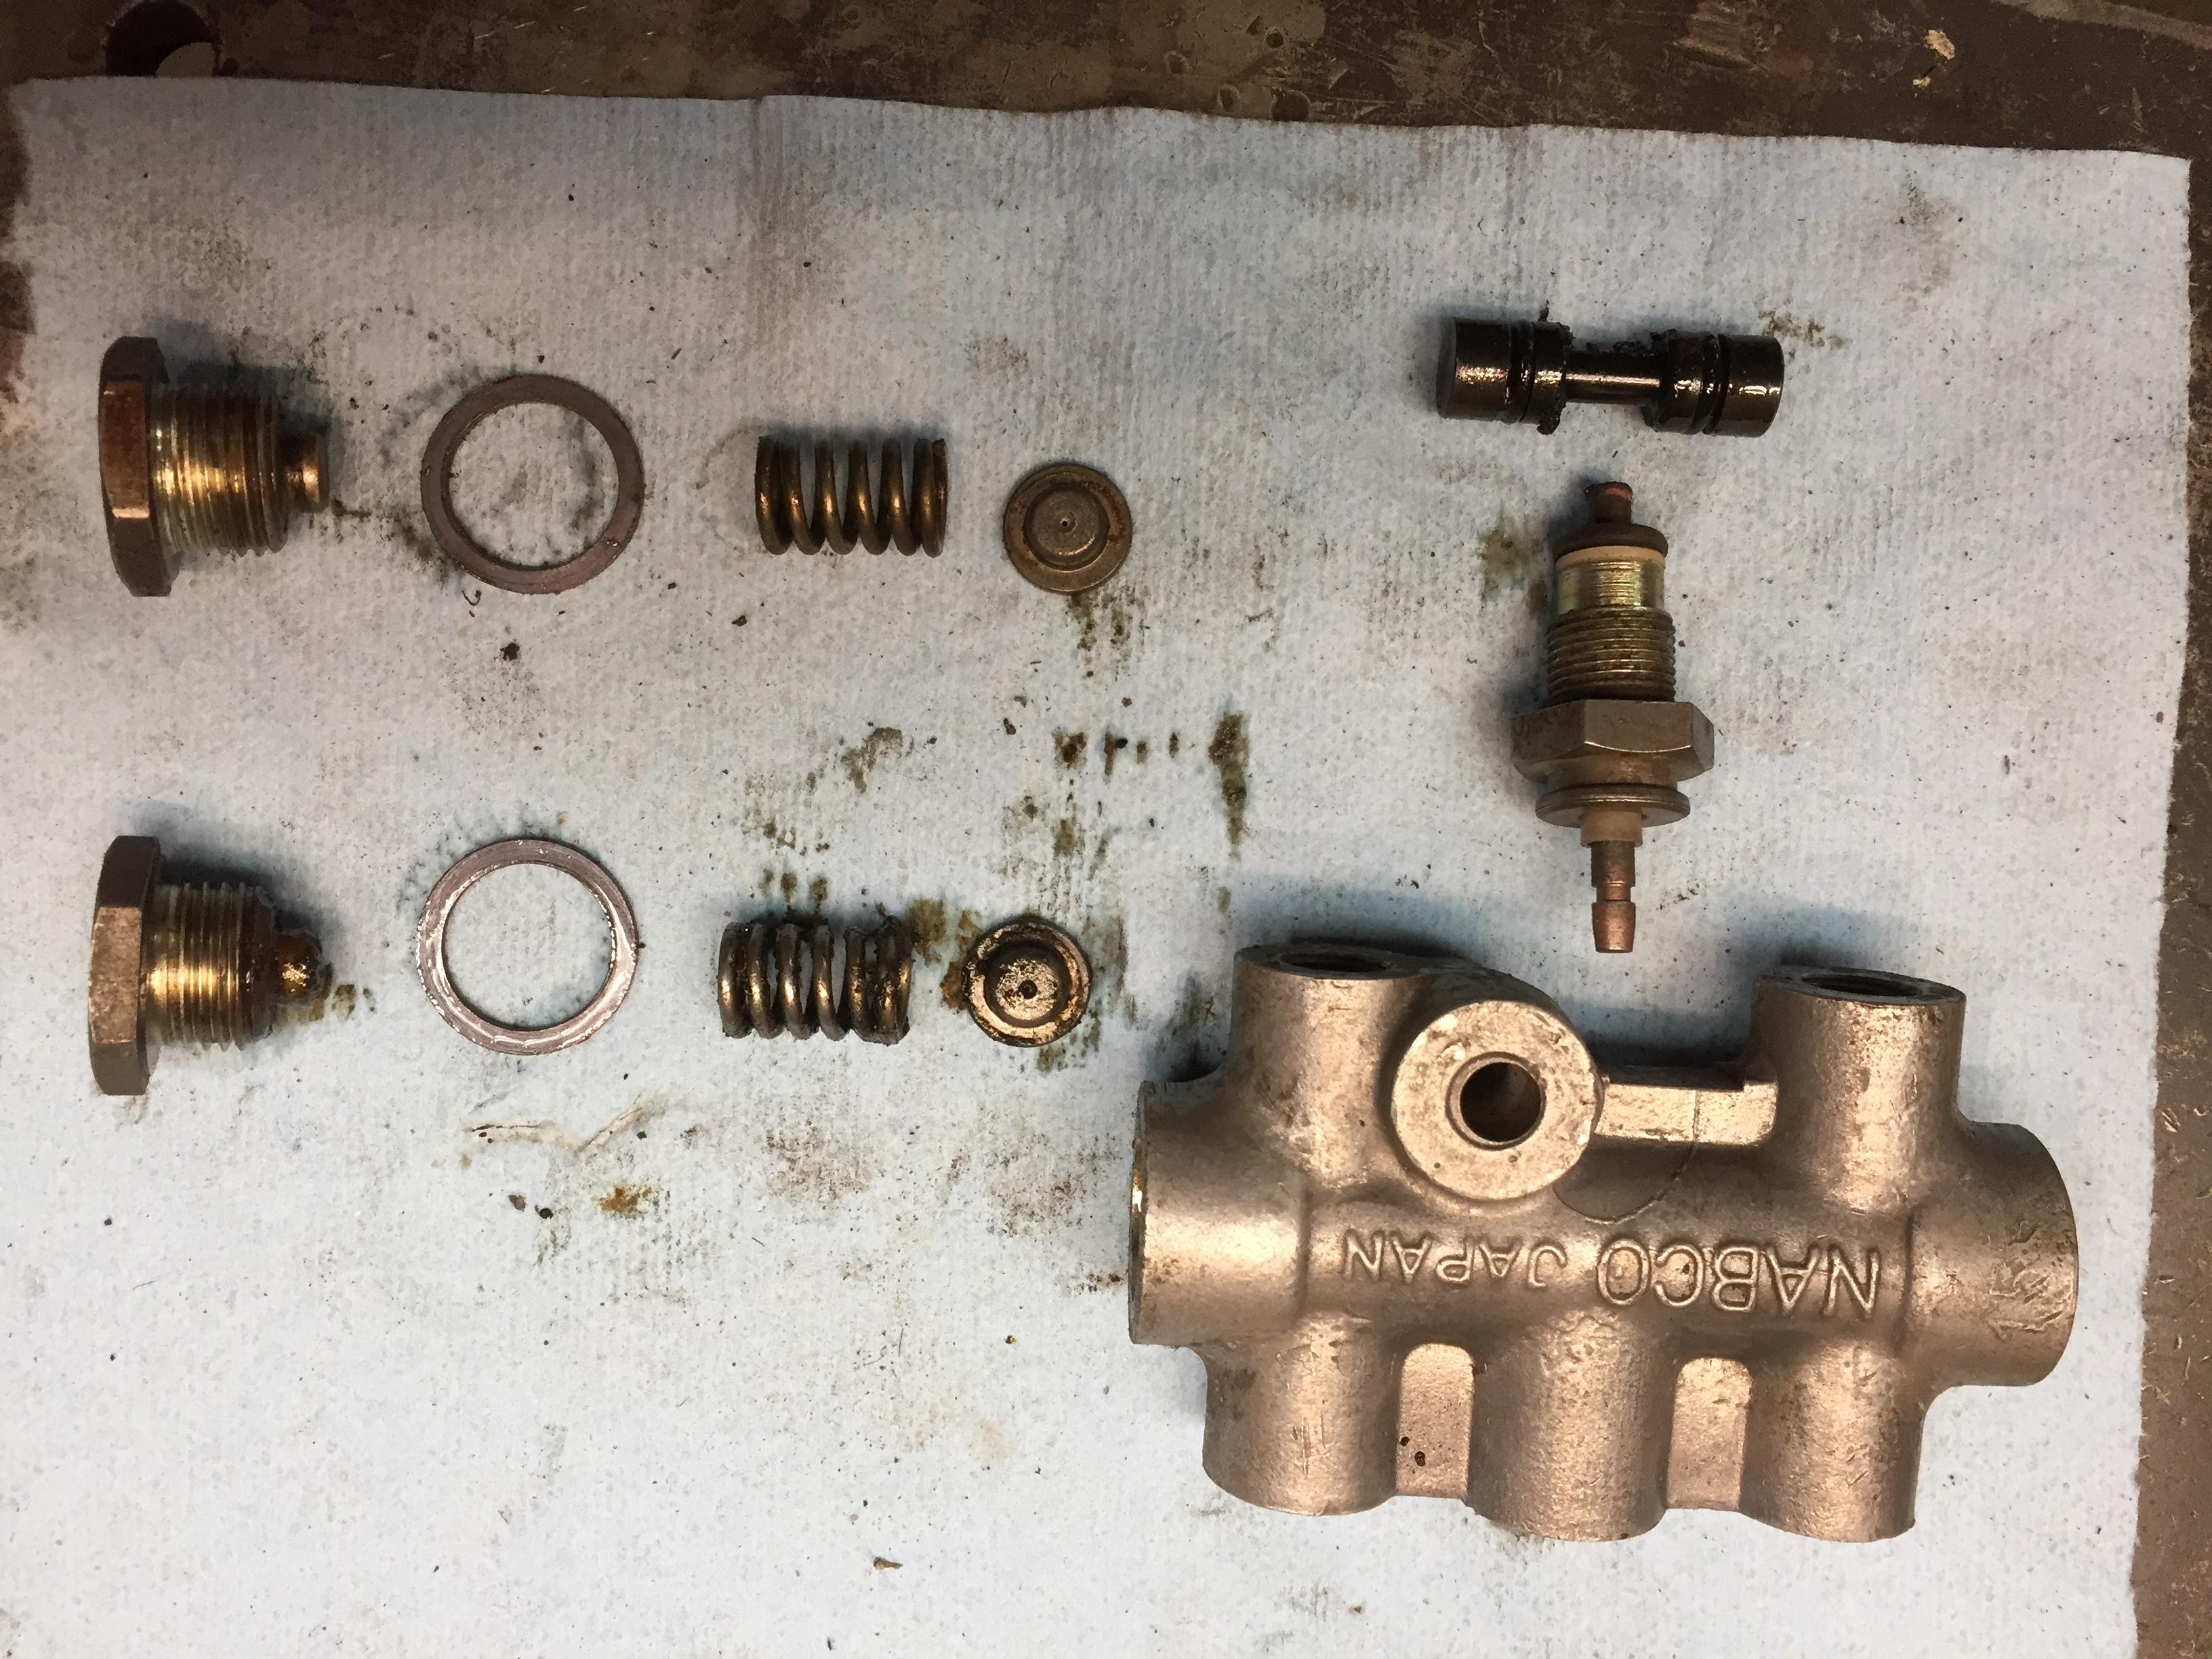
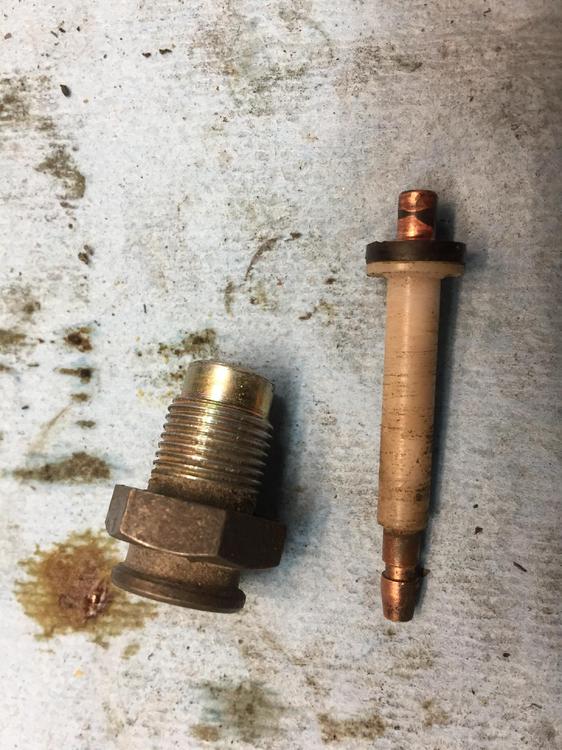
No surprise. Water in the brake fluid would cause total havoc in there. Steel caps, springs and shuttle piston, aluminum case. Everyone get out there and flush your brake fluid, now! Okay, soon, like before next spring.
-
What counts here is the offset between the mount holes and that stud. As you will notice, that spacing looks identical With the early diffs farther forward than the later ones by an inch or so, this offset must be reflected in this spacing. But what you see in the picture, and I see as well when I check my part examples, is that these two have the same spacing.... Ignore the fact that the two blues and two red line spacings appear to not be same. The close up has significant paralax. Notice the stud orientation between the two. So what's up? How can they be? Well if you turn one around, since the center stud has to stay in the same place on the car, the diff mount holes magically move to required position It is my opinion, that if you just rotate a new mount 180 and put it in, it will fit on a (here we go..., deep breath...) a series 1 car. You could also just reverse the moustache bar so it puts the dff back and use a new insulation in its correct orientation, like, (dare I? sure...) on like a series 2 car.

-
Yup, looks like mine. Notes. Both sides are identical, save for the hole in the one end cap where the 2nd front brake line goes. The center piston is symetrical as well. The center piston moves very easily and would take only a couple of psi differential to move it, other than the spring pressure. They are pretty stiff. The center electrode chamber and center of the dumb bell shuffle piston never sees brake fluid. The threads on the electrode retaining cap are not sealed to the outside world so moisture can get in and corrode. There is an o-ring at the base of the electrode that sticks into the dumb bell gap that keeps the outside world out of center of the dumb bell shuffle piston. The copper tip of the electrode needs to be clean enough to conduct when the shuffle piston touches it. Both the two I took apart were not dry or clean in that cavity. It's easy to damage the electrode ceramic coating when you take out the center retaining cap. It is supposed to be free, but its often corroded in place, as it has no seal to the outside. As you remove it, the electrode has to rotate along with the retaining cap or the ceramic may crack if the cap is coming off while the electrode stays in place. Gentle heat and penetrating oil and patience are a must here unless you're lucky. A bit of cleaning and two new orings on the shuffle piston are all it needs to work again if the bores aren't pitted. Unless you're doing a resto where stock appearance and function are important, I'd be doing this part instead to replace both this distribution block and the stock rear (or front, later) prop valve. Nothing worse than old brake parts. Ok, maybe old seat belts...


-
Has anyone, anywhere, any time ever had a front or rear circuit fail and have that light actually come on?
-
Well then let's move some of my garage full of spares into yours!
-
I've kept several of those brake light switches if you want to try a couple of others. Let me know at z240@shaw.ca
-
Maybe? http://www.thezstore.com/page/TZS/PROD/14-1504