zKars
 Subscriber
-
Posts
3,743 -
Joined
-
Last visited
-
Days Won
107
Content Type
Profiles
Knowledge Base
Zcar Wiki
Forums
Gallery
Events
Downloads
Store
Blogs
Collections
Classifieds
Everything posted by zKars
-
Excellent news Ed! Thanks for doing this! BTW, if anyone wants a lightly used 123 Tune distributor I'd be willing to part with mine for a reasonable offer. I'm craving the new Bluetooth and IOS App enabled version!
-
Note this article and auction are from May 2014. That car has my name on it. Literally. And several others here as well. Thanks at least for the reminder of that special time back at the run-offs in 2013.

-
The door glass is not the same over all 8 years of production. 77-78 glass is quite different in how it mounts to the frame that connects to the regulator arms and is thus not interchangable with other years. The glass mount frame is also different for 74-76 but the glass is the same 70-76. The two short "C" channels where the regulator arms rollers run are positioned differently in the 74-76 frames than earlier ones. You will have problems with arms falling off the frame if you mix regulators and glass frames. Even the door mounted guide channel at the front changed for 74-76. The 74-76 regulators are different too as they have a wider offset where they mount to the door. I assume they were "improving" the glass fit and function and moving the regulator inboard 1/4" and tweeking the various guide channels made it work better. Then they gave up and totally changed the glass mechanism for 77-78. That stuff works fantastic. Thanks for the overall advice about glass polishing. I have a polish kit coming. Time to freshen up some old glass!
-
Yup.. Overlaps the pinch weld welting half of the weatherstrip. The line up with the existing three mounting holes locations should confirm
-
Good detective work. I believe there is a valve in that hot water line that is supposed to stop the coolant flow after it reaches something near operating temp. Dollars to donuts its staying open the whole time.
-
Let's get a couple of thing straight about the correct function of these bushings. In the stock bushings, the inner and outer steel shells are BONDED to the bushing rubber between them. When you assemble the strut to the control arm, you leave the pin loose until the car is at normal right height. THEN you torque everything down. This LOCKS the center sleeve of the bushings in the control arm to the strut and leaves the rubber in a neutral un-twisted position. From this point on, ANY suspension motion twists the rubber in the bushing, there is no rotation of the pin in the bushing or in the strut. Poly bushings are completely different as the bushing is not bonded to the control arm hole (you remove the stock bushing outer tube that WAS bonded to the control arm hole, that hole becomes the outer constraint) or to its center tube that the spindle pin passes through. They allow rotation of the center tube in the bushing. hence the need for that sticky lube so they don't squeak. They are too stiff a material to use them like stock rubber bushings. The center bushing tube is still locked to the control arm when it's all torqued correctly. It matters little what sort of bolt you use to create this lock up condition, spindle pin or 5/8's bolt. Although the slightly smaller OD 5/8 bolt does allow for a tiny bit of slop in the strut hole. But if its all locked up correctly, there ain't no room for schnanigans..
-
The smog pump will have no effect on under hood temps. Don't bother. Check your fuel system to ensure correct volume and pressure specs. Change the filter at least. Possibly also replace the needle and seat in the carb where you see the overflow. This is either excess pressure or a poor needle seal.
-
That's the funniest damn thing I've seen in days!! Just regular folk working the line. Monday morning or the local cultural equivalant for sure. That one is going up on the shop wall for sure. Thanks for sharing! And who knew they had an official "Nissan" logo stamp! Any one seen that used any where else on a Nissan product?
-
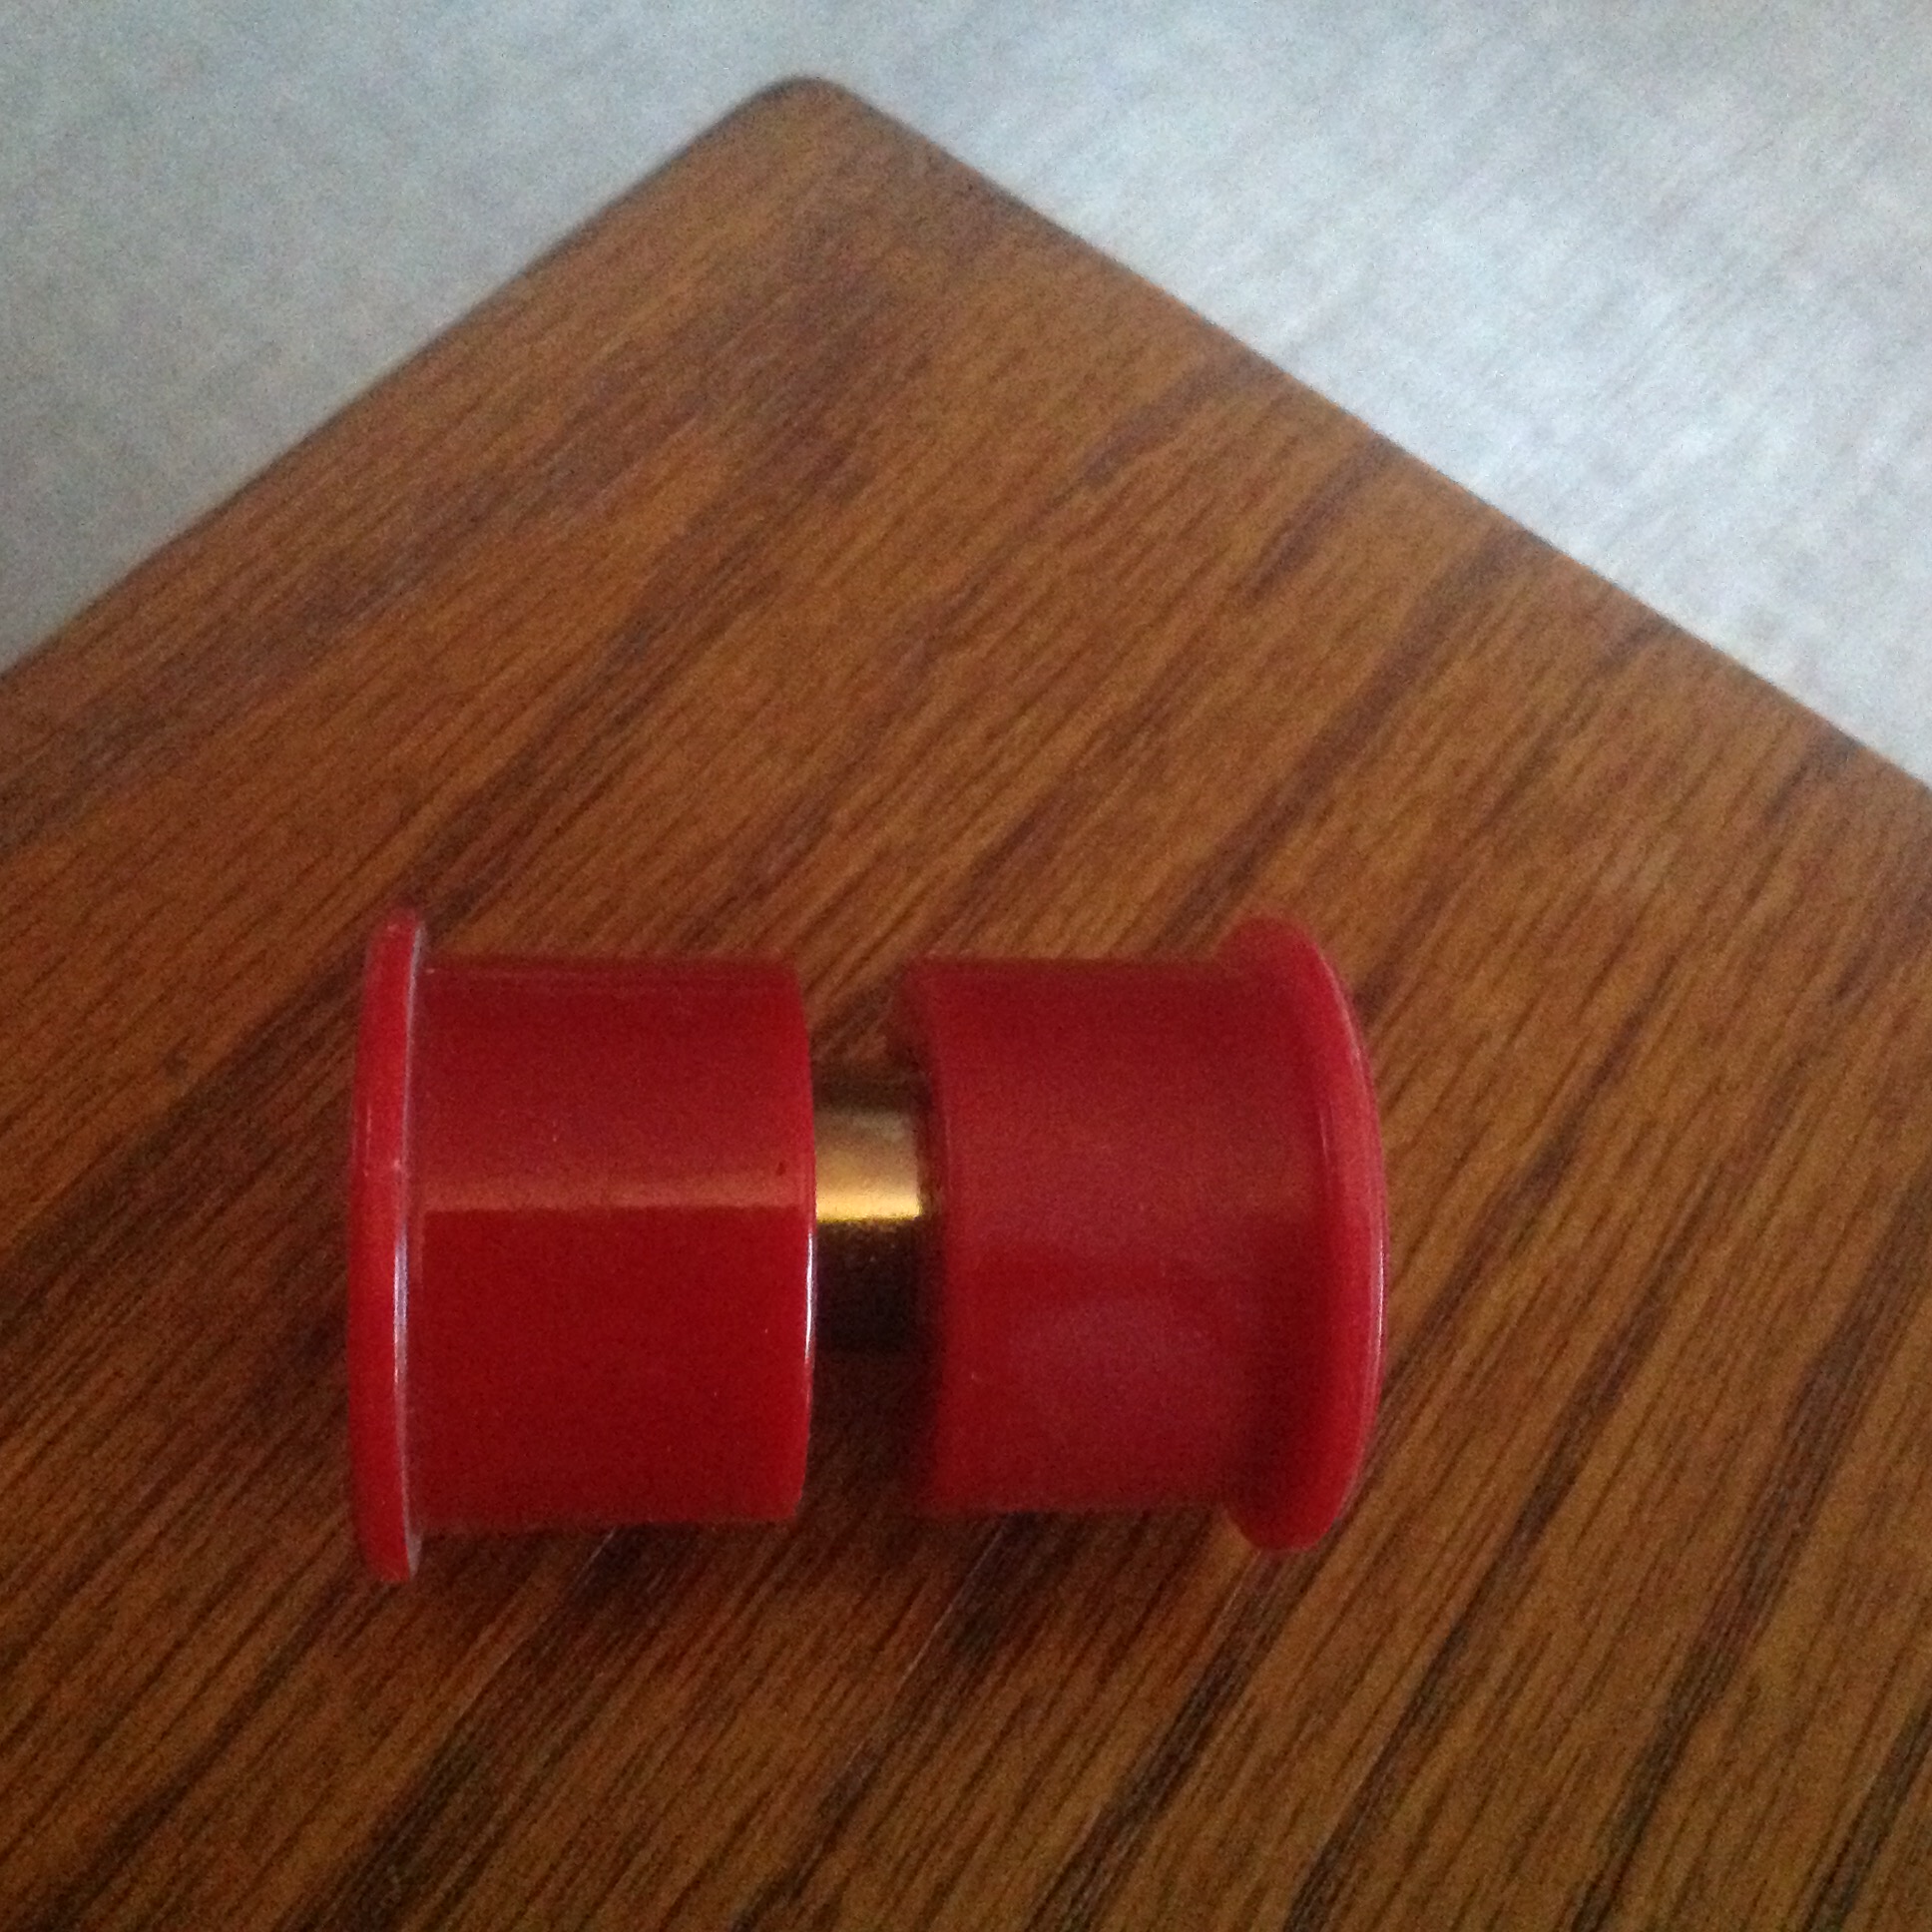
DIdn't think I had one, but I do. Here is how the "right" one looks. The flange is 0.125 thick.

-
Hmmmm... Maybe these are not the right inner bushings? Kit incorrect? Maybe some of the other bushings just happen to fit that ID? Look at the others for the ones with the really skinny flange... just grasping at straws here
-
The most recent couple of these I installed had much thinner inner faces that these. The fit was 'snug', but this looks impossible. I guess I'd take them out and sand them thinner. What brand are they and when were they purchaced. Tough to use anything sharp other than on a lathe.
-

I just Retired, Moved, Drove Z to it's new garage.
zKars replied to Oiluj's topic in Engine & Drivetrain
Happy Retirement! Nothing better as long as it was your decision! Spend more time with at Z! -
I would be very curious why the mech. thinks it needs shims. Ask him to explain how the measurements were made. There are no shims in the stock factory configuration, just a choice of three different "Distance Pieces" stampled A, B and C. I've personnally never seen anything other than 'B"'s. If shims are needed, you either find a different strut housing or make shims. Or have a new piece of pipe made to make a distanct piece that is the right length as mentioned above. This is basic machine shop stuff. Shim stock is nearly free. Another thought, for 240 stubs, you will often find a copper "shim" on top of the inner bearing between the inner axle flange and the bearing.This is not a spacer, it is (I've heard it here!) a noise reducing trick. It has nothing to do with positioning the bearings in the races.
-
Belmetric is another favorite source for on-line metric hardware. https://www.belmetric.com/12x125-extra-fine-c-506_510_411/?zenid=4r9ti9km82ktavslj3ruvmb9b2
-
As long as the bolt threads in by 1.5 times the diameter of the bolt or protrudes through the hole its threaded in, you should be fine. They are 12mm x 1.25 bolts if you go shopping. Buy the 10.9 grade ones.
-
Man there isn't much that high input pressure do other than overwhelm the needle seat and overflow the bowls. Once the pressure is right, nothing else should be an issue. Maybe the needle fit changed, or the floats where tweeked? Might make a pretty high velocity jet through the needle orfice. Who knows what it caused. Do check float levels while running if that's possible. You need the in/out flow stabilized to see where the floats sit in operating mode. I'd be tempted to take a look at the floats and pivots and needle tips to make sure everything is tickatee boo.
-
The cross member can be installed either way, but the correct way puts the larger exhaust semi-circular cutout on the left side where the exhaust runs. Motorman7's picture shows the correct orientation
-
All booked and coming. What I'm coming IN is totally undecided. Hopefully I will survive the mind numbing drive there and back....
-
Good question. There is a central metal tube/sleeve inside the rubbers that the large washers get squeezed together until the washers bottom out on that sleeve. Once tight, the bushing pair are automatically centered on the frame by virtue of both bushings being made of the same stiffness. As you drive, that rod is in compression (accel) or tension (braking) which deforms them somewhat. Having a poly bushing on the front and a rubber bushing on the back implies that the static position is NOT centered affecting caster somewhat. Take a look at the rubber bushing before and after torque up and see just how much it crushes. One note that I brought up before here, the torque spec for the nut on the end is to obtained ONLY once the washers lock up on the central sleeve. There are situations where you might reach the torque spec BEFORE that happens, like dirty threads, very stiff bushings or TC rod not at a neutral position forcing the bushings into an awkward position. We had a big thread elsewhere about this where folks were using two nuts to lock them up as they were coming loose. Using a new locknut is important, as well as ensuring you have sleeve clamp down.
-
I'd like to hear you-all's experiences with the optical quality after tint film once applied to glass with the usual (and well earned) "patina" of scratches, pittings, etc. The defroster grids are raised off the glass, does this cause obvious line-distortions or is it pretty good? Side windows? How do the scratches and dings look, ie are they hidden or accentuated? I'm trying to decide if this something I want to do this summer.
-
Redid My Tension Compression Rod Bushings Today
zKars replied to Captain Obvious's topic in Suspension & Steering
The stock bushings are mounted with the flat (thin) side against the frame pocket, and the washers are counter-intuitively (I think) positioned with the convex curved face (sticky-outy) toward the curved (thicker) side of the bushings like this: )B-|-B( Brackets are washers, B are the rubber bushings and | is the frame pocket. The right hand B( gives you the correct bushing roundness vs washer convex-ness orientation. This gives you more bushing washer freedom to move and surprisingly gives you more threads sticking out when you try to get the nut on the end of the rod! -
There are two other ground points. Talking 240's here. 280's have EFI related grounds as well. The second is under the gas tank at the right rear of the chassis just inside the rear valence. It threads into the side of a frame member back there. Gas tank has to come out to get to it. The third is to the left of the battery on the firewall. There is a 6mm threaded hole. Not the one directly above the battery where the frame attaches, about 2-3 inches left of the top of the battery. It was designed to have a lug from the main '-' battery cable connect there before it goes down to terminate on a starter mounting bolt. This provides the engine block to body ground. Often lost when the old stock cables are replaced with generic ones. If you don't have one, create a 8 or 10 gauge wire to connect that firewall point to some engine block bolt. Maybe mention the black ring terminal ground connection on the back of the alternator as well? Important for proper voltage reg and alternator reference.
-
Devastating news for his family. He will be missed by many. Seems he passed doing what he loved. Sometimes I hate this place as it allows me to only touch a few of the good souls that live "here" without really knowing them. John was one of those. We were just bantering about Datsun development and values over on hybridz with great respect about differing opinions. I smiled again as I knew he enjoyed (tolerated?) my ribbing even though we've never met. Now if we can all use this terrible event to help us remember what's really important....
-
Collapsing Shocks To Push Bumpers Closer To Body
zKars replied to Captain Obvious's topic in Body & Paint
Interesting idea. I've never done this, but I'm pretty sure the rubber end/fillers would be pushed into the body forcing you to remove them or the least trim them. This would leave the ugly bumper with no end trim. Not sure how this would be better then going with skinny bumpers. Something about not being able make a silk purse out of a sows ear.... -
Great day! Learned another early Z uniqueness! Definitely got into #72 via the floor donor. I'd feel obliged to remove it! Hard to imagine that little strip adds much in the way of stiffness. Some for sure. Wonder if you can fell your butt fall and rise on a good bump with floor flex...