zKars
 Subscriber
-
Posts
3,743 -
Joined
-
Last visited
-
Days Won
107
Content Type
Profiles
Knowledge Base
Zcar Wiki
Forums
Gallery
Events
Downloads
Store
Blogs
Collections
Classifieds
Everything posted by zKars
-
Late consoles mount differently than early ones. Possible, but not "bolt on". Plus it's just wrong....
-
There is documented evidence on hybridz.org, I know it's been discussed, mostly around the issue of time mark wander showing that the two halves had shifted due to that rubber stuff failure or bonding release. Can't remember ever seeing a picture of one that came apart though. True failures are "rare" I believe. If you have doubt about yours or want to do something about it, rhere is an outfit in the US (damper doctor I believe) that will replace that elostomer material with new. I had one done years ago. Quite reasonable.
-
You must be congratulated for your eloquent response. What he said...
-
Let us review the correct way to install these components. That nut, nylock or otherwise, gets tighted to, yes, a well advertised torque spec, BUT there is an underlying assumption. That those big surrounding washers (assuming you've put them on the right way around) must FIRST contact the underlying (my new favorite word) central tube pipe thingy... THEN the nut gets torqued. If you get your butt totally fooled by squeezing mushy or too stiff poly-whatever-thylene (while trying to make things "better"), or have the assembly all out-of-alignment while you do it, and torque that nut to 50 and think your golden, well, then you may very well get into the situations above... Just saying...
-
Yeah, what the hell? I thought all Datsun hawkers put their name and address on Craigslist so we can totally play Russian spy and see what they're hiding under the deck, right?
-
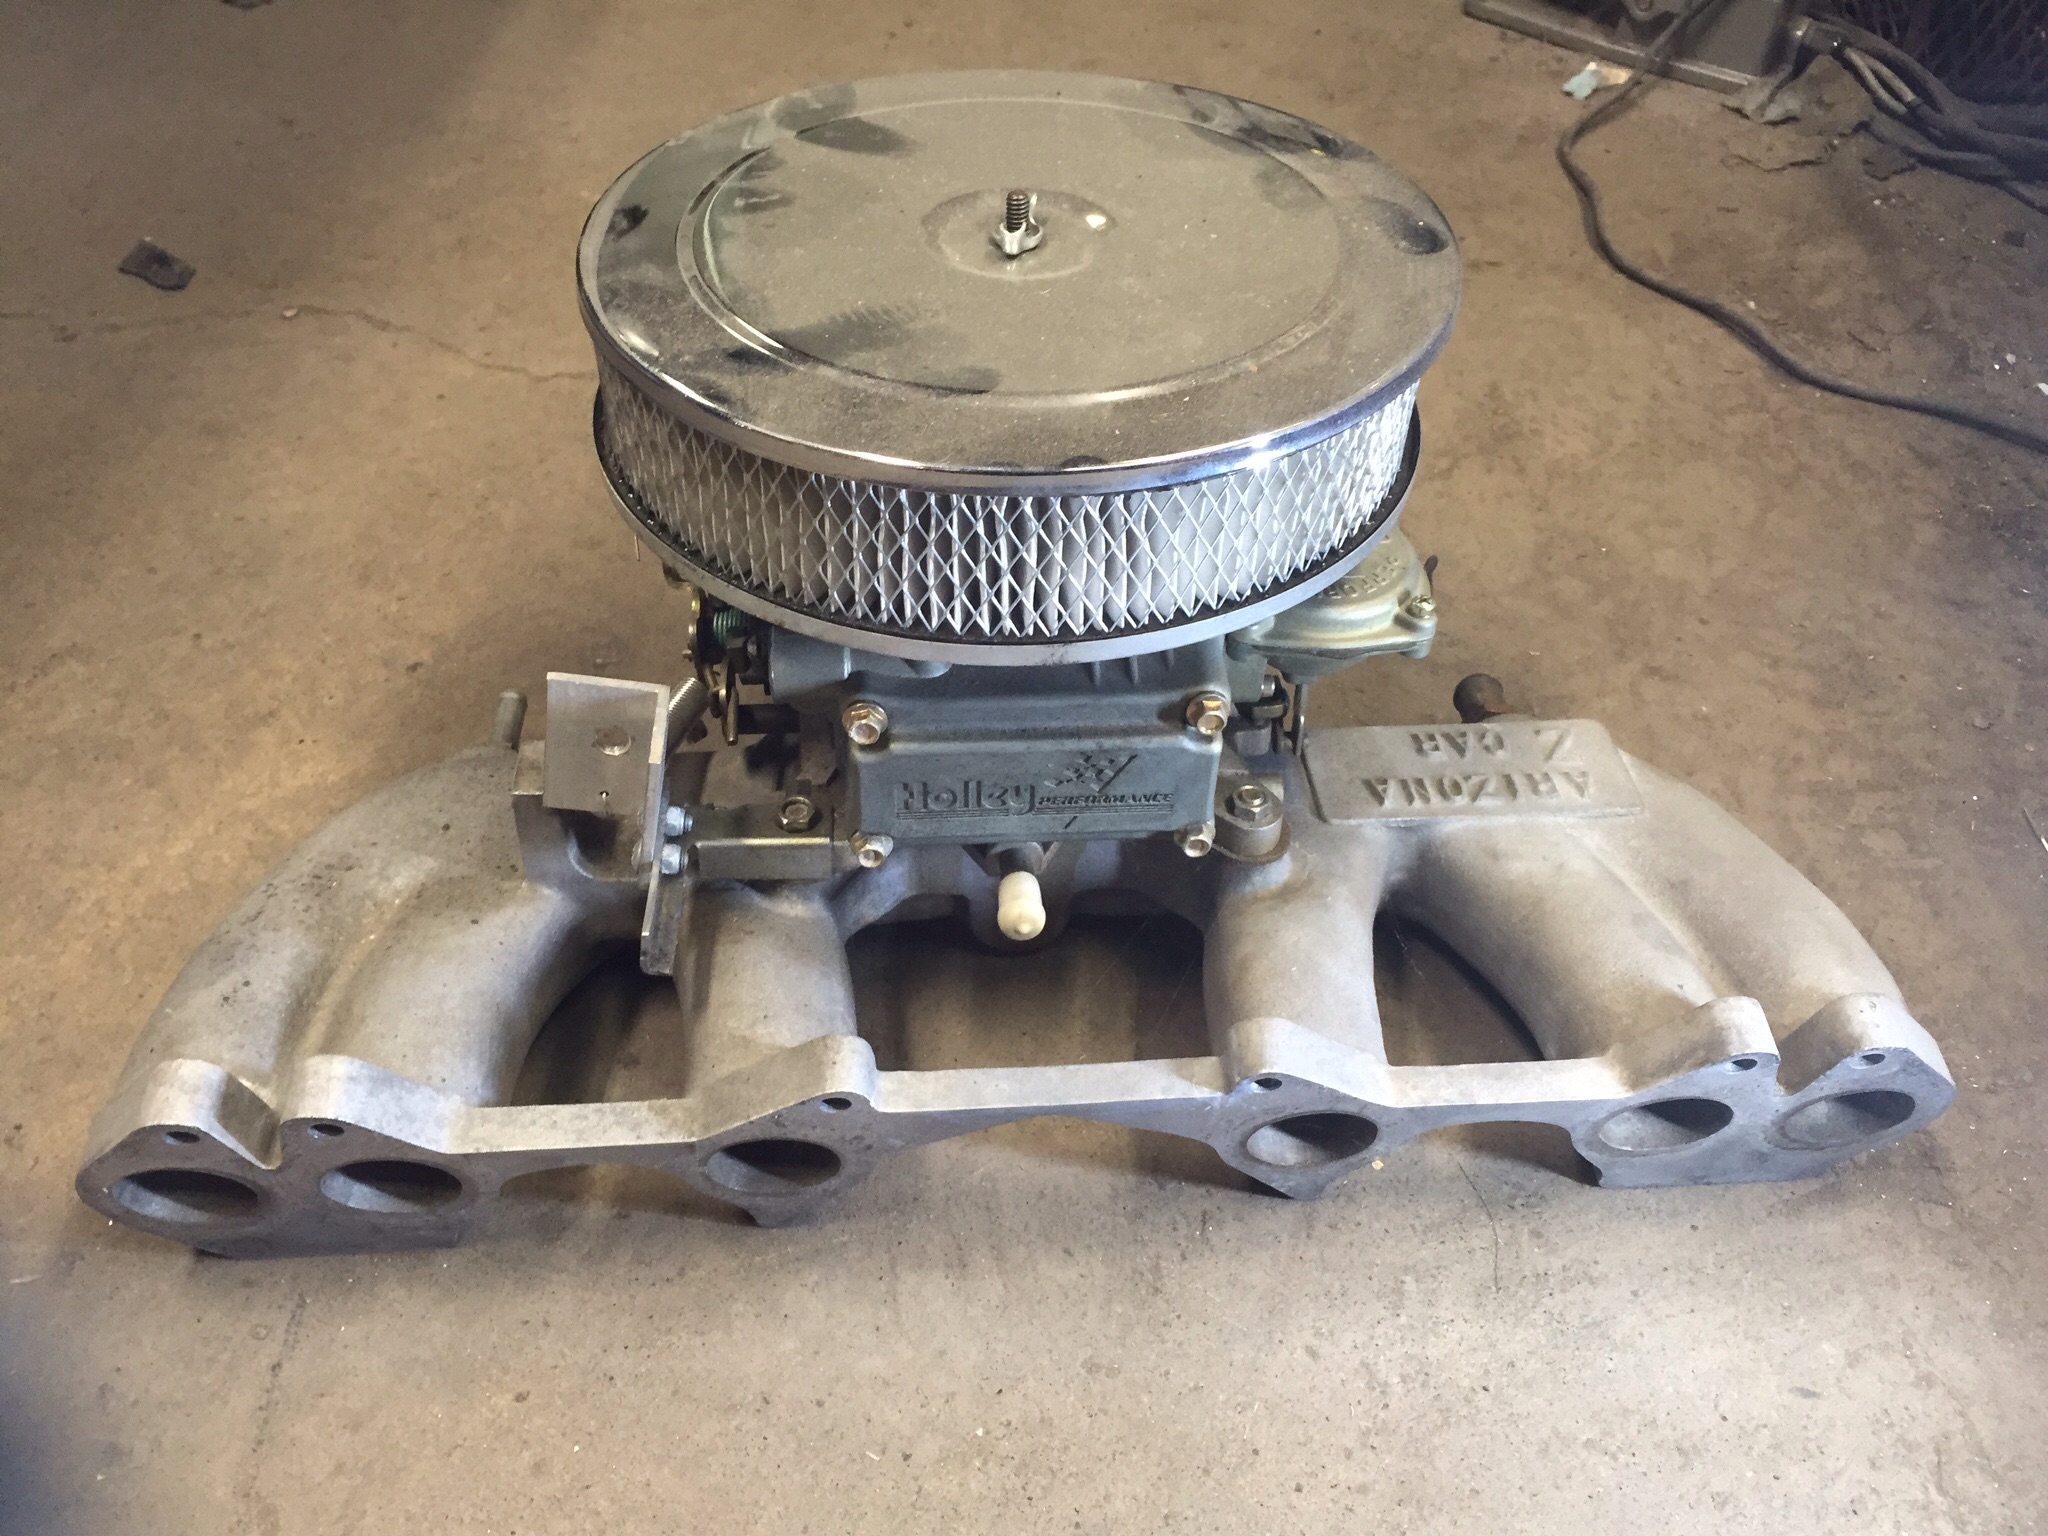
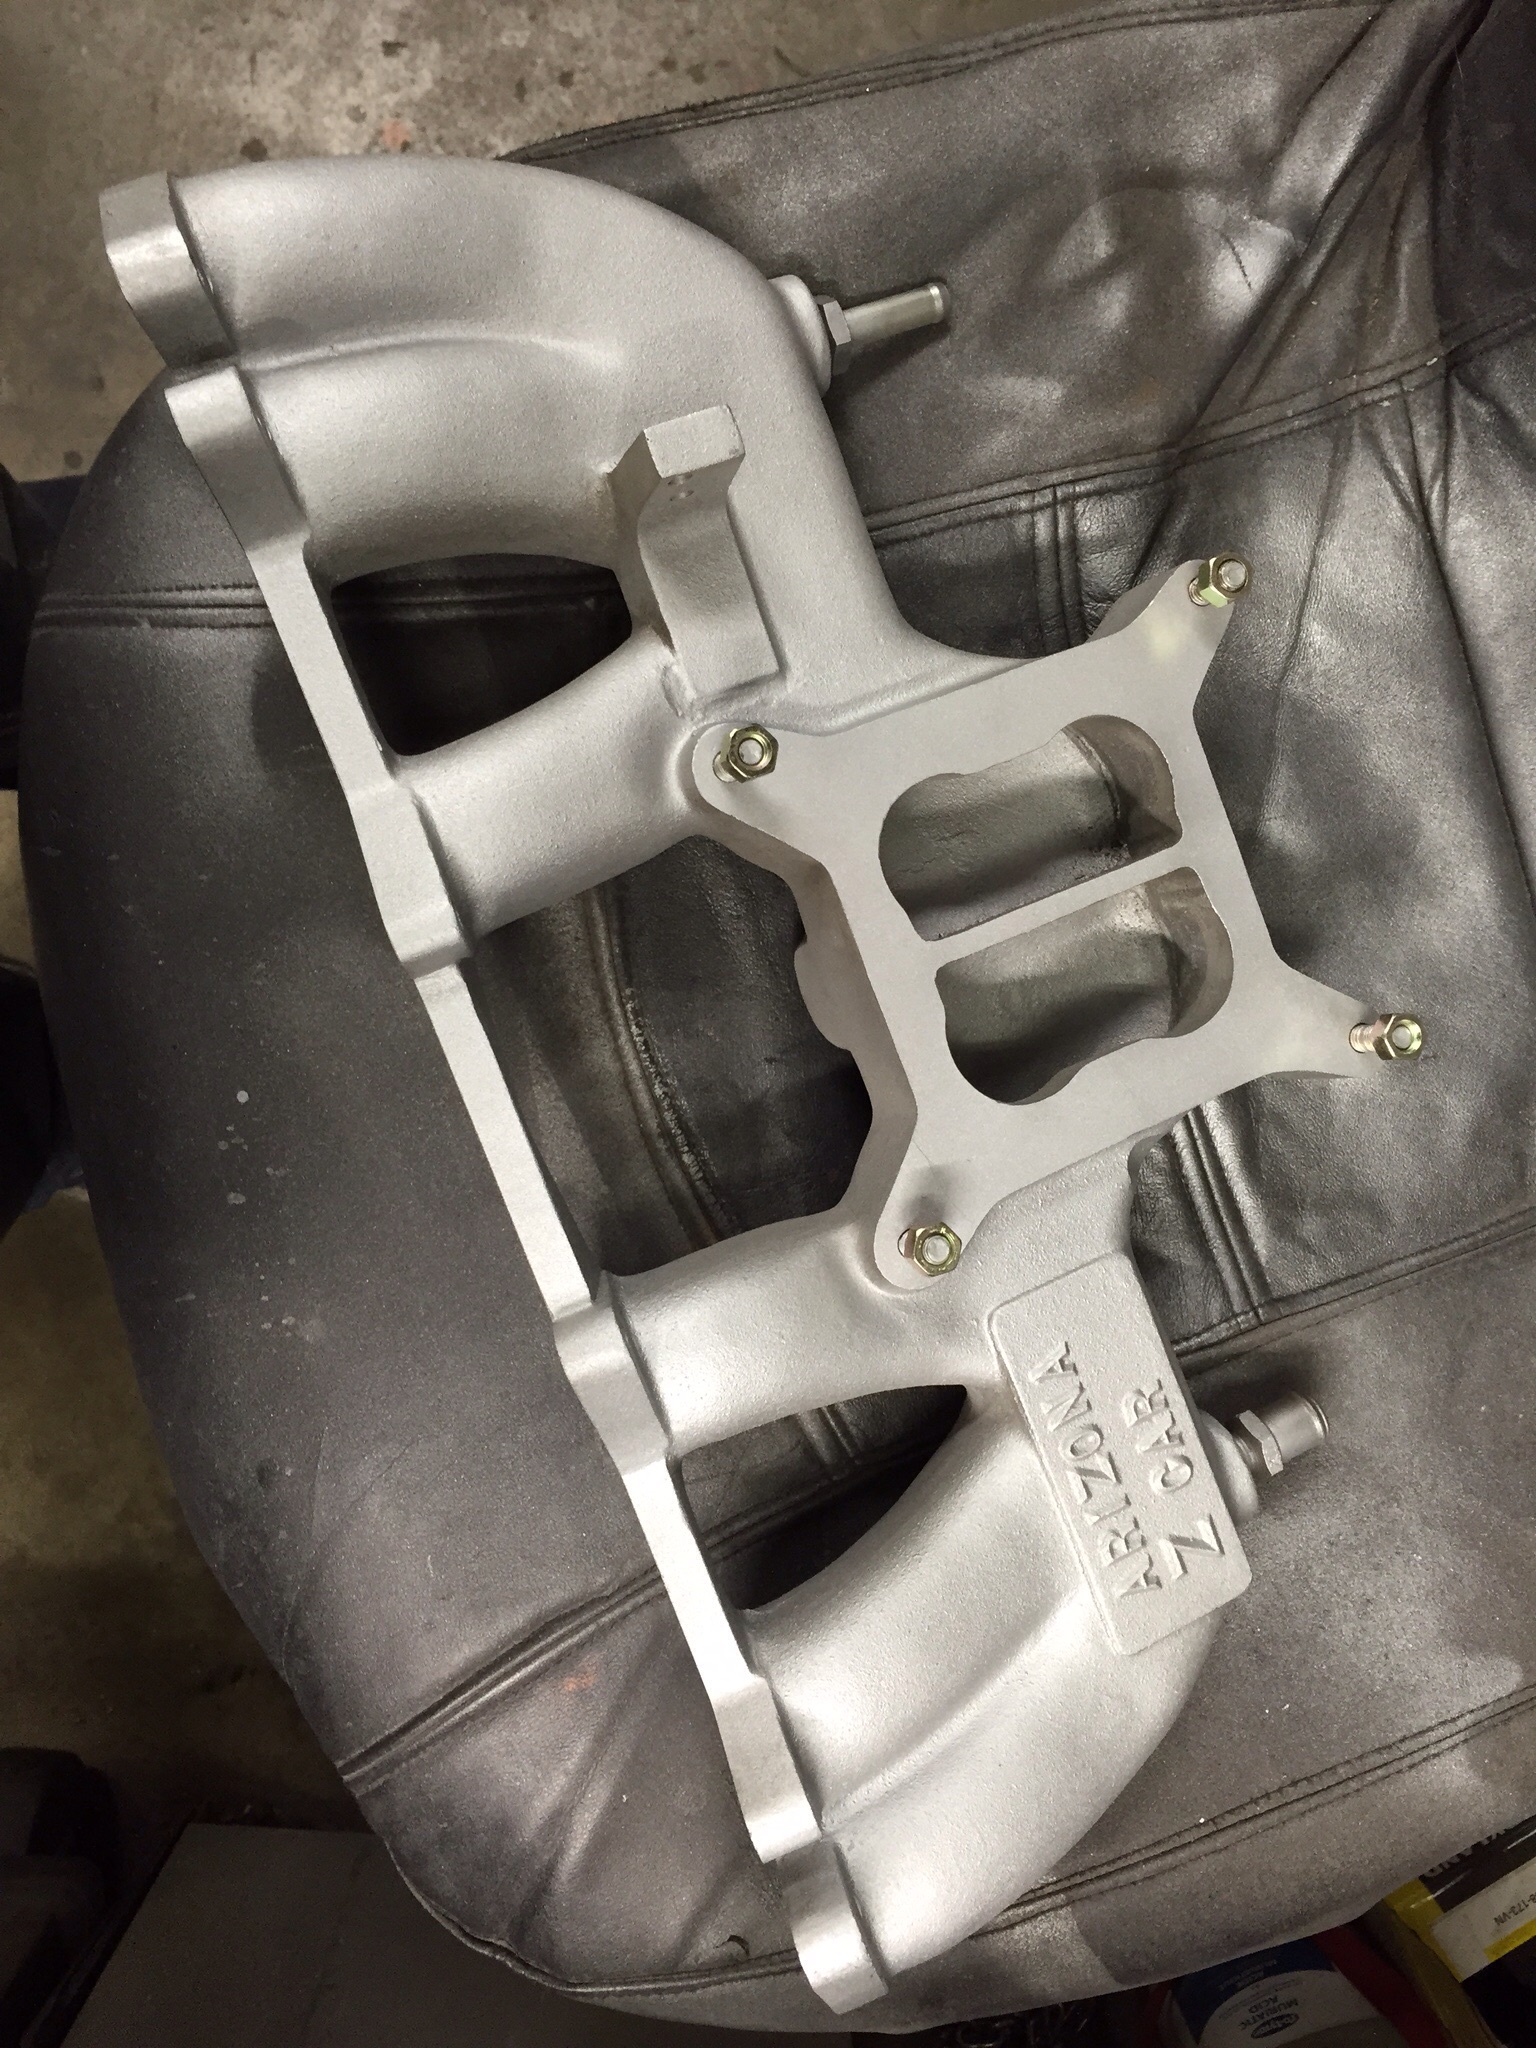
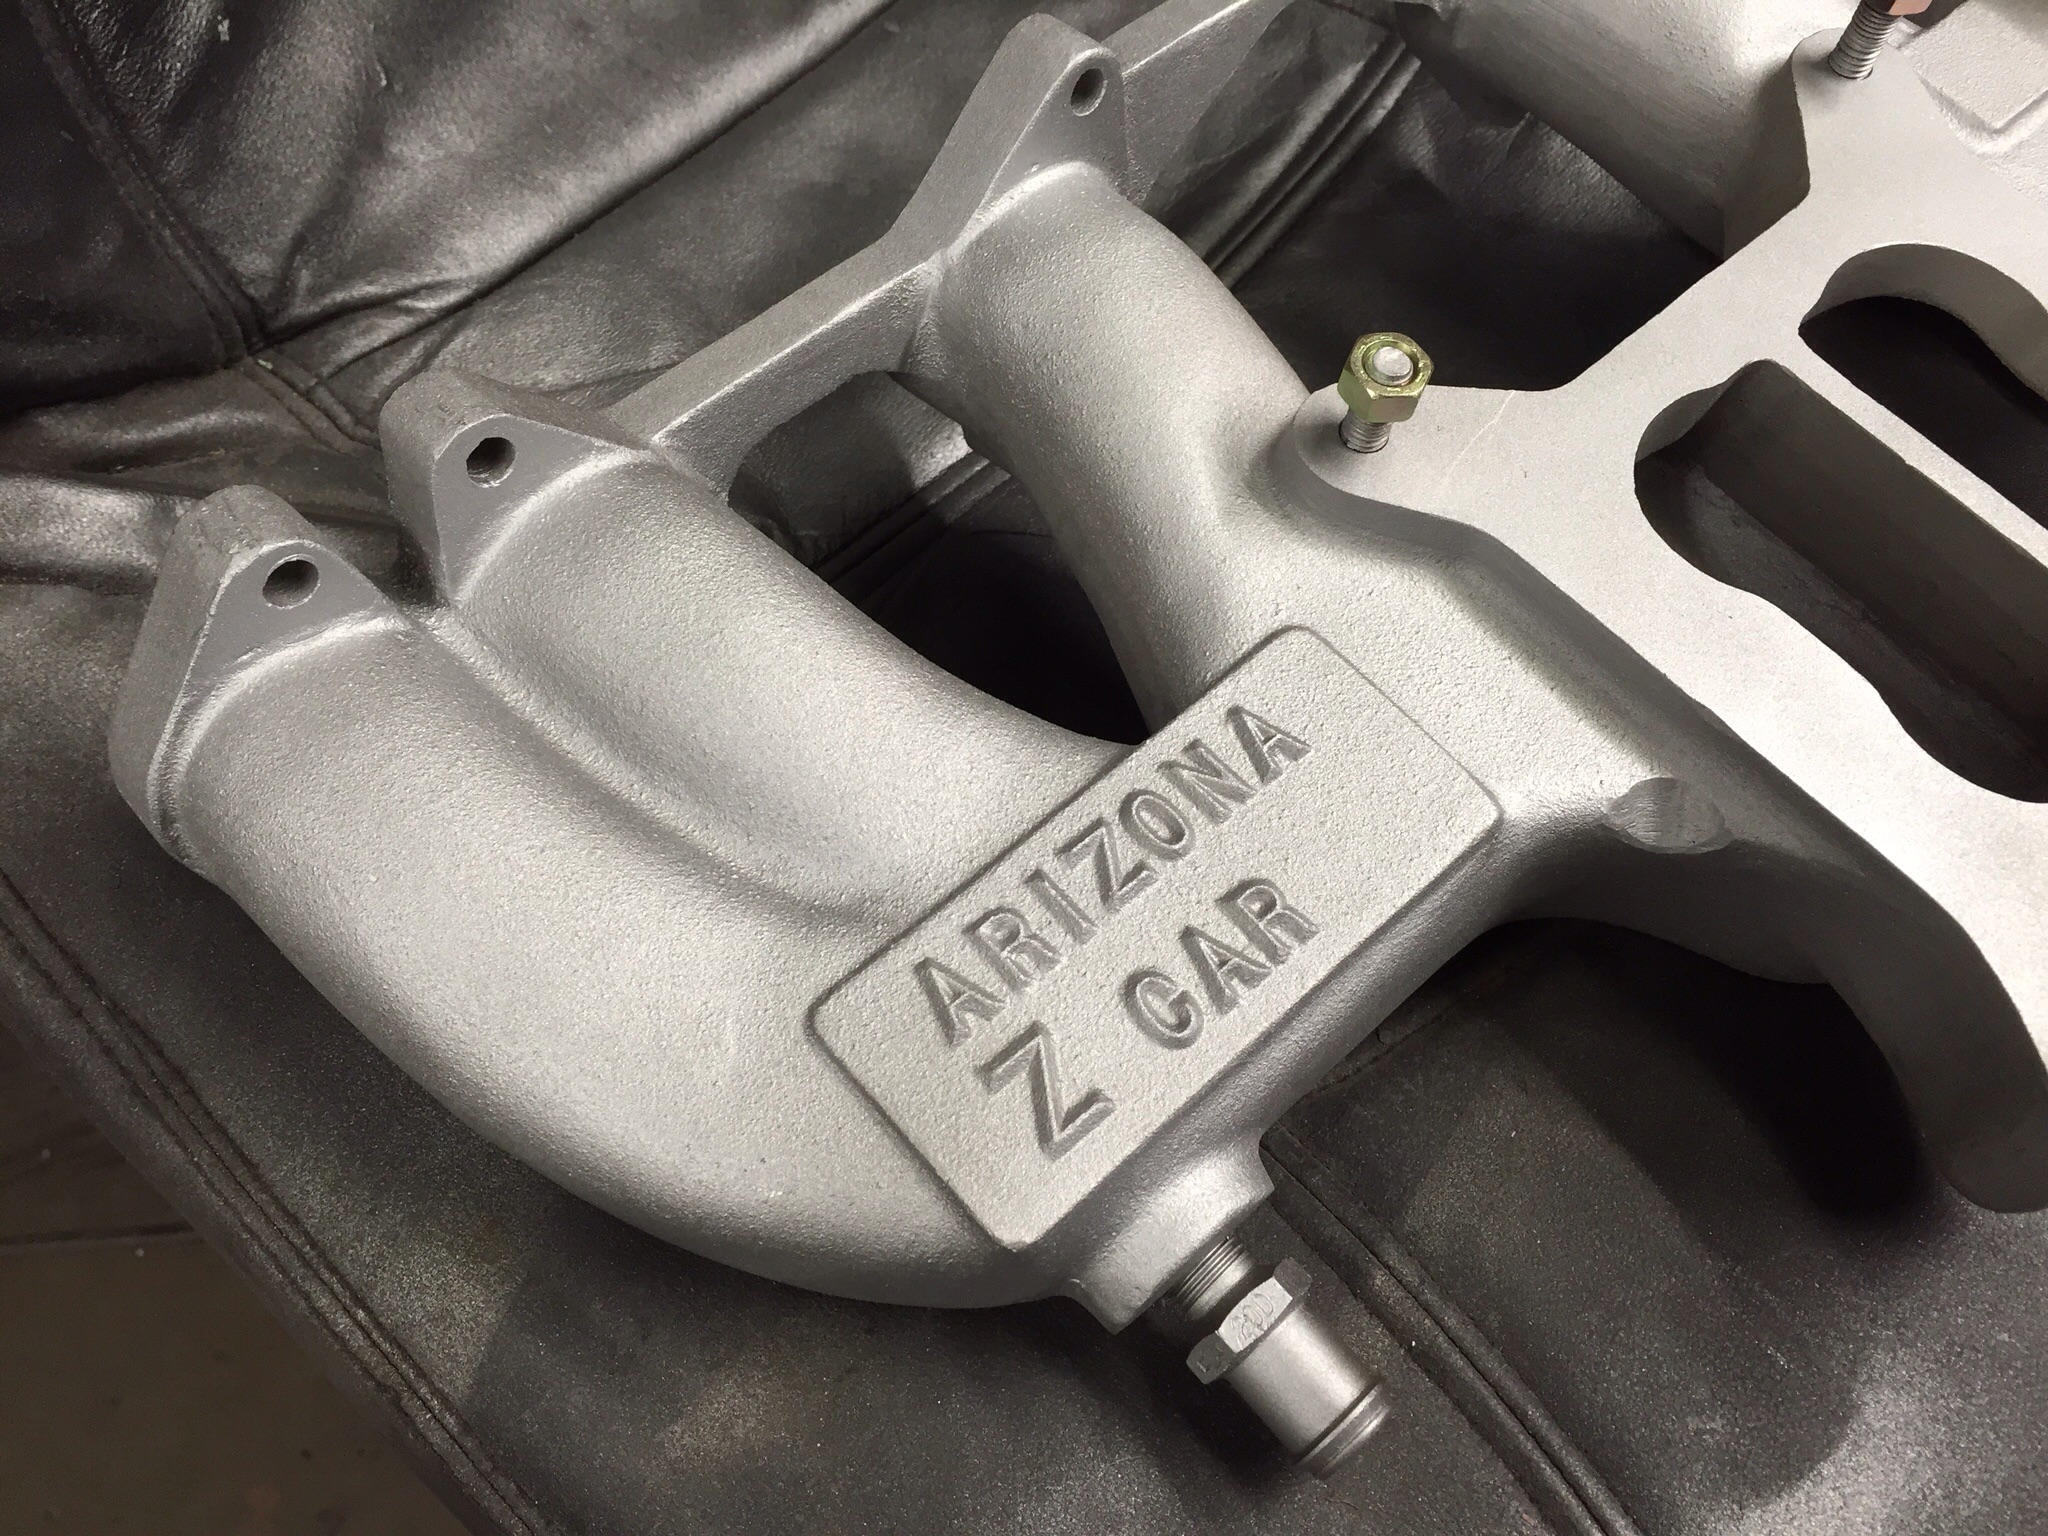
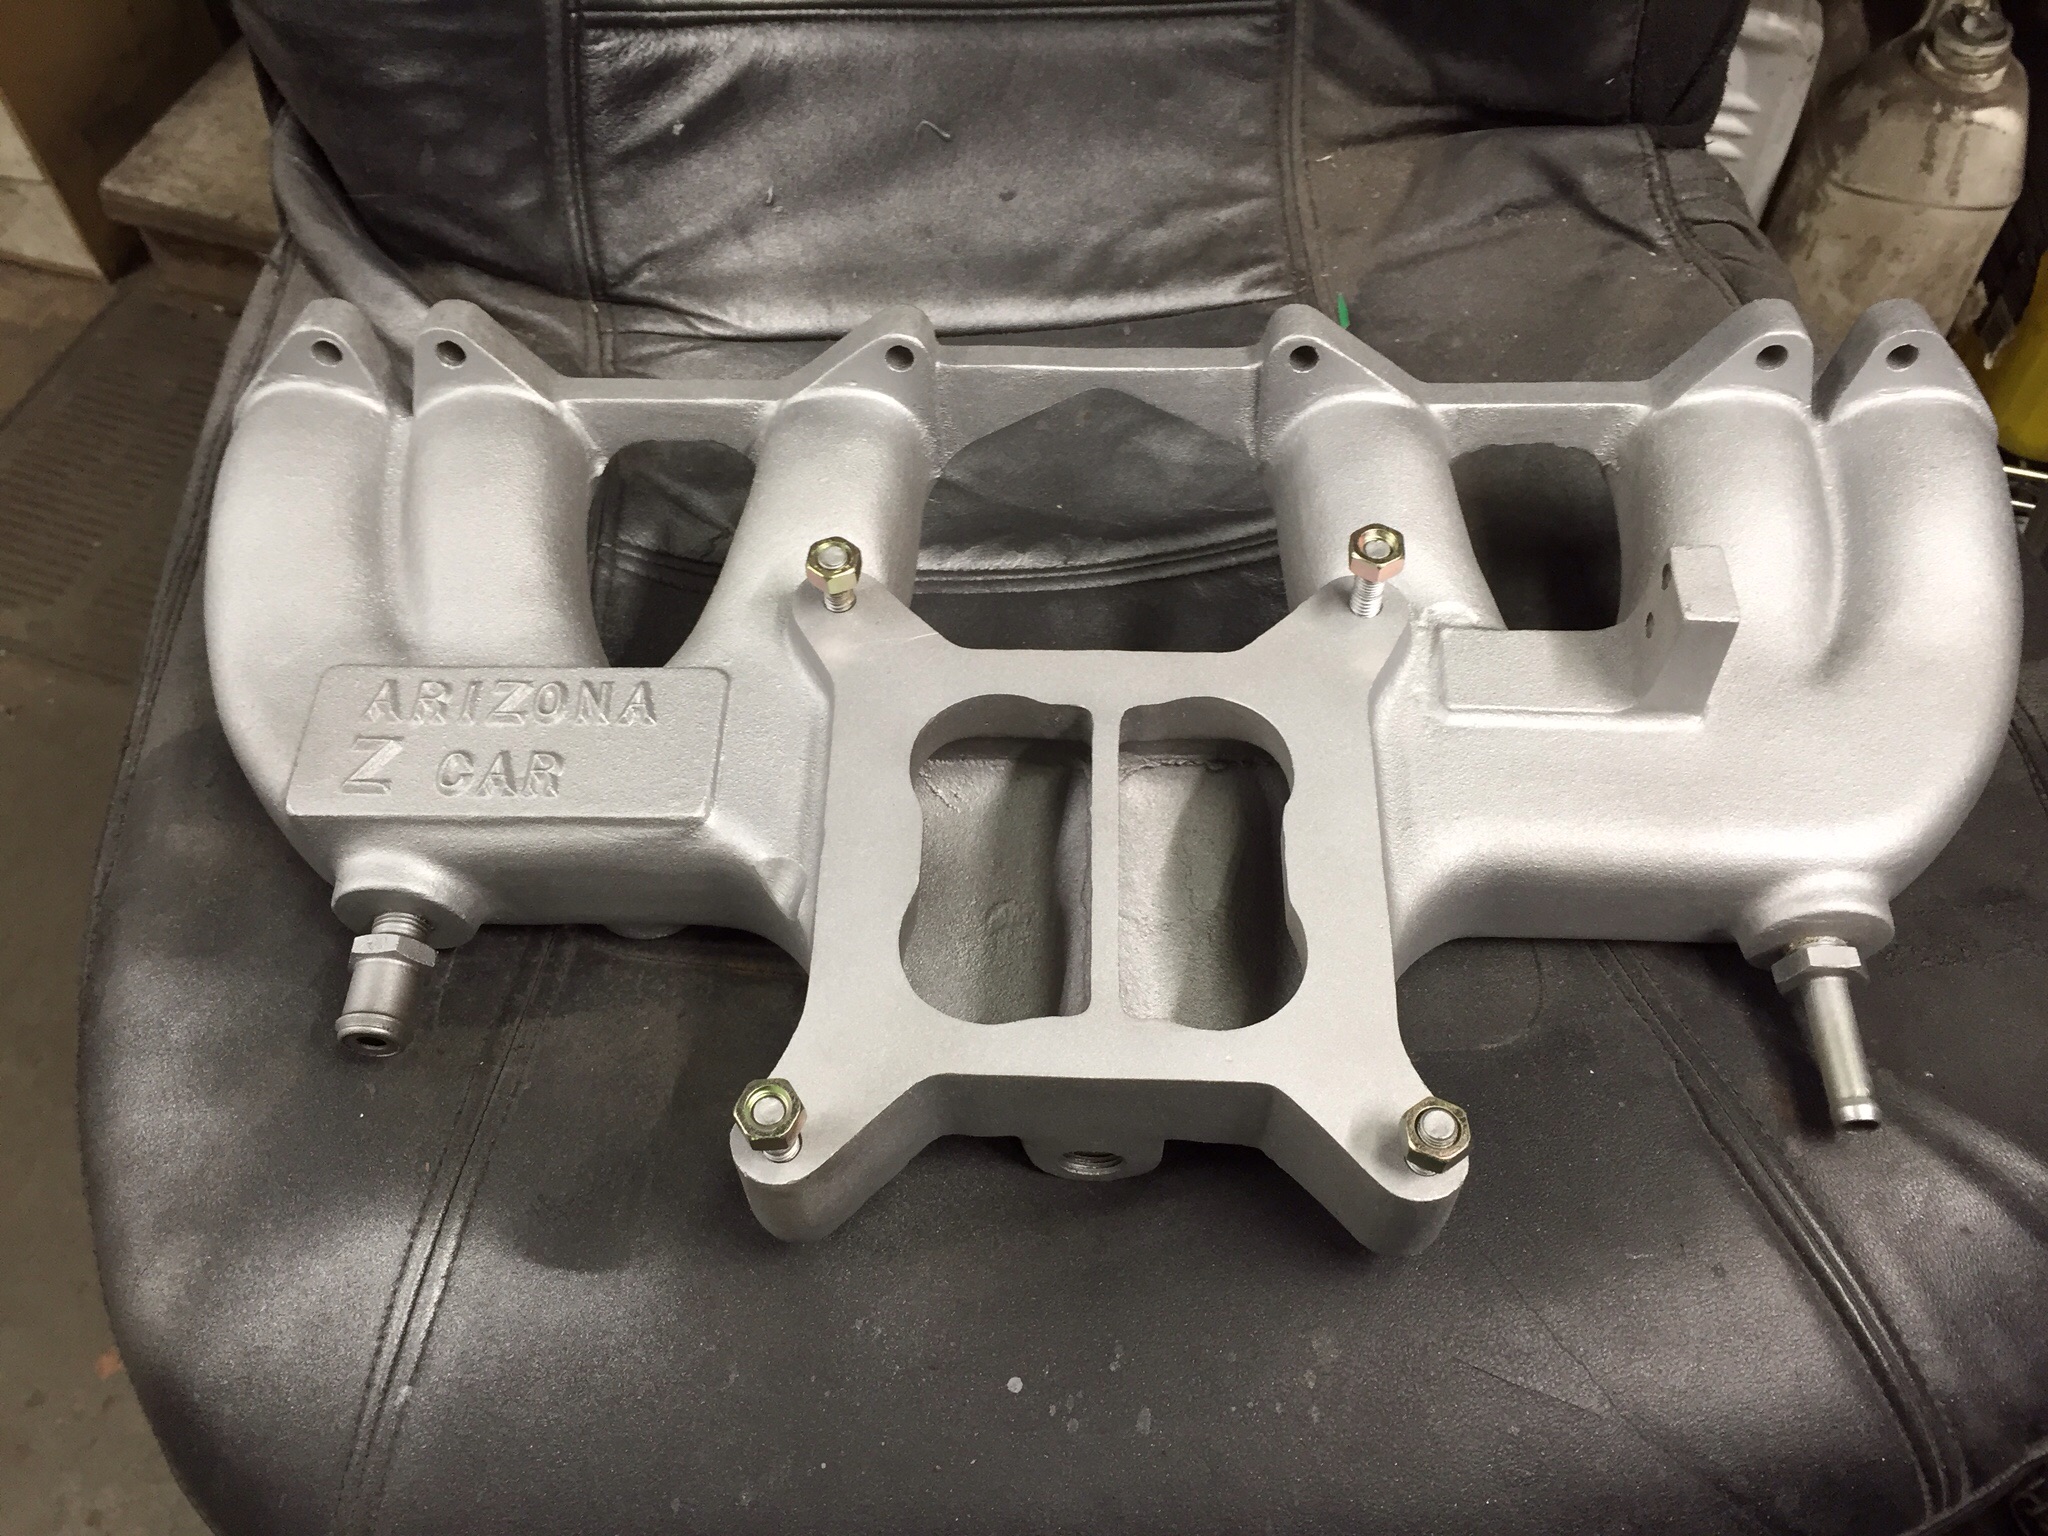
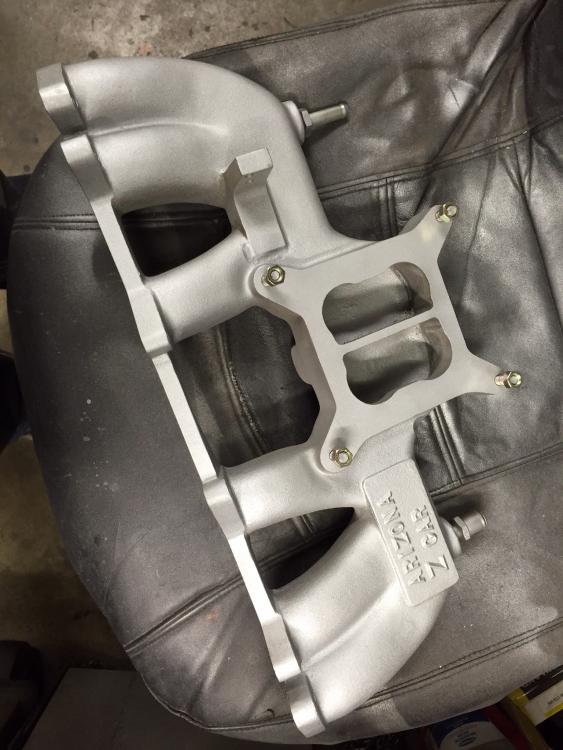
Thanks 73! Carb and air cleaner on the way today. Manifold now available alone. I'll sandblast it into like-new perfection as a promo. Pics of the pretty manifold by itself added in first post Feb 28 2016
-
The 123 system neither uses or does not use a ballast resistor. It requires between 2 and 3 ohms of primary coil resistance. So if you buy a 1 ohm coil, you have to add a 1 or 2 ohm ballast resistor in line with the +side of the coil to get to the 2-3 ohm target. If you buy a 3 ohm coil, then you skip the ballast resistor... Kapeesh? Okay one more thing to add. Having too little resistance just makes the coil and/or internal transistor switch burn out way before you hoped it would. It's all an operating current hence heat issue. If you HAVE to buy a 0.8 ohm MSD coil on the road somewhere due to a failure, don't sweat it. It will work just fine for weeks. Just don't leave it any longer than you have to. It's not an instant death sentence
-
Here we go.... The upgrade Harness has three, 3-terminal connectors and two ground lugs that extend beyond the relays. Going the other way, there is one long lead that goes to the battery via a fuse. The head light connectors have 3 pin male pins with Red (or RY), RB and RW wires on the harness side. The three 3-term connections go as follows. The first pair (together, after the relay just infront of the rad support) splice into the right hand headlight connectors. Disconnect the HL connector and plug in the matching pair from the new harness. On the left, again disconnect the head light connector pair and connect the single remaining 3 pin connector of the new harness into the head light side (female) of the connector pair you just took apart. Abandon the harness side connector. It stays empty on the left side. Pull the two bolts that hold each side of center valance up (the one bolt shown in the above lower left corner in the picture) and put the ground lugs under the bolts and put them back in. Clean the bolts first..... Hope they don't break when you take them out too... Clean all the stock harness and head light connectors while you're at it.
-
Wirecare sure has some great products, thanks for that tip! Chickenman, TechFlex Clean Cut can be purchased from B&E electronics in Calgary. http://www.be-electronics.com/SearchResults.asp?Search=techflex Maybe a cheaper source for you. I have to stock up again, let me know if I can toss some in the mail for you.
-
While all you electrical geniuses are changing terminal ends, pay attention to the corrosion on the strands of wire when you strip the wire insulation. If they aren't shiny copper color (and they rarely are in my experience for any under-hood wiring), then you have to clean the individual strands before re-crimping or you're not gaining much. Might just as well clean the existing terminals. Separate the strands with an exacto knife and scrap them clean or use a good electrical cleaner such as "De-oxit" D series contact cleaner, not just IPA (and I'm not talking hoppie beer either). Vinegar and a rinse works too, just slower.
-
There are commercial systems available. http://www.digitalguarddawg.com/
-

Not enough air blowing with Vintage Air Gen II mini on a 72 240z
zKars replied to Johnny wick's topic in Open Discussions
The hose connections and hose extension also can have an effect on the air flow. Make sure all the hoses are firmly attached at both ends and sealed, ie NO LEAKS!. Second, make sure the hoses are stretched out to the max. Assuming you're using the VA hose, the ID smooths right out when the hose is taught, but is very rough on the inside if its slack. I was tempted to run 2" aluminum pipe except at the very end ends. It's hard to get the hose nice and stretched and still stay attached. I wonder how your installed plumbed the center vent. The stock duct work behind the dash vent center outlet doesn't have a nice round place to connect a hose. I had to fab up an adapter. If your installer just sort of placed the hose behind the vent, it could be blowing cold air into the back of the dash. My system blows pretty strong. Yes, not like anything modern I own, but plenty strong to keep the car cool. -
Holy dreaming dreamers Batman! For that I'll take mine out of my motor and ship it to anyone who wants it for free! And throw in some L24 9mm rods!
-
Then right below that auction is a more realistic (sane?) one for 5 similar caps where the bidding is at $180 so far. Mind you, no pictures of the backs, and likely more used. http://www.ebay.ca/itm/Set-Of-5-Datsun-240z-Hubcaps-Fairlady-260z-Nissan-/371549195268?hash=item56820ecc04:g:NtMAAOSwDuJWtqzG&vxp=mtr
-
$850 USD? And only lousy "Z" hub caps! "D' 's maybe, but "Z"'s ??? http://www.ebay.ca/itm/NOS-72-73-74-75-Datsun-Z-240z-260z-280z-Hubcaps-Wheel-Covers-1972-1975-Hub-Caps-/182011340125?hash=item2a60b8a55d:g:mcgAAOSwoydWsRH9&vxp=mtr The asking price does not determine value, the final sale price does, but it just surprises me. The last couple of sets of these were ~$400 ish in this condition. He's had 3 offers. Would be nice to see what the offers were. Time will tell.
-
Will sell manifold and carb separately. $150 mani, $150 carb sound better? Remember the OBO part. Think about using the manifold and bolting on one of those new fangled FI carb-looking units from Holley that comes with self learning ECU. Pretty easy route to FI.
-
Me too. Never seen one go up by itself. Given the extreme flat angle the strut has to the hatch body when it's closed, I can't imagine a strut strong enough to lift it from that position. Even the 280's with two struts can't do it. There does appear to be cheap easy to get aftermarket struts . RockAuto https://www.rockauto.com/catalog/moreinfo.php?pk=1806840&cc=1209170&jnid=406&jpid=0
-
P&P Headlight Relay Harness upgrade for 75-78 280's. Any demand?
zKars replied to zKars's topic in Electrical
Interesting idea Cappy, you are correct. The headlight bulb connection is universal to all. Could just buy the Black Dragon or ebay generic headlight relay harness. But.. I think the issue of dealing with the difficulties of accessing, removing ($*&%$# rounded headed philips bolts...) and modifying/resealing the headlight can in the wheel well to get this wiring in place makes this a less than desirable solution though. I think our friend Steve with www.240zrubberparts.com is making that grommet now, so for the industrious, it might be workable. Nothing quites beats using the harness connection point. If only there was a way... -
P&P Headlight Relay Harness upgrade for 75-78 280's. Any demand?
zKars replied to zKars's topic in Electrical
Dave's (and MSA's) harness does not deal with the under dash combo switch harness at all. It "splices in" to the harness up front at the two head light connectors in front of the rad. This makes it possible to work with all the various 240 switch types, It "could" work just fine with the 280's as well, but the problem is with the new round, 4 pin (only three are used) weather proof connectors on the 280's. No one (including Dave) has found the plugs to build the head light harness to connect in at that spot. This is why I have seen discussion about putting the relays into the harness at the combo switch. But as you mention, there are differences in the plugs across the years at the switches. Anyway, I'm working on a solution that everyone will like. Simple, cheap(ish), high quality and retains ALL of the advantages of the original harness design. -
Ok, so I just bought some stuff on ebay from a seller in Maryland. He used the Global shipping program as I'm in Western Canada. Here are the details. The total for the item was $100.18 Canadian, and the shipping cost was $10 flat (seller determined). The "import fee" from the global shipping side was $9.53. The order was put in on Jan 20. I just received the parcel today. 12 days later. Facts. It arrived using the post office. There were no additional charges on arrival. Not even GST, which I'm confused about. Normally I pay the 5% GST on the declared value using postal shipping when it arrives here. Maybe that was part of the $9.53. Anyway, I am happy on almost all counts. Costs, and timing. stuff usually takes 6-10 days when I get something postal from the US. It did go to some central global shipping place in Kentucky first (2-day priority), who then forwarded it to me. The CanadaPost sticker layed over the USPS sticker from MD-KY claims it came from Pitney Bowes in Toronto to me. Nothing on the packaging about how it got from KY to Toronto. Magic! The only thing I didn't like was the tracking. I had no idea which specific shippng method was being used (postal, fedex, ups etc), and I never had a tracking number from that company. ebay/paypal was keeping me informed of the progress in a fairly informal way. They told me when it hit the global shipping place in Kentucky, then told me it cleared customs and was out for delivery, and to expect it from Jan 29-Feb6. Thanks....
-
P&P Headlight Relay Harness upgrade for 75-78 280's. Any demand?
zKars replied to zKars's topic in Electrical
The wiring is definitely upgraded in the 280, all the way to the weather proof connections up front, but not the headlight OR high beam switch contacts. The switch bodies and contacts inside appear identical across all the years. When clean and new they can carry all the current for H4's no problem. But we all know what happens with age.... (my contacts aren't very clean either hahahahahah) -
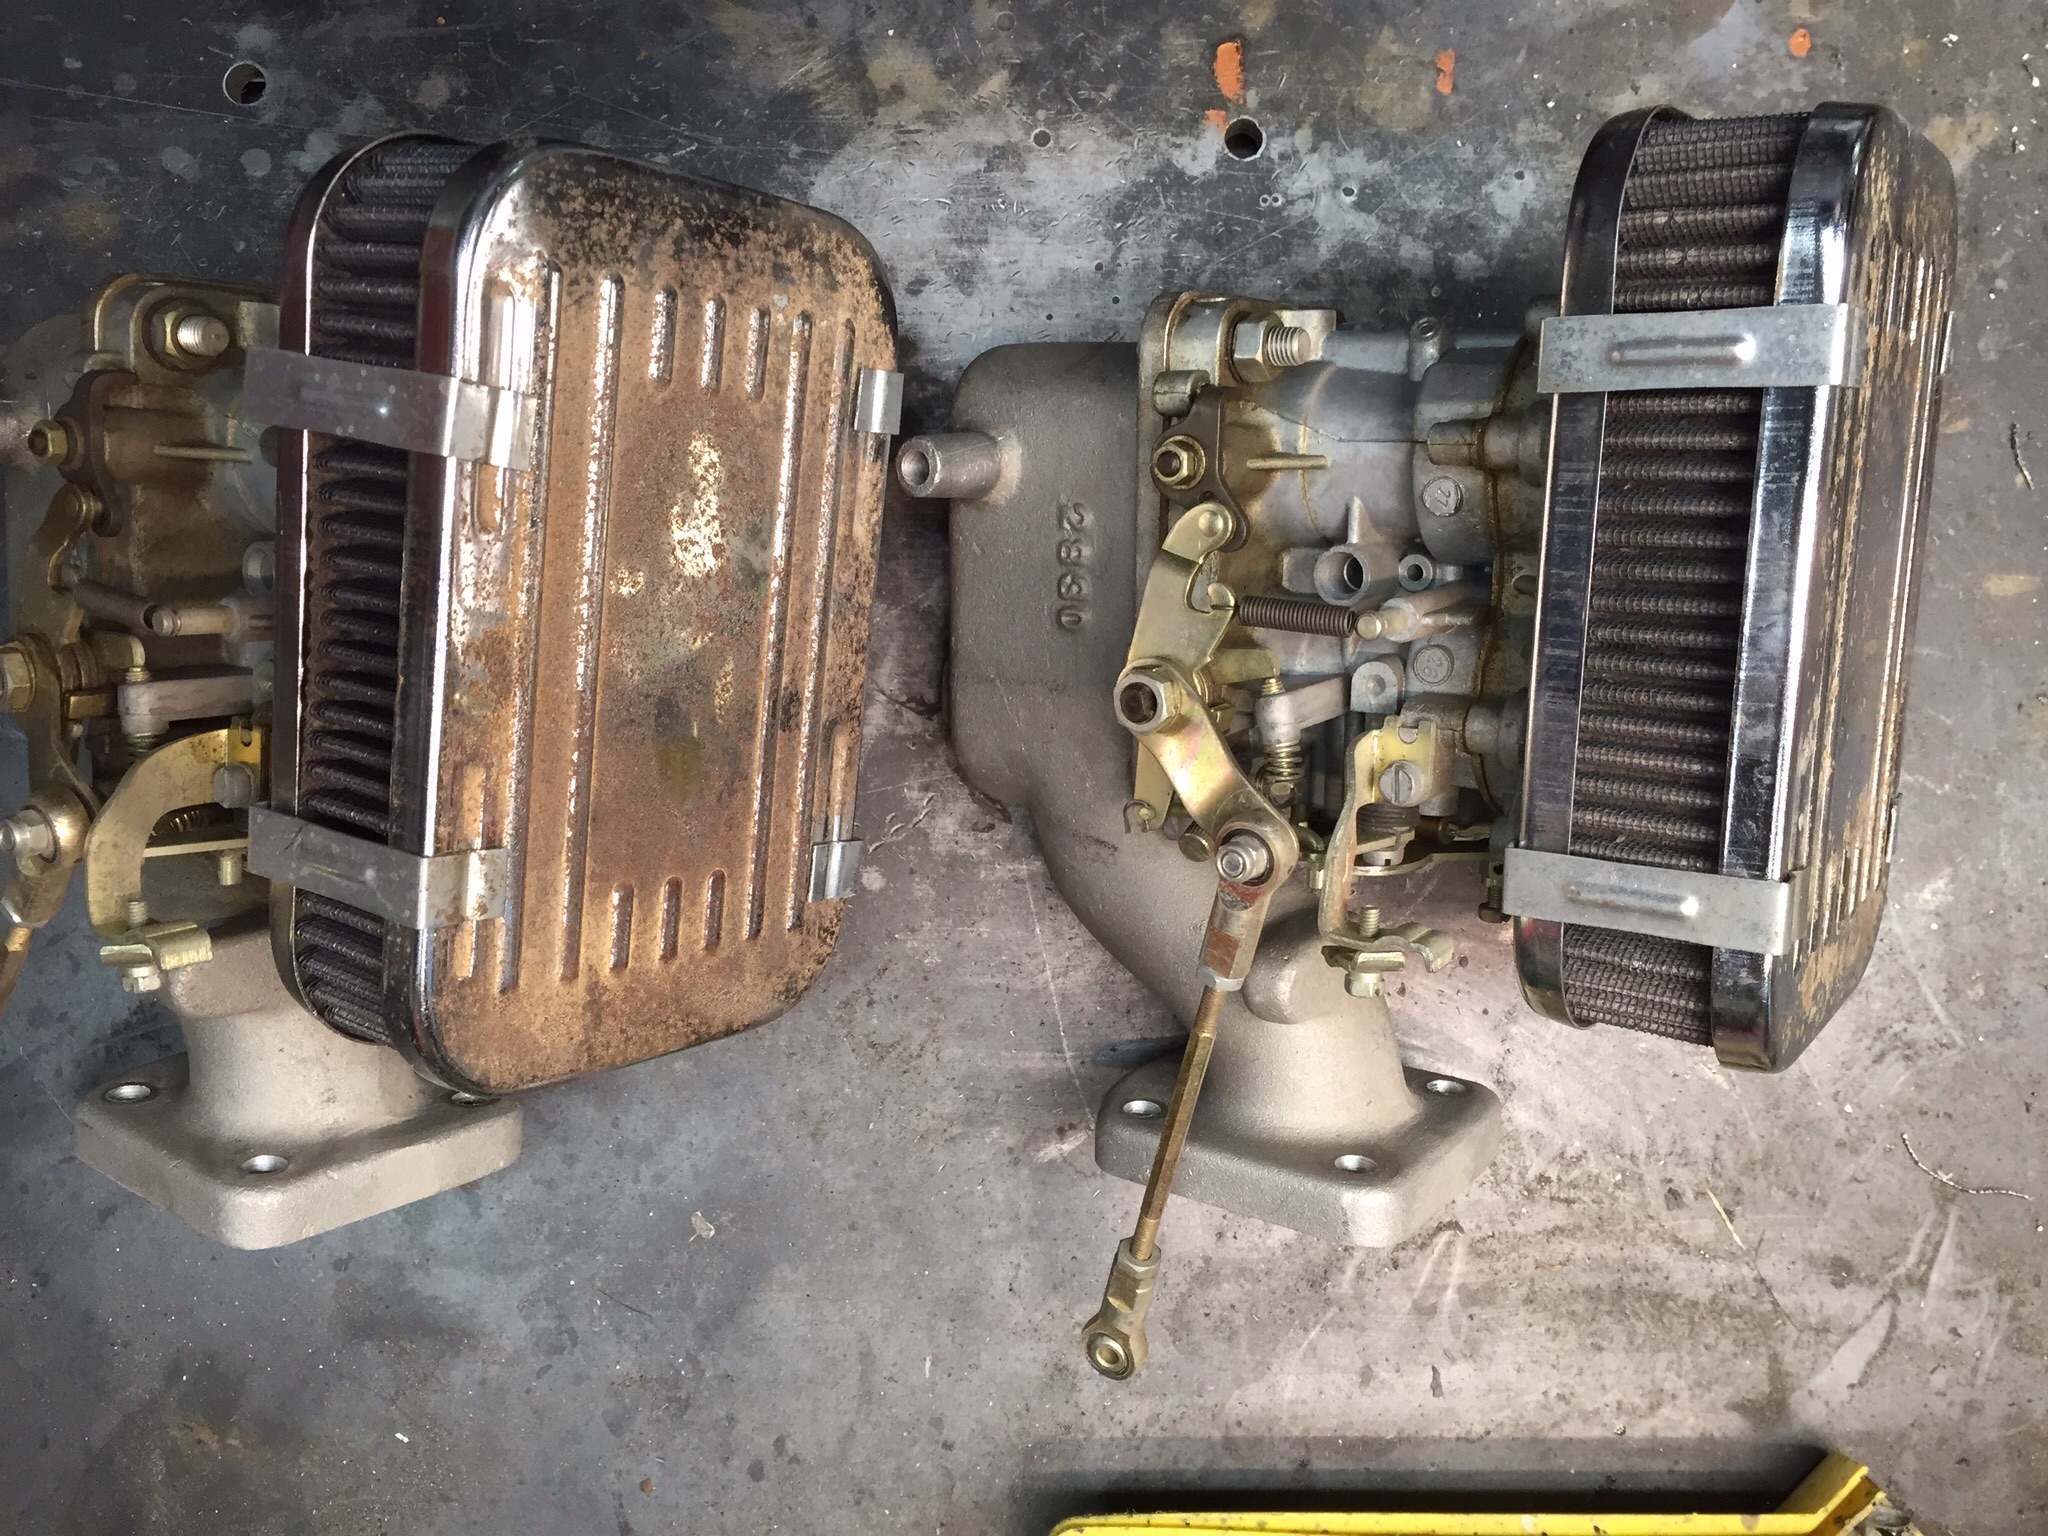
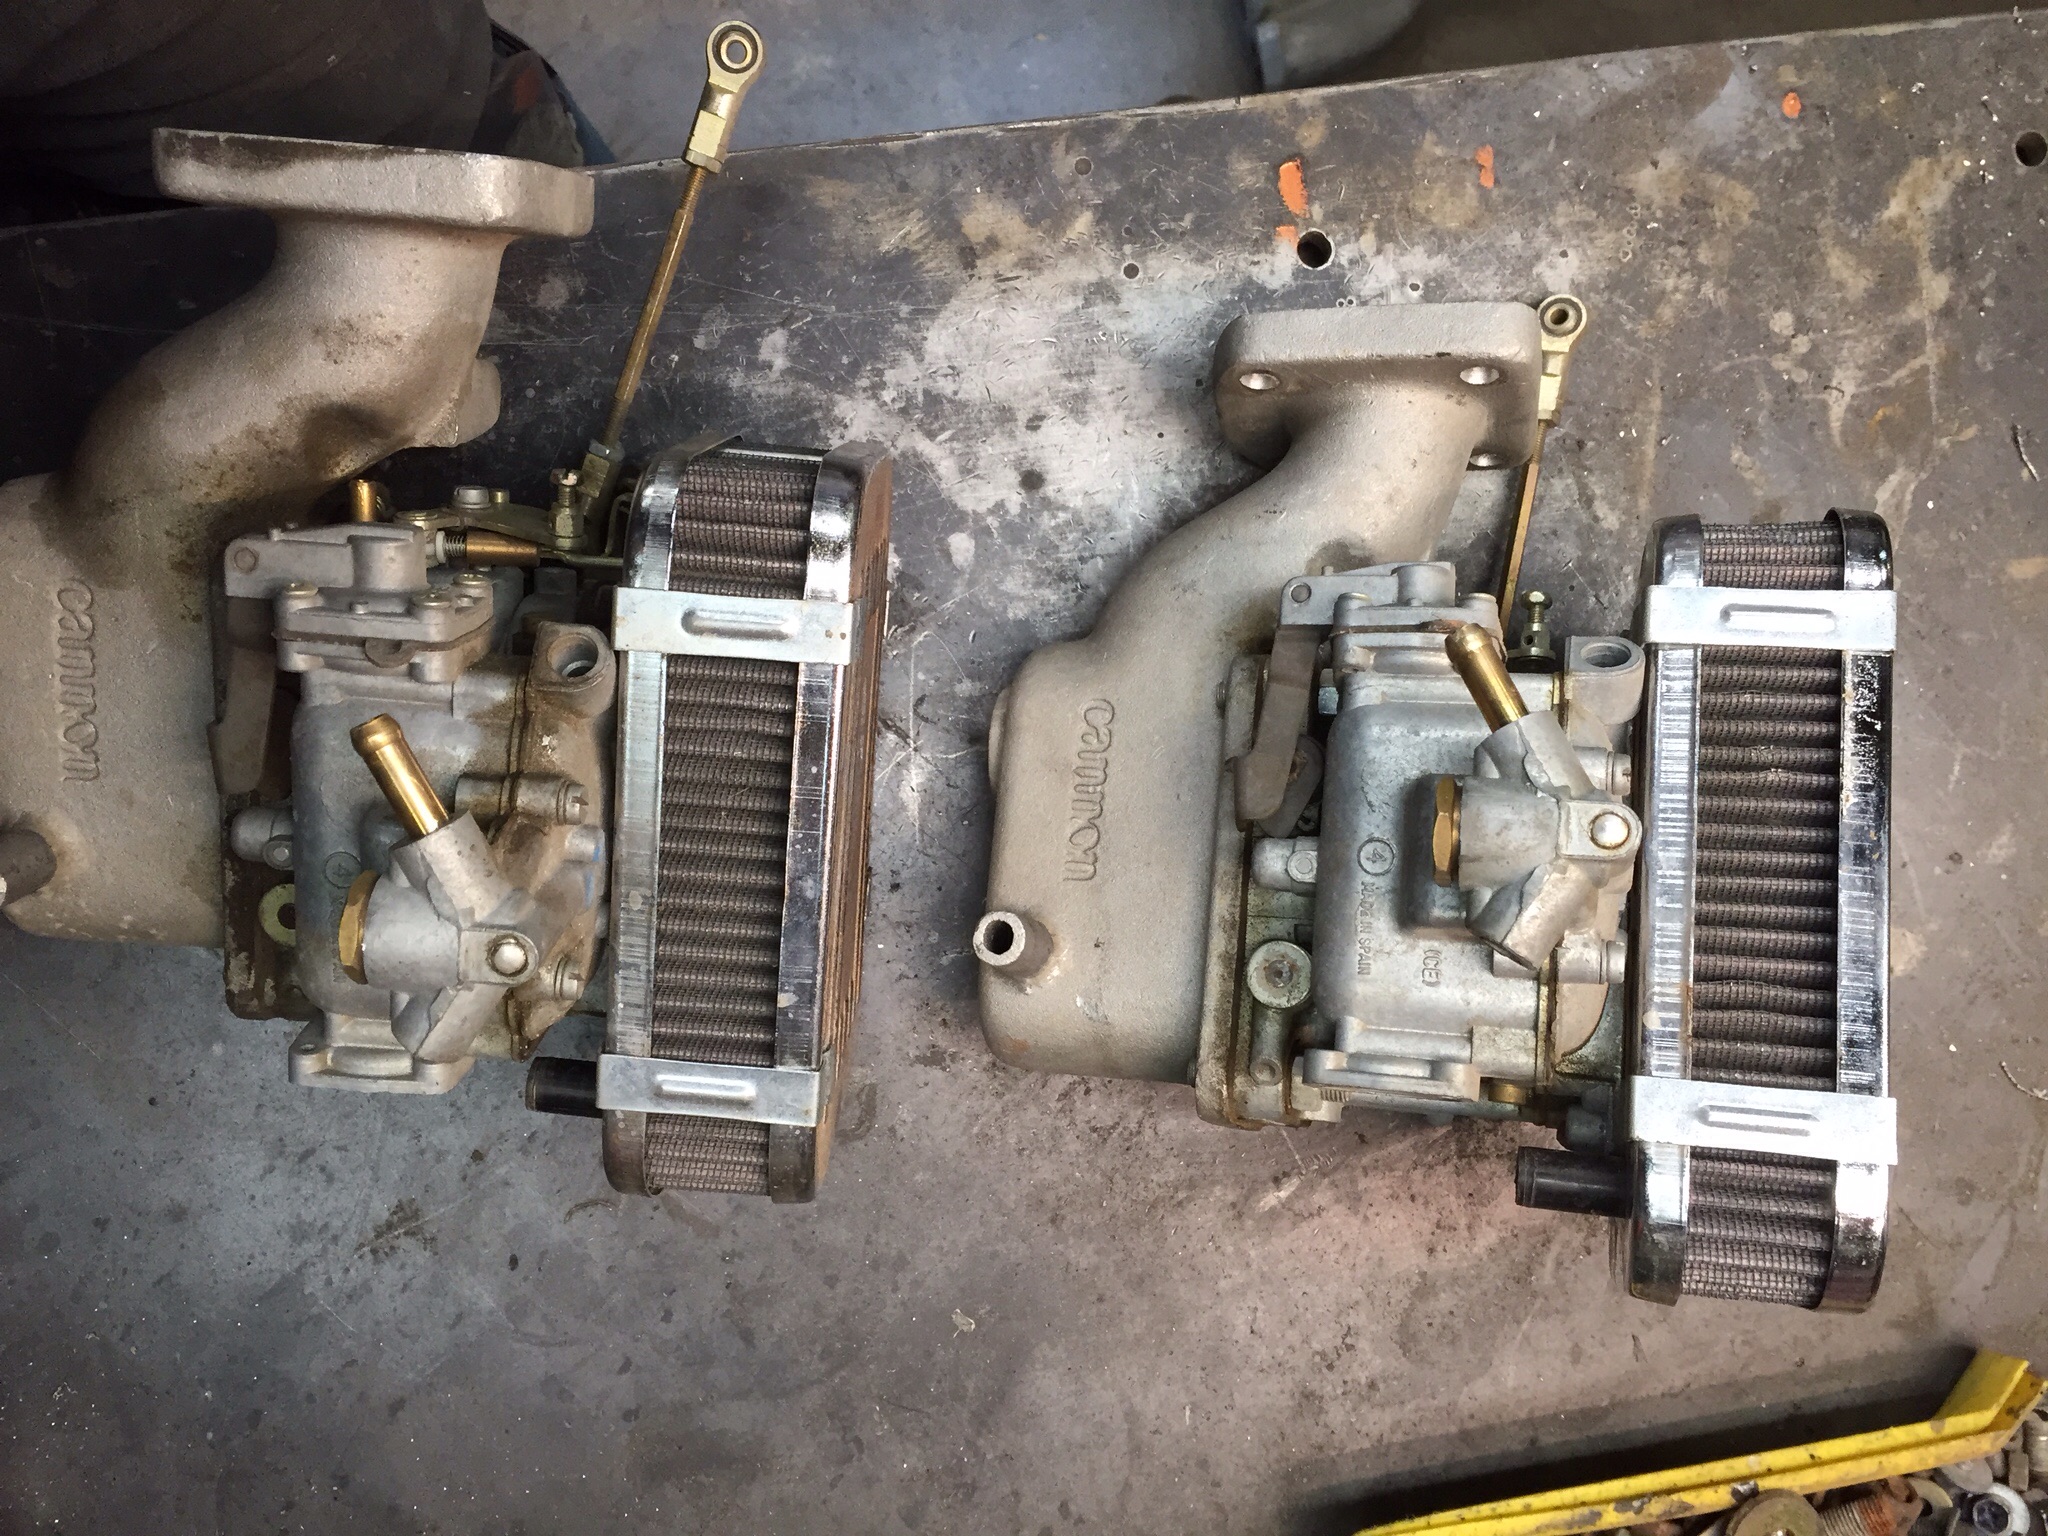
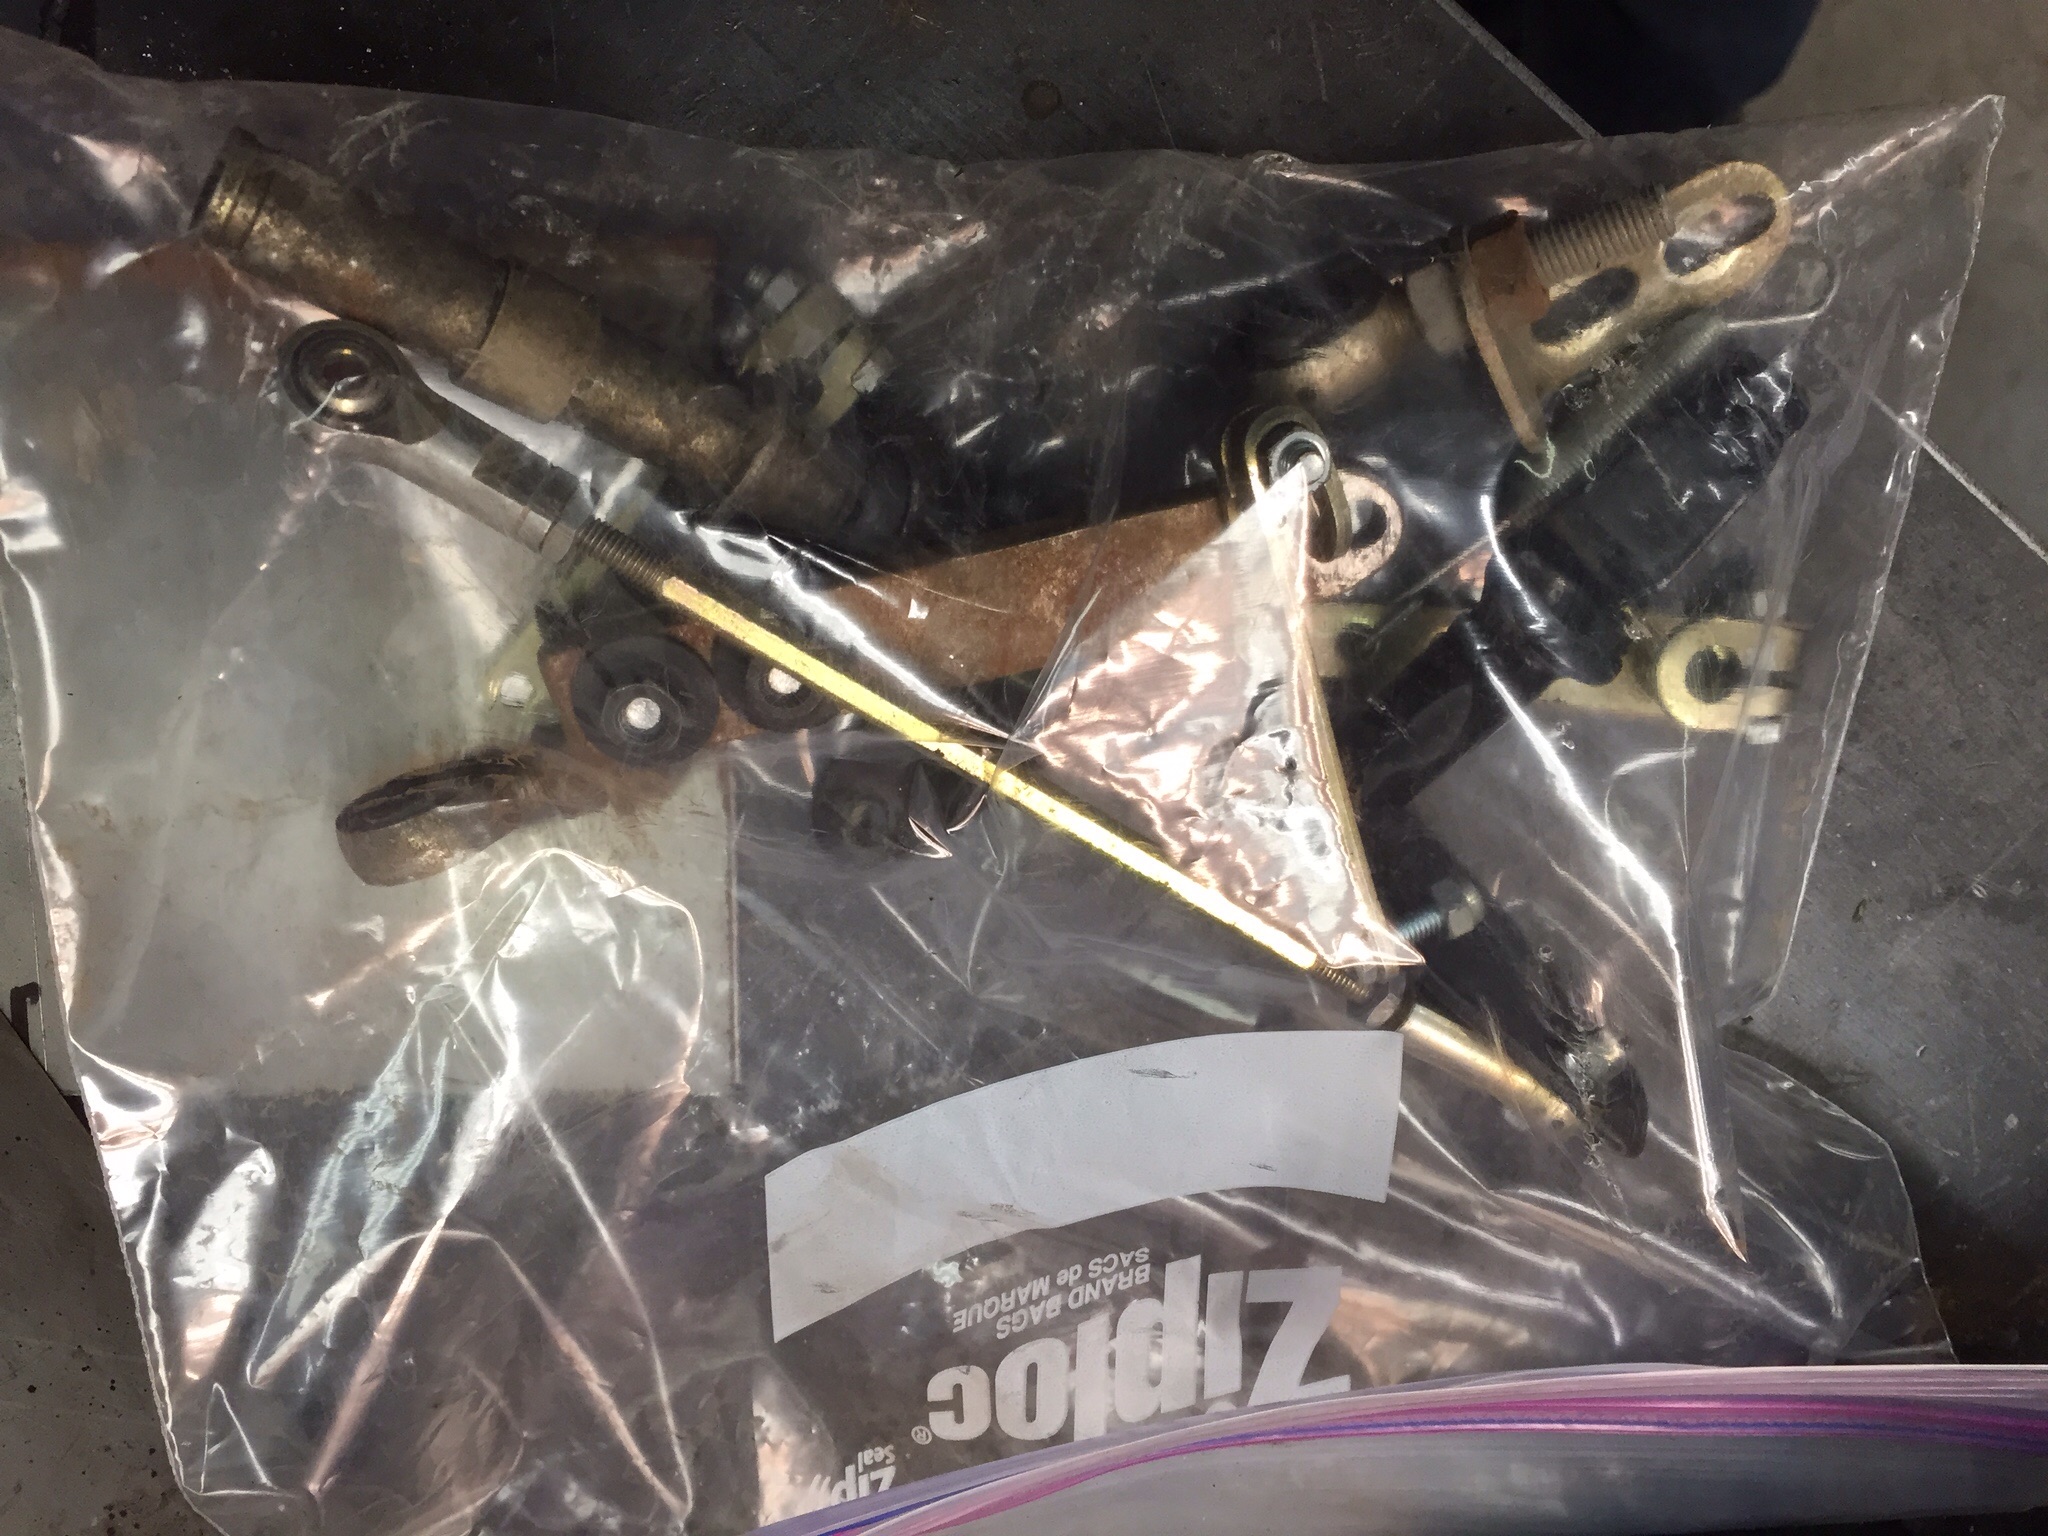
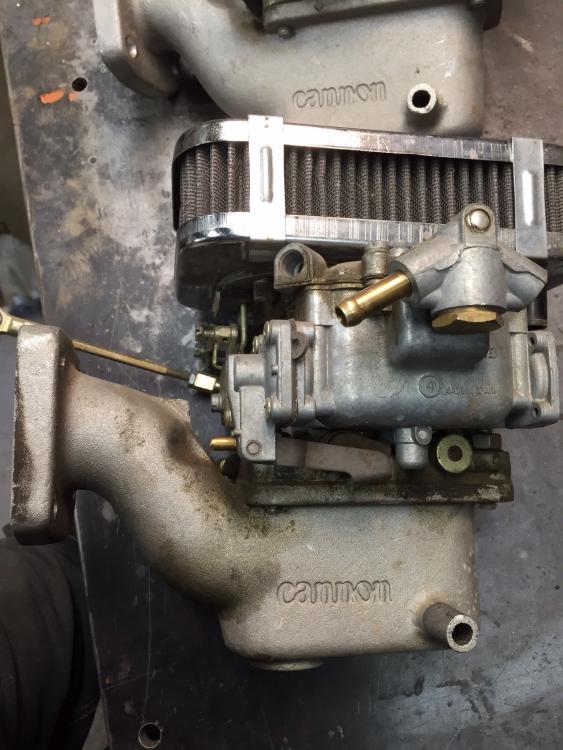
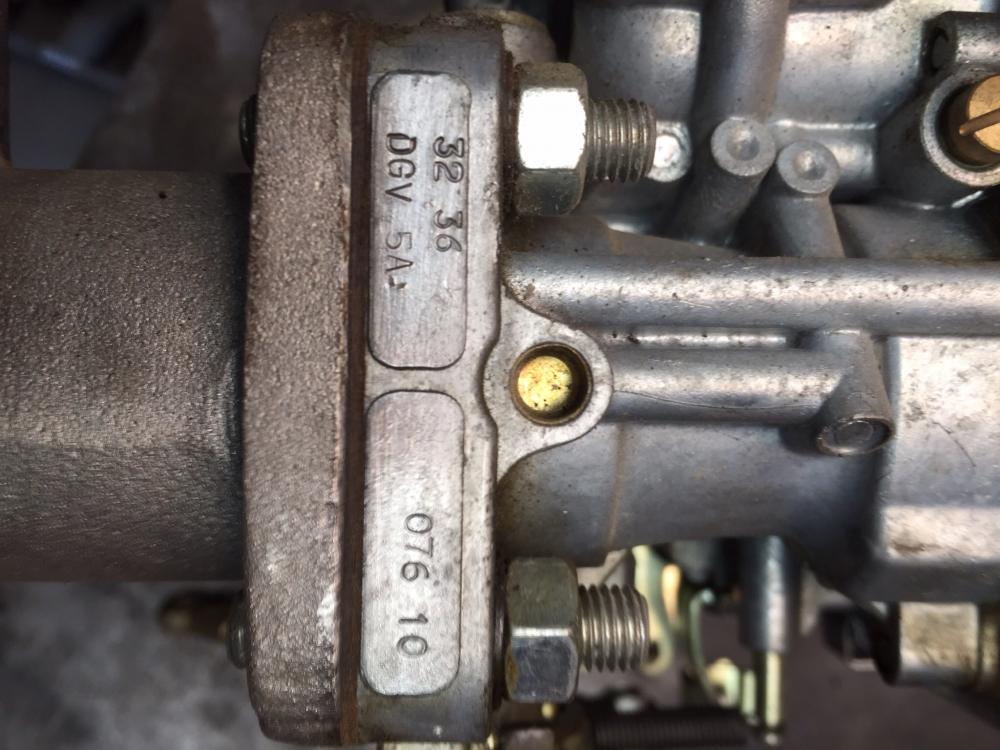
I have for sale a well tested and running (ok, was) pair of Weber 32/36 DGV and Cannon intake manifold adapters for the SU manifolds. Come complete with air cleaners and all linkage components. Came to me running on the 71 I'm now restoring. Mixtures were fine, and chokes were working as well. The engine was an N42 L28 with early E88 head totally stock for reference. Everything is pretty clean so the mileage is reasonable. Best offer situation. Asking $300 USD.


-
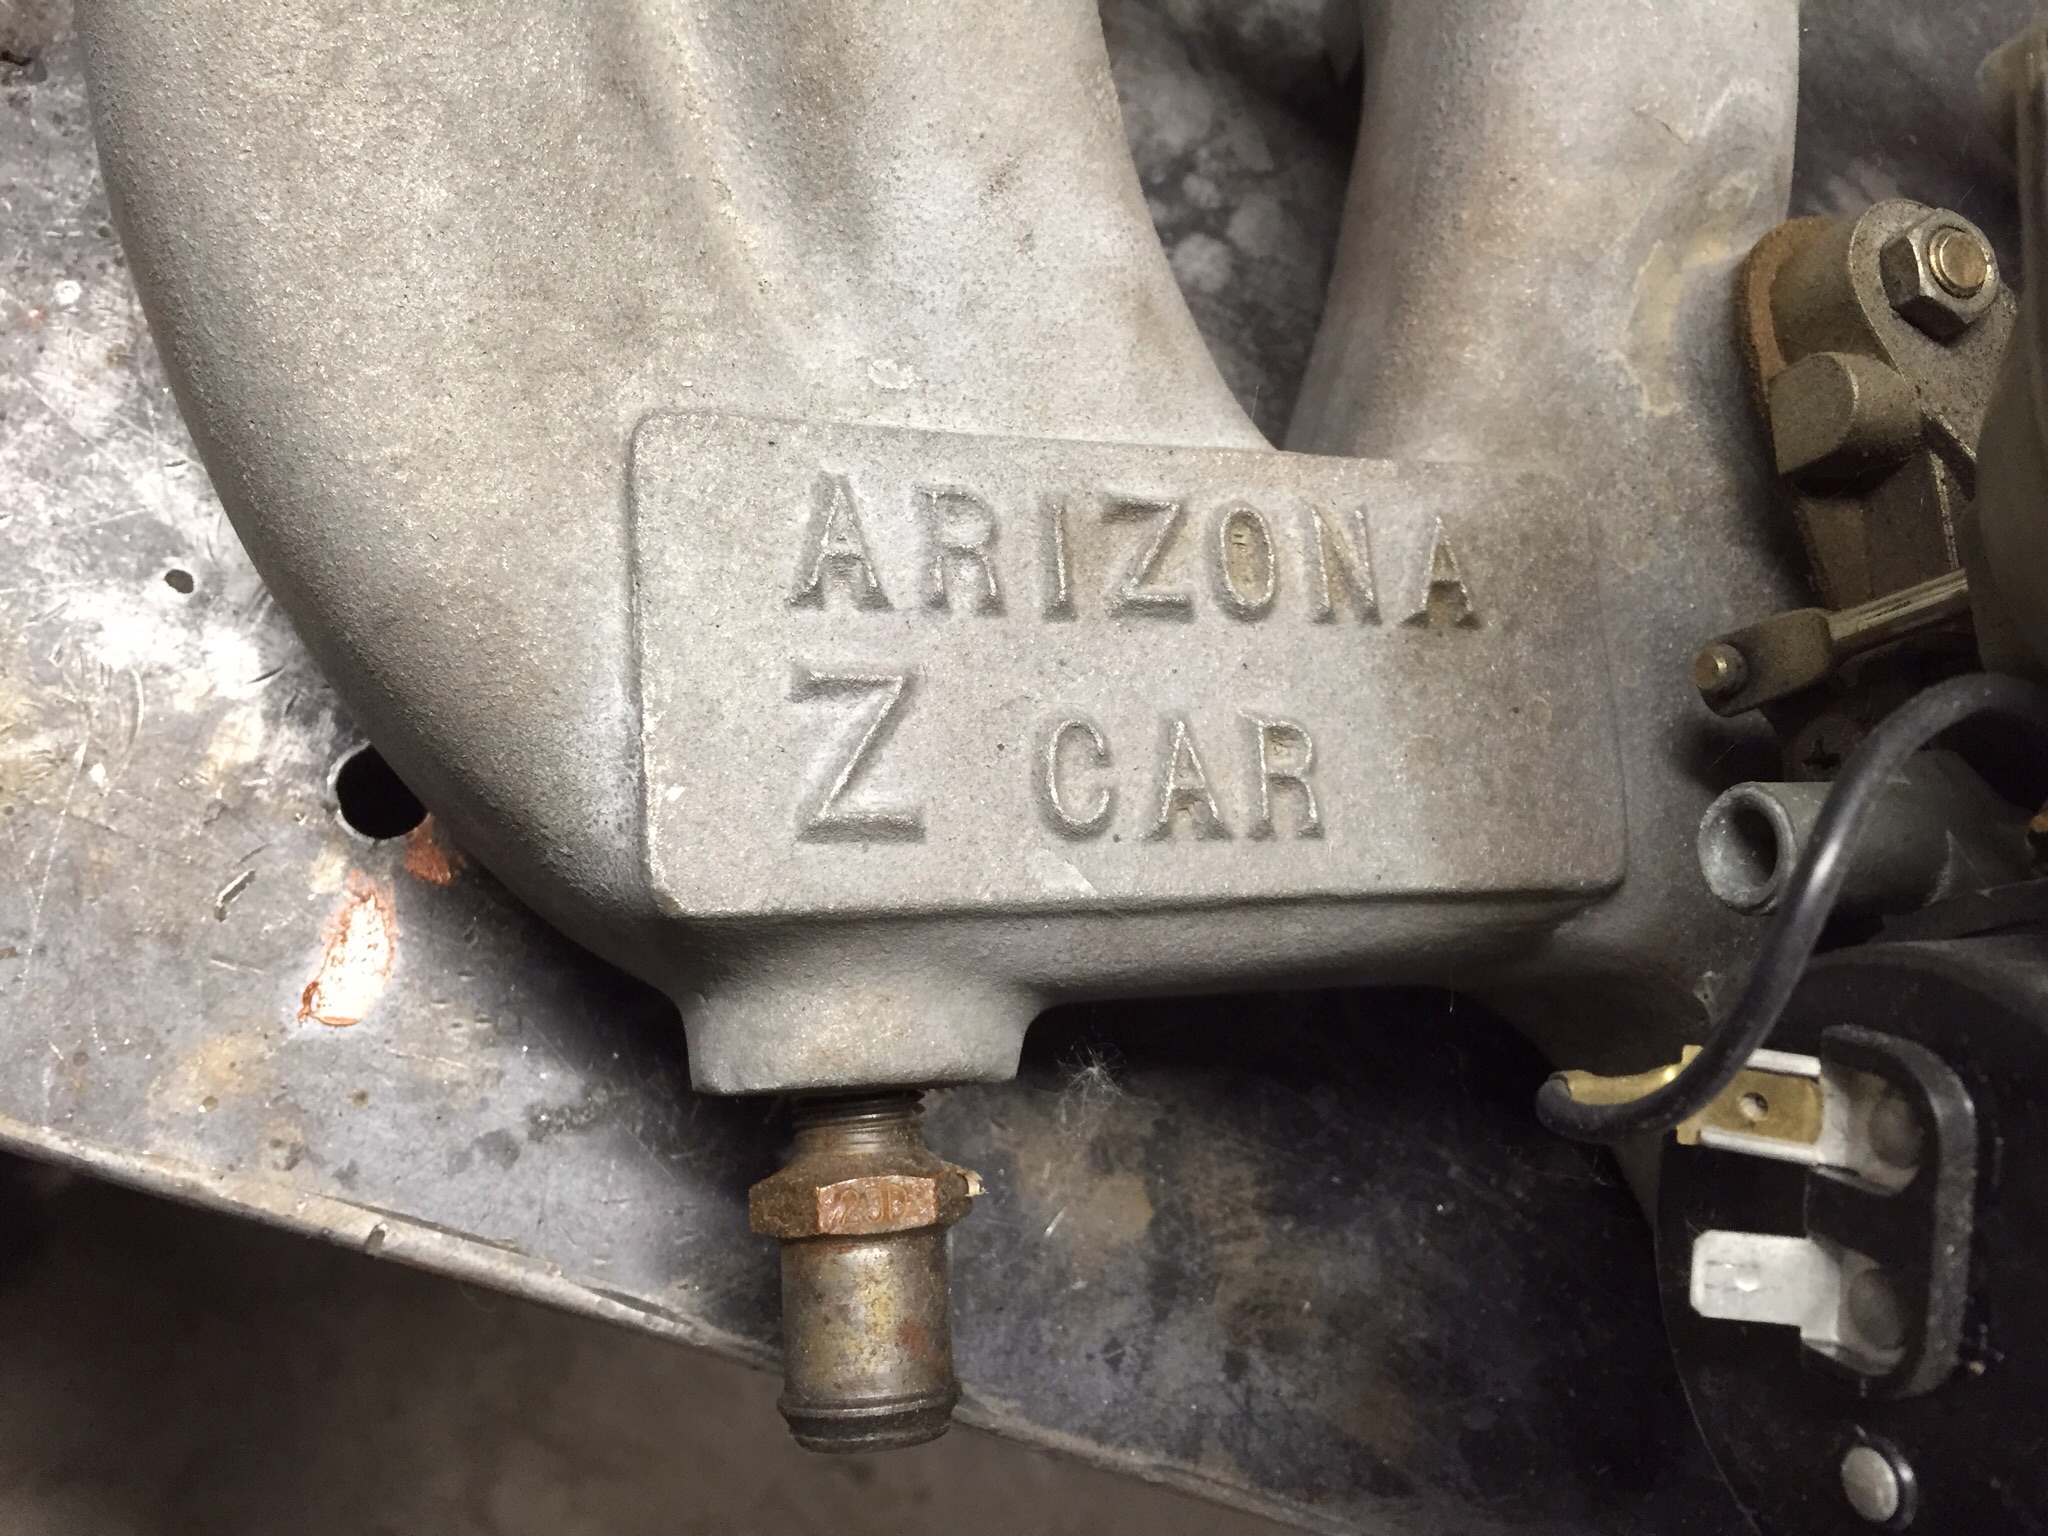
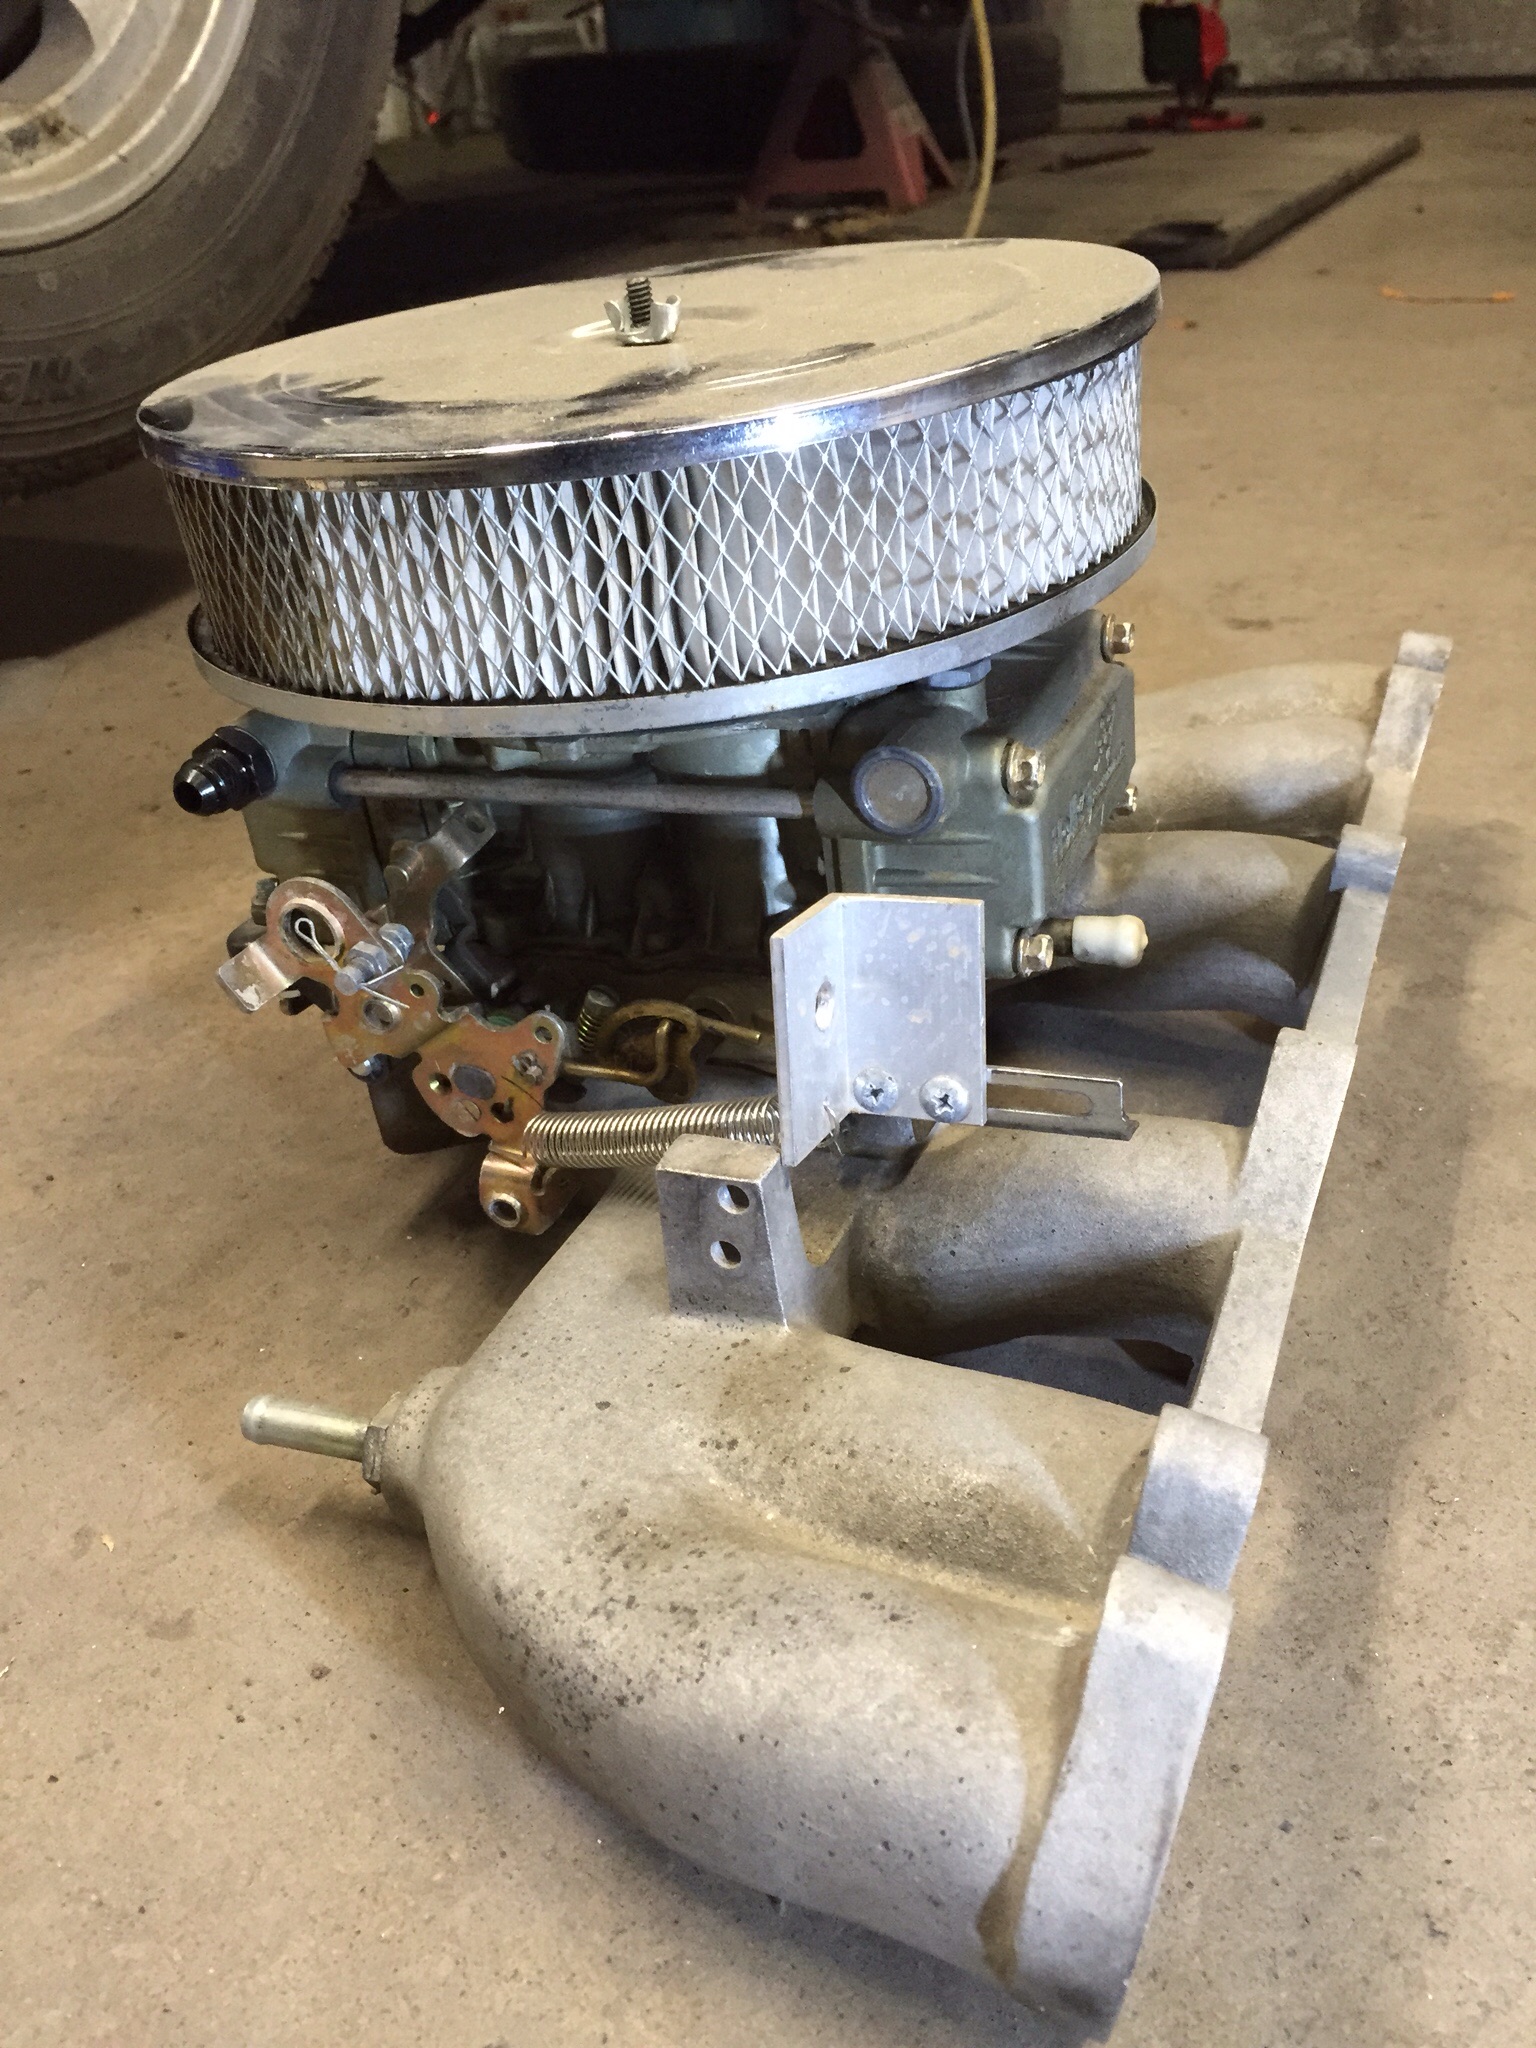
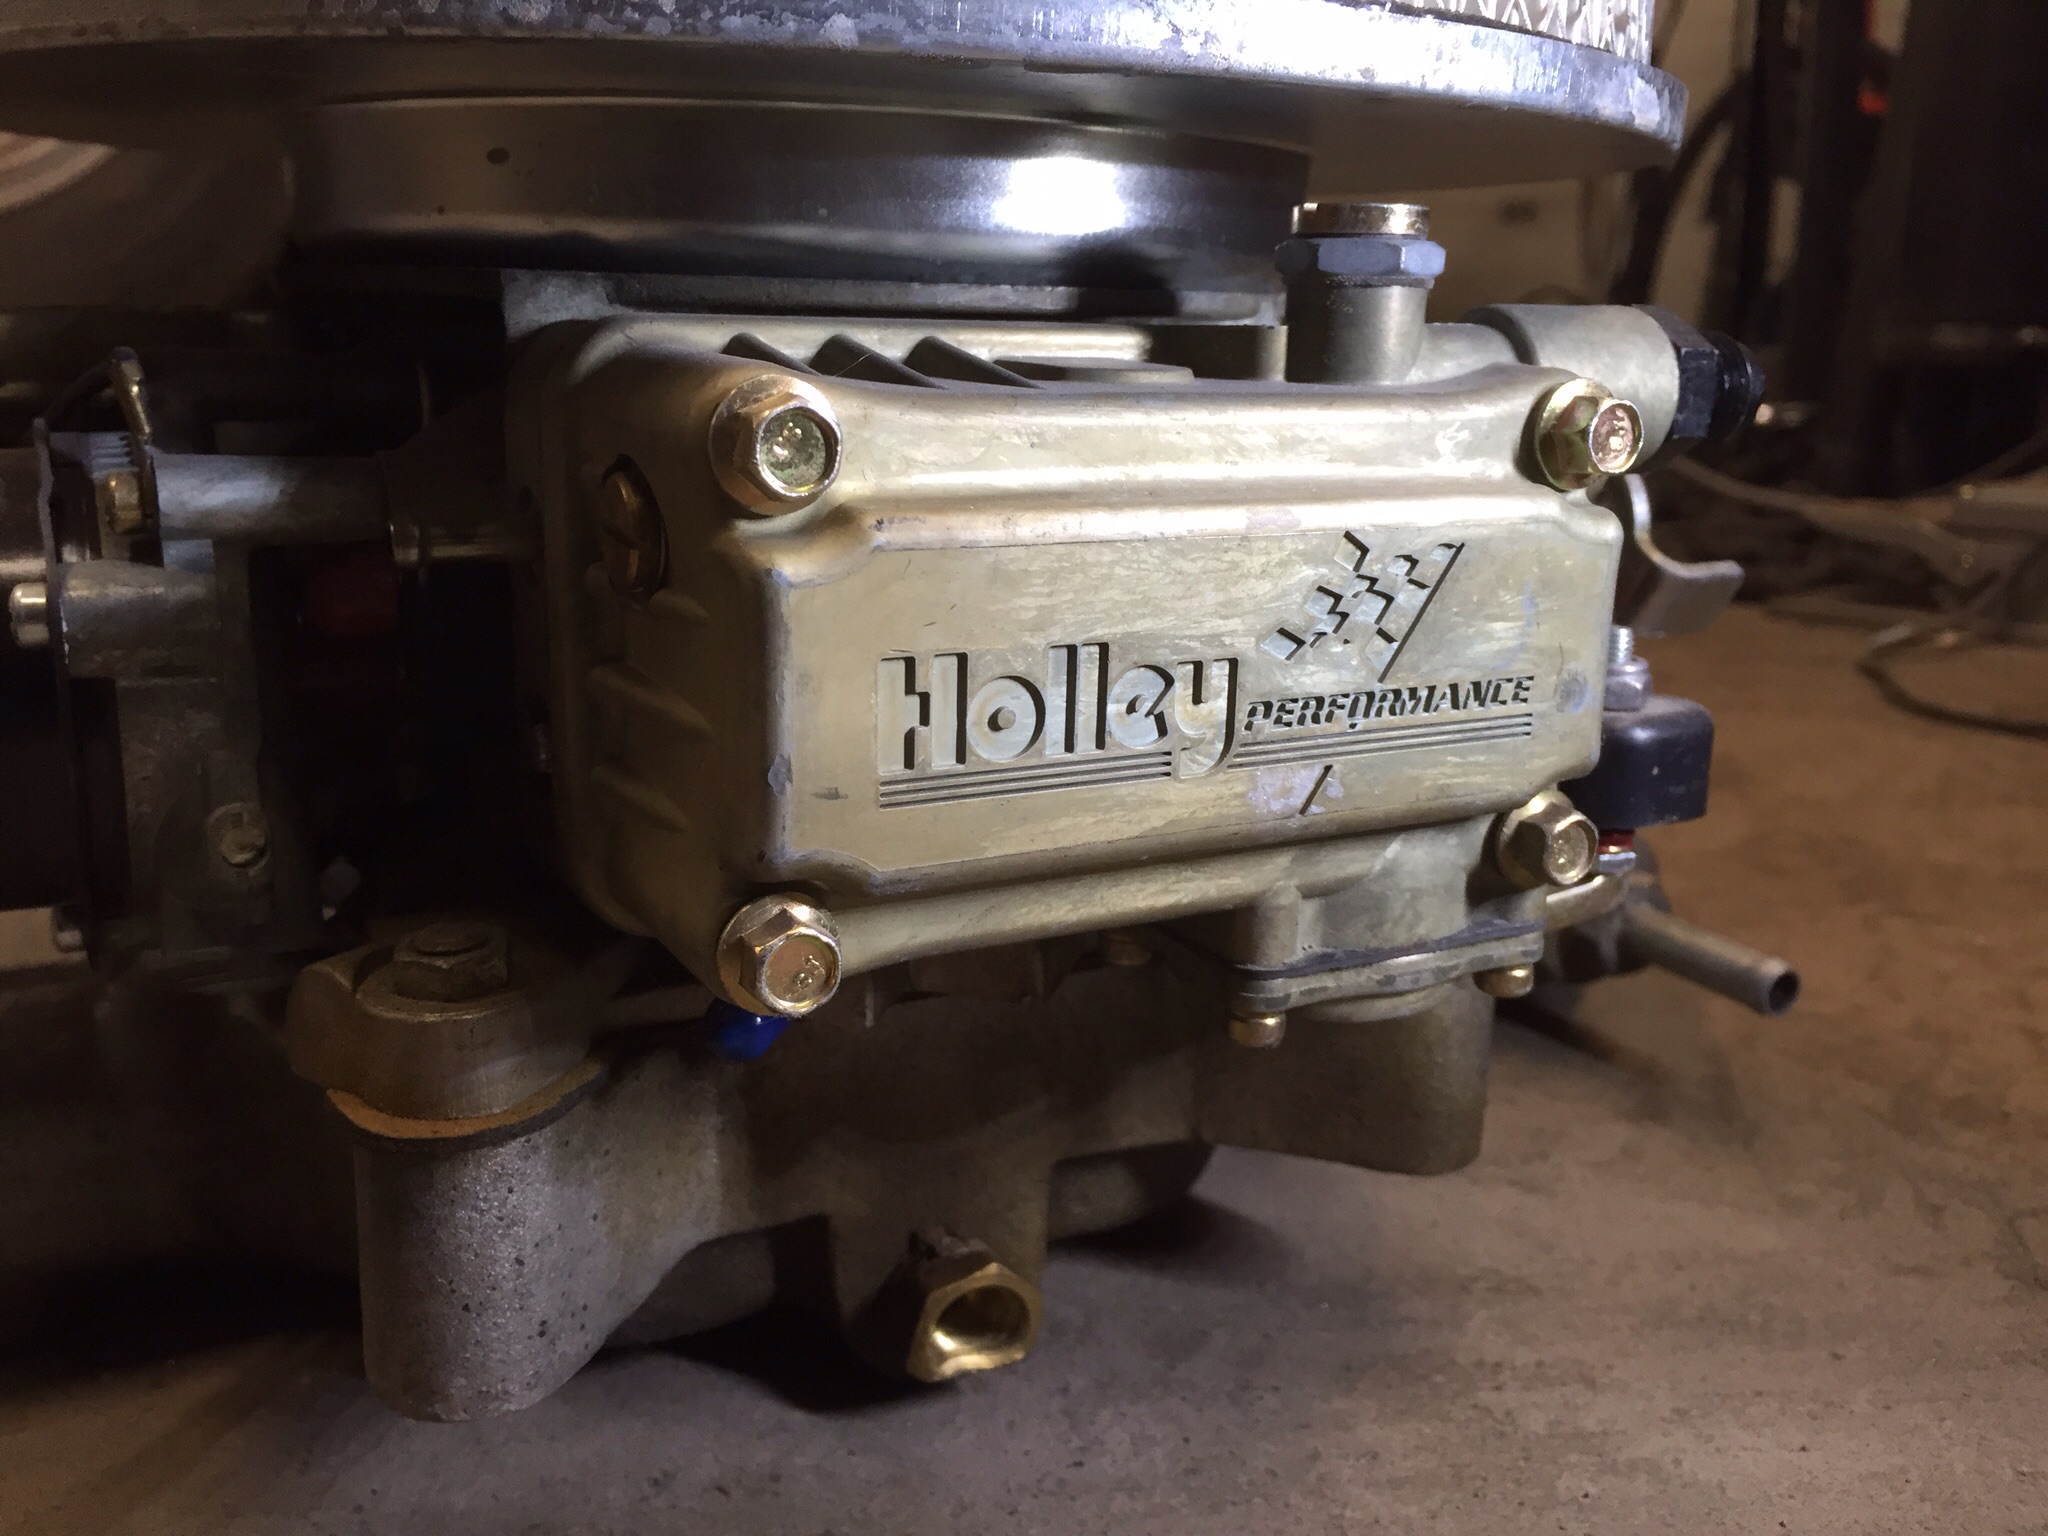
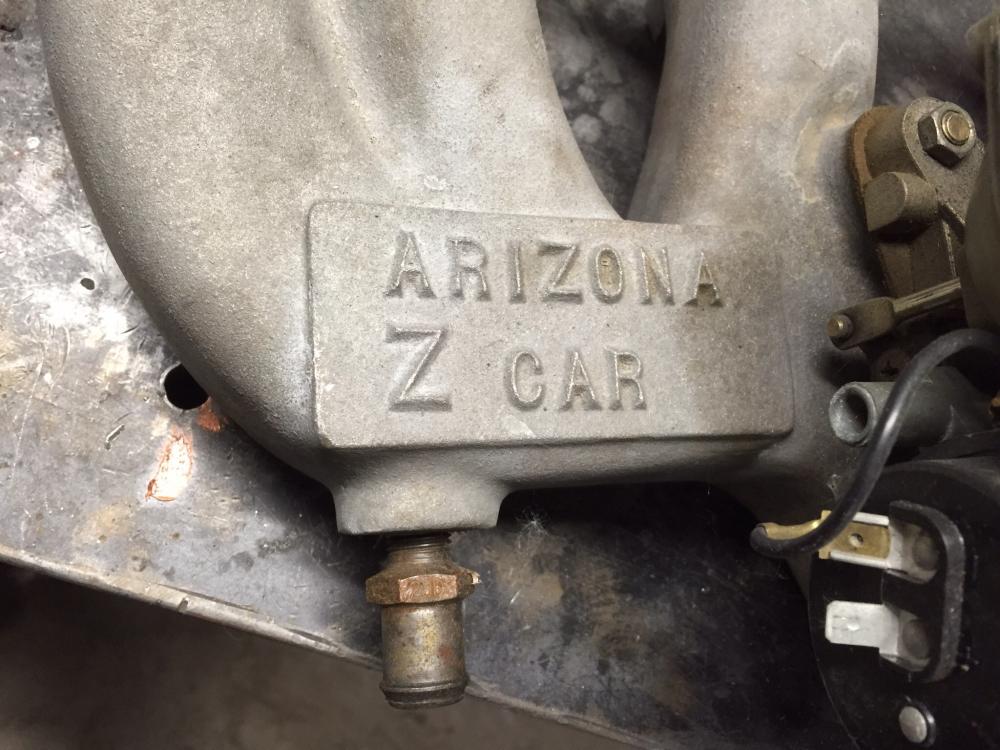
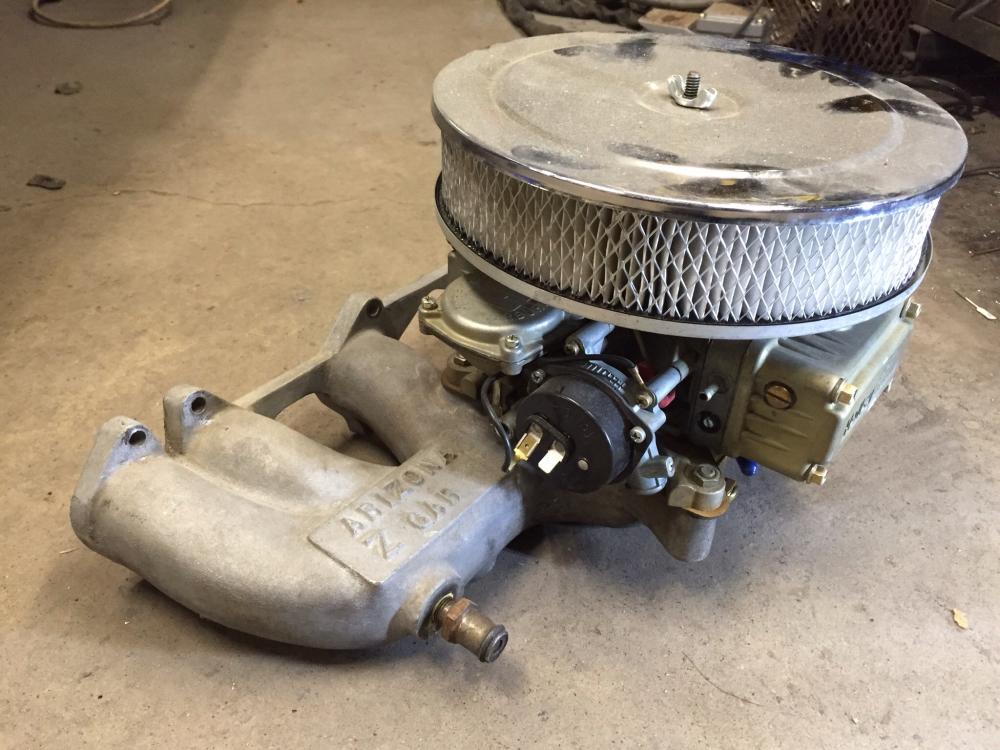
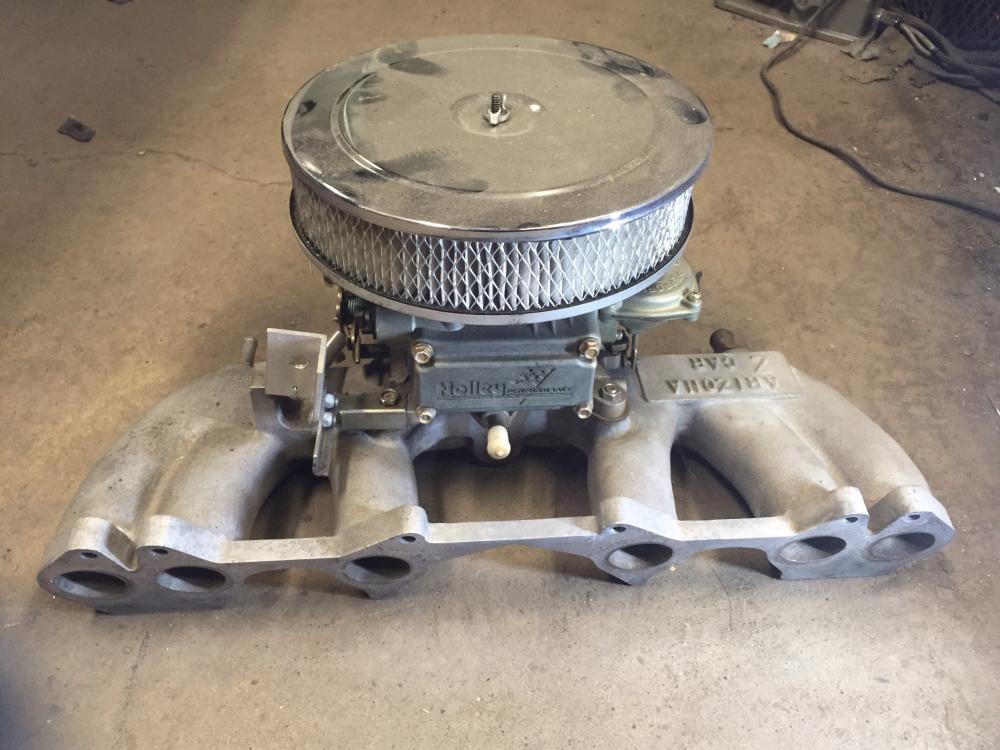
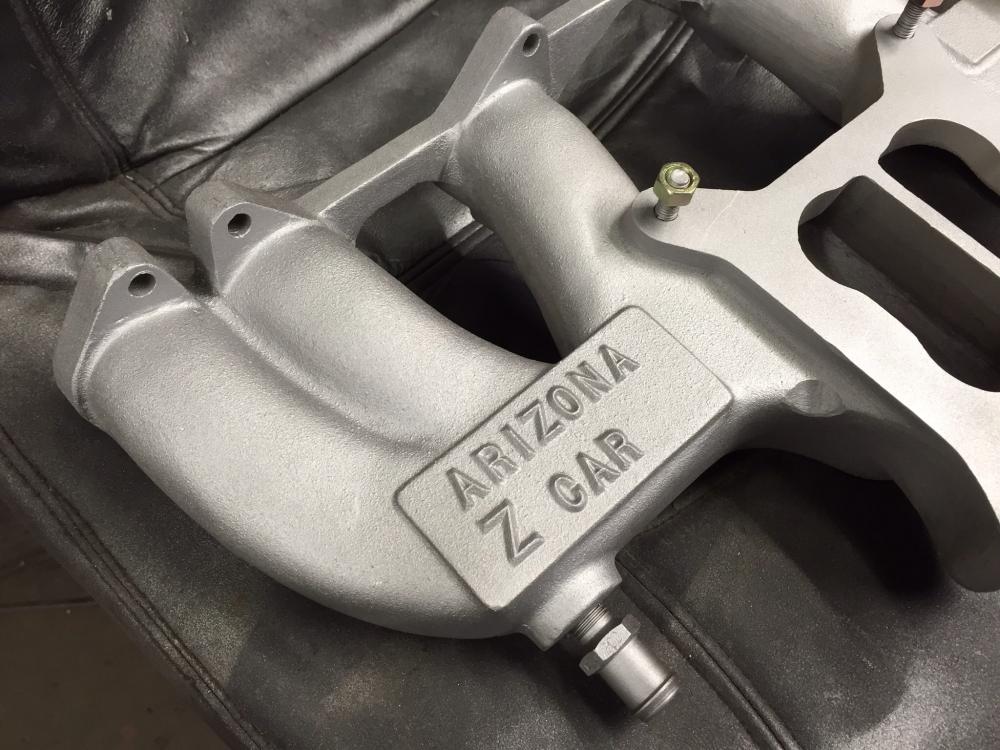
I have complete Arizona Z Car intake/Holley 390 setup for sale. This was removed in favor of a "better" (don't start...) Z therapy SU setup. Each to his own. Very low mileage on these components, in the order of 8-10K. Was setup for a cable throttle conversion. I can sandblast and paint the intake to make it look new if requested gratis. $350 USD or best offer. Feb 26. Carb and Air cleaner now sold. me at z240@shaw.ca for best response. Pics of intake sand blasted and painted included Feb 28 2016


-
The 280 M-bar is thicker and wider than the 240 bars. Definitely heavier duty. The holes for the R200 mount studs are larger as well. I'd have to compare directly, but the amount of curvature (distance from rear of R200 diff to centerline of m-bar chassis mount pins) may be slightly greater as well. I know can use the 72-73 Mbar with an R200. The holes in the bar need to enlarged (12-14mm or something?). It is a bit of a stretch, but it fits.
-
The power the turn signals goes through the hazard switch. Even though the hazards work, I'll bet the problem is in the hazard switch contacts. Do the checks that SteveJ gave you the link for and let us know what you find.