ea6driver
Free Member
-
Joined
-
Last visited
Everything posted by ea6driver
-
 Hey Don....wow...Woodinville....just down the road from Oak Harbor. Thanks for the offer...I'll keep you in mind. I have a whole yard shed filled with Z car spare parts (much to my wife's chagrin) and I believe I'll be able to find what I need among them. But I do look forward to meeting a fellow local classic z car enthusiast one day soon. Perhaps during the warm summertime (and after I get my car put back together!)
 -
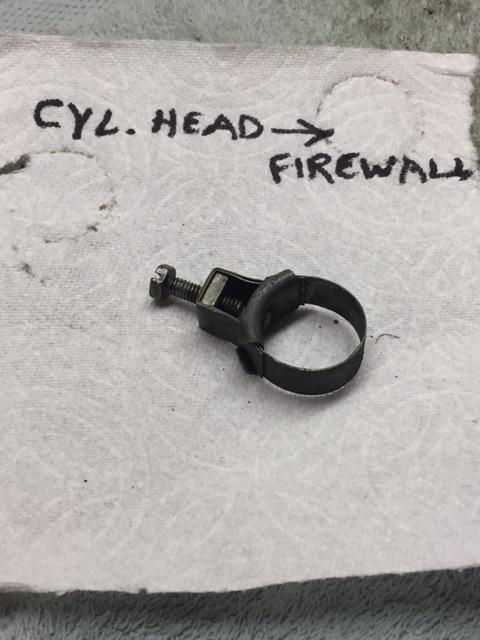
Thank you for that info....I suspected as much, just didn't know with certainty. I searched this site (and other sites as well) for photos showing this heater hose/clamps and didn't see any pics posted with this particular type clamp. Although possible, I'm guessing it is highly unlikely that this clamp was used only on the 78 year model and only on that one hose. Unless someone else chimes in with more info, I will just plan on replacing the hose with the clamps grannyknot mentioned in his post.
-
Today I removed the two heater hoses as part of my ongoing effort to restore/refresh the engine compartment. The shorter heater hose that connects from the aft cylinder head elbow fitting up into the firewall was secured with two clamps that are different than any other clamps on my car. I've attached a photo of one of them (the other one is identical to this). I was wondering if these are original or aftermarket/replacements. If they aren't original to this application, then which ones are? The longer heater hose was attached with the standard datsun phillips head screw-on clamps that are found elsewhere all over the car. 1978 280Z. Thanks!
-
I appreciate those helpful responses...for the most part, AC is a luxury up here in the Pac NW. But it would certainly be nice to get this fixed if reasonably possible. I'll let you know what I discover.
-
I had just removed my AFM a few days ago (to facilitate other maintenance) and there weren't any rubber grommets installed on the mounting bracket screws. According to the diagram in the Car Parts Manual, there should be 6 total grommets (3 for the screws that screw in a downward direction, and another 3 that are for the screws that screw in from the bottom of the bracket upward). My car is a 78, and from the diagram it looks like all Zs had this configuration from 02/76 through the end of the 78s. The rubber grommet part numbers are: 22683-N4201 (3) 22684-N4201 (3) And, of course, these parts are NLA for purchase (according to courtesy nissan). Would one of you be willing to post a photo of one or both of these grommets (removed from the bracket) showing enough detail that would allow me find a suitable substitute grommet(s)? BTW, there was a ground wire attached to 2 of the screws on the bracket, but with the grommets absent, I don't see how it served any useful purpose.
-
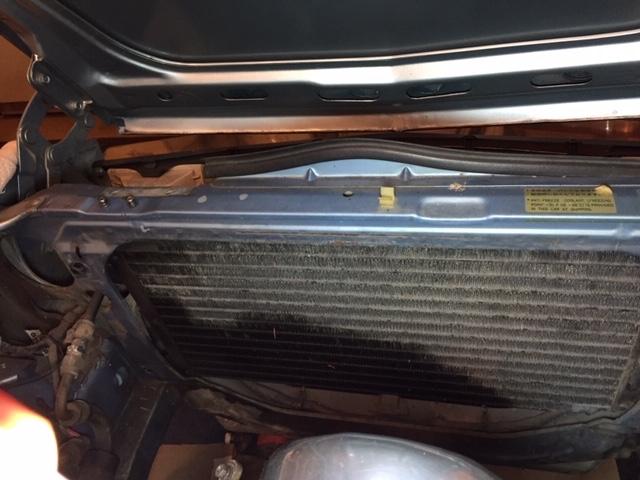
So this is the view of the rear side of my AC condenser I saw after removing my radiator. In case you can't see it clearly in the attached photo, a significant area of the rear surface of the condenser (mainly lower/left side) looks darker/stained/wetter than the rest of the condenser. The system has leaked out almost all of the r12 refrigerant. What would you guess the problem is, and, more importantly, what is the fix/repair?
-
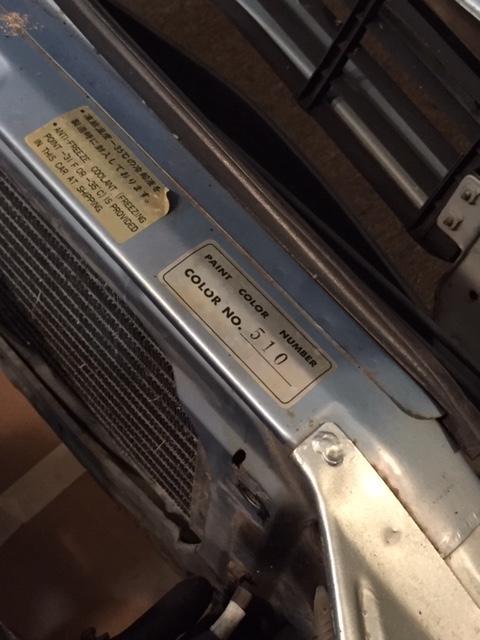
Just ordered a couple aerosol cans of the #510 "Sky Blue Metallic" from them. Thanks for the link!
-
I'm currently doing a refresh of my engine compartment. The original paint code number of the car is 510. And the engine compartment has never been repainted (still has this original color #510). There are areas inside the engine compartment that need some touching up/light rust repair, and I'm wondering what would be the best/easiest way to match this light blue color. It would be nice if I could find a current rattle can brand that comes close to this original color. Does anyone have any ideas/advice on how I might do this?
-
So I just thought I'd report back on how it all worked out. As suggested, I removed the valve cover and poured fresh oil all over the cam shaft/rockers. Replaced the cover and topped off the oil/installed new oil filter. Next, I filled up the tank with 15 gallons of fresh ethanol-free gas. Even with a full fuel tank the fuel level still wasn't high enough to allow fuel to flow to the electric fuel pump inlet. So I removed the supply line from the fuel pump inlet and, using a cheap siphon pump, pumped the siphon bulb until fuel flowed to the inlet. Reattached fuel inlet hose to pump. Next I removed the fuel hose from the fuel manifold inlet pipe (just downstream from the fuel filter) and stuck the hose end into a plastic bottle, disconnected the spade connector mentioned above from the starter solenoid and turned the ignition key to start to run the fuel pump long enough to nearly fill the plastic bottle with fresh fuel. Reconnected fuel hose to fuel manifold pipe. Reconnected starter solenoid spade connector. Turned the ignition key to start and engine cranked for about 5-10 seconds before starting up. What a great feeling. Took her down from the jack stands today and drove her down the island for the first time in over a year! Thanks again for all the good advice.
-
Thanks for the clarification and the photo. All great tips. My comment about that being "the large negative wire from the battery" makes me feel like Homer Simpson...DOH!! Anyway, I think I've got it now. Again, appreciate the advice.
-
Thanks for that tip about running the fuel pump without cranking the engine in the '78Z. Just to be clear...when you say "remove the spade terminal from the starter"....do you mean removing the spade connector from the larger/fatter wire in the photo above? Isn't that the large negative wire from the battery?
-
Thanks....I'll do all that. Your response leads me to believe that pumping fuel from the tank through empty lines/fuel pump to the engine isn't an issue. That was my initial concern. The car ran fine before I started the restoration work so I don't have any reason to believe there will be any problems.
-
My 78Z has spent the last year on jack stands while I restored the suspension. I've now got it all put back together and am finally ready to get it running. I drained the fuel tank before starting the project. My question is what, if anything, do I need to do to get it running again? Specifically, I was wondering if just refilling the fuel tank with fresh gas and cranking the engine until it starts is OK. I am assuming that there is currently no fuel in any of the fuel supply lines running from the tank all the way up to the engine. Is priming of the fuel pump necessary?
-
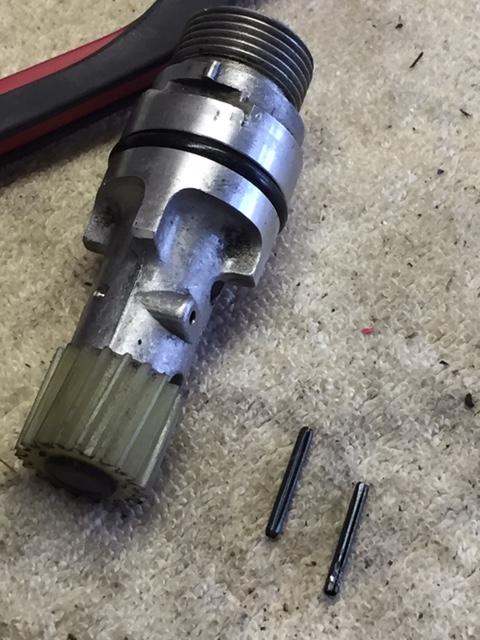
OK...I got the pin installed. I think the key to this task is first to get the cog housing solidly fixed so that it doesn't move any at all when you're trying to drive in the roll pin. I built a "jig" from a couple scraps of wood and this worked nicely. I also figured out a way to get the housing solidly fixed into a vice so that it wouldn't move while driving in the roll pin. Also, to get the roll pin started, I filed one end of it down enough so that the pin started into the hole enough to make the first few taps with the hammer easy. Thanks again for the advice....now on to the next problem!
-
Thanks for all the good advice. Time to get to work on it. I'll let you know how it went/what worked for me when I'm done.
-
I would like some advice on how to install the new roll pin into the speedometer cog housing. I pulled the old pin out with pliers and vice grips, but that method "boogerd up" the pin pretty badly. The new roll pin (which is the correct Nissan replacement part) seems slightly larger in diameter than the hole in the housing. I'm guessing this is the way it is designed to be. Because the housing is oddly shaped and made from soft metal (aluminum?) I'm hesitant to clamp it too tightly in a vice. So, practically speaking, what is the easiest way to drive this new pin into the housing without damaging the pin or the housing?
-
I appreciate the suggestion. I think I'm going to just have to keep this rubber grommet piece in mind as I continue the restoration/reassembly process. Apparently it's not really a very important part. Hopefully one day in the not too distant future I'll run across the perfect substitute part while looking through an auto parts or hardware store. Sometimes you just have to use a little ingenuity/creativity when looking for replacement parts on a 40+ year old car.
-
Excellent advice! I disconnected the linkage from the cable up in the transmission tunnel and the cable easily slid into the "jackets" at the wheel ends after that. Tomorrow I'll try to get it all adjusted properly. Thank you all for the help.
-
That's a good point. During the restoration process i did completely disassemble the the entire hand brake linkage. I guess I could have reassembled the linkage in a way that is putting tension on the cable, causing it to be so tight at the ends. I'll look at that tomorrow. Fortunately I haven't re installed the driveshaft yet so it should still be easy to access.
-
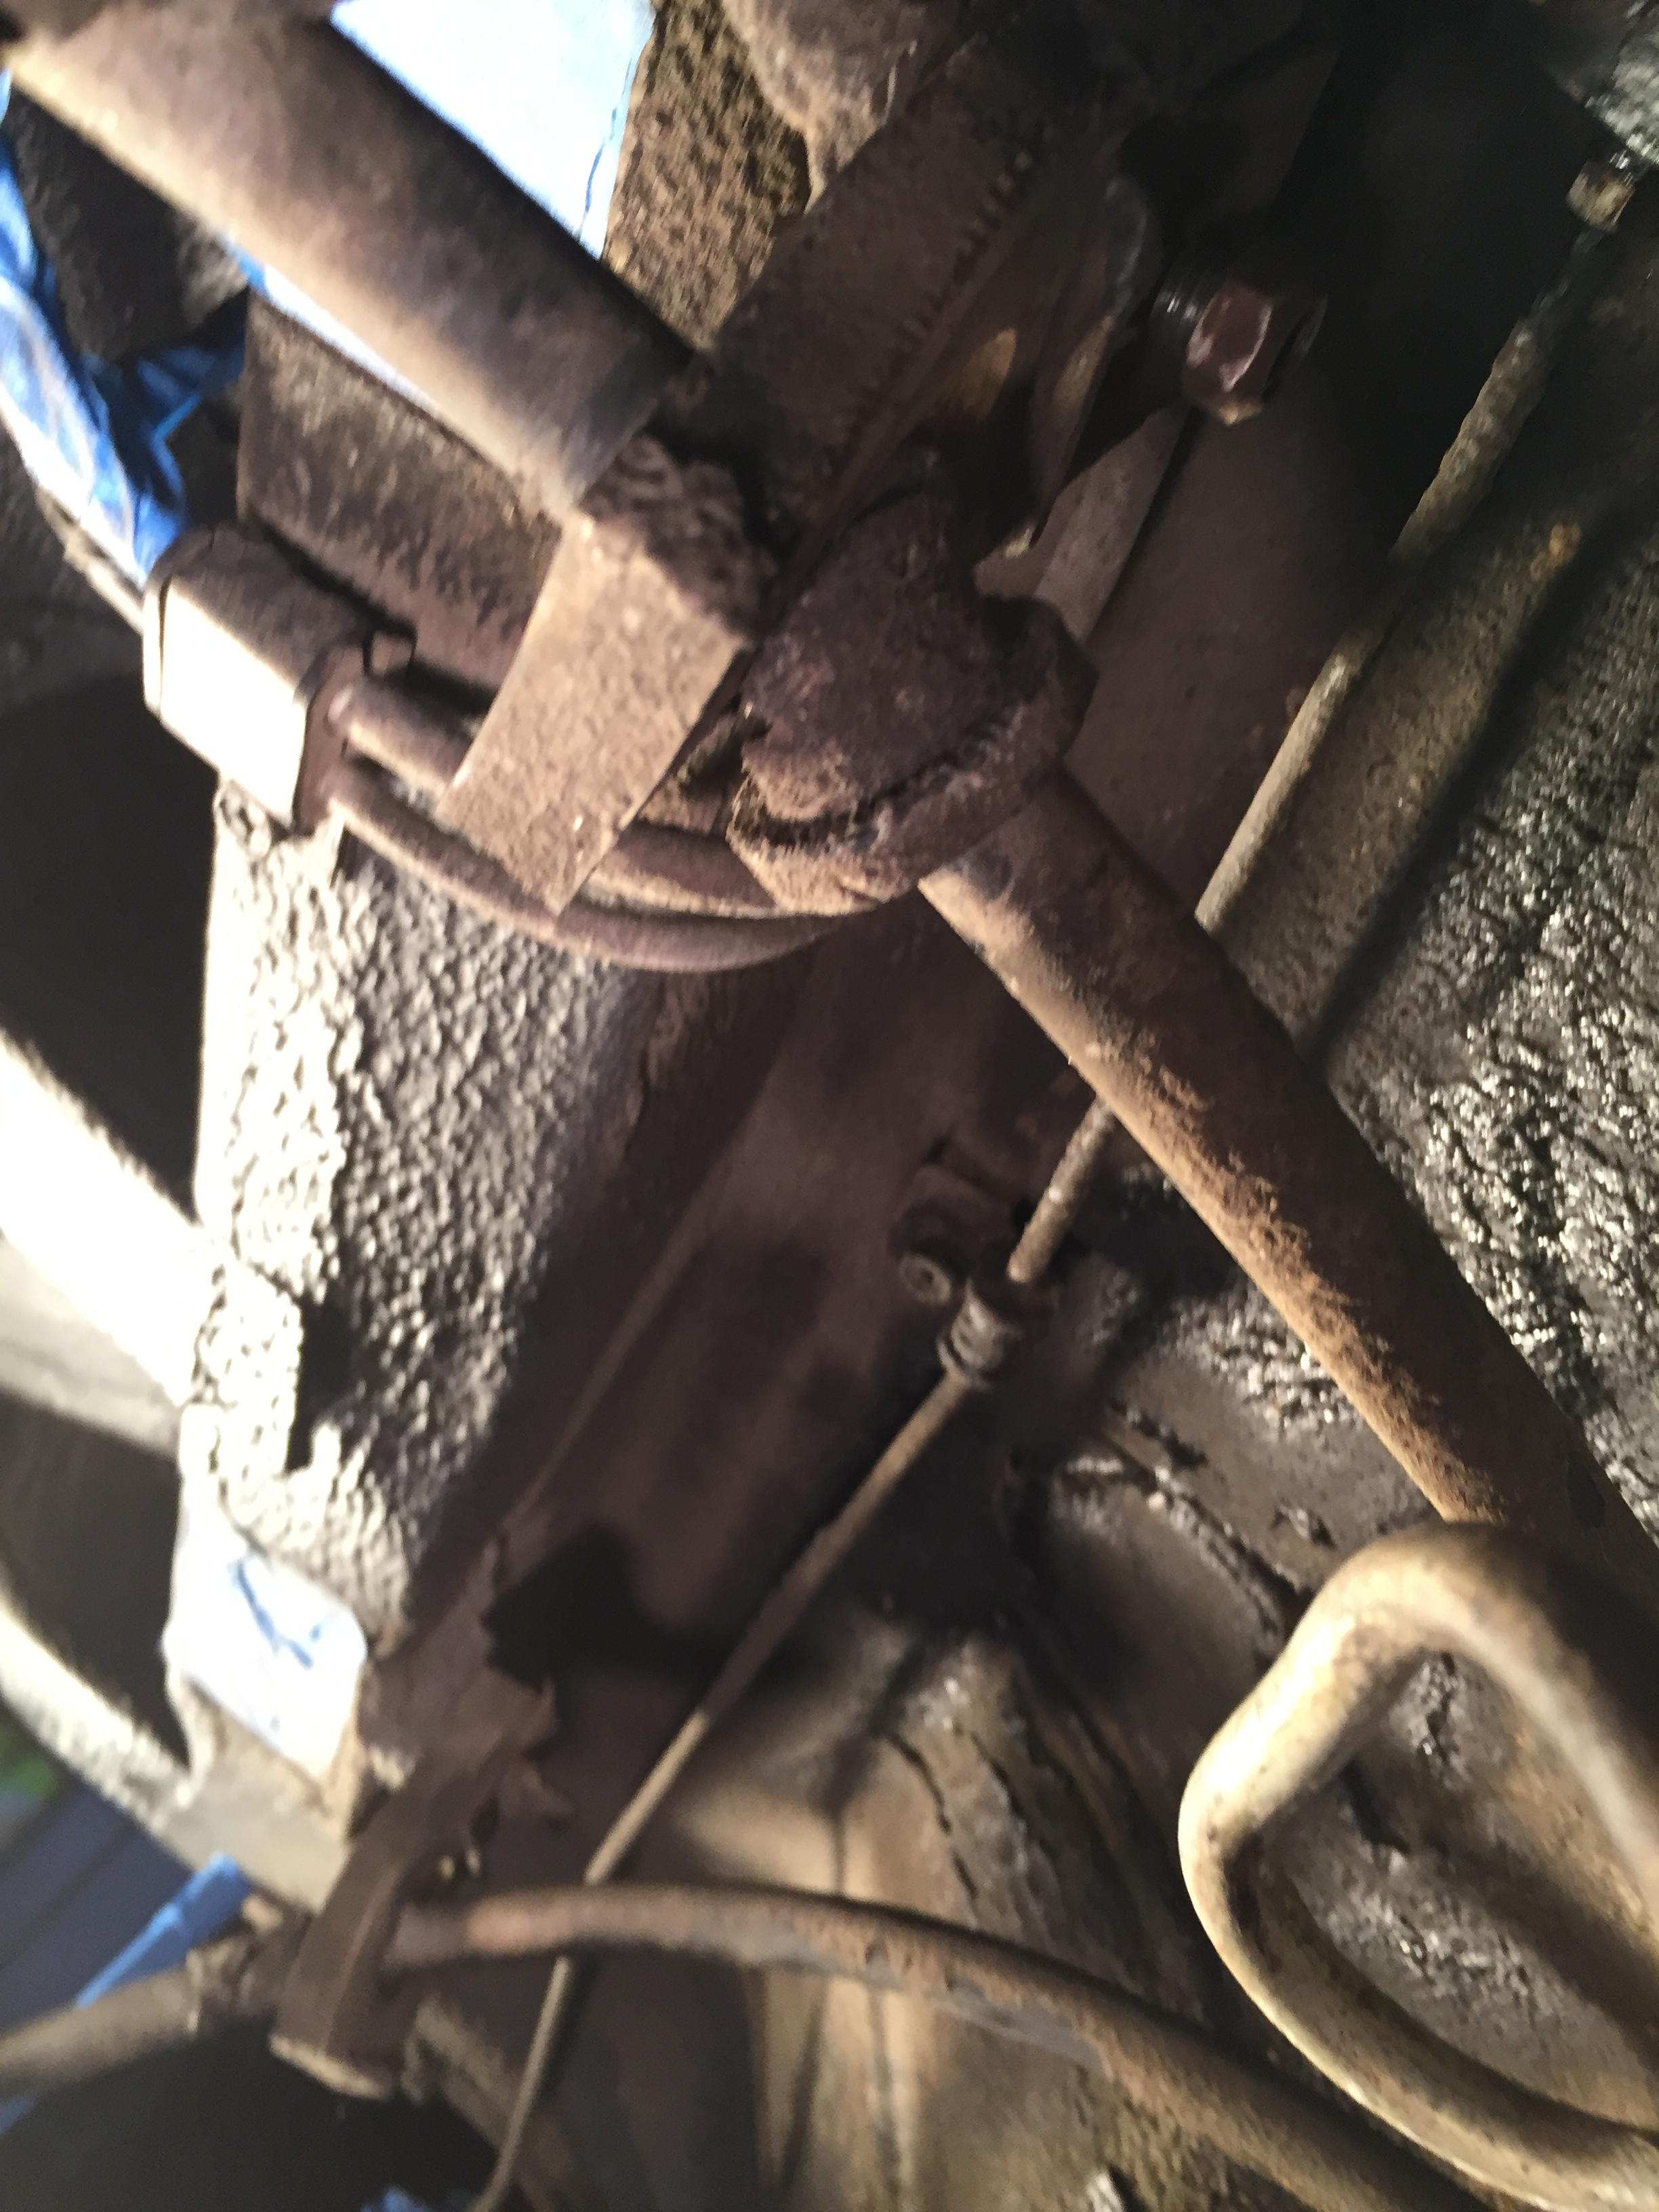
The hand brake handle/lever is down. The spring in the photo holds pressure (tension) on the end of the cable. The spring needs to be compressed to allow a gap for the bracket to fit in the area where the black line is in the photo. It's a stiff spring. As usual, taking it apart was much easier than putting it back together.
-
For the life of me ,I can't figure an easy way to re attach this handbrake hardware back onto the end of the cable. The spring tension is too much to compress with my hands. I'm thinking i might need a special tool to compress the spring enough to install the end piece... I'm looking for some advice.

-
Thanks for that idea. Just to be clear, the rubber part I'm trying to replace is not the rectangular piece. It's the cylindrical piece that runs through the hole in the rectangular piece. This piece is only a couple inches long and slides over the actual handbrake cable. I'm thinking it's there to prevent the cable from sliding fore/aft in the rectangular hanger hole.
-
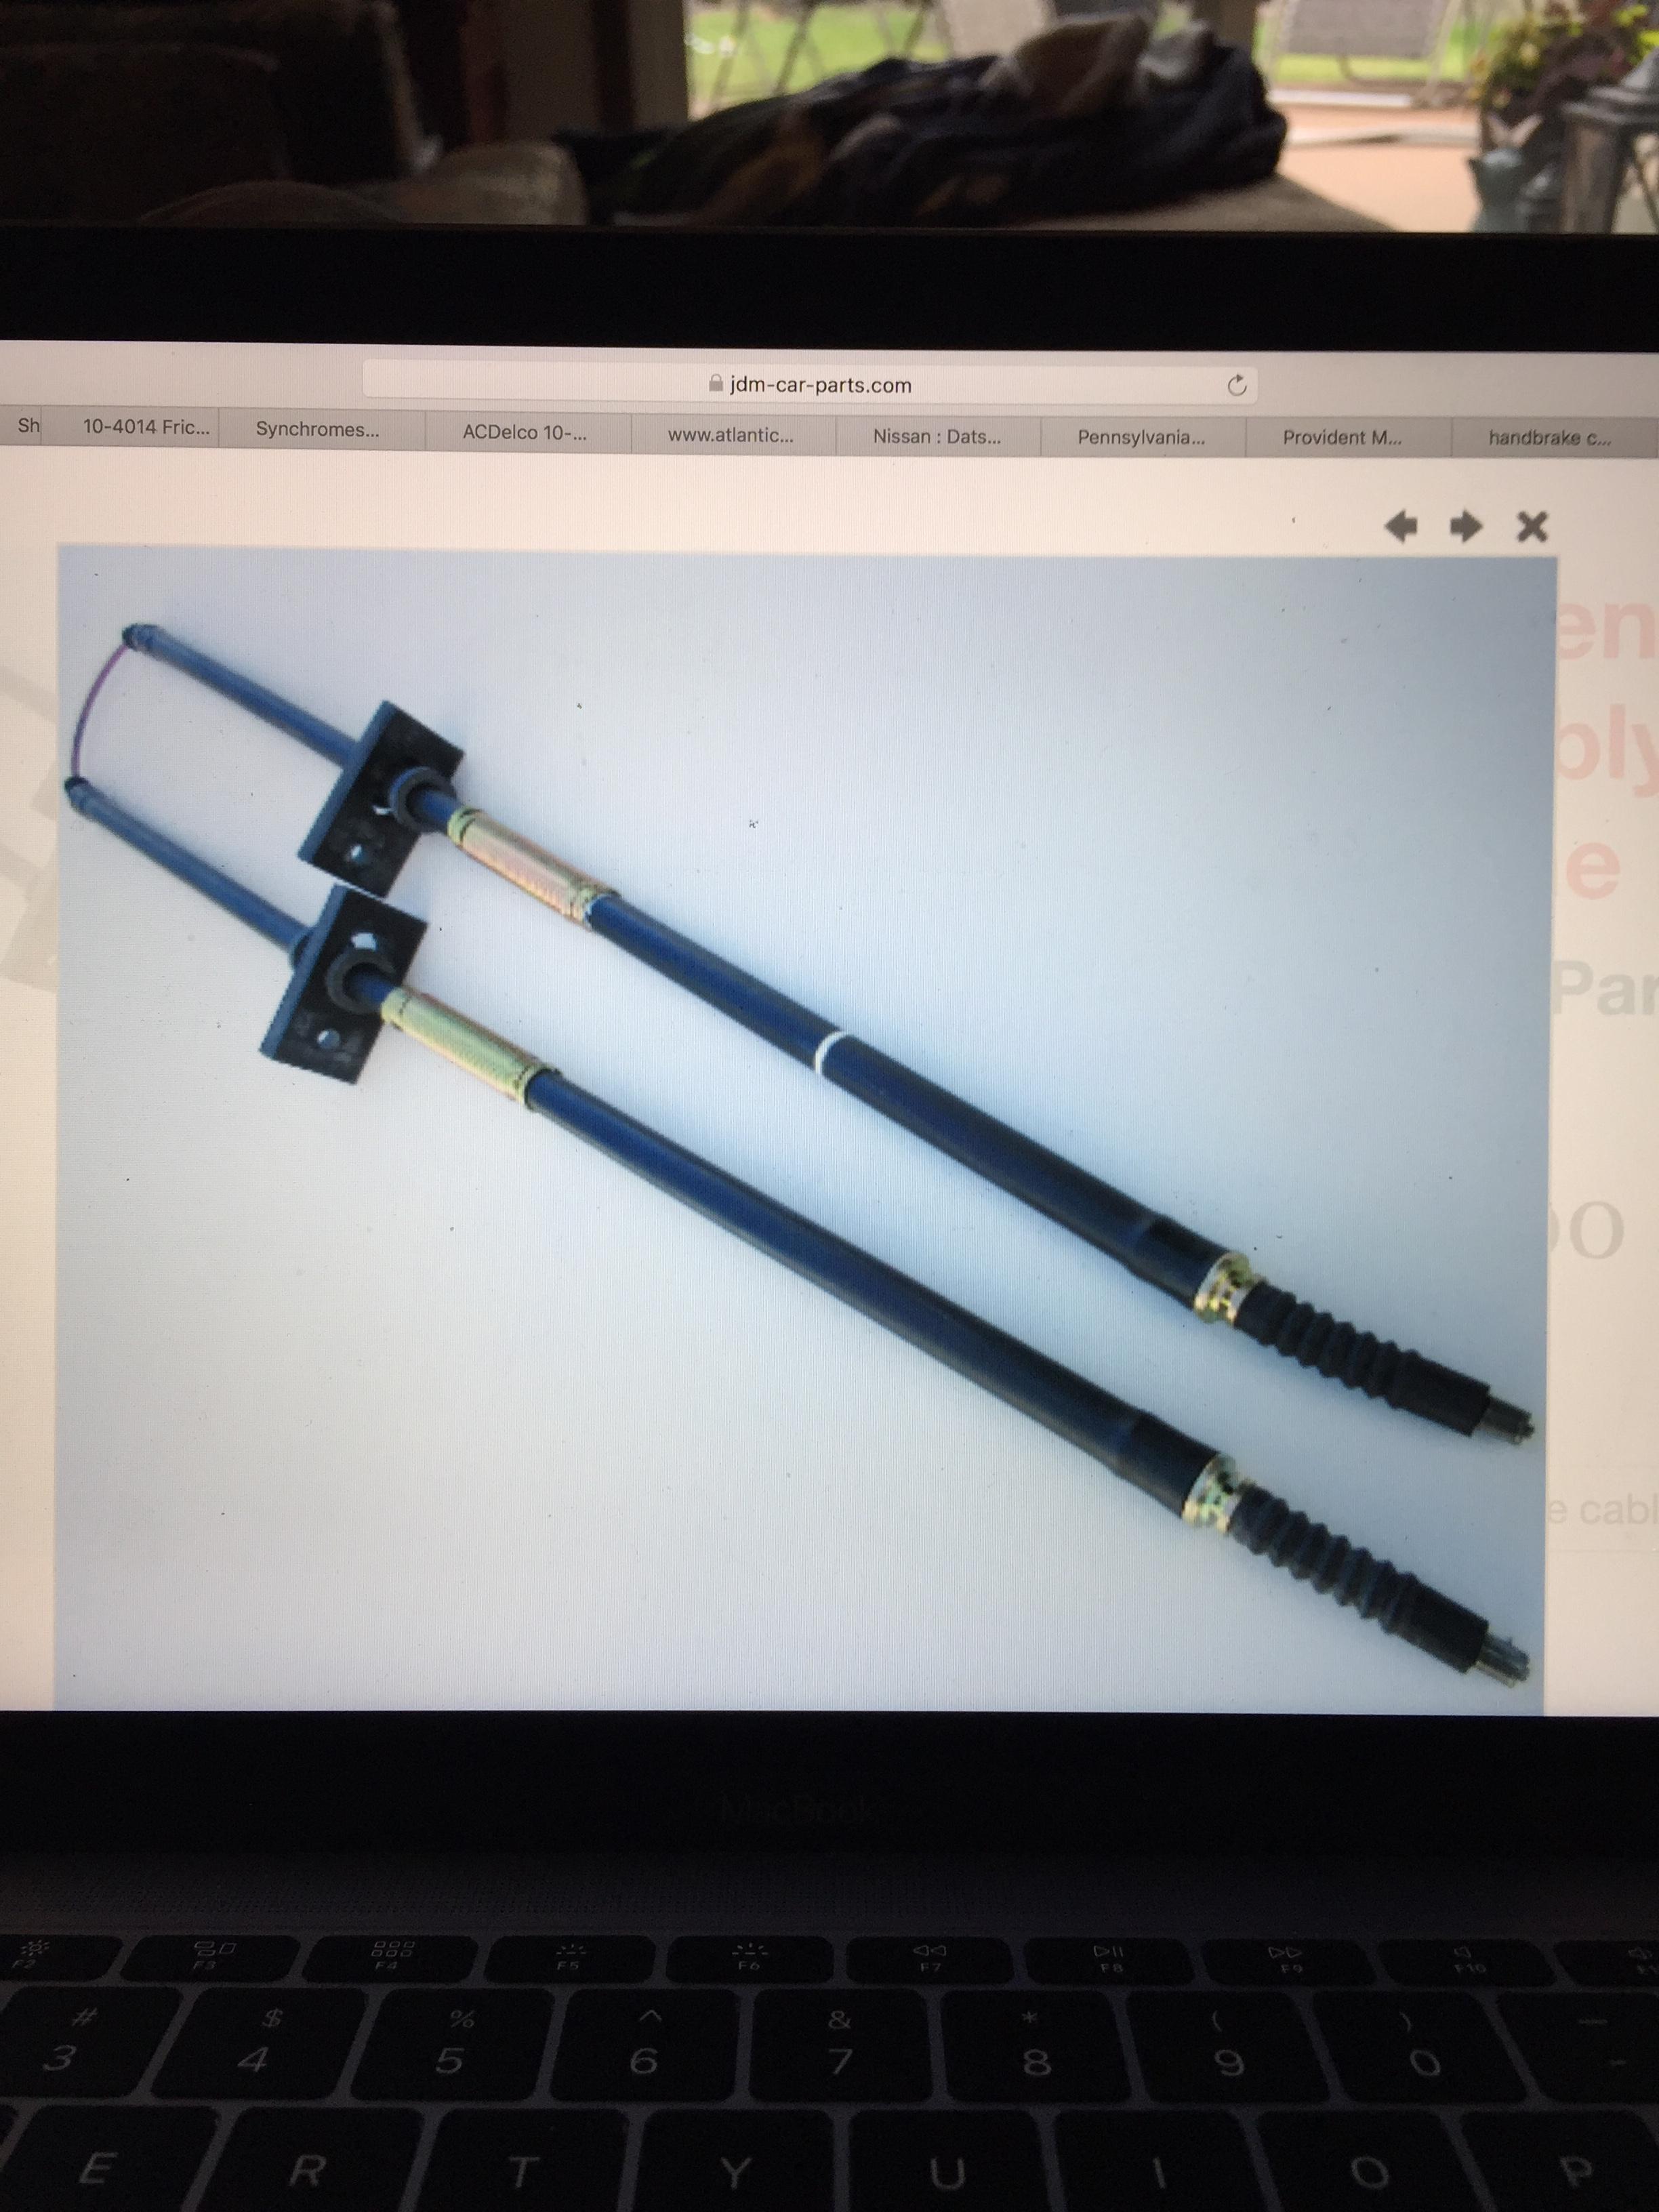
I'm looking to replace the original rubber "grommets" that encircled the handbrake cable where the handbrake cable runs through the rubber "hangers". I've attached a couple of photos to help show the rubber part I'm looking for. Anybody have any good ideas on a replacement part for this?


-
Thanks so much gentlemen...I do have the white/19 tooth speedo gear (had not thought about needing to install that with the OE tranny/3.90 diff combo). Tire/wheel combo is aftermarket, but same overall diameter as OE. Glad to find out that the Z will at least be drivable until I can get it back up on the jack stands in a few months. I appreciate all the comments.
-
I do have the correct (white) speedo gear to install in the replacement ZX 5 speed tranny, but the original gear is still in the OE tranny. Are you saying to go ahead and swap in the white gear in the OE tranny so the speedometer will be accurate?