JimmyZ
Free Member
-
Joined
-
Last visited
Everything posted by JimmyZ
-
 Huh? Nissan doesn't sell calipers for s30's anymore??! Currently I have some reman calipers on my Z and they SUCK. The pistons have no plating which is why I get 2-3 years out of a set. I was hoping to buy some real calipers from nissan. Jim
 -
While visiting Denver I went out of town to the Coors brewery. You could REALLY taste a difference. Think I could have just parked myself under the tap. Thats the only way I could consume mass quantities of Coors. It does change with age and shipping despite their attempts to keep it cold. My worst beer experience was a "green" budweiser in a can. Not "green" as in St Patties day greeen but green as in rolled under the counter for a year then got put back in the cooler. When I drank it my taste buds were numbed by the few I had prior. I was sick and couldn't eat for days! 2c
-
Congrats on the early Z!
-
Icehouse for me. Bottles
-
Rule out the ignition by hooking up a timing light and revving. The inductive pickup on a timing light can tell you if a plug is fouled or not firing. Observing any "hiccups" in the lights flashes can also tell you that there may be a problem with the points or distributor bushings. 2c Jim
-
One of those pressure gauges used as a combination fuel pressure/vacuum gauges would show any valve issues. It might also point towards other things as well. Here's a link to one... http://images.google.com/imgres?imgurl=http://ecx.images-amazon.com/images/I/31Y6DP8778L._SL500_AA280_.jpg&imgrefurl=http://www.amazon.com/Fuel-Pump-Vacuum-Gauge-TU1/dp/B000RT9BY0&usg=__UcZvlG60aQx_fzJCxkTHyvM-qgQ=&h=280&w=280&sz=10&hl=en&start=2&um=1&tbnid=cNrcexDkmA0lSM:&tbnh=114&tbnw=114&prev=/images%3Fq%3Dfuel%2Bpressure%2Bvacuum%2B%2Bgauge%26um%3D1%26hl%3Den%26rlz%3D1T4GGLD_enUS307US307 Pretty nice to have. 2c
-
No Kidding! That GTR MUST is sweet!!! Nice addition to the garage. I'll gladly trade my clock for it. Wonder how the Z feels about it though.
-
Ever since I saw this Snap On calendar girl pinned to an aircraft resto project I've wanted her for my shop.:love: I recently lucked out and got a cutout of the original calendar from the late 80's-early 90's. For Christmas I got the hottie in the form of an original Snap On clock! The clock photo came out funny due to the lighting. It's actually almost as clear as the day it was made! Nothing near as nice as the previous posts but a nice addition to the shop.


-
Whoa! Thats WEIRD! You "shouldn't" have any tail lights.... But I'm sure that someone made a remote fuse somewhere down the line. Perhaps it's the fuse in the lower left corner or upper part of pic #2??? The side marker lamps corrode over time and can cause shorts which is why they may have switched to a separate fuse from the main block. This would keep you from melting the fuse holder. Nice looking fuse box BTW.
-
You may have a 60 amp alternator in your Z. ???? Possible... Is it always pegged? (Even at an extra low idle?) The Z originally came with a 35 amp but some people have fitted later alts with the use of a special plug. I've never had an amp guage go bad. Just know that the thick white wire with red stripe which runs in and out of the amp guage supplies your fuse block etc. It's an odd way of doing things but that's what the designer wanted. A simple volt guage such as found on later Z's would suffice. My guage will indicate a charge for a while then it drops to neutral until a load is put on the system. It's kind of neat seeing the needle waver with tthe brake or turn signal lights coming on. Think I heard of someone accidentally frying their guage hwen jumper cables were hooked up wrong. 2c Jim
-
The aluminum will expand MUCH more than the steel if heated. The problem is getting the steel plug hot enough. It might take quite a while with a plumbers torch. An oxyfuel rig would do just fine. I've liberated many frozen steel fasteners from aluminum by TIG or MIG welding a new head onto the fastener. As soon as the steel is cool enough to take some torque get on it. I had to use my oxyfuel set on my R-200 fill plug. Even with the thing out of the car I was having a hard time....that is until the torch was brought to bear. If you see the aluminum bubbling or developing a wavering skin wait for a few seconds 'til it solidifies. At this point you've overheated it and the aluminum will shrink for an even tighter fit. (Kind of like casting over a non-tapered object) You will need to reapply heat/work out the fastener a turn or two several times if this happens. 2c Jim
-
Damn Richard Oben! That's a NICE collection! Likewise Mally!
-
The FSM states an interval for dissasembly and maintenance. I would suspect that very few people have ever taken theirs apart and done this. If you wanted to be really anal you could disassemble, clean and re-grease. Having a driveshaft balance shop check them out and balance them would be best. (Ask your local speed shop who does driveshaft balancing) If you had lots of $$ to burn you could have the male end sent off for building up and then ground to a close tolerance for a good mate with the female. Good luck finding a shop to do this for a decent price though. 2c Jim
-
Nothing a good soak in laquer thinner wouldn't fix. I've had crystals before in certain pieces of equipment but nothing like an undissolvable solid. That's weird. Wonder if someone dumped some mothballs in the tank?? Jim
-
The 240Z's are a simple cable operated system. No vaccum hoses to go bad. Here's the side view into the heater box. I imagine there are leaves, rat's nest or some other debris blocking the core.
-
Cool! What scene in QOS had the Z? I saw the movie but didn't see the Z. (Not that I was looking for it) Jim
-
Just a second thought. Years ago my tank was shedding rust into the fuel system. It behaved very much like an ignition issue. Things got so bad I went to a glass filter and had to clean it every mile or two! Using the colortune mentioned above would display a lean mixture at higher RPM if you had a fuel starvation issue. http://www.eastwoodco.com/shopping/product/detailmain.jsp?itemType=PRODUCT&RS=1&itemID=2299&keyword=colortune Take the float covers off your carbs and check to see what debris has gotten past and settled into them. It's possible that your fuel rail has some crud in it also. Try reverse blowing the rail for a bit. Verify that it is flowing fuel. Don't open up the restricted opening on the return end of the rail. It's there to help maintain fuel pressure. It's got to be somethin' simple. Jim
-
Looking into the mechanical aspect ie valve timing issues is barking up the wrong tree. (IMHO) Slop in the distributor may be happening though. After having carefully read all of the posts it dawns on me that there may be some things you've possibly overlooked or discounted. When you "grease" the points I hope you mean a apply minor amount on the cam or cam wiper and NOT the contact faces. It looks like you replaced all of these a few posts ago but if you haven't.. Replace these items. Don't even assume the parts are good just try it. It won't be that expensive and it can only help. Replace the Plugs Points Condenser Cap Rotor Fuel filter After the parts are installed do a proper tune up with an eye for diagnostics. Use a dwell meter to fine tune and check your points while it's running @600RPM. You may then find that you have play in your distributor shaft in which case a new/reman distributor is on your list. (Wavering dwell on meter) Use a timing light to check the timing. Even if the advance doesn't work it should still rev smoothly. Check the plug wires and make sure that they are NOT laying on the bare valve cover. If they are breaking down with age then they will arc to each other or the valve cover. If you can swing it replace the wires. Balance the carbs and set the mixture. Compare the clean new plugs to pictures to determine if the mixture is rich/lean or if you have oil fouling. You may want to look at getting a colortune so that you can "see" any changes in fuel mixture when doing your rev experiments. It's great for tuning these cars. Well worth the $80. I've owned my '71 240 for almost twenty years. It has been my daily driver for most of those years. I've found that problems like these are very easy to diagnose especially when you have stock components. Jim
-
Do a search for rally clock. Lots of posts/interest. Jim
-
The turnbuckle on the mastervac... (brake pedal height) adjusted right?
-
Just taking a few stabs/throwing some ideas out. I havent used Toyo calipers on a Z but have toyed with lots of brakes over the years. Silly question but have the master cylinder or brake lines been changed? If so then you might have swapped the front and rear circuits on the MC depending on what year it is. That might affect things a bit. A disc that is too thin, pads, shoes or drums that are worn will cause increasing amounts of pedal travel. If all calipers/wheel cylinders require minimal travel to brake the pedal will be higher. When you say the calipers are new do you mean that they are the Toyo calipers or something equally as thick? Also.. Are the rear brakes working properly? Is there a fluid leak? If your rears are not bled and/or out of fluid this would also cause the pedal to go down more. On stock 240Z caliper it's possible to install them wrong by swapping sides. This puts the bleeder on the bottom of the caliper. It won't bleed as trapped air can't get out. You might be able to get most of the air out but will find that "perfect bleed" unobtainable. Are the bleeders on your Toyo calipers on the topmost side? 2c Jim
-
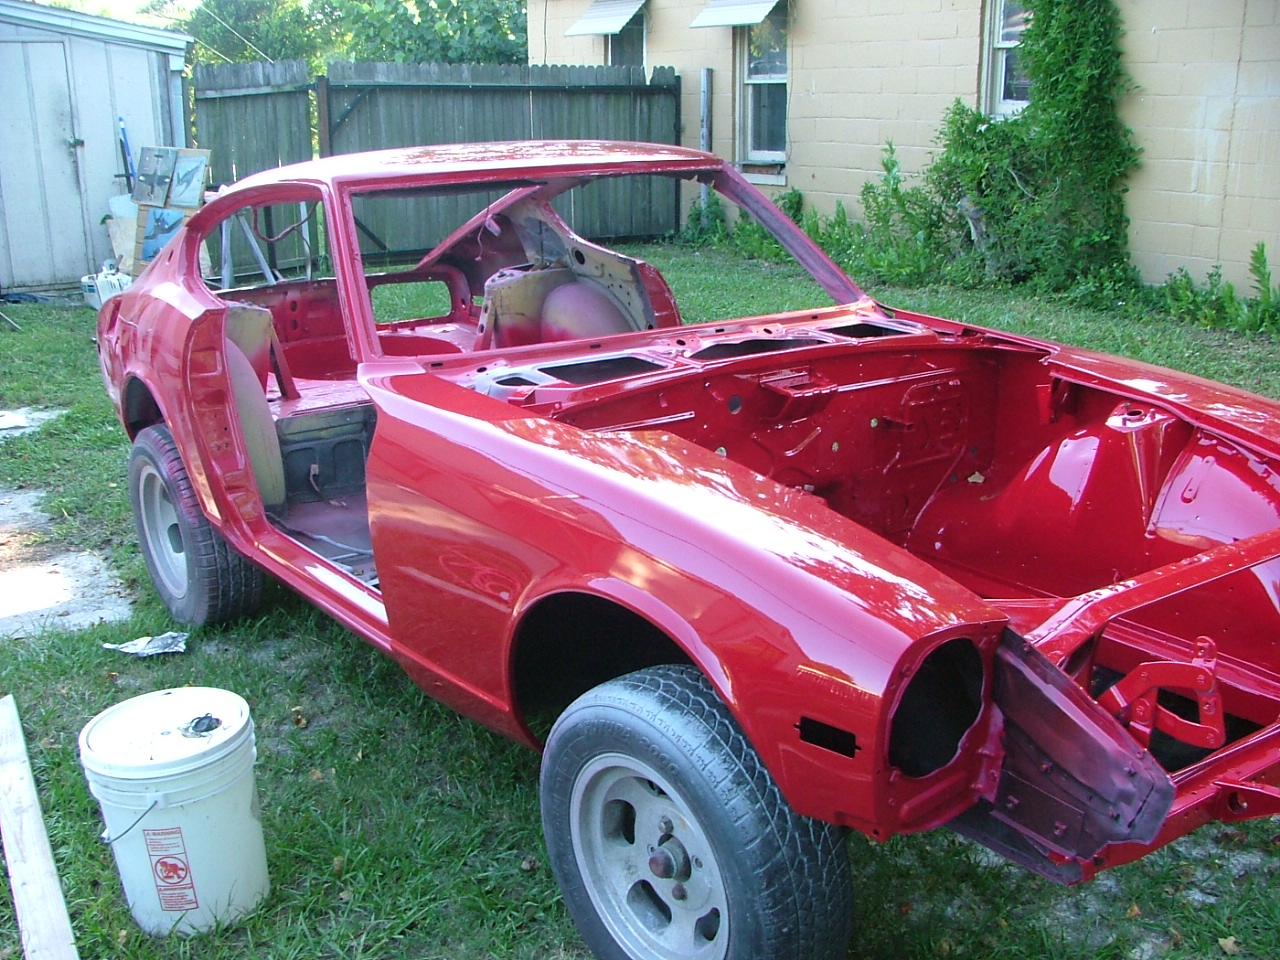
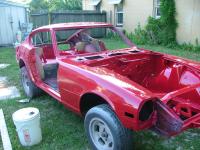
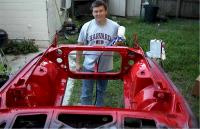
Mine took a while because I was doing a frame rail and floor pan replacement. If it was a simple matter of stripping, sandblasting and painting then I'd say 2-3 days max. The real time killer is that when you go to put everything BACK you want it to be refreshed/repainted also. This type of detailing can take a couple of days or more depending on how bitten by the bug you are. In your case you may want to drill the spot welds in the battery case and properly treat the affected area. Before and after pics... Cheers, Jim
-
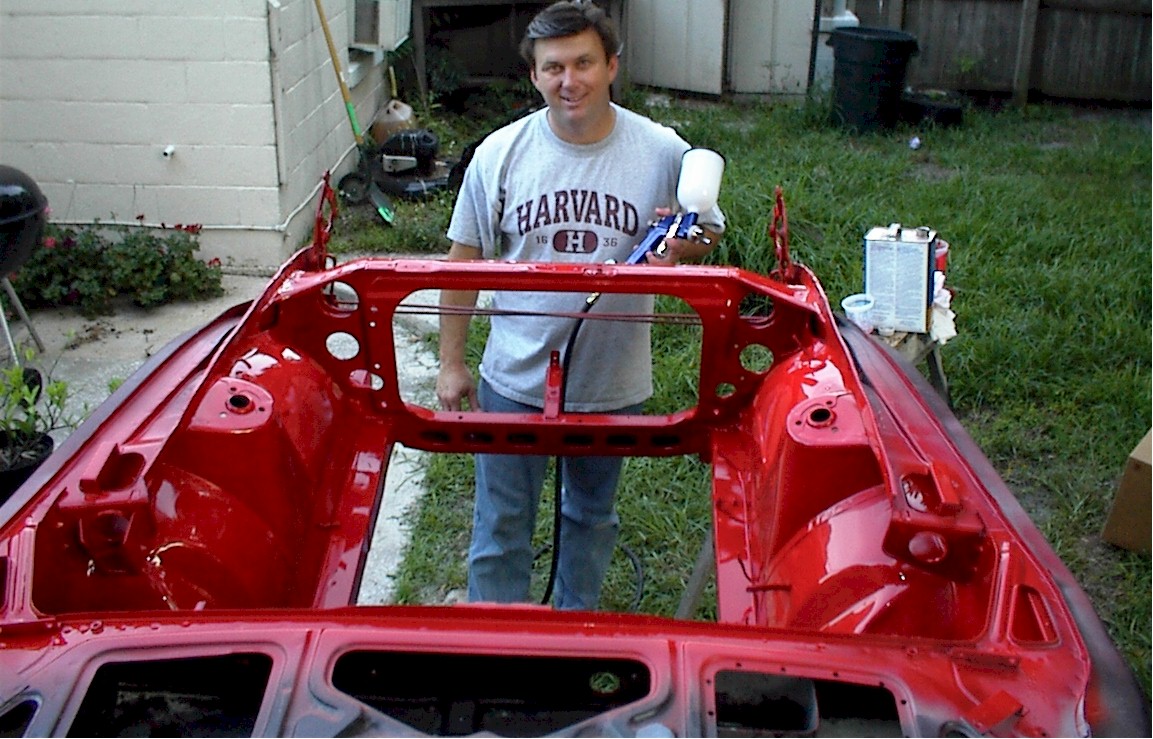
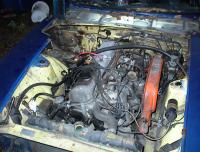
Do you have a compressor, paint gun, etc?? If you are talking about having a body shop handle the entire thing then it may be $800-$1500 for a proper sandblast and basecoat/clearcoat job. That is IF anyone will do it. Most places will insist on sanding as many people dont do heavy sandblasting. They may also have it sent to a sandblast shop in which case you pay mucho extra $$$. The ONLY way I see to do this right would be to completely remove everything from the compartment and sandblast. (Fenders too) Sanding and acid treating are kind of a band-aid. I repainted my engine bay in the open air of my back yard with PPG's Deltron BC/CC. Misted the yard with water to cut down on dust. Think I had one piece of debris in the paint. Perfect otherwise. Cost for materials is kind of high. See if you can get a pint of color instead of the quart. Most places will mix a pint after a little grumbling. Make sure the pint is something good like PPG's DBC. If you went the really cheap route you could get the materials for as little as $200 but 300-$400 is more realistic. This includes everything from sand, ospho and primer/paint. (Equipment not factored in)
-
Wait a minute Alan. I thought the sole reason of Japans existence was to provide us with 240Z's... Preferably HLS30 models! ROFLROFLROFL I like the American flavored "jam" myself. We still have a few bees over here for tree pollination. Totally in Jest... Jim
-
Let's hope your chasis and engine have a reunion then! Some time ago I was a little down when I noticed that my block number didnt match the VIN. It was via this board that I found that this is normal. Made me much happier to know that I had the "right" motor after all. Good luck on your search. Jim