Noddle
Free Member
-
Joined
-
Last visited
Everything posted by Noddle
-
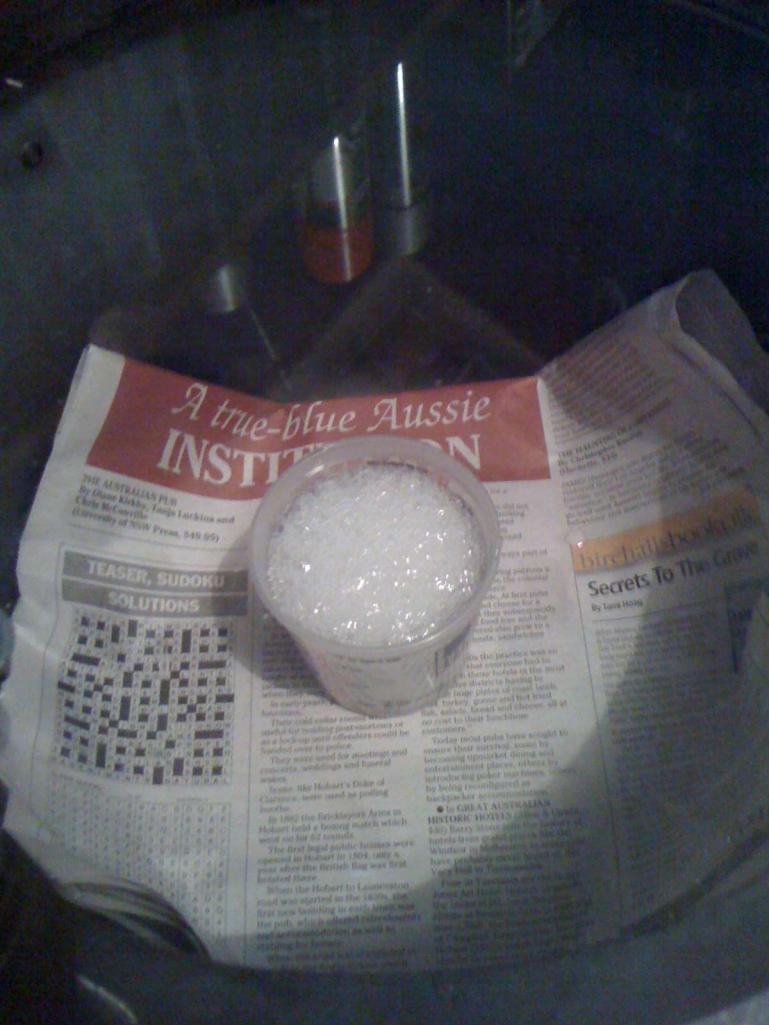
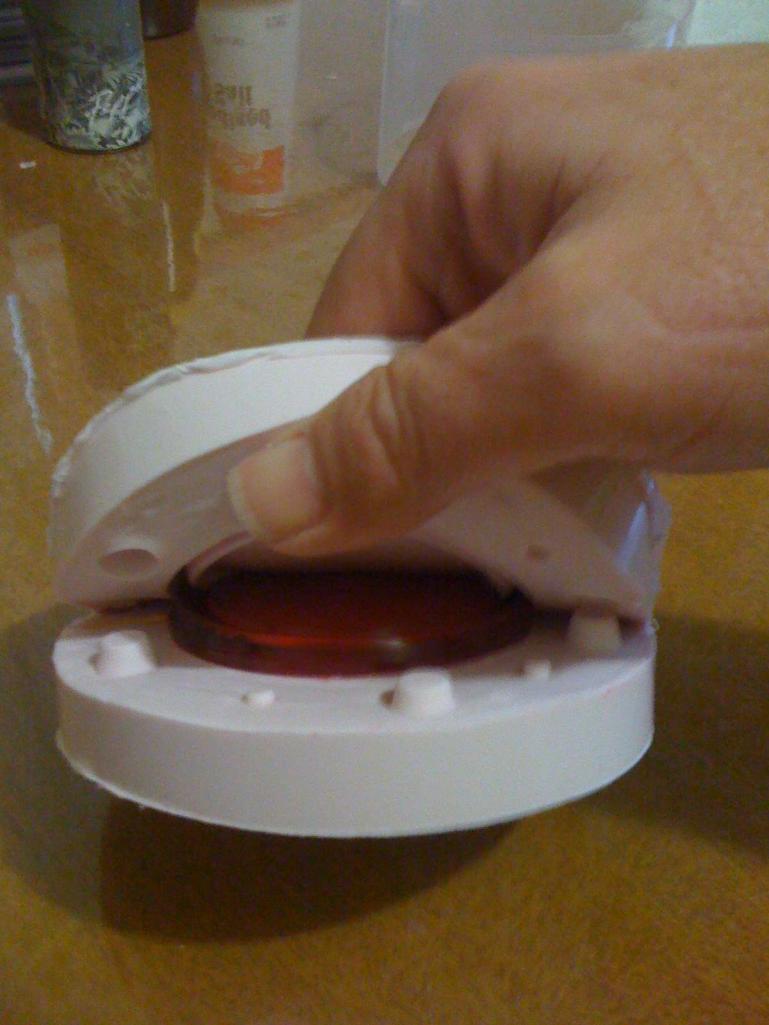
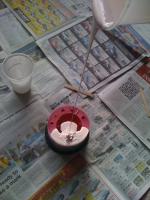
Lesson for today, make sure the resin is %100 set before de-molding, and putting the mold back together, and warming it in the oven for 40 minutes does not fix the issue of stuffing it up... Nigel
-
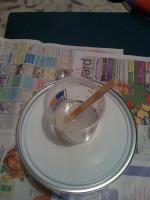
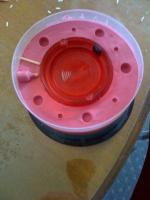
Hi, I had some more free time and decided to test this with clear resin this afternoon. When I finished, I could swear I smelt this stuff before, after 20 minutes or so it clicked, same smell as bog. I will wait and see how it turns out tomorrow Nigel


-
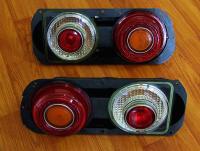
The 240K tails lights come apart, so I'll mold each piece separate, and screw then together, just like the oem parts. To be honest I have no idea how the 'Z' lights are setup, maybe you could make the separate colours, then join them with a clear over the top as you said. Nigel
-
Hi, This may help others, this is what gave me the idea that I could do it myself. http://www.alumilite.com/howtos/TailLightMoldingEquipment.cfm Nigel
-
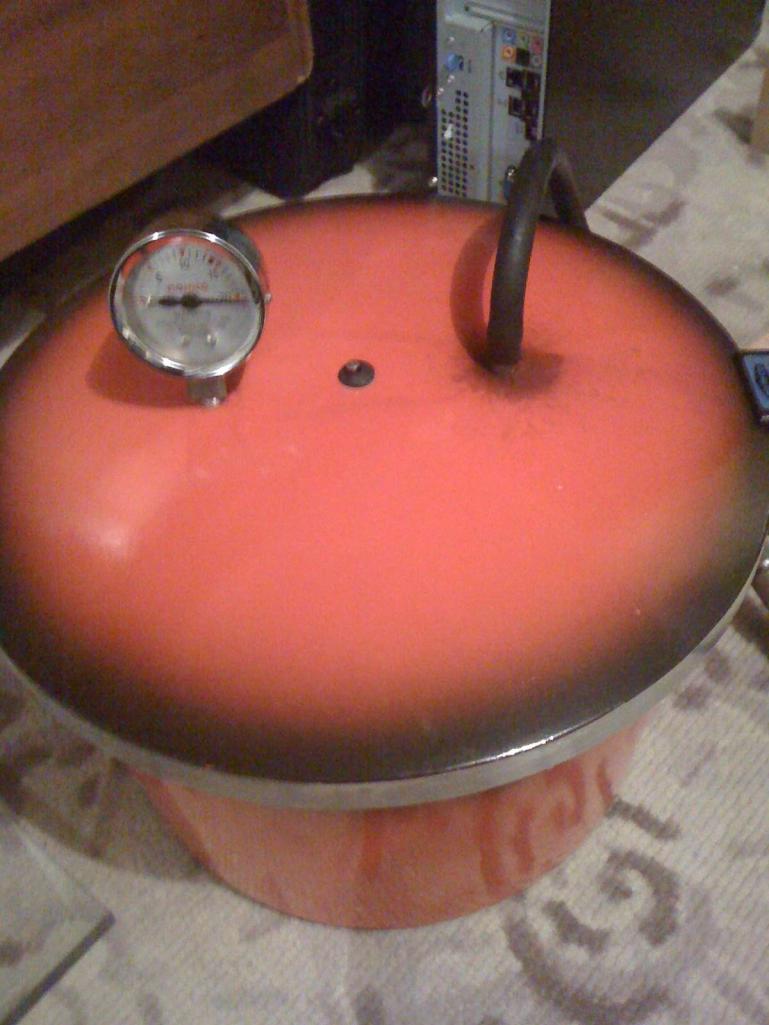
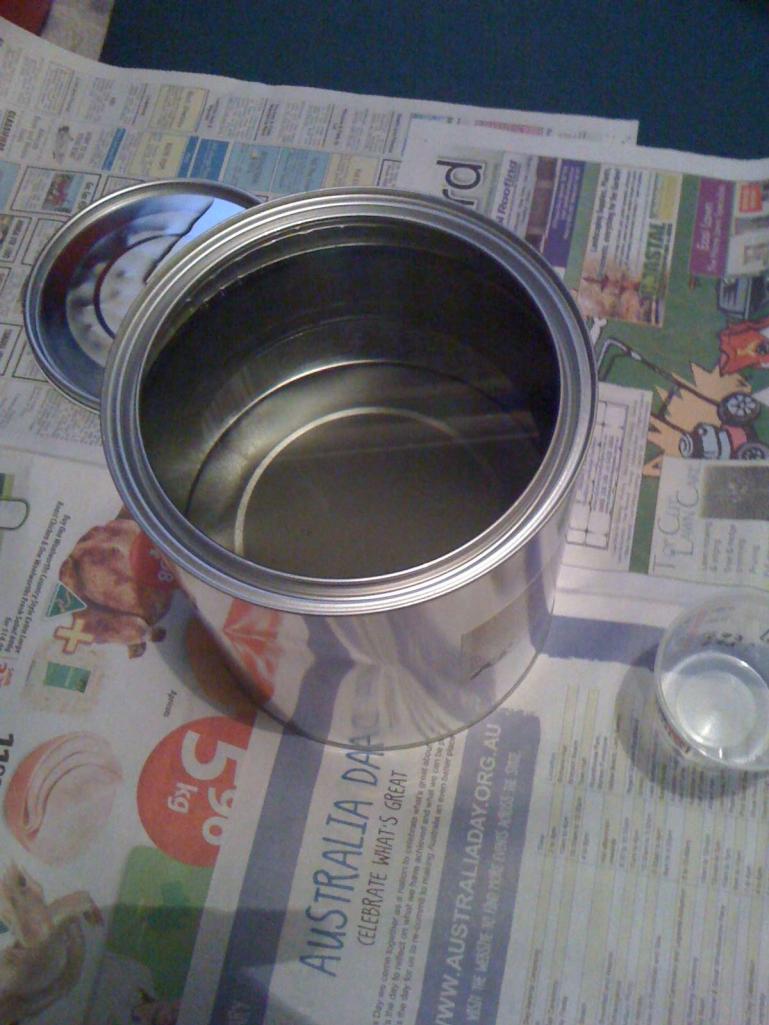
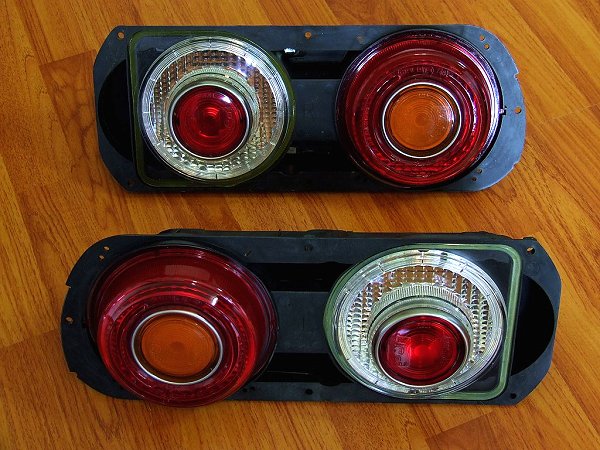
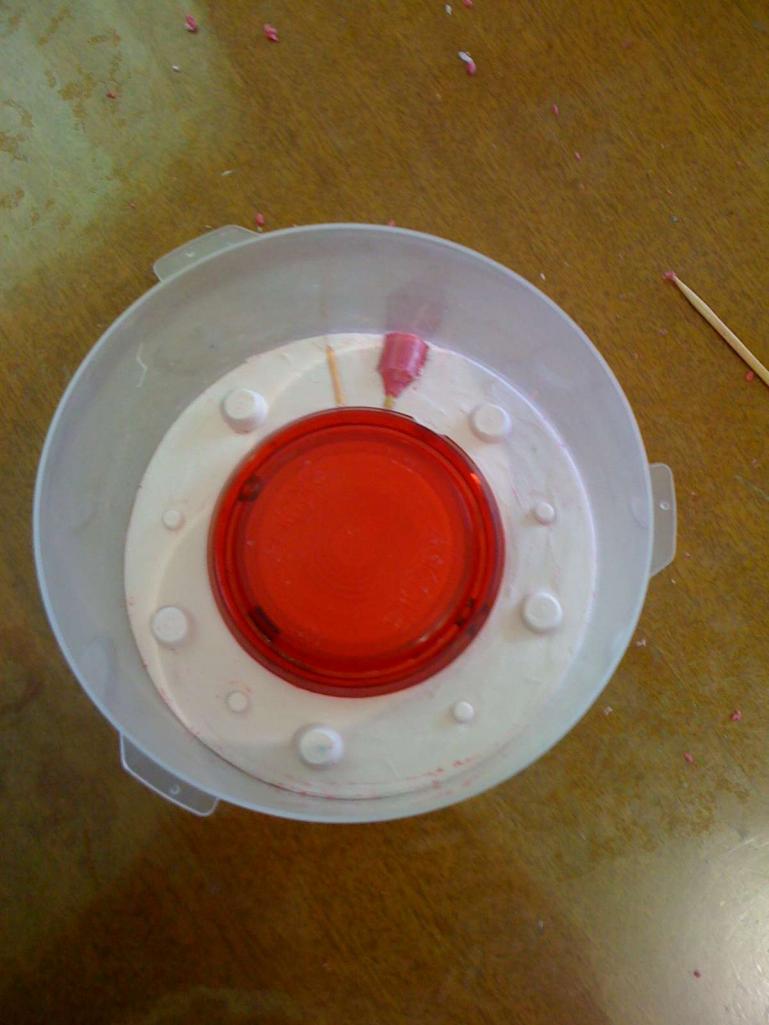
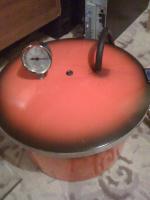
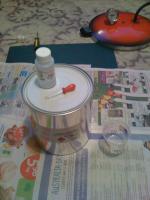
The part I'm making (above) will be clear ( reverse light ), the other parts will be 'tinted red' for the brake light. I'll be using this dye http://www.barnes.com.au/catalog/product_info.php?cPath=73_78&products_id=1567 this is the clear product http://www.barnes.com.au/catalog/product_info.php?cPath=90_94&products_id=1455 I'm not 100 percent sure how it will turn out, but I will see, also I'm not sure how the resin is going to handle the uv. this exercise is not cheap once you add the costs together, but at the end of the day, I will have molds to make lots of copies, maybe there will be a small market to sell them. atm I have spent a good $350ish this includes a pressure pot, vacuum chamber and vacuum pump, mold martial, clear resin, dye, and other bits and pieces. the mold martial for the above mold cost $75ish by itself, but it was the 'good' stuff and should last forever, or till I'm dead.. :-) these 2 pictures show the Aus delivered lights ( red centered brake light), against the JDM tail lights (red outer brake light ) Nigel

-
My thread is here http://www.classiczcars.com/forums/showthread.php?42393-JDM-Style-Tail-Lights
-
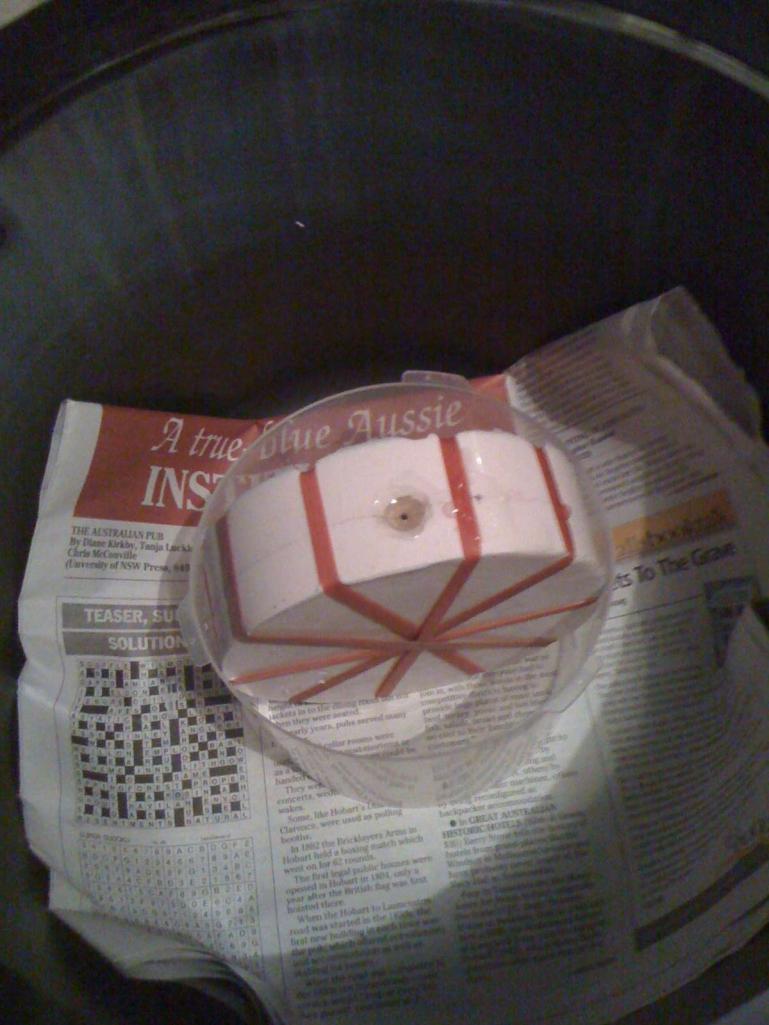
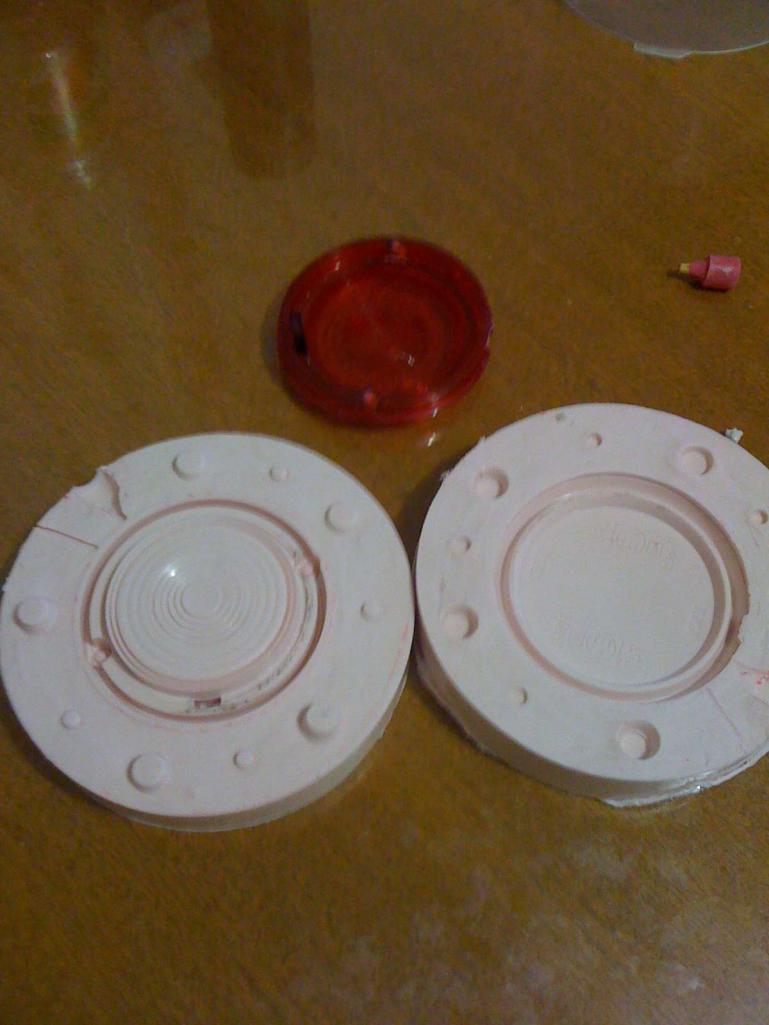
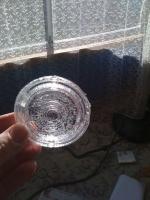
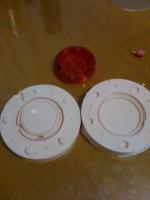
Hi, This is what I found this morning, I think it turned out pretty good. Tonight, if I have time, I'll test this with my clear resin. Nigel

-
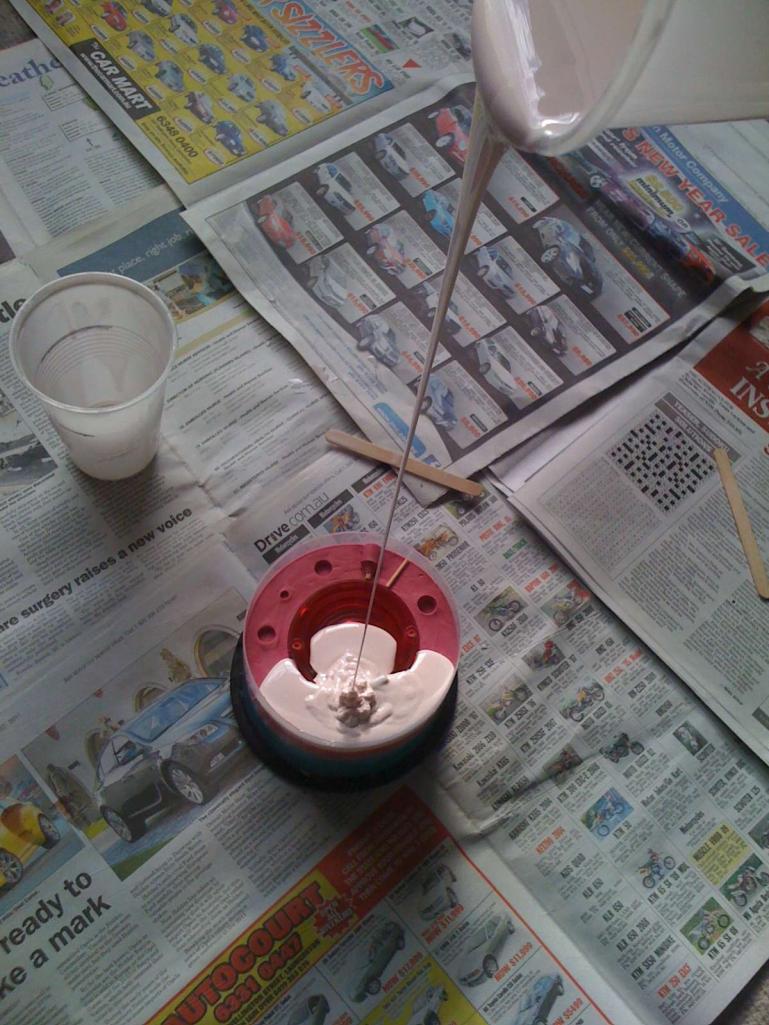
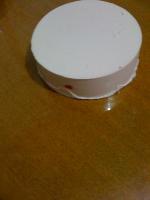
Hi, I've been looking into making my own tails lights, I know that they come up once in a while on Yahoo, but to be honest I can't be bothered, so I'm making my own. Since I have not done molds before, I've started small. I just poured the other half of the mold, so tomorrow I will know how it turned out. Nigel


-
This is what I'm doing about JDM style of lights.. Nigel

-
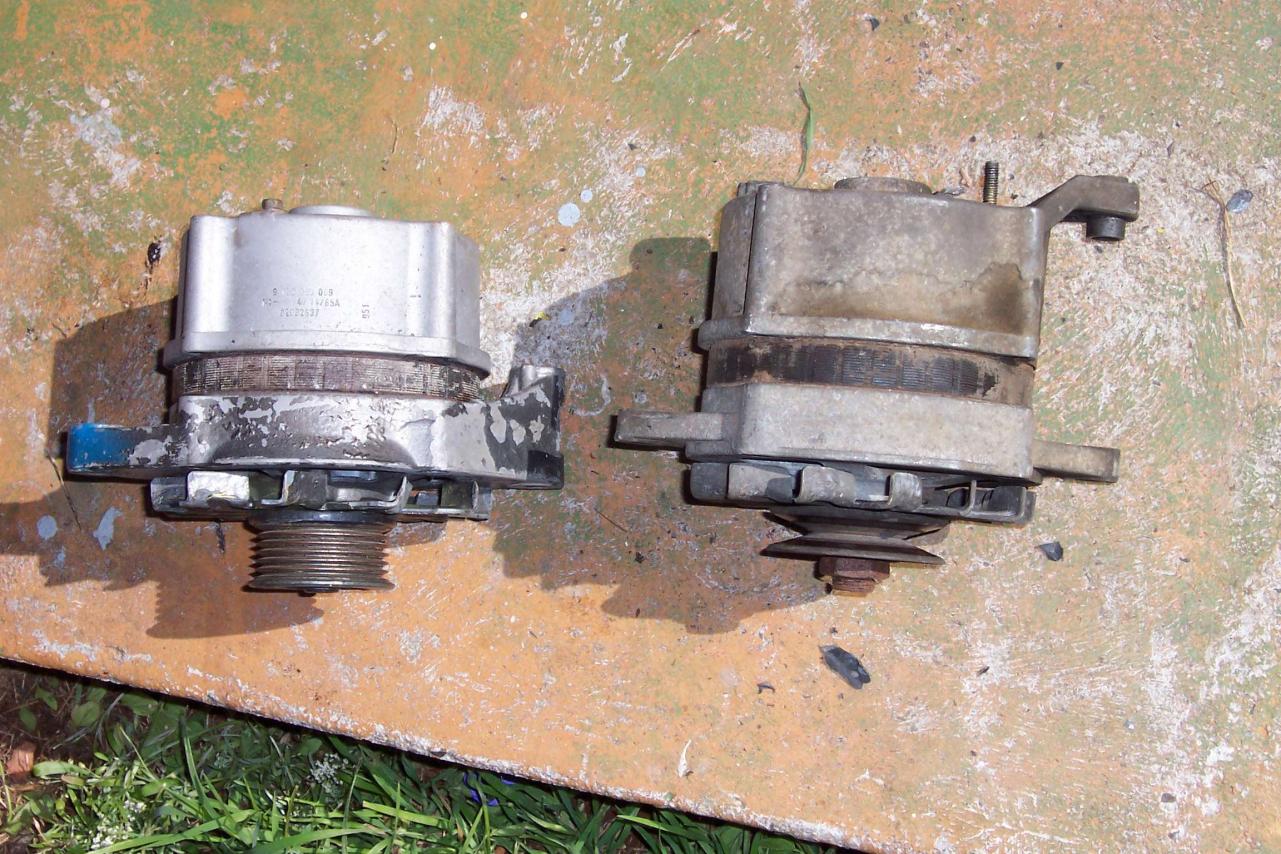
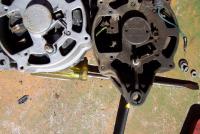
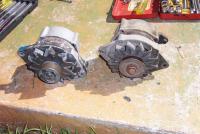
Hi, I decided that the 60A alternator wasn't up to the job anymore, so I retro fitted the internals of a 85A VN Commodore alternator into the housing of my 60A Nissan one, It pretty much was a clean swap of parts, except the power connector (bolt) was a different size, so I had to drill the housing a little to fit it, as for the wiring, the 'S', I connected straight to the power connector on the alternator, the 'L', I connected to the existing wiring ( Note that this wiring was modified before to use a internal regulated alternator - see above information ) Nigel

-
this one looks ok, and complete http://cgi.ebay.com.au/DATSUN-240K-1974-2-Door-Coupe-/170628668414?pt=AU_Cars&hash=item27ba42dbfe Nigel
-
R30 (MR30 -Aus spec) had a L24e in them. Nigel
-
looks very nice.
-
-
I have almost talked myself in doing this type of things for the rear tail lights, inner red, outer red, the same shape as the inner, and clear for the reverse lights, http://www.alumilite.com/HowTos/TailLightMoldingEquipment.cfm http://www.alumilite.com/HowTos/TailLightCastingEquipment.cfm I'm still looking for suppliers in my area, and researching on what type of silicone and resin I will need. but if I make these, it wont be for at least 3-6 months. Nigel
-
It's been almost 1 year, is there anyone in Australia making these ? Nigel
-
Looks like it's still got the GT-R grill,
-
Hi, if you are interested, follow this link http://forums.hybridz.org/index.php/topic/98343-cockerstars-fuel-rails/ Nigel
-
http://cgi.ebay.com.au/Datsun-240k-coupe-1973-sigma-turbo-mags-king-springs-/170603372659?pt=AU_Cars&hash=item27b8c0e073
-
If you use the MR30 distributor, it looks the same, you have 2 wires going to it, instead on 1, still looks original (and no more points) Nigel
-
Sounds like a late model, http://noddle.customer.netspace.net.au/Datsun%20240K%201976%20Wiring%20Diagram%20Black%20and%20White.bmp This should help you out. or do what I have done before, install electronic ignition from a MR30, or similar, what I do is find the 2 wires that go to the coil (cranking (12 volts) and running (8 volts)), I connect the 'cranking' wire to the 'running' at the ignition switch, so the 'cranking' wire has 12 volts when engine is running or cranking. (does this make sense ?) Nigel
-
Hi, What year is it ? from memory, wiring to the coil is different between the early to late model cars (73 / 75+), when the key is 'on' I believe it should have about 8volts (the wire from the key to the coil is a resistor), cranking should be 12v Nigel
-
Bump, any updates to this ? Nigel
-
Hi, I'm not sure about anyone else, but I'm hording all my 240K bits, considering parts are impossible to buy new (unless you have a money tree), and very hard to find second hand, I suppose if some one has more than a few cars you may be in luck. Nigel
-
none of my 240K, have "Skyline" badges on them, unless it uses the same hole that the "Datsun" badges use ? Nigel